

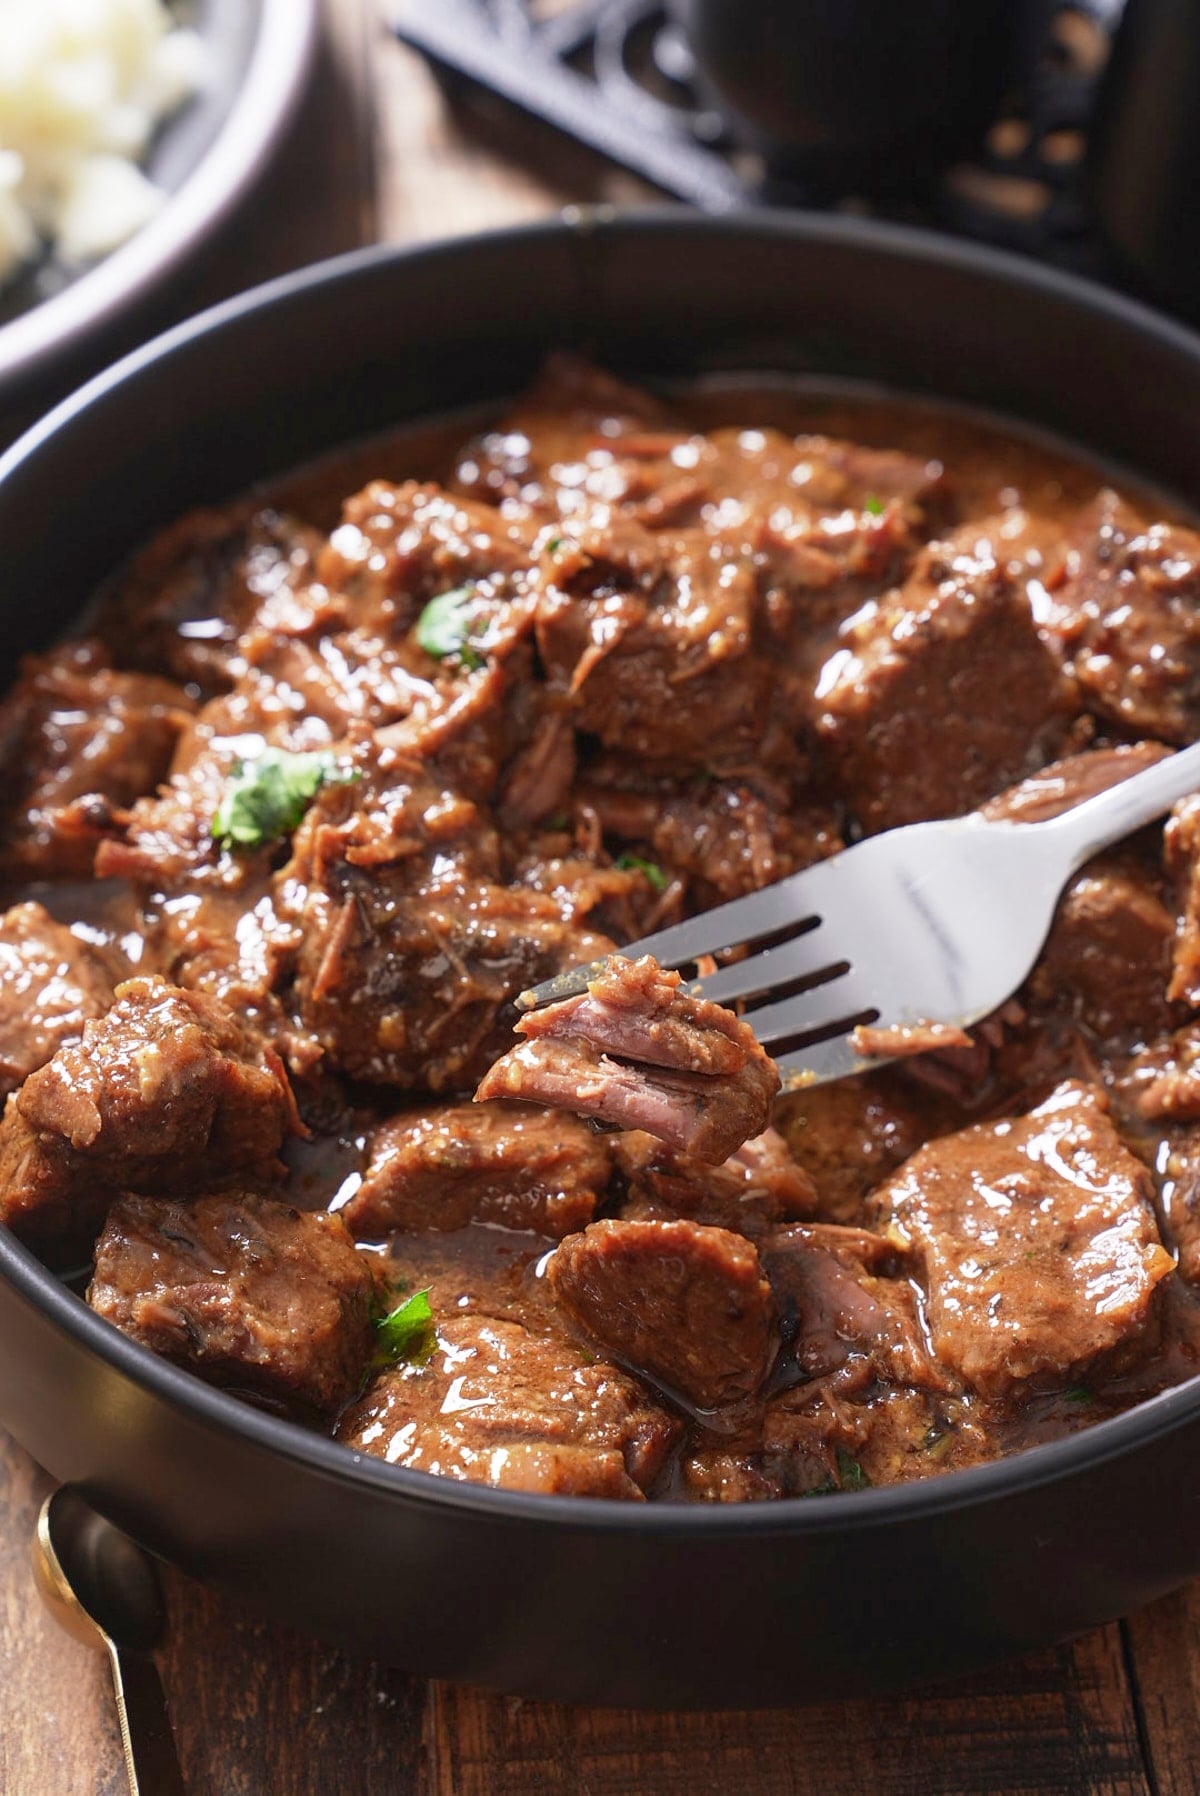
Beef tips are simmered slowly in a deep brown gravy until they are tender enough to cut with the side of a fork. It's the perfect cozy meal, especially when served over rice that can sop up all the gravy.
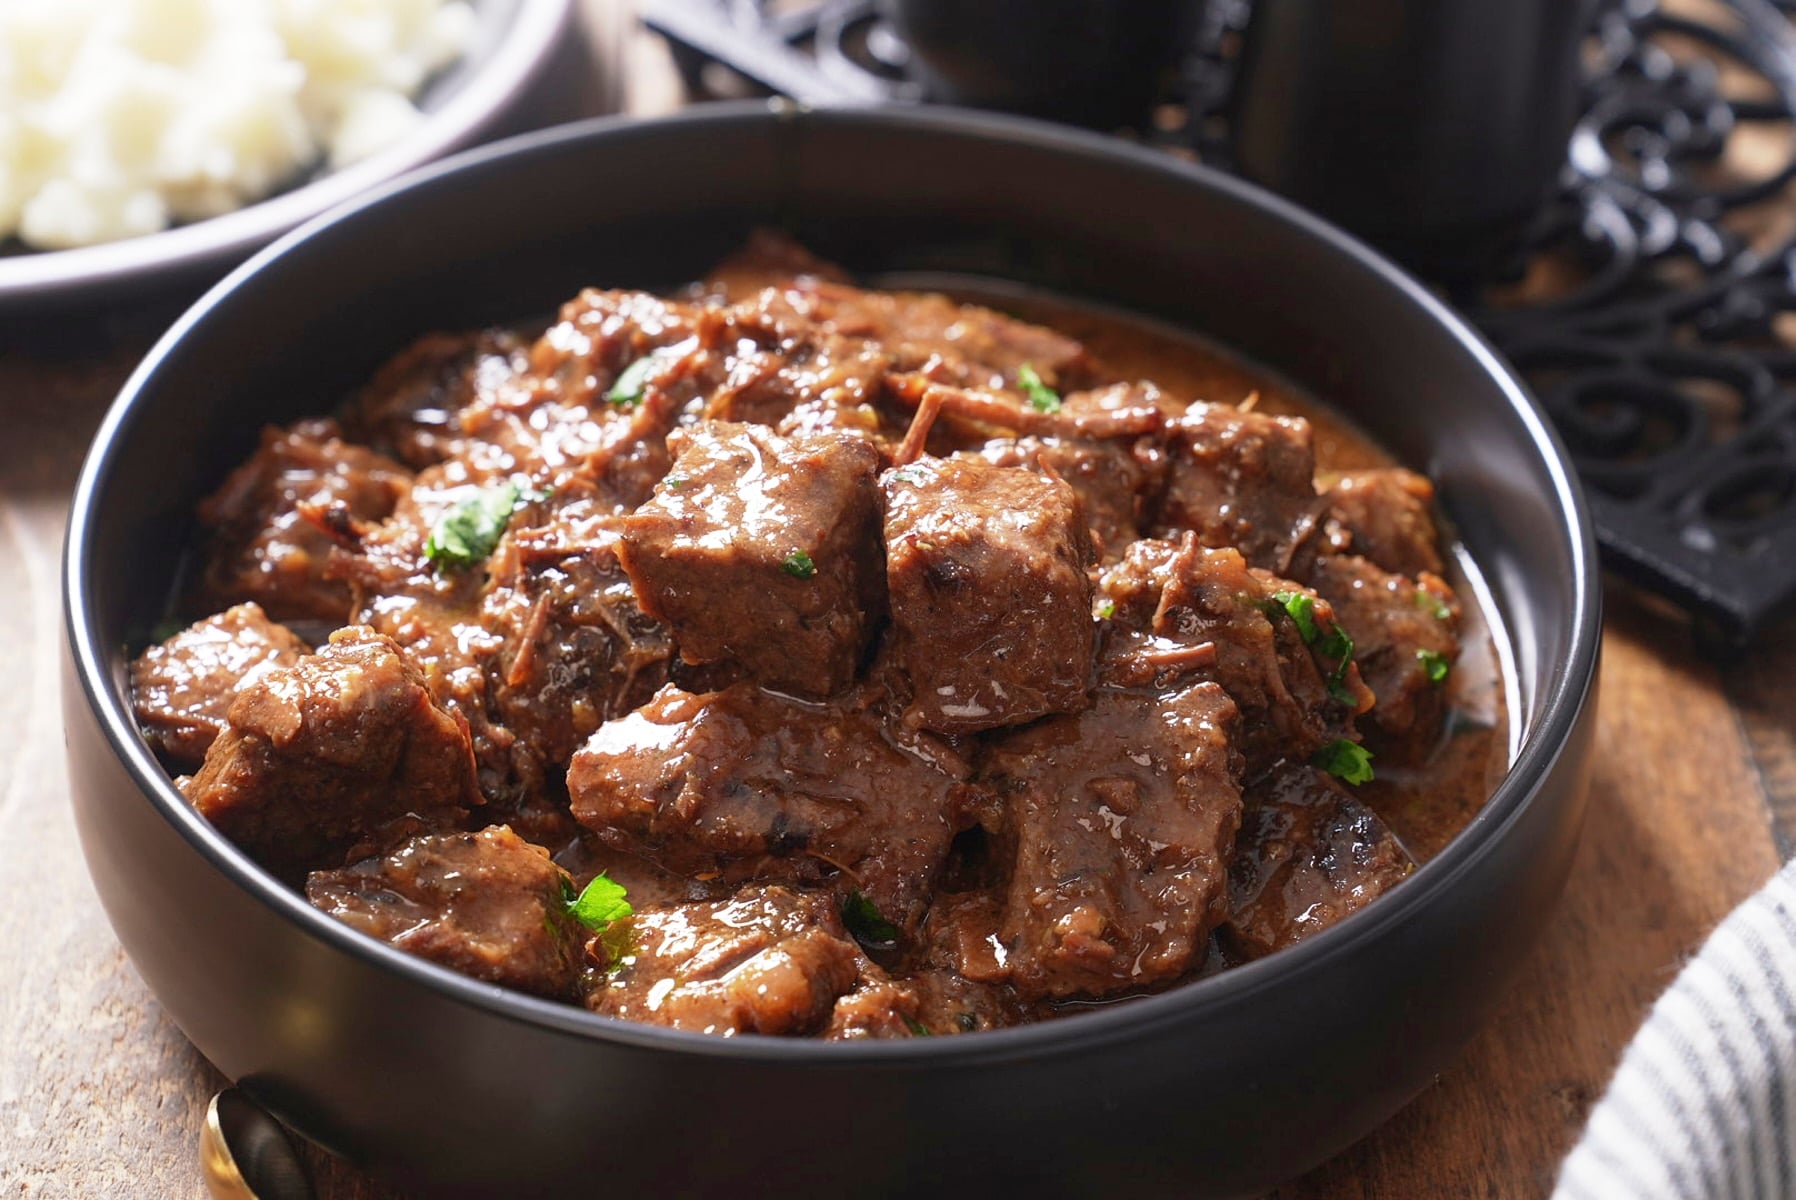
You’ll find the full recipe with ingredient amounts and instructions in the recipe card at the bottom of this post. Be sure to check out the blog post itself for extra tips and tricks!
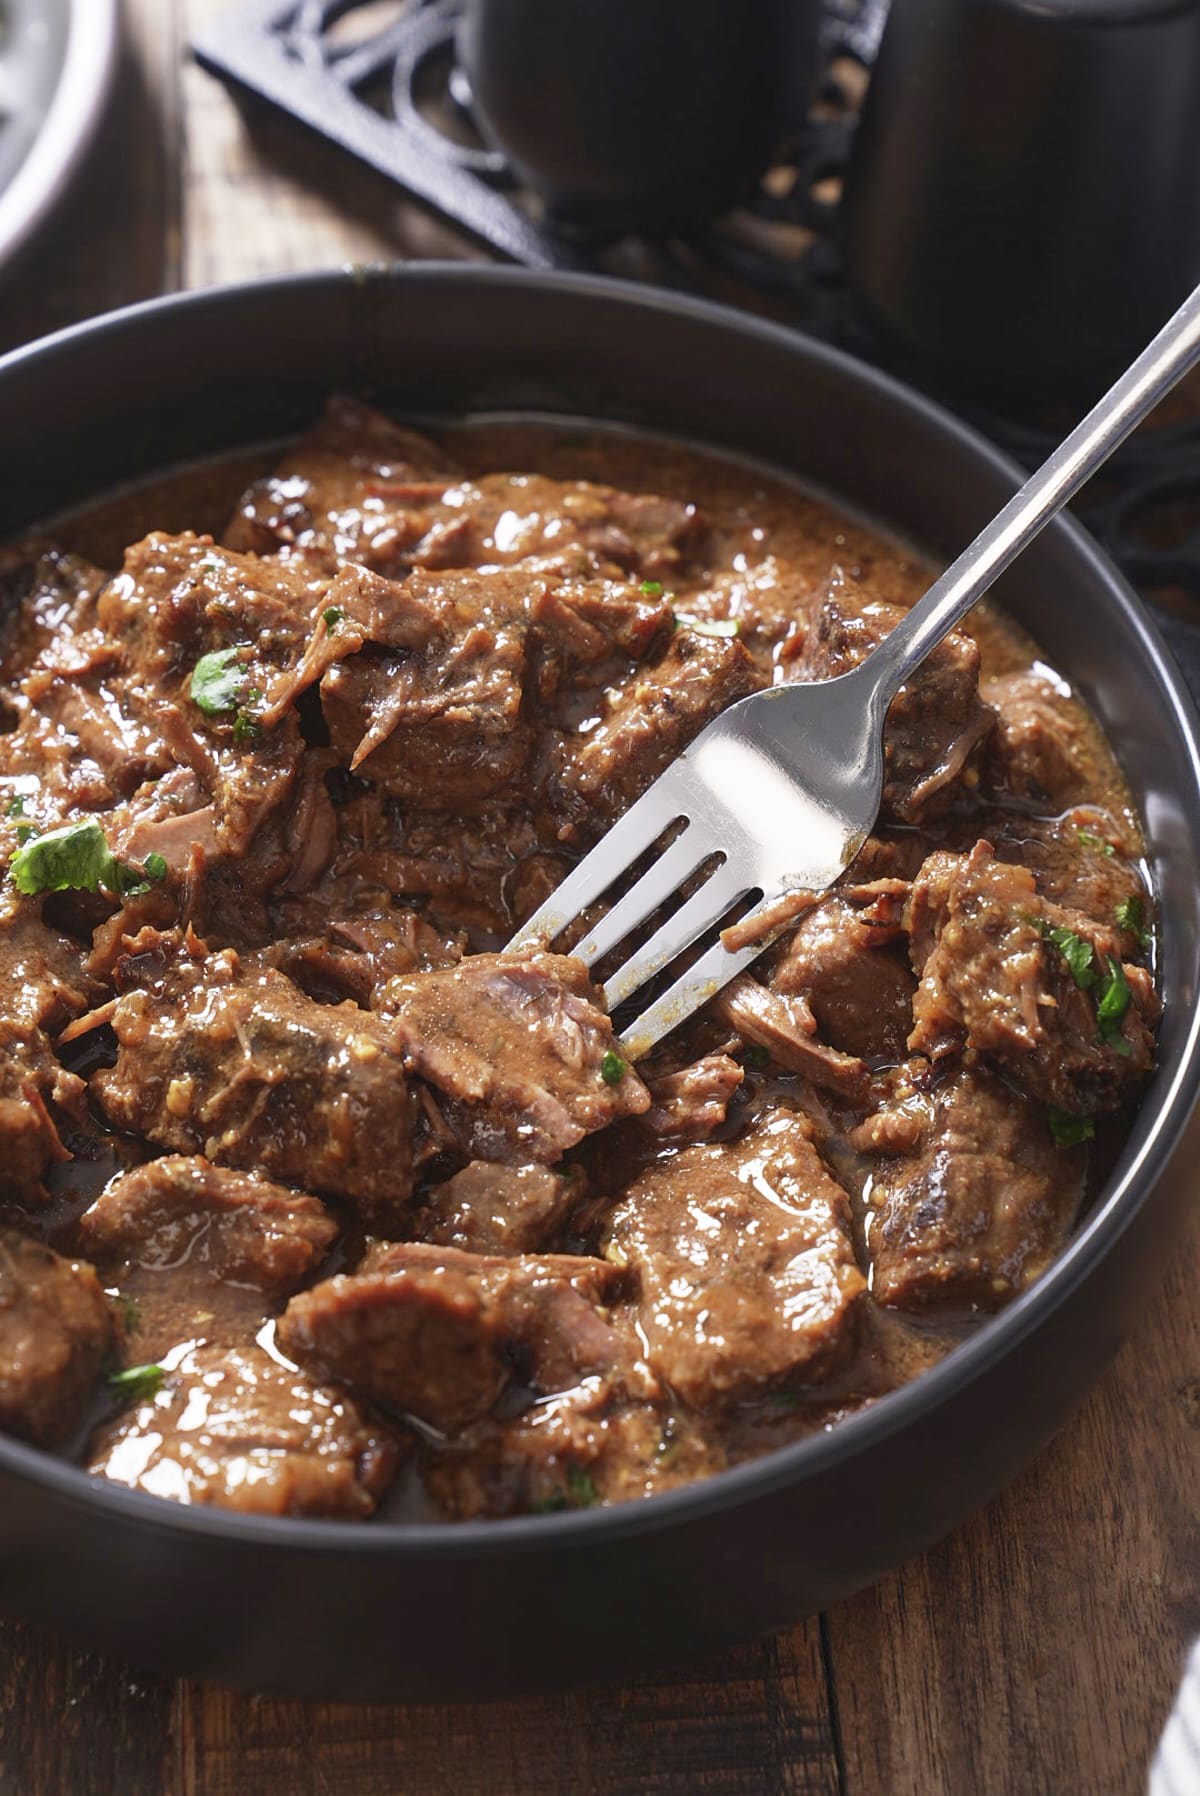
Beef Tips at a Glance
- Best for: a cozy Sunday dinner that reheats well.
- Total Time: 2 hours 35 minutes
- Yield: 6 servings
I have a real weakness for cozy beef dishes. Give me a stovetop beef stew or a pot of braised oxtail any day of the week, and I am a happy woman. Beef tips land in that same category for me.
This is a classic Southern dish that relies on low-and-slow cooking. Two hours on the stove is what turns tough little cubes of beef into something you can cut with a fork, and it gives the gravy time to thicken on its own. I serve mine over rice most nights, but a scoop of mashed potatoes underneath is never a bad idea.
Happy Cooking,
Tanya
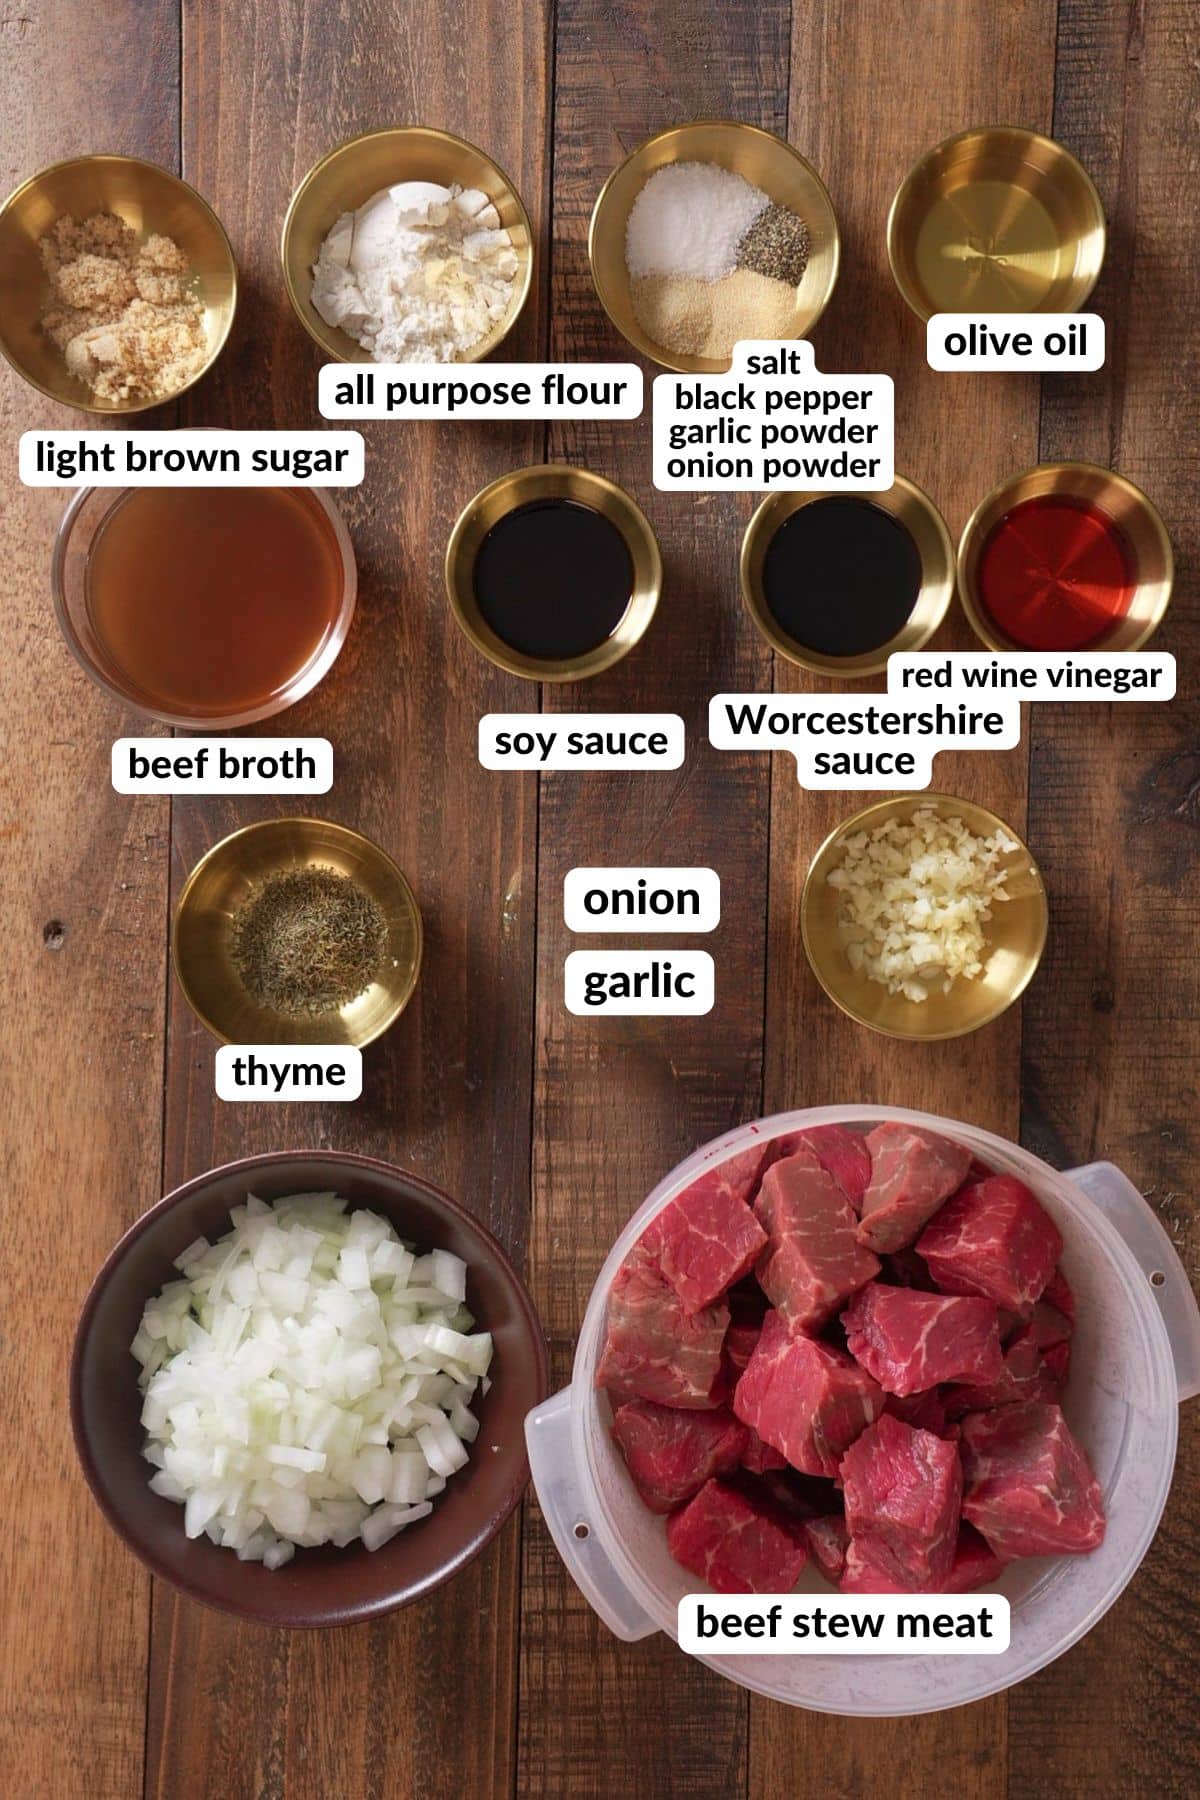
Notes on the Ingredients
Ingredient amounts and full recipe instructions are on the printable recipe card at the bottom of the post.
- Beef stew meat. I buy the pre-cut packages at the store because it saves me from having to break down a whole roast on a weeknight, and stew meat is almost always cut from chuck. Chuck is exactly what you want here. It comes from the shoulder, which is a hard-working muscle, so it carries a lot of connective tissue that softens into the gravy over a long simmer. If you would rather cut your own, buy a boneless chuck roast and cut it into 1-inch cubes.
- Light brown sugar. Just a small amount goes into the seasoning mix. It helps the beef brown more deeply in the pan and rounds out the salt from the soy sauce later on. The finished gravy does not taste sweet.
- Garlic powder, onion powder, and black pepper. These season the beef itself.
- Kosher salt. My amounts are measured with kosher salt, which is coarser than table salt. Table salt packs more into the same spoon, so if that is what you have, start with less and taste at the end.
- All-purpose flour. The flour goes onto the seasoned beef instead of into the pot later, so it does two jobs. It helps build the crust when you sear, then it slowly thickens the gravy across the two-hour simmer. That is why there is no cornstarch slurry at the end of this recipe.
- Olive oil. Any neutral oil works. You just need enough to get a good sear going, and the beef will release some of its own fat as it browns.
- Yellow onion and fresh garlic. The onion cooks down until soft and sweet and practically disappears into the gravy. Fresh garlic goes in after the onion because it burns quickly and turns bitter if it hits the hot pot too early.
- Low-sodium beef broth. There is already salt on the beef, plus soy sauce and Worcestershire going into the pot, and the liquid concentrates as it simmers.
- Soy sauce and Worcestershire sauce. These two do the heavy lifting on the savory depth of the gravy. Worcestershire brings tang and soy sauce brings salt and color, which together give the sauce that dark restaurant look.
- Red wine vinegar. A little acid at the end of a rich braise keeps the gravy from tasting flat and heavy. It is not enough to taste sour, but you would notice if it were missing.
- Dried thyme. Thyme holds up well during a long simmer and has plenty of time to soften and release its flavor into the liquid.
Main Equipment You'll Need
- A 6-quart Dutch oven, which is the medium size most of us have in the cabinet. The heavy bottom keeps the beef from scorching over a long simmer and a tight lid keeps the liquid from cooking away.
- Tongs for turning the beef as it sears.
- A plate to hold the seared beef while you cook the onions.
How to Make Beef Tips and Gravy
Please see the recipe card below for the full printable recipe, ingredients, and instructions. Here you will find step-by-step photos of how to make this recipe.
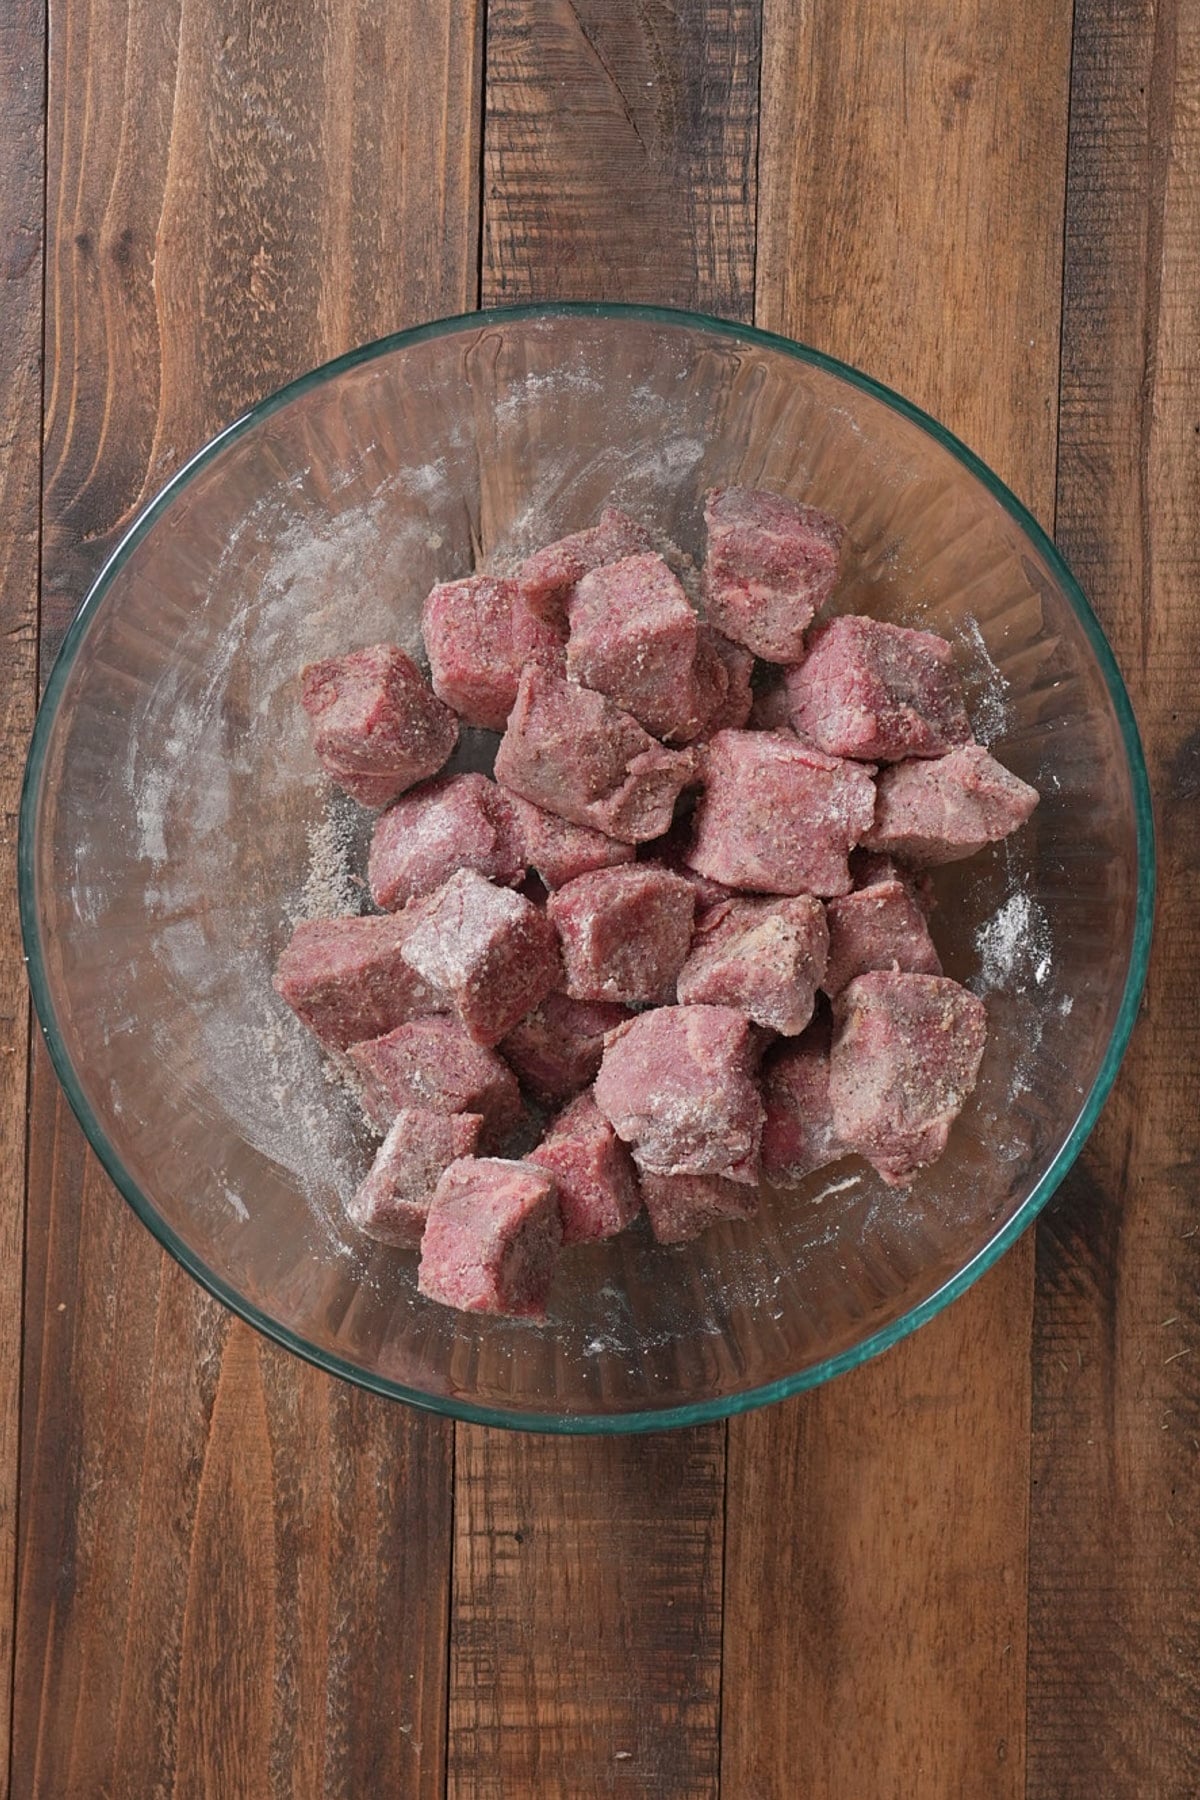
Step 1: Season and Coat the Beef. Pat the beef dry with paper towels first. Toss the beef in a large bowl with the brown sugar, salt, black pepper, garlic powder, onion powder, and flour until every piece has a light, even coating.
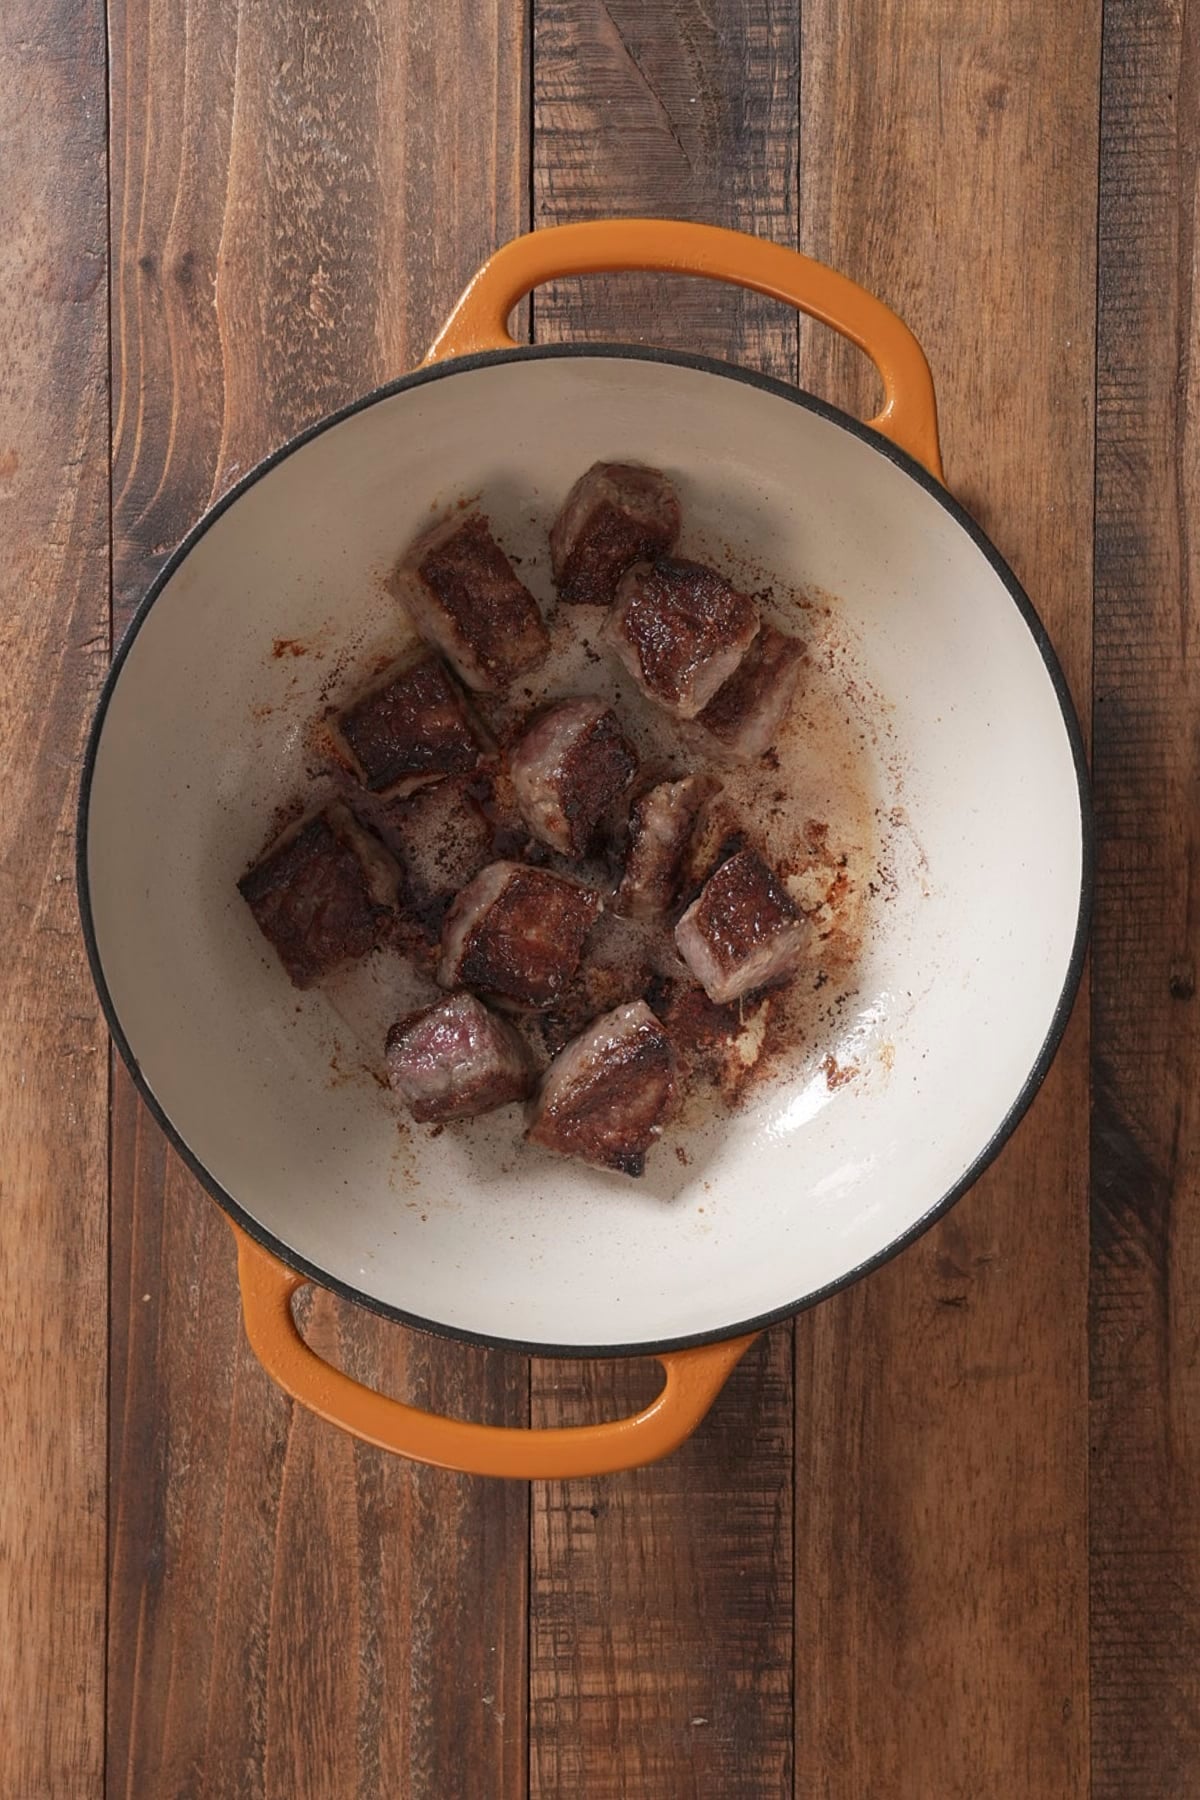
Step 2: Sear the Beef in Batches. Heat the olive oil over medium heat and add the beef in a single layer. Sear 2 to 3 minutes per side until the pieces are deeply browned, then move them to a plate. Work in two batches if you need to. The beef is not cooked through at this stage, and it does not need to be.
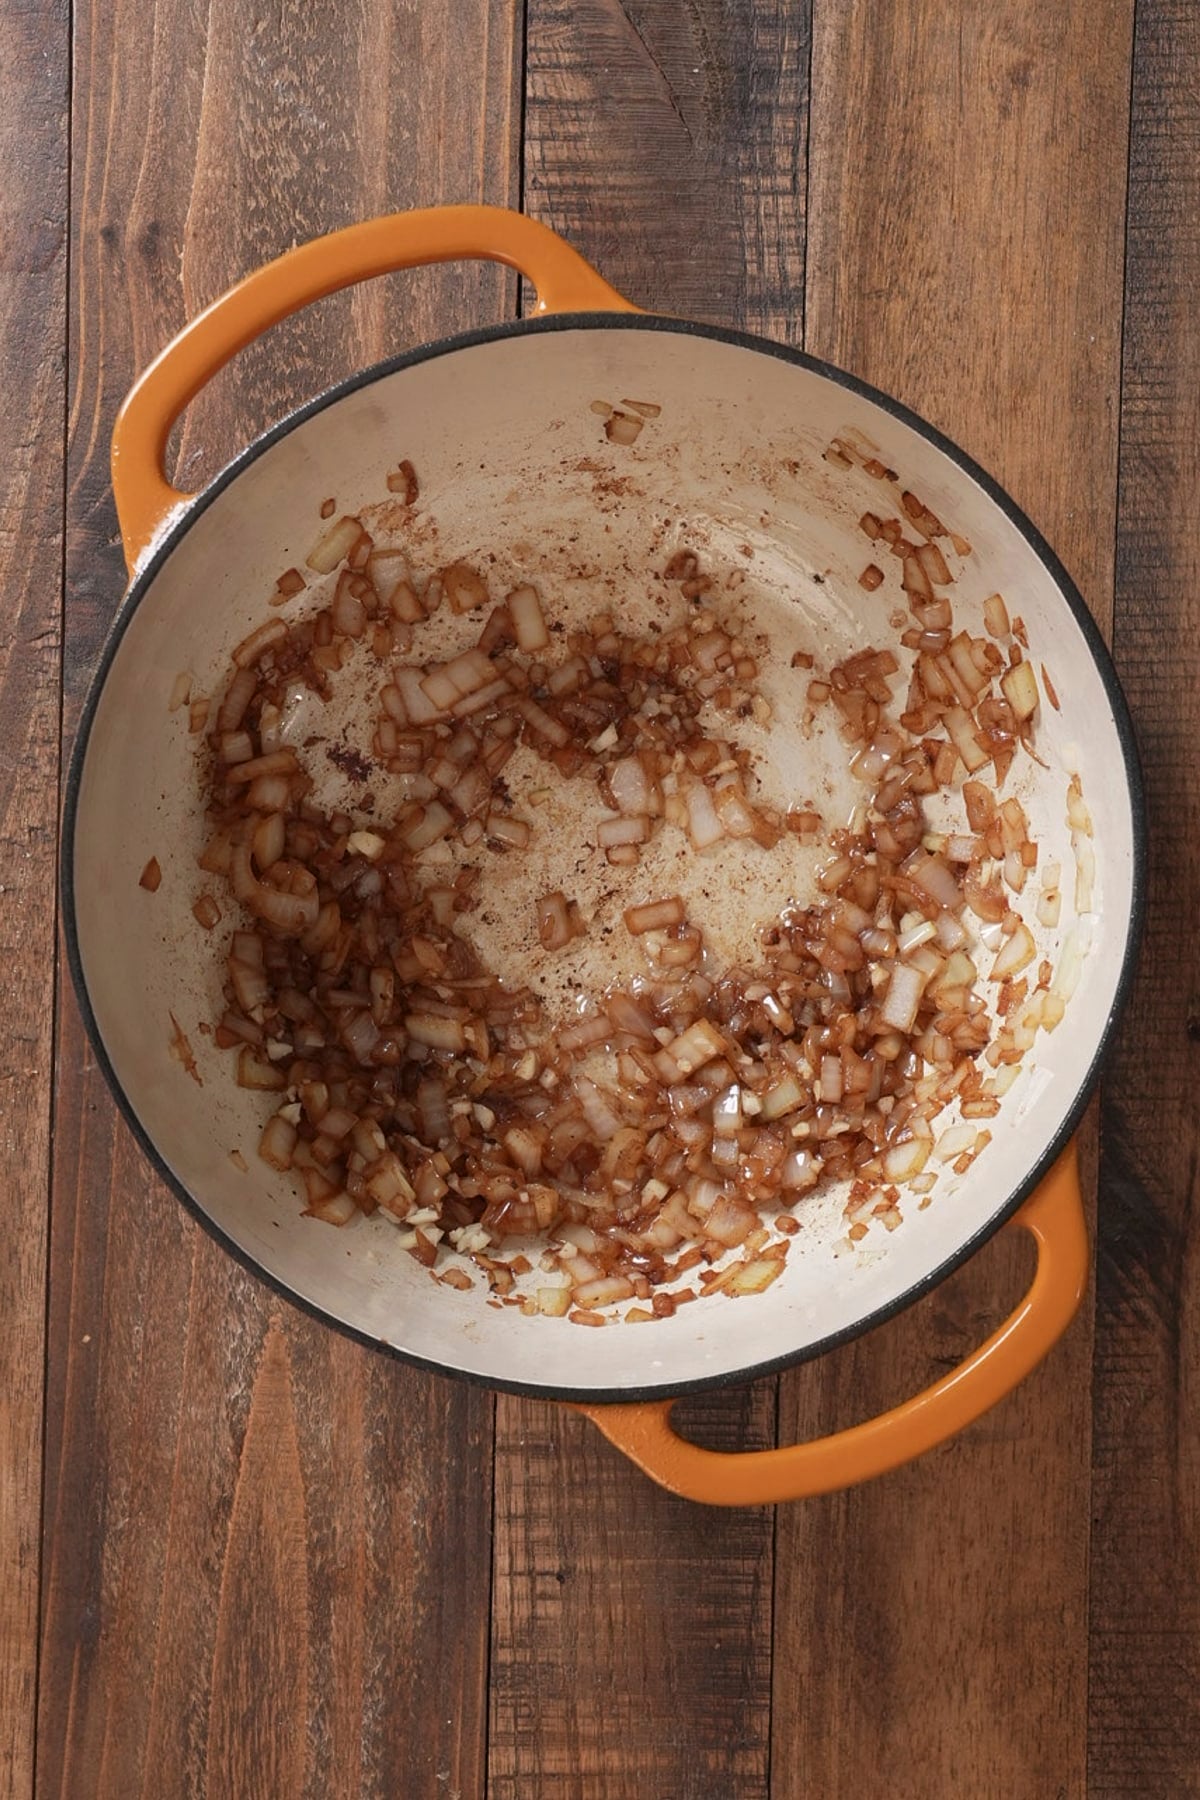
Step 3: Cook the Onions and Garlic. Add the diced onion to the oil and drippings left in the pot, along with a tablespoon of the beef broth. Cook 5 to 6 minutes until the onions are soft and translucent, scraping the bottom of the pot as they release their liquid so all those browned bits lift up. Stir in the garlic and cook 1 minute more, just until you can smell it.
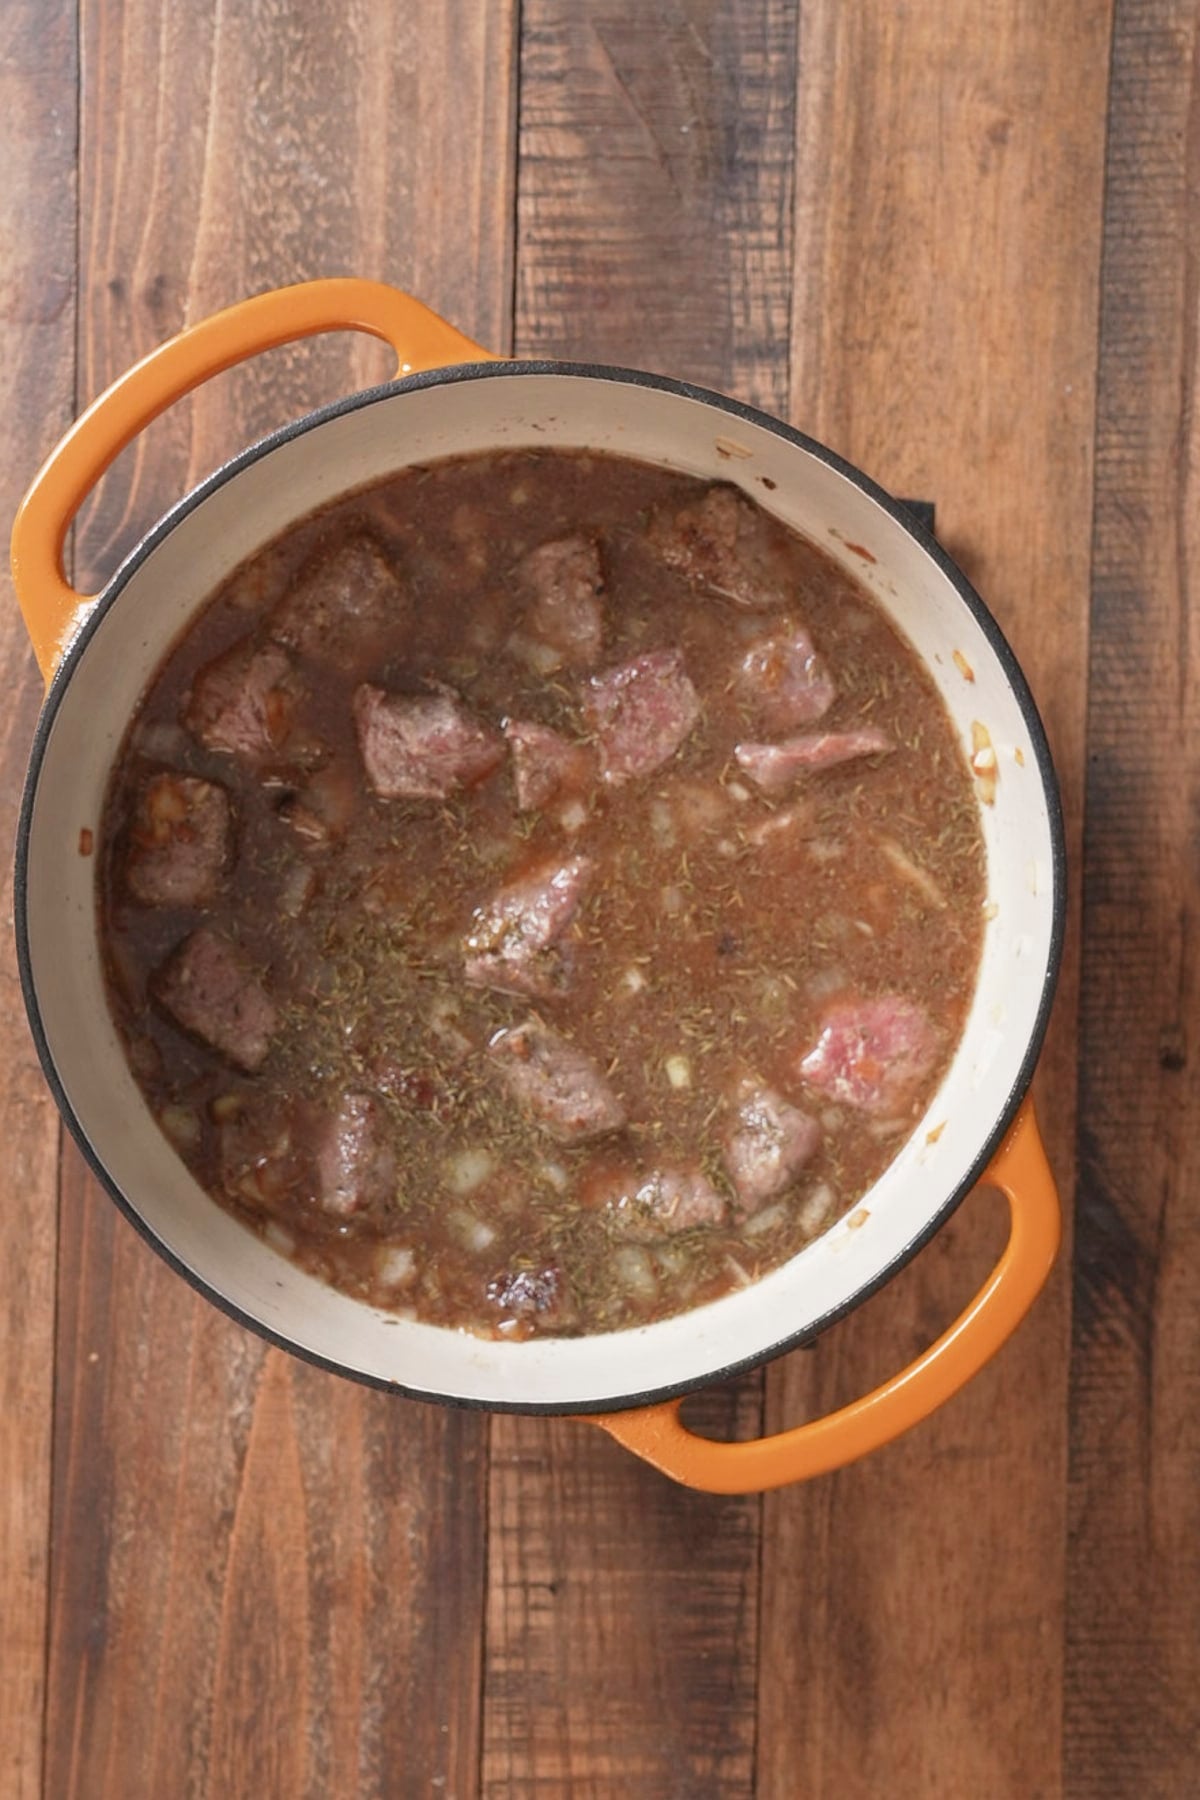
Step 4: Build the Gravy. Return the beef and any juices that collected on the plate back to the pot. Pour in the rest of the beef broth, then add the Worcestershire sauce, soy sauce, red wine vinegar, and thyme, and stir it all together.
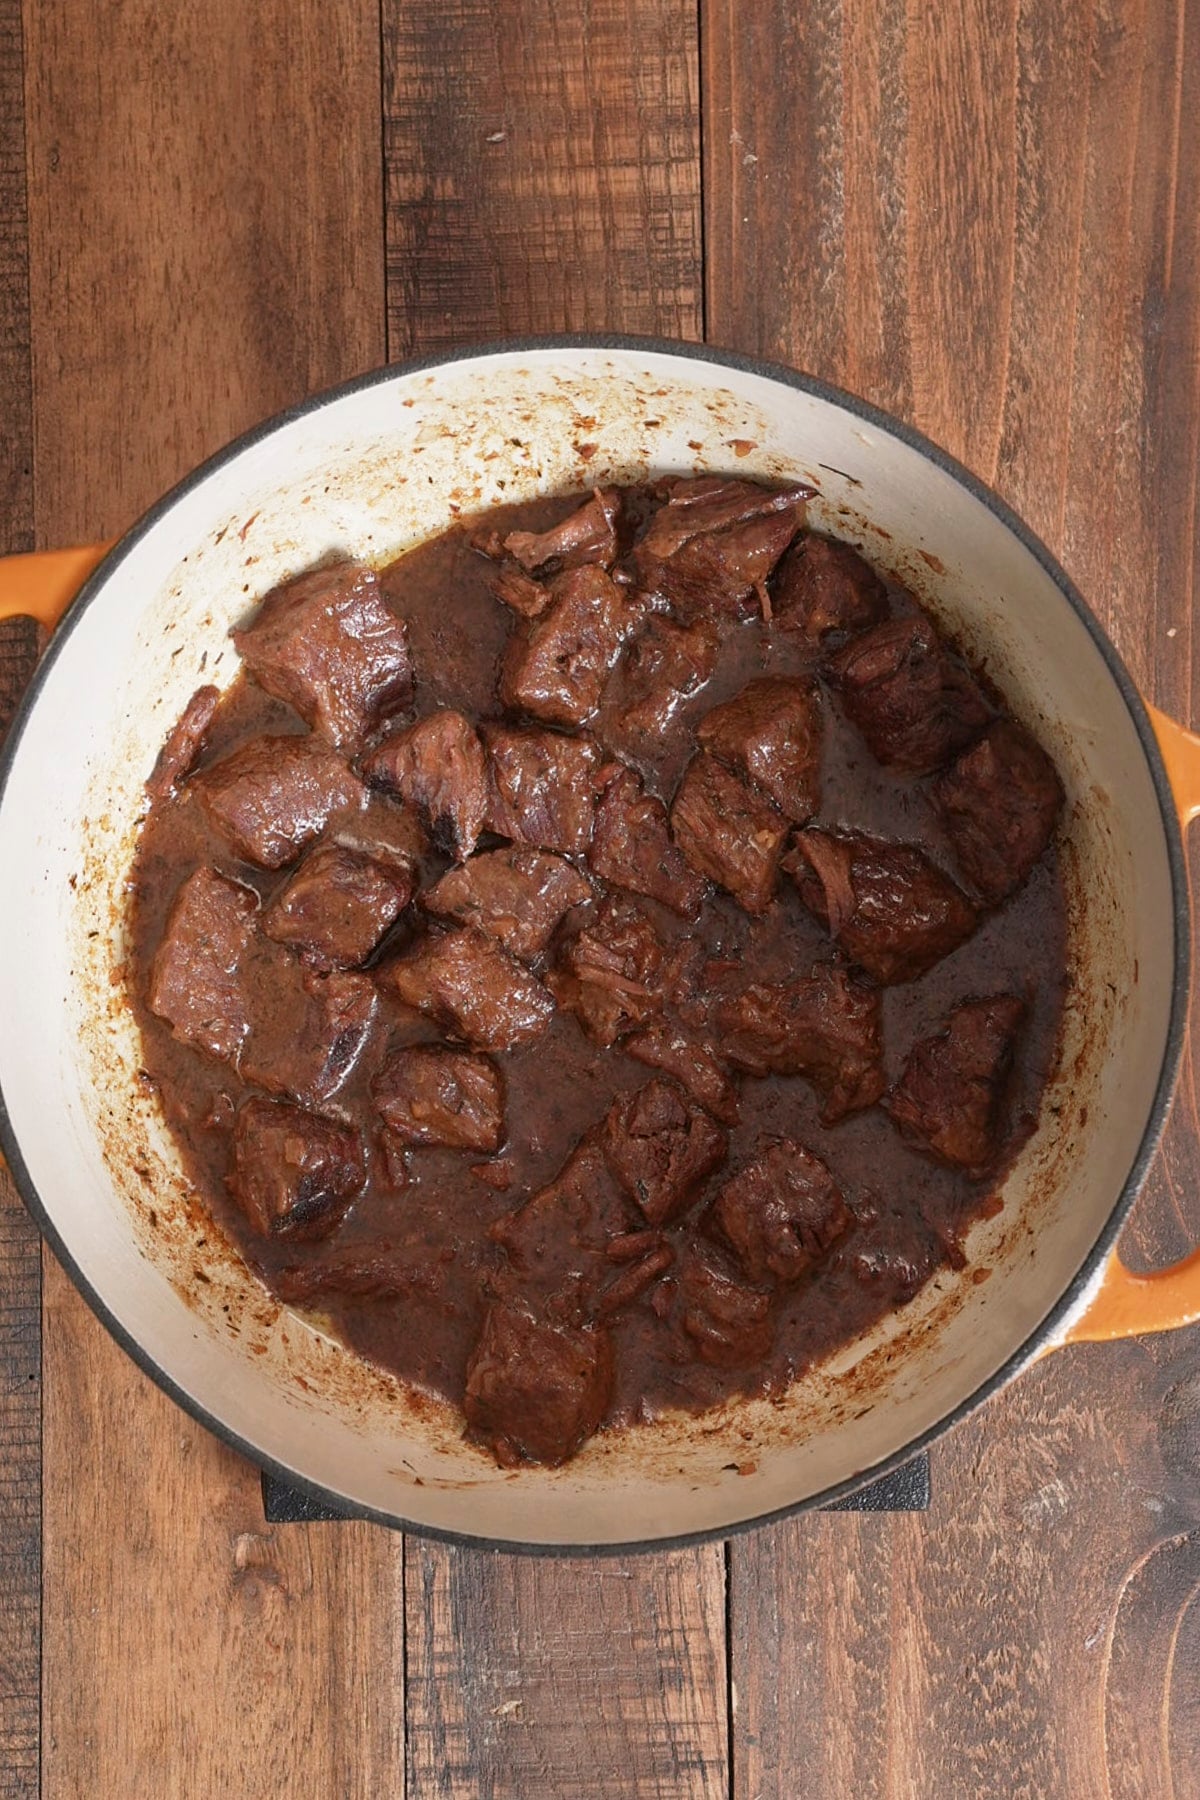
Step 5: Simmer Low and Slow. Bring the liquid up to a simmer, cover the pot tightly, and turn the heat down to low. You are looking for a lazy simmer with a few bubbles breaking the surface. Let it go about 2 hours.
Check on it every 30 minutes or so, give it a stir so nothing catches on the bottom of the pot, and if the liquid is getting low, add a splash more beef broth. How fast it reduces depends on your pot and how tight your lid sits, so this part is worth peeking at.
It is done when a fork slides into a piece of beef with no resistance and the gravy has thickened. If the beef is still firm, it needs more time.
How to Make Beef Tips in the Slow Cooker
- Sear first: Sear the beef and sauté the onions and garlic on the stove to build flavor, then transfer everything to the slow cooker.
- Reduce liquid: Use only 2 cups of beef broth, as the slow cooker traps moisture.
- Cook: Cover and cook on LOW for 7–8 hours (recommended for tender meat) or HIGH for ~4 hours.
- Thicken (optional): If the gravy is too thin, stir in a cornstarch slurry (1 tablespoon cornstarch + 2 tablespoon cold water) and cook uncovered on HIGH for 20–30 minutes.
Tanya's Top Tips
- Do not rush the simmer. The connective tissue in these cuts starts converting to gelatin somewhere around 160°F to 180°F (71°C to 82°C), and that conversion takes hours. Tough beef at the two hour mark usually just means it needs longer on the stove.
- Check on the pot as it simmers. Stir every half hour so the bottom does not scorch, and top it off with a little more beef broth if the liquid drops too far. Different pots reduce at different rates.
- Taste at the very end. The gravy concentrates over two hours, so wait until you know what you actually have before you reach for more salt.
Variations
- Add mushrooms. Sliced cremini or white mushrooms cooked with the onions turn this into beef tips with mushroom gravy. Cook them until they release their water and start to brown before you move on.
- Use chuck roast. A boneless chuck roast cut into 1-inch cubes behaves exactly like stew meat here, and you get to control the size of the pieces.
- Add a splash of red wine. A little dry red in place of some of the broth adds depth if you have a bottle open.
- Make it spicy. A pinch of cayenne or a few dashes of hot sauce in the braising liquid gives the gravy some heat behind it.
What to Serve With Beef Tips
Rice is my default because it soaks up gravy better than almost anything. Mashed potatoes are the other classic, and buttered egg noodles are right there with them. To round the plate out the Southern way, Southern green beans and a pan of classic Southern cornbread turn this into a full Sunday dinner.
If this kind of slow-cooked beef is your thing, you might also like my braised beef shanks or my oxtail soup.
Storage, Reheating, and Freezing
- Refrigerator: Cool the beef tips and store them in an airtight container with the gravy for up to 4 days. They taste even better on day two once the flavors settle.
- Reheating: Warm them in a saucepan over low heat, stirring now and then until heated through. The gravy thickens in the fridge, so add a splash of beef broth or water to loosen it back up.
- Freezer: These freeze well for up to 3 months in an airtight container with the gravy covering the beef. Thaw overnight in the refrigerator before reheating.
Beef Tips FAQs
It comes down to how long you plan to cook. Chuck roast and beef stew meat are the right call for a low and slow braise like this one, because they carry the connective tissue that breaks down into a silky gravy over a couple of hours. Sirloin and tenderloin are naturally tender and lean, which makes them better for a quick stove-top version. They do not have the connective tissue to reward a long cook and will dry out if you give them one.
Yes, and it is what I use. Stew meat has a reputation for being tough, but that is usually a timing problem rather than a meat problem. It is typically cut from chuck or a similar working muscle, so it needs the full two hours to come around. Give it that time and it is tender, flavorful, and cheaper than sirloin.
Nine times out of ten it is one of two things. Either the beef has not cooked long enough, or the pot was at a hard boil instead of a gentle simmer. Both are fixable. Turn the heat down, put the lid back on, and keep going until a fork slides in easily.
I hope you love this recipe as much as we do. If you have tried this recipe or any other recipe on my blog, please rate it and let me know how it turned out in the comments below! Your feedback is invaluable and helps us grow. Thank you for your support!
Beef Tips and Gravy Recipe
Ingredients
Instructions
- Pat the beef dry with paper towels. In a large bowl, toss the beef with the brown sugar, salt, black pepper, garlic powder, onion powder, and flour until every piece is lightly coated.
- Heat the olive oil in a 6-quart Dutch oven over medium heat. Add the beef in a single layer without crowding the pan, working in two batches if needed. Sear 2 to 3 minutes per side, until deeply browned. Transfer the beef to a plate and set aside.
- Add the diced onion to the oil and drippings in the pot along with 1 tablespoon of the beef broth. Cook 5 to 6 minutes, until the onions are soft and translucent, scraping up the browned bits from the bottom of the pot. Stir in the garlic and cook 1 minute, until fragrant.
- Return the beef and any accumulated juices to the pot. Pour in the remaining beef broth, then add the Worcestershire sauce, soy sauce, red wine vinegar, and thyme. Stir to combine.
- Bring the liquid to a simmer, cover tightly, and reduce the heat to low. Simmer gently about 2 hours, until the beef is fork tender and the gravy has thickened. Stir every 30 minutes so the bottom does not scorch, and add more beef broth if the liquid reduces too far. Taste and adjust salt before serving.
Nutrition
Notes
- Beef Cut: Use chuck stew meat cut into 1-inch pieces. Avoid lean cuts like sirloin, which dry out during a 2-hour simmer.
- Salt: Recipe is tested with kosher salt. If using table salt, start with half and adjust to taste at the end.
- Liquid Level: If the gravy reduces too fast, stir in a splash of broth. If too thin, simmer uncovered for a few minutes.
- Slow Cooker: Sear beef and onions on the stove first. Transfer to slow cooker with only 2 cups of broth and cook on LOW for 7–8 hours (or HIGH for ~4 hours).
- Storage: Keeps up to 4 days in the fridge or 3 months in the freezer. Loosen with a splash of broth when reheating.


Leo says
Tanya, could I add carrots and potatoes to this recipe and would I have to make any adjustments?
Tanya Harris says
Hi Leo! Yes, you can add them. I would wait to add largely chopped carrots and potatoes, about 1-inch chunks, during the last 40ish minutes of simmering so they don't turn into mush. Potatoes soak up liquid, so keep an eye on the pot and add an extra splash of beef broth if the gravy gets too thick. Enjoy!
Gracie says
Made this recipe for my family tonight and it turned out to be everything you said it would be. The meat was nice and tender with a rich brown gravy, We had it over mashed potatoes with oven roasted carrots and it was soooo good. Will definitely make again and thank you for sharing.
Tanya Harris says
Thank you, Gracie. So happy to hear you enjoyed the recipe. I love these beef tips over mashed potatoes, too.