
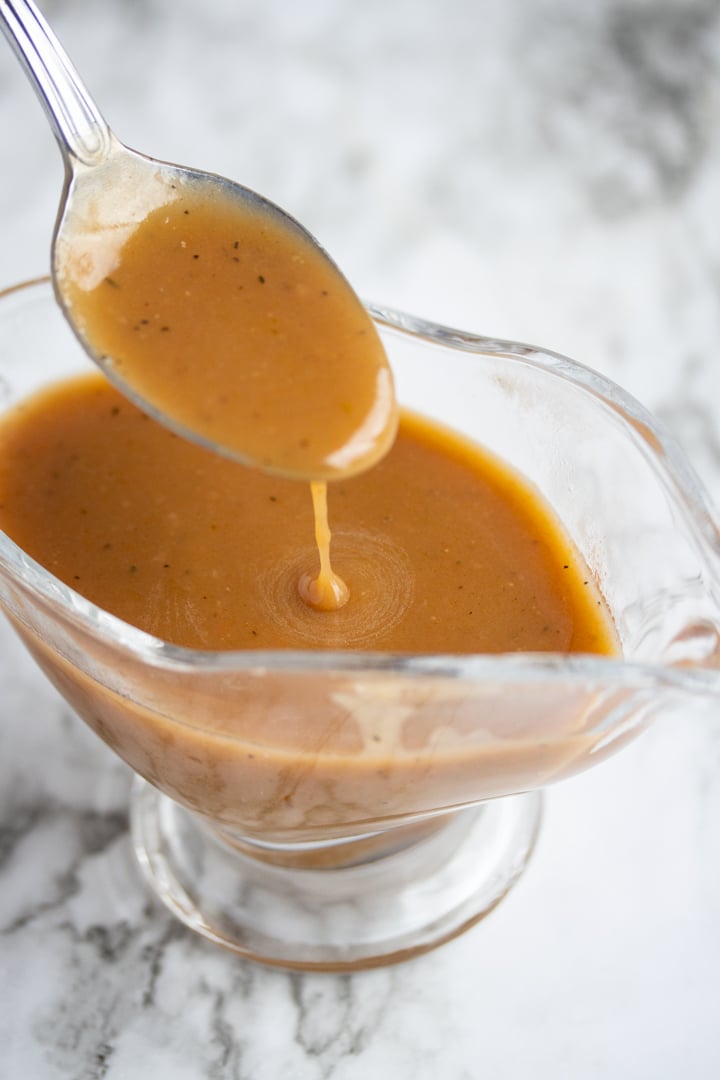
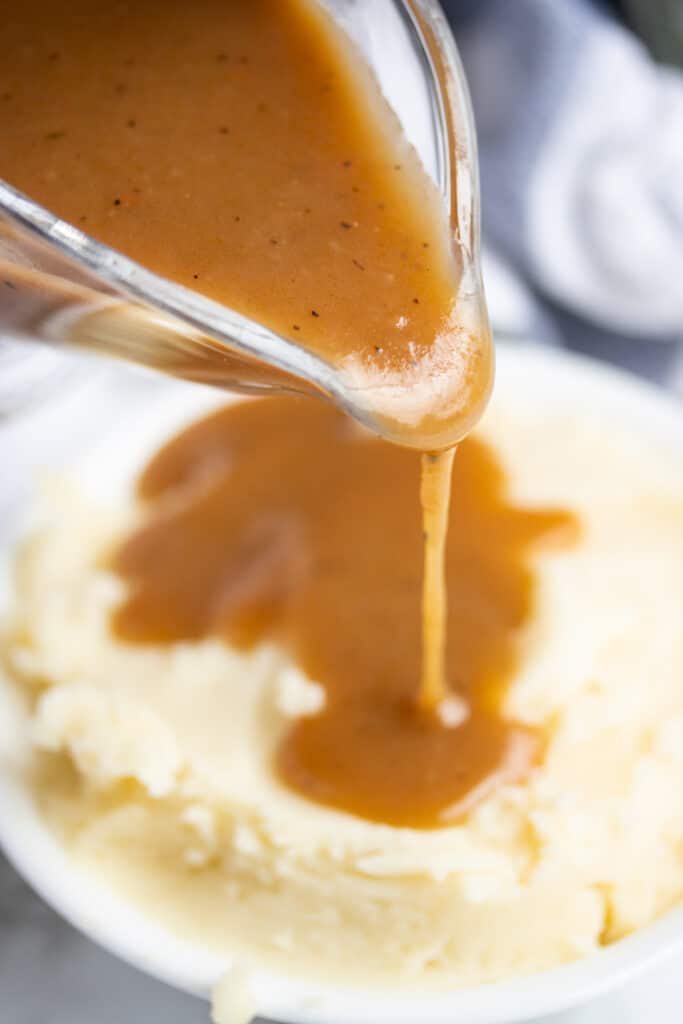
This easy recipe for gravy without drippings is perfect for when you want delicious gravy but don’t have the drippings to get it done. It’s made from scratch, no packets, and has a delicious gravy flavor.
This post contains affiliate links, please read my full disclaimer here.
You’ll find the full recipe with ingredient amounts and instructions in the recipe card at the bottom of this post. Be sure to check out the blog post itself for extra tips and tricks!
I want gravy and I don’t have the drippings. This happens to me often and I’m sure it’s happened to you too. Luckily, you don’t need drippings to make a delicious brown gravy on the stovetop that is full of amazing flavor.
The key to the perfect gravy without the drippings is all about technique. You’ve got to sauté the right vegetables in the right fat, add the right amount of flour and brown it to the perfect caramel color, add some low-sodium broth and reduce. I promise you, it’s quite easy and perfect.
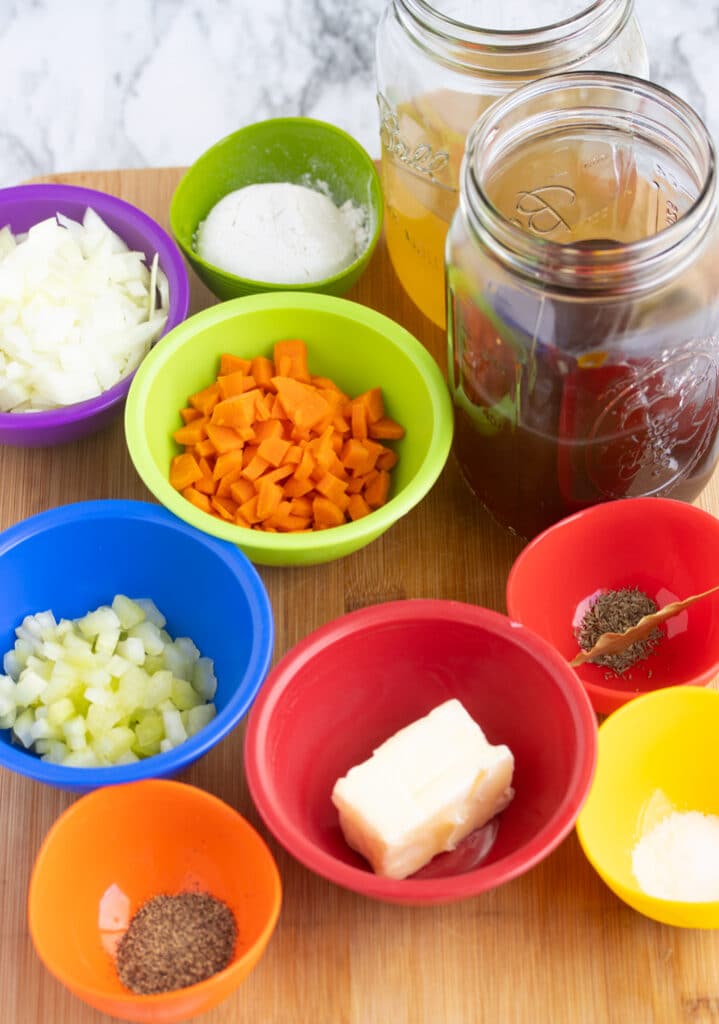
Ingredients Needed
- Unsalted butter - Typical gravy recipes use drippings from the meat to create the base of the gravy. Since this recipe uses no drippings, we will use butter instead.
- Vegetables - Onions, Carrots, and Celery, the mirepoix, are used as the base flavor of this gravy.
- Broth - I use both chicken and beef broth in this recipe, resulting in a brown gravy. But these can be subbed with vegetable broth, all chicken broth, or all beef broth. You can even sub with turkey broth.
- Herbs & Seasoning - Dried bay leaf, dried thyme, salt, and black pepper are added to round out the flavor in this gravy.
How to make brown gravy without meat drippings
I use prep containers to place all my ingredients before I get to the stove. Chop your onion, carrot, and celery stalk. Measure out your butter, flour, and seasonings. Open your broth.
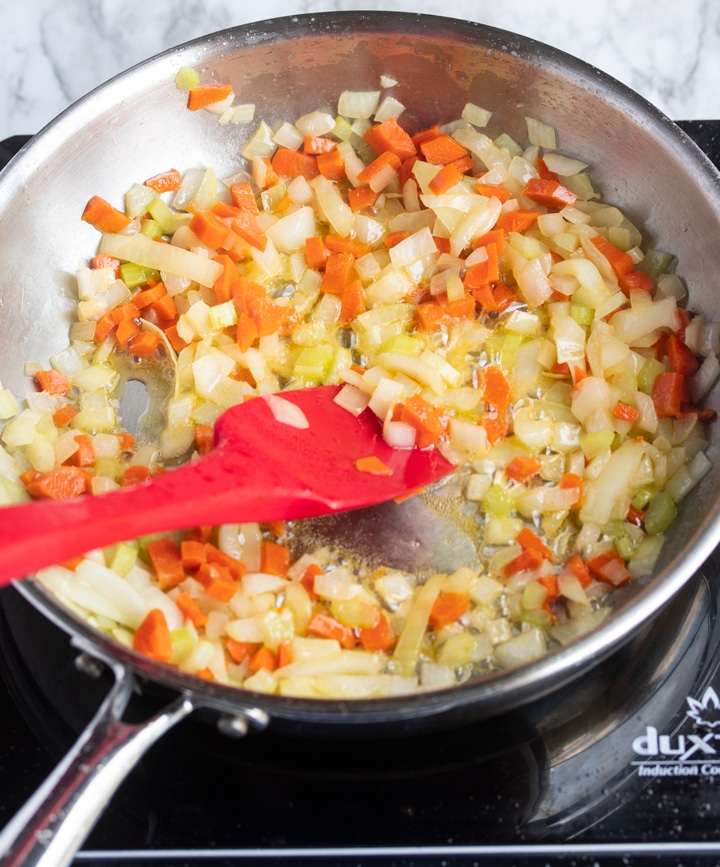
Melt butter in sauce pan over medium-high heat in a skillet. Add onions, carrots, and celery stalk and stir consistently until vegetables have softened, about 8-9 minutes. Do not stop stirring at this point or your butter may get too hot and burn. Burnt butter = bitter gravy.
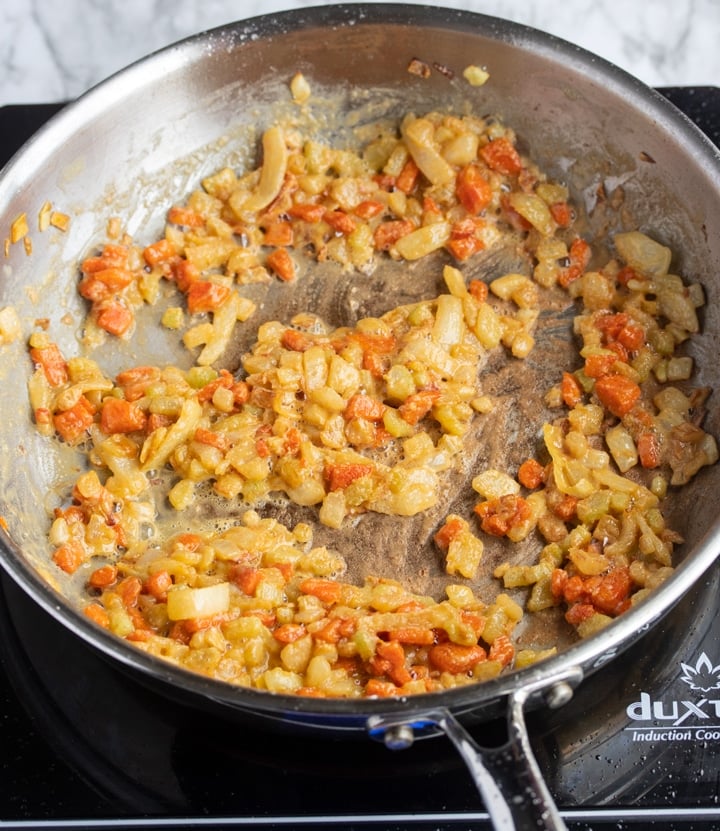
Sprinkle flour over vegetables and continue to stir for about 3-4 more minutes to allow the flour to cook. You’ll notice that your flour is getting darker, which is perfectly fine. Your flour should turn a tan/light caramel color. Any darker than that can leave you with bitter gravy.
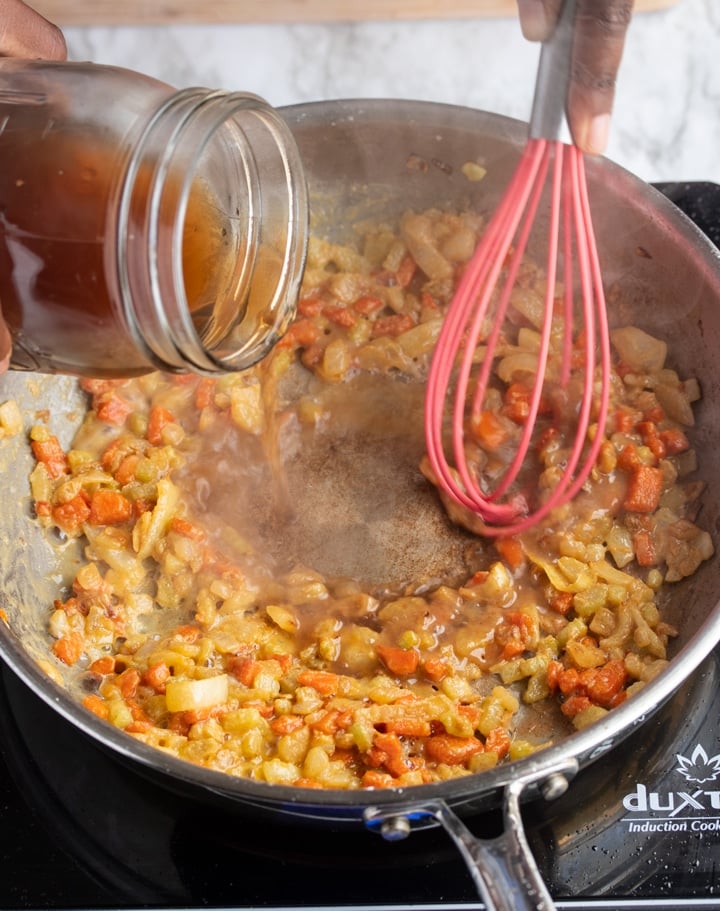
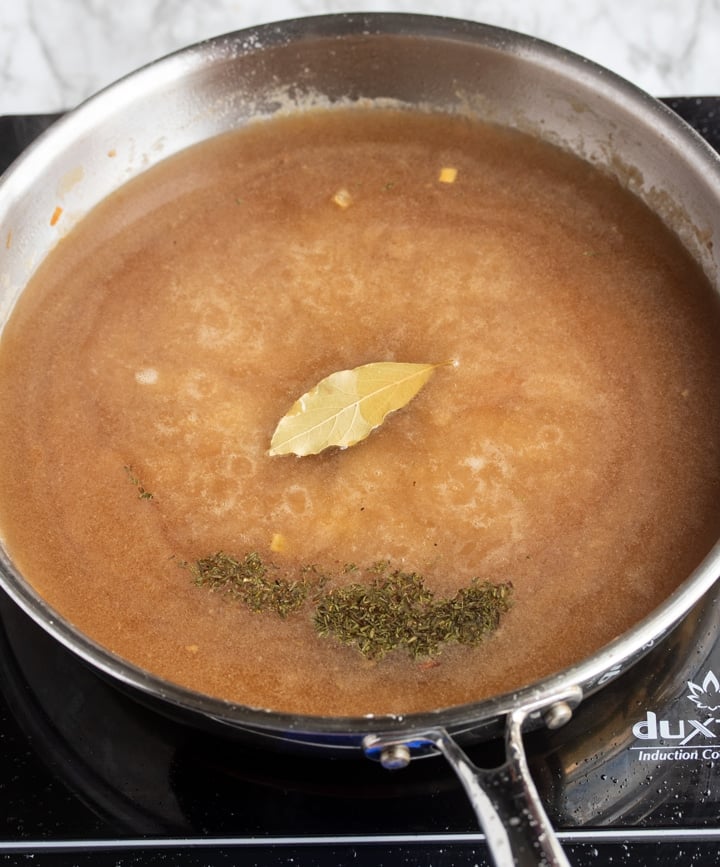
Once your flour has reached the desired color, stir in beef and chicken broth. Add bay leaf and thyme.
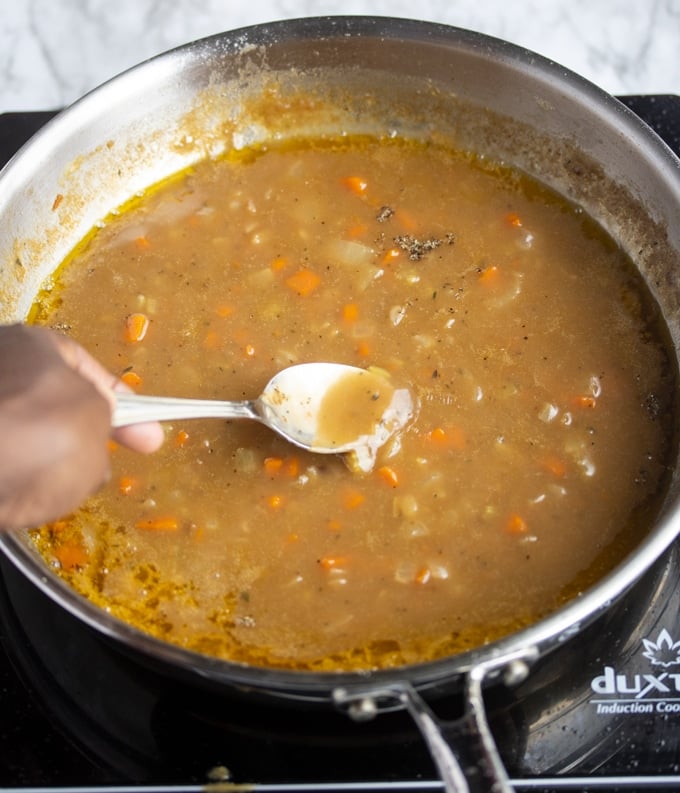
Allow your gravy to simmer for 20-25 minutes, stirring occasionally. Use a metal spoon to remove any foam that appears around the edges.
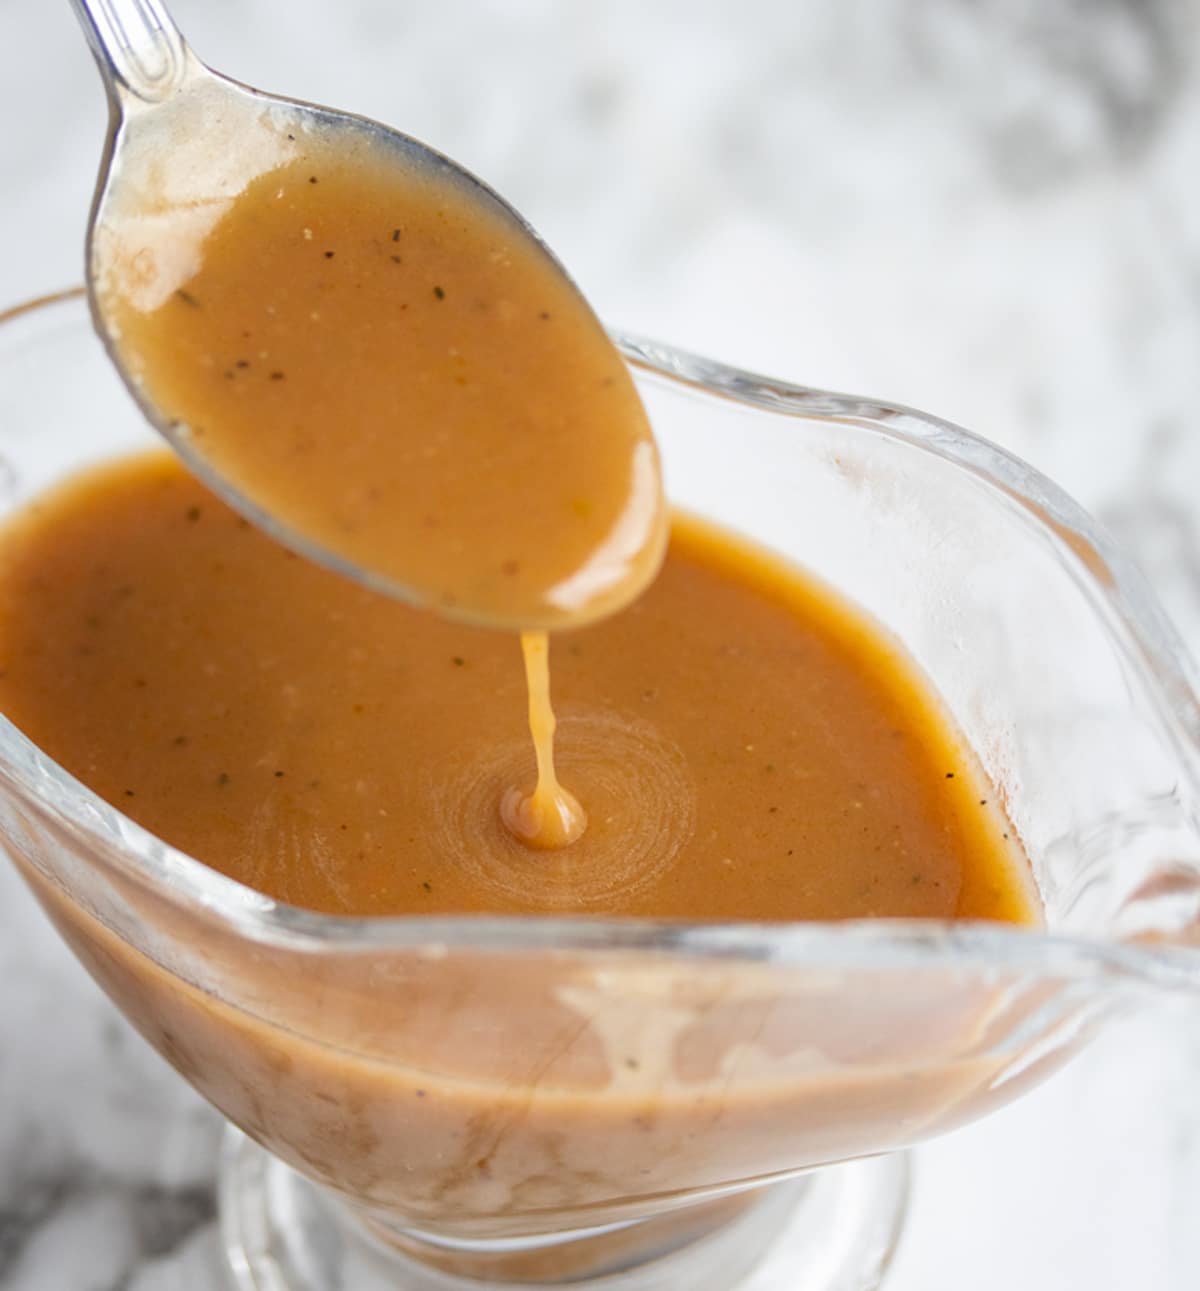
After 20-25 minutes, your gravy should be thick enough to coat the back of a spoon.
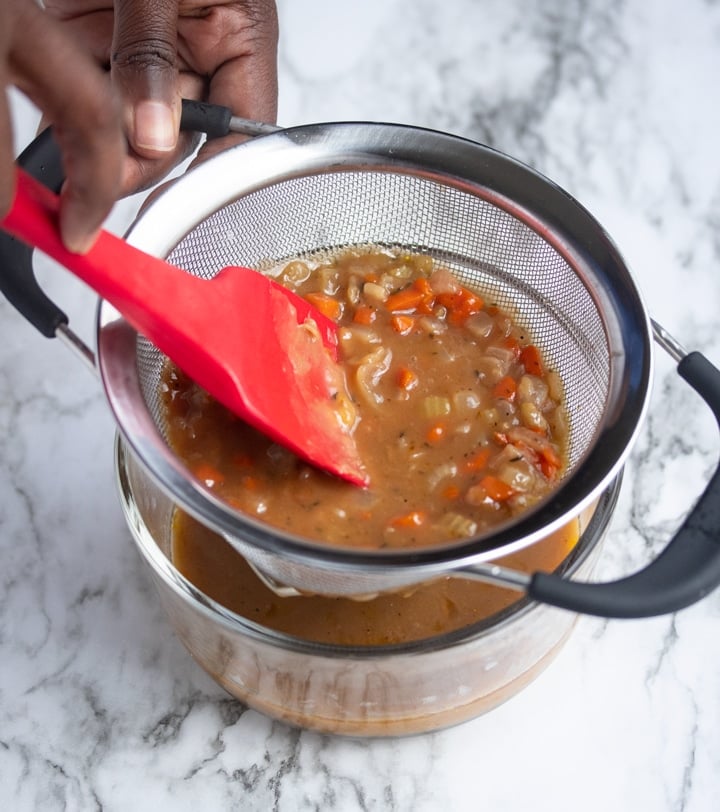
Use a colander and drain the gravy. Discard the vegetables.
Serve and enjoy 🙂
How long does this gravy last?
This homemade gravy will last for 4 days in the refrigerator. You can reheat it gently on the stovetop to serve, adding in a little water if needed. You can also freeze it for 2-3 months and defrost it in the fridge before reheating.
Can I make this gravy without flour?
Yes! Keep this gravy gluten-free by thickening it with cornstarch instead of flour. To thicken the gravy with cornstarch, omit the flour and stir the broth into the melted butter and vegetables over medium heat. Allow the broth to simmer for about 10 minutes. In a separate bowl, create a slurry by whisking together 2 Tablespoons cornstarch and ¼ cup water. Pour the slurry into the simmering liquid while whisking to combine. Allow it to simmer for an additional 1-2 minutes before removing from heat.
Can I make this gravy ahead of time?
Yes, you can make gravy 3-5 days ahead of time. Store the gravy in an airtight container in the refrigerator. When you're ready to use it, simply reheat the gravy over low heat until it's warmed through.
NOTES
- It’s so important to make sure you don’t let the gravy get too brown during the sautéing phase. A gravy that is too brown can taste extremely bitter and is quite hard to fix.
- If you find that the butter is browning too quickly or burning, lower the heat to medium. Consistent stirring before you add the liquid is the key to stopping it from burning.
- You can try and fix a bitter gravy by adding a pinch of sugar. For best results, have everything prepared and ready before you start cooking the gravy to avoid a bitter gravy.
- You can always choose to make gravy with pan drippings if you prefer. You would need the drippings from roasted meat.
- Swap the vegetables for onions, and make a delicious onion gravy.
I hope you enjoy this gravy recipe as much as we do!
If you’re looking for recipes to serve this gravy with, I strongly suggest these Creamy Mashed Potatoes.
You could also serve it along with these yummy favorites:
For a Full Southern Meal, throw in these recipes:
- Creamy Baked Macaroni and Cheese
- Instant Pot Collard Greens
- Corn Casserole
- Southern Candied Sweet Potatoes
- Perfect Air Fryer Pork Chops
- Buttered Cabbage
Yes, but you will need to add extra seasoning to ensure the gravy isn't bland.
Your best bet to avoid a lumpy gravy is to create a roux by adding the flour to the fat. Allow the flour to cook into the fat while whisking. Cook for a few minutes. Then slowly add in the liquid while whisking.
To fix a thin gravy, simply let it cook a little longer. Gravy will reduce over time. The longer it simmers, it will thicken and concentrate the flavor.
To fix a thick gravy, whisk in more liquid. Taste the gravy and adjust to taste.
If you have tried this gravy without drippings recipe, or any other recipe on my blog, then please rate it and let me know how it turned out in the comments below!
Easy Recipe for Gravy without Drippings

Instructions
- In a 10-inch skillet, melt butter over medium-high heat. Add carrot, celery, and onion and stir for about 8-9 minutes to allow the vegetables to soften.
- Sprinkle flour over vegetables and continue to stir for about 3-4 more minutes until your vegetables are a tan/caramel color.
- Pour in beef broth and chicken broth and stir, removing any stuck bits from the bottom of the skillet. Add bay leaf and dried thyme.
- Allow your gravy to simmer for 20-25 minutes, stirring occasionally. Your gravy should be thick enough to coat the back of a spoon. Remove any foam that appears around the side of the skillet with a spoon.
- Use a strainer and drain the gravy. Discard the vegetables.
- Season with salt and pepper to taste.
Nutrition
Notes
- It’s so important to make sure you don’t let the gravy get too brown during the sauteing phase. A gravy that is too brown can taste extremely bitter and is quite hard to fix.
- If you find that your butter is browning too quickly or burning, lower the heat to medium. Consistent stirring before you add the liquid is key to stopping it from burning.
- You can try and fix a bitter gravy by adding a pinch of sugar. For best results, have everything prepared and ready before you start cooking the gravy to avoid a bitter gravy.
- You can always choose to make gravy with pan drippings if you prefer. You would need the drippings from roasted meat.
Tried this recipe?
Let us know how it was!This post was updated on September 12th, 2022 with additional helpful recipe tips.
Pam says
Made this gravy on Thanksgiving as I made a tirkey breast. It is very good! I am making it again today to put over cranberry turkey stuffing balls. This is a very good gravy
Tanya says
Thanks so much, Pam! So happy you like the gravy recipe 🙂
gale says
I enjoy how you describe your recipes, details, and suggestions. You take all the guesswork out of a new recipe. Thank you so much—wonderful, tasty gravy.
Tanya says
Thank you so much, Gale! So happy you liked the gravy recipe.
Michele says
DELICIOUS! This recipe has such wonderful flavor and is now my go-to recipe whenever I need a gravy. My family loved it!
Tanya says
Thanks Michele! So happy you all like the recipe 🙂
Carolyn says
This is a really great recipe. I found it a couple years ago and make it every year for Thanksgiving. Thank you!
Tanya says
Thanks so much, Carolyn! It's for sure a recipe I make often. The flavor is off the charts.