

Crispy, double-fried chicken tossed in a glossy homemade sweet and sour sauce with bell peppers and pineapple. This is my take on the Chinese-American takeout order I love, made at home.
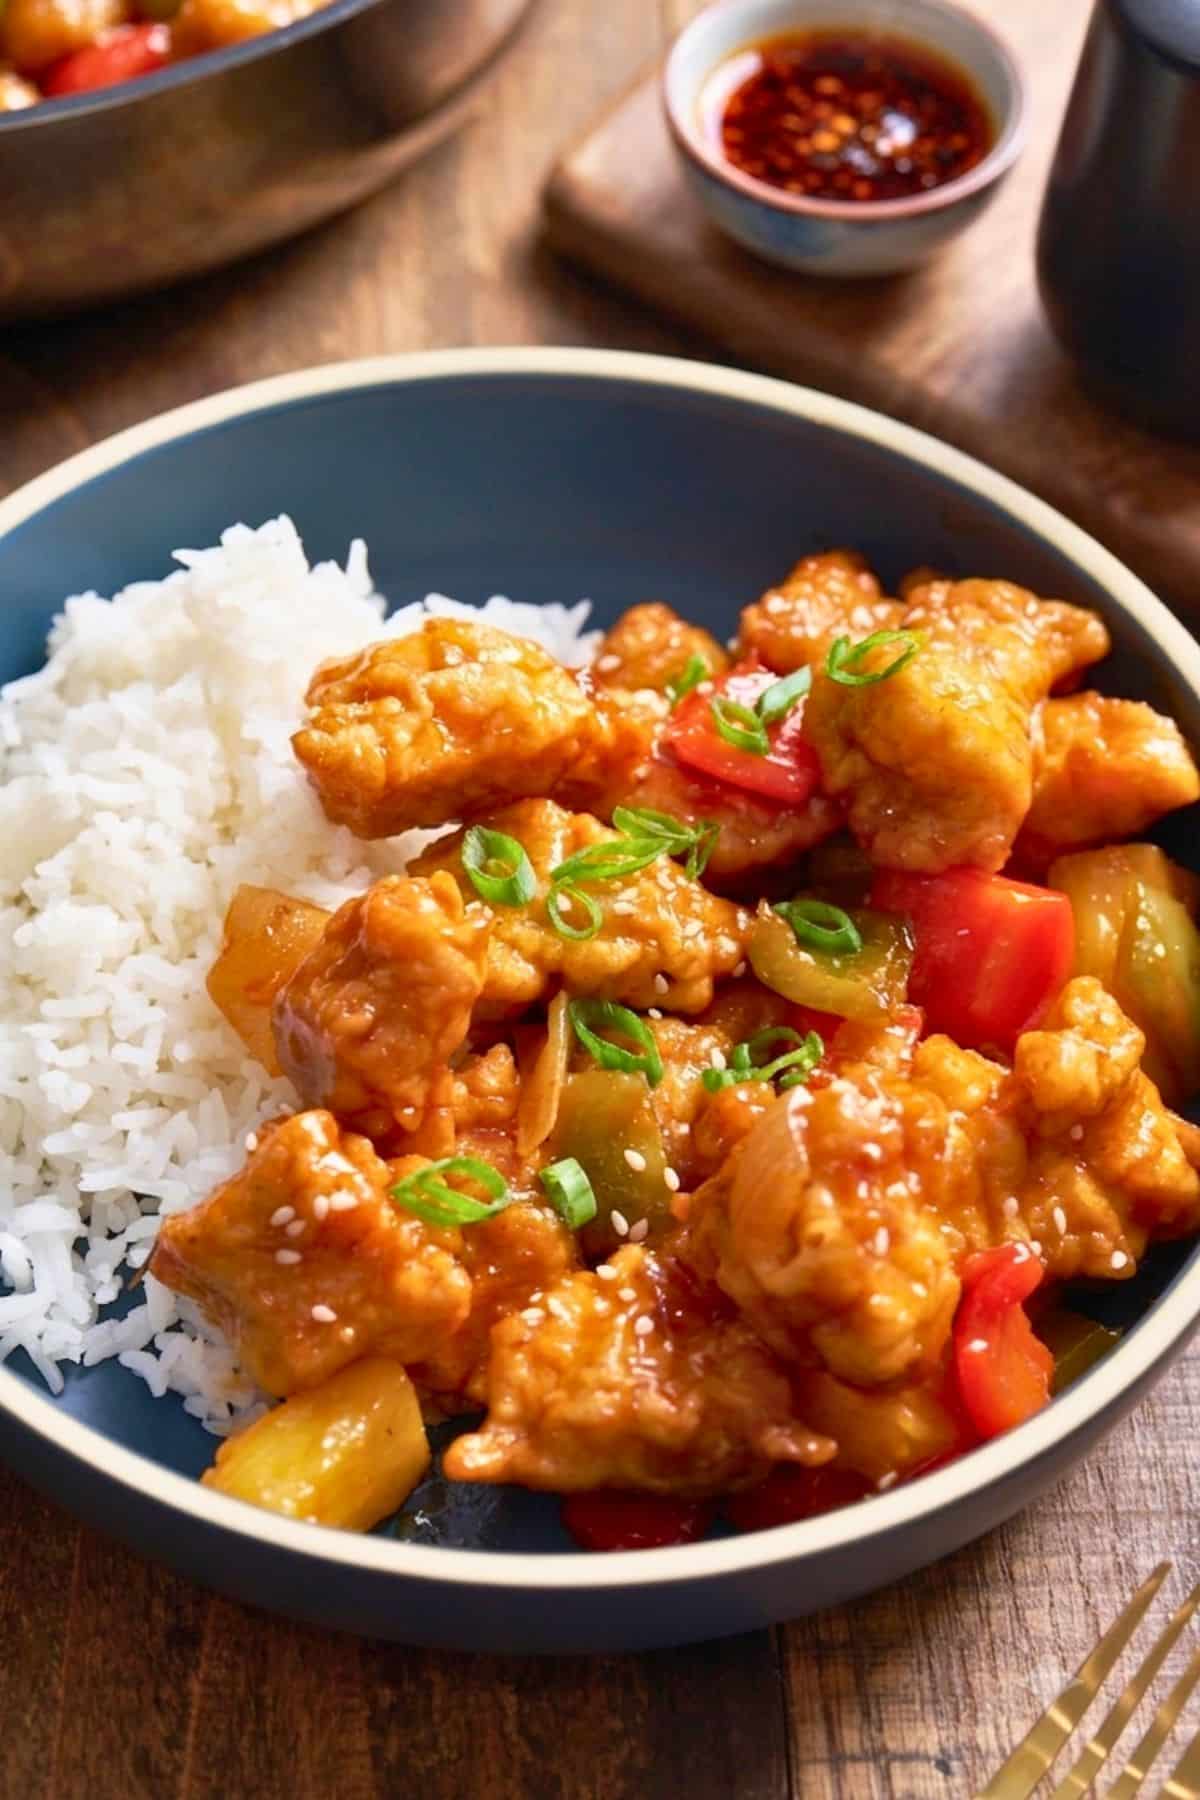
You’ll find the full recipe with ingredient amounts and instructions in the recipe card at the bottom of this post. Be sure to check out the blog post itself for extra tips and tricks!

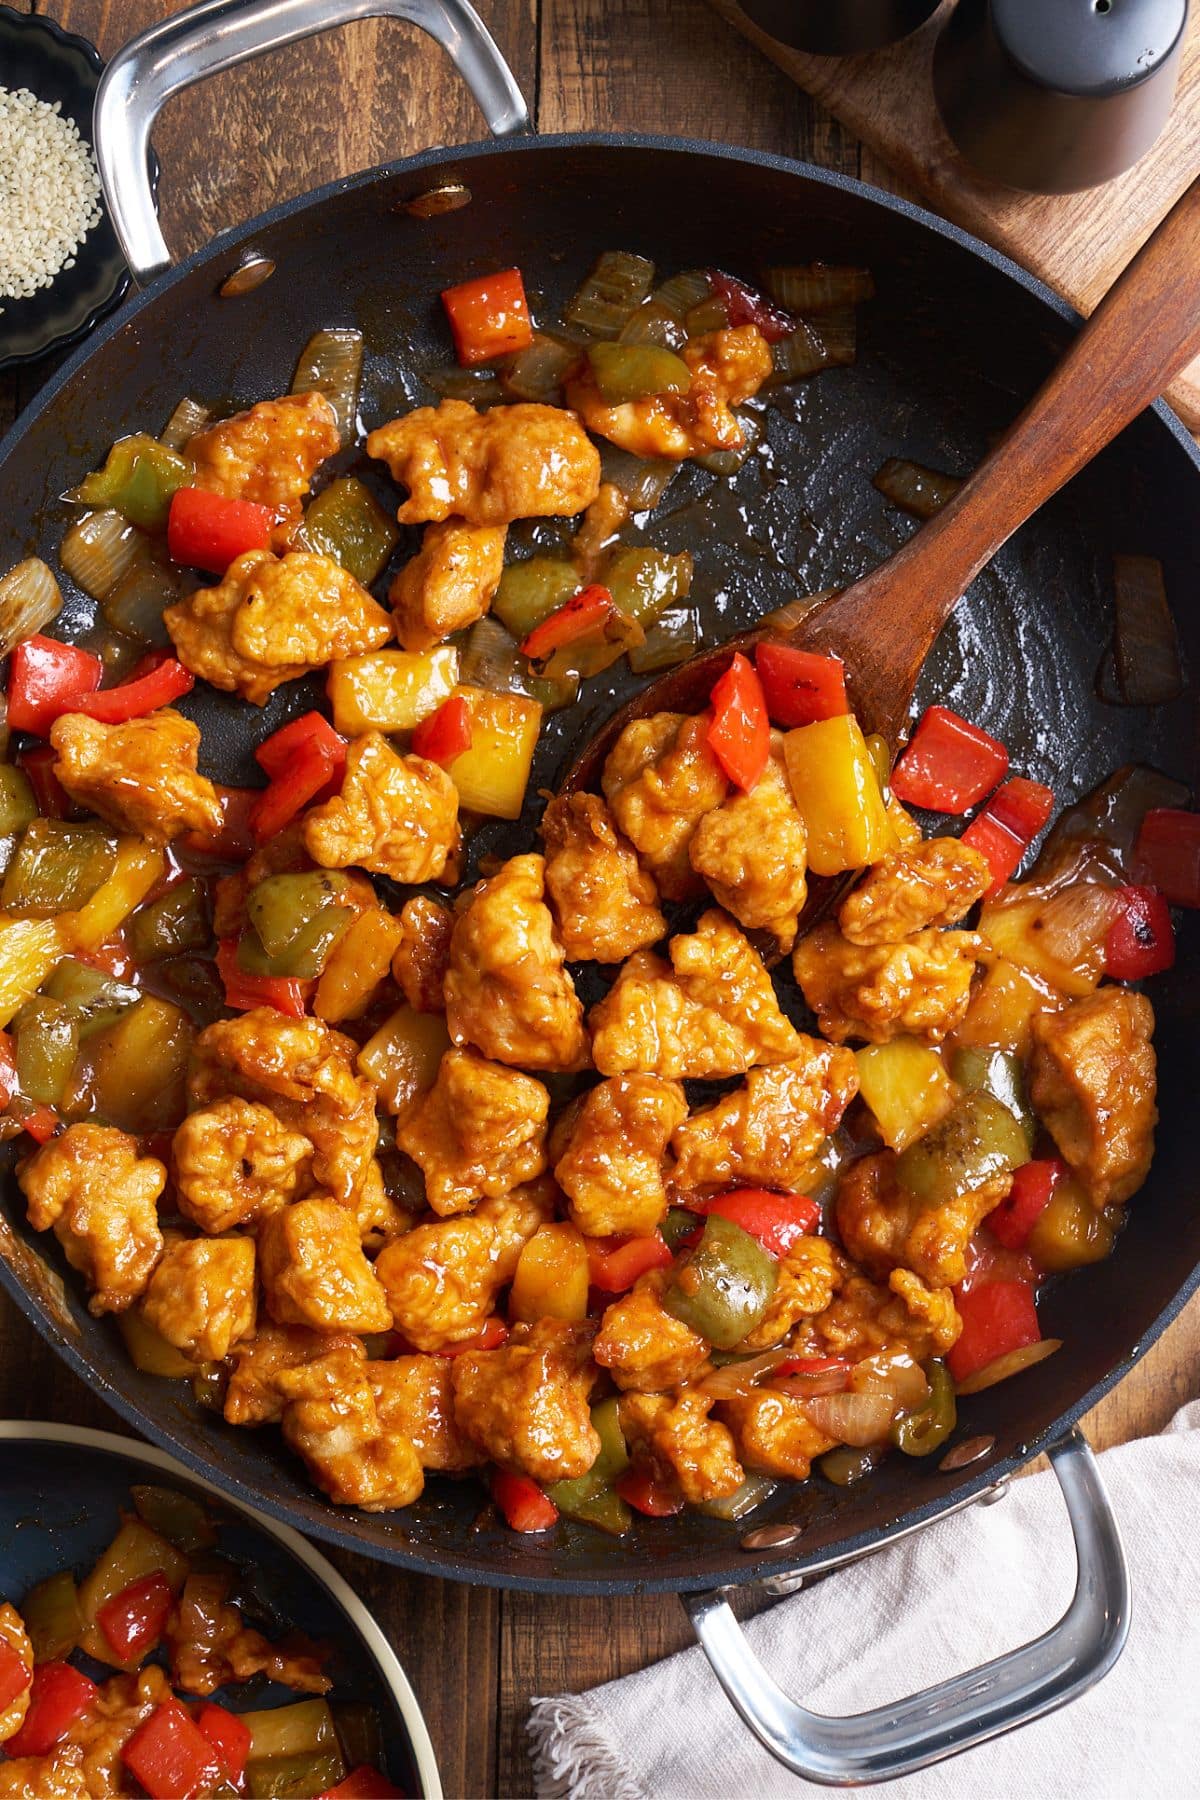
Sweet and sour chicken is one of my go-to takeout orders. One thing I always noticed is that a lot of places serve sweet and sour sauce on the side, so you pour it on your food right before you eat, or dip your chicken into it. I wanted a version where everything comes together in one pan instead: the chicken gets battered and fried twice for a shell that holds up, then it all gets tossed with the peppers, pineapple, and sauce right before serving so every bite is coated. It pairs easily with a batch of oven-baked rice or my Steak Kimchi Fried Rice if you want to switch things up.
This sauce leans tangy rather than spicy, more like the mellow, brighter cousin to something like General Tso's. It's perfect for weeknight dinners when you want restaurant quality at home.
Happy Cooking,
Tanya
Sweet and Sour Chicken at a Glance
- Best for: weeknight dinner, feeding a family, replacing takeout night
- Prep time: 20 min
- Cook time: 30 min
- Total time: 50 min
- Serves: 4
- Good to know: the chicken is double-fried for extra crispiness, and the sauce uses reserved pineapple juice for real fruit flavor instead of relying only on sugar
Ingredient Notes
Ingredient amounts and full recipe instructions are on the printable recipe card at the bottom of the post.
- Chicken breast: I use boneless, skinless breast here, but thighs work too if you want something juicier. Just know thighs will need a little extra time in that first fry.
- Cornstarch: Used in two places, the batter and the sauce. In the batter, it's what keeps the coating light instead of doughy. In the sauce, it thickens it and gives the sauce that silky, clingy texture.
- Baking powder: Just a half teaspoon, but it's what gives the batter a little lift.
- Ketchup: I tested this with regular ketchup. A low-sugar or unsweetened brand will throw off the sweet-and-sour balance, so you'd need to add more sugar to compensate.
- Rice vinegar or white vinegar: Either works here. Rice vinegar is milder; white vinegar is sharper. Use whichever you have.
- Pineapple chunks and reserved pineapple juice: I use a small 8-ounce can of chunks. You'll want to drain the chunks, but don't discard the juice. Both are used in this recipe.
- Ginger powder and garlic powder: I use the dried, ground kind for this recipe. Fresh grated ginger and garlic work as well.
- Bell peppers: Red and green are here mostly for color and a little sweetness. Feel free to use two of the same color if that's what you have in your fridge.
- Neutral oil: I fry the chicken in oil before tossing it in sauce. Any oil with a high smoke point works, such as vegetable or canola oil.
How to Make Sweet and Sour Chicken
Please see the recipe card below for the full printable recipe, ingredients, and instructions. Here you will find step-by-step photos of how to make this recipe.
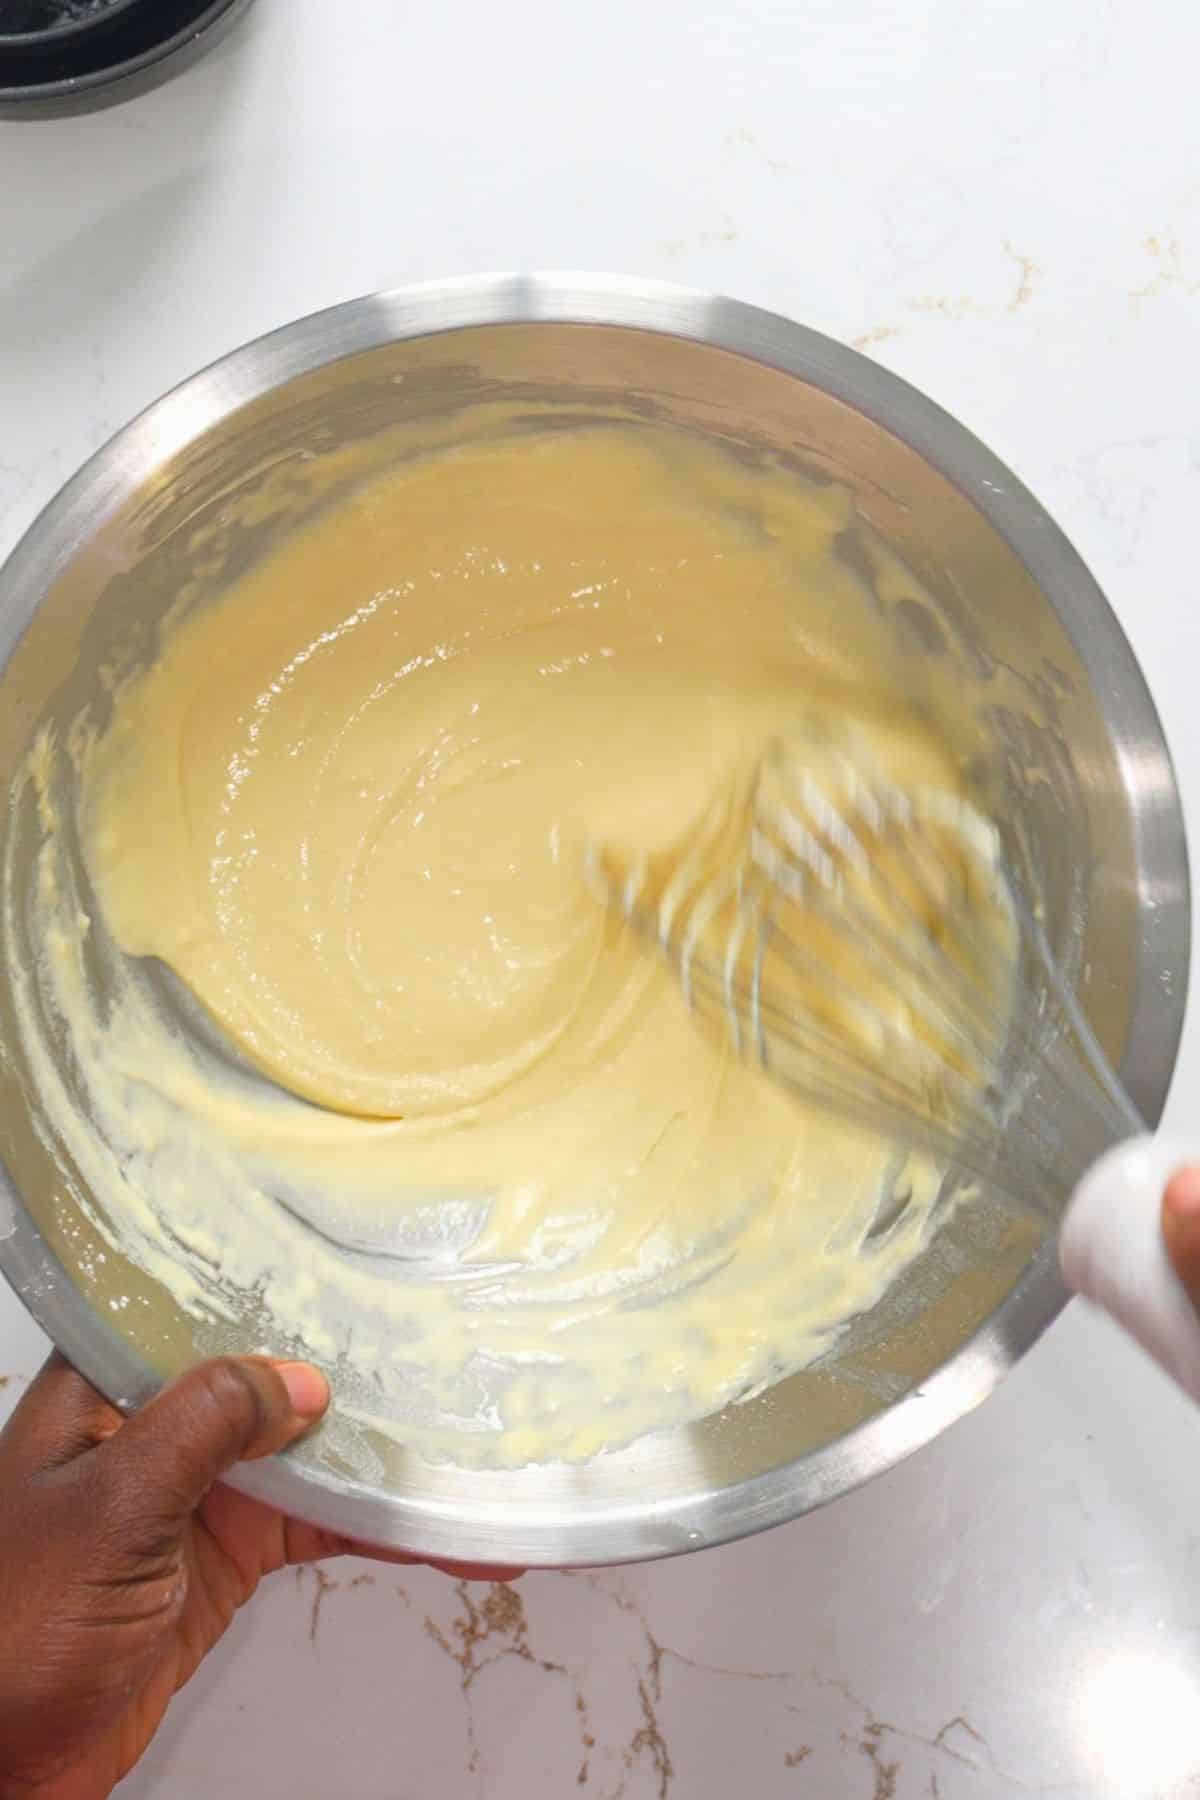
Step 1: Season and batter the chicken. Toss the chicken pieces with salt, black pepper, and garlic powder and set aside. In a separate bowl, whisk together the flour, cornstarch, and baking powder, then whisk in the beaten egg and cold water until you get a smooth batter that coats the back of a spoon.
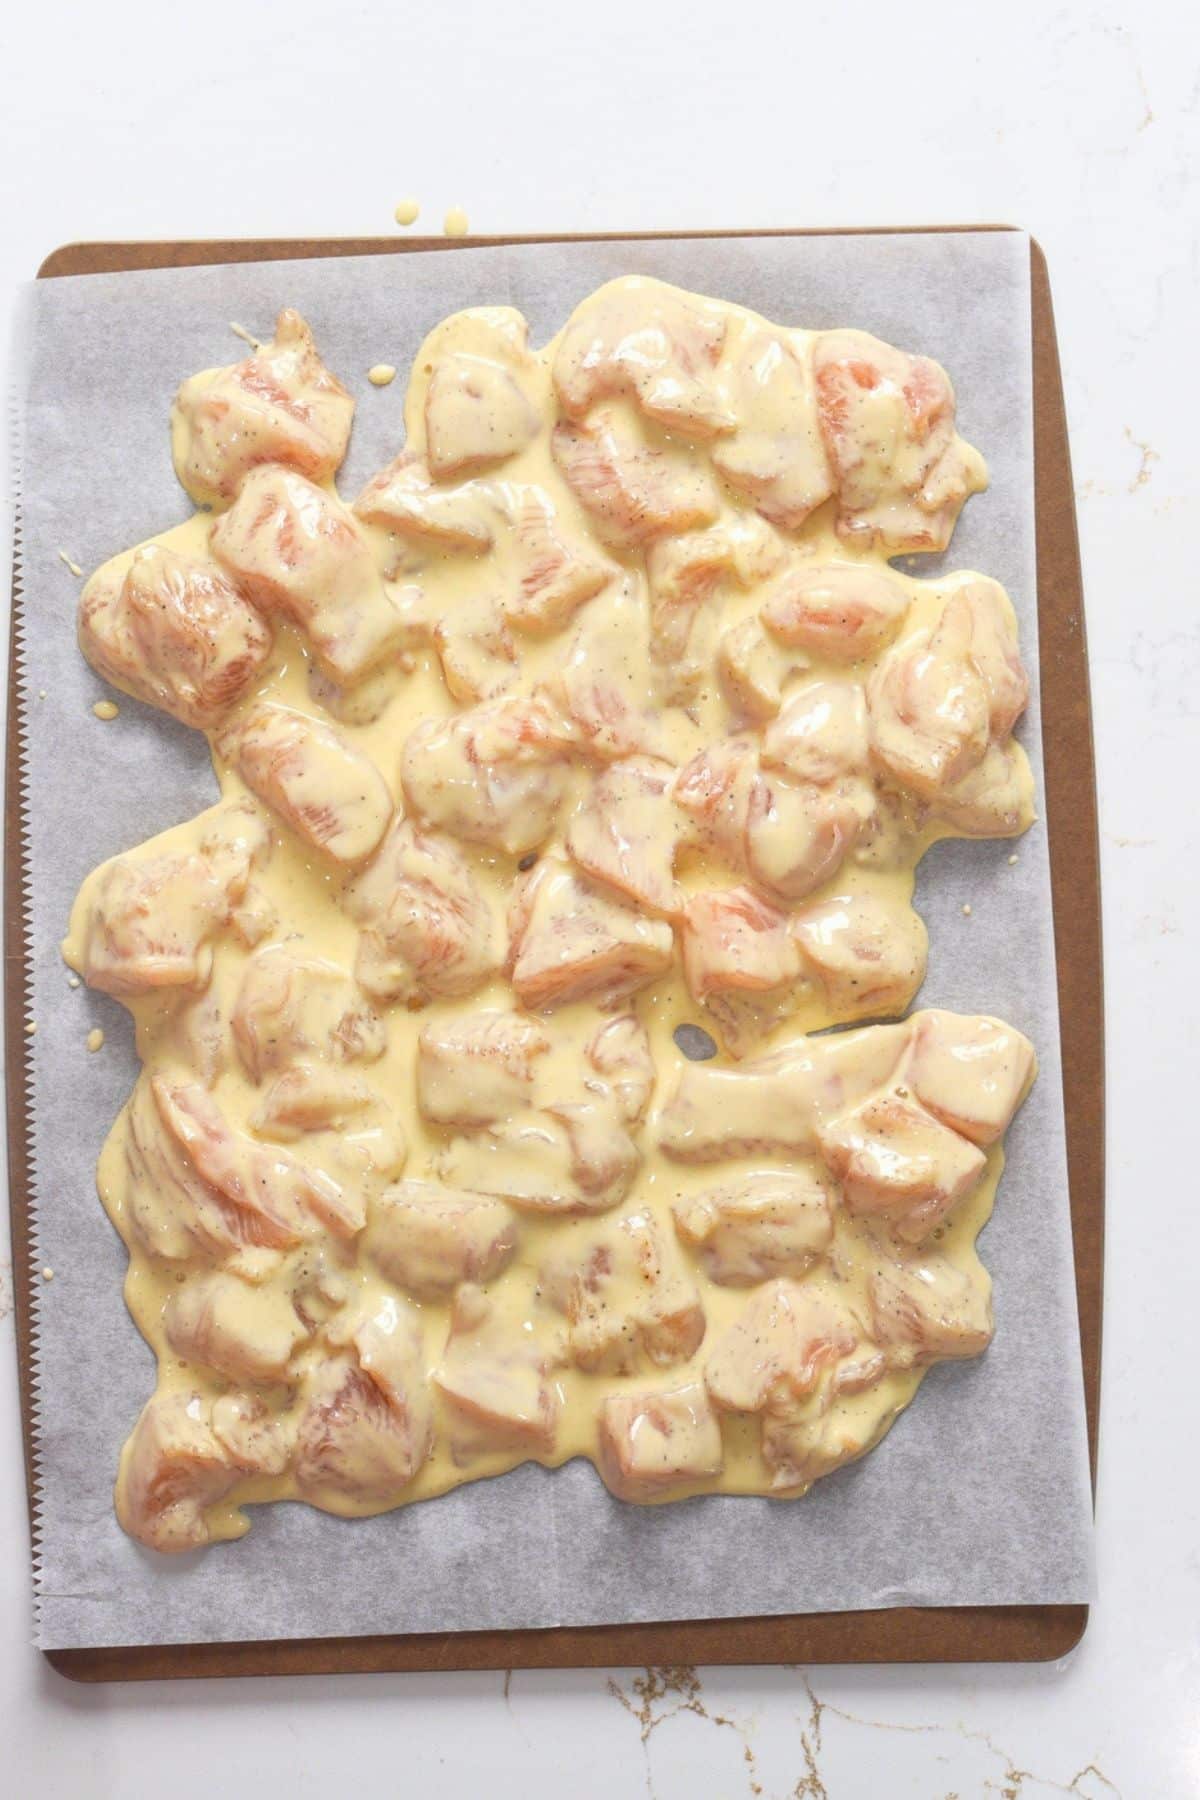
Step 2: Heat the oil and batter the chicken. Add 1 ½ to 2 inches of neutral oil to a Dutch oven or deep skillet and heat to 350°F (177°C). While it heats, fold the seasoned chicken into the batter until every piece is coated. Pull the pieces out onto a cutting board or plate and let them rest about 5 minutes while the oil finishes heating. That short rest helps the batter set so it actually sticks during frying instead of sliding off.
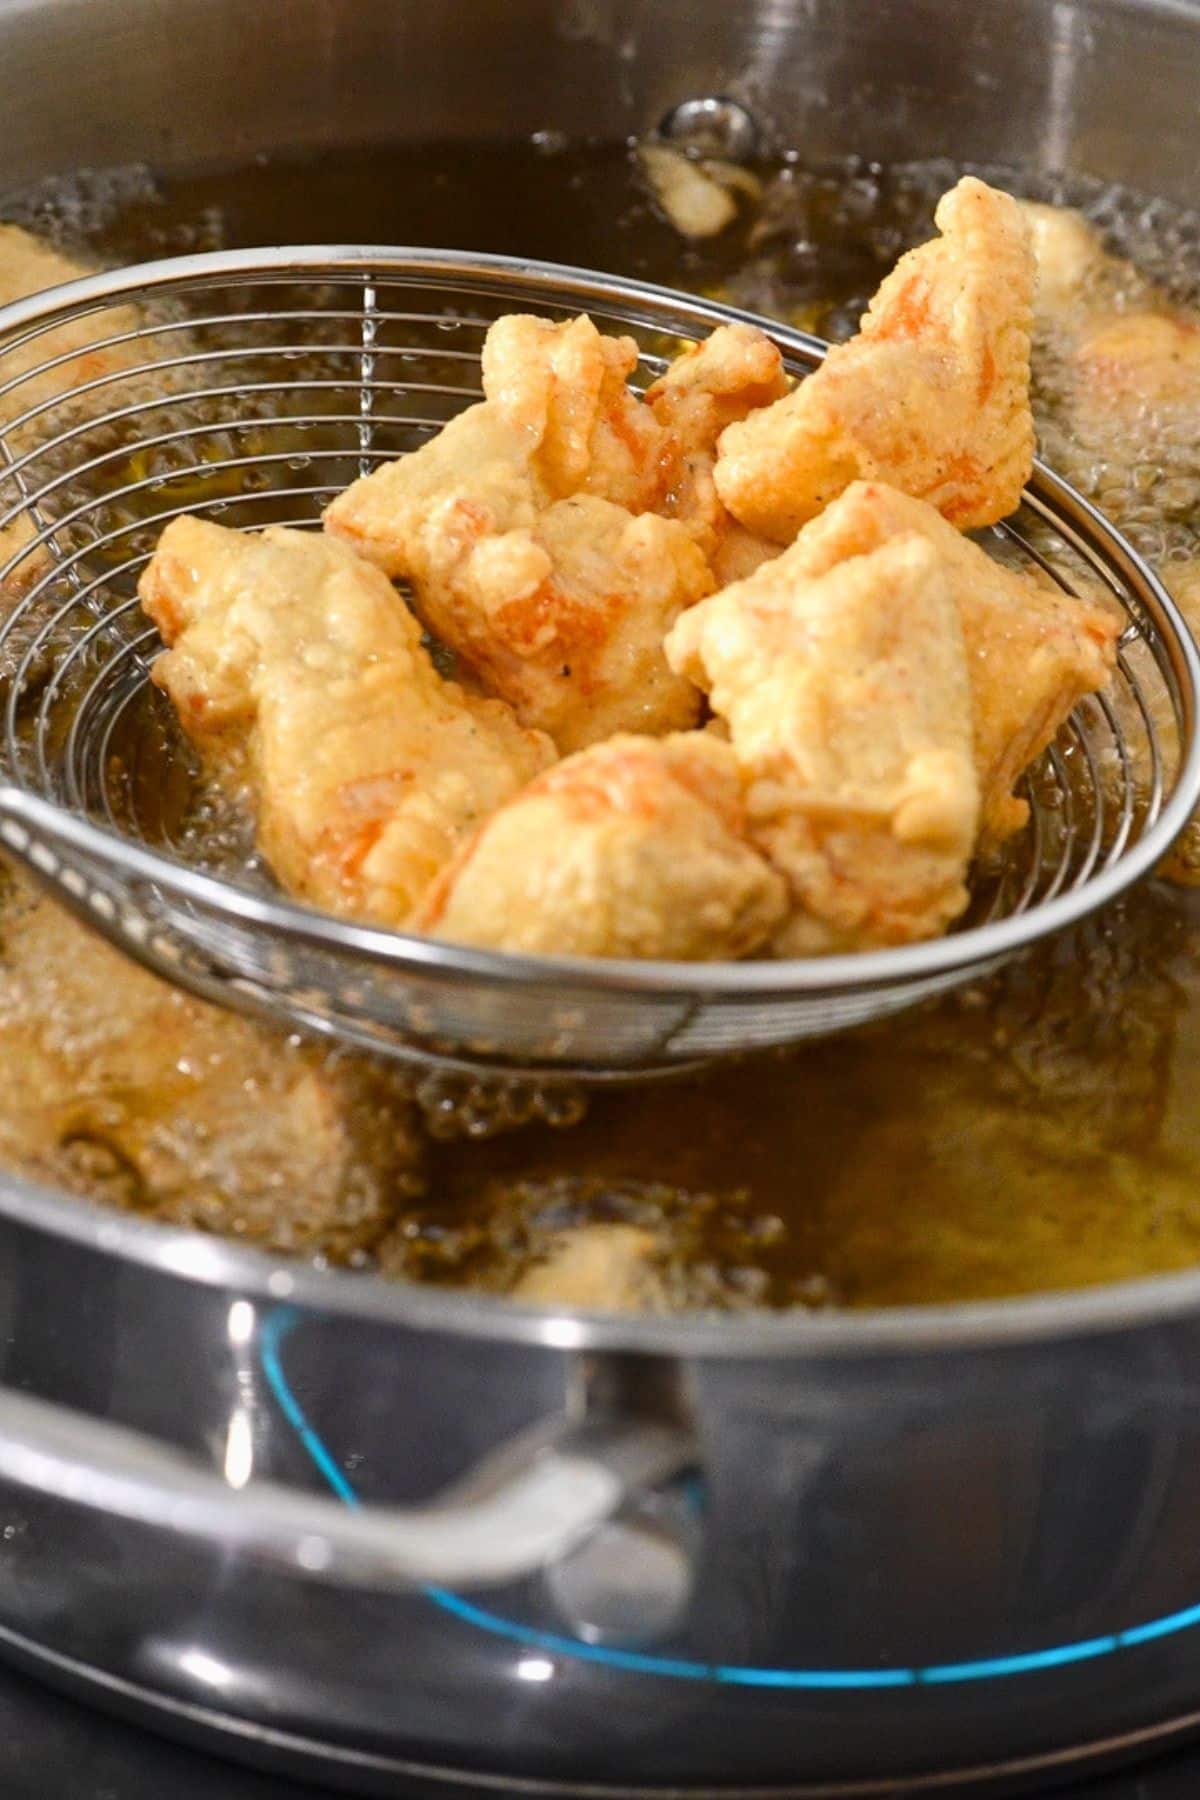
Step 3: Fry, then fry again. Working in batches so the pieces don't clump together, lower the chicken into the hot oil one piece at a time. Fry for 4 to 6 minutes, turning occasionally, until golden and cooked through (chicken is safely cooked at 165°F/74°C internally).
Move each batch to the wire rack. Once all the chicken is fried once, bump the oil up to 375 to 380°F (191 to 193°C) and fry everything again in batches for just 30 to 60 seconds. This second fry is what makes the coating extra crispy and is worth the extra few minutes.
Pro tip
For the crispiest results, fry again
The second fry is optional. However, I found that the coating was extra crispy with that second fry, so I like to do it rather than skip it.
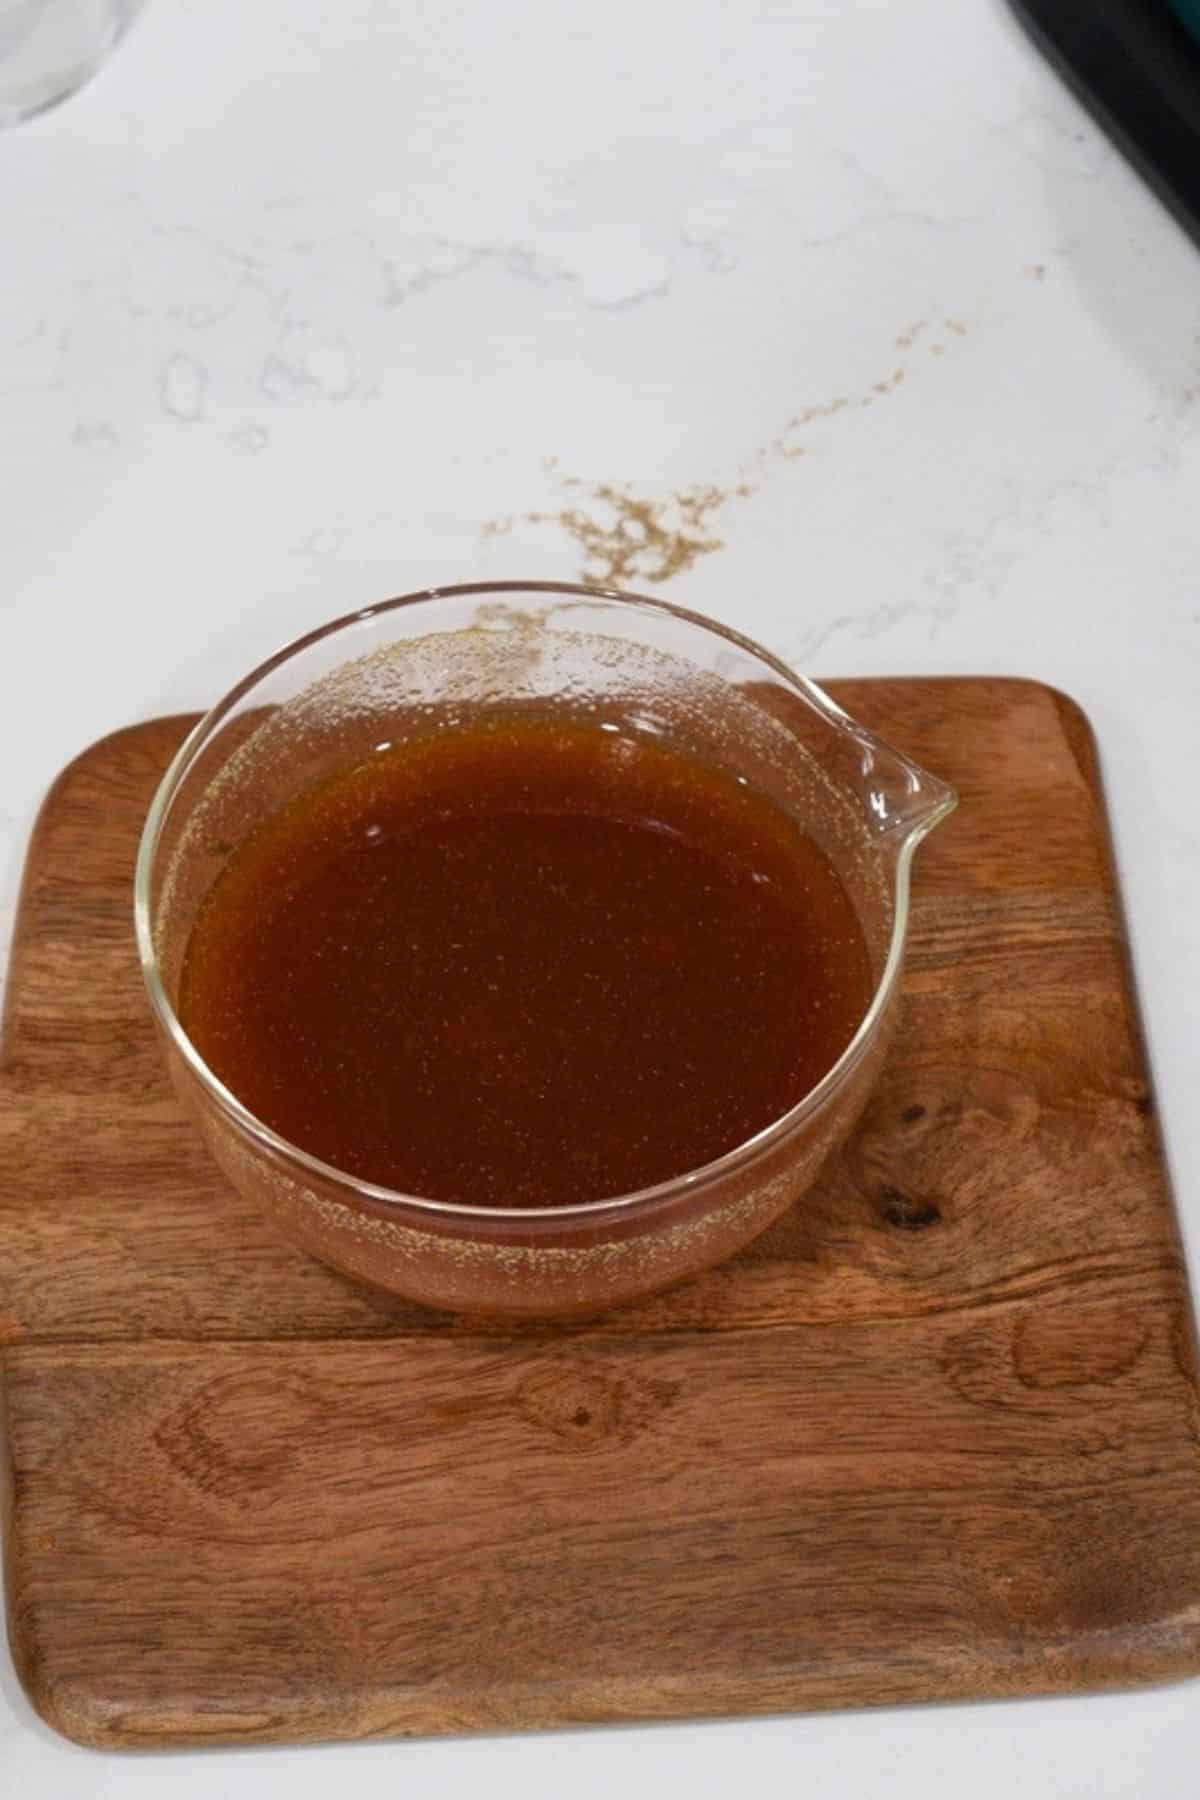
Step 4: Make the sauce. In a small bowl, stir together the ketchup, sugar, vinegar, reserved pineapple juice, soy sauce, garlic powder, and ginger powder.
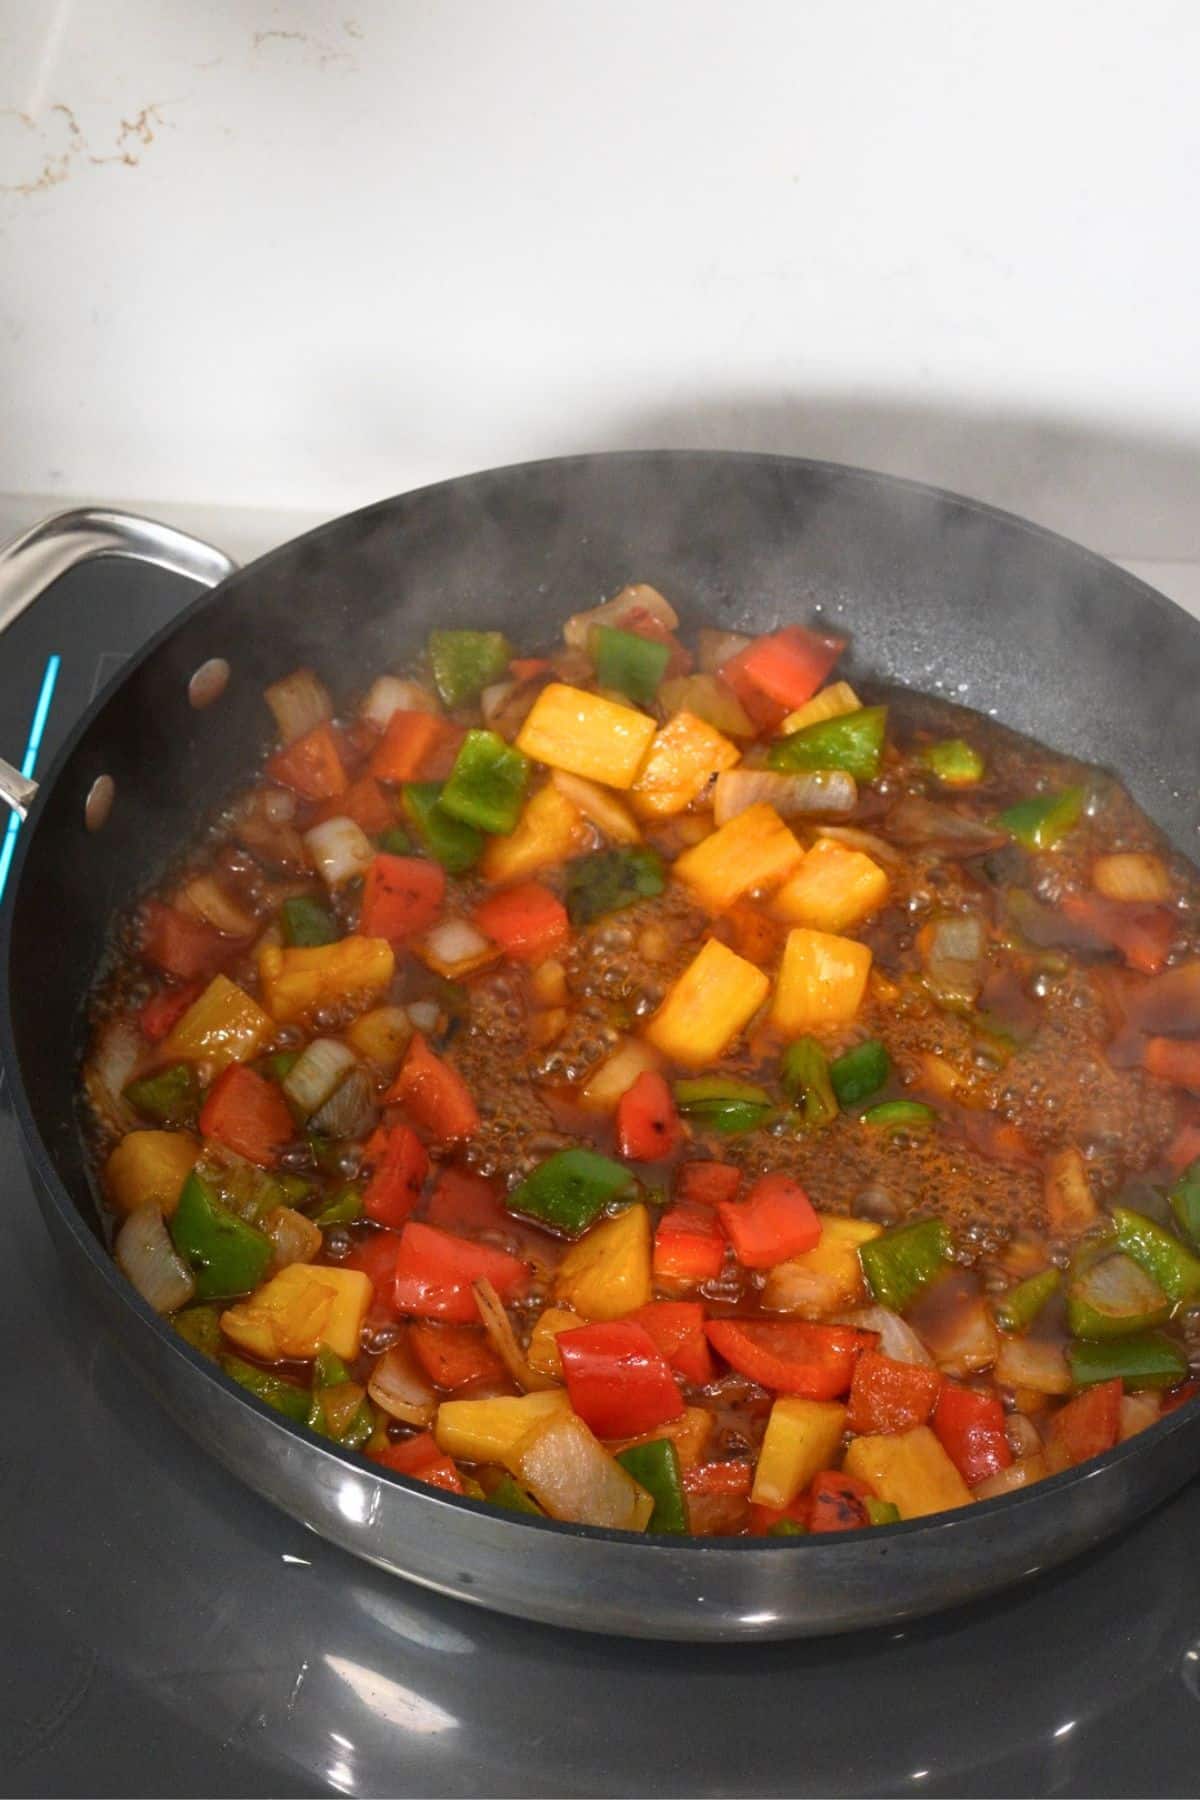
Step 5: Stir-fry the vegetables and pineapple. Heat the neutral oil in a clean, large skillet or wok over medium-high heat. Add the onion and cook for 1 to 2 minutes until it begins to soften, then add the red and green bell peppers and cook for another 3 to 4 minutes until crisp-tender. Stir in the pineapple chunks and cook for about 1 minute more.
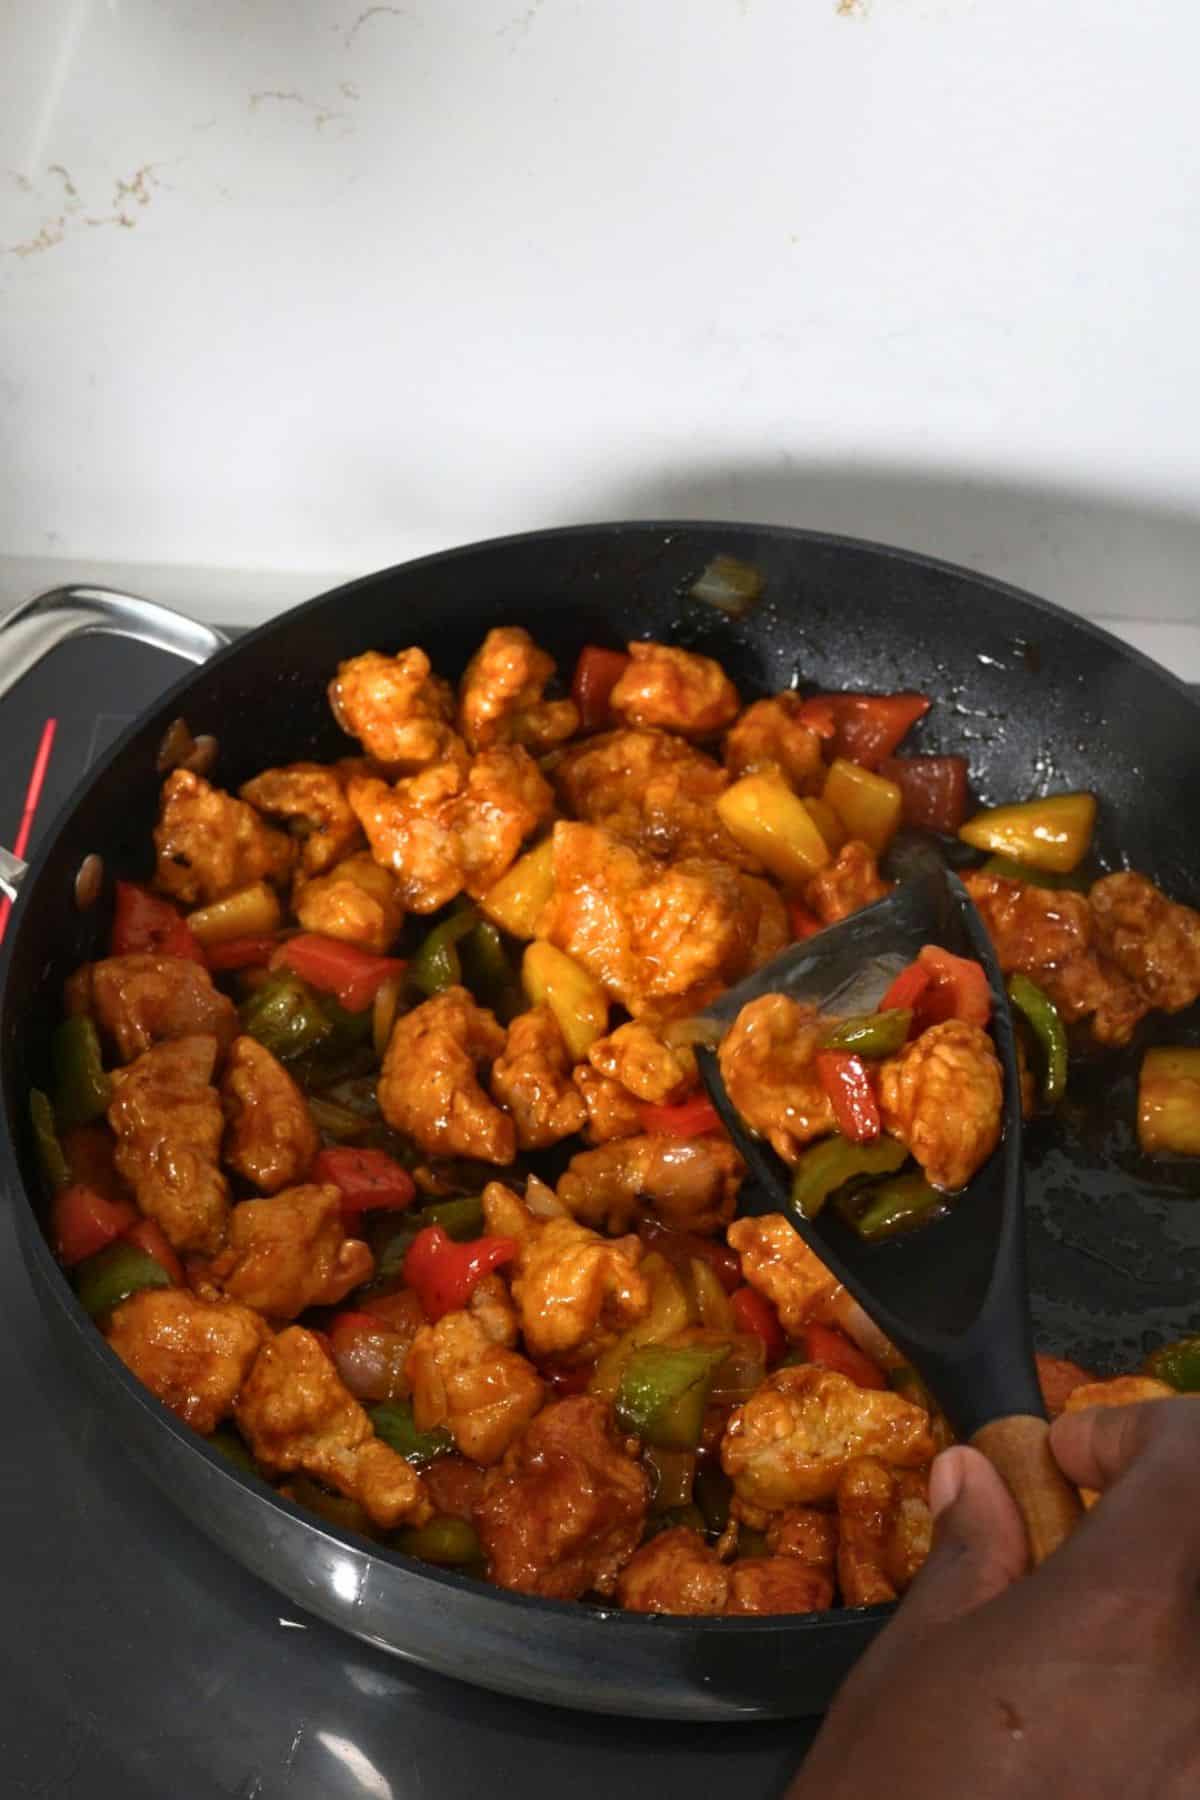
Step 6: Bring it all together. Pour the sauce over the vegetables and bring it to a simmer. In a separate small bowl, stir the cornstarch and cold water into a slurry, then drizzle it into the simmering sauce while stirring, and cook about 1 minute until it turns glossy and thickens. Add the fried chicken and toss until everything is coated. Serve immediately over rice so the chicken stays as crispy as possible under the sauce.
Variations
- Swap the protein. Shrimp or pork work well in the same sauce. Shrimp cooks much faster than chicken, so watch it closely and pull it as soon as it turns opaque.
- Add more vegetables. Snap peas, carrots, or baby corn are easy additions to the stir-fry step if you want more veggies in the mix.
- Bring the heat. If you like a little spice, add a few red pepper flakes or a small drizzle of chili garlic sauce stirred into the sauce.
- Swap the fruit. Mandarin orange segments, instead of pineapple chunks, give a slightly different sweetness if that's what you have on hand.
What to Serve With Sweet and Sour Chicken
Steamed white or jasmine rice is the obvious pick since it soaks up any extra sauce, and my Oven Baked Rice is a hands-off way to get there. For something with more personality, my Steak Kimchi Fried Rice is a fun twist if you want to mix up your takeout night.
On the side, Broccoli Slaw adds crunch and freshness without any extra cooking. If you're going all in on a takeout-at-home spread, Air Fryer Egg Rolls or General Tso's Shrimp round out the table nicely.
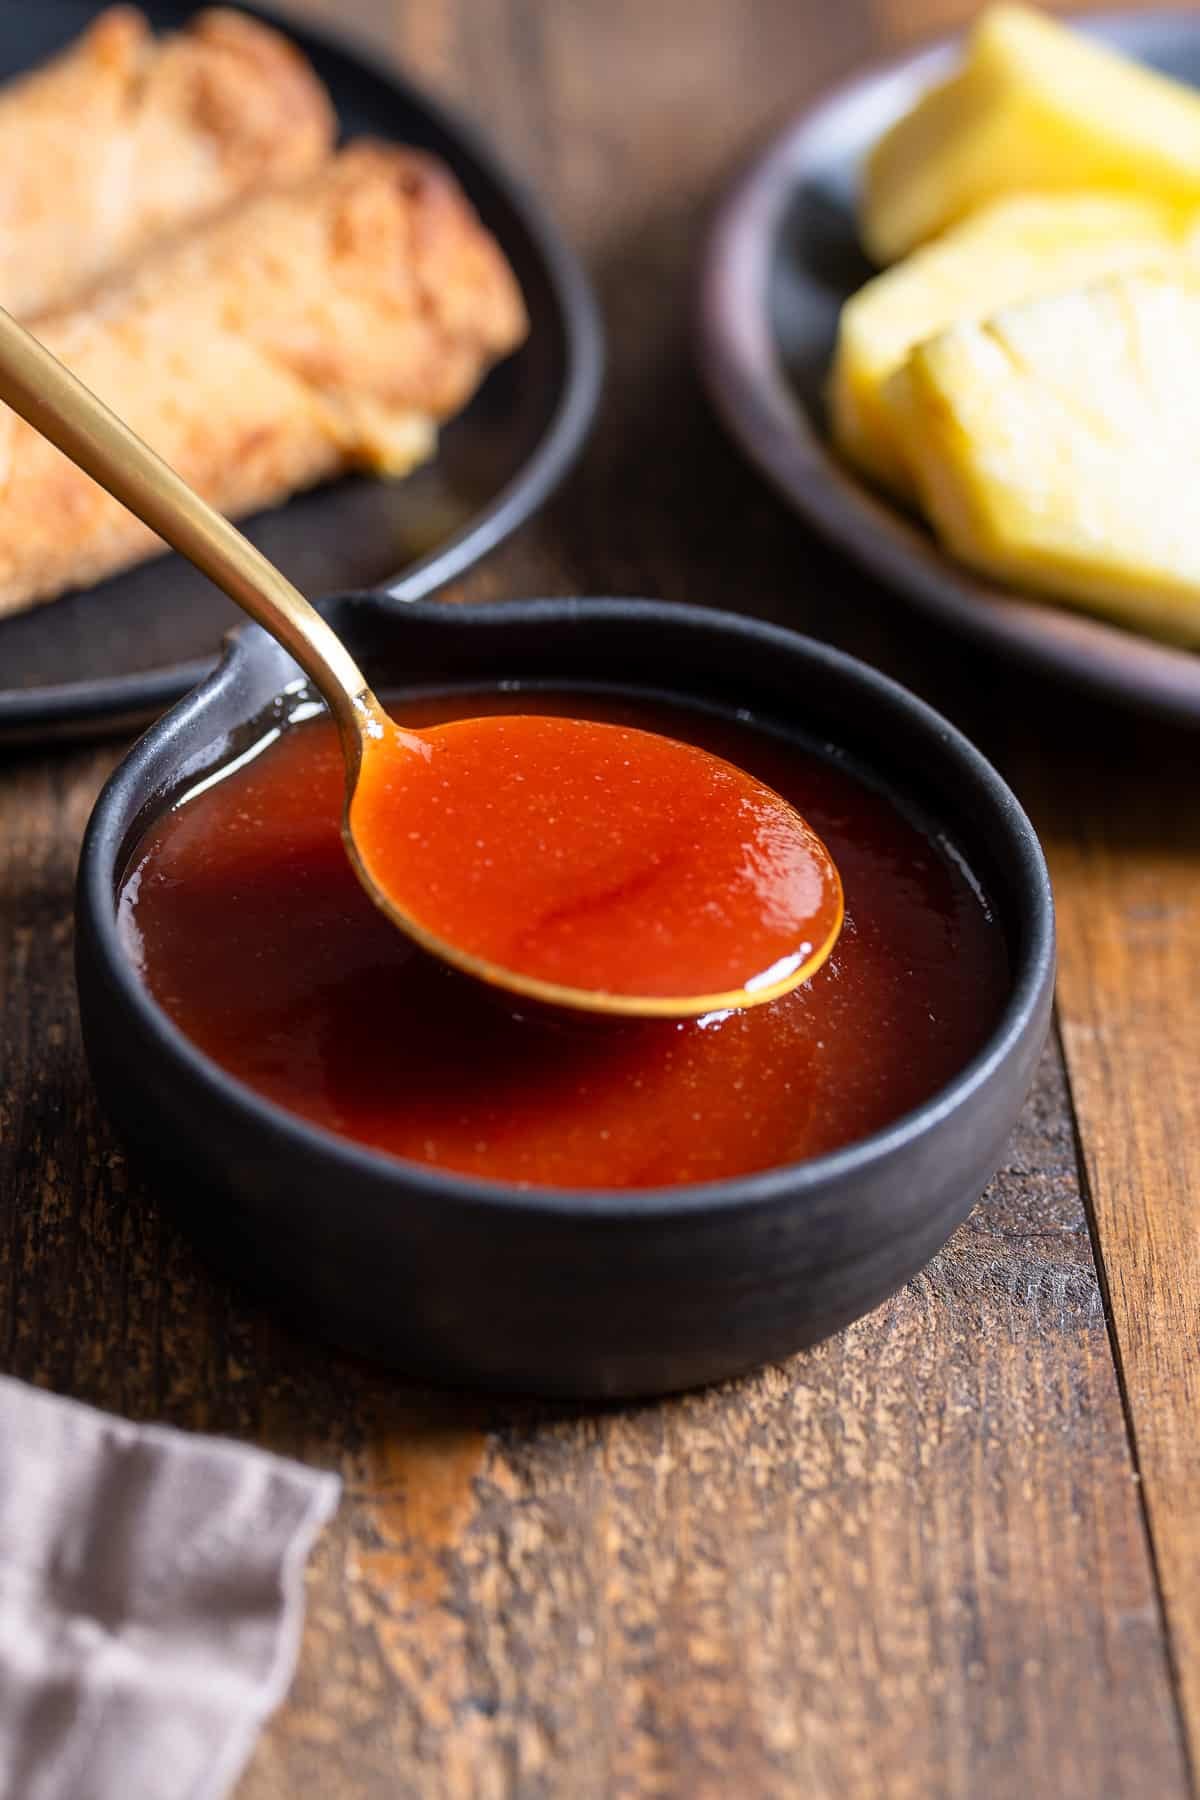
Sweet and Sour Sauce
If you'd like to make just the sauce, then you'll love this sweet and sour sauce. Perfect if you'd like this sauce just for dipping.
Storage, Reheating, and Freezing
Store leftovers in an airtight container in the refrigerator for up to 3 days. To reheat, use an air fryer at 375°F (190°C) for 3-5 minutes for the best texture; the oven works well for larger portions at 350°F (175°C) for 10-15 minutes, while the microwave is fastest but will soften the coating. To freeze, store chicken and sauce separately for up to 2 months. Thaw overnight in the refrigerator, then reheat the chicken and warm the sauce separately before combining.
FAQs
The first fry cooks the chicken through, and the second fry at a higher temperature crisps up the coating even more. It only adds about a minute per batch, but it helps the chicken hold up much better once tossed in the sauce.
Too thin: Let it simmer a minute longer, or stir in a little extra cornstarch slurry (1 teaspoon cornstarch + 1 teaspoon cold water).
Too thick: Splash in a little water or extra pineapple juice to loosen it up.
Did you try this recipe? If you make this Homemade Sweet and Sour Chicken, let me know in the comments below! Don't forget to star-rate the recipe card so other readers can find it, too. Happy cooking!
Sweet and Sour Chicken Recipe
Ingredients
Instructions
- Season the chicken with salt, black pepper, and garlic powder. Toss to coat and set aside.
- In a separate large bowl, whisk together the flour, cornstarch, and baking powder. Add the beaten egg and cold water and whisk until you have a smooth batter that coats the back of a spoon.
- Add 1 ½ to 2 inches of neutral oil to a Dutch oven or deep skillet, then heat to 350°F (177°C).
- While the oil heats, fold the seasoned chicken pieces into the batter until fully coated.
- Remove the chicken pieces from the batter and set them on a cutting board or plate. Let them rest while the oil finishes heating, about 5 minutes. This helps the batter set and stick to the chicken.
- Working in batches, add the chicken to the hot oil one piece at a time so the pieces don't stick together. Fry for 4 to 6 minutes, turning occasionally, until golden and cooked through. Transfer to a wire rack.
- Increase the oil temperature to 375 to 380°F (191 to 193°C). Fry the chicken a second time in batches for 30 to 60 seconds until extra crispy. Return to the wire rack.
- In a small bowl, stir together the ketchup, sugar, vinegar, reserved pineapple juice, soy sauce, garlic powder, and ginger powder. Set aside. In a separate small bowl, stir the cornstarch and cold water to make a slurry, then set aside.
- Heat the neutral oil in a clean large skillet or wok over medium-high heat. Add the onion and cook for 1 to 2 minutes until it starts to soften. Add the red and green bell peppers and cook for an additional 3 to 4 minutes until crisp-tender.
- Add the pineapple chunks and cook for about 1 minute.
- Pour the sauce over the vegetables and bring to a simmer, about 1 to 2 minutes.
- Give the slurry a quick stir, then drizzle it into the simmering sauce while stirring. Cook for about 1 minute until the sauce is glossy and thickened.
- Add the fried chicken to the skillet and toss until everything is coated in the sauce. Serve immediately over rice.
Carol says
Thank you for sharing this recipe