
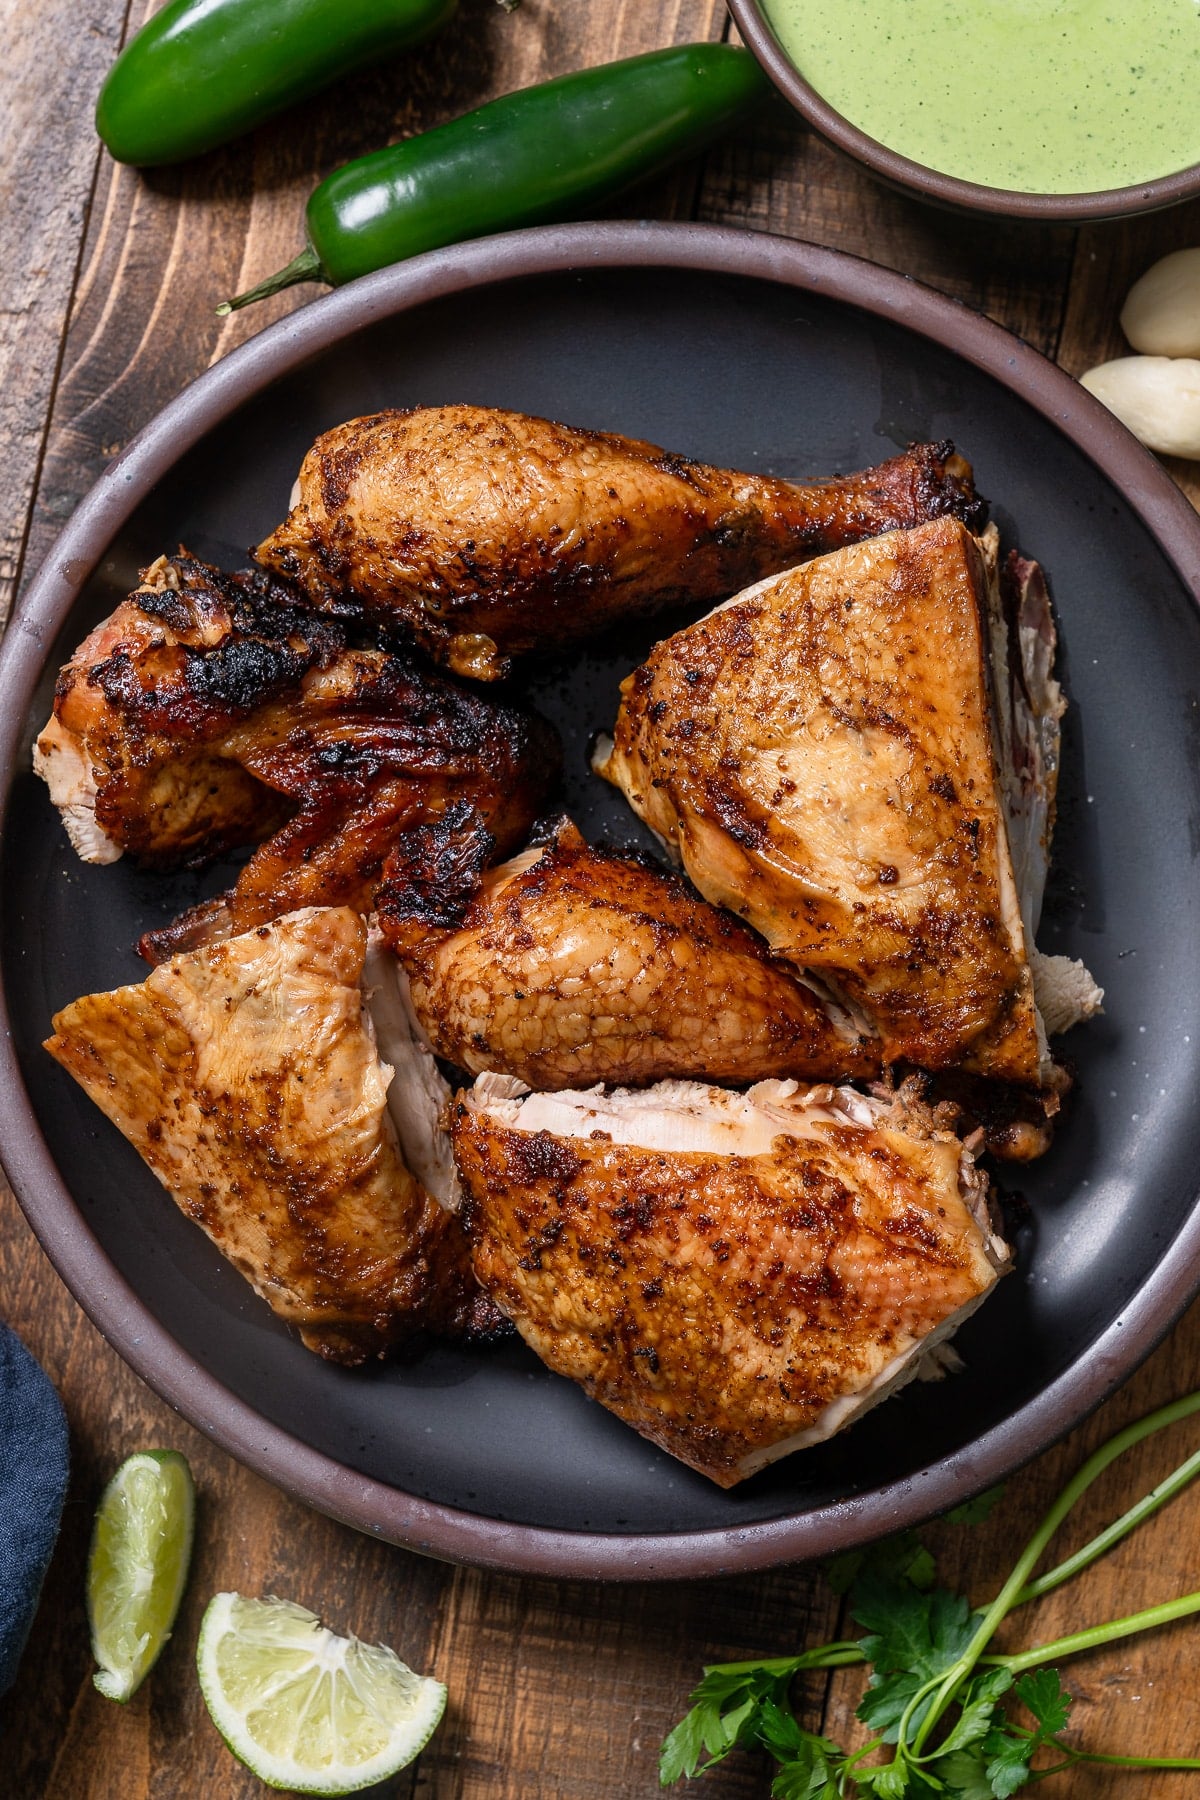
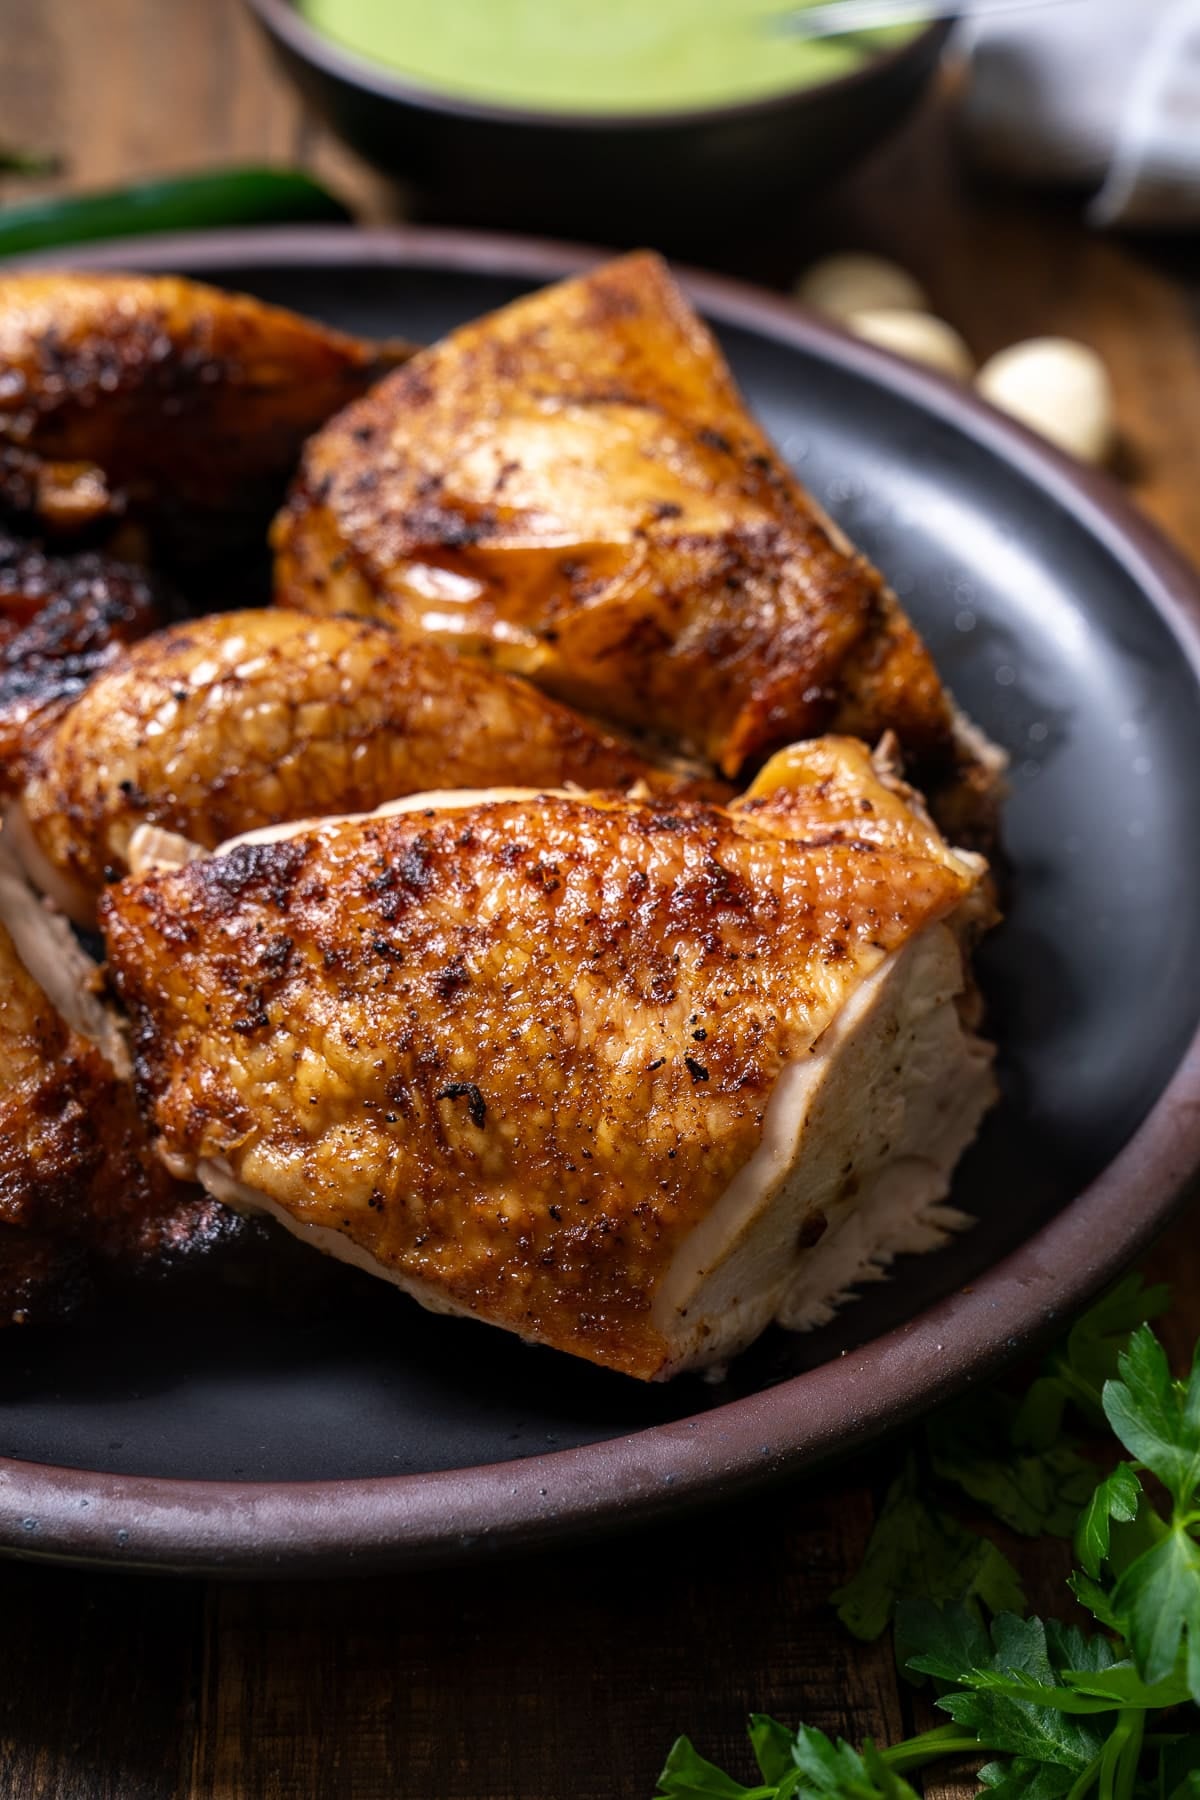
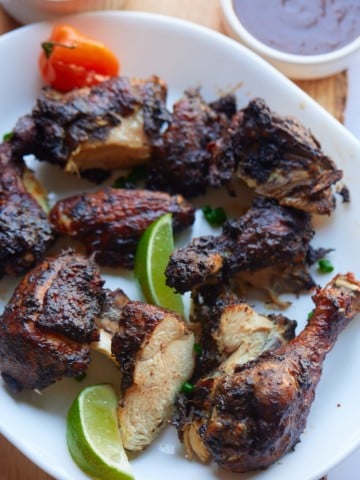
This Peruvian chicken recipe, also known as pollo a la brasa, is marinated in a bold blend of garlic, cumin, soy sauce, and lime, then grilled or oven-roasted until the skin is golden and crispy. Serve it with aji verde sauce for the full experience.
You’ll find the full recipe with ingredient amounts and instructions in the recipe card at the bottom of this post. Be sure to check out the blog post itself for extra tips and tricks!
I first had pollo a la brasa, also known as Peruvian chicken, at a Peruvian restaurant in North Carolina, and I’ve been making it ever since.
After visiting Lima, Peru, and taking a cooking class there, and hunting for the best Peruvian chicken, I came home and decided to recreate it again, this time on the grill. It’s so good! The most important thing is the marinade, which comes together easily. I also like to spatchcock my chicken for this recipe, allowing it to cook more quickly. I've also included instructions for baking this chicken in the oven. I got you covered.
Love, Tanya
Peruvian Chicken At a Glance
- Prep Time: 20 minutes
- Marinate Time: 2 to 24 hours (overnight recommended)
- Cook Time: 45 to 60 minutes
- Total Time: About 1 hour 10 minutes (plus marinating time)
- Serves: 6
- Best For: Weekend cooking, dinner parties, meal prep
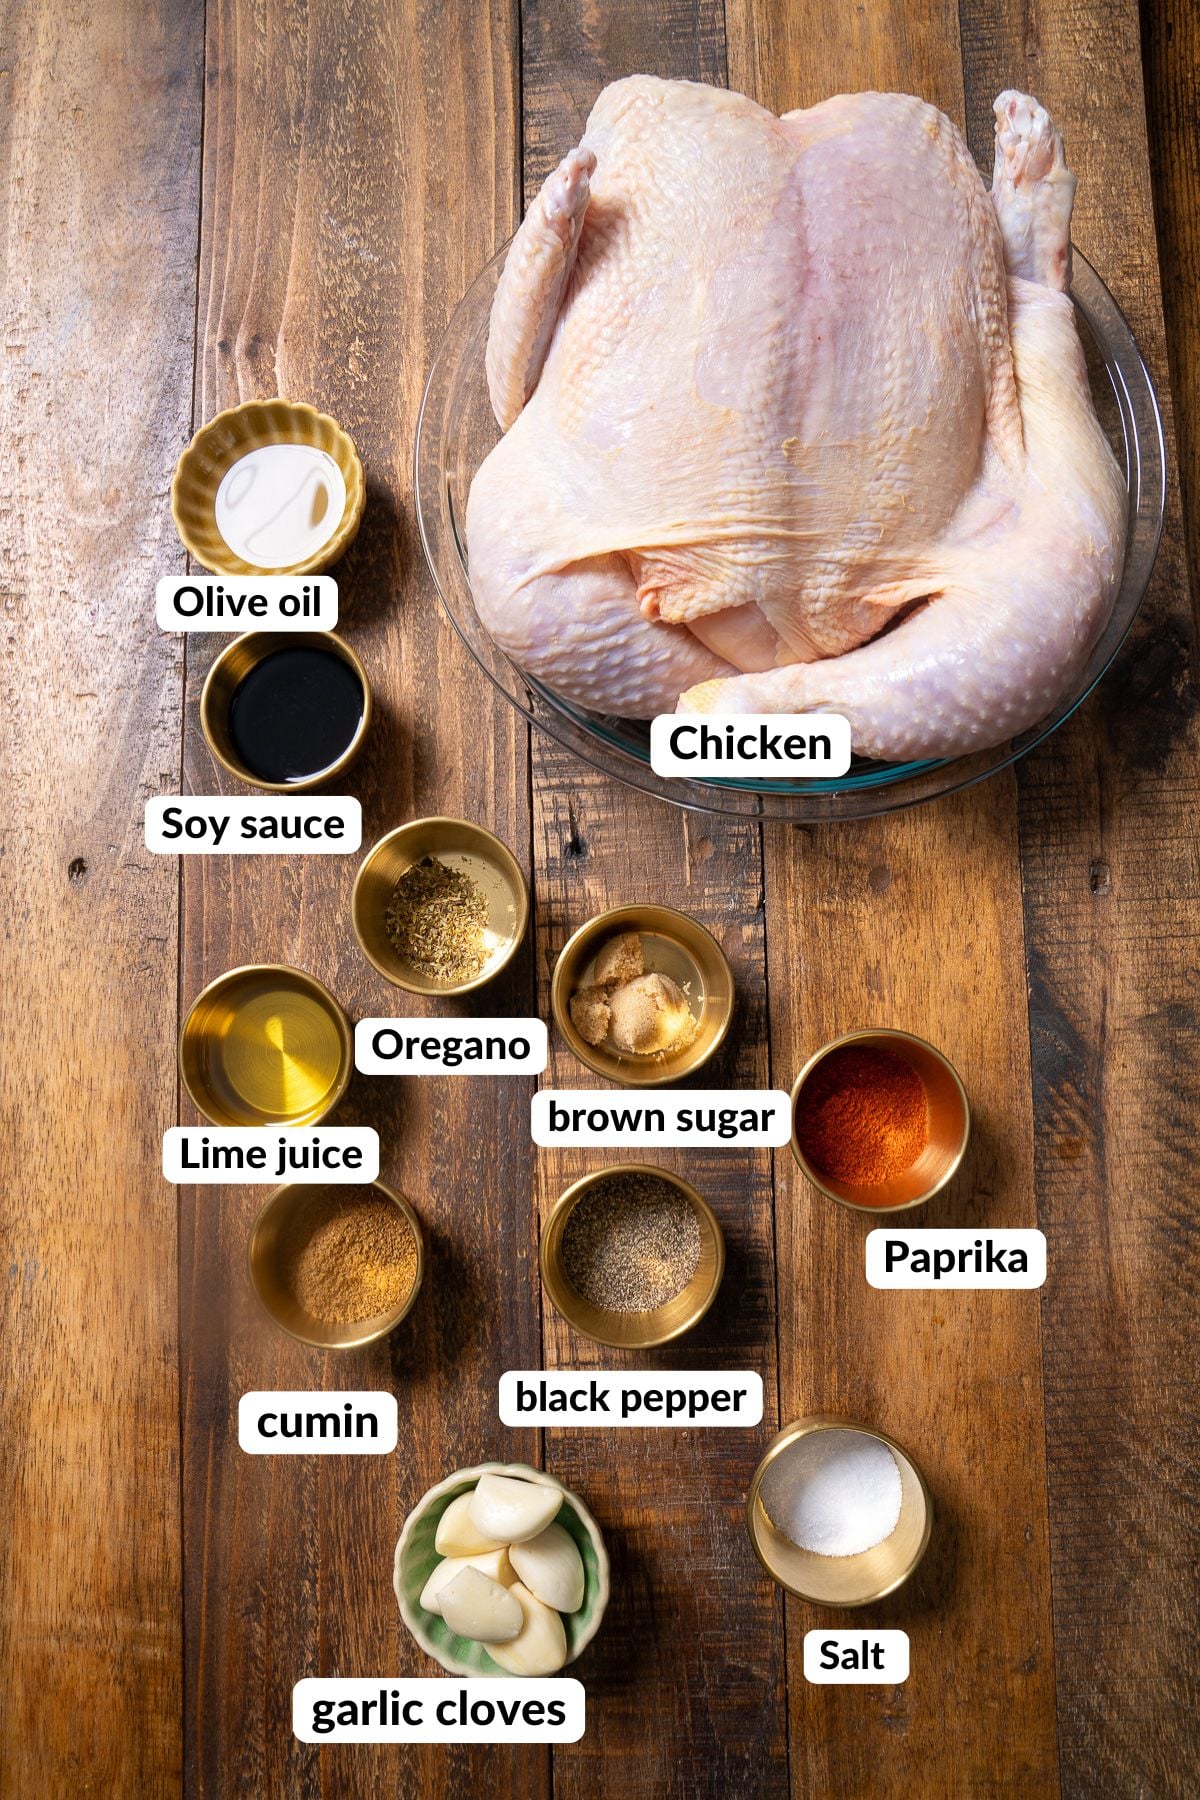
A Quick Look at The Ingredients
Ingredient amounts and full recipe instructions are on the printable recipe card at the bottom of the post.
- Whole chicken: A 4 to 5-pound whole chicken works best. Spatchcocking it (removing the backbone so it lies flat) gives you crispier skin and more even cooking.
- Extra virgin olive oil: The fat base of the marinade that helps it cling to the chicken.
- Lime juice: I like to use fresh lime juice in the marinade.
- Garlic: Six cloves. I throw them all into the blender, as I'll be blending them anyway.
- Soy sauce: A signature ingredient in pollo a la brasa. Chinese immigration to Peru in the 19th and 20th centuries brought soy sauce into the local cooking tradition, and it has been part of the dish ever since. It adds a deep, savory backbone to the marinade.
- Cumin: The dominant spice in this recipe. Use a generous tablespoon.
- Paprika: Adds color and a mild warmth.
- Dried oregano: A classic Peruvian herb in roasted chicken dishes.
- Brown sugar: A small amount helps the skin caramelize beautifully on the grill or under the broiler.
- Black pepper and kosher salt: Season the marinade and the chicken well.
How to Make Peruvian Chicken
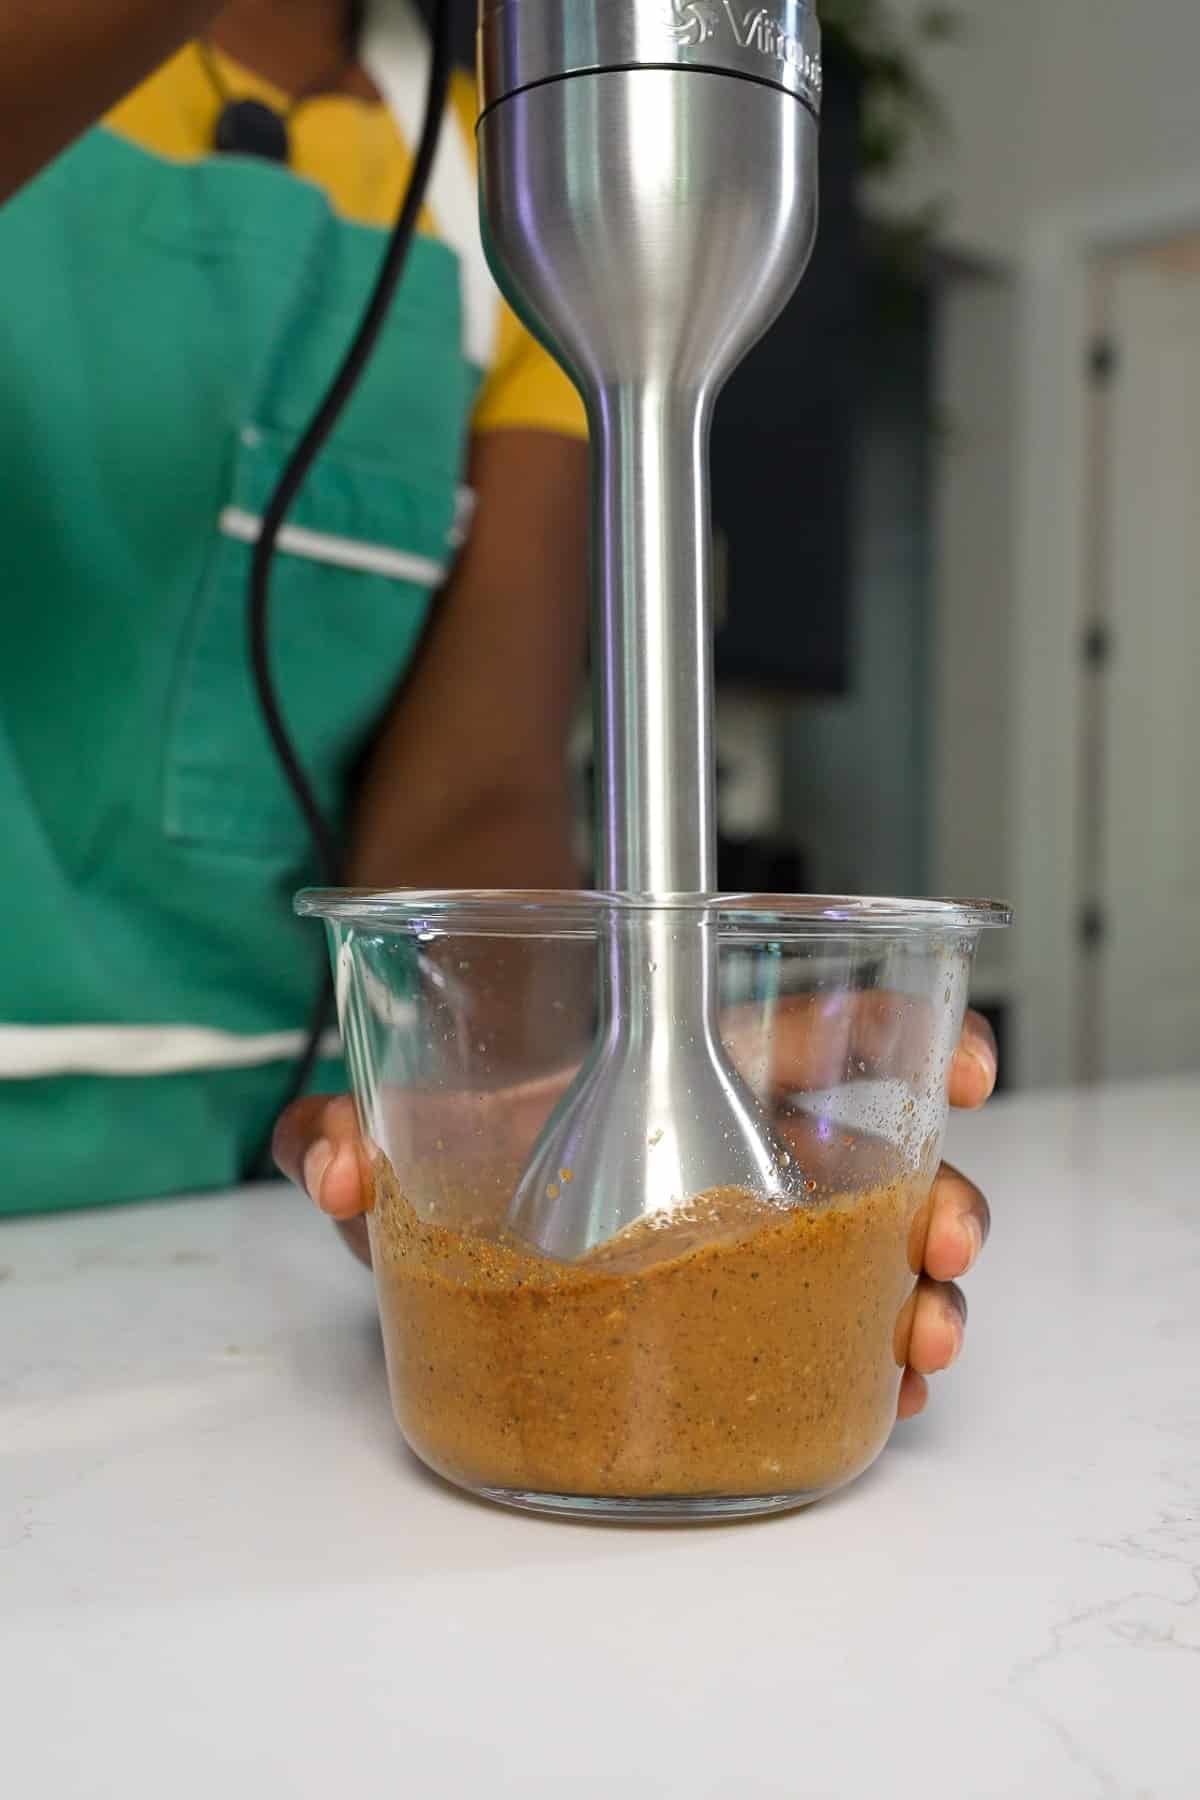
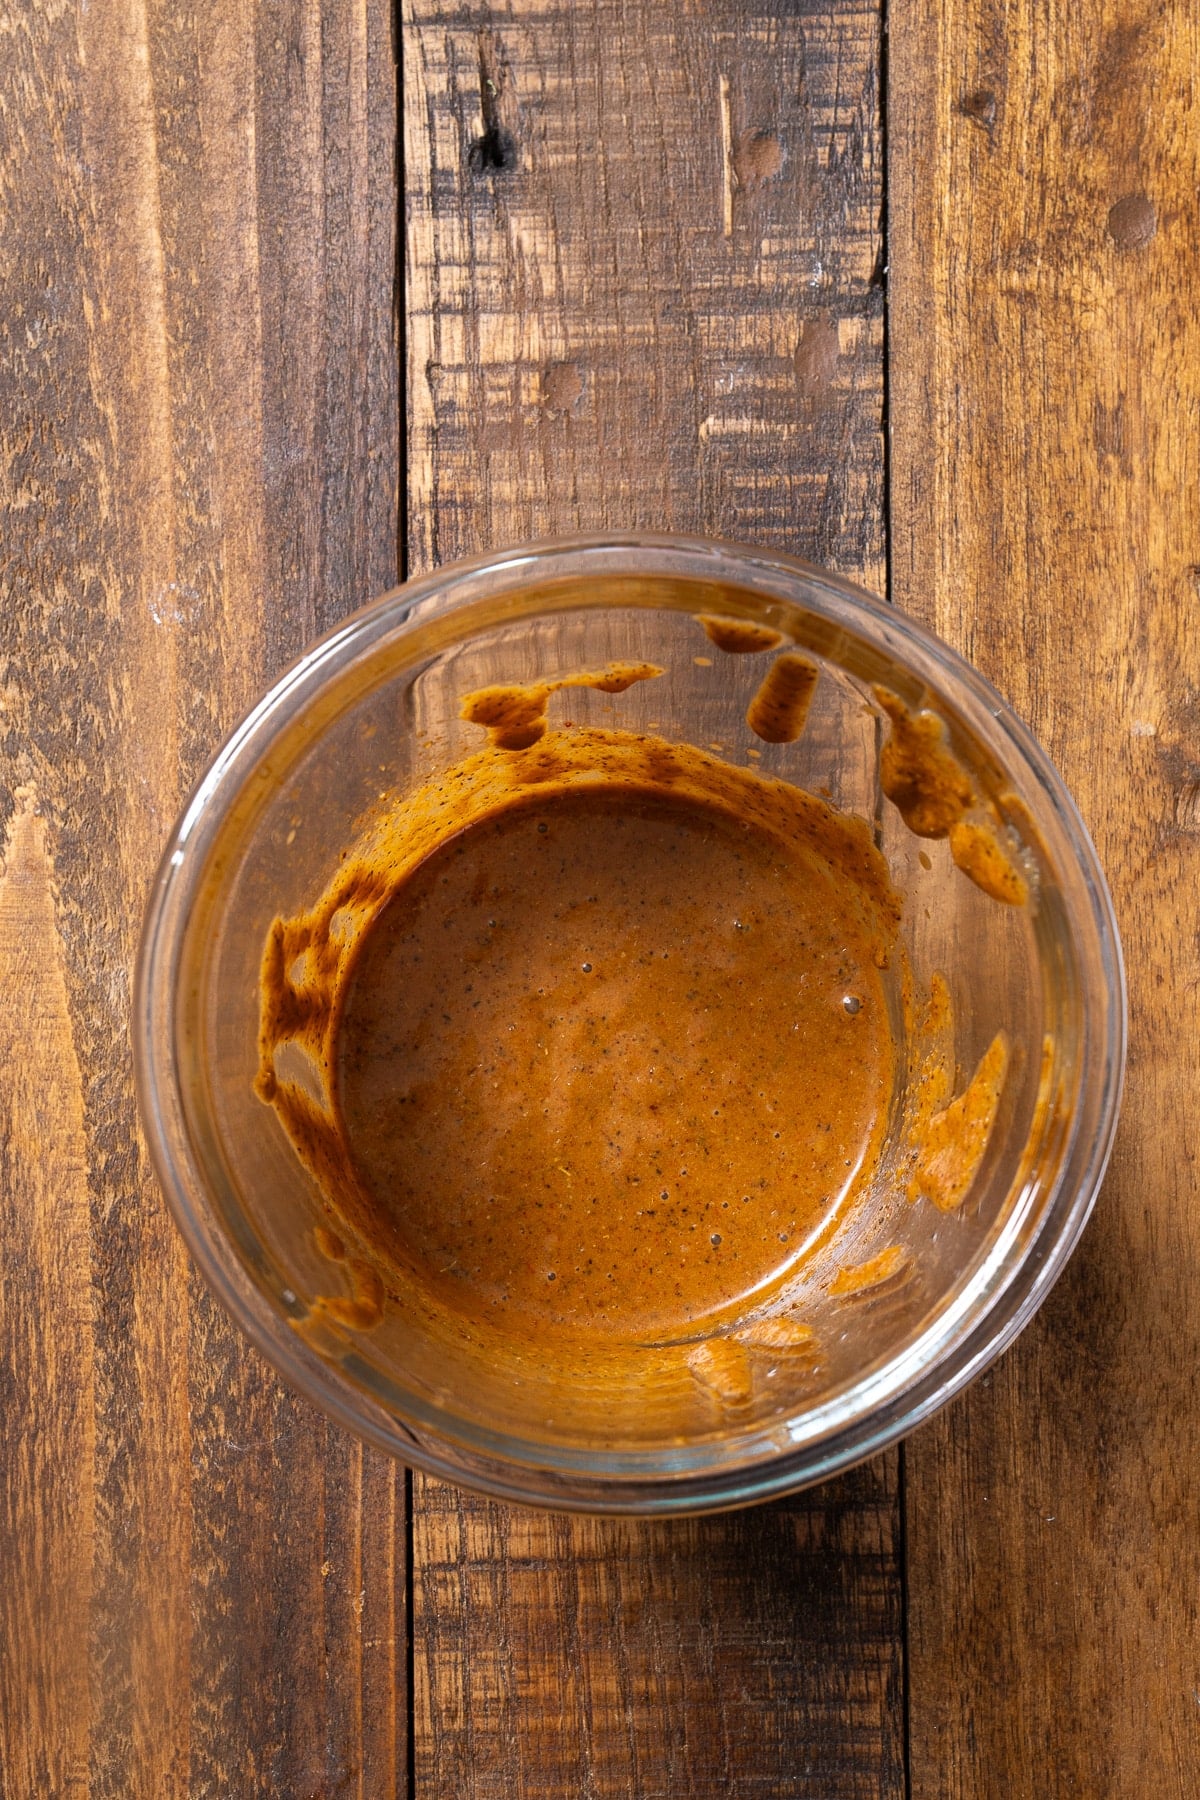
Step 1: Make the Marinade. Add the olive oil, lime juice, garlic, soy sauce, cumin, paprika, oregano, brown sugar, salt, and pepper to a small blender or food processor, and blend until smooth. I use my stick blender for this. The marinade will be thick and fragrant.
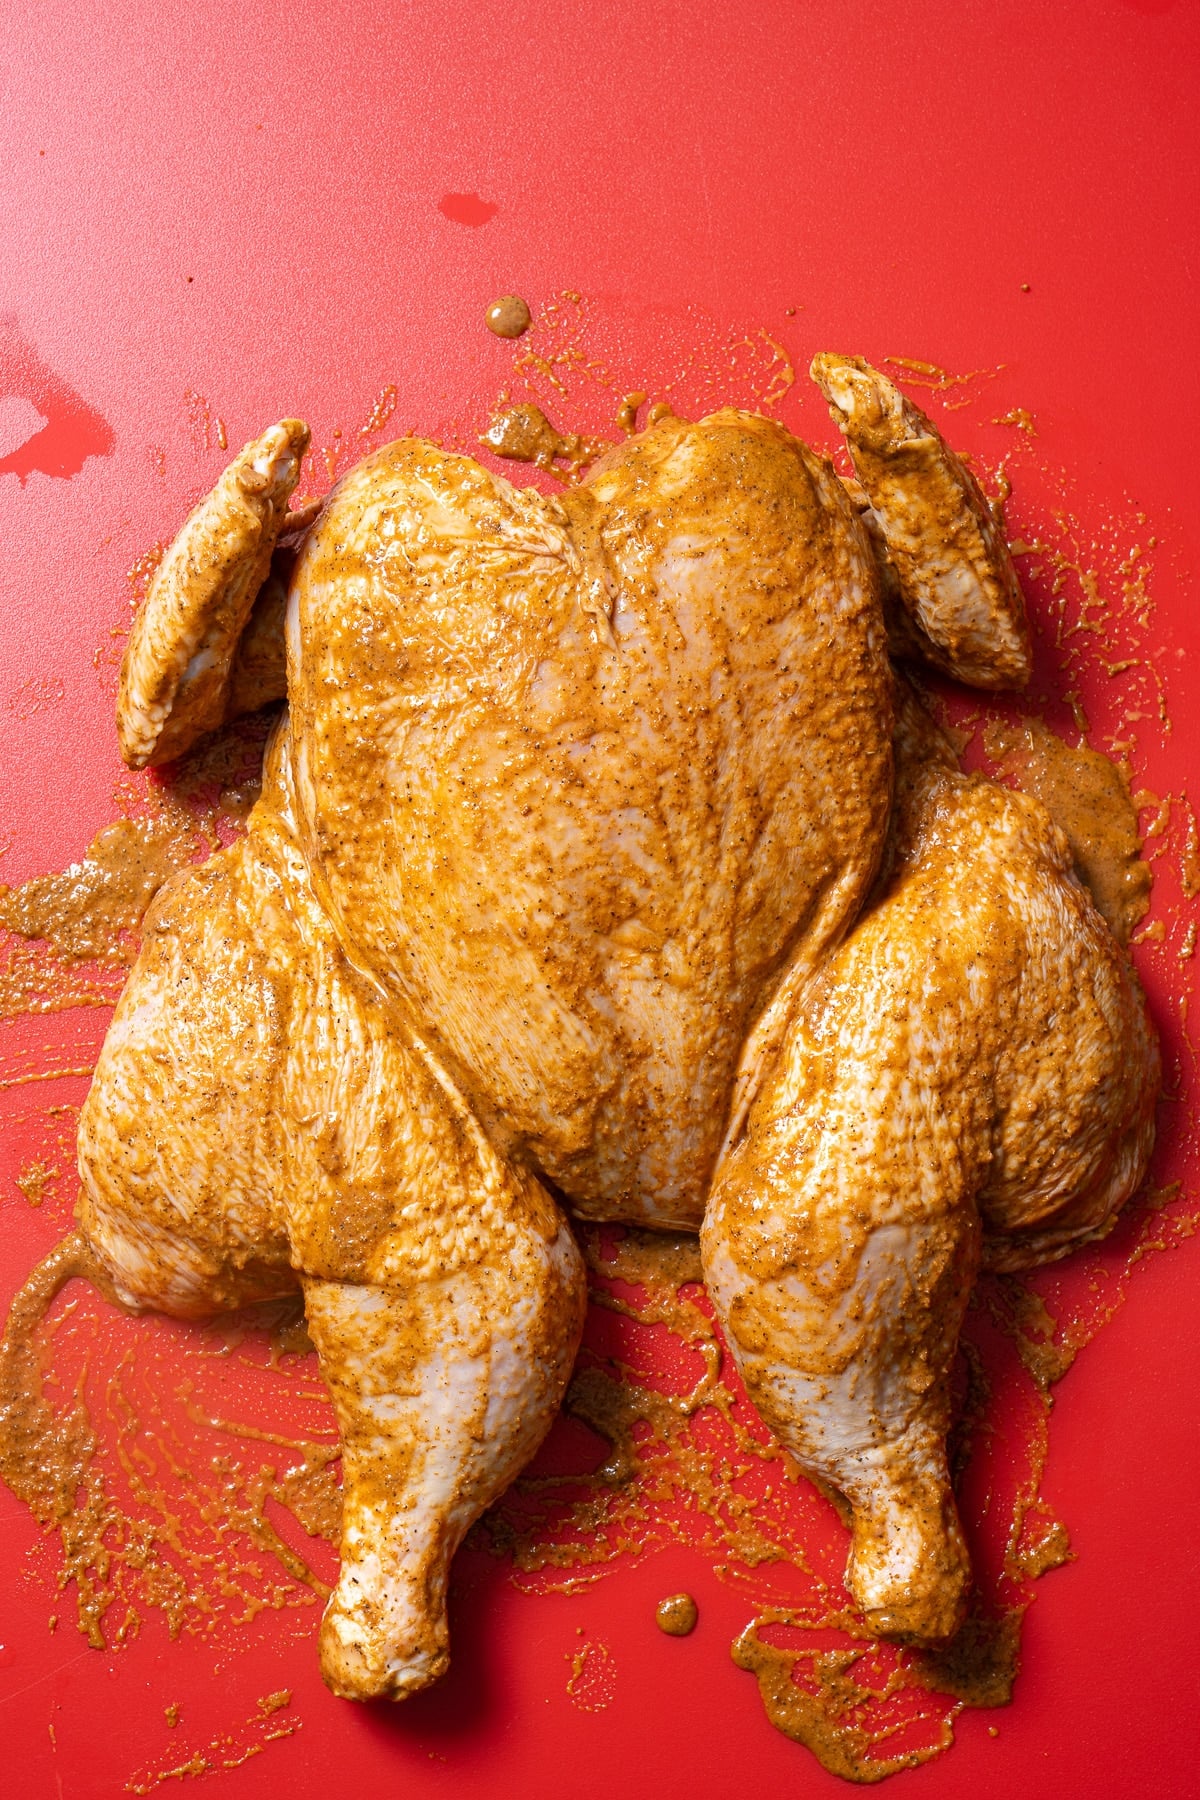
Step 2: Spatchcock and Season the Chicken. Pat the chicken completely dry with paper towels. This step matters a lot for skin crispiness. Rub the marinade generously under the skin of the breast and thighs, then coat the entire exterior and underside. Place the chicken in a large zip-top bag or a dish covered tightly with plastic wrap.
Step 3: Marinate. Refrigerate for at least 2 hours, up to 24 hours. Overnight gives you the deepest flavor.
Step 4: Cook Your Chicken. Choose your method below. Remove the chicken from the fridge about 30 minutes before cooking, so it reaches room temperature.
Grill Method (Peruvian Chicken on the Grill)
- Preheat your grill to 375°F (190°C) and set it up for indirect heat.
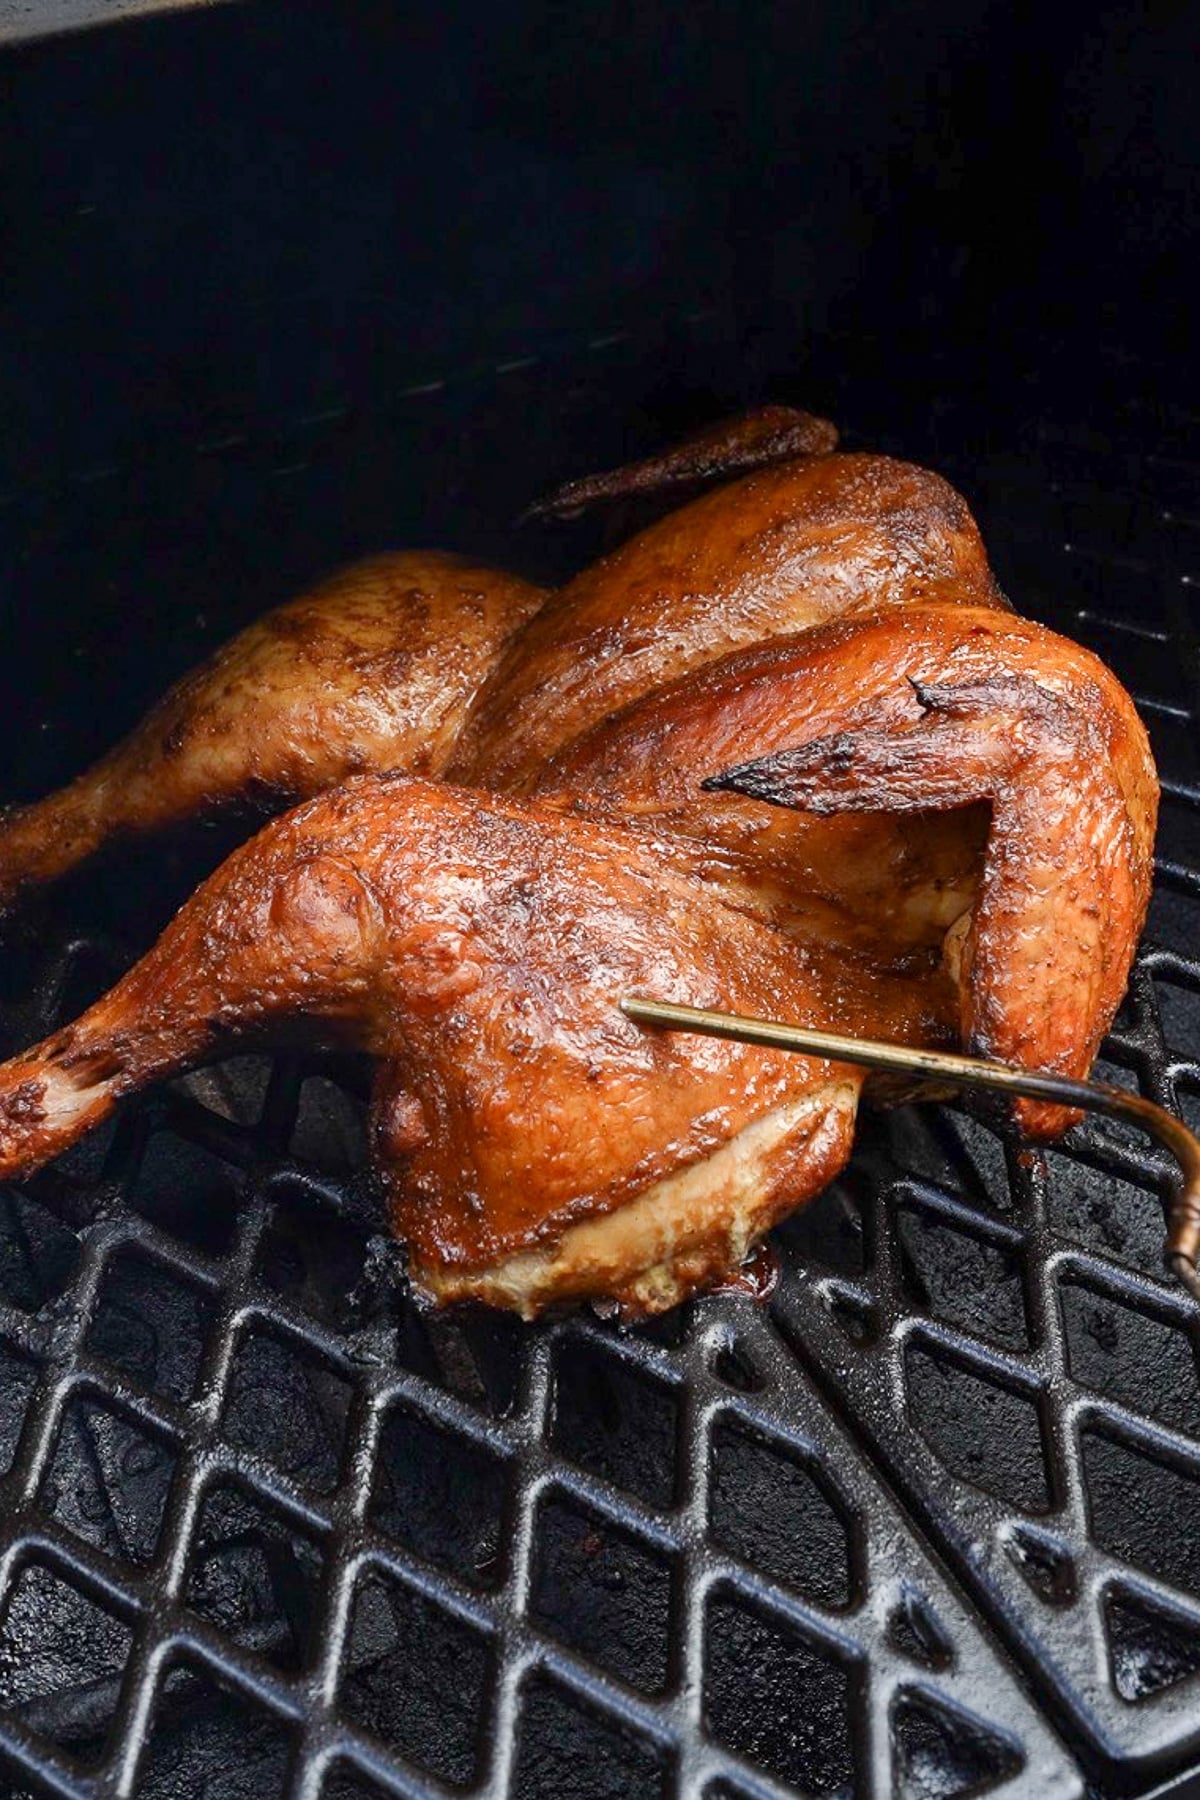
- Place the chicken, skin-side up, over indirect heat. Close the lid.
- Cook for 45 to 60 minutes, maintaining a steady temperature throughout.
- Check the internal temperature in the thickest part of the thigh. Remove the chicken from the grill once it reaches 175°F (79°C).
- Transfer to a cutting board and let it rest for 15 minutes before carving.
Oven Method (Peruvian Chicken in the Oven)
- Preheat your oven to 425°F (220°C).
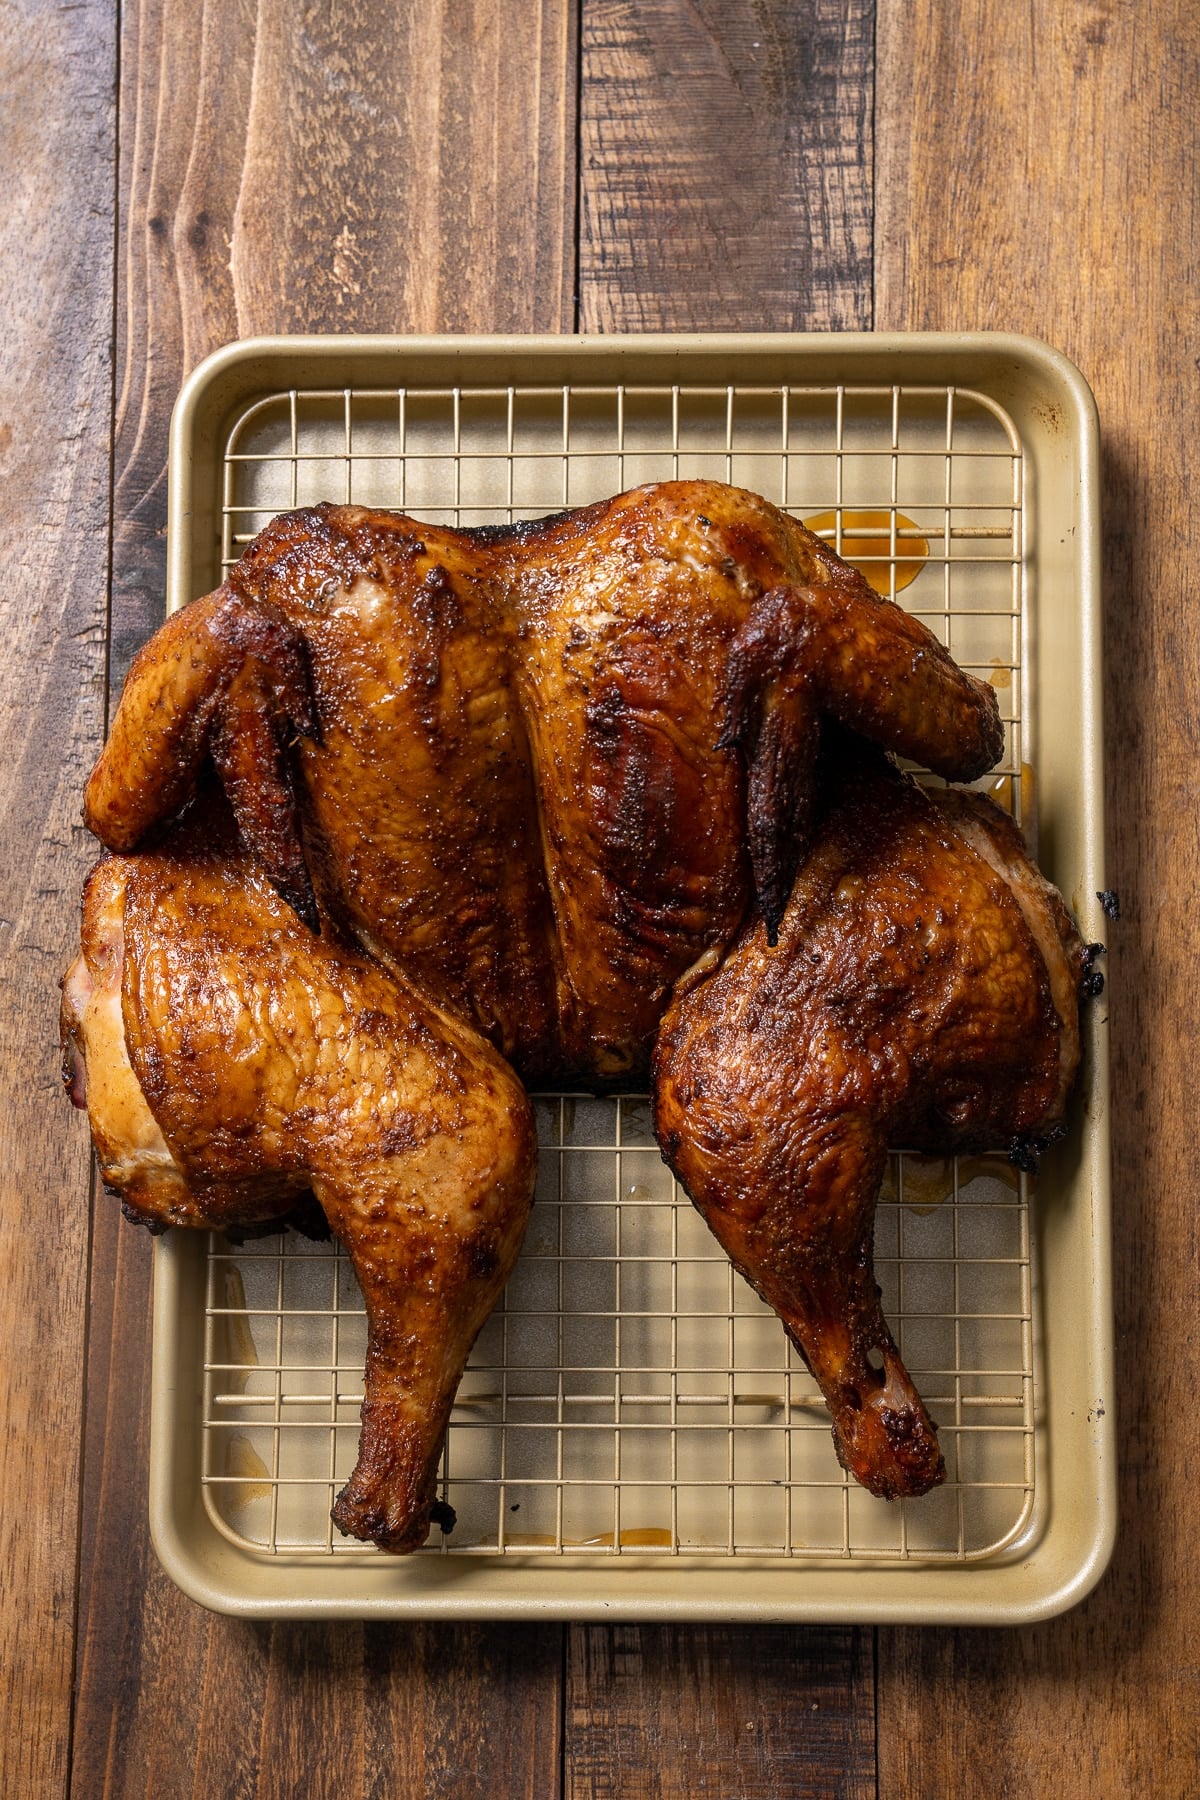
- Set a wire rack over a rimmed baking sheet. Place the chicken skin-side up on the rack.
- Roast for 45 to 55 minutes.
- If the skin is not dark enough at the end, switch the oven to broil on high for the last 1 to 2 minutes. Watch it closely.
- Remove when the internal temperature in the thickest part of the thigh reads 175°F (79°C).
- Rest for 15 minutes before carving.
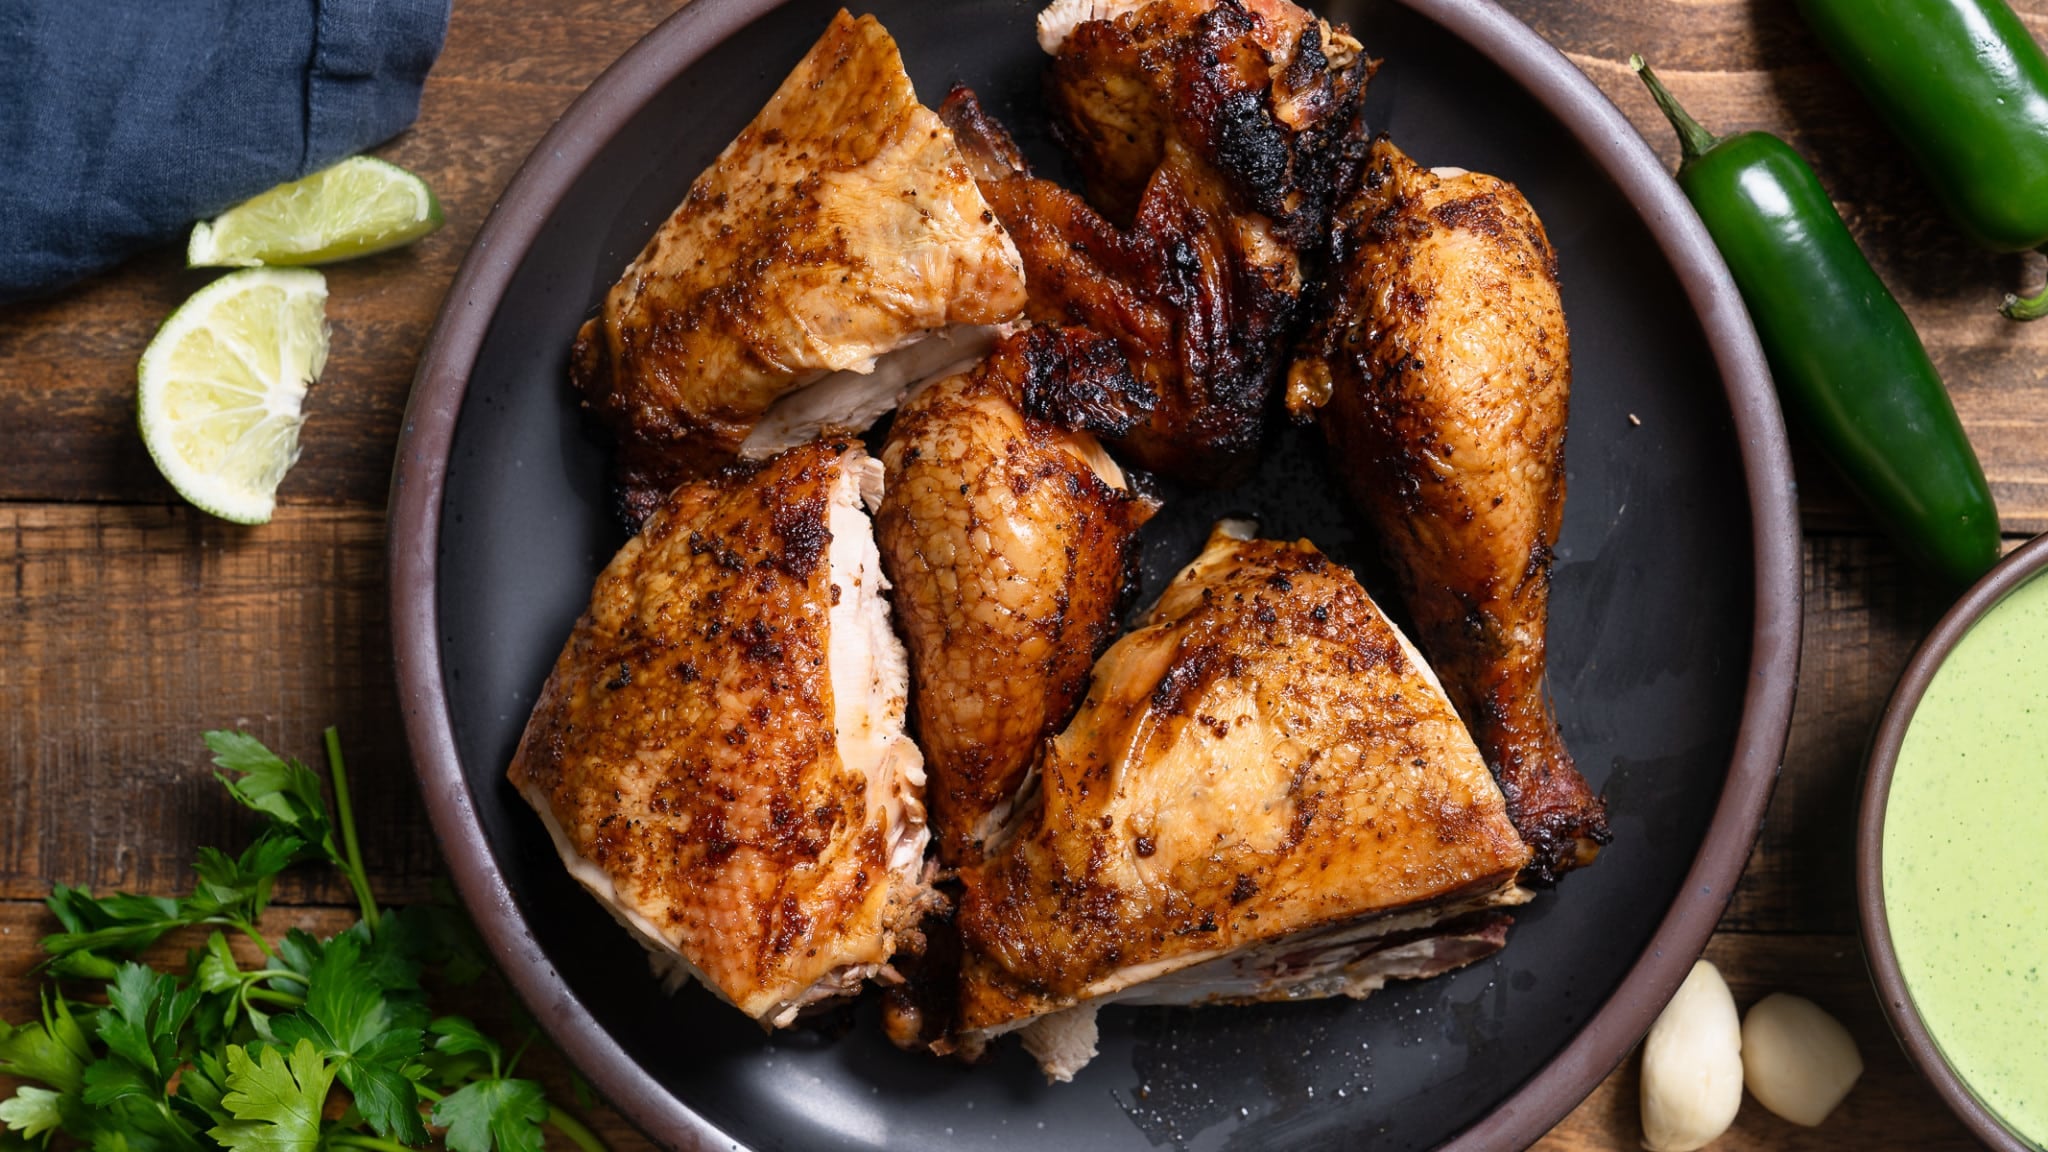
Step 5: Rest and Carve. Transfer the cooked chicken to a cutting board and let it rest for at least 15 minutes before cutting. This allows the juices to redistribute and keeps the meat moist. Then cut it into pieces and serve with your preferred sauce.
For Serving
Peruvian Green Sauce (Aji Verde): The classic pairing. Creamy, herby, and spicy, it is the sauce this chicken was made for.
Aji amarillo sauce: If you can find aji amarillo paste at a Latin grocery or online, the yellow sauce made from it is incredible with this chicken. Bright, fruity, and mildly spicy.
French fries: In Peruvian restaurants, pollo a la brasa almost always comes with fries. My Crispy Oven-Baked Fries or Air Fryer French Fries are both great options. You could also serve it with yellow rice and beans.
Variations
- Chicken thighs or quarters: If you prefer dark meat only or want a faster cook, bone-in skin-on chicken thighs or quarters work really well with this marinade. Reduce oven time to about 35 to 40 minutes at 425°F (220°C).
- Spicier version: Add a tablespoon of aji amarillo paste or aji panca paste to the marinade. Both are worth tracking down at a Latin grocery store or online. They add a fruity, mildly spicy depth that is really distinct.
- Air fryer version: I have a whole post dedicated to this method. Check out my Air Fryer Whole Chicken (Peruvian Style).
- Gluten free: Swap the soy sauce for tamari or coconut aminos.
What to Do With Leftover Peruvian Chicken
One of my favorite uses is chicken salad. Pull the meat off the bone and use it in my Creamy Rotisserie Chicken Salad Recipe. The seasoned Peruvian chicken adds a whole new flavor dimension to a simple chicken salad. Also great chopped over rice bowls or tossed into a quick soup.
Make Ahead and Storage
- Make ahead: You can marinate the chicken up to 24 hours in advance. The longer it marinates, the better the flavor.
- Storage: Store leftover cooked chicken in an airtight container in the refrigerator for up to 4 days.
- Freezing: Cooked chicken can be frozen for up to 3 months. Let it cool completely, then store it in a freezer-safe bag or container.
- Reheating: Reheat in a 350°F (175°C) oven for 10 to 15 minutes, or in an air fryer at 350°F (175°C) for 5 to 7 minutes, to restore some crispiness to the skin.
Tanya's Top Tips
- Pat the chicken completely dry before rubbing on the marinade. Moisture is the enemy of crispy skin.
- Use a meat thermometer. Pull the chicken when the thighs reach about 175°F (79°C), and let carryover cooking finish during the 15-minute rest.
- Get the marinade under the skin, not just on top. Use your fingers to loosen the skin over the breast and thighs, and rub it directly onto the meat.
- Save the backbone when you spatchcock. It makes excellent chicken stock. When grilling, I throw the backbone on the grill to roast it while the chicken cooks.
FAQs
The bone-in version is strongly recommended here. The bones contribute to flavor during the long cook, and the skin gives you that signature crispy exterior. Boneless chicken also cannot hold up to a long marinade without the texture breaking down.
No, but I recommend it. A whole, unspatchcocked chicken will take longer to cook. Spatchcocking reduces the cook time.
I hope you love this Peruvian chicken recipe as much as we do. If you are looking for more bold, flavorful chicken dinners, try these:
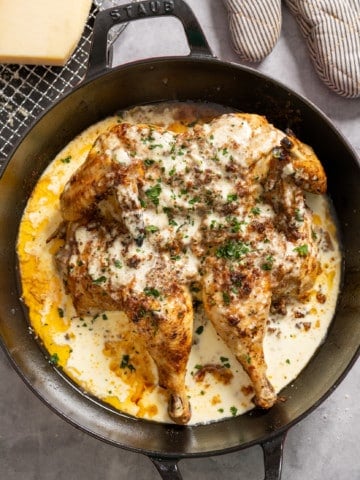
- Spatchcocked Garlic Parmesan Chicken: Another great use of the spatchcock technique.
- Copycat Chipotle Chicken Recipe: If you love a bold, marinated chicken, this one is for you.
- Classic Roasted Chicken: no-fuss whole chicken with crispy golden skin and juicy, flavorful meat.
Peruvian Chicken Recipe (Pollo a la Brasa)
Ingredients
Equipment

Instructions
- Add the olive oil, lime juice, garlic, soy sauce, cumin, paprika, oregano, brown sugar, salt, and pepper to a small blender or food processor and blend until smooth. The marinade will be thick and fragrant.
- Pat the spatchcocked chicken completely dry with paper towels. Rub the marinade under the skin of the breast and thighs, then coat the entire exterior.
- Place in a zip-top bag or covered dish and refrigerate for at least 2 hours, up to 24 hours.
- Remove the chicken from the refrigerator about 30 minutes before cooking so it comes closer to room temperature.
- Preheat the grill to 375°F (190°C) and set it up for indirect heat.
- Place the chicken skin-side up over the indirect heat. Close the lid.
- Cook for 45 to 60 minutes, maintaining a steady temperature throughout.
- Check the internal temperature in the thickest part of the thigh. Remove the chicken from the grill once it reaches 175°F (79°C).
- Transfer to a cutting board and let rest for 15 minutes before carving.
- Remove the chicken from the refrigerator about 30 minutes before cooking so it comes closer to room temperature.
- Preheat the oven to 425°F (220°C). Set a wire rack over a rimmed baking sheet.
- Place the chicken skin-side up on the rack. Roast for 45 to 55 minutes.
- If the skin is not dark enough at the end, switch the oven to broil on high for the last 1 to 2 minutes. Watch it closely.
- Check the internal temperature in the thickest part of the thigh and remove the chicken once it reaches 175°F (79°C).
- Transfer to a cutting board and let rest for 15 minutes before carving.
Nutrition
Notes
- Overnight marinating (12 to 24 hours) gives the deepest flavor.
- Pat the chicken very dry before applying the marinade, and cook over indirect heat for even browning.
- Temperature: For this recipe, I like to cook dark meat a bit higher. Use a meat thermometer and remove the chicken when the thighs reach 175°F (79°C).
- Spice it up: For a spicier version, add 1 tablespoon aji amarillo paste or aji panca paste to the marinade.
- Storage: Store leftovers in an airtight container in the refrigerator for up to 4 days.

Leave a Reply