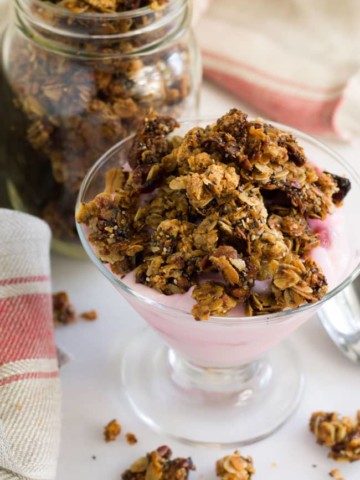
This breakfast granola recipe is not only delicious, it's healthy and super easy to make. Make your own batch in less than an hour.
This post contains affiliate links, please read my full disclaimer here.
You’ll find the full recipe with ingredient amounts and instructions in the recipe card at the bottom of this post. Be sure to check out the blog post itself for extra tips and tricks!
It's super hard for me to get the energy to eat breakfast in the morning before work. Like seriously, I know it's extremely important to eat a healthy breakfast so your brain can function but I usually just don't have an appetite early in the morning. Am I the only one with this problem? Anyways, I strive for ways to get breakfast in my belly without too much fuss. Like seriously, not trying to cut the stove on in the AM before work. which is why make ahead breakfast recipes, like these Oatmeal Raisin Breakfast Cookies and this Strawberry Baked Oatmeal are perfect for me or anyone else who struggles with making breakfast before work. Oh le struggle!
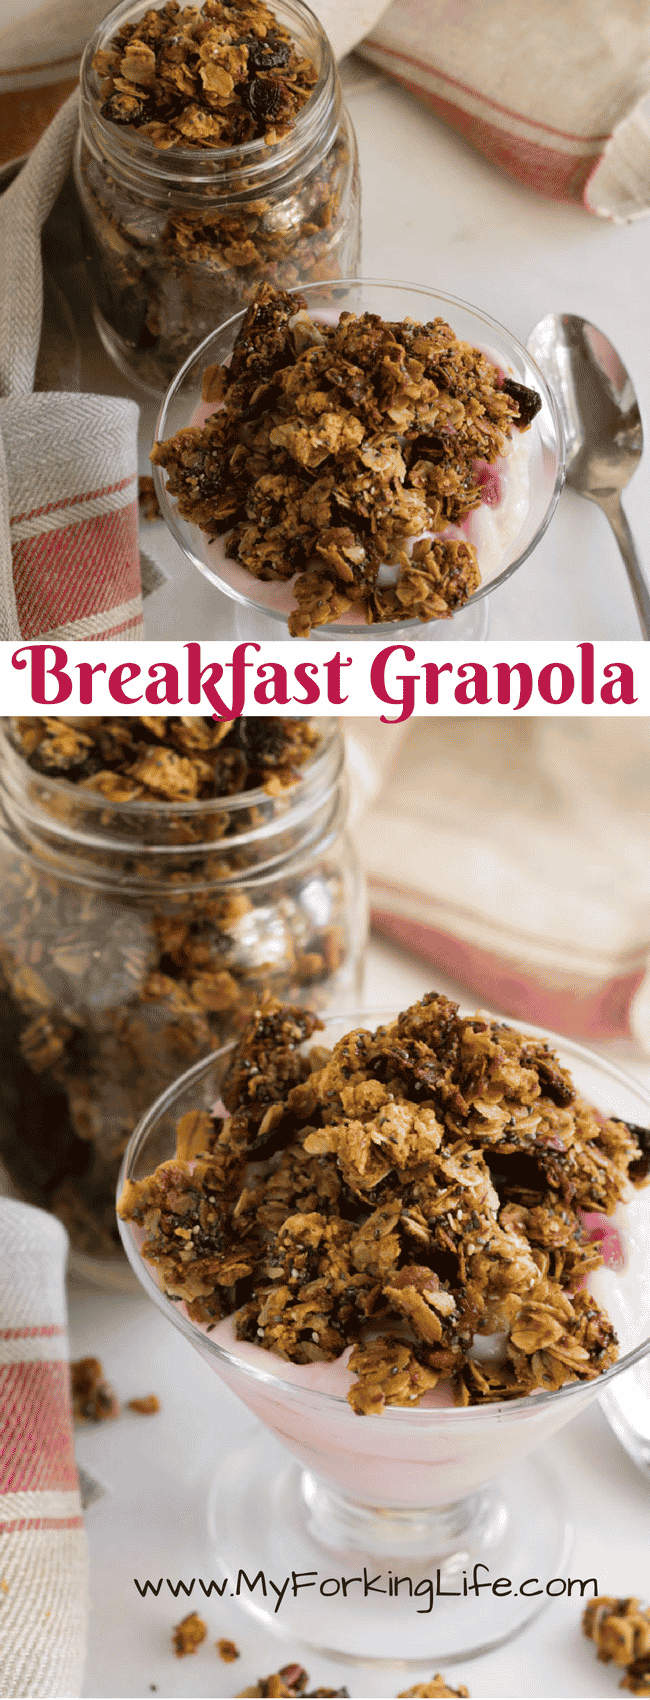
The beautiful thing about this breakfast granola recipe is that it can be made ahead and stored. I like to make my breakfast granola on the weekend and eat it throughout the week. I store it for about a week but it usually doesn't even last that long. I eat this stuff for breakfast and snack.
It's also healthy! ok ok, yes it has white chocolate chips which may not be the healthiest thing on the planet, but with chia seeds and wheat germ added, I think it makes up for it.
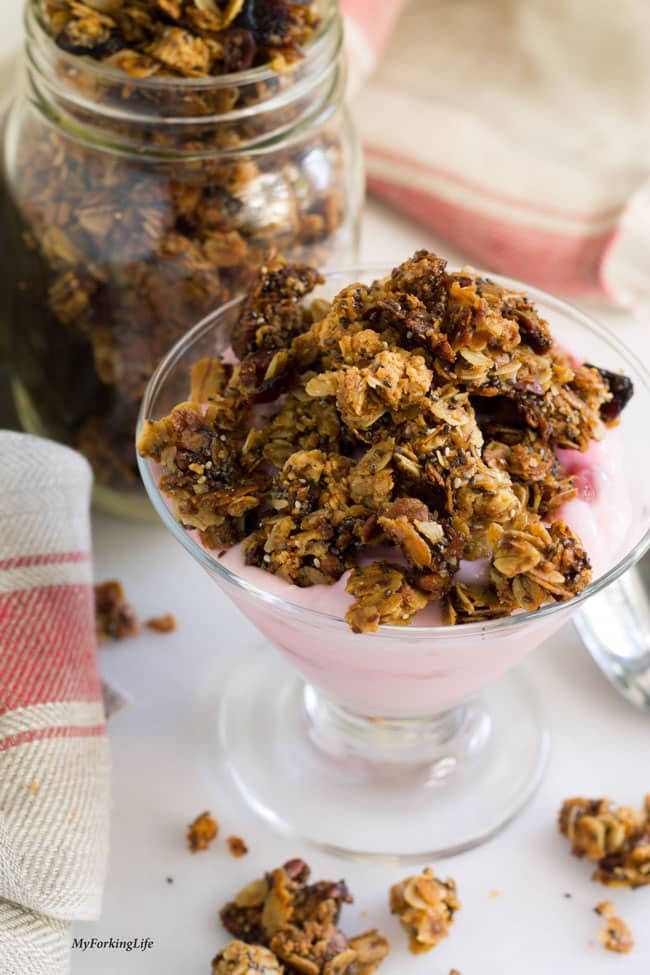
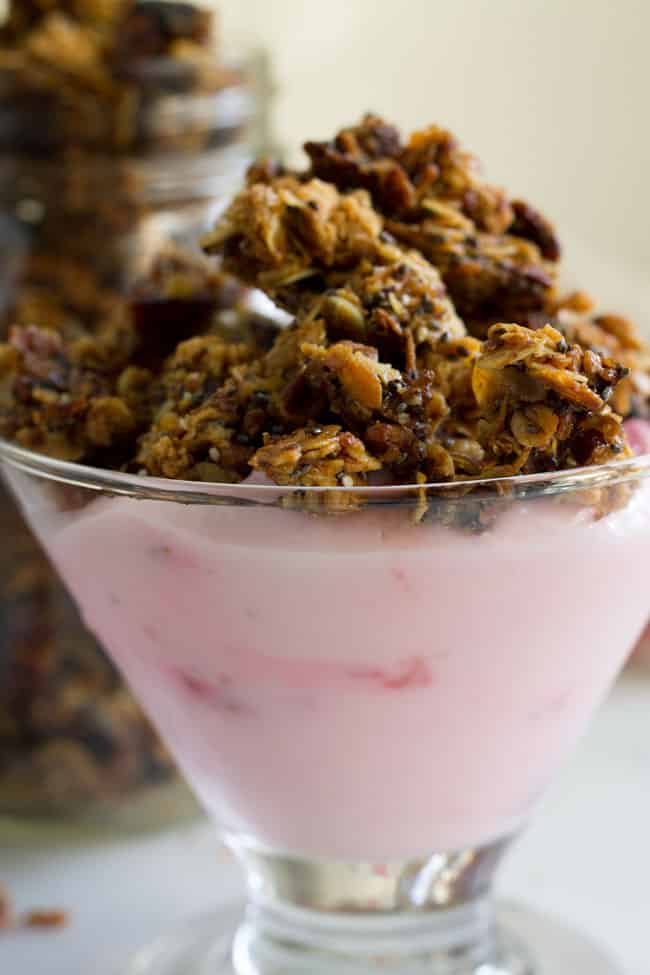
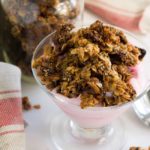
I like to pile a ton of this healthy breakfast granola on yogurt or put it in milk and eat it as cereal. It can be eaten alone if that's your thing but I'm a big fan of dairy. So bring on the milk and yogurt.
Notes on Breakfast Granola Recipe
- Feel free to swamp out few of the ingredients. For example, if you hate white chocolate chips, use milk chocolate chips in this breakfast granola. But seriously, who in the world would hate white chocolate chips??
- Be careful not to burn the granola. If it stays in the oven too long, it will have burnt taste to it. I start to check around 20 minutes to ensure it doesn't cook for too long.
- I like to store my breakfast granola in mason jars . Keeps it nice and crunchy.
- This would make perfect Christmas gifts. Seriously, bake up a batch, place them in mason jars, wrap a nice ribbon around it and give it to your coworkers and friends. They will love you for it! Your wallet will love you too!
Breakfast Granola Recipe
Ingredients
- 2 cups rolled oats
- ½ cup chopped pecans
- ½ cup dried cranberry
- ¼ cup wheat germ
- ¼ cup chia seeds
- ⅓ cup honey + 2 Tbsp
- ¼ cup grape seed oil
- ¼ teaspoon salt
- ¾ cup white chocolate chips
Instructions
- Preheat oven to 350 degrees F.
- Place oats on baking sheet with parchment paper and bake for 10 minutes. Place in bowl.
- Place chopped pecans on baking sheet and bake for 10 minutes. Place in same bowl.
- Add dried cranberry, wheat germ, chia seeds, honey, and grape seed oil to bowl. Stir to combine.
- Add white chocolate chips and stir to combine.
- Place mixture on baking sheet and spread out. Bake in preheated oven for about 20-30 minutes, until fragrant and golden.
- Remove from oven and allow to cool. Break into chunks. Enjoy 🙂