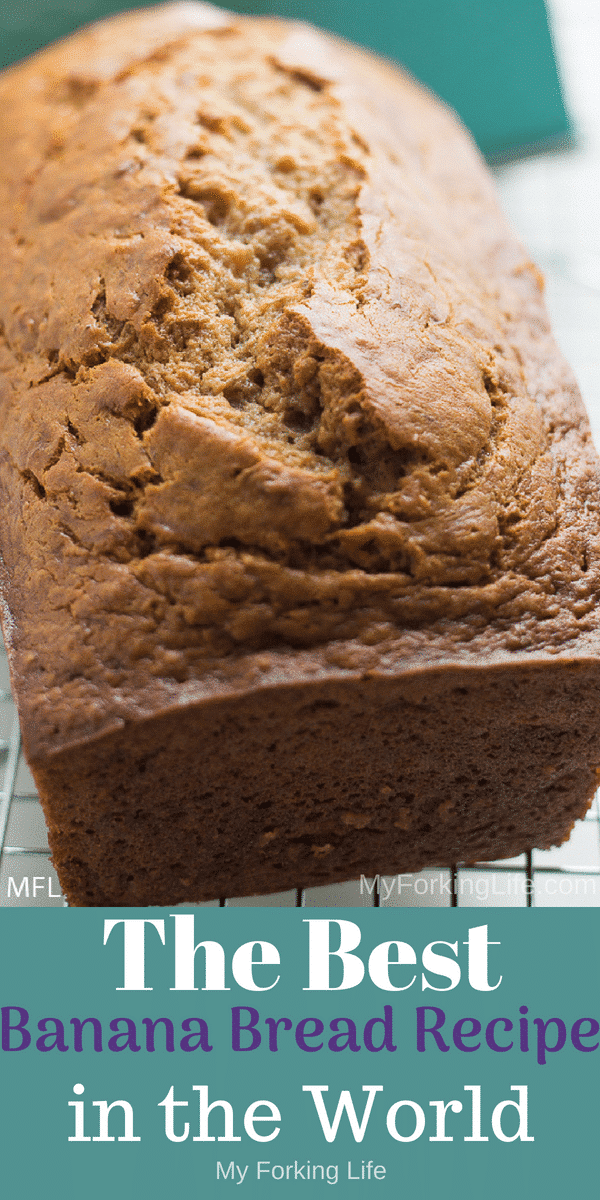
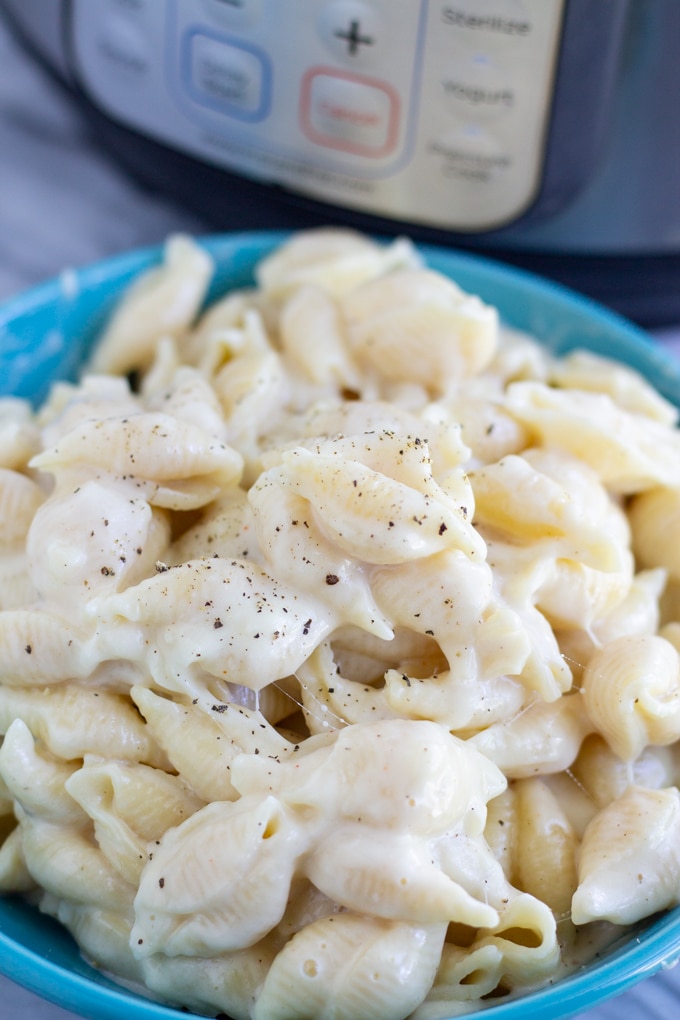
This White Cheddar Pressure Cooker Pasta is creamy, delicious, and so easy to make in your Instant Pot Pressure Cooker. Now you can have this elegant take on macaroni and cheese can be made in less than 20 minutes in one pot.
This post contains affiliate links, please read my full disclaimer here.
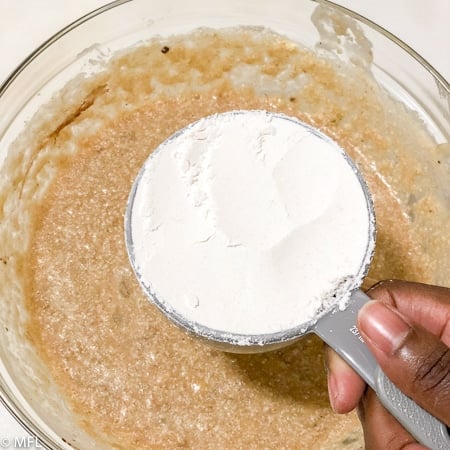
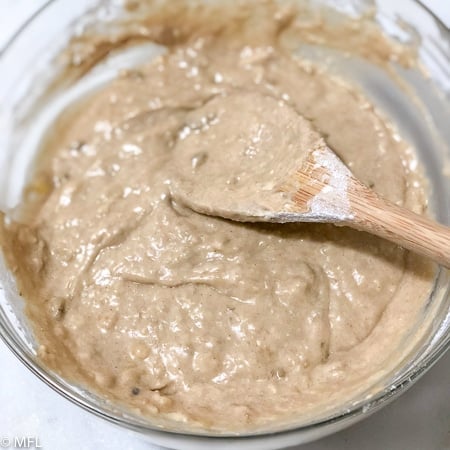
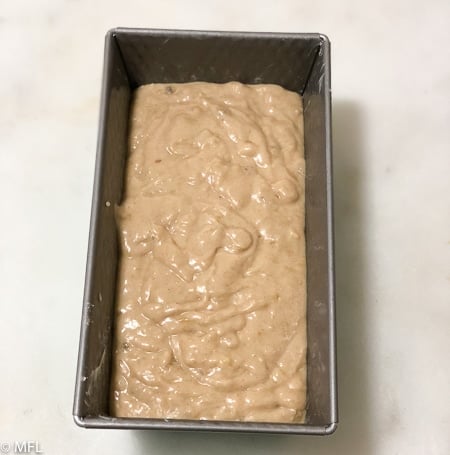
You’ll find the full recipe with ingredient amounts and instructions in the recipe card at the bottom of this post. Be sure to check out the blog post itself for extra tips and tricks!
I’ve always been a huge macaroni and cheese lover. Baked macaroni, stove top macaroni, slow cooker macaroni...you name it, I’ll eat it. I raved and raved all about my favorite Creamy Baked Macaroni and Cheese Recipe. And although I love this baked macaroni and cheese, I also love a good creamy stovetop pasta shell recipe.