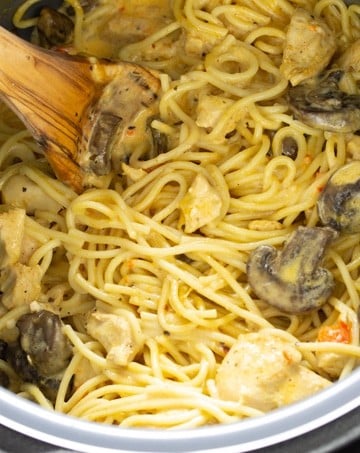
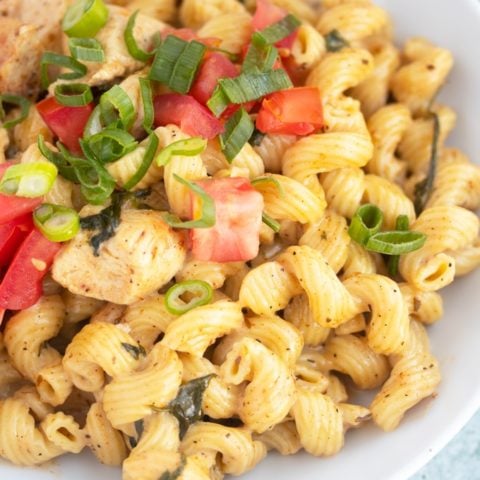
This Cheesy Instant Pot Chicken Spaghetti is a delicious easy meal that is perfect for weeknights. Make restaurant quality pasta all in one pot.

This post contains affiliate links, please read my full disclaimer here.
You’ll find the full recipe with ingredient amounts and instructions in the recipe card at the bottom of this post. Be sure to check out the blog post itself for extra tips and tricks!
I love making pasta in my electric pressure cooker. I’m sold, it works. There is no draining, awesome flavor, and it's seriously hands off.
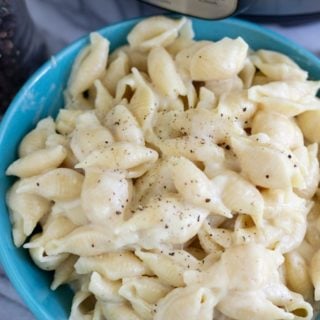
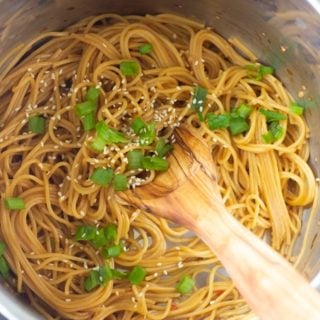
First it was this Pressure Cooker White Cheddar Pasta, then it was these Instant Pot Garlic Noodles, and now this Chicken Spaghetti Pasta in the Instant Pot.
I came up with this recipe after realizing that most people added chicken to my other pasta recipes. It was genius and I needed to go on ahead and make an all inclusive meal. So I thank you all 🙂
So about this chicken spaghetti recipe...It has mushrooms, chicken, and cheese which provides so much flavor. There is some sautéing involved but for the most part, it’s a dump it in the pot kind of meal.
How to Make Chicken Spaghetti in a Pressure Cooker
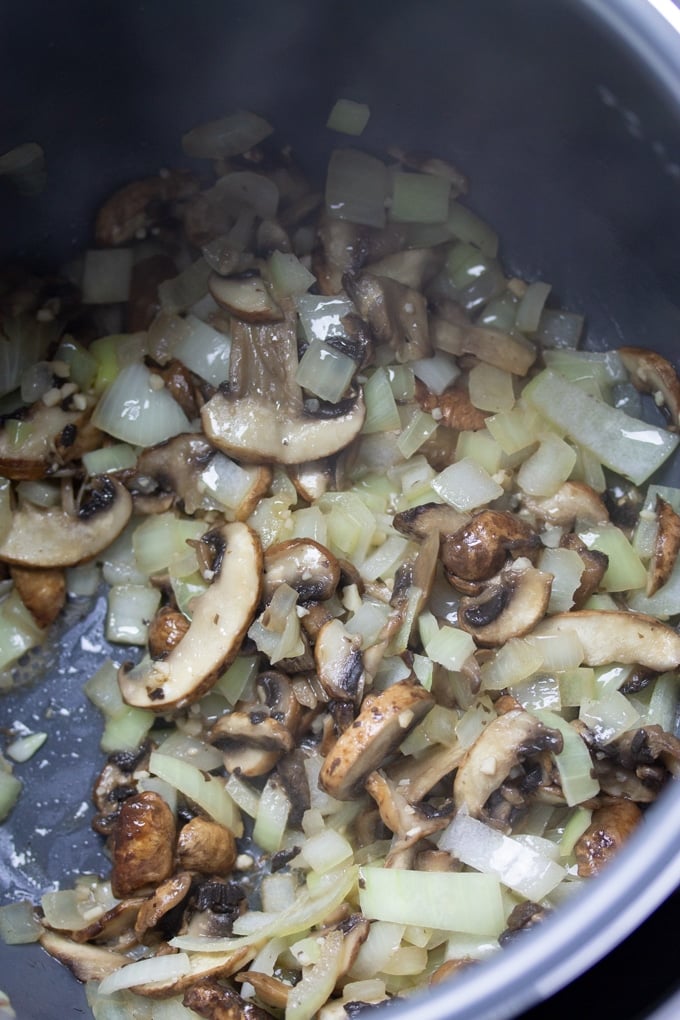
For this recipe, I like start with the "More" Sauté function on my Instant Pot. I sauté my onions, mushrooms, and garlic in butter until those onions and mushrooms are nice and softened, about 4-5 minutes. I call this step "flavor releasing" and I think it’s pretty crucial for this recipe.
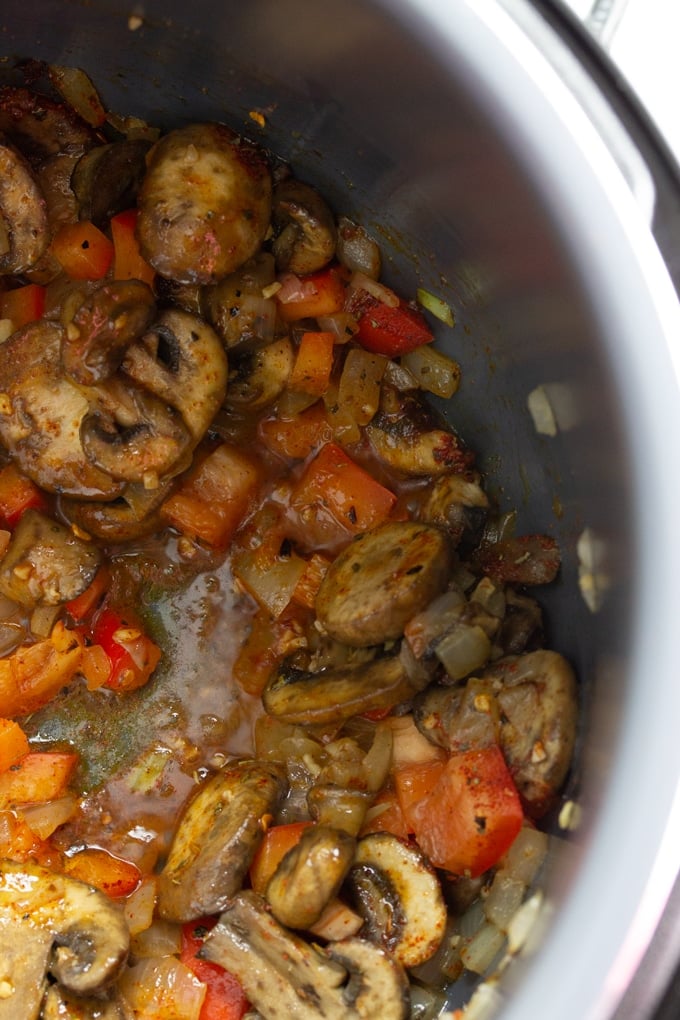
Once those veggies are nice and satueéd, I like to add my red bell pepper and dry seasonings. I give it a quick stir and then press “Cancel” on my Instant Pot.
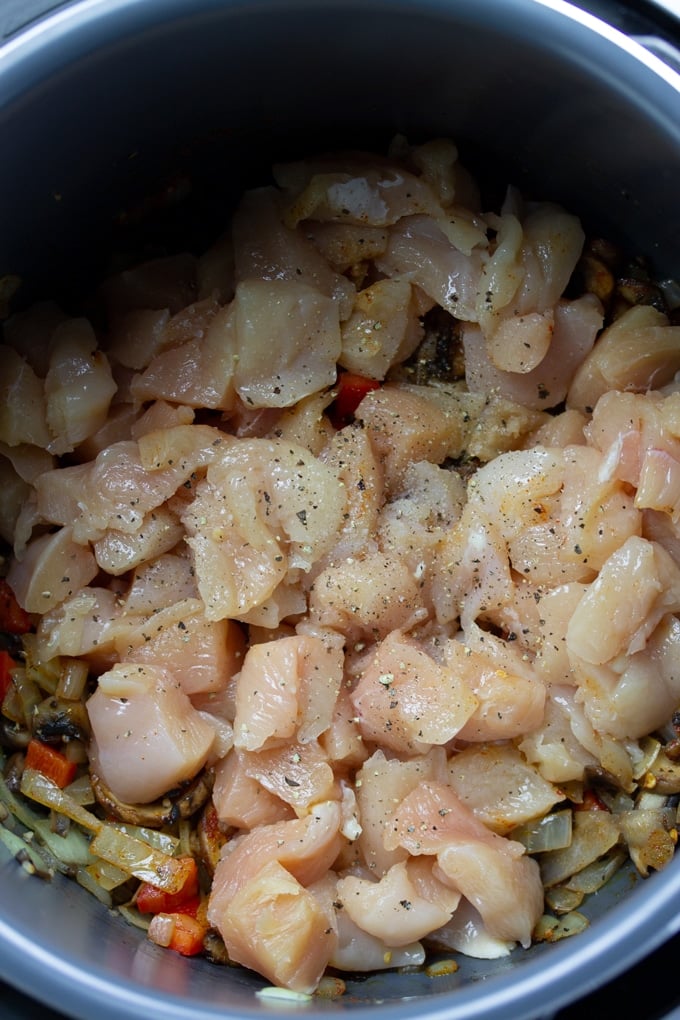
I then add my cut up chicken breast and lay it across the bottom of the pot over the onions and mushrooms. I do not sauté the chicken in this step. Fact is, since it’s chicken breast, it could easily overcook if I chose to sauté and then pressure cook these small chunks. They will get completely cooked during the pressure cook cycle. Plus, satueéing chicken breast at this stage wouldn’t add much of anything to the flavor profile of this dish.
Add a little bit of salt and pepper to the chicken pieces. I like to use a pinch of salt and a couple of twist on my fresh black pepper mill.
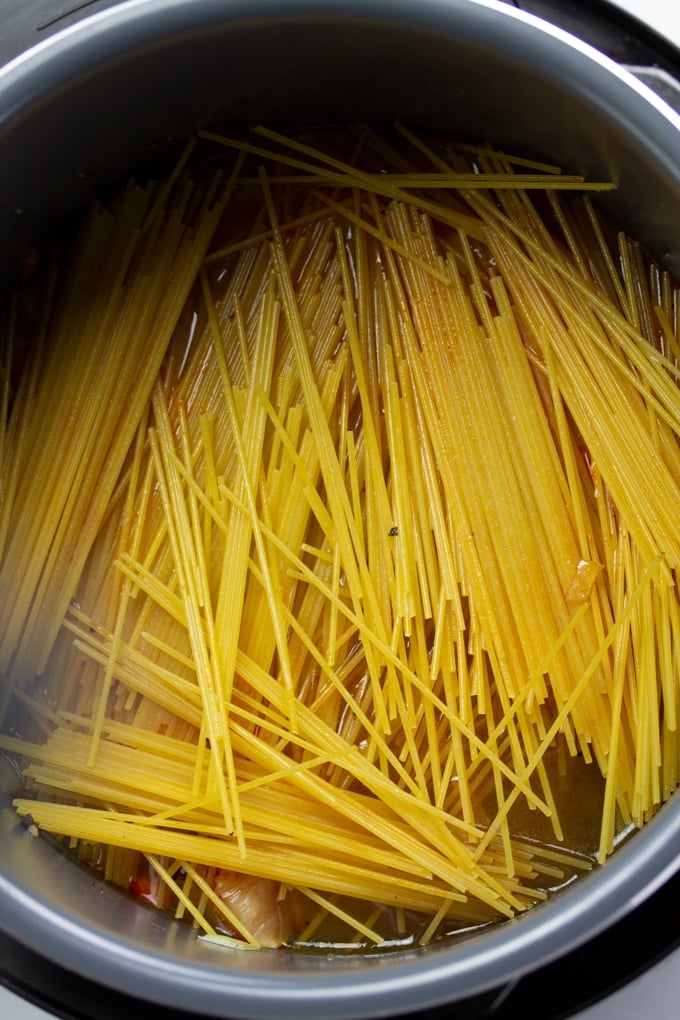
Pour in your chicken broth and lay your pasta pieces on top in a fan like way. This will help with your noodles so they don’t stick. Lightly push the noodles down and try to get the liquid to cover them all. It’s ok if the noodles are not completely submerged in the liquid.
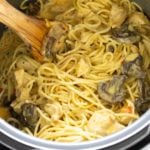
Cover, and cook on high pressure for 6 minutes. Once that time is complete, slowly move the valve over and quick release. Open and begin to stir. Add heavy cream and cheese and stir until the noodles are separated and cheese has melted.
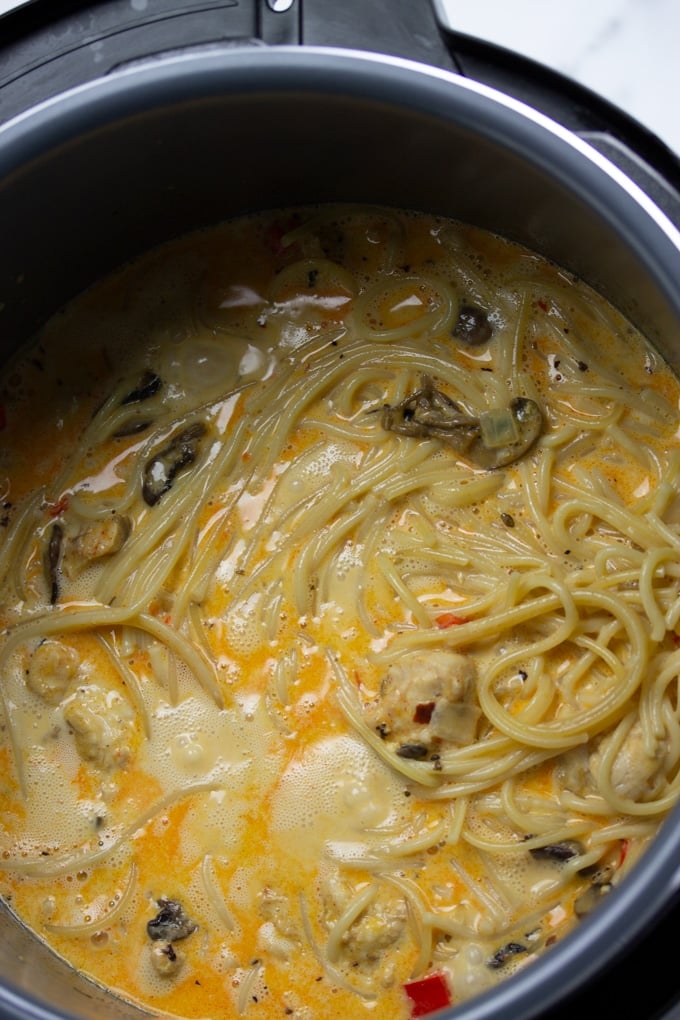
Press "Cancel" on your Instant Pot and select "Sauté." Allow pasta dish to simmer for 3-5 minutes, stirring to ensure that pasta doesn't stick to the bottom and sauce thickens.
Notes about Instant Pot Chicken Spaghetti Pasta
I’ve made this recipe in both my Instant Pot and Ninja Foodi and it’s worked well in both machines.
Some of your noodles will stick together after pressure cooking. You must stir like a champion as soon as you open that lid to make them break apart.
Some Instant Pot recipes that use heavy cream add the heavy cream before pressure cooking. It does work in some recipes and can and did work in this one. However, after testing it out both ways, I preferred to add the heavy cream in this recipe after pressure cooking.
Your pasta will be a little watery when you open it. I do recommend sautéing it for 3-5 minutes after you have added your heavy cream and cheese, remembering to stir so it doesn’t stick to the bottom. Your sauce will also thicken when it’s done cooking.
Other Pasta Recipes to Try:
Pin Instant Pot Chicken Spaghetti for Later

Instant Pot Pasta Recipes
Looking for more Instant Pot Pasta Recipes? Try these out:
Instant Pot Chicken Spaghetti
Ingredients
- 3 Tablespoon butter
- 1.5 lbs chicken breast cut into 1 inch pieces
- 8 oz baby bella mushrooms sliced
- 1 medium onion chopped
- ½ cup red bell pepper chopped
- 2 teaspoon garlic minced
- 1 teaspoon seasoned salt
- 1 teaspoon paprika
- ½ teaspoon dry basil
- ½ teaspoon red pepper flakes
- 2.5 cups chicken broth
- 10 oz thin spaghetti broken in half
- 1 cup heavy cream
- 2 cups medium cheddar cheese shredded
- Salt and pepper to taste
Instructions
- Select Sauté on your Instant Pot. Once Instant Pot says “HOT”, add your butter and melt it.
- Add onions, mushrooms, and garlic and stir. Cook until onions have softened, about 5 minutes.
- Add red bell pepper, seasoned salt, paprika, basil, red pepper flakes and stir. Press “Cancel” on Instant Pot.
- Lay chicken breast pieces in layer in the Instant Pot. Sprinkle with a pinch of salt and pepper. Pour in chicken broth. Spread spaghetti noodles in Instant Pot. Push down so it gets covered by liquid. Place lid on Instant Pot, ensuring that the valve is set to “Sealing.”
- Press "Pressure Cook" or "Manual" and select High Pressure for 6 minutes.
- Once timer is done, do a quick release by moving valve to “Venting”. Open lid and stir to loosen up noodles. Add heavy cream and cheese and continue to stir.
- Press “Cancel” and then select Sauté. Cook for about 3-5 minutes, stirring to thicken the sauce.
Video
Notes
Notes on Instant Pot Chicken Spaghetti
- Some of your noodles will stick together after pressure cooking. You must stir like a champion as soon as you open that lid to make them break apart.
- Some Instant Pot recipes that use heavy cream add the heavy cream before pressure cooking. It does work in some recipes and can and did work in this one. However, after testing it out both ways, I preferred to add the heavy cream in this recipe afterwards.
- Your pasta will look watery when you open it. I do recommend sautéing it for 3-5 minutes after you have added all your ingredients, remembering to stir so it doesn’t stick to the bottom. Your sauce will also thicken when it’s done cooking.