This Braised Lamb Recipe is slow-cooked until fall-apart tender with garlic, warm spices, and a touch of honey. It’s cozy, rich, and the kind of comforting roast that doesn’t ask for much hands-on time.
You’ll find the full recipe with ingredient amounts and instructions in the recipe card at the bottom of this post. Be sure to check out the blog post itself for extra tips and tricks!
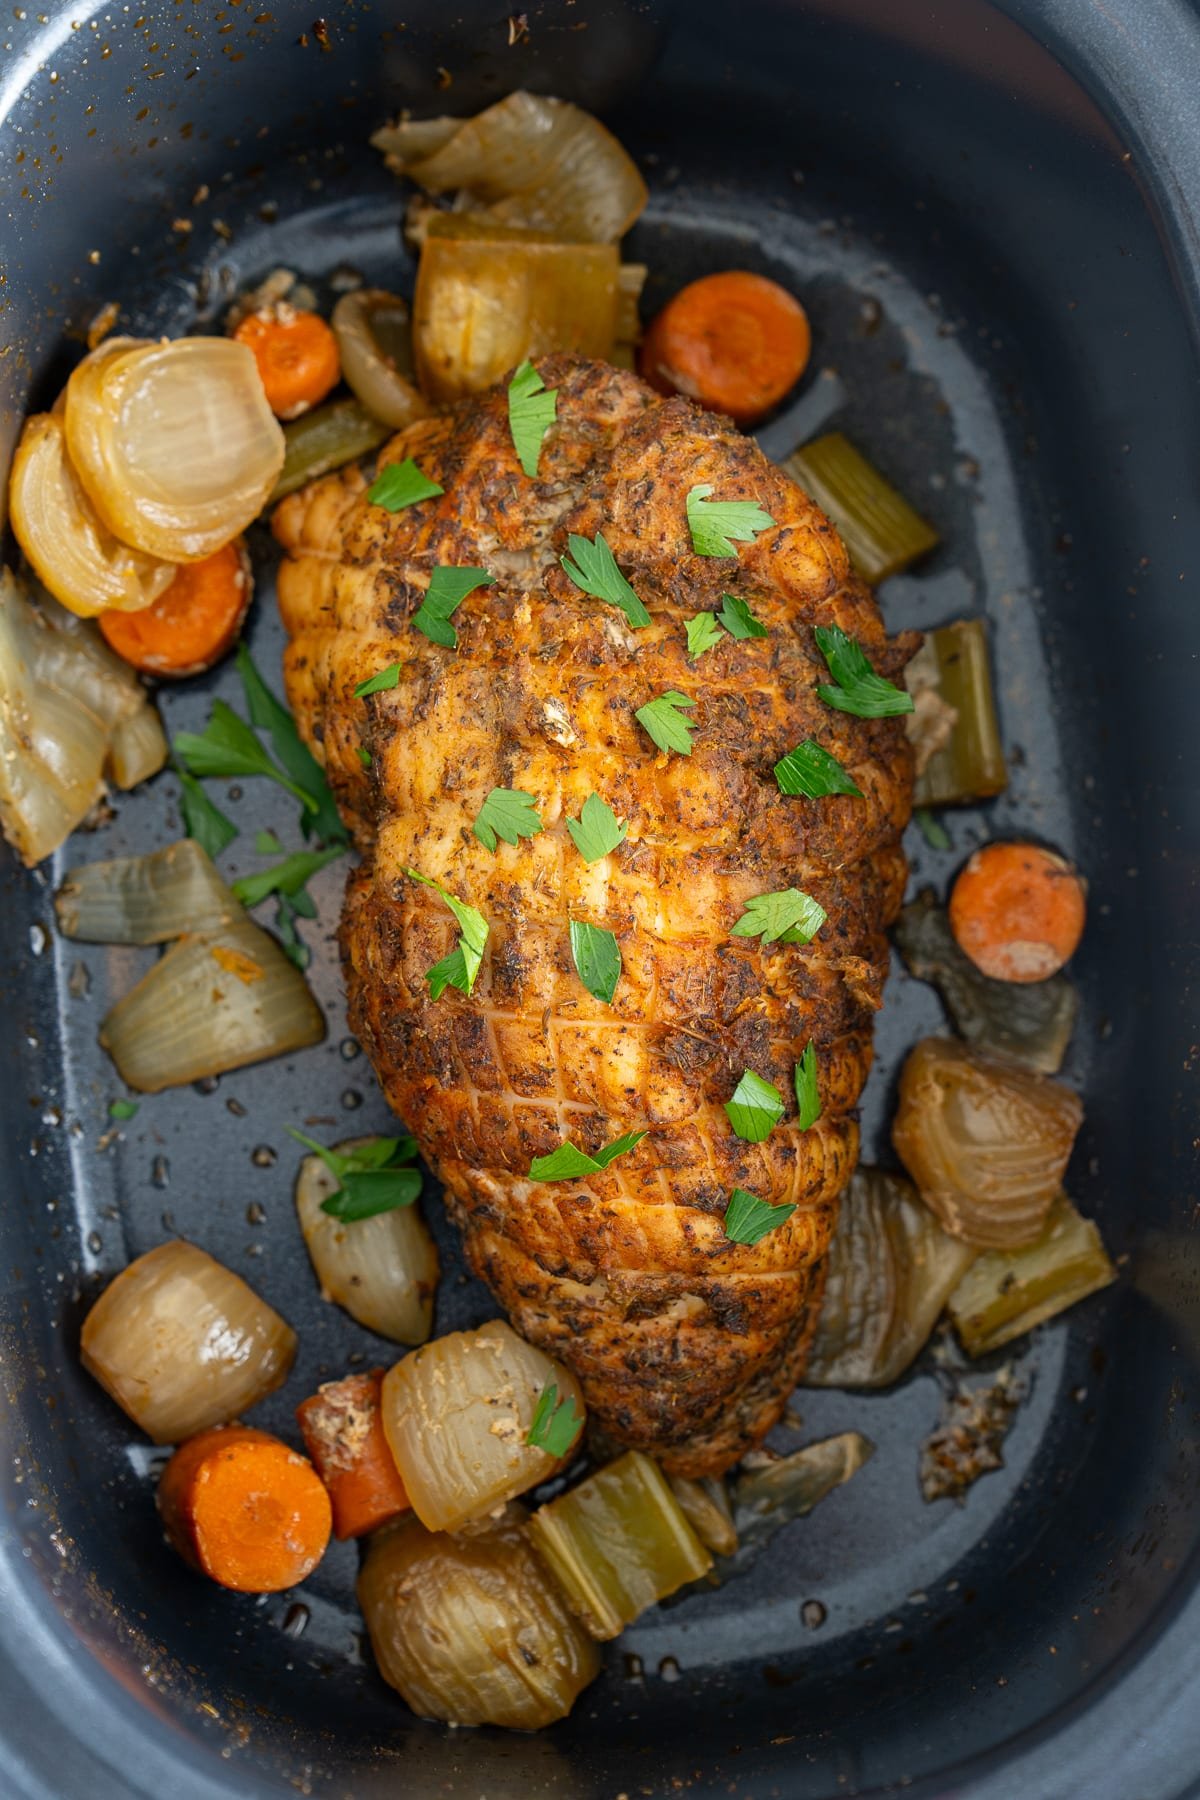
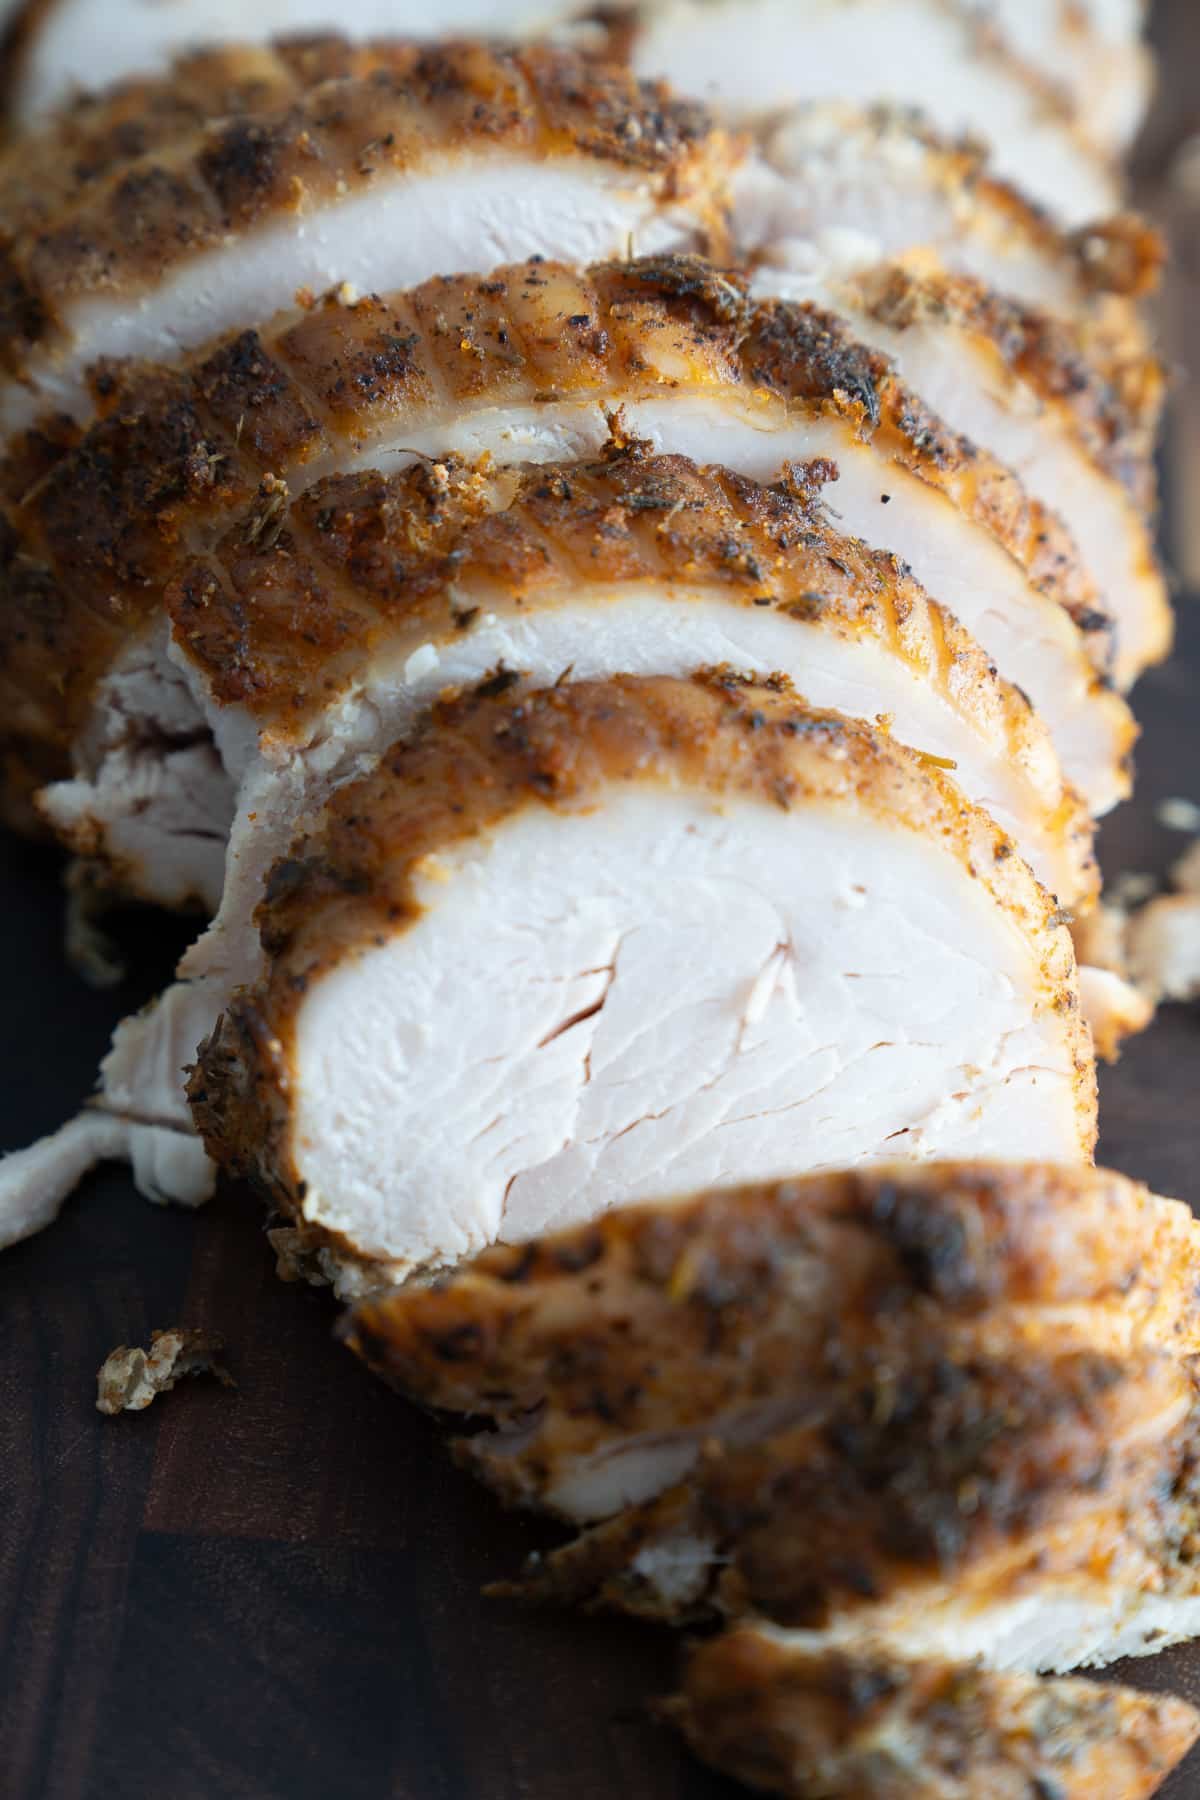
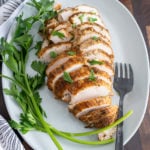
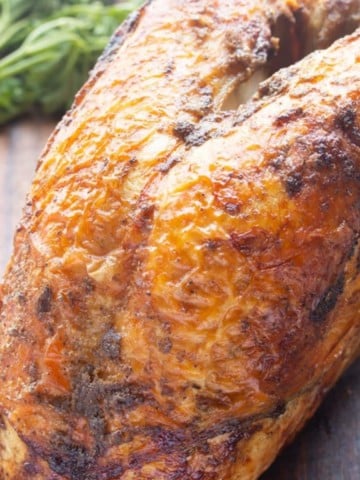
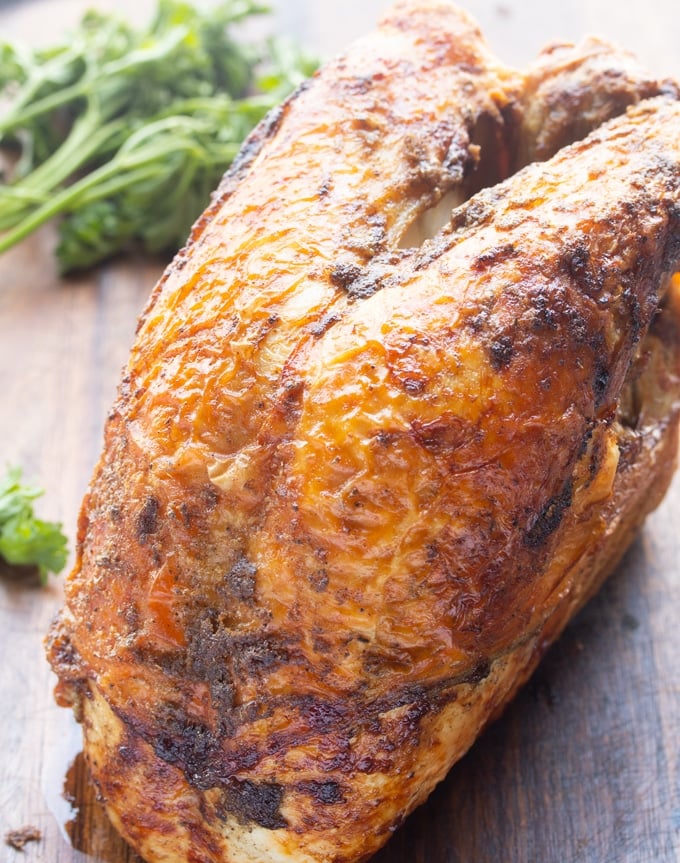
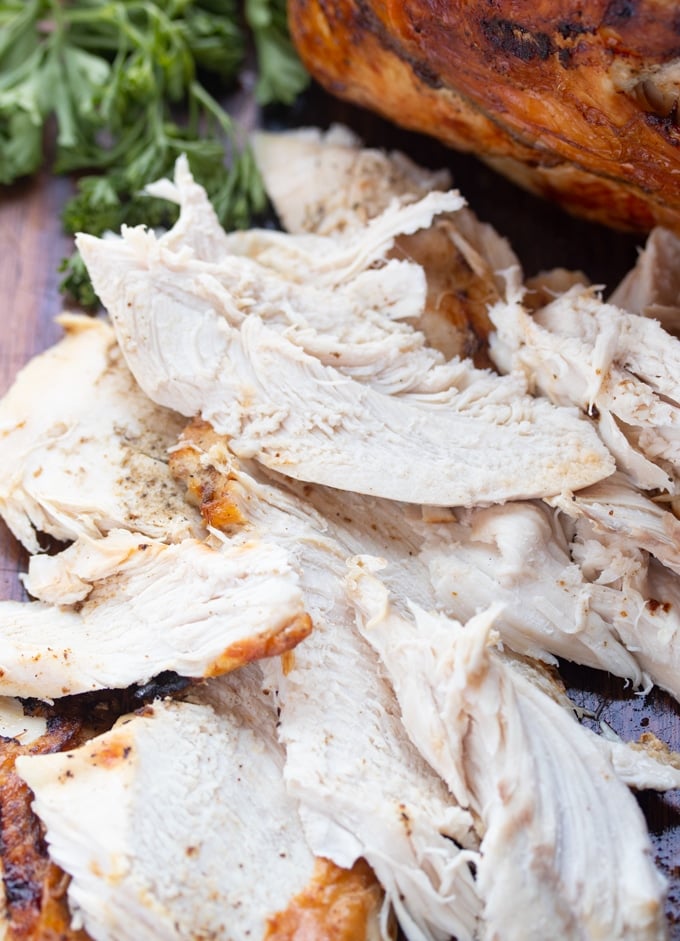
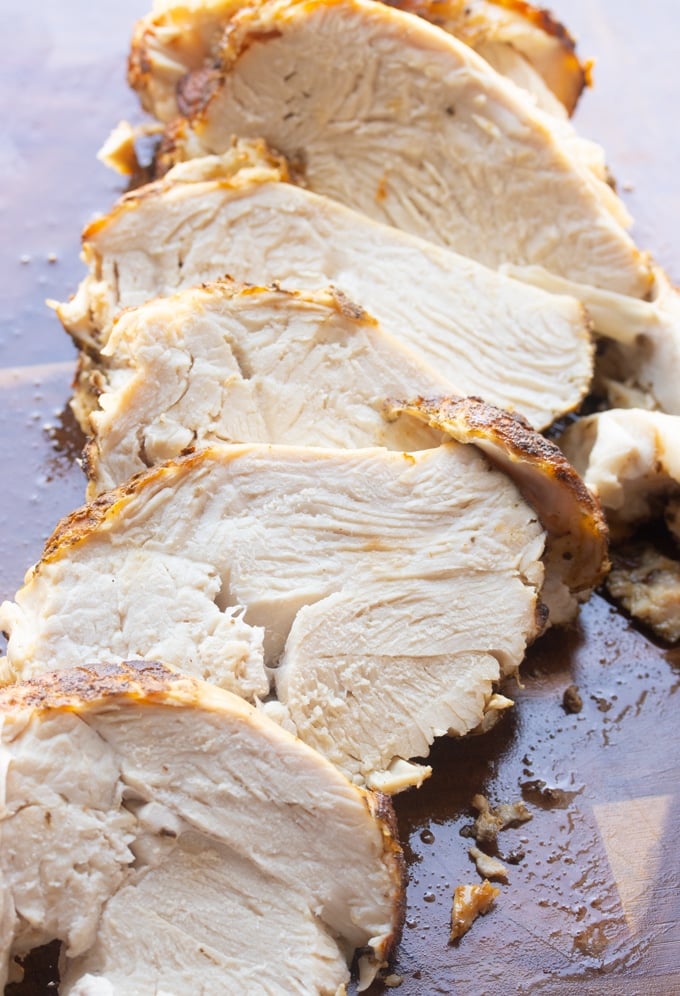
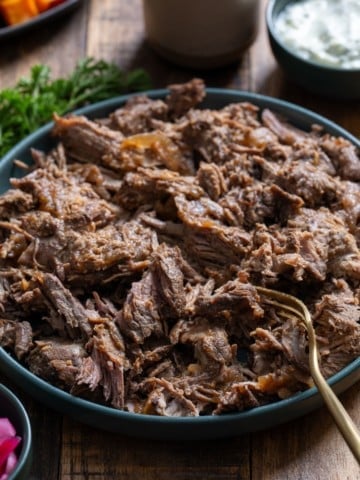
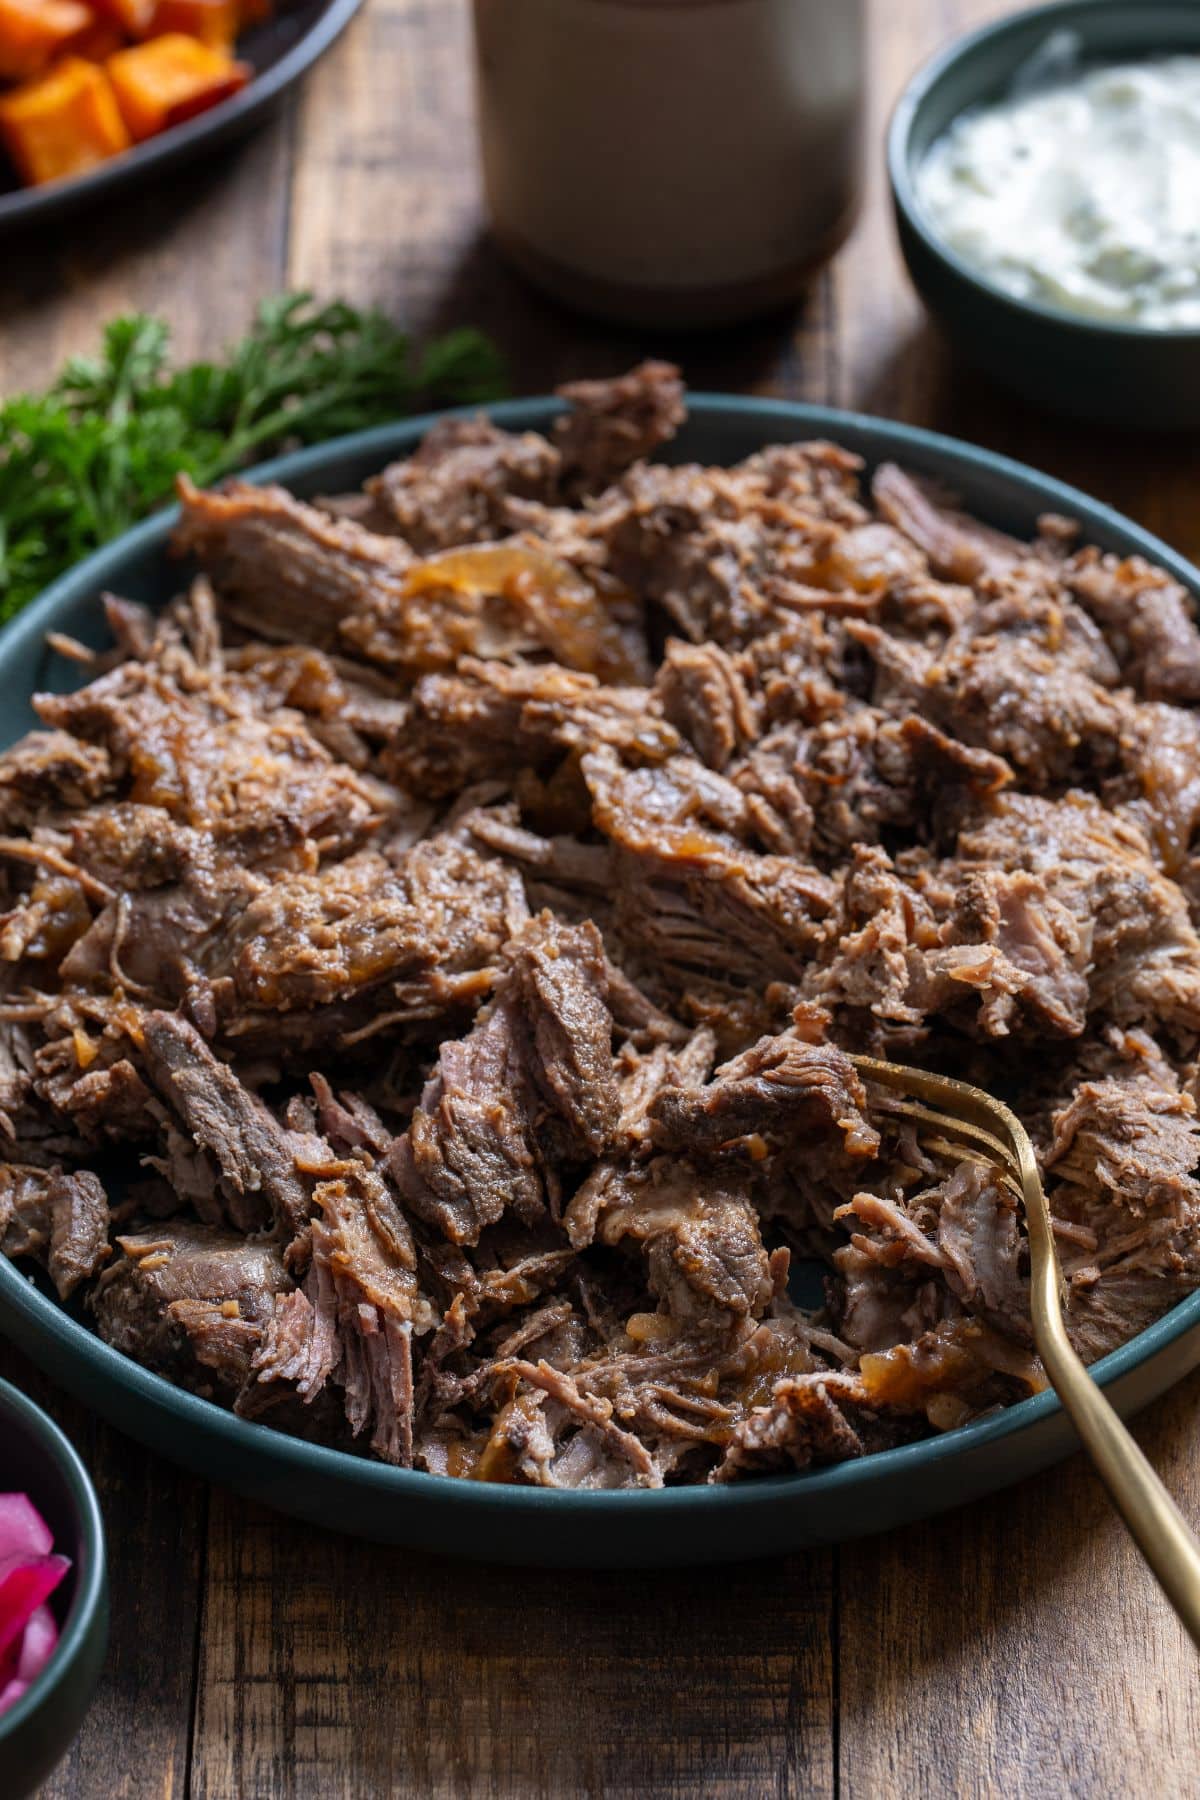
When you want a showstopping dinner that practically cooks itself, this braised lamb roast delivers deep, savory flavors with minimal hands-on time. The boneless leg of lamb becomes so tender after hours in the oven that it practically falls apart at the touch of a fork.
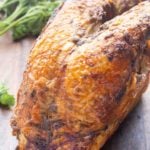
If you're a fan of lamb cooked until tender, you'll also love this roasted leg of lamb.

Inspired by a restaurant's braised lamb, I recreated the rich flavors at home. I cut a large boneless leg of lamb into six pieces for faster, even cooking, and sear for depth.
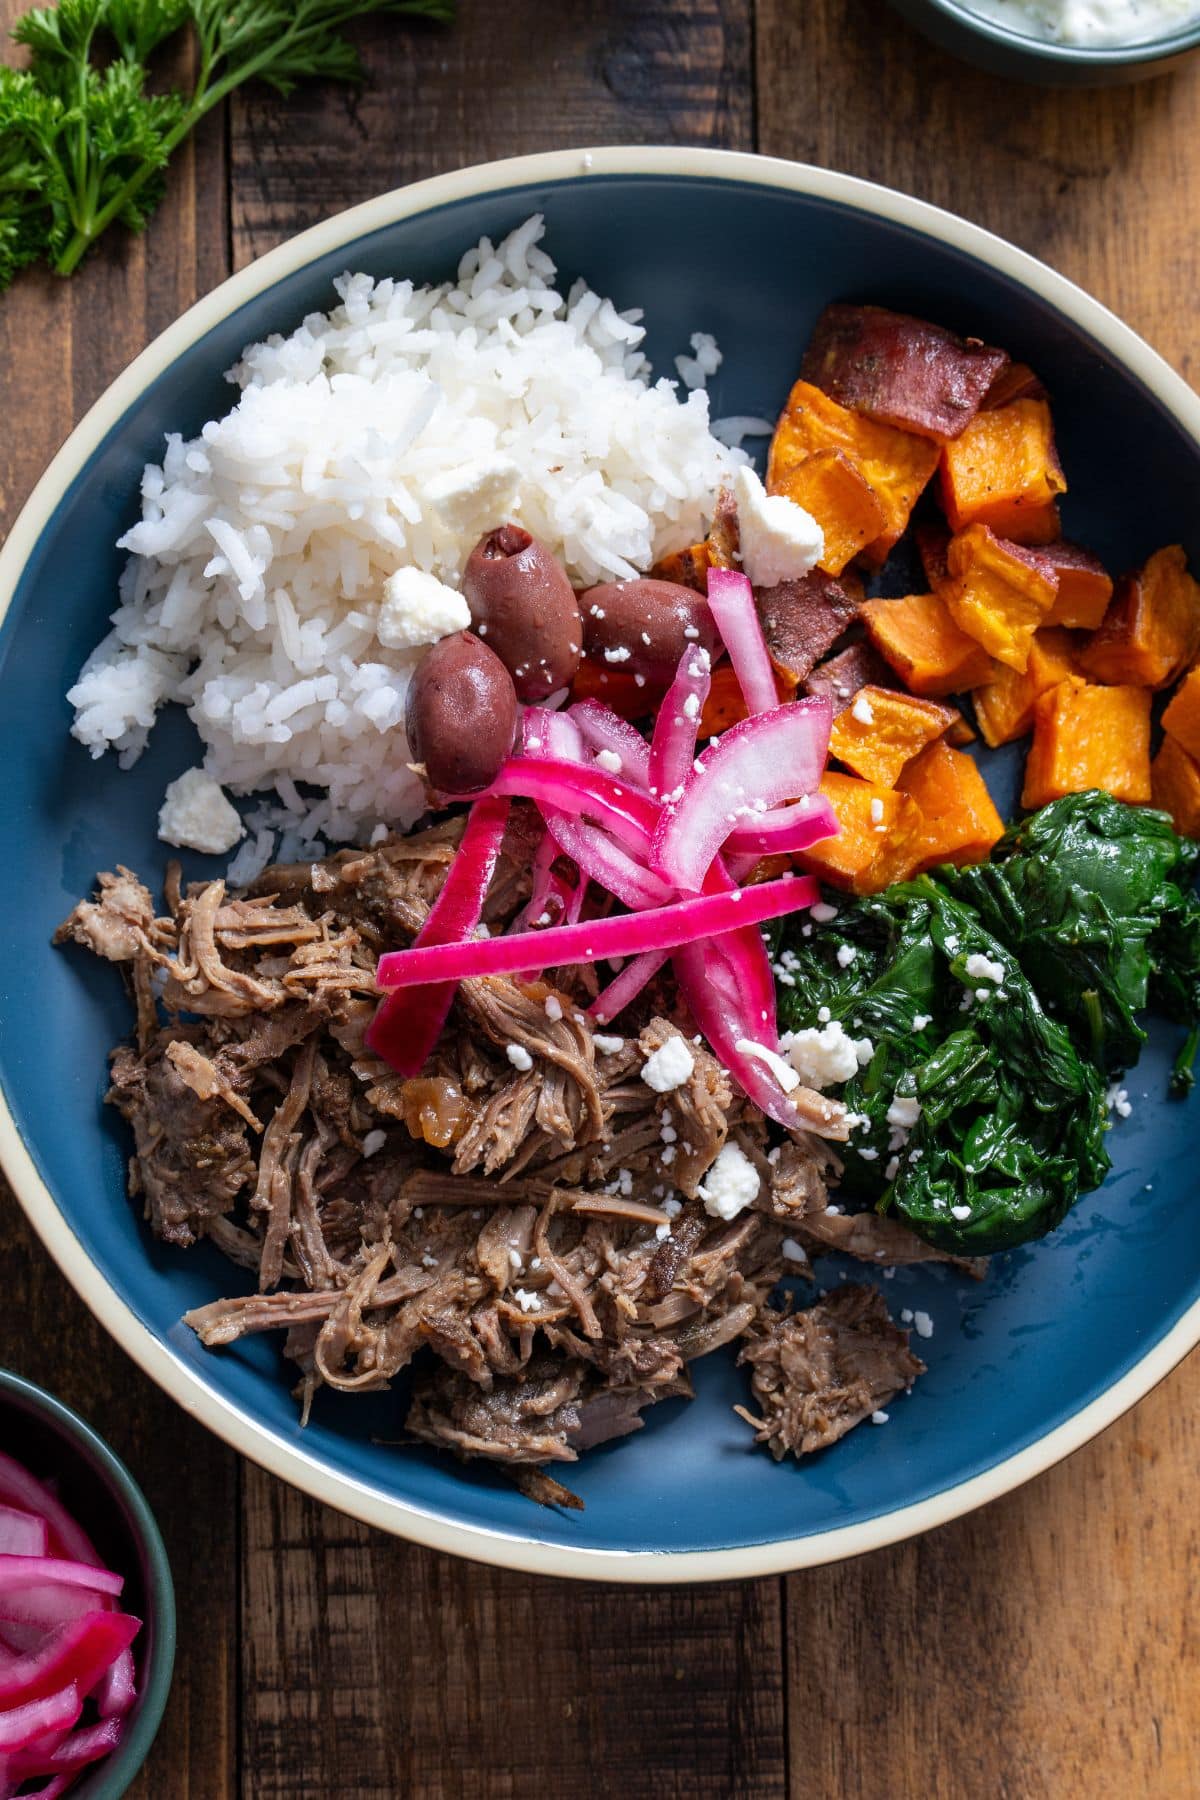
This lamb is perfect for special occasions or a cozy Sunday dinner. Serve it Mediterranean-style over rice with cucumbers, olives, and pickled onions for a flavorful meal.
♡ Tanya
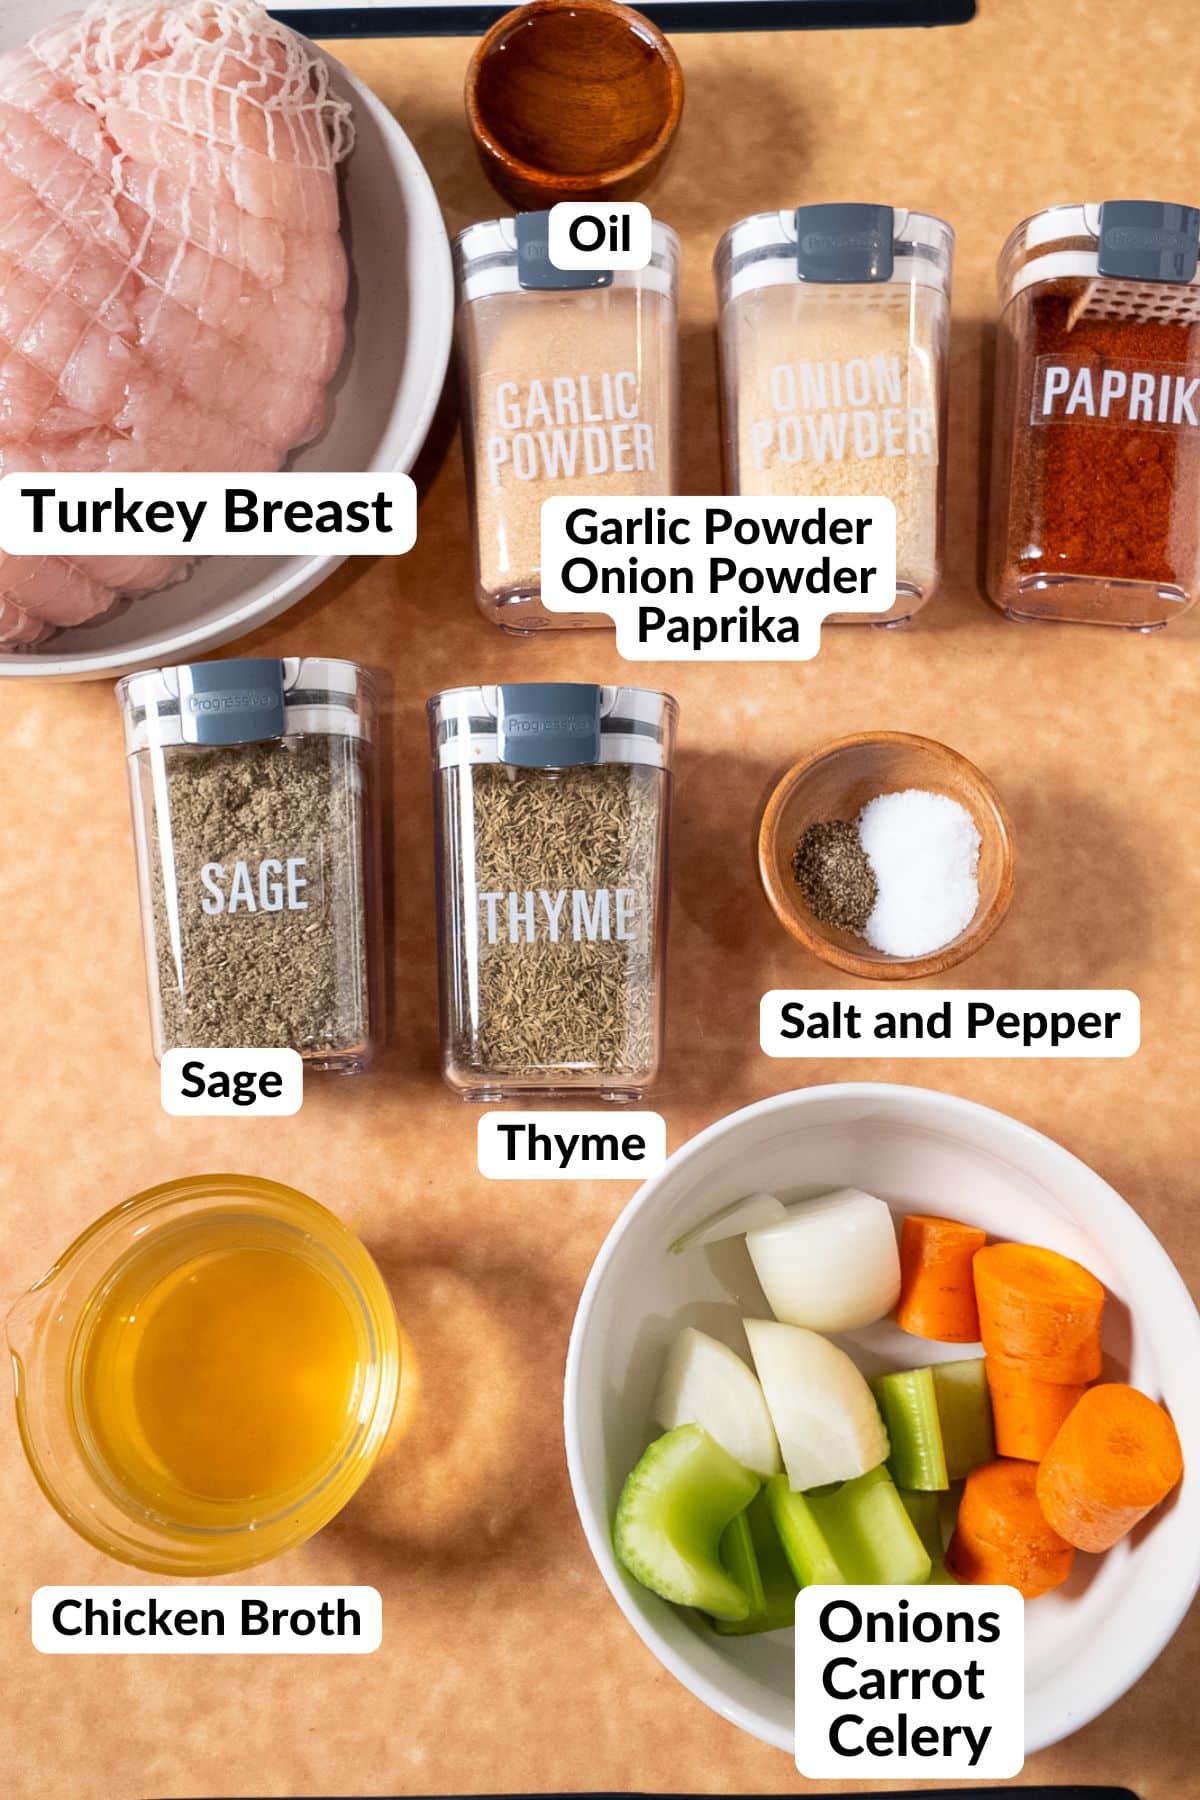
A Quick Look at the Ingredients
Ingredient amounts and full recipe instructions are on the printable recipe card at the bottom of the post.
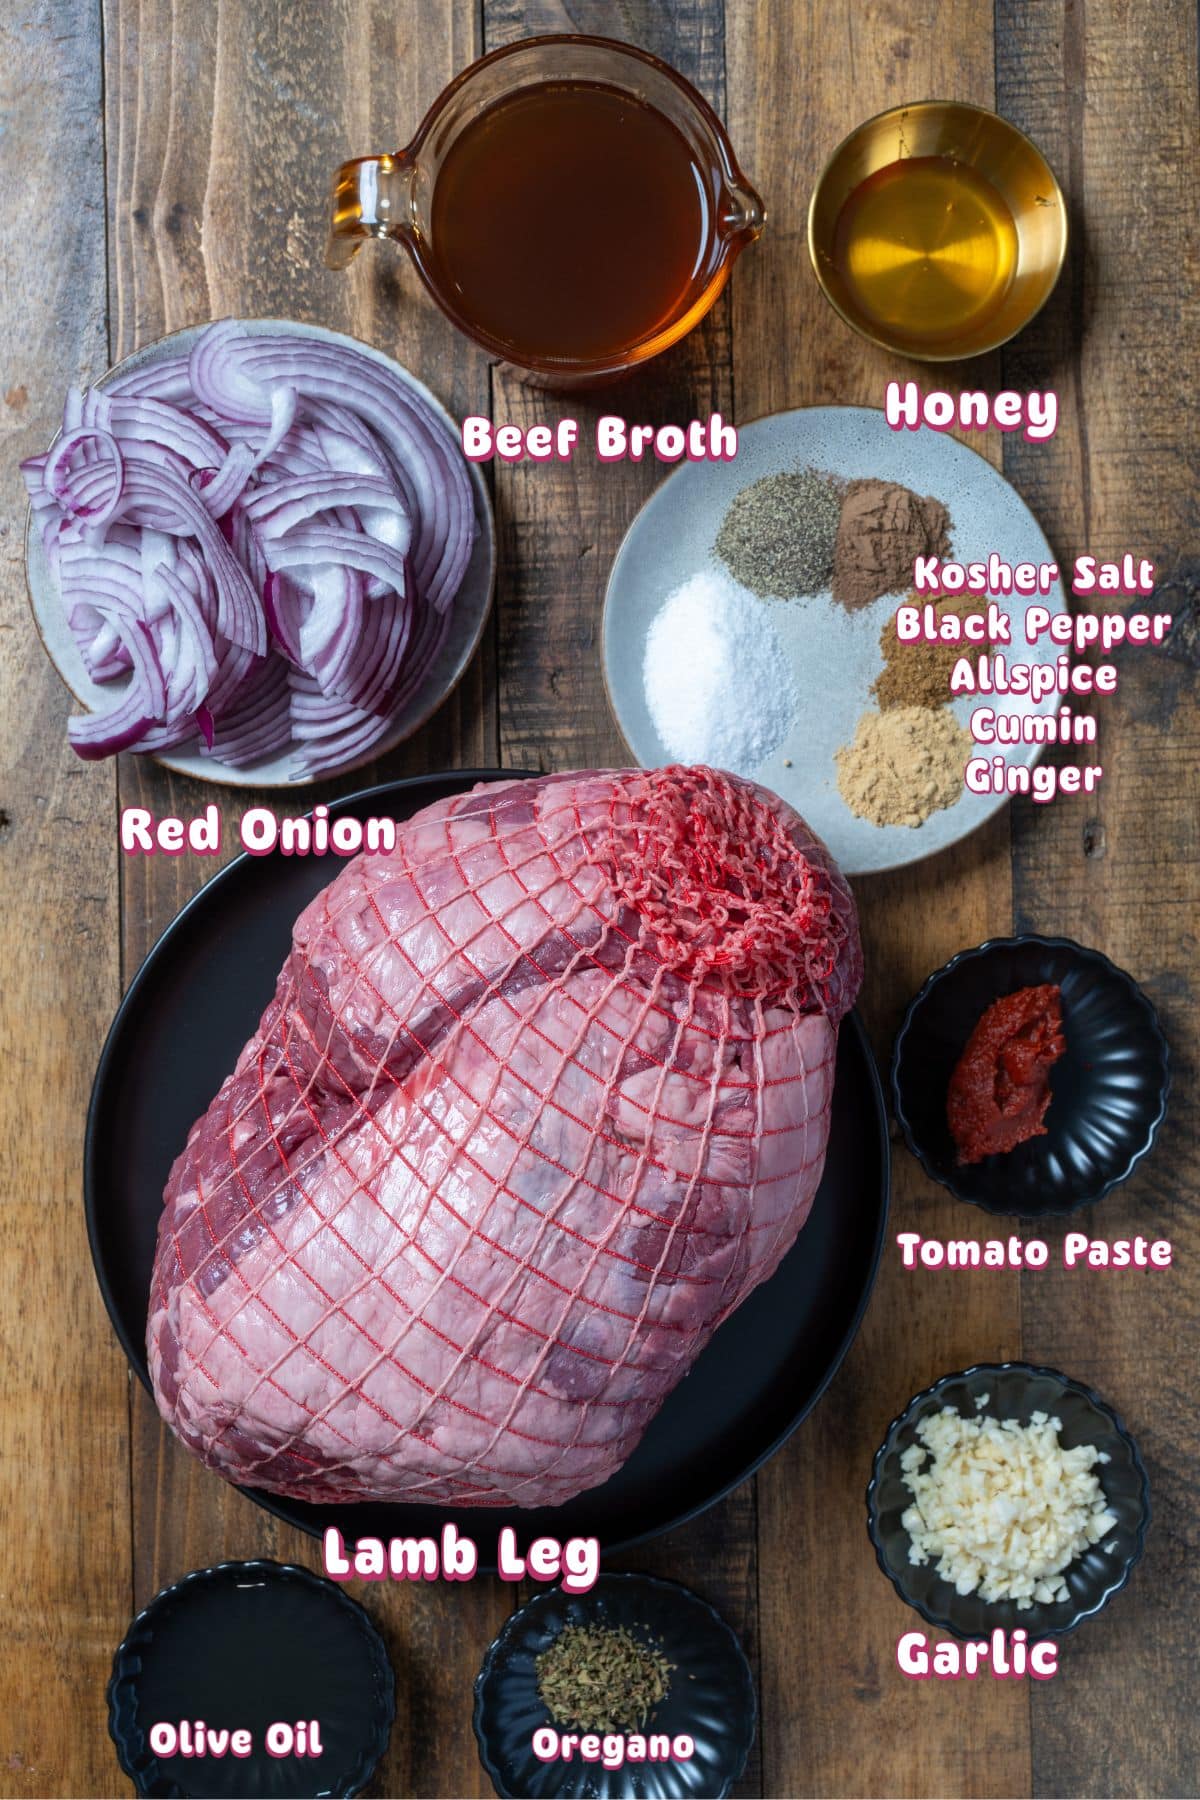
Lamb & Seasoning
- Boneless leg of lamb – about 6 lbs, trimmed and cut into large chunks. I usually pick one up from my local warehouse store
- Seasonings - Kosher salt, black pepper, allspice, cumin, and ginger – the spice blend that gives the lamb its warmth and depth
Aromatics & Sauce Base
- Olive oil – for searing and flavor. Feel free to use whatever high-heat oil you have on hand.
- Red onion & garlic – build the savory foundation. I prefer to use red onion in this recipe.
- Tomato paste & honey – balance acidity and sweetness.
- Beef stock & oregano – add body and earthiness for the braise. You can use chicken stock/broth or water in place of beef stock.
Recommended Tool

How to Make a Tender Braised Lamb Roast
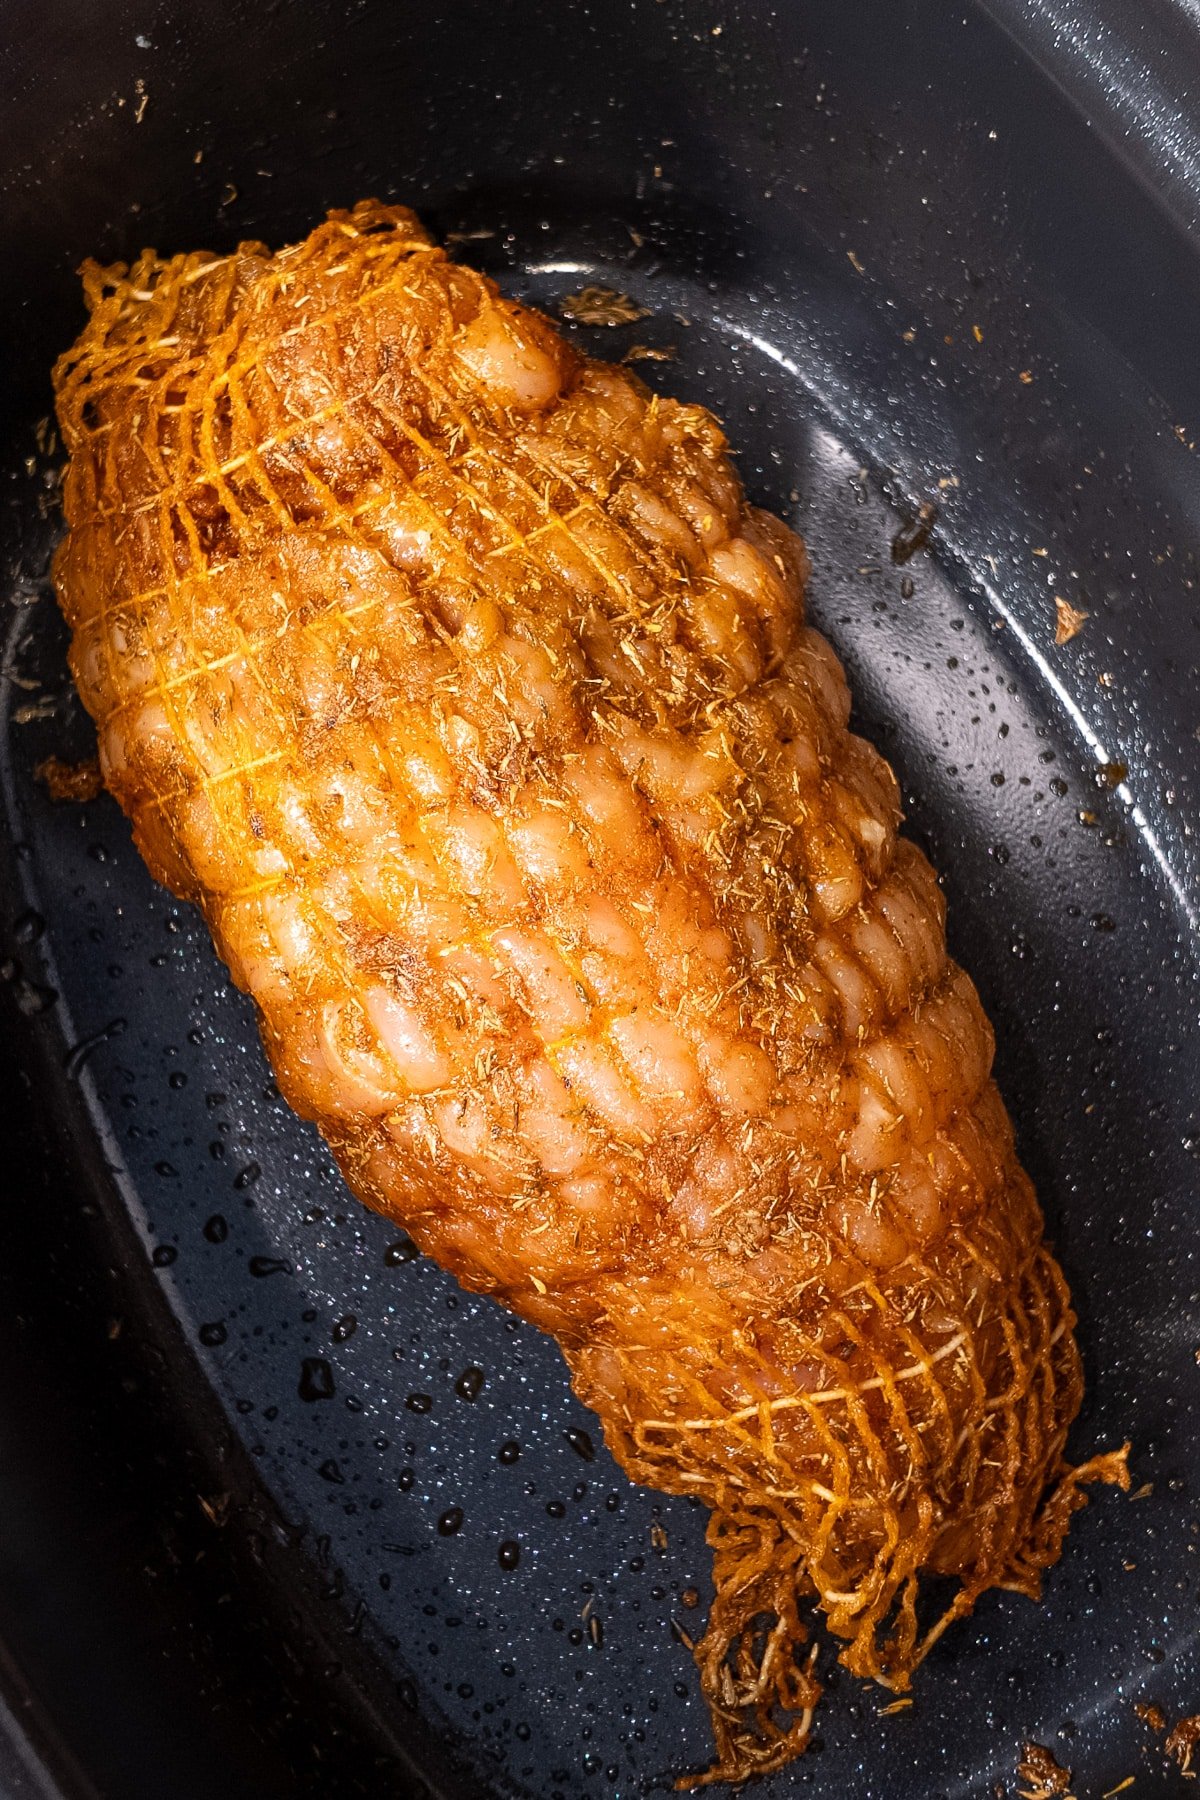
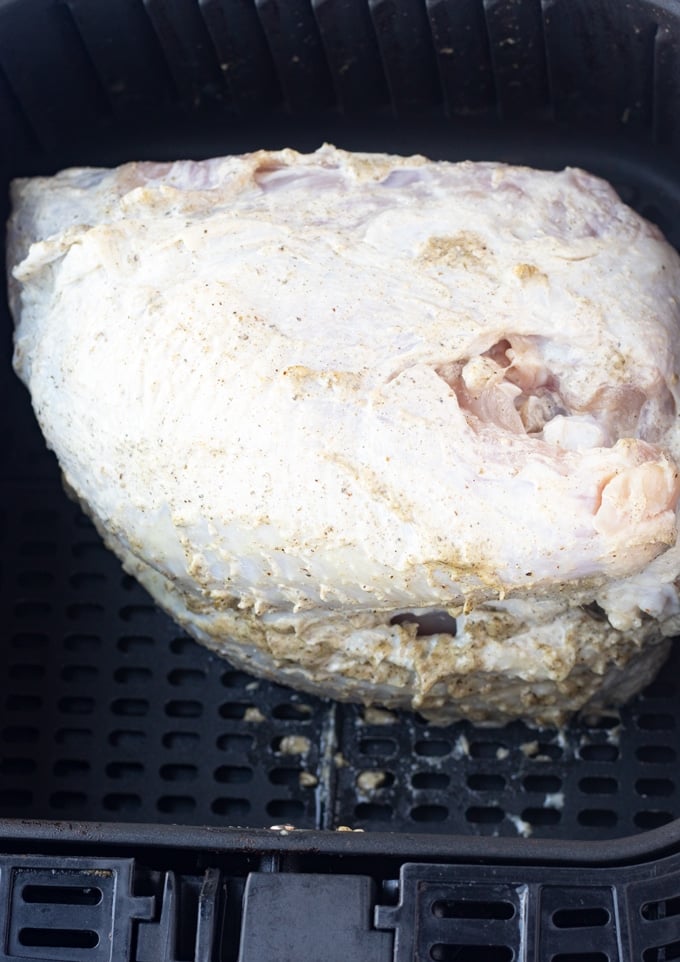
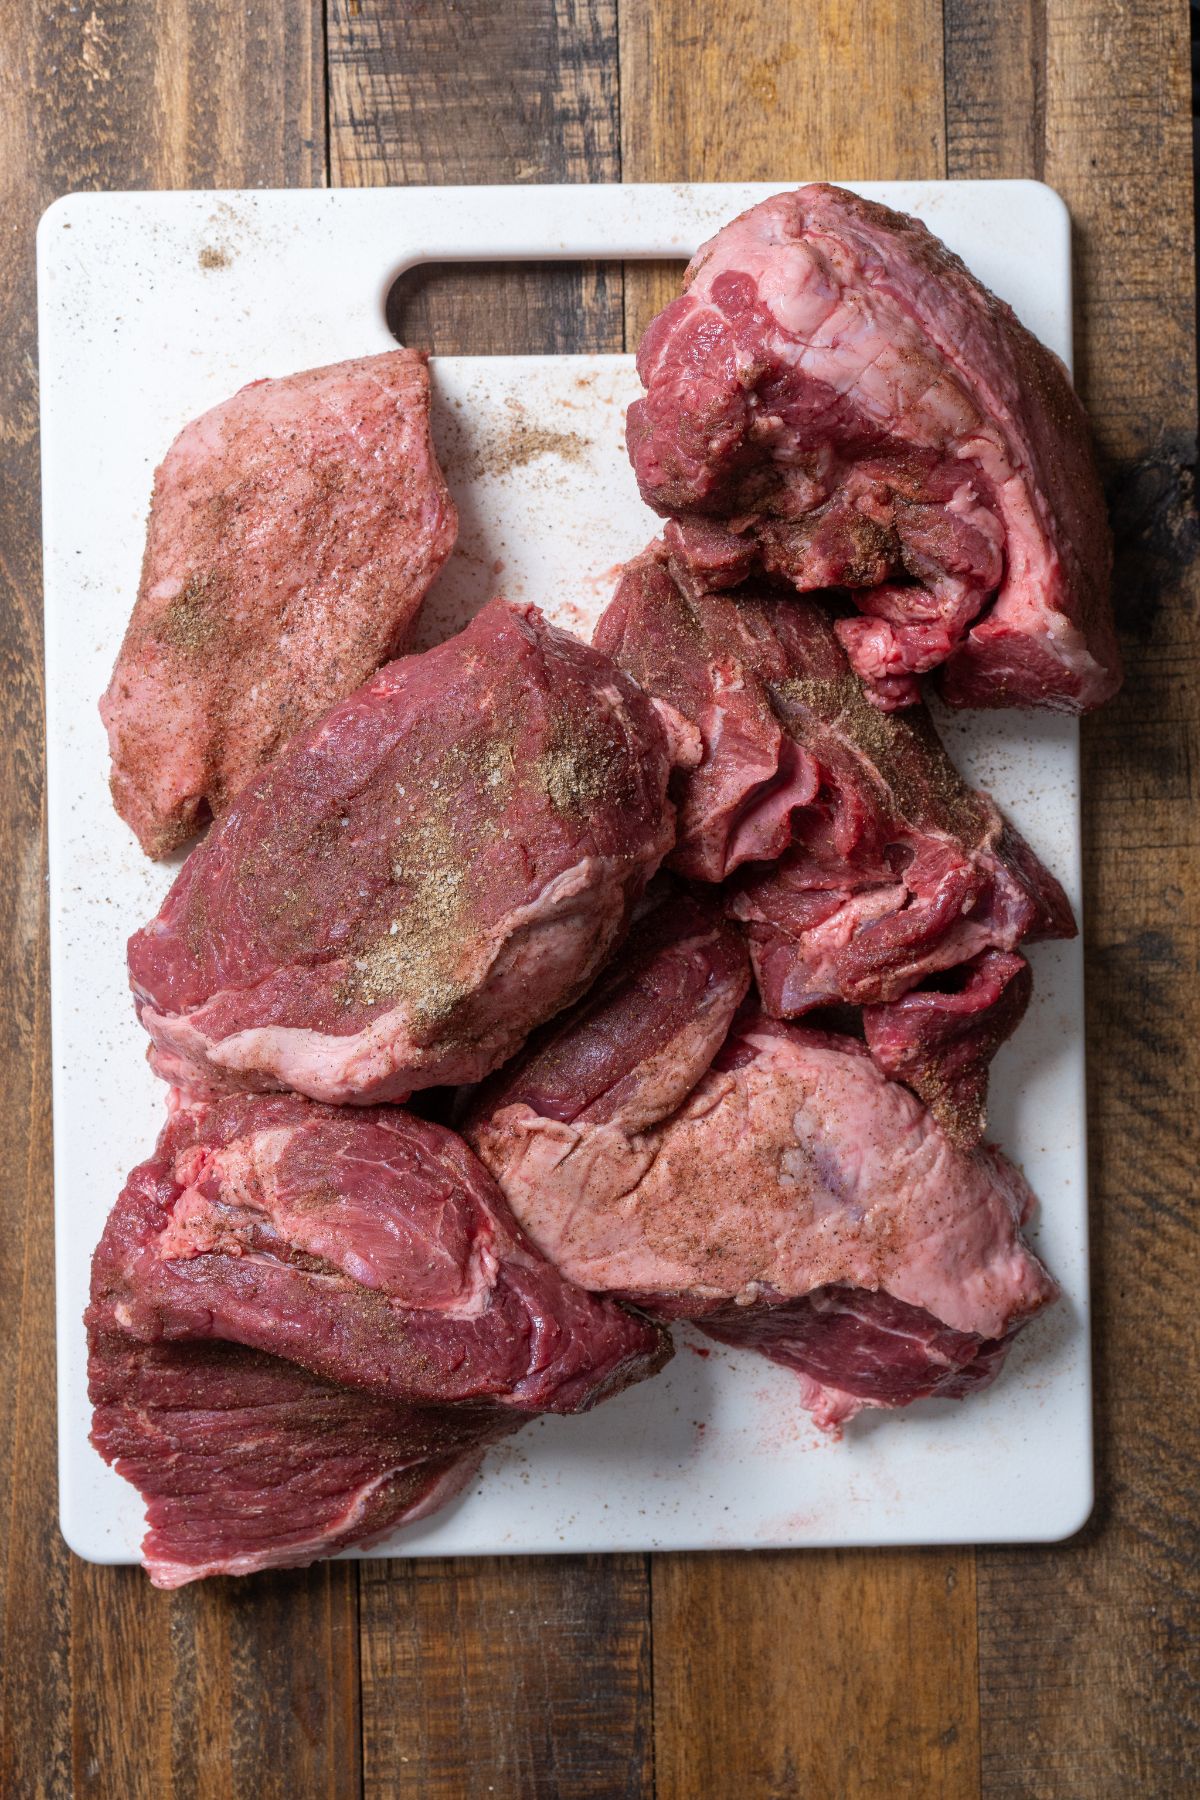
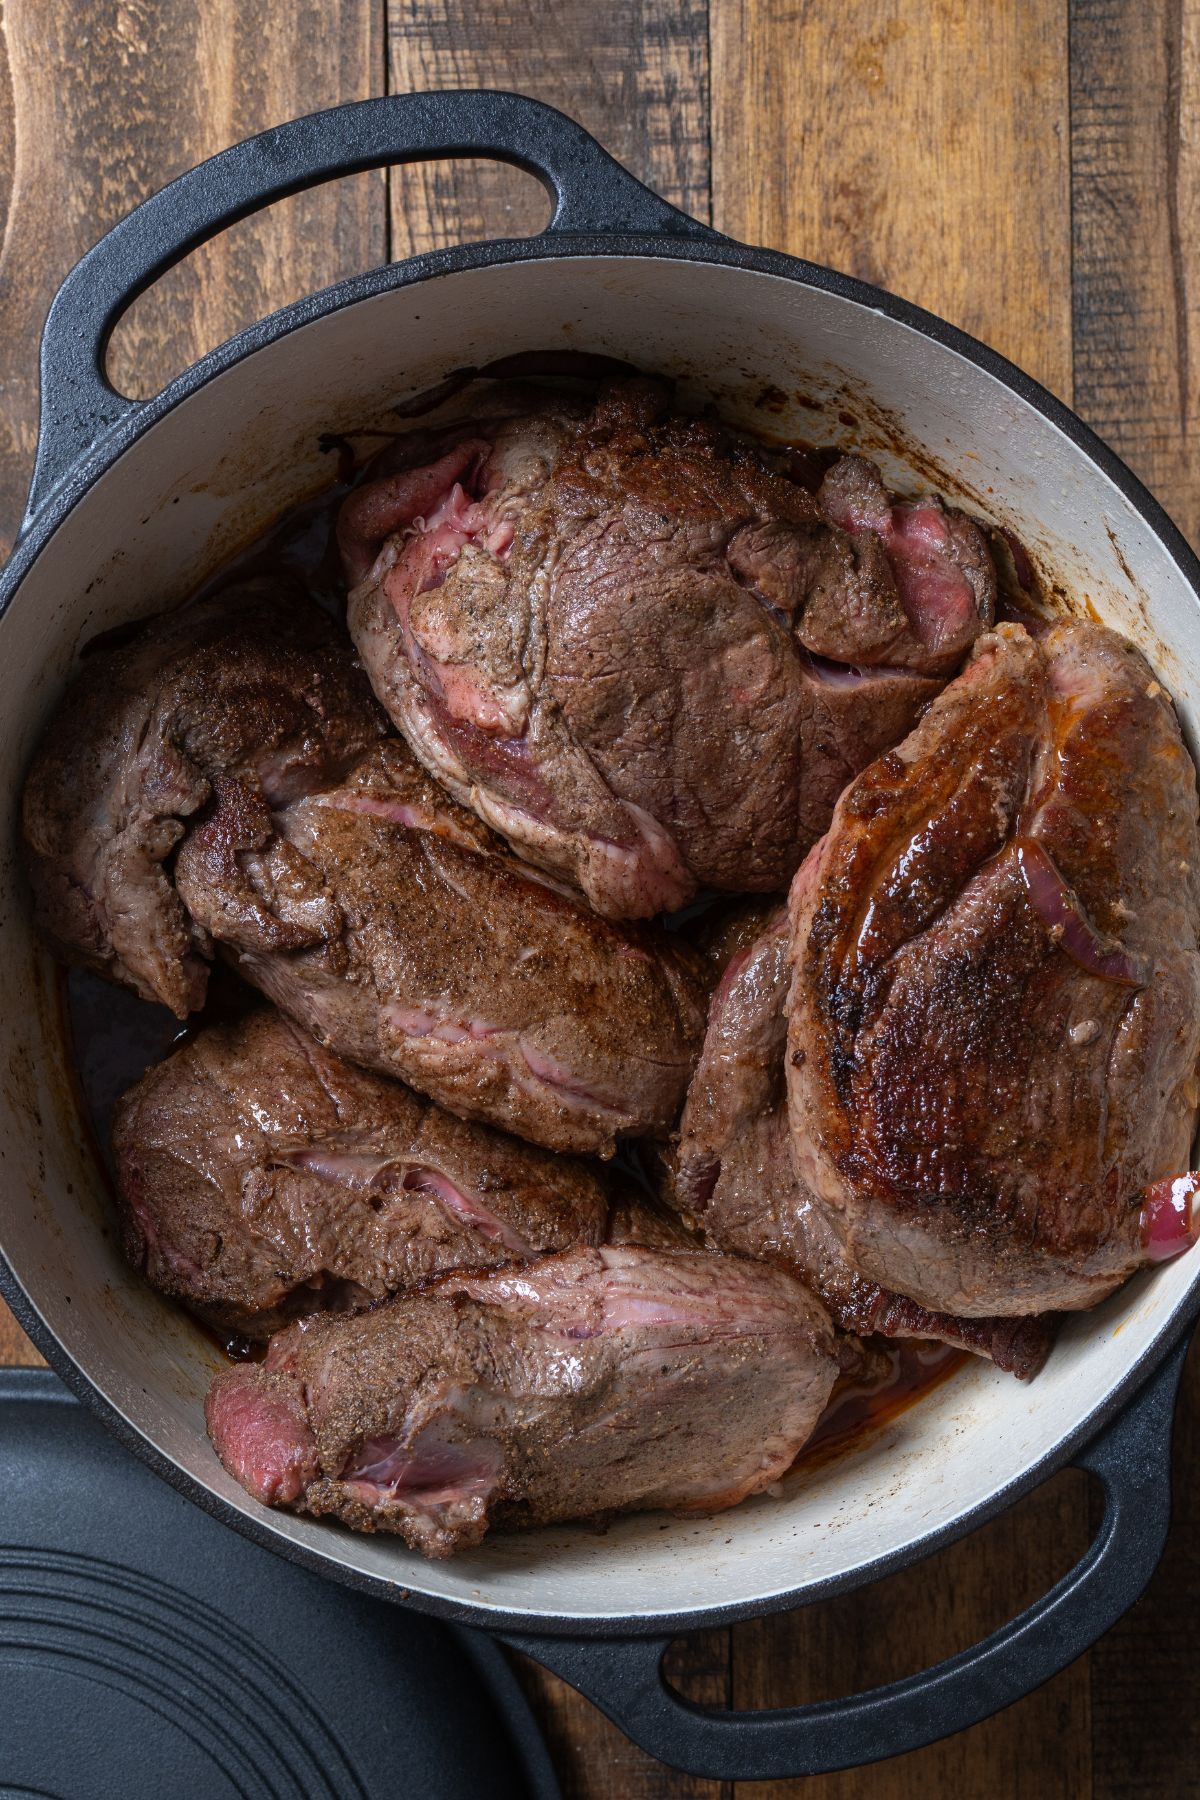
Step 1: Preheat your oven to 325°F (165°C). Remove any netting from the lamb and trim excess fat. Cut into six large pieces.
Step 2: Mix together salt, black pepper, allspice, cumin, and ginger. Rub this seasoning mix evenly all over the lamb.
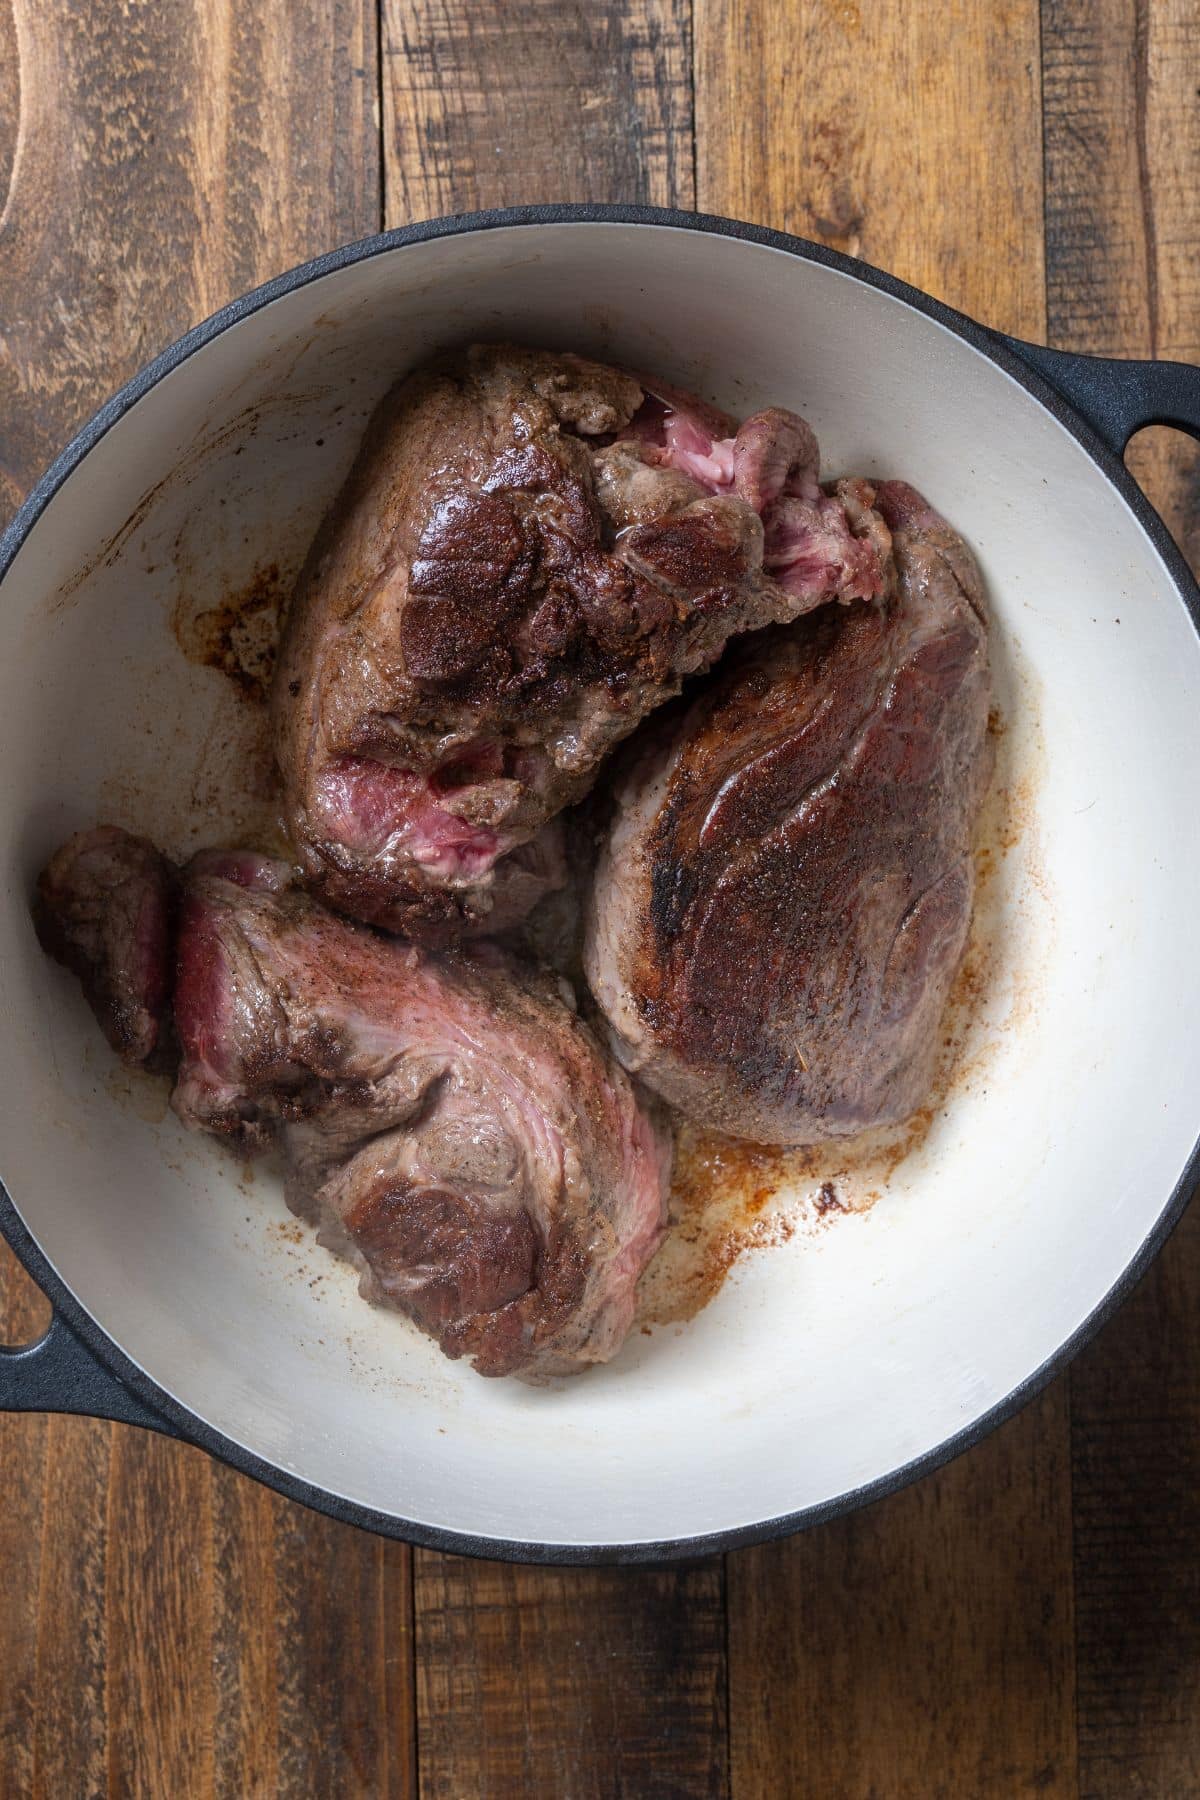
Step 3: Heat olive oil in a large Dutch oven over medium-high heat. Sear each piece of lamb for about 3-4 minutes per side, until golden brown. Don’t overcrowd the pot; work in batches if needed. Remove the lamb from the pot and set aside.
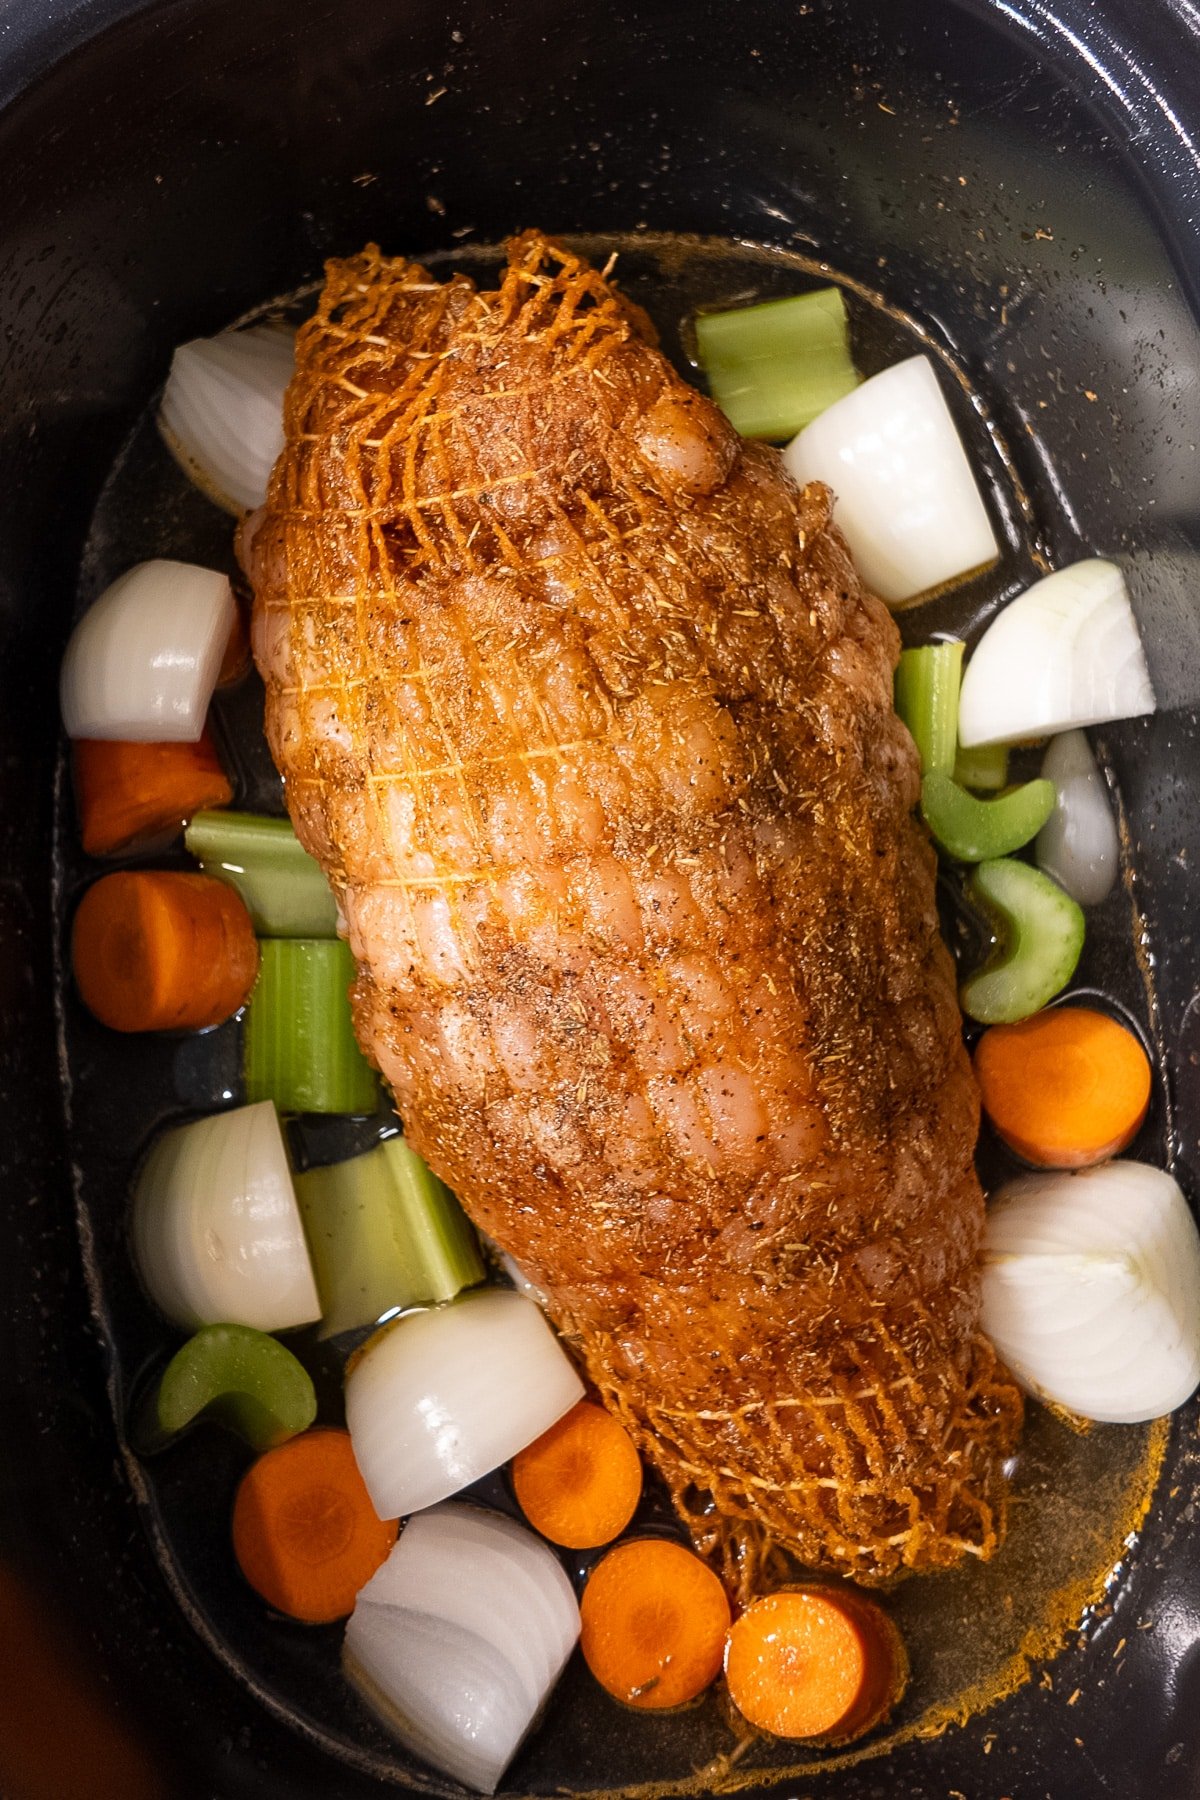
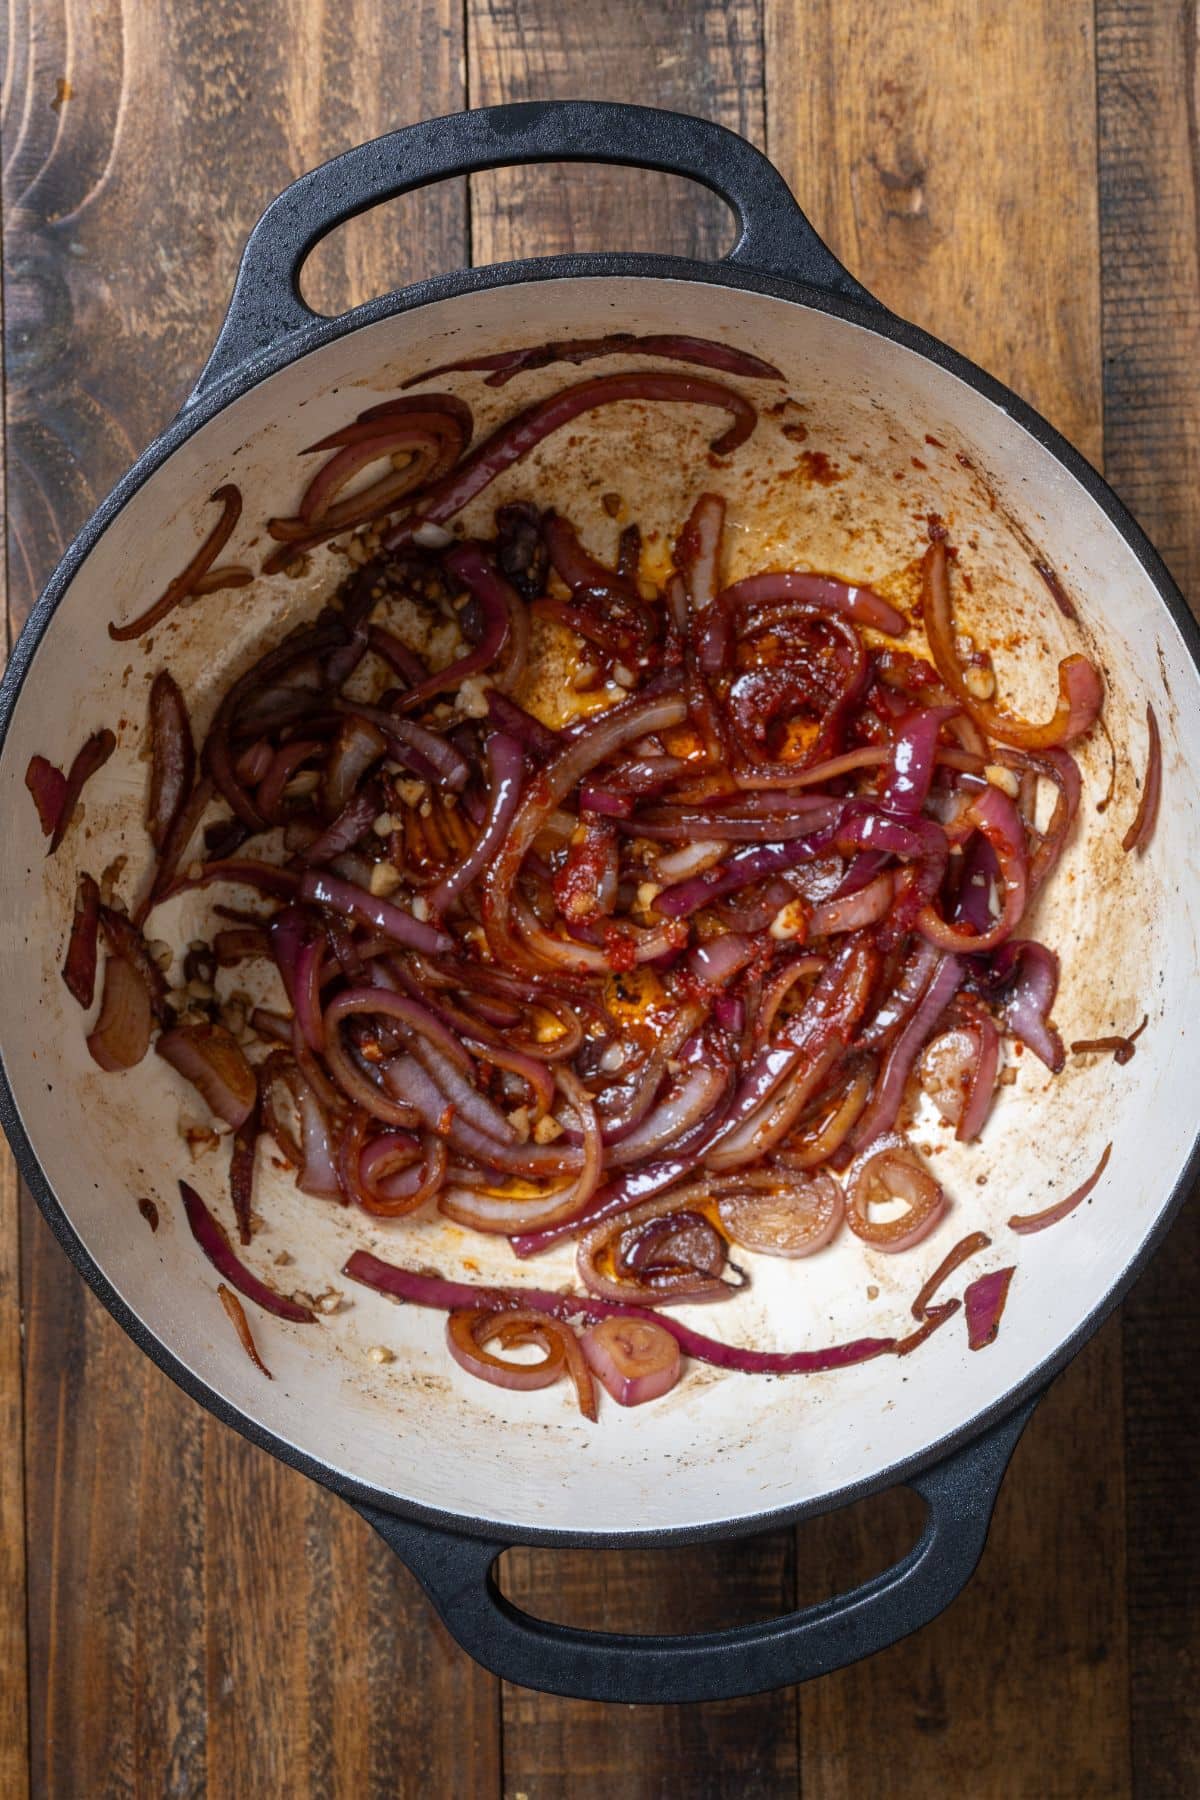
Step 4: Add the sliced onion and garlic to the pot. Sauté for 2–3 minutes until fragrant and starting to soften.
Step 5: Stir in tomato paste and cook for 30 seconds to deepen the flavor, then drizzle in honey and stir to coat everything. Pour in the beef stock and sprinkle in oregano.
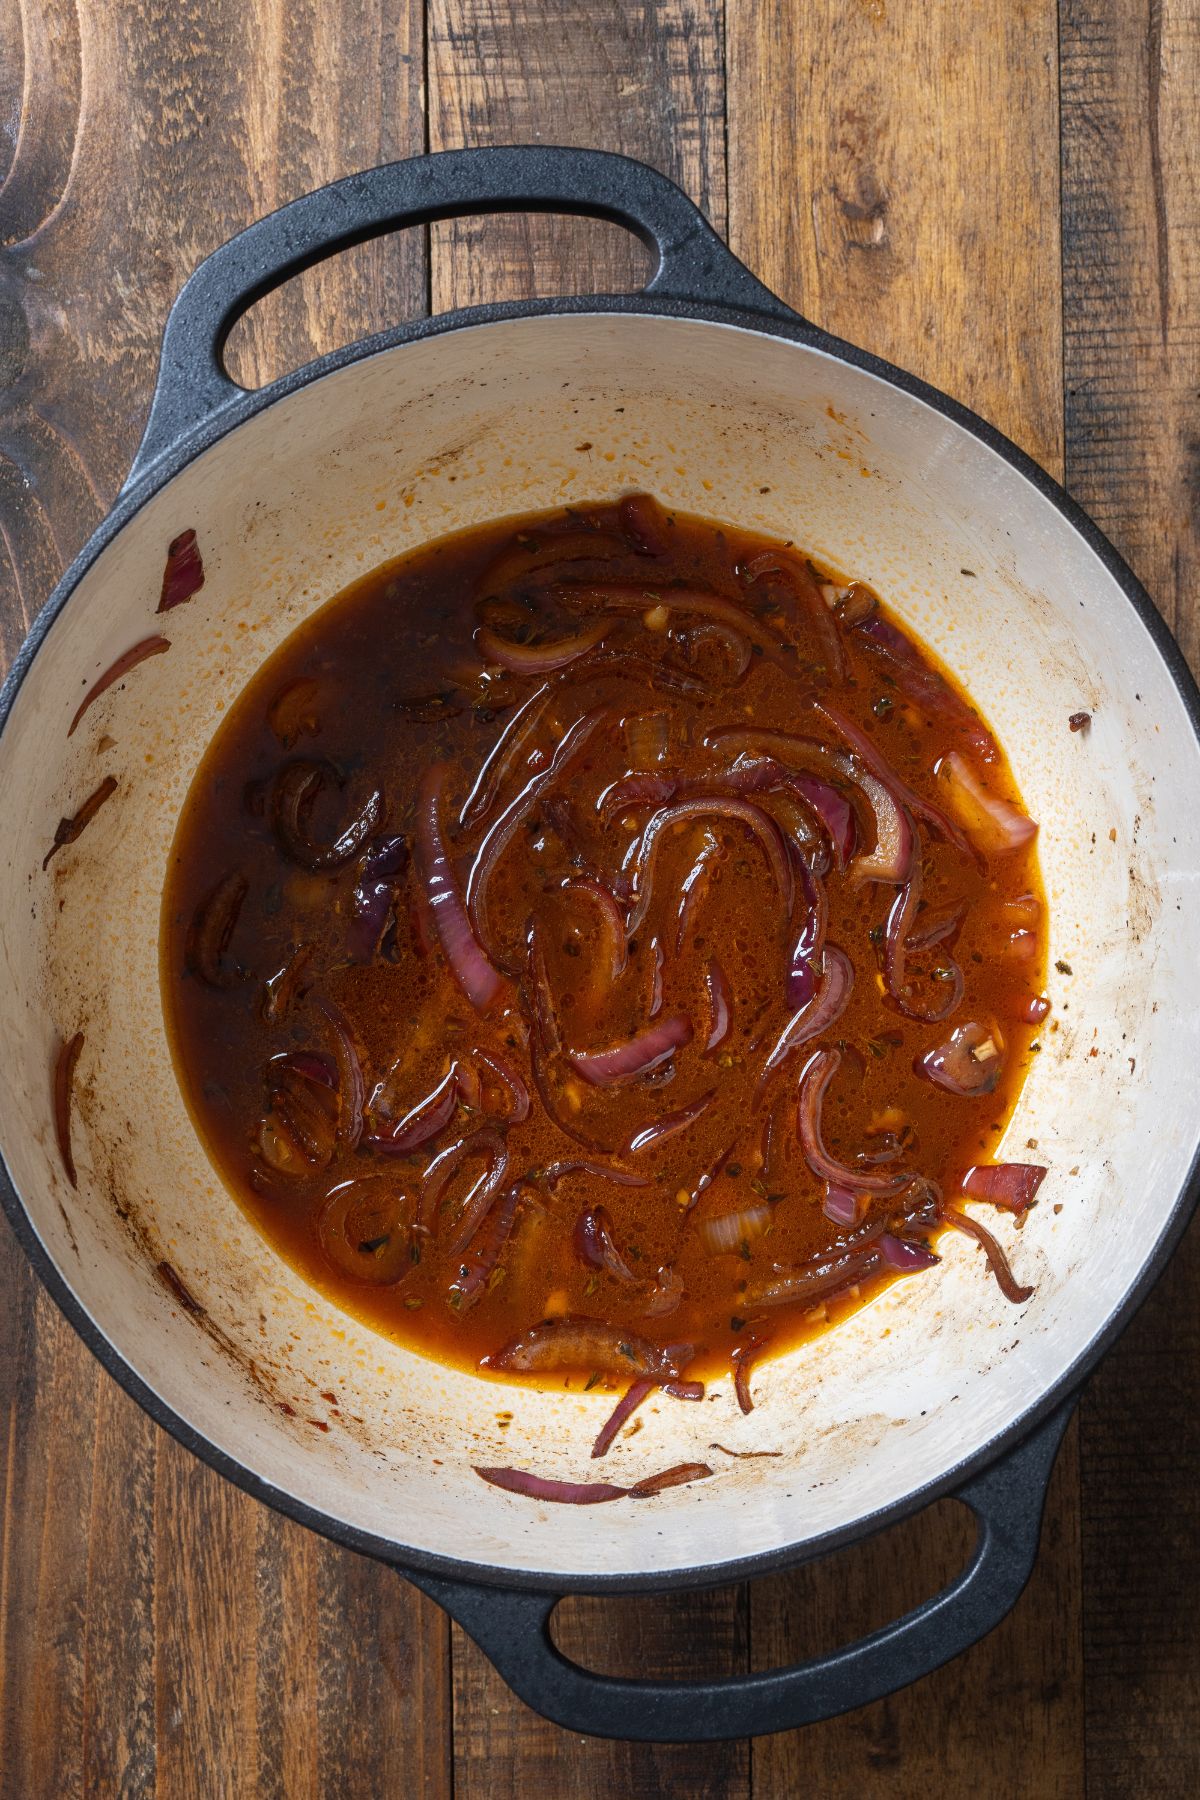
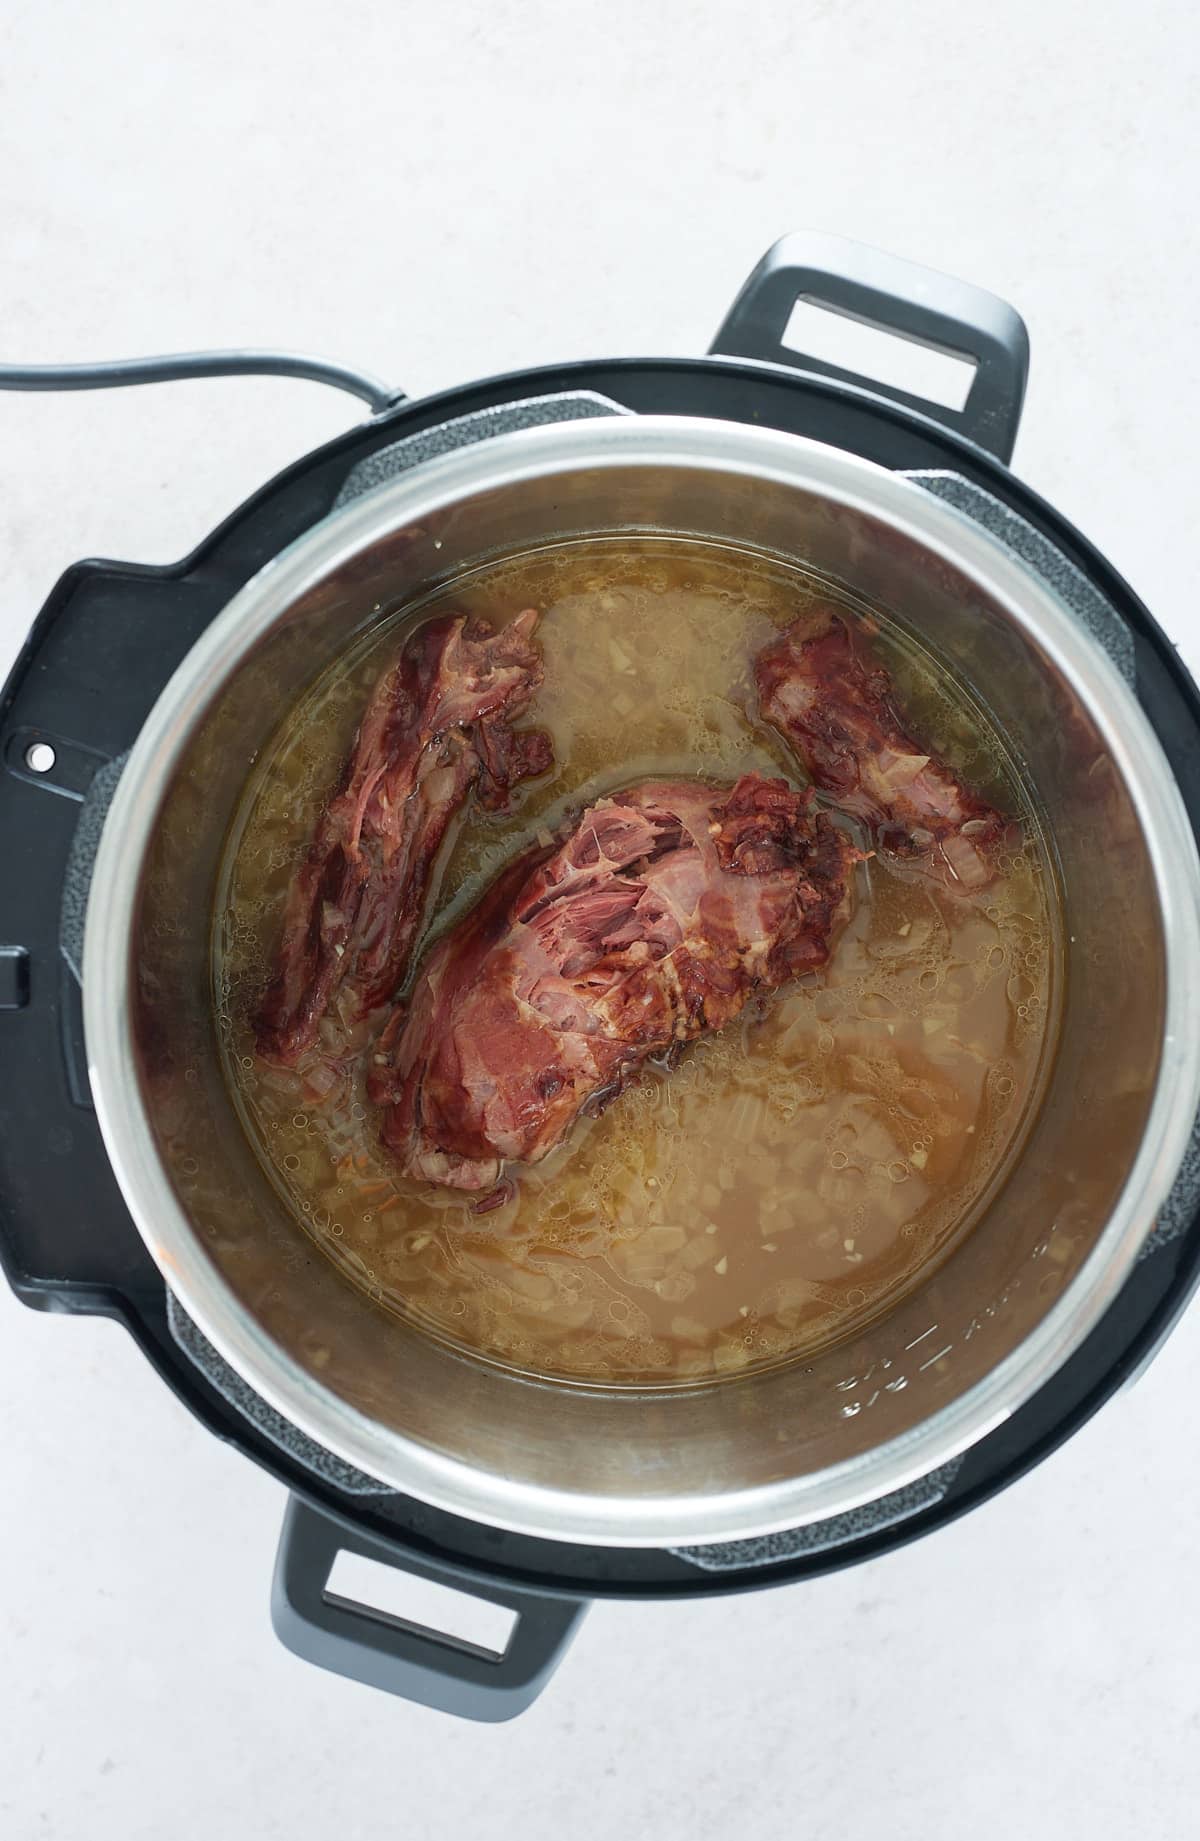
Step 6: Return the seared lamb pieces to the pot. The sauce won't cover the meat, but that's just fine.
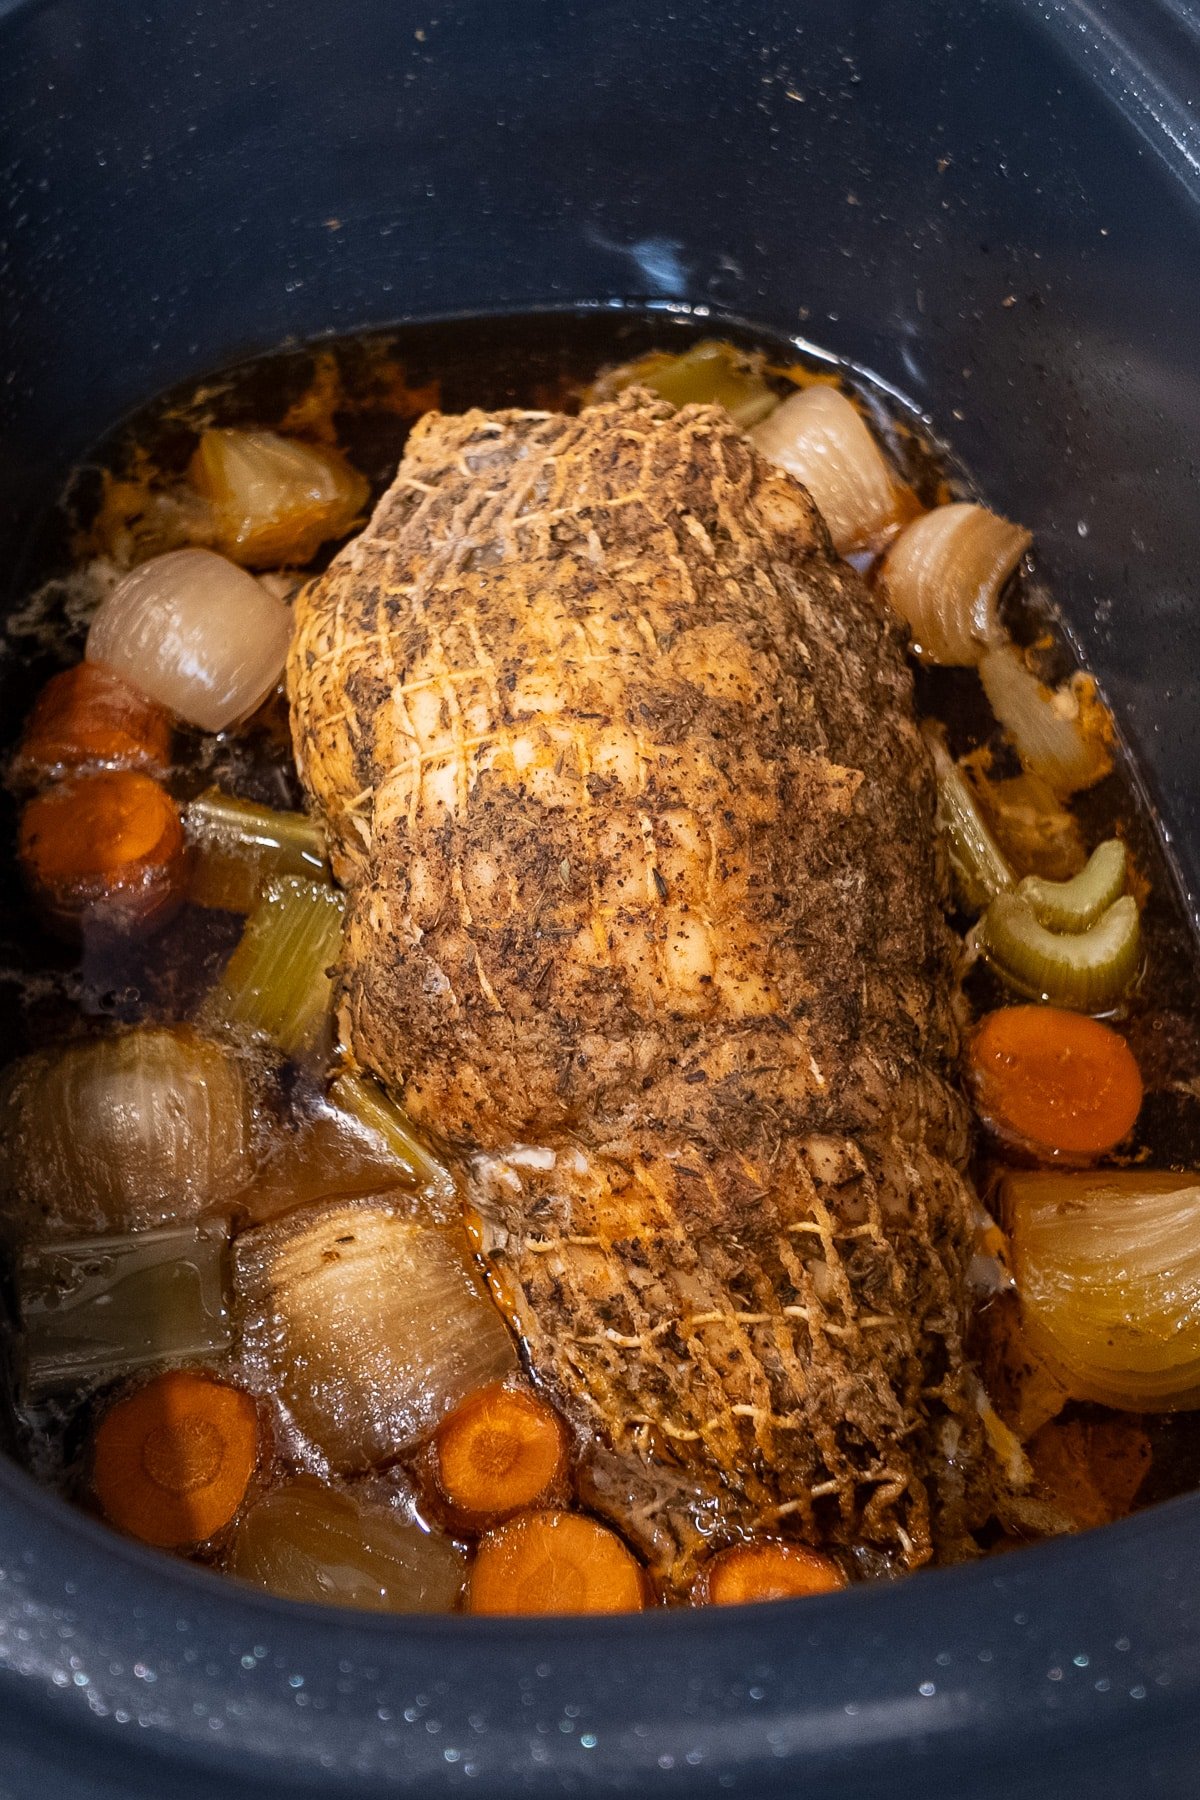
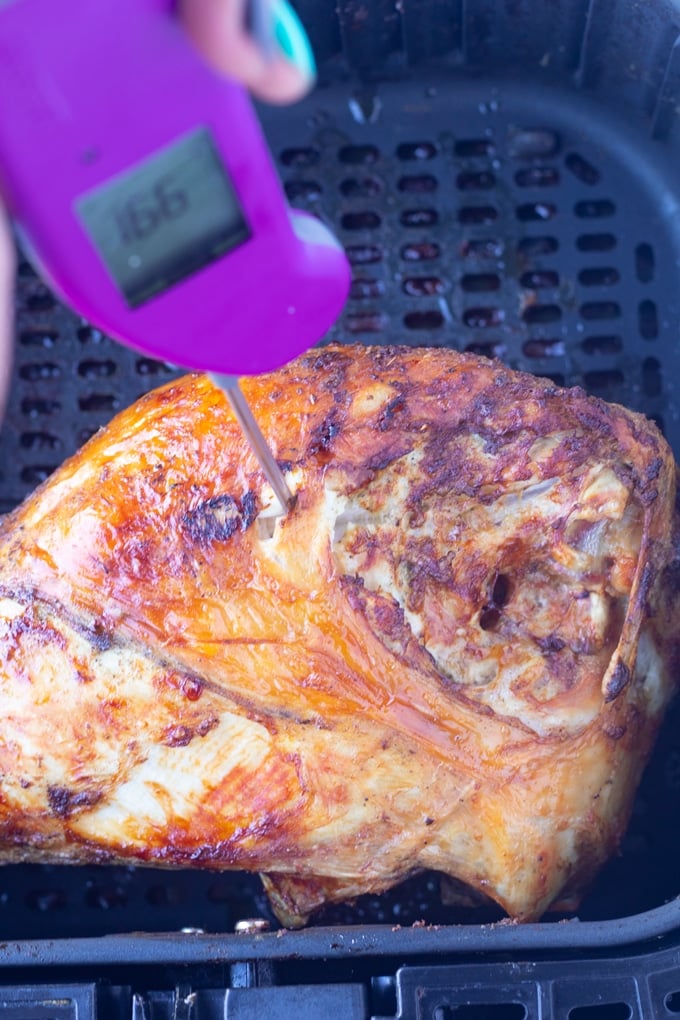
Step 7: Cover tightly with the lid and transfer to the oven. Braise for 3 to 3 hours and 30 minutes, until the lamb is fork-tender and shreds easily.
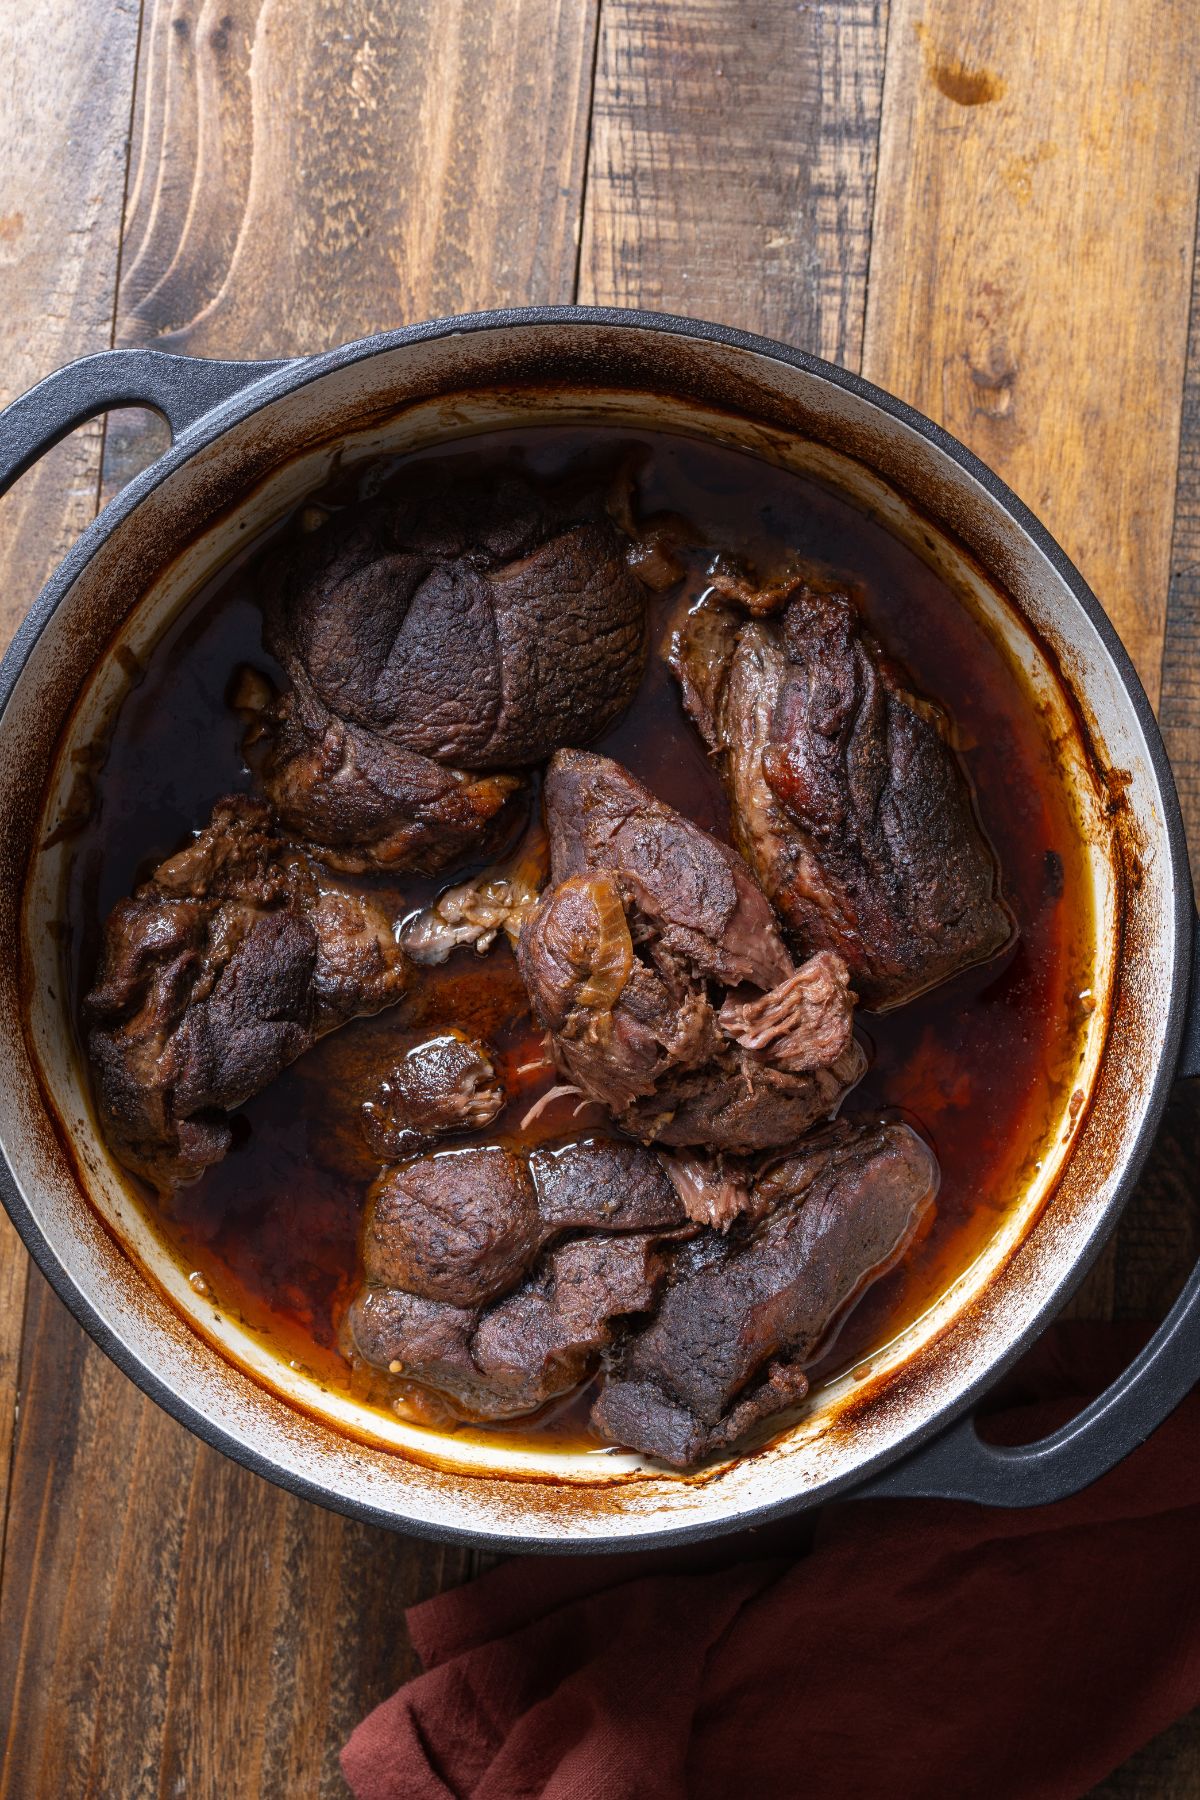
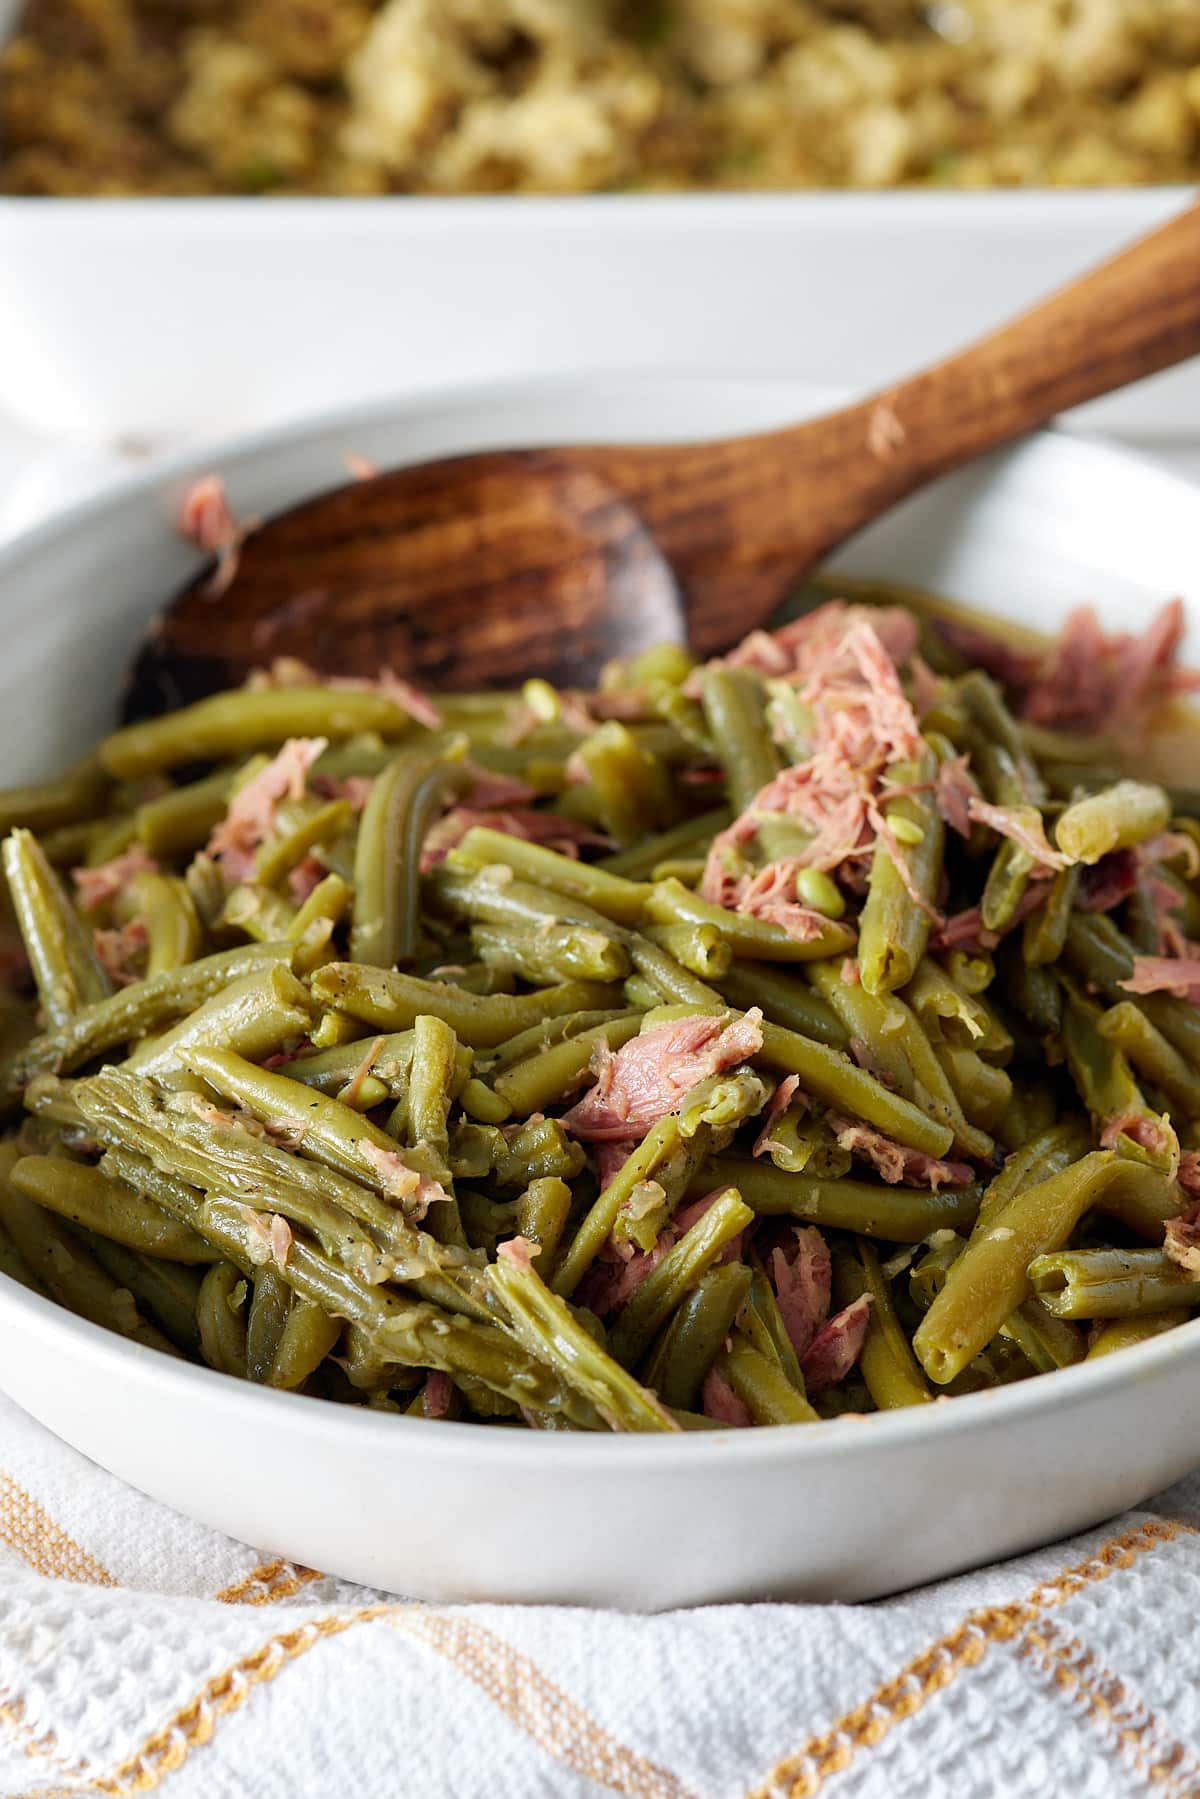
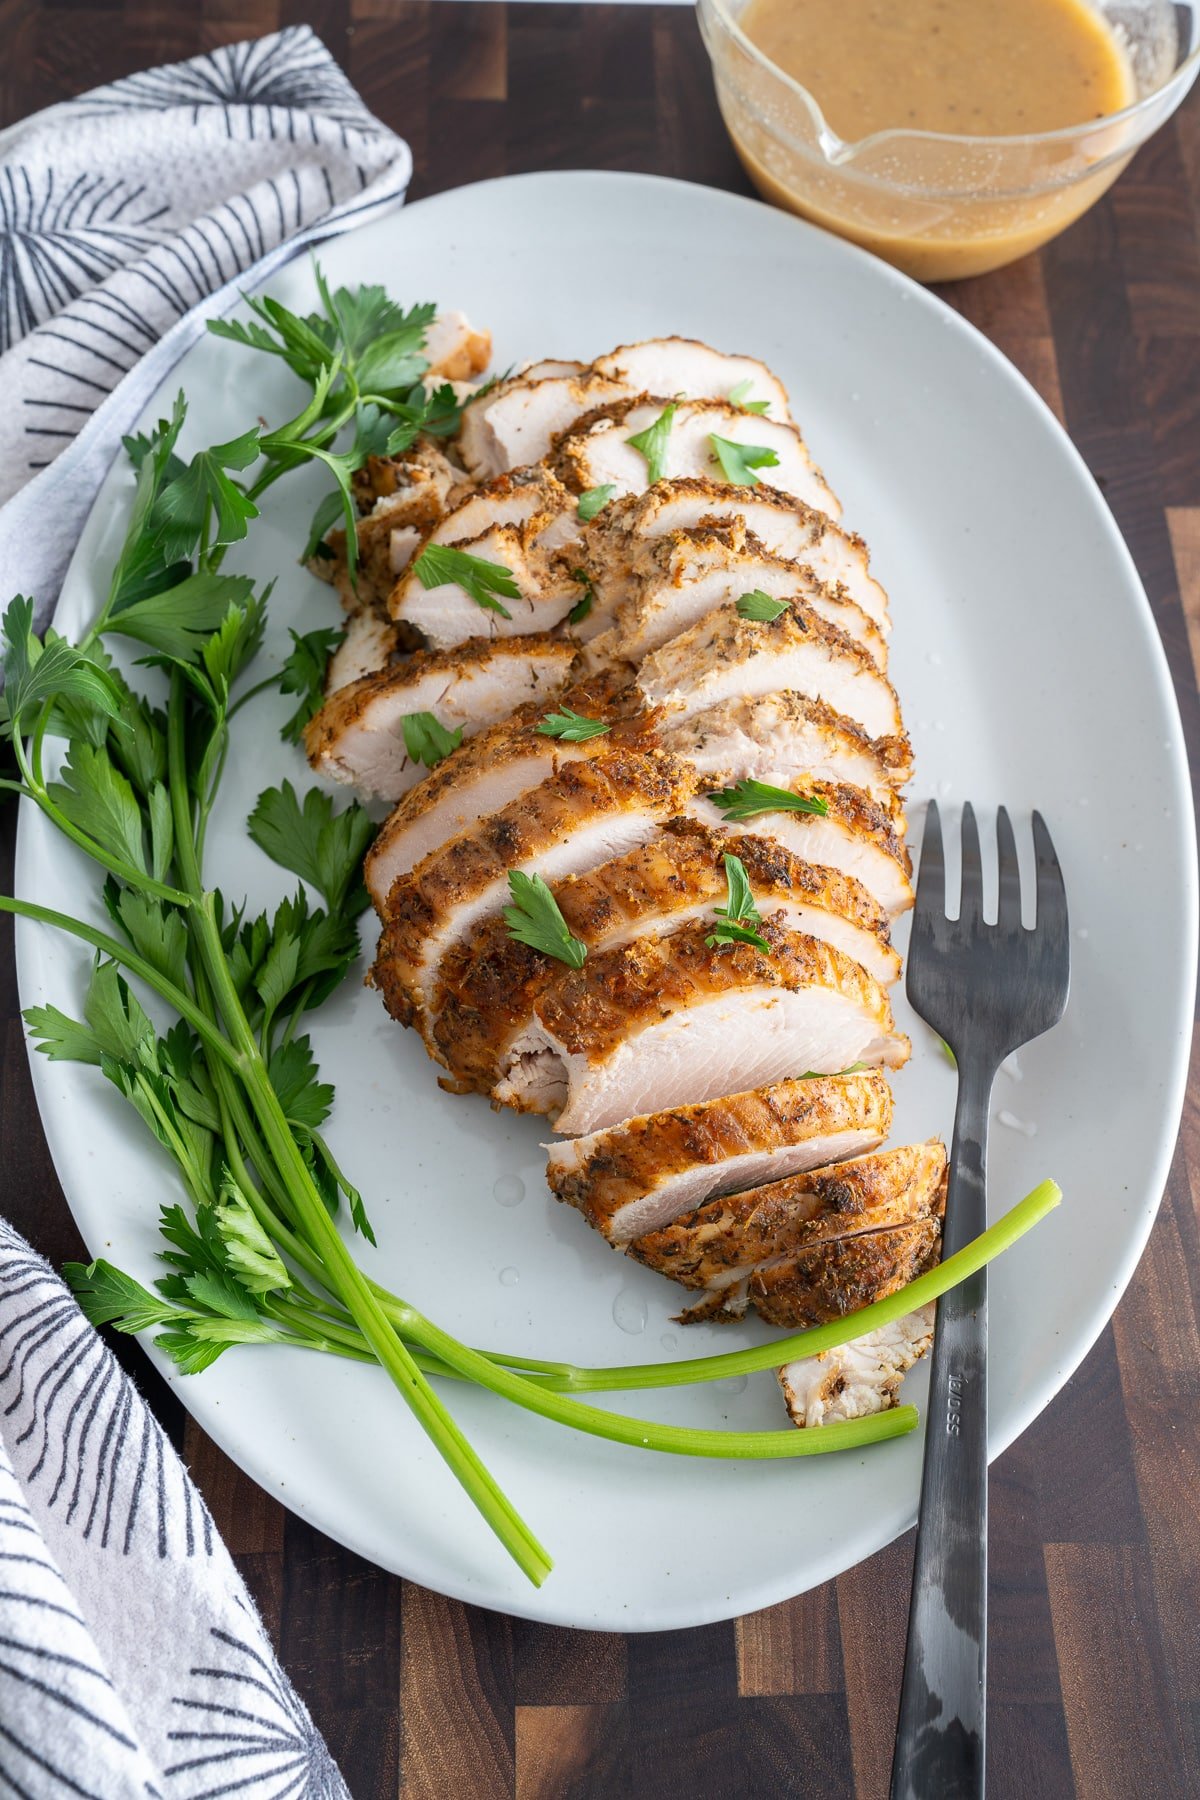
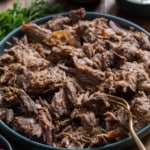
Step 8: Remove from the oven and shred the lamb in a large bowl.
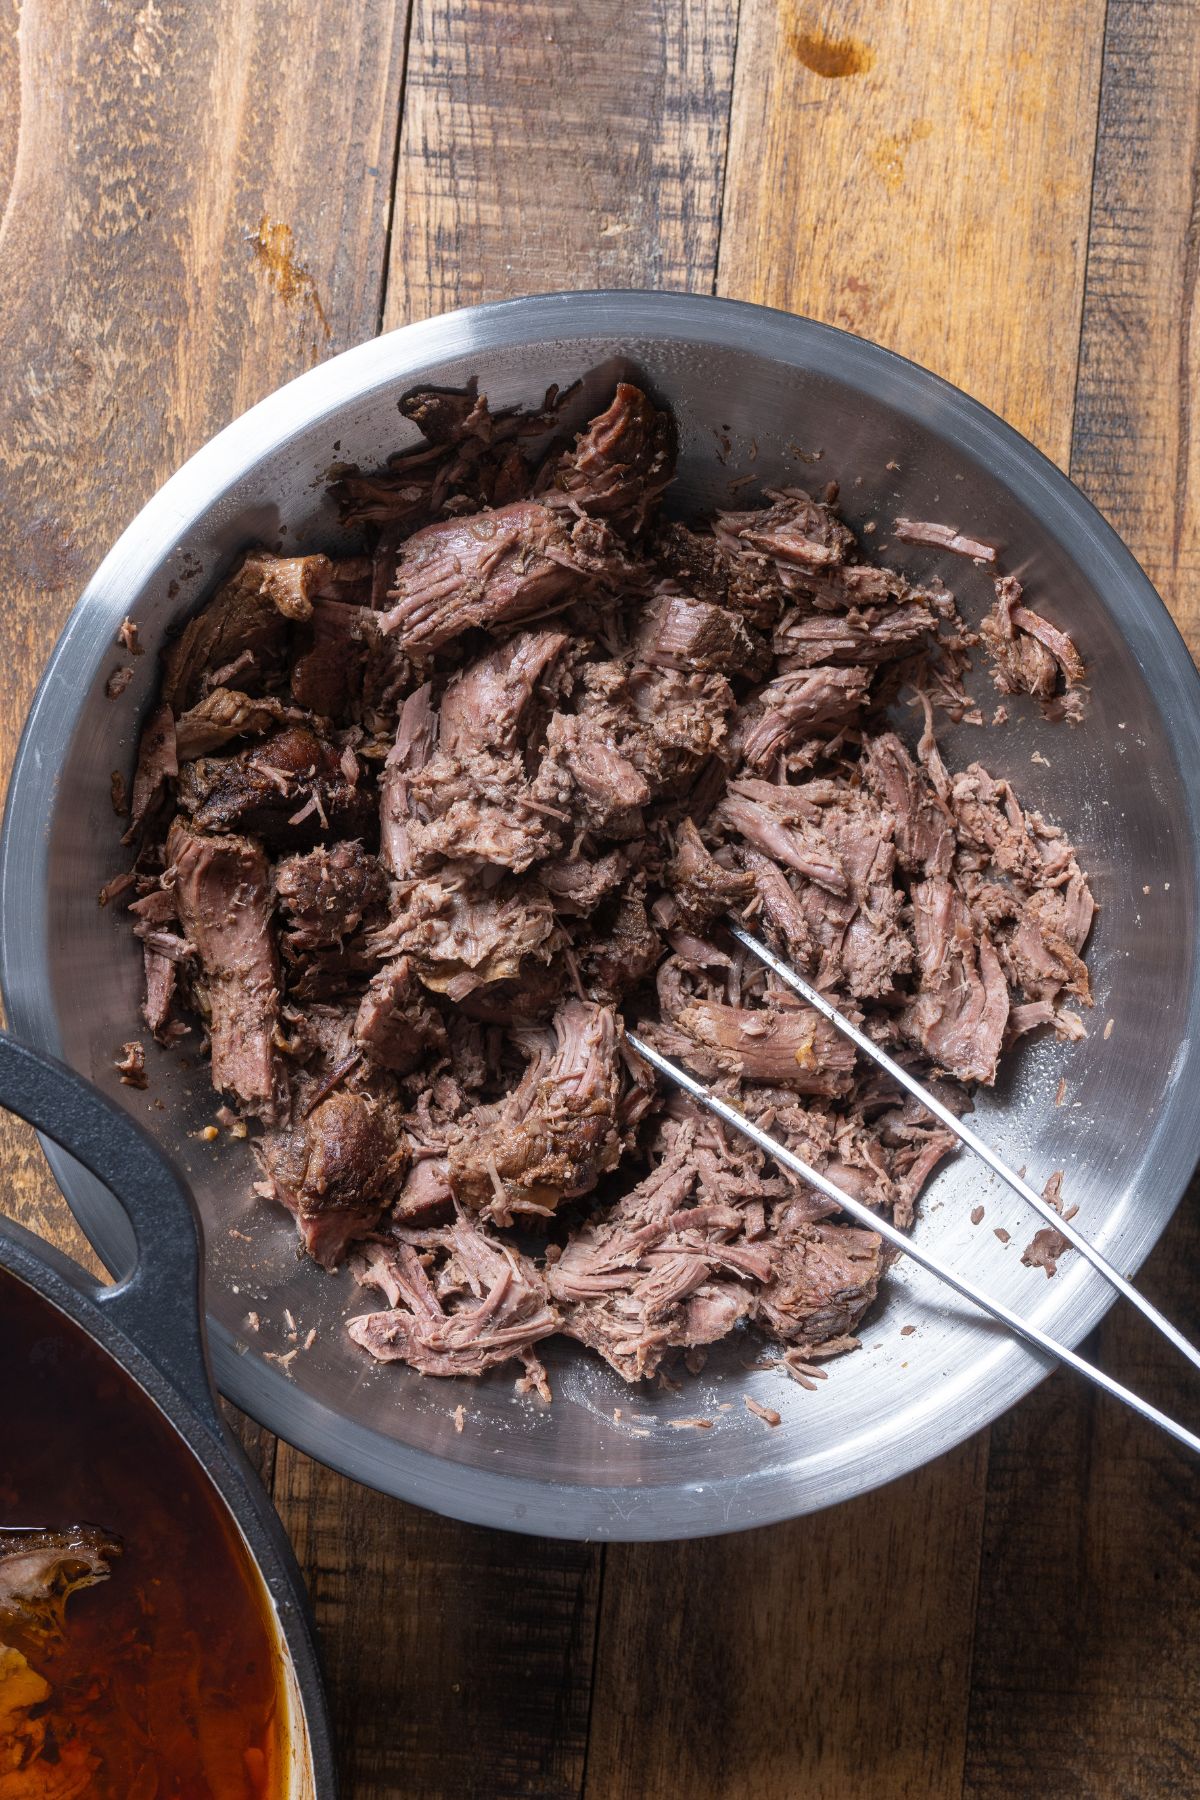
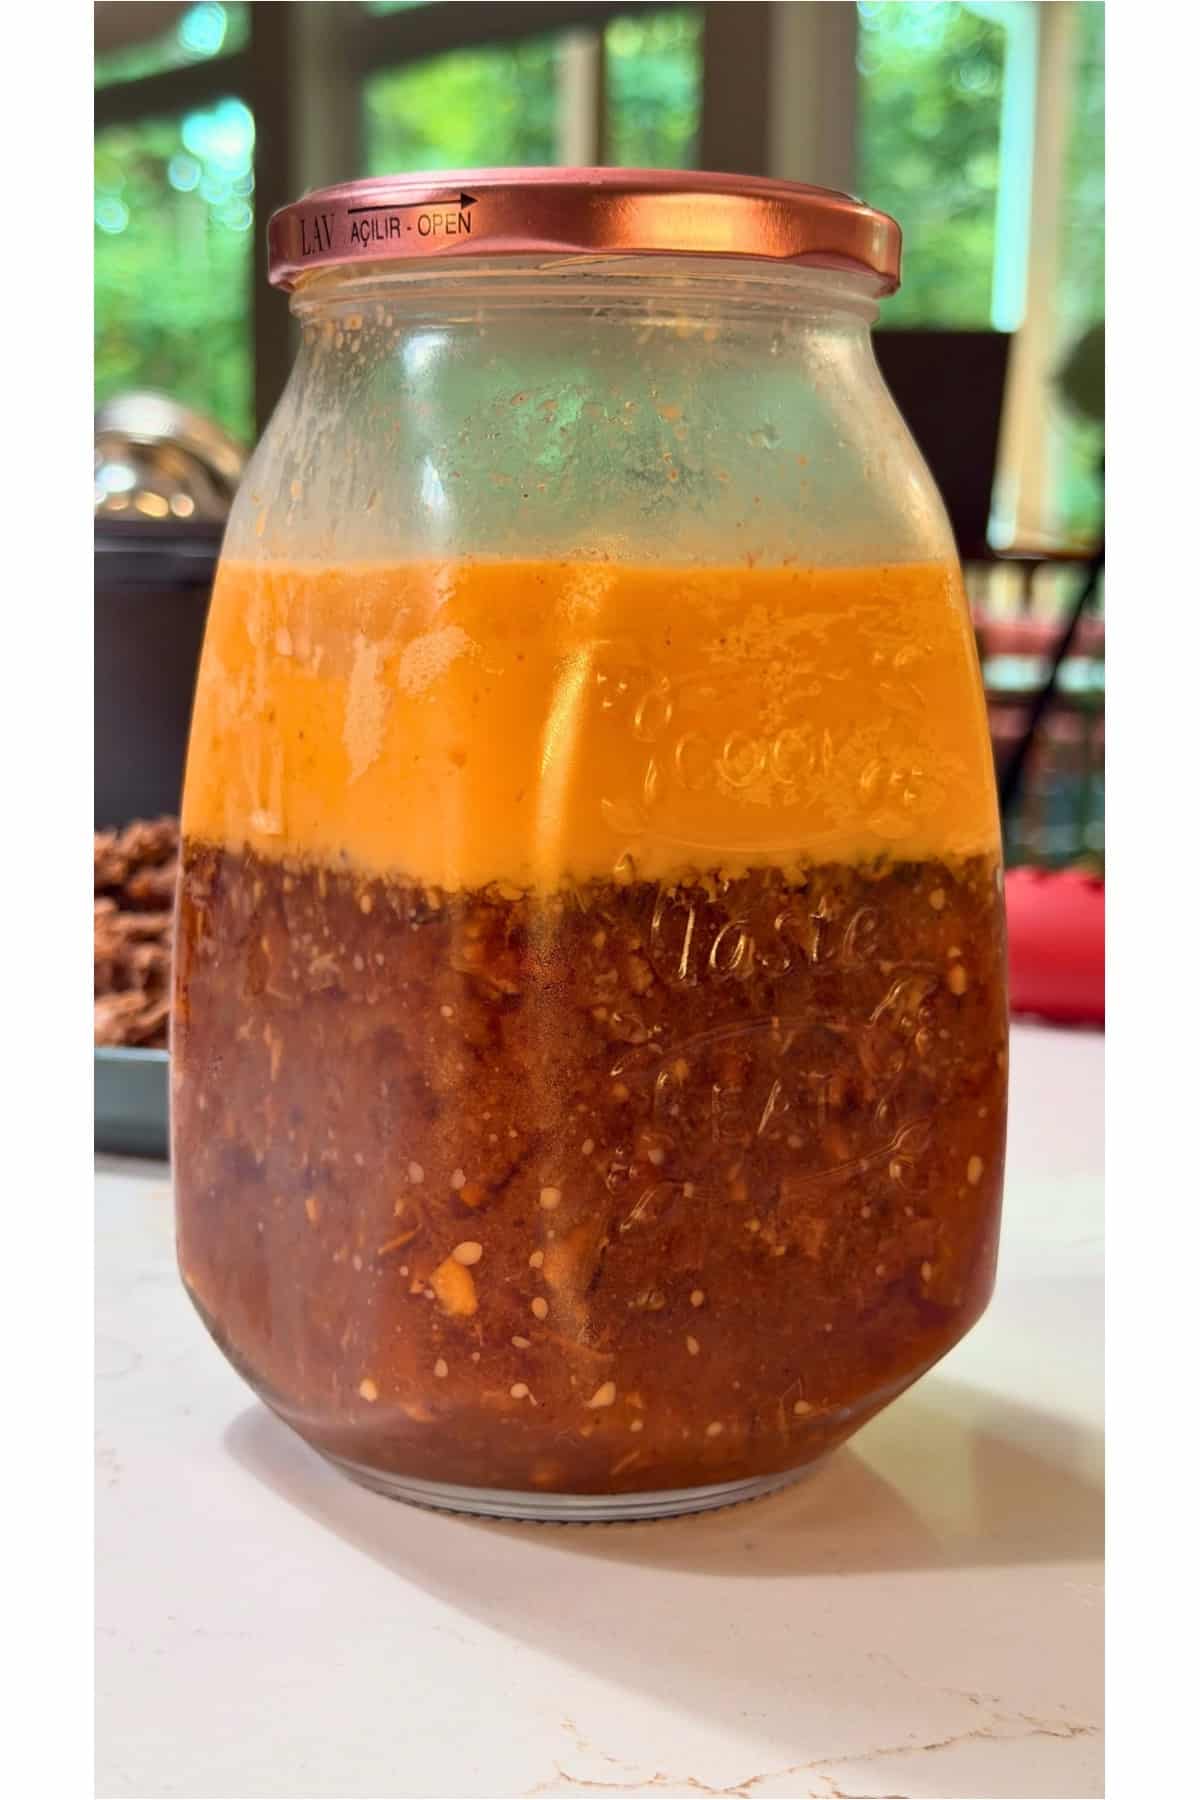
💡 Tip: After shredding the lamb, skim off any excess fat from the braising liquid, then spoon the flavorful liquid over the meat before serving.
Serve immediately or store for future meals.
Make Ahead and Storage Instructions
You can make this lamb roast up to 3 days in advance. Let it cool, then store it in an airtight container in the refrigerator. For more extended storage, freeze the lamb in a freezer-safe container for up to 3 months.
Reheat gently on the stovetop or in the oven at 300°F (150°C) with a splash of broth to keep it moist.
Leftovers are perfect for sandwiches, grain bowls, or tucked into flatbreads with tzatziki or pickled onions.
Tanya’s Top Tips
- Cut it smaller for faster cooking: Cutting the boneless leg into six pieces instead of leaving it whole reduces cooking time significantly and ensures even cooking throughout.
- Refrigerate and skim fat: For a cleaner sauce, refrigerate the braising liquid until the fat solidifies on top, then skim it off before reheating. Serve the lamb with the rich, flavorful gravy.
FAQs
Yes! After searing the lamb and sautéing the aromatics, transfer everything to a slow cooker. Cook on low for 7–8 hours or high for 4–5 hours until tender.
Leg of lamb comes from the upper hindquarters of the lamb and is one of the most popular cuts for roasting and braising. It's available bone-in or boneless (which is what I use in this recipe). A boneless leg of lamb typically weighs between 4-7 pounds and is leaner than lamb shoulder, but still has enough fat and connective tissue to stay incredibly juicy when cooked low and slow.
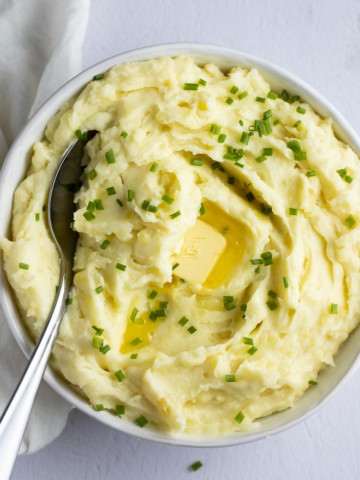
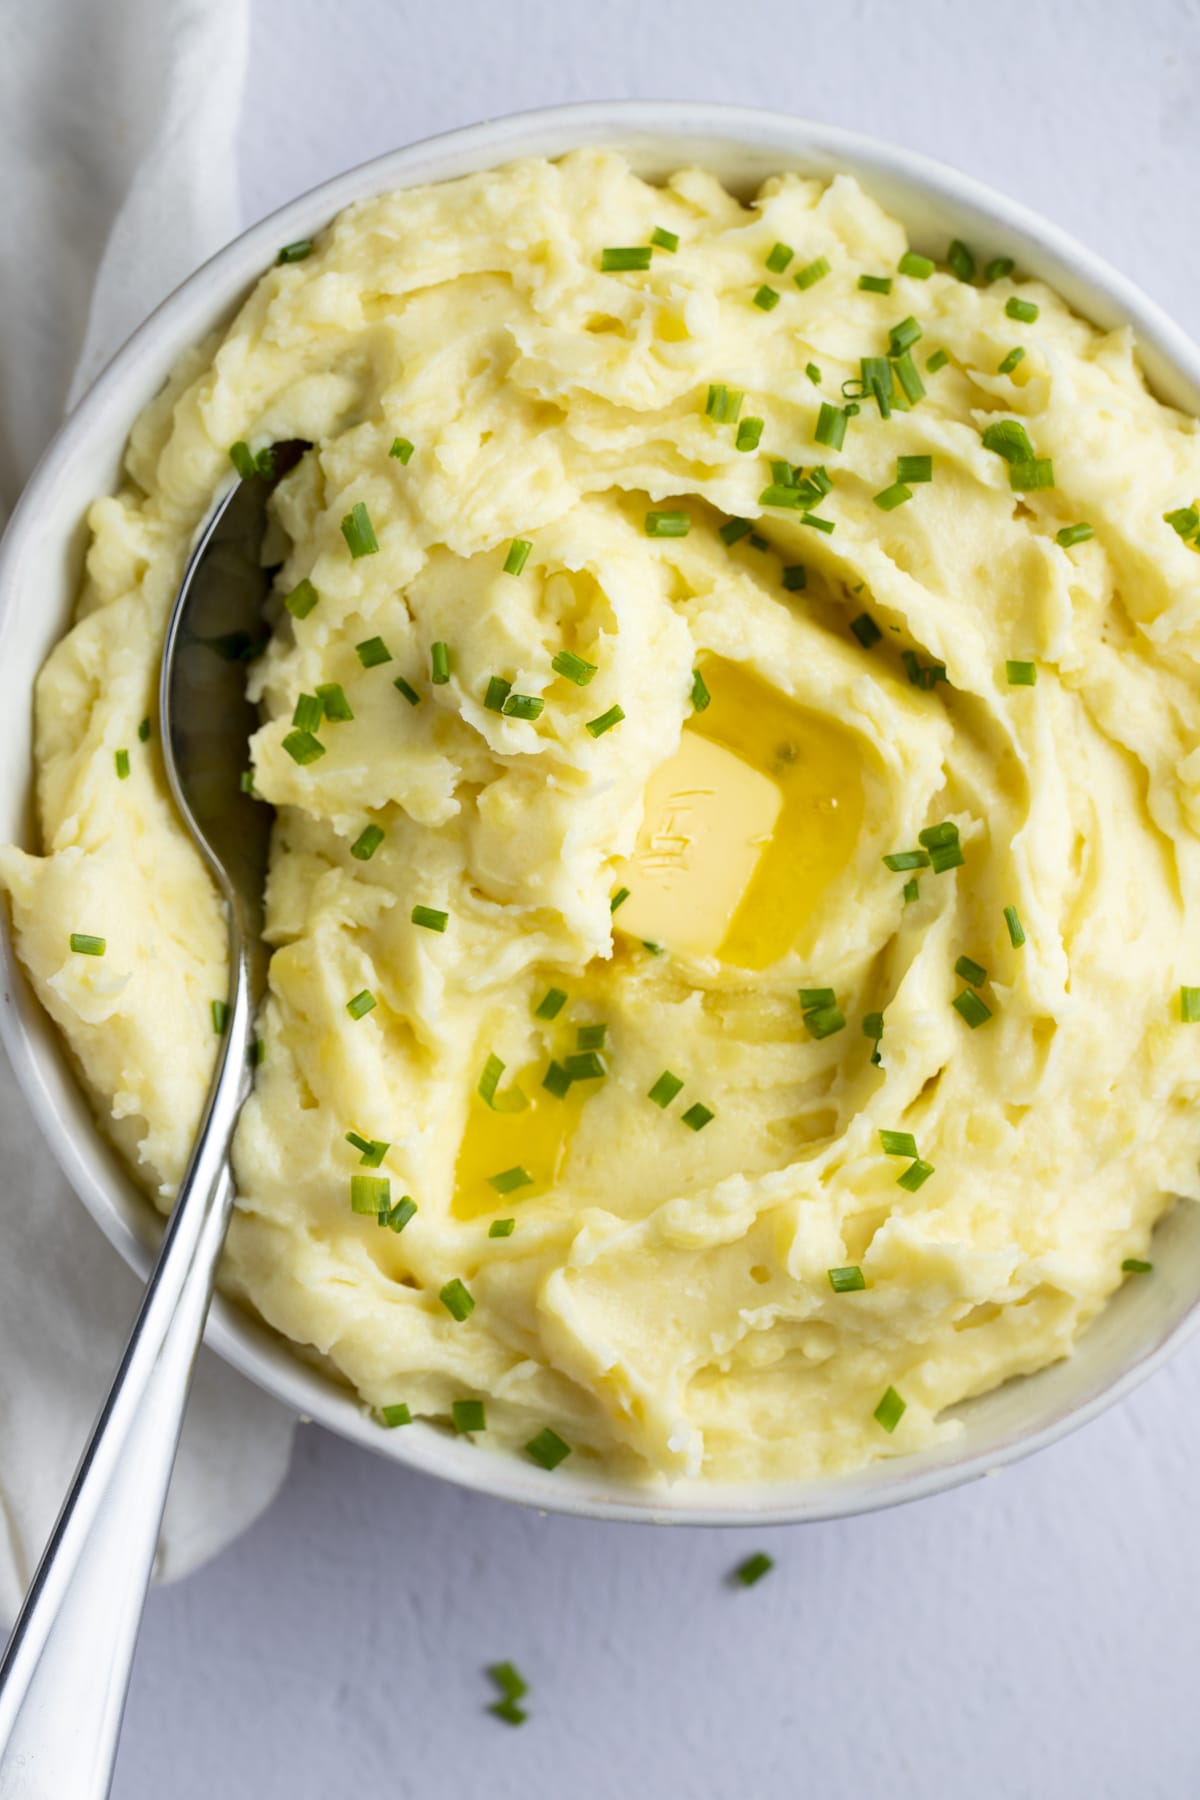
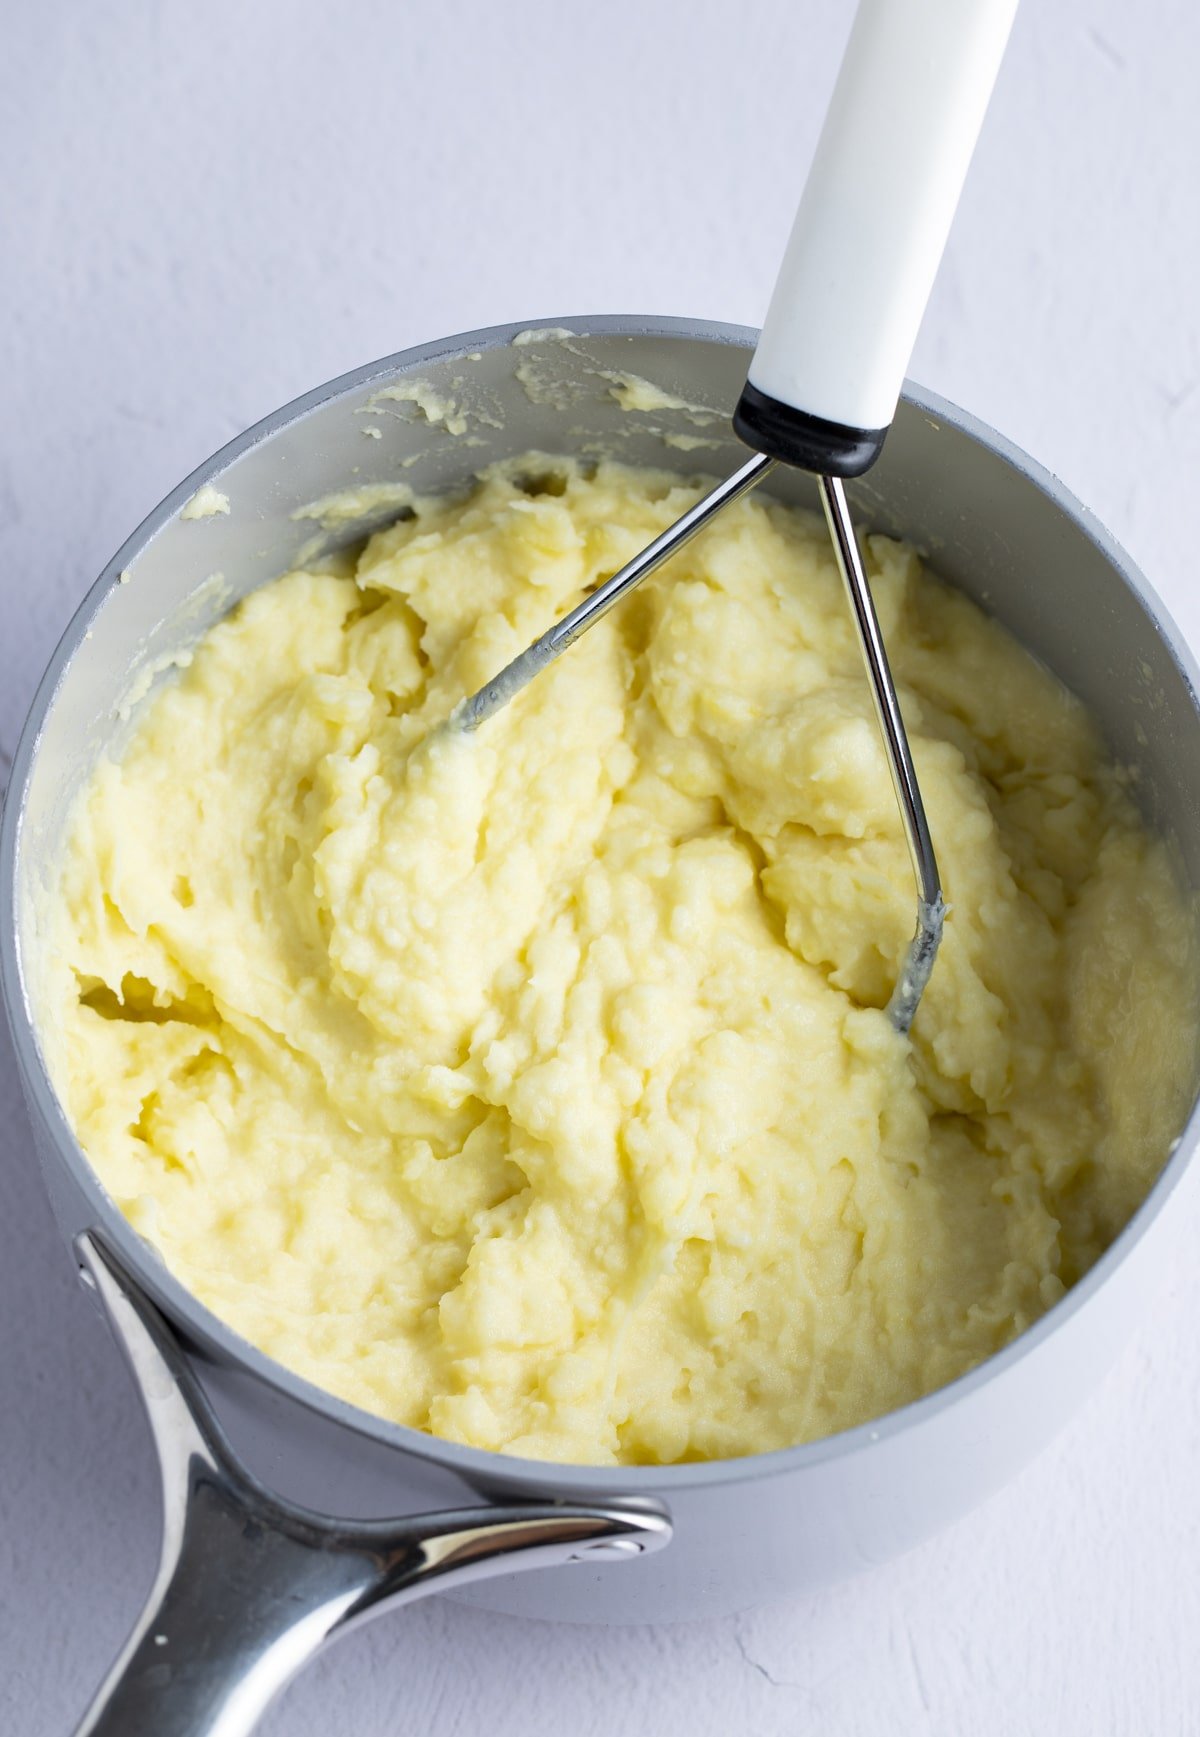
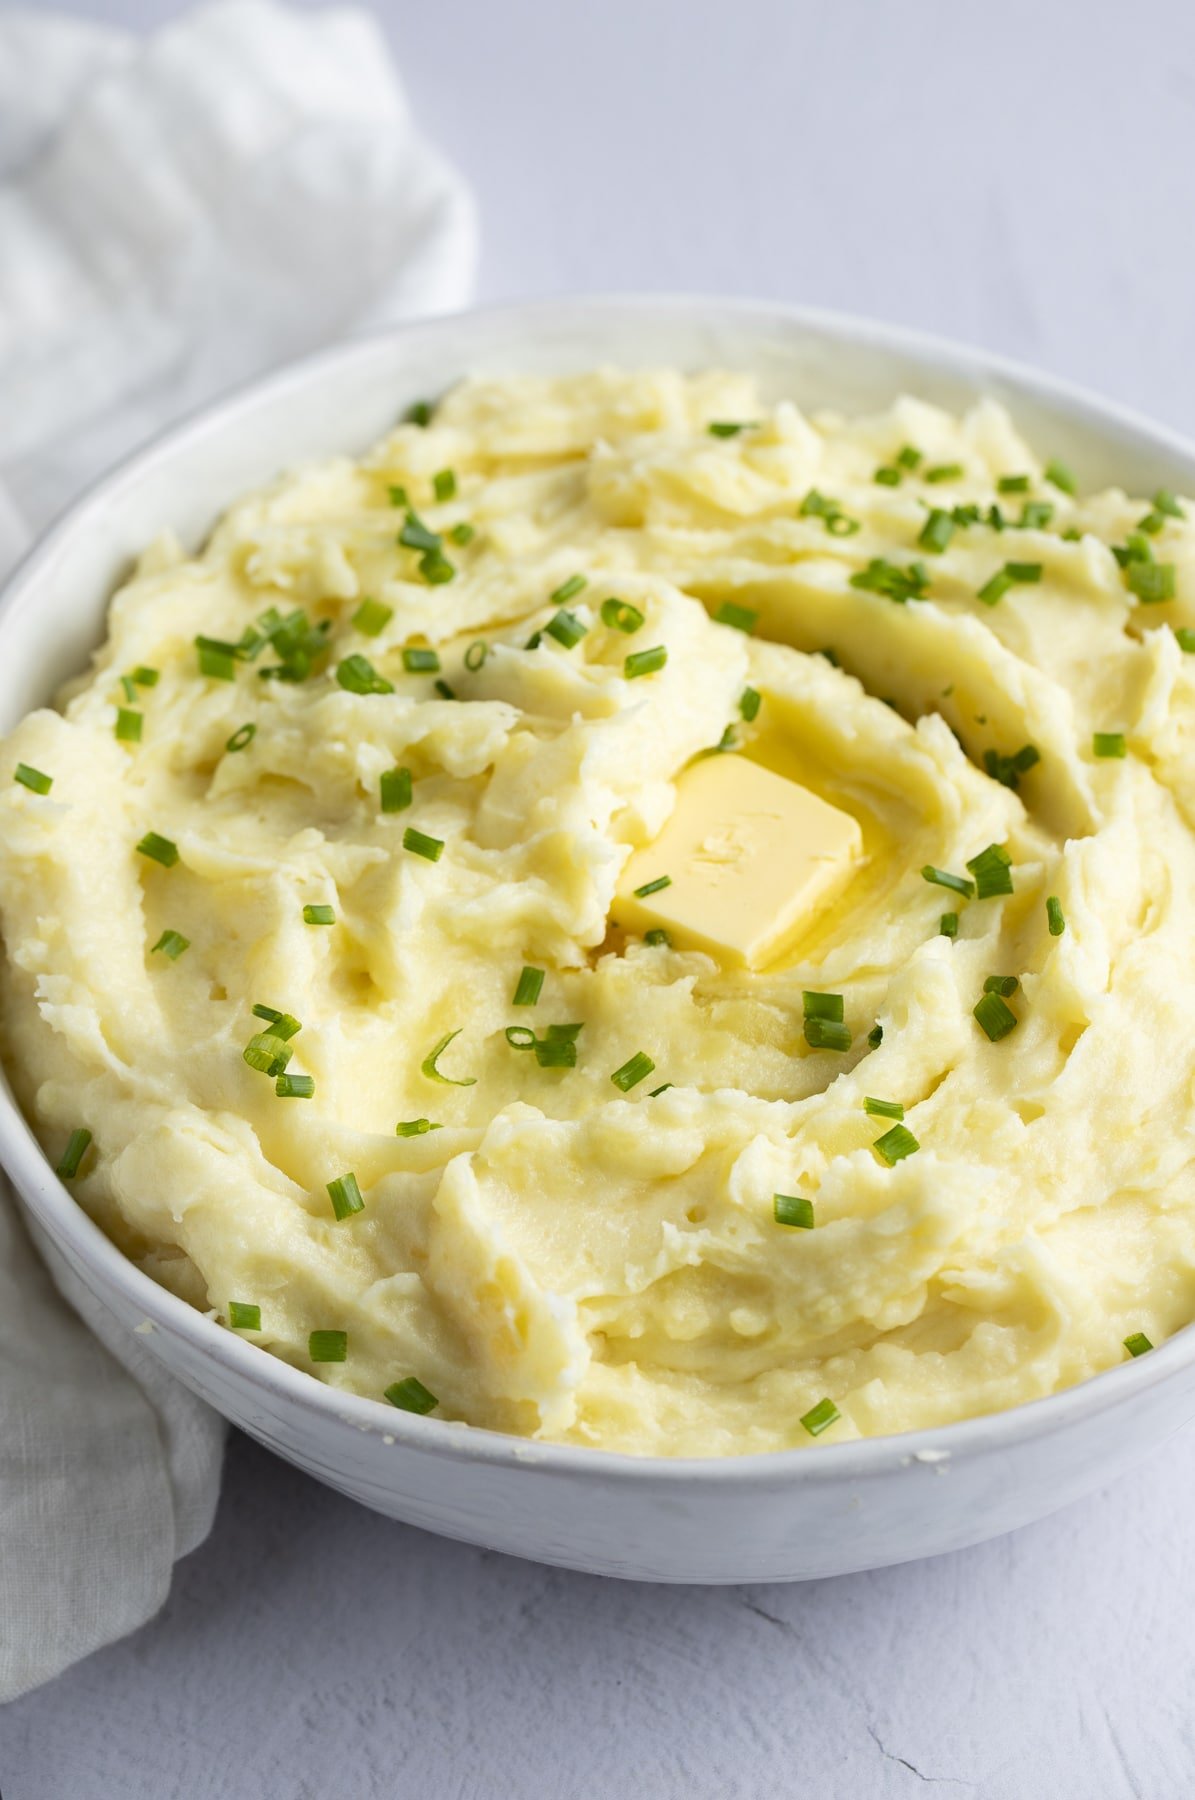
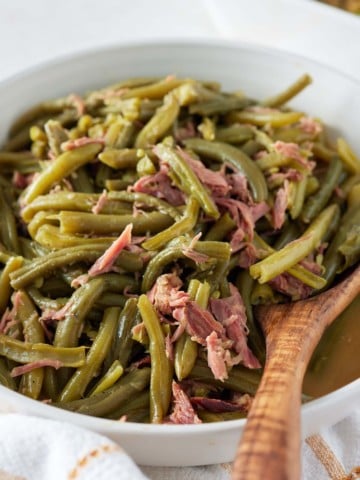
Mashed potatoes, yellow rice, roasted carrots, or even buttered noodles all pair beautifully.
If You Love This Recipe, Try These Next
- Jamaican Oxtails Recipe - Tender, fall-off-the-bone oxtails braised in a rich, savory gravy with warm Caribbean spices. This recipe is sure to impress.
- Brown Stew Chicken - This flavorful chicken simmered in brown gravy is a family favorite that never disappoints.
- Air Fryer Lamb Chops - I love how quickly these juicy lamb chops come together in the air fryer with minimal cleanup!
- Braised Beef Short Ribs - These melt-in-your-mouth short ribs are another slow-cooked favorite that's perfect for special dinners.
I hope you love this braised lamb roast as much as we do. If you've tried this or any other recipe on my blog, please take a moment to give it a star rating and share your feedback in the comments below! I appreciate your support.
Braised Lamb Recipe
Ingredients
- 6.4 lbs boneless leg of lamb trimmed and cut into 6 large pieces
- 1 tablespoon kosher salt use 2 teaspoons if using table salt
- 1 teaspoon ground black pepper
- 1 teaspoon ground allspice
- 1 teaspoon ground cumin
- 1 teaspoon ground ginger
- 1 teaspoon dried oregano
- 2 tablespoons olive oil
- 1 large red onion sliced
- 6 cloves garlic sliced
- 1 tablespoon tomato paste
- 1 tablespoon honey
- 1 cup beef broth
Instructions
- Preheat your oven to 325°F (165°C). Remove any netting from the lamb and trim excess fat. Cut into six large pieces.
- Mix together salt, black pepper, allspice, cumin, and ginger. Rub this seasoning mix evenly all over the lamb.
- Heat olive oil in a large Dutch oven over medium-high heat. Sear each piece of lamb for about 3-4 minutes per side, until golden brown. Don't overcrowd the pot; work in batches if needed. Remove the lamb from the pot and set aside.
- Add the sliced onion and garlic to the pot. Sauté for 2–3 minutes until fragrant and starting to soften.
- Stir in tomato paste and cook for 30 seconds to deepen the flavor, then drizzle in honey and stir to coat everything. Pour in the beef stock and sprinkle in oregano.
- Return the seared lamb pieces to the pot. The sauce won't cover the meat, but that's just fine.
- Cover tightly with the lid and transfer to the oven. Braise for 3 to 3 hours and 30 minutes, until the lamb is fork-tender and shreds easily.
- Remove from the oven and shred the lamb in a large bowl. After shredding the lamb, skim off any excess fat from the braising liquid, then spoon the flavorful liquid over the meat before serving.
- Serve immediately or store for future meals.
Notes
- Easier Fat Removal: For the cleanest sauce, refrigerate the braised lamb in its liquid overnight. The fat will solidify at the top, making it easy to lift off and discard before reheating. This method gives you a leaner, cleaner-tasting sauce.
- Slow Cooker Method: After searing the lamb and building the sauce, transfer everything to a slow cooker. Cook on Low for 8-10 hours or High for 5-6 hours until the lamb is fork-tender.