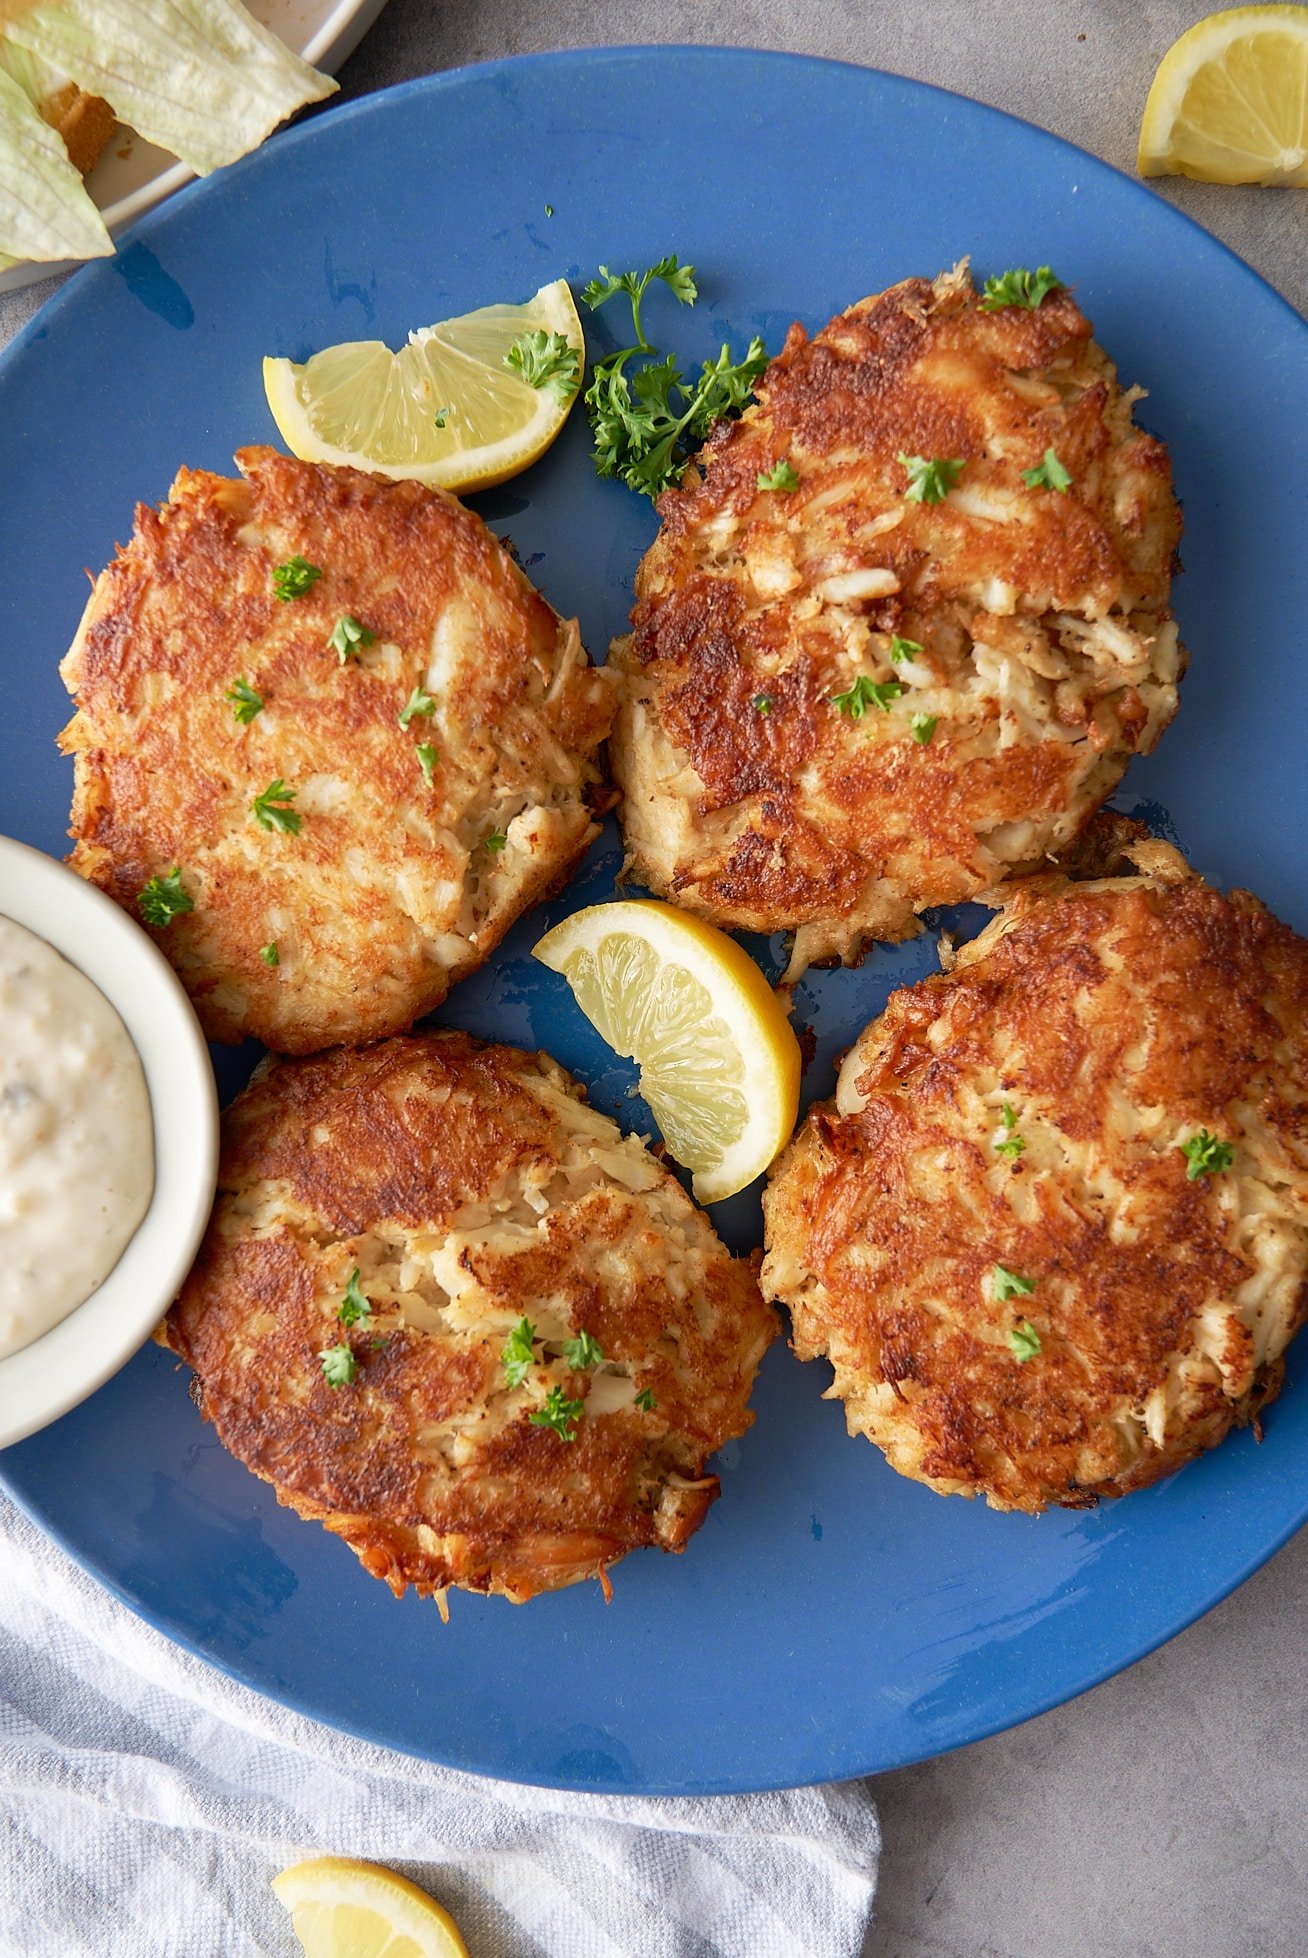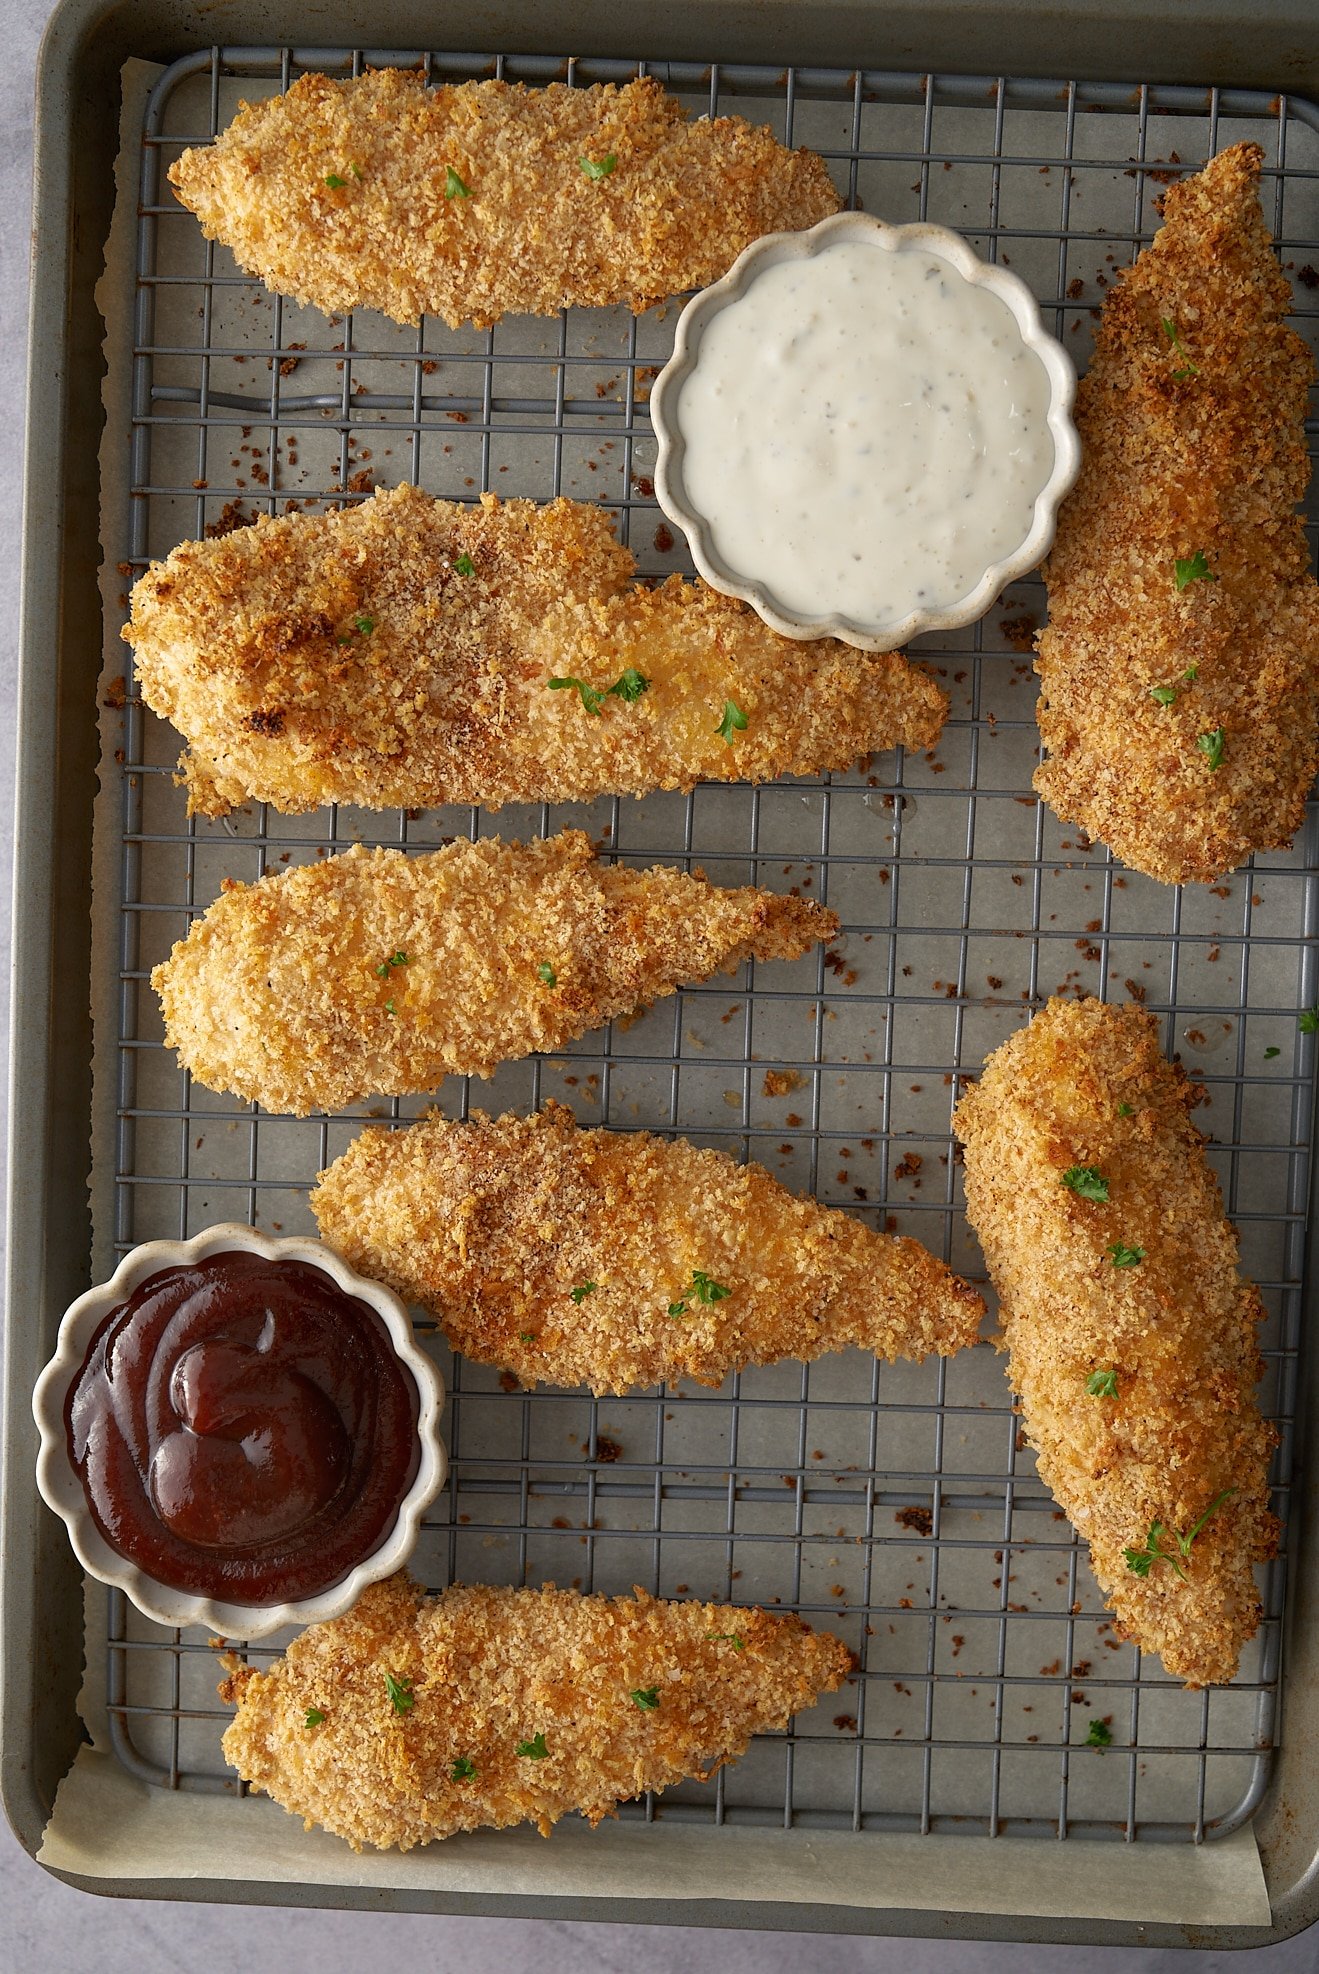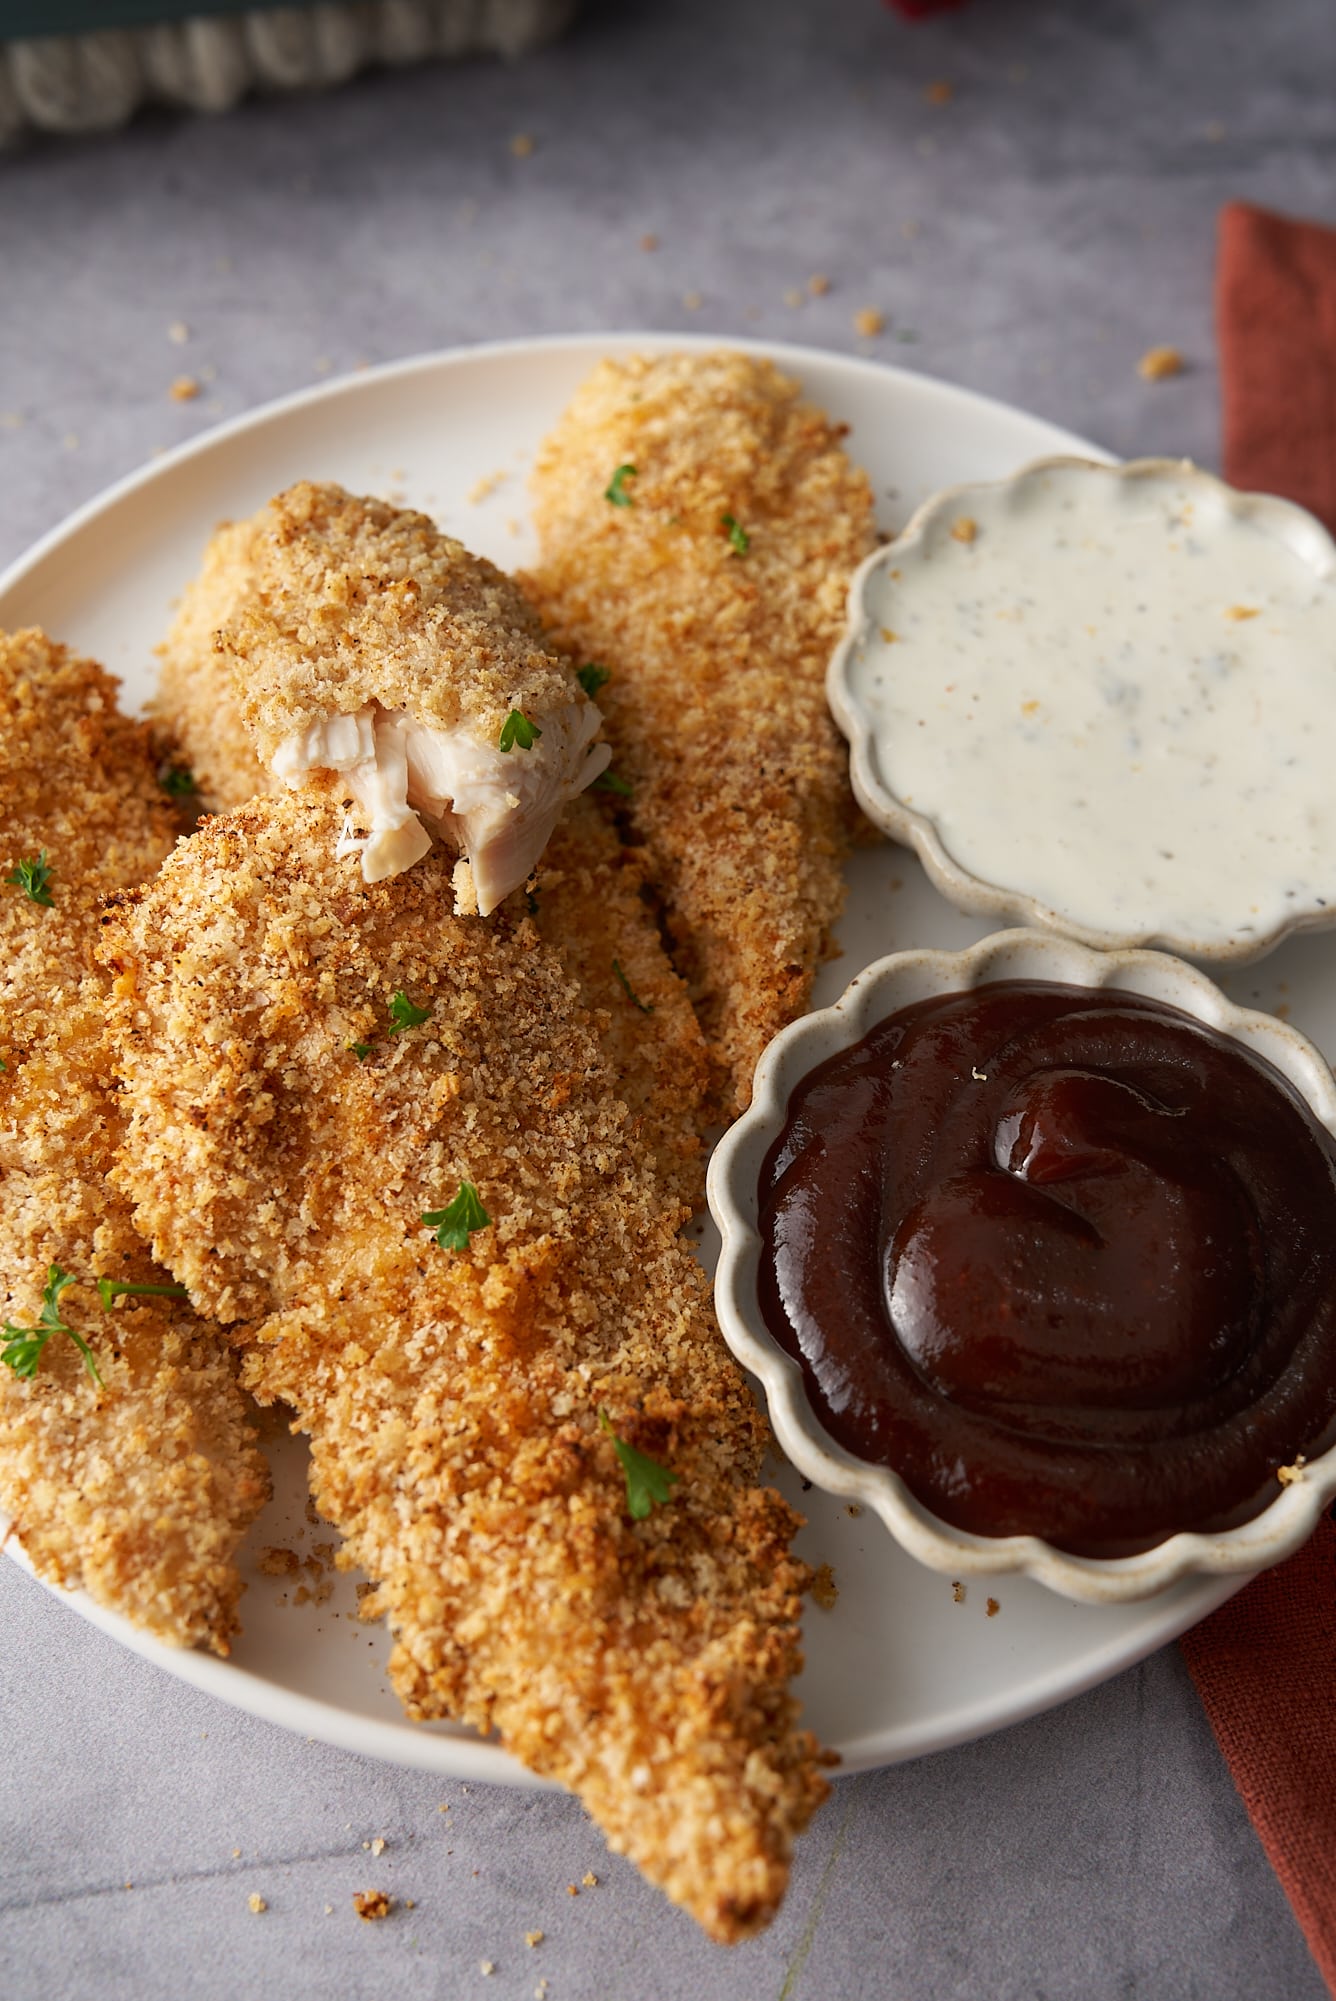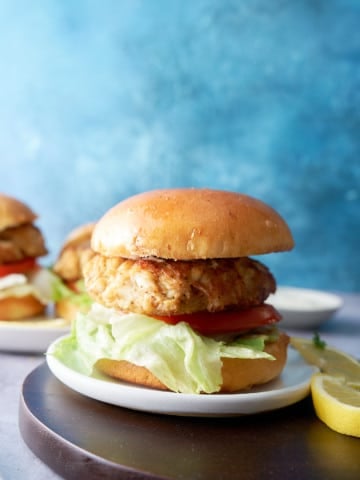
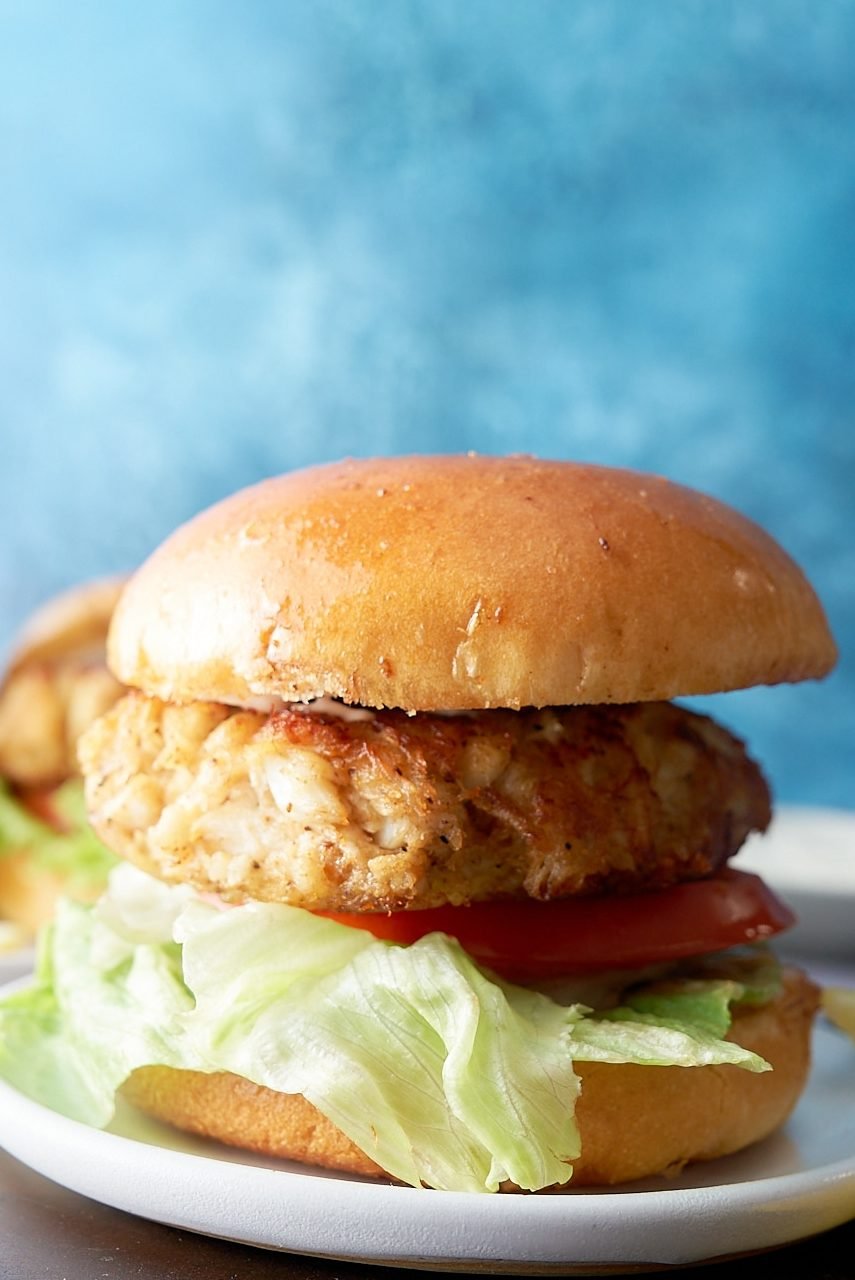
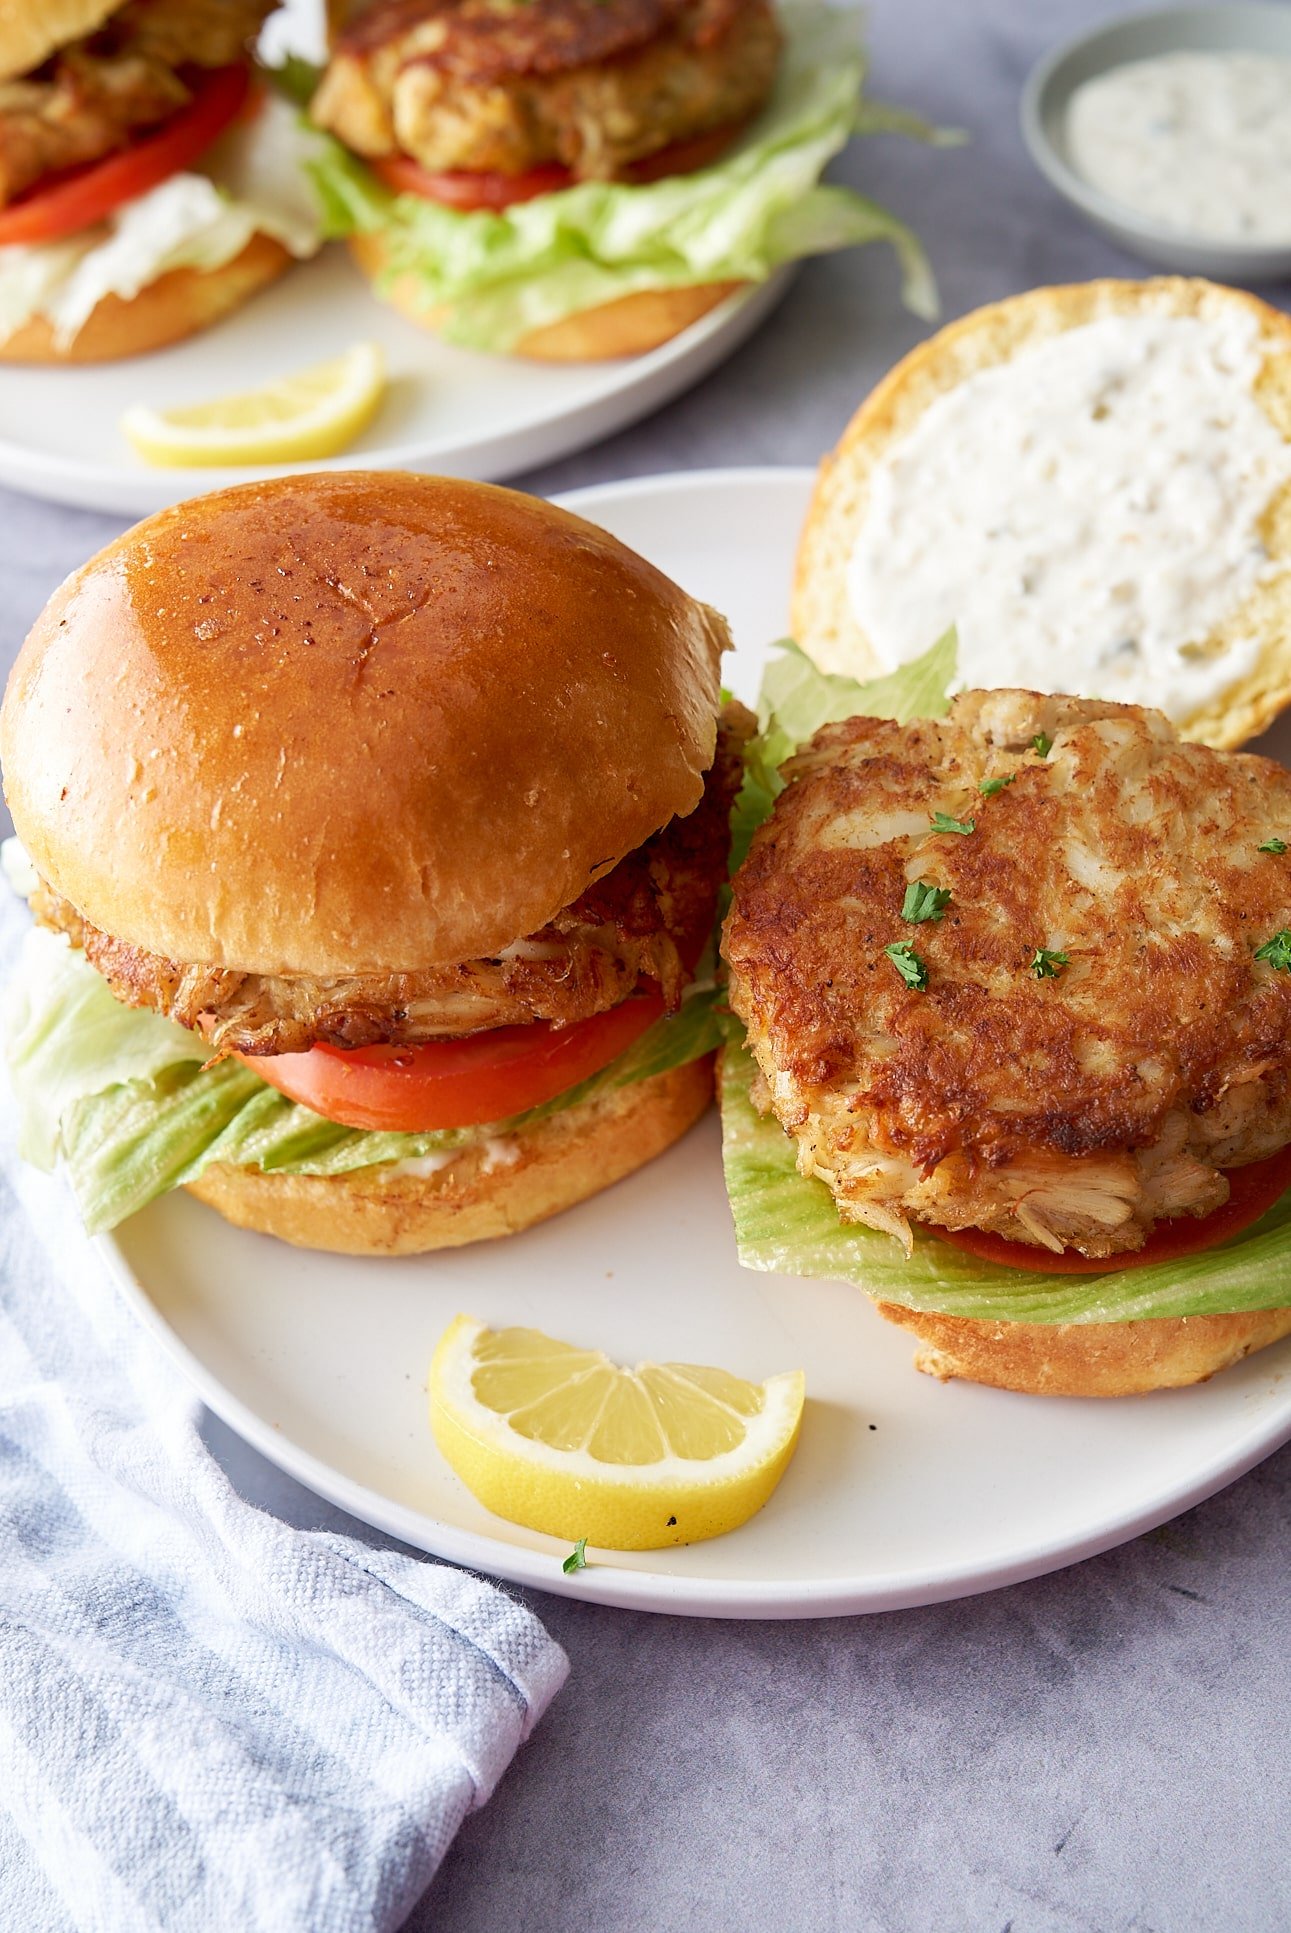
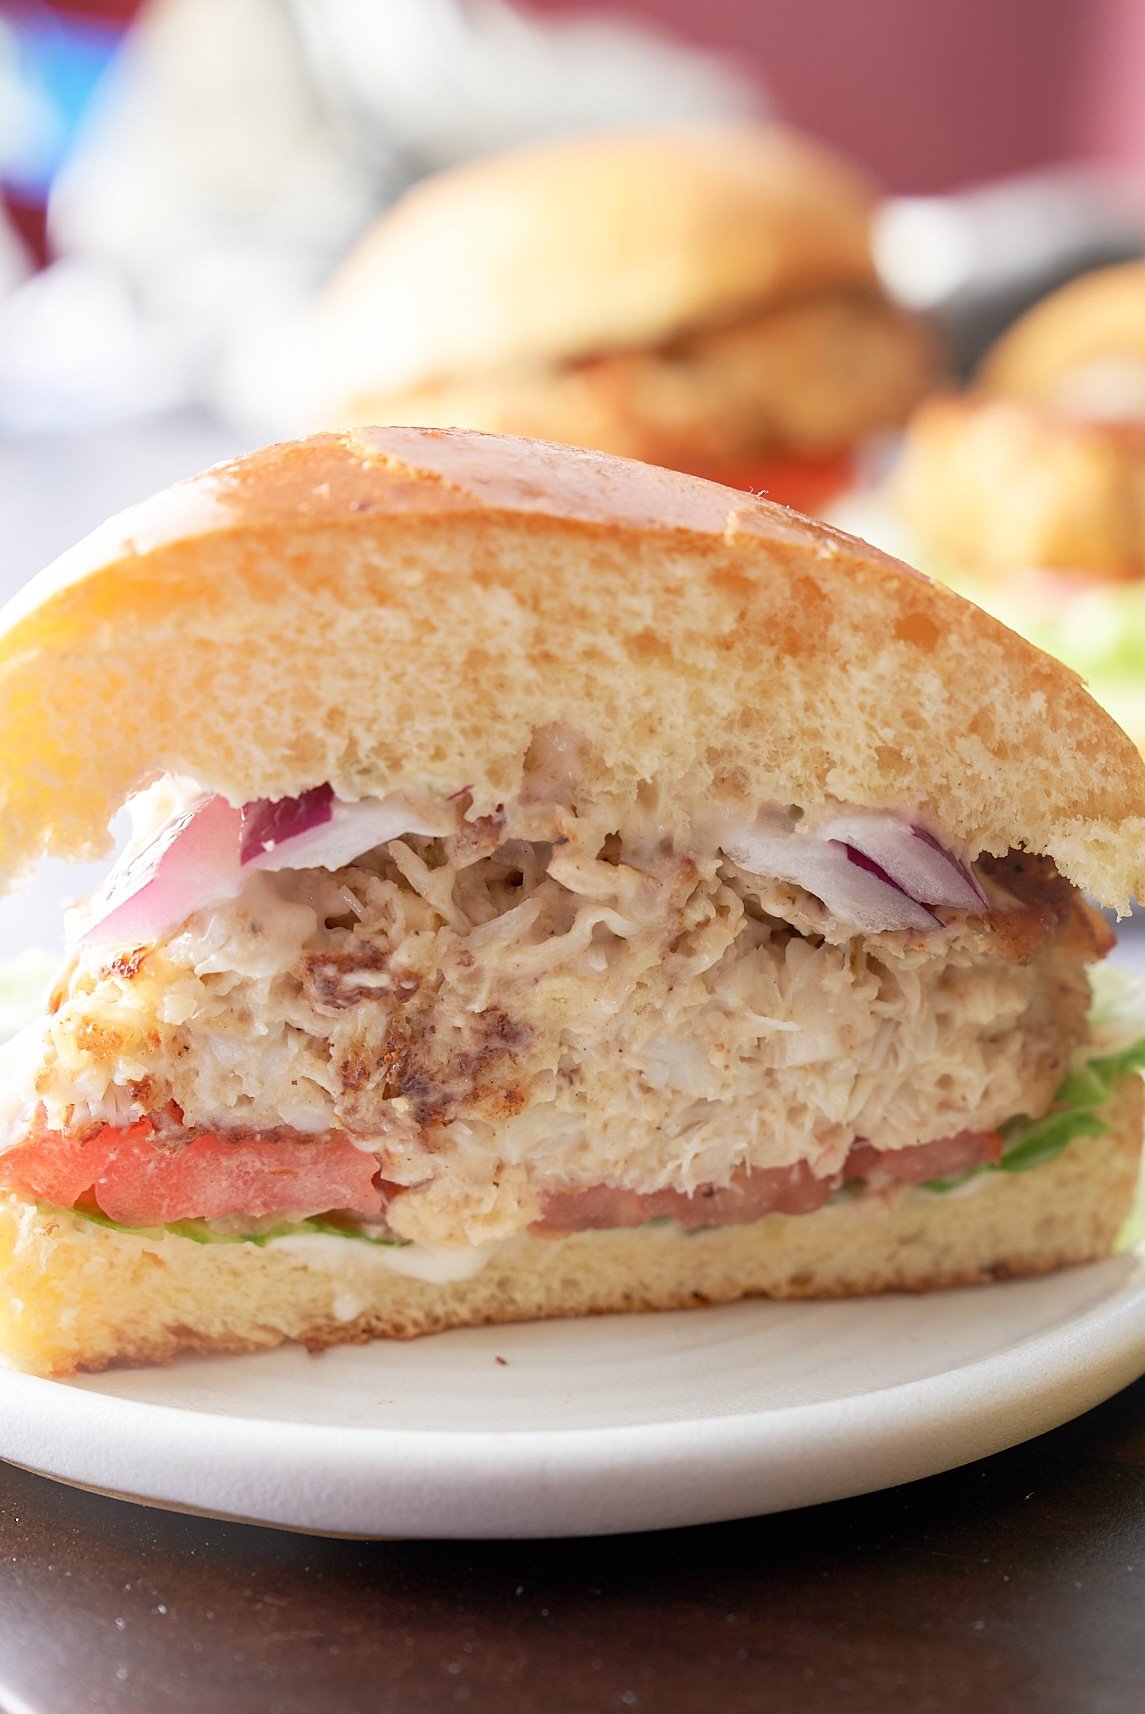
This crab cake sandwich features a tender crab cake patty that has been perfectly pan-seared to golden-brown perfection. Tucked inside a toasted bun and layered with crisp lettuce, juicy tomato slices, and tartar sauce.
You’ll find the full recipe with ingredient amounts and instructions in the recipe card at the bottom of this post. Be sure to check out the blog post itself for extra tips and tricks!
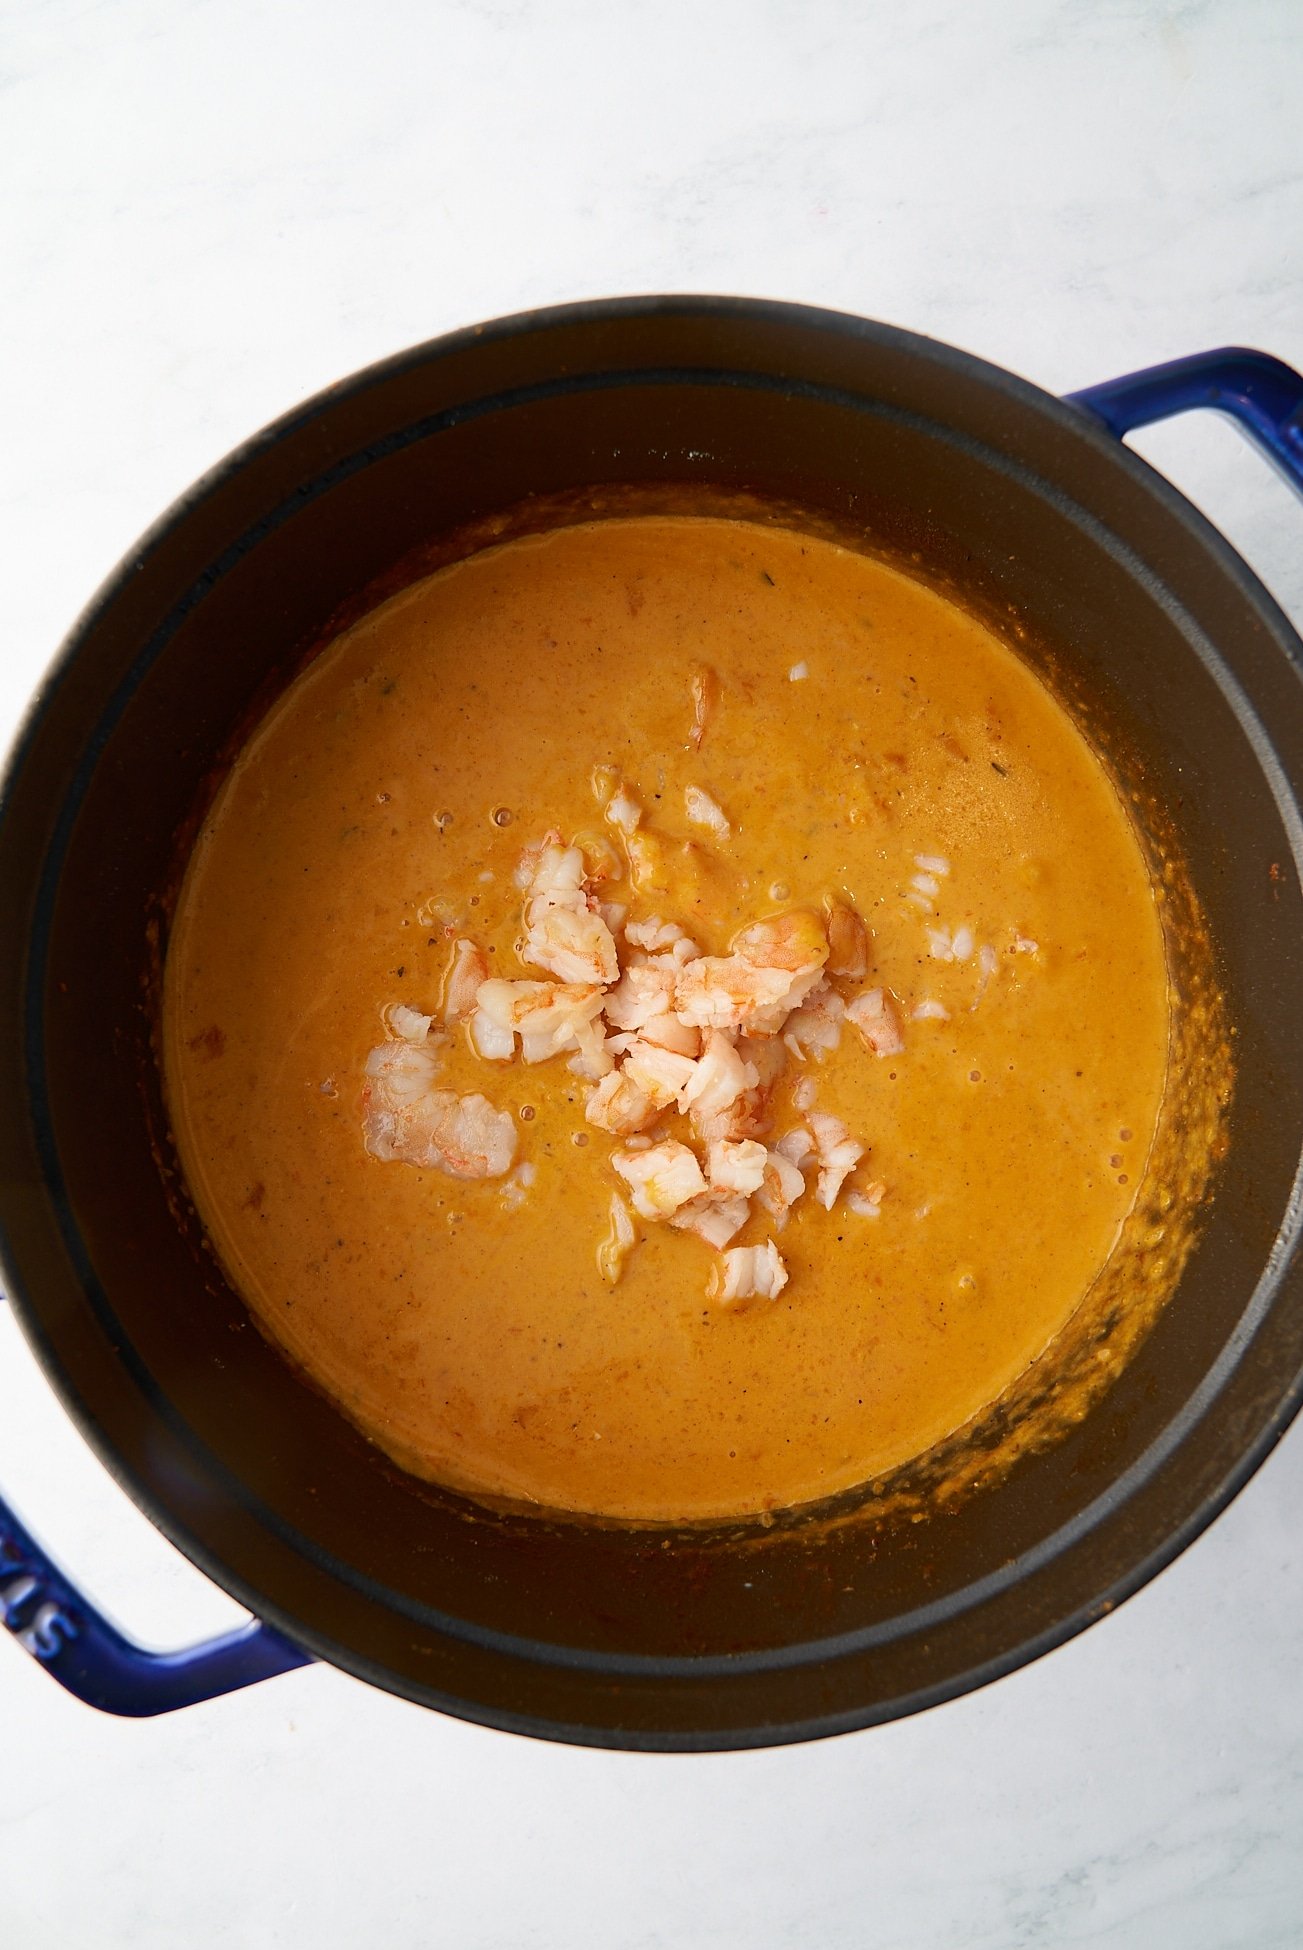
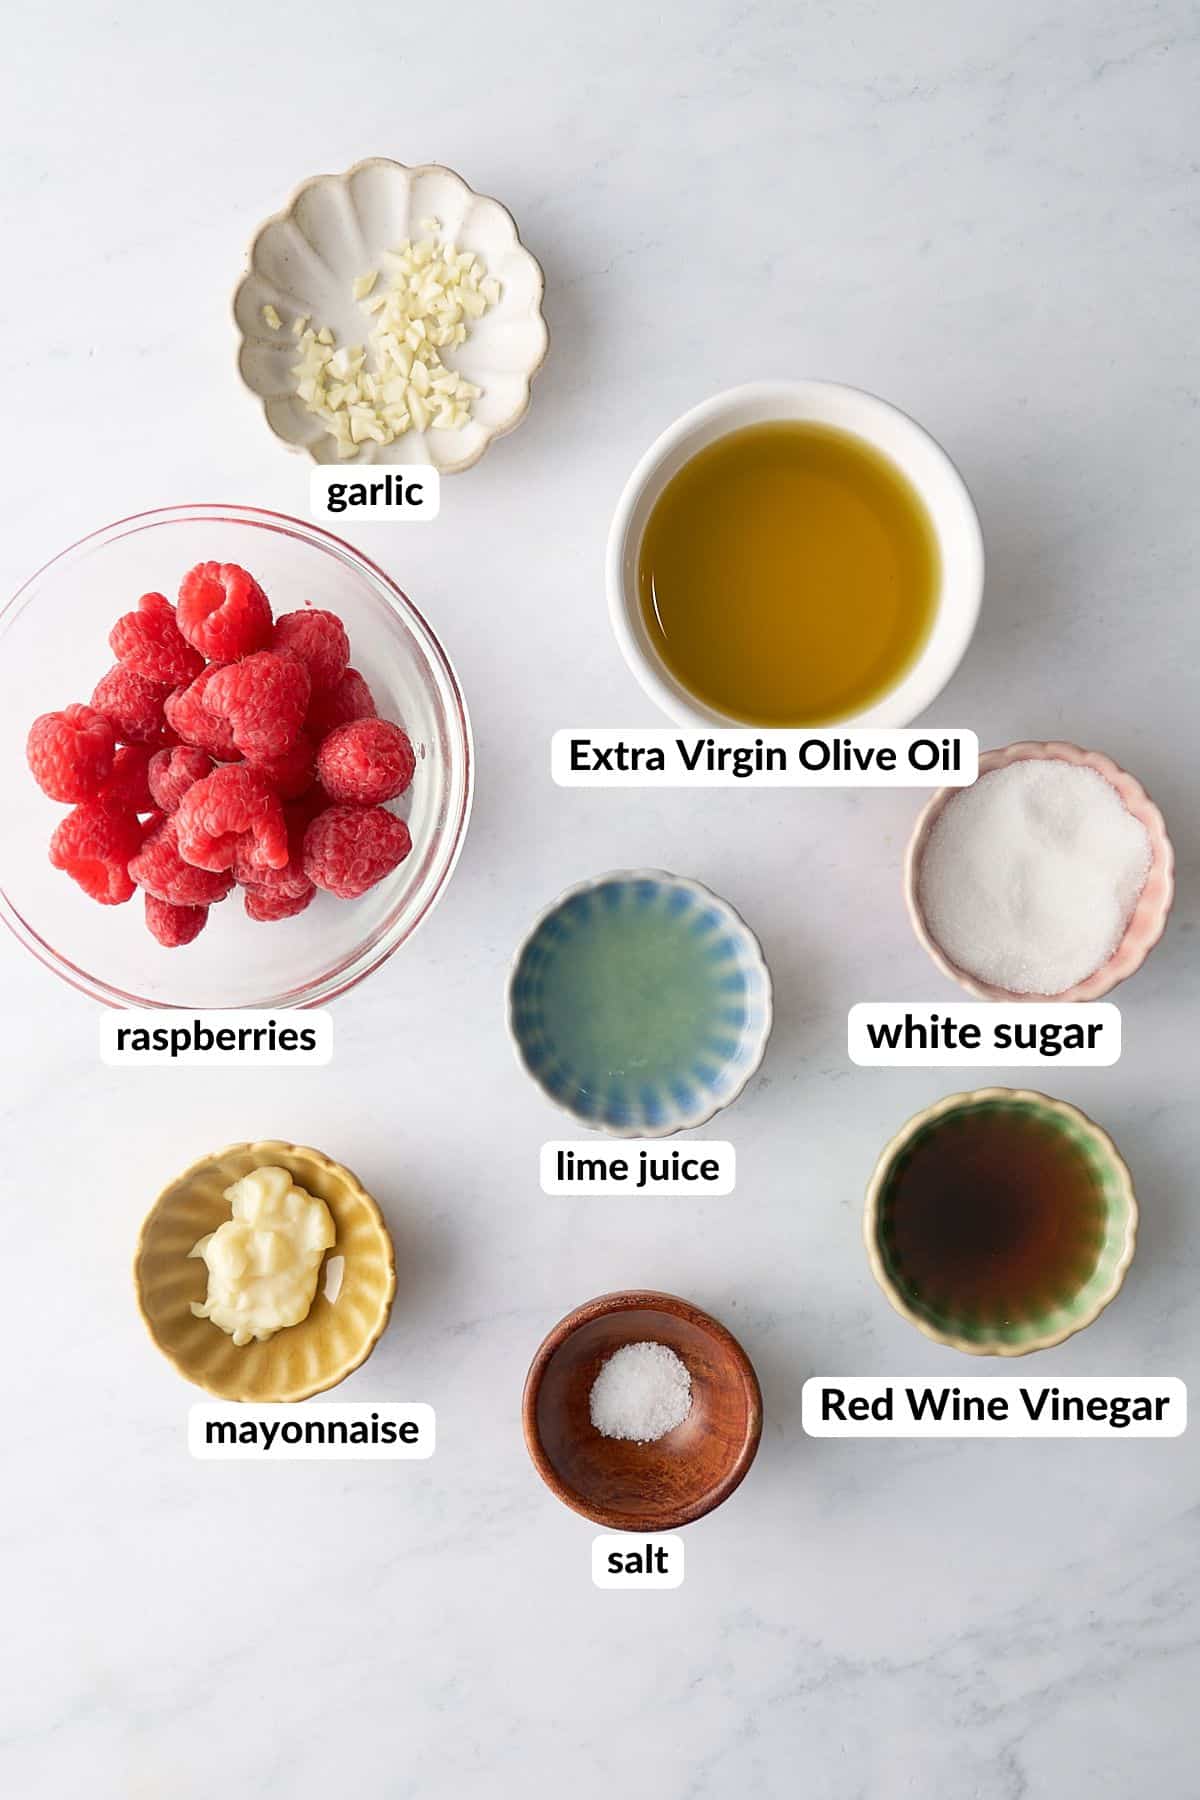
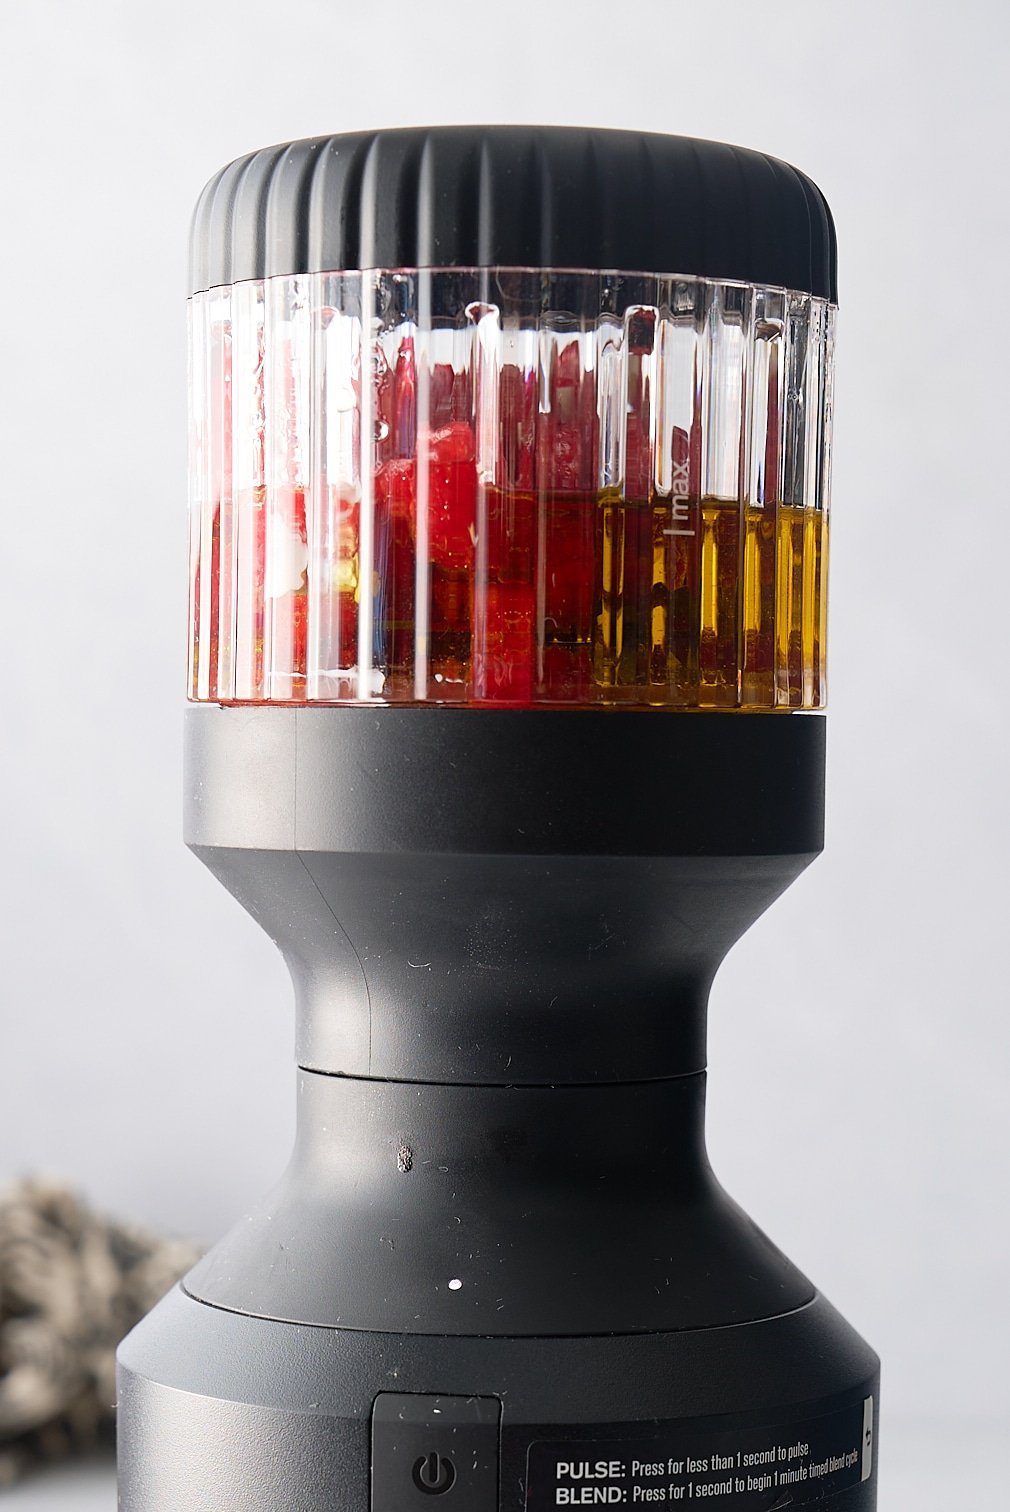
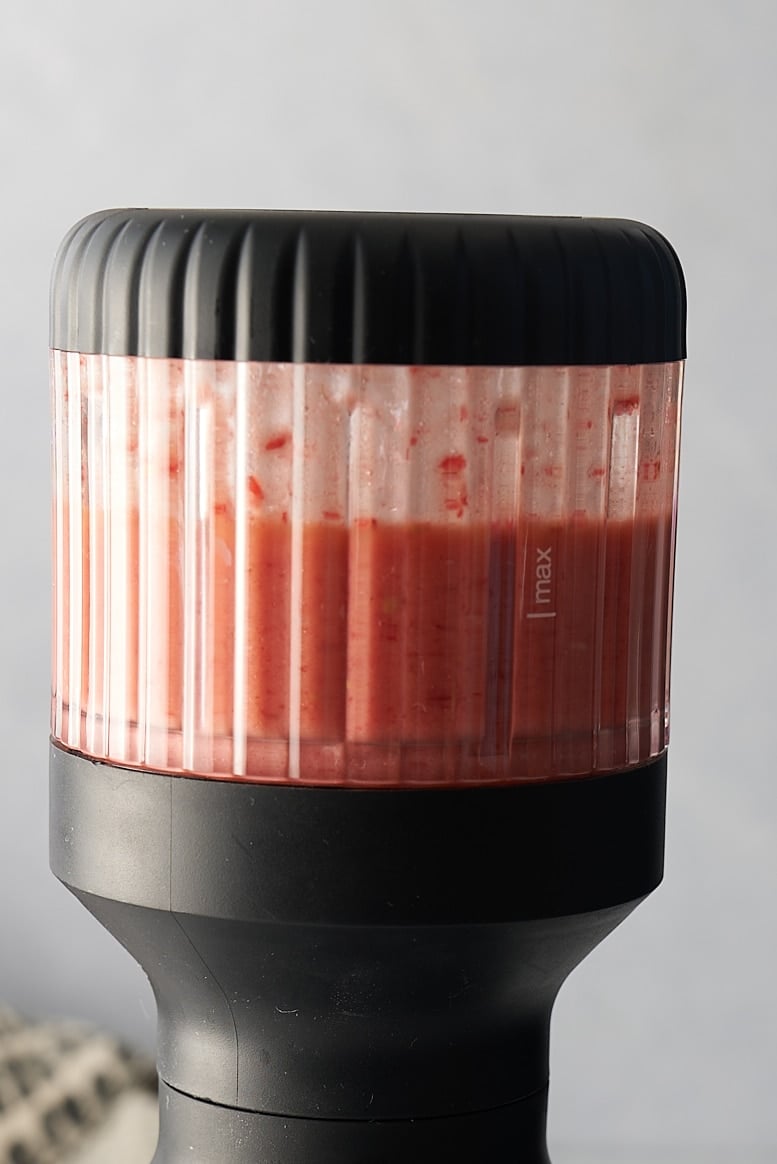
As much as I love crab cakes, I had to share one way I love to enjoy them...in a sandwich. I remember the first time I tried this, I was blown away by how the flavors came together. I stack mine high with crisp lettuce, tomato, and a big spoonful of my homemade tartar sauce or bold remoulade. Both recipes are on the blog if you need them!
Serve it with a side of my creamy coleslaw or oven-baked fries, and you’ve got a meal that always hits the spot.
A Quick Look at the Ingredients You Will Need
Ingredient amounts and full recipe instructions are on the printable recipe card at the bottom of the post.
For the Crab Cakes: Lump crab meat, egg, mayonnaise, Dijon mustard, Worcestershire sauce, Old Bay seasoning, fresh lemon juice, finely crushed saltine crackers, salt and freshly ground black pepper, unsalted butter, vegetable oil
For the Sandwiches: Brioche or potato buns, tartar sauce (store-bought or homemade), lettuce (Romaine, Bibb, or Iceberg), tomato slices, butter (for toasting buns), lemon wedges for serving
Tools Needed
- Mixing bowl
- Measuring spoons and cups
- Large skillet or nonstick pan
- Spatula (preferably a fish spatula)
- Plate or baking sheet (for chilling patties)
- Knife and cutting board
How to Make Crab Cake Sandwiches
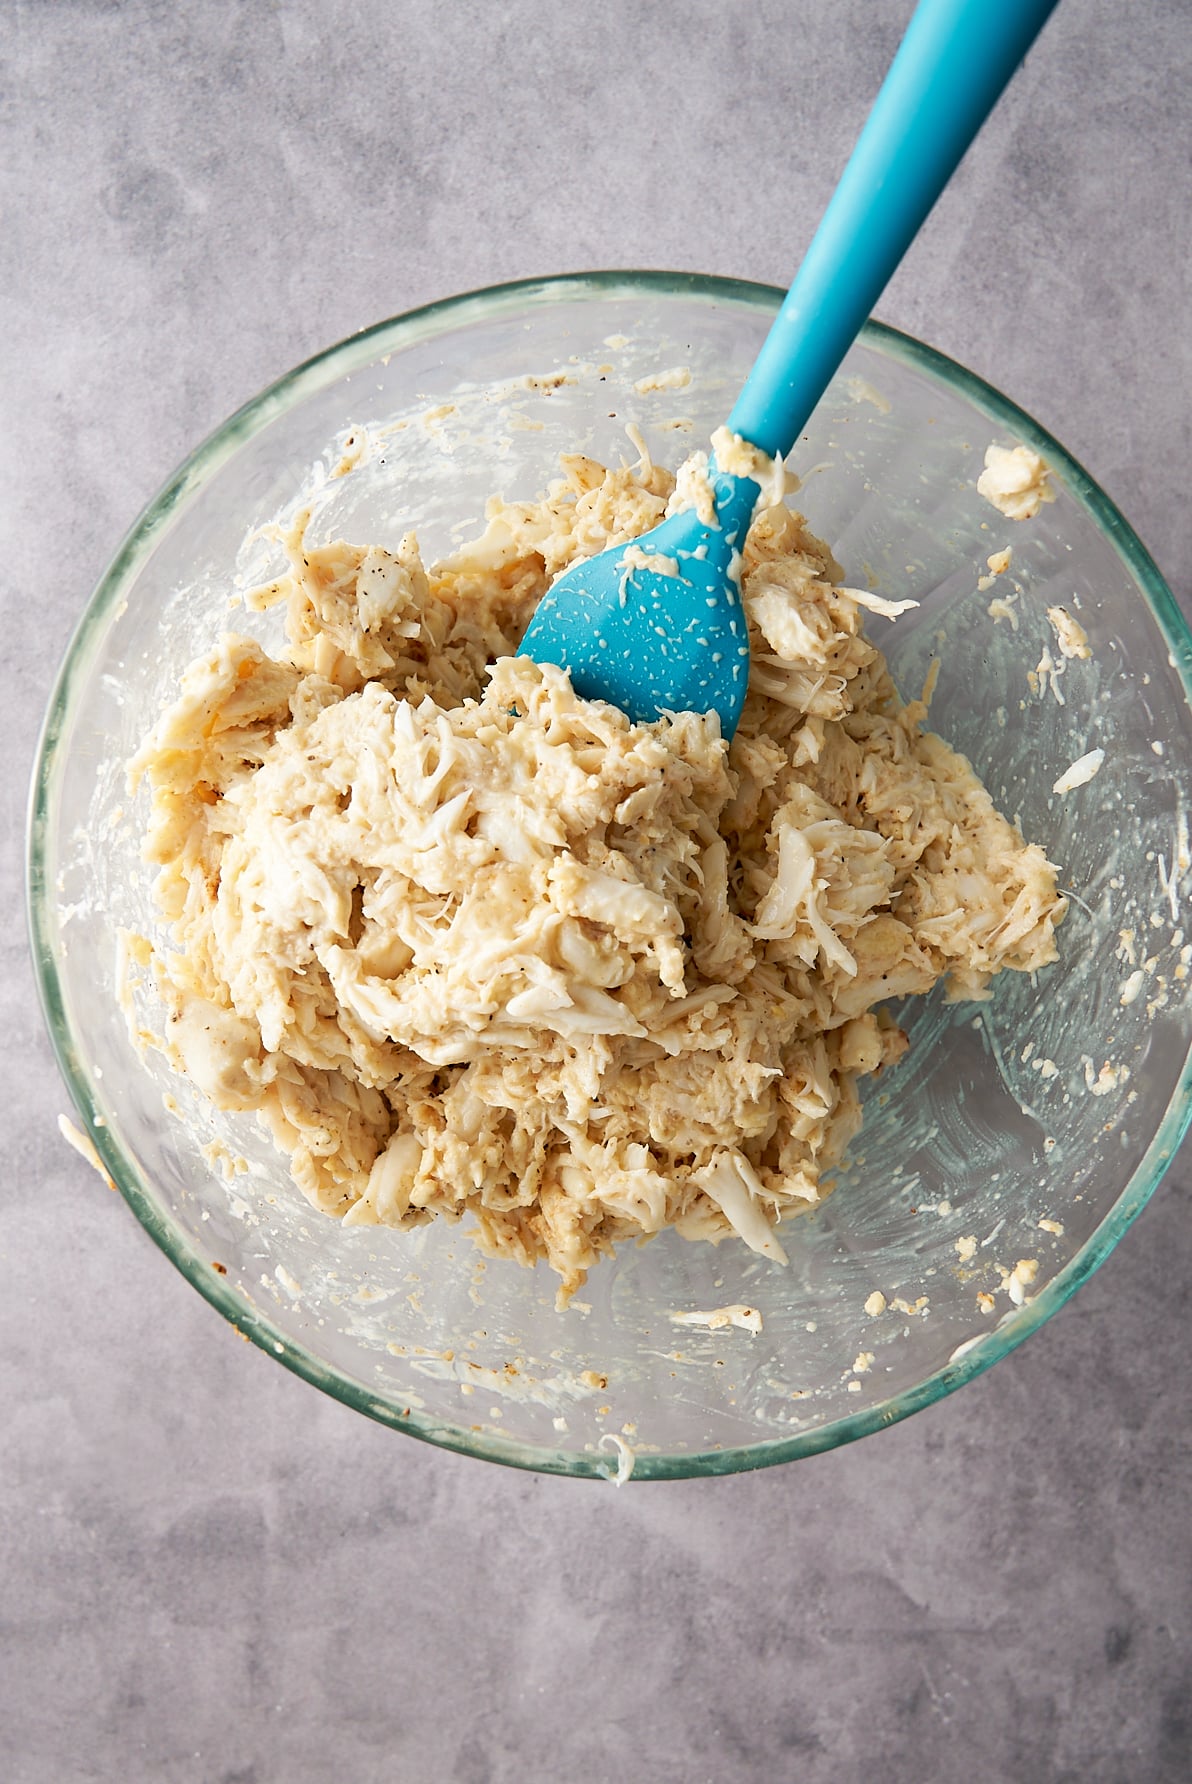
Step 1: In a large bowl, gently mix the crab meat, egg, mayonnaise, Dijon mustard, Worcestershire sauce, Old Bay seasoning, lemon juice, and crushed saltine crackers. Season with salt and pepper to taste. Mix carefully to maintain the lump texture of the crab meat.
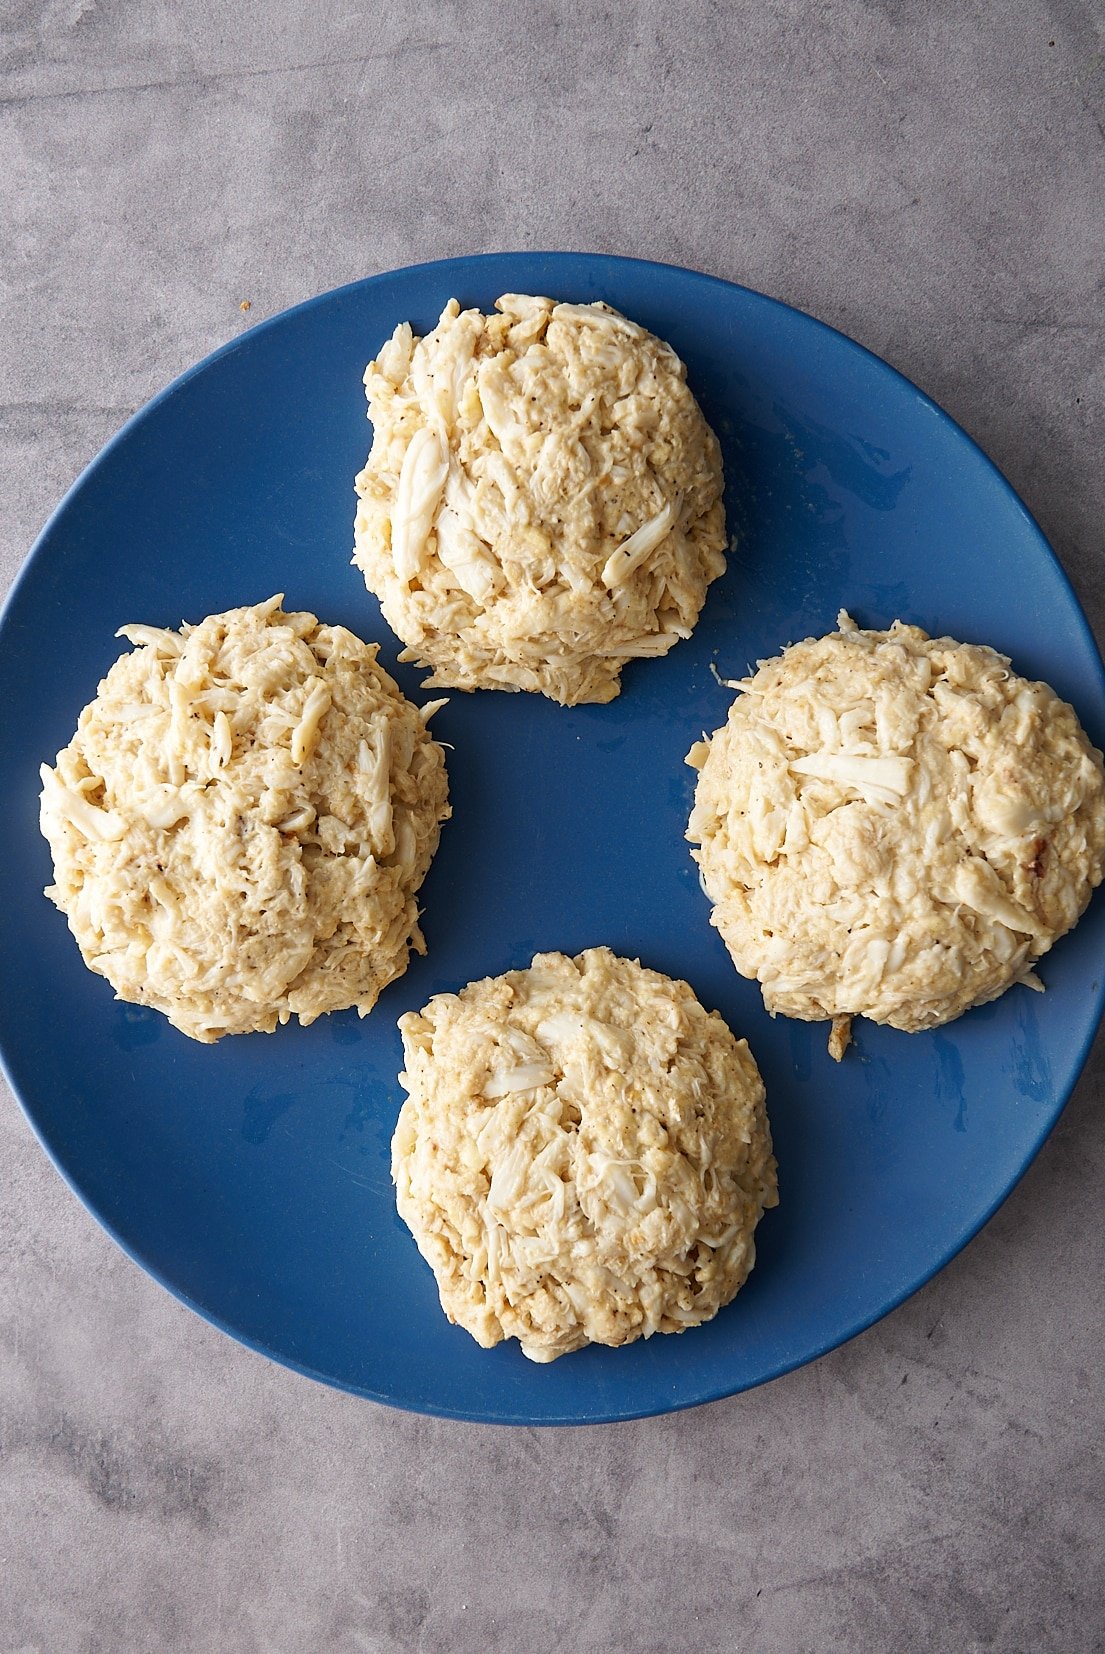
Step 2: Divide the mixture into 4 equal portions and shape each into a patty, about 1 inch thick. Place them on a plate, cover, and refrigerate for at least 30 minutes to firm up.
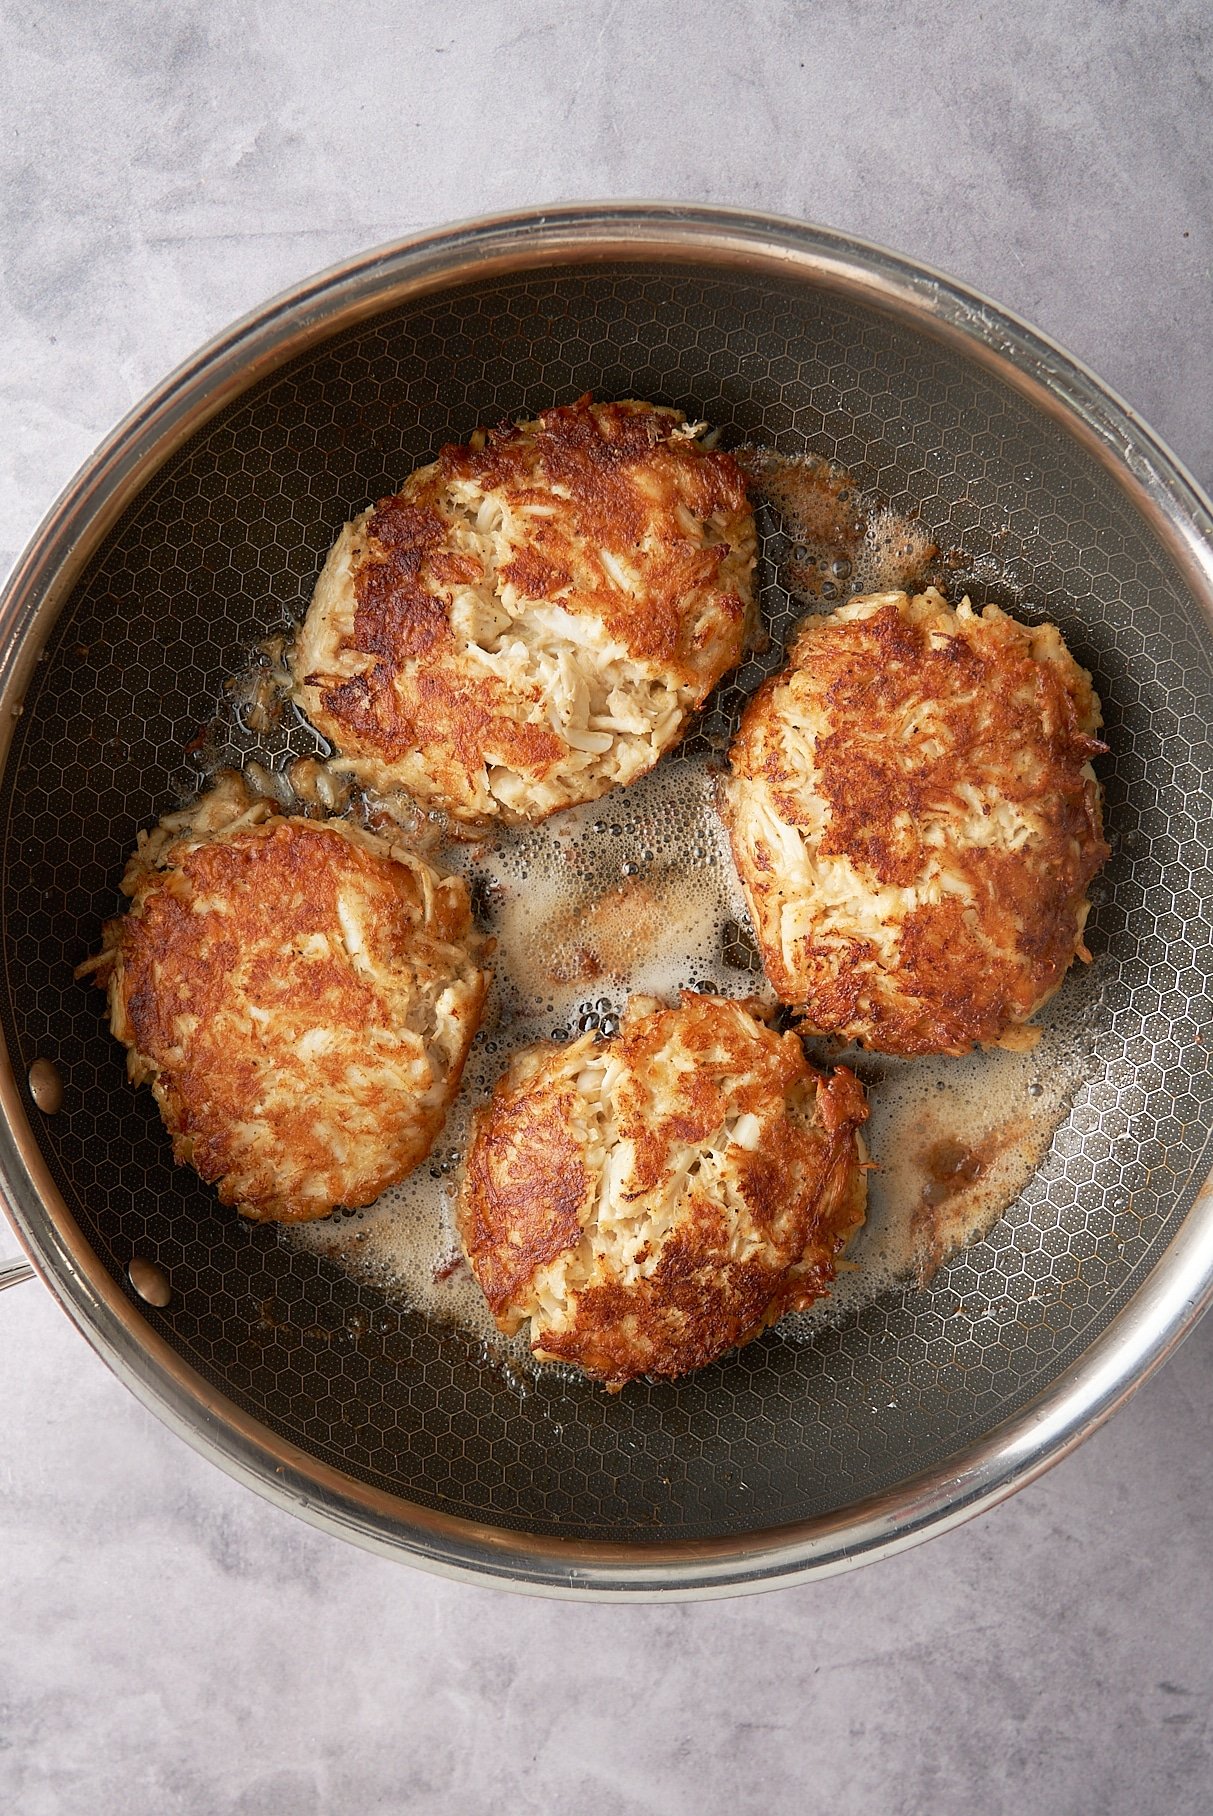
Step 3: Heat butter and vegetable oil in a large skillet over medium-high heat. Once hot, add the crab cakes and cook for 3-4 minutes per side until golden brown and cooked through. Remove from the skillet.
Step 4: In the same skillet, melt 1 tablespoon of butter over medium heat. Toast the cut sides of the buns until golden brown, about 1-2 minutes.
Step 5: Spread tartar sauce, or remoulade sauce, on the bottom half of each toasted bun. Add a leaf of lettuce, a tomato slice, and a crab cake. Top with the remaining bun halves. Serve immediately with lemon wedges and extra tartar sauce on the side.
Storage & Make-Ahead Tips
Make Ahead: Form the crab cake patties up to 24 hours in advance. Cover and refrigerate—they’ll hold together better when cooked.
Storing Leftovers: Cool cooked crab cakes completely, then refrigerate in an airtight container for up to 3 days. Store buns and toppings separately to avoid sogginess.
Freezing: Uncooked: Freeze formed patties on a lined tray until solid, then transfer to a freezer-safe bag (with parchment between layers). Freeze up to 2 months. Thaw overnight before cooking.
Cooked: Cool, wrap individually, and freeze for up to 1 month. Thaw overnight, then reheat in the oven.
Reheating: Warm in a 350°F oven for 10–15 minutes or in a skillet with butter. Microwave only if needed—it can make them soft.
Tanya's Top Tips
- Refrigerating the formed patties for at least 30 minutes helps them hold together better during cooking. This will make your crab cake sandwich stay together.
- Invest in the best lump crab meat you can find. It's the star of the show and worth the splurge.
- Make sure your pan is hot enough before adding the crab cakes to achieve that perfect golden crust.
- If you prefer, you can make the crab cakes in the air fryer.
I hope you love these sandwiches as much as we do. Looking for more seafood recipes? Try these out.
- Shrimp Po' Boy (Air Fryer Method)
- Salmon Patties

Crab Cake Sandwich Recipe
Ingredients
For the Crab Cakes
- 1 pound lump crab meat drained, picked over for shells
- 1 large egg
- 2 tablespoons mayonnaise
- 1 teaspoon Dijon mustard
- 1 teaspoon Worcestershire sauce
- 1 teaspoon Old Bay seasoning
- 1 tablespoon fresh lemon juice
- ¼ cup finely crushed saltine crackers
- Salt and freshly ground black pepper to taste
- 2 tablespoons unsalted butter
- 2 tablespoons vegetable oil
For the Sandwiches
- 4 brioche or potato buns lightly toasted
- 4 leaves of lettuce Romaine, Bibb, or Iceberg
- 4 tomato slices
- ¼ cup tartar sauce store-bought or homemade
- 1 tablespoon butter for toasting buns
- Lemon wedges for serving
Instructions
For the Crab Cakes
- In a large bowl, gently mix the crab meat, egg, mayonnaise, Dijon mustard, Worcestershire sauce, Old Bay seasoning, lemon juice, and crushed saltine crackers. Season with salt and pepper to taste. Mix carefully to maintain the lump texture of the crab meat.
- Divide the mixture into 4 equal portions and shape each into a patty, about 1 inch thick. Place them on a plate, cover, and refrigerate for at least 30 minutes to firm up.
- Heat butter and vegetable oil in a large skillet over medium-high heat. Once hot, add the crab cakes and cook for 3-4 minutes per side until golden brown and cooked through. Remove from the skillet.
For the Sandwich
- In the same skillet, melt 1 tablespoon of butter over medium heat. Toast the cut sides of the buns until golden brown, about 1-2 minutes.
- Spread tartar sauce on the bottom half of each toasted bun. Add a leaf of lettuce, a tomato slice, and a crab cake. Top with the remaining bun halves.
- Serve immediately with lemon wedges and extra tartar sauce on the side.
Notes
- Form the crab cake patties up to 24 hours in advance. Cover and refrigerate—they’ll hold together better when cooked.
- Top the sandwiches with your favorite sauce. Tartar, remoulade, or spicy mayonnaise are all great choices.