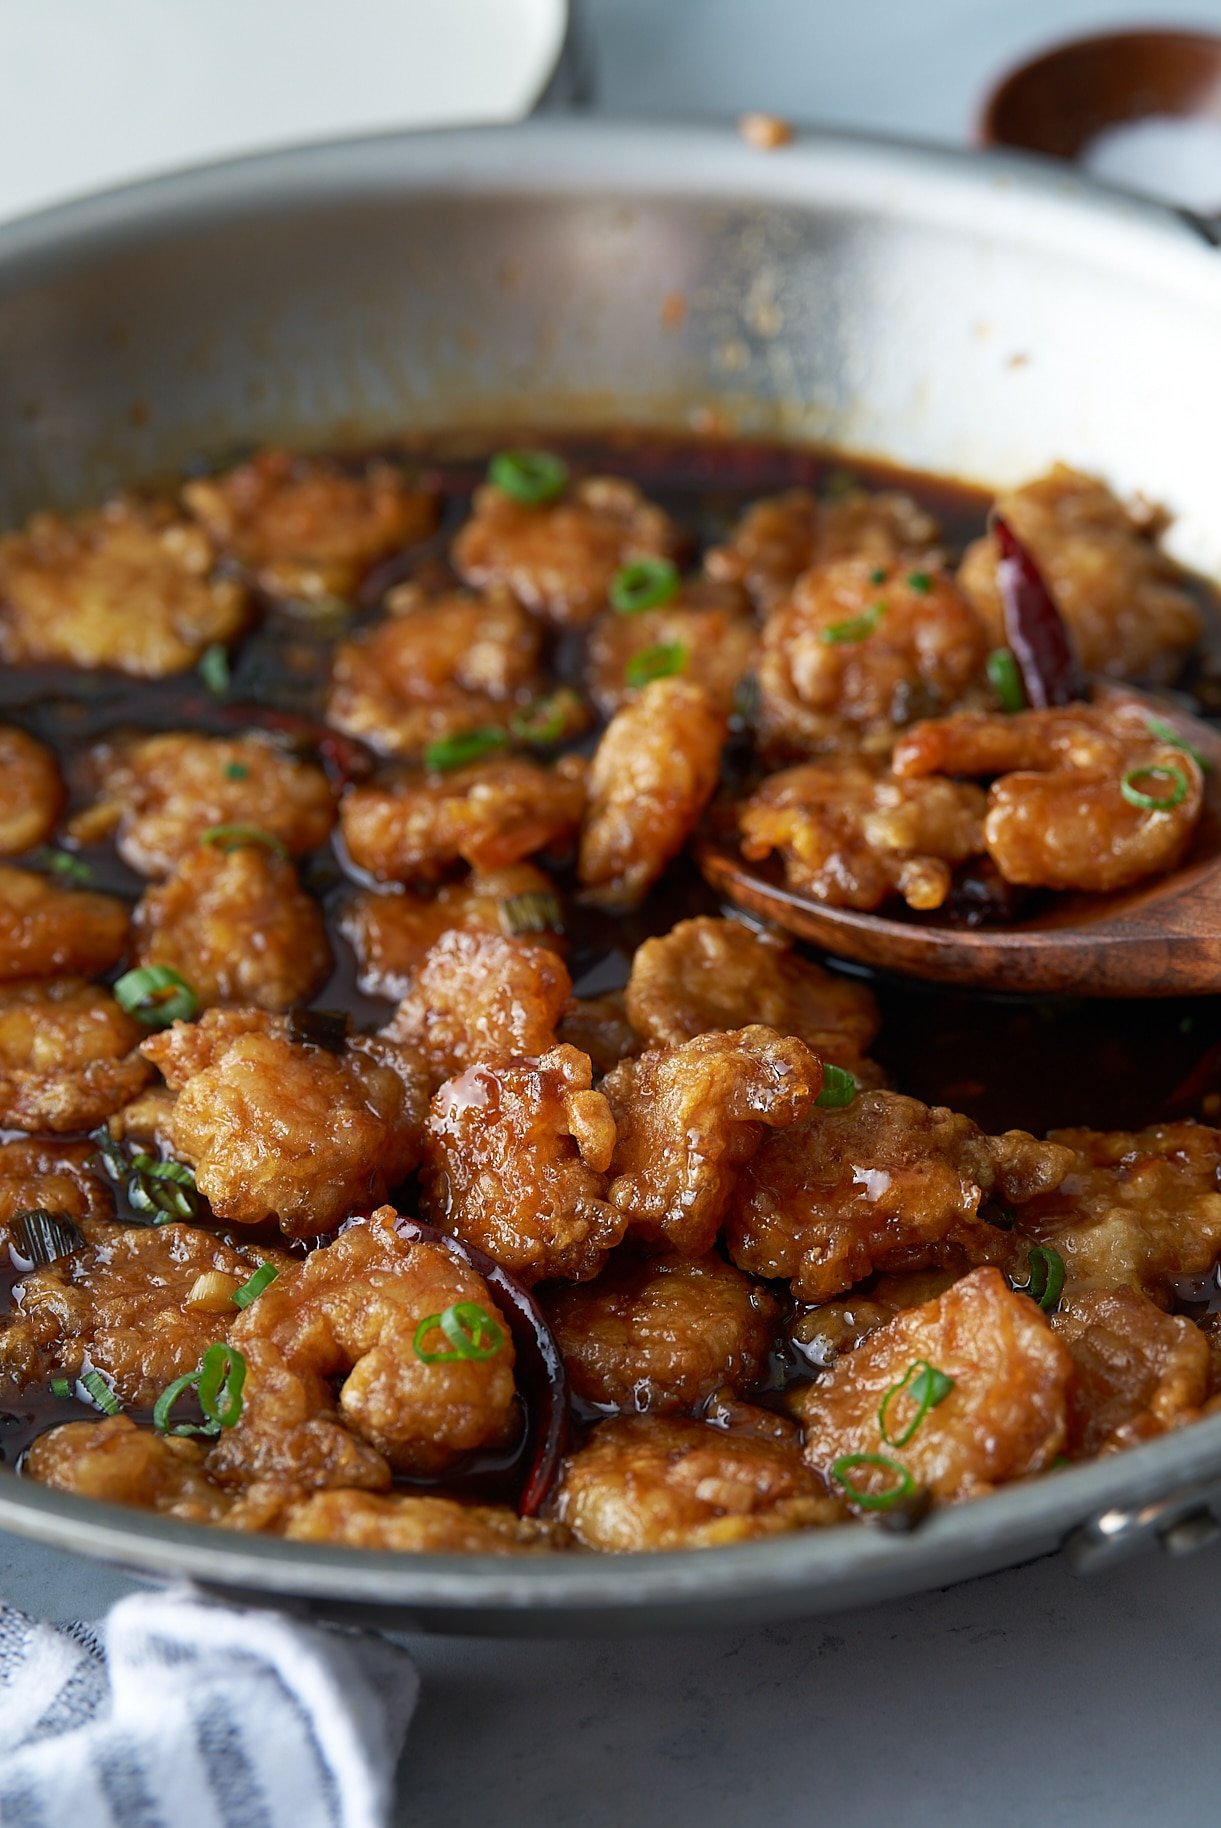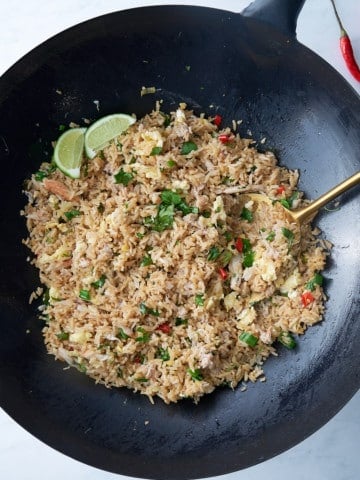
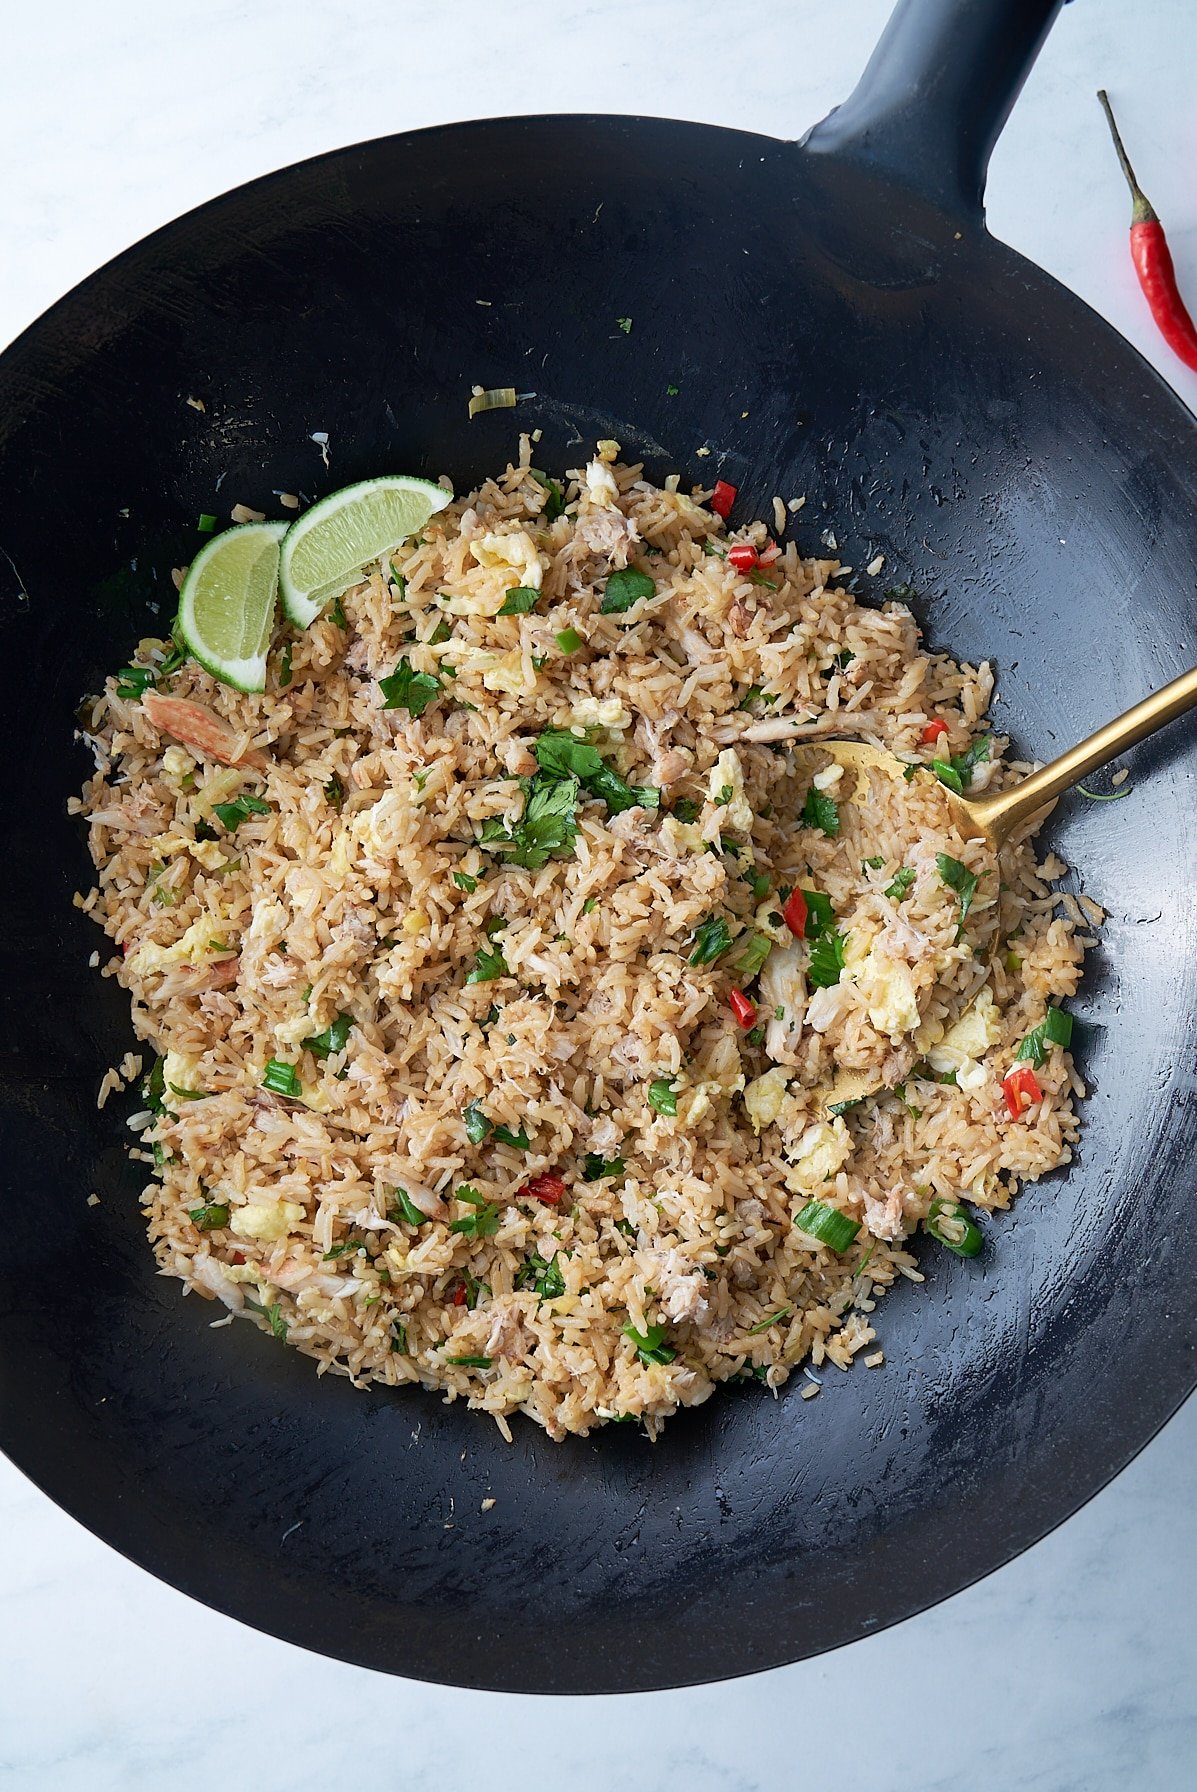
This Crab Fried Rice is a quick, flavorful meal with tender crab meat, savory aromatics, and fluffy rice. It's a simple and satisfying dish with Thai flavors, making it a homemade dinner that feels a little extra special without the extra work.
You’ll find the full recipe with ingredient amounts and instructions in the recipe card at the bottom of this post. Be sure to check out the blog post itself for extra tips and tricks!
Fried rice is one of those meals I always have on standby. It's easy, quick, and perfect for using leftovers. So when my husband brought home some fresh claw crab meat, I knew exactly what to do. This crab-fried rice came together fast, and with a few pantry staples and that beautiful crab, it turned into a meal we couldn't stop eating.
If you love fried rice, check out my steak kimchi fried rice.
Ingredients Needed
Ingredient amounts and full recipe instructions are on the printable recipe card at the bottom of the post.
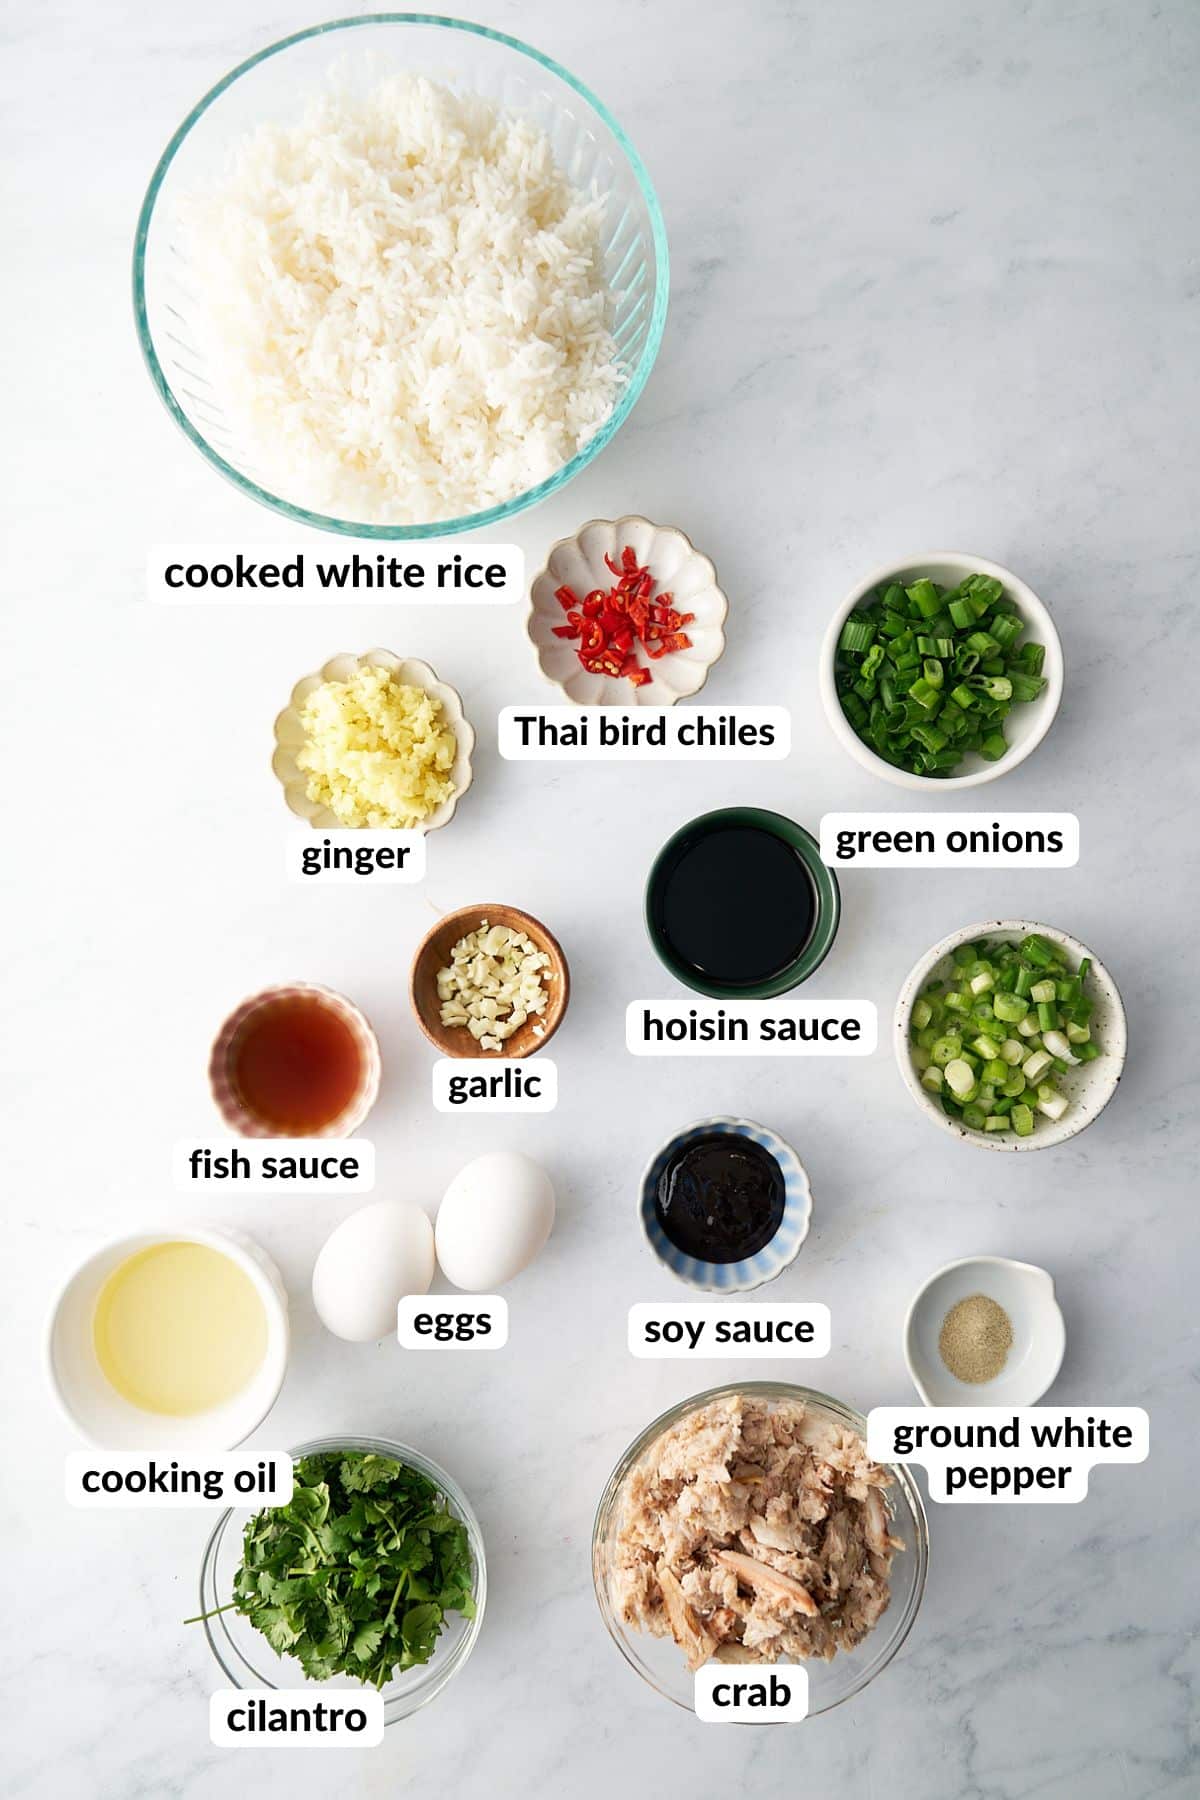
- Base Ingredients (the foundation for the fried rice): Cooking oil for stir-frying, cooked white rice (preferably day-old for best texture)
- Eggs (for richness and texture): Large eggs, beaten with a pinch of salt
- Aromatics (for bold, fresh flavor): Fresh ginger (minced), garlic (minced), green onions (white and green parts separated), Thai bird chiles (finely sliced, optional for heat)
- Seasonings and Sauces (for depth and balance): Fish sauce (for salty umami flavor), hoisin sauce (for a hint of sweetness), soy sauce (for savory depth), ground white pepper (for mild spice)
- Crab and Fresh Herbs (the star ingredients): Cooked claw crab meat or lump crab meat (use fresh if possible), fresh cilantro (chopped)
- For Serving (to finish the dish): Lime wedges for squeezing over the top
Tools Needed
- Large skillet or wok
- Spatula
- Cutting board and knife
- Small prep bowls for organized cooking
How to Make This Crab Fried Rice
Step 1: Gather all your ingredients and prep them. Beat the eggs and cut all the aromatics.
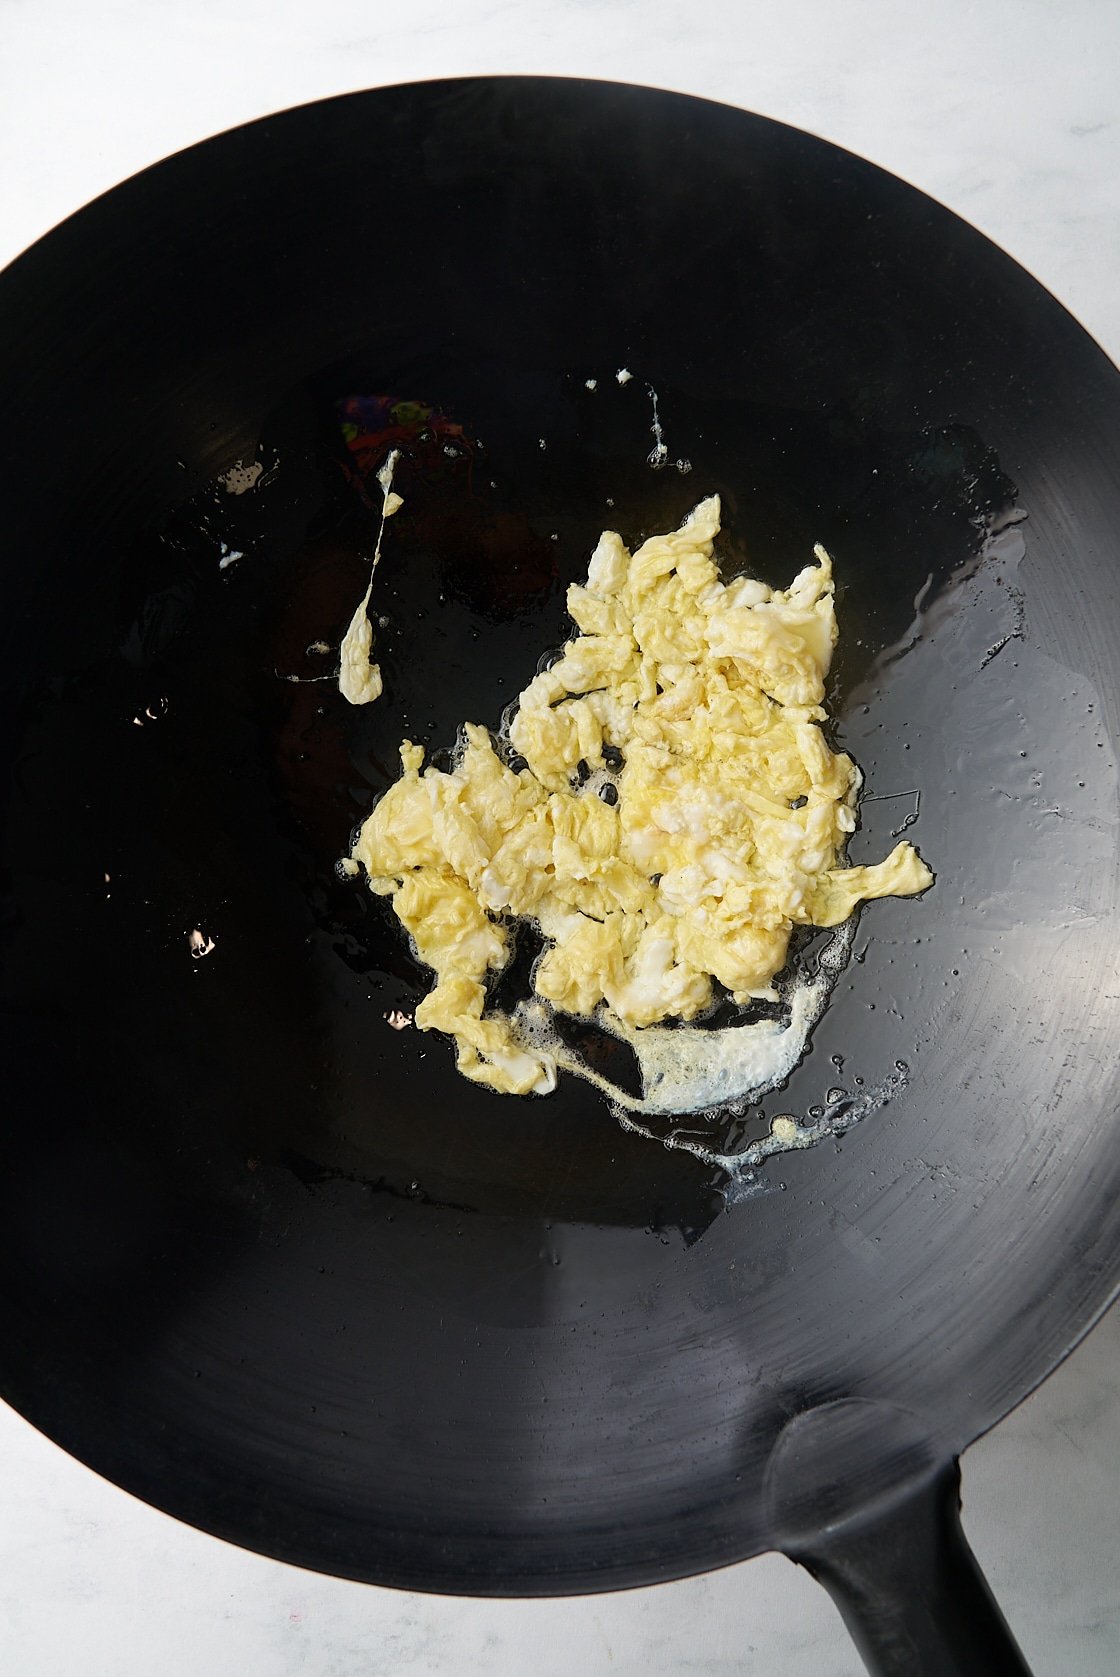
Step 2: Heat 1 tablespoon of cooking oil in a large skillet over medium-high heat. Add the beaten eggs and gently scramble until just set. Remove from the skillet and set aside.
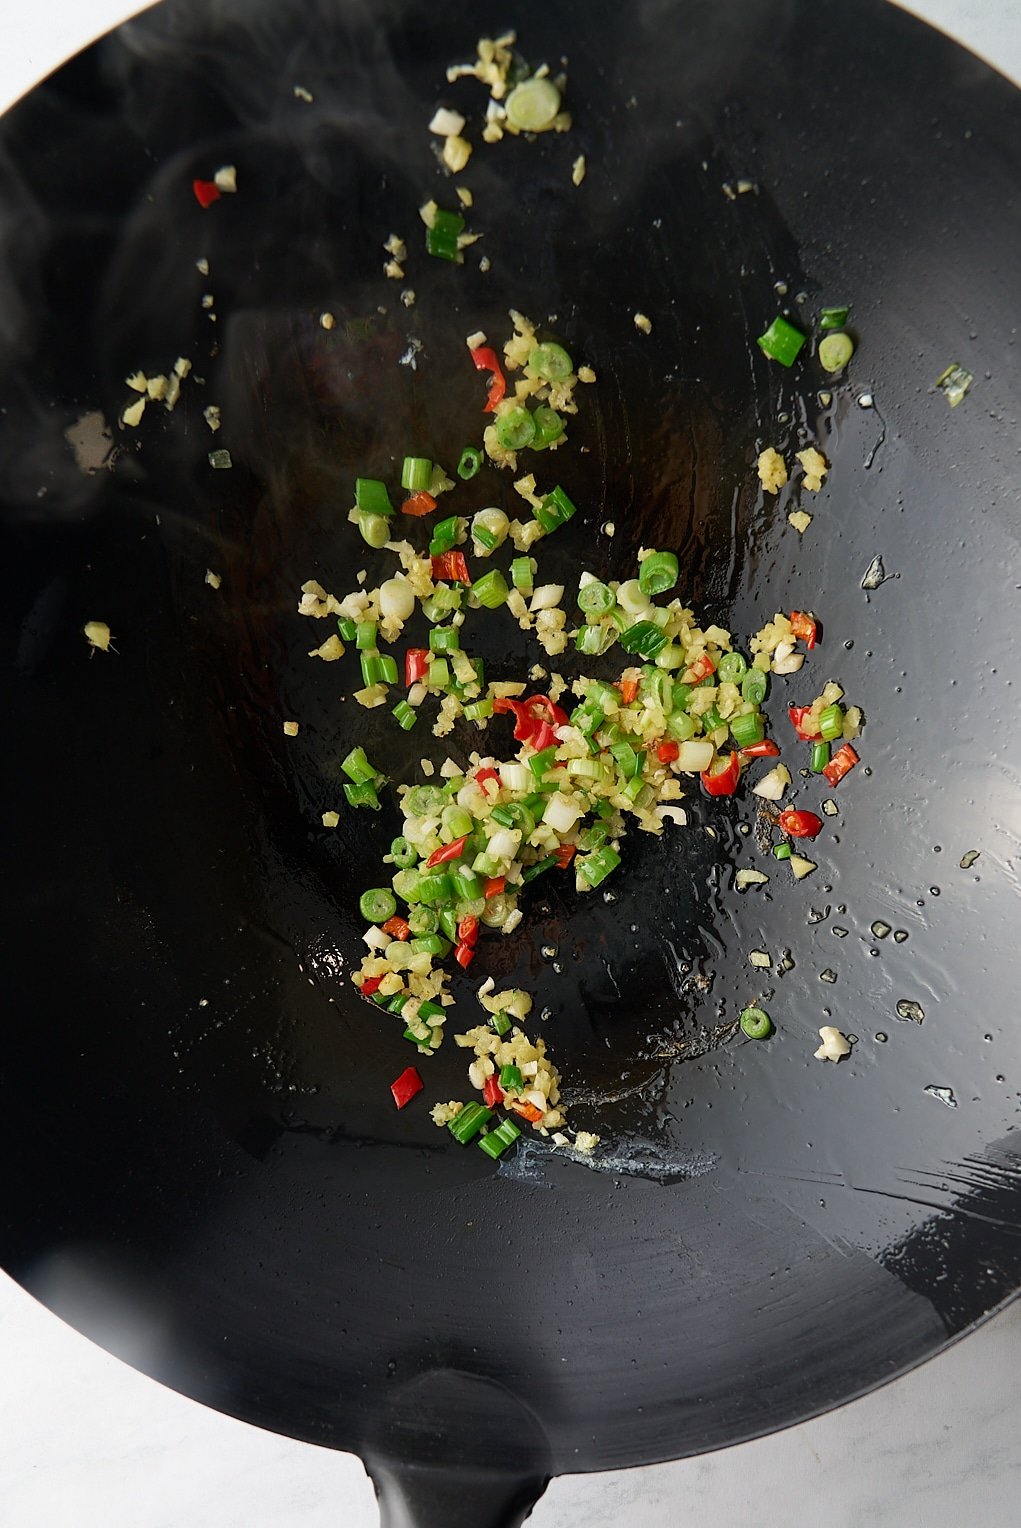
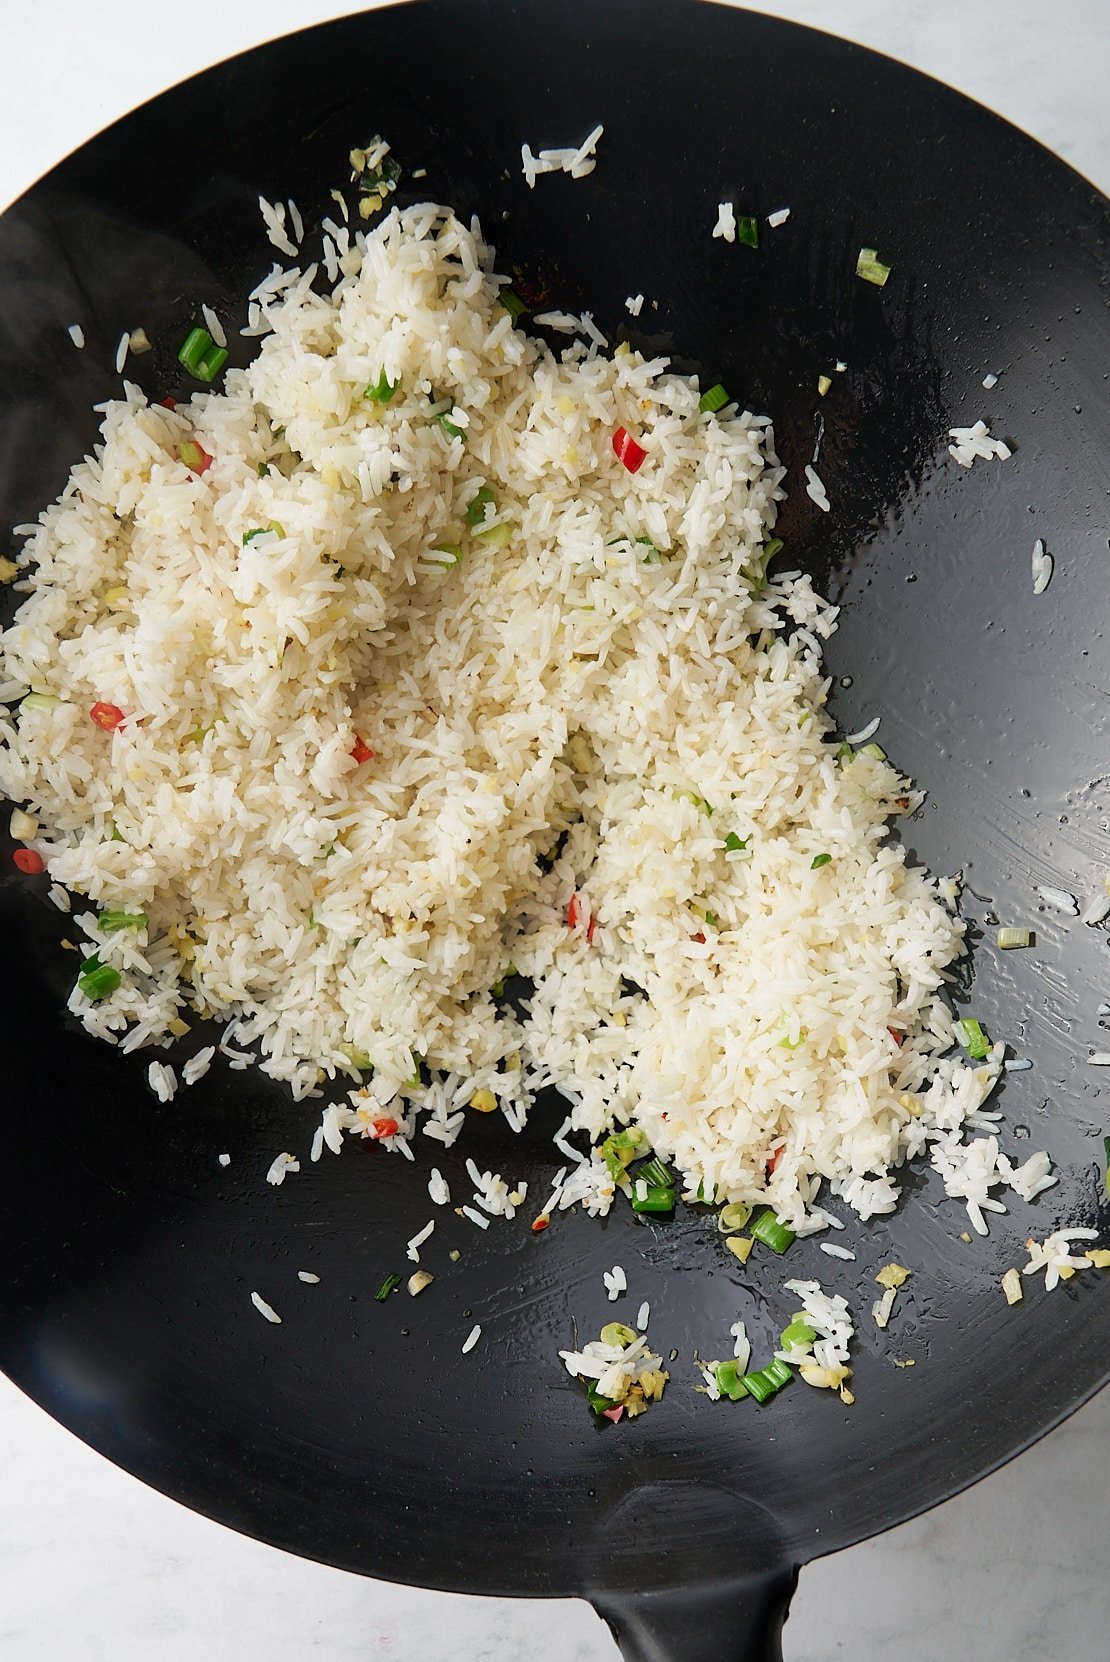
Step 3: Add another tablespoon of cooking oil. Stir-fry the ginger, garlic, white parts of the green onions, and Thai bird chiles for about 15 seconds until fragrant.
Step 4: Add the cooked rice, breaking up any clumps. Stir-fry for 2–3 minutes until heated through.
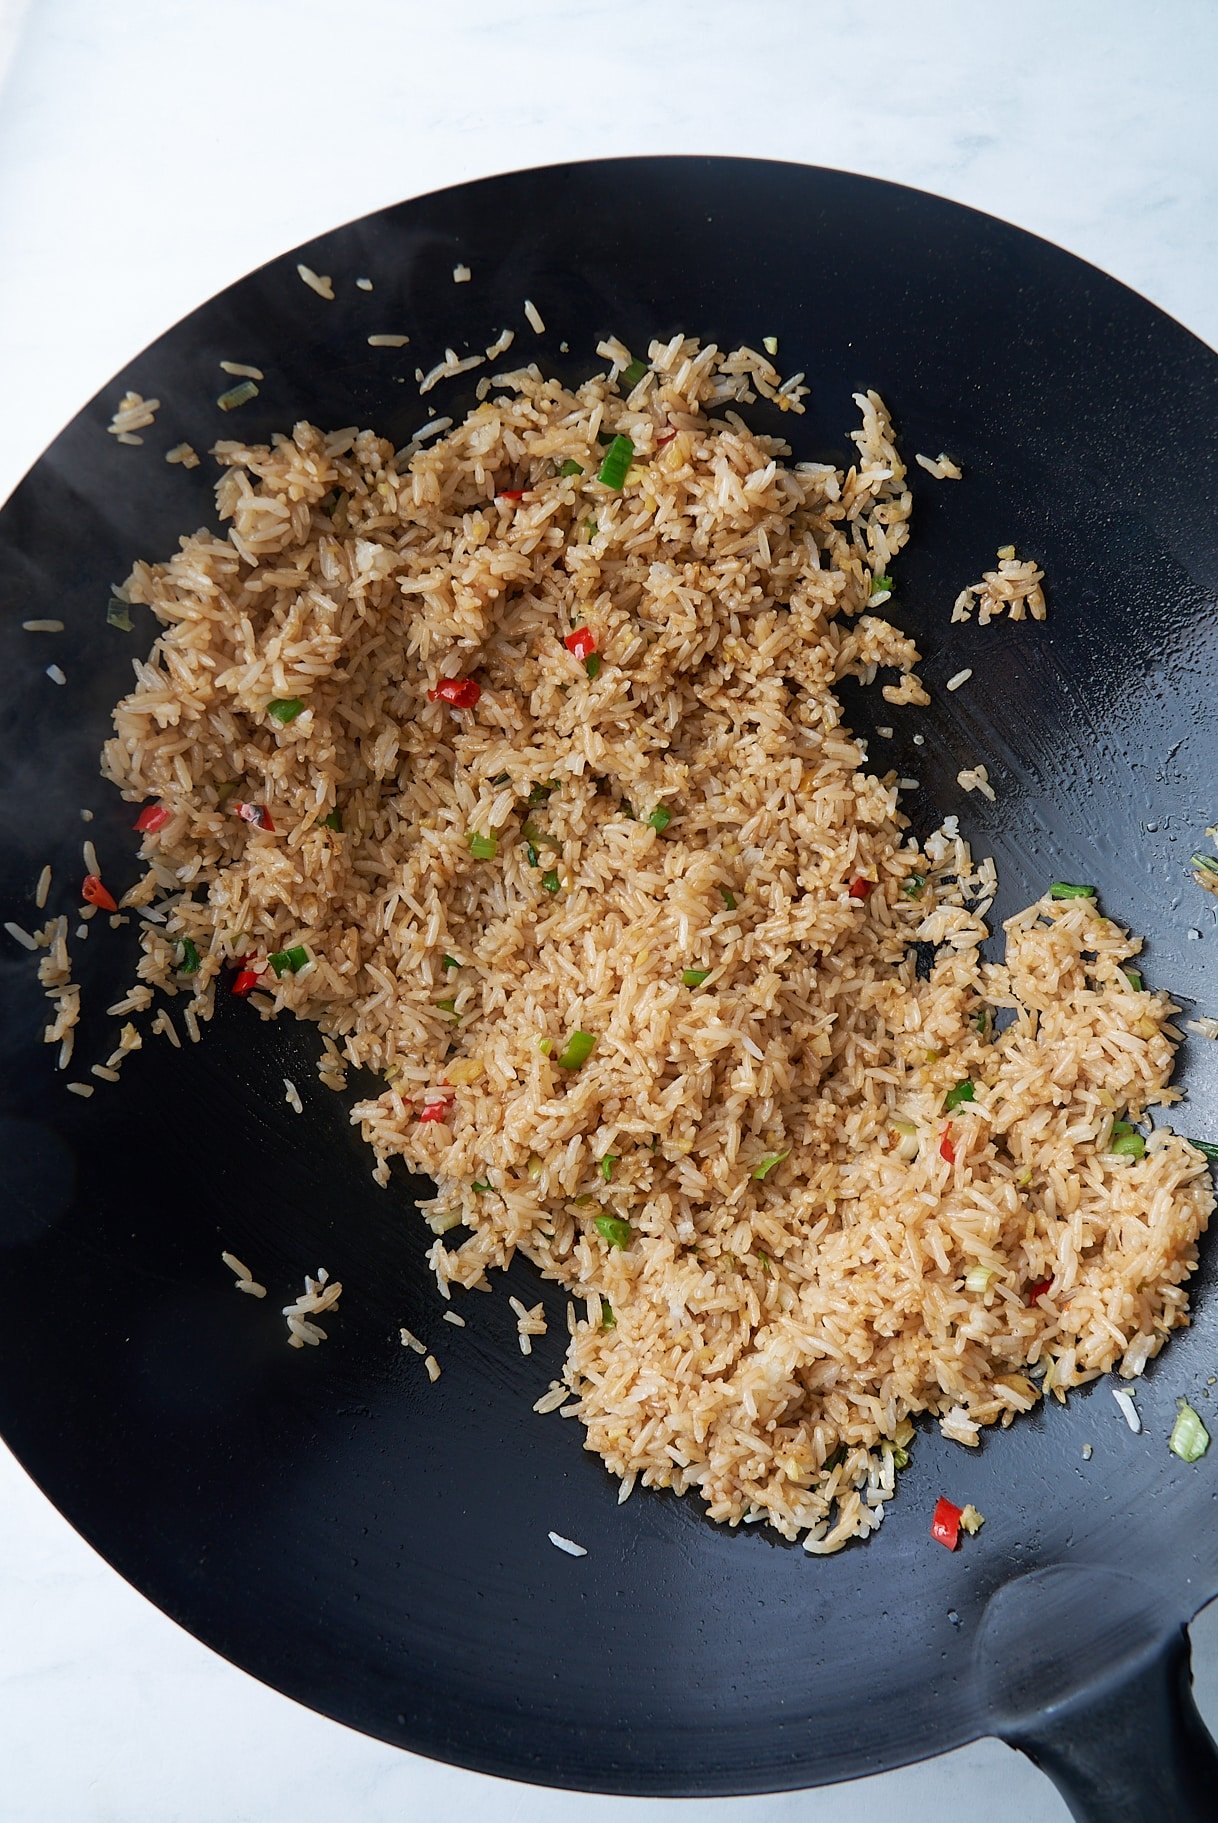
Step 5: Add the fish sauce, hoisin sauce, soy sauce, and white pepper. Stir well to coat the rice evenly.
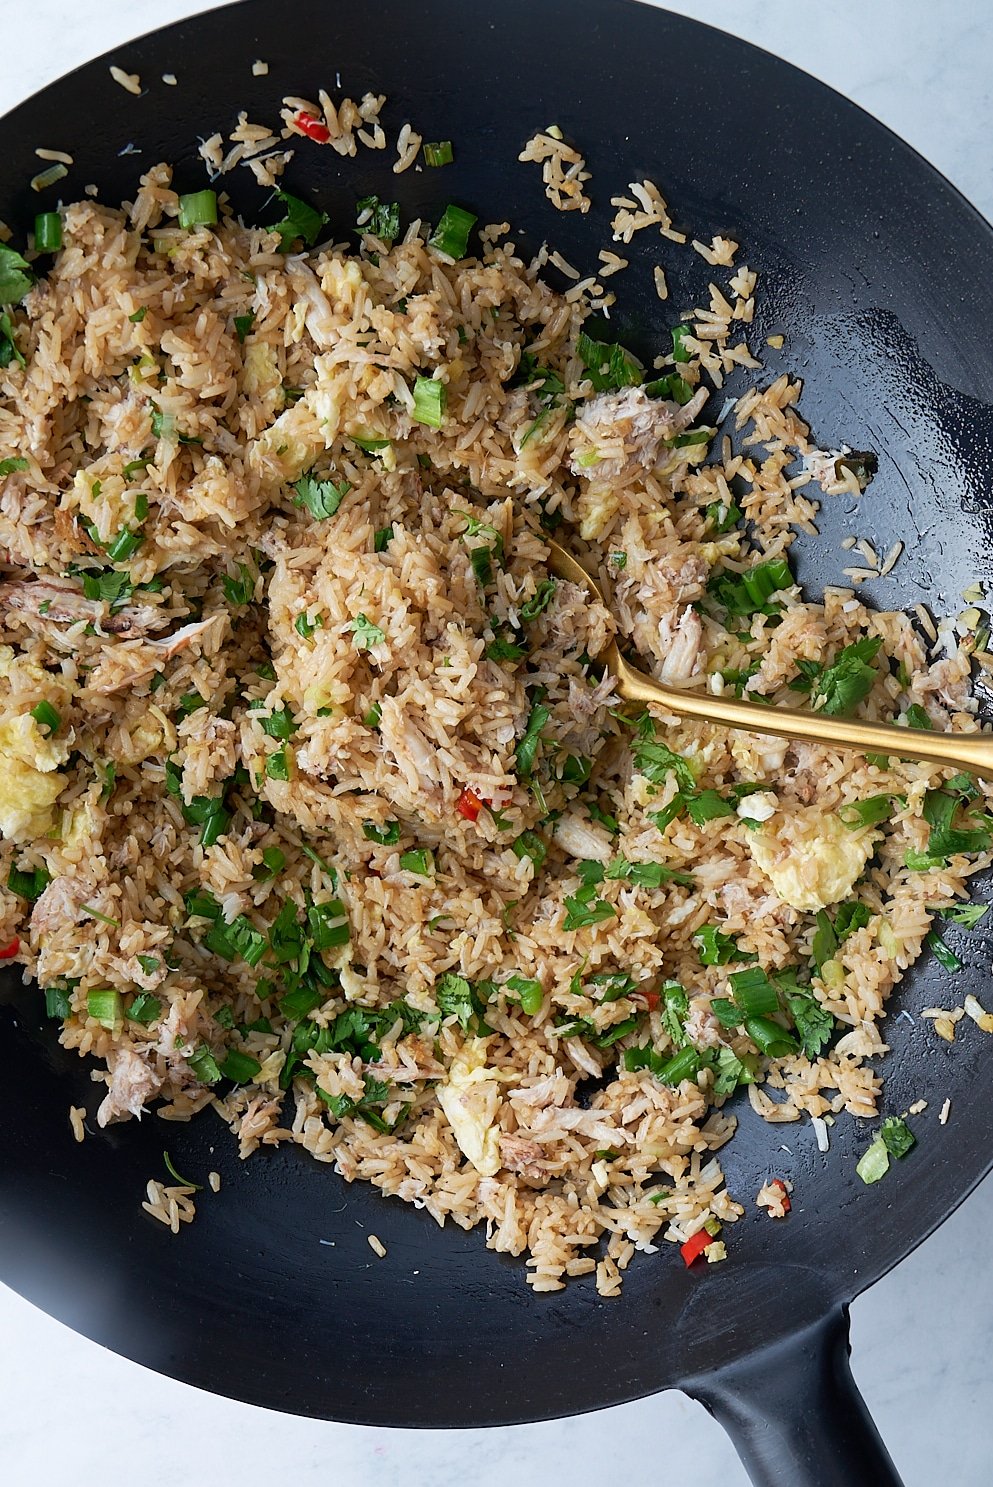
Step 6: Return the scrambled eggs to the skillet and add the crab meat. Toss gently to distribute the crab without breaking it up too much.
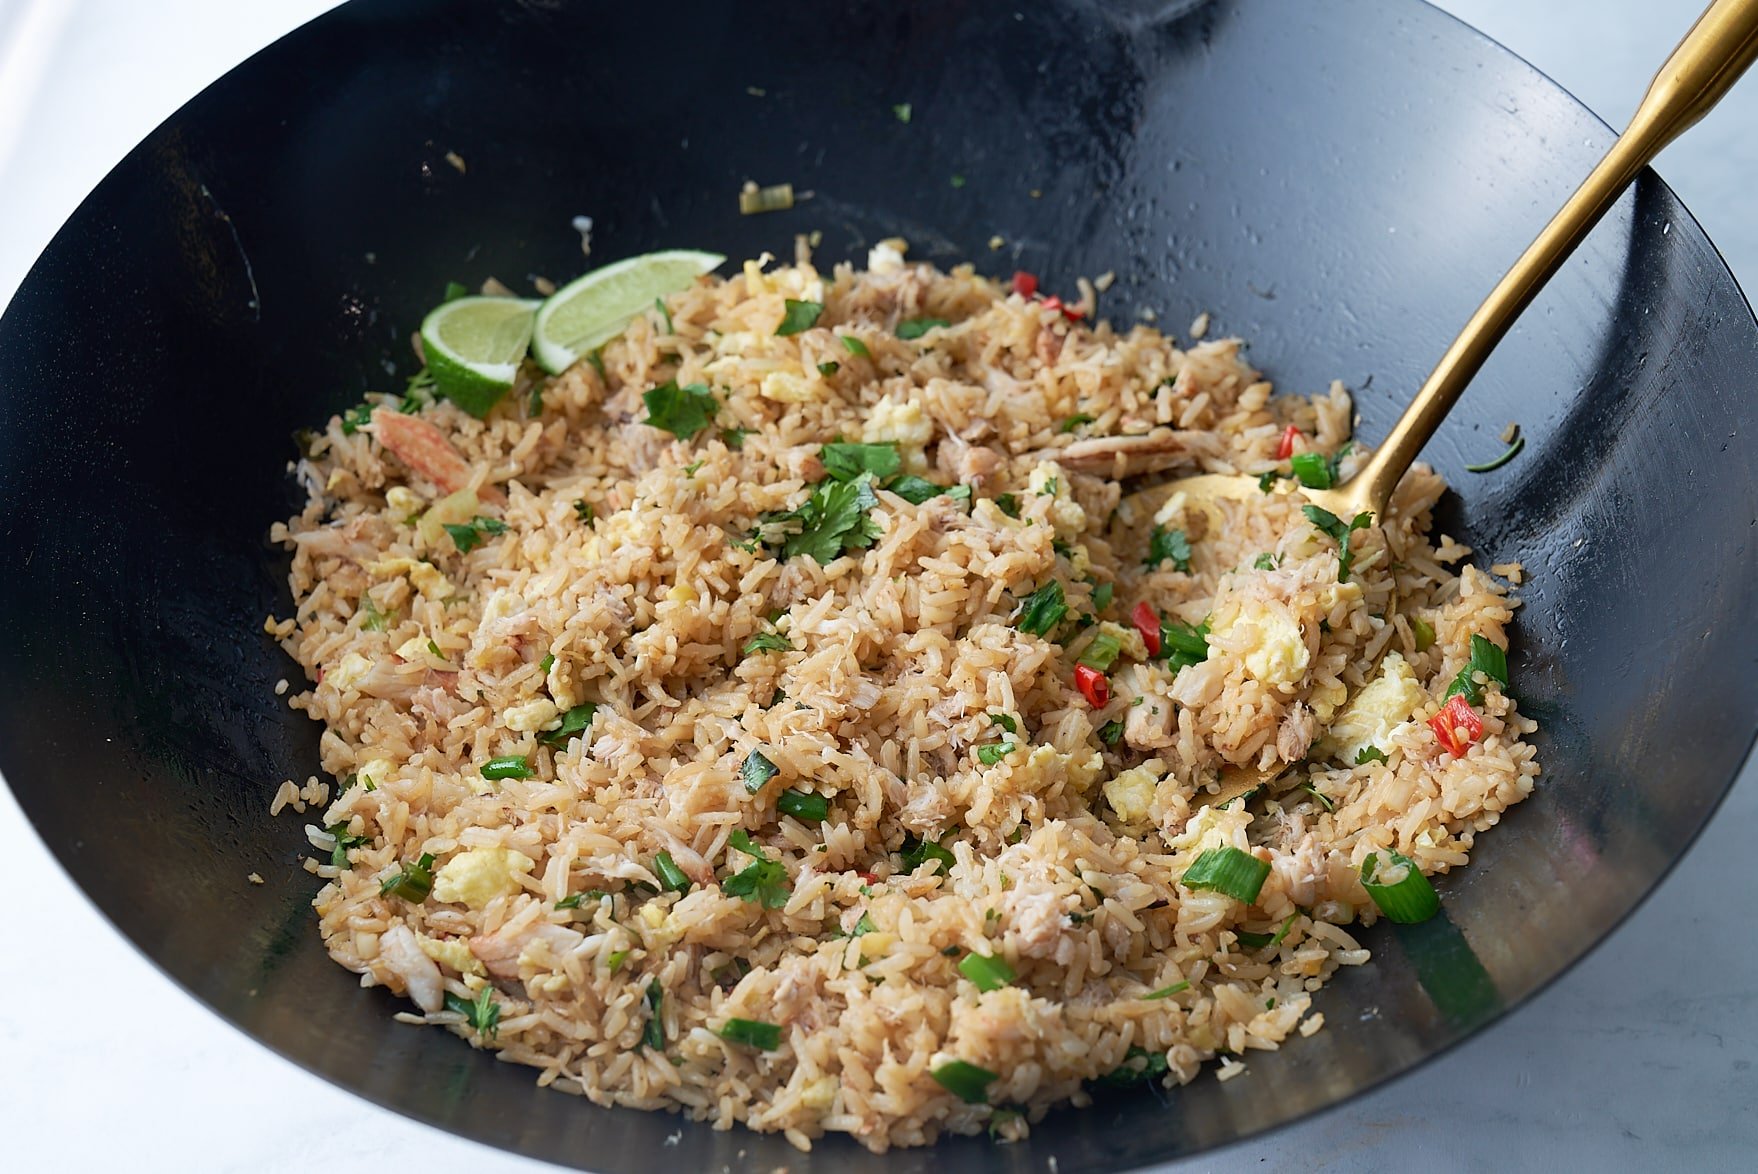
Step 7: Stir in the green parts of the green onions and chopped cilantro just until they are wilted. Remove from the heat and serve immediately with lime wedges on the side for squeezing over the top.
Variations
- Vegetable Add-Ins: Toss in peas, diced carrots, or chopped bell peppers right after sautéing the aromatics for extra color and crunch.
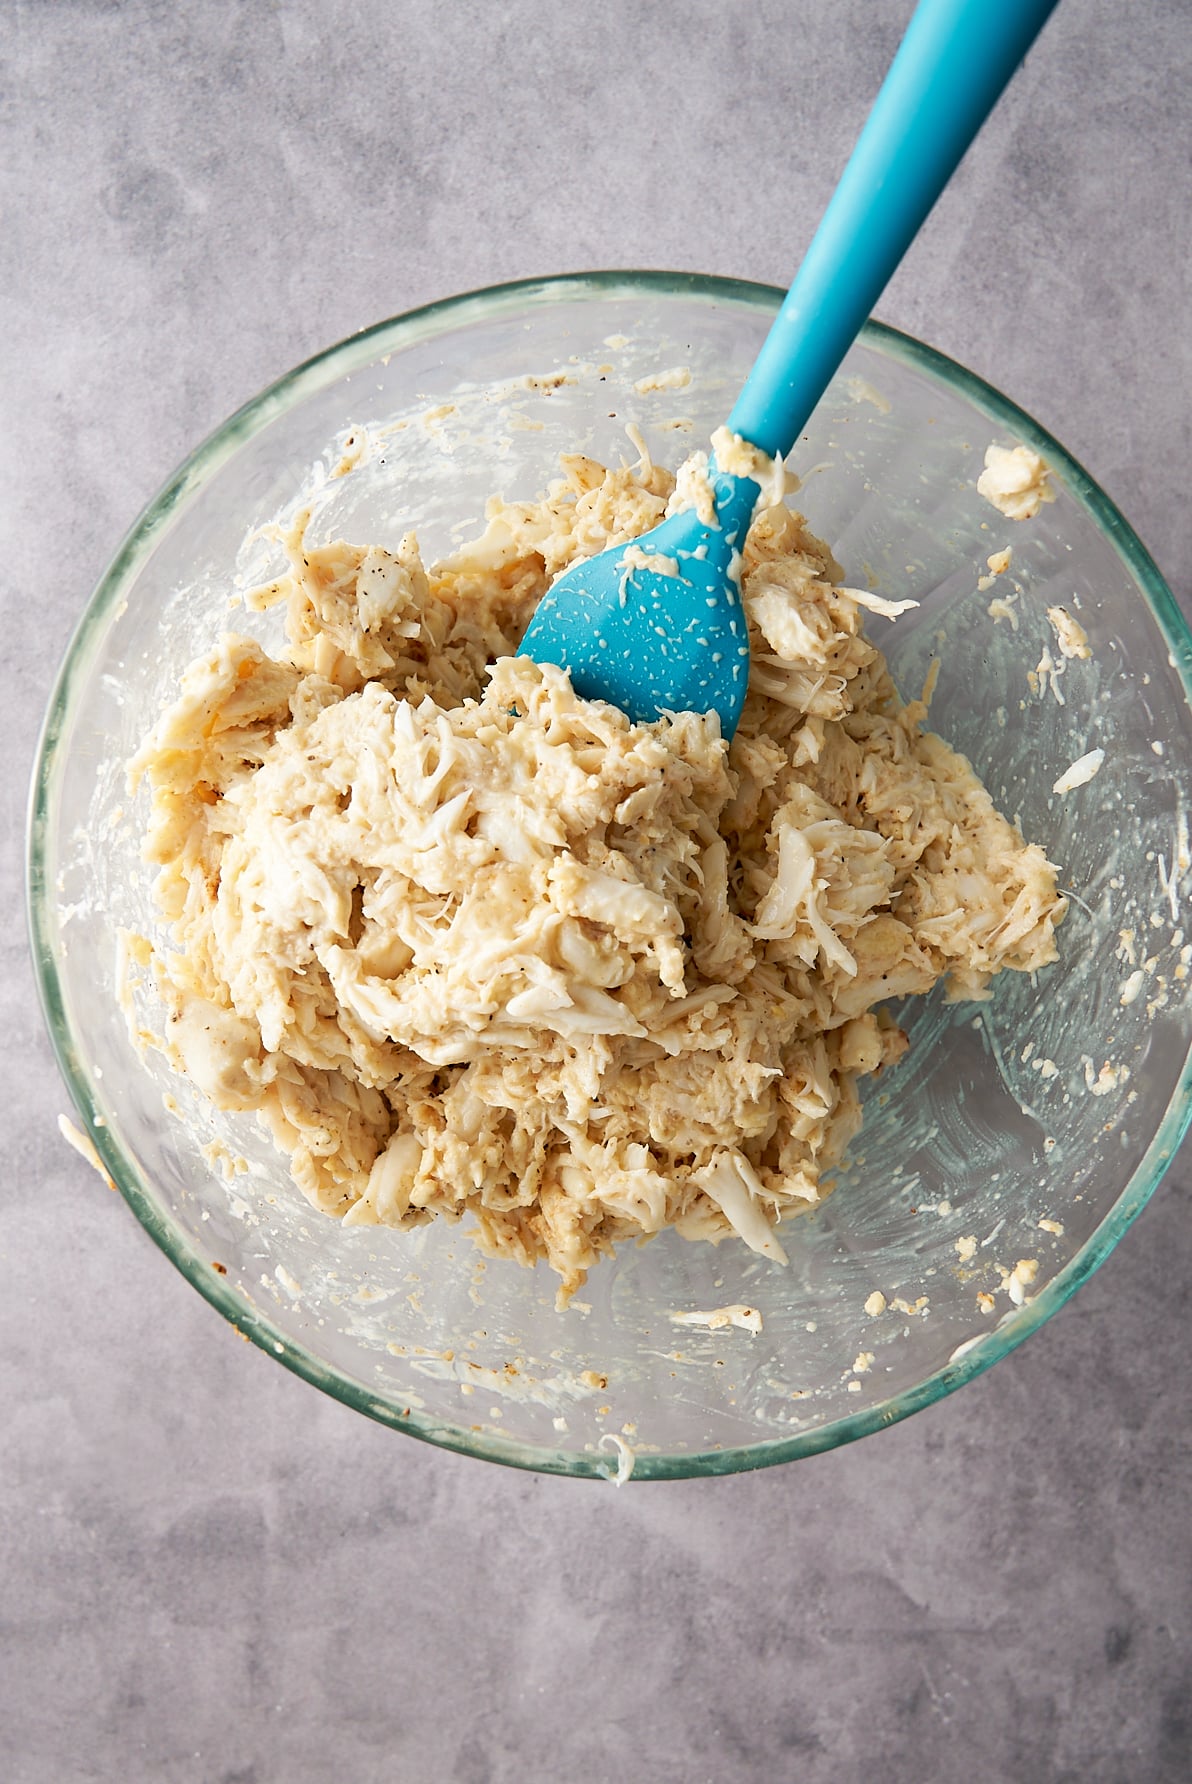
- Different Crab: Lump crab meat adds a sweet, delicate flavor. Dungeness crab also works if you can find it.
- More Heat: Want it spicier? Add extra Thai chiles or a drizzle of chili oil on top before serving.
Why Use Day-Old Rice for Fried Rice?
Day-old rice is drier than freshly cooked rice, which helps the grains stay separate and prevents the fried rice from turning mushy. If you only have fresh rice, spread it on a tray and place it in the fridge to speed up the process. I usually let it sit in the refrigerator for 20 minutes.
Can I Use Lump Crab or Canned Crab?
Yes! Lump crab meat or well-drained canned crab are great options for this fried rice. Lump crab will give you nice pieces and a sweeter flavor, but canned crab works fine, too. If using canned crab, drain it well and gently pat it dry with a paper towel to avoid adding extra moisture to the dish.
Tanya's Top Tips
- Prep Everything First: Stir-frying goes quickly, so make sure all your ingredients are chopped and ready to go before you heat the pan.
- Handle the crab Gently: Add the crab at the end and stir gently to keep the meat in nice, chunky pieces.
- Taste and Adjust: Always taste before serving. Depending on your preference, you might want to add a splash more fish sauce or a squeeze of lime.
I Hope You Love This Crab Fried Rice!
If you're looking for more delicious seafood or rice recipes, check these out:
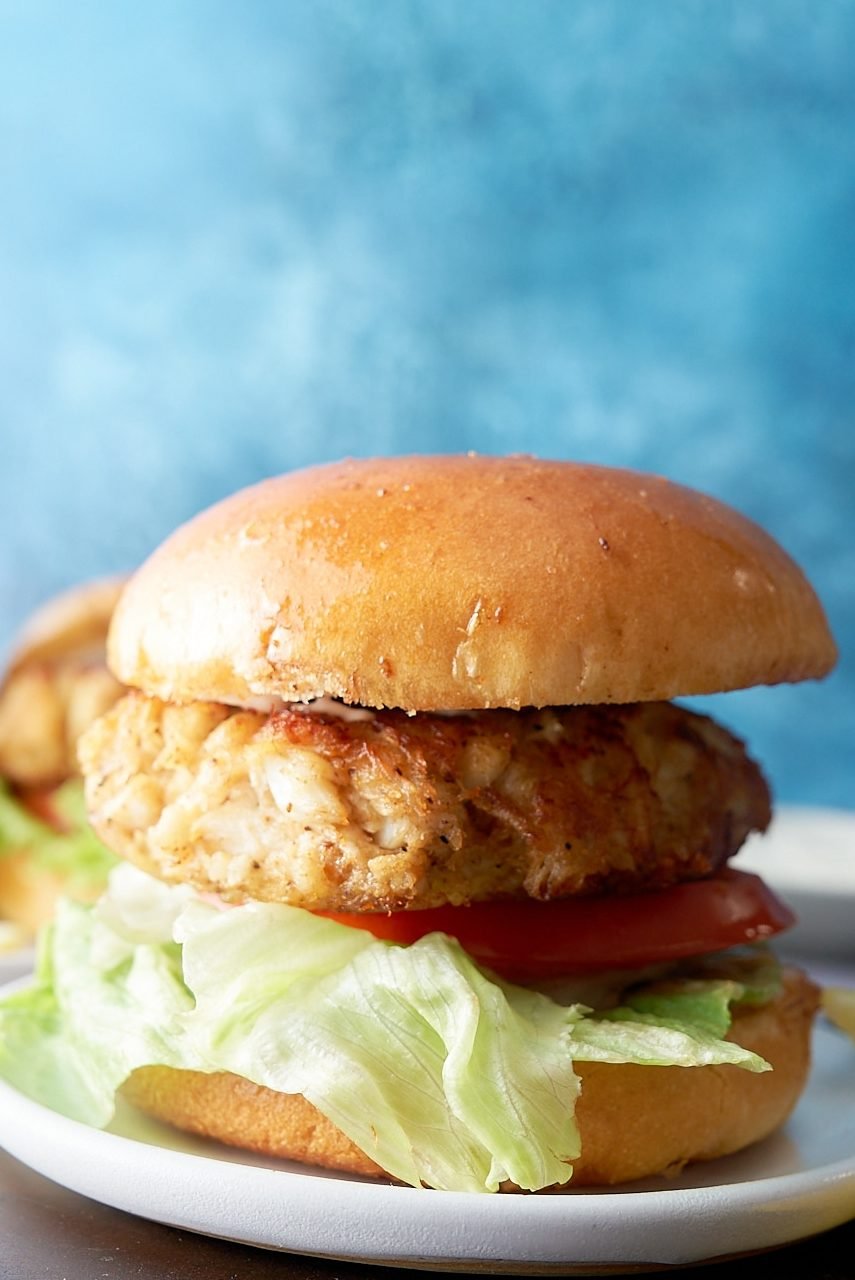
- Crab Cake Sandwich – A crispy, flavorful crab cake tucked into a soft bun with creamy sauce.
- Cilantro Lime Rice – Light, fresh, and perfect for any meal.
- Yellow Rice – A savory, vibrant rice dish made with simple pantry ingredients.

Crab Fried Rice Recipe
Ingredients
- 4 tablespoons cooking oil divided
- 2 large eggs beaten with a pinch of salt
- 2 tablespoons minced ginger
- 2 cloves garlic minced
- 4 green onions chopped (white and green parts separated)
- 2 Thai bird chiles finely sliced (optional)
- 4 cups cooked white rice
- 1 tablespoon fish sauce
- 1 tablespoon hoisin sauce
- 2 teaspoons soy sauce
- ¼ teaspoon ground white pepper
- 1 cup cooked claw crab meat or lump crab meat if preferred
- ½ cup cilantro chopped
- Lime wedges for serving
Instructions
- Heat about 1 tablespoon of cooking oil in a large skillet over medium-high heat. Add the beaten eggs and gently scramble until just set. Remove and set aside.
- Add 1 tablespoon of cooking oil to the skillet. Add minced ginger, garlic, the white parts of the green onions, and Thai bird chiles. Stir-fry for about 15 seconds until fragrant.
- Add the cooked rice, breaking up clumps, and stir-fry for 2–3 minutes until heated.
- Season the rice with fish sauce, hoisin sauce, soy sauce, and white pepper. Stir well to combine.
- Return the scrambled eggs to the skillet. Add the crab meat. Mix thoroughly to distribute all ingredients evenly.
- Add the green parts of the green onions and cilantro. Stir briefly until just wilted.
- Remove from heat and serve immediately with lime wedges on the side.
Notes
- Make sure Everything is chopped and ready before stir-frying.
- Peas, carrots, or bell peppers are easy add-ins if you want to load the dish more.