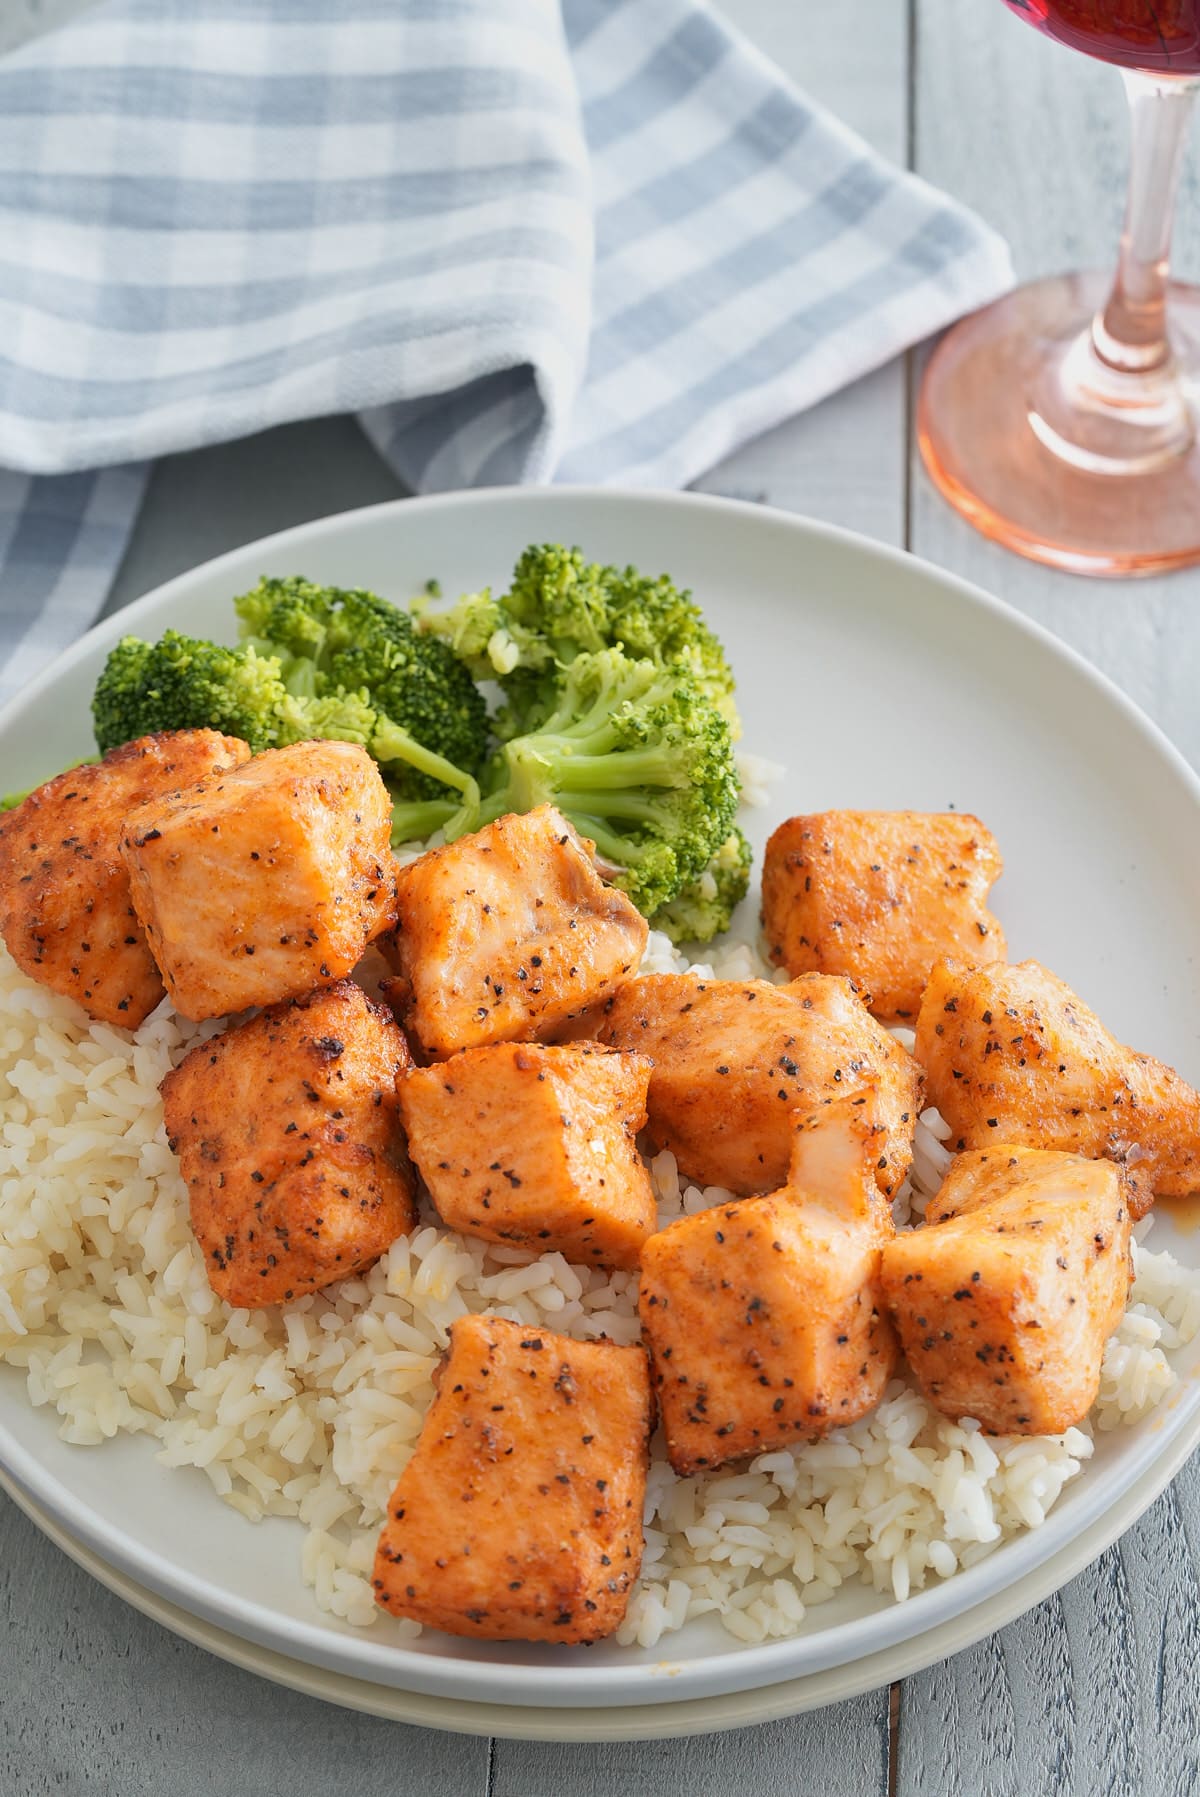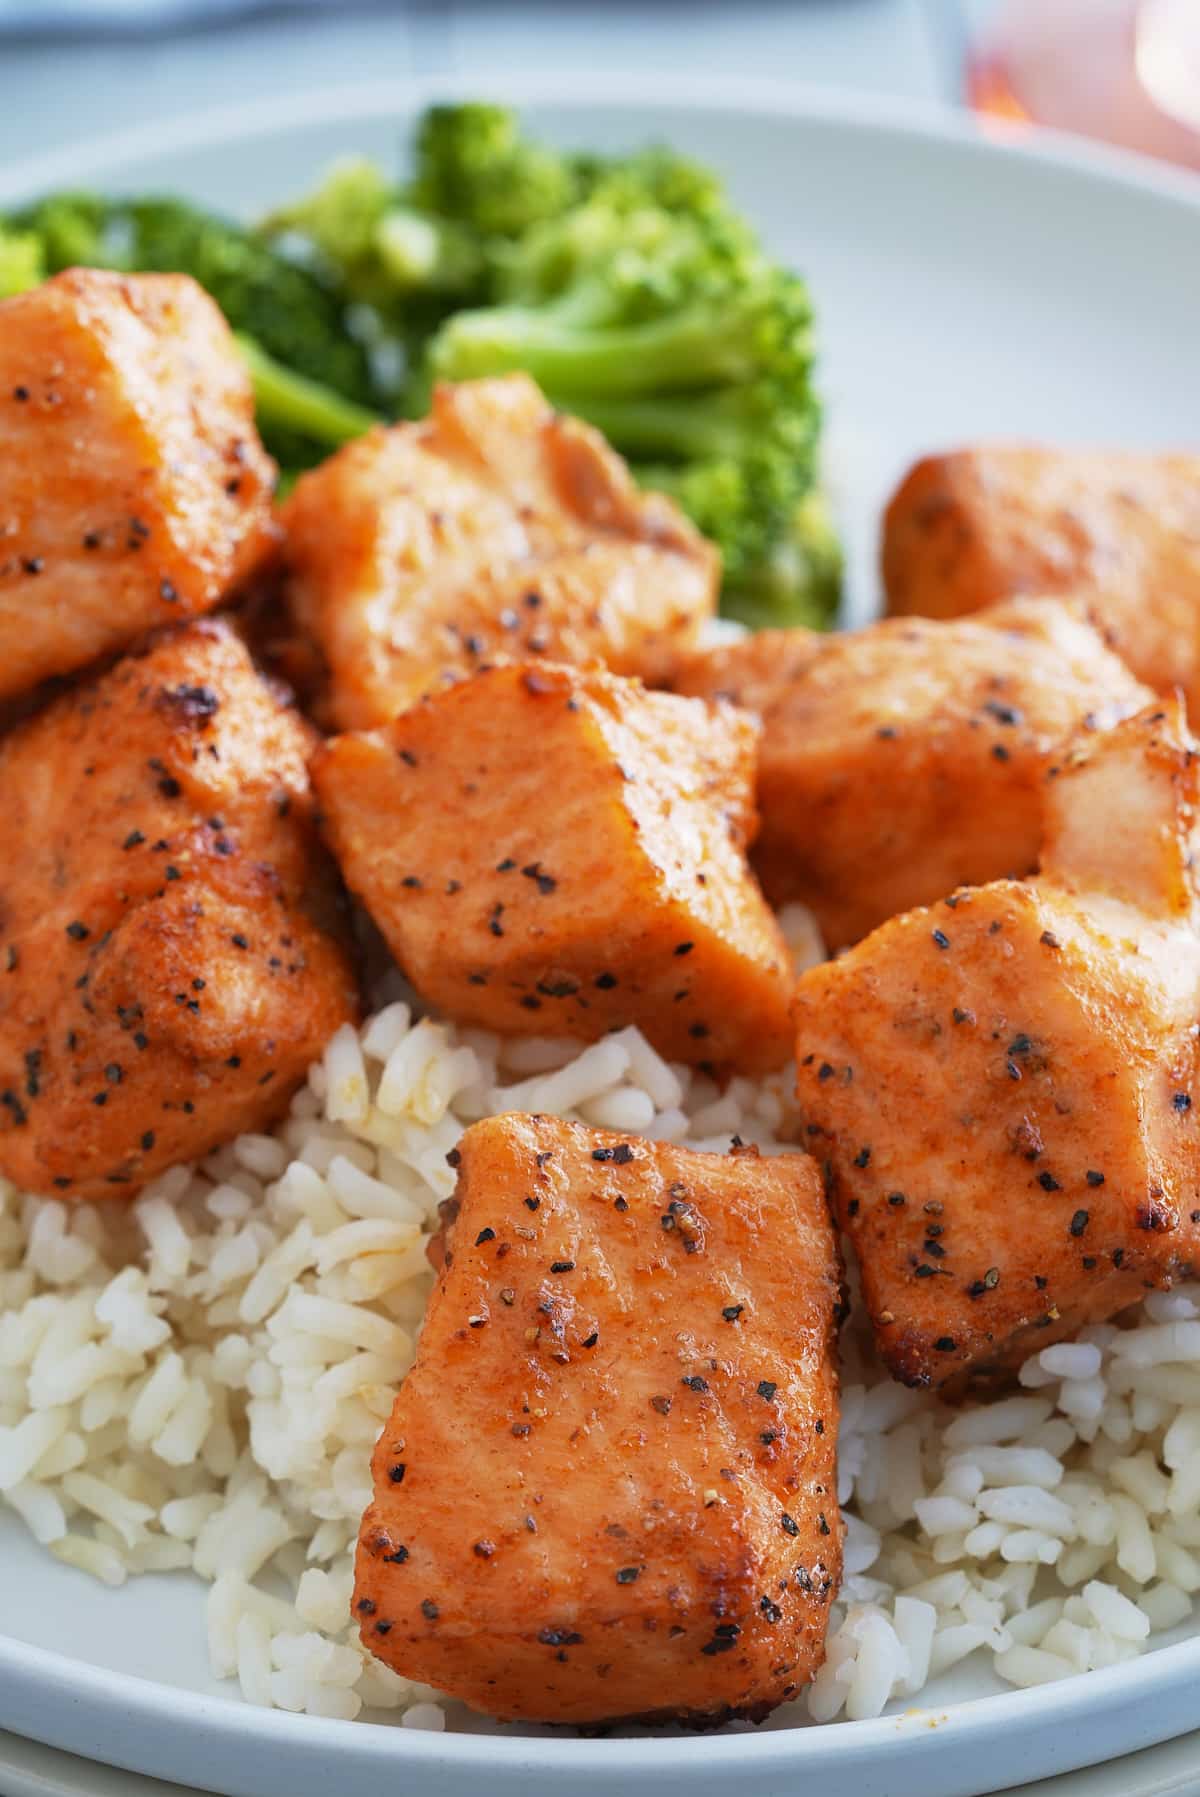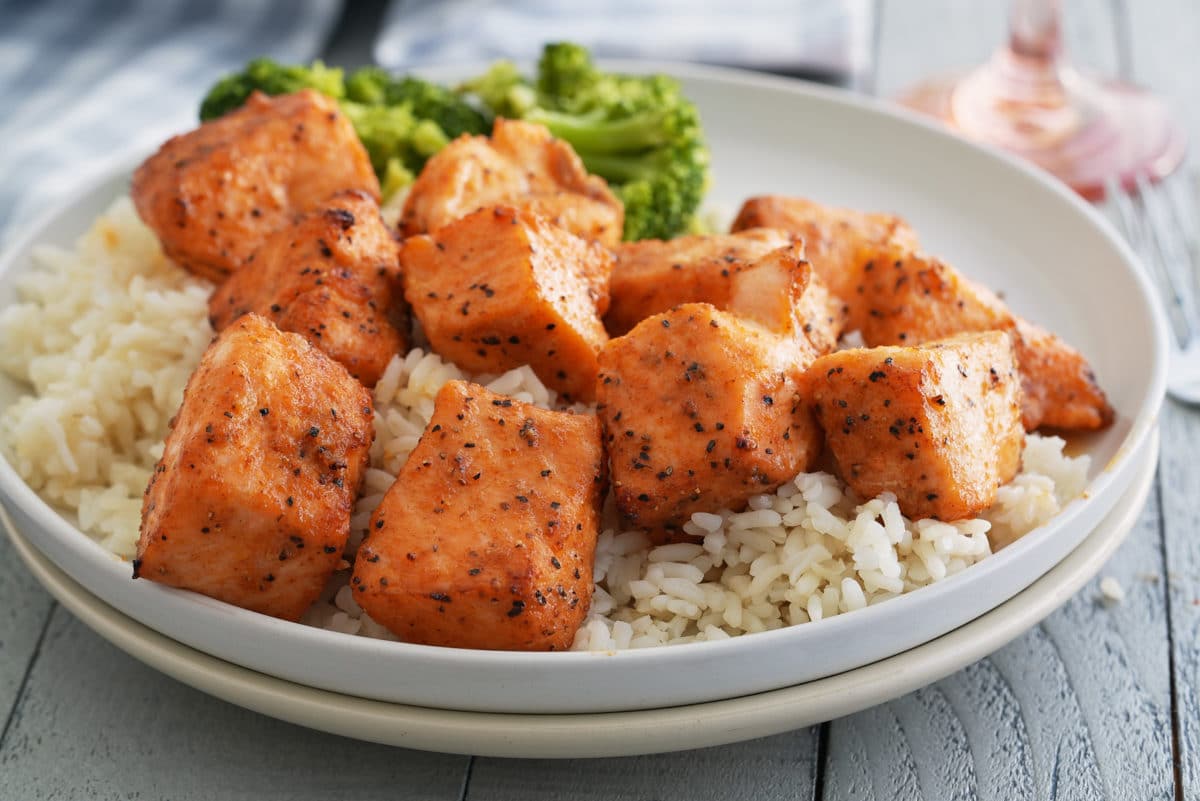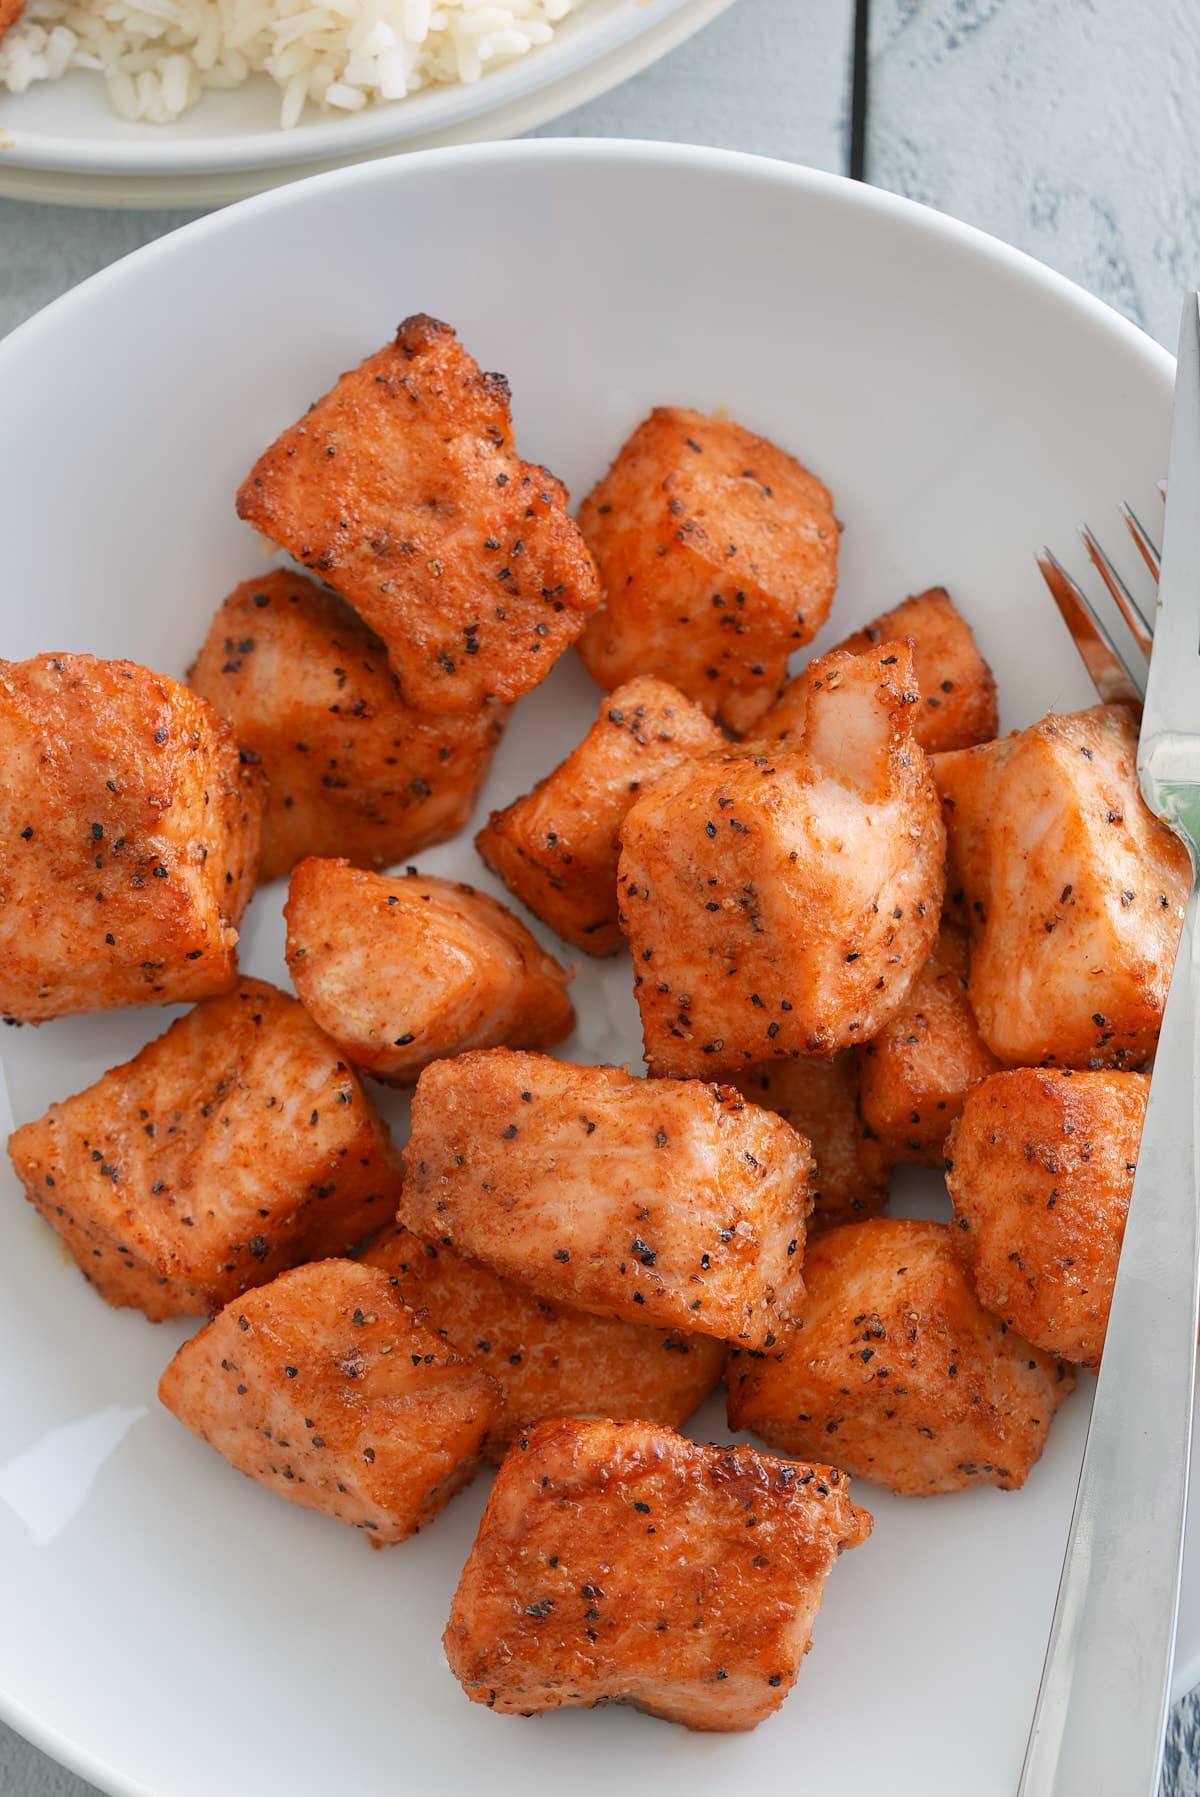
Every dish deserves a little love and attention, and this salmon marinade is no exception. Elevate your next dinner with a touch of sweetness, a hint of tang, and a burst of umami.
This post contains affiliate links, please read my full disclaimer here.
You’ll find the full recipe with ingredient amounts and instructions in the recipe card at the bottom of this post. Be sure to check out the blog post itself for extra tips and tricks!
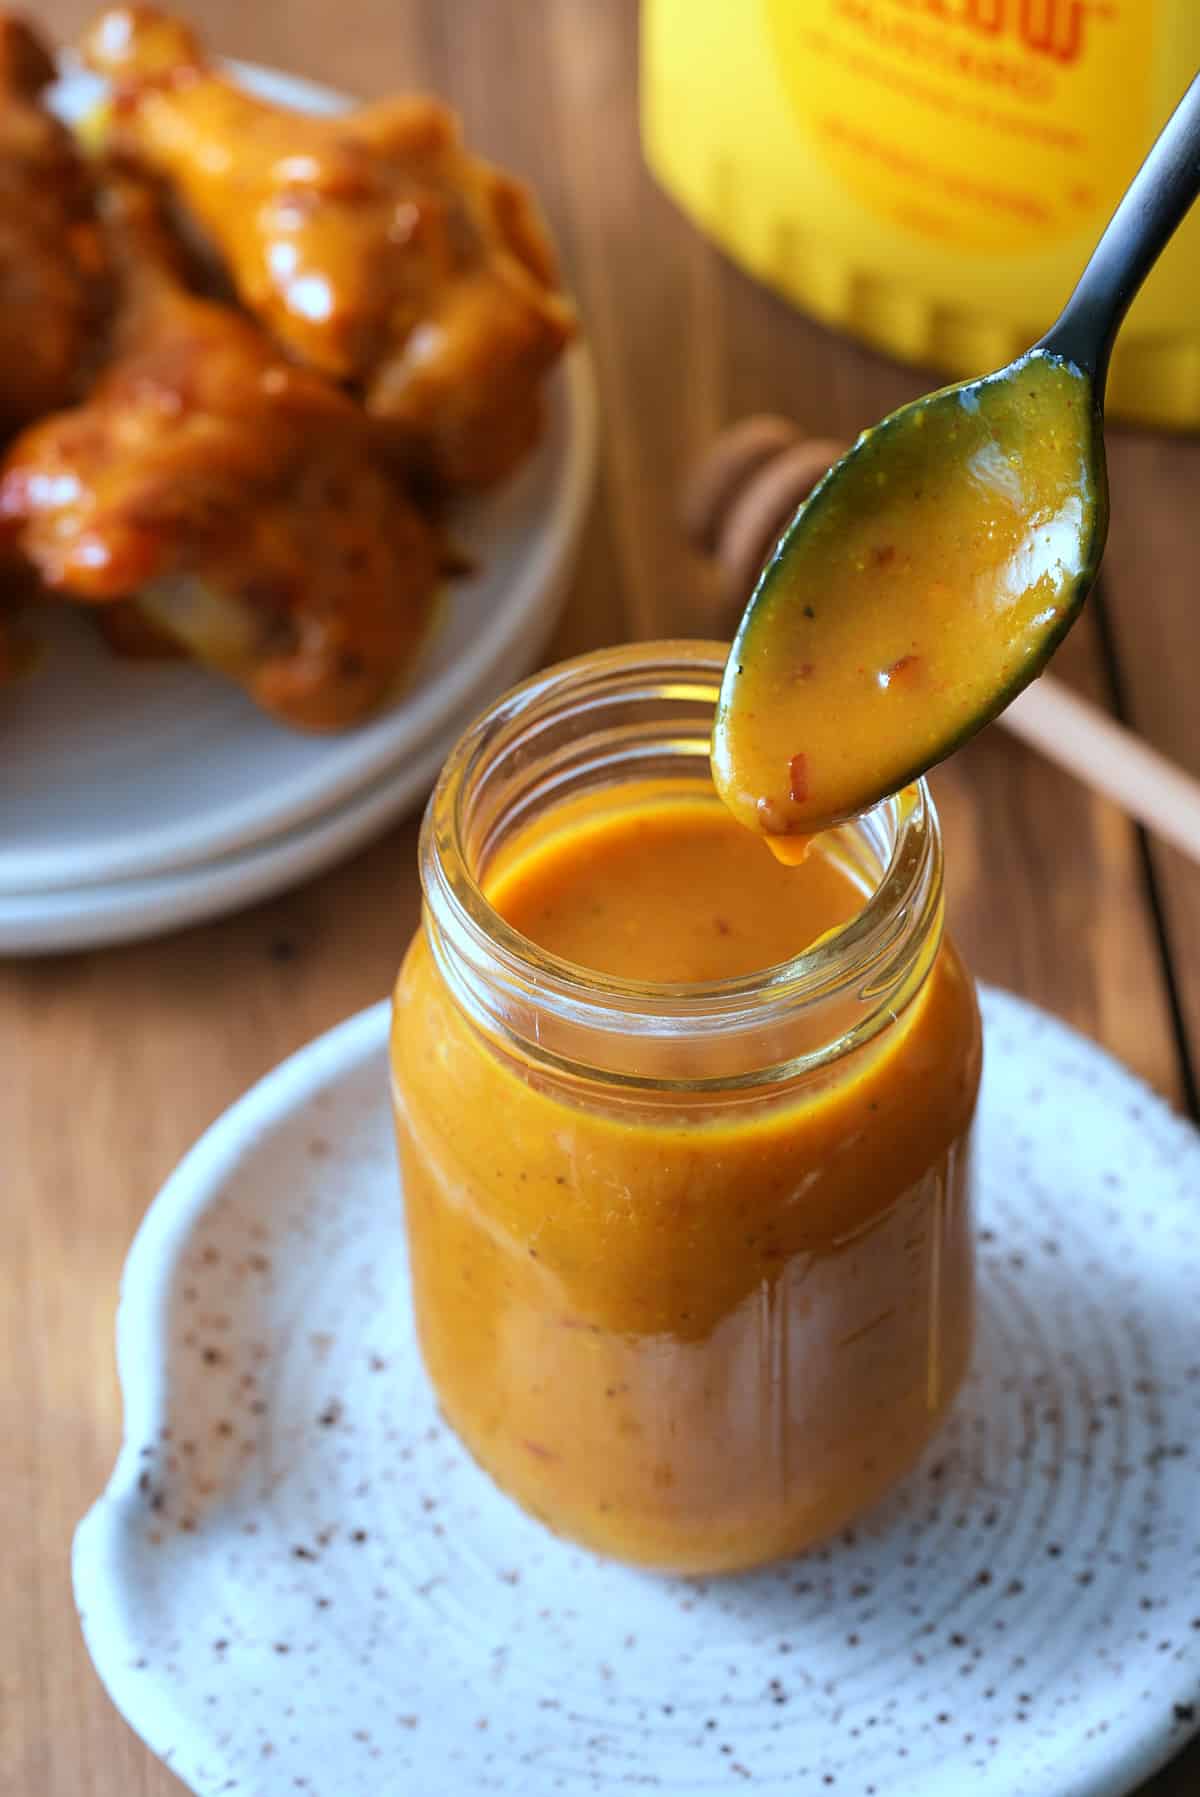
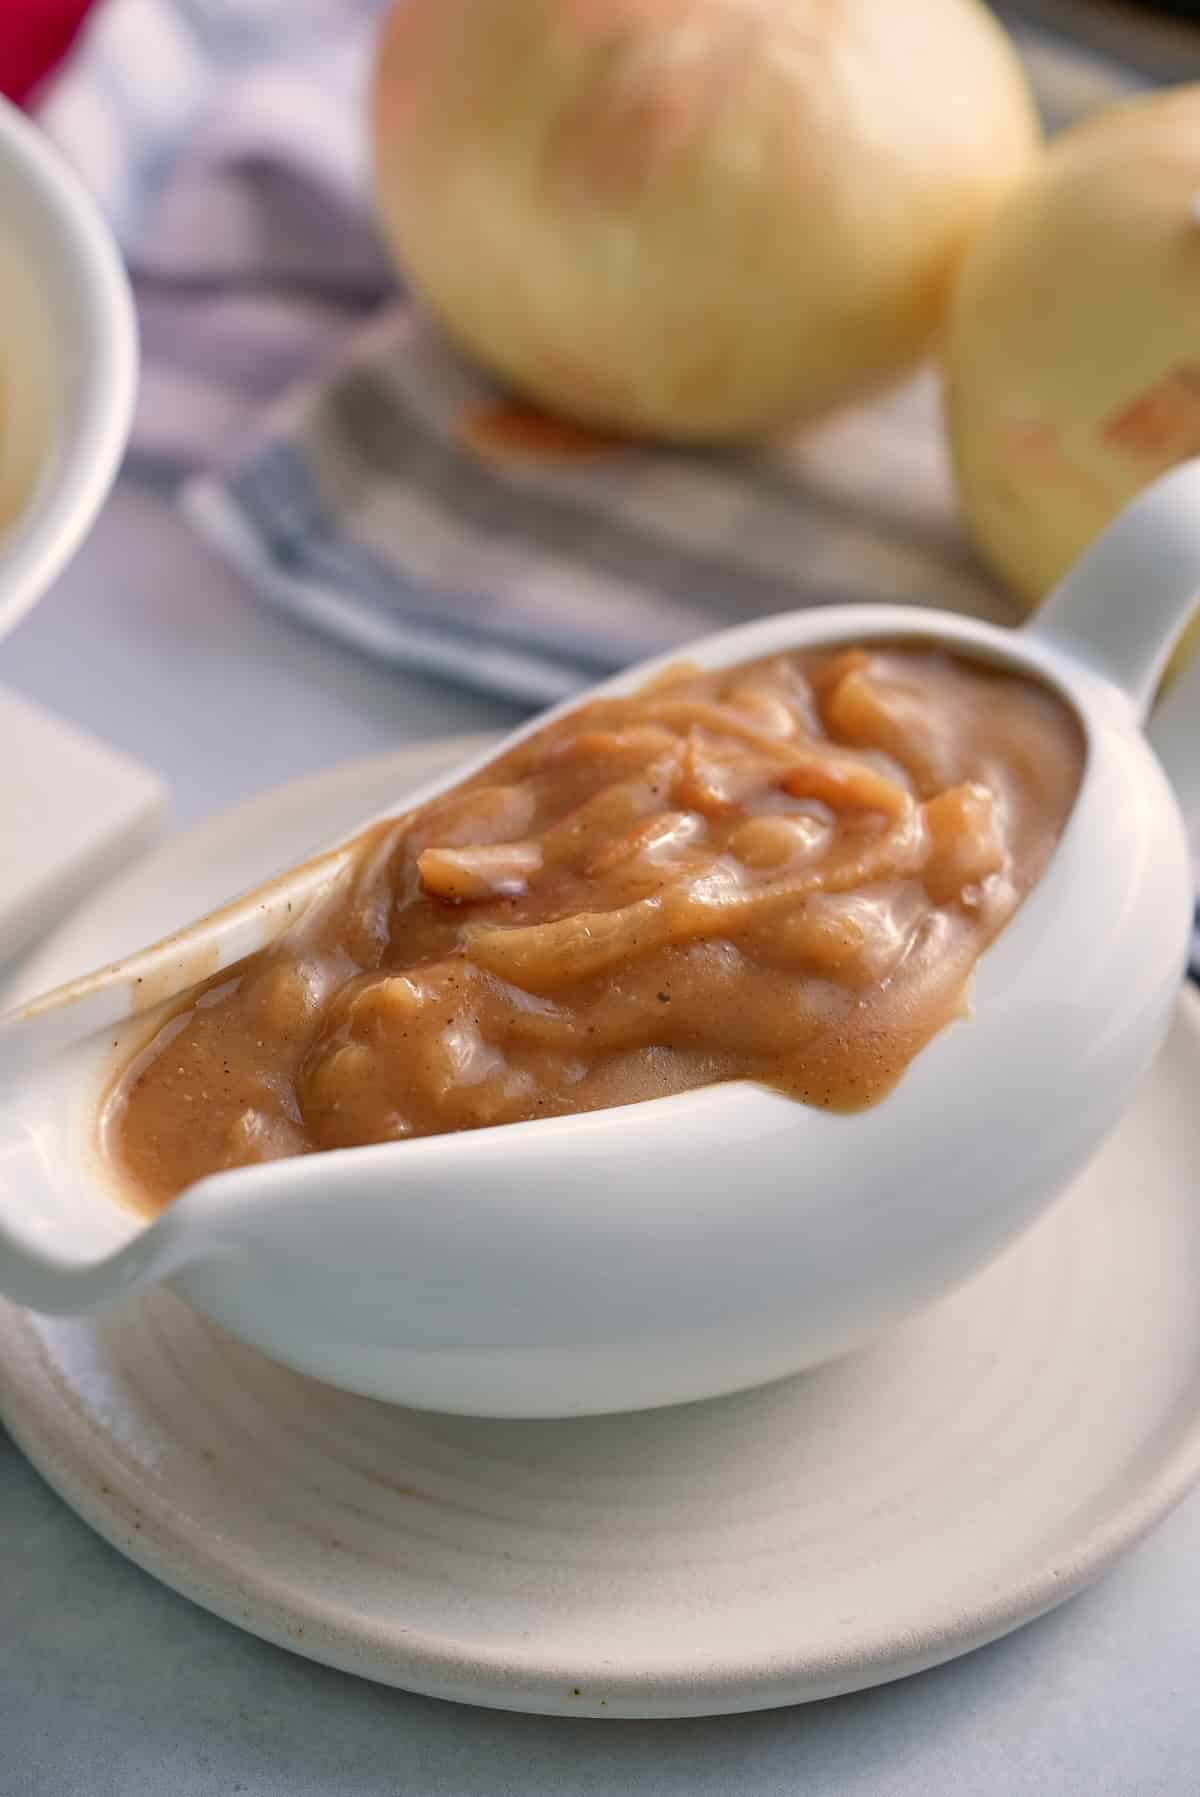
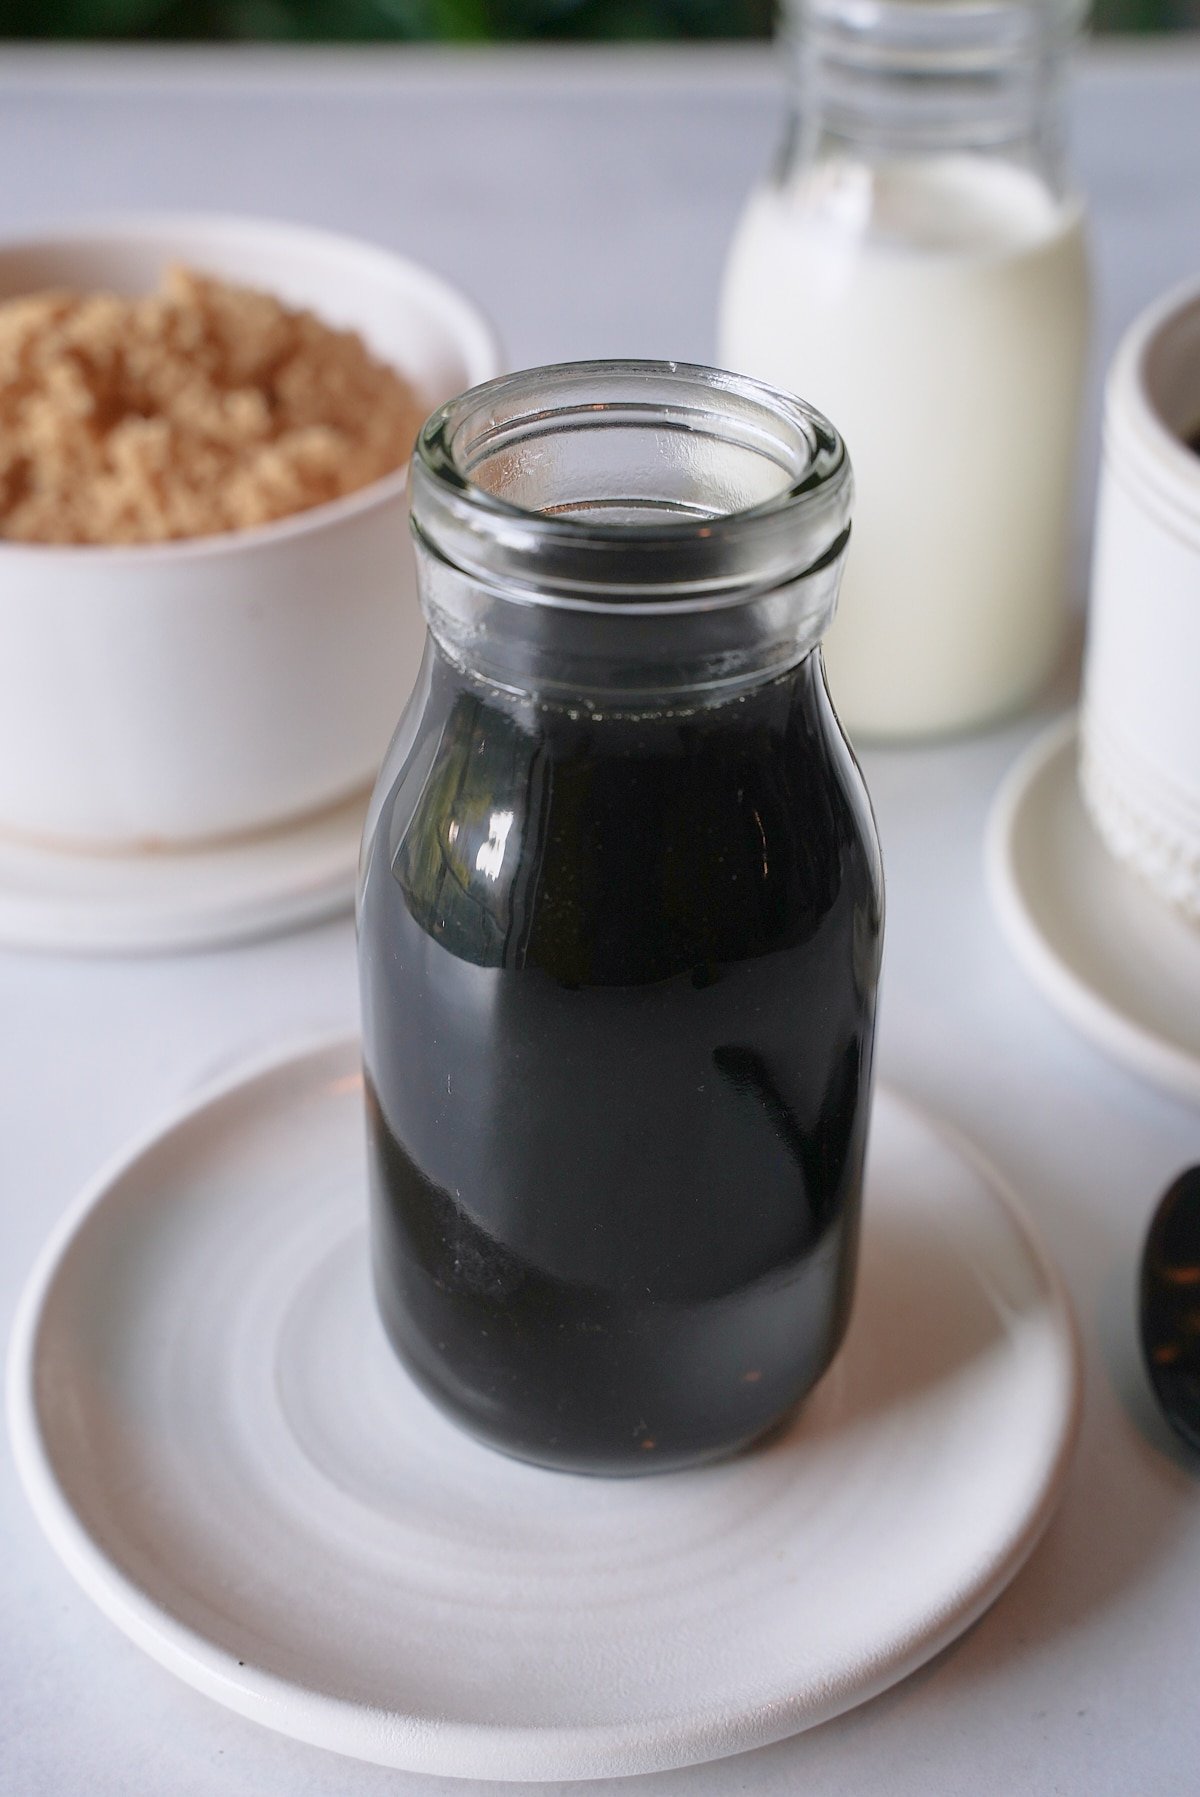
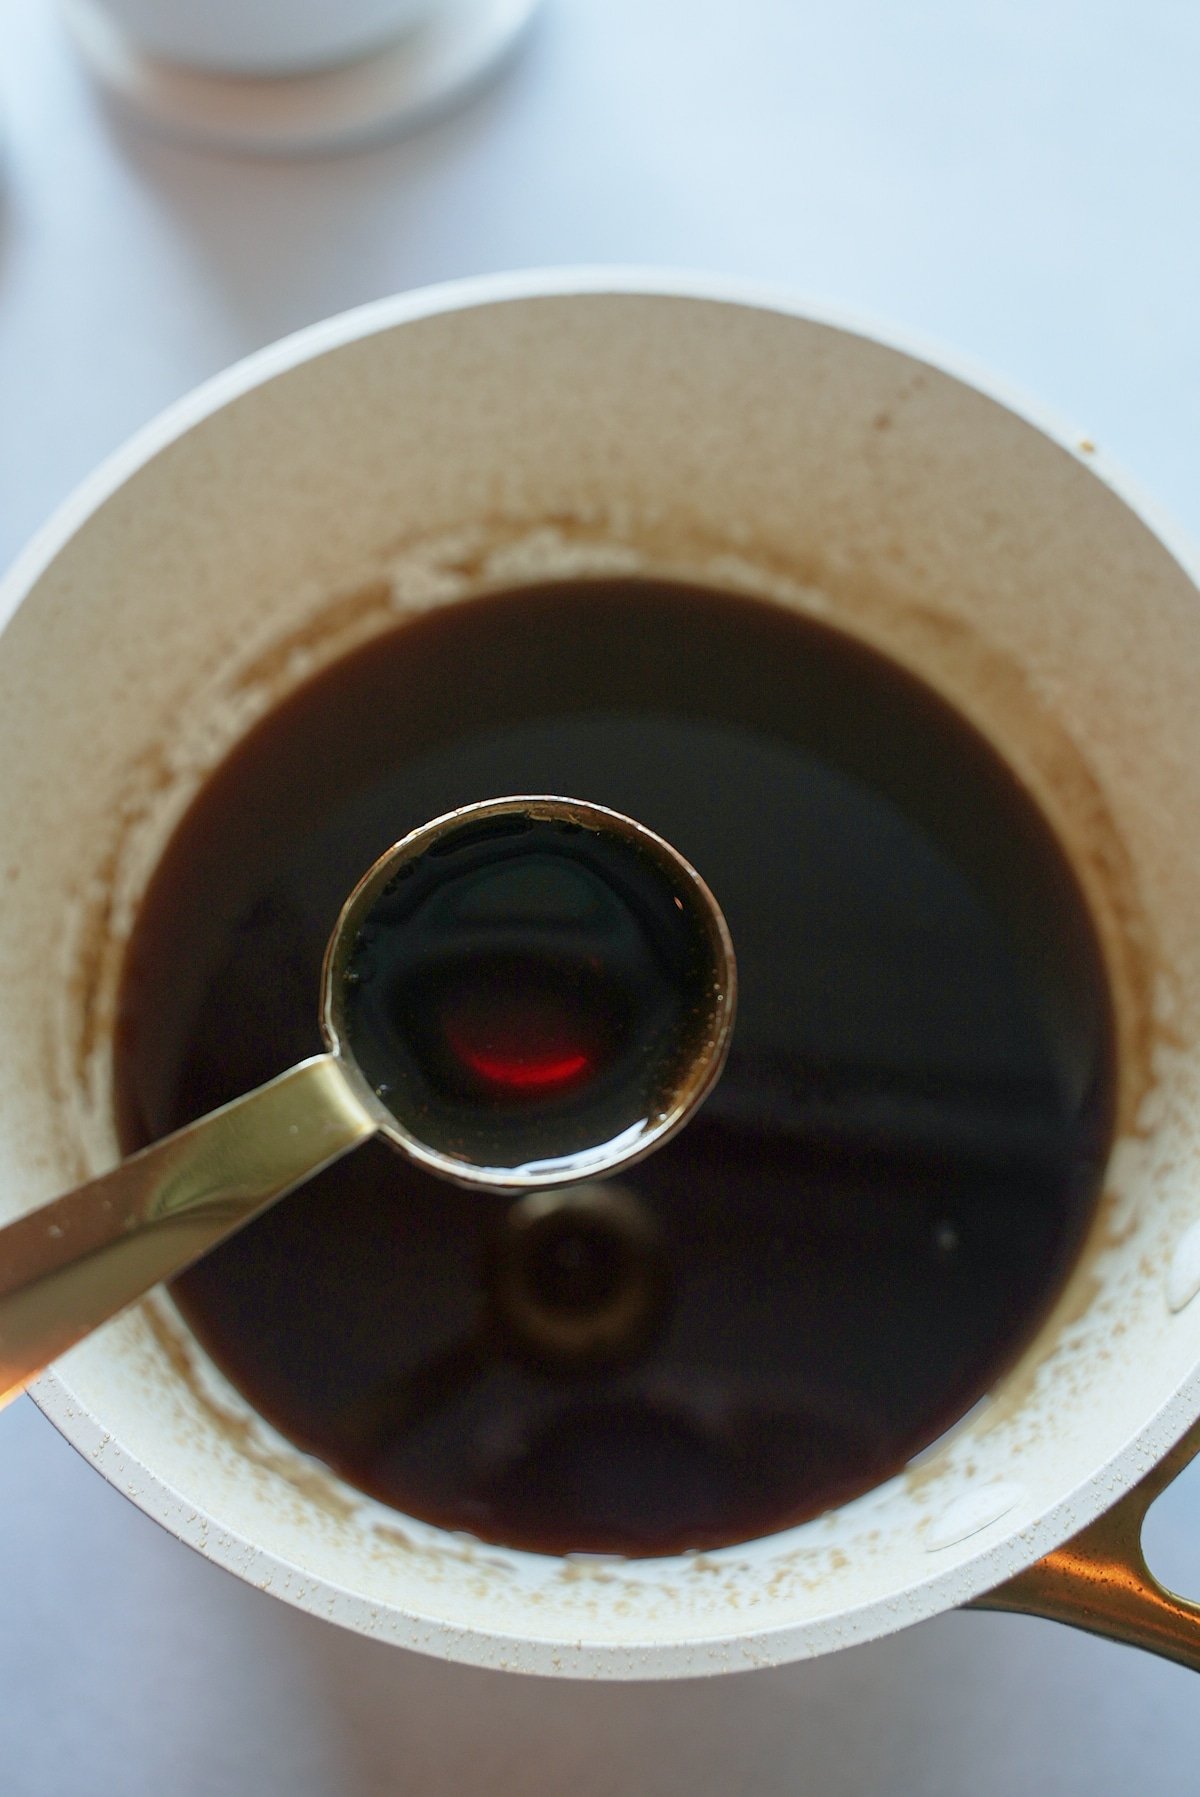
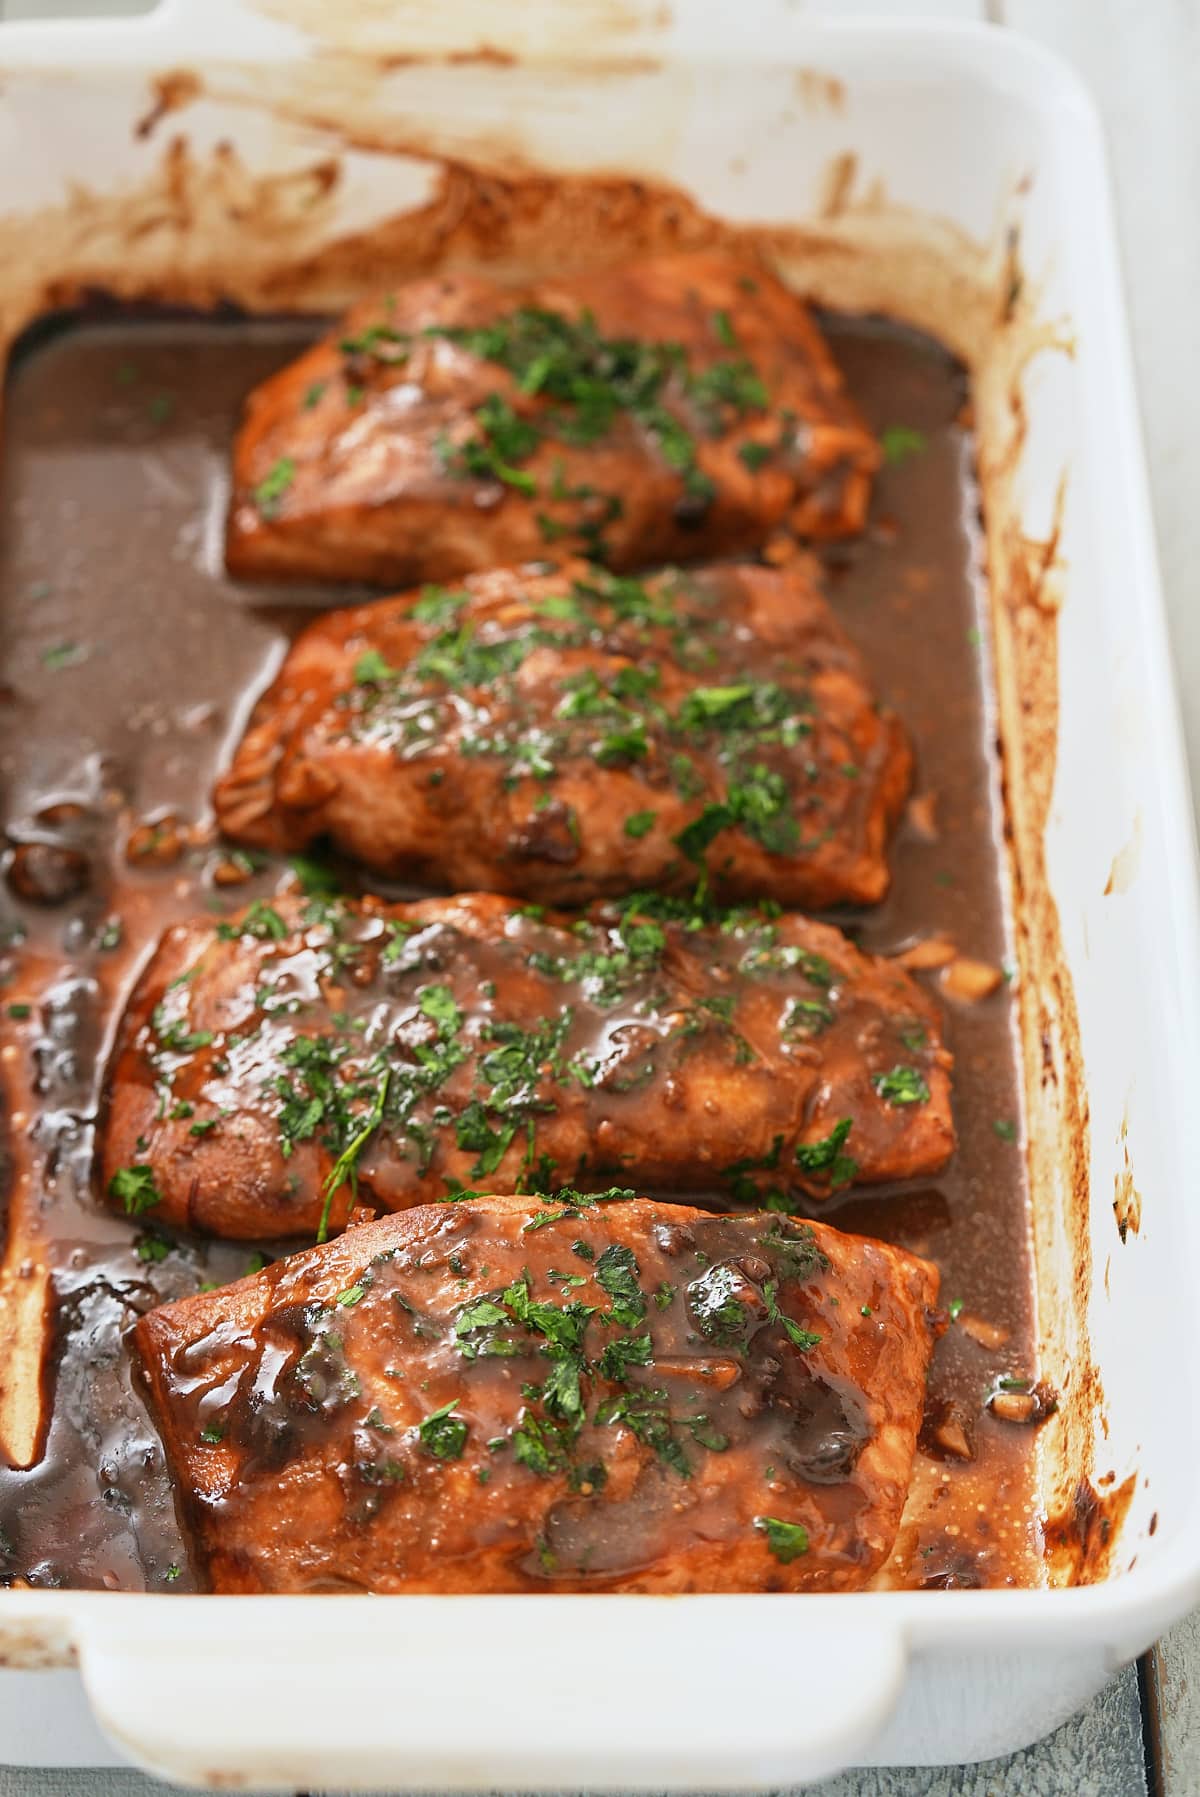
Soy sauce and salmon go hand in hand, such a beautiful combination. The saltiness of the soy pairs so well with the fatty richness of the salmon. Add to that Dijon mustard, brown sugar, and garlic you have a marinade that's bursting with flavor yet simple and sophisticated.
Salmon is a great vessel for infusing flavors, try this Easy Teriyaki Salmon or this Pressure Cooker Salmon with Creamy Herb Parmesan Sauce. In a hurry? Try this easy Marinated Air Fryer Salmon or Air Fryer Salmon Bites.

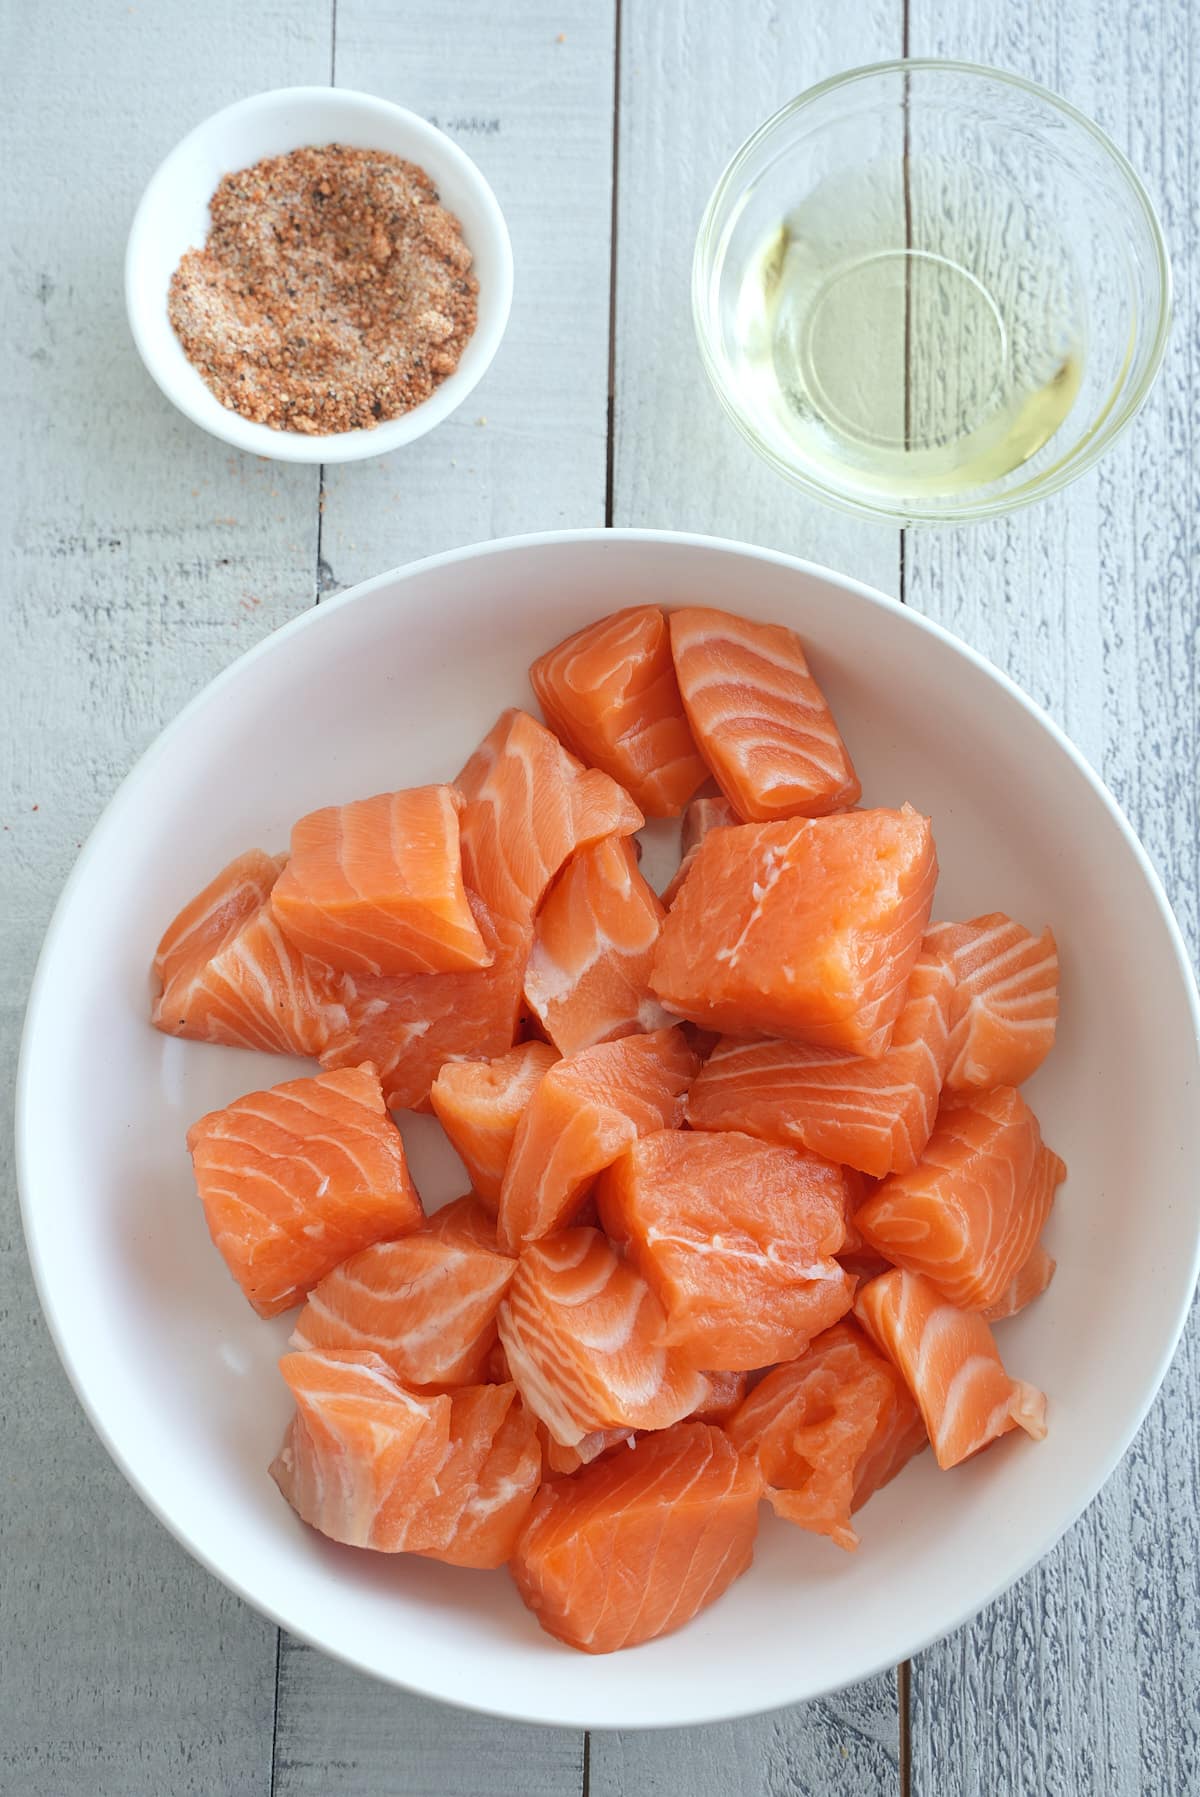
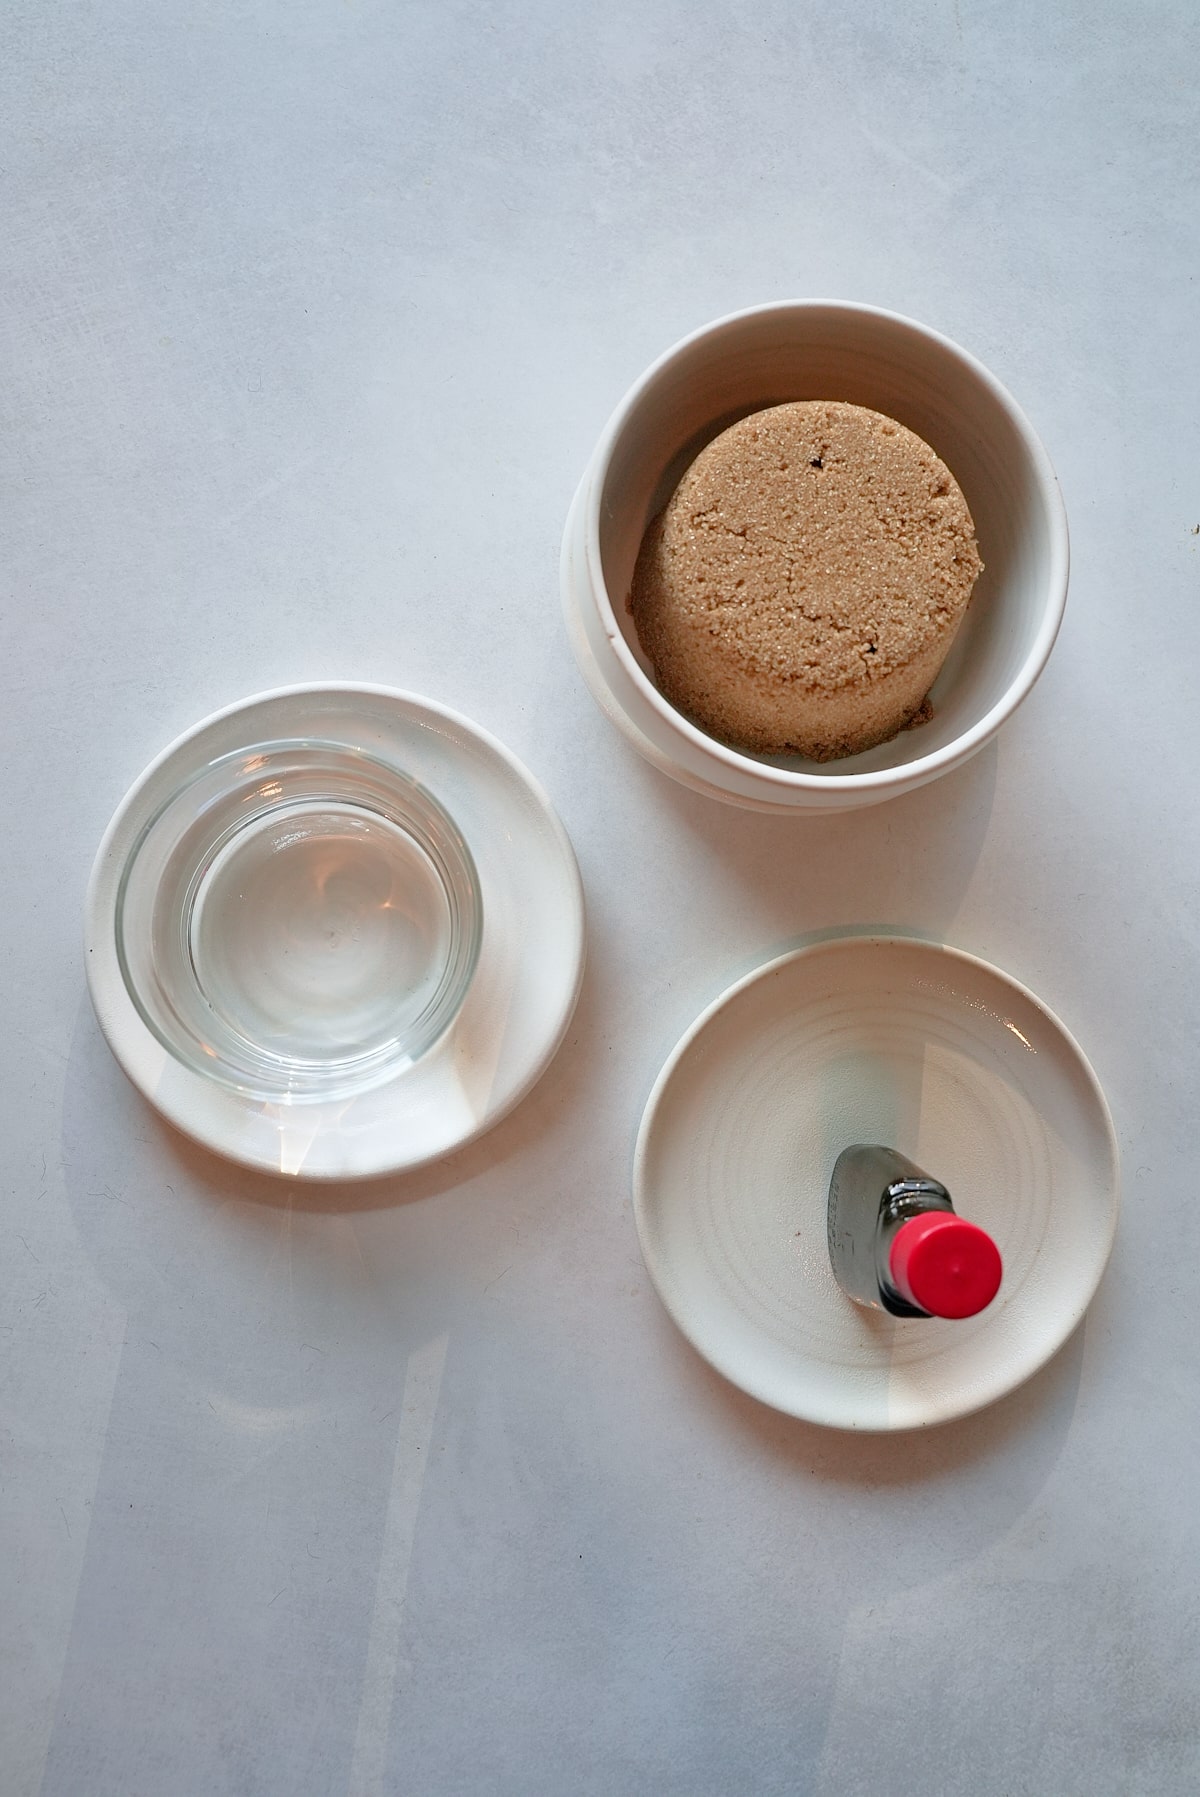
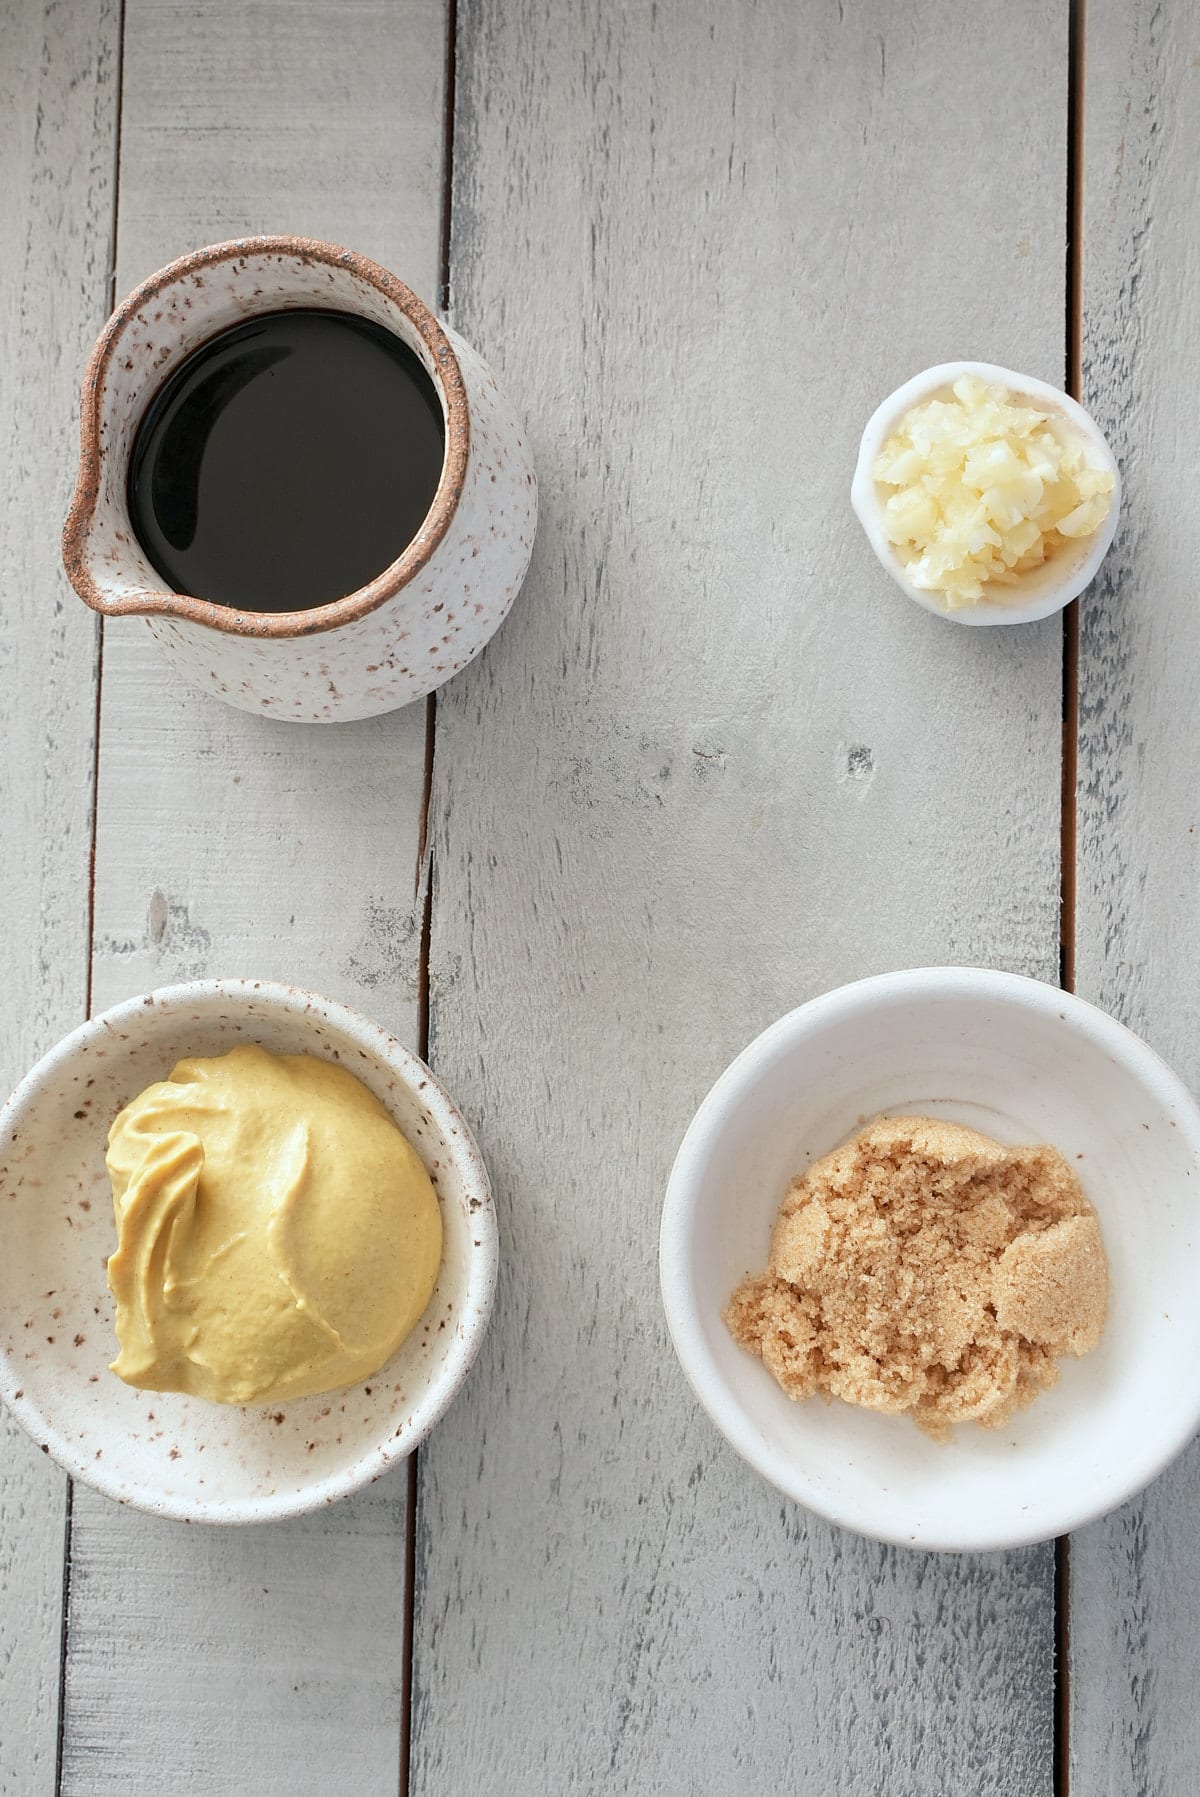
Ingredients
- Soy Sauce - Adds depth and saltiness. You could also use Tamari or coconut aminos for a gluten-free option.
- Dijon Mustard - Provides a slight tang and complements the sweetness of the brown sugar. Try honey mustard for a sweeter flavor.
- Light brown sugar - Brown sugar lends a gentle sweetness and helps to balance out the saltiness of the soy sauce. Use maple syrup or honey as another sweetener option.
- Minced Garlic - Adds another layer of richness with an aromatic punch. Try minced ginger or a mixture of both for a slight spice with a zesty flavor.
- Parsley or green onion - For garnish
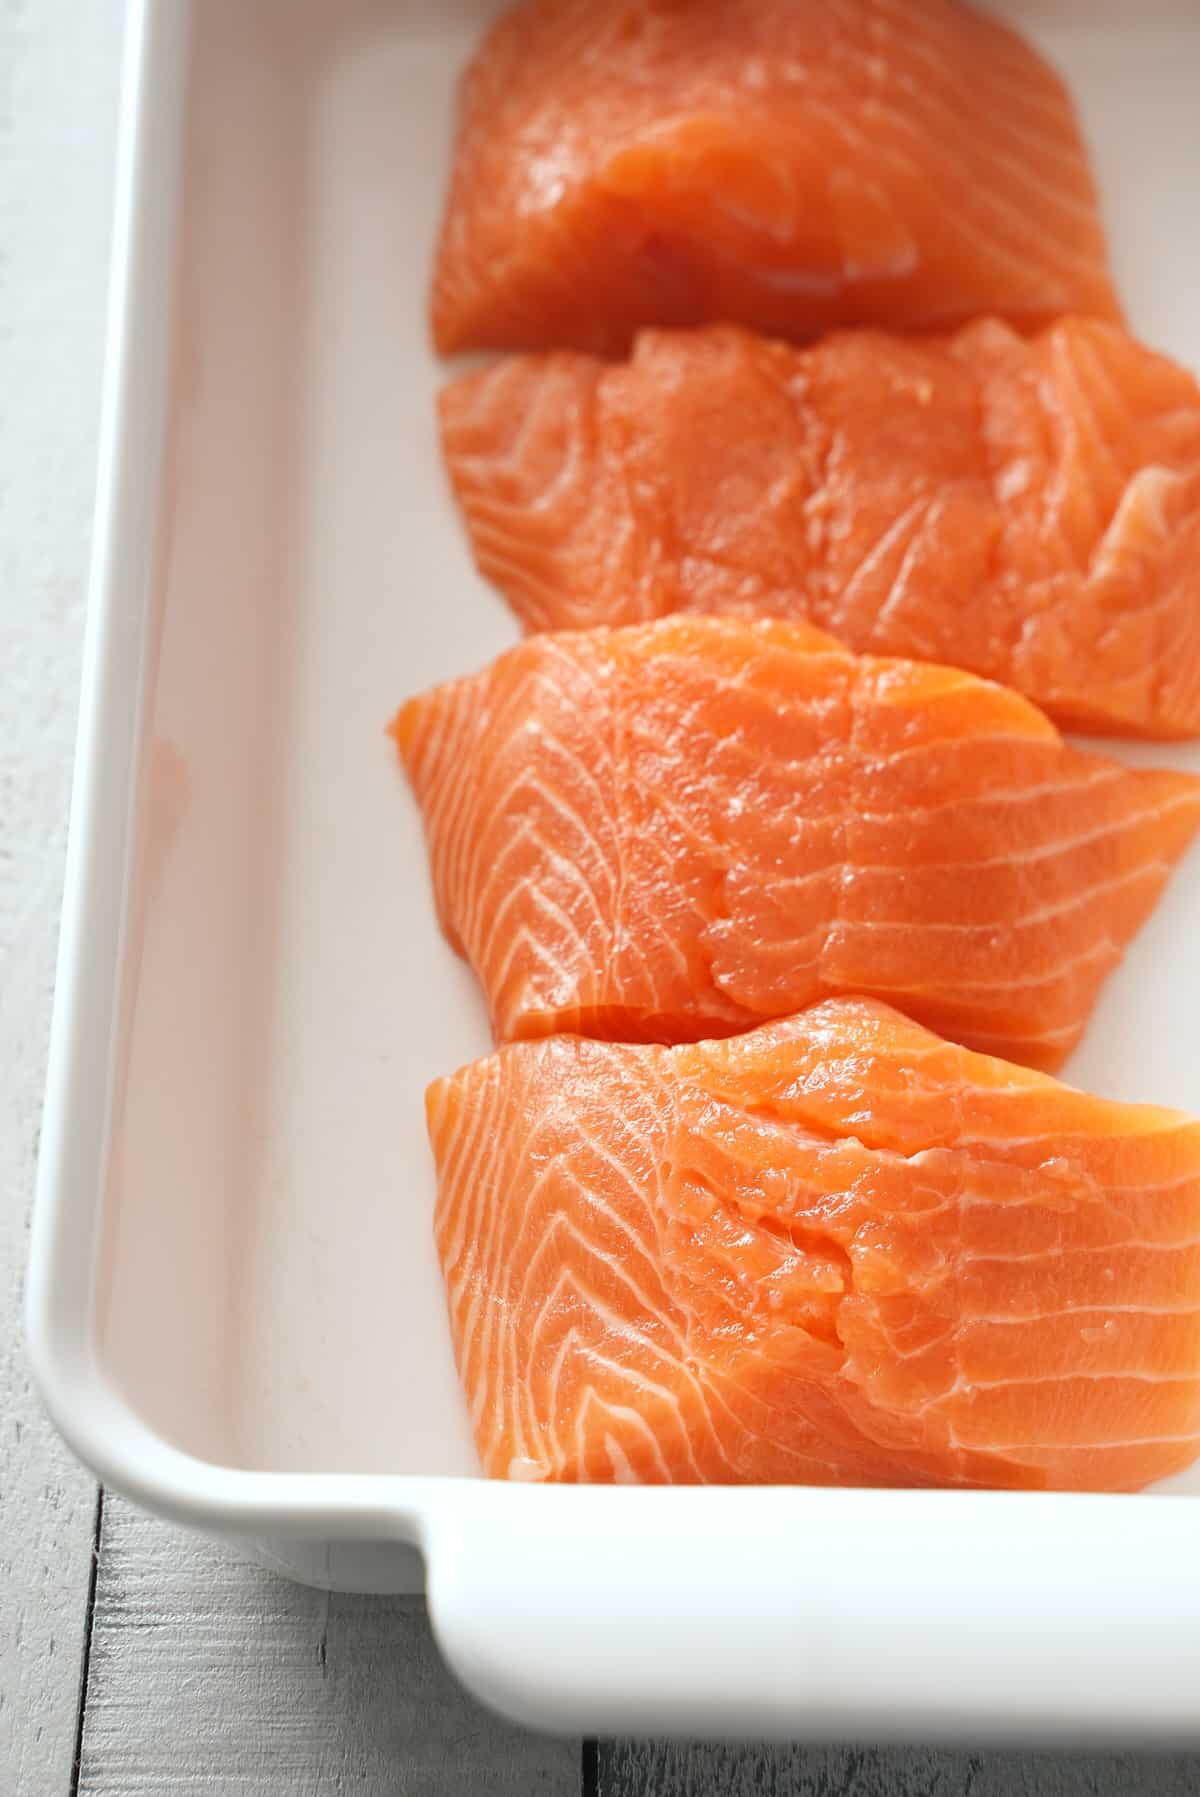
- Salmon - The best salmon is fresh salmon.
Tools needed for this recipe
- Small bowl
- Whisk
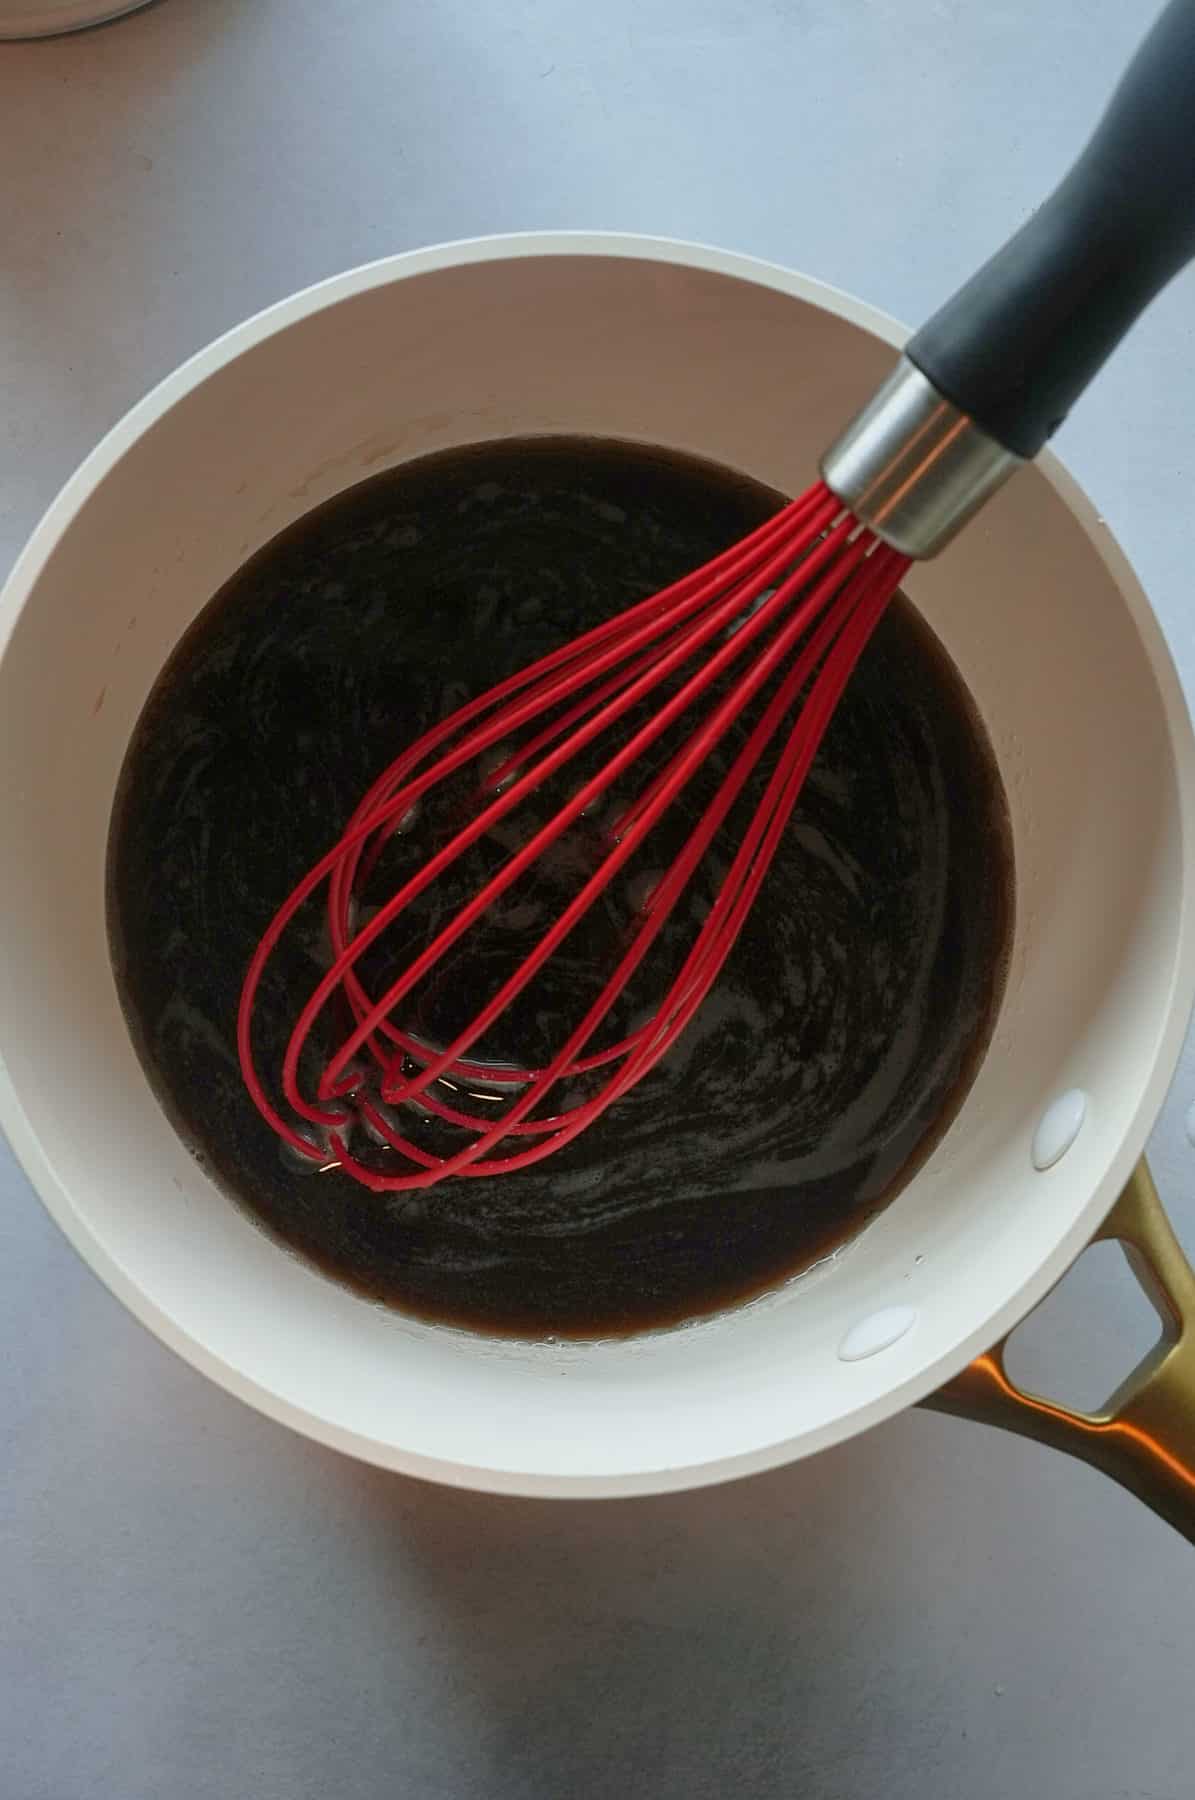
How To Make A Salmon Marinade
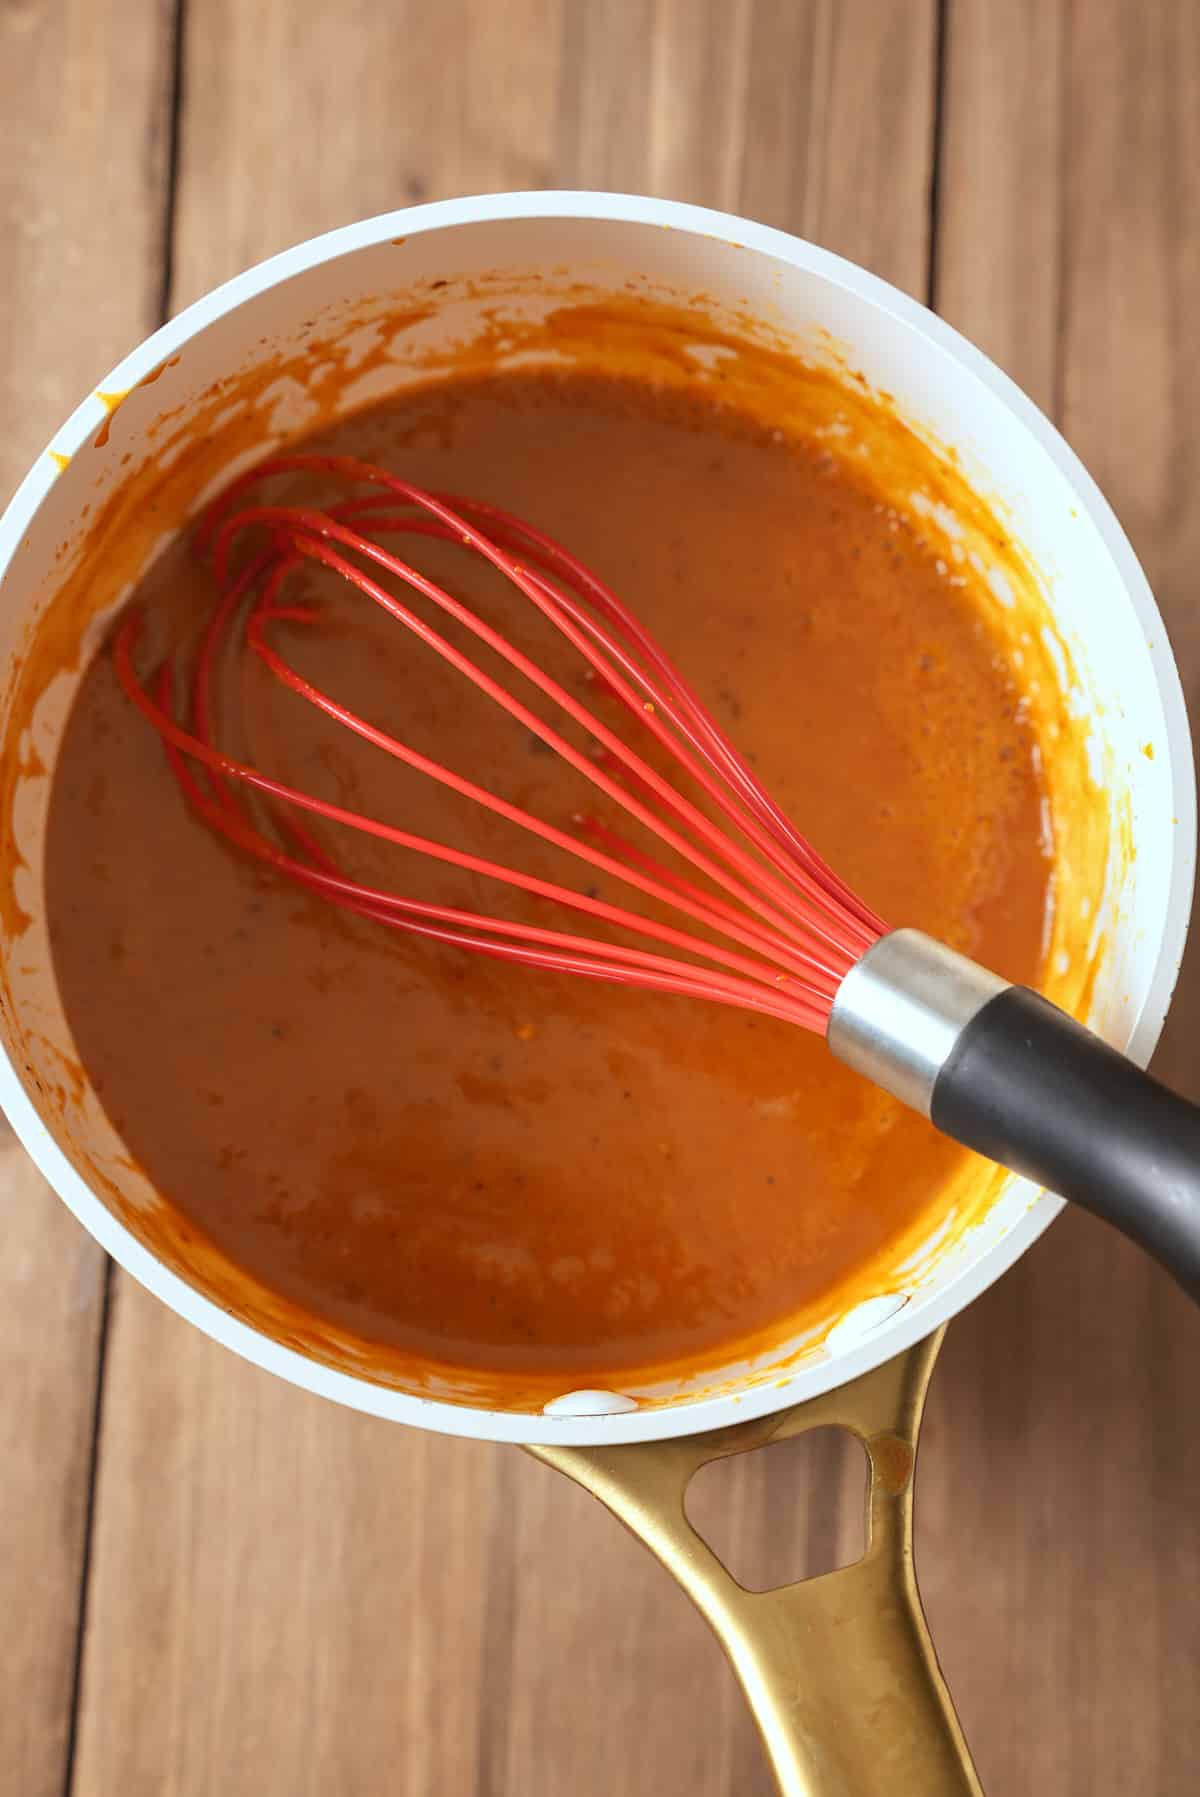
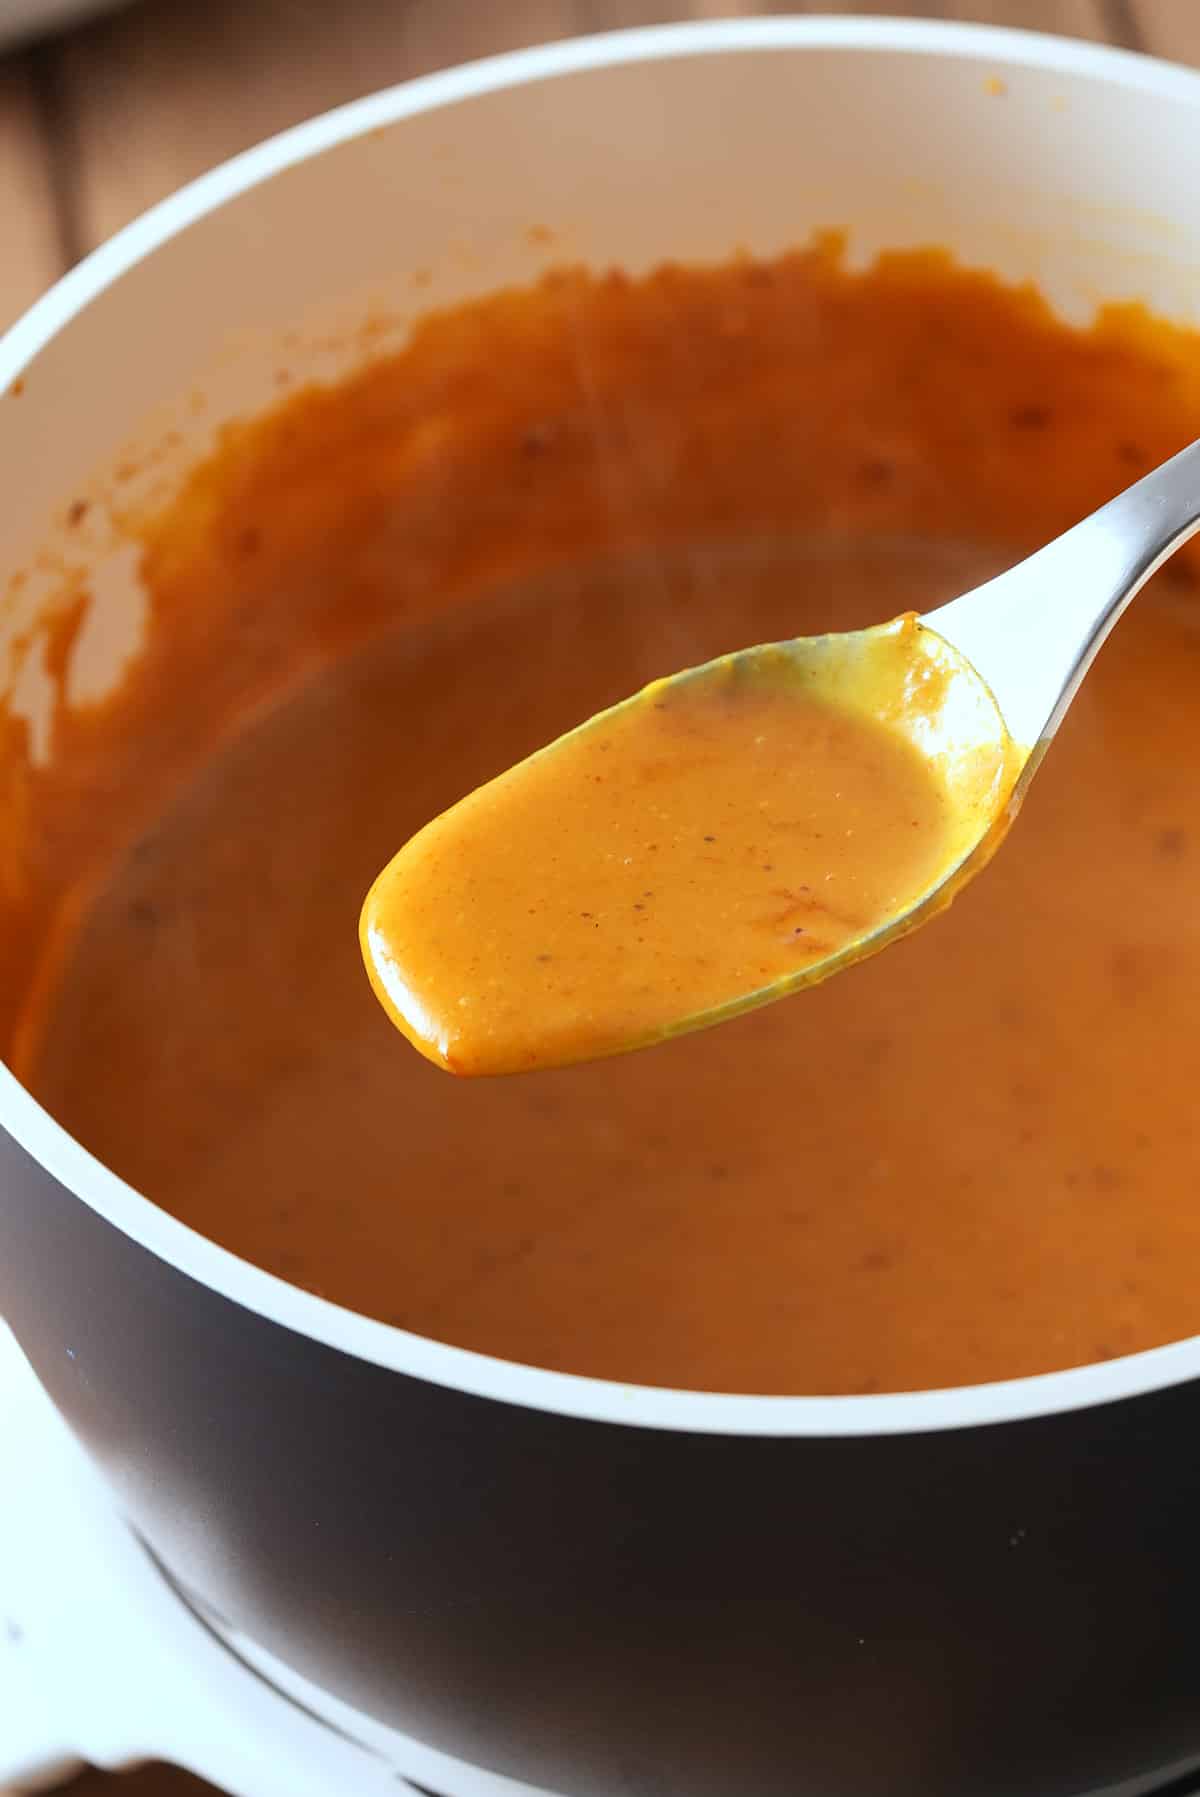
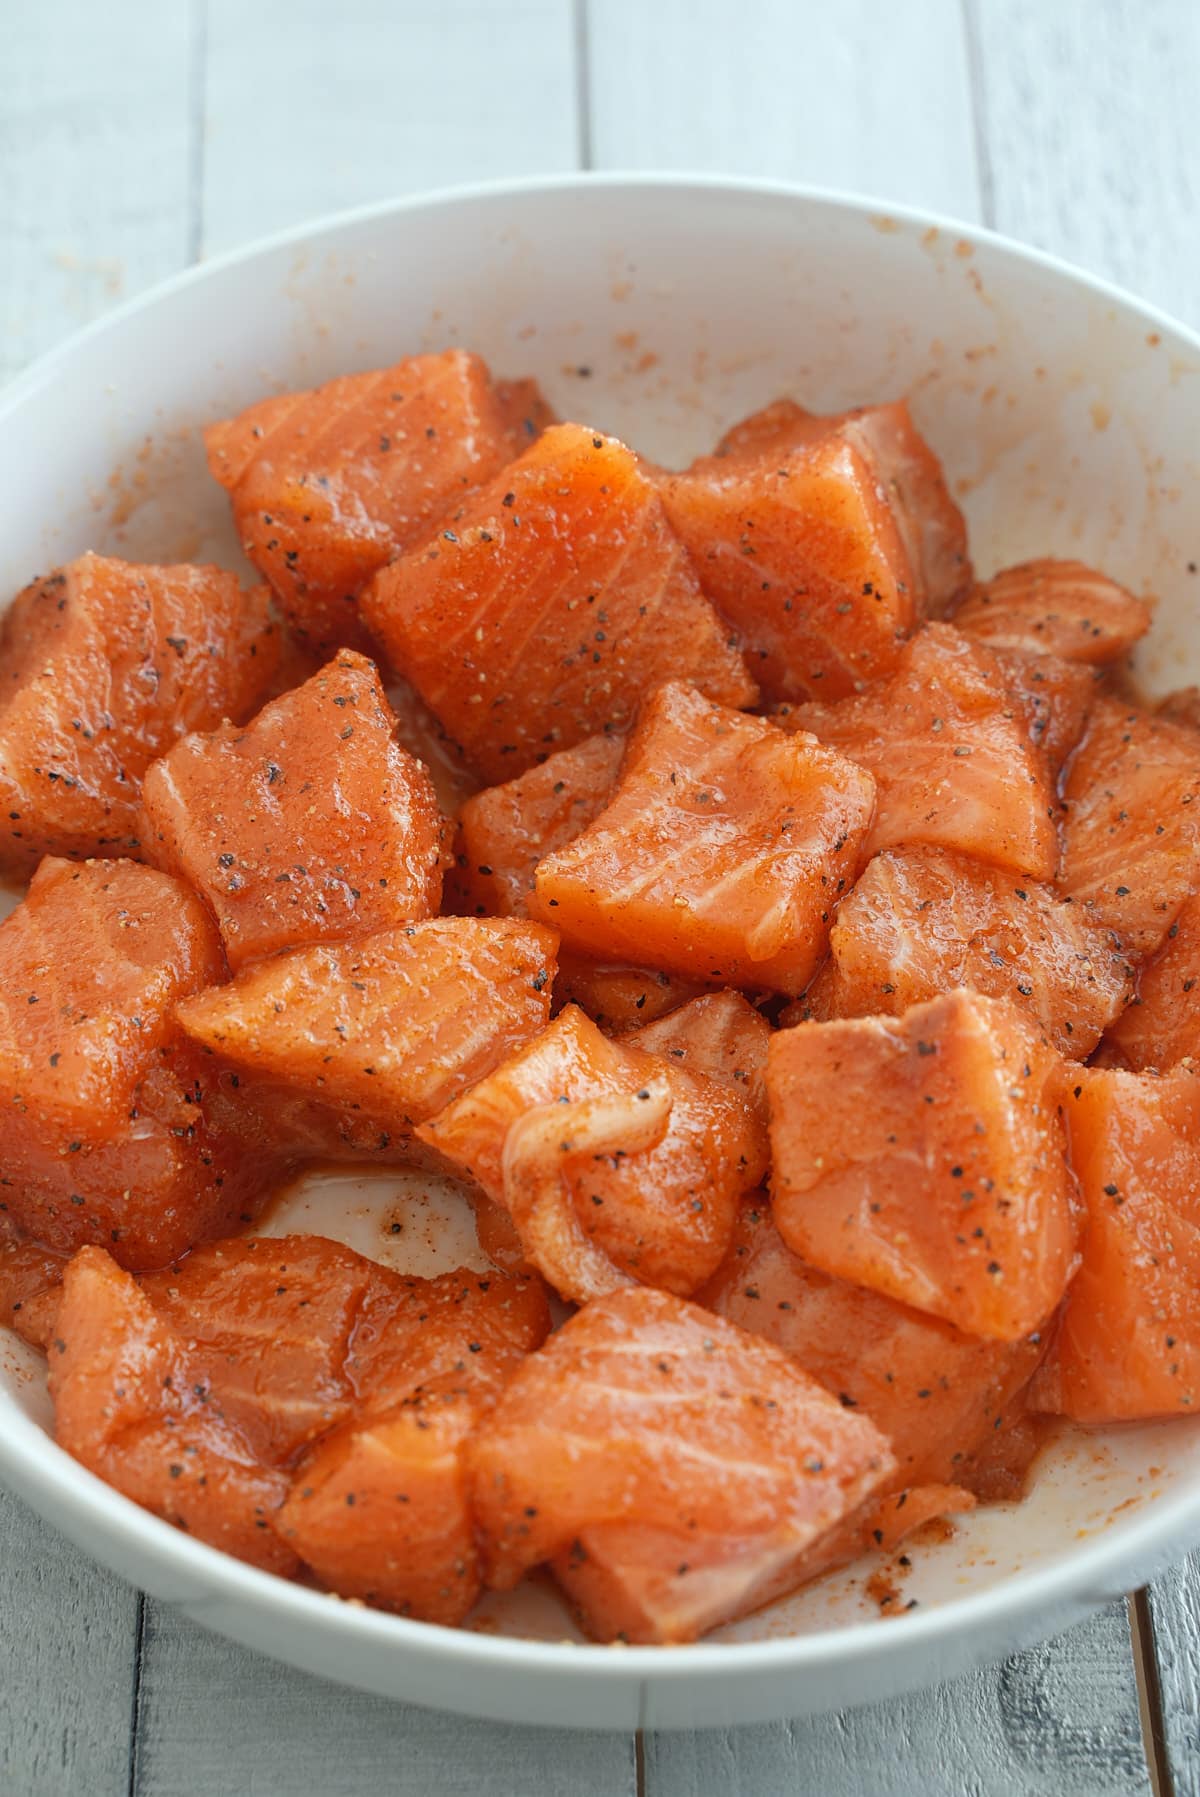
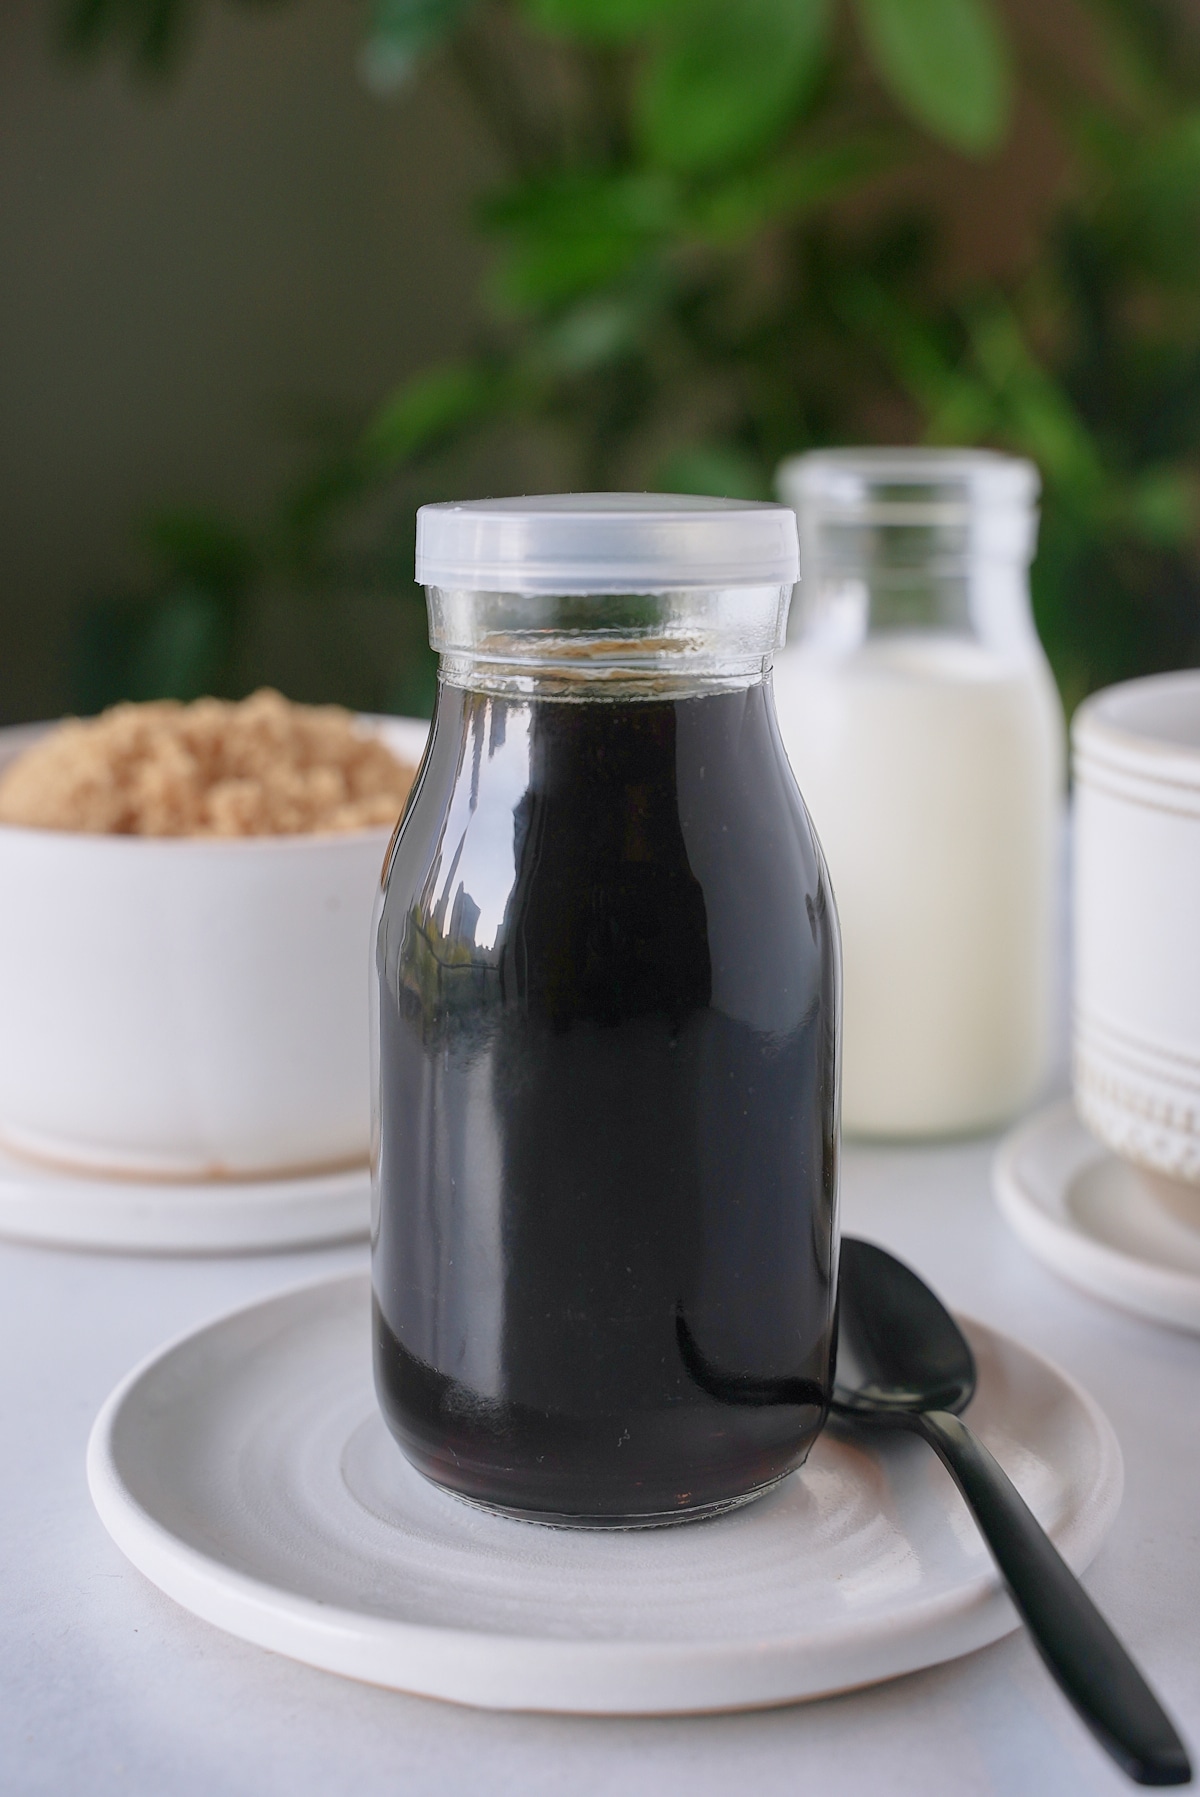
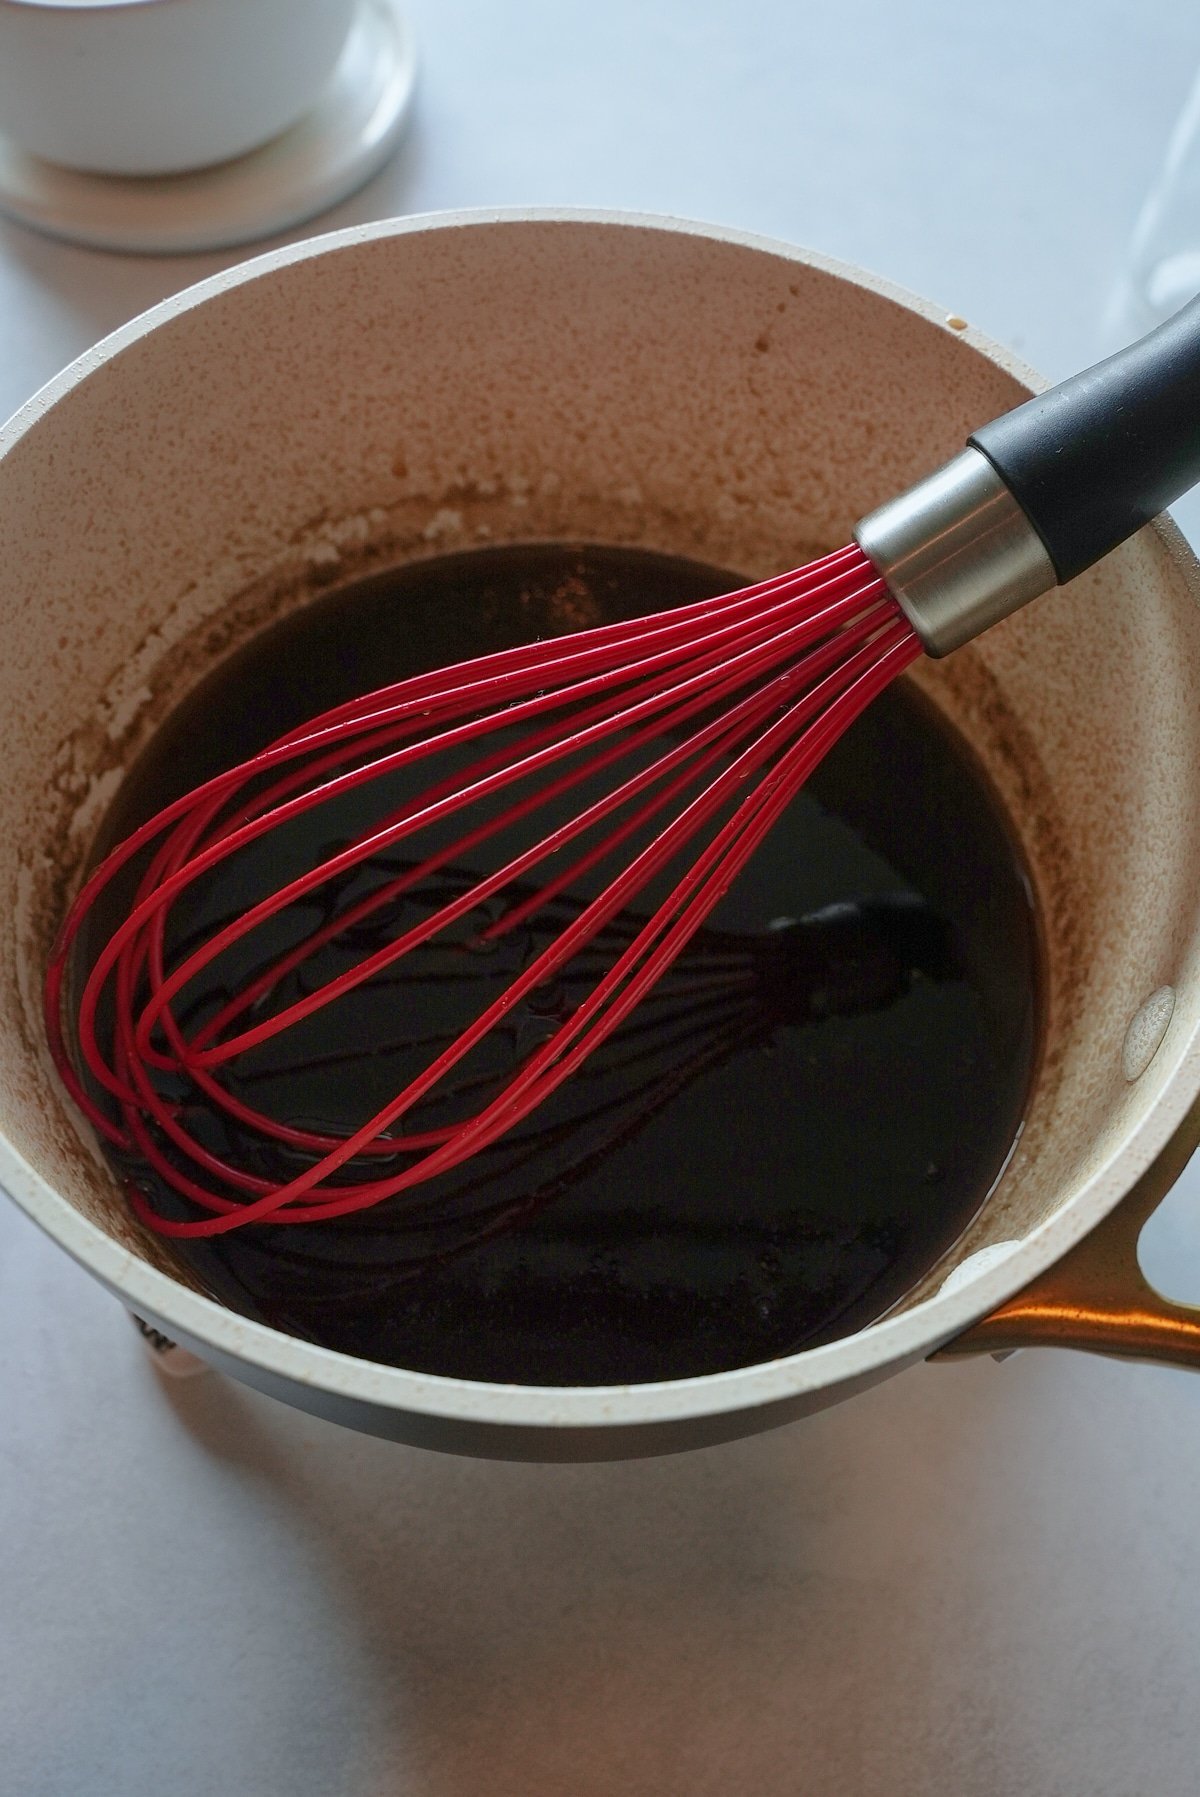
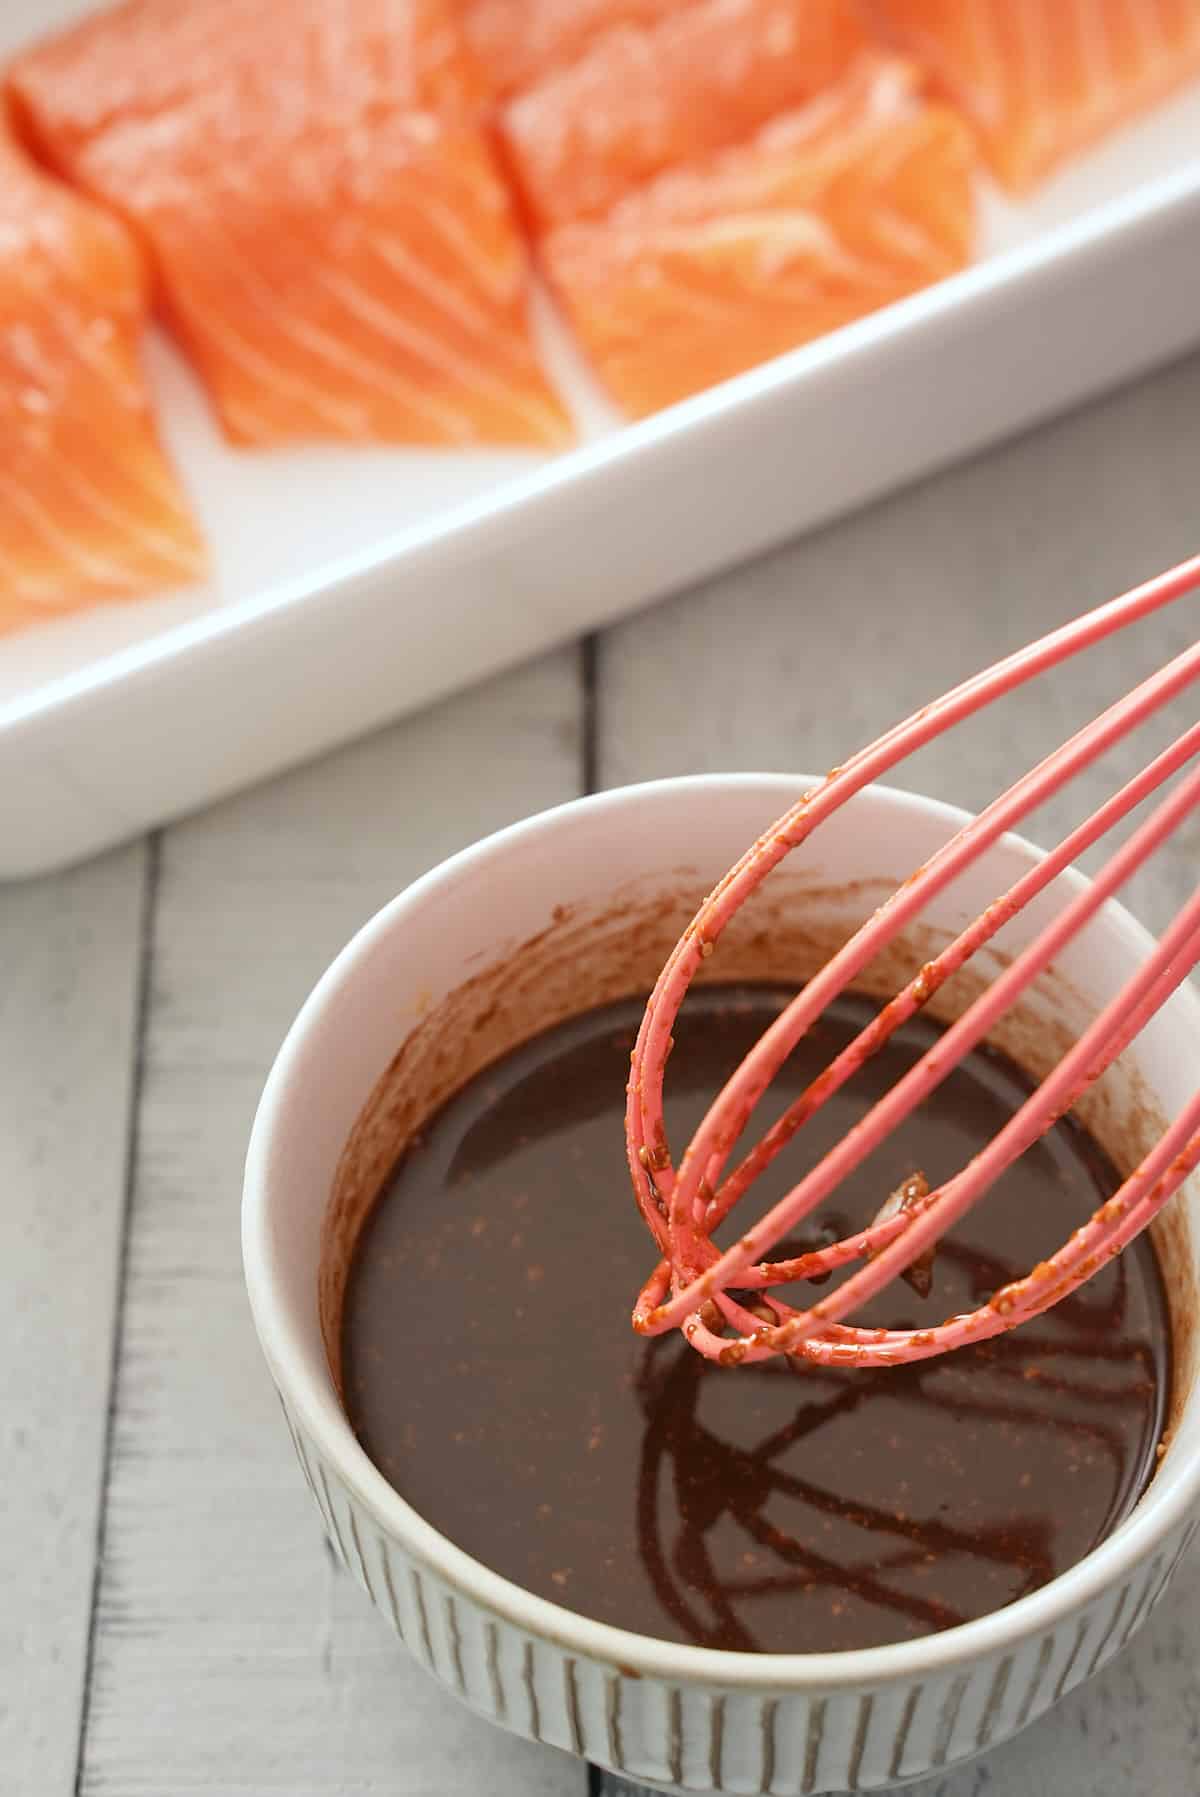
Whisk soy sauce, Dijon mustard, brown sugar, and minced garlic, in a bowl.
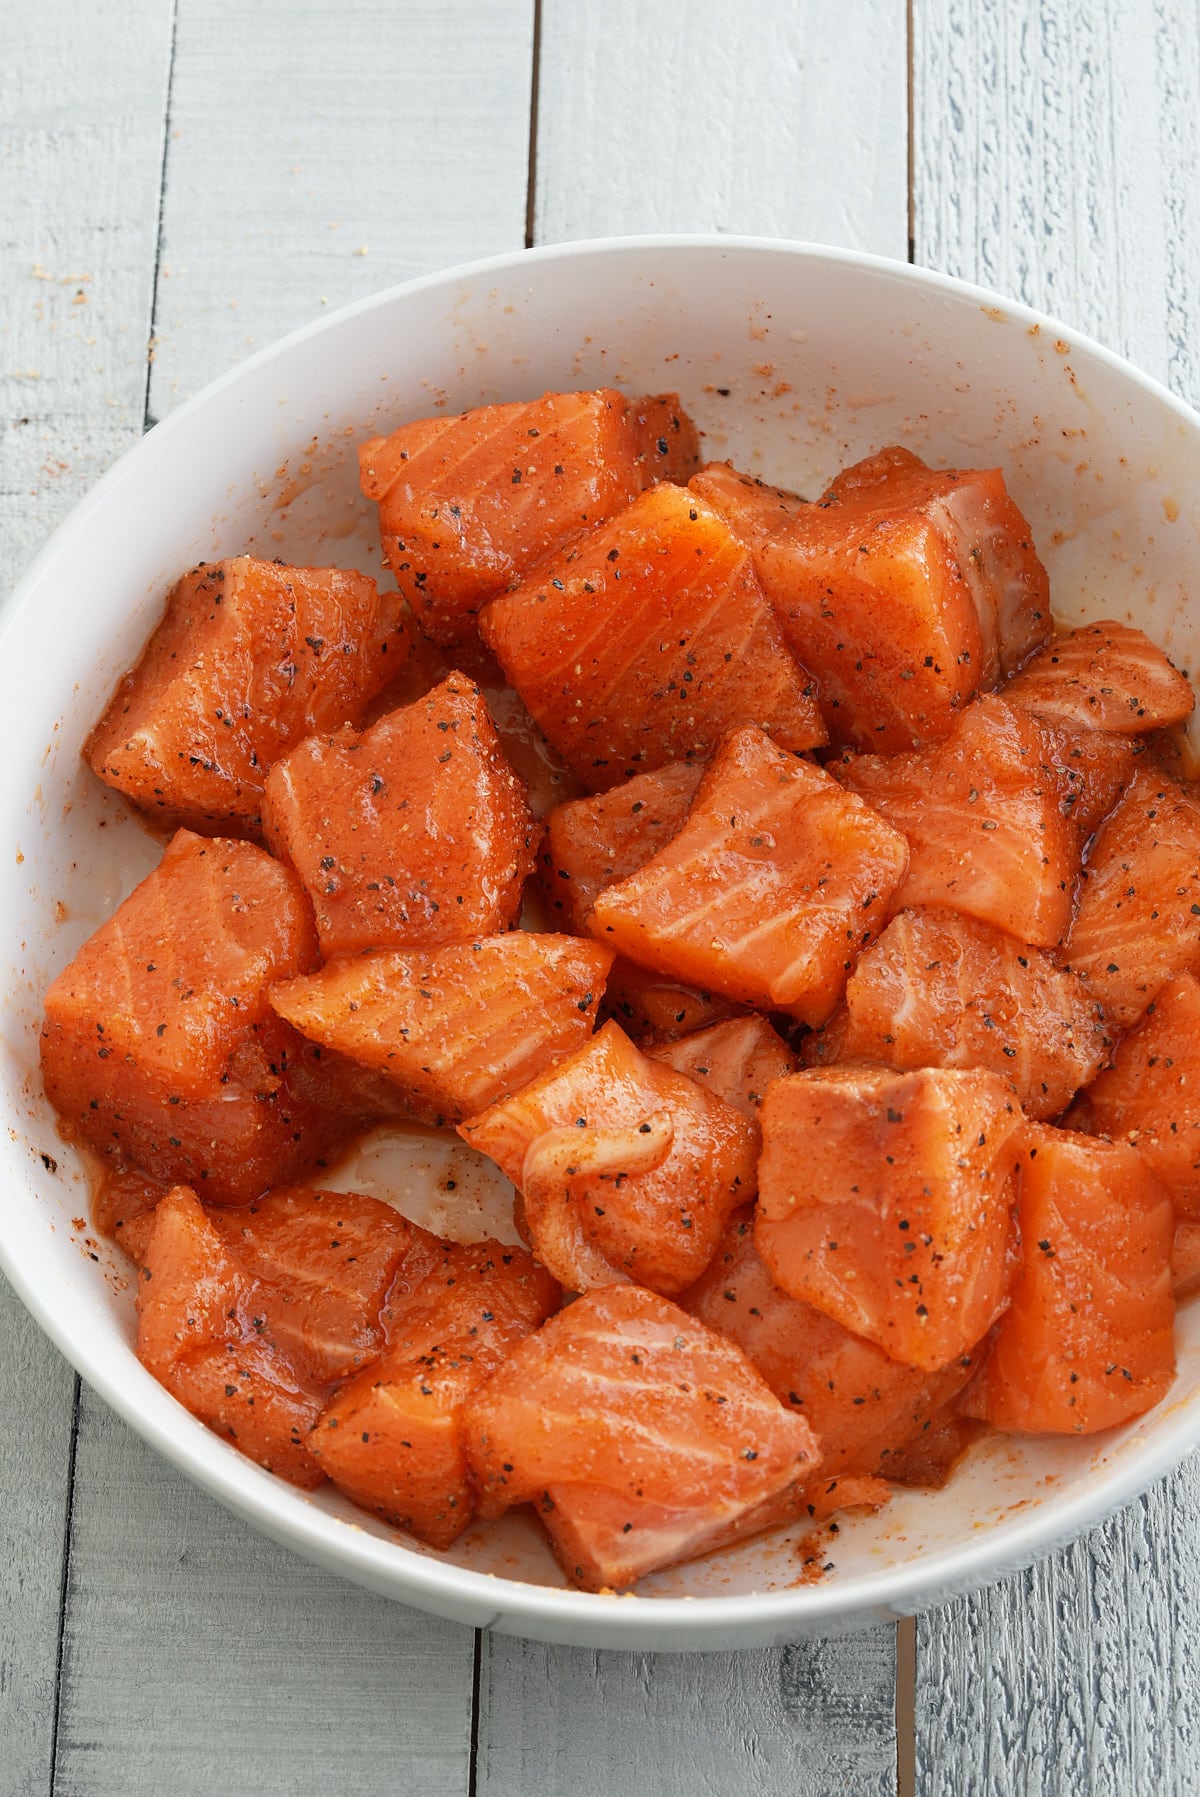
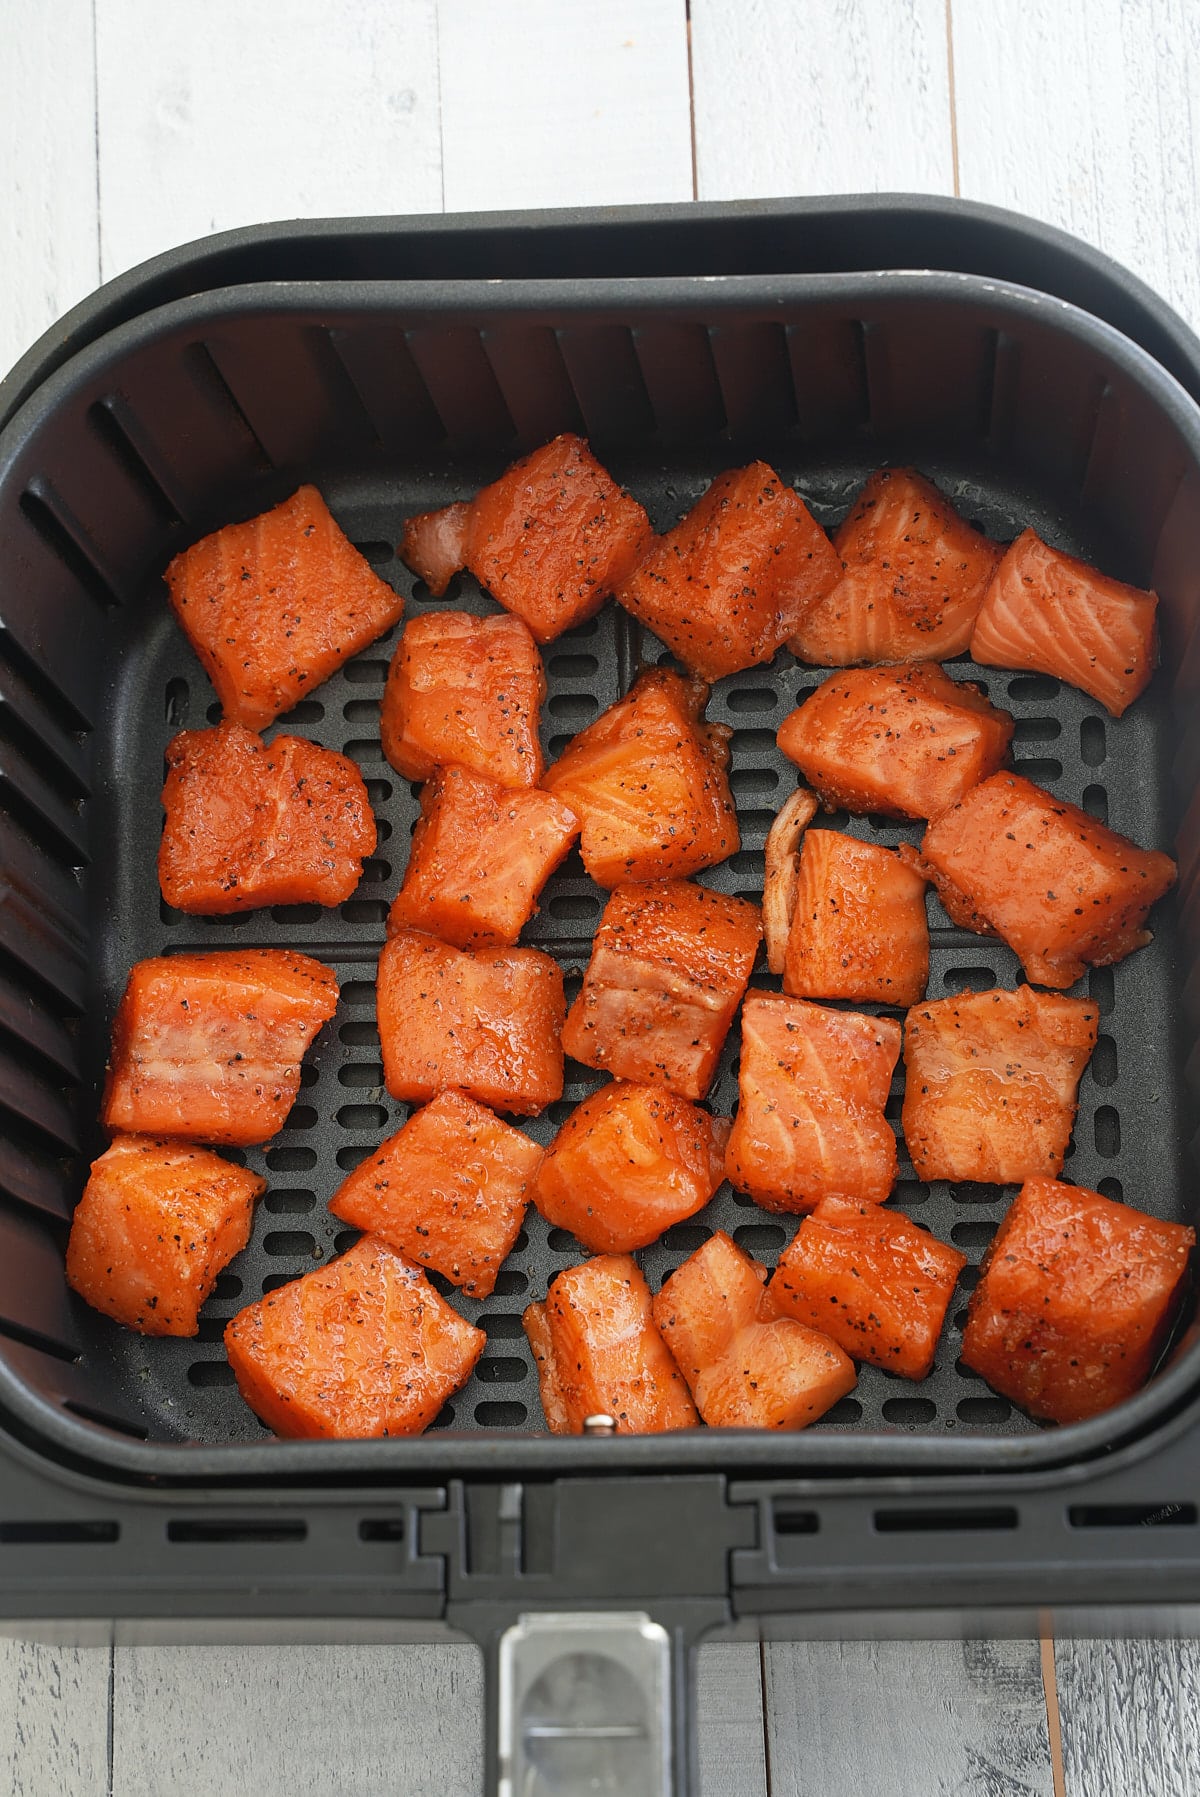
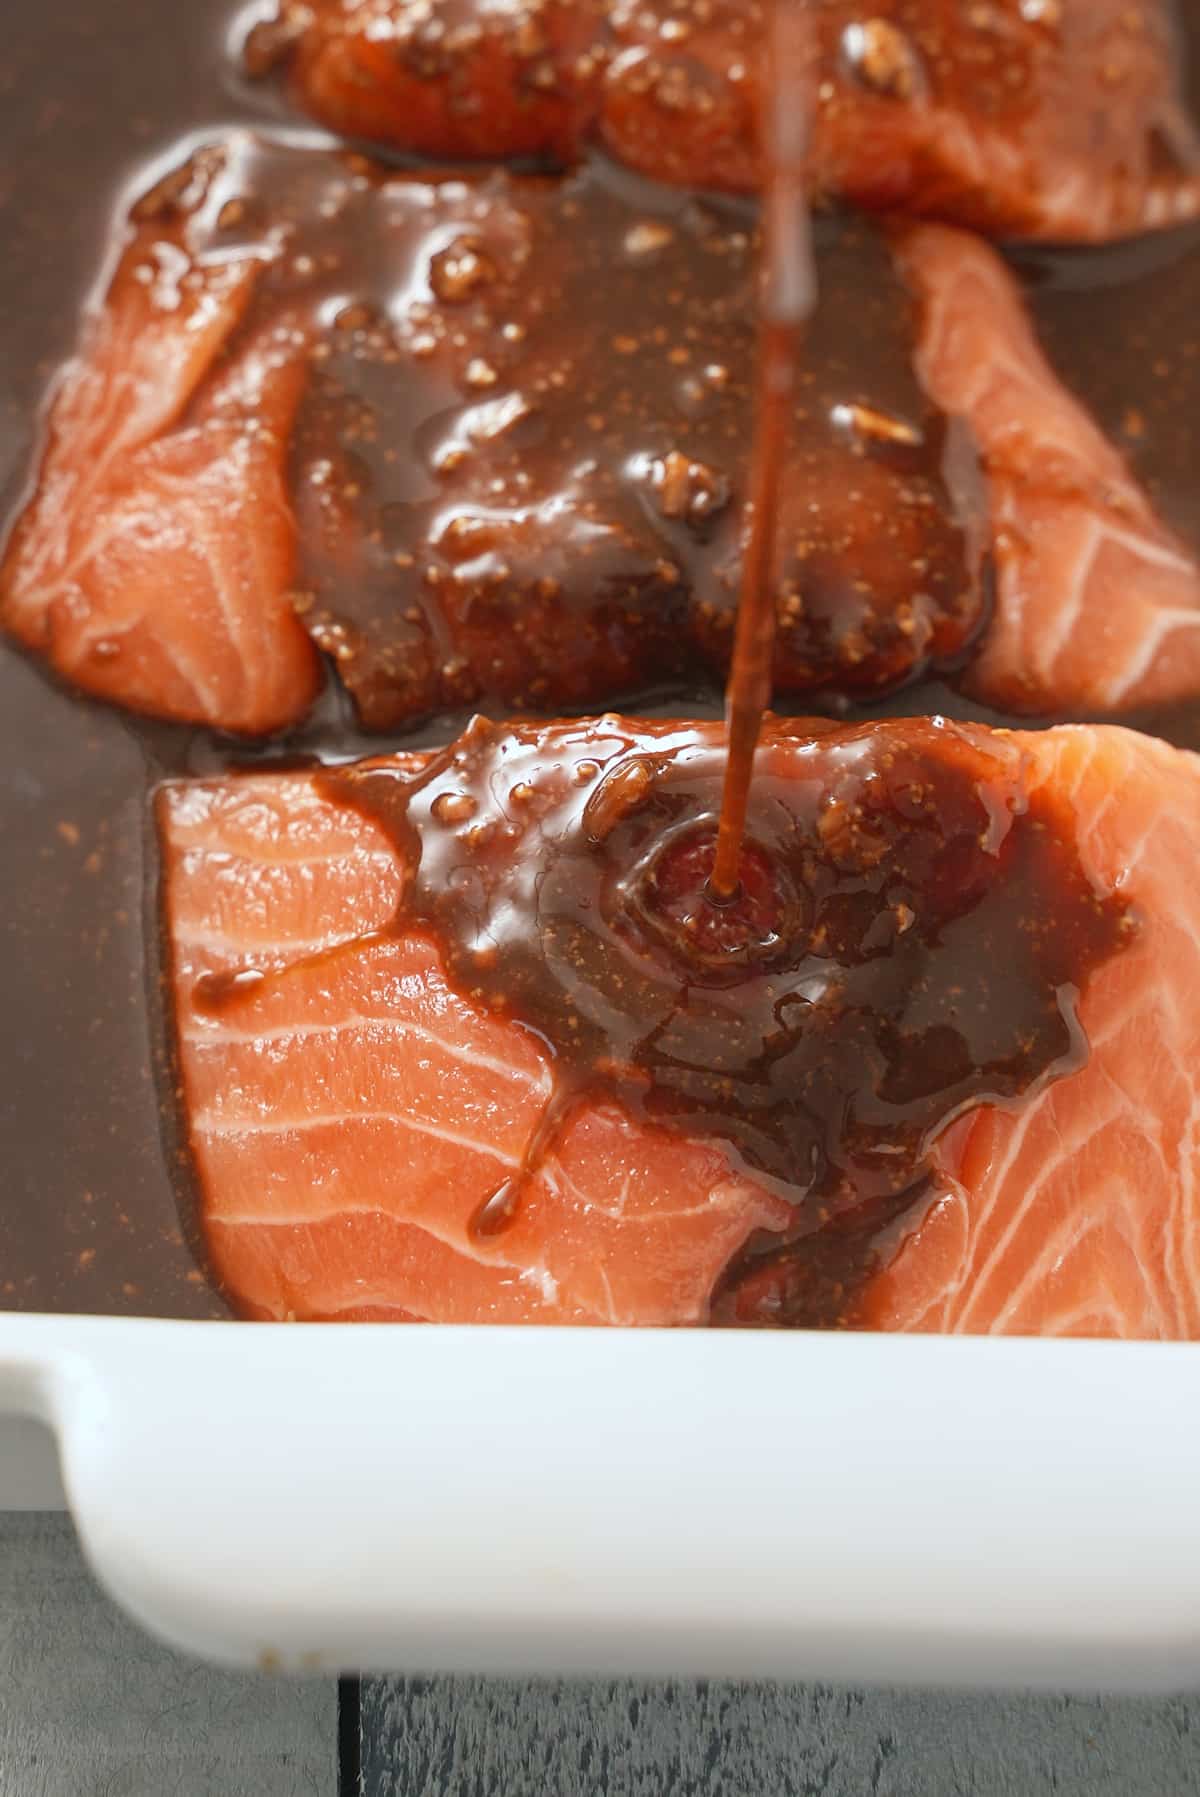
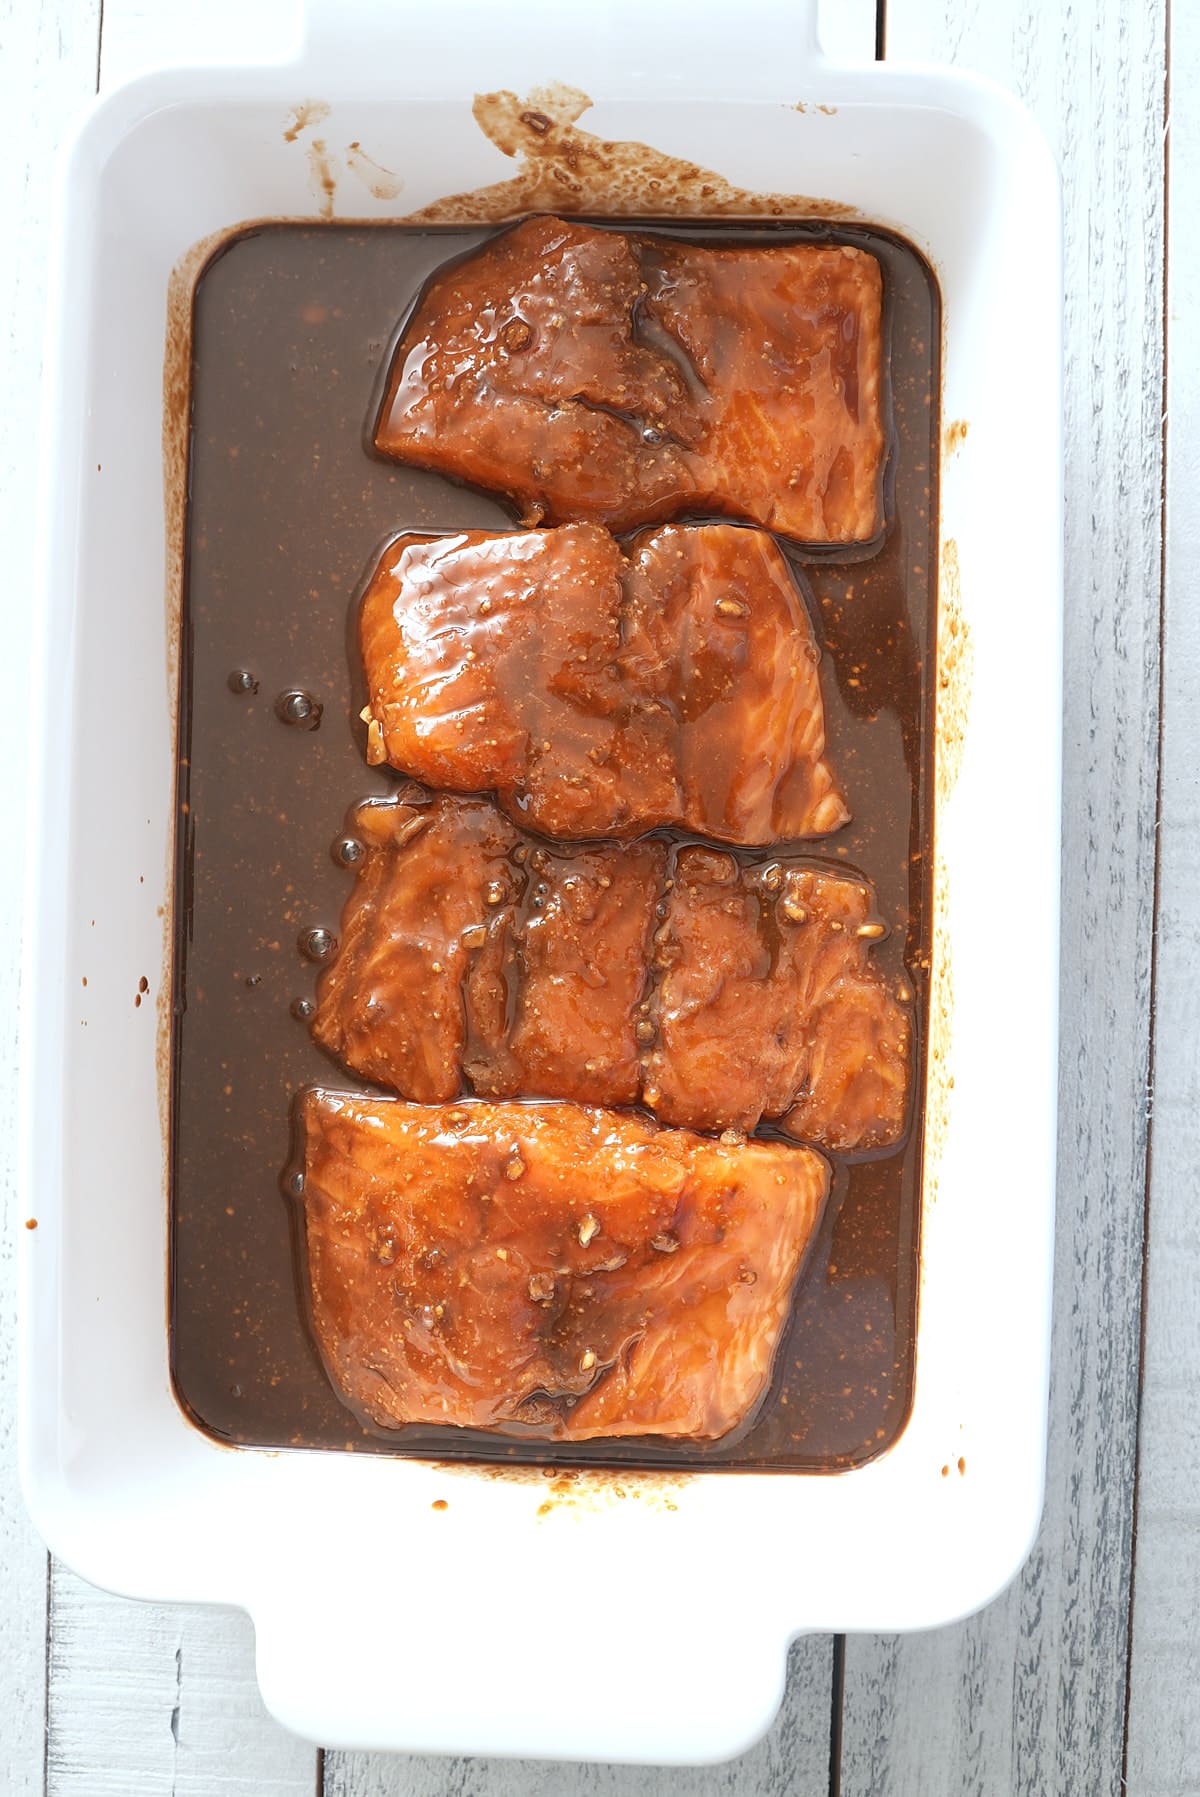
Pour over salmon fillets, making sure all fillets are covered. Refrigerate and marinate for 20-30 minutes.
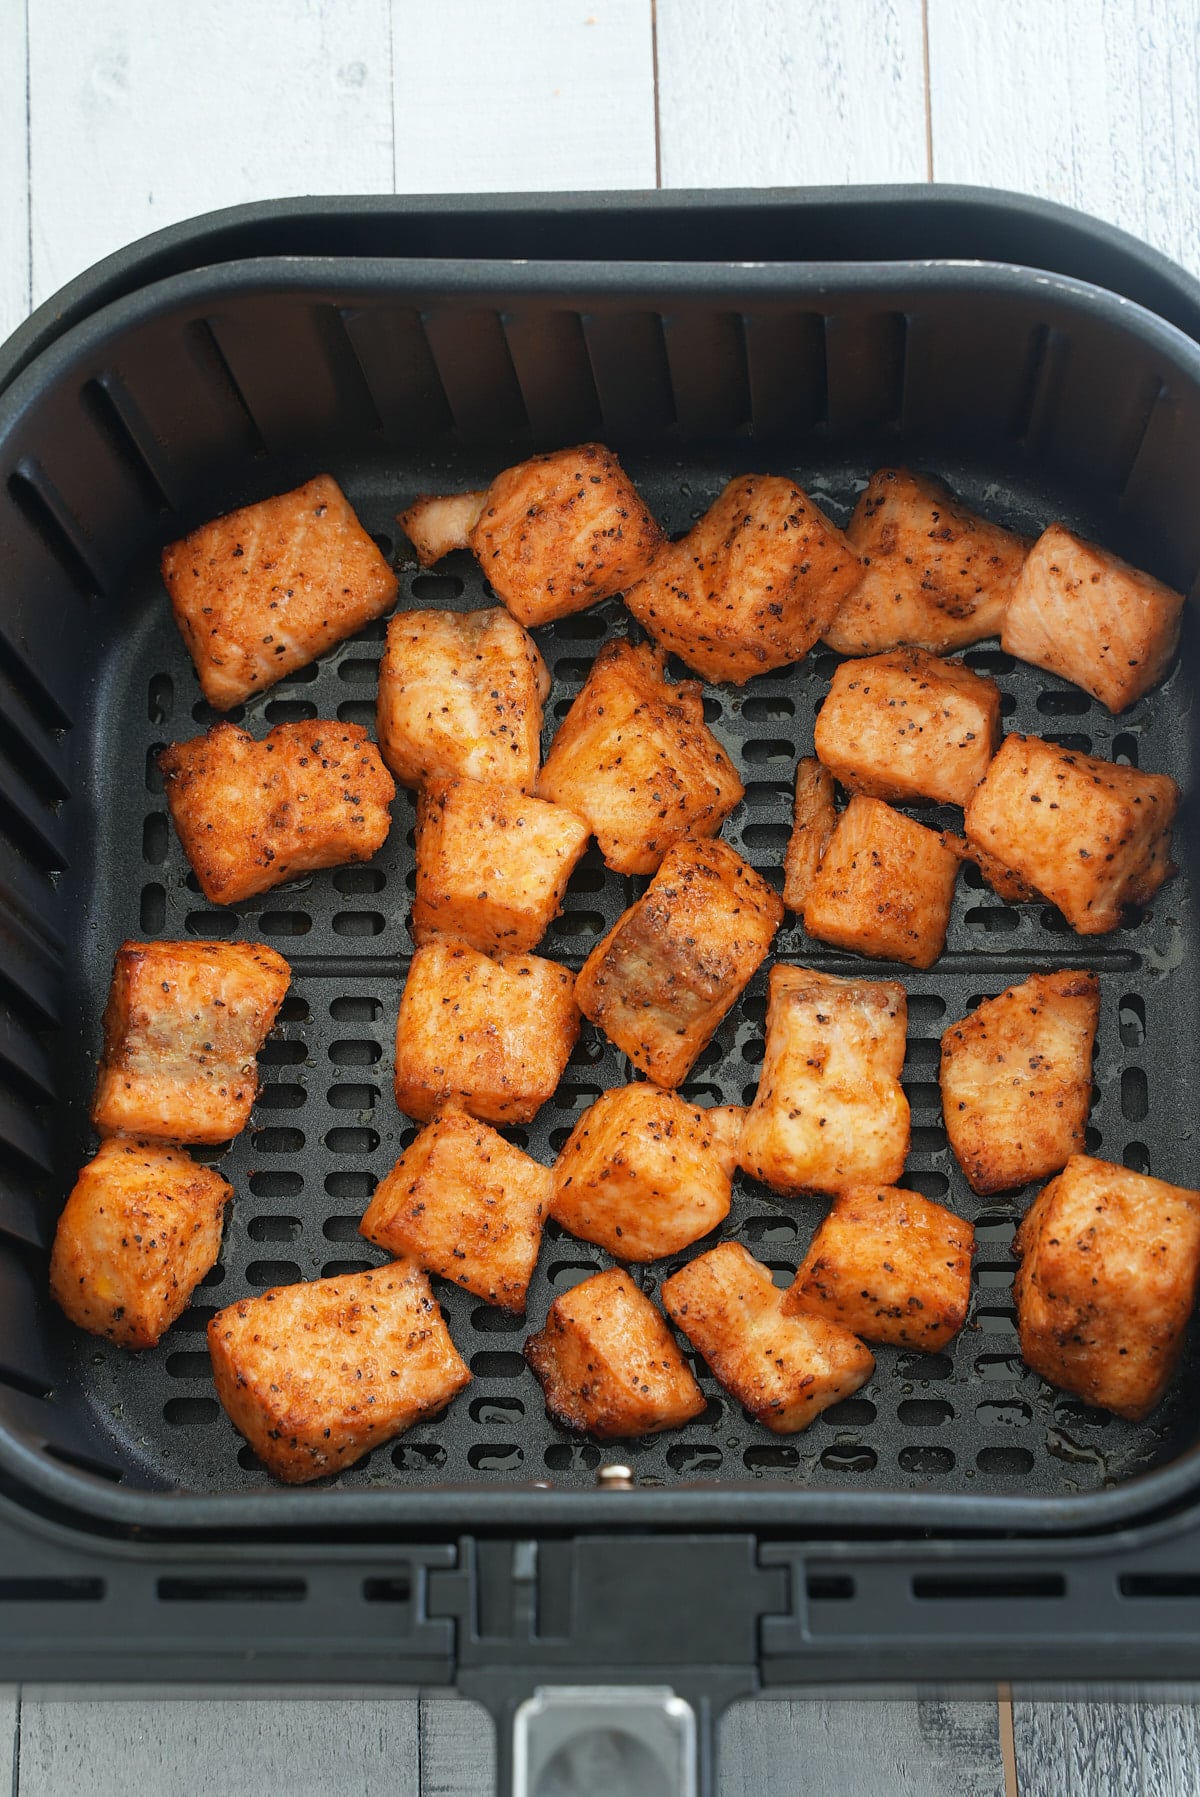
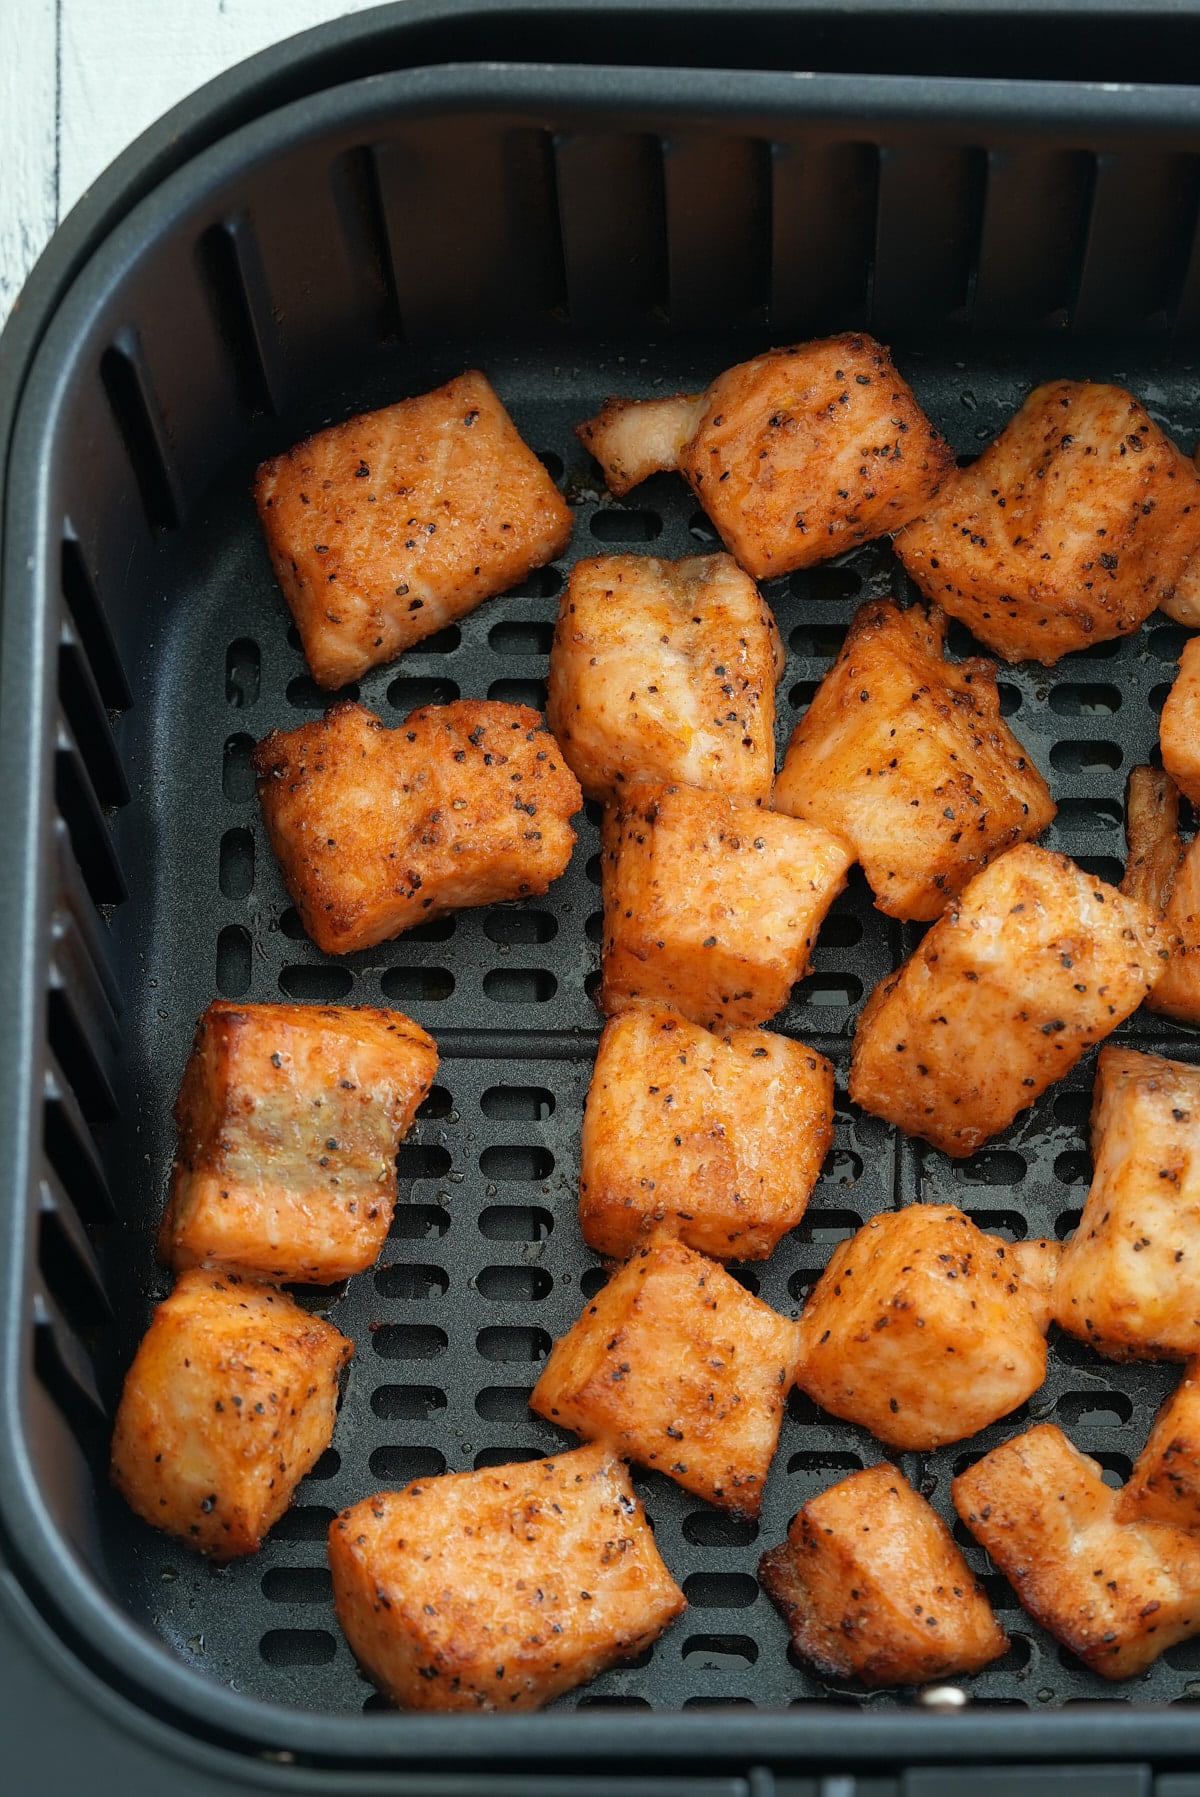
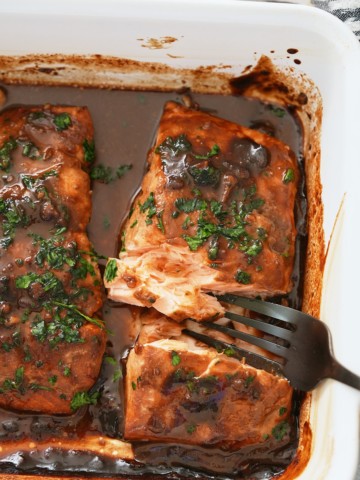
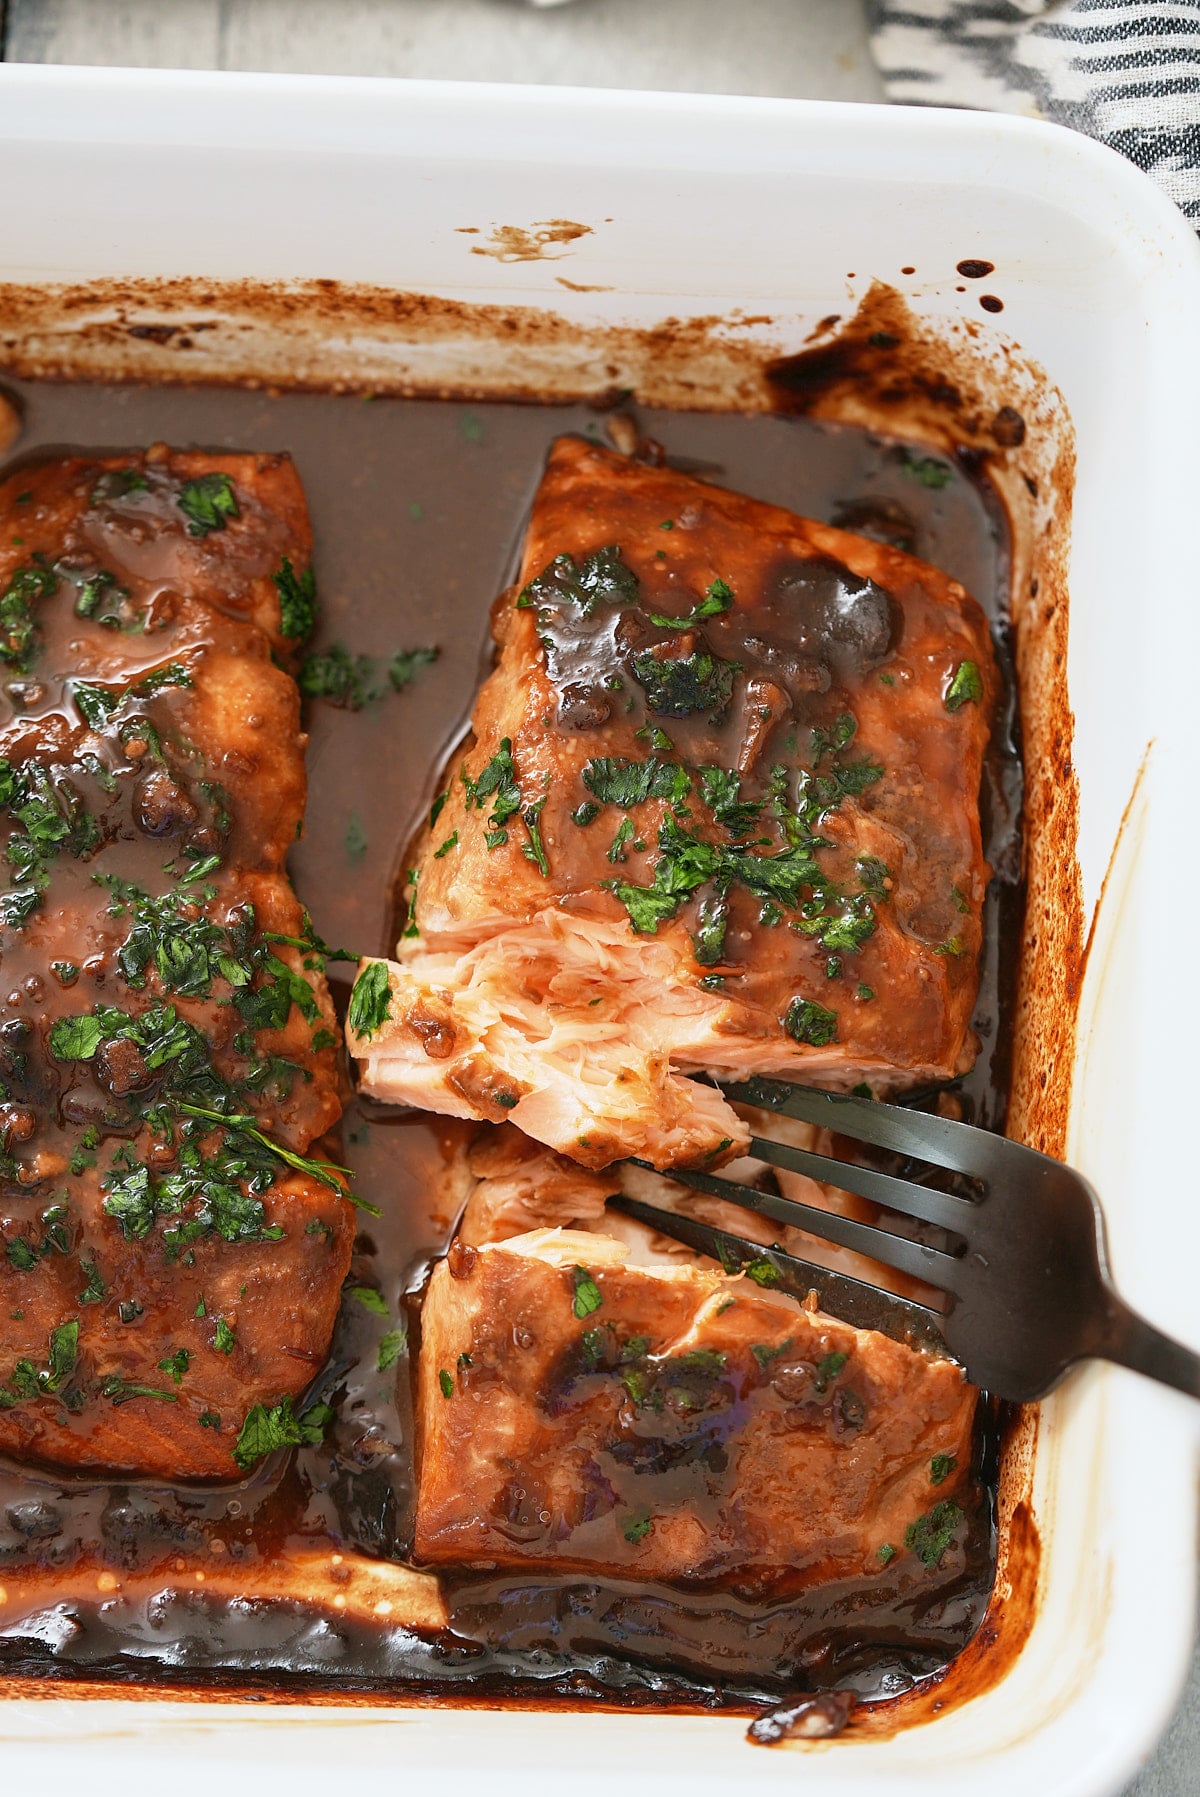
Cook according to your preference. Garnish with parsley or green onions.
Suggested cooking times:
Air Fryer - cook at 400 degrees Fahrenheit for
Oven - cook at 425 degrees Fahrenheit for 12-15 minutes.
Grill - grill on medium-high heat for about 12-15 minutes.
How to store your salmon marinade
Storing a salmon marinade properly is crucial to preserve its freshness and prevent any contamination.
- Before Mixing with Salmon:
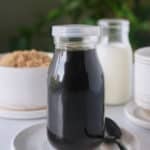
- If you've made the marinade but haven't used it on the salmon yet, transfer it to an airtight container or a jar with a tight-fitting lid.
- Store in the refrigerator for up to 5 days.
- After Mixing with Salmon:
- Do not reuse marinade that has been in contact with raw fish unless it is cooked first to kill any harmful bacteria.
- If you wish to use the marinade as a sauce or glaze, set some aside before adding the salmon.
- For Longer Storage:
- You can freeze unused marinade (that hasn't touched raw fish) in ice cube trays or freezer-safe containers. Once frozen, transfer the cubes to a zip-top freezer bag.
- Frozen marinade can last for up to 3 months. Thaw in the refrigerator before using.
Choosing the right cut of salmon
Salmon comes in various cuts, and each has its distinct texture and flavor. Whether it's a meaty king salmon steak, or a delicate sockeye filet, knowing the difference can elevate your dish.
Consider the thickness of your salmon cut when marinating and adjust the marinating times accordingly. Thicker cuts will benefit from a longer marinade to soak up those flavors.
More ways to season your salmon
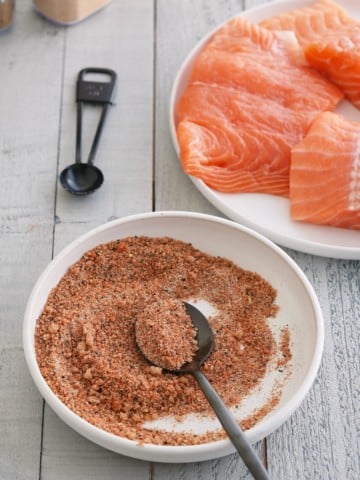
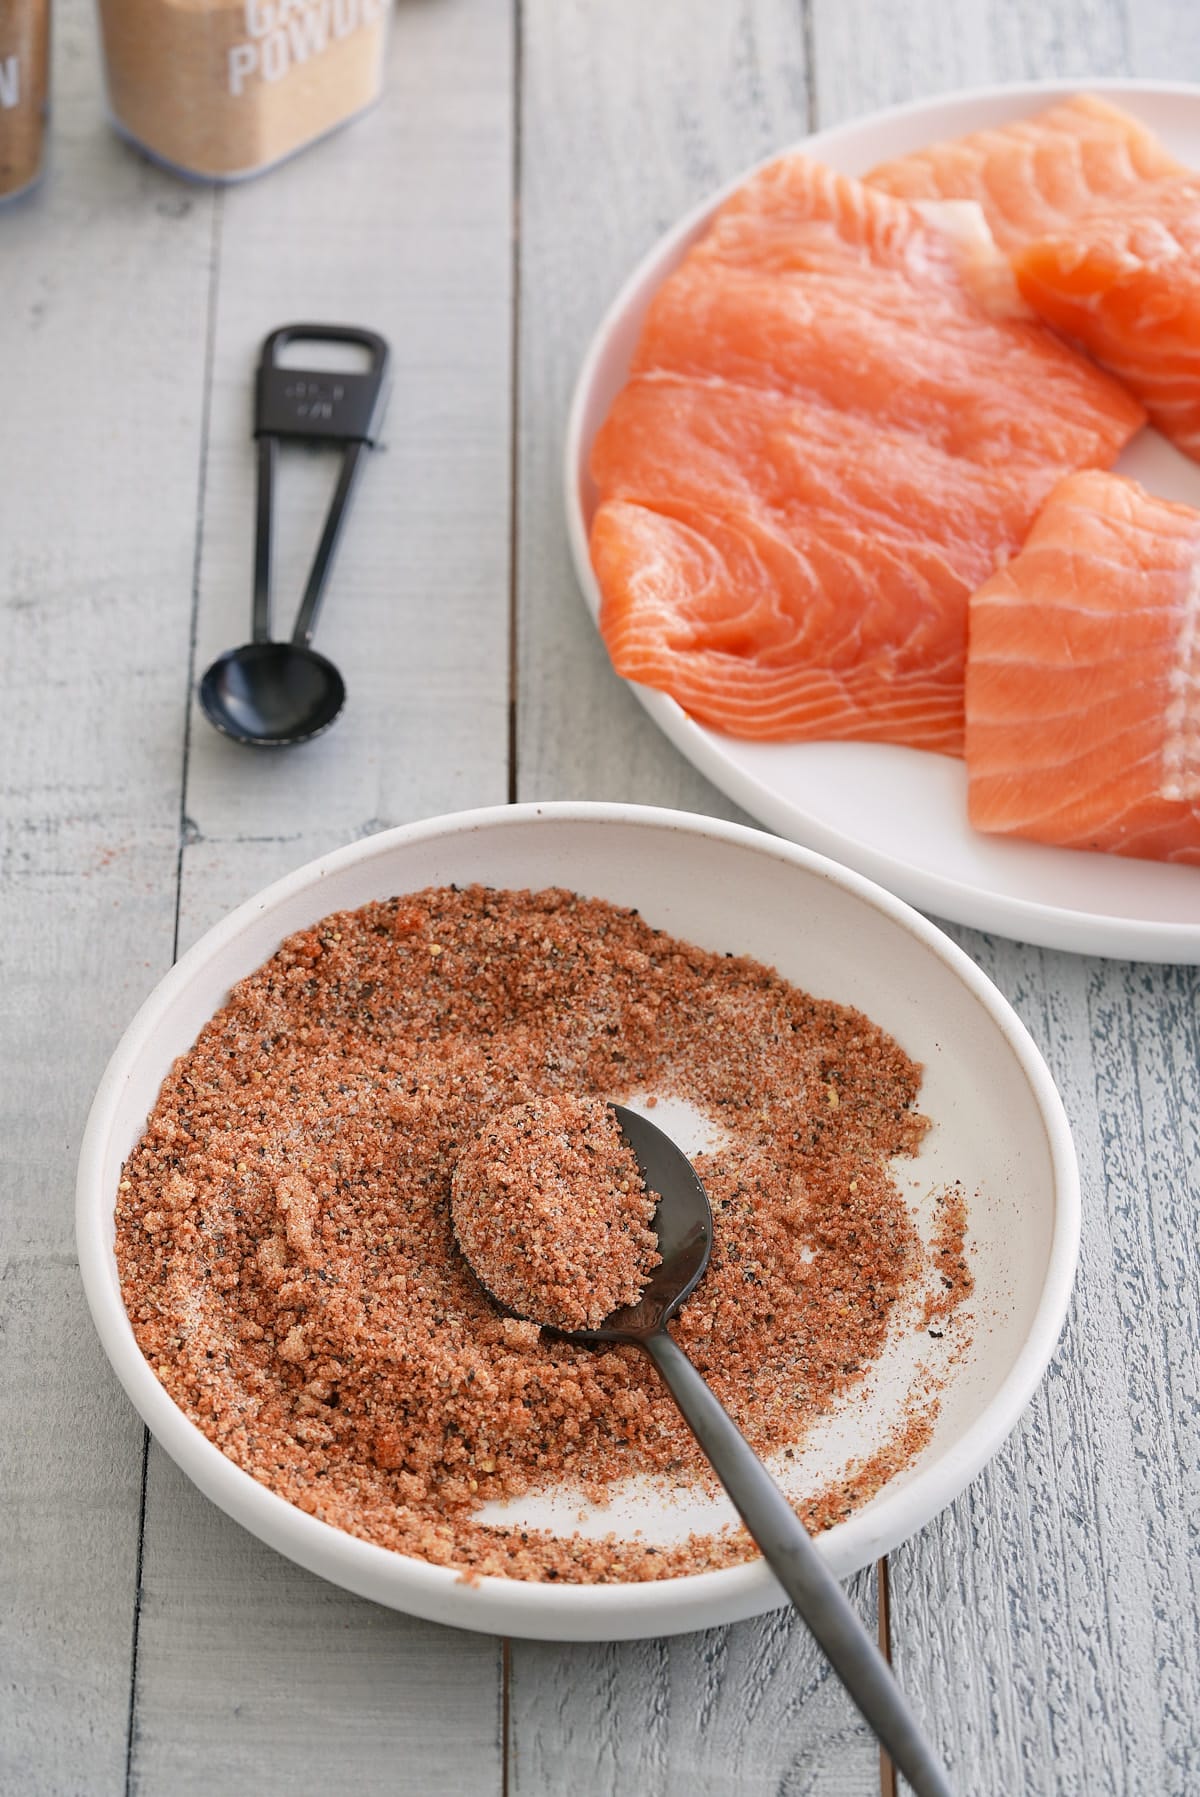
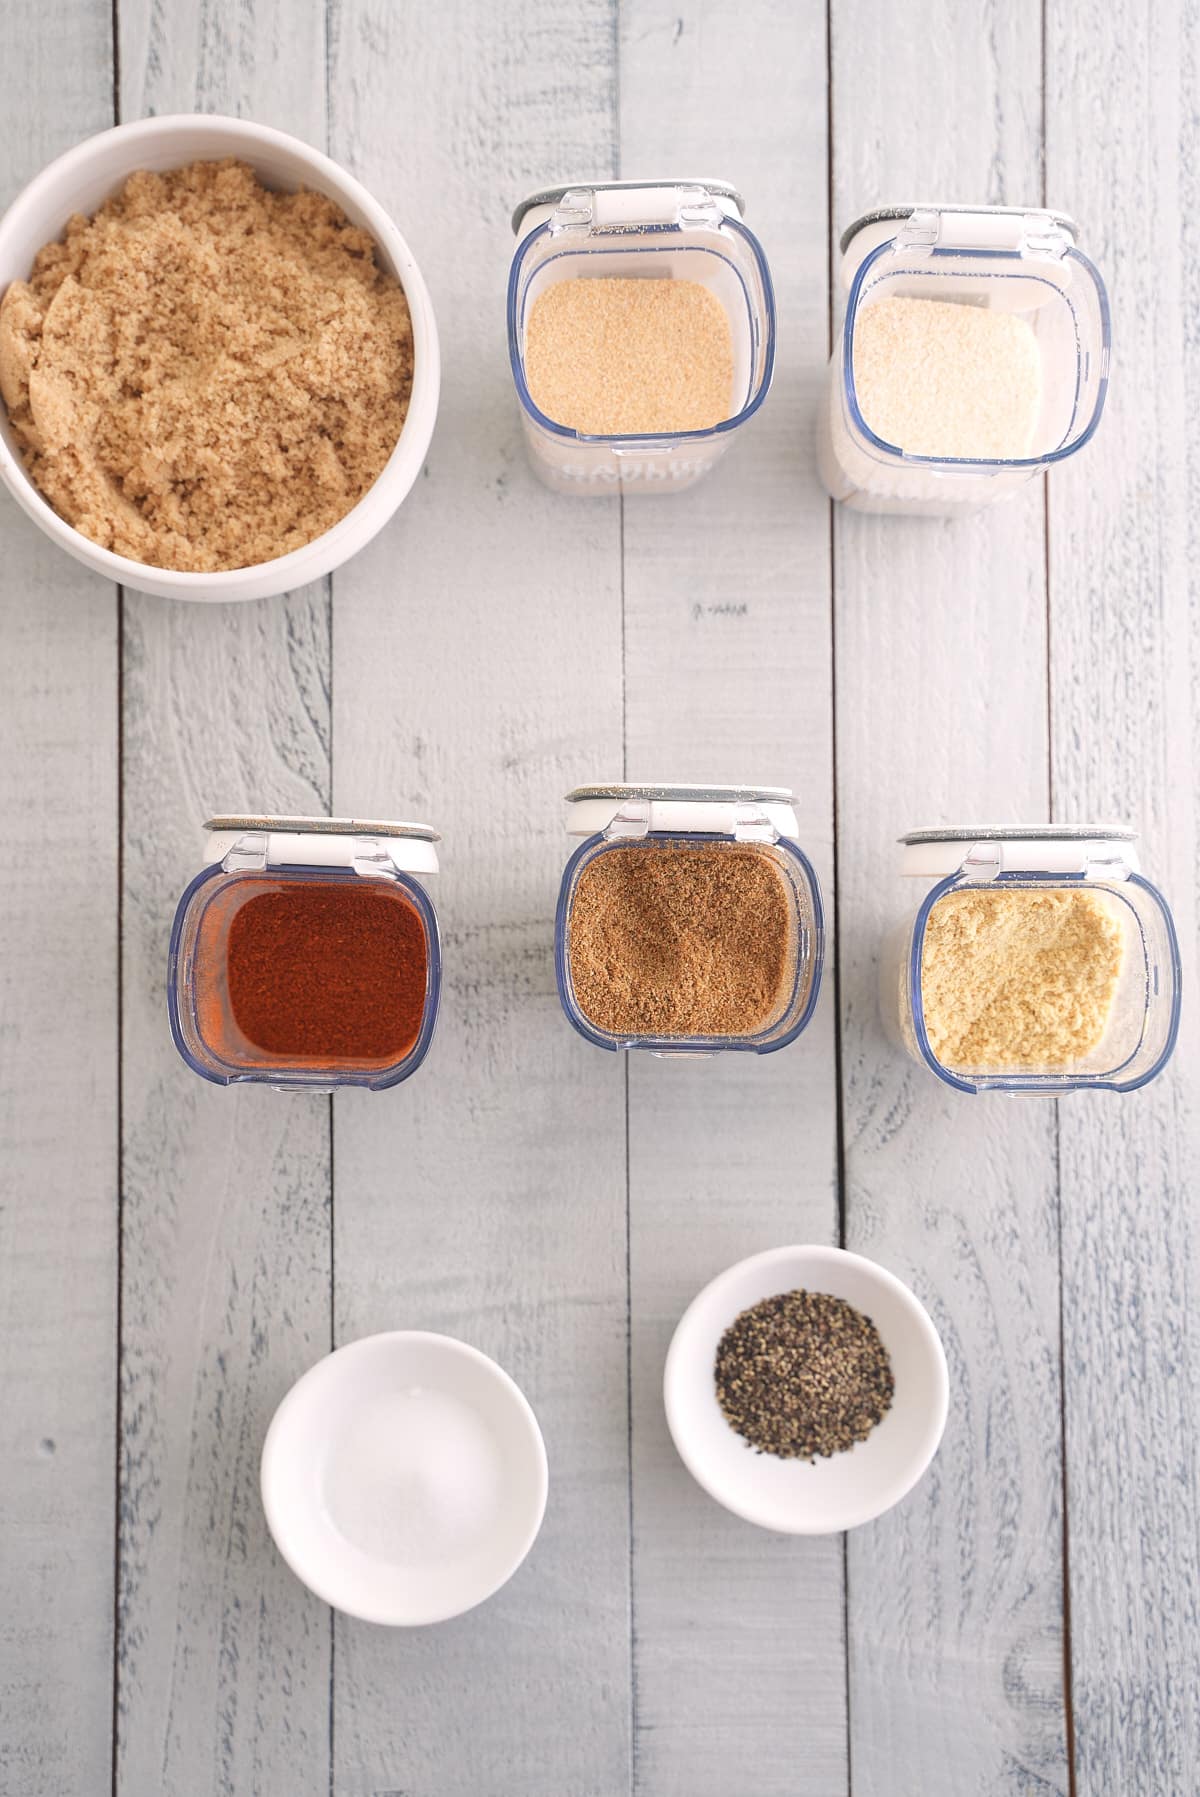
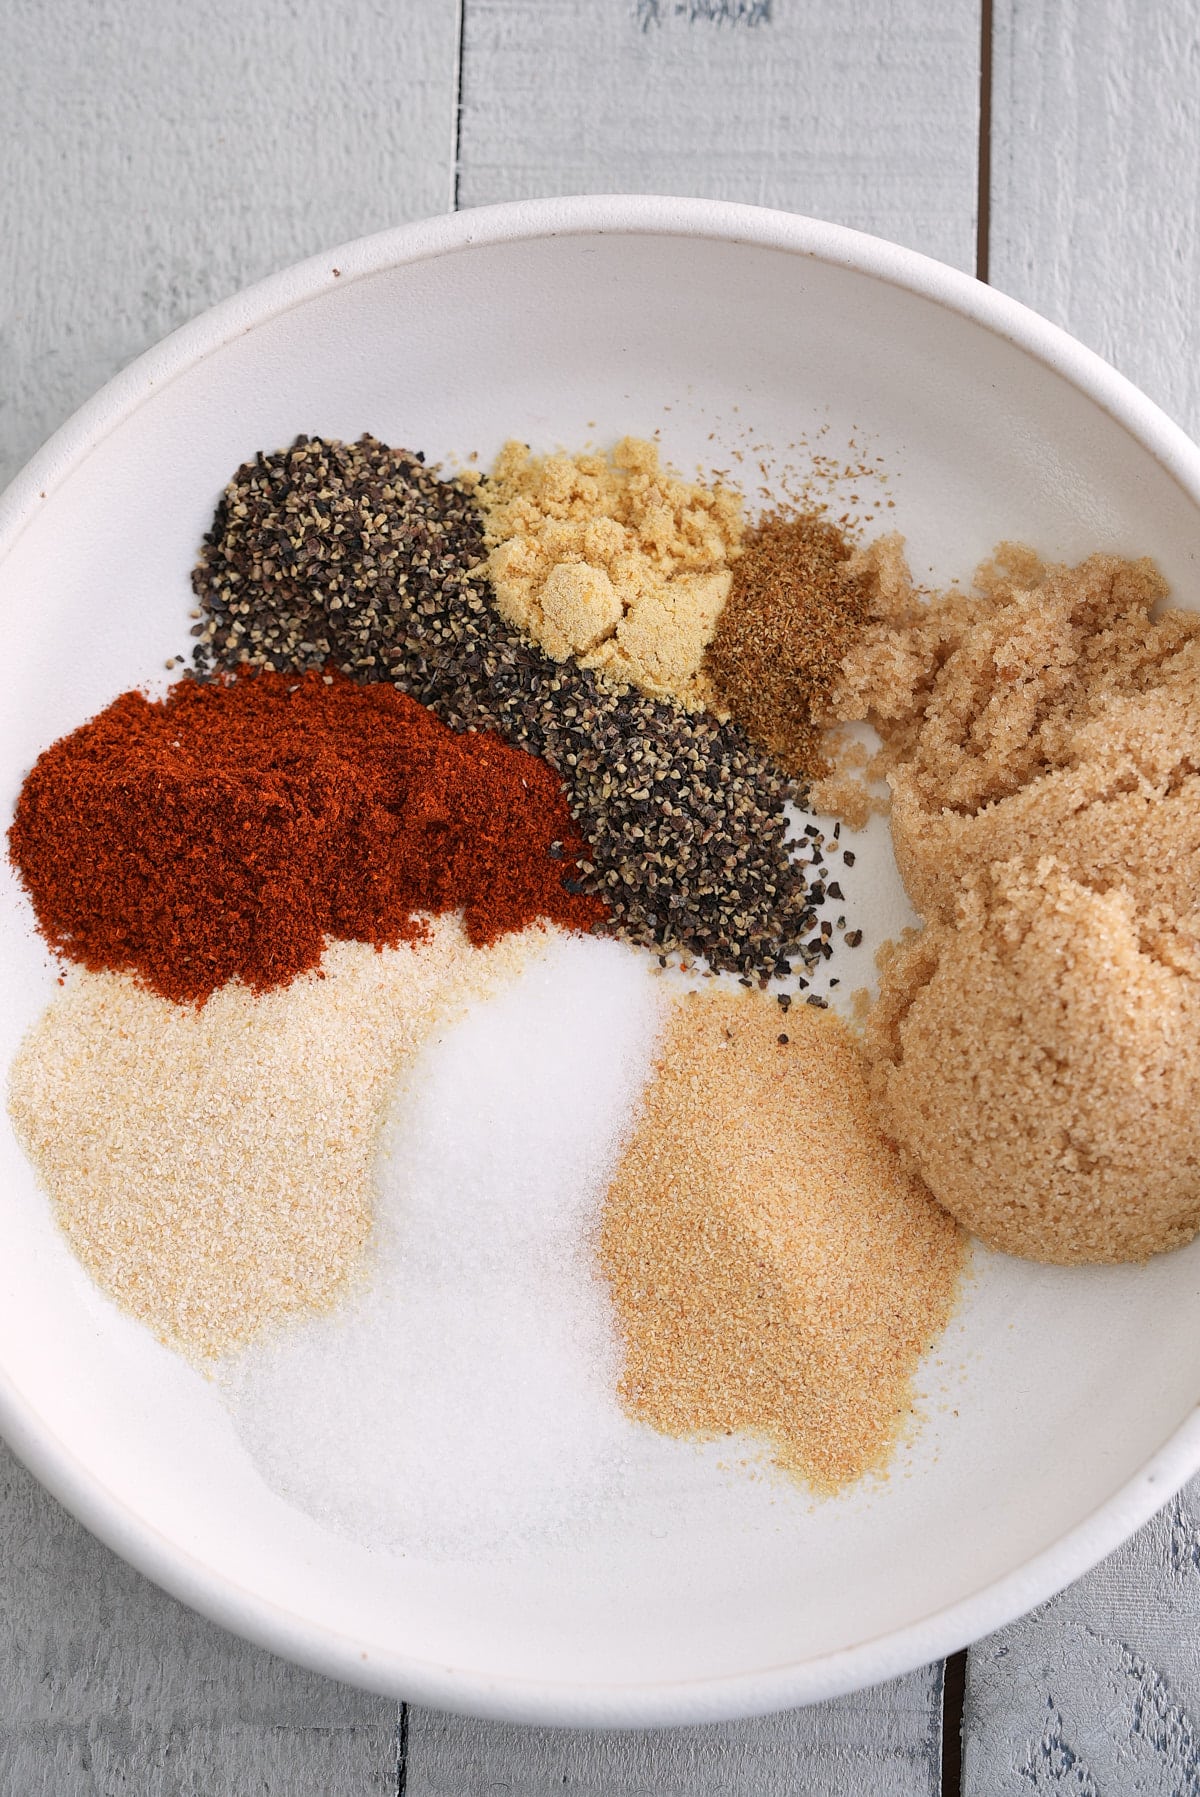
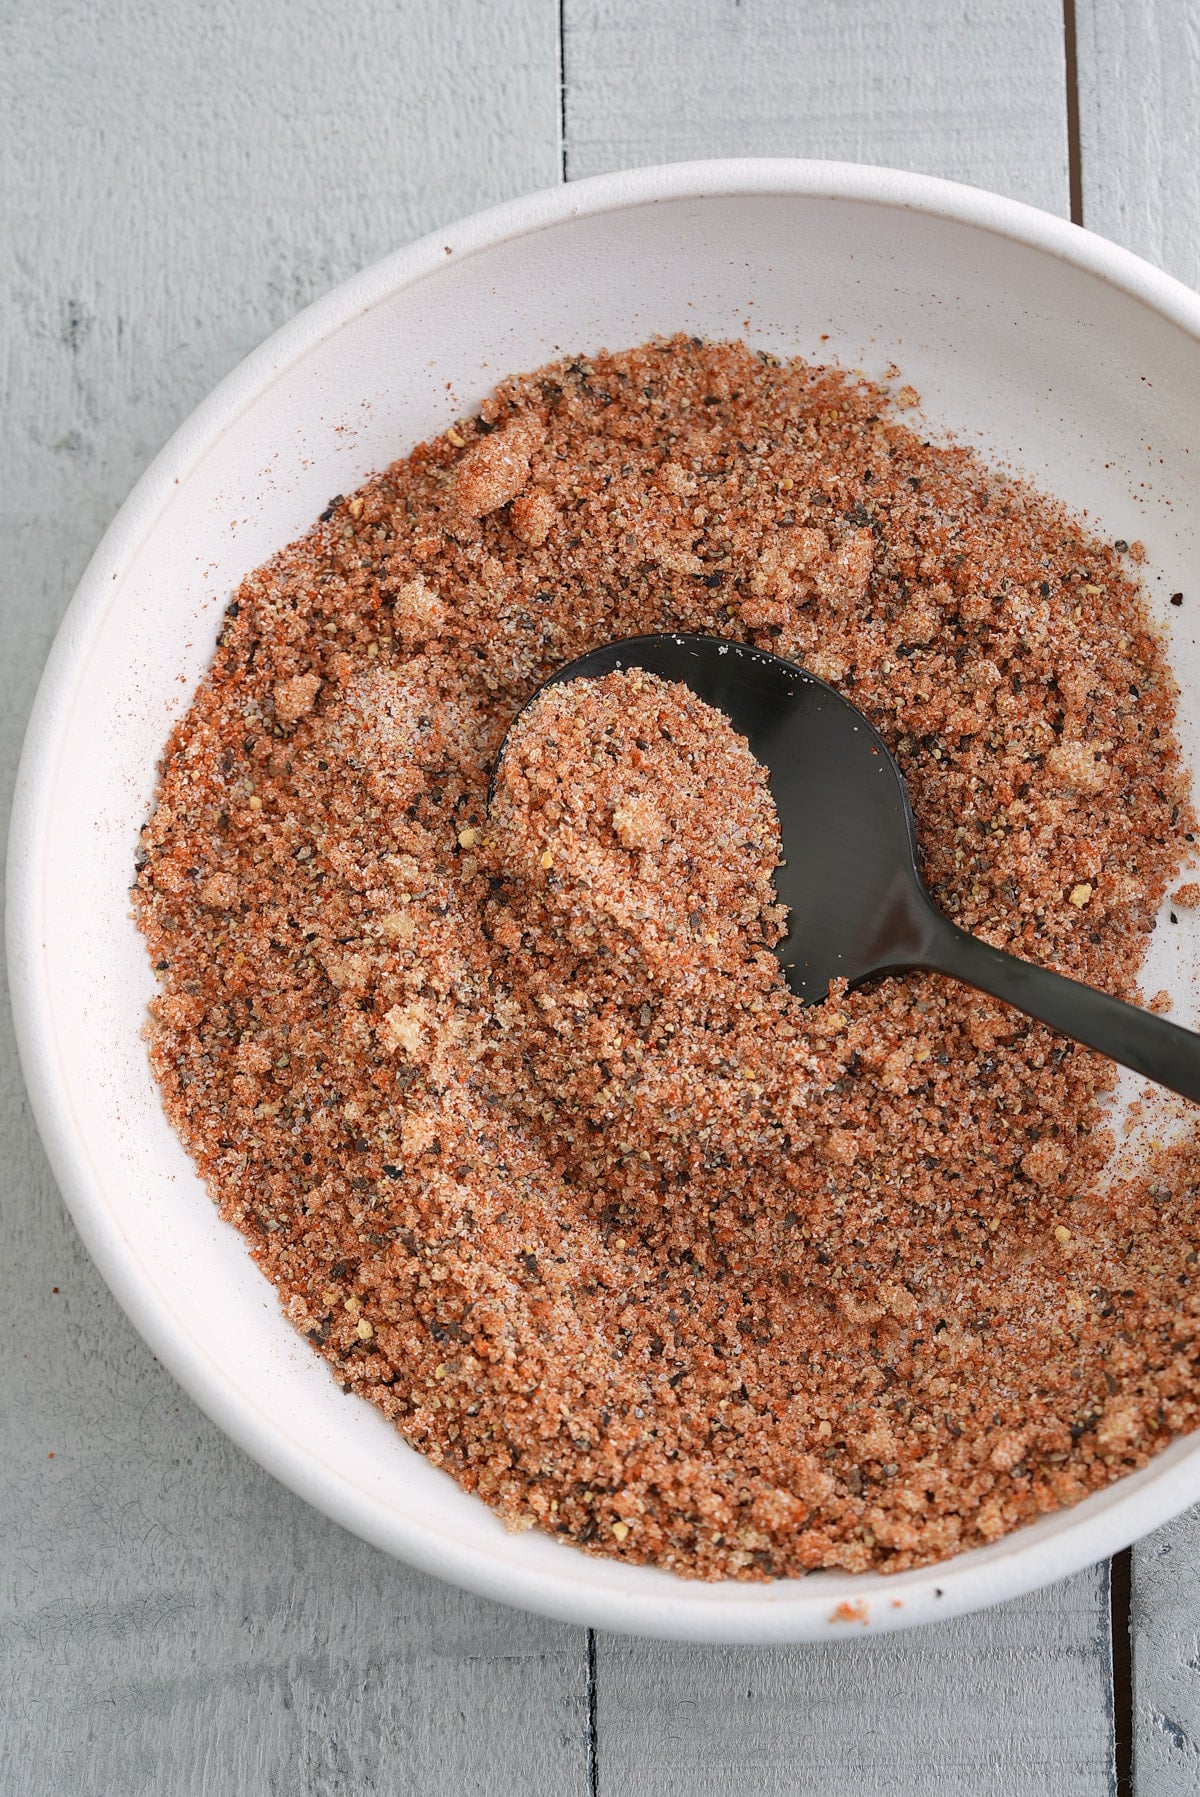
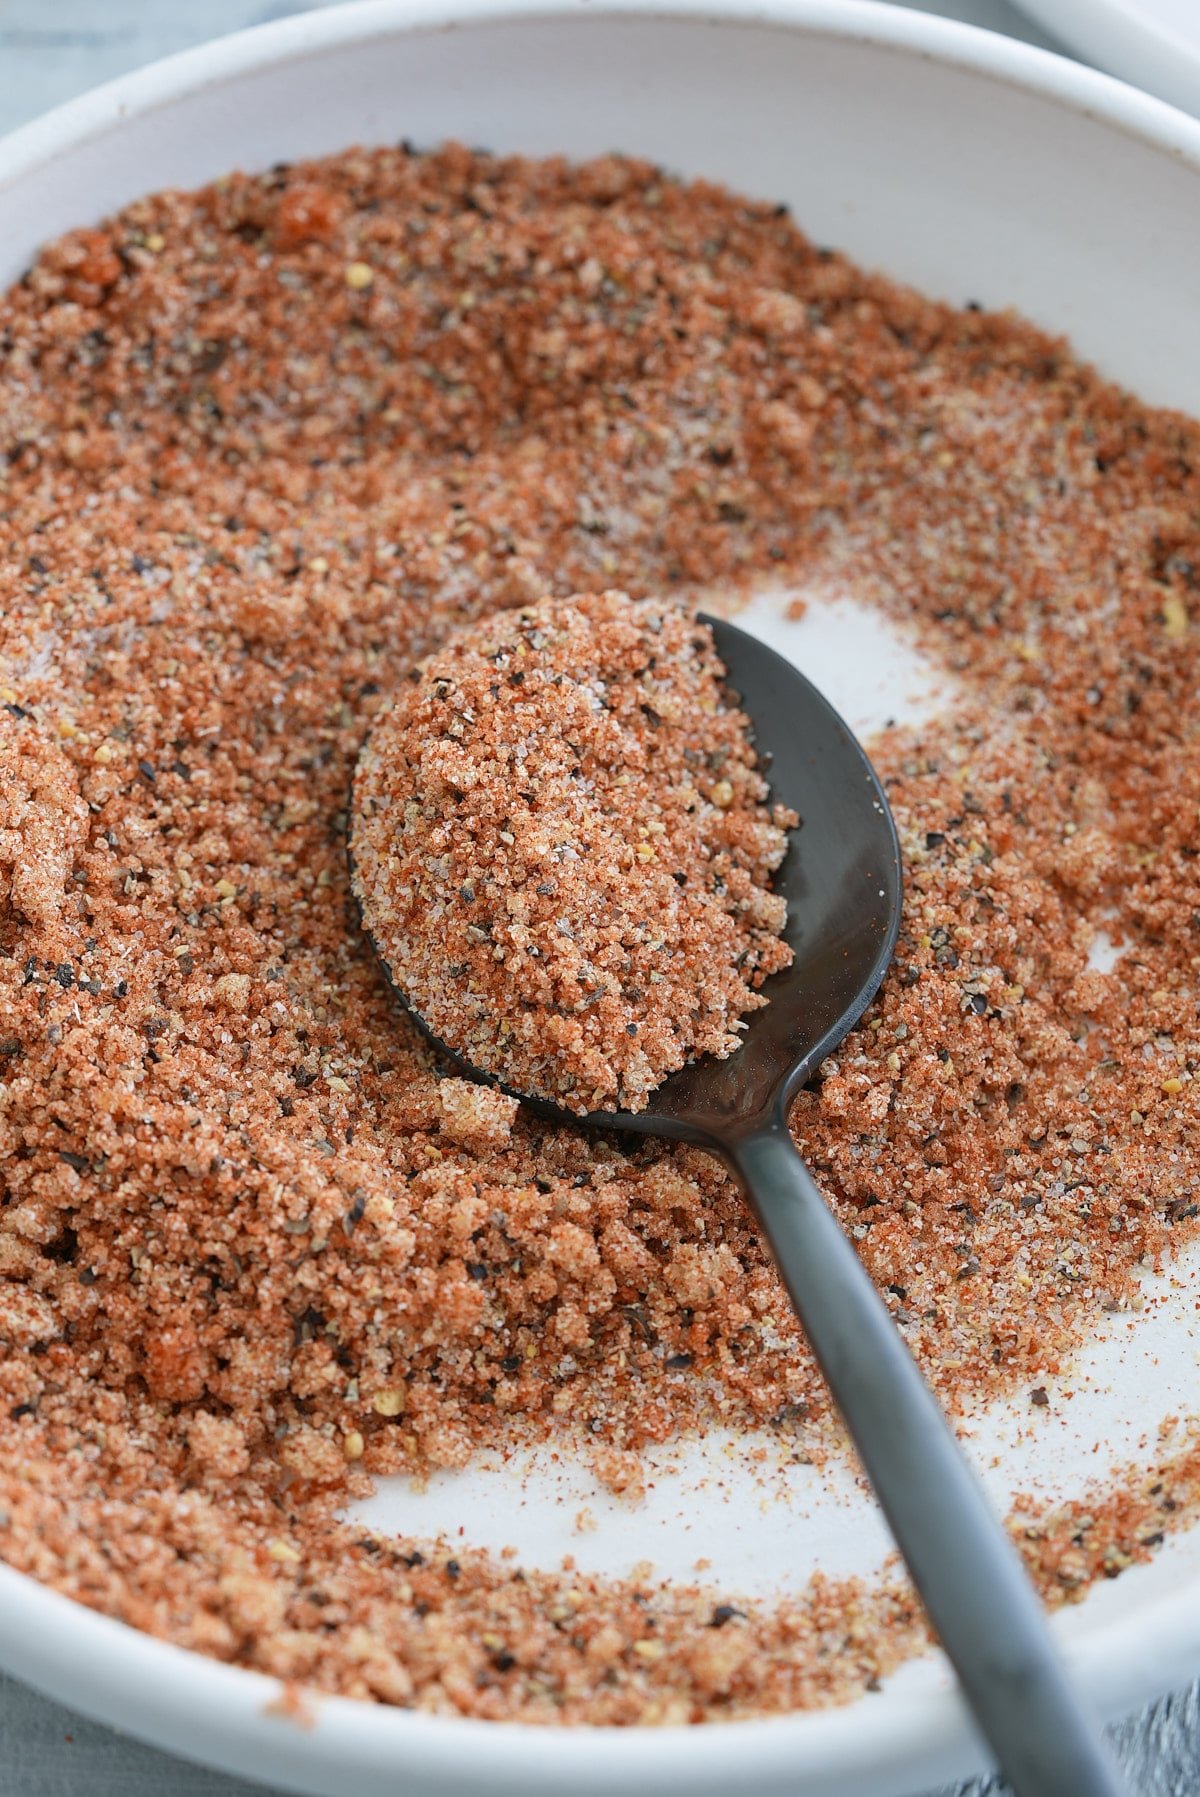
Salmon Seasoning - My Homemade Salmon Seasoning can be mixed up in just 5 minutes. As well as being really easy to make, it tastes better than any store-bought mix. Use this dry salmon rub immediately, or mix up a bigger batch and store some for later, when you want to add an extra punch of flavor to your favorite salmon dish.
Easy Teriyaki Salmon - All cooked in one pan, it’s ready to serve in less than 20 minutes and the rich sauce is loaded with flavor.
Homemade Fish Seasoning - Add some flavor to your fish dinners with this simple homemade fish seasoning. Made with a blend of dried spices and herbs, it’s a great addition to your pantry and so easy to make!
Homemade Blackening Seasoning - Homemade blackened seasoning is simple to make, combining smoked paprika, cayenne pepper, onion powder and garlic powder, with dried thyme & oregano. It’s really easy to make a big batch too, ready to use with a variety of meats, seafood and vegetables.
Jerk Fish - One of the best fish to jerk is snapper, as it is a large, meaty fish that takes on the flavor and grills well on the BBQ. I marinate whole fish in my homemade Jamaican jerk marinade for at least four hours for maximum flavor.
FAQ's
Technically you can, however, it's best to limit the time to avoid the fish from becoming too salty or the texture altering. The recommended time for marinating is 20-30 minutes.
It is not recommended to reuse any marinade that has touched raw fish. However, if you want to use it as a sauce, make sure to boil it for a few minutes to kill any harmful bacteria.
Yes! Thaw it properly before marinating. Also, be aware that frozen salmon can oftentimes contain more moisture and water.
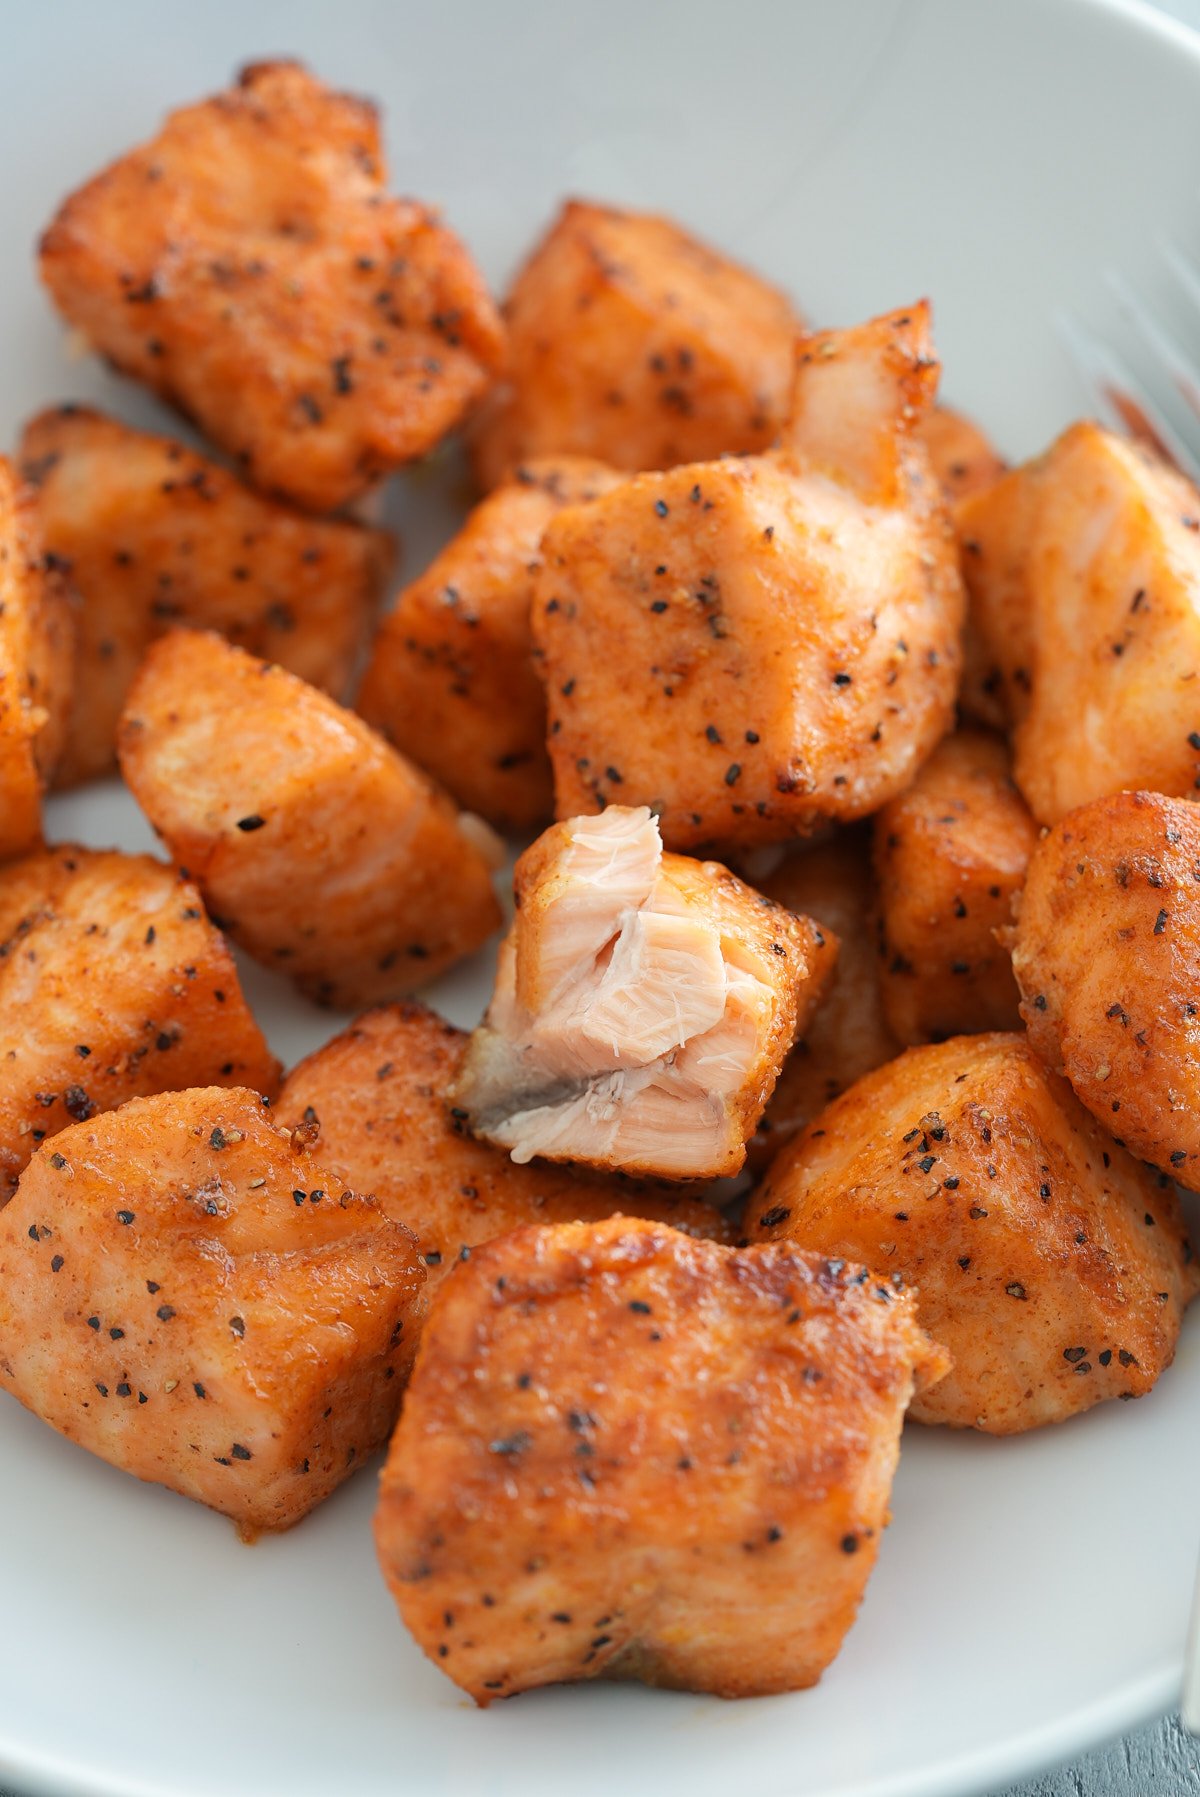
Salmon is done when it easily flakes with a fork. It should have a slight translucent center. Avoid overcooking as the salmon will become dry.
Notes
- Fresh herbs like dill or rosemary can also be added to the marinade for an added layer of flavor.
- Adjust the marinating time depending on the thickness of your salmon. Thicker cuts need a longer soak.
Looking for more mariande recipes? Try these out:
If you have tried this recipe or any other recipe on my blog, please rate it and let me know how it turned out in the comments below!

Salmon Marinade
Ingredients
- 6 Tablespoons Soy Sauce
- 4 Tablespoons Dijon Mustard
- 2 Tablespoons Light brown sugar
- ½ Tablespoon Minced Garlic
- Parsley or green onion for garnish
- 4 filets Salmon fresh
Instructions
- Whisk soy sauce, Dijon mustard, brown sugar, and minced garlic, in a bowl. Pour over salmon fillets, making sure all fillets are covered. Refrigerate and marinate for 20-30 minutes.
- Cook according to your preference. Garnish with parsley or green onions.
Suggested cooking times:
- Air Fryer - cook at 400 degrees Fahrenheit for
- Oven - cook at 425 degrees Fahrenheit for 12-15 minutes.
- Grill - grill on medium-high heat for about 12-15 minutes.
Notes
- Fresh herbs like dill or rosemary can also be added to the marinade for an added layer of flavor.
- Adjust the marinating time depending on the thickness of your salmon. Thicker cuts need a longer soak.