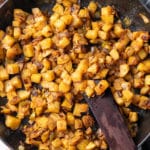
These Smothered Potatoes are the ultimate side dish. This classic Southern dish features tender potatoes, sautéed peppers, and delicious seasonings, creating a comforting meal.
This post contains affiliate links, please read my full disclaimer here.
You’ll find the full recipe with ingredient amounts and instructions in the recipe card at the bottom of this post. Be sure to check out the blog post itself for extra tips and tricks!
This side dish is a staple in our house because it is quick, delicious, and can be served during multiple meals. Whether for breakfast, lunch, or dinner, these smothered potatoes accompany almost any meal.
Smothered potatoes are a classic dish from the Southern United States, particularly Louisiana. To "smother" vegetables means to cook the them slowly at a low temperature to make them tender and flavorful. Some cooks add meats like bacon or sausage to the dish.
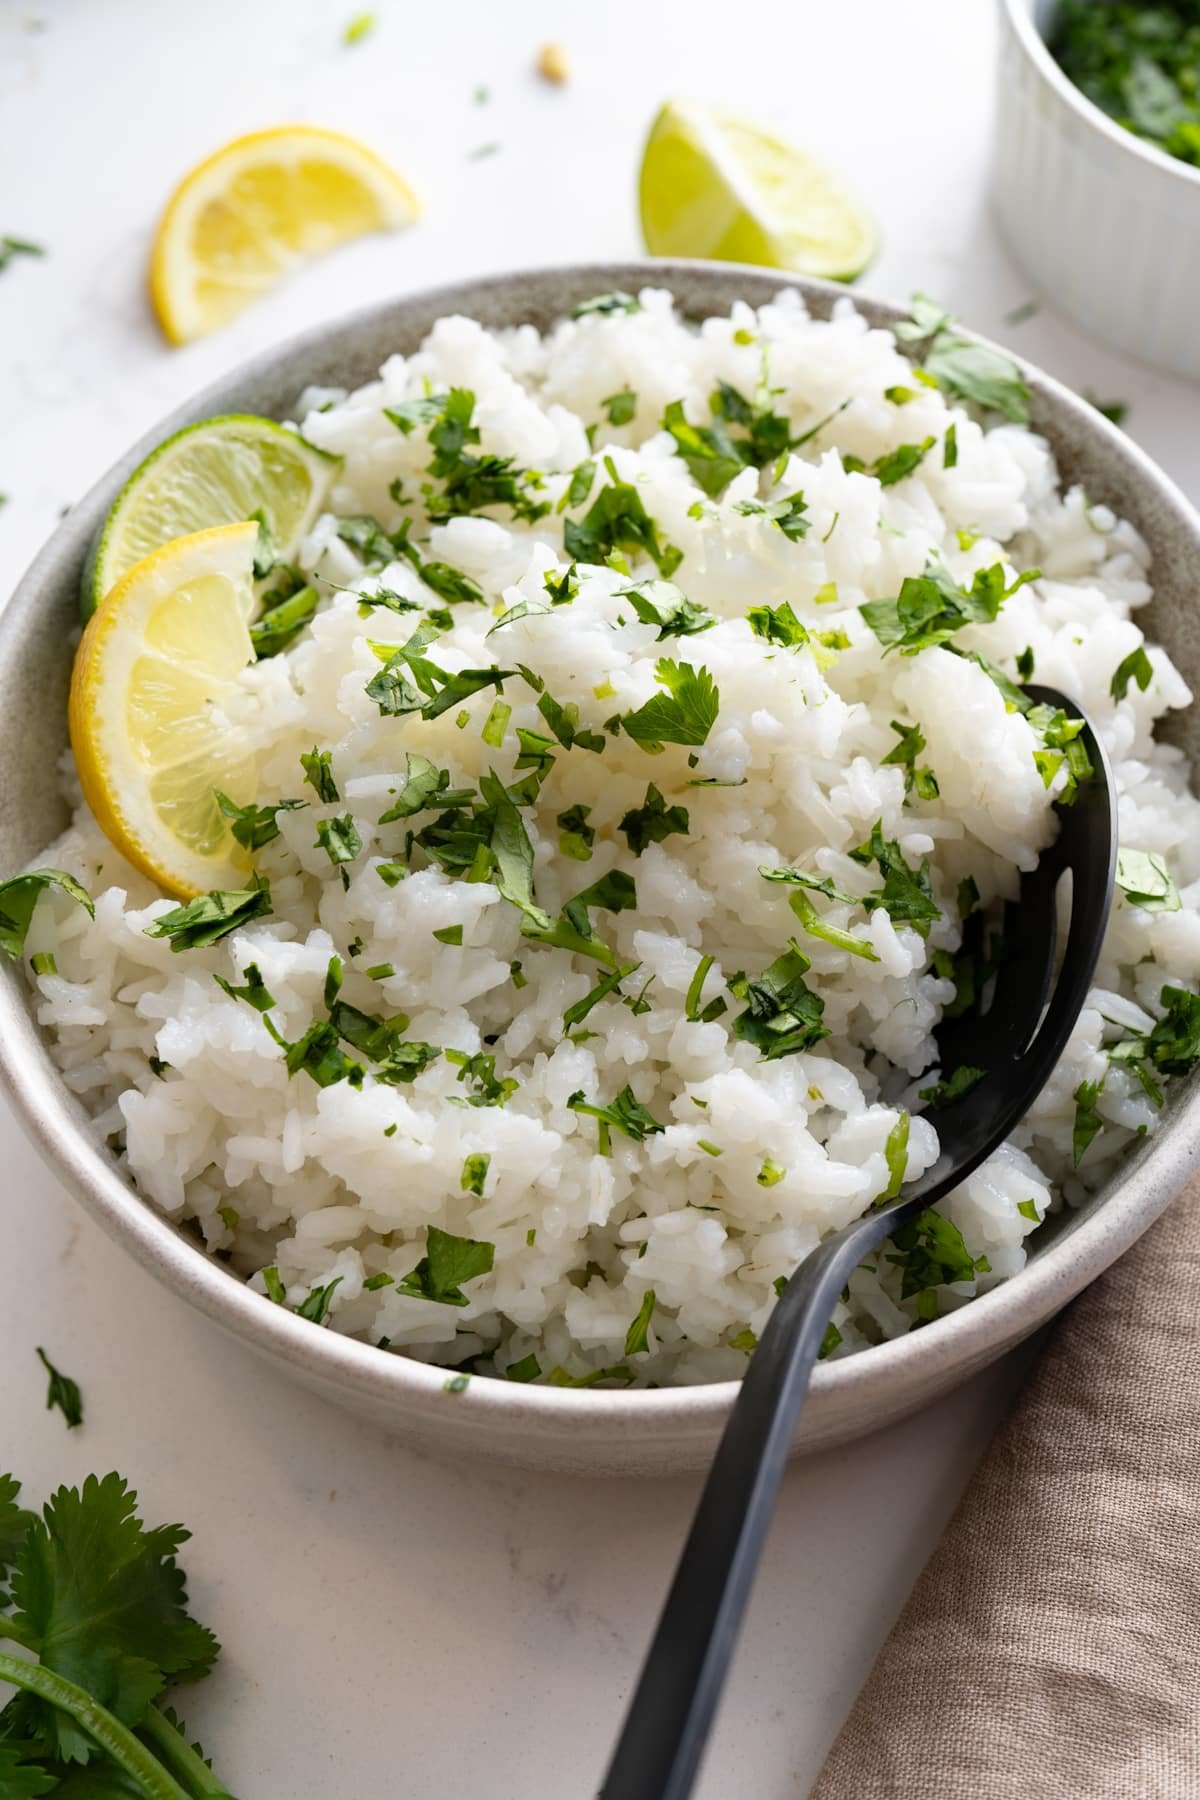
If you like smothered dishes, try my smothered green beans or smothered chicken.
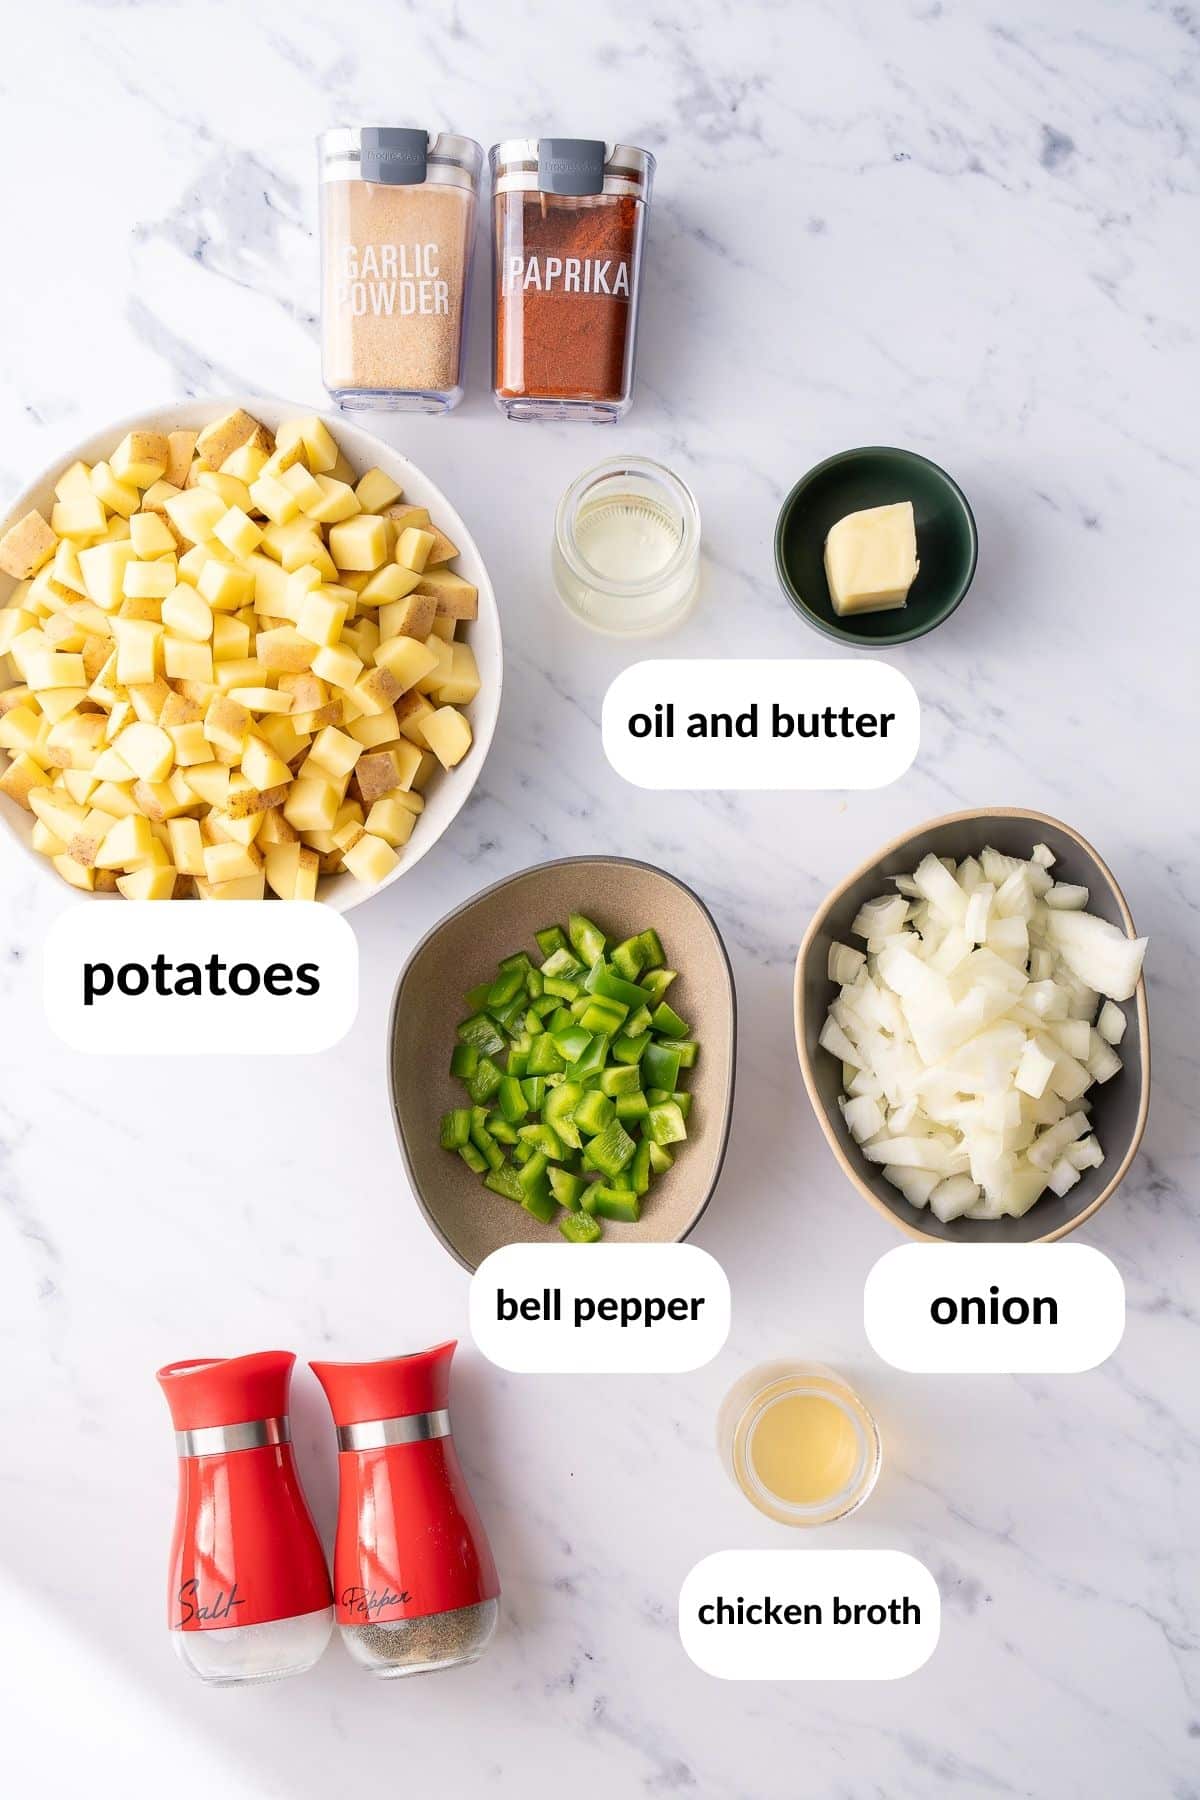
The Ingredients
- Potatoes: The star of this dish, choose starchy potatoes like Russet or Yukon Gold potatoes for the best results.
- Oil and Butter: To brown the potatoes but also to add that rich, buttery flavor.
- Onion and Bell Pepper: These aromatic vegetables add flavor.
- Seasonings: Paprika, garlic powder, salt and black pepper.
- Broth: Chicken broth. You could also use vegetable broth, beef broth, or water.
Tools Needed
- Large skillet or cast-iron pan
- Spatula
- Knife
- Cutting board
- Measuring spoons
How to Make Southern Smothered Potatoes
Prep the Ingredients
Peel and cube the potatoes. You can also skip the peeling of the potatoes if you prefer. Chop the onion and green bell pepper.
Heat the Pan and cook the peppers and onions
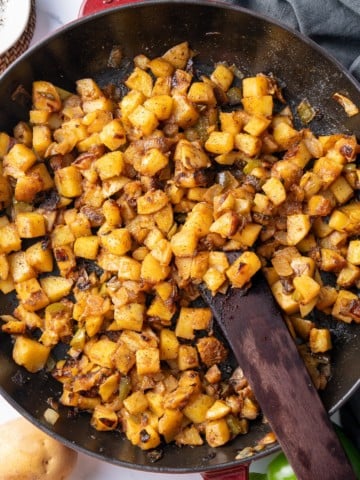
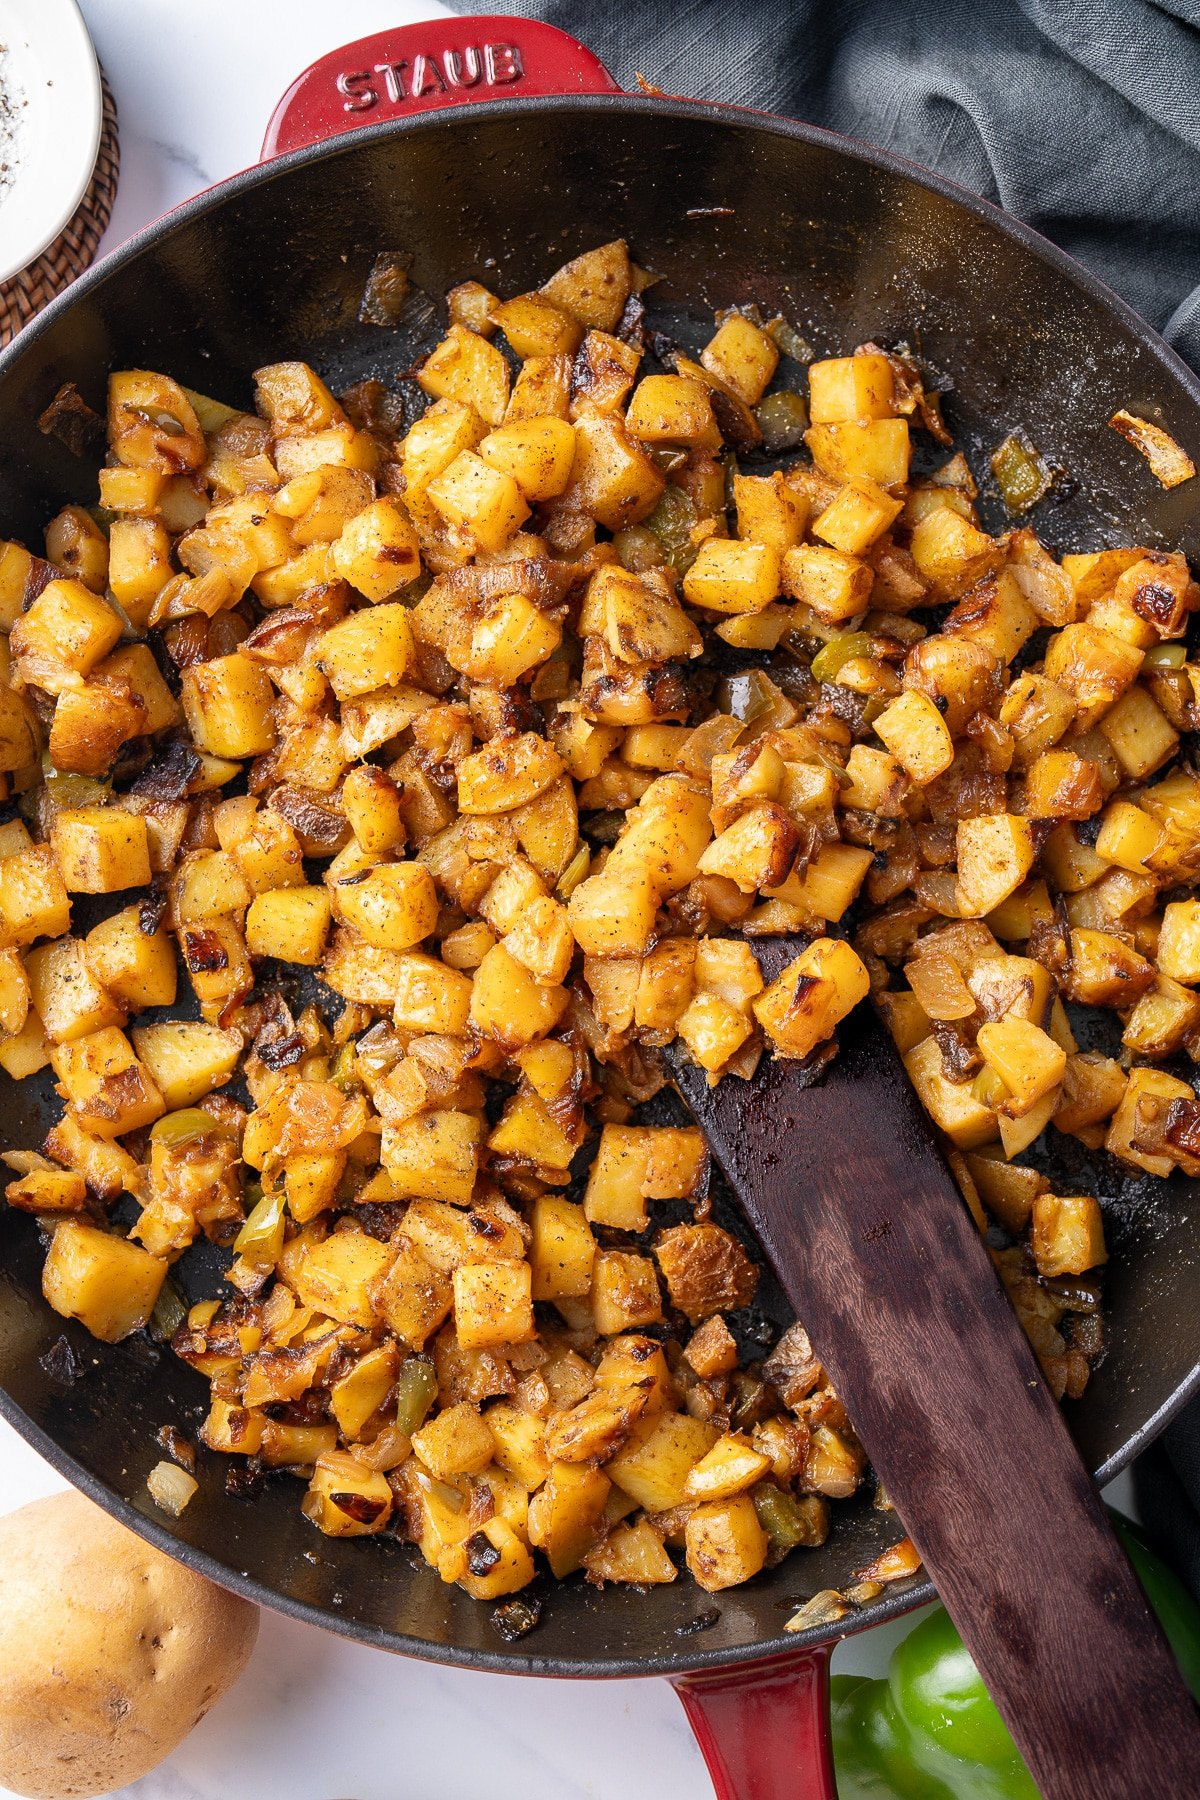
Heat the oil and butter over medium heat in a large skillet. Add the chopped onions and green bell pepper to the skillet. Cook, stirring occasionally, until they soften and become aromatic, about 5-7 minutes.
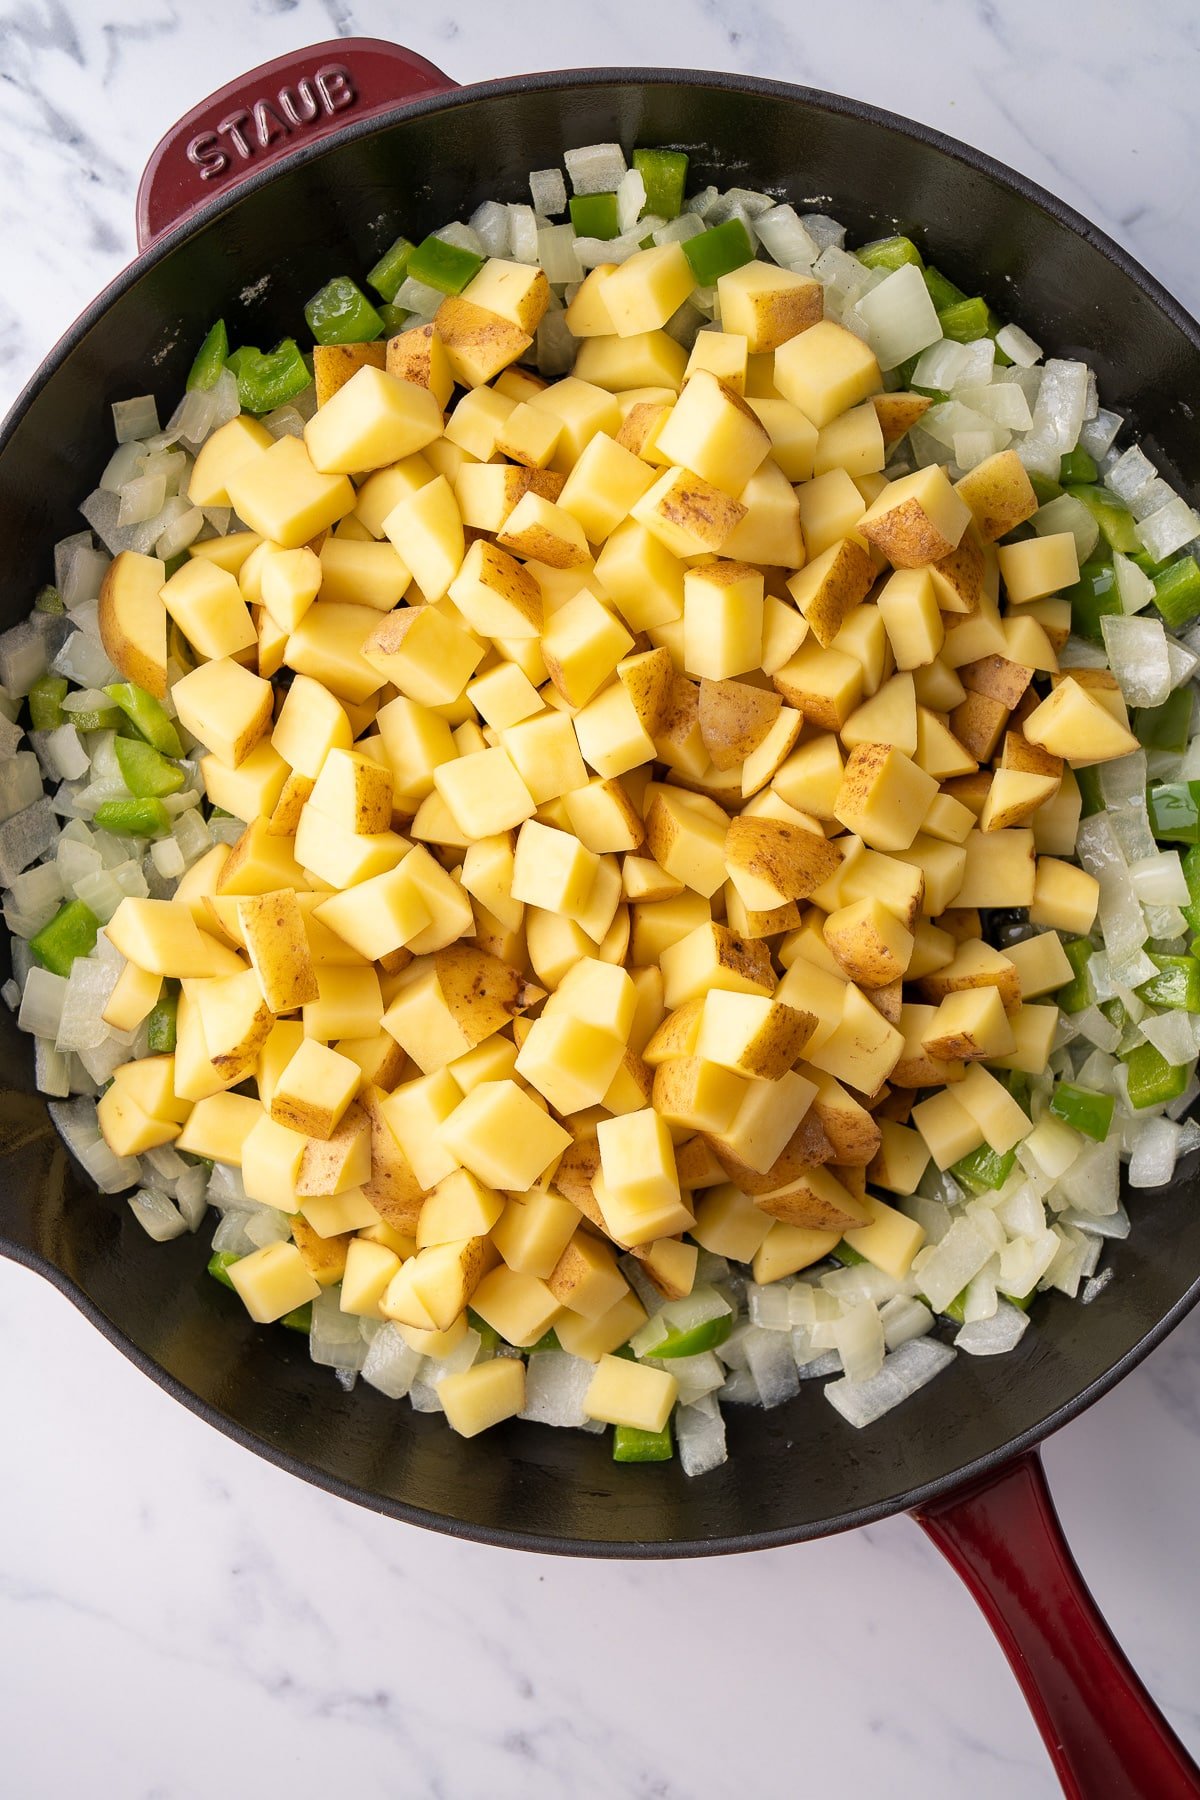
Add Potatoes:
Increase the heat to medium-high. Use a spatula and push the onions and bell peppers to the edges of the pan. Place the potatoes in a flat layer in the pan in the middle of the onions and peppers.
Allow them to cook undisturbed for about 5-6 minutes, then use a spatula and stir the potatoes. Continue cooking for another 5 minutes.
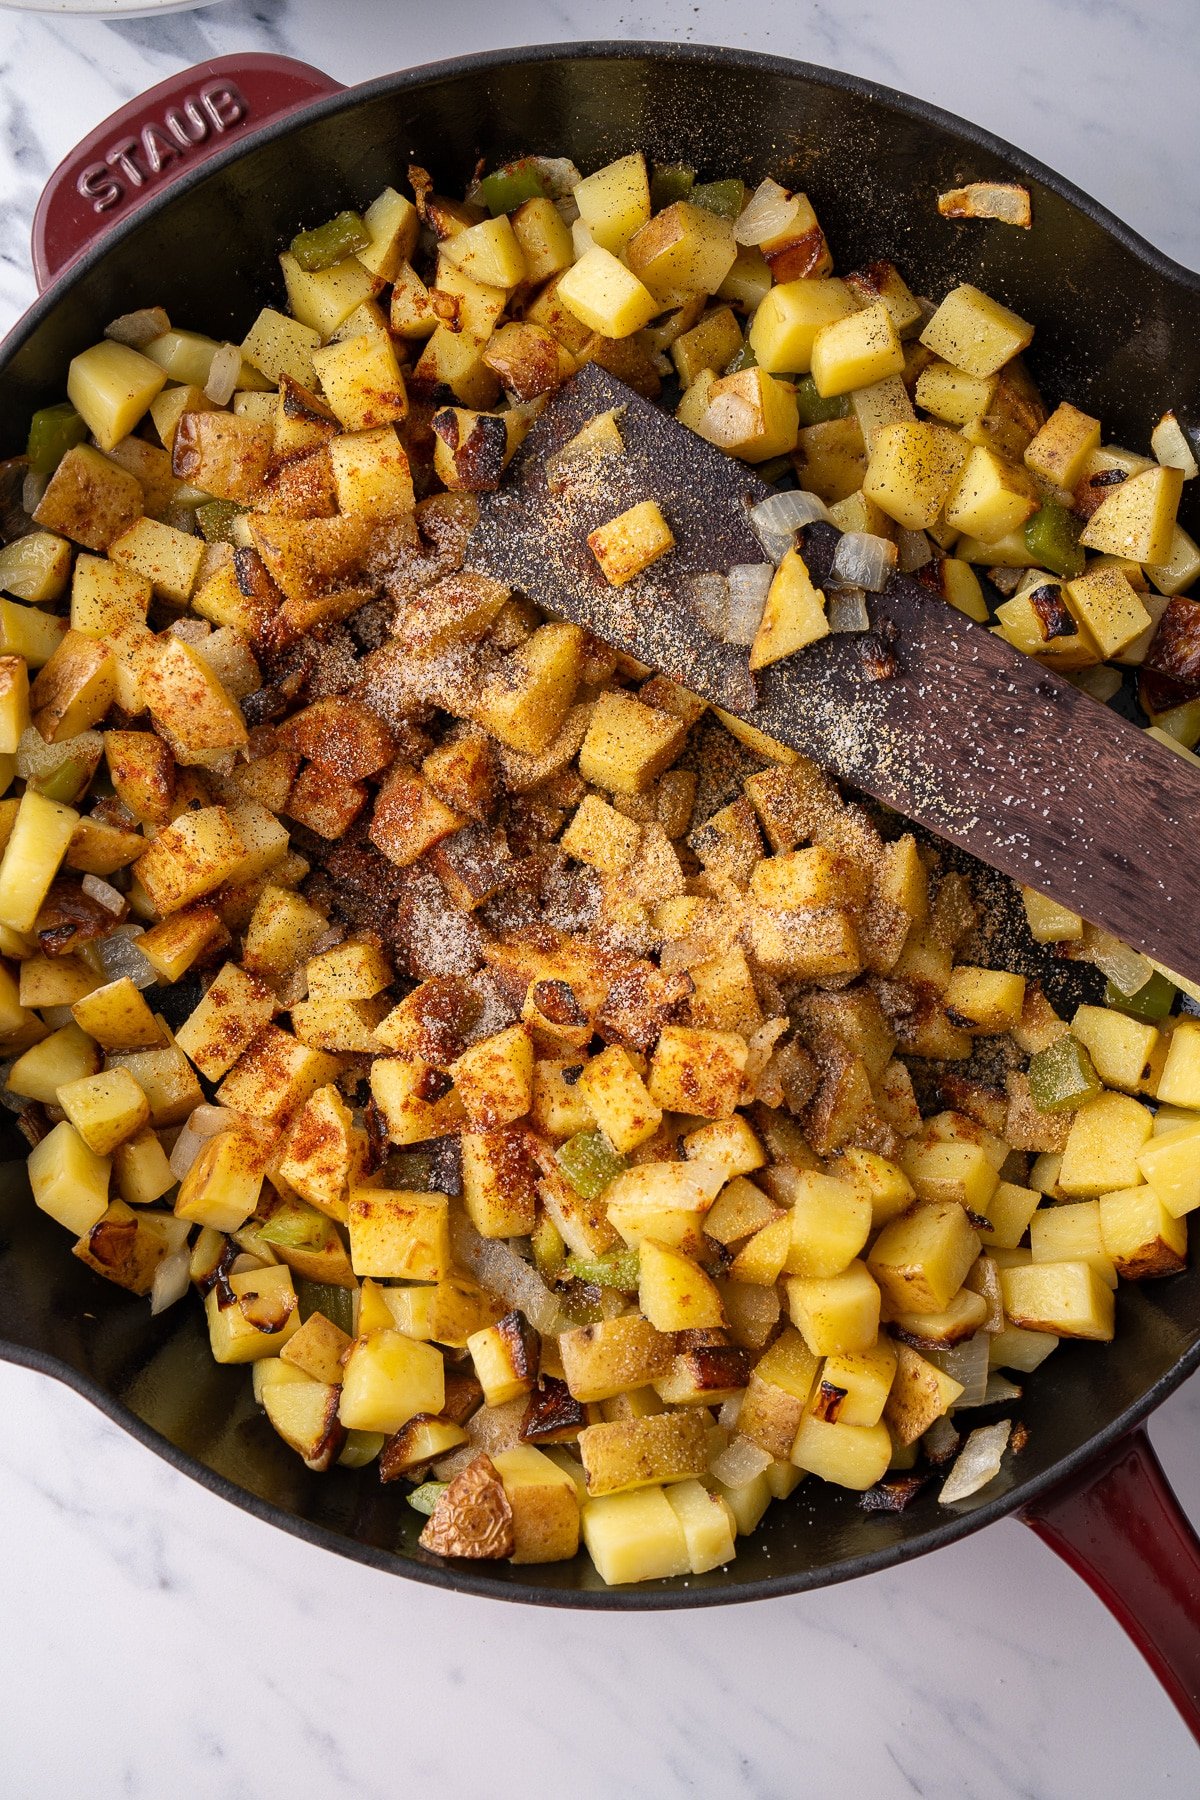
Season and Cook:
Add garlic powder, paprika, salt, and black pepper to the skillet. Mix well to ensure the vegetables are evenly coated with the seasonings.
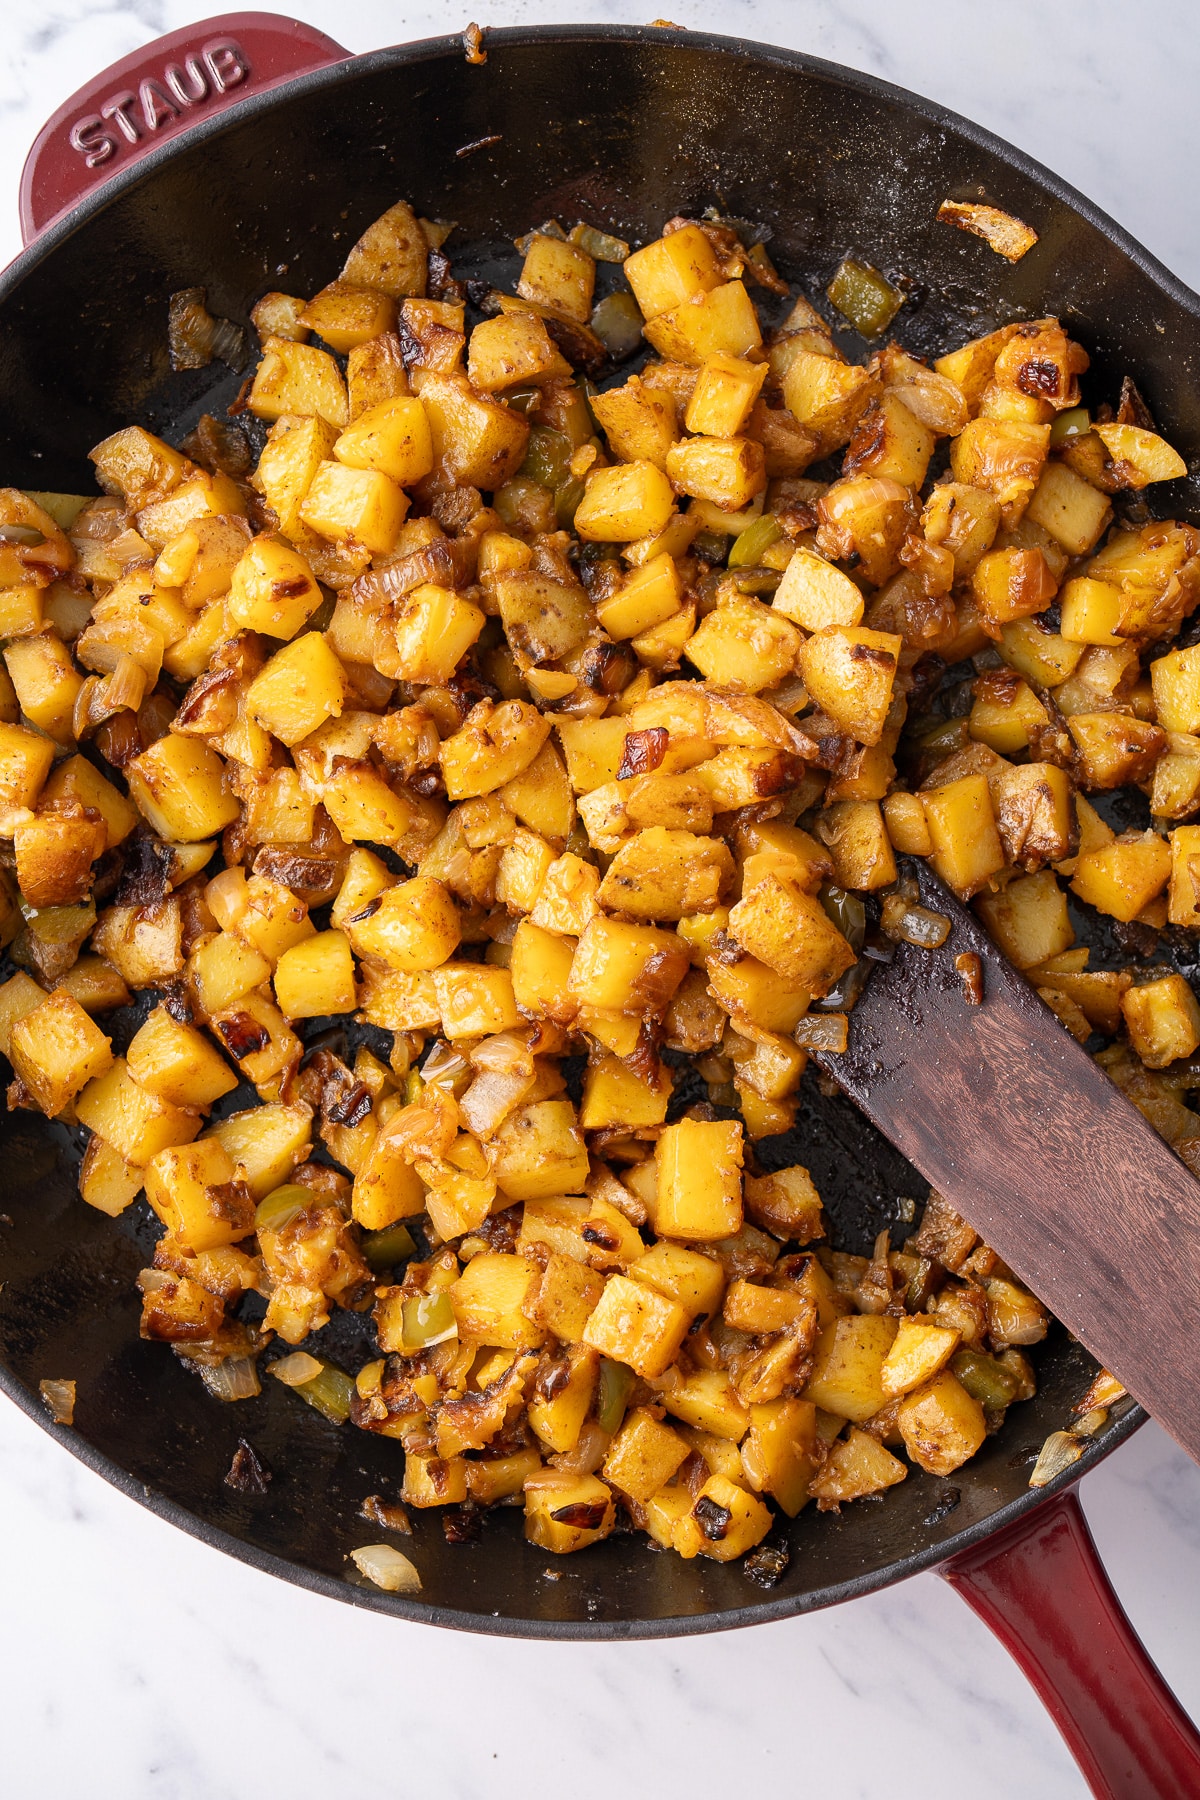
Lower the heat, pour in the chicken broth, cover, and cook potatoes for 10-15 minutes until tender. Stir occasionally to prevent sticking and ensure even cooking.
Variations
- For a vegetarian option, use vegetable broth instead of chicken or beef broth.
- Add chopped bacon or sliced sausage for extra flavor and protein.
- Mix in other vegetables such as carrots, celery, or mushrooms to add more texture and nutrients.
- Slice the potatoes rather than chopping them if you prefer.
Tanya's Tips for the Best Smothered Potatoes
- Use starchy potatoes like Russet or Yukon Gold. They hold their shape when cooked and have a creamy texture that pairs well with the gravy.
- Don't overcrowd the pan. This will prevent the potatoes from browning evenly.
- For maximum flavor, let the potatoes cook undisturbed for 5 minutes.
- Although any large pan will work, use a cast iron skillet for best results.
How to Store Smothered Potatoes
- Refrigerator: Store any leftovers in an airtight container in the refrigerator for up to 3 days.
- Reheating: Reheat in a skillet over medium heat until warmed through. You can add a bit of oil or butter to keep them from sticking.
I hope you love these smothered potatoes as much as we do. Looking for dishes to serve this with? Try these out:
I hope you love this recipe as much as we do. If you have tried this recipe or any other recipe on my blog, please rate it and let me know how it turned out in the comments below! Your feedback is invaluable and helps us grow. Thank you for your support!
Smothered Potatoes Recipe
Ingredients
- 1.5 pounds of potatoes Yukon Gold or Russet, chopped into medium cubes
- 1 large yellow onion chopped
- ½ medium green bell pepper chopped into small pieces
- 2 Tablespoons olive oil
- 2 Tablespoons unsalted butter
- ½ teaspoon garlic powder
- ½ teaspoon paprika
- Salt and black pepper to taste I use about ½ teaspoon salt, ¼ teaspoon black pepper
- ¼ cup chicken broth
Instructions
- Heat the oil and butter in a large skillet over medium heat. Add the chopped onions and green bell pepper, cooking and stirring occasionally until they soften and become fragrant approximately 5-7 minutes.
- Increase the heat to medium-high. Use a spatula and push the onions and bell peppers to the edges of the pan. Place the potatoes in a flat layer in the pan in the middle of the onions and peppers.
- Allow them to cook undisturbed for about 5-6 minutes, then use a spatula and stir the potatoes. Continue cooking for another 5 minutes.
- Add garlic powder, paprika, salt, and black pepper to the skillet. Mix well to ensure the vegetables are evenly coated with the seasonings.
- Lower the heat, pour in the chicken broth, cover, and cook potatoes for 10-15 minutes until tender. Stir occasionally to prevent sticking and ensure even cooking.
Notes
- Don't overcrowd the pan. This will prevent the potatoes from browning evenly.
- For maximum flavor, let the potatoes cook undisturbed for 5 minutes.
- Peel the potatoes or keep them unpeeled, depending on your preference.