My Forking Life

  • Air Fryer
  • Jamaican
  • Entree
  • Browse Recipes
  • Breakfast
  • Side Dishes
  • About
menu icon
go to homepage
  • Air Fryer
  • Jamaican
  • Entree
  • Browse Recipes
  • Breakfast
  • Side Dishes
  • About
search icon
Homepage link
  • Air Fryer
  • Jamaican
  • Entree
  • Browse Recipes
  • Breakfast
  • Side Dishes
  • About
×
Home

July 29, 2020 by Tanya Harris Leave a Comment

Homemade Ranch Seasoning

herbs and spices for ranch seasoning on a white plate

It's so quick and easy to make your own homemade ranch seasoning and it's such a great way to season all of your favorite meals. Easy to make into ranch dressing, or sprinkle it over potatoes and meats for a kick of flavor.

Ranch seasoning stored in a glass jar

This post contains affiliate links, please read my full disclaimer here.

You’ll find the full recipe with ingredient amounts and instructions in the recipe card at the bottom of this post. Be sure to check out the blog post itself for extra tips and tricks!

I rarely buy seasonings and dressings any more because it's so easy to make your own in a few minutes!

Homemade ranch seasoning has a great shelf life and so many uses. It's a great way to add flavor to so many meals and it's easy to transform into a creamy dressing.

Be sure to check out my BBQ Seasoning, Jamaican Jerk Seasoning and Homemade Taco Seasoning - they are always in my cupboard ready to use!

Ingredients

  • Milk Powder (or buttermilk powder)
  • Dry Parsley
  • Salt
  • Mustard Powder
  • Dry Oregano
  • Garlic Powder
  • Onion Powder
  • Dill Weed
  • Black Pepper
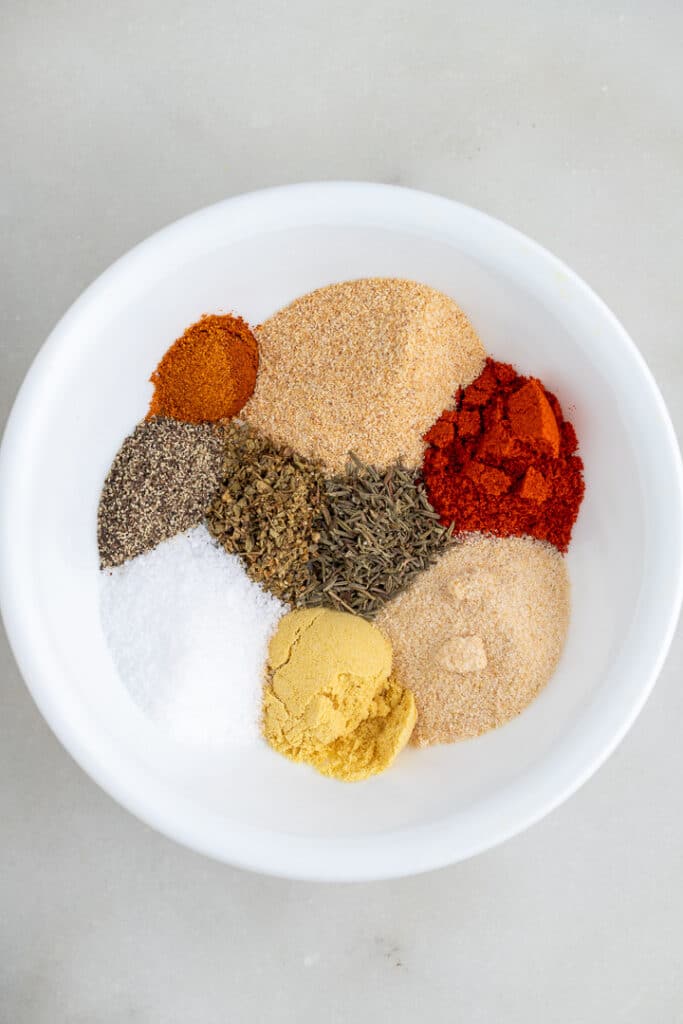
Herbs and spices in a white bowl

How to make homemade ranch seasoning

It couldn't be easier to make this seasoning mix!

  • Add the ingredients to a bowl.
  • Mix until combined.
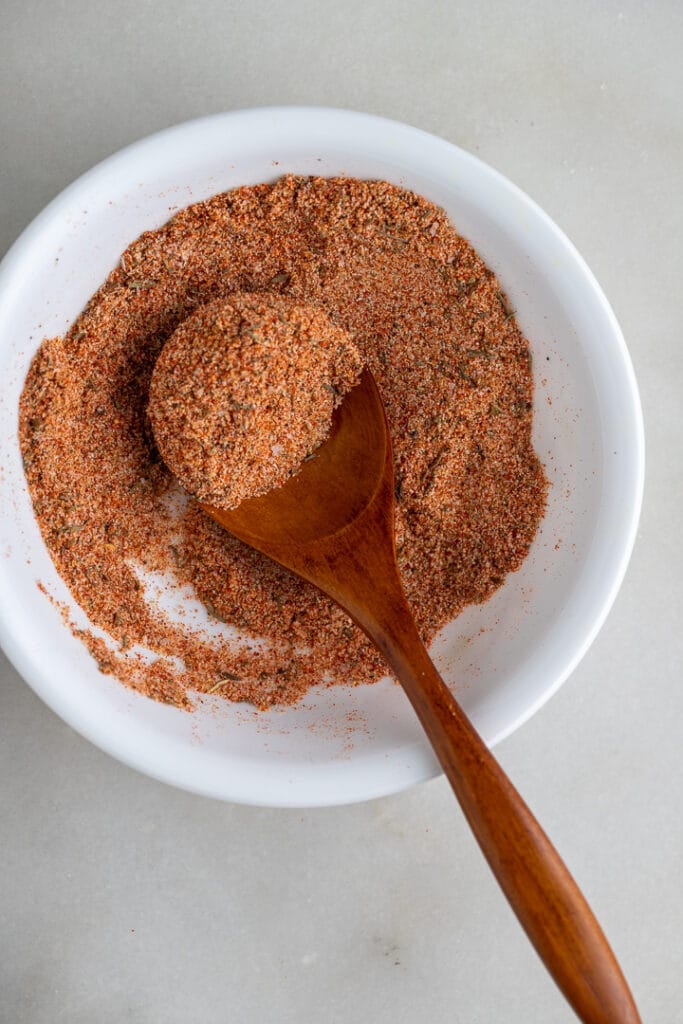
The ingredients mixed together with a wooden spoon

Can you make ranch dressing with this recipe?

It's really easy to transform this dry seasoning mix into a creamy dressing! I like to do this rather than buying bottled ranch dressing that just sits in the fridge.

  • Add ½ cup mayonnaise, 2 tablespoon water, and 2 ½ tablespoon of this ranch seasoning to a bowl.
  • Whisk to combine.
Whisking the ranch seasoning with water and mayonnaise to make a sauce

How to store

This ranch seasoning has a great shelf life and will keep well for up to 3 months. Store the mix in an air tight jar or container and keep it at room temperature. If you are using buttermilk powder rather than milk powder, then store it in the fridge.

If you make ranch dressing, it will keep in the fridge for 3 to 4 days.

How do you use the seasoning?

Aside from making ranch dressing, there's lots of uses for using this seasoning dry. Sprinkle in on French Fries or roasted potatoes, or rub it into chicken or add to shrimp before grilling. It's an easy way to add flavor to meals.
Why make your own seasoning?

When you make your own seasonings, you are in full control of what you add in so it's easy to adjust to your taste. It also means that you always have a tasty seasoning on hand whenever you need, not too mention, it's also kinder on your purse!

Recipe Notes and Tips

  • Use 2 ½ tablespoon of this seasoning in place of 1 ranch envelope packet.
  • Check that your herbs and spices aren't stale before making this seasoning. Rub a little between your fingers and they should release an aroma.
ranch dressing in bottle

More Easy Seasoning Recipes

  • Homemade Poultry Seasoning
  • Dukkah Spice Mix
  • Garlic Herb Butter
herbs and spices for ranch seasoning on a white plate
Print Recipe
No ratings yet

Homemade Ranch Seasoning

This Homemade Ranch Seasoning is so easy to make and perfect for making your own creamy ranch dressing, dips, or use it to season your favorite meals.
Prep Time10 minutes mins
Total Time10 minutes mins
Course: Seasoning
Cuisine: American
Keyword: homemade ranch seasoning, how to make ranch seasoning
Servings: 12 servings
Calories: 20kcal
Author: Tanya Harris

Equipment

  • Spice Jars 2
  • Deli Containers with Lids

Ingredients

  • ⅓ cup milk powder or buttermilk powder
  • 1 Tablespoon dried parsley
  • 1 teaspoon kosher salt
  • ½ teaspoon mustard powder
  • ½ teaspoon oregano
  • ½ teaspoon garlic powder
  • ½ teaspoon onion powder
  • ½ teaspoon dill weed
  • ¼ teaspoon black pepper

Instructions

  • Combine ingredients in a bowl or jar. Store in a covered container.

Notes

  • If using buttermilk powder, store this mix in the fridge after opening. 
  • Store this seasoning for up to 3 months. 
  • Ranch dressing: Add ½ cup mayonnaise, 2 tablespoon water, and 2 ½ tablespoon of this ranch seasoning to a bowl and whisk to combine.
  • Use 2 ½ tablespoon of this seasoning in place of 1 ranch envelope packet.

Nutrition

Calories: 20kcal | Carbohydrates: 2g | Protein: 1g | Fat: 1g | Saturated Fat: 1g | Cholesterol: 3mg | Sodium: 208mg | Potassium: 52mg | Fiber: 1g | Sugar: 1g | Vitamin A: 33IU | Vitamin C: 1mg | Calcium: 36mg | Iron: 1mg

July 28, 2020 by Tanya Harris 22 Comments

Air Fryer Sausage and Peppers

It's so quick and easy to make air fryer sausage and peppers for a delicious family meal. Just 5 minutes prep and the sausages are wonderfully juicy and come out perfect every time!

Air fried sausages on top of the cooked vegetables

This post contains affiliate links, please read my full disclaimer here.

You’ll find the full recipe with ingredient amounts and instructions in the recipe card at the bottom of this post. Be sure to check out the blog post itself for extra tips and tricks!

I love a good hoagie sandwich, especially one with sausage and peppers! And with just a few ingredients, you are going to have a really tasty dinner on your hands thanks to your trusty air fryer!

These sausages and peppers are perfect for filling hoagie rolls and are so quick and easy to make with no pan watching. Perfect after a busy day!
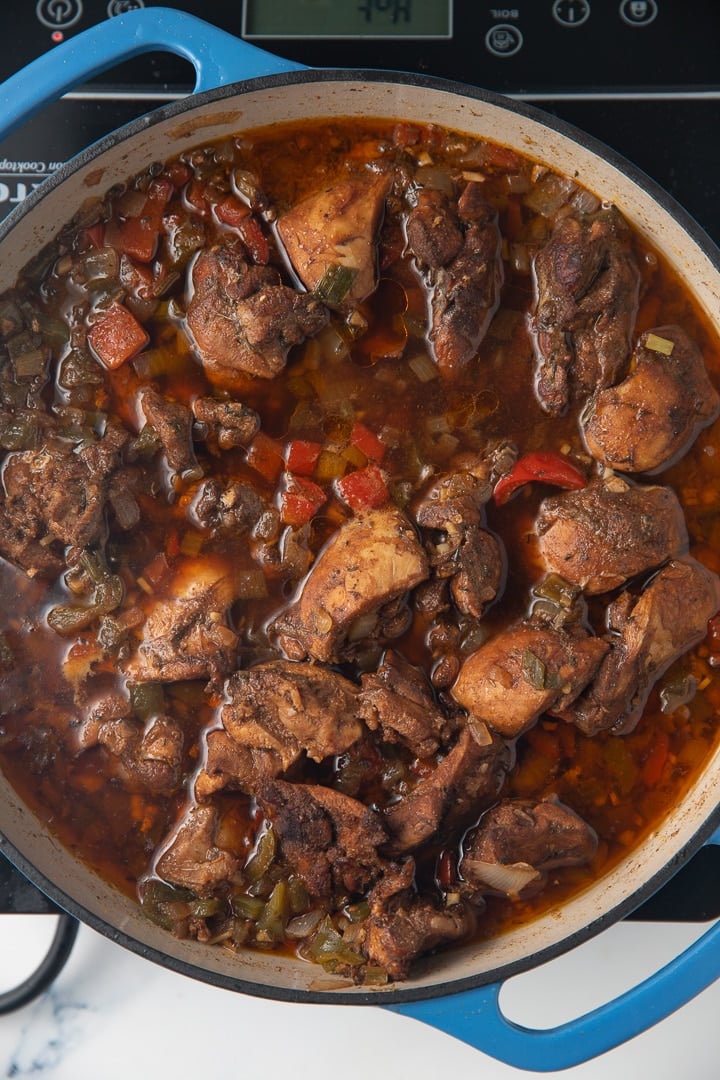
Be sure to check out all my other air fryer recipes like Crispy Fried Shrimp and Nashville Style Hot Chicken Tenders.
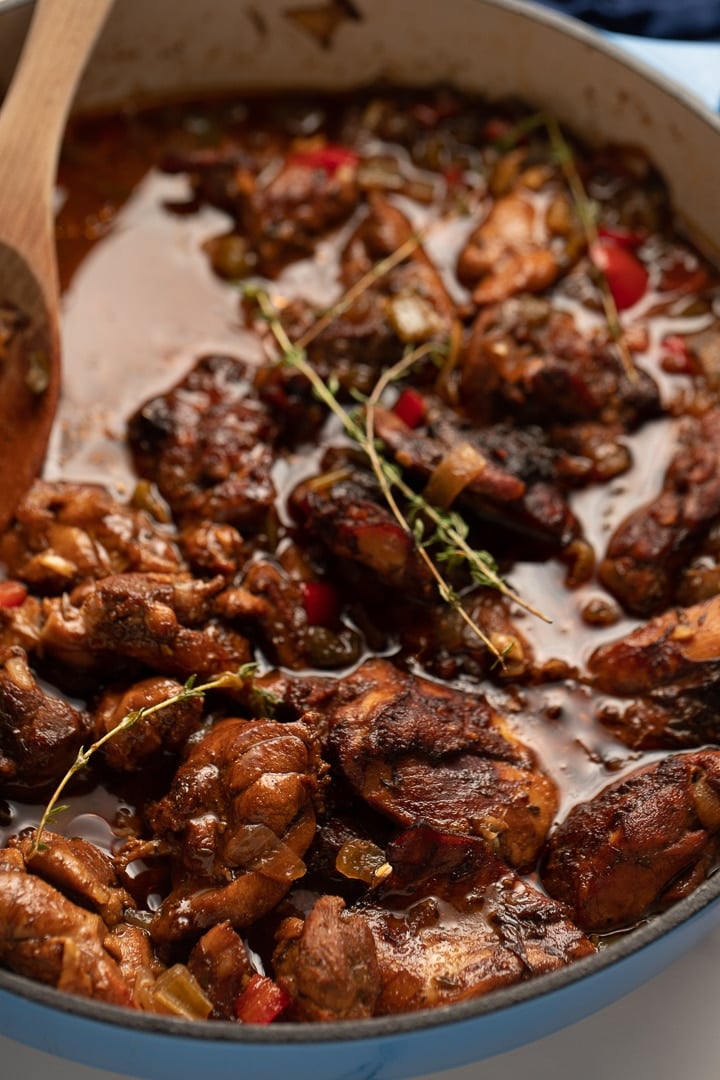
Ingredients You Need for This Recipe

  • Tomato Paste
  • Chicken Broth
  • Dried Oregano
  • Red and/or Green Bell Peppers
  • Sweet Onion
  • Garlic Cloves
  • Italian Sausage
  • Hoagie Rolls
Ingredients for the recipe on a kitchen worktop

How to make air fryer sausage and peppers

  • Place tomato paste, chicken broth, and oregano bowl in a 7-inch bowl that will fit inside your air fryer. Whisk until incorporated.
Tomato paste and chicken broth mixed together in a bowl
  • Lay peppers, onion, and garlic in the bowl and toss with broth mixture. Place in air fryer basket.
Vegetables laid on top of the tomato mixture
  • Close air fryer basket and cook on 400 degrees Fahrenheit for 10- 15 minutes, stirring halfway, until onions and peppers have softened a little.
  • The bowl of vegetables in the air fryer
  • The air fried vegetables in a bowl
  • Open the air fryer basket and lay sausage links on top of onions and peppers and cook for 20 more minutes, flipping the links halfway.
Uncooked sausages laid on top of the cooked vegetables
The sausages after being cooked in the air fryer
  • Remove and serve sausage and peppers on hoagie rolls. Enjoy!
Air fried sausages and vegetables in buns on a plate

What are the best sausages to use?

I like to use Italian sausages for this recipe, you can use hot or mild. Flavored with fennel and garlic they are so tasty! You can use other pork or beef sausages, but stay away from thinner sausages.

What do you serve with sausage and peppers?

I love to serve the air fried sausage on peppers on hoagie rolls for a quick and easy dinner, sometimes served up with some French Fries or a veggie side. If you like, you can skip the rolls and serve with a veggie or potato side.

Why use an air fryer for this recipe?

I love how this meal comes together all in one bowl and the cooking process is pretty hands off. The sausages come out perfectly juicy with crispy skins and because the veggies are cooked under them, the veggies are flavored with the juices. It's one delicious meal!

Air fried sausages and vegetables in a bowl ready to serve

Recipe Notes and Tips

  • Make a foil sling so that the bowl will be easy to remove from the air fryer.
  • Flip the sausages half way through cooking so that they cook evenly all over.

More Easy Air Fryer Recipes

  • Air Fryer Hot Dogs
  • Flaky Air Fryer Donuts
  • Crispy Air Fryer Beet Chips
  • Air Fryer Lemon Garlic Shrimp
  • BBQ Air Fryer Ribs

Watch this video tutorial and see how I make this sausage and peppers recipe from start to finish.

Print Recipe
4.67 from 9 votes

Air Fryer Sausage and Peppers

It's so quick and easy to make air fryer sausage and peppers for a delicious family meal. Just 5 minutes prep and the sausages are wonderfully juicy and come out perfect every time!
Prep Time5 minutes mins
Cook Time30 minutes mins
Total Time35 minutes mins
Course: Main Course
Cuisine: American
Keyword: air fried sausages, how to air fry sausages, sausage and peppers
Servings: 5 servings
Calories: 638kcal
Author: Tanya Harris

Ingredients

  • 1 Tablespoon tomato paste
  • ½ cup chicken broth
  • ½ teaspoon dried oregano
  • 1 green bell pepper sliced
  • 1 red bell pepper sliced
  • 1 sweet onion sliced
  • 6 garlic cloves minced
  • 5 Italian sausage links
  • Hoagie rolls for serving

Instructions

  • Place tomato paste, chicken broth, and oregano bowl in a 7-inch bowl that will fit inside your air fryer. Whisk until incorporated. Lay peppers, onions, and garlic in the bowl and toss with broth mixture. Close air fryer basket and cook on 400 degrees Fahrenheit for 10- 15 minutes, stirring halfway, until onions and peppers have softened a little.
  • Open the air fryer basket and lay sausage links on top of onions and peppers and cook for 20 minutes more, flipping the links halfway.
  • Remove and serve sausage and peppers on hoagie rolls. Enjoy.

Video

Notes

  • Make a foil sling so that the bowl will be easy to remove from the air fryer.
  • Flip the sausages half way through cooking so that they cook evenly all over.

Nutrition

Calories: 638kcal | Carbohydrates: 49g | Protein: 24g | Fat: 38g | Saturated Fat: 13g | Cholesterol: 85mg | Sodium: 1289mg | Potassium: 520mg | Fiber: 3g | Sugar: 11g | Vitamin A: 882IU | Vitamin C: 58mg | Calcium: 53mg | Iron: 15mg

July 21, 2020 by Tanya Harris 2 Comments

Easy Cornbread Muffins

These delicious cornbread muffins are so quick and easy to make and are a wonderful sweet treat that everyone will love! Light, fluffy and rich in flavor, they are ready to serve in less than 30 minutes.

Three cornbread muffins stacked on top of eachother

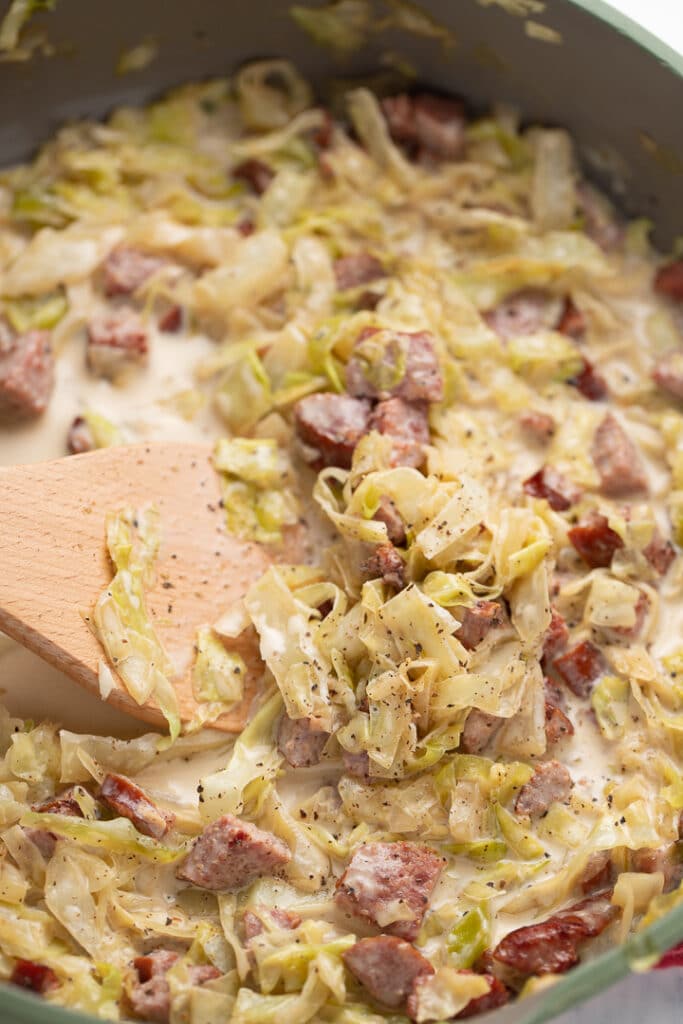
These sweet cornbread muffins are one of my favorite treats! Deliciously light and fluffy and so simple to make. They are always a crowd pleaser! I love to eat them along side my Southern favorites, like Collard Greens or this Buttered Cabbage. This is my go to sweet cornbread recipe when I want something different than savory southern cornbread.

Ingredients

  • All-purpose Flour
  • Cornmeal
  • Baking Powder
  • Salt
  • Eggs
  • Butter
  • Granulated Sugar
  • Honey
  • Milk
  • Vanilla Extract
Ingredients for the muffins in bowls

How To Make Cornbread Muffins

  • Preheat oven to 400 degrees Fahrenheit.
  • In a large bowl, add all-purpose flour, cornmeal, baking powder, salt in a bowl. Stir until combined. Set aside.
Dry ingredients mixed together in a large bowl
  • In a separate bowl, add eggs, butter, sugar, honey, milk, and vanilla extract. Whisk until combined.
Wet ingredients mixed together in a bowl
  • Slowly whisk dry mixture into the wet mixture until combined.
The cornbread muffin batter mixed together in a large bwol
  • Pour batter into liners, making sure each liner is about halfway full.
The cornbread muffin batter in a muffin tin
  • Bake in preheated oven for 14-15 minutes until golden and a toothpick entered in the center comes out clean.
Baked cornbread muffins in a tin

How long do they keep?

Once the cornbread muffins have baked, let the cool before transferring them to an airtight container. They will keep at room temperature for 2 days and in the fridge for up to a week.

Can you freeze them?

Yes, these muffins freeze really well. Let them cool and wither wrap them individually in foil, or freeze on a baking sheet and transfer to a freezer bag. They will keep well for up to 3 months. They can be thawed in the fridge or at room temperature.

What makes the muffins light and fluffy?

One of the main tricks to get the most perfect muffins is to have all of your ingredients at room temperature. I like to take everything out of the fridge about 30 minutes before I want to make the muffins.

If the ingredients are at room temperature, the batter is smoother and it traps air creating light and fluffy muffins.

A cornbread muffin broken in half on a white plate

Recipe Notes and Tips

  • Take care not to over mix the batter. If it is over mixed the muffins won't be light and fluffy.
  • Make sure you bake the muffins in a pre-heated oven so that they cook evenly through.

More Muffin and Cake Recipes

  • Zucchini Muffins
  • Easy Strawberry Muffins
  • Caribbean Rum Cake
  • Moist Chocolate Cola Cake

Watch this video tutorial and see how I make these cornbread muffins from start to finish.

Print Recipe
5 from 1 vote

Easy Cornbread Muffins

These delicious cornbread muffins are so quick and easy to make and are a wonderful sweet treat that everyone will love! Light, fluffy and rich in flavor, they are ready to serve in less than 30 minutes.
Prep Time10 minutes mins
Cook Time15 minutes mins
Total Time25 minutes mins
Course: Dessert, Snack
Cuisine: American
Keyword: cornbread muffin recipe, cornbread muffins, how to make cornbread muffins
Servings: 12 muffins
Calories: 169kcal
Author: Tanya Harris

Ingredients

  • 1 cup all-purpose flour
  • ¾ cup cornmeal
  • 1 Tablespoons baking powder
  • 1 teaspoon salt
  • 2 eggs lightly beaten
  • ¼ cup butter melted and cooled
  • ¼ cup granulated sugar
  • ¼ cup honey
  • ¾ cup milk
  • ½ teaspoon vanilla extract

Instructions

  • Preheat oven to 400 degrees Fahrenheit and prepare muffin pan with cupcake liners or grease.
  • In a large bowl, add all-purpose flour, cornmeal, baking powder, salt in a bowl. Stir until combined. Set aside.
  • In a separate large bowl, add eggs, butter, sugar, honey, milk, and vanilla extract. Whisk until combined.
  • Slowly whisk dry mixture into the wet mixture until combined. Pour batter into liners, making sure each liner is about halfway full.
  • Bake in preheated oven for 14-15 minutes until golden and a toothpick entered in the center comes out clean.

Video

Notes

  • Take care not to over mix the batter. If it is over mixed the muffins won't be light and fluffy.
  • Make sure you bake the muffins in a pre heated oven so that they cook evenly through.

Nutrition

Calories: 169kcal | Carbohydrates: 26g | Protein: 4g | Fat: 6g | Saturated Fat: 3g | Cholesterol: 39mg | Sodium: 246mg | Potassium: 178mg | Fiber: 1g | Sugar: 11g | Vitamin A: 182IU | Calcium: 67mg | Iron: 1mg

July 21, 2020 by Tanya Harris 2 Comments

Garlic Butter Cheese Steak Sandwiches

cheesesteak sandwich on plate

Cheese steak sandwiches are taken to another level with the addition of garlic butter. Quick and easy to make, these sandwiches are loaded with flavor and one is not enough!

Overhead shot of two cheesesteak sandwiches on a plate

These cheese steak sandwiches are a perfect option when you want to get dinner on the table in a hurry. Just a handful of ingredients and you have a filling and down right delicious sandwich to serve in less than 10 minutes.

I added a few tweaks to a traditional cheesesteak sandwich to make them even better. I added mushrooms and my special Garlic Herb Butter that goes amazing with my Air Fried Steak.

Perfect to serve alongside Air Fryer French Fries or a healthy Kale and Broccoli Salad.

Ingredients

  • Garlic Herb Butter
  • Vidalia Onion
  • Mushrooms
  • Ribeye Steak
  • Provolone Cheese
  • Hoagie Rolls
  • Salt and Pepper

How To Make Cheese Steak Sandwiches

Thinly slice your onions, mushrooms, and steak against the grain. Set aside.

  • Chopped mushrroms and onions
  • shopped steak on a cutting board
  • Melt garlic butter in a large skillet over medium-high heat. Add onion and mushrooms and cook until onions have softened, about 5 minutes.
Frying onions and mushrooms in a pan
  • Remove vegetables and place steak in the skillet in a single layer and sear each side, about 1-2 minutes per side.
Steak frying in a pan
  • Add onions and mushrooms back to pan and turn off the heat. Add the cheese on top of the steak mixture and allow it to melt. Cover the mixture if you need the cheese to melt faster.
Cheese added to the top of the steak in a pan
  • Serve on hoagie rolls.
Placing the cheesesteak into a roll

What's the best steak to use?

I like to use ribeye steak for my sandwiches. It's full of flavor, requires a short cooking time, and is perfectly tender. If you don't have ribeye, sirloin will be a good substitute.

What's the best cheese to use?

For me, the cheese has to be provolone. It has a great sharpness to it that cuts through the other flavors. You can easily swap the cheese to suit your tastes, cheddar or mozzarella will work well.

Can you make these sandwiches ahead of time?

These cheese steaks are best served as soon as they are ready or the steak can get chewy. You can prep all of the ingredients ahead of time if you like and it will take less than 10 minutes to cook the filling up.

Close up of the cheesesteak filling

Recipe Tips and Notes

  • Feel free to add garlic butter to the hoagie and toast them if you prefer crispier hoagie rolls. I prefer soft hoagie rolls and I never toast them.
  • Take care not to overcook the steak or it can become tough. It just needs a couple of minutes on each side so that it's browned.
  • I make my own Garlic Herb Butter for this recipe and use it a lot. It's delicious!

More Easy Sandwiches and Burgers

  • Shredded Italian Beef Sandwiches
  • Juicy Air Fryer Turkey Burgers
  • Korean Sloppy Joes
  • Sausage and Peppers
cheesesteak sandwich on plate
Print Recipe
5 from 1 vote

Garlic Butter Cheese Steak Sandwiches

Cheese steak sandwiches are taken to another level with the addition of garlic butter. Quick and easy to make, these sandwiches are loaded with flavor and one is not enough!
Prep Time10 minutes mins
Cook Time10 minutes mins
Total Time20 minutes mins
Course: Main Course
Cuisine: American
Keyword: cheesesteak sandwiches, garlic butter and steak sandwiches, steak and cheese sandwiches
Servings: 4 sandwiches
Calories: 584kcal
Author: Tanya Harris

Ingredients

  • 3 Tablespoon Garlic Butter
  • 1 large Vidalia onion sliced
  • 4 oz mushrooms sliced
  • 1 lb ribeye steak thinly sliced against the grain
  • 4 slices of thinly sliced provolone cheese
  • 4 Hoagie rolls
  • Salt and pepper to taste

Instructions

  • Melt butter in a large skillet over medium-high heat. Add onion and mushrooms and cook until onions have softened, about 5 minutes.
  • Remove vegetables and place steak in the skillet in a single layer and sear each side, about 1-2 minutes per side.
  • Add onions and mushrooms back to pan and turn off the heat. Add the cheese on top of the steak mixture and allow it to melt. Cover the mixture if you need the cheese to melt faster.
  • Serve on hoagie rolls.

Notes

  • Feel free to add garlic butter to the hoagie and toast them if you prefer crispier hoagie rolls. I prefer soft hoagie rolls and I never toast them.
  • Take care not to overcook the steak or it can become tough. It just needs a couple of minutes on each side so that it's browned.

Nutrition

Calories: 584kcal | Carbohydrates: 40g | Protein: 35g | Fat: 32g | Saturated Fat: 16g | Cholesterol: 105mg | Sodium: 608mg | Potassium: 519mg | Fiber: 2g | Sugar: 9g | Vitamin A: 447IU | Vitamin C: 5mg | Calcium: 177mg | Iron: 13mg

July 21, 2020 by Tanya Harris 6 Comments

Garlic Herb Butter

garlic herb butter with wooden spoon in glass bowl

It's so easy to make your own garlic herb butter and is such an effortless way to add flavor to your meals. Just 5 ingredients to make, it takes no more than 10 minutes to make a batch.

Garlic herb butter in a glass bowl with a wooden spoon

This post contains affiliate links, please read my full disclaimer here.

You’ll find the full recipe with ingredient amounts and instructions in the recipe card at the bottom of this post. Be sure to check out the blog post itself for extra tips and tricks!

Compound butter is one of my top kitchen tips to make homemade meals restaurant quality! Flavored butter takes recipes like Air Fryer Steak and cheesesteak sandwiches to a whole other level!

Super easy and quick to make, you'll want to use it on everything!

Ingredients

  • Unsalted Butter
  • Fresh Parsley
  • Garlic
  • Worcestershire Sauce
  • Salt
The ingredients in a bowl before being mixed

How to make Garlic Herb Butter

  • Mix ingredients in a bowl.
  • Refrigerate until ready to use.
Mixing the ingredinets together with a wooden spoon

How to wrap garlic herb butter

If you are not planning on using the compound butter straight away, it's important to wrap it securely in parchment to prolong its shelf life.

  1. Place the butter in the middle of a piece of parchment.
  2. Fold the parchment in half over the butter.
  3. Use a dough scraper over the parchment to press the butter into a log in the middle of the paper.
  4. Cut the excess parchment paper.
  5. Roll up and twist the ends.
Step by step photos to show how to wrap the butter

How long does it keep?

Once you have made and wrapped the butter, it will keep well in the fridge for up to 5 days. You can just cut some off whenever you want to use it and wrap it back up for next time.

Can you freeze compound butter?

Yes! This freezes really well, in fact, I often make several batches and freeze them. Wrap the butter in parchment as above an then wrap it in foil and place in a freezer bag. This will help to protect it from the butter taking on other flavors in the fridge.

Recipe Notes and Tips

  • Use unsalted butter for this recipe. If you only have salted, then reduce the amount of added salt.
  • Soften your butter before making this recipe. Ideally you should take it out of the fridge 30 minutes before using it. If you are in a pinch, you can gently heat it in the microwave but take care not to melt it.
  • If not using straight away, be sure to wrap it once it has chilled.
Close up of the end of the garlic herb butter cut off with a knife

More Easy Recipes

  • Easy Queso Dip Recipe
  • BBQ Cheesesteak Stuffed Peppers
  • Easy Homemade Bagel Recipe
  • Easy Flavorful Kale Rice
garlic herb butter with wooden spoon in glass bowl
Print Recipe
5 from 2 votes

Garlic Herb Butter

It's so easy to make your own garlic herb butter and is such an effortless way to add flavor to your meals. Just 5 ingredients to make, it takes no more than 10 minutes to make a batch.
Prep Time10 minutes mins
Total Time10 minutes mins
Course: Condiment
Cuisine: American
Keyword: compound butter, garlic herb butter, how to make garlic and herb butter
Servings: 8 servings
Calories: 104kcal
Author: Tanya Harris

Ingredients

  • 1 stick unsalted butter softened
  • 2 Tablespoon fresh parsley chopped
  • 2 teaspoon garlic minced
  • 1 teaspoon Worcestershire Sauce
  • ½ teaspoon salt

Instructions

  • Mix ingredients in a bowl. Refrigerate until ready to use.

Notes

  • Use unsalted butter for this recipe. If you only have salted, then reduce the amount of added salt.
  • Soften your butter before making this recipe. Ideally you should take it out of the fridge 30 minutes before using it. If you are in a pinch, you can gently heat it in the microwave but take care not to melt it.
  • If not using straight away, be sure to wrap it once it has chilled.

Nutrition

Calories: 104kcal | Carbohydrates: 1g | Protein: 1g | Fat: 11g | Saturated Fat: 7g | Cholesterol: 30mg | Sodium: 155mg | Potassium: 17mg | Fiber: 1g | Sugar: 1g | Vitamin A: 437IU | Vitamin C: 2mg | Calcium: 7mg | Iron: 1mg

July 15, 2020 by Tanya Harris Leave a Comment

BBQ Cheesesteak Stuffed Peppers

These cheesesteak stuffed peppers are a delicious and easy weeknight meal that the whole family will loved. Cooked in tangy BBQ sauce, the filling is loaded with flavor!

Serving the cheesesteak stuffed peppers

This post contains affiliate links, please read my full disclaimer here.

You’ll find the full recipe with ingredient amounts and instructions in the recipe card at the bottom of this post. Be sure to check out the blog post itself for extra tips and tricks!

Hands up who loves Cheesesteak?!

This recipe turns one of my favorite sandwiches into a delicious weeknight meal that's super easy to prep.

Big on flavor, the bell pepper filling is cooked with BBQ sauce for a wonderfully tangy and sweet dish that you'll want to make time and time again!

How to make BBQ cheesesteak stuffed peppers

  • Preheat your oven to 400 degrees Fahrenheit.
  • Slice the 1 lb of ribeye steak, 4 oz of white mushrooms, and 1 whole onion. For the steak, make sure to chill the steak for 30 minutes in the freezer and then thinly slice it against the grain.
Sliced mushrooms and onions
Chopped steak on a chopping board
  • Cut 4 bell peppers in half and remove the seeds and membrane.
  • Place a ½ tablespoon olive oil in the bottom of a 9×13 baking dish and spread over the bottom. Add peppers, cut side down into the baking dish. Cover with foil and bake for 30-35 minutes, until the peppers have softened.
Bell peppers in a baking dish
  • Meanwhile, heat remaining oil in a large skillet over medium-high heat. Add onions and mushrooms and sauté until softened, about 5 minutes.
Onions cooking in a pan
  • Remove mushrooms and onions from skillet, add steak in a single layer, and cook until browned, about 1-2 minutes each side.
Mushrooms cooking in a pan
  • Remove from heat and add ingredients back to the pan, along with ¼ cup of bbq sauce. Stir to combine.
The filling ingredients cooking together
  • When peppers are done, remove from the oven. Fill peppers with steak mixture
The cheesesteak filling in the pepper halves
  • Top each pepper with cheese and fried onions.
Cheese placed on top of the peppers
  • Place back in oven and bake until cheese has melted, about 5 minutes.
The peppers with melted cheese on top

Can you make them ahead of time?

These peppers are great for meal prep! You can make the filling 3 days ahead of time and keep it covered in the fridge to stuff the peppers later. The stuffed peppers can be kept in an airtight container in the fridge for 3 days and gently reheated in the oven to serve.

What's the best steak to use?

Ribeye steak is the best to use for these stuffed peppers. It's super flavorful and has a wonderful juicy texture. The strips only need a short amount of cooking, perfect for a weeknight meal. If you can't get ribeye, sirloin will also work well.

What do you serve with the stuffed peppers?

These peppers are great to serve with a side salad, or something more filling like rice, potatoes or veggie sides. Try them with:

  • Instant Pot Cajun Dirty Rice
  • Kale and Broccoli Salad
  • Buttery Instant Pot Green Beans and Potatoes
  • Air Fryer French Fries
Close up of the cheesesteak stuffed peppers

Recipe Notes and Tips

  • Take care not to over cook the steak or it can become chewy.
  • Use your favorite BBQ sauce or make your own.
  • I like to use a mixture of green and red bell peppers, but you can use any colors you like.

More Easy Weeknight Meals

  • Garlic Butter Cheese Steak Sandwiches
  • Quick and Easy Mongolian Beef
  • Easy Instant Pot Chicken and Potatoes
  • Shredded Italian Beef Sandwiches
  • Rasta Pasta
  • Classic Stuffed Bell Peppers
Print Recipe
No ratings yet

BBQ Cheesesteak Stuffed Peppers

These cheesesteak stuffed peppers are a delicious and easy weeknight meal that the whole family will loved. Cooked in tangy BBQ sauce, the filling is loaded with flavor!
Prep Time15 minutes mins
Cook Time35 minutes mins
Total Time50 minutes mins
Course: Main Course
Cuisine: American
Keyword: bbq stuffed peppers, cheeseteak stuffed peppers, phily cheesesteak stuffed peppers
Servings: 4 servings
Calories: 489kcal
Author: Tanya Harris

Ingredients

  • 1 ½ Tablespoon olive oil separated
  • 4 bell peppers cut in half, seeds and membrane removed
  • 1 lb ribeye steak sliced thin
  • 1 yellow onion sliced
  • 4 Oz white mushrooms sliced
  • 4 slices provolone cheese
  • ¼ cup BBQ Sauce
  • ¼ cup french fried onions
  • Salt and pepper to taste

Instructions

  • Preheat oven to 400.
  • Place a ½ tablespoon olive oil in the bottom of a 9x13 baking dish and spread over the bottom. Add peppers, cut side down into the platter. Cover with foil and bake for 30-35 minutes, until the peppers have softened.
  • Meanwhile, heat remaining oil in a large skillet over medium-high heat. Add onions and mushrooms and sauté until softened, about 5 minutes.
  • Remove mushrooms and onions from skillet, add steak in a single layer, and cook until browned, about 1-2 minutes each side.
  • Remove from heat and add ingredients back to the pan, along with bbq sauce. Stir to combine.
  • When peppers are done, remove from the oven. Fill peppers with steak mixture and top each pepper with cheese and fried onions. Place in oven and bake until cheese has melted, about 5 minutes.

Notes

  • Take care not to over cook the steak or it can become chewy.
  • Use your favorite BBQ sauce or make your own.
  • I like to use a mixture of green and red bell peppers, but you can use any colors you like.

Nutrition

Calories: 489kcal | Carbohydrates: 20g | Protein: 33g | Fat: 31g | Saturated Fat: 14g | Cholesterol: 89mg | Sodium: 536mg | Potassium: 766mg | Fiber: 3g | Sugar: 13g | Vitamin A: 4034IU | Vitamin C: 155mg | Calcium: 244mg | Iron: 3mg

July 14, 2020 by Tanya Harris 5 Comments

Sheet Pan Pancakes

syrup being poured over pancakes

Make mornings a breeze with these easy sheet pan pancakes! No need to watch hot pans, just bake them in the oven and serve! Ready to enjoy in 30 minutes.

A hand pouring syrup over sheet pan pancakes

This post contains affiliate links, please read my full disclaimer here.

You’ll find the full recipe with ingredient amounts and instructions in the recipe card at the bottom of this post. Be sure to check out the blog post itself for extra tips and tricks!

No weekend is complete without pancakes in our house, and this sheet pan method makes them so easy to whip up! They come out so wonderfully fluffy and they are hands off to cook, leaving you to get on with other things.

Be sure to check out my Banana Oatmeal Pancakes and Mini Dutch Baby Pancakes Recipe!

How to make sheet pan pancakes

  • Preheat the oven to 400 degrees Fahrenheit and prepare a 17x12 sheet pan by greasing it or use parchment paper to cover the bottom.
  • Mix 3 cups flour, 2 tablespoon sugar, 1 tablespoon baking powder, 1 teaspoon baking soda, and 1 teaspoon salt in a large bowl. Set aside.
  • In another bowl, add 2 cups milk, 2 large eggs, 1 ½ teaspoon vanilla extract, and 4 tablespoon melted butter and whisk to combine.
  • Dry and wet ingredients in two bowls
  • Pour the liquid mixture into the flour mixture and stir until combined. Do not over mix.
The pancake batter mixed in a large bowl
  • Spread batter into the prepared baking sheet.
  • Add fruit over the pancakes if using. If using fruit, toss it in ½ teaspoon of flour before placing on batter.
Fresh fruit sprinkled in the batter
  • Bake 18-20 minutes, until pancakes are golden and done.
Baked sheet pan pancakes

Pancakes for a crowd!

Baking the pancakes in a sheet pan is ideal if you are making breakfast or brunch for a crowd. This recipe will make six hearty servings and you can easily double the recipe and bake two sheets at the same time. So much easier than cooking individual pancakes on the stove top!

Can you make them ahead of time?

These panackes are best served as soon as they are baked, but you can make the batter the day before and keep it covered in the fridge. If you have leftovers, you can keep them in an airtight container in the fridge for a couple of days and reheat the gently in the oven to serve.

You can also freeze these. To freeze, cut the pancake into squares and place on cool baking sheet and place in freezer. Once pancakes are frozen, transfer them to a ziplock bag. They can be reheated in the microwave by cooking for 1-3 minutes.

Other add ins

I love these pancakes with fresh blueberries or strawberries, but there's lots of other choices to make them your own! Add these before baking!

  • Other fruits like banana, raspberries or apple.
  • Cooked bacon bits.
  • Nuts like pecans or walnuts.
  • Chocolate Chips
Pancakes stacked on top of each other

Recipe Notes and Tips

  • If adding fruit, toss them in ½ teaspoon of all-purpose flour before placing them on the pancakes. This will help them not sink to the bottom while baking.
  • Take care not to over mix the batter or it won't rise and get nice and fluffy.

More Easy Breakfast Recipes

  • Breakfast Air Fried Potatoes
  • Cheesy Corned Beef Hash Breakfast Casserole
  • Million Dollar Bacon
  • Homemade Baked Beans (from Scratch)
  • Make Ahead Breakfast Sandwiches
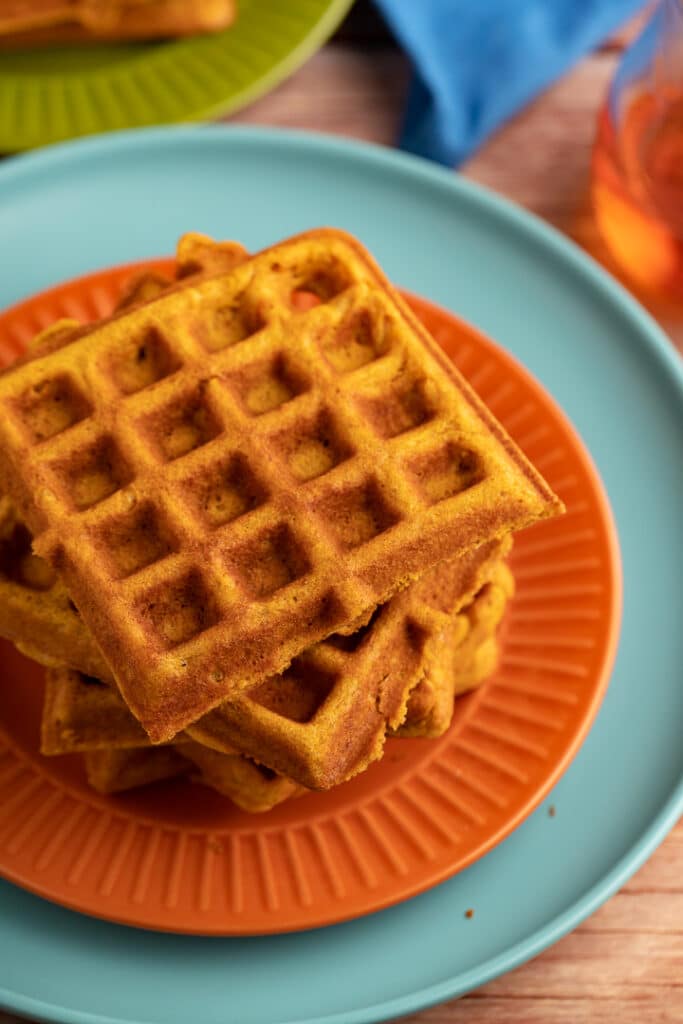
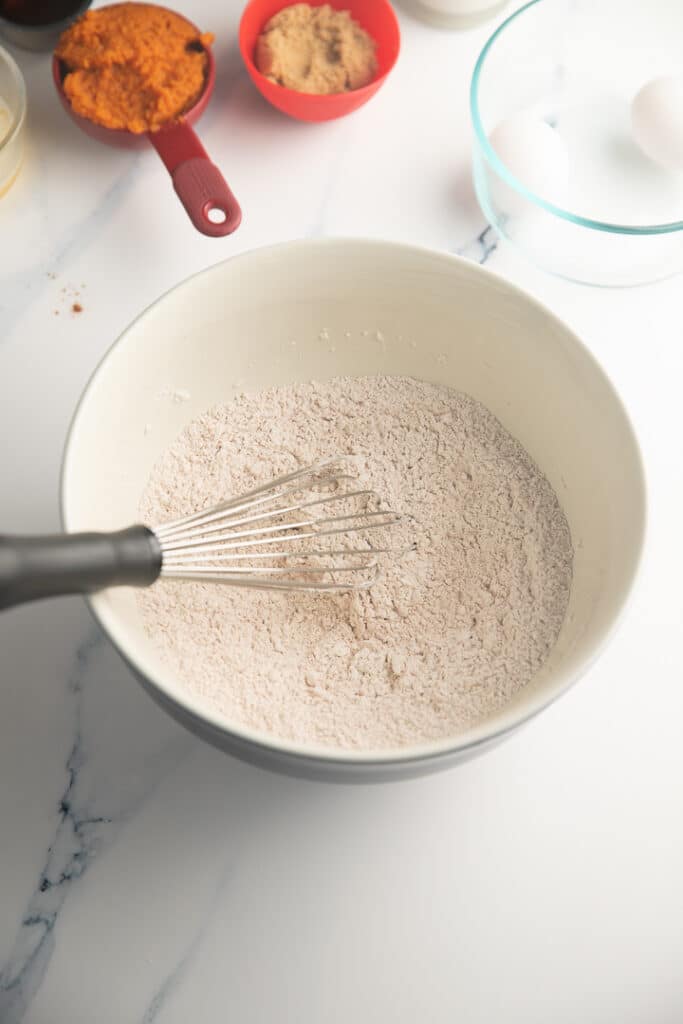
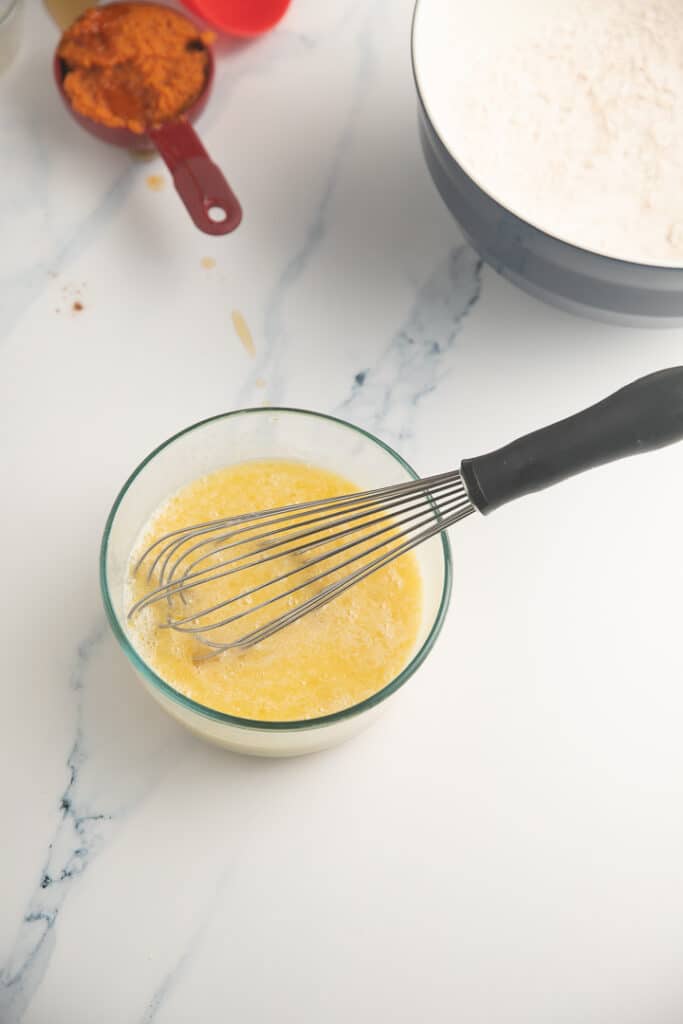
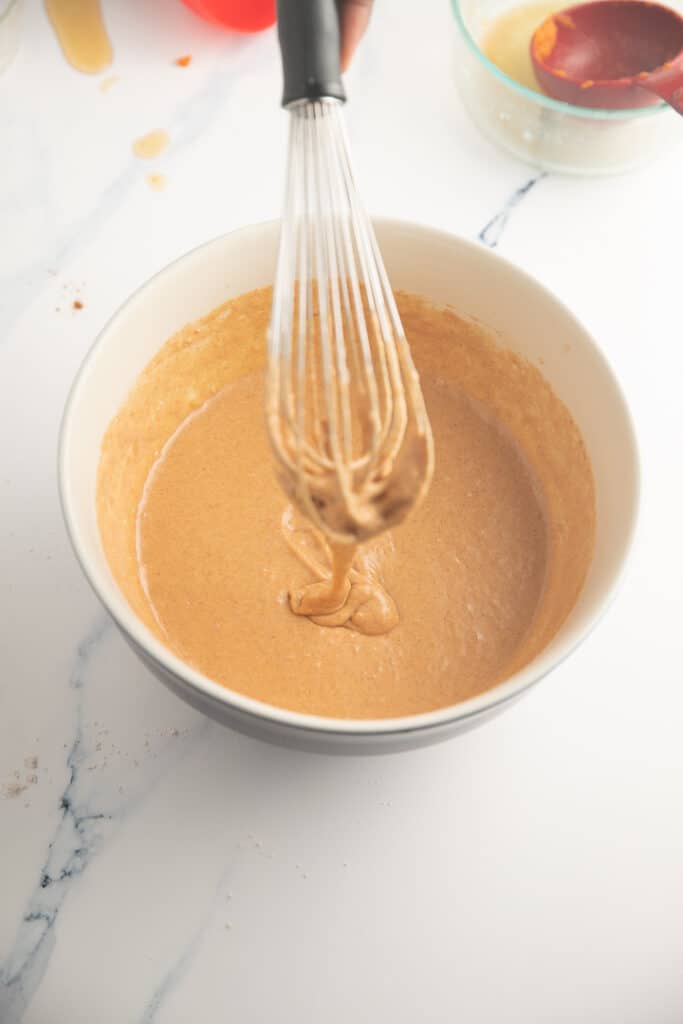
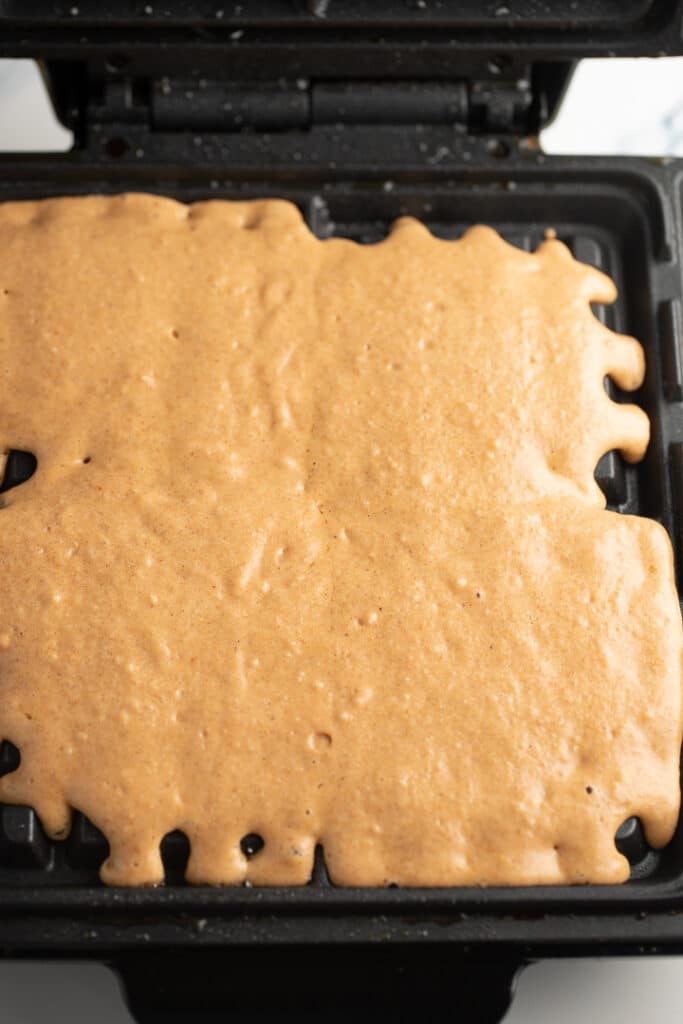
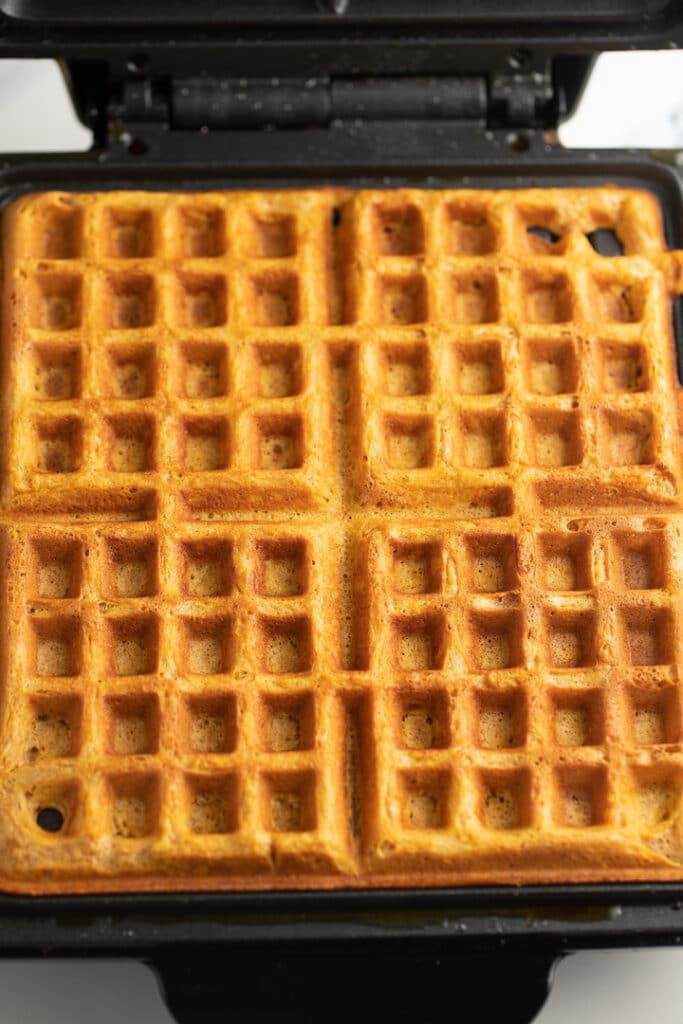
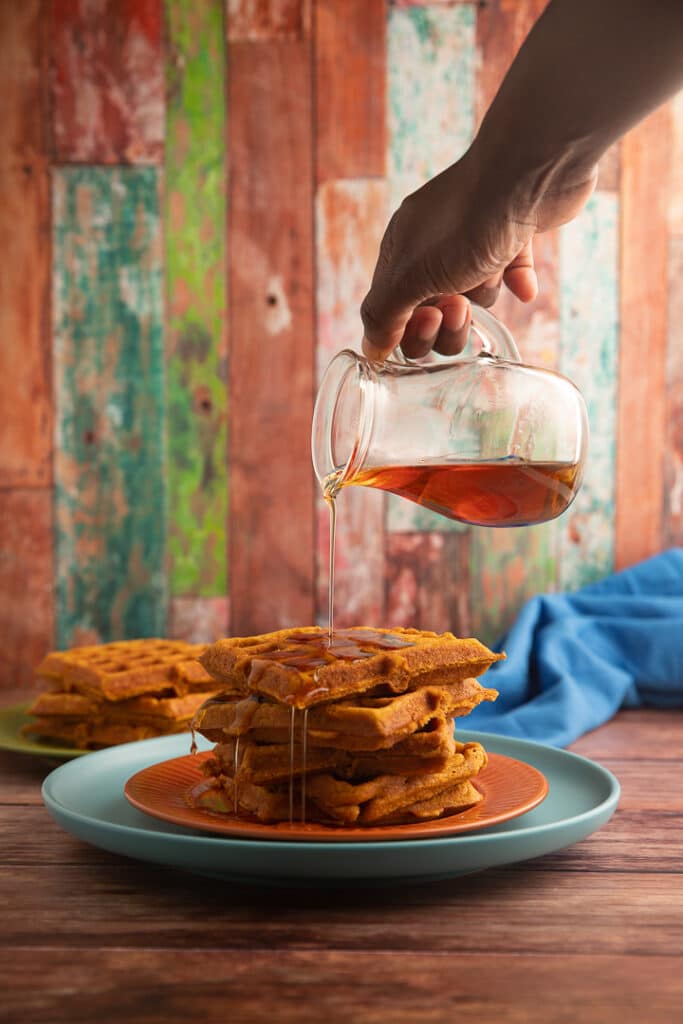
  • Pumpkin Waffles
Pancakes topped with fresh fruit
Print Recipe
5 from 2 votes

Sheet Pan Pancakes

Make mornings a breeze with these easy sheet pan pancakes! No need to watch hot pans, just bake them in the oven and serve! Ready to enjoy in 30 minutes.
Prep Time10 minutes mins
Cook Time20 minutes mins
Total Time30 minutes mins
Course: Breakfast
Cuisine: American
Keyword: baked pancakes, fluffy pancake recipe, sheet pan pancakes
Servings: 6 servings
Calories: 392kcal
Author: Tanya Harris

Ingredients

  • 3 cups all-purpose flour
  • 2 Tablespoon white granulated sugar
  • 1 Tablespoon baking powder
  • 1 teaspoon baking soda
  • 1 teaspoon salt
  • 2 cups milk
  • 2 eggs
  • 1 ½ teaspoon vanilla extract
  • 4 Tablespoon unsalted butter melted and cooled
  • 4 oz strawberries or blueberries chopped (optional)

Instructions

  • Preheat oven to 400 degrees Fahrenheit. Prepare a 17x12 sheet pan by greasing it or use parchment paper to cover the bottom. Set aside.
  • Mix flour, sugar, baking powder, baking soda, salt in a large bowl. Set aside.
  • In another bowl, add milk, eggs, vanilla extract, and butter and whisk to combine. Pour into the flour mixture and stir until combined. Do not overmix.
  • Spread batter into the prepared baking sheet.
  • Add fruit over the pancakes if using.
  • Bake 18-20 minutes, until pancakes are golden and done.

Notes

If adding fruit, toss them in ½ teaspoon of all-purpose flour before placing them on the pancakes. This will help them not sink to the bottom while baking

Nutrition

Calories: 392kcal | Carbohydrates: 58g | Protein: 11g | Fat: 12g | Saturated Fat: 7g | Cholesterol: 83mg | Sodium: 270mg | Potassium: 425mg | Fiber: 2g | Sugar: 9g | Vitamin A: 448IU | Vitamin C: 11mg | Calcium: 201mg | Iron: 3mg

July 9, 2020 by Tanya Harris Leave a Comment

Tartar Sauce

tartar sauce on plate surrounded by shrimp

This creamy homemade tartar sauce is so easy to make with just 5 simple ingredients. Rich and tangy, it's the perfect accompaniment to and seafood dish.

Tartar sauce in a bowl in the middle of a plate of shrimp

This post contains affiliate links, please read my full disclaimer here.

You’ll find the full recipe with ingredient amounts and instructions in the recipe card at the bottom of this post. Be sure to check out the blog post itself for extra tips and tricks!

Tartar sauce is a must whenever we have seafood and homemade is so much more tangy and fresher than any store bought varieties. This is so rich and creamy, and even better, it takes less than 5 minutes to make a batch!

This sauce is perfect to serve along side my air fryer crispy shrimp, air fryer salmon patties, or marinated air fryer salmon. You'll never buy it from the store after trying this recipe!

How To Make Tartar Sauce

It's so easy to make this tartar sauce, it hardly needs any directions! Simply add everything to a bowl and mix until combined.

Ingredinets in a bowl before being mixed
Tartar sauce in a white bowl with a spoon

How long does it keep?

This homemade tartar sauce will keep well in the fridge for up to 2 weeks. Keep it in an airtight container or jar and you can use it right from chilled.

Can you freeze the sauce?

The tartar sauce is mayonnaise based so it is best not to freeze it as the texture will alter.

What does tartar sauce taste like?

This sauce is so delicious! It's super creamy, which is thanks to the mayonnaise base. It is slightly tangy and the acid from the pickle and lemon juice cut through the mayo. The green onion adds a nice freshness and lightens up the sauce and a little sugar helps to balance everything out.

Recipe Variations

I decided not to add capers into this sauce, but if you like them, they make a great addition and work great with the pickle relish. If you like, you can also add in a minced garlic clove and you can swap the green onion for chives, which have a milder taste.

Tartar sauce in a bowl next to shrimp and a lemon wedge

Recipe Notes and Tips

  • Because this sauce is mayonnaise based, it must be kept refrigerated.
  • Use fresh lemon juice, it is so much more flavorful and tangy compared to bottled.
  • I used a full fat mayo as it's much richer, but you can use a low fat variety if you prefer.

More Easy Sauces and Dips

  • Homemade BBQ Sauce
  • Peruvian Green Sauce (Aji Verde)
  • Homemade Vegetarian Spaghetti Sauce
  • Homemade Remoulade Sauce
tartar sauce on plate surrounded by shrimp
Print Recipe
5 from 1 vote

Tartar Sauce

This creamy homemade tartar sauce is so easy to make with just 5 simple ingredients. Rich and tangy, it's the perfect accompaniment to and seafood dish.
Prep Time5 minutes mins
Total Time5 minutes mins
Course: Sauce
Cuisine: American
Keyword: homemade tartar, how to make tartar sauce, tartar sauce
Servings: 10 to 12 servings
Calories: 120kcal
Author: Tanya Harris

Ingredients

  • ¾ cup mayonnaise
  • 1 green onion chopped finely
  • 3 Tablespoons dill relish
  • 1 Tablespoon lemon juice
  • ½ teaspoon granulated white sugar

Instructions

  • Combine in a bowl. Serve immediately or chill.

Notes

  • Because this sauce is mayonnaise based, it must be kept refrigerated.
  • Use fresh lemon juice, it is so much more flavorful and tangy compared to bottled.
  • I used a full fat mayo as it's much richer, but you can use a low fat variety if you prefer.

Nutrition

Calories: 120kcal | Carbohydrates: 2g | Protein: 1g | Fat: 13g | Saturated Fat: 2g | Cholesterol: 7mg | Sodium: 156mg | Fiber: 1g | Sugar: 1g | Vitamin A: 30IU | Vitamin C: 1mg | Calcium: 1mg | Iron: 1mg

July 9, 2020 by Tanya Harris Leave a Comment

Cocktail Sauce

cocktail sauce in bowl with shrimp in background

This easy-to-make homemade cocktail sauce is a delicious accompaniment to fried shrimp. Ready to serve in less than 5 minutes, it's full of flavor and a great classic recipe to have in your arsenal!

cocktail sauce next to shrimp

This post contains affiliate links, please read my full disclaimer here.

You’ll find the full recipe with ingredient amounts and instructions in the recipe card at the bottom of this post. Be sure to check out the blog post itself for extra tips and tricks!

This classic cocktail sauce recipe is a wonderfully tangy dip that takes just minutes to make with a few simple ingredients. It's sweet and spicy, and homemade is so much fresher and flavorful than store-bought.

It's a wonderful accompaniment to my air fryer crispy shrimp, coconut shrimp, and fries. You can even use it as a spread for burgers and sandwiches!

How To Make Cocktail Sauce

It's so simple and easy to make this sauce, combine the ingredients in a small bowl and serve or chill. It's as simple as that!

Ingredients in a glass jar before being mixed
close up of cocktail sauce

How long does homemade cocktail sauce keep?

So here's the good news, this sauce has a long shelf life! It will keep well in an airtight container in the fridge for at least two weeks! The recipe is easily doubled, so be sure to make a big batch!

Can you freeze it?

Because this cocktail sauce has a long life in the fridge, I don't freeze it, but it will freeze and keep well. Freeze it in a bag or container, and it will keep well for up to 6 months. Thaw it in the fridge overnight to use.

What do you serve with cocktail sauce?

This sauce is traditionally served with shrimp, like my air fryer crispy shrimp, but it's also great with lots of other seafood like crab, calamari, or fish like salmon. Mix it with tomato juice to make a great started for a Bloody Mary and mix it with a little mayo for a dip that is perfect for fries.

The sauce in a bowl next to fried shrimp

Recipe Notes and Tips

  • All horseradish is different; some are spicier than others. Add less horseradish for a milder cocktail sauce and more if you like more of a kick.
  • Don’t use horseradish sauce. Make sure it’s prepared horseradish. You can usually find this in the deli section of your supermarket.

More Dips and Sauces

  • Homemade BBQ Sauce
  • Homemade Remoulade Sauce
  • Easy Queso Dip Recipe
  • Roasted Cauliflower Dip
cocktail sauce in bowl with shrimp in background
Print Recipe
No ratings yet

Homemade Cocktail Sauce

This easy to make cocktail sauce is a delicious accompaniment to fried shrimp. Read to serve in less than 5 minutes, it's full of flavor and a great classic recipe to have in your arsenal!
Prep Time5 minutes mins
Total Time5 minutes mins
Course: Dip, Sauce
Cuisine: American
Keyword: cocktail dip recipe, cocktail sauce, shrimp cocktail sauce
Servings: 4 to 6 servings
Calories: 38kcal
Author: Tanya Harris

Ingredients

  • ½ cup ketchup
  • 1-2 Tablespoon prepared horseradish
  • 1 Tablespoon lemon juice
  • 1 teaspoon Worcestershire sauce
  • 1 teaspoon hot sauce

Instructions

  • Combine ingredients in a bowl. Serve immediately or serve chilled.

Notes

  • All horseradish is different, some are spicier than others. Add less horseradish for a milder cocktail sauce and more if you like more of a kick.
  • Don’t use horseradish sauce. Make sure it’s prepared horseradish. You can usually find this in the deli section of your supermarket.

Nutrition

Calories: 38kcal | Carbohydrates: 9g | Protein: 1g | Fat: 1g | Saturated Fat: 1g | Sodium: 334mg | Potassium: 116mg | Fiber: 1g | Sugar: 7g | Vitamin A: 154IU | Vitamin C: 4mg | Calcium: 5mg | Iron: 1mg

July 6, 2020 by Tanya Harris 15 Comments

Sautéed Yellow Squash

This simple vegetable side dish is so easy and quick to make and is super versatile. Sautéed yellow squash is a great summer dish, cooked with slices of onion, it's vibrant and oh so delicious!

A wooden spoon moving the vegetables in a skillet

You’ll find the full recipe with ingredient amounts and instructions in the recipe card at the bottom of this post. Be sure to check out the blog post itself for extra tips and tricks!

If you are anything like me, you're always on the lookout for new side dishes! And since I live in the South, I love to eat fresh vegetables that are in season, cooked until tender and sweet. This sautéed summer squash is wonderfully fresh and vibrant, making it an excellent pairing for many dishes.

This squash is incredibly simple to make and pairs well with a wide range of dishes. Try it with marinated salmon, whole chicken, or steak kebabs.

Sautéed Yellow Squash Ingredients

There's nothing complicated about this dish; you just need a few simple ingredients:

  • Yellow squash
  • Sweet onion
  • Unsalted butter
  • Garlic powder
  • Salt and white pepper
Ingredients to make the recipe

How To Make Sautéed Yellow Squash

Add ingredients to a 12-inch skillet over medium heat.

Stir and cook the squash and onions until they are softened, about 15-20 minutes.

squash cut on cooking board
squash and onions in skillet

What is yellow squash?

Yellow squash is a variety of summer squash. They have a creamy white flesh and their seeds are larger than other varieties. They can be found all year round in stores, but their peak season is in the summer months. It is mild tasting with a slight sweetness.

Why sauté with butter?

I sautéed the yellow squash and onions in butter rather than oil as it adds a really nice flavor. If you prefer, or want to make this dish vegan, you can of course use oil instead, you would need about 1 tablespoon.

I prefer to use unsalted butter and then add in the salt to taste. You can use salted butter, but you may want to cut back on the added salt if you do.

Can you use other squashes for this recipe?

I love the flavor and vibrant colors of the yellow squash, but if you can't get hold of it, you can easily substitute it with either green or yellow zucchini.

Cooked yellow squash and onions in a skillet

Tanya's Notes and Tips

  • Slice the squash into evenly sized pieces to ensure even cooking.
  • Cook the dish on a medium heat. Butter has a low smoking point, so you need to be careful not to burn it.
  • Stir the squash frequently while it is cooking.

More Easy Vegetable Side Dishes

  • Yellow Squash Soup
  • Marinated Air Fryer Vegetables
  • Sautéed Beet Greens
  • Air Fryer Carrots
  • Buttery Instant Pot Green Beans
Print Recipe
5 from 9 votes

Sautéed Yellow Squash

This Sautéed Yellow Squash is so simple yet delicious. Yellow squash slowly cooked in butter and spices until tender.
Prep Time5 minutes mins
Cook Time15 minutes mins
Total Time20 minutes mins
Course: Side Dish
Cuisine: American
Keyword: sauteed squash, yellow squash recipe, yellow squash side dish
Servings: 4 servings
Calories: 132kcal
Author: Tanya Harris

Ingredients

  • 1.5 lbs yellow squash sliced thin
  • 1 large sweet onion thinly sliced
  • 3 Tablespoon unsalted butter
  • ¾ teaspoon garlic powder
  • ¾ teaspoon salt or to taste
  • ½ teaspoon ground white pepper

Instructions

  • Add ingredients to a 12-inch skillet over medium heat.
  • Stir and cook the squash until it’s softened, about 15-20 minutes.

Video

Notes

  • Slice the squash into evenly sized pieces so that they cook evenly.
  • Cook the dish on a medium heat. Butter has a low smoking point, so you need to be careful not to burn it.
  • Stir the squash frequently while it is cooking.

Nutrition

Calories: 132kcal | Carbohydrates: 13g | Protein: 3g | Fat: 9g | Saturated Fat: 5g | Polyunsaturated Fat: 0.5g | Monounsaturated Fat: 2g | Trans Fat: 0.3g | Cholesterol: 23mg | Sodium: 448mg | Potassium: 554mg | Fiber: 3g | Sugar: 8g | Vitamin A: 603IU | Vitamin C: 33mg | Calcium: 46mg | Iron: 1mg
  • « Previous Page
  • 1
  • …
  • 53
  • 54
  • 55
  • 56
  • 57
  • …
  • 73
  • Next Page »
tanya holding bowl and mixing

Welcome!

Welcome to My Forking Life! Hi, I'm Tanya, an attorney, busy wife and mom, and lover of quick, easy, and delicious meals.

More about me

Popular Recipes

  • Jamaican Oxtails Recipe
  • brown stew chicken in pan
    Brown Stew Chicken
  • Air fryer fried chicken on a white platter
    Air Fryer Fried Chicken
  • Jamaican Instant Pot Rice and Beans

Holiday Favorites

  • sweet potato pie on a plate
    Southern Sweet Potato Pie Recipe
  • spoon lifting gravy out of gravy dish
    Easy Recipe for Gravy without Drippings
  • Stirring the giblet gravy with a spoon.
    Grandma's Giblet Gravy Recipe
  • creamy baked macaroni and cheese, the best baked macaroni and cheese, creamy mac and cheese
    Creamy Baked Macaroni and Cheese
as seen on...various online websites text listed

Footer

↑ back to top
  • Privacy Policy
  • Contact
  • About Tanya

As an Amazon Associate, I earn from qualifying purchases.

Copyright © 2026 My Forking Life

Rate This Recipe

Your vote:


Let us know what you thought of this recipe:

This worked exactly as written, thanks!
My family loved this!
Thank you for sharing this recipe

Or write in your own words:

A rating is required
A name is required
An email is required