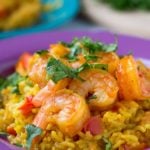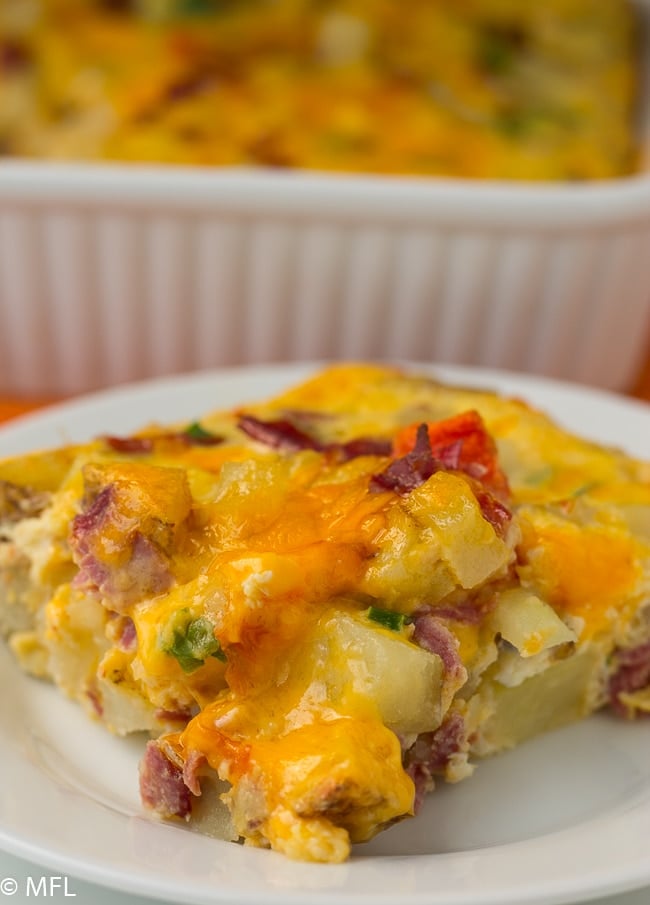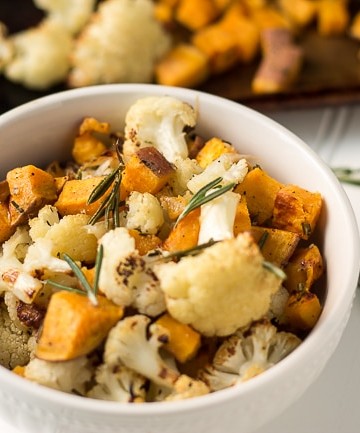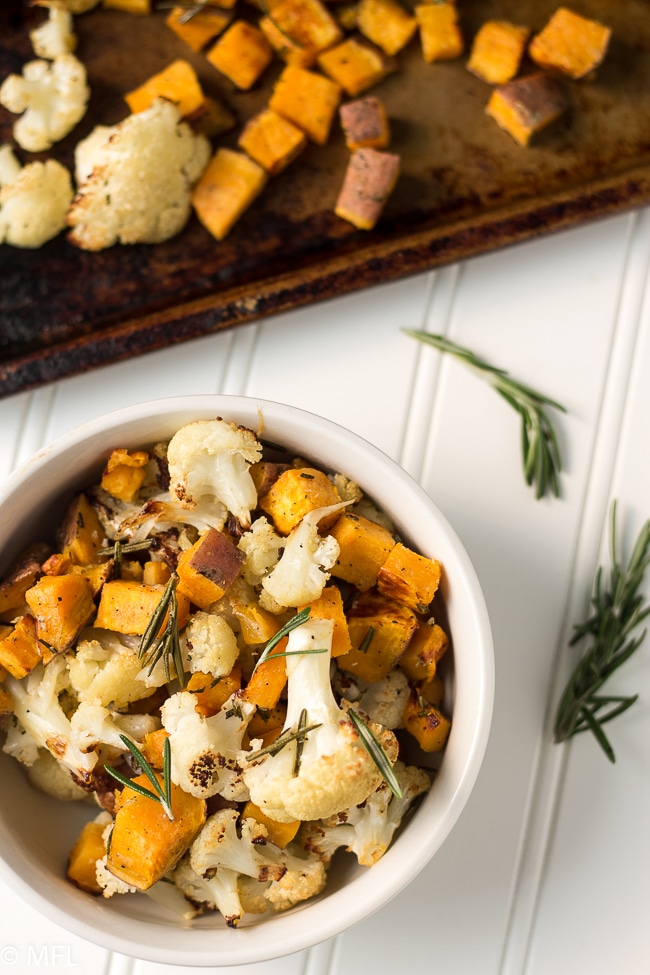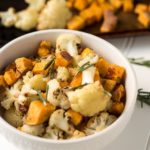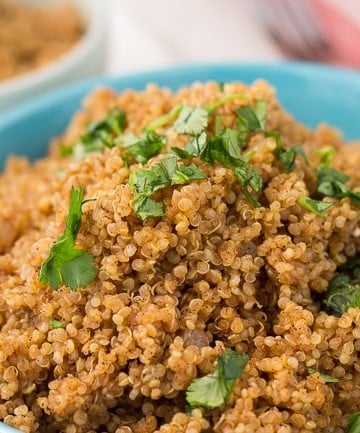
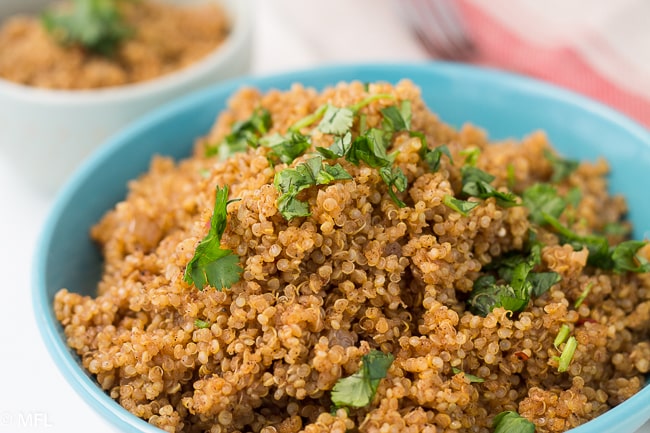
This Awesome Quinoa Dish is a delicious spin on quinoa. Eat more quinoa with this recipe.
This post contains affiliate links, please read my full disclaimer here.
You’ll find the full recipe with ingredient amounts and instructions in the recipe card at the bottom of this post. Be sure to check out the blog post itself for extra tips and tricks!
April is here! Did you play any April Fools Day pranks on anyone? I didn't. My husband tried to trick me all day...he never got me. I couldn't think of anything clever so unfortunately I didn't get anyone this year. I'll have to make sure to plan something amazing next year.
So about this Awesome Quinoa Dish...it was provided to me by my friend/co-worker Kate. Funny enough, while we chatted during court sessions, I told her how much I despised quinoa. First, I had no clue on how to pronounce it correctly. Thankfully, Kate was able to teach me the right pronunciation(Keen-wah). No more strange looks when I ask where the quinoa is located in the grocery store.
Second, I just didn't like the taste. She was shocked and informed me that quinoa could be...well delicious. I doubted her at first but Kate was nice enough to write the recipe out for me with the title of "Awesome Quinoa." It took me a while to get to trying the recipe and when I finally did, I had to admit it was pretty awesome. Even my daughter loved it...and she is the pickiest.
I've been experimenting a ton with quinoa now but this quinoa dish is what really got me into it. This quinoa recipe is great as a side dish or a base for other dishes, like chicken burrito bowls or even vegetarian Buddha bowls. Feel free to sub the chicken broth with vegetable broth.
So why quinoa rather than good ol' fashion rice? Because there are a ton of health benefits associated with quinoa. I haven't given up on rice but it's a nice way to mix it up from time and time again. I hope you enjoy this quinoa recipe as much as we do. I've provided a video with this one. I've been practicing on my video creation and editing...I think I did a pretty decent job with this one. Well, until the next recipe and video.
Awesome Quinoa
Ingredients
- olive oil
- 1 medium onion diced
- 2 cloves garlic diced
- 1 cup quinoa
- 2 teaspoon chili powder
- 1 teaspoon cumin
- ½ teaspoon red pepper flakes
- ¼ teaspoon cinnamon
- 1 pinch cocoa powder
- ¼ cup white wine
- 2 cups chicken broth
- salt & pepper to taste
Instructions
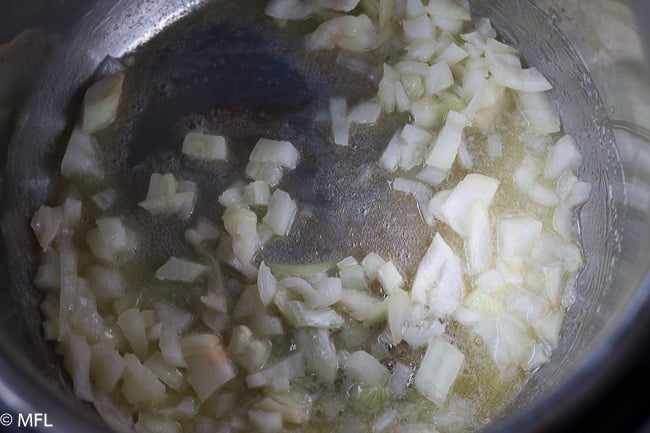
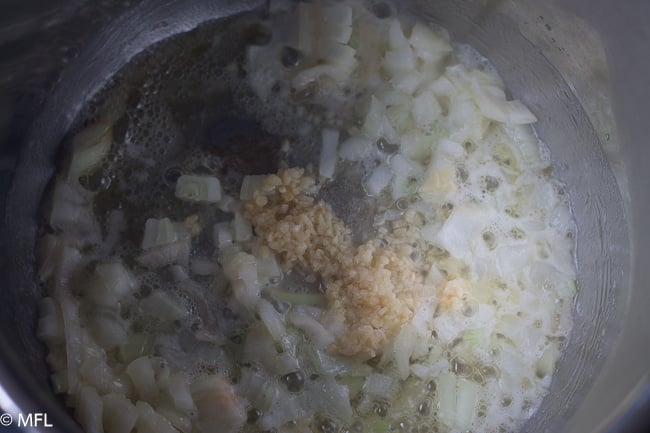
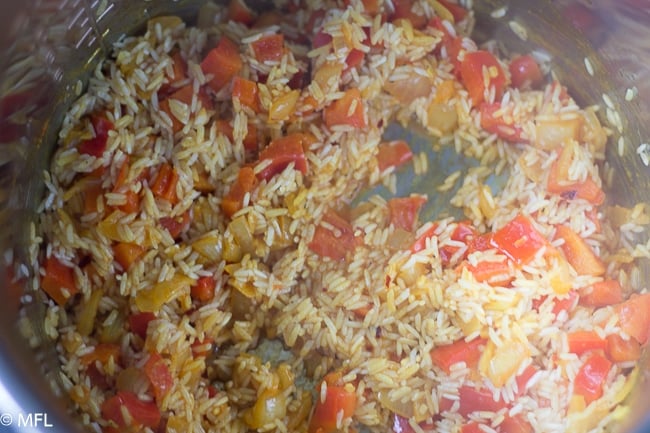
- Sauté onions and garlic in olive oil over medium heat until onions are softened. Add quinoa and stir until quinoa gets slightly puffed. Add chili powder, cumin, red pepper flakes, cinnamon, cocoa powder, and salt and pepper. Cook for 1 minute, stirring occasionally. Add white whine and chicken broth. Stir. Reduce heat to medium low. Cover and cook for 15 minutes. Remove lid and stir. Serve and Enjoy 🙂
Nutrition
Pin Awesome Quinoa Dish for Later