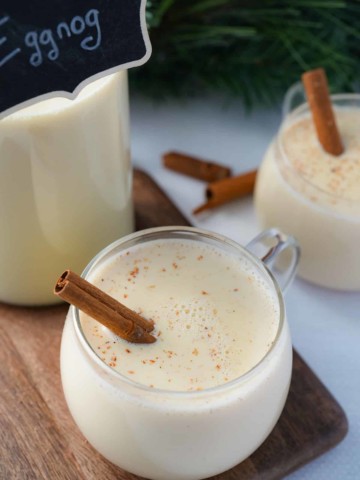
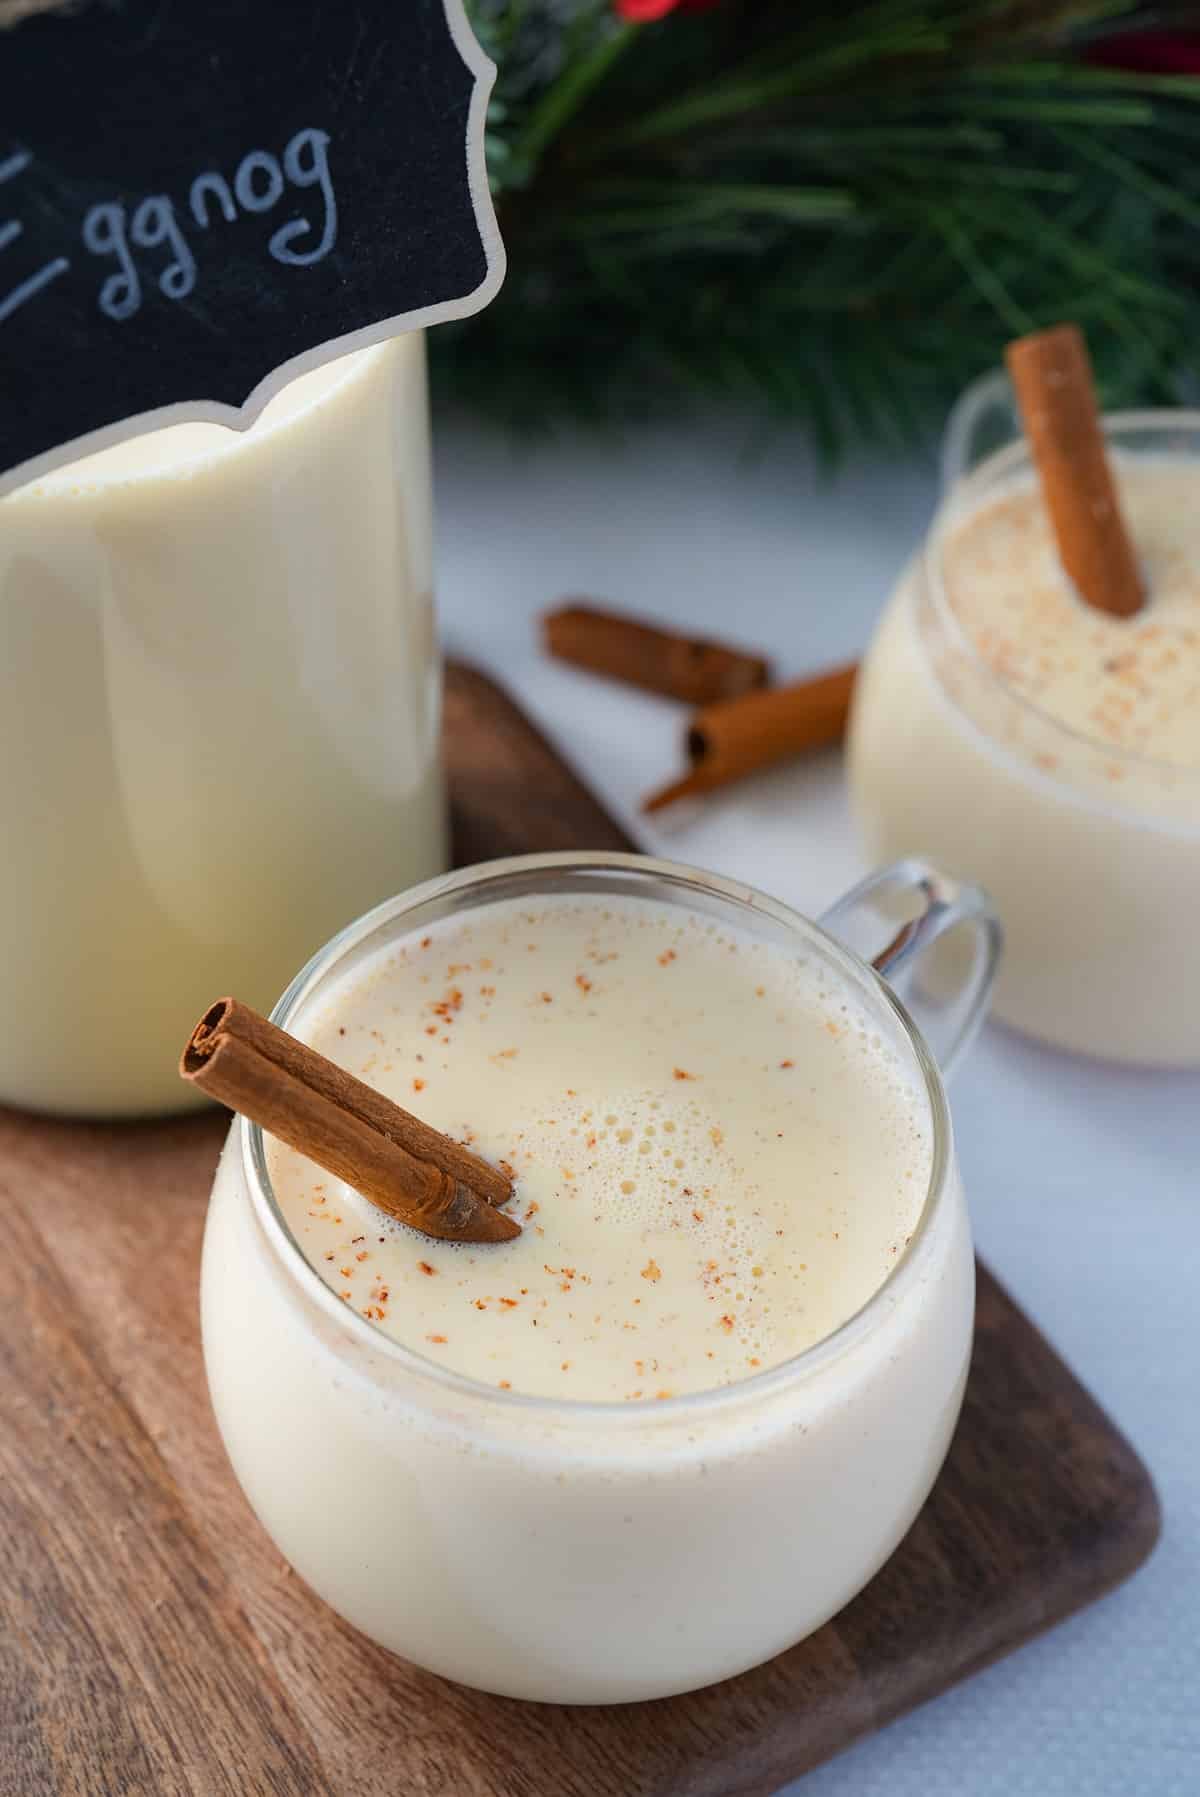
This creamy and rich homemade eggnog recipe is the perfect drink to prepare this Holiday season. Seasoned with the perfect spice mix of cinnamon, nutmeg, and ginger, this is an eggnog recipe you'll want to make year after year.
You’ll find the full recipe with ingredient amounts and instructions in the recipe card at the bottom of this post. Be sure to check out the blog post itself for extra tips and tricks!
I was once intimidated by the thought of making eggnog from scratch. There are so many methods, and the idea of tempering eggs felt like something only professional chefs could pull off. At one point, I even considered trying the "raw egg" version that some recipes suggest—but I couldn’t quite get myself on board with that idea.
Eventually, I decided to face my fears and try cooked eggnog. Spoiler alert: it’s much easier than expected! I never looked back once I learned how simple and rewarding the process is. Making eggnog from scratch has become one of my favorite holiday traditions.
If you love eggnog like I do, check out my eggnog bread pudding.
A Quick Look at the Ingredients and Tools You Need
Ingredient amounts and full recipe instructions are on the printable recipe card at the bottom of the post.
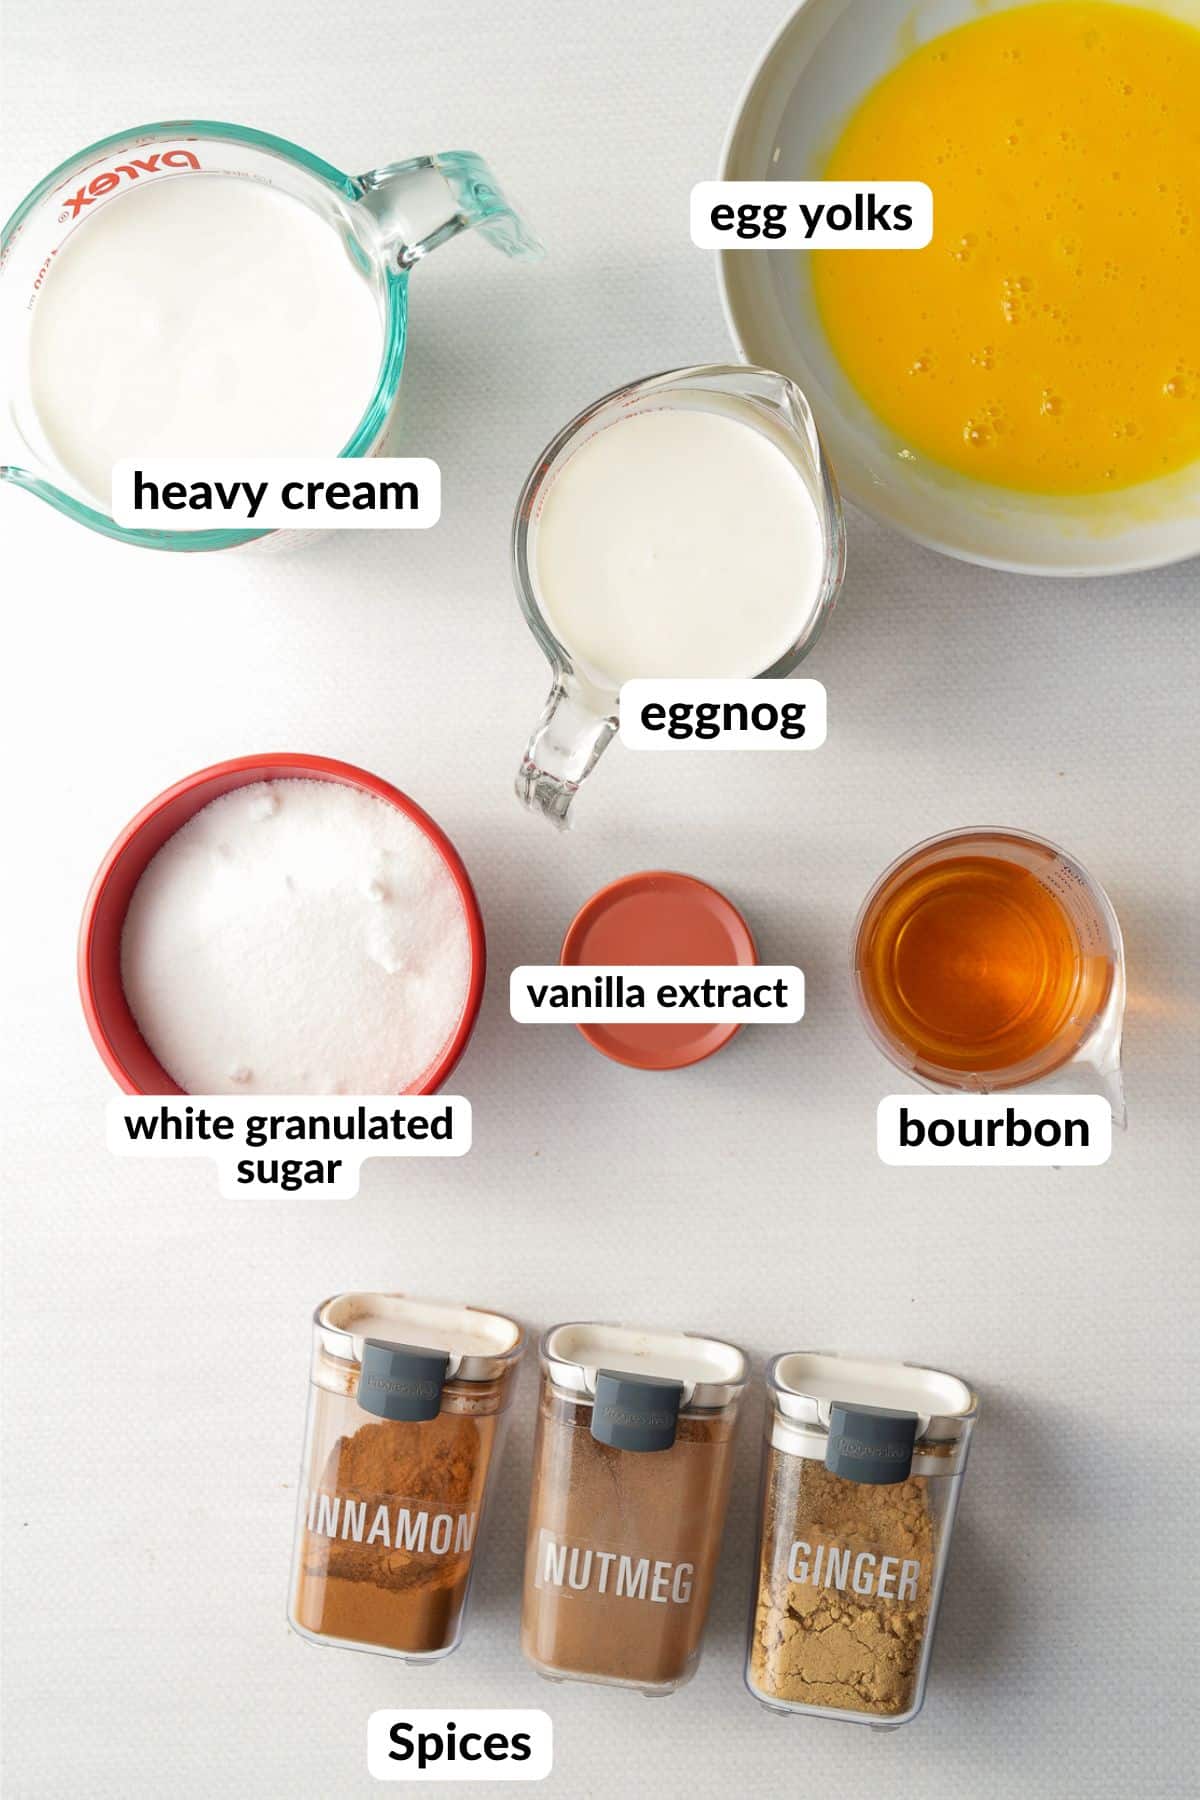
- The Star Ingredient, Egg Yolks: The foundation of traditional eggnog, giving it its rich, creamy texture. I only use egg yolks in this recipe; I use the egg whites to make egg white omelets.
- Whole milk and heavy cream: These create the creamy, velvety texture essential to eggnog.
- Granulated sugar: Balances the richness and enhances the flavor with sweetness.
- Vanilla extract, ground cinnamon, ginger powder, and nutmeg: These spices bring warmth and festive flavor to the eggnog.
- Optional Add-In: Bourbon, rum, or brandy for a boozy version that pairs well with the spices.
Tools You’ll Need
- Medium saucepan
- Large mixing bowl
- Whisk
- Thermometer
- Fine-mesh sieve
- Pitcher or large bowl
Step by Step Directions on How to Make Homemade Eggnog
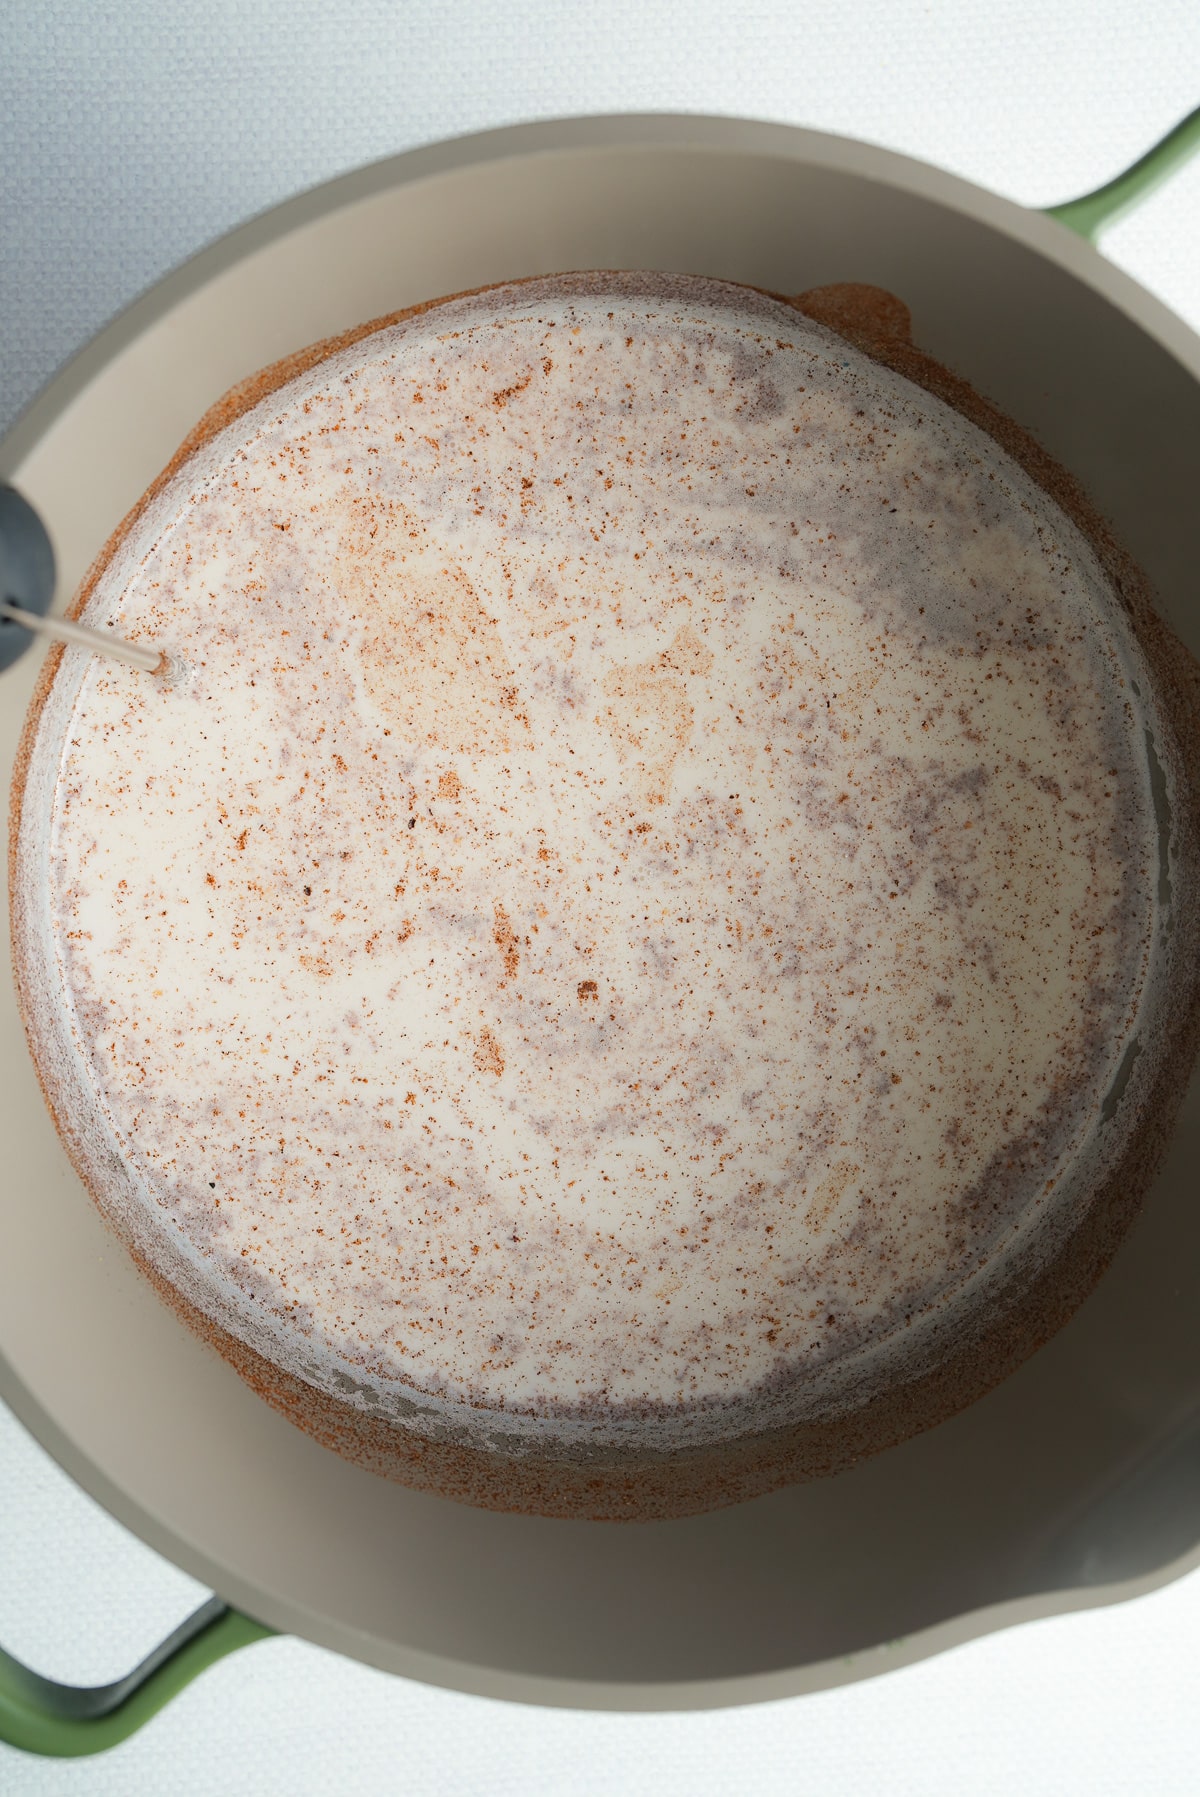
Step 1: Warm the Milk and Spices
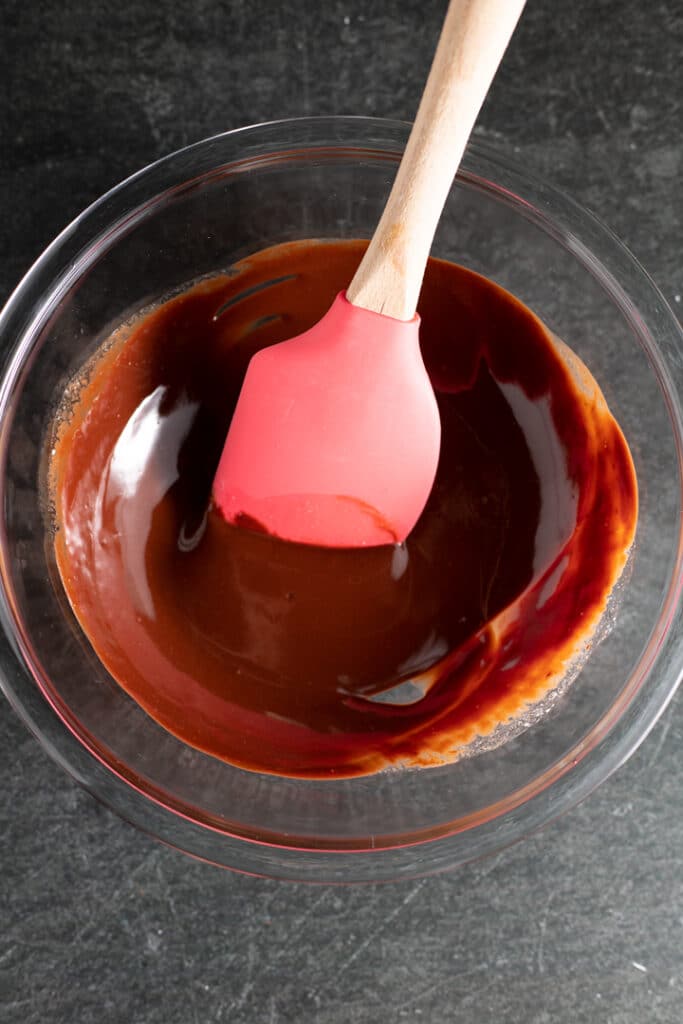
In a medium saucepan, combine the whole milk, ground cinnamon, ginger powder, and nutmeg. Heat over medium heat, stirring occasionally, until the mixture is steaming and the spices are fragrant. Be careful not to let the mixture boil, as we want to infuse the flavors without scalding the milk.
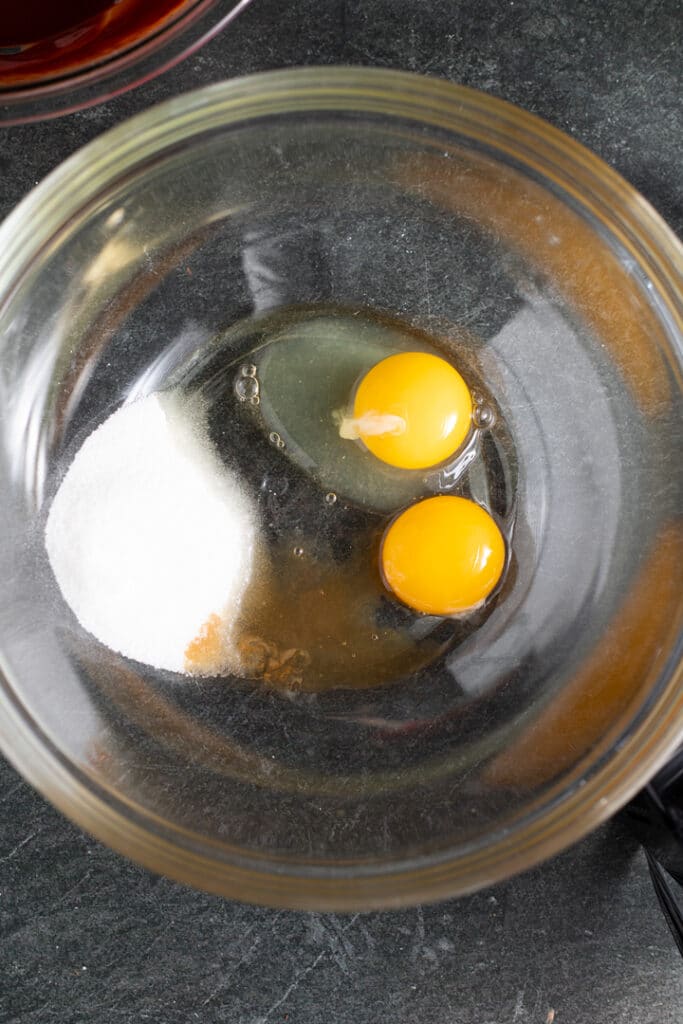
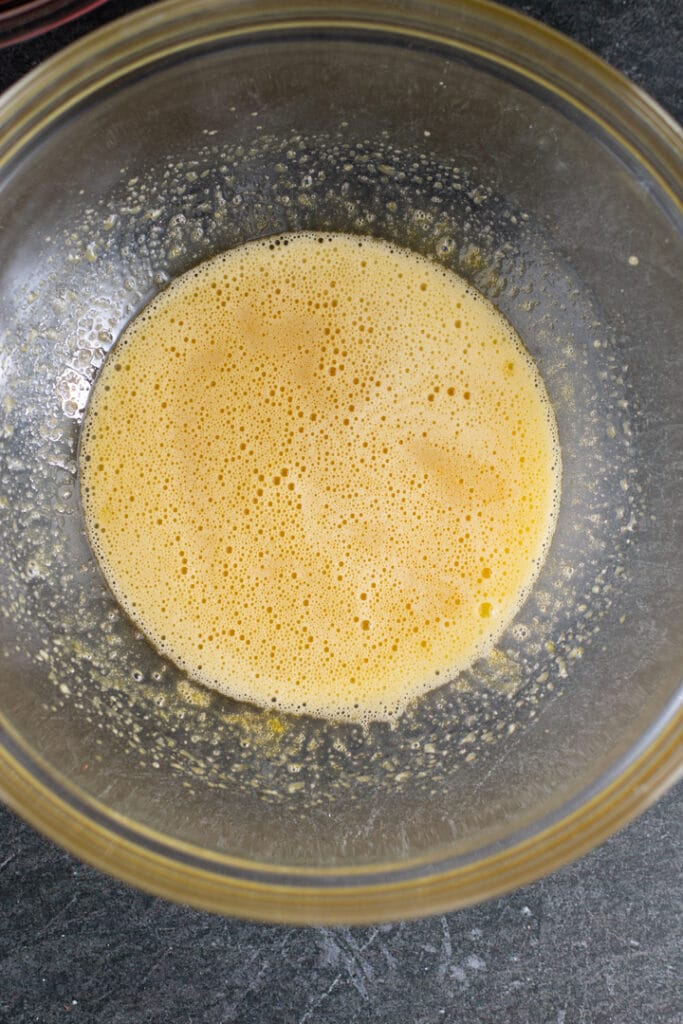
Step 2: Whisk the Egg Yolks and Sugar
In a large bowl, whisk together the egg yolks and sugar until the mixture becomes light, fluffy, and pale in color. This helps dissolve the sugar and creates a smooth base for the eggnog.

Step 3: Temper the Eggs
To avoid curdling the eggs, gradually pour about 1 cup of the warm milk mixture into the egg yolk mixture, whisking constantly. Once combined, pour this tempered mixture back into the saucepan with the remaining milk.
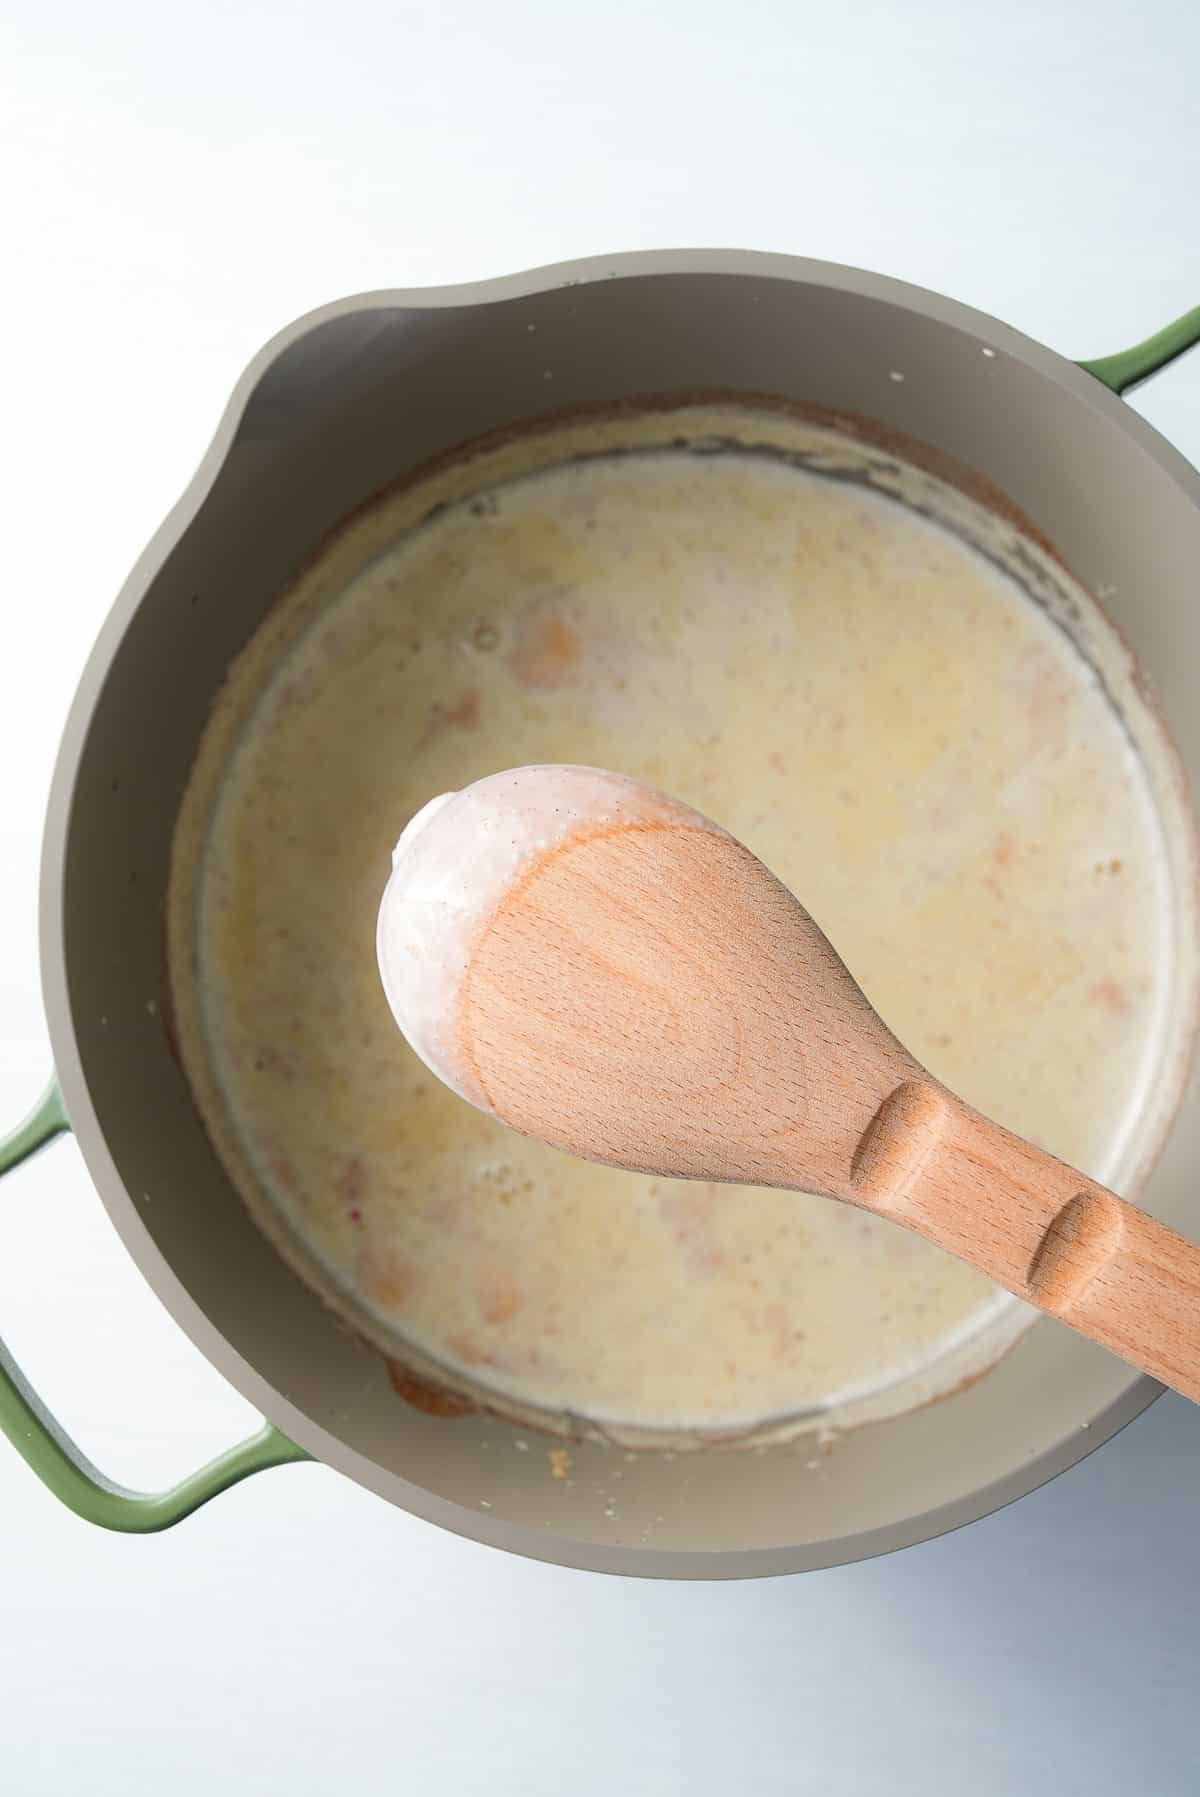
Step 4: Cook Until Thickened
Cook the mixture over low heat, stirring frequently, until it thickens slightly and coats the back of a spoon. Use a kitchen thermometer to check the temperature—it should reach 160°F–165°F (71°C–74°C). This ensures the eggs are safe to consume. Avoid boiling, as it may curdle the mixture.
Step 5: Strain and Cool
Pour the thickened mixture through a fine-mesh sieve into a pitcher or bowl to remove cooked egg bits or spice sediment. This step ensures a silky-smooth eggnog.
Step 6: Add Cream and Flavorings
Stir in the heavy cream, vanilla extract, and alcohol if using.
Step 7: Chill and Serve
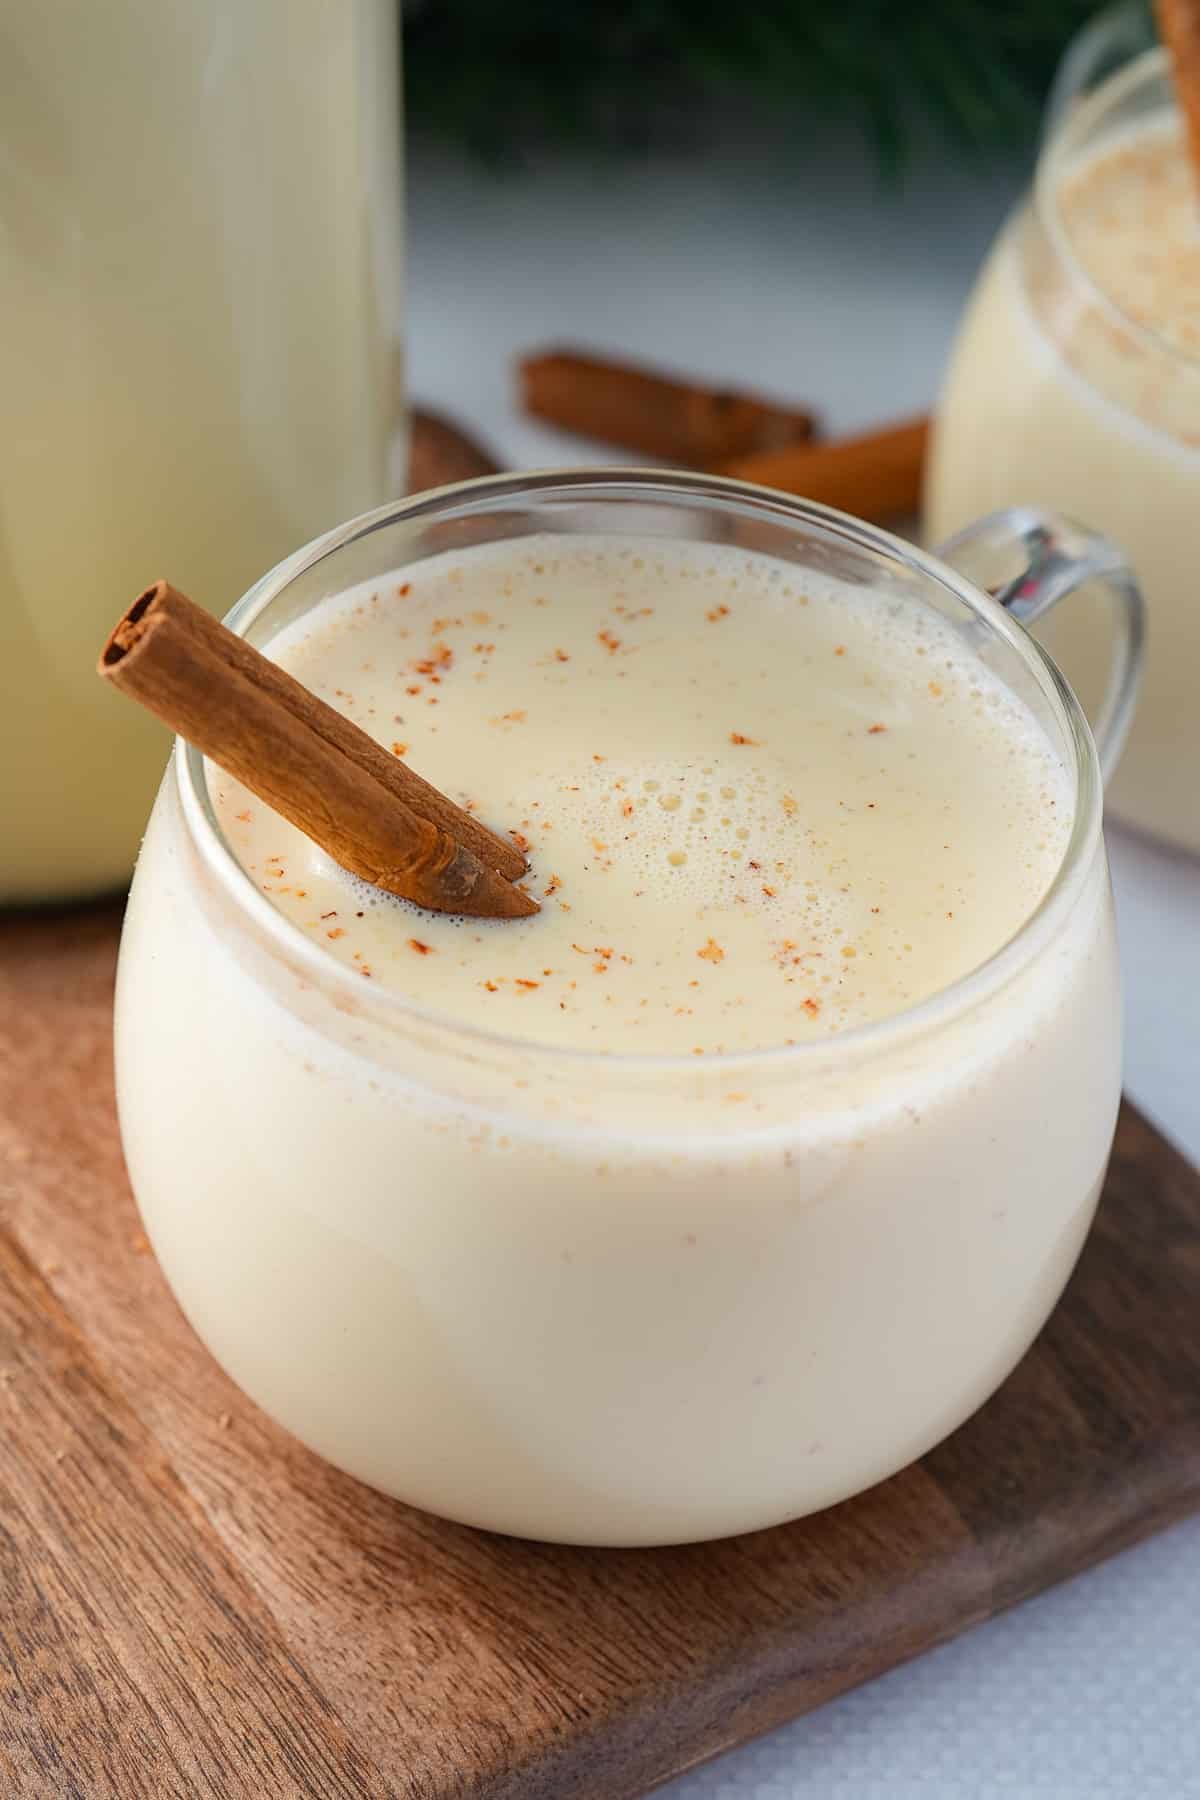
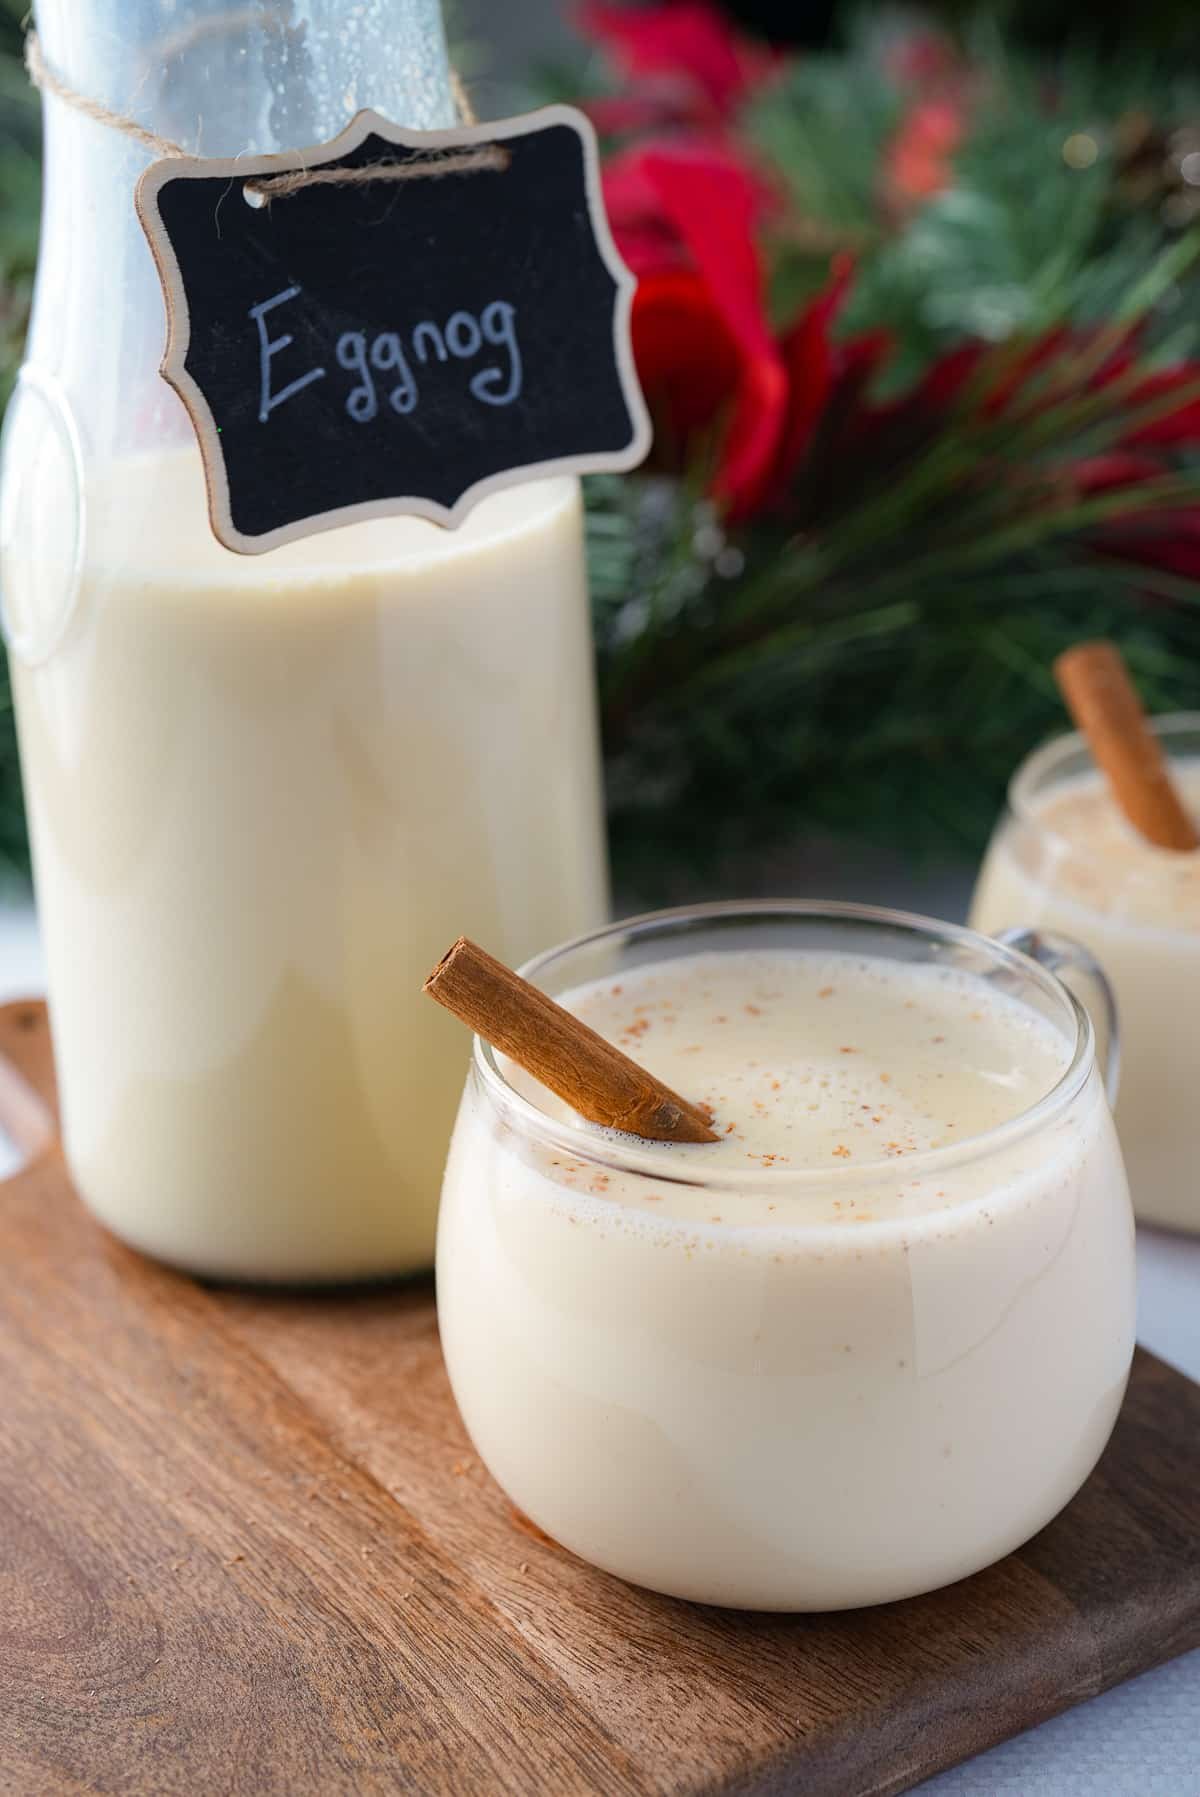
Cover and refrigerate the eggnog for at least 2 hours or, ideally, overnight. This resting time allows the flavors to meld together beautifully. Serve chilled, garnished with a sprinkle of freshly grated nutmeg for the ultimate holiday treat. However, you could also serve it warm and enjoy it immediately.
What Is Tempering Eggs?
When making eggnog, tempering eggs involves slowly adding a small amount of hot liquid (in this case, the spiced milk mixture) into the beaten egg yolks while whisking constantly. This gradually raises the temperature of the yolks so they can be safely incorporated into the rest of the hot mixture without curdling.
Make Ahead and Storage Instructions
Make Ahead:
Homemade eggnog is even better after resting for a day or two, as the flavors deepen. You can prepare it up to 3 days in advance.
Storage:
Store the eggnog in an airtight container in the refrigerator for up to 5 days. Give it a good stir before serving to reincorporate any separated layers.
Reheating Tips:
If you’d like to serve it warm, gently reheat individual servings over low heat, stirring constantly to prevent curdling.
Tanya's Tips for the Best Eggnog
- Fresh Spices: Freshly grated nutmeg makes a huge difference, providing a more vibrant and aromatic flavor. I stick with ground cinnamon and ground ginger powder in this recipe.
- Temperature Control: Keep a close eye on the heat while cooking the eggnog. A thermometer is your best friend for achieving the perfect consistency without scrambling the eggs. The eggnog should reach 160°F–165°F (71°C–74°C). If you find the eggnog getting too hot, lower the heat and remove the pan from the heat for a few seconds.
- Customizable: Adjust the spices or alcohol to suit your taste. For a non-alcoholic version, simply omit the spirits.
- Toppings:Top your eggnog with whipped cream or freshly grated nutmeg for the perfect finishing touch. Some people like to use whipped egg whites for a lighter, frothier texture. I personally skip this step because I prefer not to use raw egg whites. However, if you’d like to try it, I recommend using pasteurized eggs, which are gently heated to kill bacteria, making them safe to consume raw.
FAQs
Traditional recipes often use raw eggs, but this recipe involves cooking the mixture to 160°F, which eliminates any risk of harmful bacteria while keeping the creamy texture intact. If using raw eggs, I suggest you use pasteurized eggs, which are gently heated to kill bacteria, making them safe to consume raw.
Curdling happens when the mixture overheats. If you notice slight curdling, strain the eggnog through a fine-mesh sieve and whisk it vigorously to smooth it out.
Nutmeg, cinnamon, and ginger are the most common, but you can experiment with cloves or cardamom for unique flavor twists.
I hope you love this eggnog recipe as much as we do! Looking for more Holiday drinks, try these out:
I hope you love this recipe as much as we do. If you have tried this recipe or any other recipe on my blog, please rate it and let me know how it turned out in the comments below! Your feedback is invaluable and helps us grow. Thank you for your support!

Homemade Eggnog Recipe (Spiced and Velvety)
Ingredients
- 4 cups whole milk
- 1 teaspoon ground cinnamon
- 1 teaspoon ginger powder
- ¼ teaspoon ground nutmeg
- 6 large egg yolks
- 1 cup white granulated sugar
- 1 cup heavy cream
- 1 teaspoon vanilla extract
- ½ cup Bourbon or Rum optional
Instructions
- In a medium saucepan, combine the whole milk, ground cinnamon, ginger powder, and nutmeg. Heat over medium heat, stirring occasionally, until the mixture is steaming and the spices are fragrant. Avoid boiling.
- In a separate large bowl, whisk together the egg yolks and sugar until the mixture is light and fluffy.
- Gradually pour about 1 cup of the warm milk mixture into the egg yolk mixture, whisking constantly to avoid curdling. Once combined, pour the tempered egg yolk mixture back into the saucepan with the rest of the milk mixture.
- Cook the combined mixture over low heat, stirring continuously, until it thickens slightly and coats the back of a spoon, around 5-10 minutes. Make sure it doesn’t boil, we want to get it to a temp of 160F. and use a thermometer to keep it below 160°F (71C).
- Pour the thickened mixture through a fine-mesh sieve into a pitcher or bowl to remove any bits of cooked egg or spices.
- Stir in the heavy cream, vanilla extract, and alcohol if using. For a lighter texture, whip the optional egg whites to soft peaks and fold them into the mixture for added frothiness.
- Cover and refrigerate for at least 2 hours, or ideally overnight, to allow the flavors to meld.
Notes
-
- Fresh Spices: Freshly grated nutmeg makes all the difference, providing a more vibrant and aromatic flavor. I stick with ground cinnamon and ground ginger powder in this recipe.
-
- Temperature Control: Keep a close eye on the heat while cooking the eggnog. A thermometer is your best friend for achieving the perfect consistency without scrambling the eggs. The eggnog should reach 160°F–165°F (71°C–74°C). If you find the eggnog getting too hot, lower the heat and remove the pan from the heat for a few seconds.
- Although I recommend chilling the eggnog for 2 hours, you could also serve it warm and enjoy it immediately.