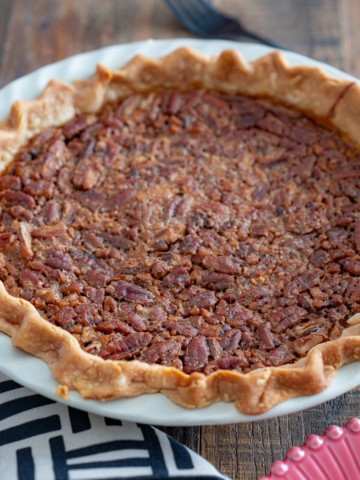
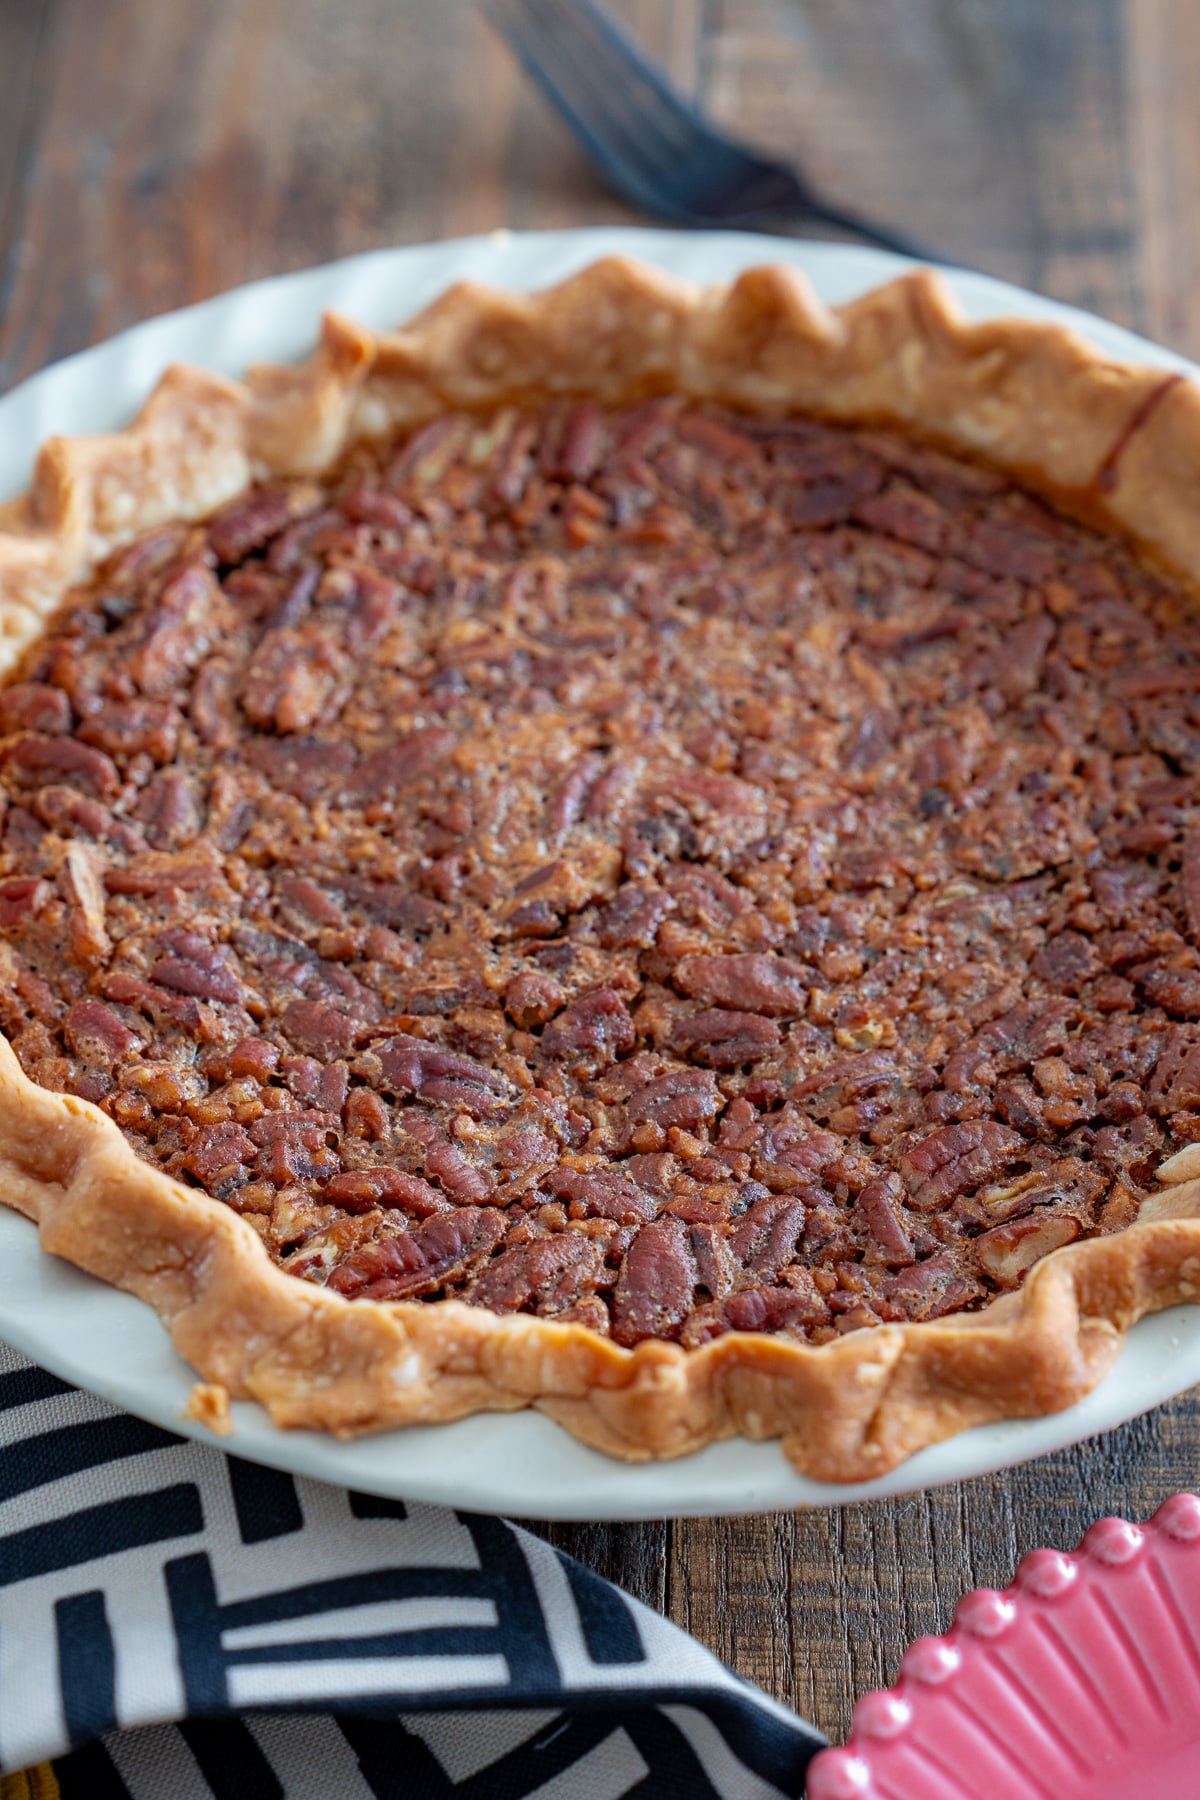
This Pecan Pie recipe is a delicious classic pie made with a custard base and topped with toasted pecans. Its rich, nutty flavor and buttery crust make it a favorite for holidays and special occasions.
This post contains affiliate links, please read my full disclaimer here.
You’ll find the full recipe with ingredient amounts and instructions in the recipe card at the bottom of this post. Be sure to check out the blog post itself for extra tips and tricks!
The many pies I enjoy during the holidays get me excited. From my sweet potato pie to chess pie, a good slice of pie makes me feel warm and content. Pecan pie may seem intimidating, but it's easy to make and involves very little prep. It'll be ready for the oven in less than 15 minutes.
This recipe came about after I tried many pecan pie recipes and finally created my own that my whole family loves. I use chopped pecans, for that crispy yummy topping, and use maple syrup in the smooth pudding like base.
This Pecan pie does not use dark corn syrup like most recipes do. There is nothing wrong with corn syrup; I added maple syrup and prefer the flavor that this gives the pie.
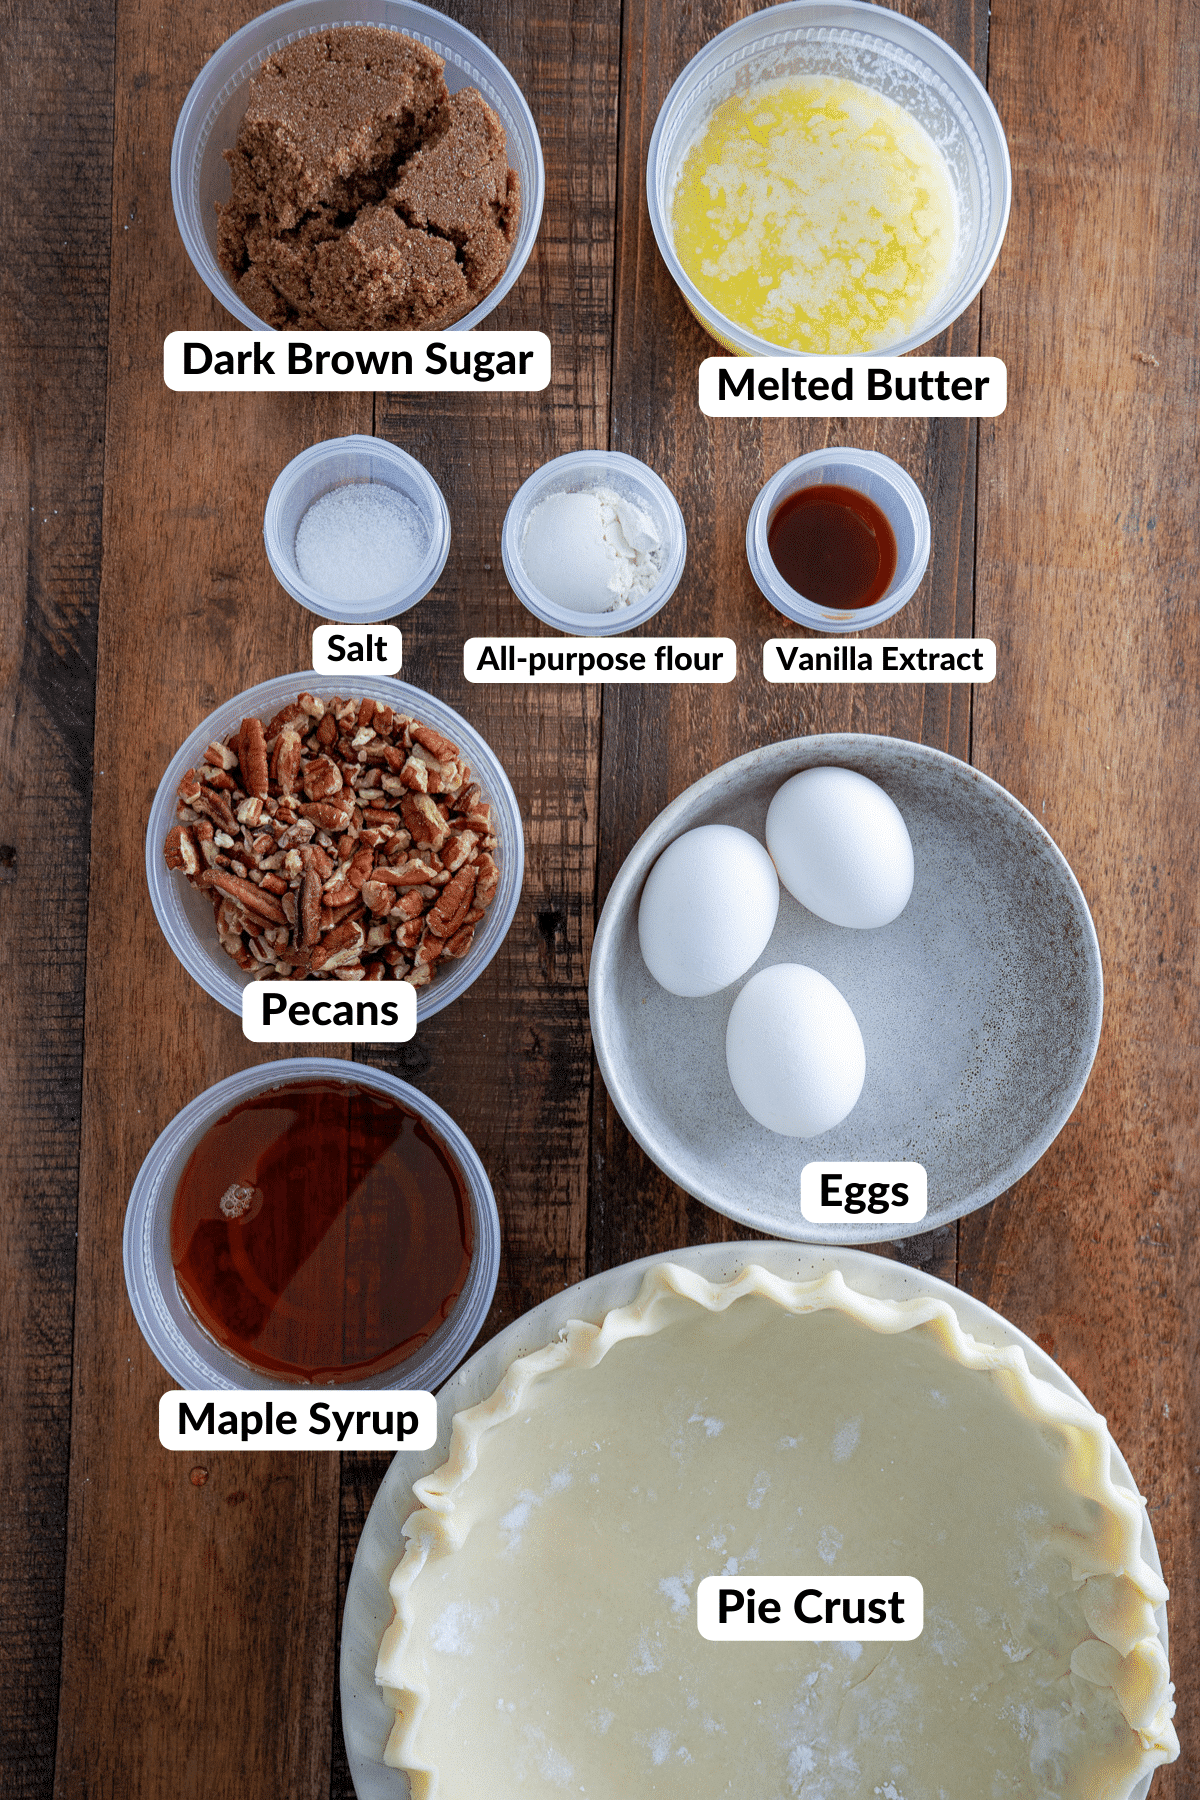
Ingredients Needed
Ingredient amounts and full recipe instructions are on the printable recipe card at the bottom of the post.
- Pie crust (store-bought or homemade pie crust)
- Chopped Pecans - You could also use pecan halves.
- Butter – adds richness and flavor to the pie. I use unsalted butter.
- Sweetners - Dark brown sugar and maple syrup – this adds depth of flavor to this pie. You can use light brown sugar if you prefer.
- Large Eggs, Vanilla Extract, All -Purpose Flour, Salt - give structure and flavor to the pie.
Tools Needed:
- 9-inch pie pan
- Measuring cups and spoons
- Mixing bowls (medium and large)
- Whisk
- Sifter
- Spatula
- Baking sheet
- Aluminum foil (optional)
How to make a Pecan Pie
Preheat your oven to 325°F (165°C).
Roll out the pie crust and gently press it into a 9-inch pie pan. Trim any excess dough and crimp the edges. Place the pie pan on a baking sheet.
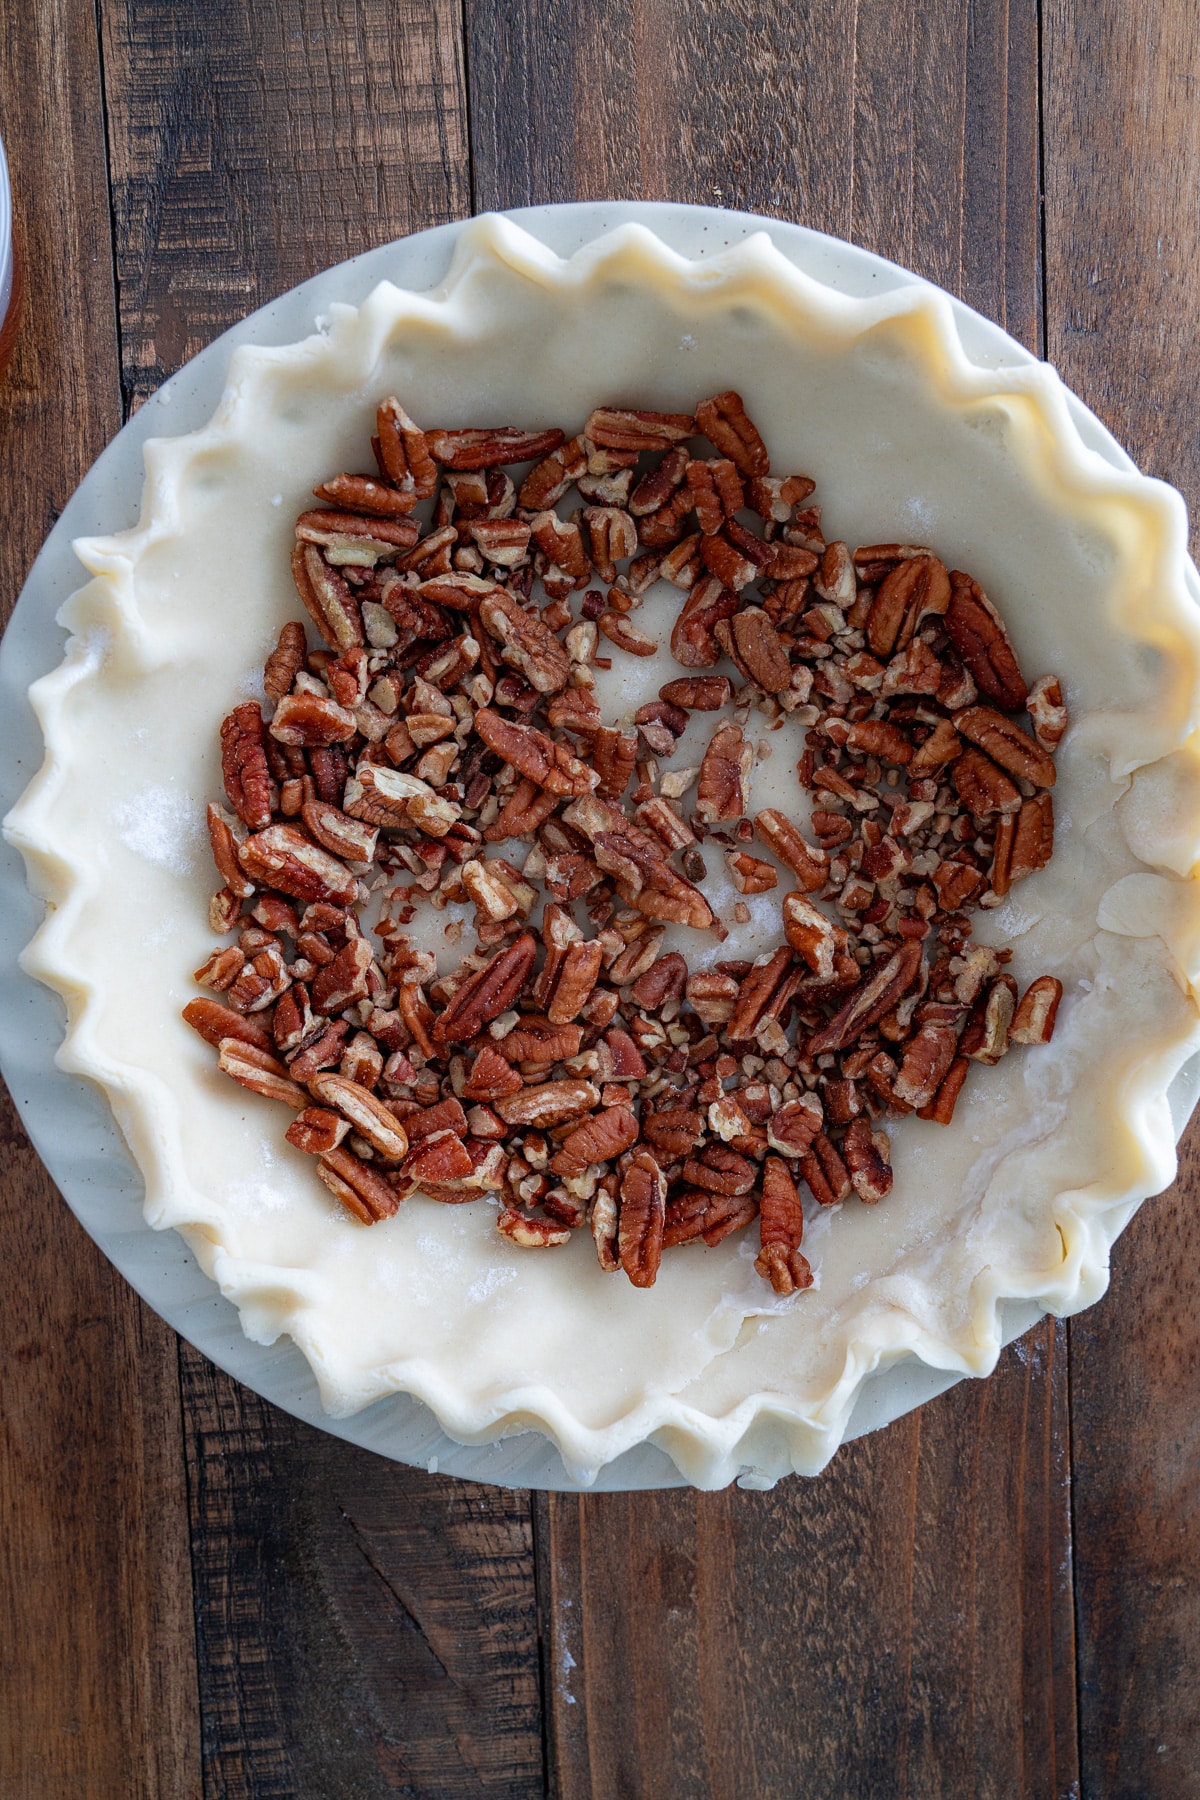
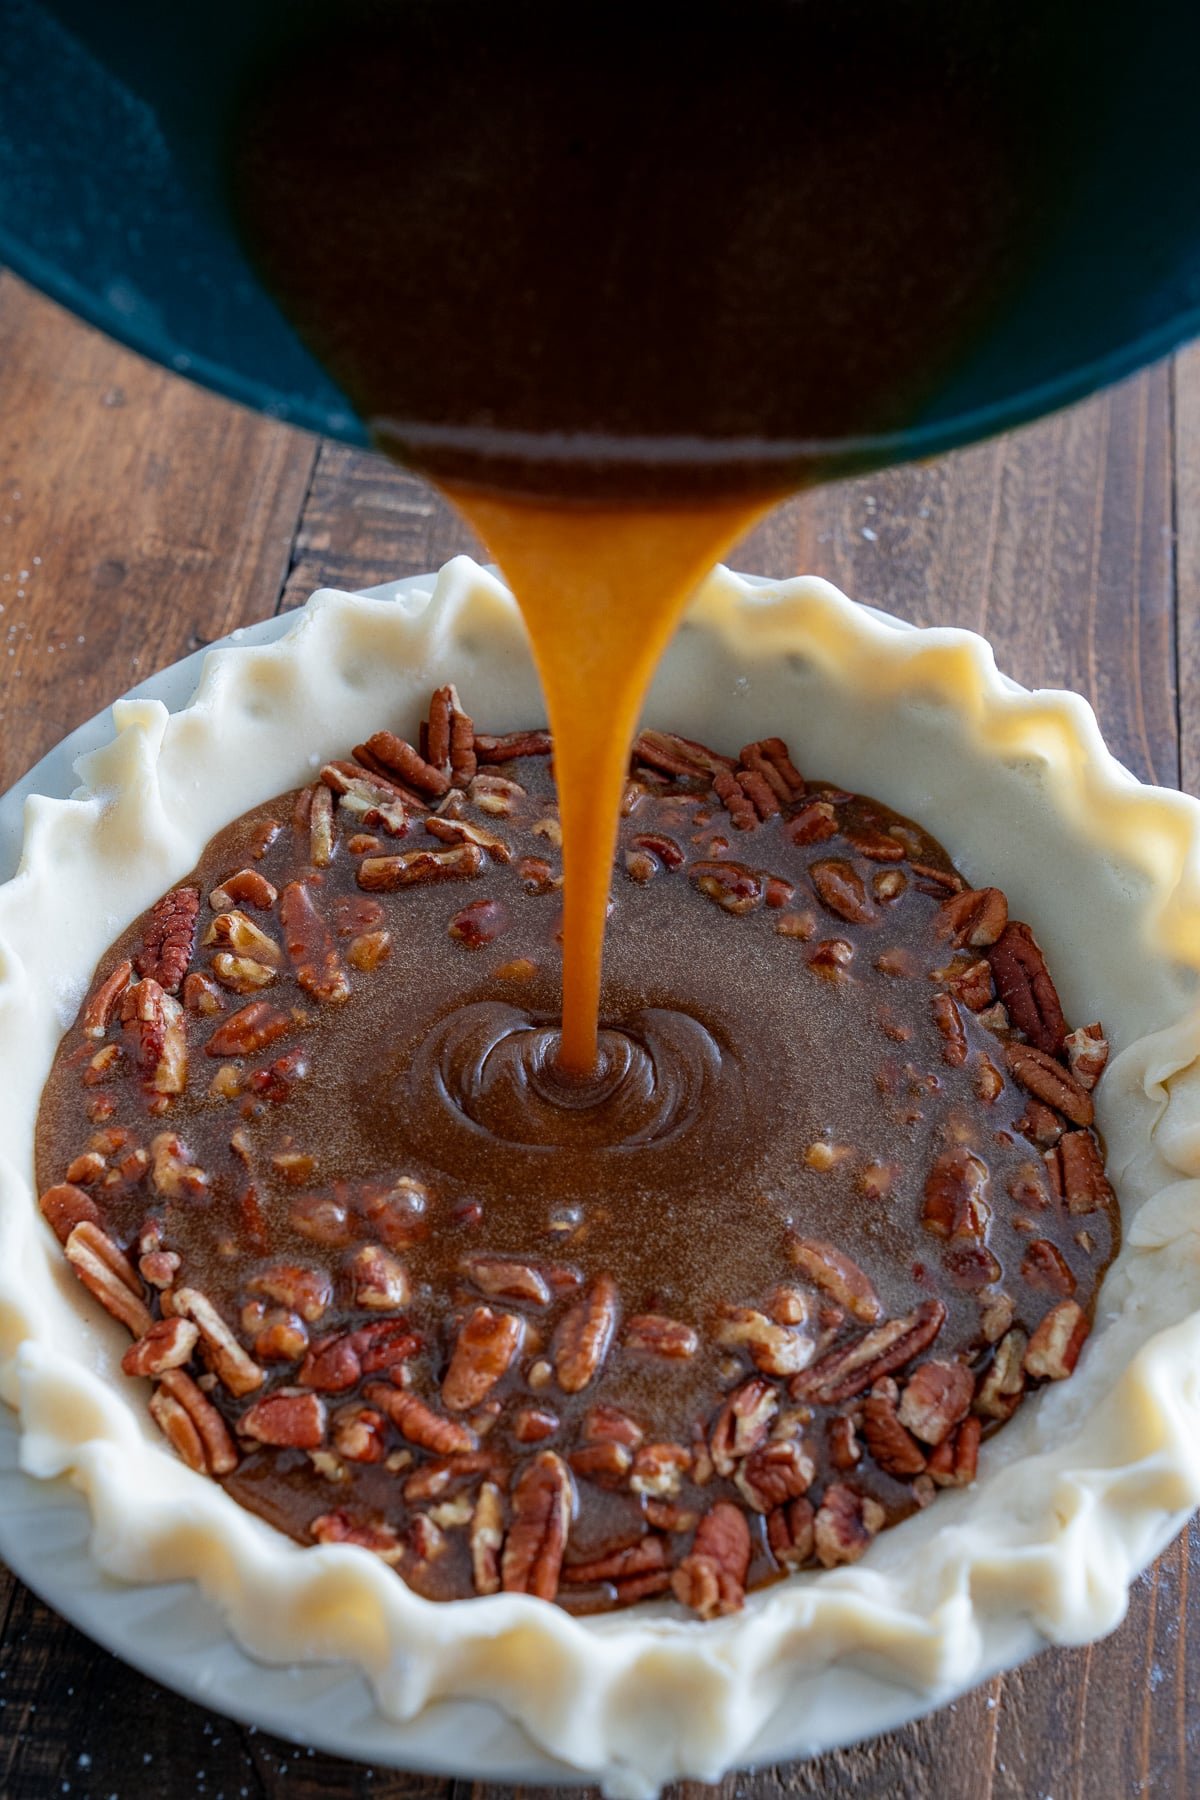
Evenly distribute the chopped pecans across the bottom of the prepared pie crust.
In a large bowl, whisk the eggs until they are light and fluffy. Add the brown sugar, maple syrup, melted butter, vanilla extract, and salt to the whisked eggs. Stir until well combined.

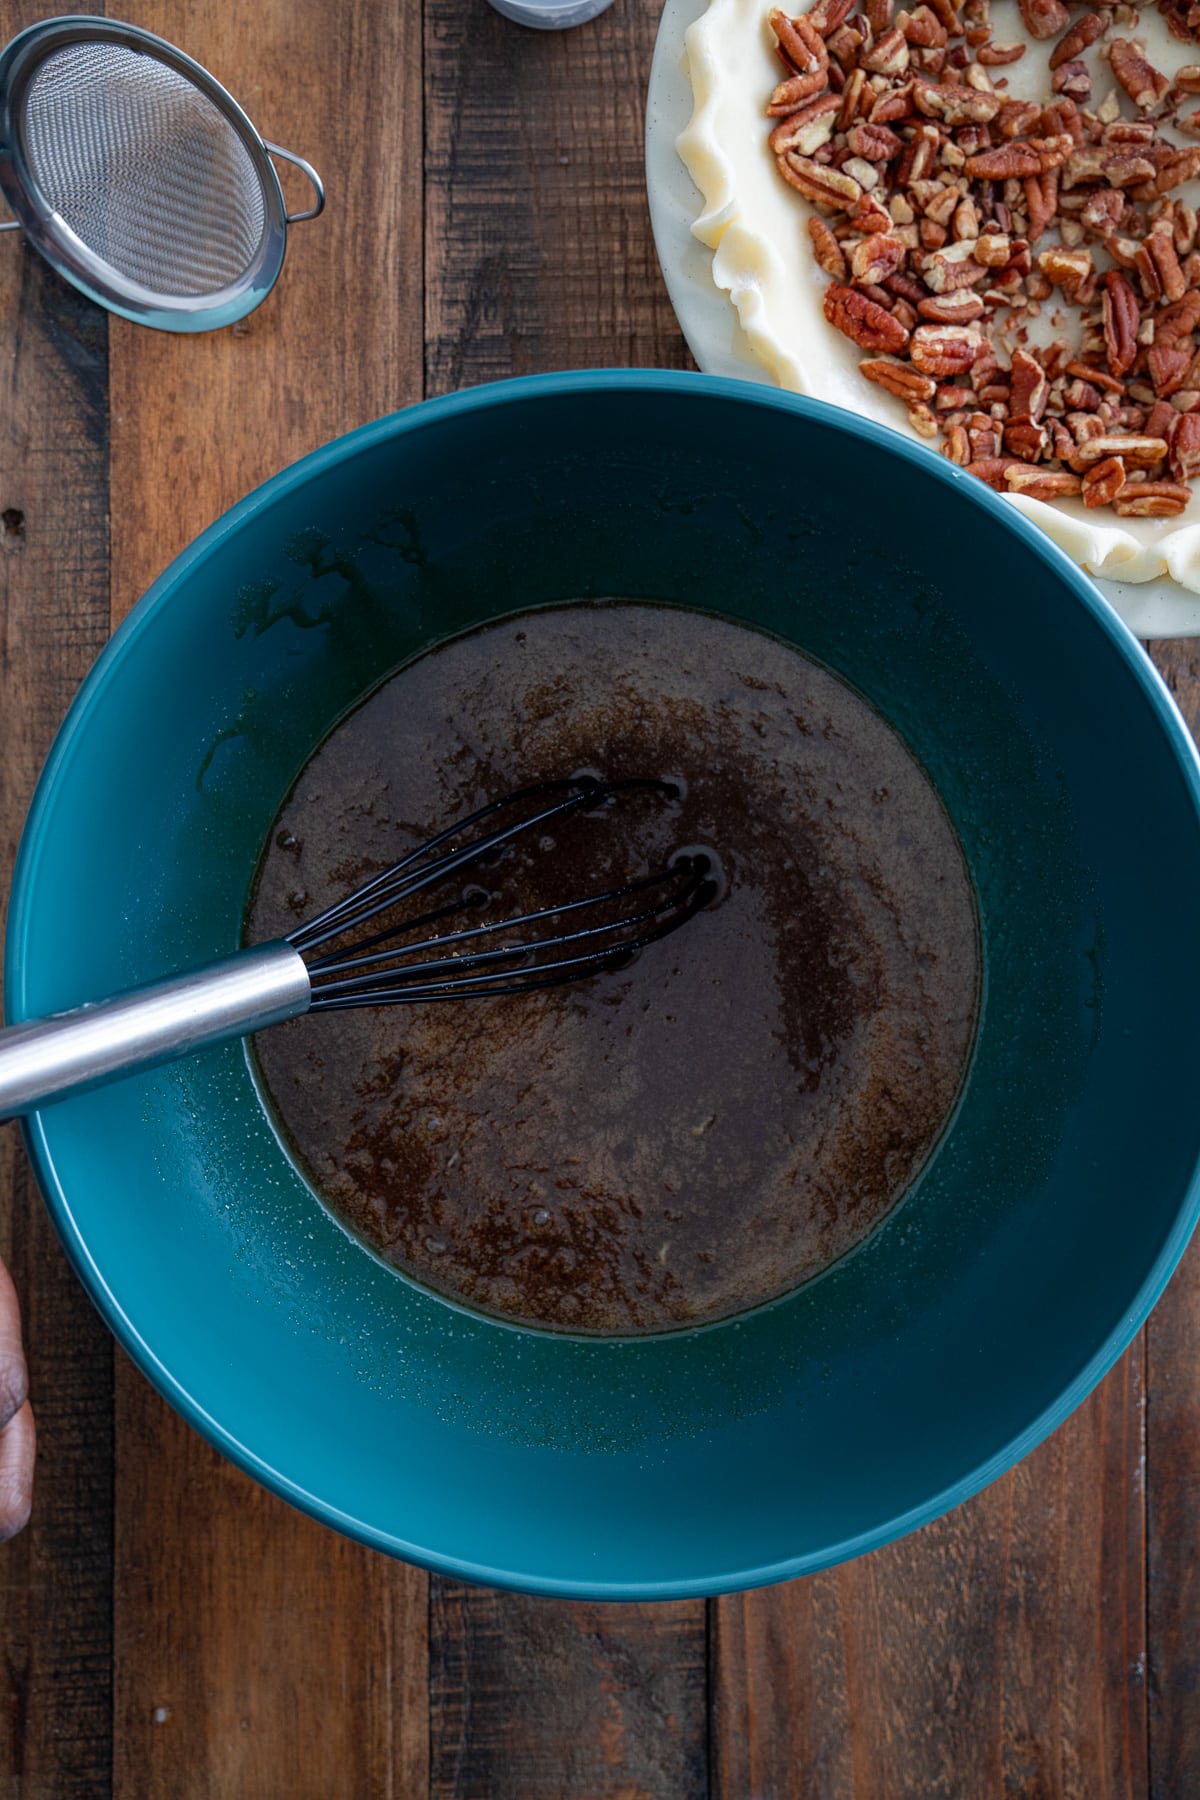
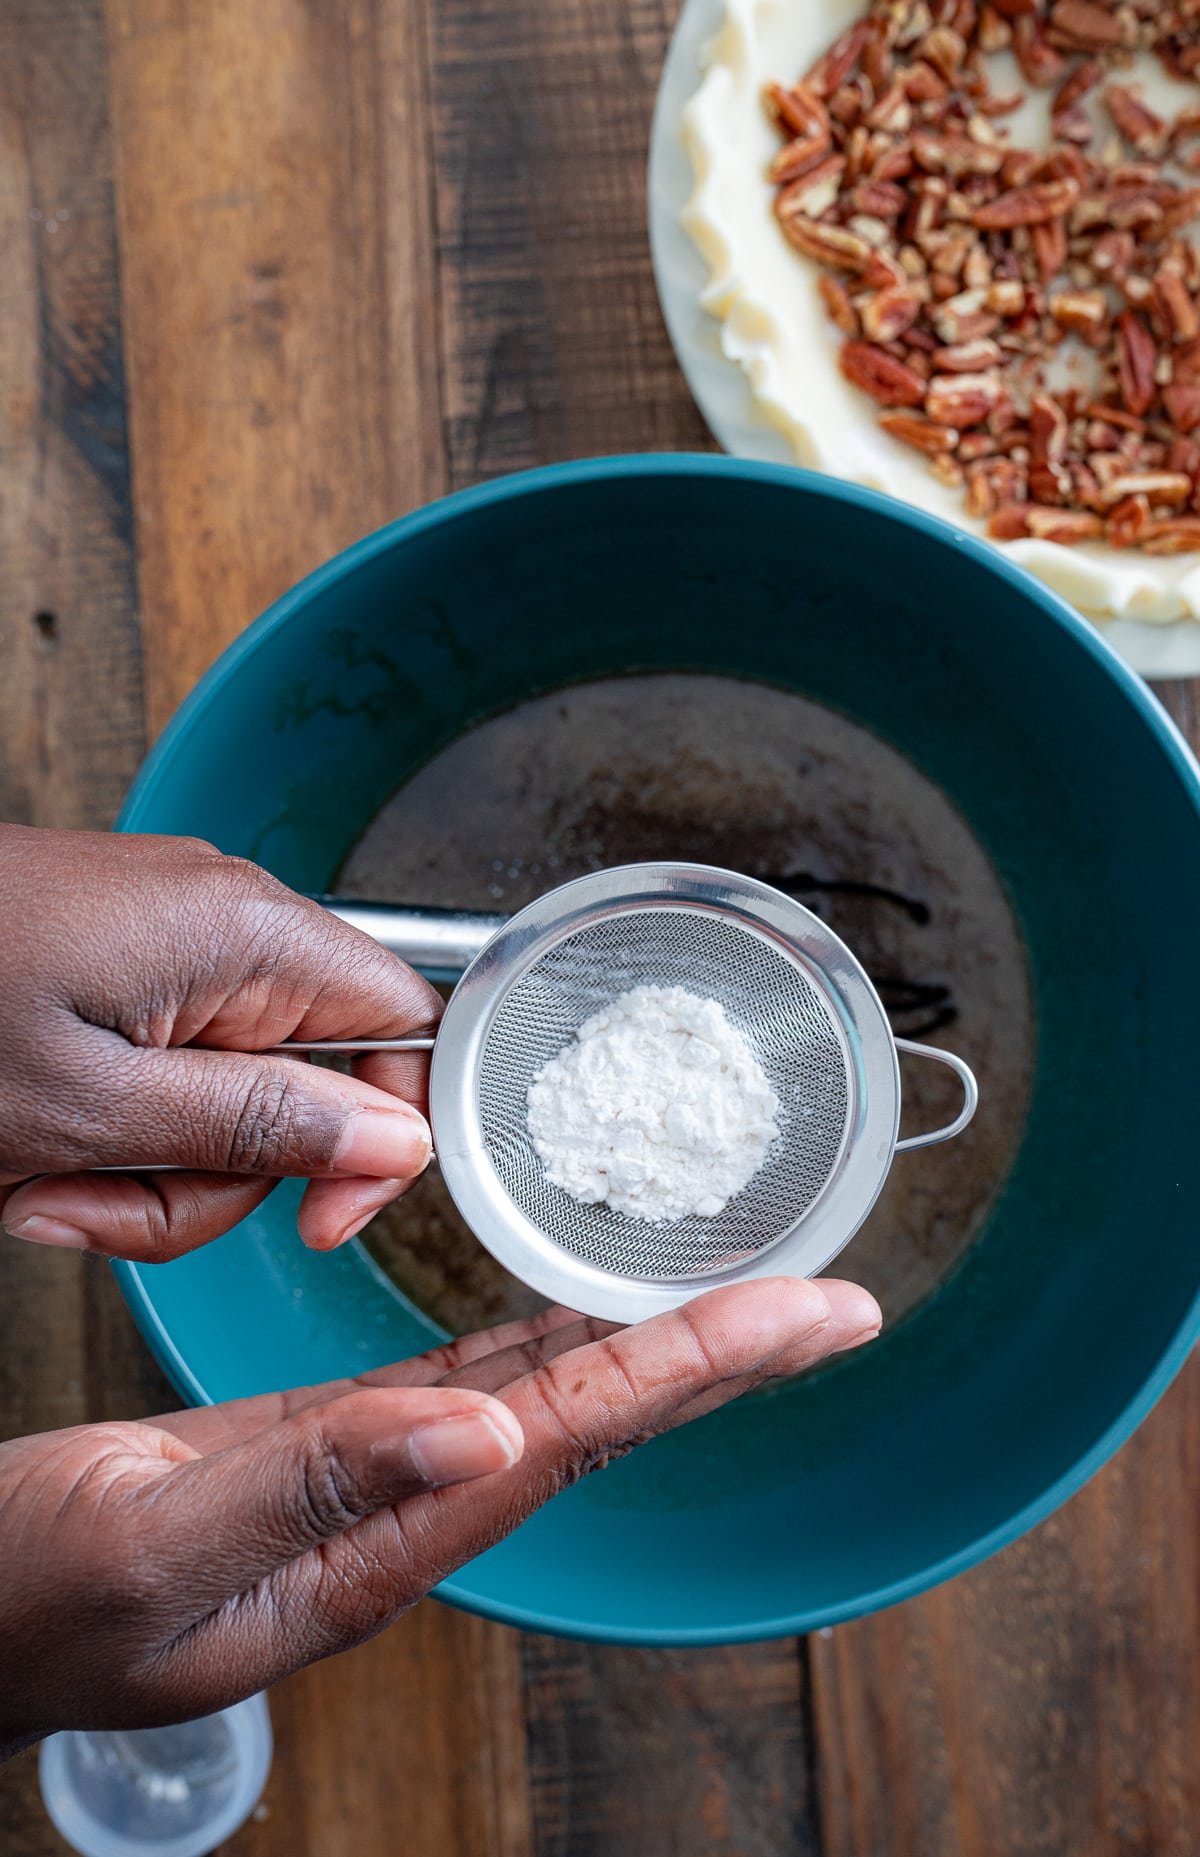
Sift the flour into the wet ingredients and stir until just incorporated.
Pour the pecan pie filling mixture over the pecans in the pie crust. The pecans will rise to the top during baking.
Bake in the preheated oven for 40-45 minutes, or until the filling is set and a toothpick inserted into the center comes out clean or with a few moist crumbs. The internal temperature of the pie should reach 200°F (93°C).
Remove the pie from the oven and let it cool completely on a wire rack, preferably overnight. This will allow the filling to be set.
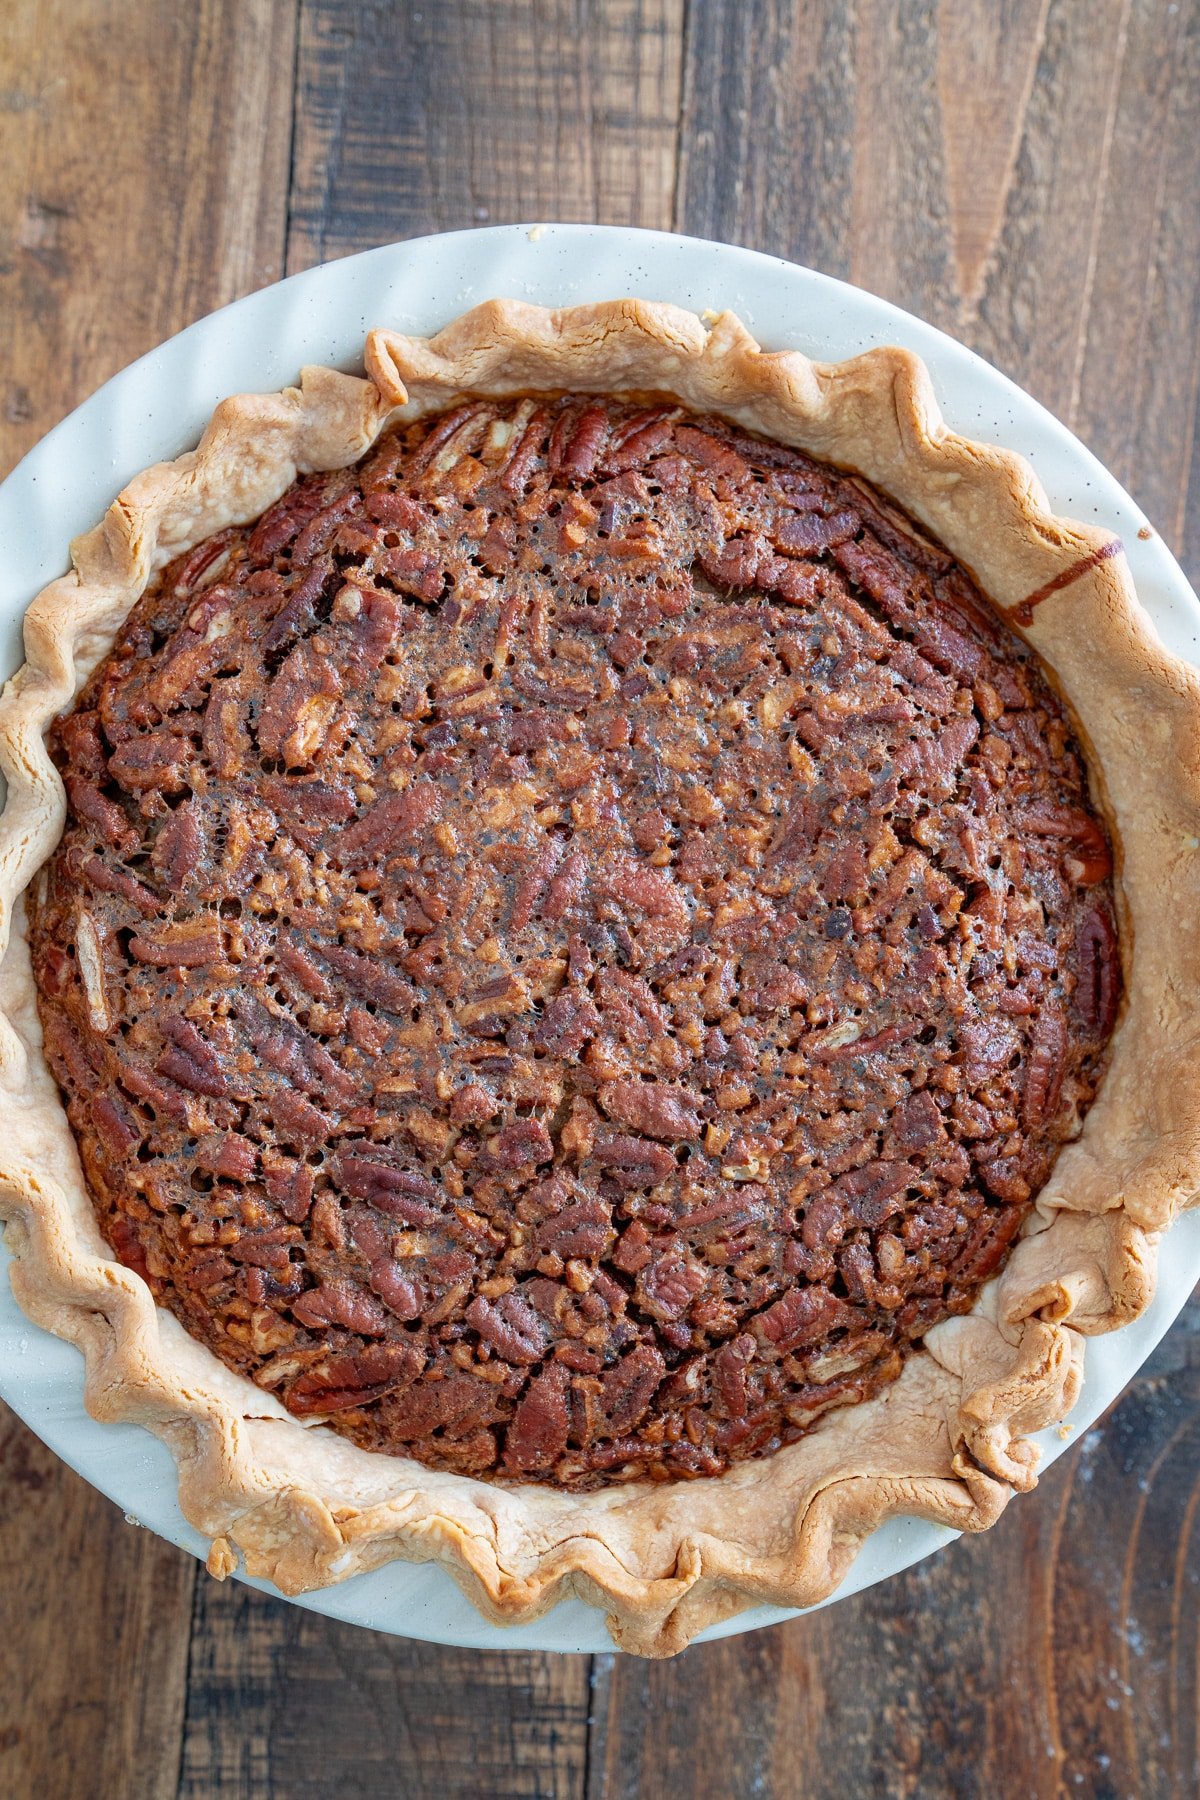
Once cooled, slice the pecan pie and enjoy! It's great to be served alone or with whipped cream or ice cream.
Storing and Freezing Pecan Pie
- Pecan pie can be stored at room temperature for up to 2 days.
- It can be frozen for up to 3 months, wrapped tightly in plastic wrap or aluminum foil.
- To freeze, bake the pie as directed, then let it cool completely before wrapping and freezing.
- To thaw, let the pie sit at room temperature for several hours or thaw it in the refrigerator overnight.
Variations and Substitutions
- Replace the vanilla extract with 1 Tablespoon of bourbon.
- You can use pecan halves instead of chopped for a different texture.
Tanya's Test Kitchen Tips
When testing this recipe, one thing I noted was the bake time, it can vary. Check the pie at 40 minutes. When baking, to determine doneness, jiggle the pie and see how much it jiggles. A slight wobble in the center is good, as it will continue to set as it cools, but too much jiggle means it needs more time in the oven.
Additionally, you must allow the pie to cool completely to ensure the filling is set. I prefer to bake this pie the night before I plan on serving it.
I hope you love this pecan pie recipe as much as we do. Looking for more pie recipes? Try these out:
If you’ve tried this recipe or any other on my blog, please rate it and leave a comment below! I love hearing from you and seeing how your dishes turn out. Happy baking!

Pecan Pie Recipe
Ingredients
- 9 inch pie crust homemade or store bought
- 1 cup chopped pecans
- 3 large eggs
- 1 cup packed dark brown sugar
- ½ cup maple syrup I used golden maple syup
- ⅓ cup unsalted butter melted and slightly cooled
- 2 teaspoons vanilla extract
- ½ teaspoon salt
- 1 Tablespoon all-purpose flour
Instructions
- Preheat your oven to 325°F (165°C).
- Roll out the pie crust and gently press it into a 9-inch pie pan. Trim any excess dough and crimp the edges. Place the pie pan on a baking sheet.
- Evenly distribute the chopped pecans across the bottom of the prepared pie crust.
- In a large bowl, whisk the eggs until they are light and fluffy.
- Add the brown sugar, maple syrup, melted butter, vanilla extract, and salt to the whisked eggs. Stir until well combined.
- Sift the flour into the wet ingredients and stir until just incorporated.
- Pour the filling mixture over the pecans in the pie crust. The pecans will rise to the top during baking. Bake in the preheated oven for 40-45 minutes, or until the filling is set and a toothpick inserted into the center comes out clean or with a few moist crumbs. The internal temperature of the pie should reach 200°F (93°C).
- Remove the pie from the oven and let it cool completely on a wire rack, preferably overnight. This will allow the filling to set properly.
- Once cooled, slice the pecan pie and enjoy.
Notes
- The filling will puff up and then deflate, and should still be slightly jiggly in the center when done.
- The internal temperature of the pie should reach 200°F (93°C).
- Chill before serving: Refrigerate the pie thoroughly for easier slicing.