Prepare homemade pork chop seasoning in 5 minutes with pantry staple spices you have on hand already! With just the right amount of heat, you will elevate your pork chops, pork loin, or spare ribs to a whole new level of flavor. Whether you're grilling, baking, or pan-searing, this homemade pork chop seasoning will infuse your meat with a perfect balance of savory and spicy notes.
This post contains affiliate links, please read my full disclaimer here.
You’ll find the full recipe with ingredient amounts and instructions in the recipe card at the bottom of this post. Be sure to check out the blog post itself for extra tips and tricks!
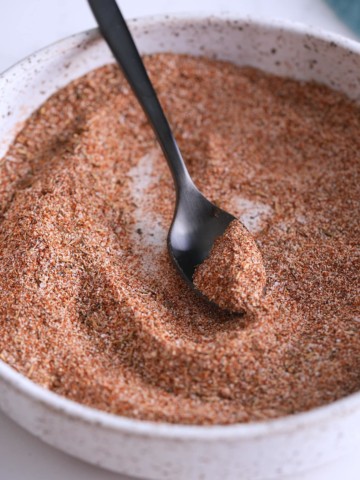
This simple blend of herbs and spices packs a real flavor punch, adding intense smokey flavor to various pork dishes.
Use our homemade pork chop seasoning for pork, chicken, or steak or for adding a touch of spice to shrimp or your favorite fish. It also works a treat with vegetables too.
Once made, you’ll find a variety of uses for it. Try pork chop seasoning on these Perfect Sous Vide Pork Chops!
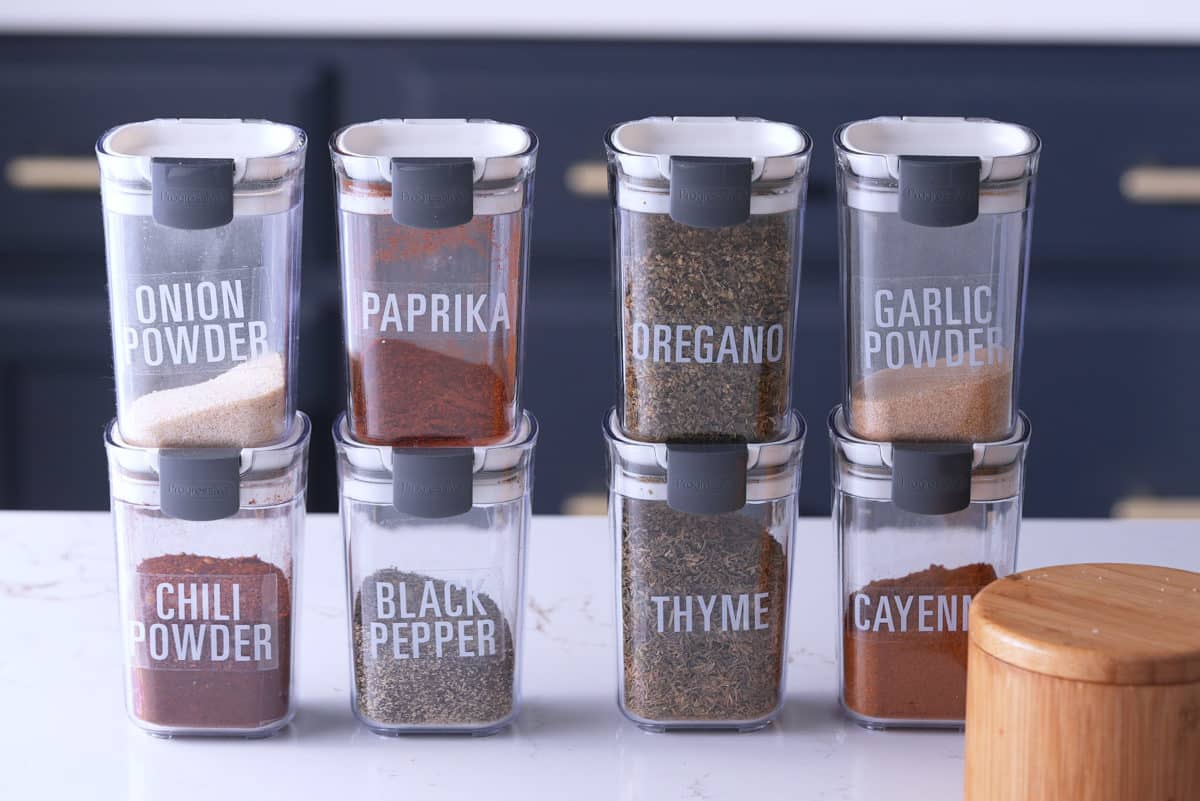
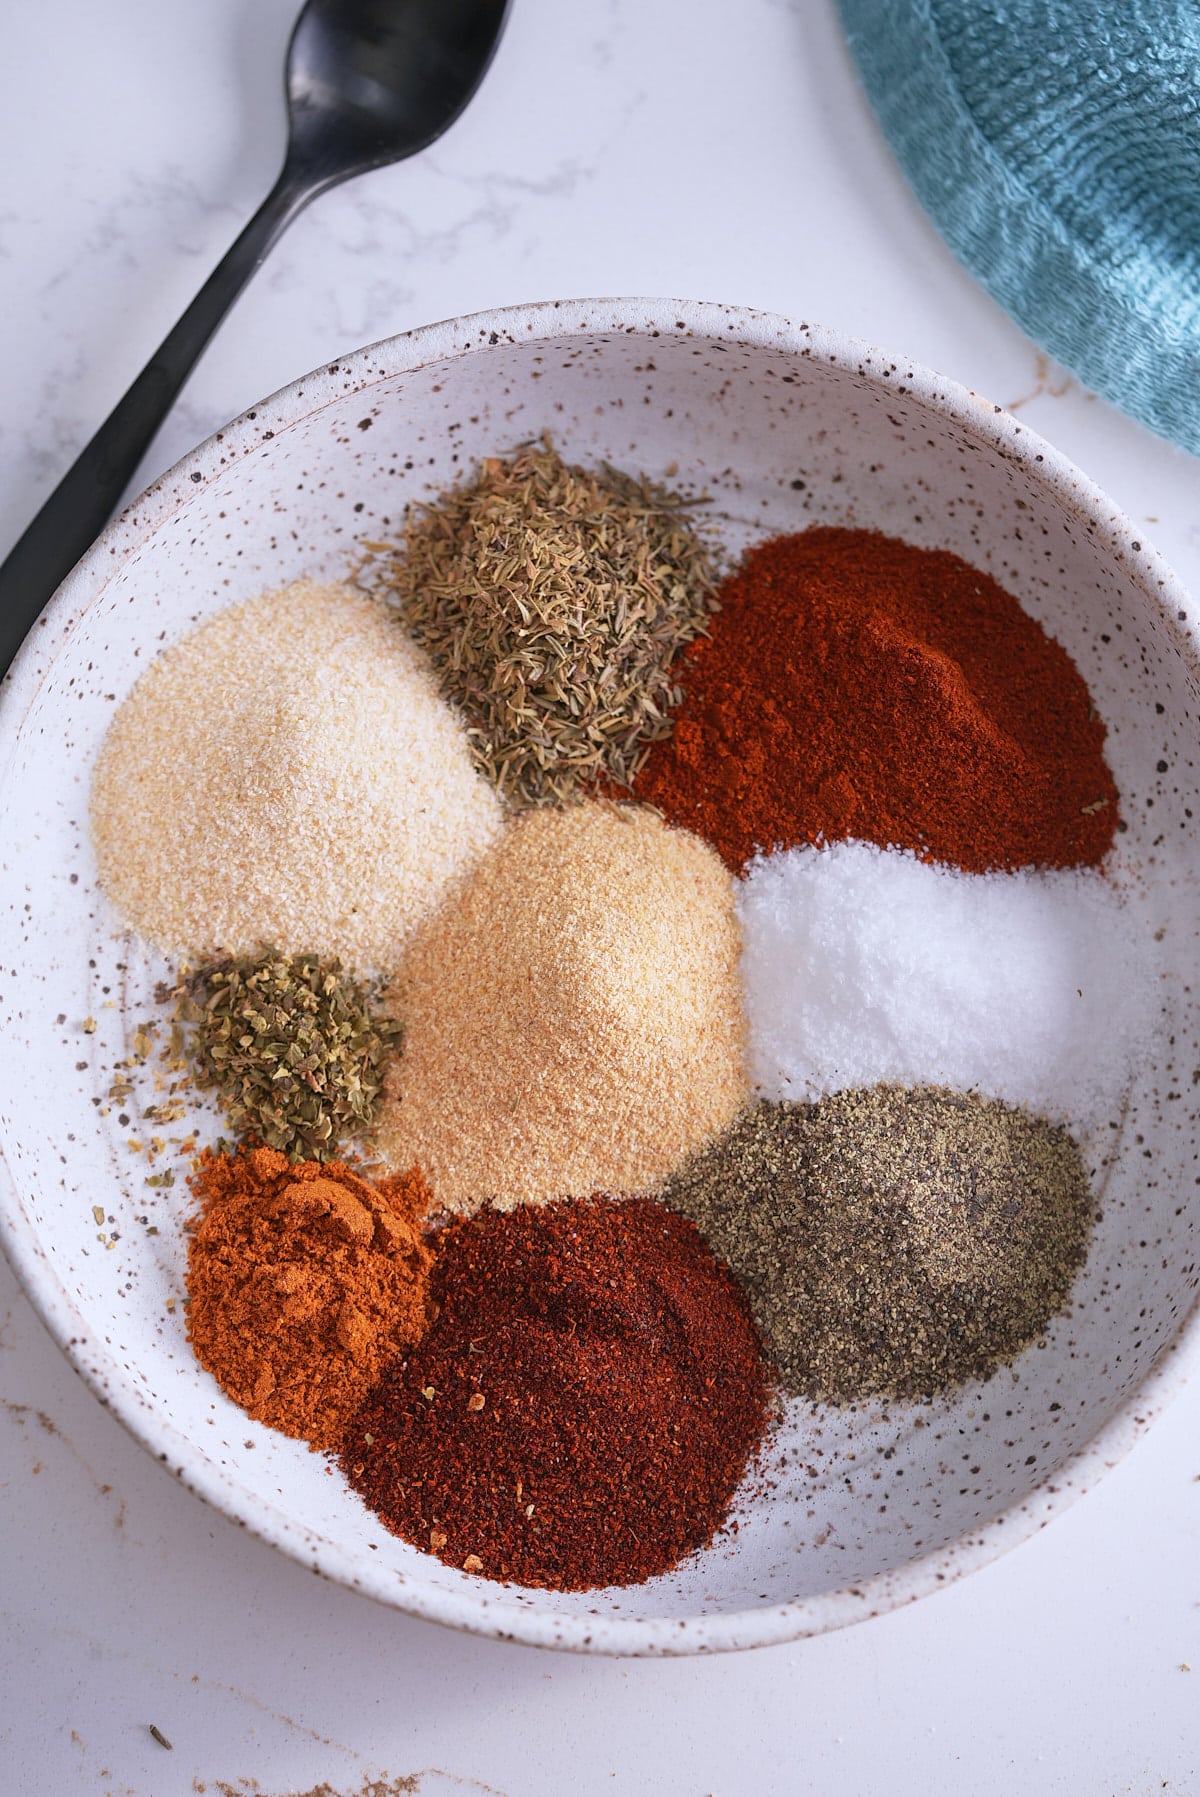
Ingredients for pork chop seasoning
- Paprika - Paprika adds a rich, smoky, and slightly sweet flavor to the seasoning. It also imparts a beautiful reddish color to the meat. You can use sweet paprika for a milder flavor or smoked paprika for a more intense smokiness.
- Kosher salt & Black pepper
- Chili powder - Chili powder adds a moderate level of heat and a depth of flavor. Ancho chili powder or chipotle powder can be used as alternatives for a slightly different smoky profile.
- Garlic powder - Garlic powder contributes a robust garlic flavor without the moisture of fresh garlic. Use fresh garlic only if you're using this spice mixture right away and not wanting to store it.
- Onion powder - Onion powder provides a sweet and savory onion flavor.
- Dried thyme - Dried thyme imparts an earthy and slightly minty flavor. You can substitute it with dried rosemary, marjoram, or sage for a different herbaceous note.
- Dried oregano - Dried oregano adds a Mediterranean flair with its earthy and slightly peppery taste. You can use dried basil, Italian seasoning, or dried rosemary as alternatives.
- Cayenne pepper - Cayenne pepper provides the heat in the seasoning. Adjust the amount to control the spiciness level. You can substitute it with crushed red pepper flakes or a pinch of cayenne powder.
Tools needed for this recipe
- Medium bowl
- Airtight storage container
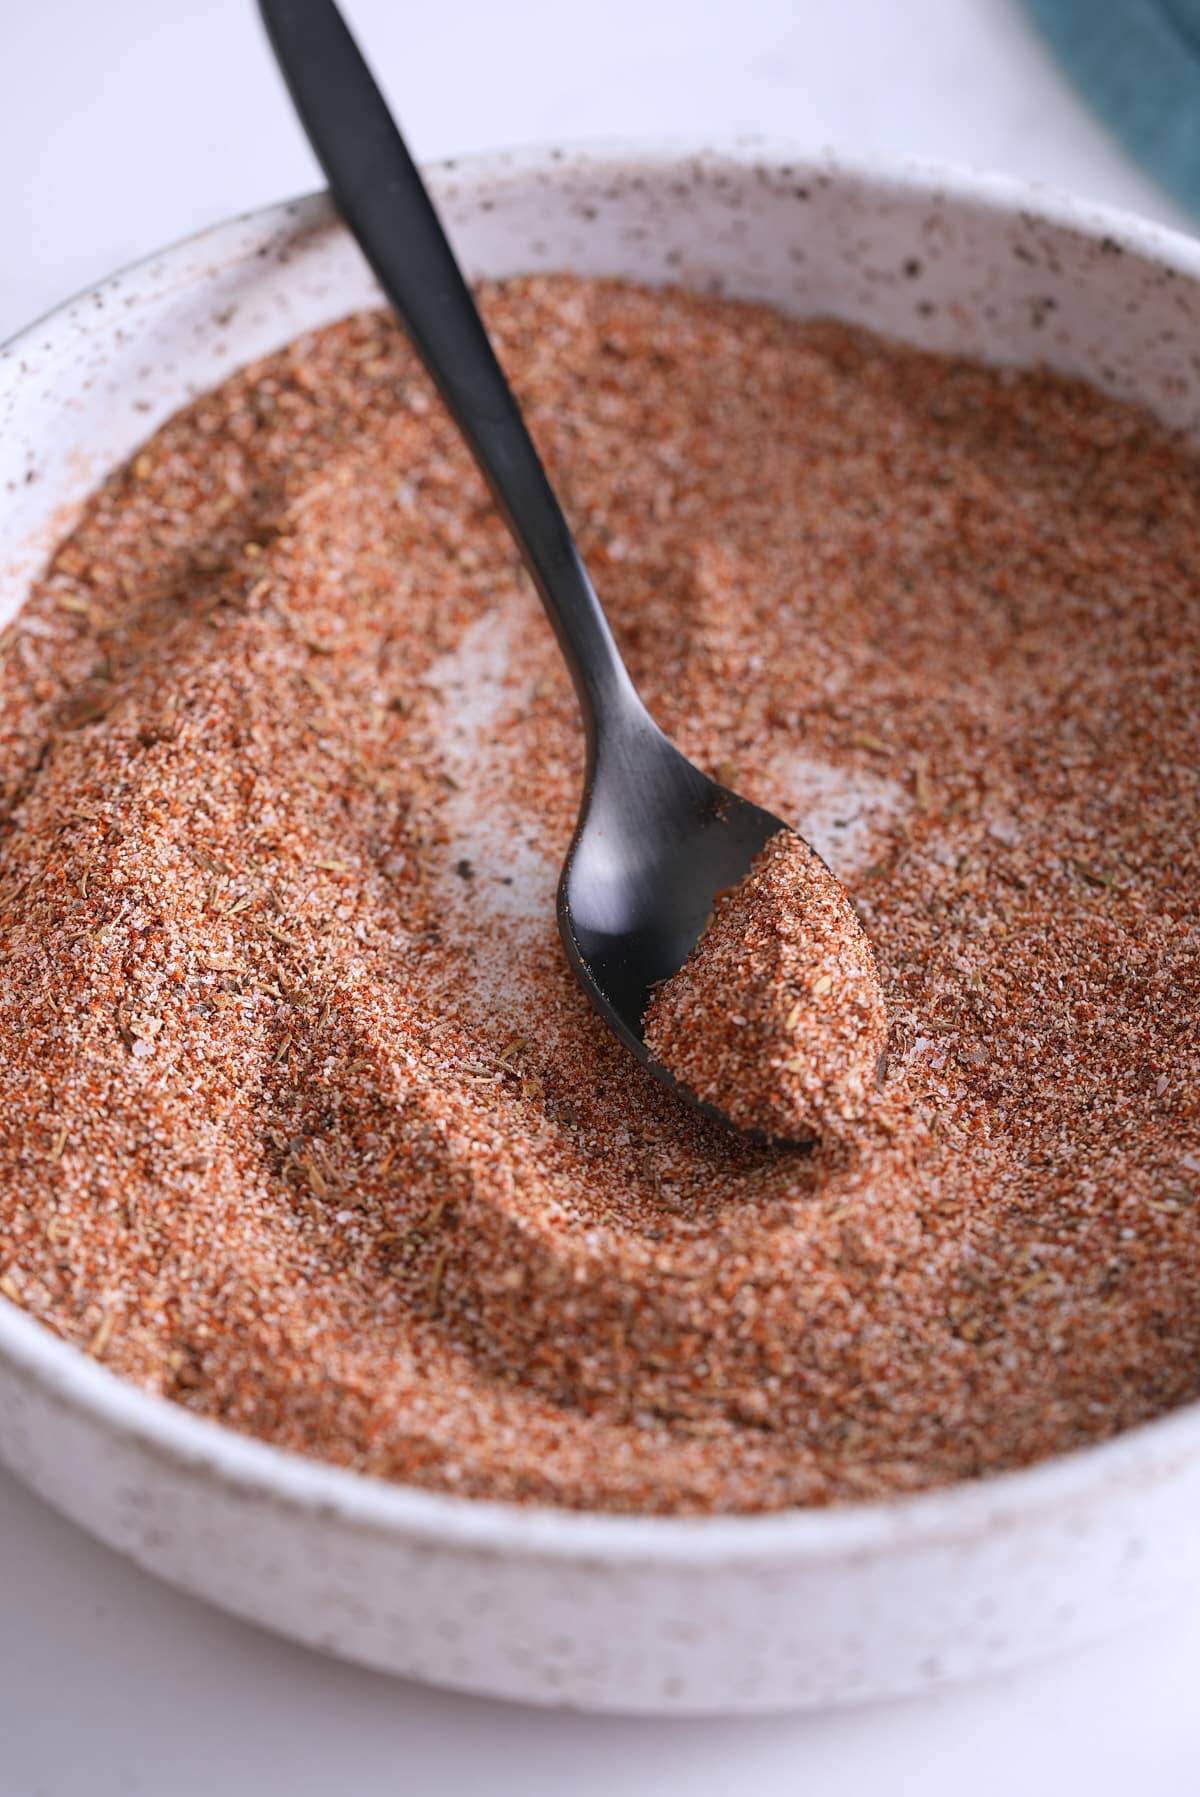
How To Make Homemade Pork Chop Seasoning
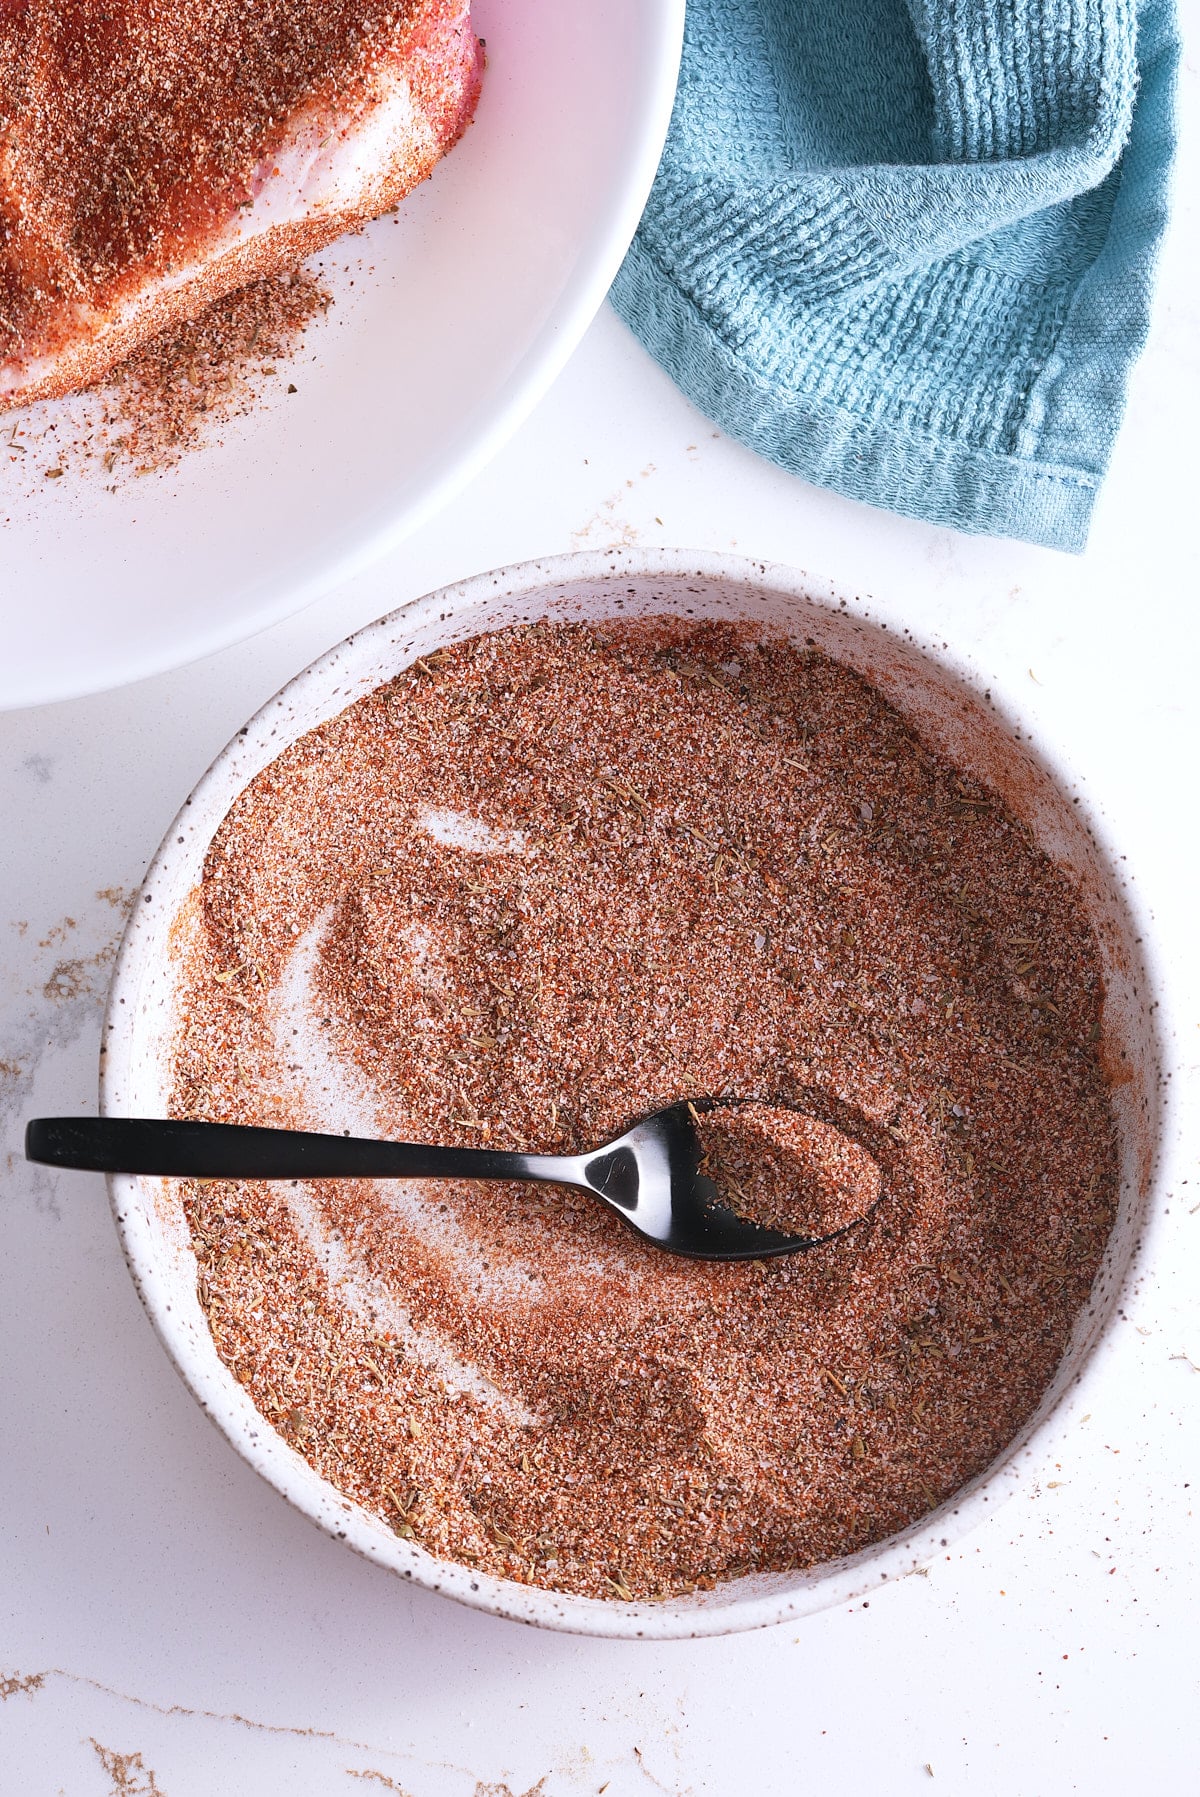
In a medium-sized bowl, combine the paprika, kosher salt, black pepper, chili powder, garlic powder, dried thyme, dried oregano, and cayenne pepper.
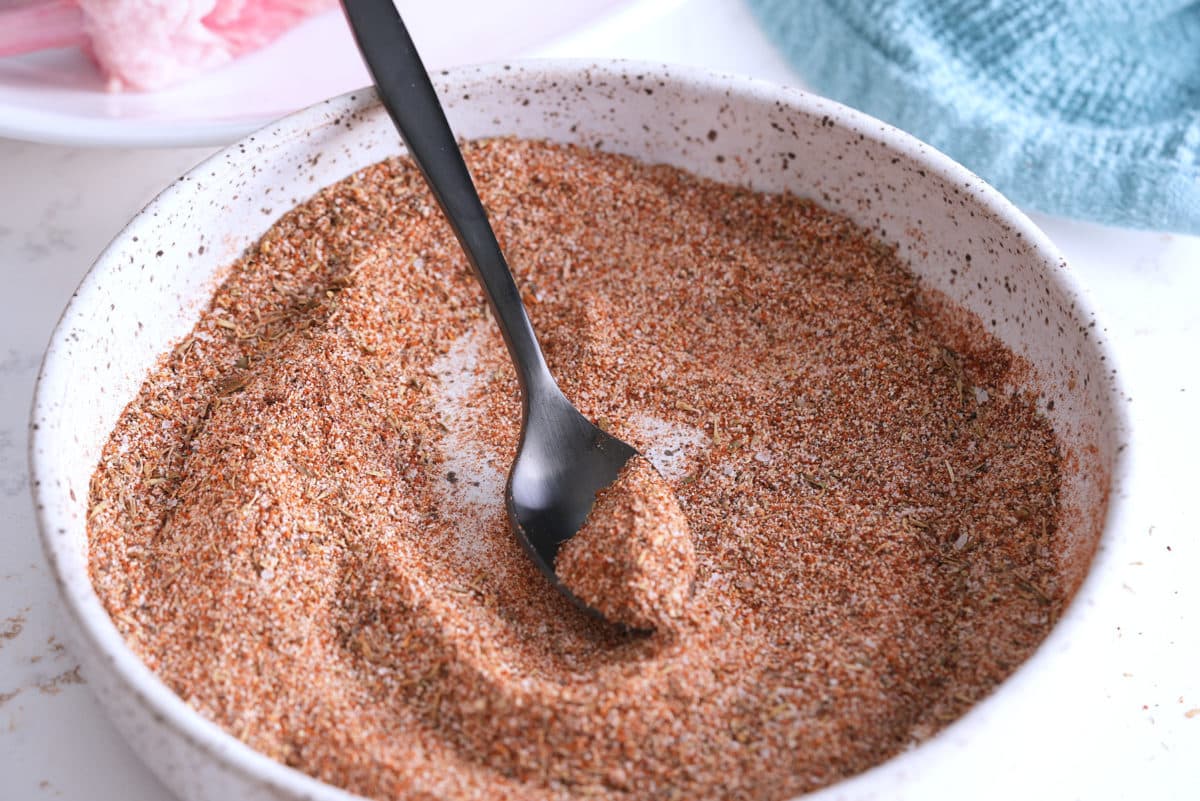
Mix well until all the ingredients are well incorporated.
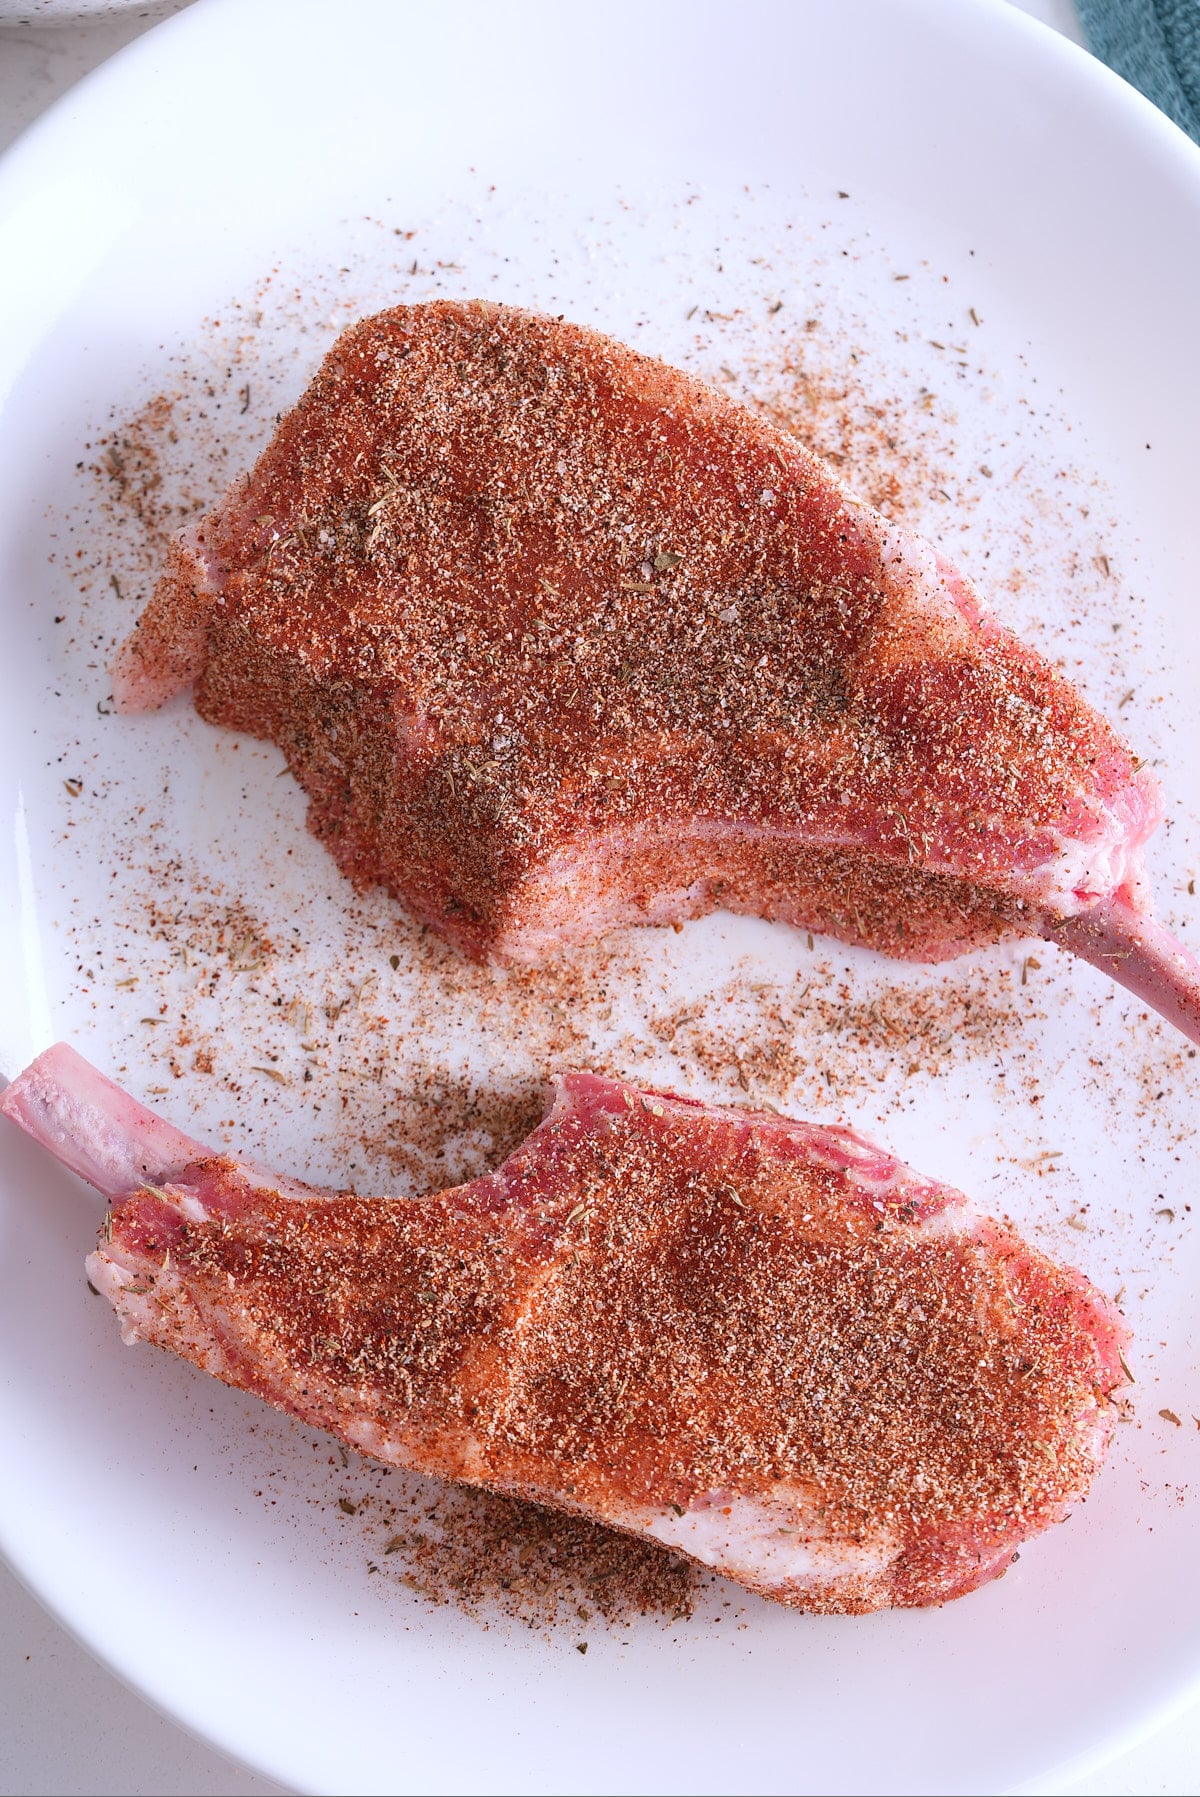
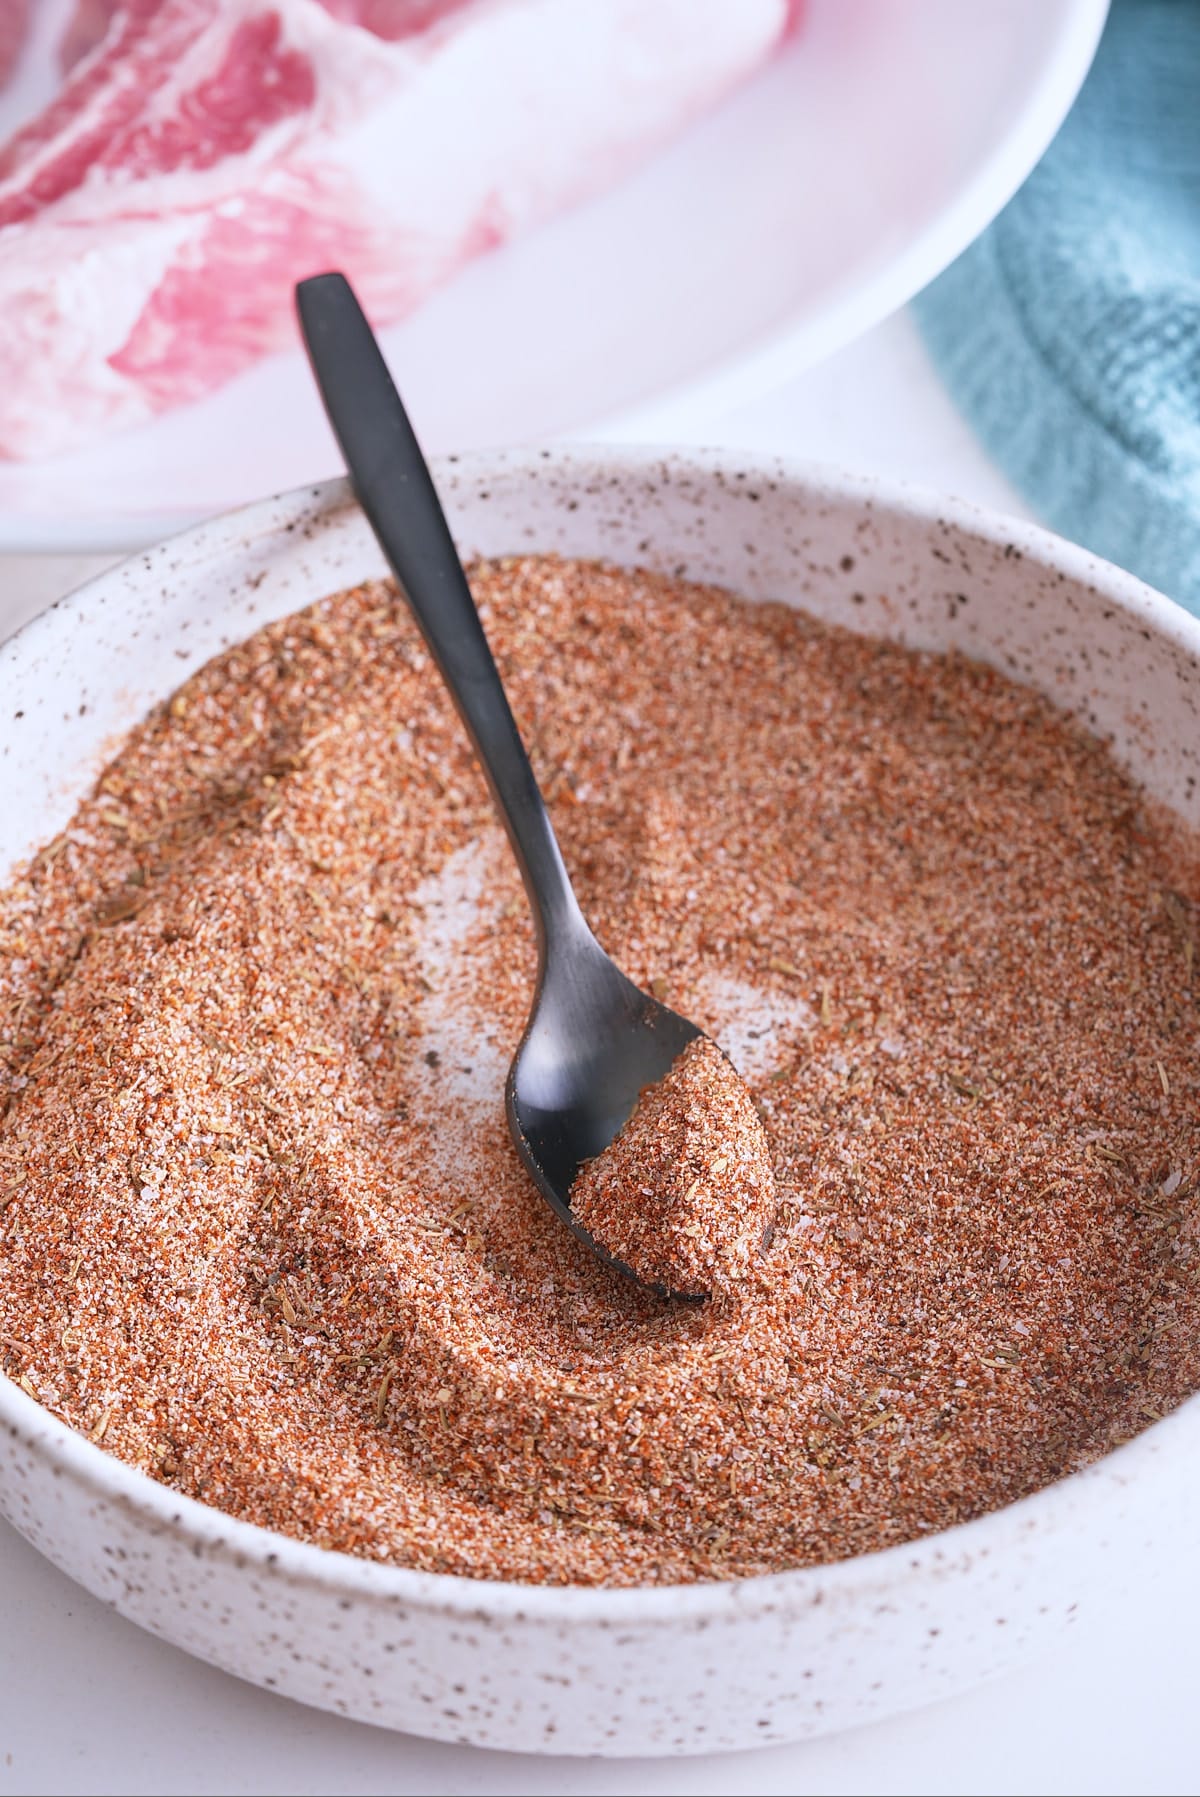
Use to season your pork chops before cooking. Store in an airtight container in a cool, dry place for up to 6 months.
How to store seasonings
- Airtight Containers: To maintain the freshness and flavor of your homemade pork chop seasoning, store it in an airtight container. Mason jars, glass spice jars, or plastic containers with tight-fitting lids work well. Store for 6-9 months.
- Cool, Dark Place: Keep the seasoning in a cool, dark place away from direct sunlight and heat sources. Exposure to light and heat can degrade the quality of the spices over time.
- Refrigeration or Freezing: While many spices can be stored at room temperature, if you live in a humid environment or want to extend the shelf life, you can refrigerate or freeze your homemade seasoning. Make sure it's in an airtight container to prevent moisture and odors from affecting the spices.
Using Pork Chop Seasoning
- Pork Chops: Of course, the primary use is for seasoning pork chops. Whether you're grilling, pan-searing, or baking them, this seasoning will add a delicious flavor boost to your pork chops.
- Pork Tenderloin: Season a whole pork tenderloin with your homemade blend before roasting it in the oven. It creates a flavorful crust on the exterior while keeping the interior tender and juicy.
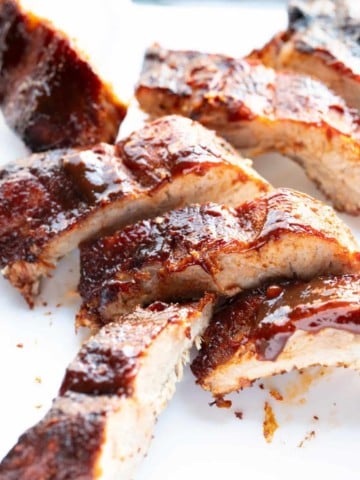
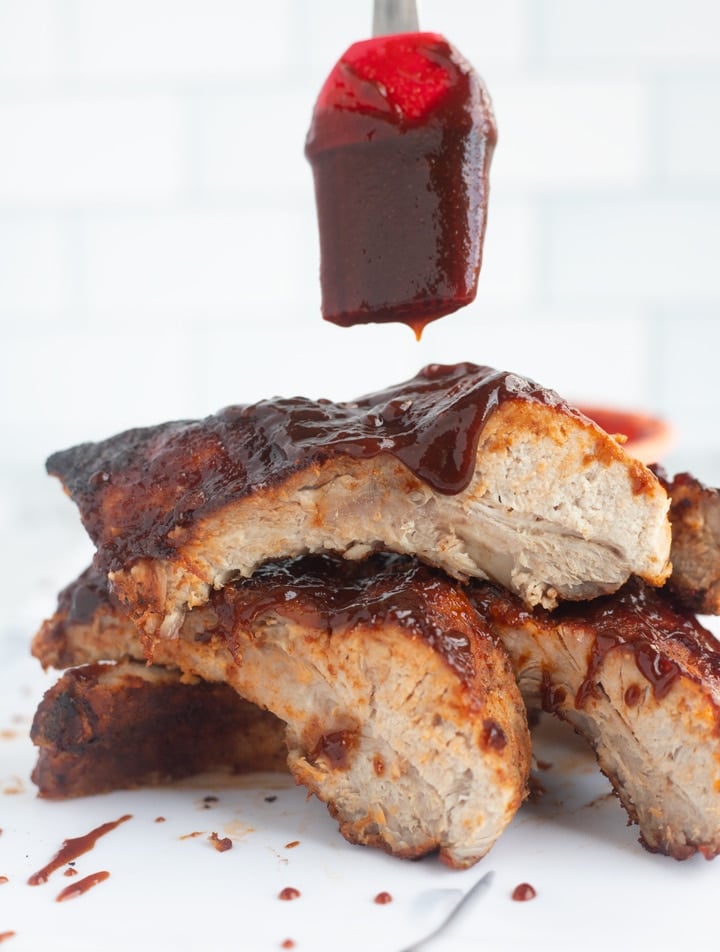
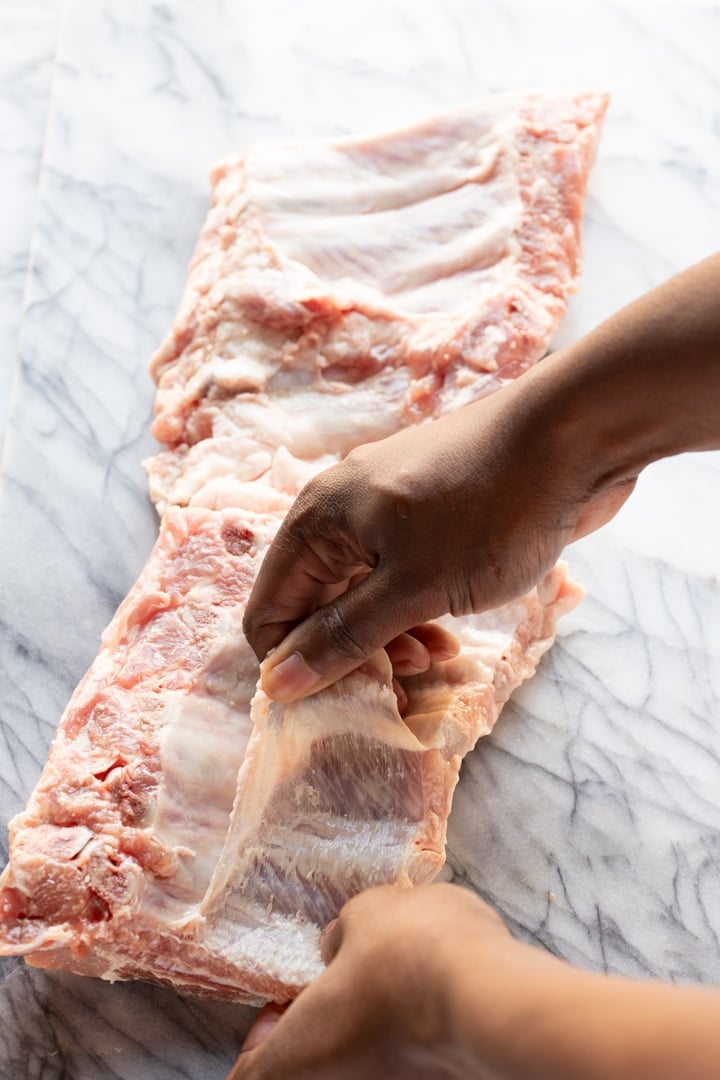
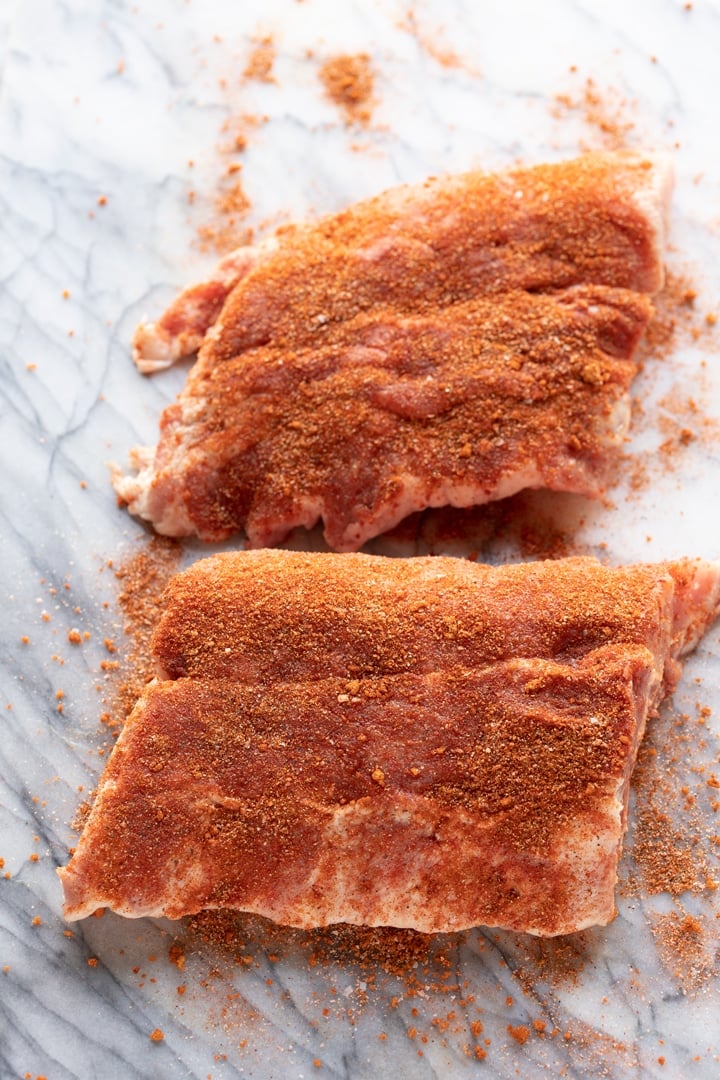
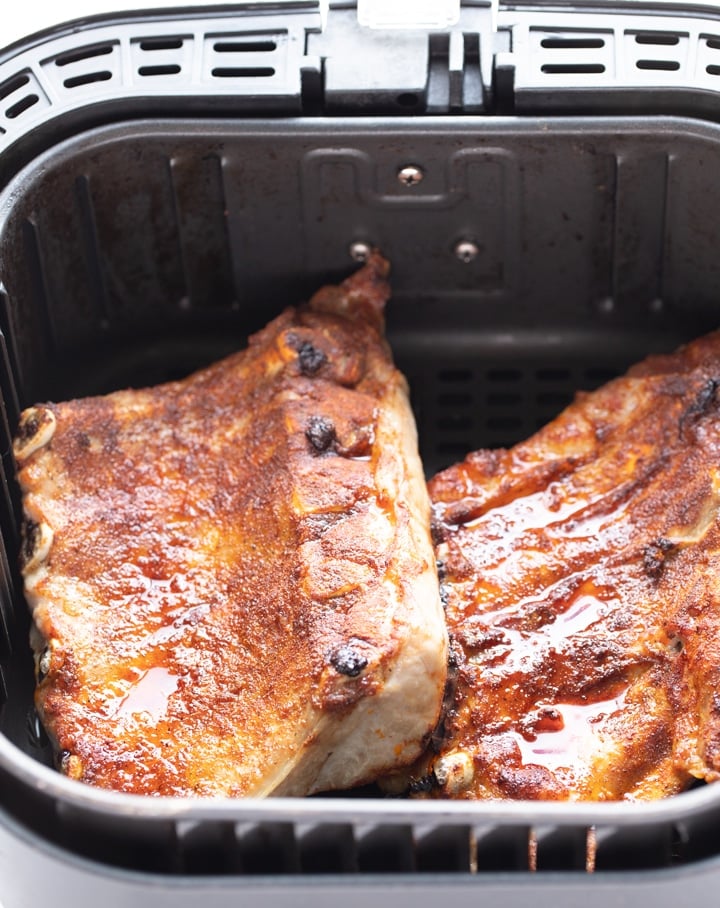
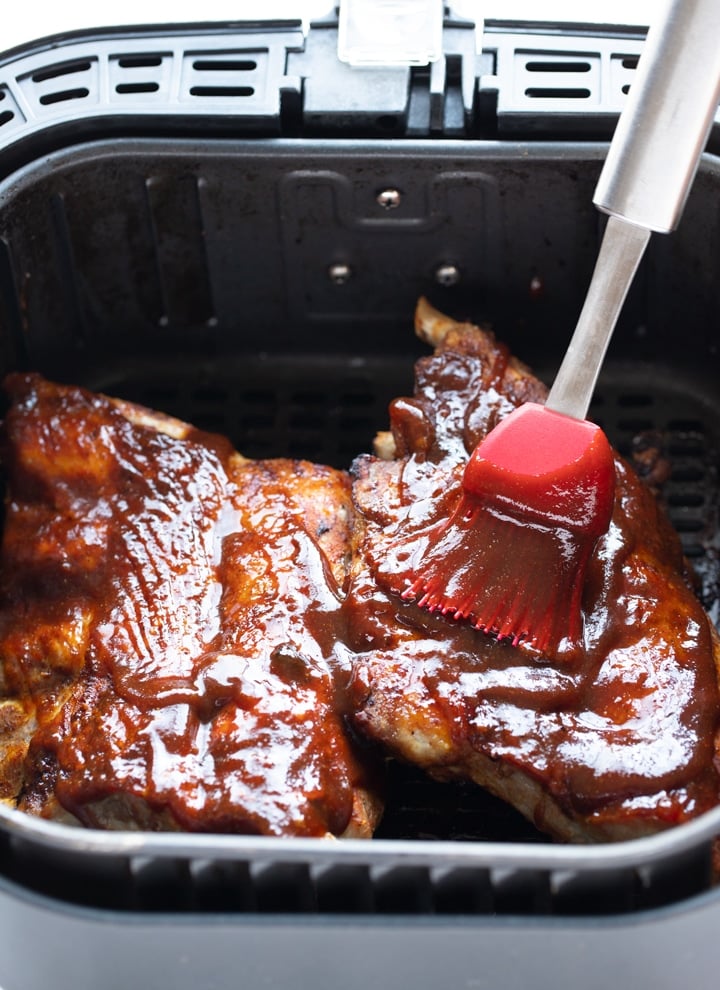
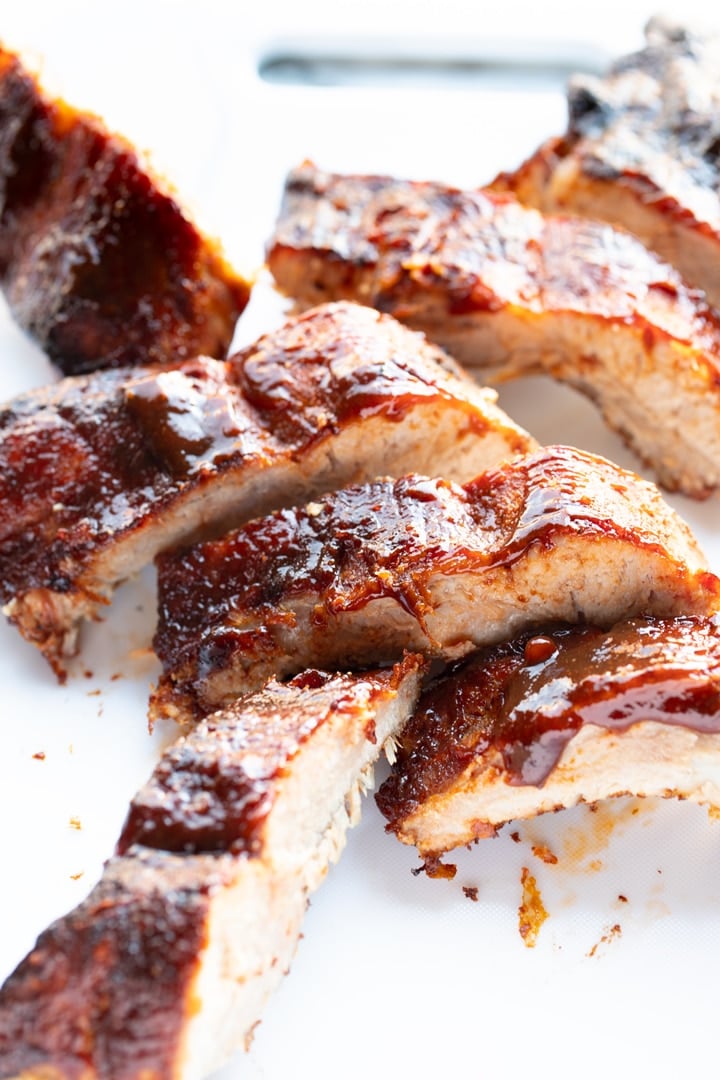
- Spareribs: Rub the seasoning onto spareribs before slow-cooking them in the oven or on the grill. The spices will infuse the ribs with smoky and spicy goodness.
- Pulled Pork: Use the seasoning to flavor a slow-cooked pulled pork shoulder. It's perfect for sandwiches, tacos, or serving over rice.
- Roasted Vegetables and other Meats: This seasoning can also be used on other foods. Try it on roasted vegetables or poultry, or even put it on beef like burgers—the spice combo compliments many dishes.
More delicious homemade seasonings!
- Salmon Seasoning
- Hamburger Seasoning
- Homemade Fajita Seasoning
- Adobo Seasoning Recipe
- Homemade Blackened Seasoning
- Homemade Italian Seasoning
- Homemade All-Purpose Seasoning Recipe
- Lemon Pepper Seasoning Recipe
- Caribbean Green Seasoning
- Homemade Cajun Seasoning
FAQ's
Yes, you can adjust the spiciness of the seasoning by varying the amount of cayenne pepper or chili powder you use. Start with a smaller amount and gradually add more to achieve your desired level of heat.
If your spices become clumped together due to moisture exposure, you can break up the clumps using a fork or spice grinder. To prevent clumping, add a small amount of rice to the storage container.
To make a larger batch, simply scale up the ingredients. You can double or triple the quantities to prepare a bigger batch that can be stored for an extended period of time.
While this seasoning does contain salt, you can reduce the salt content or use a low-sodium salt substitute to make it suitable for a low-sodium diet. Adjust the salt quantity to your dietary preferences.
Expert Tips
- This seasoning mix is versatile and can be used on other meats such as chicken, beef, or vegetables for a spicy kick.
- Adjust the amount of cayenne pepper to your taste if you prefer a milder or spicier seasoning.
- This seasoning works great on baked pork chops.
- Using 1 tablespoon of pork chop seasoning per 1 pound of pork is recommended.
Looking for more Pork Chop recipes? Try these out:
- Perfect Air Fryer Pork Chops
- Smothered Pork Chops
- Air Fryer Boneless Pork Chops (Japanese Tonkatsu)
- Perfect Sous Vide Pork Chops
If you have tried this recipe or any other recipe on my blog, please rate it and let me know how it turned out in the comments below!
Pork Chop Seasoning
Ingredients
- 1 Tablespoon paprika
- 2 teaspoons kosher salt
- 2 teaspoons black pepper
- 2 teaspoons chili powder
- 2 teaspoons garlic powder
- 2 teaspoons onion powder
- 2 teaspoons dried thyme
- ½ teaspoon dried oregano
- ½ teaspoon cayenne pepper
Instructions
- In a medium-sized bowl, combine the paprika, kosher salt, black pepper, chili powder, garlic powder, dried thyme, dried oregano, and cayenne pepper.
- Mix well until all the ingredients are well incorporated.
- Use to season your pork chops before cooking. Store in an airtight container in a cool, dry place for up to 6 months.
Notes
- This seasoning mix is versatile and can be used on other meats such as chicken, beef, or vegetables for a spicy kick.
- Adjust the amount of cayenne pepper to your taste if you prefer a milder or spicier seasoning.
- This seasoning works great on baked pork chops.