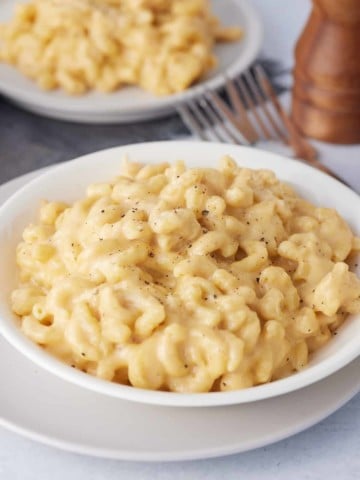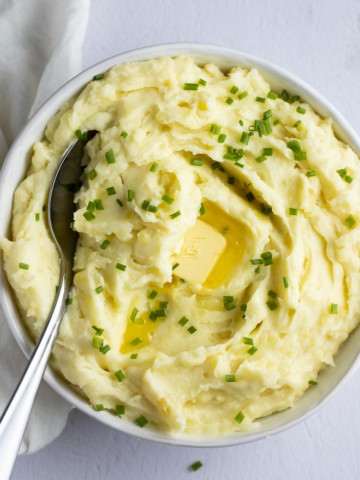
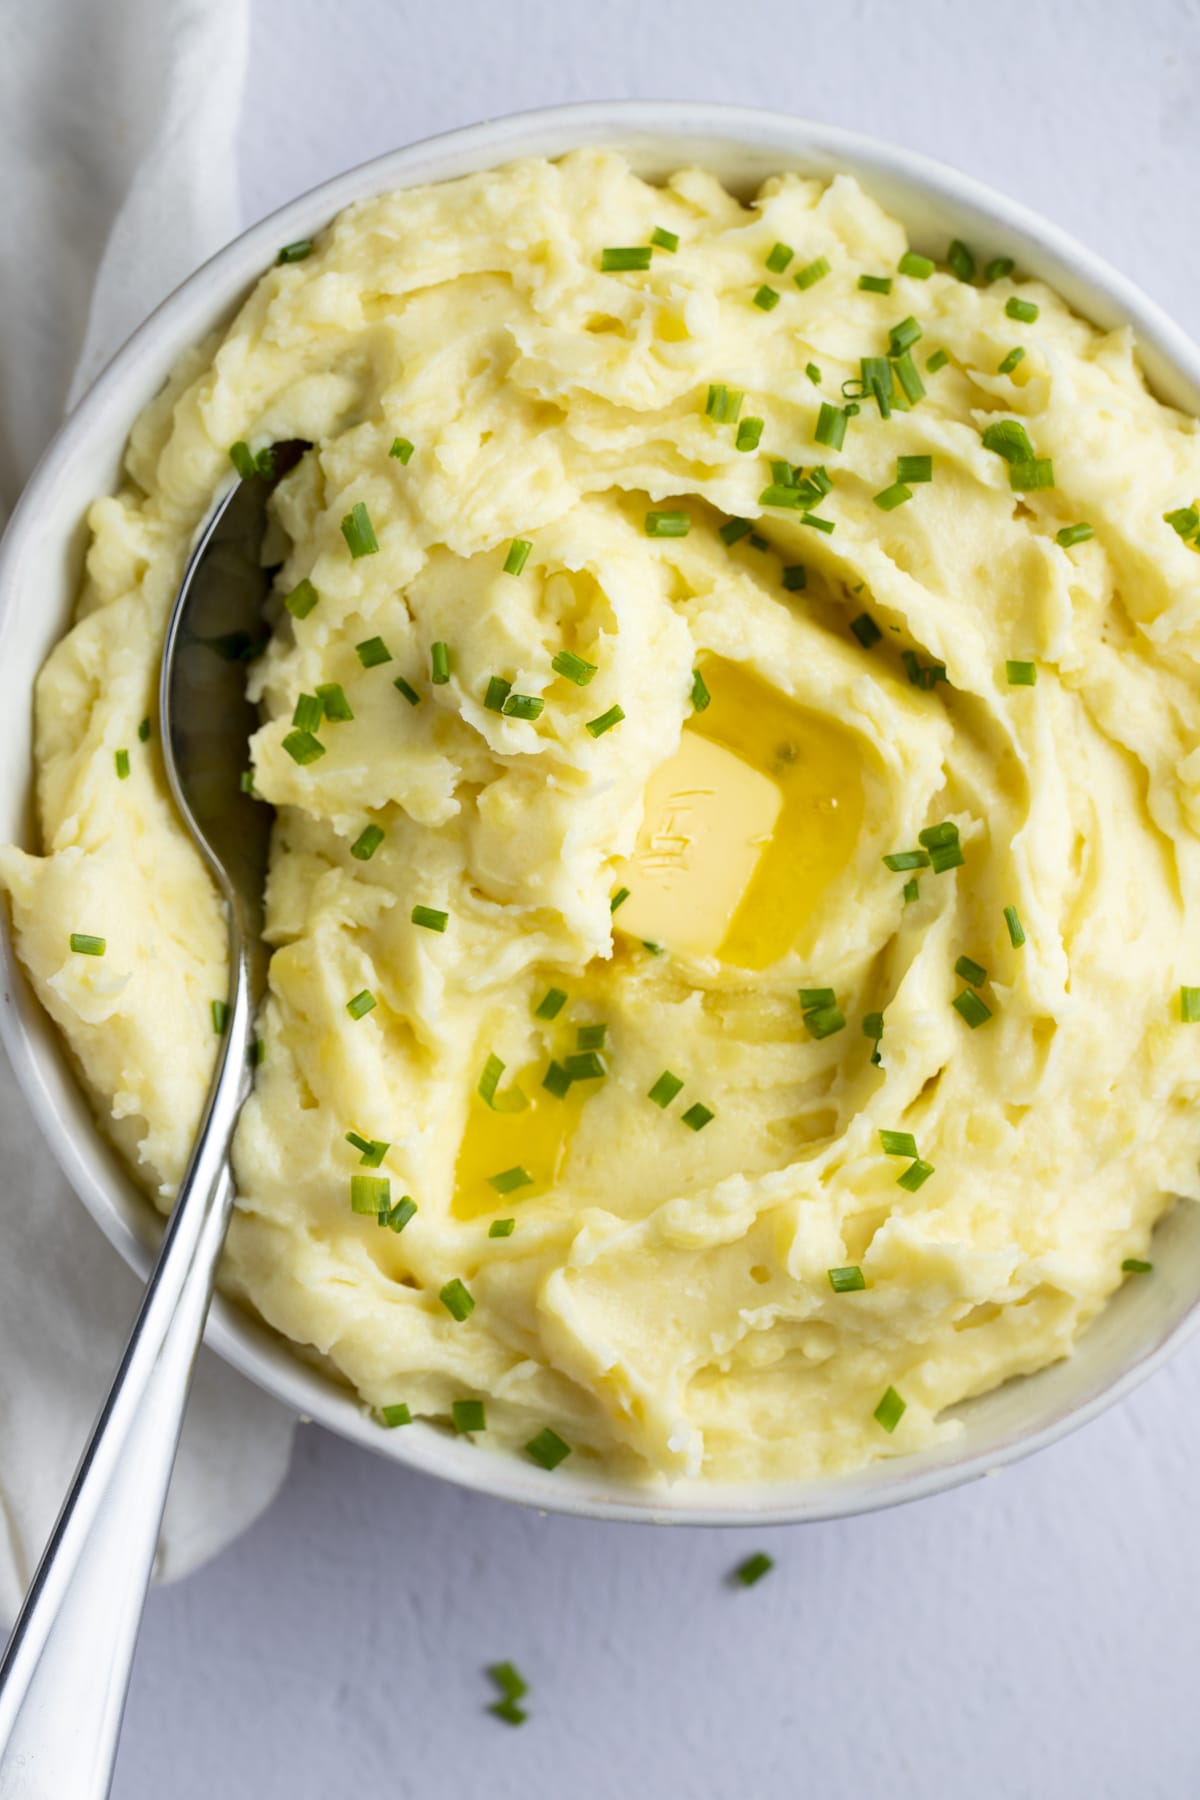
Creamy, rich garlic mashed potatoes are a delicious side dish. Simple to make with a few basic ingredients, they come together in minutes.
You’ll find the full recipe with ingredient amounts and instructions in the recipe card at the bottom of this post. Be sure to check out the blog post itself for extra tips and tricks!
There's really nothing more comforting than creamy mashed potatoes, and when seasoned with garlic, they truly are a wonderful treat!

I'm a fan of elevated basic side dishes, and this spin on mashed potatoes is extraordinary.
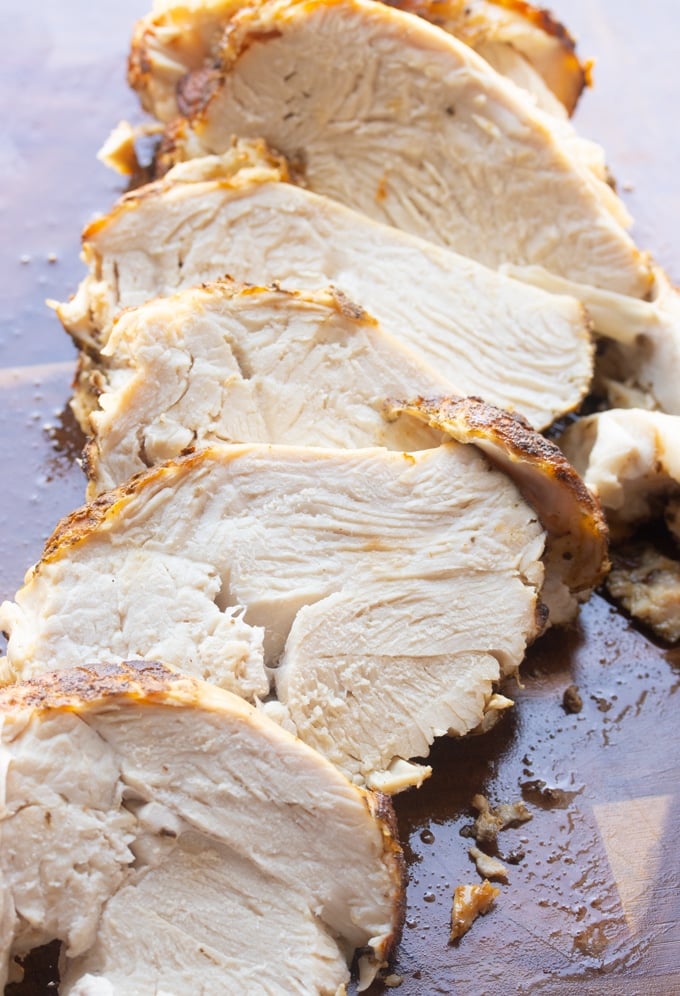
These garlic mashed potatoes are made with heavy cream and butter, making them incredibly rich and creamy. The flavors from the garlic cloves elevate your potatoes to a restaurant-style side dish. I think you'll love it with classic dishes, like roasted chicken.
♡ Tanya
A Quick Look at the Ingredients
Ingredient amounts and full recipe instructions are on the printable recipe card at the bottom of the post.
- Yukon Gold potatoes – These have a naturally buttery texture and a golden color, making them perfect for mashing. If you don't have these, you can use russet potatoes.
- Unsalted butter – Adds smoothness and a hint of richness without overpowering the flavor of the potatoes.
- Garlic – Fresh cloves give just the right amount of garlicky flavor. Feel free to adjust to taste.
- Heavy cream – I add a whole cup of heavy cream, making it rich. For a lighter version, you can substitute with half-and-half or milk.
- Salt and pepper – Simple seasoning to bring it all together.
How to make garlic mashed potatoes
Step 1: Peel the potatoes and cut them into large chunks. Then place them in a large pot. Cover the potatoes with water and boil for 10 minutes, or until they are tender and can be easily pierced with a fork.
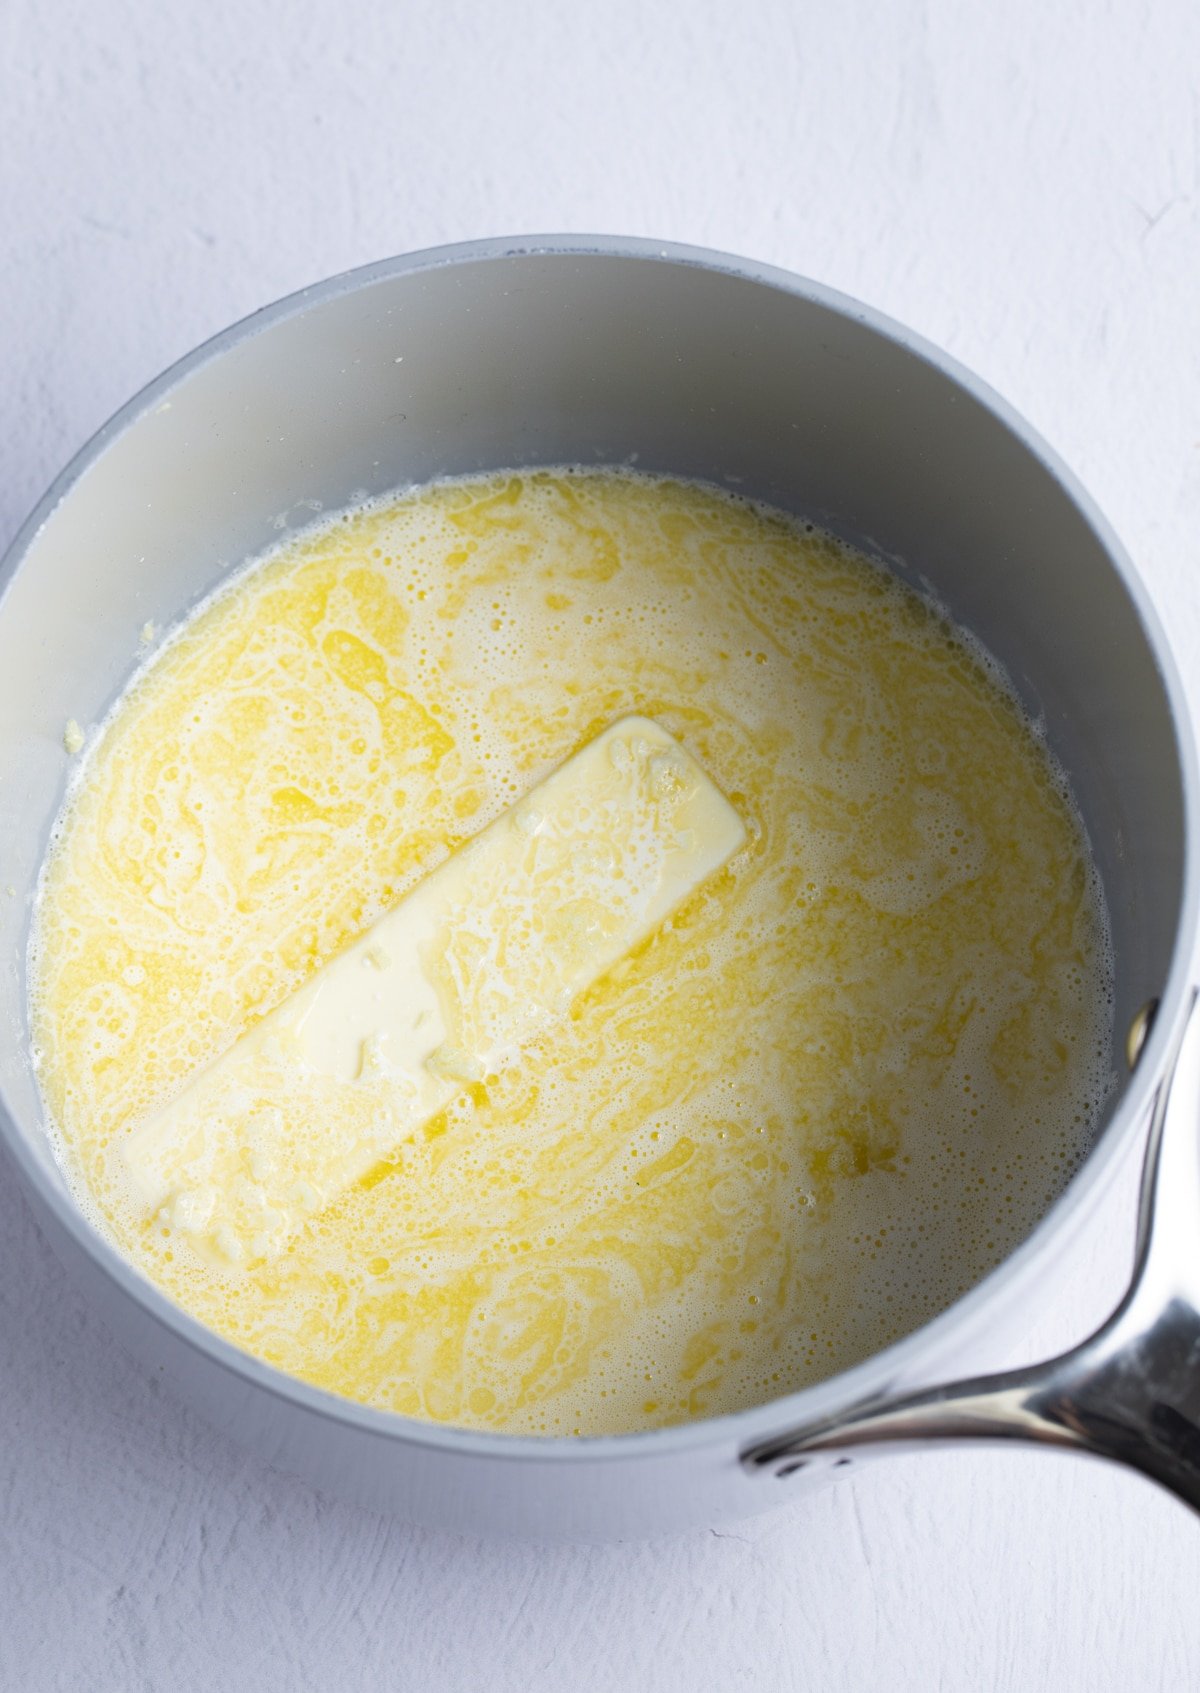
Step 2: While the potatoes are boiling, heat the heavy cream, garlic cloves, and butter in a large saucepan over medium heat.
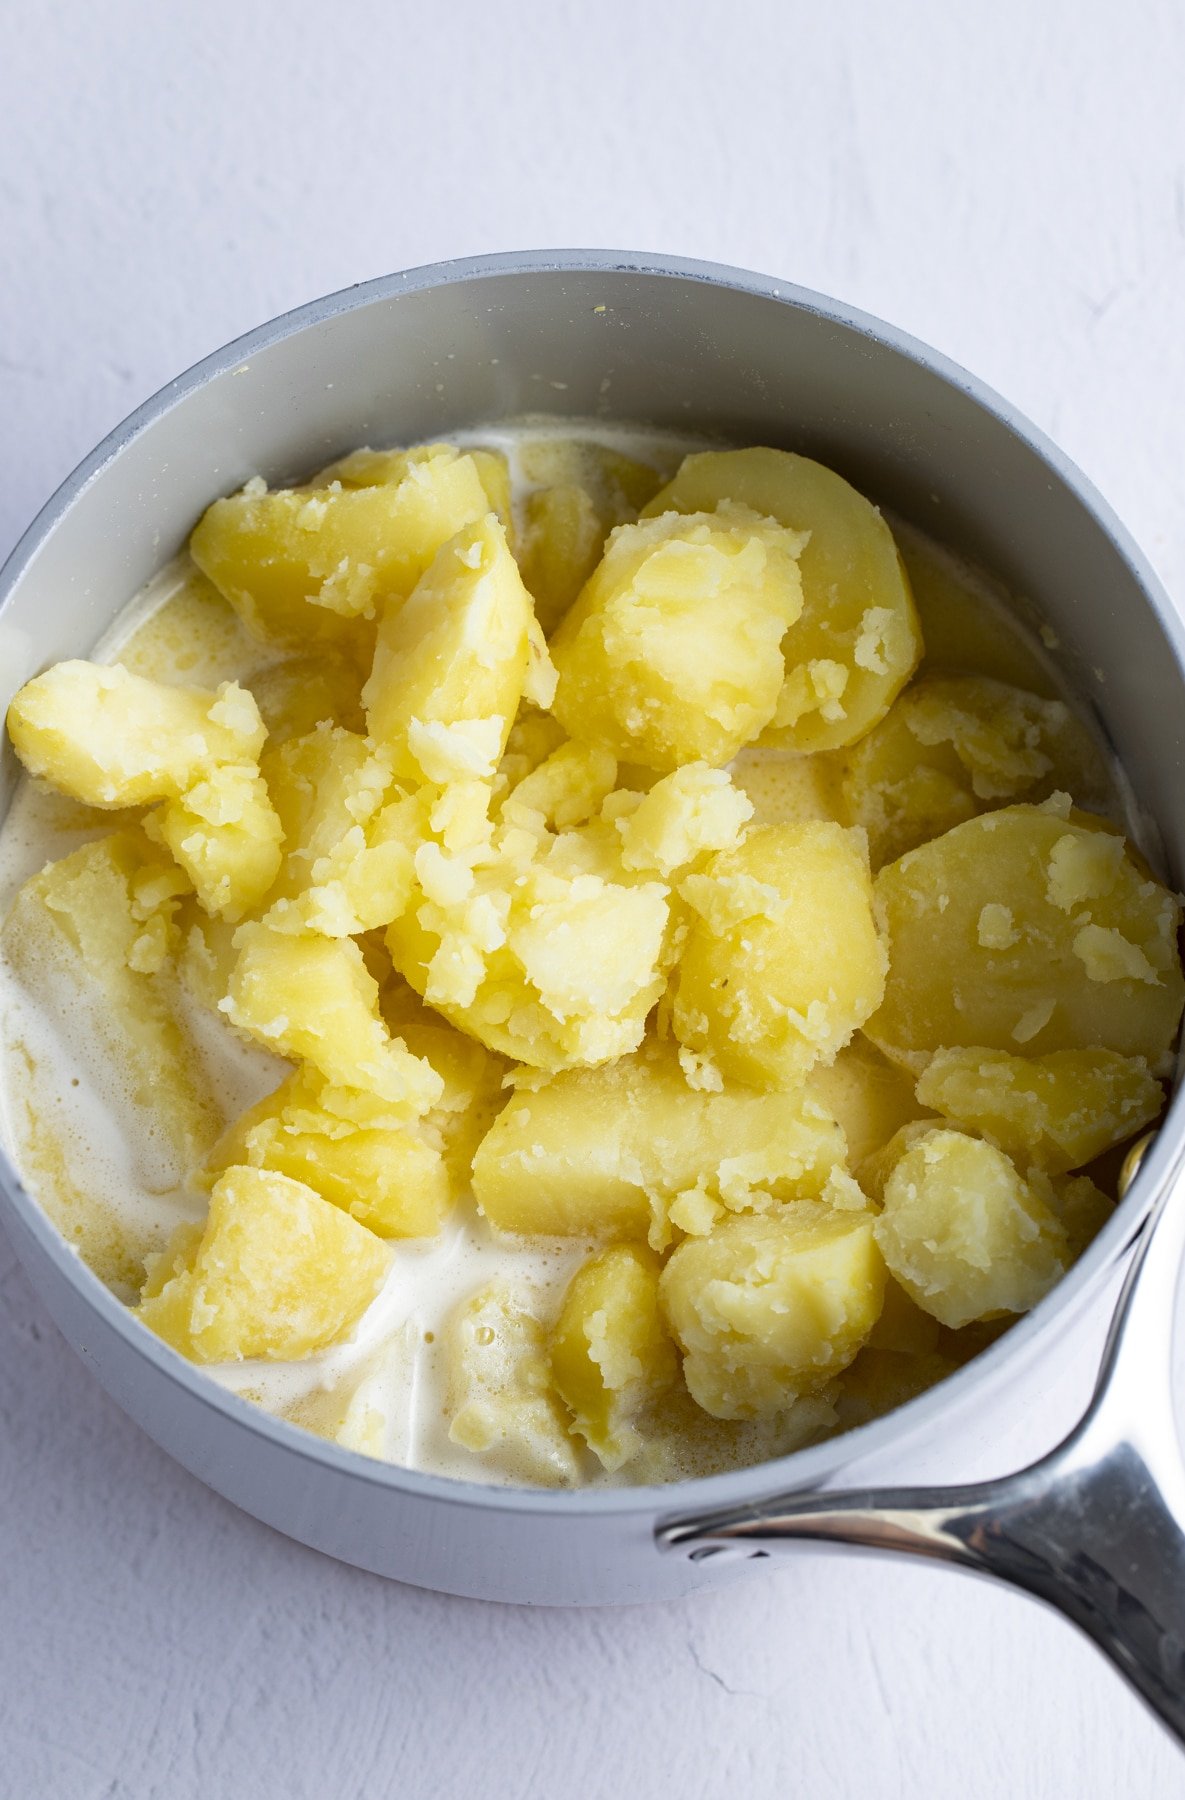
Step 3: Once the potatoes are done boiling, drain them and then add them to the heavy cream mixture. Make sure to remove the pot from the heat.
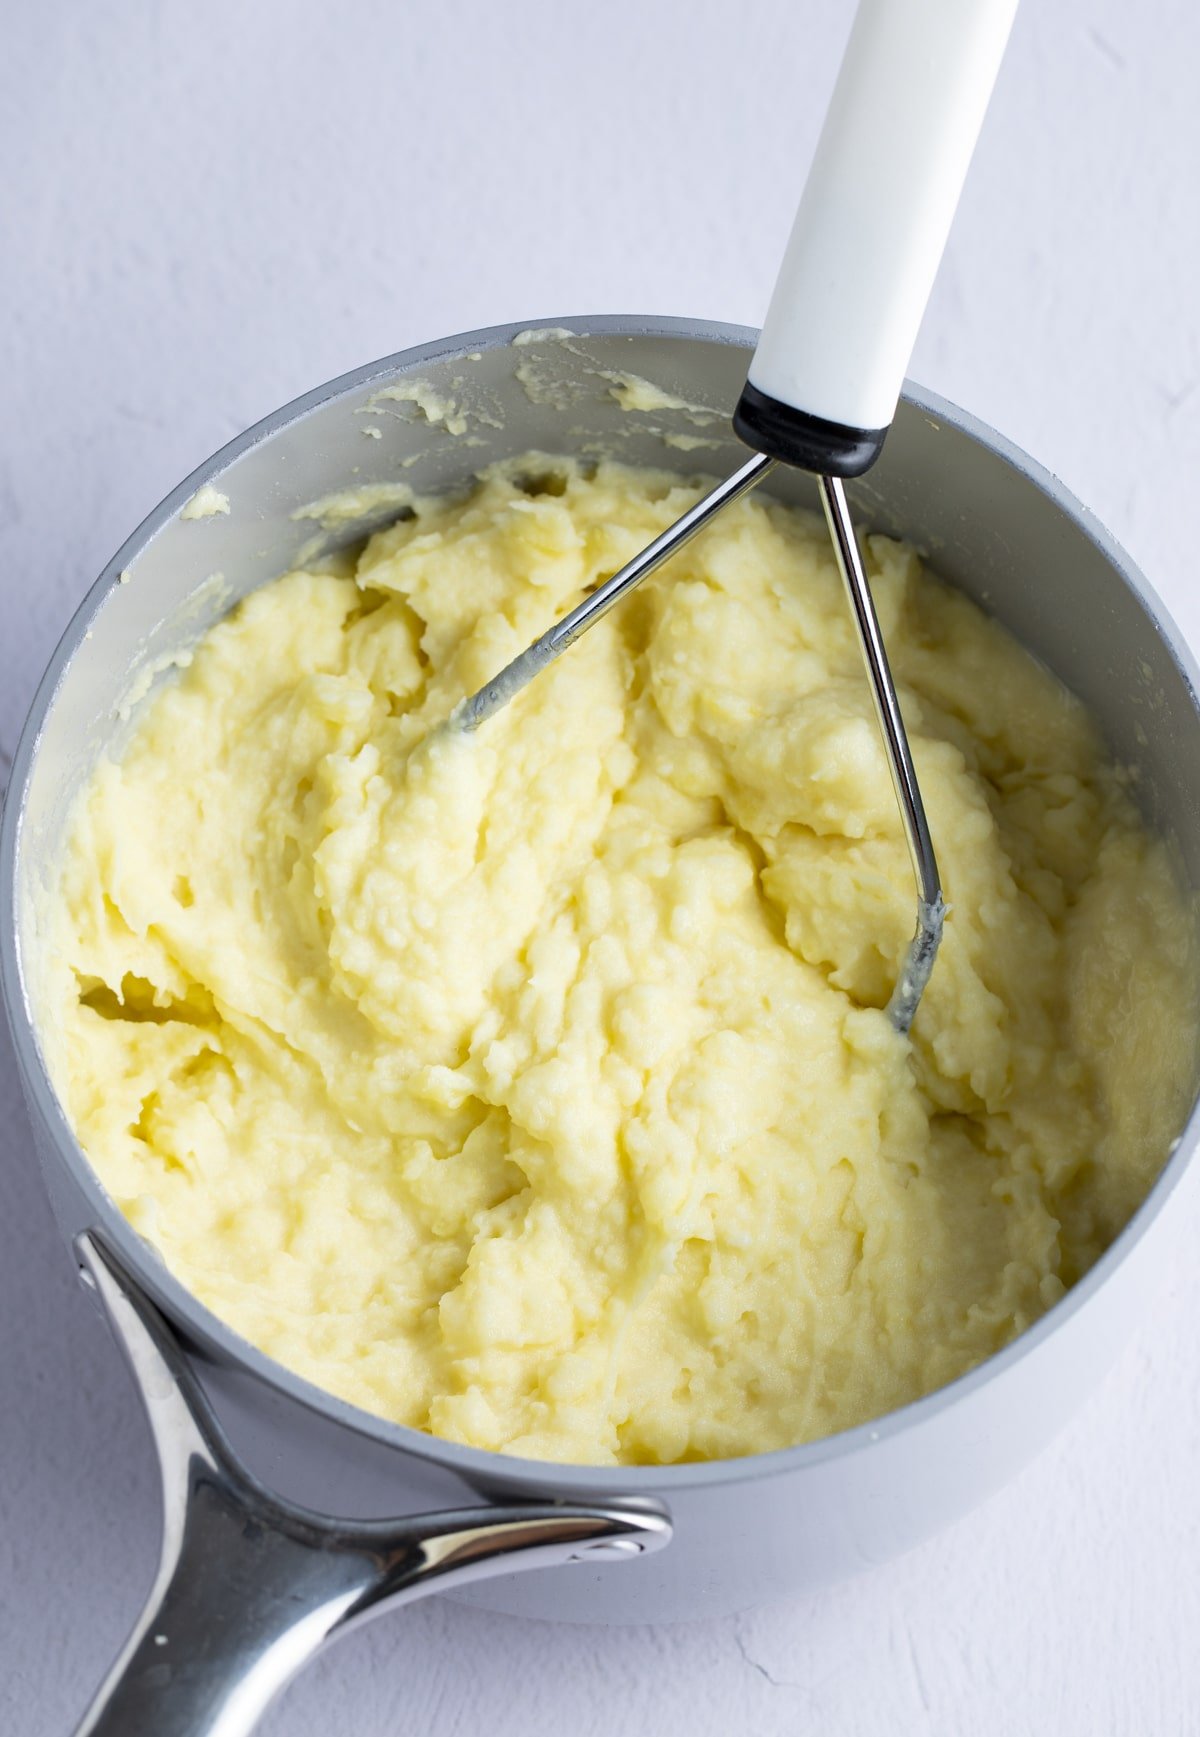
Step 4: Mash the potatoes until you reach the desired consistency and then stir until smooth and creamy. Season with salt and pepper to taste.
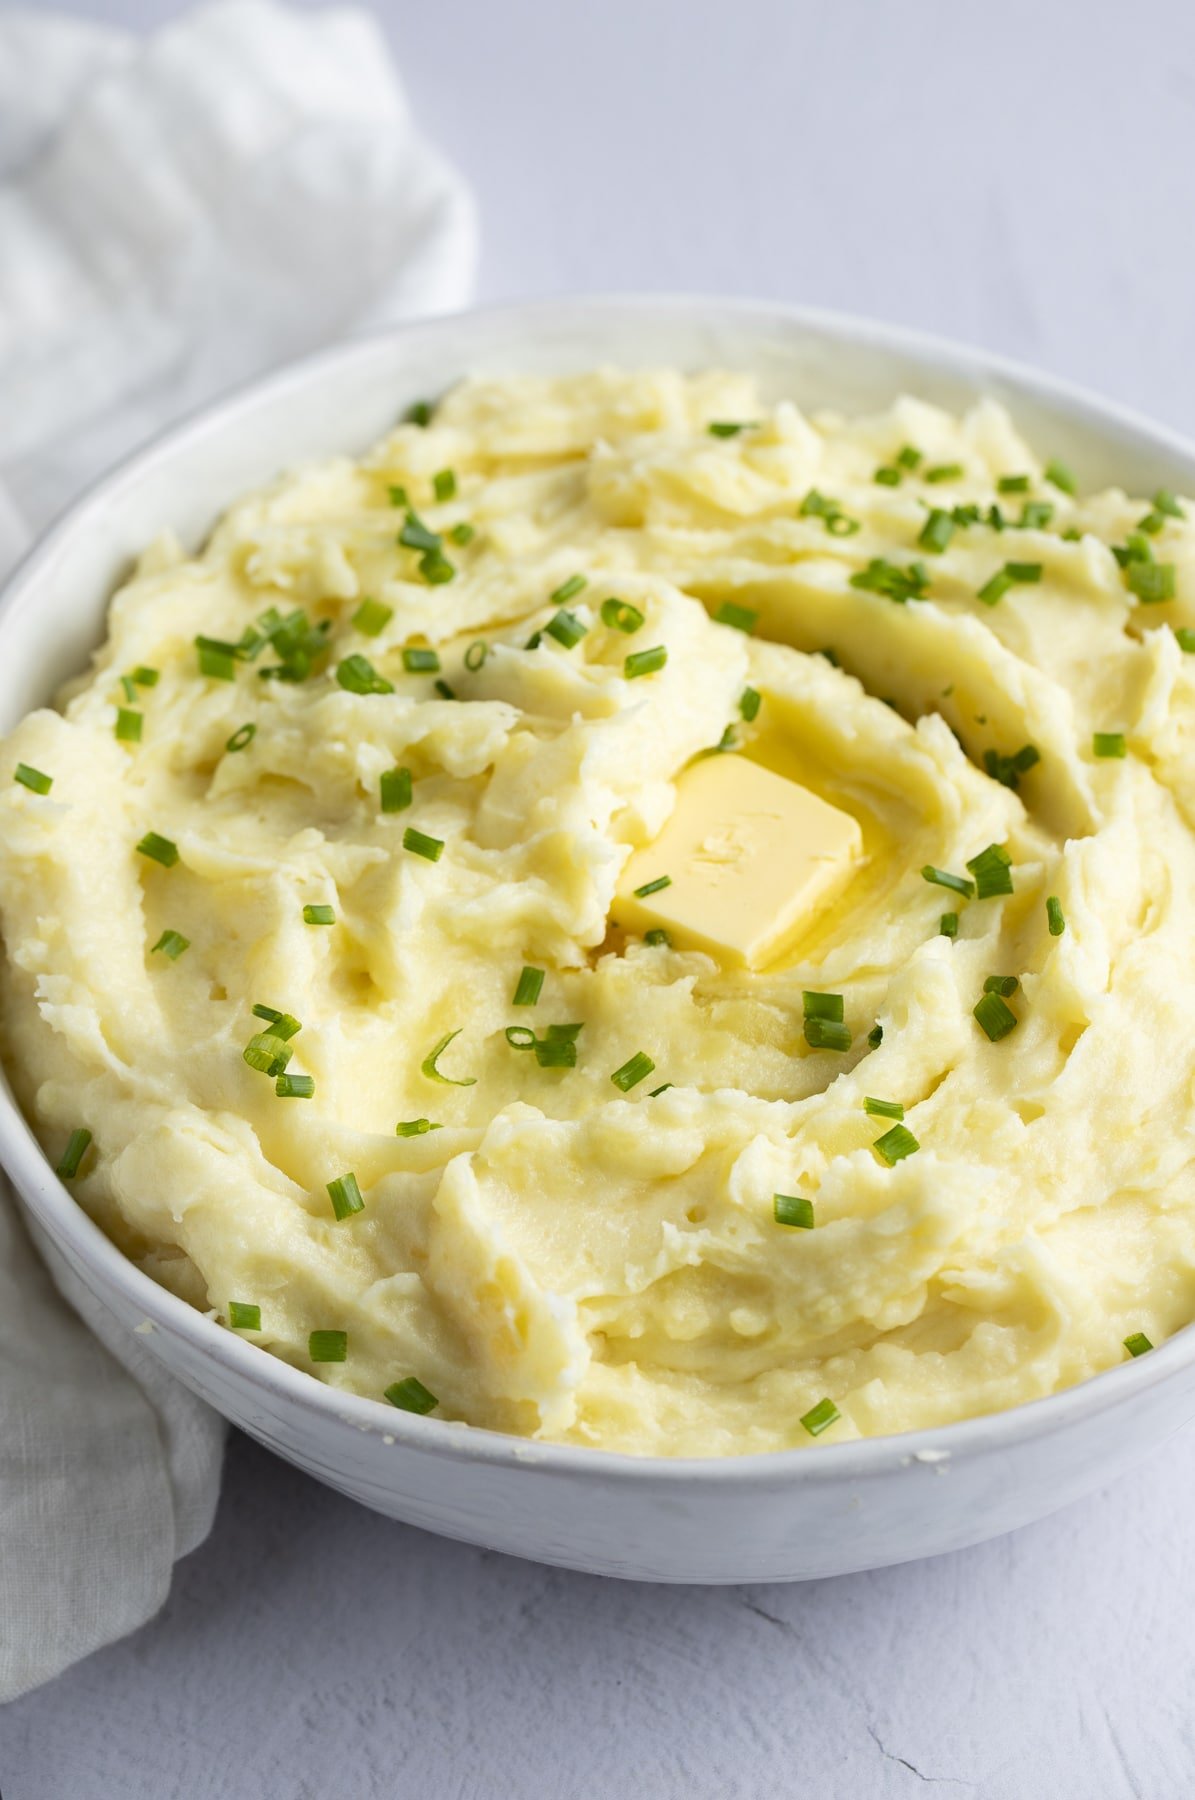
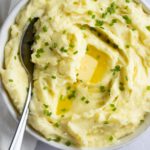
Step 5: Top with chives if desired. Serve and enjoy.
Make-ahead and Storage Info for these garlic mashed potatoes
Mashed potatoes are a great make-ahead side dish, making them the perfect option for Thanksgiving or the holidays. Once you have made your garlic mash, let it cool before placing it in an airtight container in the fridge, and it will keep well for up to 3 days.
The mashed potatoes can be reheated on the stovetop over low heat, stirring occasionally to prevent sticking. You may want to add a tablespoon or two of cream or milk to loosen them back up.
You can also freeze these garlic mashed potatoes. Because this recipe includes butter and cream, it tends to freeze better than plain mashed potatoes. The fat helps preserve the texture and flavor. They can be frozen for up to 2 months in an airtight container or freezer-safe bag.
To reheat frozen mashed potatoes, thaw in the refrigerator overnight, then warm gently on the stovetop or in the microwave. Stir in a splash of milk or butter while reheating to help restore the original texture.
Note: While freezing works, the texture may not be as smooth as freshly made mashed potatoes. For the best results, consider making them ahead and refrigerating them instead of freezing, especially if serving for a special occasion.
What do you serve them with?
Mashed potatoes are a great everyday side dish as they are so easy to prep, but these are also impressive enough to serve at larger gatherings and throughout the holidays. Try them with:
- Air Fryer Meatloaf - This meatloaf cooks a bit quicker in the air fryer. Perfect for when you want a smaller loaf in less time.
- Salisbury Steak with Mushroom Gravy - This classic is perfect when laid over these mashed potatoes.
- Air Fryer Steak with Garlic Herb Butter - Now, if you want a restaurant-quality dinner, pair this steak with these mashed potatoes.
- Roasted Air Fryer Turkey Breast - a flavorful turkey breast made in the air fryer, resulting in a juicy turkey breast in less time.
- Air-Fried Spatchcock Chicken - This chicken is perfect for busy weeknights, and its flavor pairs well with these mashed potatoes.
Tanya's Top Tips
- Cut the potatoes into similar-sized chunks to ensure even cooking. They should be fork-tender so that they are easy to mash.
- For an even fluffier mash, use a potato ricer instead of a hand masher.
- Don't over-mash the potatoes. Over-mashing can cause them to become thick and gluey.
- If making ahead of time, let them cool before refrigerating.

I hope you love these garlic mashed potatoes as much as we do. If you’ve tried this or any other recipe on my blog, please take a moment to give it a star rating and share your feedback in the comments below! I appreciate your support.
Garlic Mashed Potatoes Recipe
Ingredients
- 3 lbs yukon gold potatoes
- 1 cup heavy cream
- 2 garlic cloves minced
- 1 stick of unsalted butter
- Salt and pepper to taste
- Chives for serving
Instructions
- Peel the potatoes and cut them into large chunks. Then place them in a large pot. Cover the potatoes with water and boil for 10 minutes or until the potatoes are tender and you can easily pierce them with a fork.
- While the potatoes are boiling, heat the heavy cream, garlic cloves, and butter in a large saucepan over medium heat.
- Once the potatoes are done boiling, drain them and then add them into the heavy cream mixture. Make sure to remove the pot from the heat. Mash the potatoes until you reach the desired consistency and then stir until smooth and creamy. Season with salt and pepper to taste. Top with chives if desired.
Notes
- Cut the potatoes into similar sized chunks so that they cook evenly. They should be fork tender so that they are easy to mash.
- If you want even fluffier mash, use a potato ricer instead of a hand masher.
- Don't over mash the potatoes. Over mashing can cause them to become thick and gluey.
- If making ahead of time, let them cool before refrigerating.
Nutrition
This recipe was originally published on July 12, 2021.