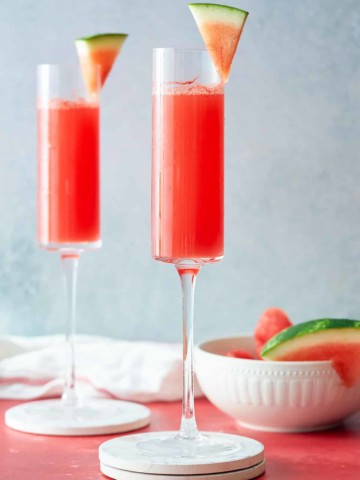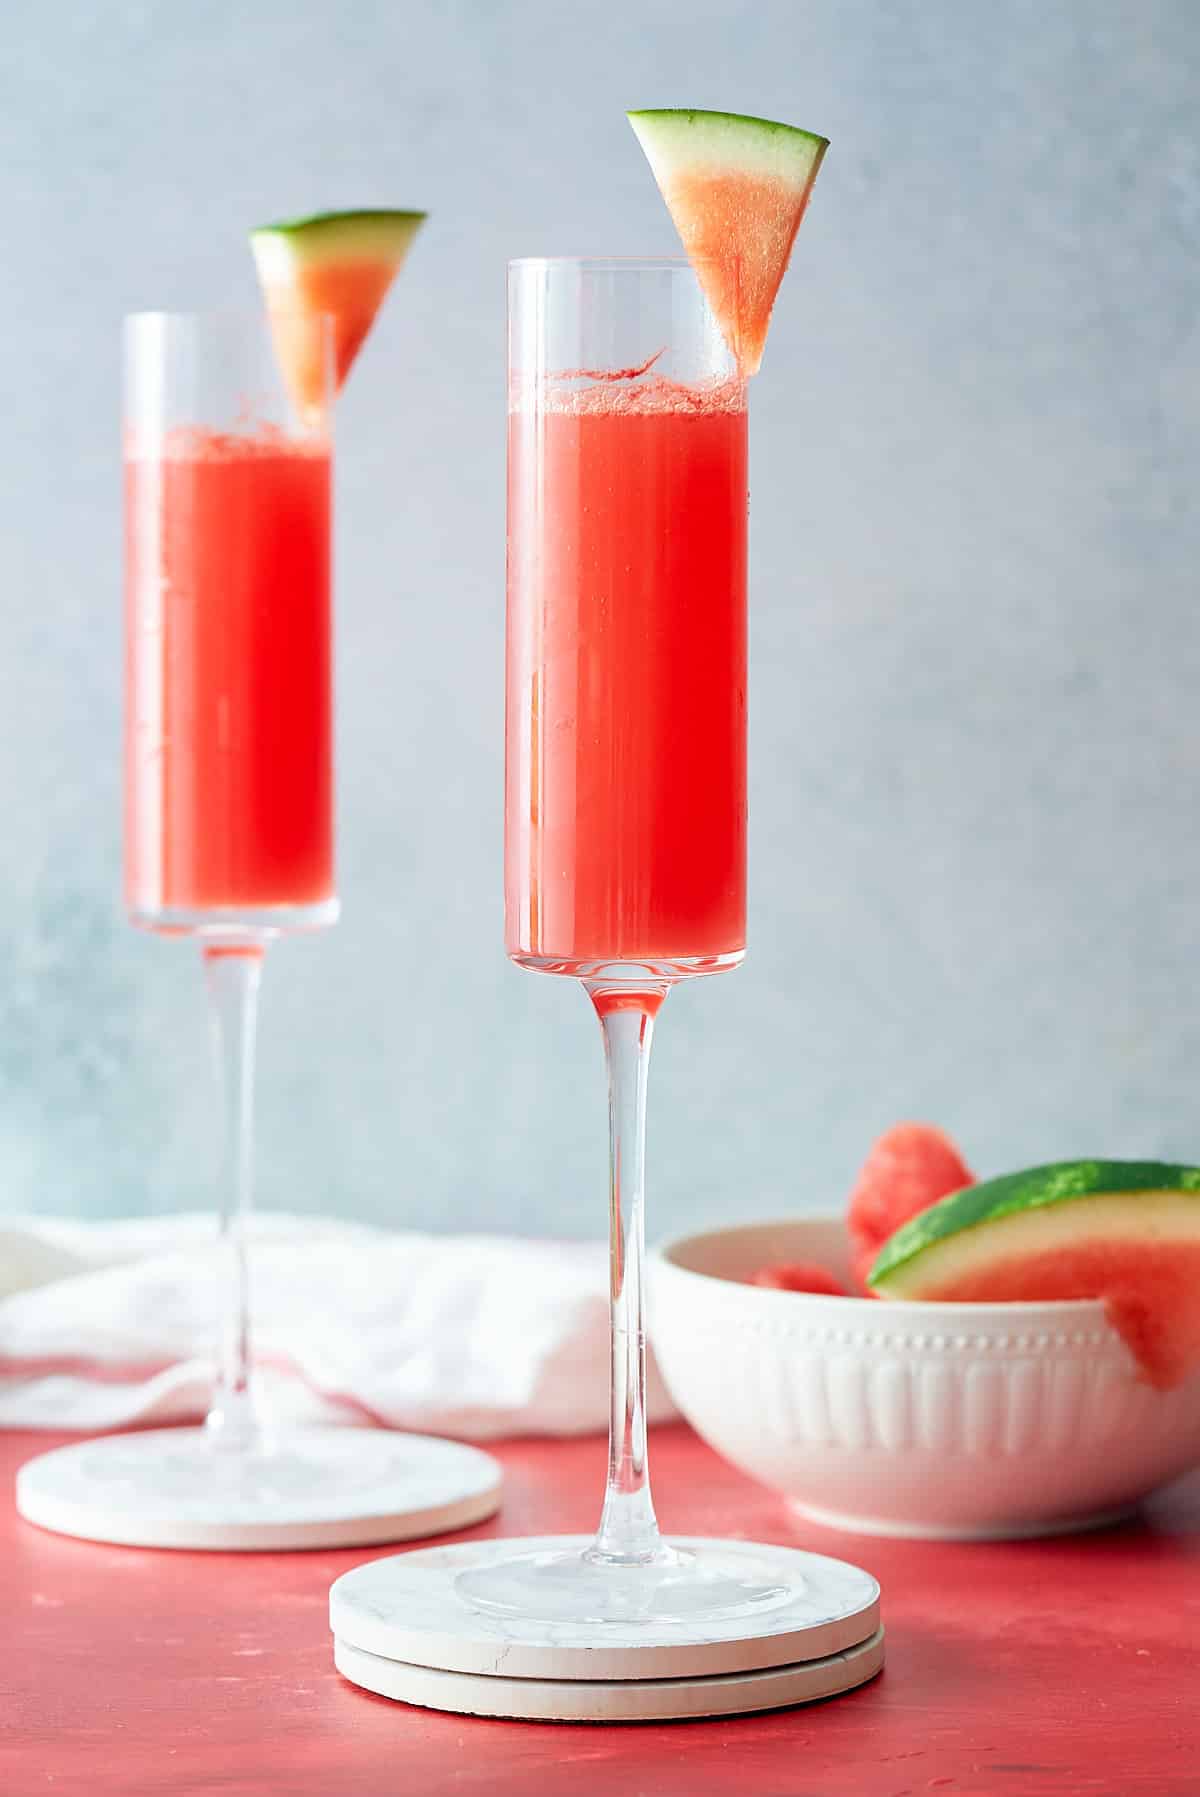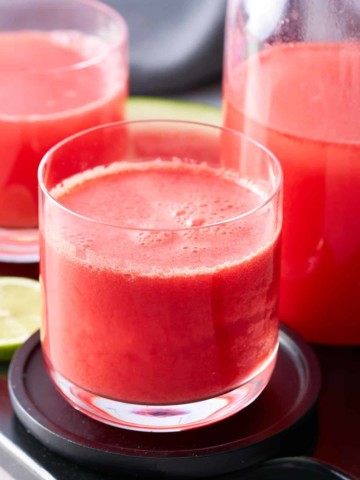
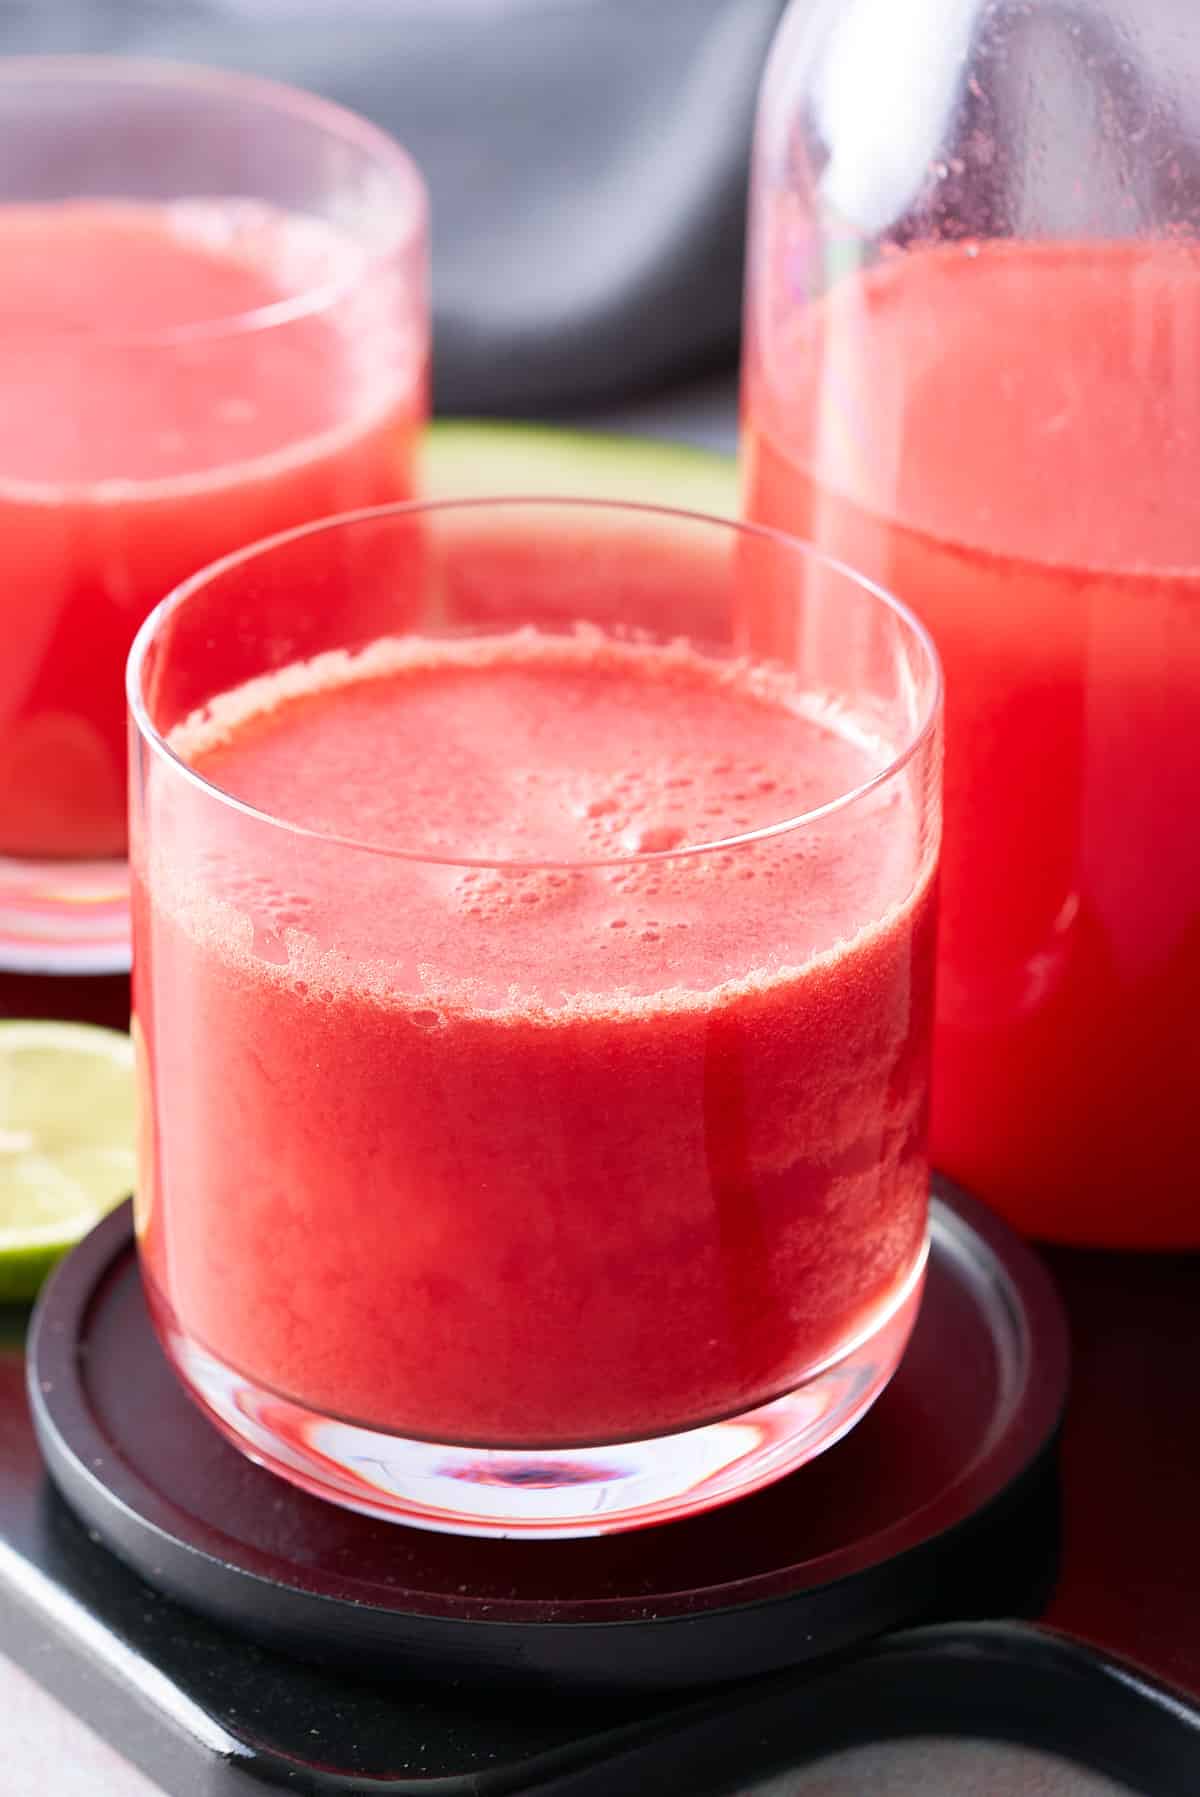
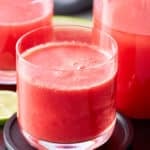
This Watermelon Juice recipe is super simple and results in the most delicious fruity drink. I combine fresh watermelon juice with freshly squeezed lime juice to produce a refreshing drink that is pure sunshine in a glass.
This post contains affiliate links, please read my full disclaimer here.
You’ll find the full recipe with ingredient amounts and instructions in the recipe card at the bottom of this post. Be sure to check out the blog post itself for extra tips and tricks!
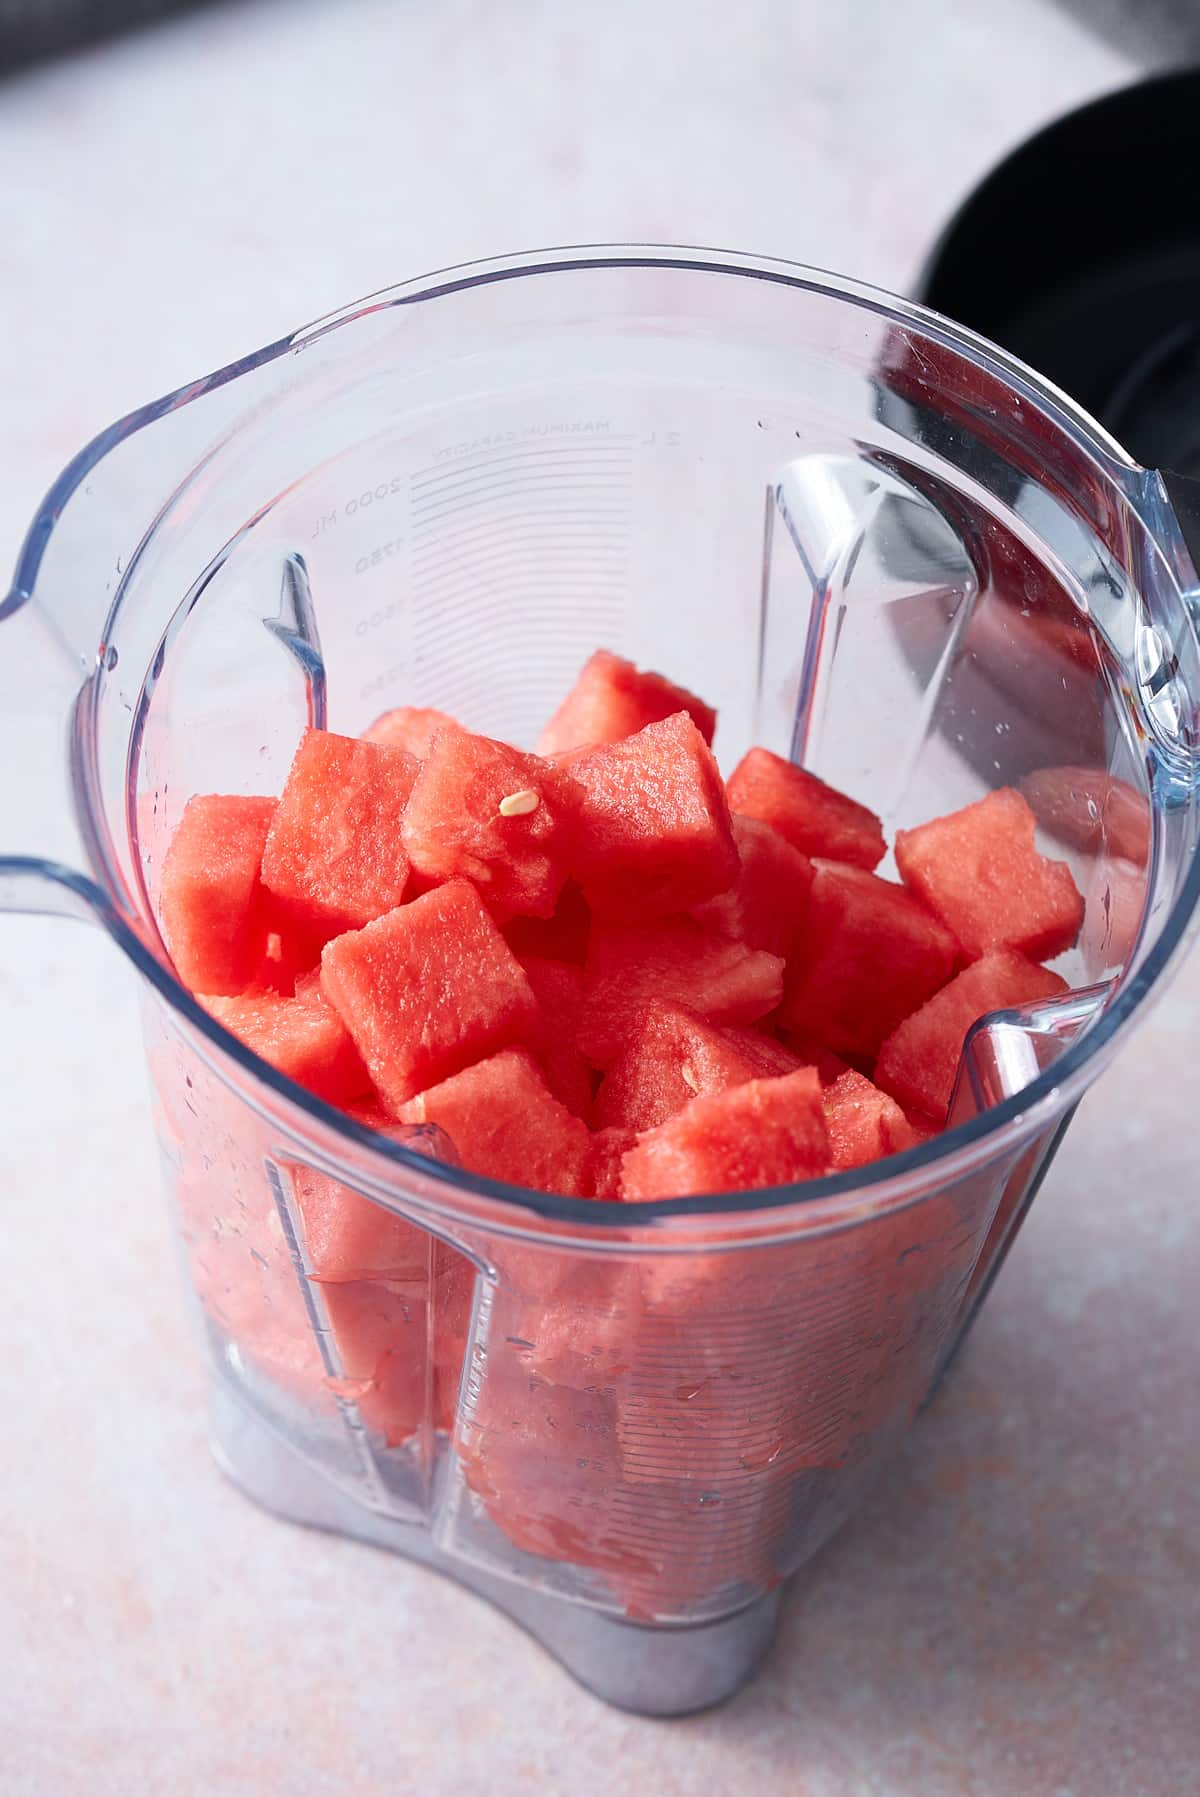
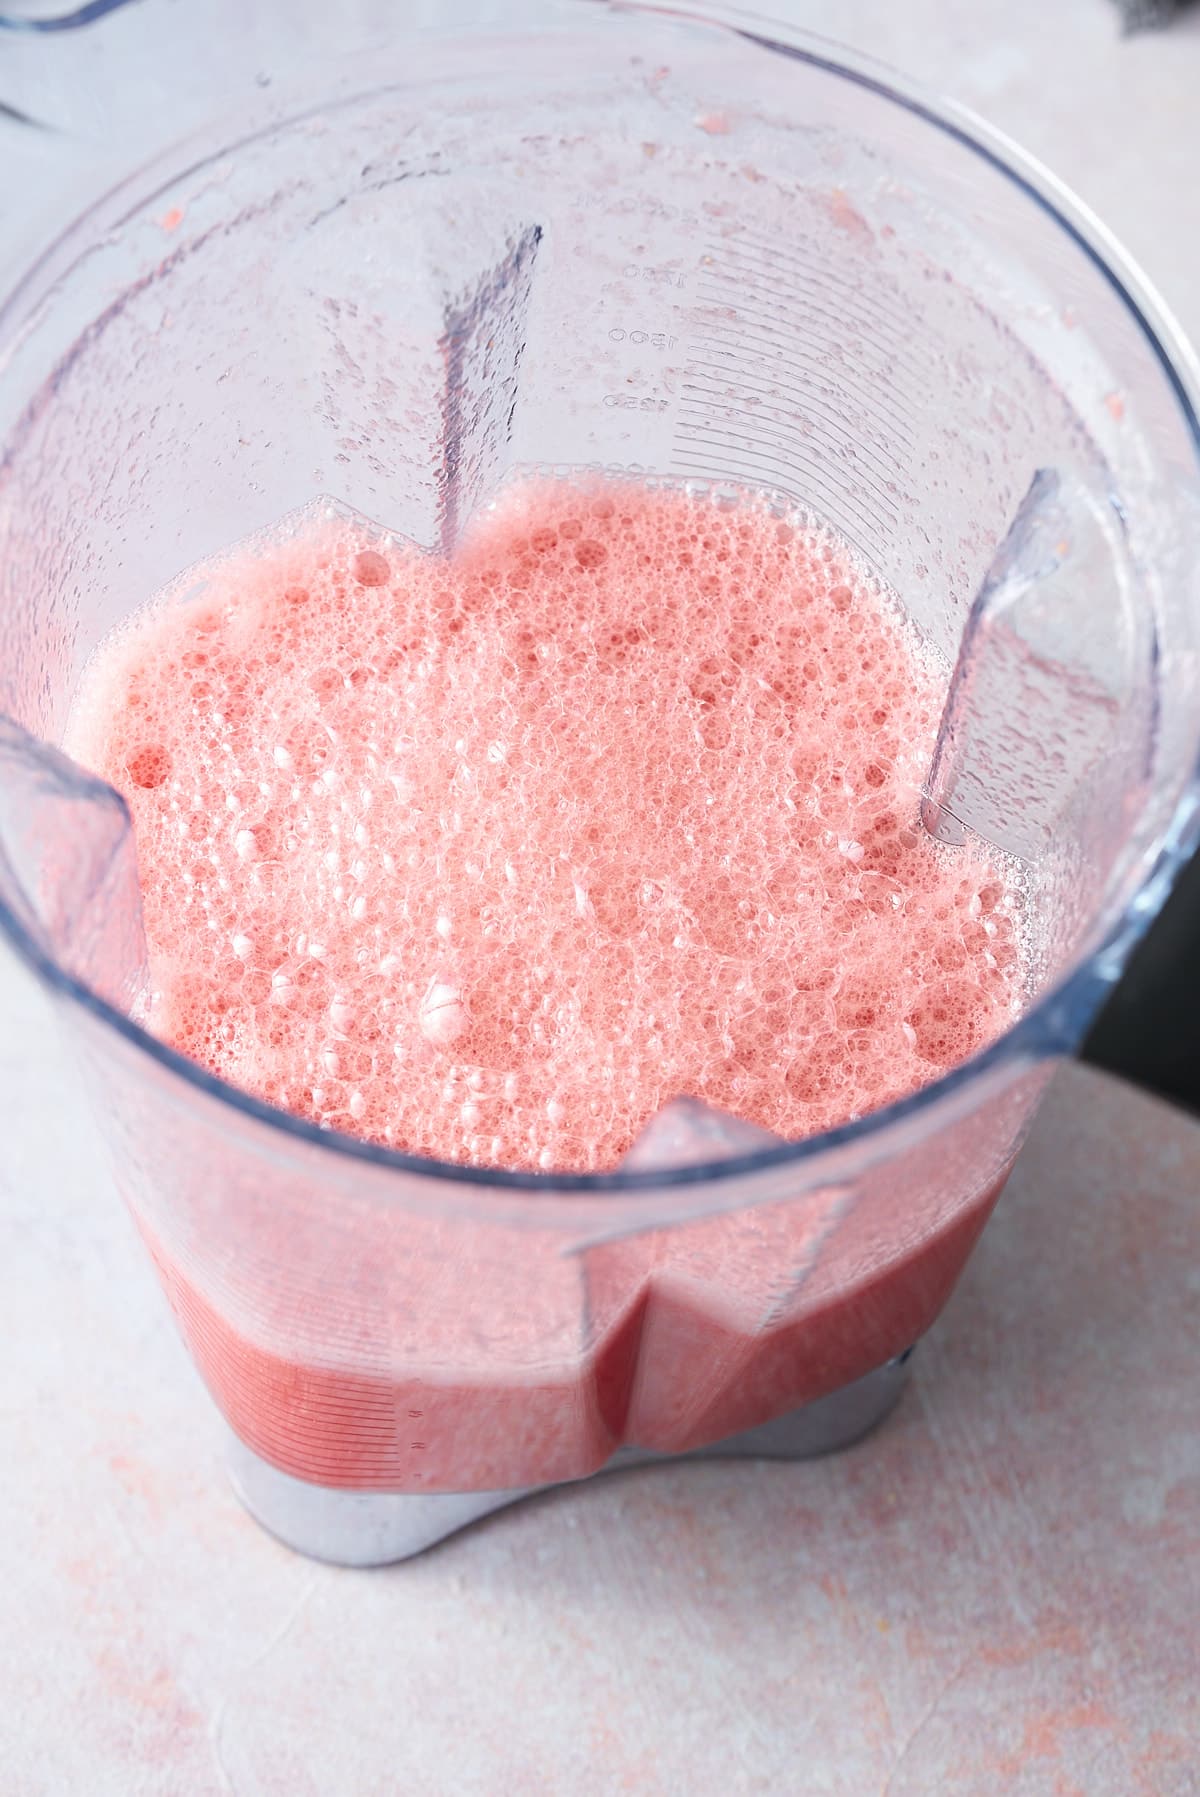
In this recipe I show you how to make watermelon juice with a blender in a matter of minutes. Blitz it up, strain through a sieve into a pitcher, then leave in the refrigerator to chill for a couple of hours. It really is that simple.
I love a glass of this fresh tasting juice for breakfast, and often serve a pitcher of it at family brunch get together's. However, it is also the ideal non-alcoholic drink to cool you down on a hot summers day.
This delicious fresh juice also makes a great cocktail mixer, try it with sparkling champagne or prosecco in my Watermelon Mimosa.
If you love fresh juices, try some of my favorite recipes: my Tamarind Juice, Beet Carrot Apple Juice, Cucumber Ginger Juice, or my Jamaican Style Carrot Juice.
Ingredients
Here's what you will need to make this fresh squeezed juice:
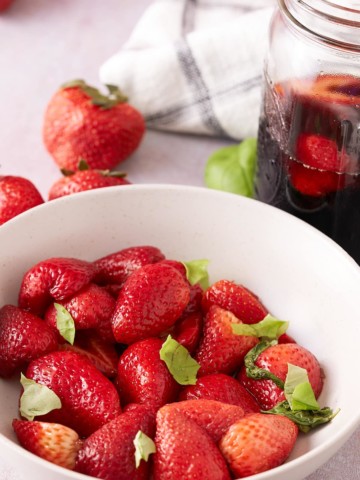
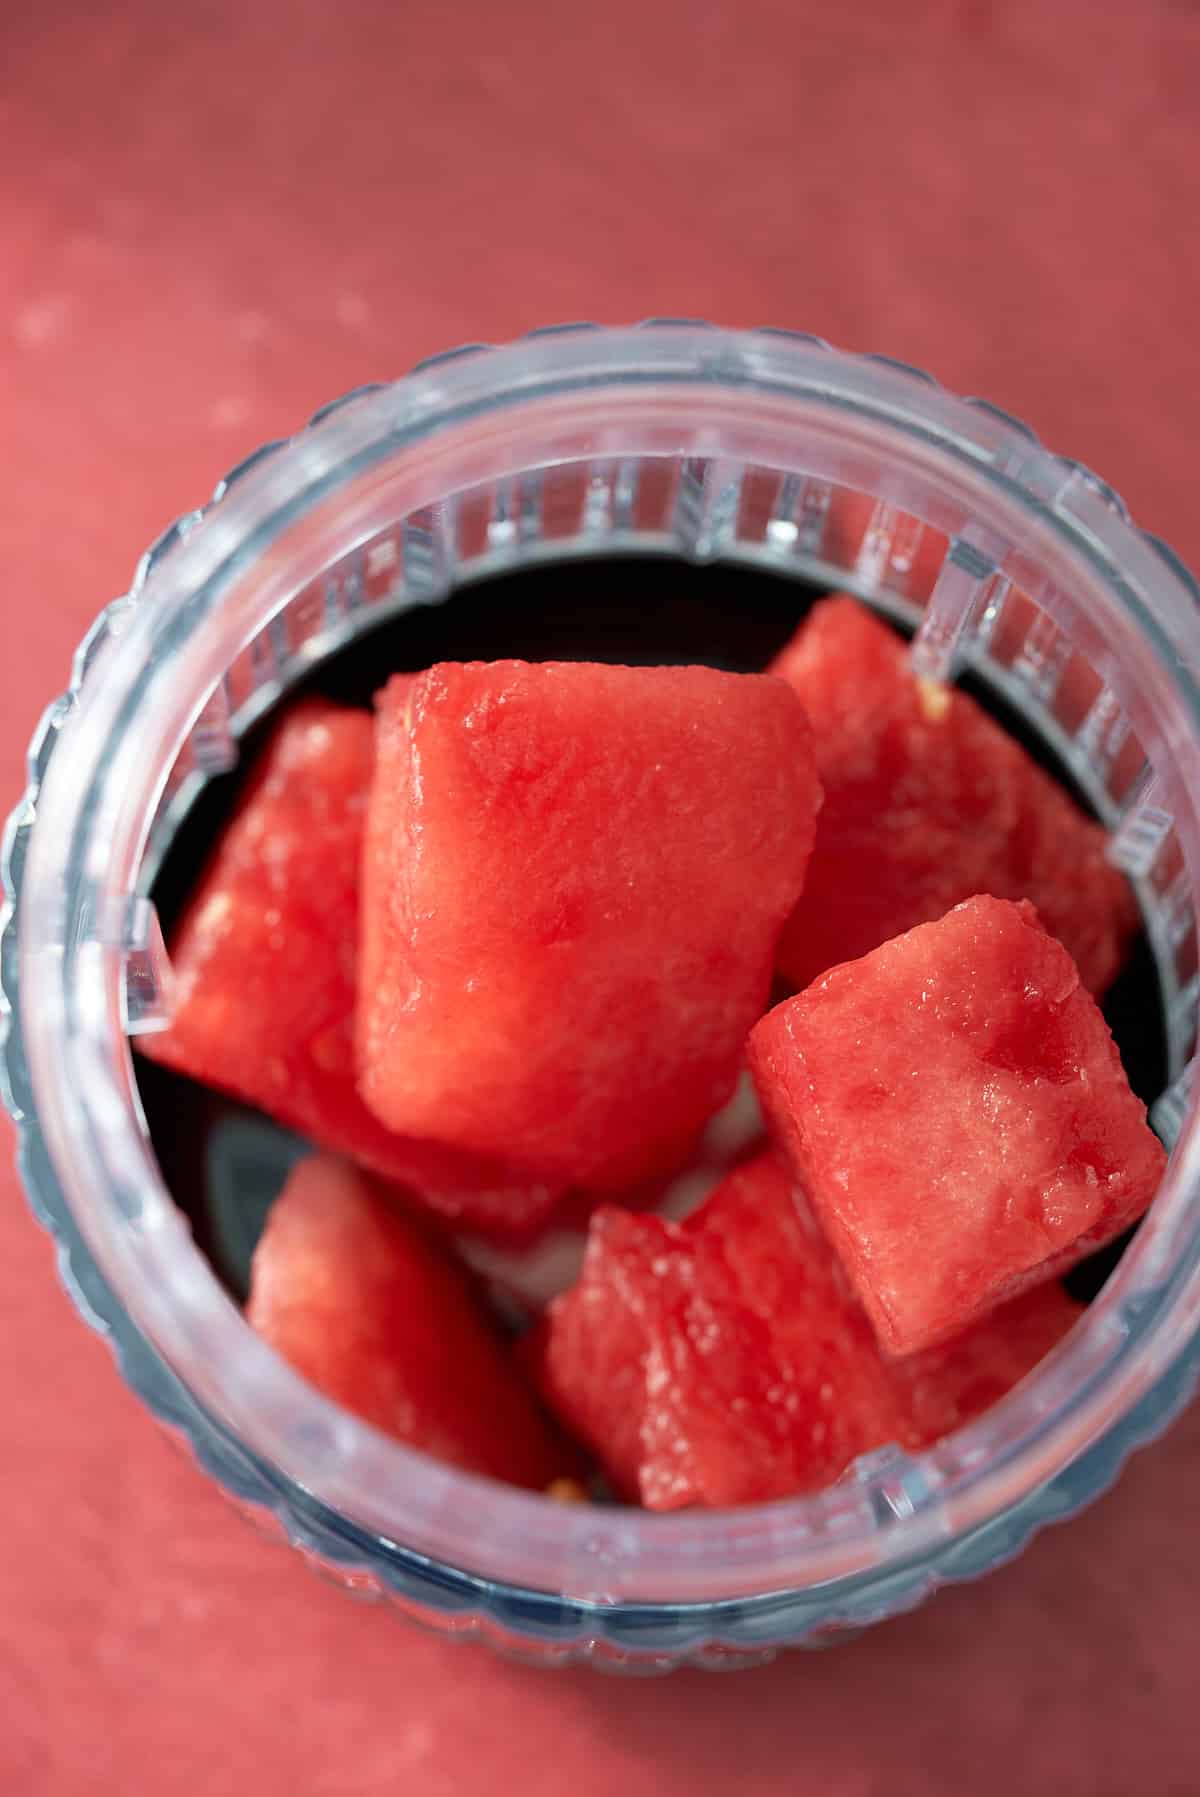
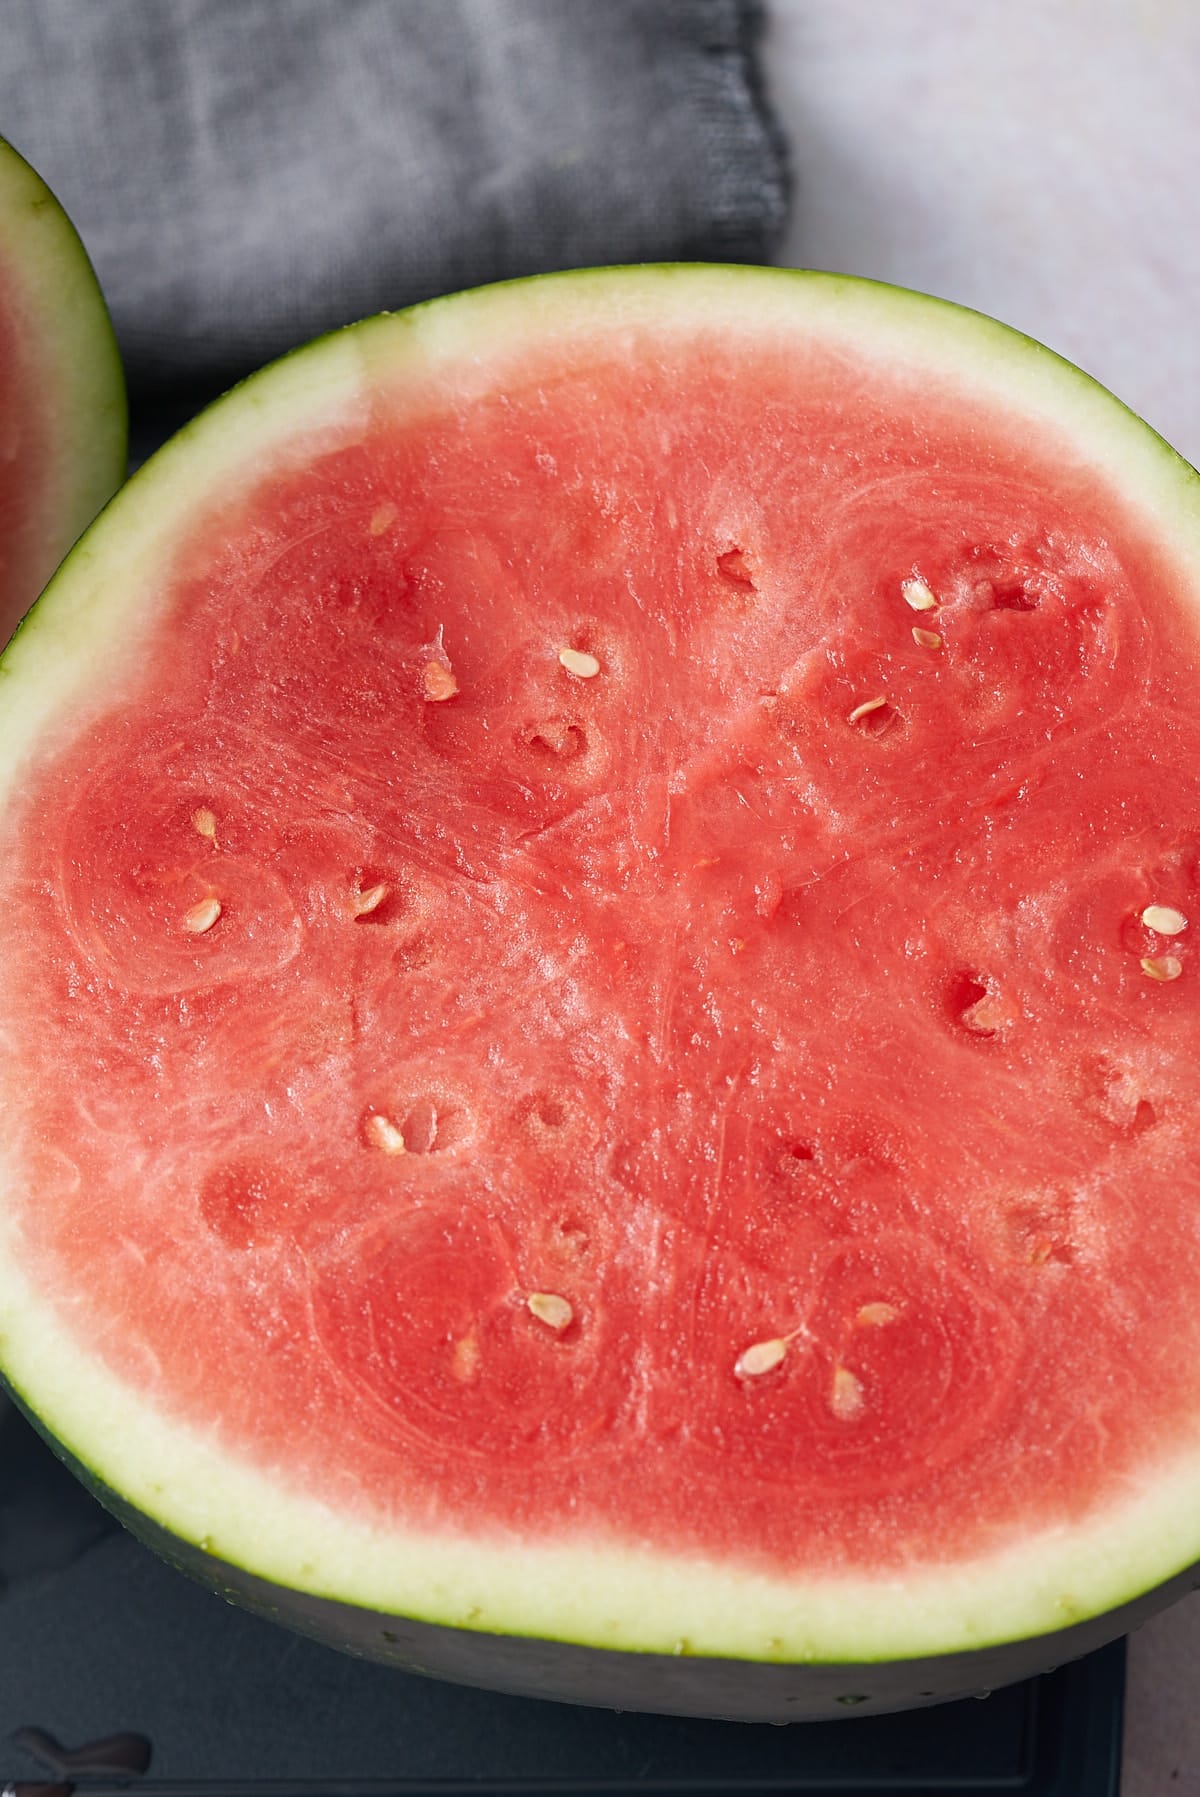
- Watermelon - use seedless watermelon as you don't want to have to pick out the large seeds.
- Lime - I use freshly squeezed lime juice as it has the best flavor.

How to make Watermelon Juice
Place the watermelon cubes and lime juice into a blender.
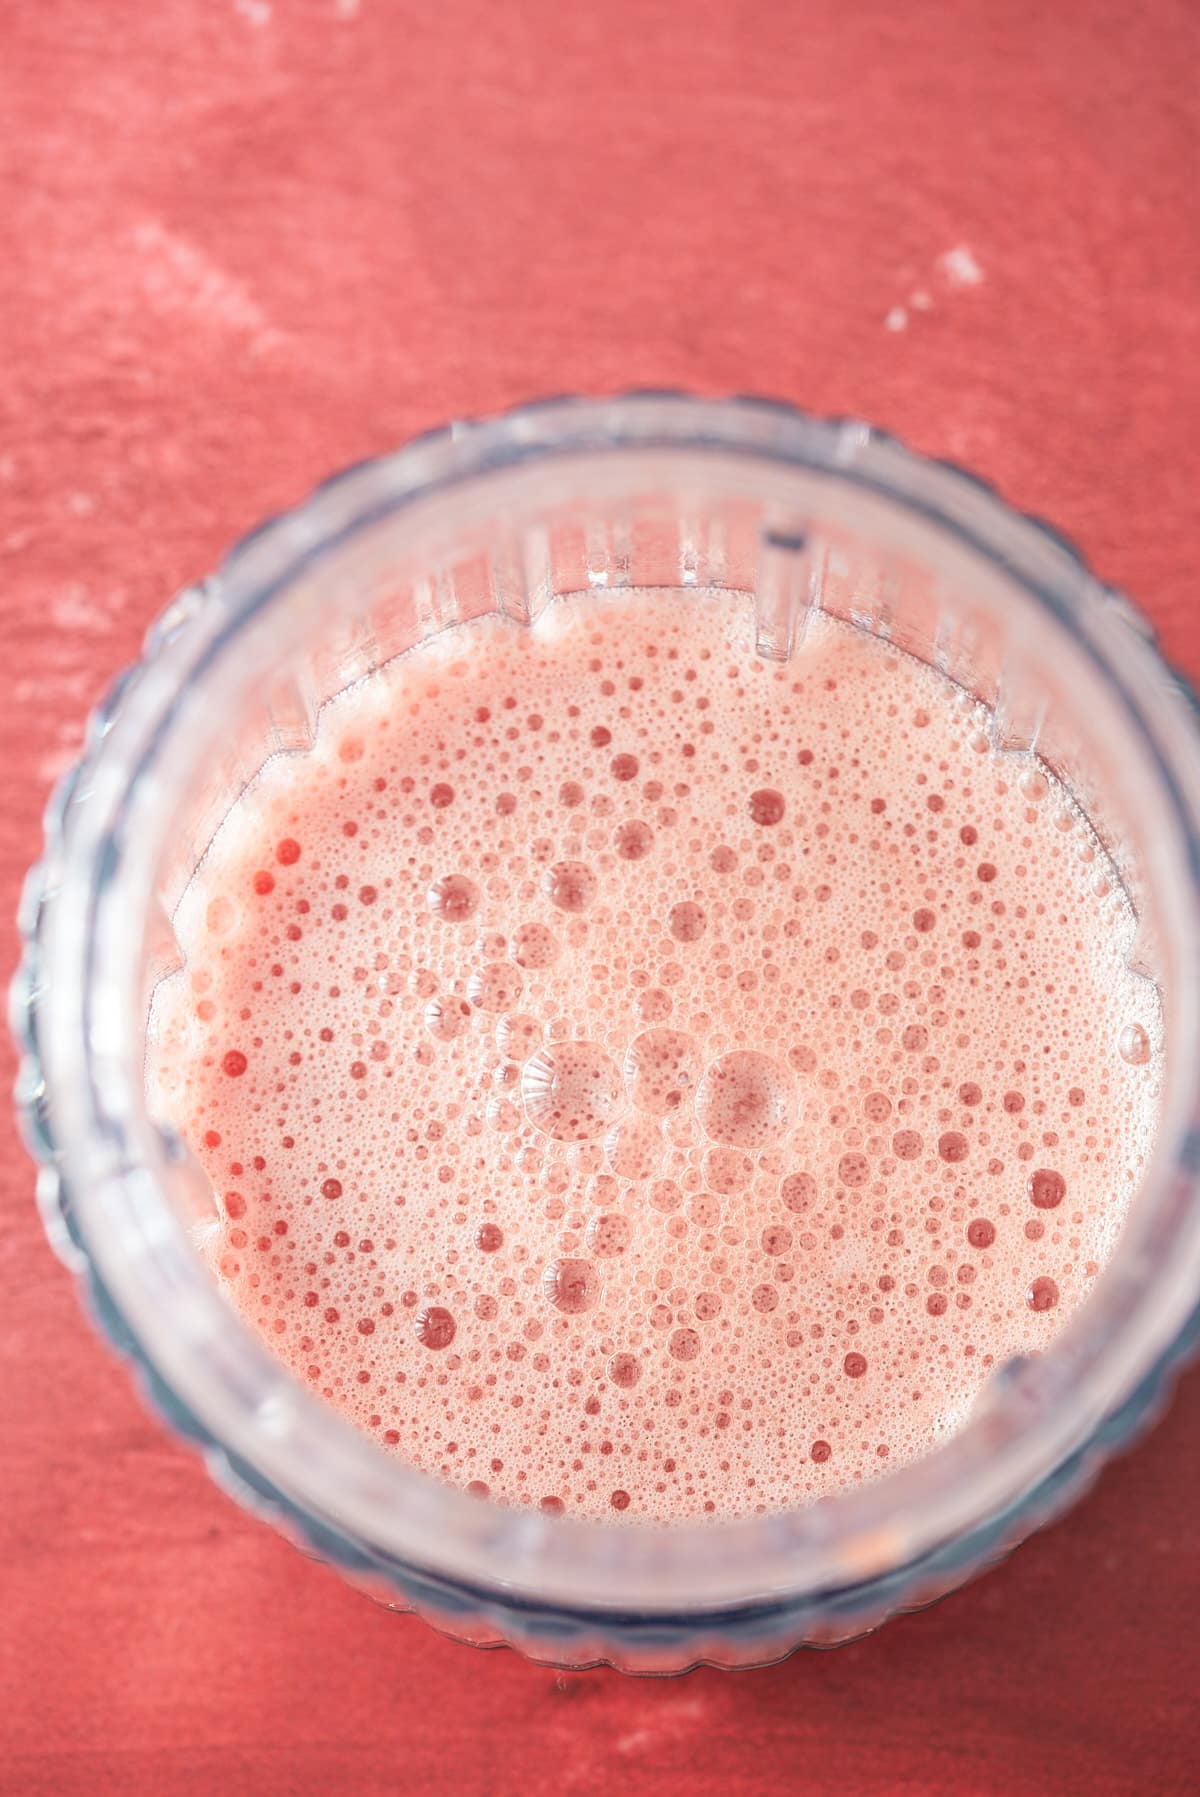
Blend the watermelon on medium speed for 15-20 seconds until you have a smooth, juice-like consistency.
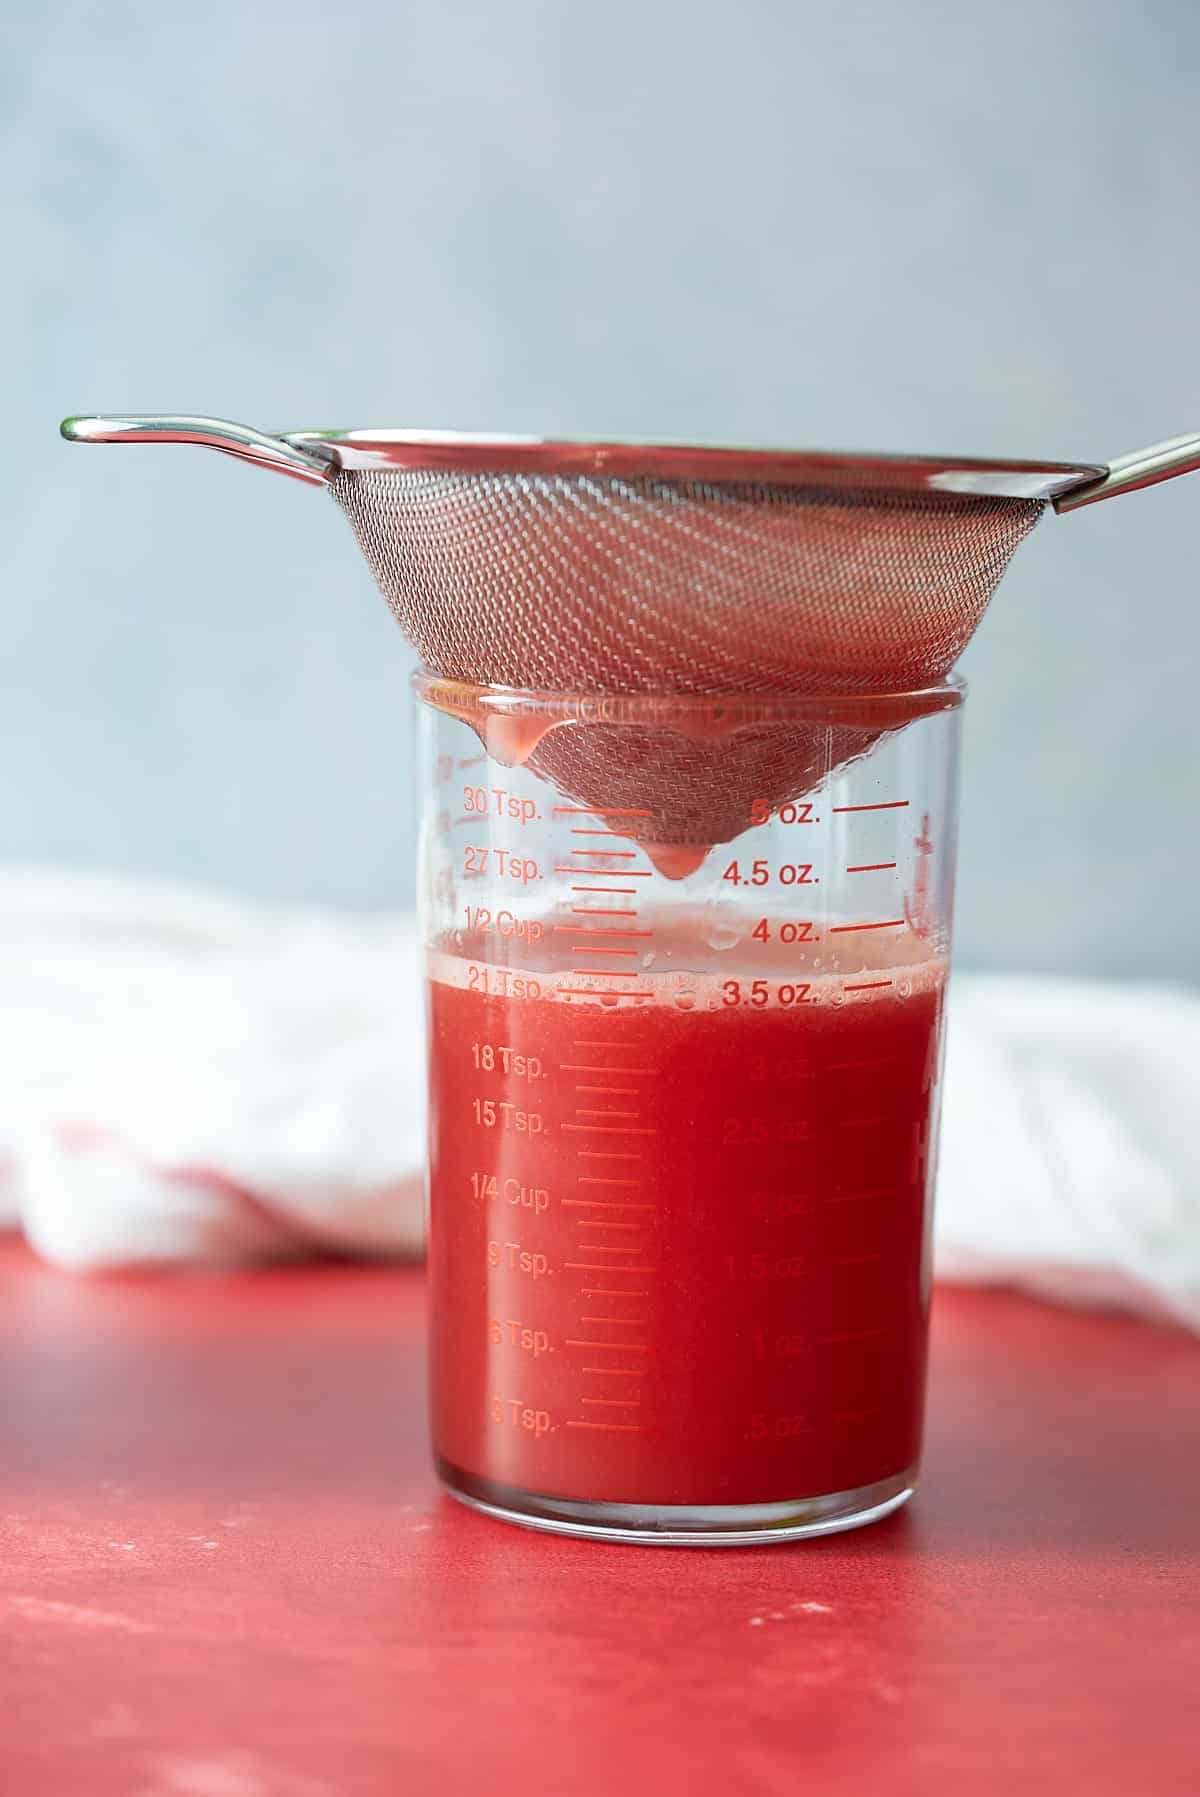
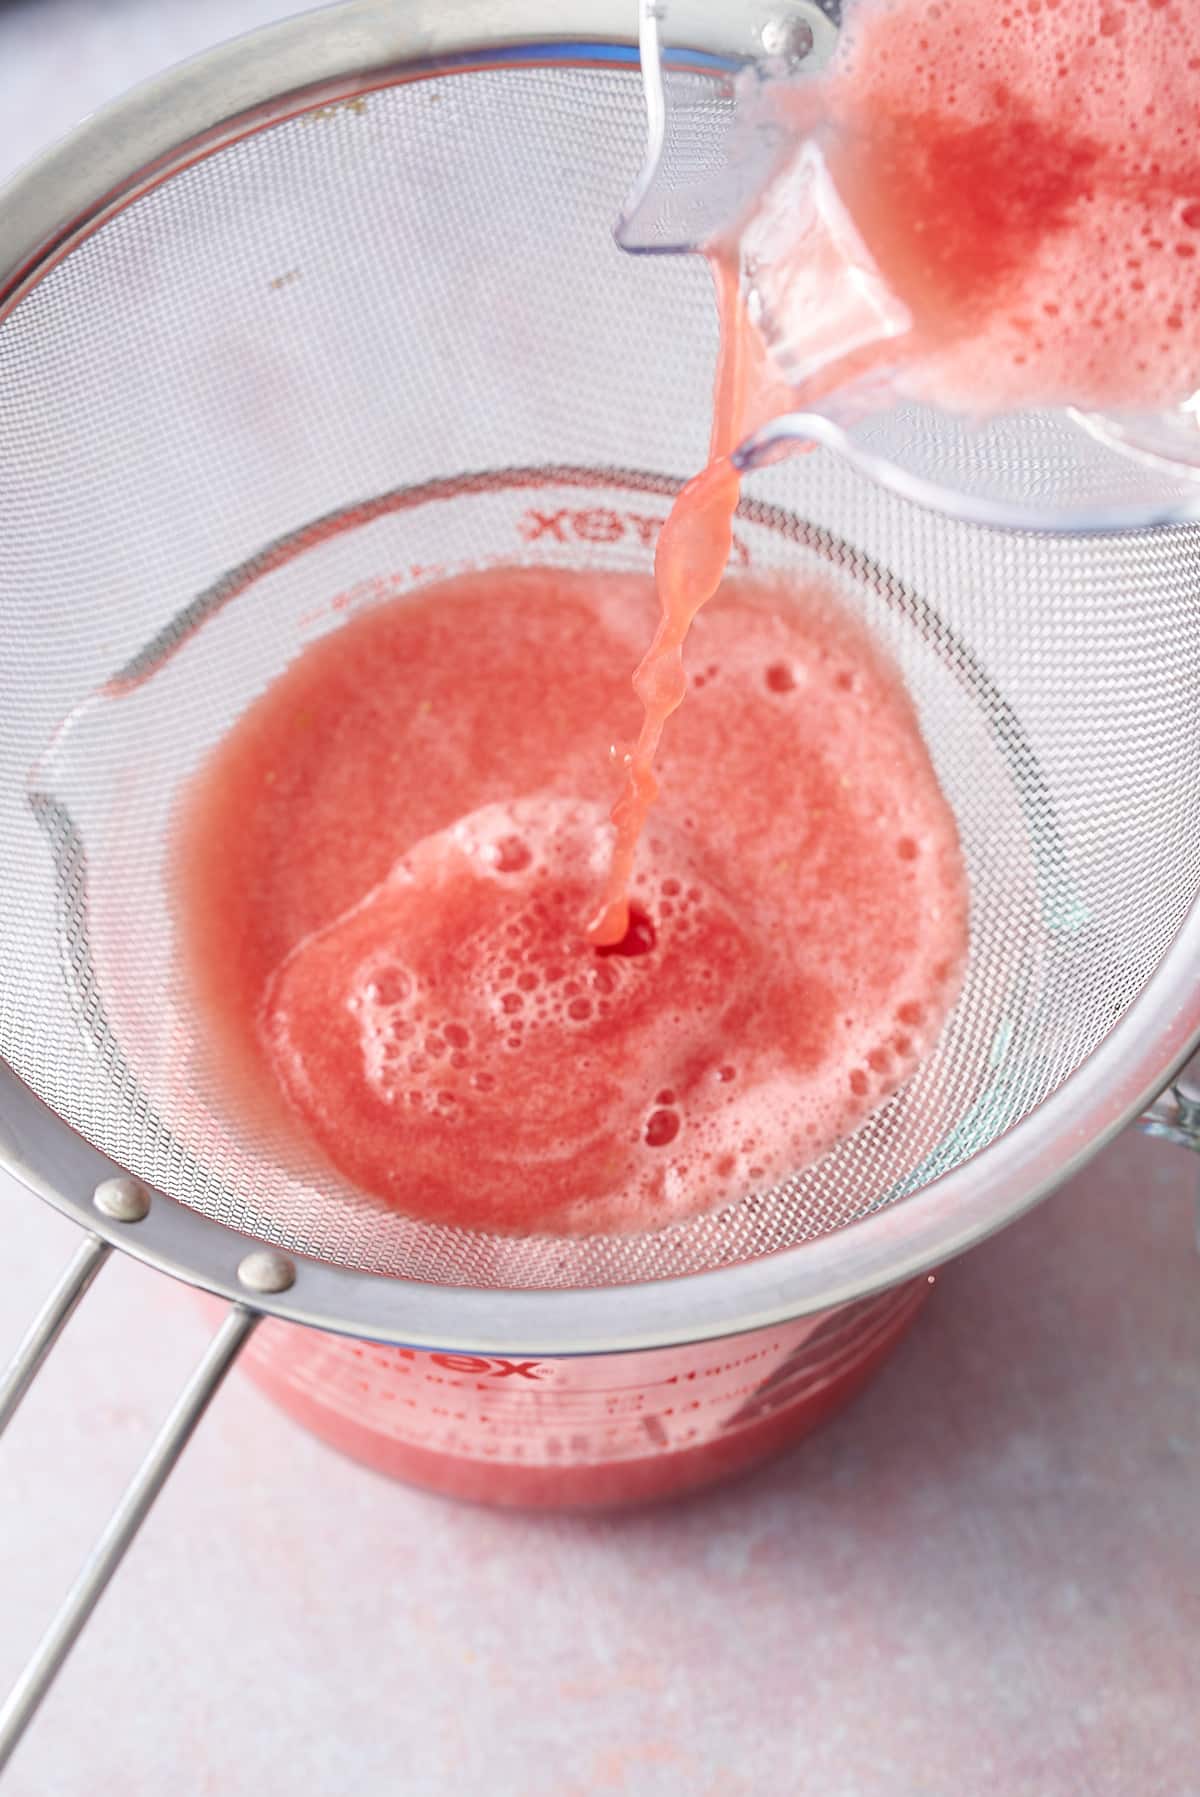
Strain the juice through a fine mesh strainer into a pitcher, discarding any pulp.
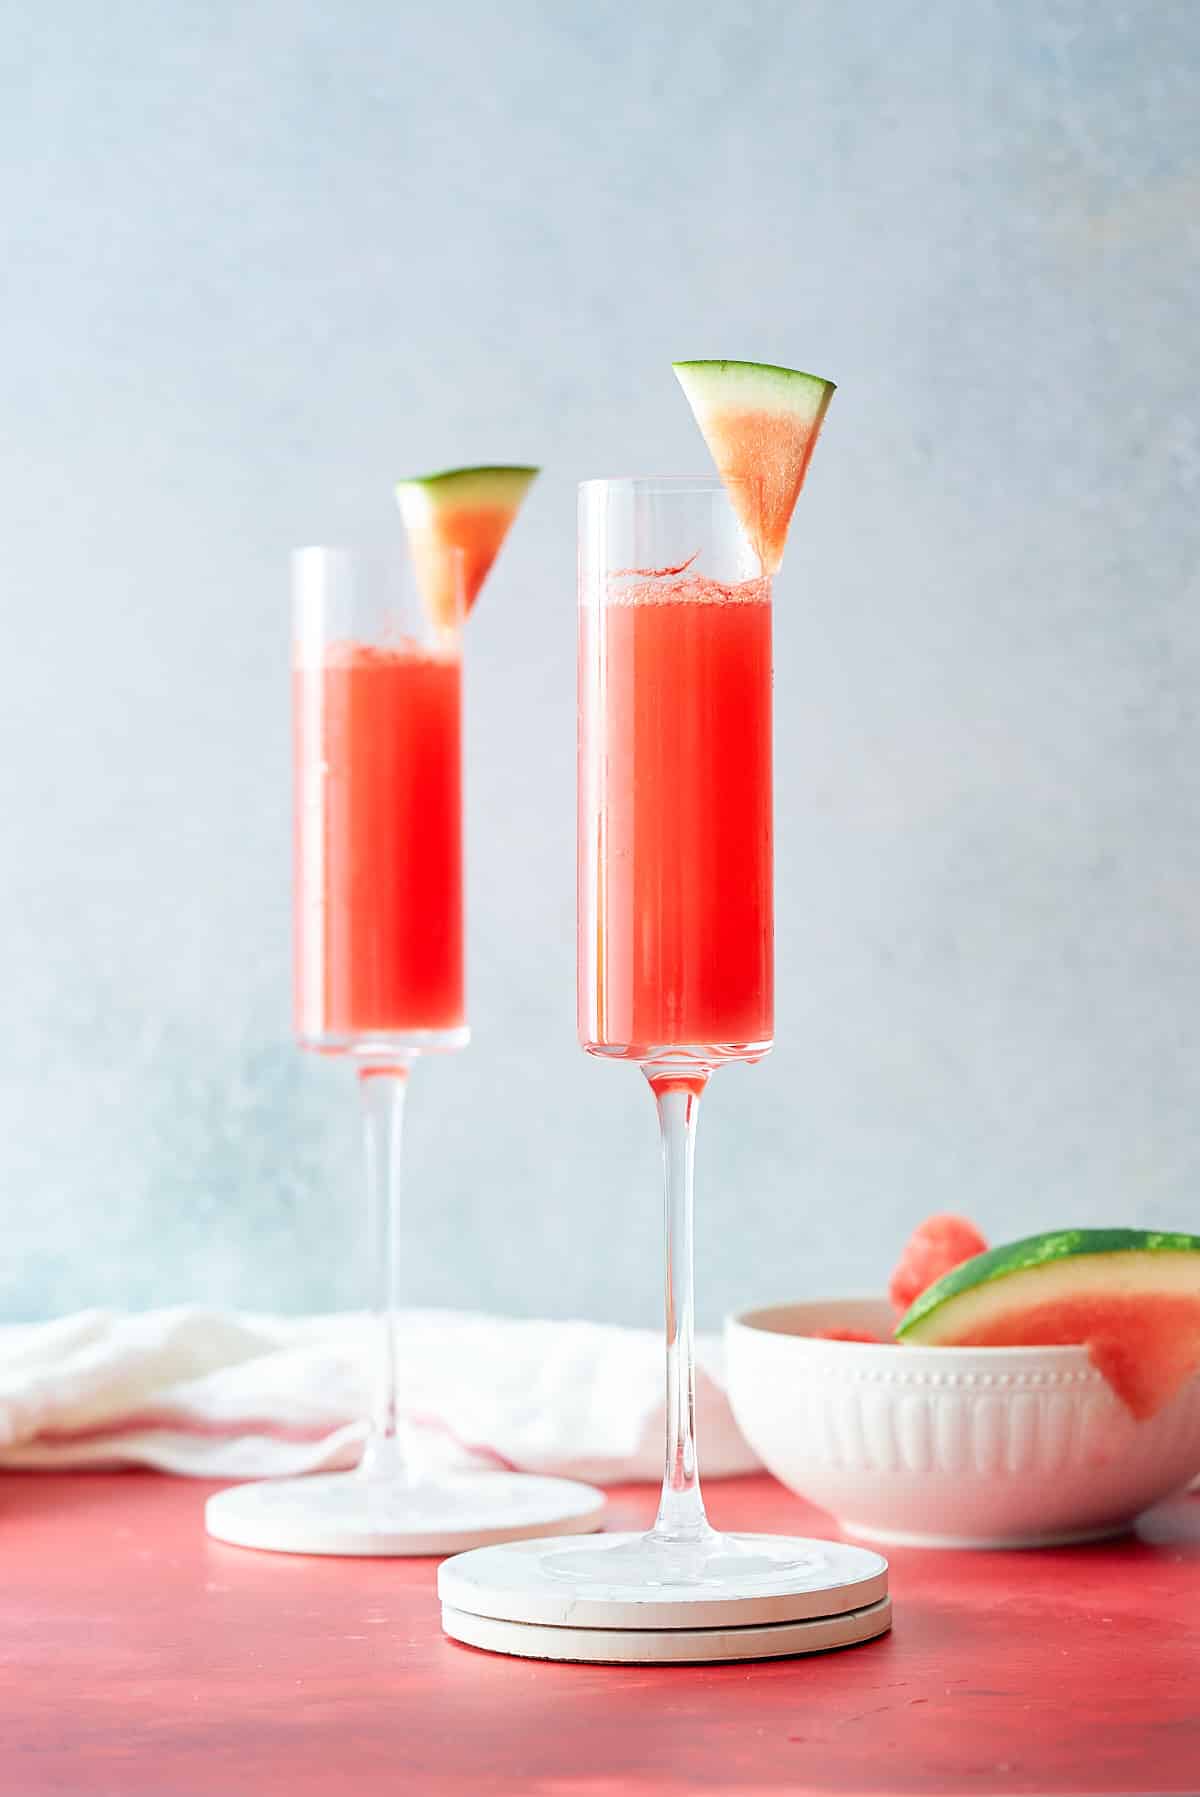
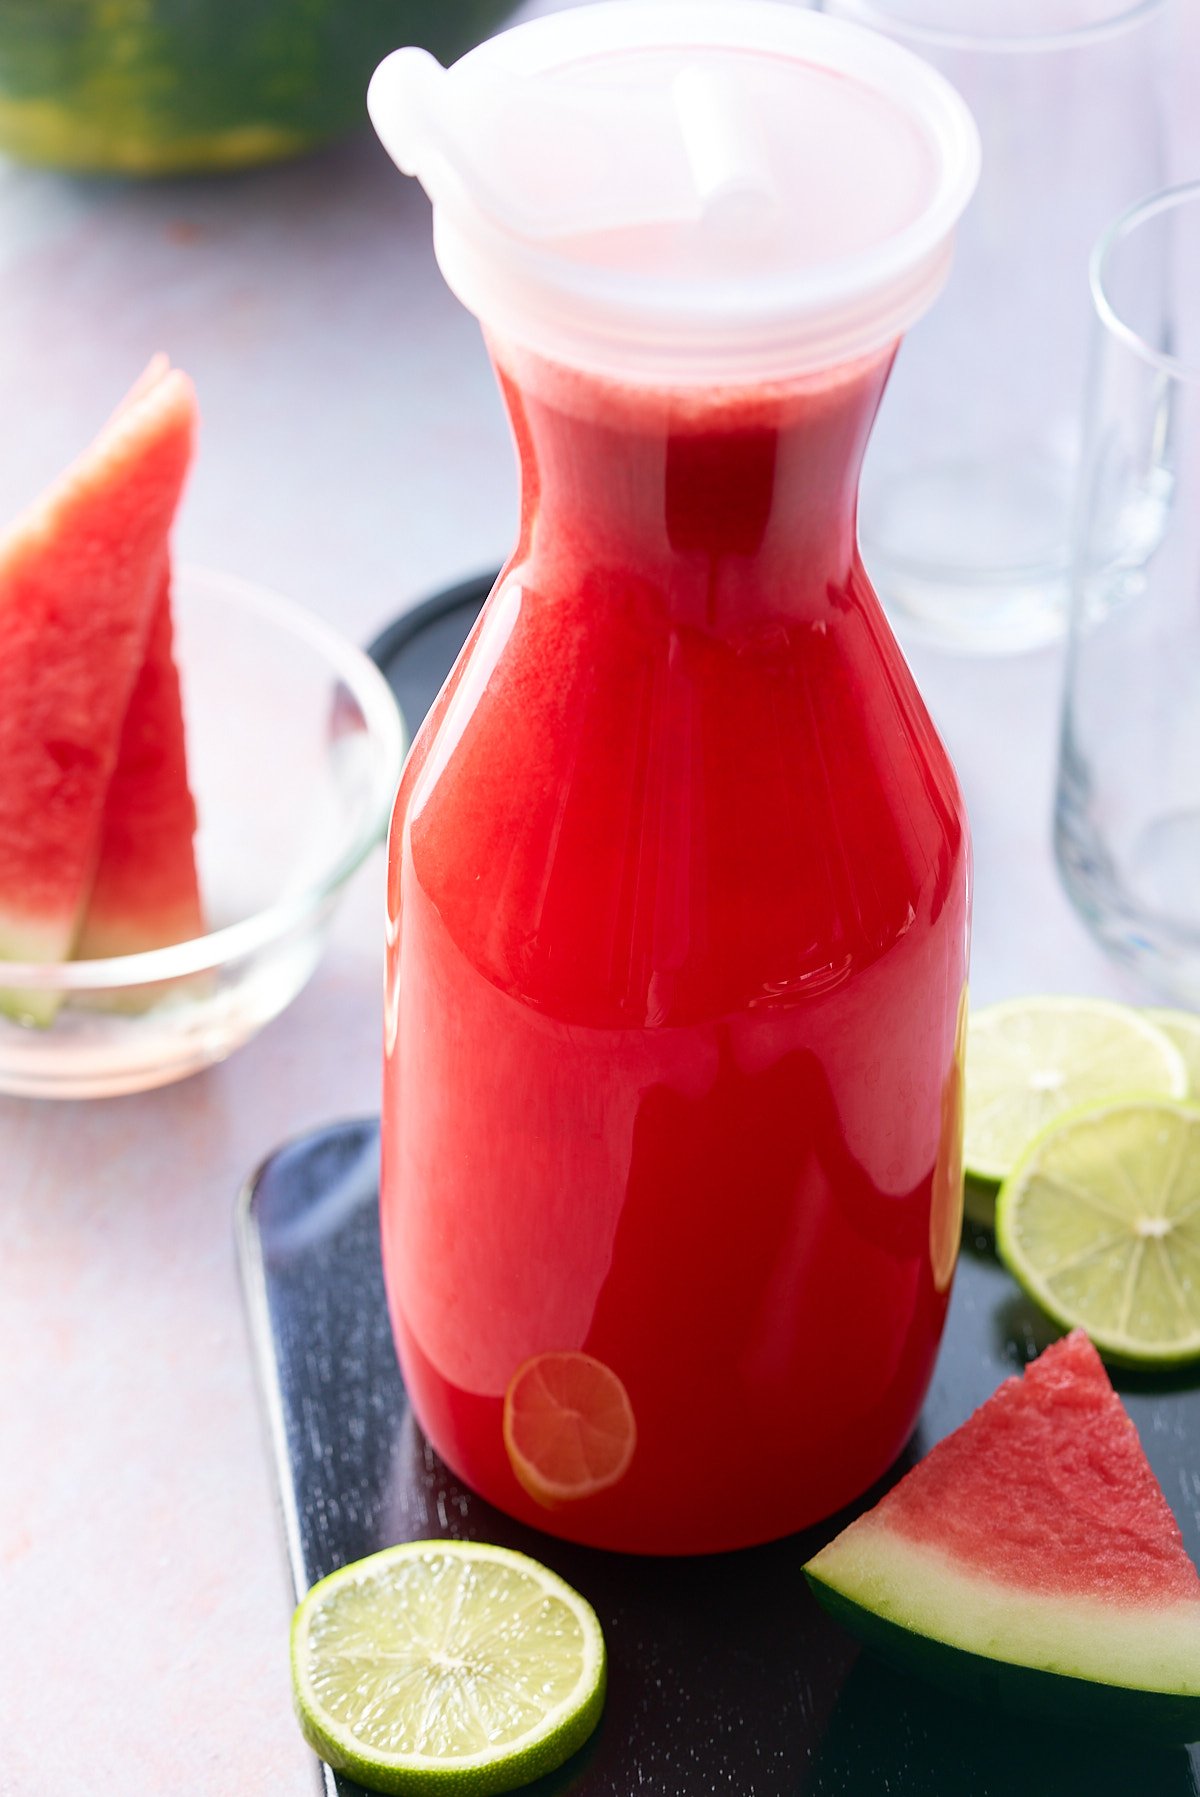
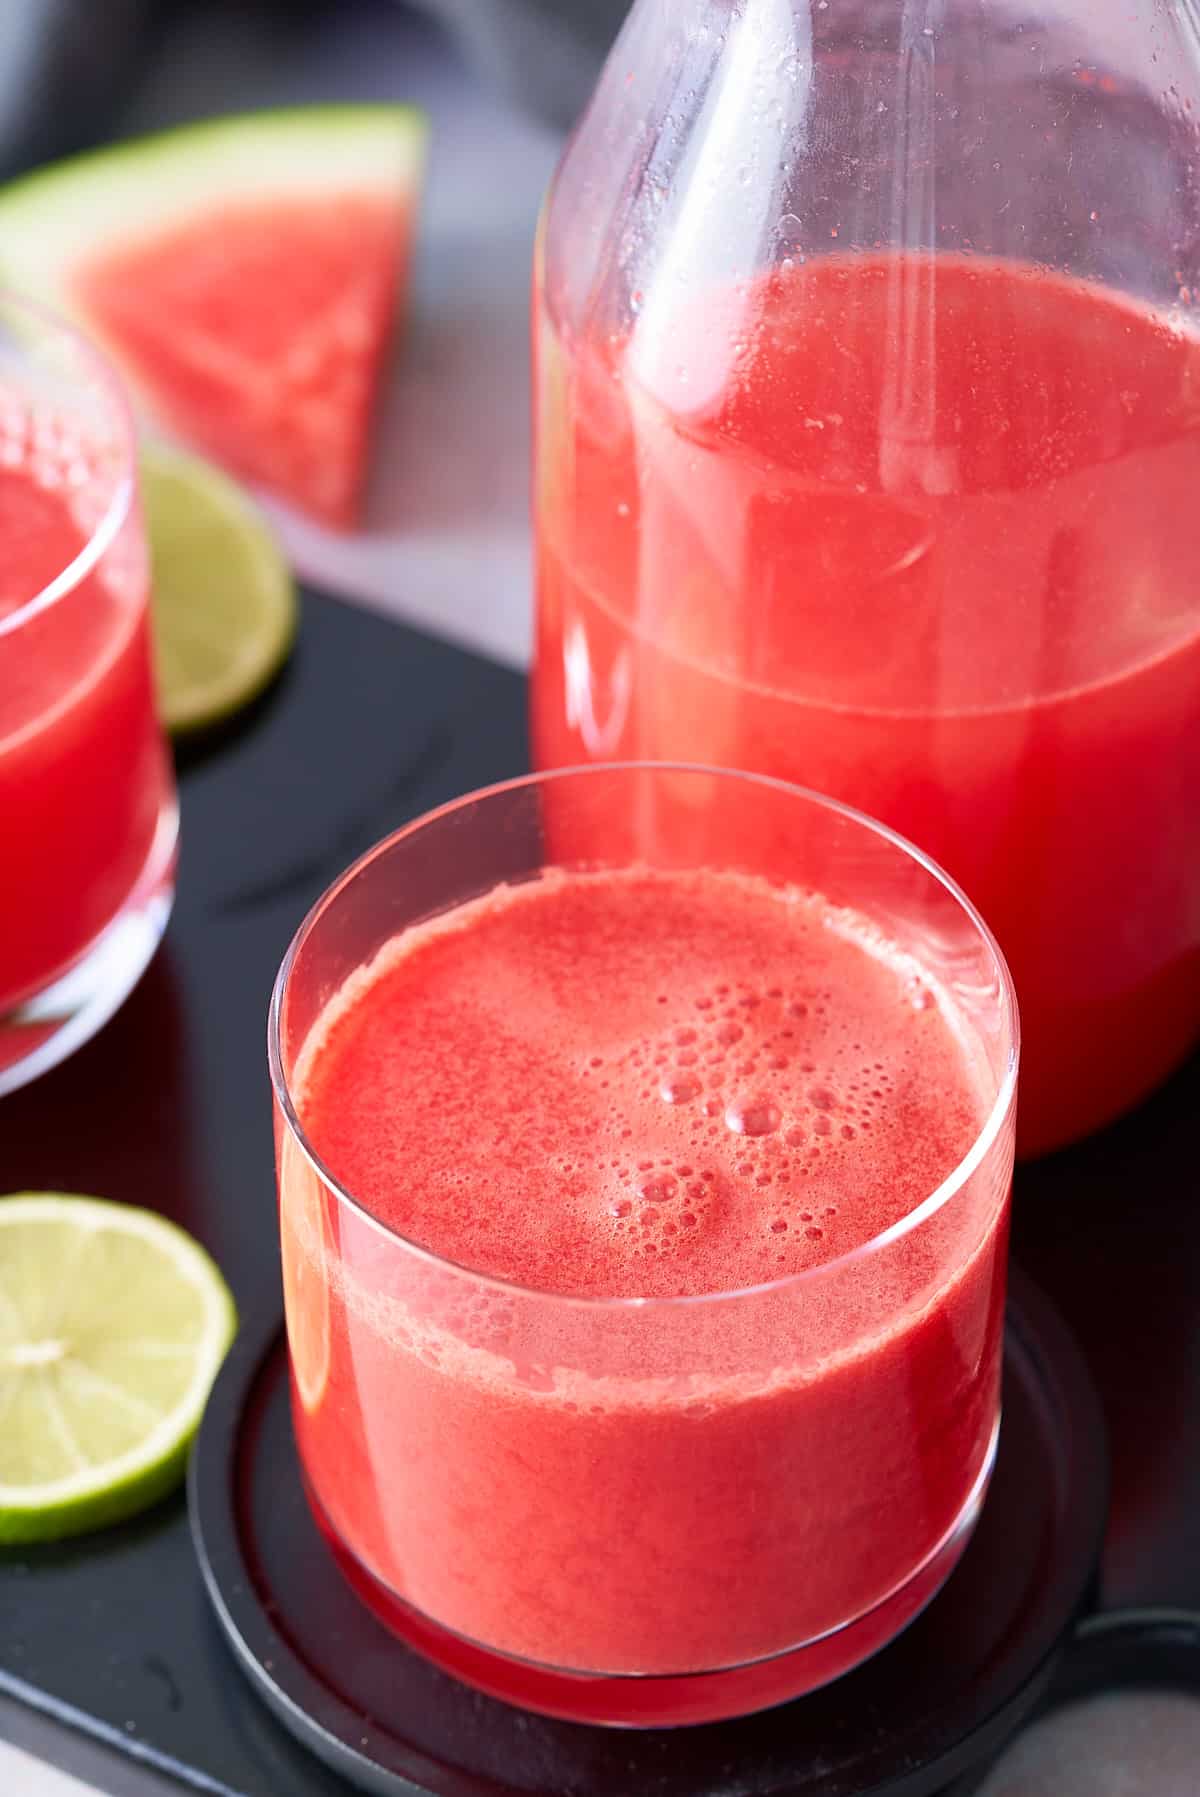
Refrigerate and serve cold.
Expert Tips
These tips will help you make the best watermelon juice you've ever tried.
- Ripe watermelons tend to be very sweet. If your watermelon is not sweet enough, add 1-2 tablespoons of Simple Syrup to the juice.
- Allow the juice to chill in the refrigerator for at least 2 hours before serving.
- For the best flavor, always served cold, straight from the refrigerator.
Flavor variations
- Swap the lime juice for freshly squeezed lemon or orange.
- One of my favorite watermelon juice combinations is to add some fresh mint leaves.
- Mix the fresh juice with sparkling water for a touch of fizz.
- Or, for an alcoholic twist, swap sparking water for champagne or prosecco (or any other sparkling white wine).
- You can use this same process to juice other fruits, try melon, cucumber or mango.
FAQs
Once juiced, store in a covered pitcher in the refrigerator for up to 4 days. You might need to stir the juice before serving if it has sat in the refrigerator for a day or two.
Yes, absolutely. Pour the juice into an airtight container, making sure you leave some space at the top to allow the juice to expand when frozen. To enjoy it at its best, use the juice within 2 months of freezing.
Yes! Fresh watermelon is rich in amino acids and contains high levels of the powerful antixoidant lycopene; and lime is rich in antioxidants and contains high levels of vitamin C. This fresh squeezed juice contains no artificial coloring's or preservatives.
Yes you can, in fact if you have a juicer it is much easier as the pulp and seeds will end up in the pulp container so there will be no need to sieve it.
If you have tried this fresh juice recipe or any other recipe on my blog, please rate it and let me know how it turned out in the comments below!
Watermelon Juice
Ingredients
- 12 cup seedless watermelon cubes
- 2 tablespoon fresh lime juice
Instructions
- Place the watermelon cubes and lime juice into a blender.
- Blend the watermelon on medium speed for 15-20 seconds until you have a smooth juice-like consistency.
- Strain the watermelon juice through a fine mesh strainer into a pitcher, discarding any pulp.
- Refrigerate and serve cold.