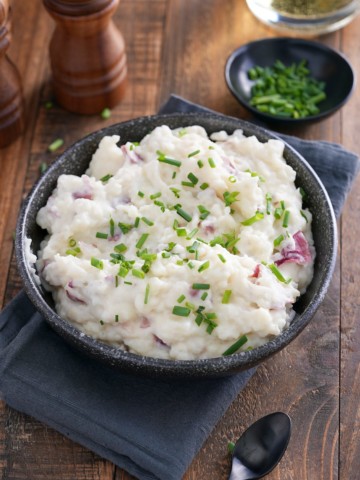
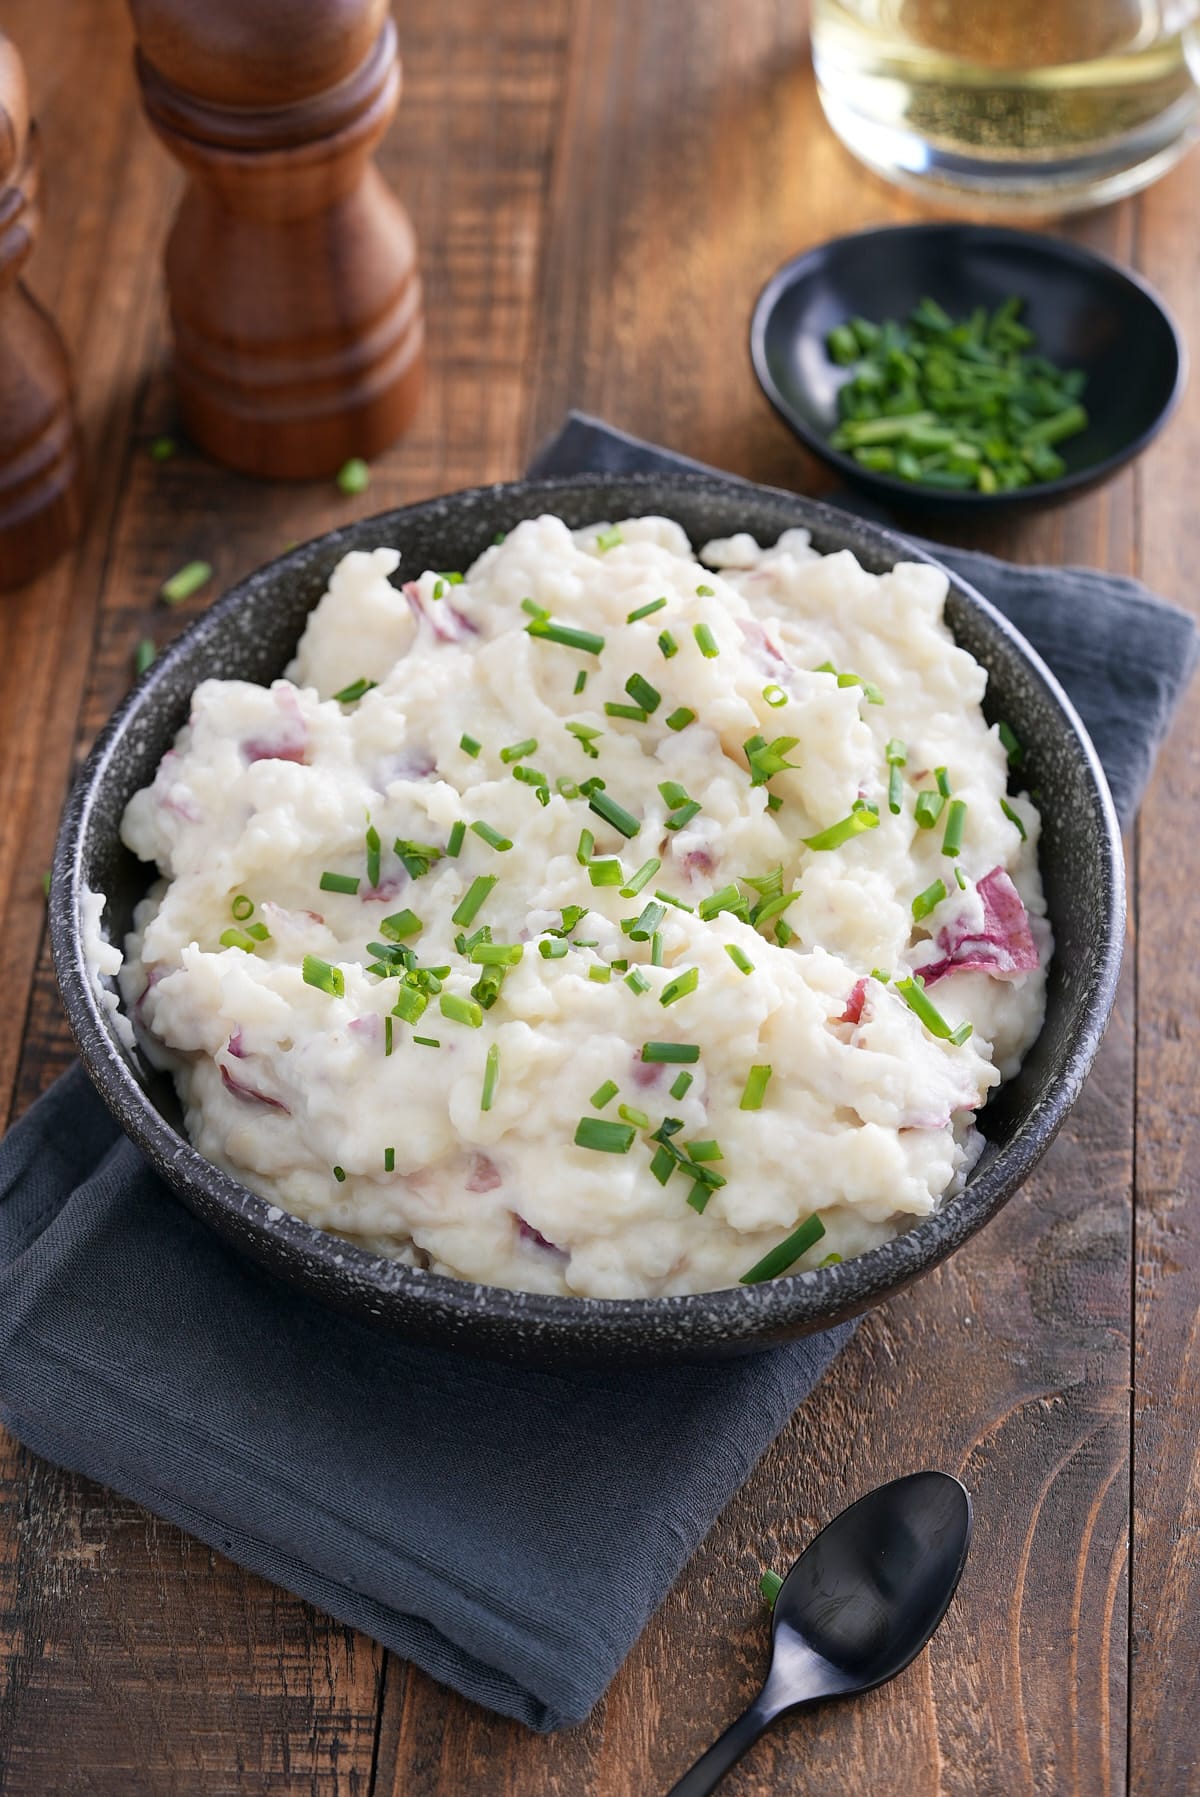
Red skinned potatoes make a delicious mashed potato. When making this easy mashed red skinned potatoes recipe, I infuse the melted butter and milk with garlic to add an extra layer of flavor.
This post contains affiliate links, please read my full disclaimer here.
You’ll find the full recipe with ingredient amounts and instructions in the recipe card at the bottom of this post. Be sure to check out the blog post itself for extra tips and tricks!
Regular visitors to my blog will know that I love a good mashed potato. When it comes to an easy vegetable side dish I really don't think you can beat the humble mashed potato. Aside from tasting great, these garlic mashed red potatoes are versatile and pair well with a variety of meat, seafood, and vegetable-based main dishes.
These simple mashed red skinned potatoes require very little hands on preparation and can be cooked and on the table in just 30 minutes. Making this the ideal veggie side for mid week dining.
I like a creamy mashed potato, but as there's so much fiber and nutrients in the skin of a red potato I prefer to leave them on, giving the potatoes a more rustic texture. However, you can peel the potatoes for a smoother mash if you prefer.
Love mashed potatoes, then try some of my favorite recipes, my Garlic Mashed Potatoes, Creamy Slow Cooker Mashed Potatoes, Instant Pot Mashed Potatoes and Microwave Mashed Potatoes, and finally my Mashed Sweet Potatoes which can be sweet or savory!
Ingredients
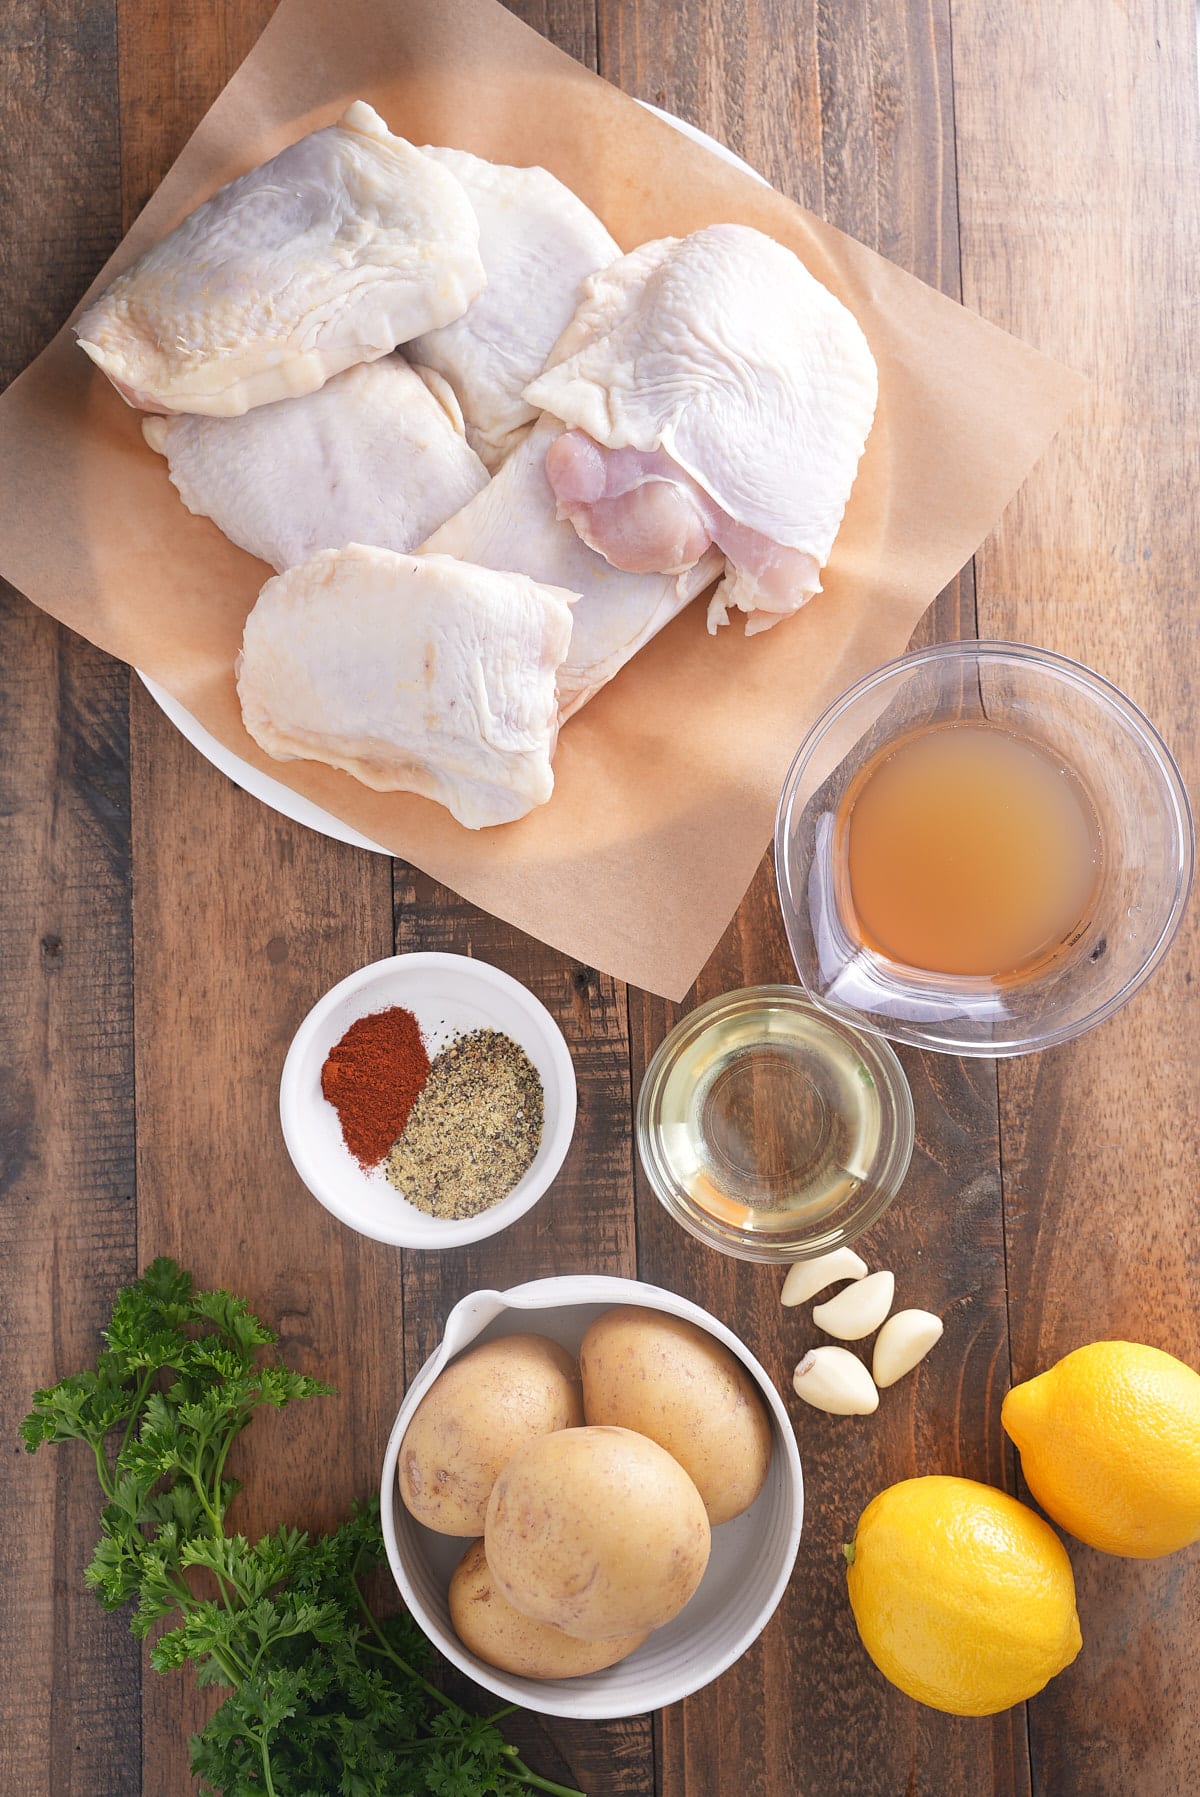
Here's what you will need to make the best mashed red skinned potatoes:
- Red skinned potatoes - or any other variety of potato that's good for mashing, like Russets or Yukon Gold.
- Milk - I use whole milk or half and half for creamy mashed potatoes.
- Unsalted butter - if using salted butter, cut back on the salt.
- Garlic - only use fresh garlic as it has the best flavor for infusing the milk.
- Kosher salt
- Chives - to garnish.

How to make mashed red skinned potatoes
Place the cut red potatoes in a large pot and add enough water to cover the potatoes completely. Stir in a generous pinch of kosher salt.
Bring the water to a boil over high heat. Once boiling, reduce the heat to medium and let the potatoes simmer for 15-20 minutes or until the potatoes are tender and easily pierced with a fork.

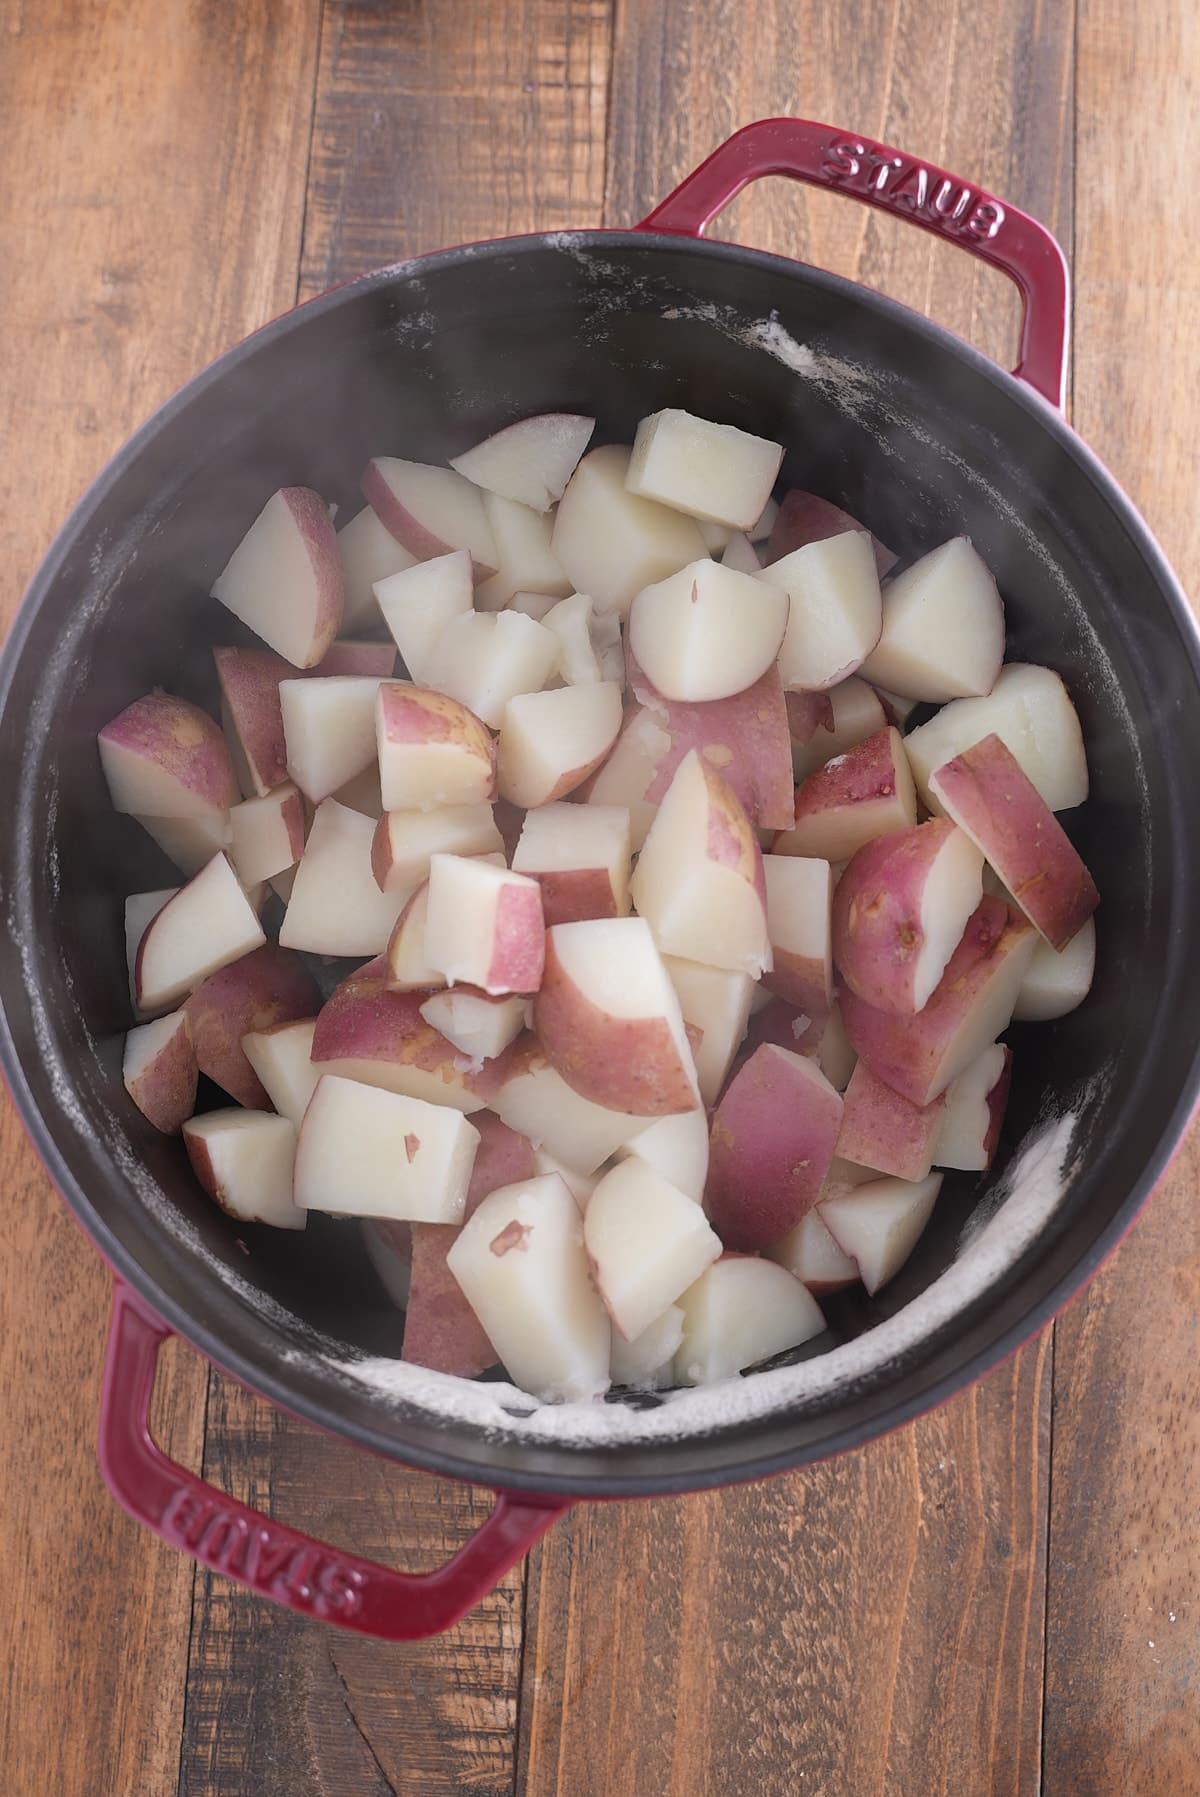
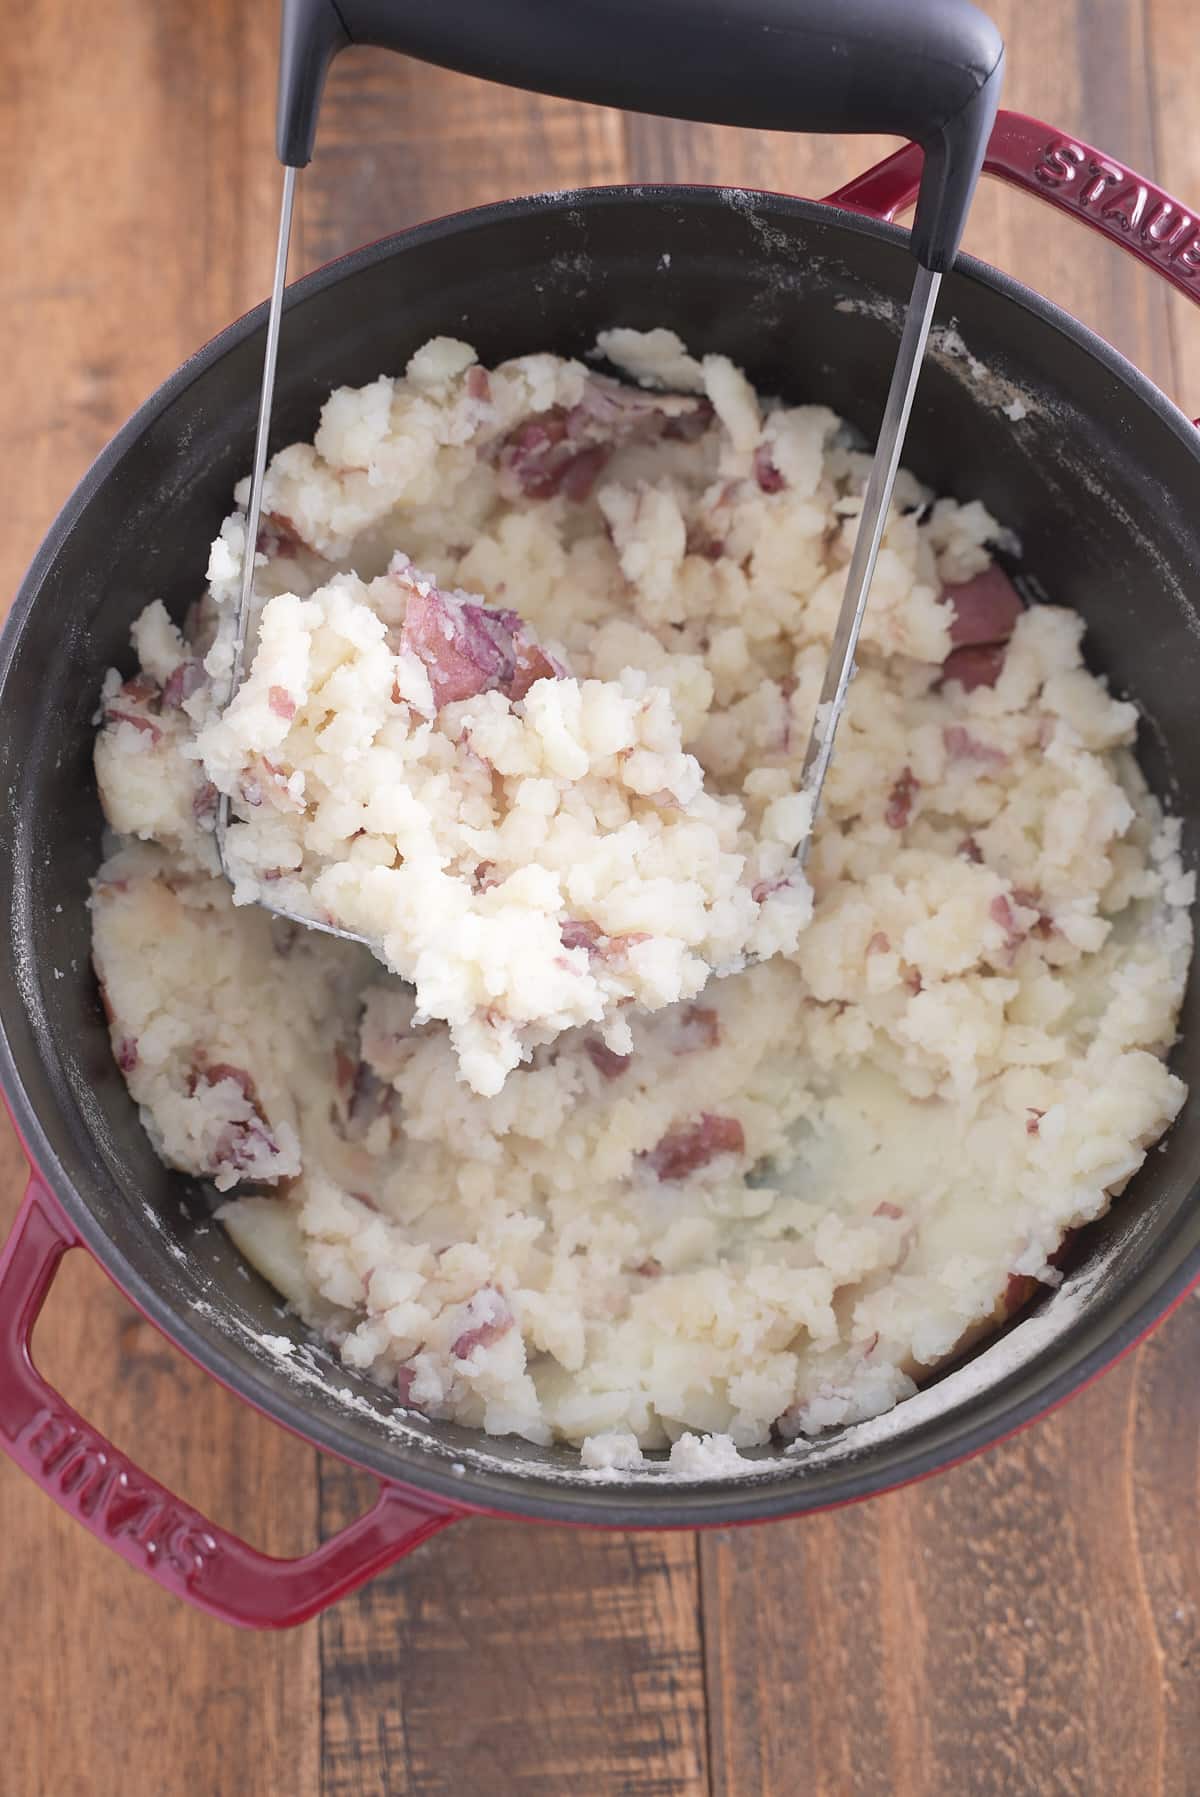
Drain the cooked potatoes in a colander and return them to the pot.
Mash the potatoes using a potato masher or a hand mixer on low speed. Set aside.
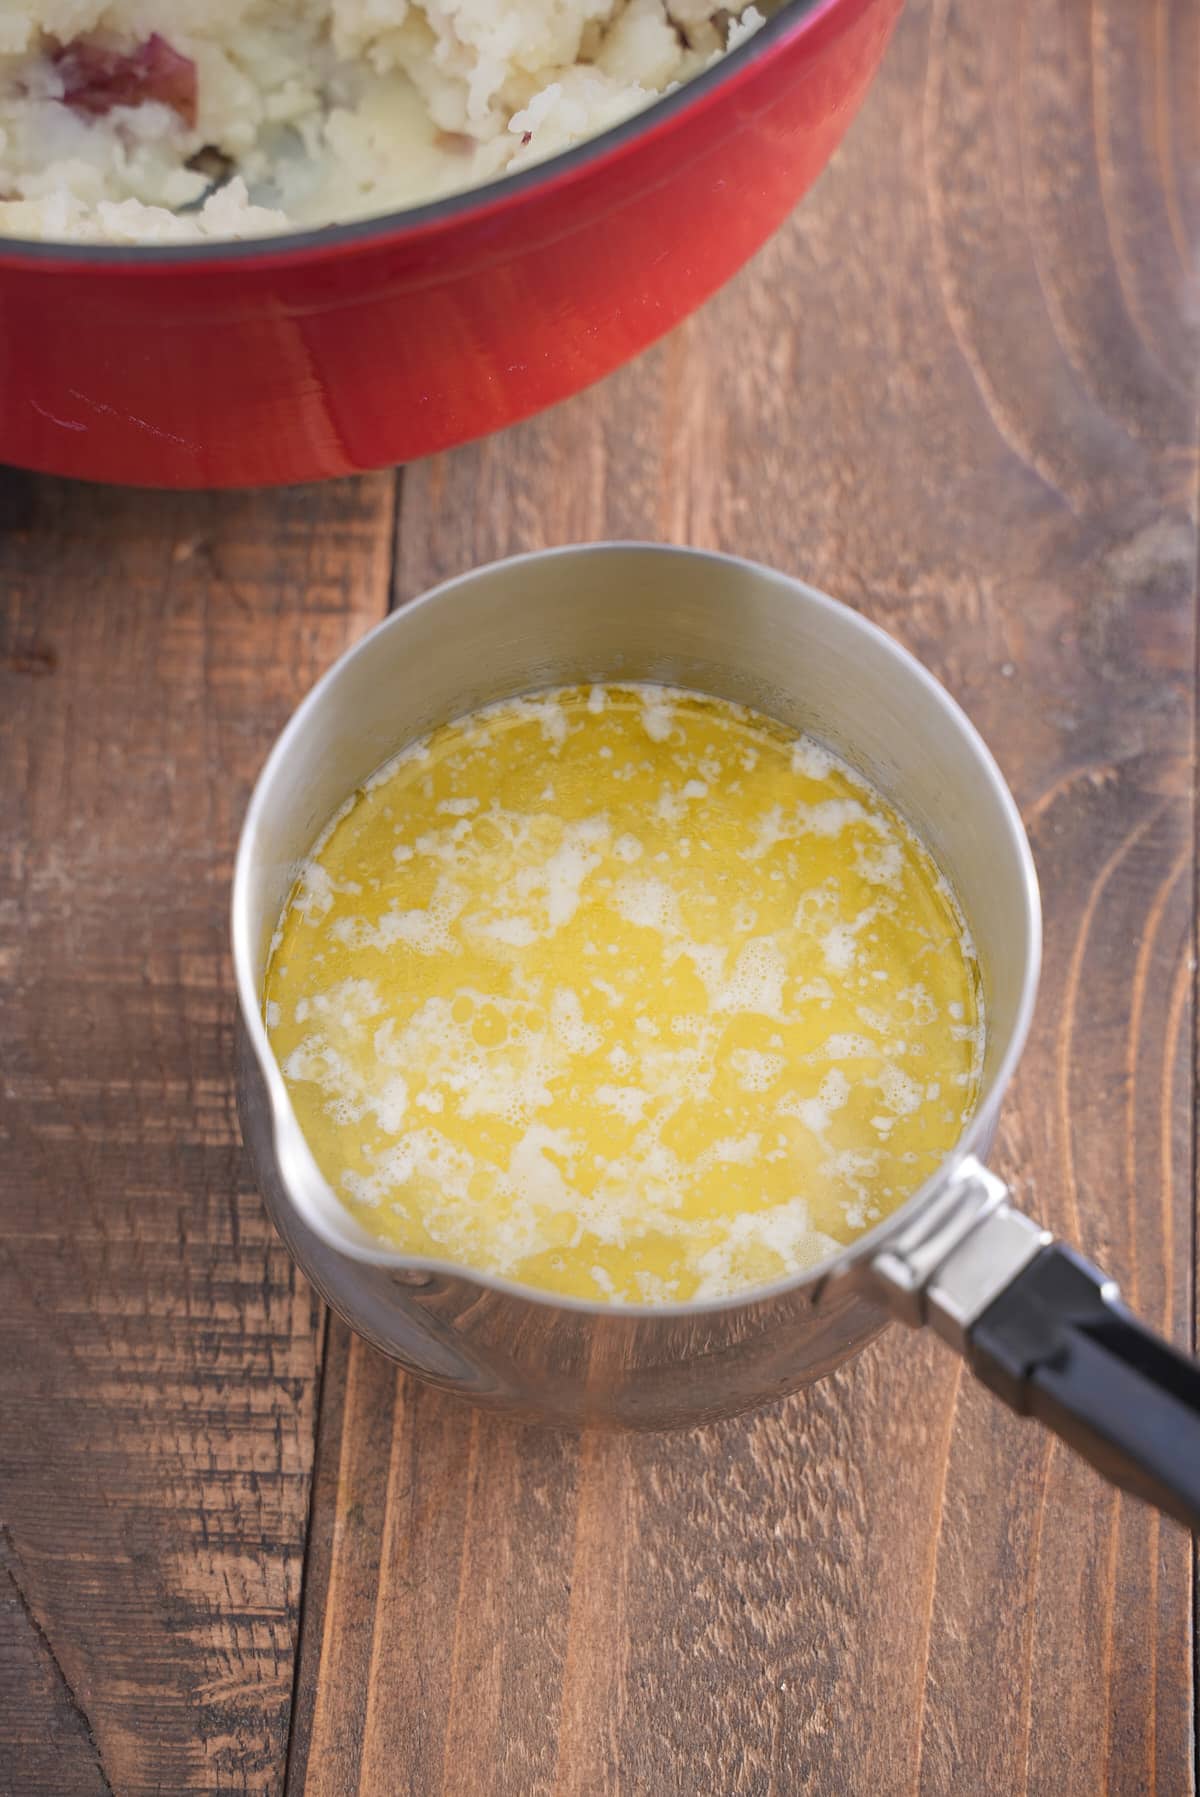
Combine the milk, butter, and smashed garlic cloves in a small saucepan. Warm over low heat, allowing the garlic to infuse the milk. Once the milk is warm and the butter is melted, remove from heat and set aside.
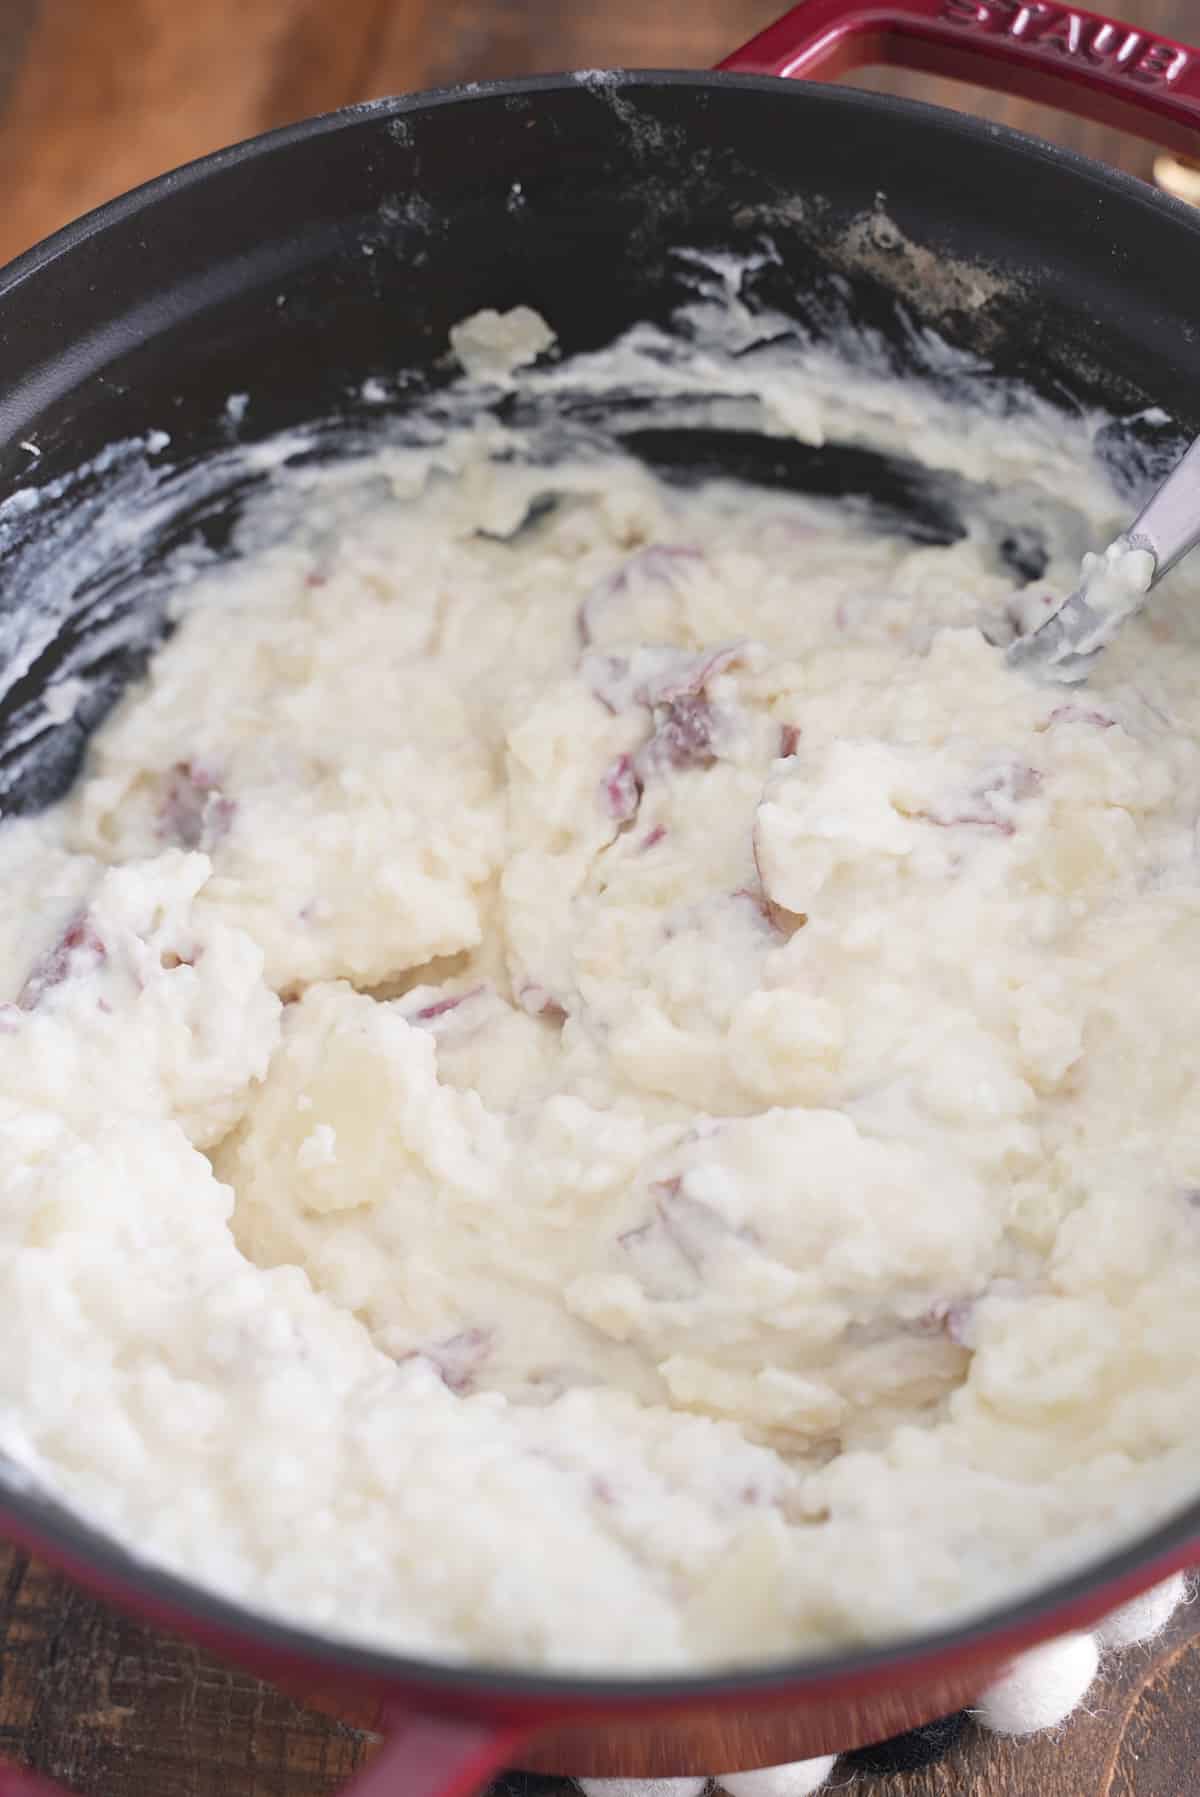
Add the butter to the potatoes and mash using a potato masher or a hand mixer on low speed.
Gradually add the garlic-infused milk, a little at a time, while mashing the potatoes until they are smooth. You may not need to use all the milk, so add it until you reach your desired consistency.
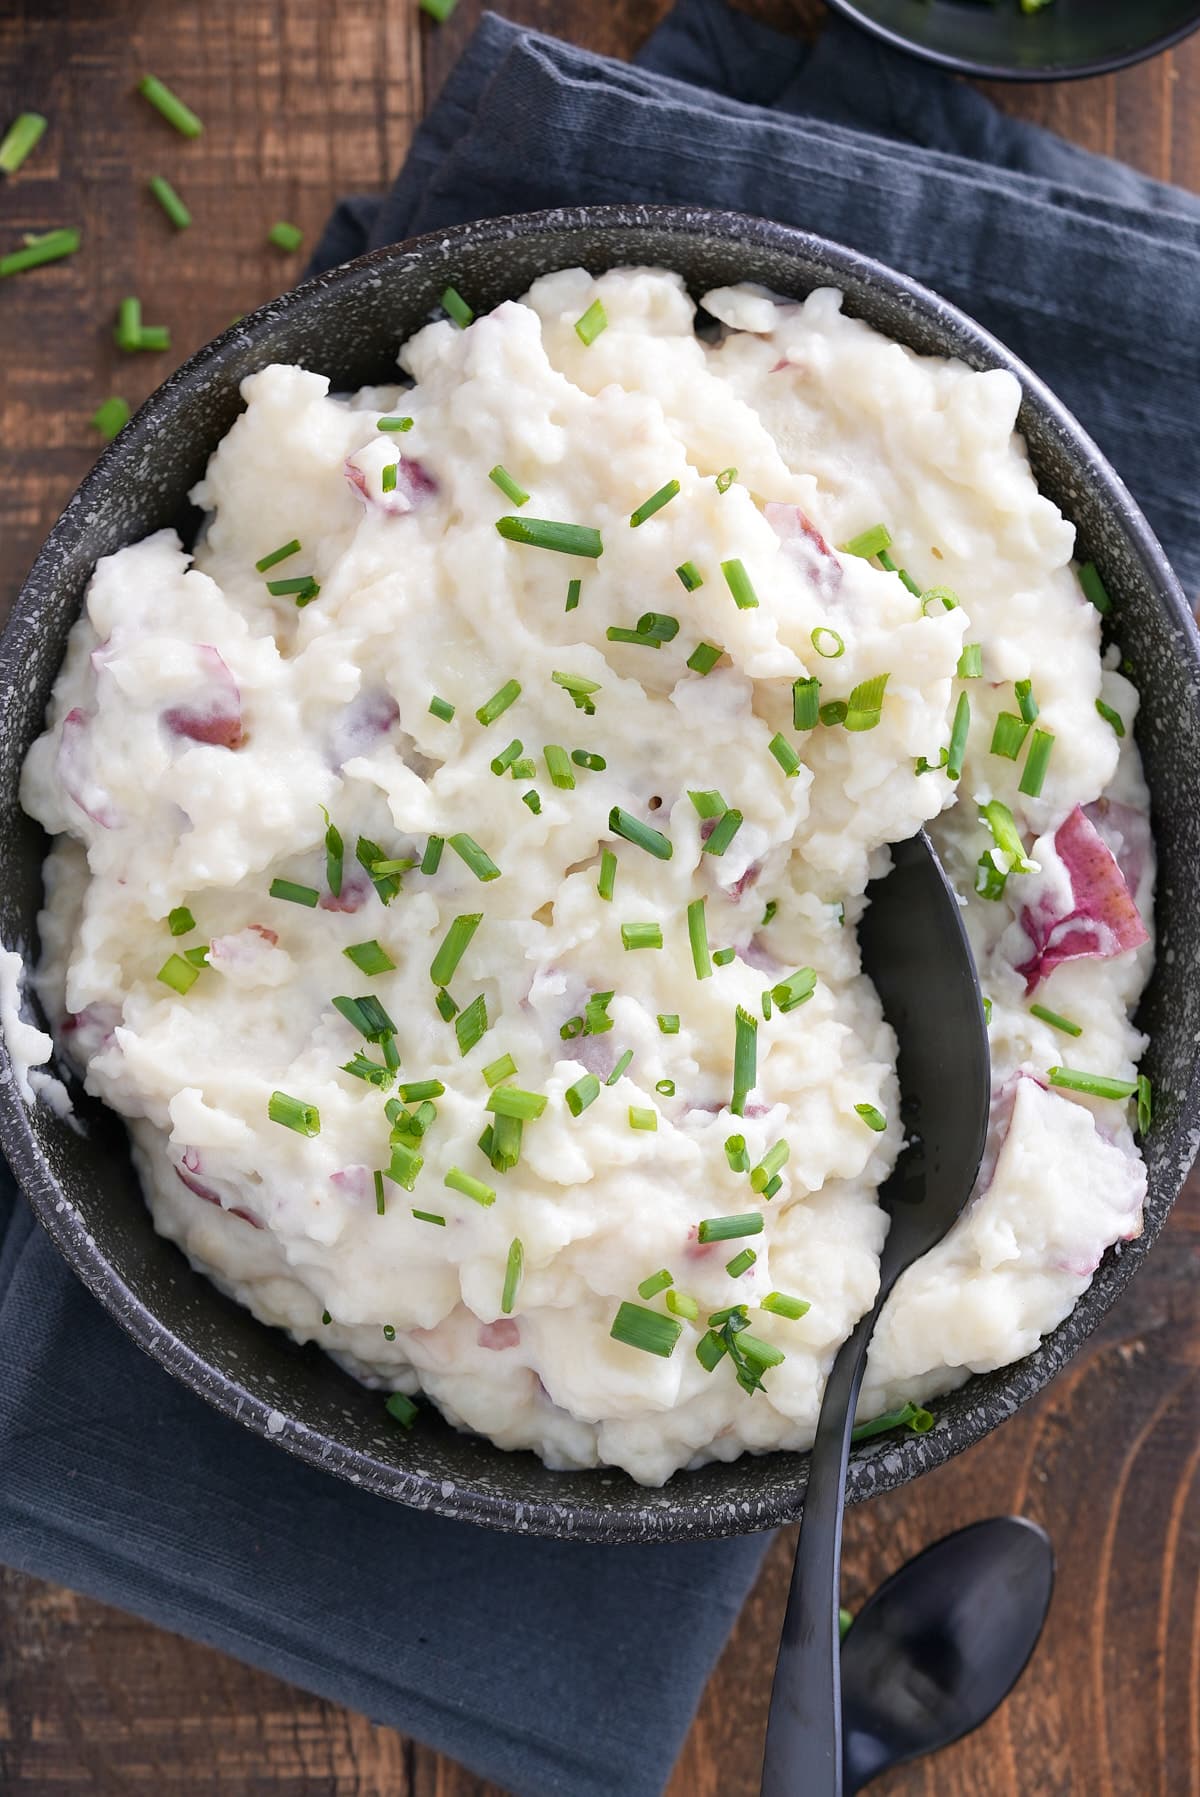
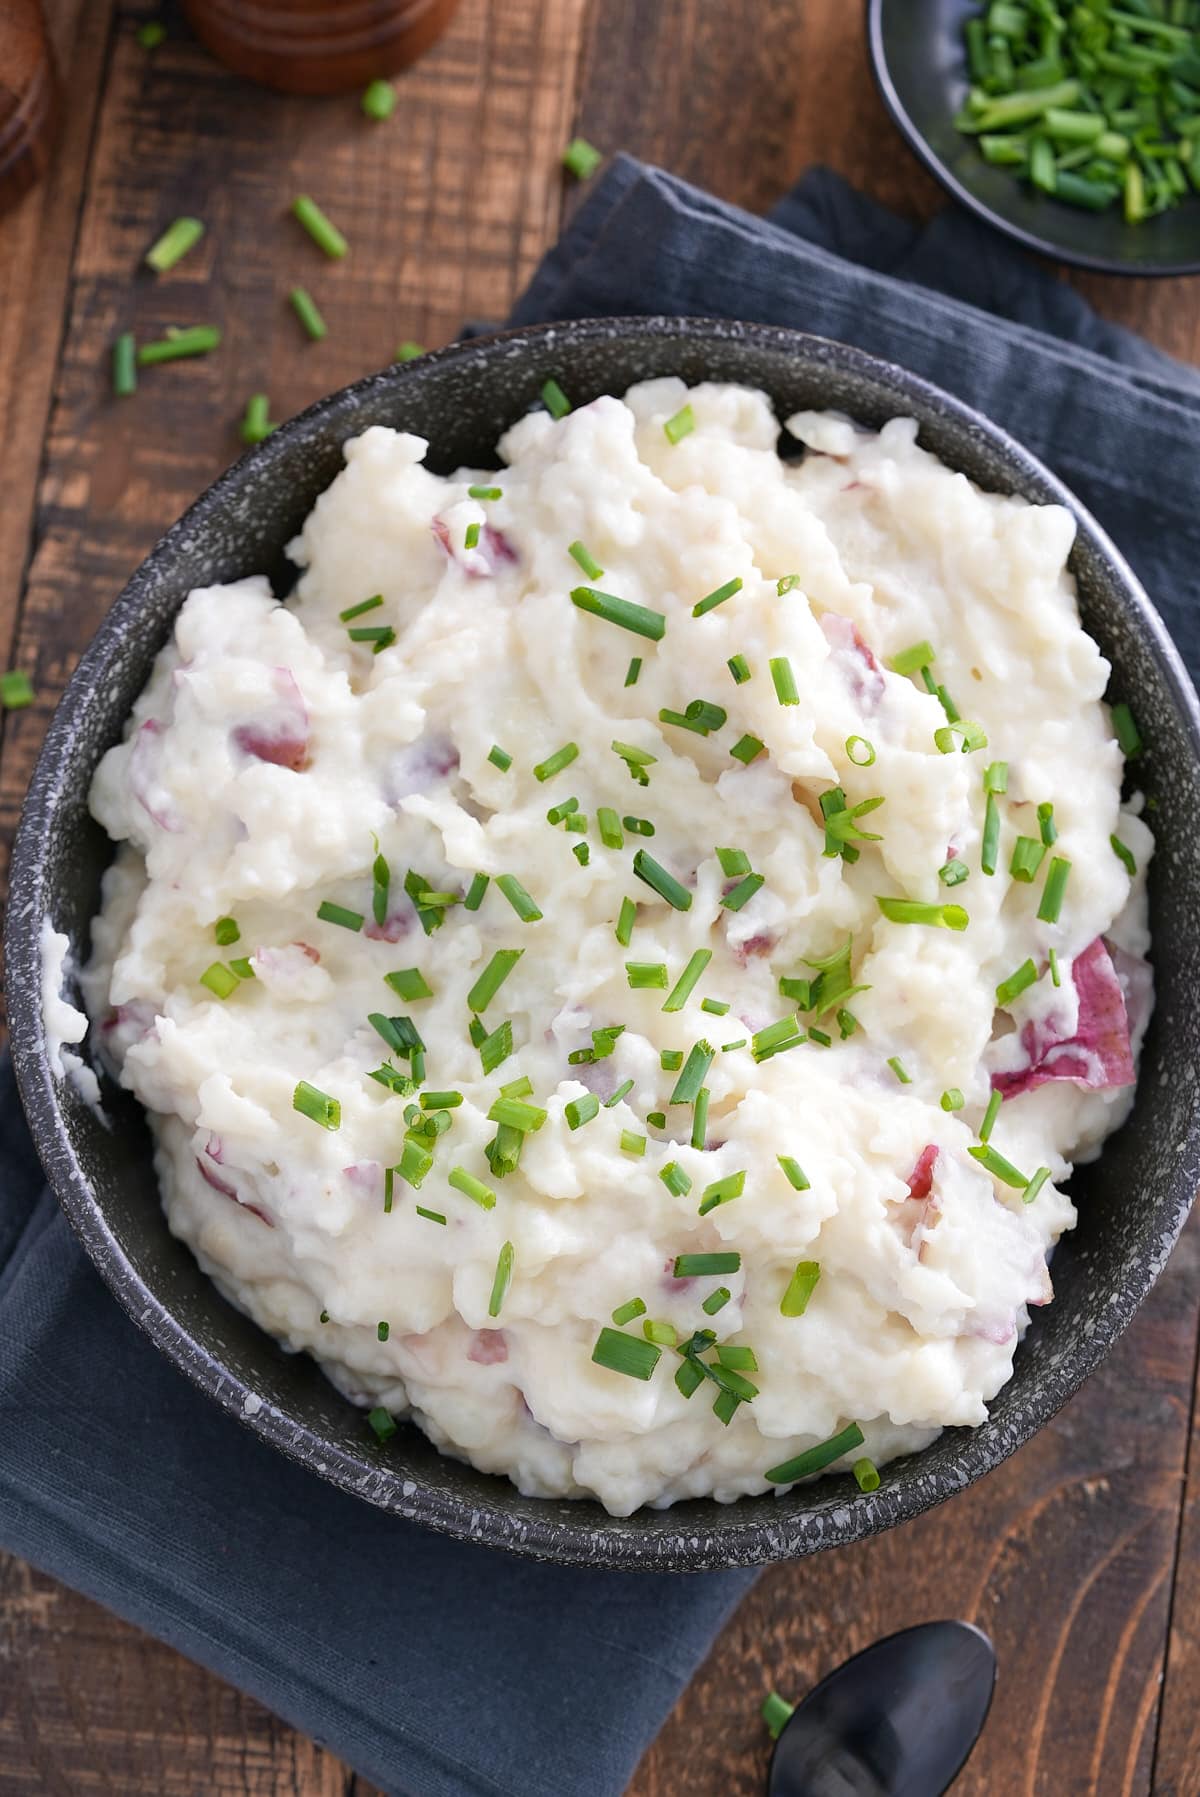
Stir in the sour cream and mix until well incorporated. Season the mashed potatoes with additional kosher salt to taste. Garnish with a sprinkle of chopped chives before serving.
Expert Tips
These tips will help you make the best red-skin mashed potatoes you've ever tried.
- Cut the potatoes into even-sized chunks; that way, they cook evenly.
- The potatoes can be left unpeeled for a rustic texture or peeled for a smoother mash.
- I've used a hand potato masher, but a potato ricer will give you even fluffier mash.
- Check the potatoes for seasoning before serving, and add a little more salt if required.
- Don't over-mash or beat the potatoes, as they will start to become thick and gluey.
Flavor variations!
- For a richer flavor, you can replace milk with heavy cream.
- Stir through some finely sliced green onions which can be warmed up with the butter and milk.
- For a mustard mash, add 1-2 teaspoons of Dijon mustard.
- Fresh herbs work a treat with mashed potatoes, try finely chopped chives or parsley.
- Add some shredded sharp cheddar cheese for cheesy red-skin mashed potatoes and allow the cheese to melt through the warm potatoes.
How to serve microwave mashed potatoes
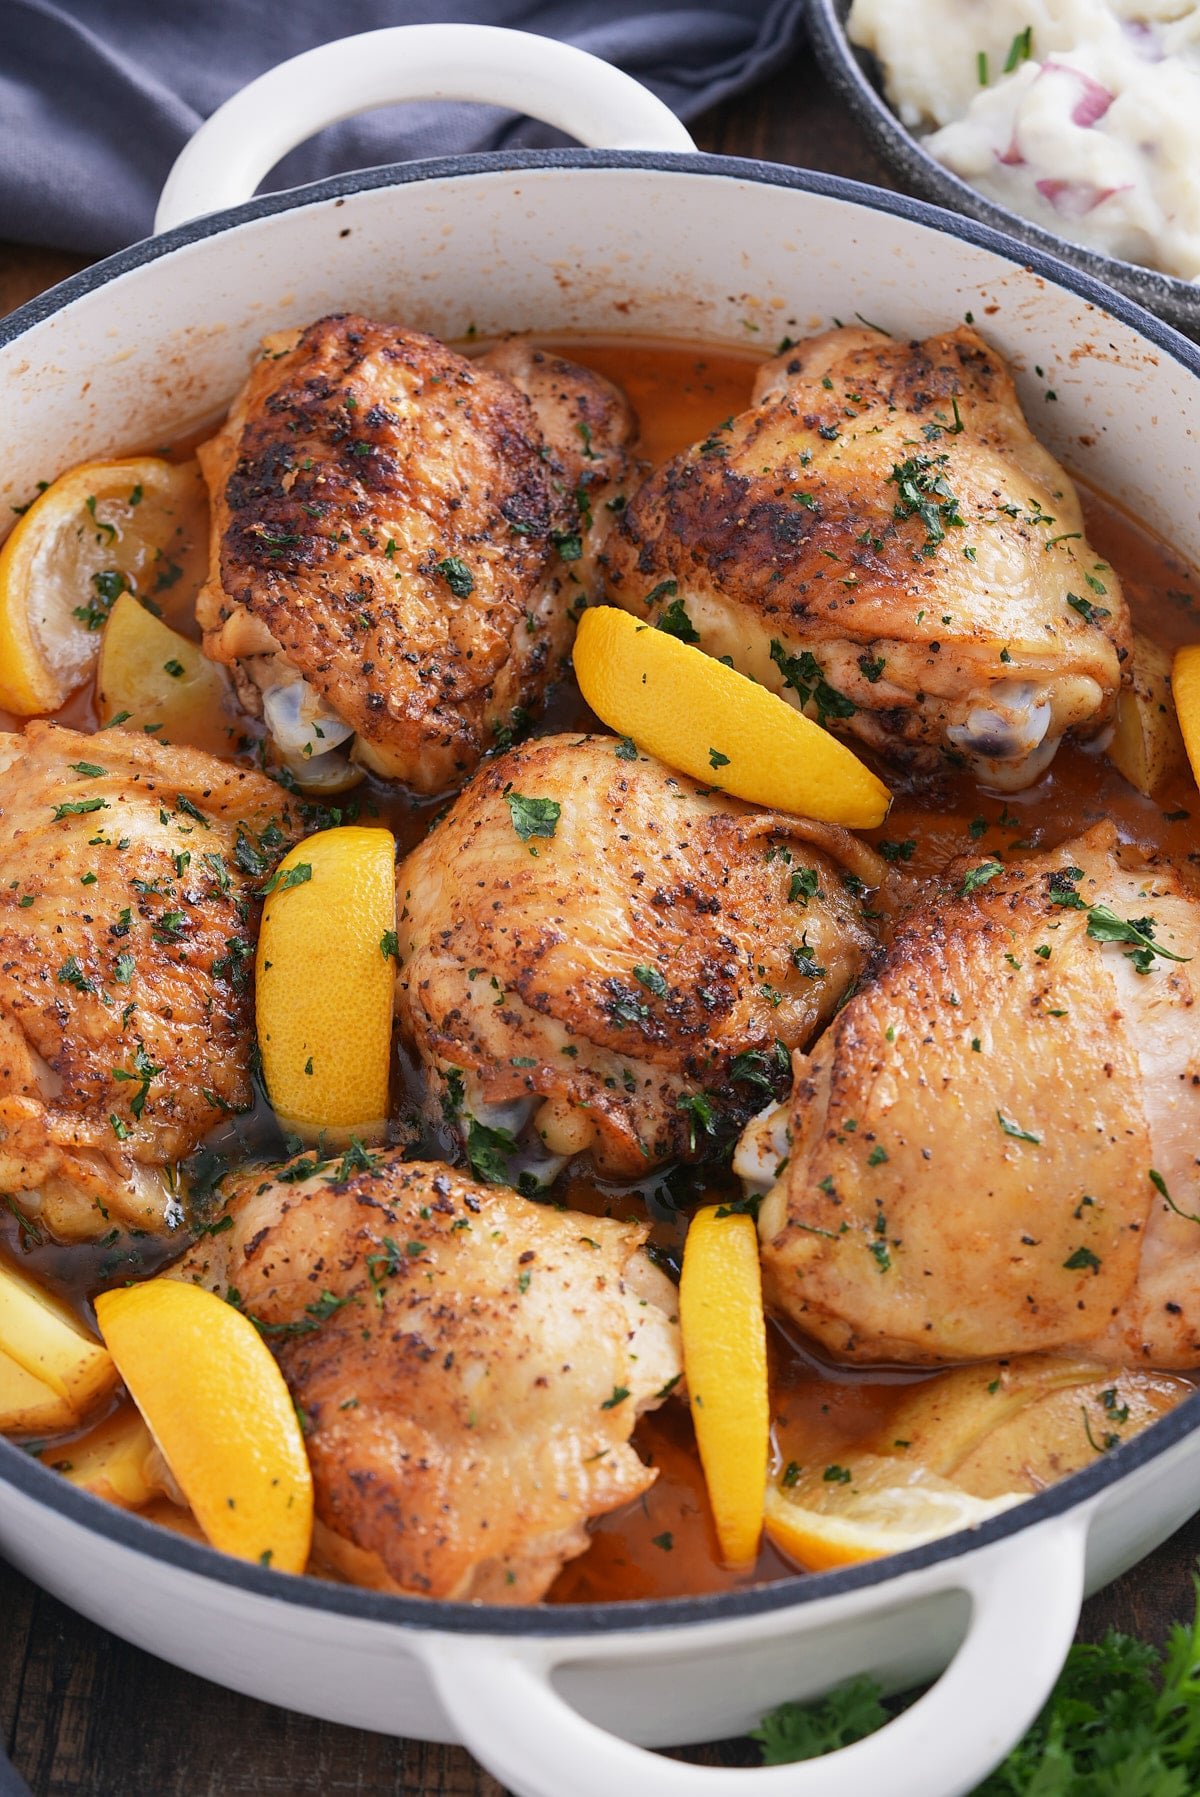
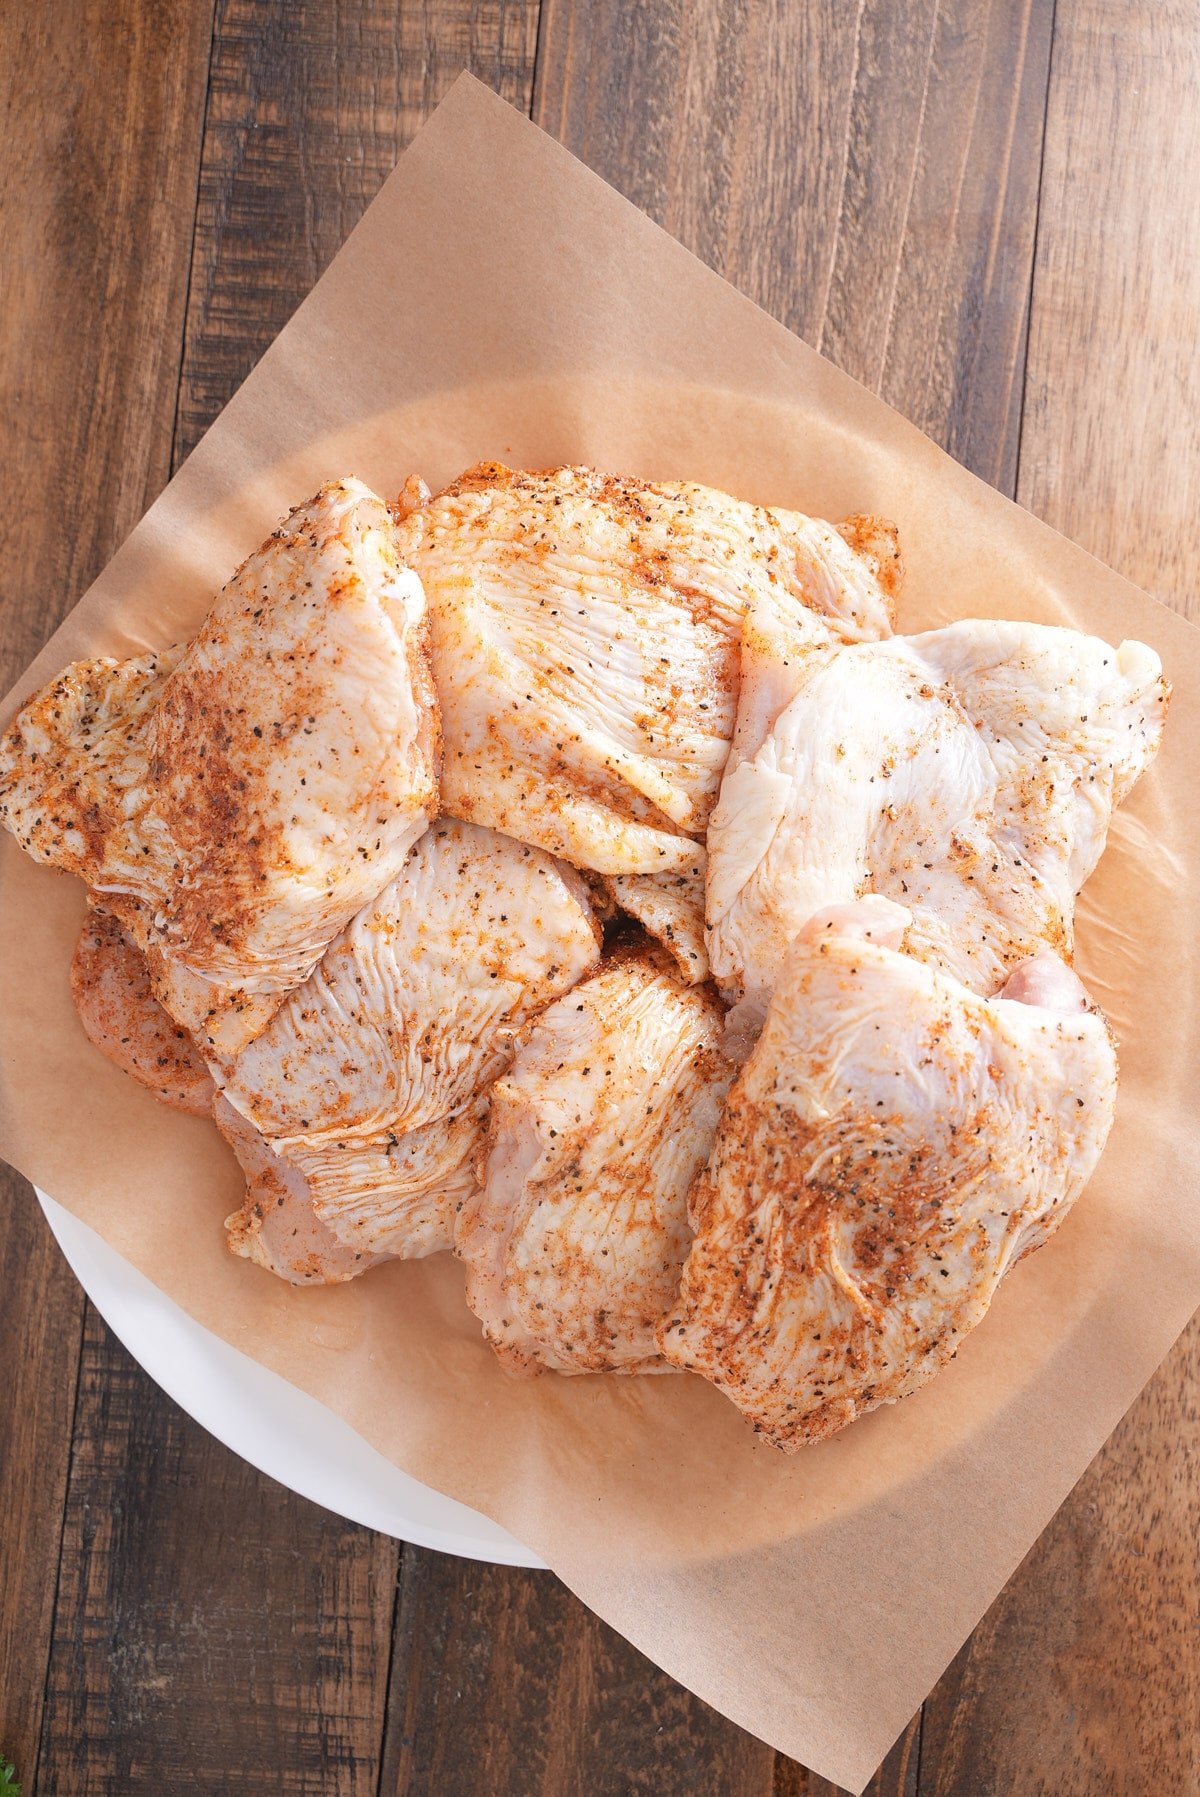
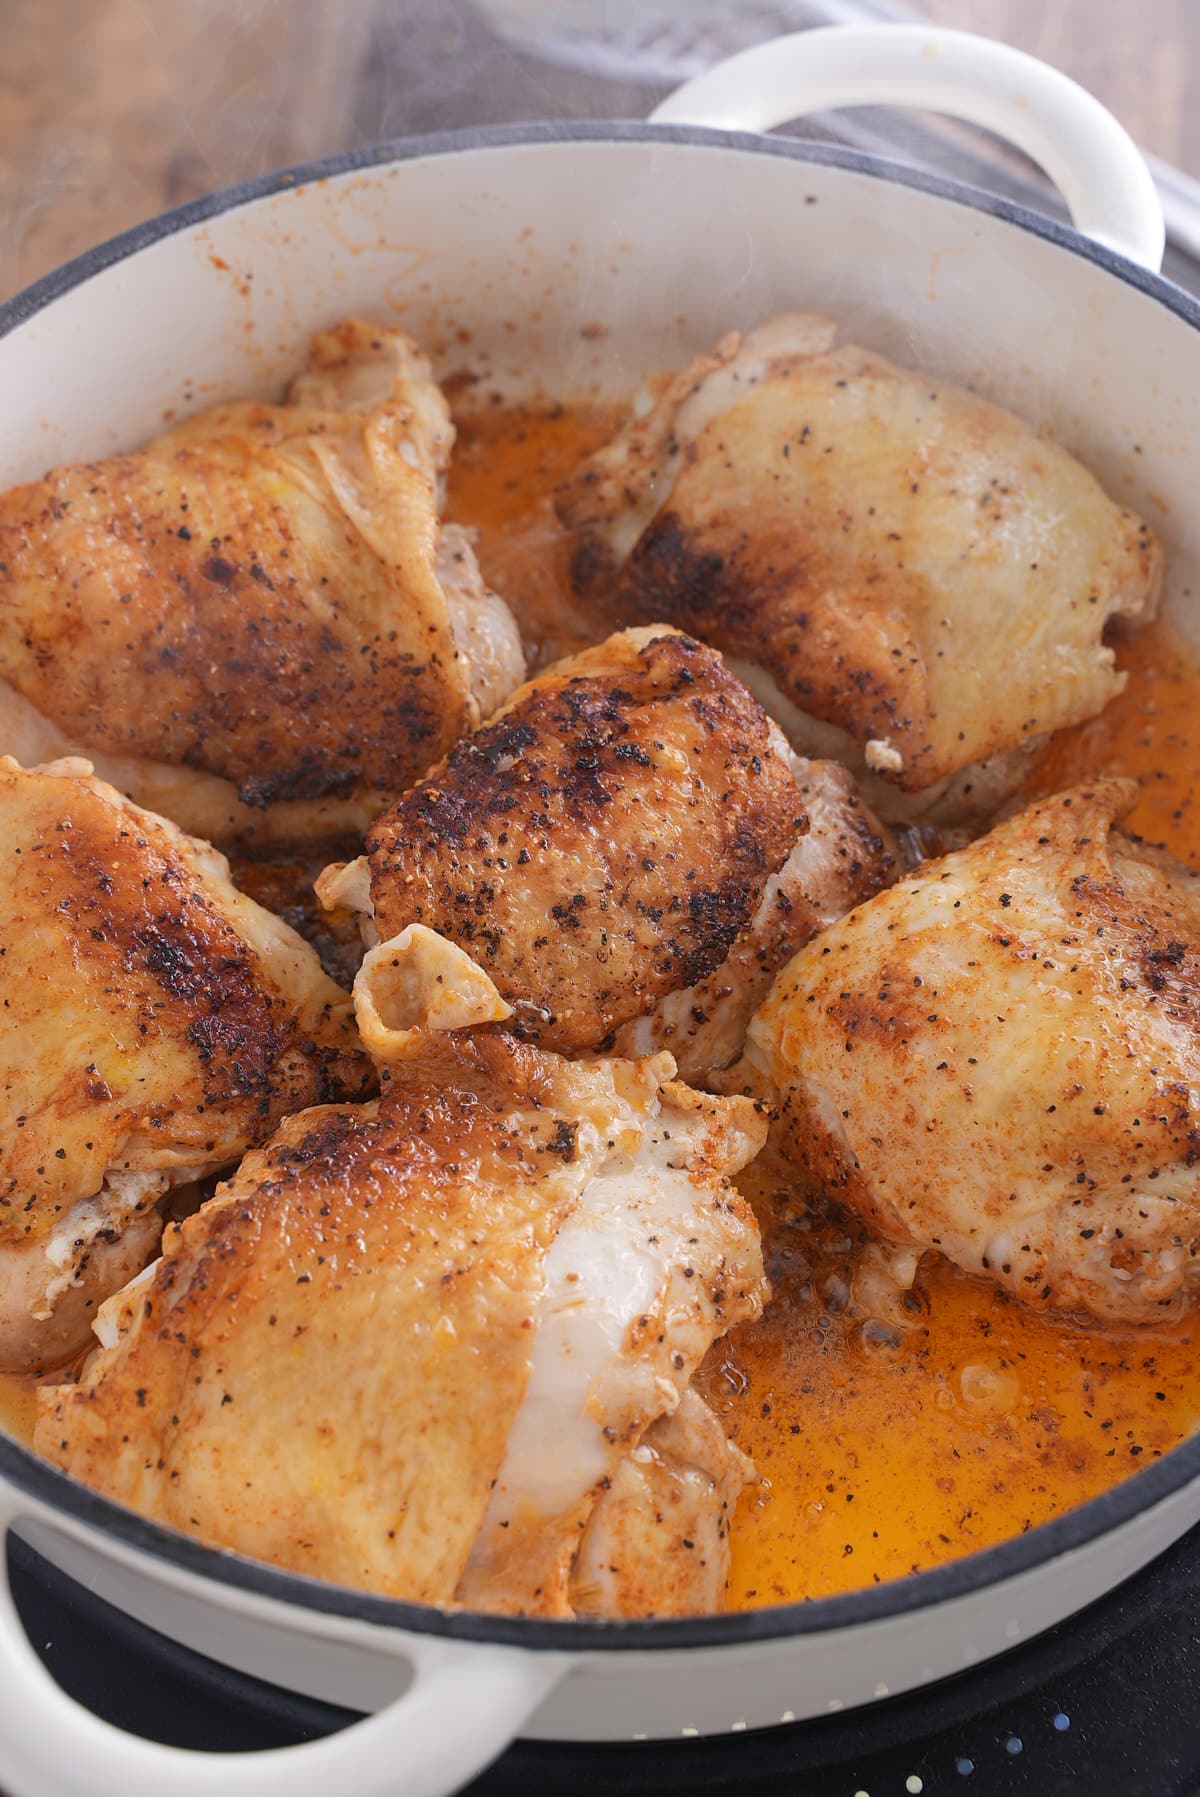
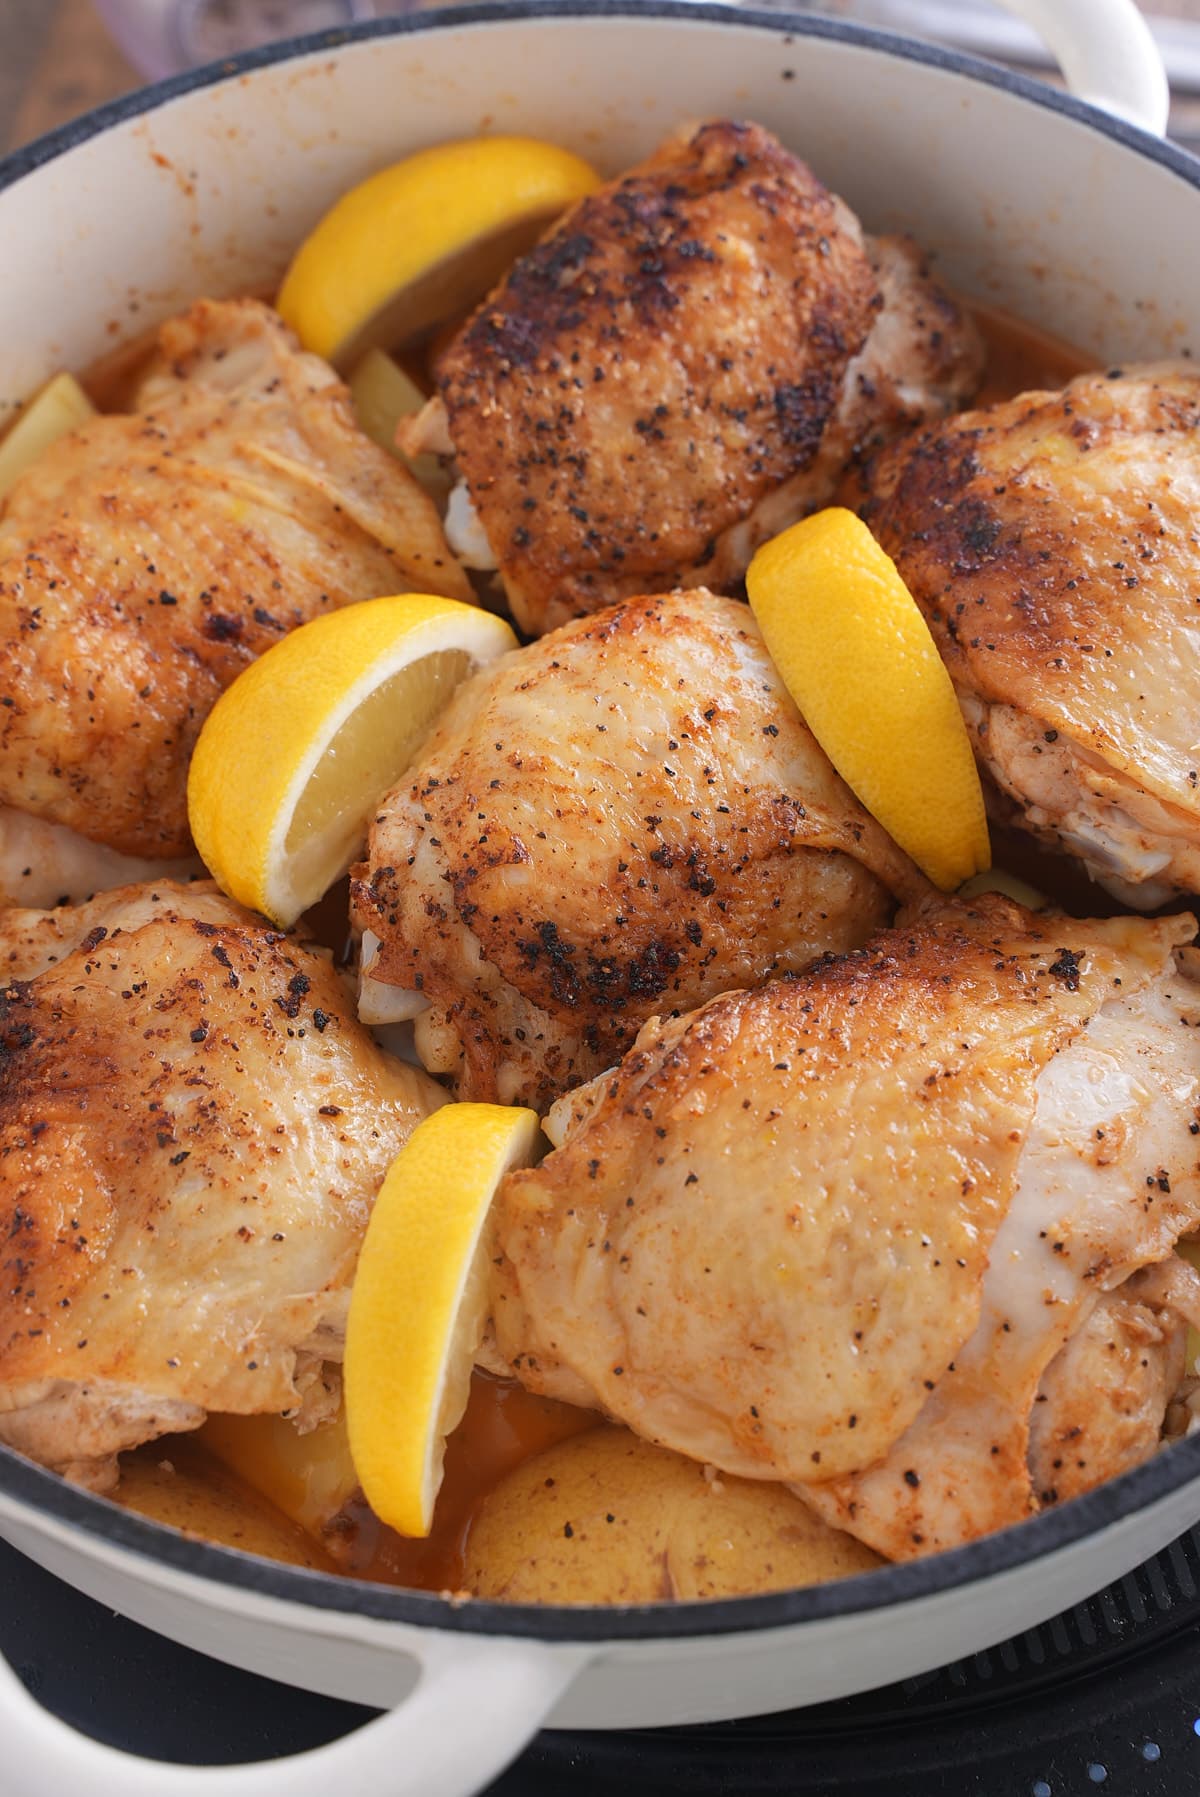
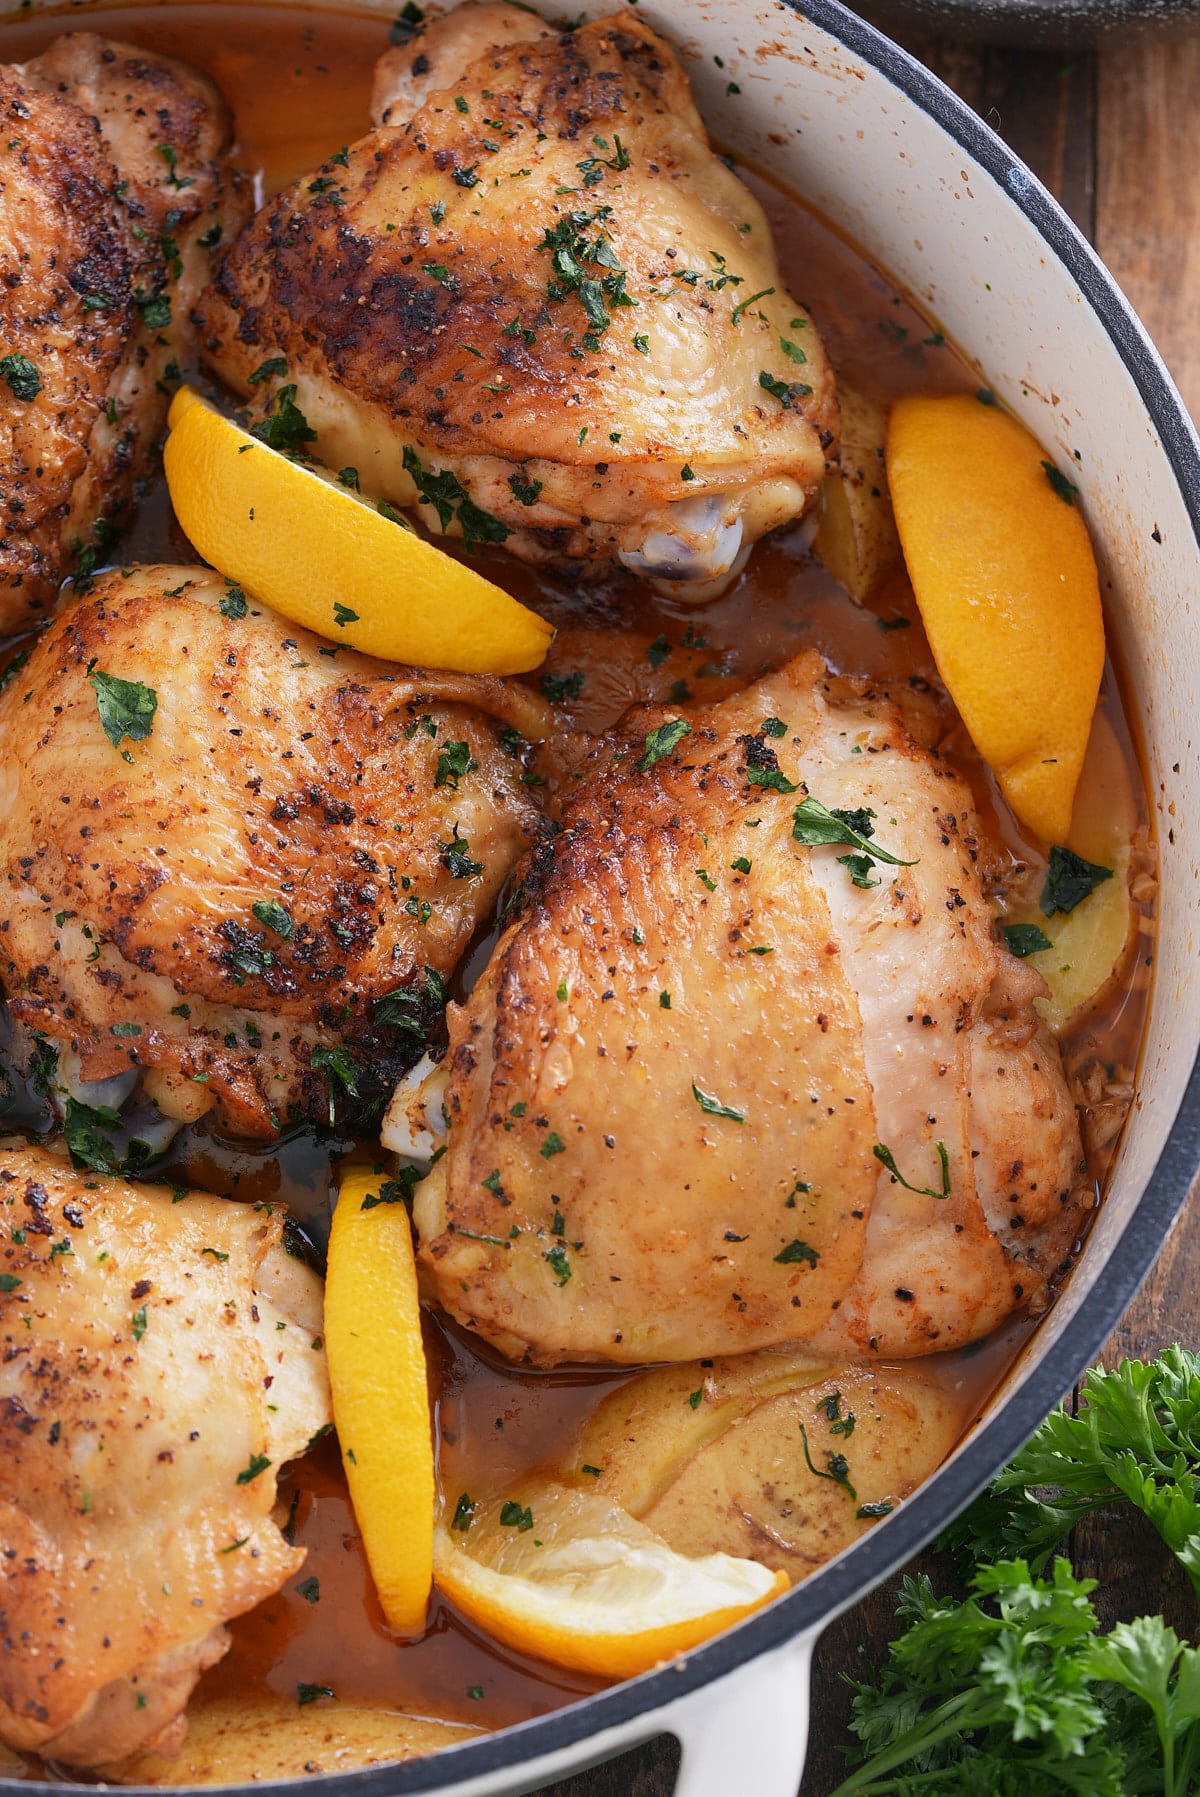
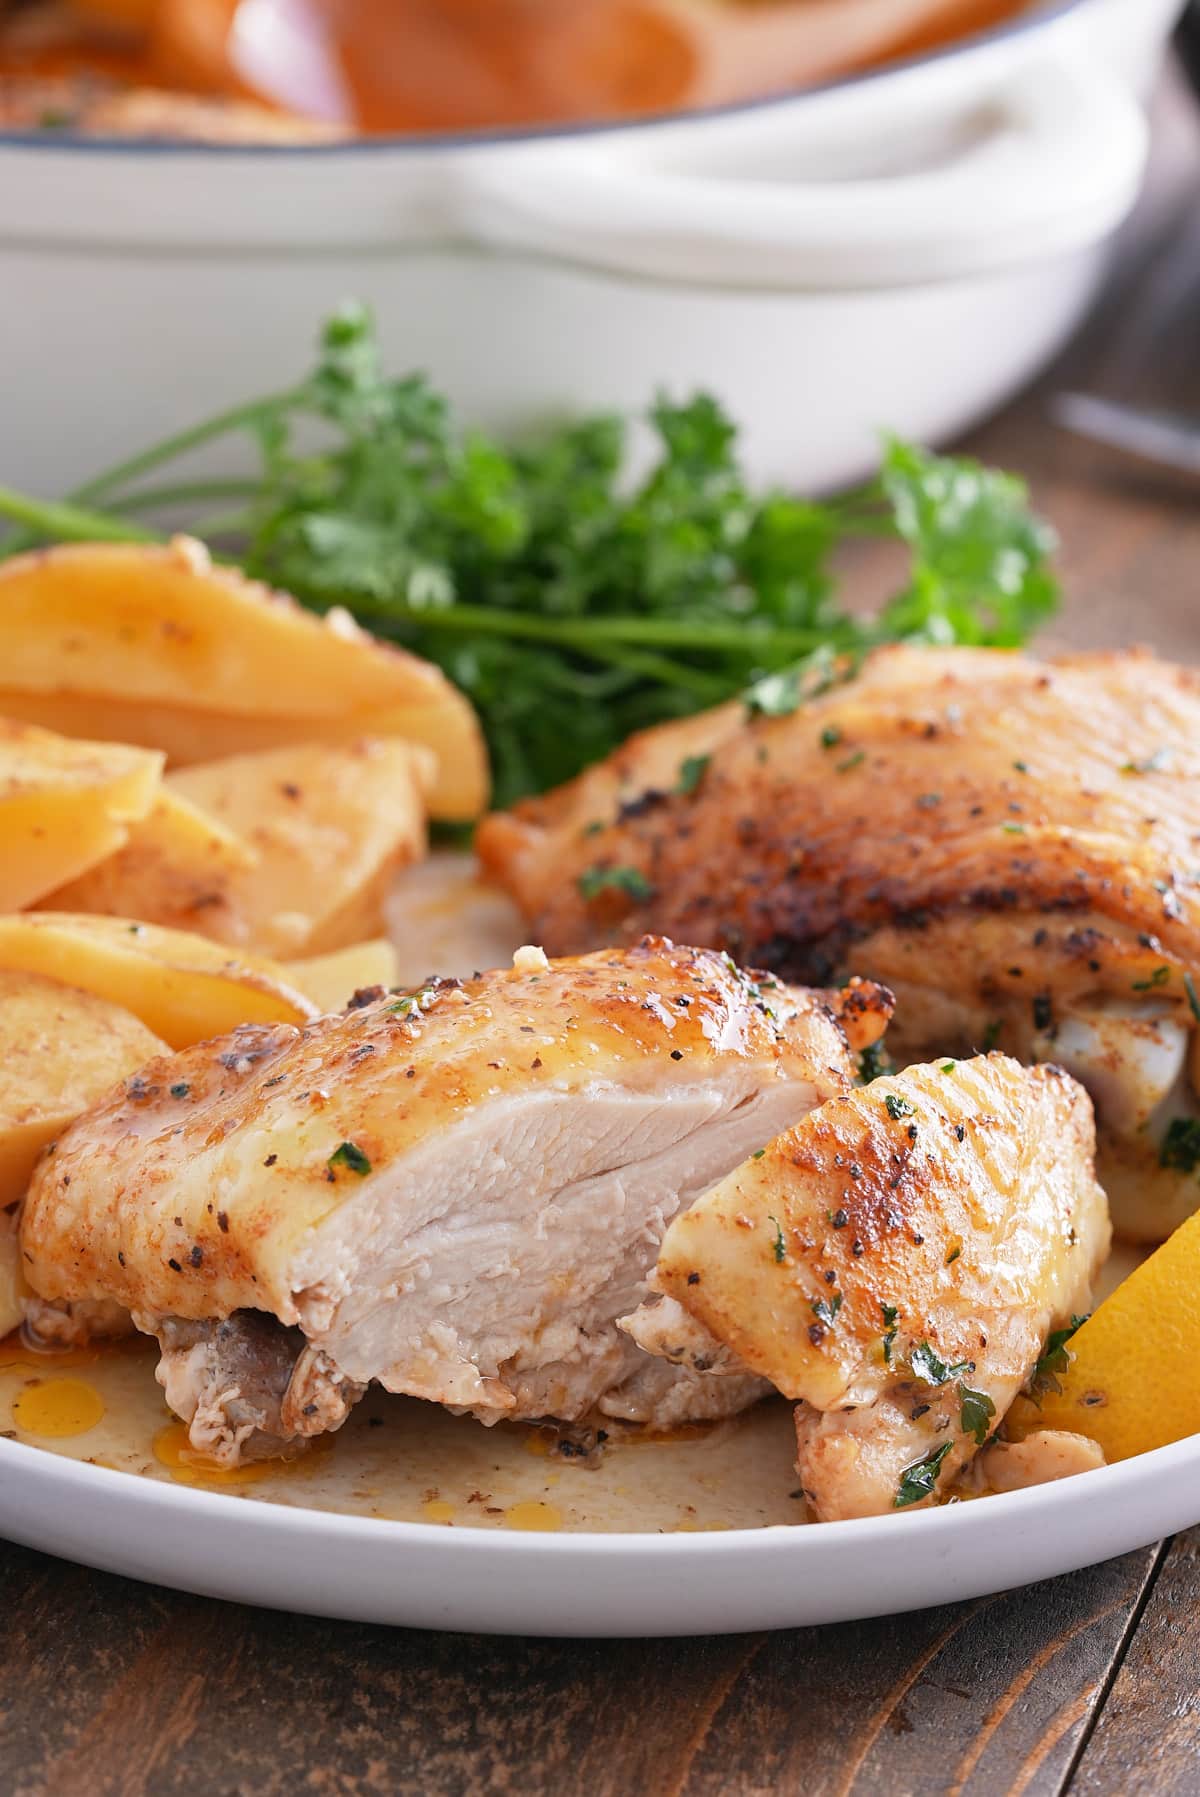
Mashed potatoes are a versatile side dish that can be served at any time. They taste great with meat, fish, seafood, and vegetable based main dishes. Try it with my Braised Chicken Thighs, Roast Chicken, Brown Stew Chicken, Sous Vide Pork Chops, Turkey Burgers Air Fryer Meatloaf, or my Air Fryer Whole Fish.
How to store
Make ahead: Mashed potatoes are a great make-ahead side dish; they can be prepared a day in advance and stored in the refrigerator until you are ready to warm up and serve. Mashed red-skinned potatoes are the perfect addition to the Thanksgiving, Christmas, or any other holiday table.
To refrigerate: Store leftover mashed potatoes in an airtight container in the refrigerator for up to 3 days. To reheat, place in a small pan on the stovetop or heat up in the microwave. You can add a splash of milk or water to loosen the potatoes if required.
FAQs
Look for potatoes with a high starch content as they are great at absorbing the melted butter and milk and give you fluffy mashed potatoes, Russet or Idaho Potatoes are ideal. Yukon Gold is a great all round potato and results in slightly denser mashed potato.
Yes , don't over mash and/or beat potatoes or you will end up with thick, gluey and sticky mashed potato. I like to use a hand masher or potato ricer, which will result in fluffy mashed potatoes.
Yes, you can scrub the skins and leave them on, or peel the skin off the potato. It is entirely down to personal choice. The skin of a potato is high in fiber, B vitamins, and minerals.
If you have tried this mashed red skinned potatoes recipe, or any other recipe on my blog, please rate it and let me know how it turned out in the comments below!

Mashed Red Skinned Potatoes
Equipment
- Potato masher or hand mixer
- Wooden spoon or spatula
- Chopping knife
- Serving dish
Ingredients
- 2 ½ lbs red potatoes skin on, scrubbed clean and cut into 1-inch pieces
- ½ cup milk
- 6 Tablespoons unsalted butter cut into ½ inch pieces
- 2 cloves garlic smashed
- 1 ½ teaspoons kosher salt or to taste
- chopped chives for garnish
Instructions
- Place the cut red potatoes in a large pot and add enough water to cover the potatoes completely. Stir in a generous pinch of kosher salt.
- Bring the water to a boil over high heat. Once boiling, reduce the heat to medium and let the potatoes simmer for 15-20 minutes, or until the potatoes are tender and easily pierced with a fork.
- Drain the cooked potatoes in a colander and return them to the pot. Mash the potatoes using a potato masher or a hand mixer on low speed. Set aside.
- Combine the milk, butter, and smashed garlic cloves in a small saucepan. Warm over low heat, allowing the garlic to infuse the milk. Once the milk is warm and the butter is melted, remove from heat and set aside.
- Add the butter to the potatoes and mash using a potato masher or a hand mixer on low speed.
- Gradually add the garlic-infused milk, a little at a time, while mashing the potatoes until they are smooth. You may not need to use all the milk, so add it until you reach your desired consistency.
- Stir in the sour cream and mix until well incorporated. Season the mashed potatoes with additional kosher salt to taste. Garnish with a sprinkle of chopped chives before serving.
Notes
- For a richer flavor, you can replace milk with heavy cream.
- The potatoes can be left unpeeled for a rustic texture or peeled for a smoother mash.