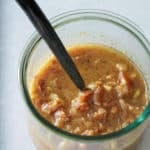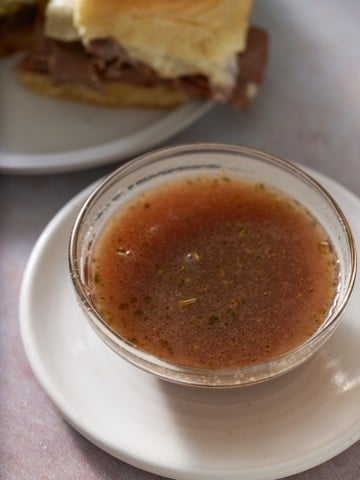
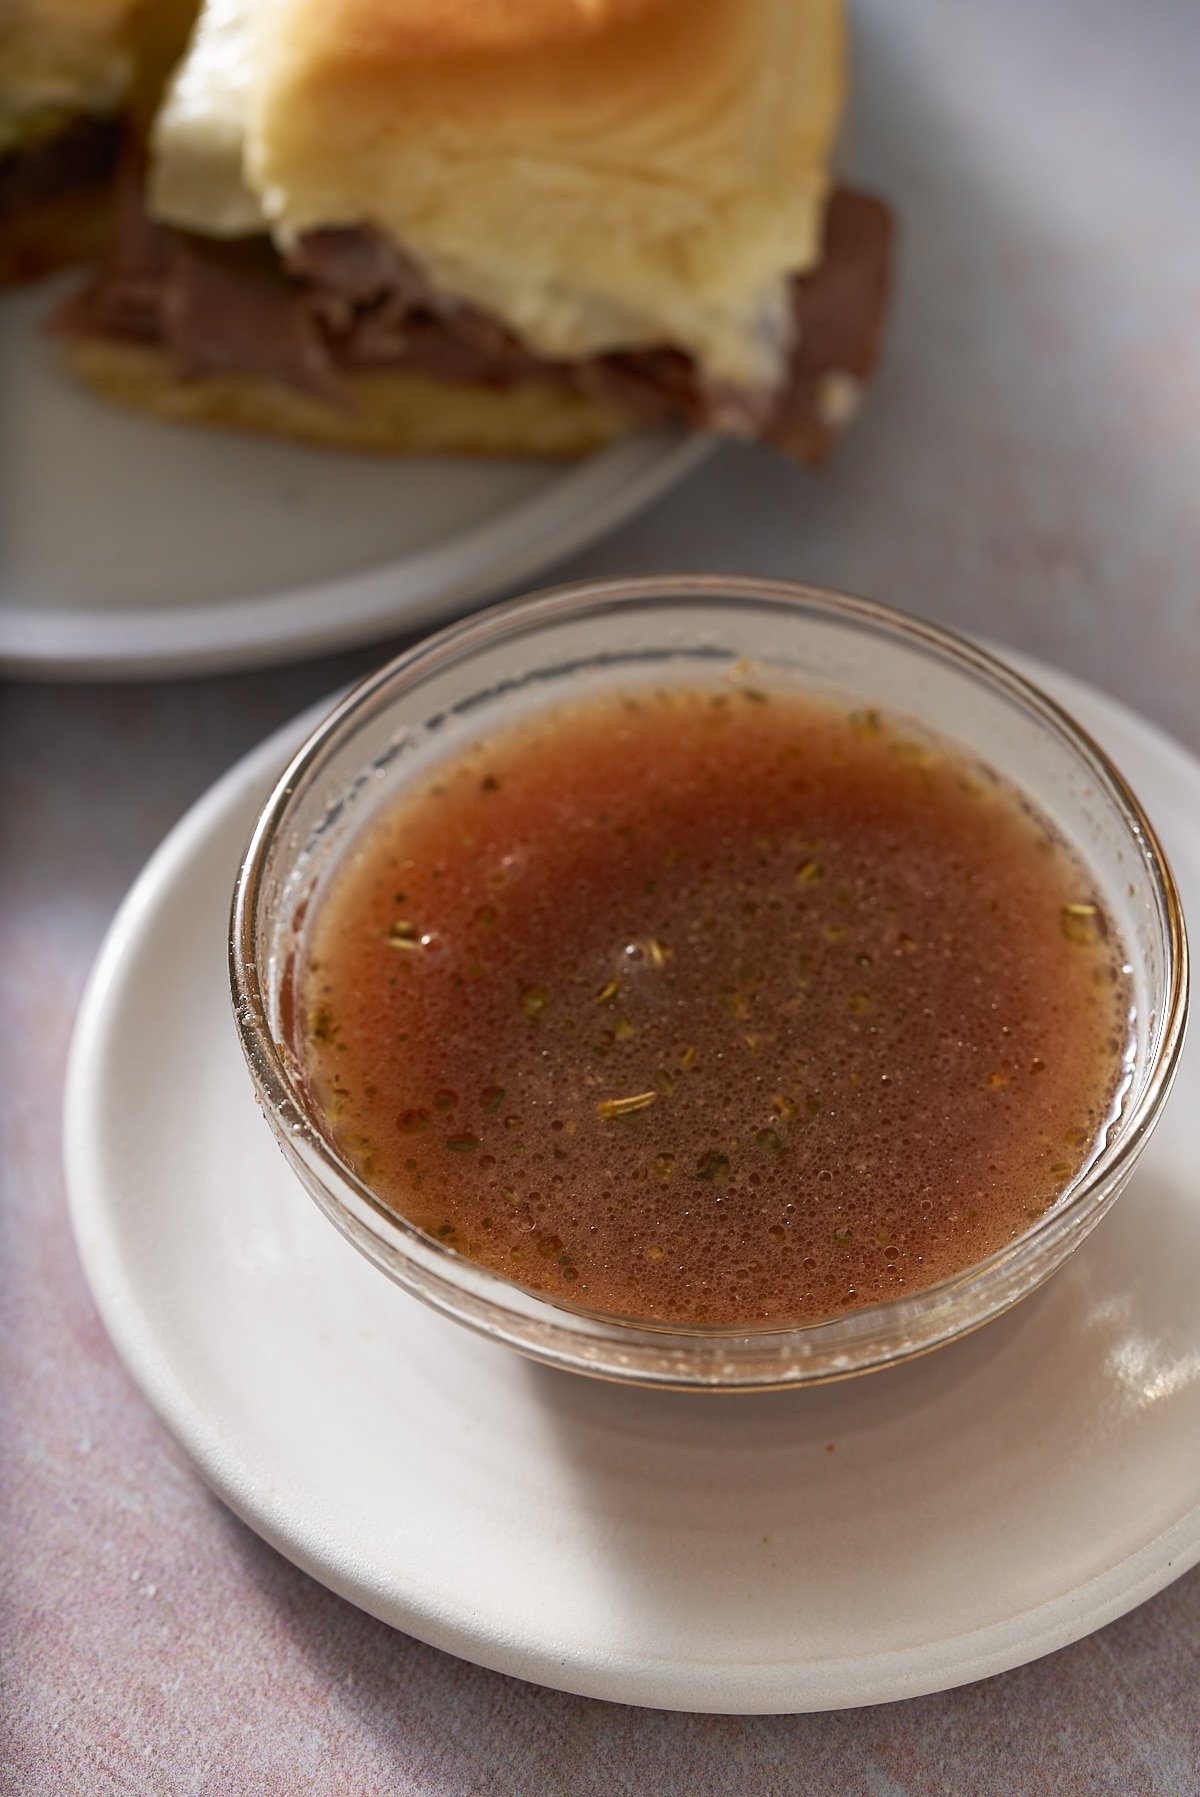
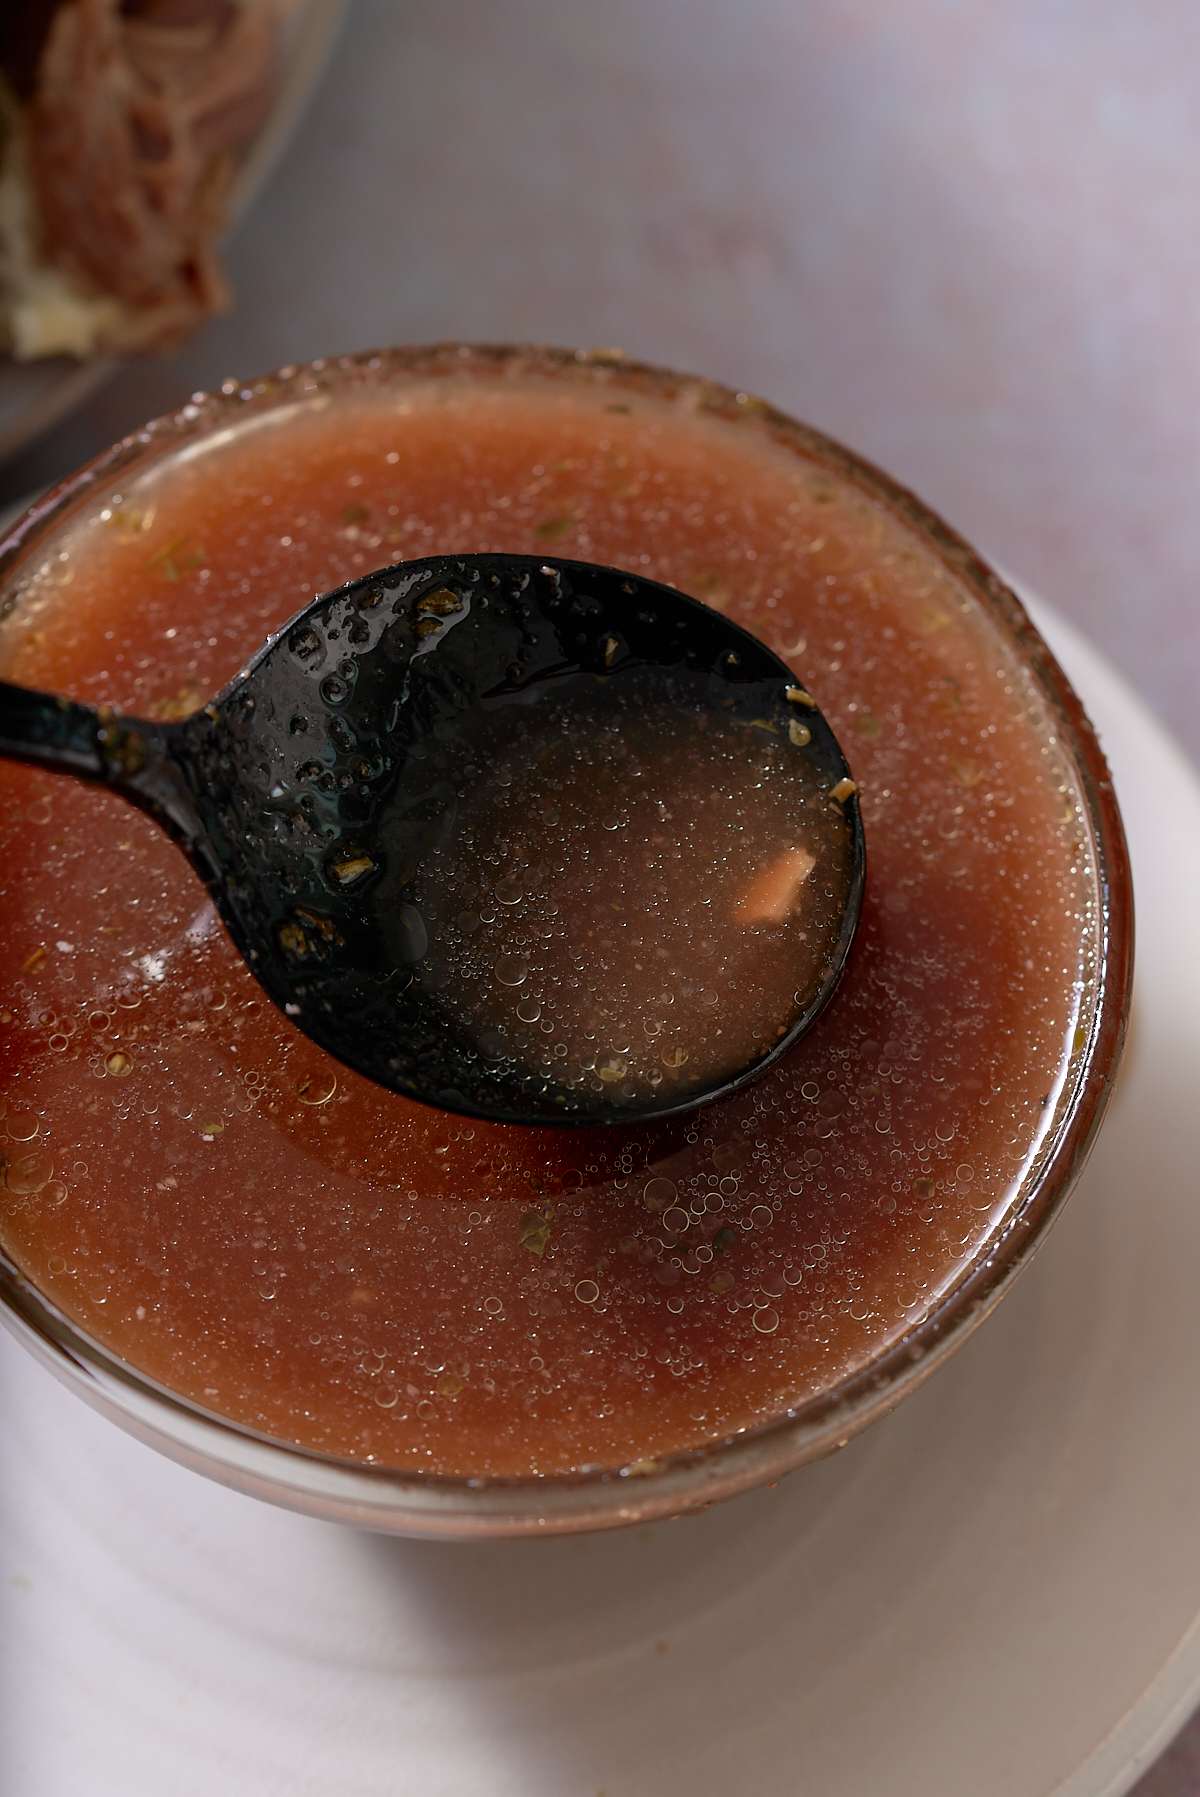
Au jus is a French cooking term meaning "with juice", and it refers to a simple thin gravy. I show you how to make my beef au jus recipe using beef broth, red wine, and seasoning. This deliciously savory gravy takes mere minutes to prepare but will elevate the flavor of any beef-based dish you serve it with.
This post contains affiliate links, please read my full disclaimer here.
You’ll find the full recipe with ingredient amounts and instructions in the recipe card at the bottom of this post. Be sure to check out the blog post itself for extra tips and tricks!
This is the best au jus recipe as it contains a few simple ingredients most of you will have in your stores at home. It can be prepared, cooked, and ready to serve in around 10 minutes. Yes, making a traditional au jus really is that straightforward.
This is one of my go-to mid-week recipes when I want to add an extra layer of flavor to beef-based dishes like my Roast Beef Sliders.
Homemade sauces and gravies are a great way of elevating the flavor of dishes. Try my Grandma's Giblet Gravy, Brown Gravy Recipe, Easy Gravy without Drippings, and my Gravy with Drippings.
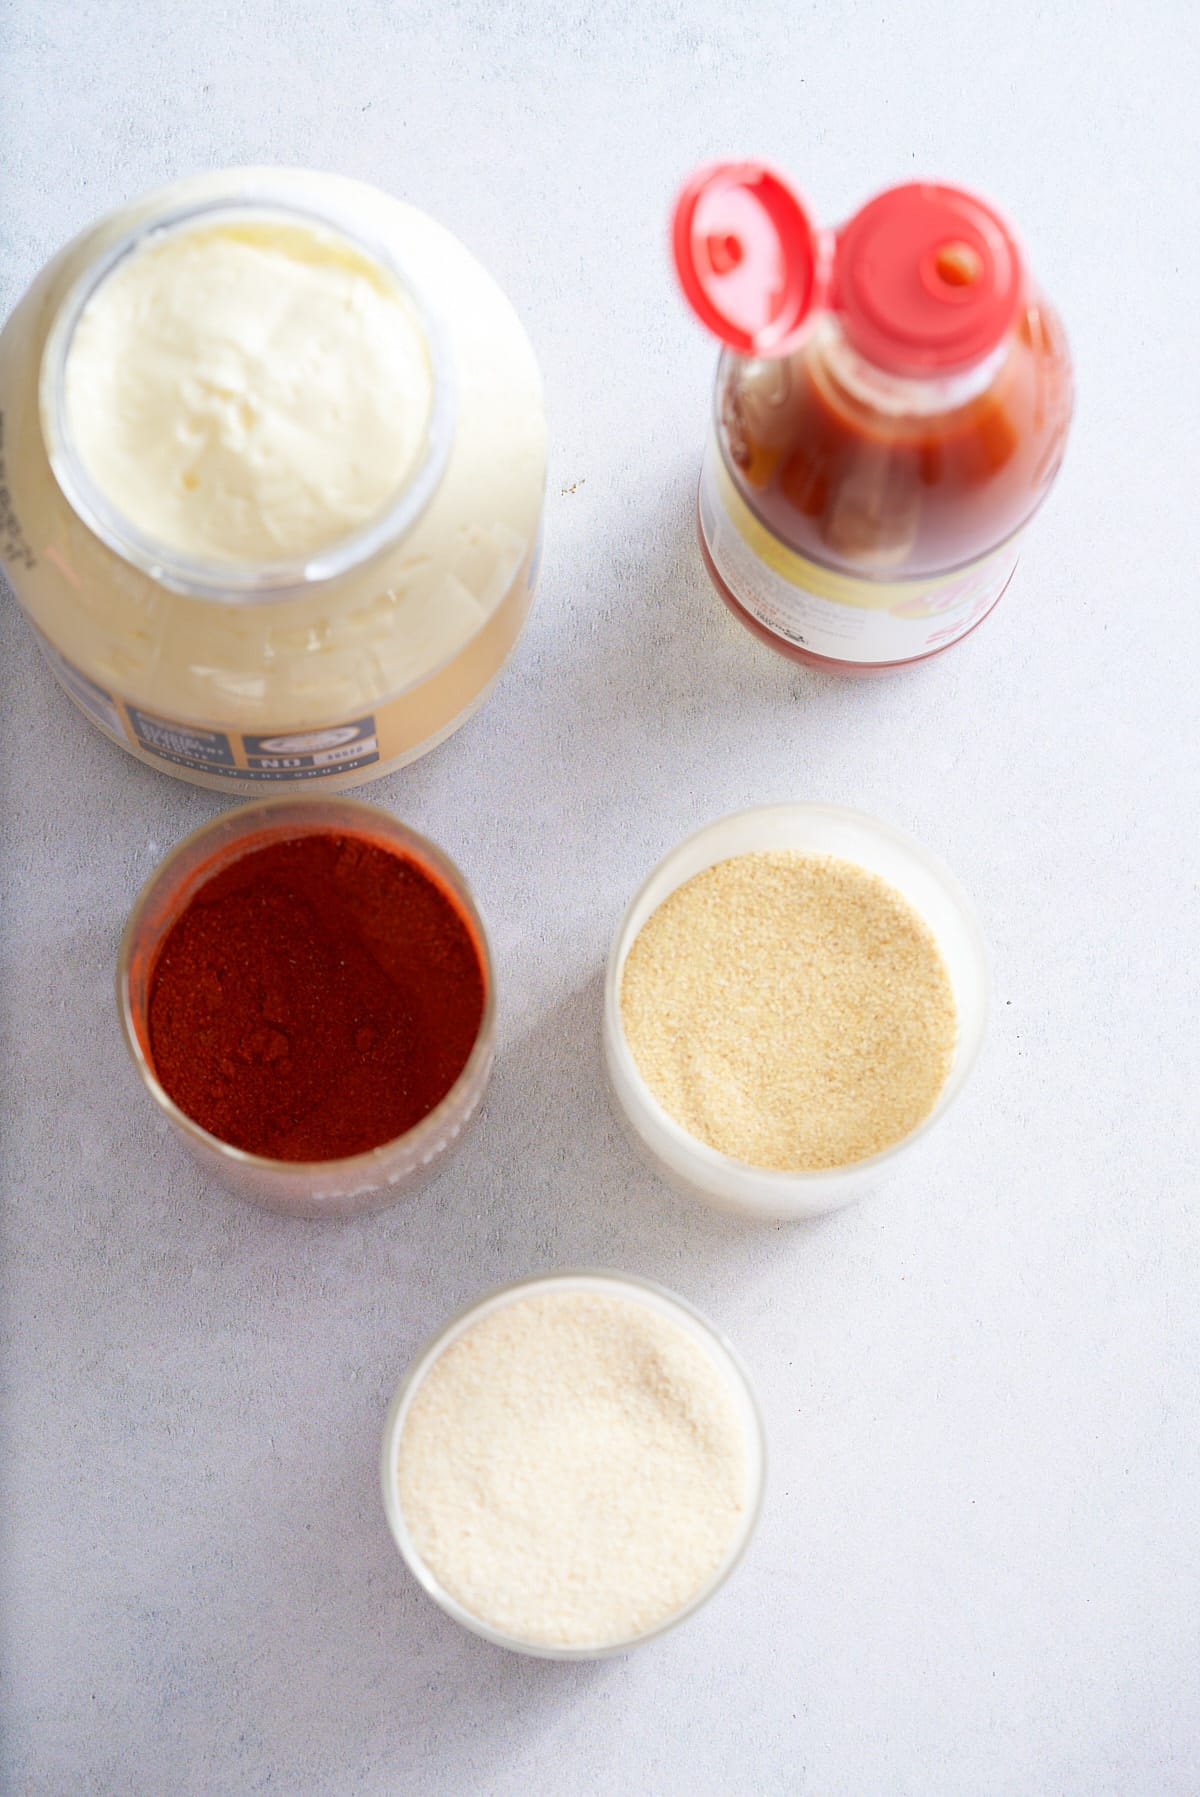
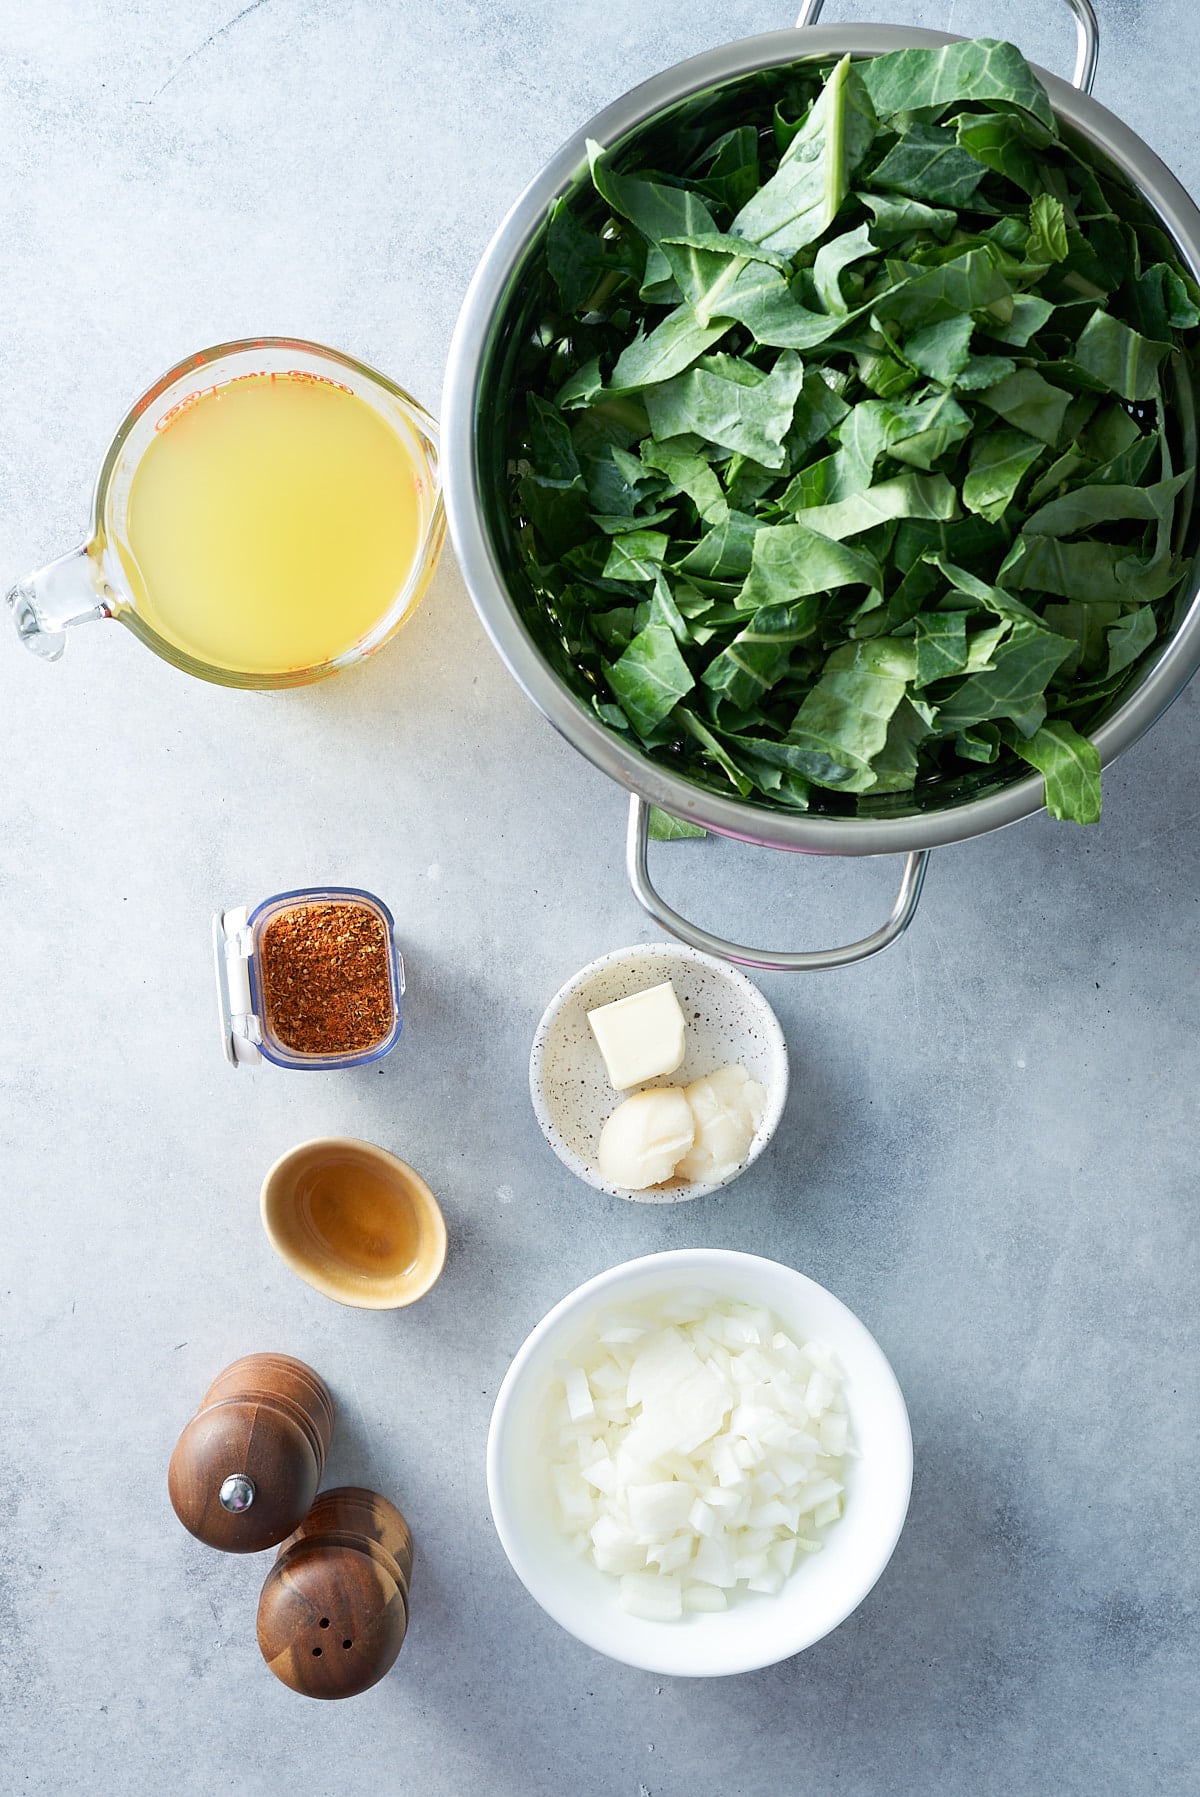
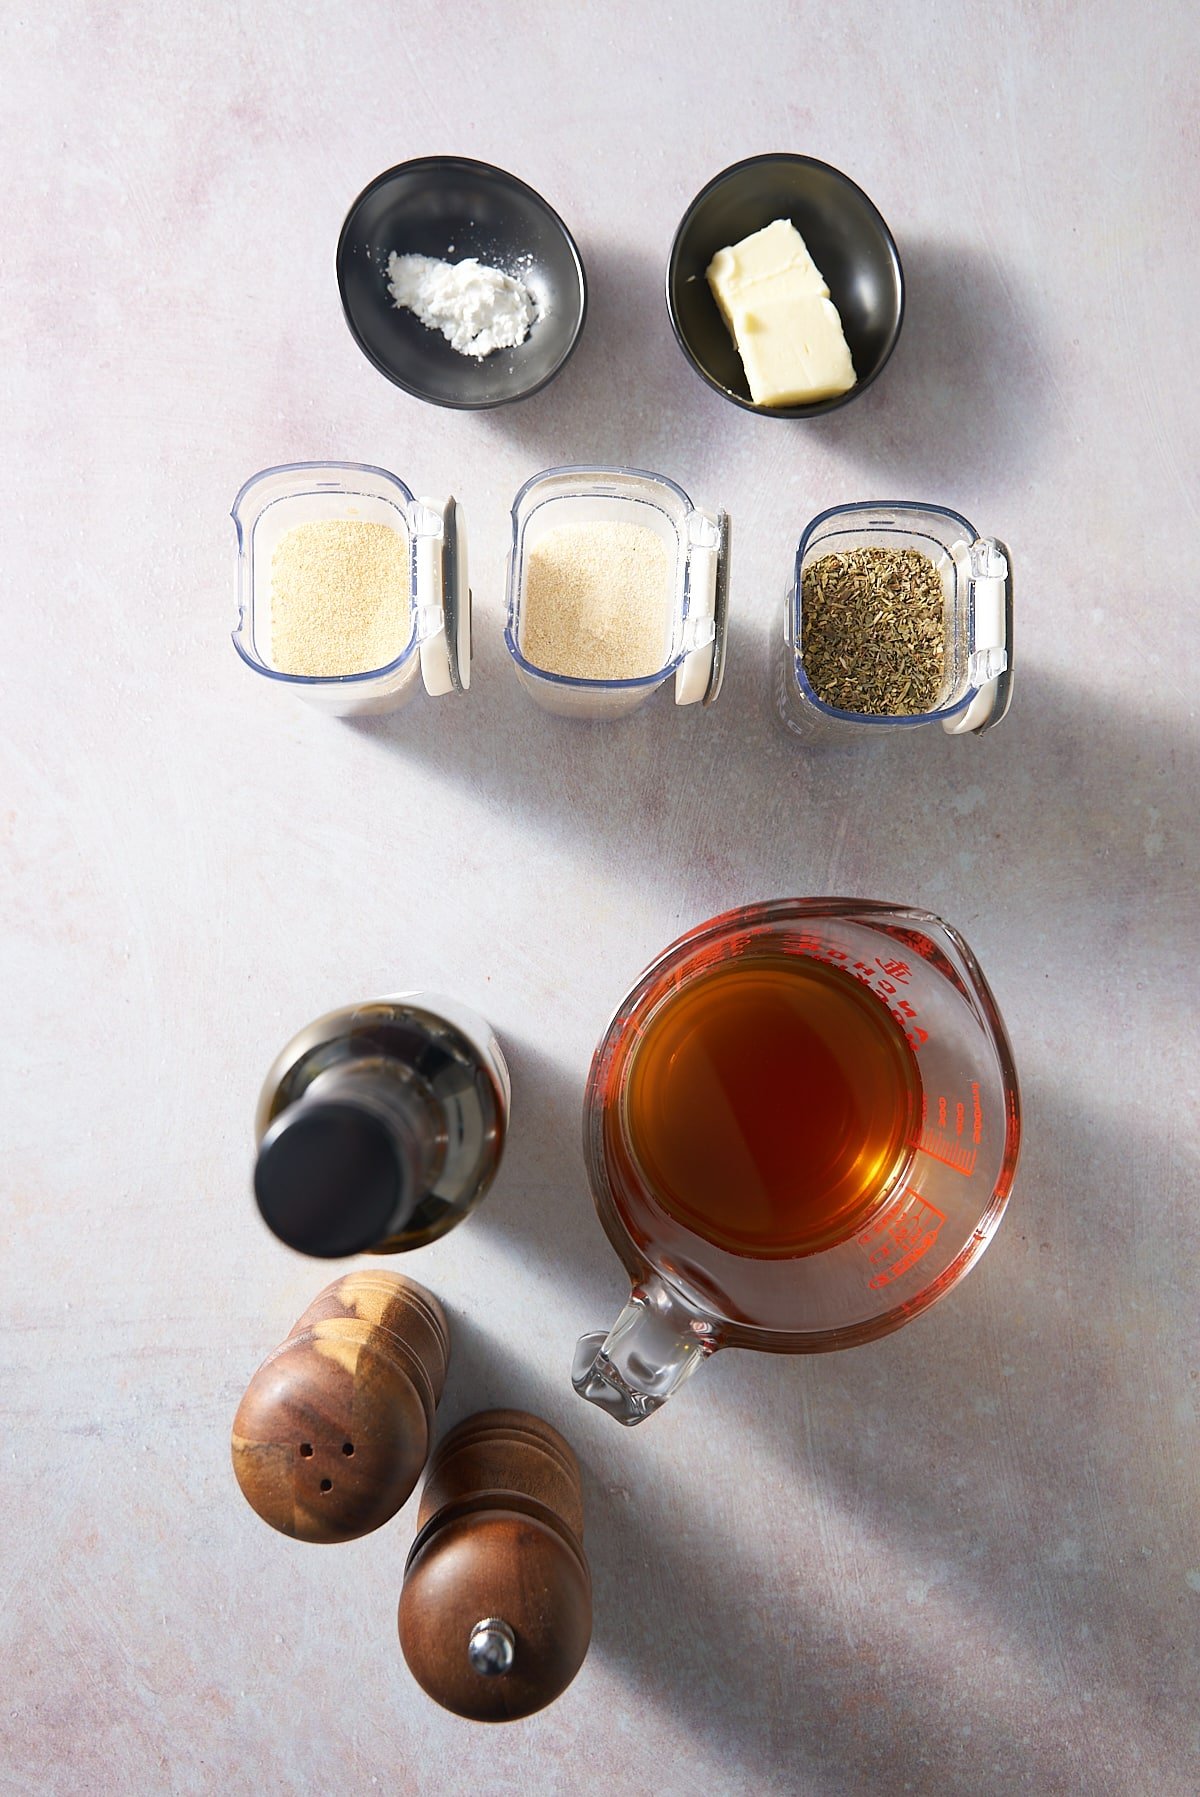
Au jus ingredients
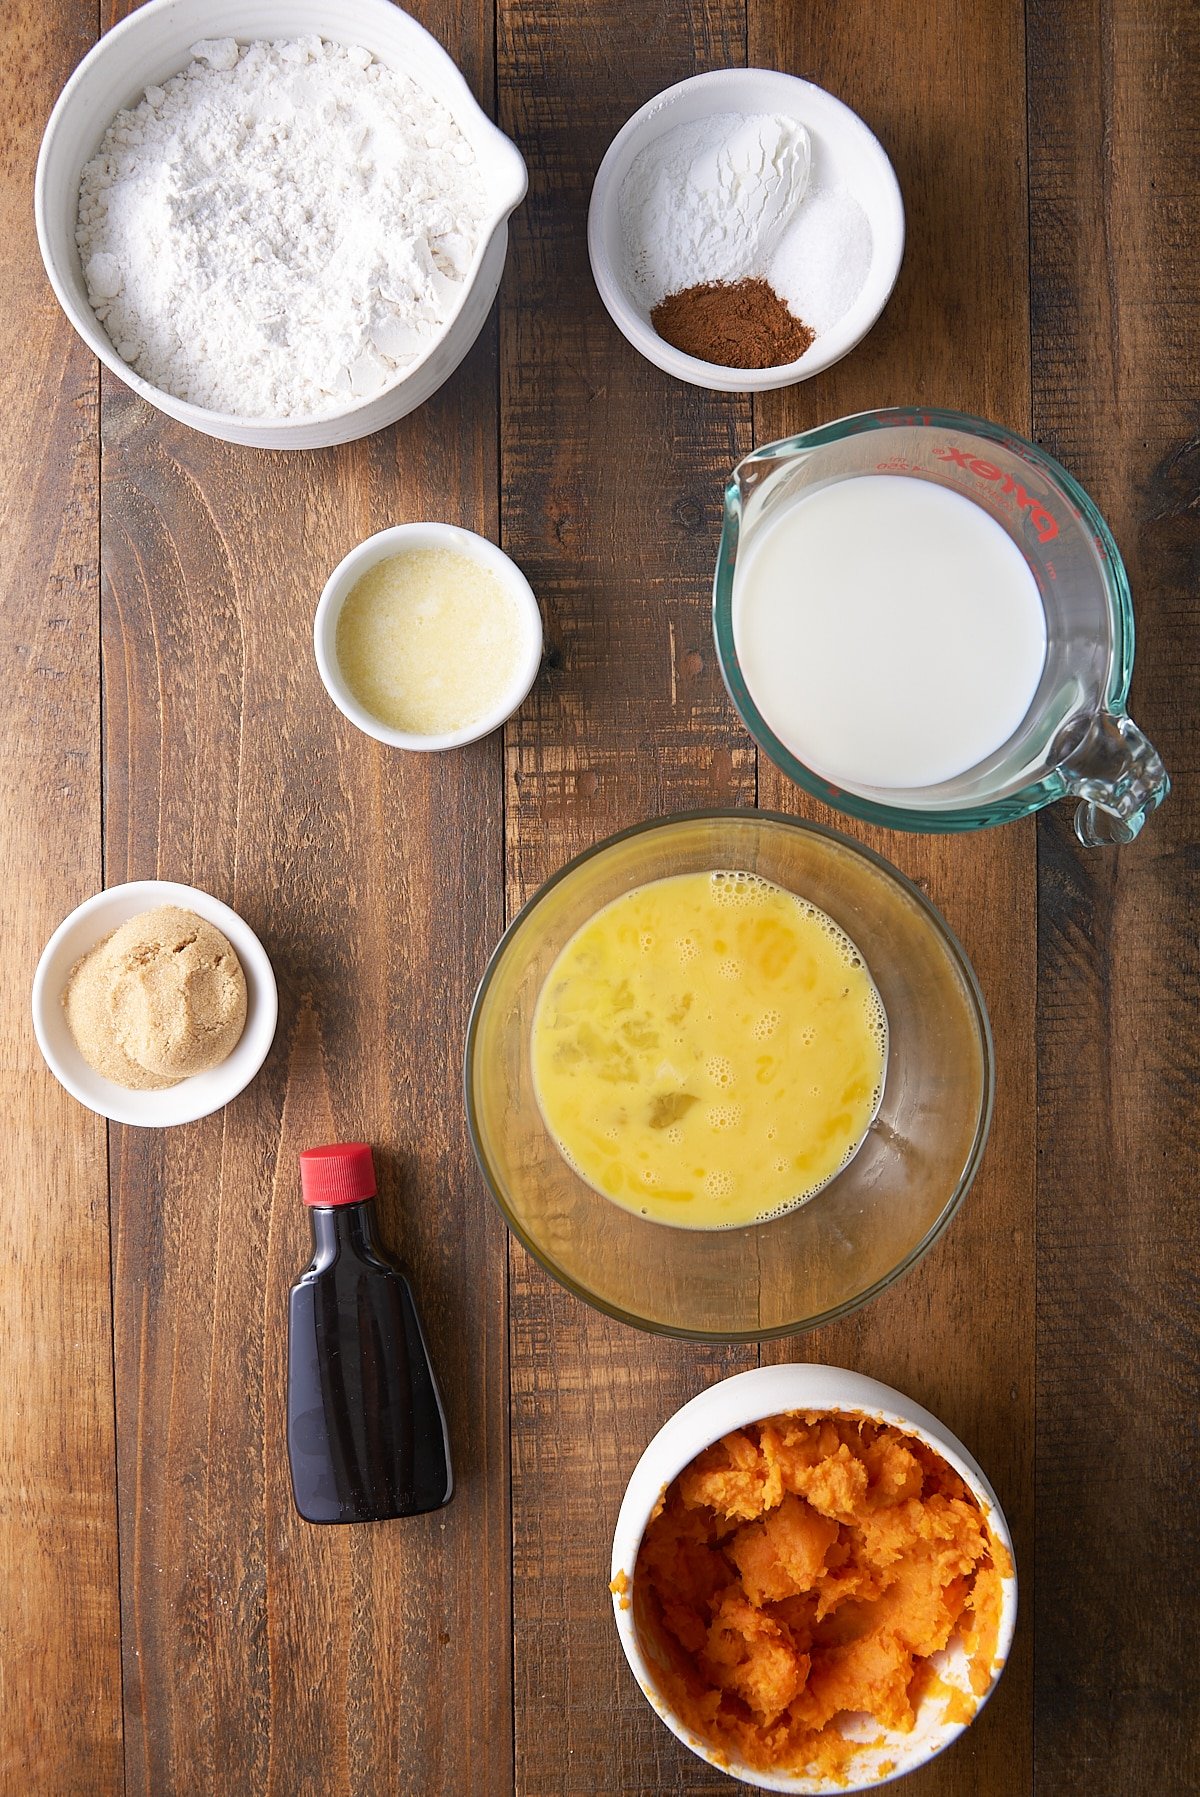
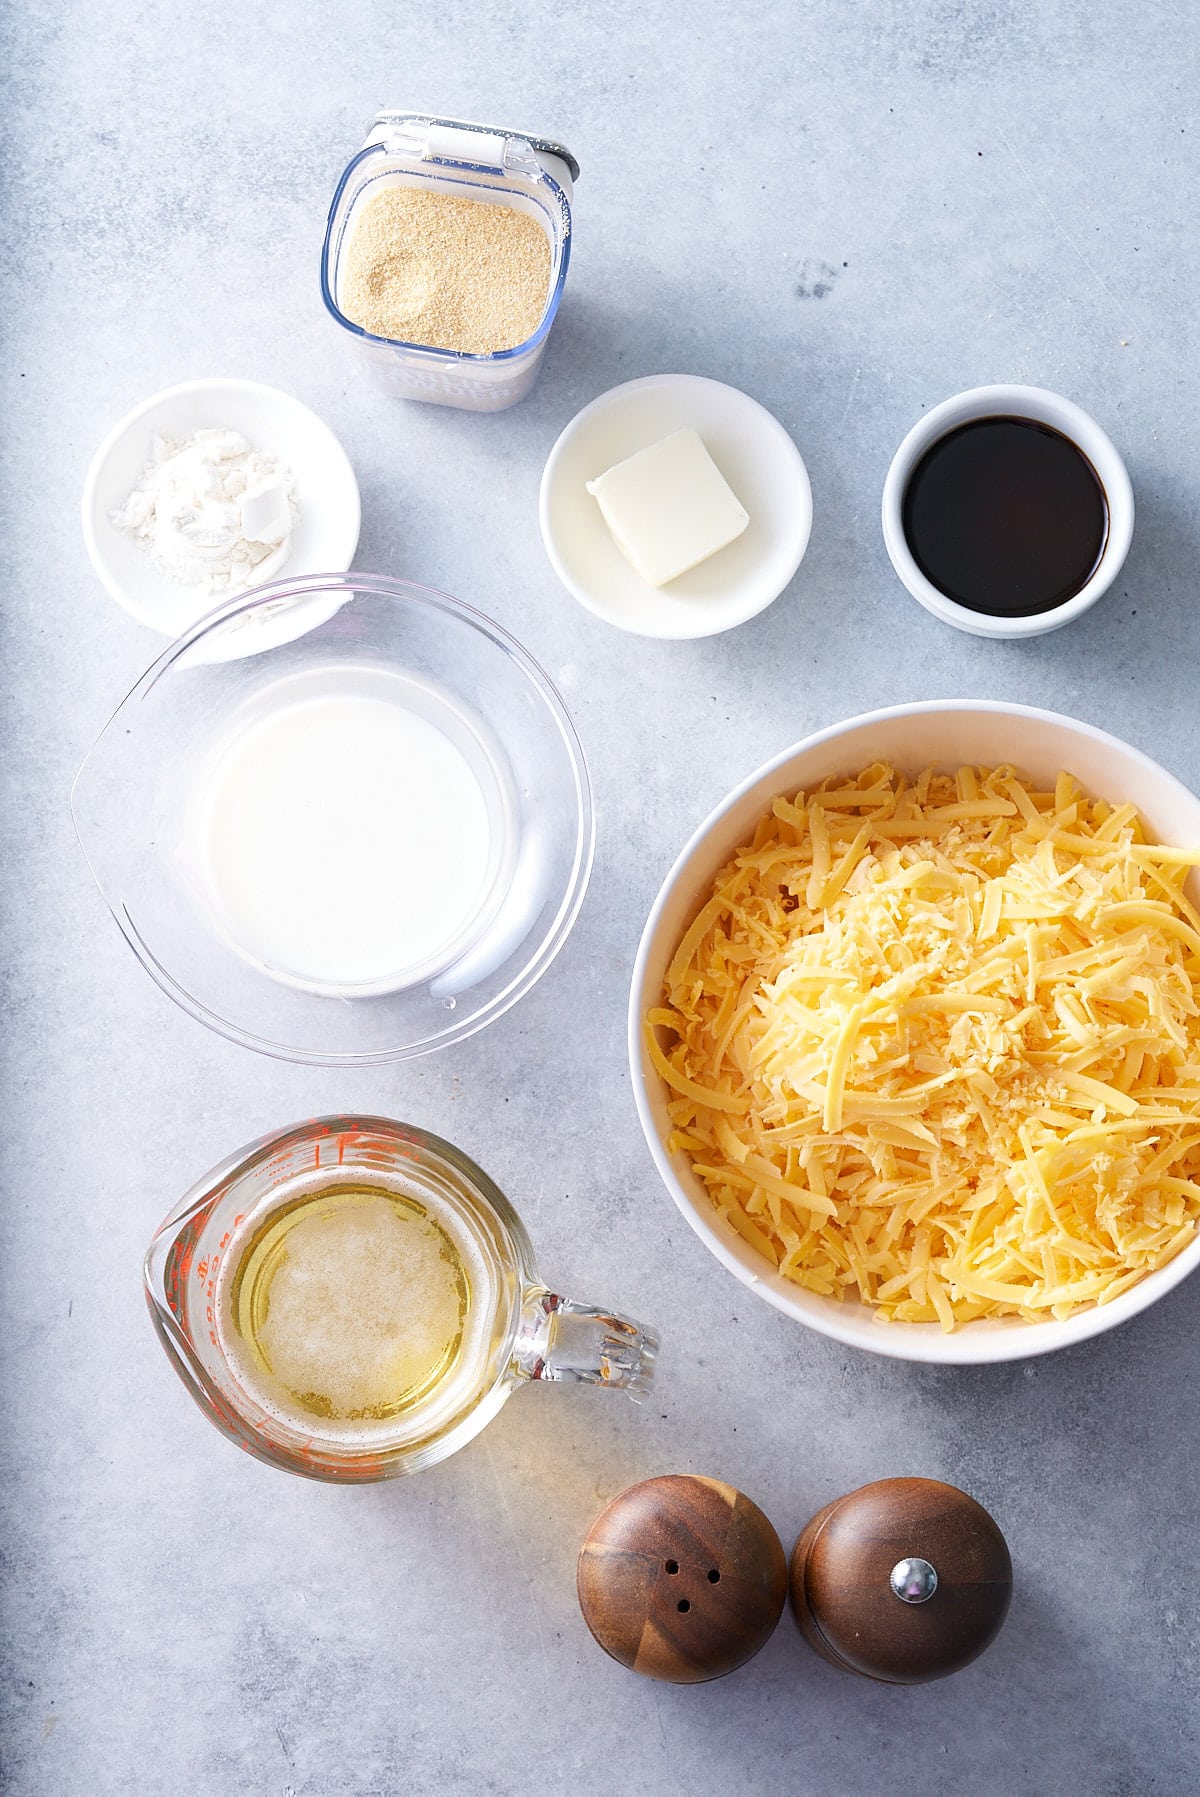
Here's what you'll need to make this recipe:
- Unsalted butter - is best to stop the au jus becoming too salty.
- Italian seasoning
- Cornstarch
- Onion powder
- Garlic powder
- Beef broth - use a good quality store-bought broth or a homemade beef broth.
- Red wine - I use Cabernet Sauvignon.
- Salt - taste before adding any salt, as don't want to over-season the sauce.
- Fresh ground Black pepper
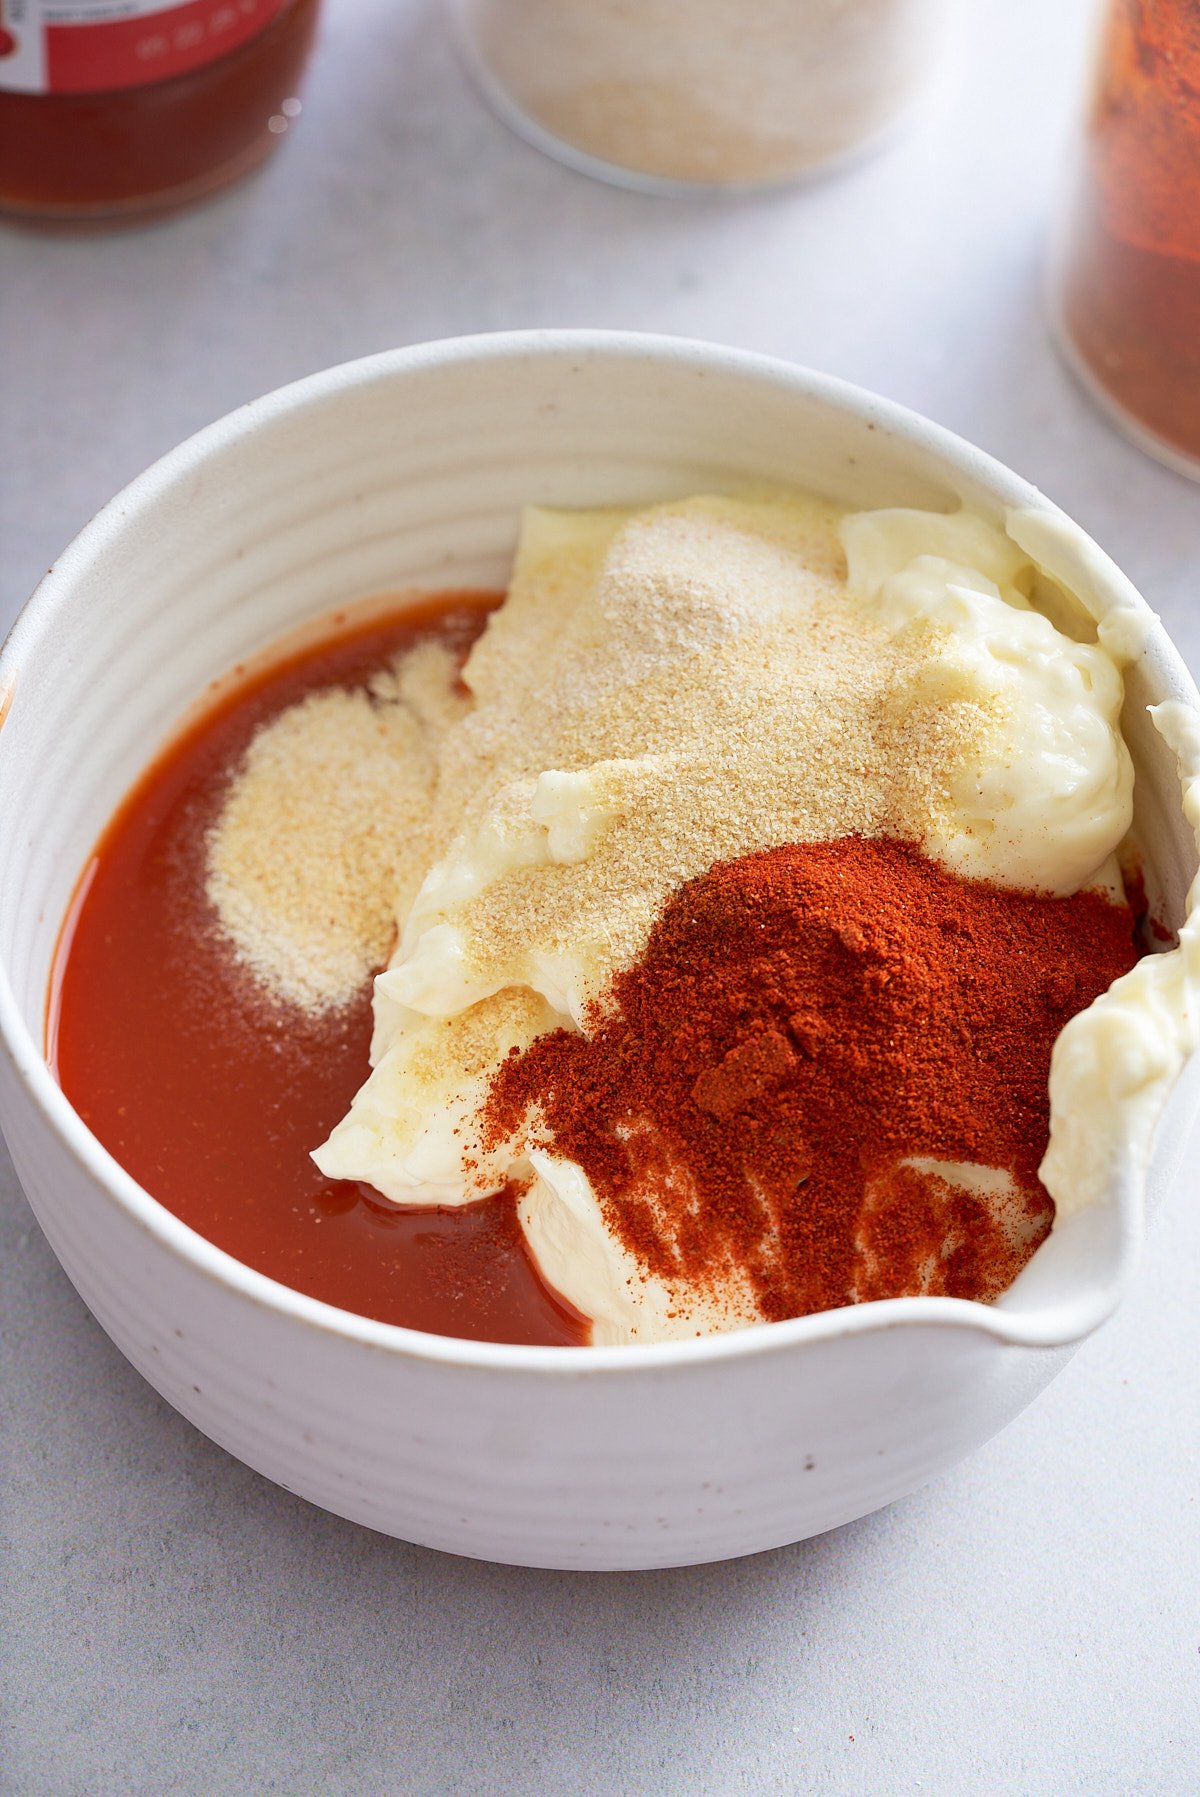
How to make au jus
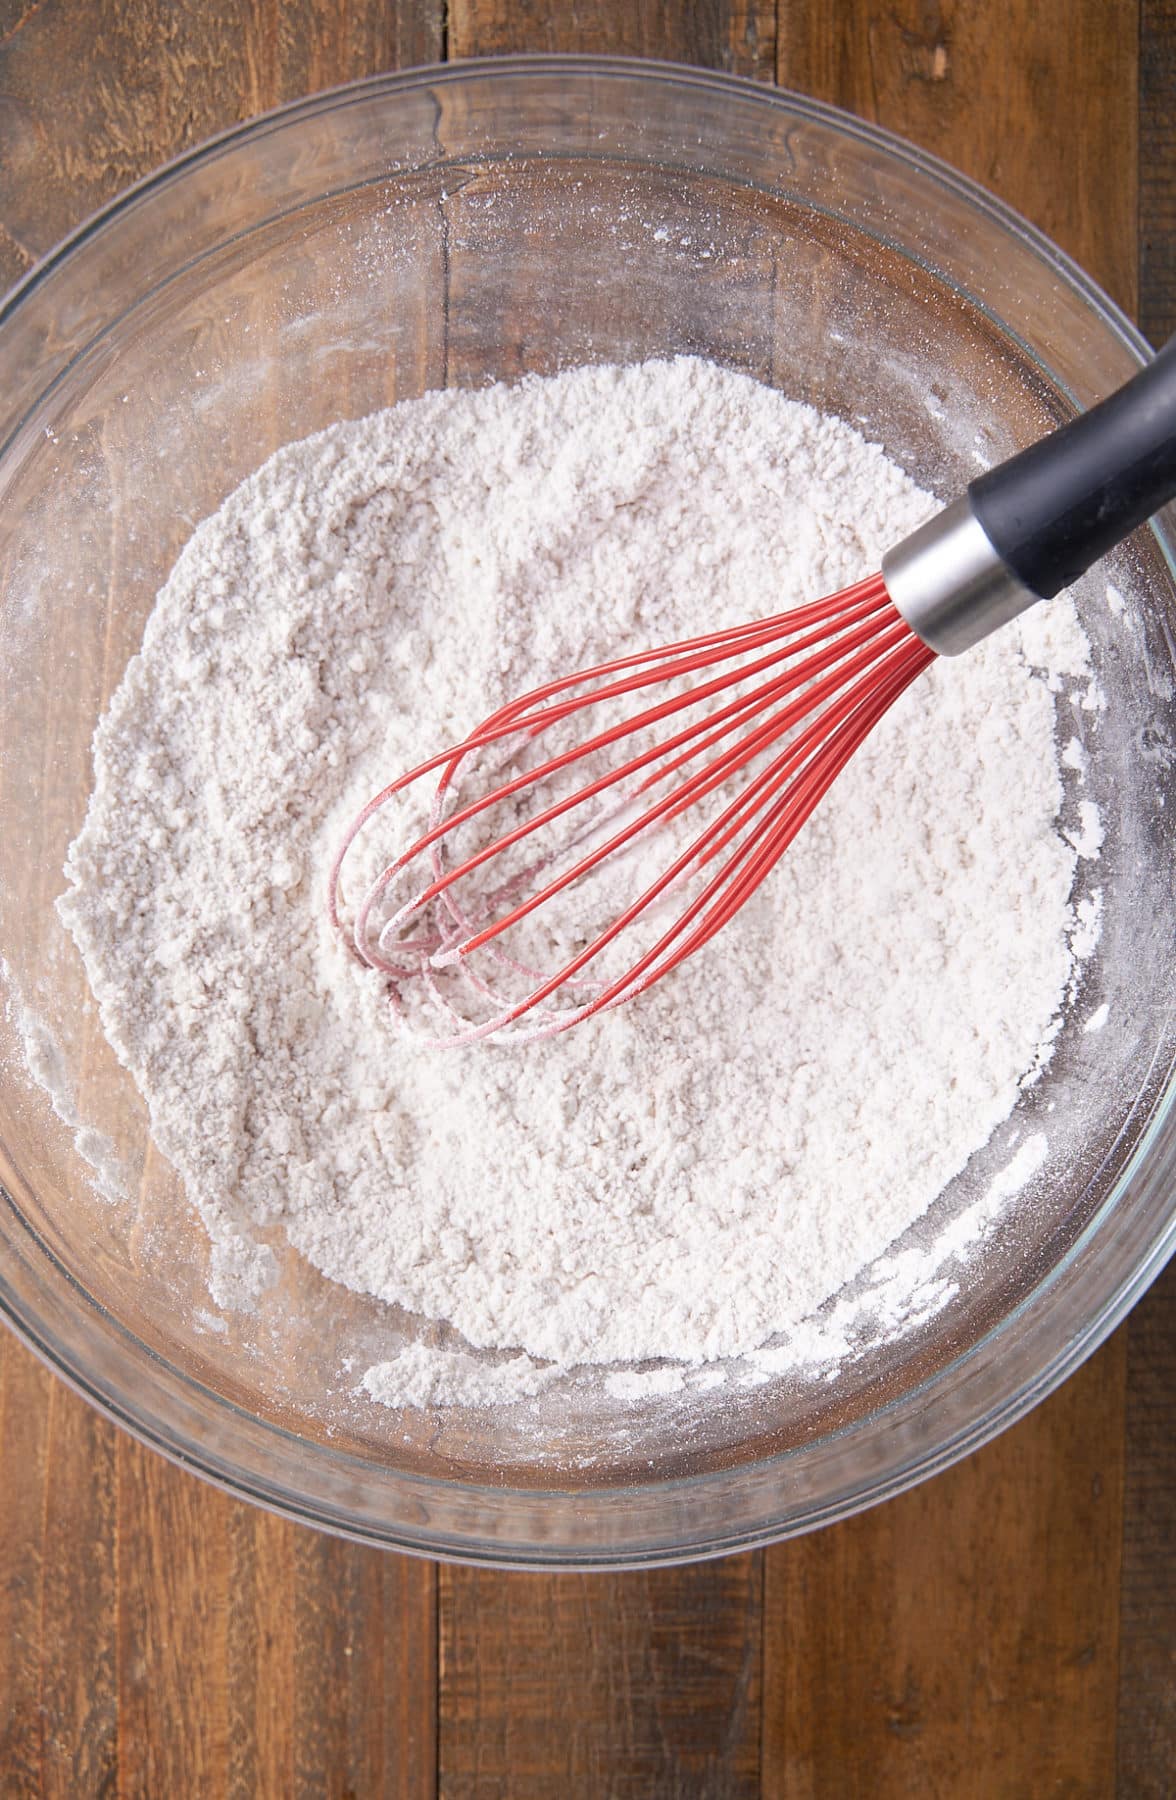
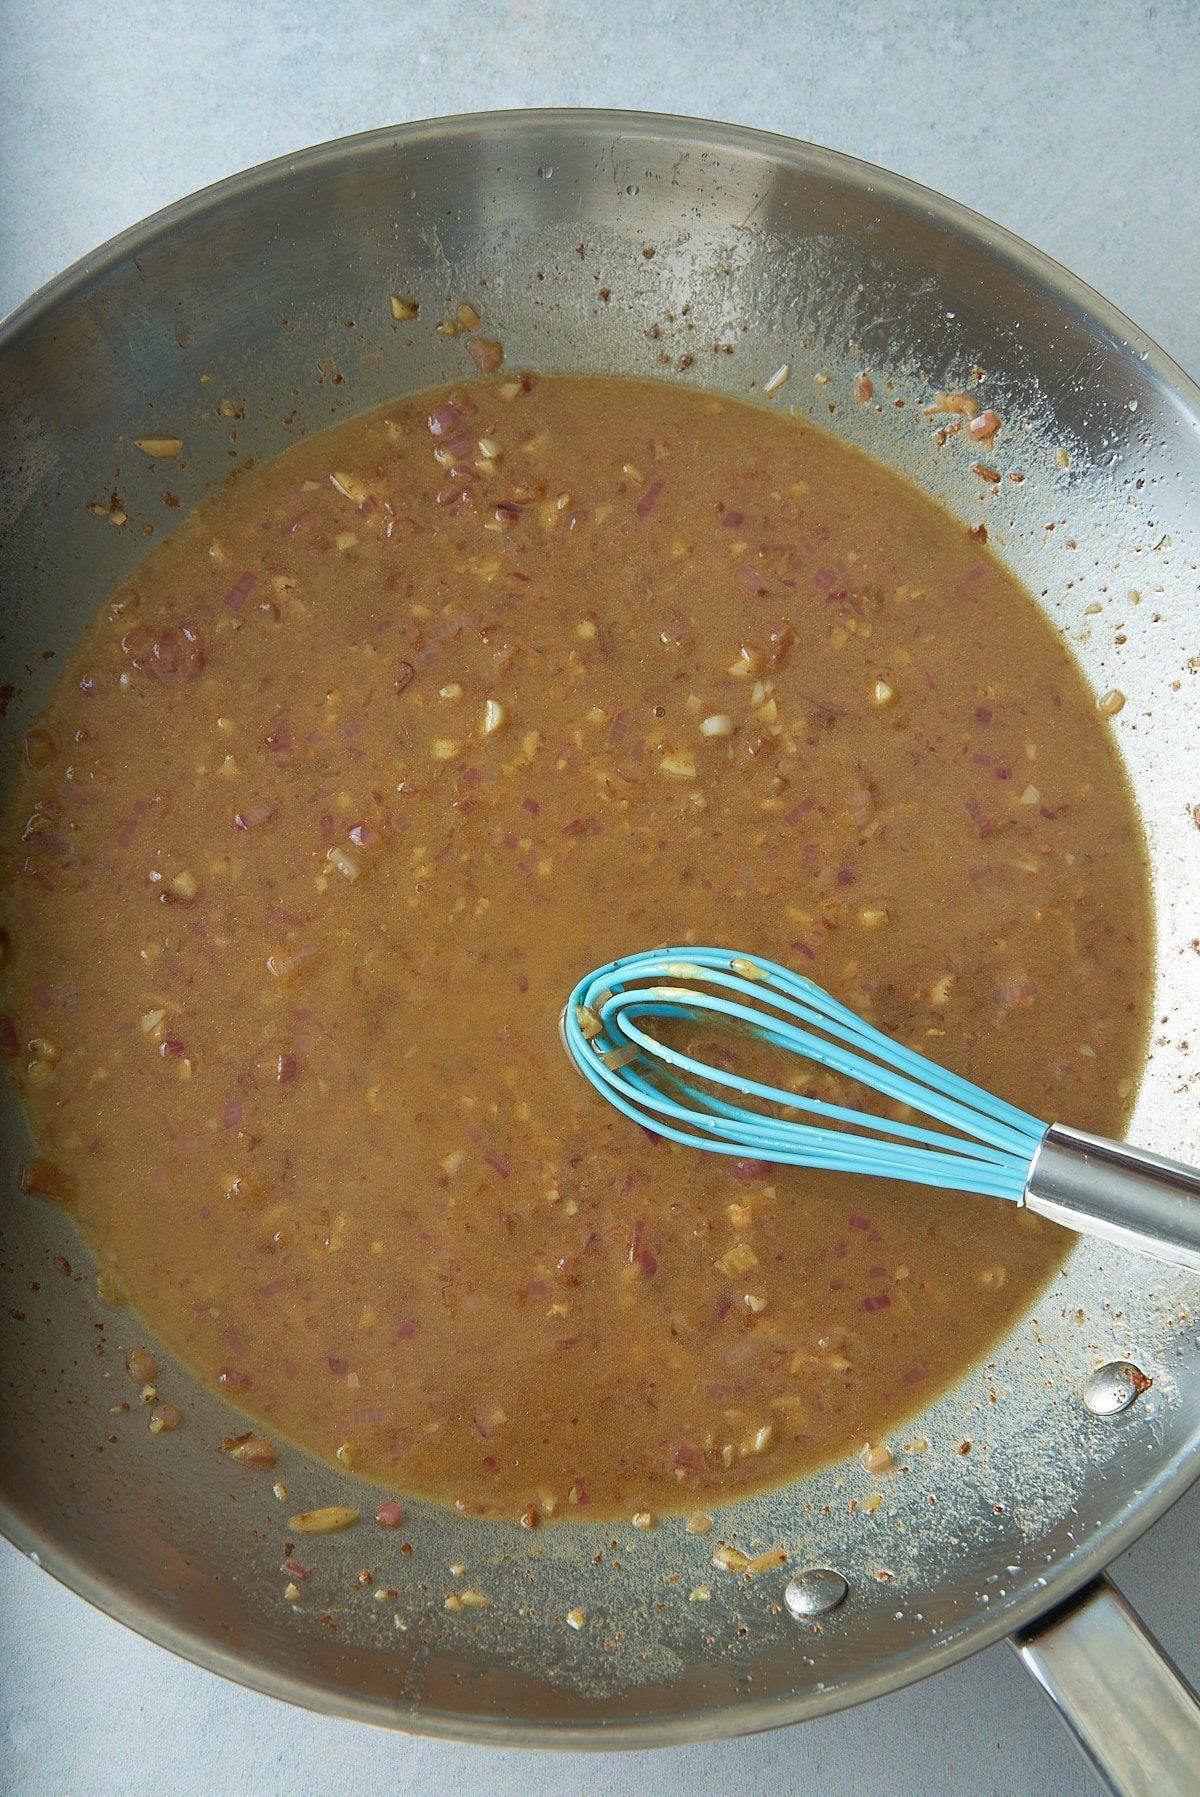
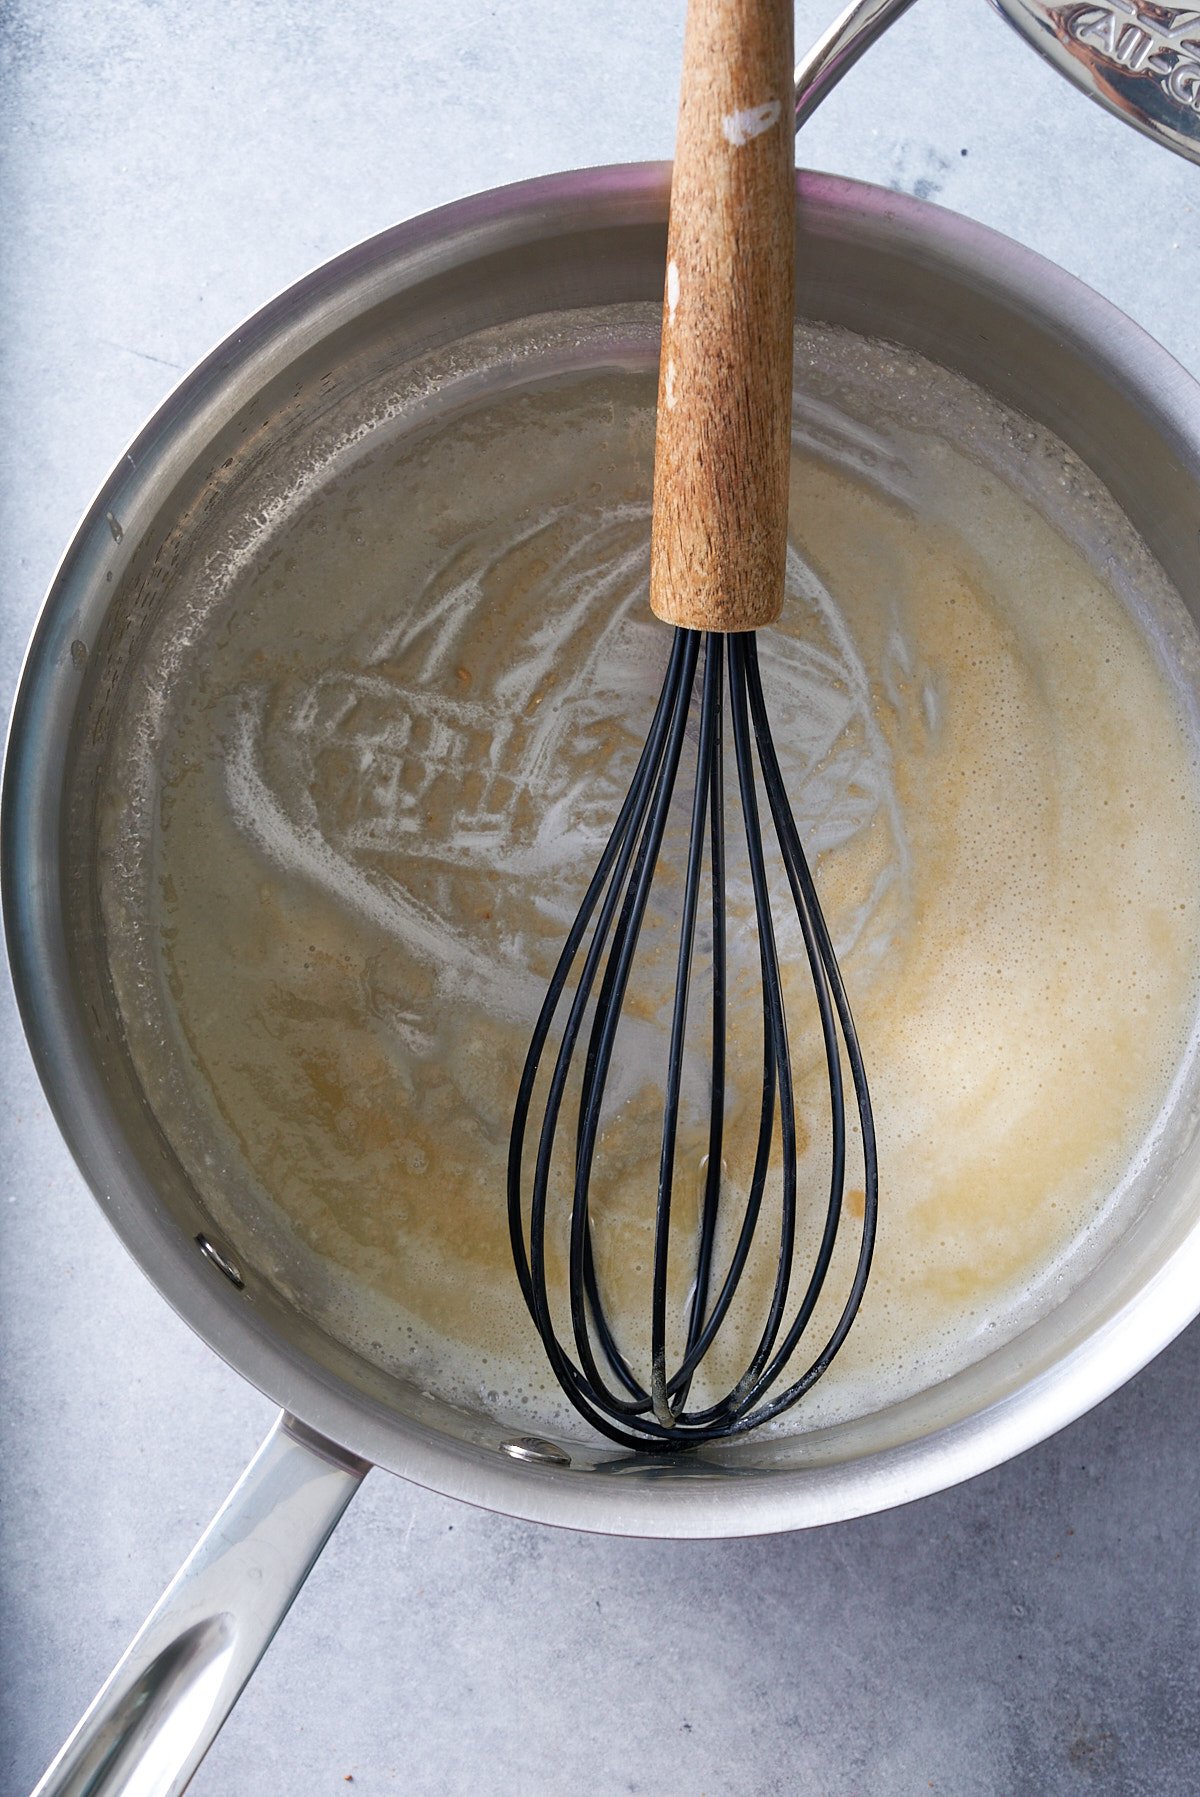
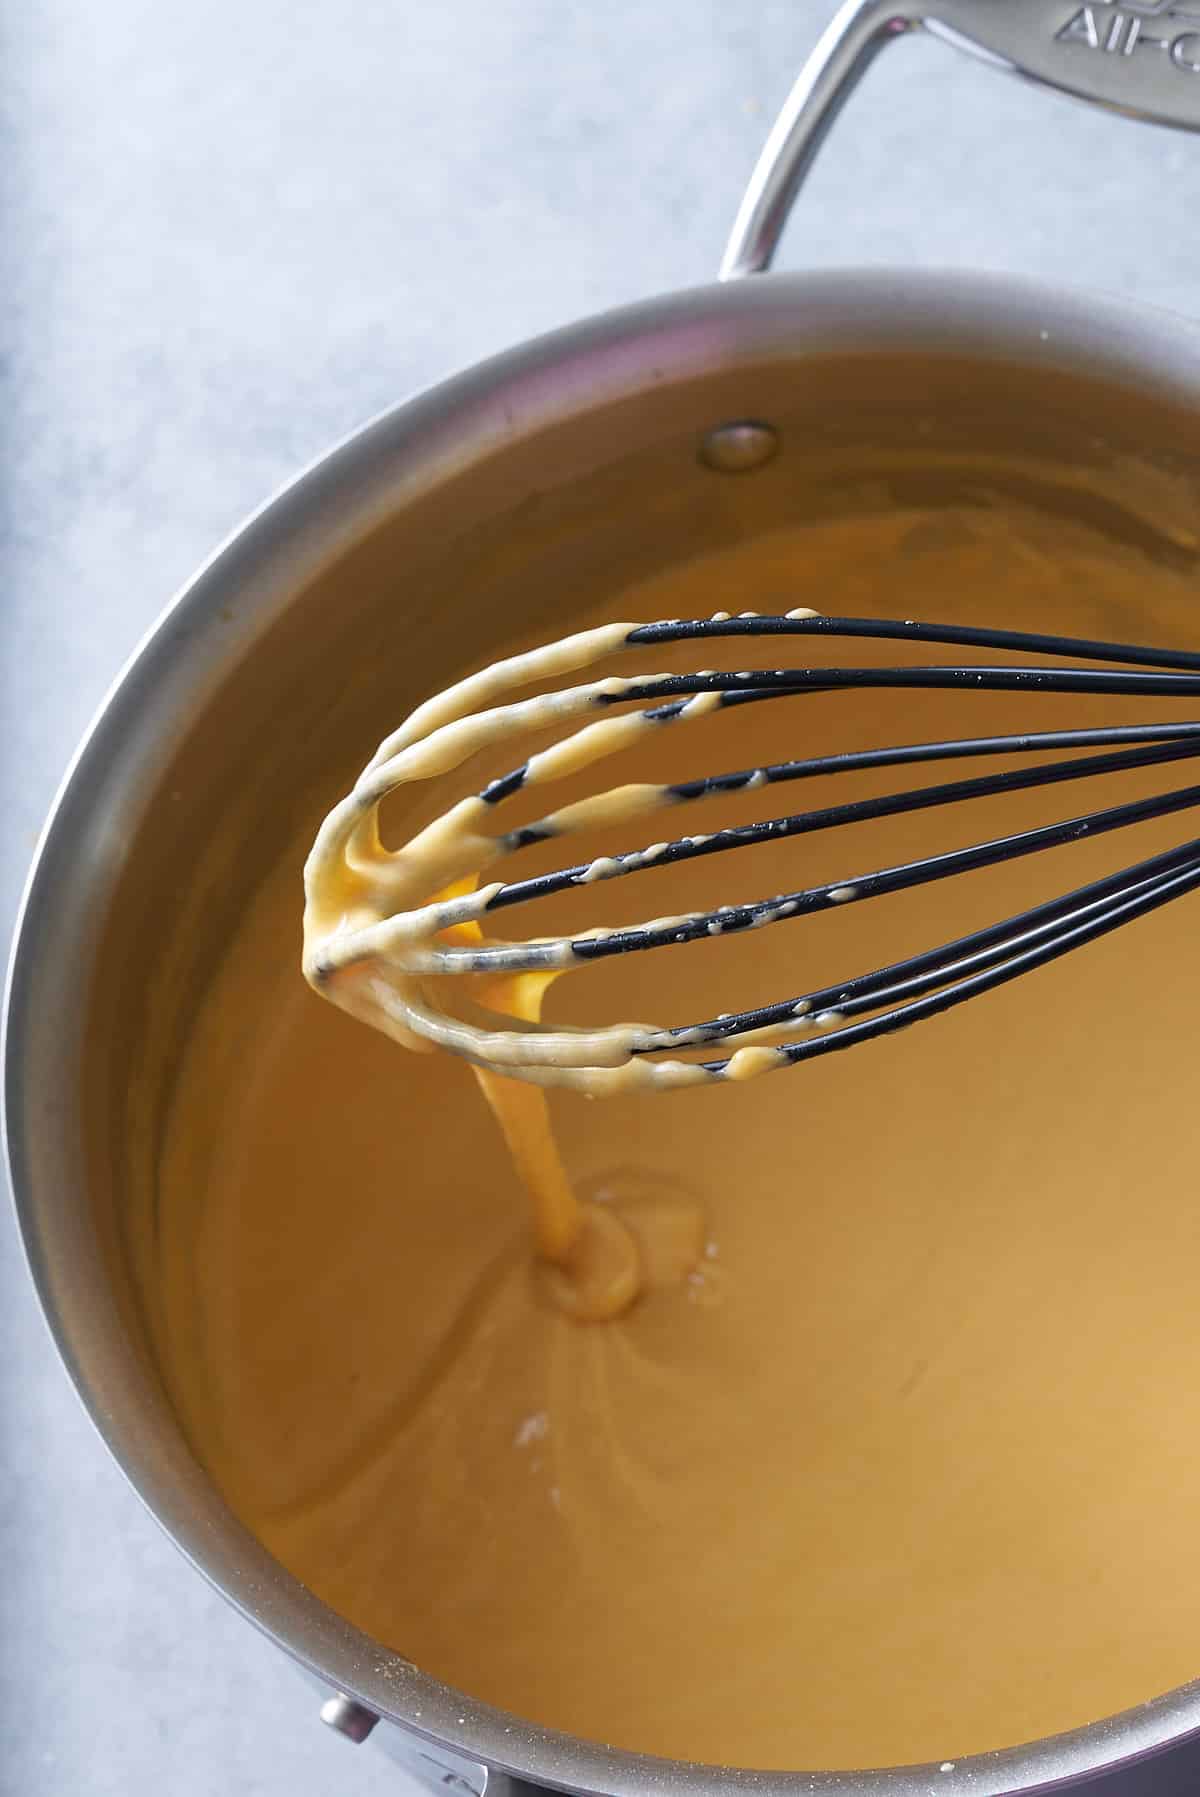
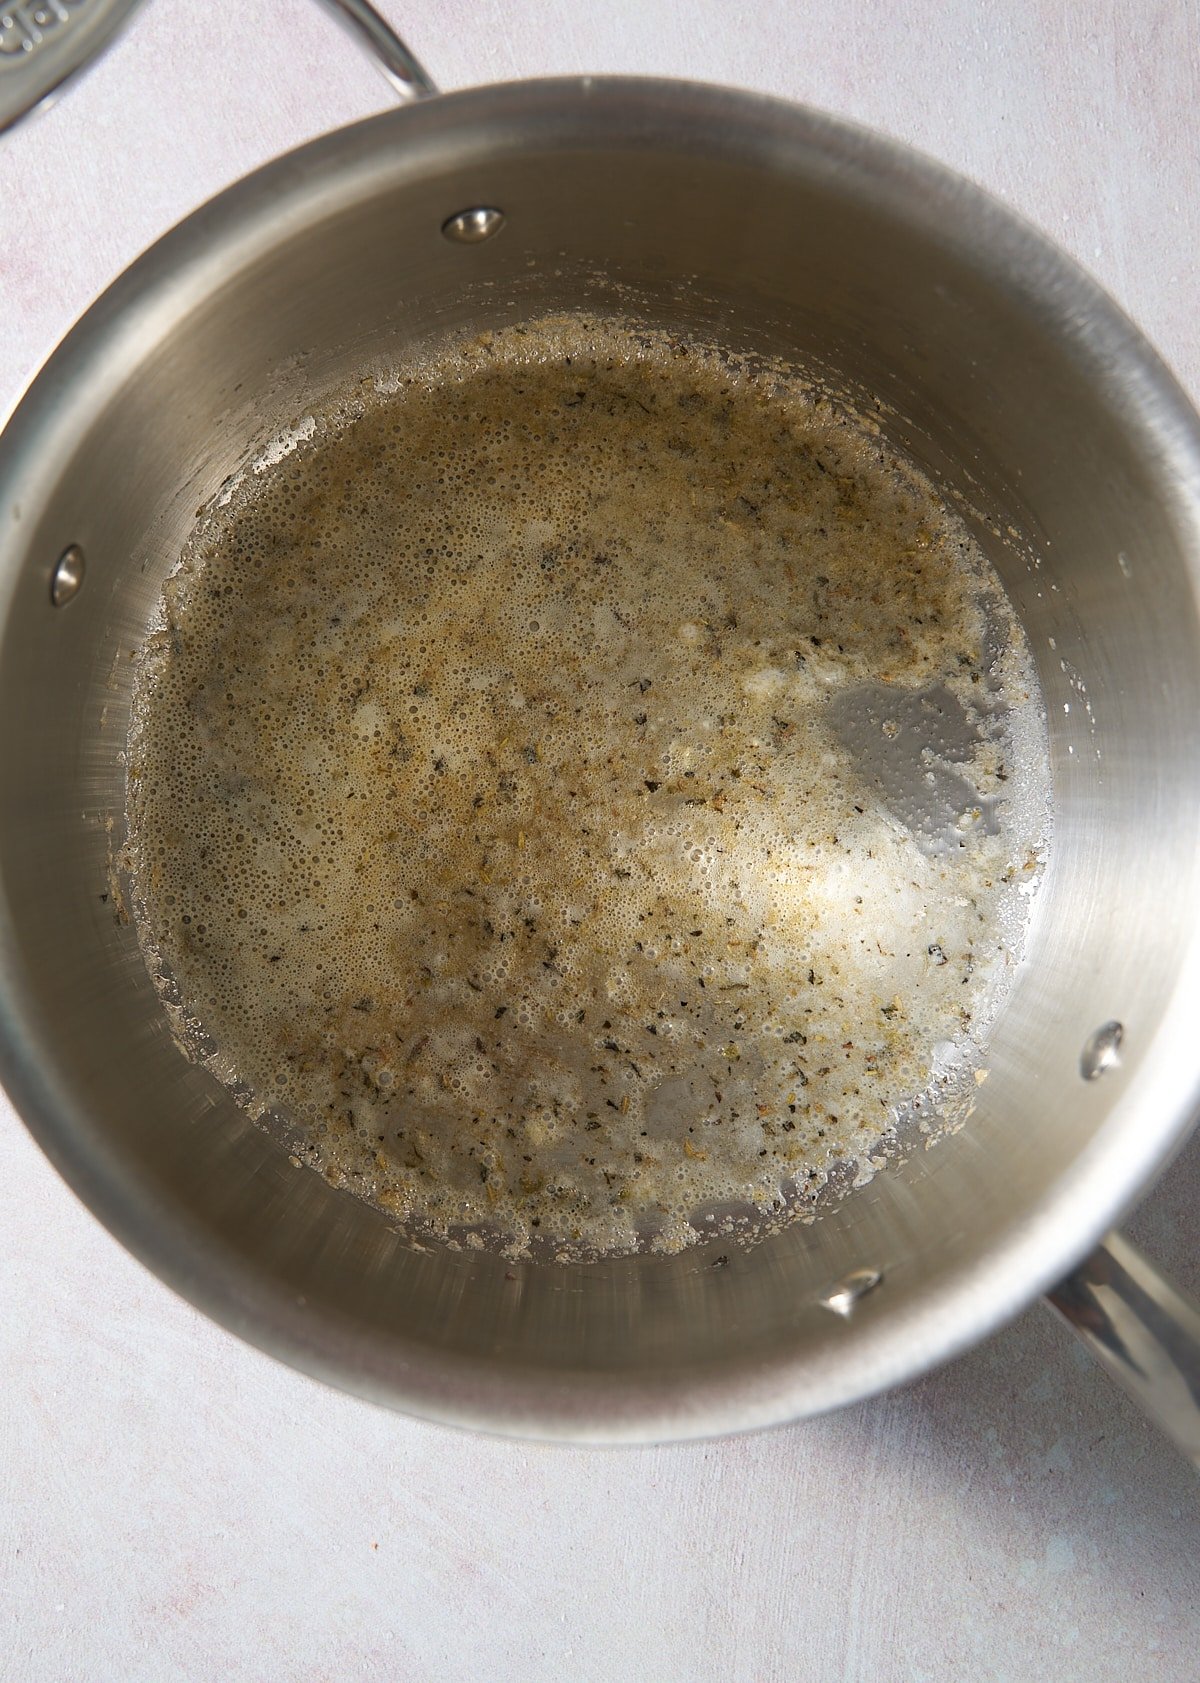
In a small saucepan, melt the unsalted butter over medium heat. Add the Italian seasoning, cornstarch, onion powder, and garlic powder to the saucepan, stirring well for about 20 seconds.
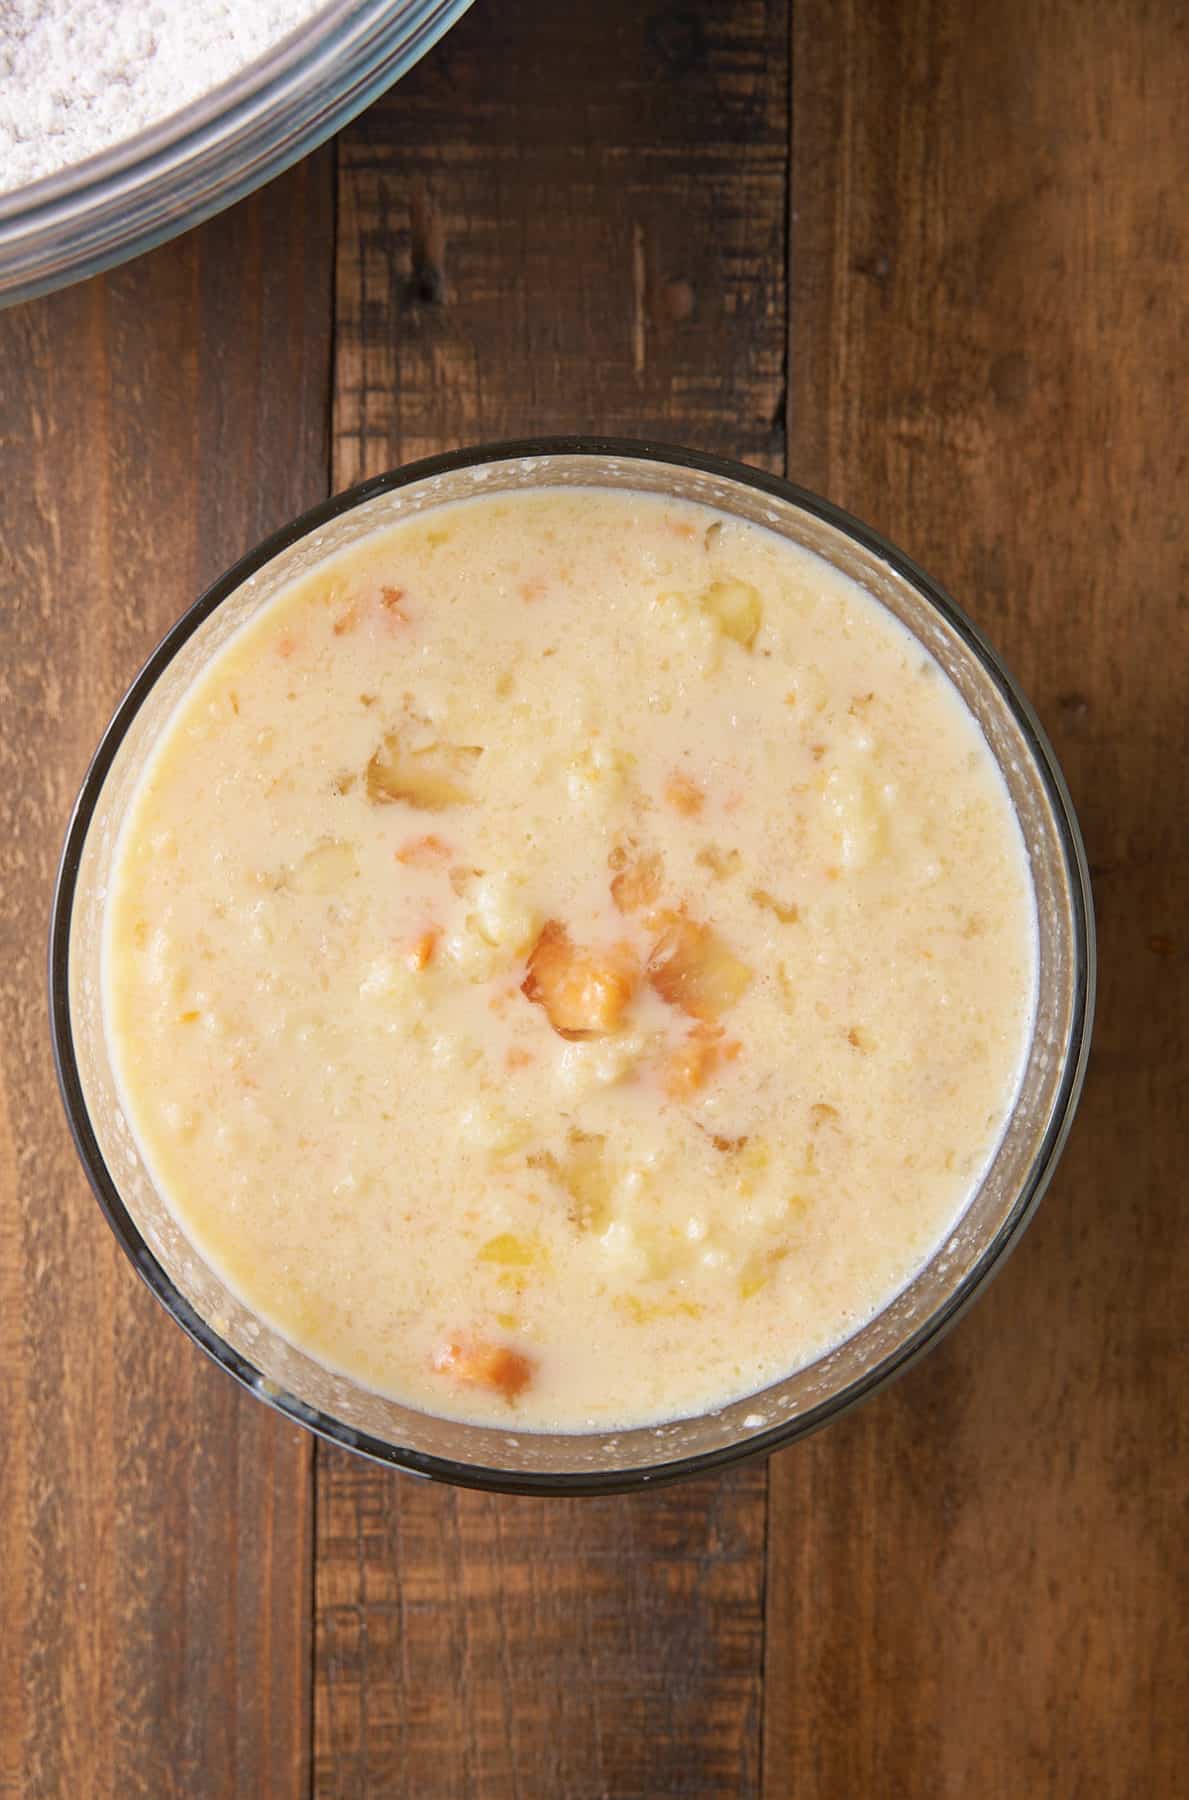
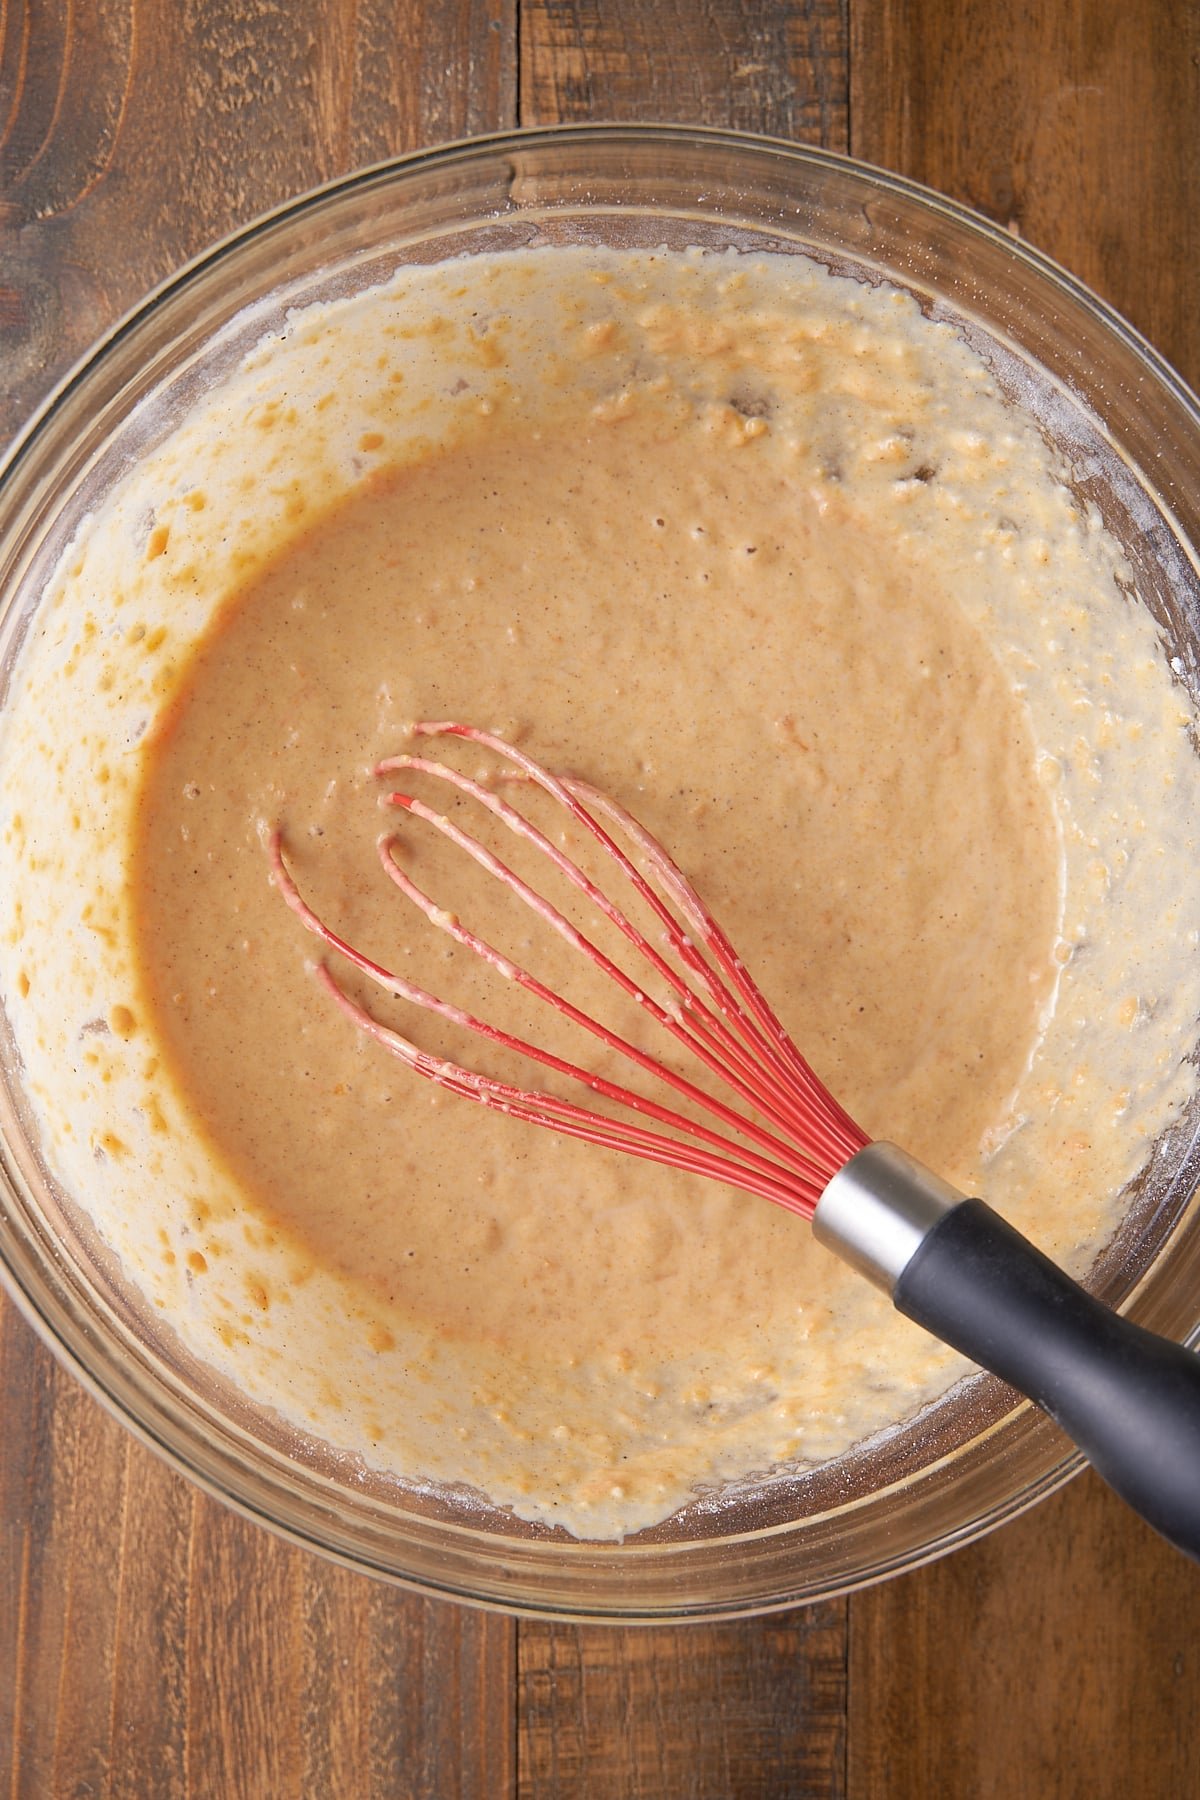
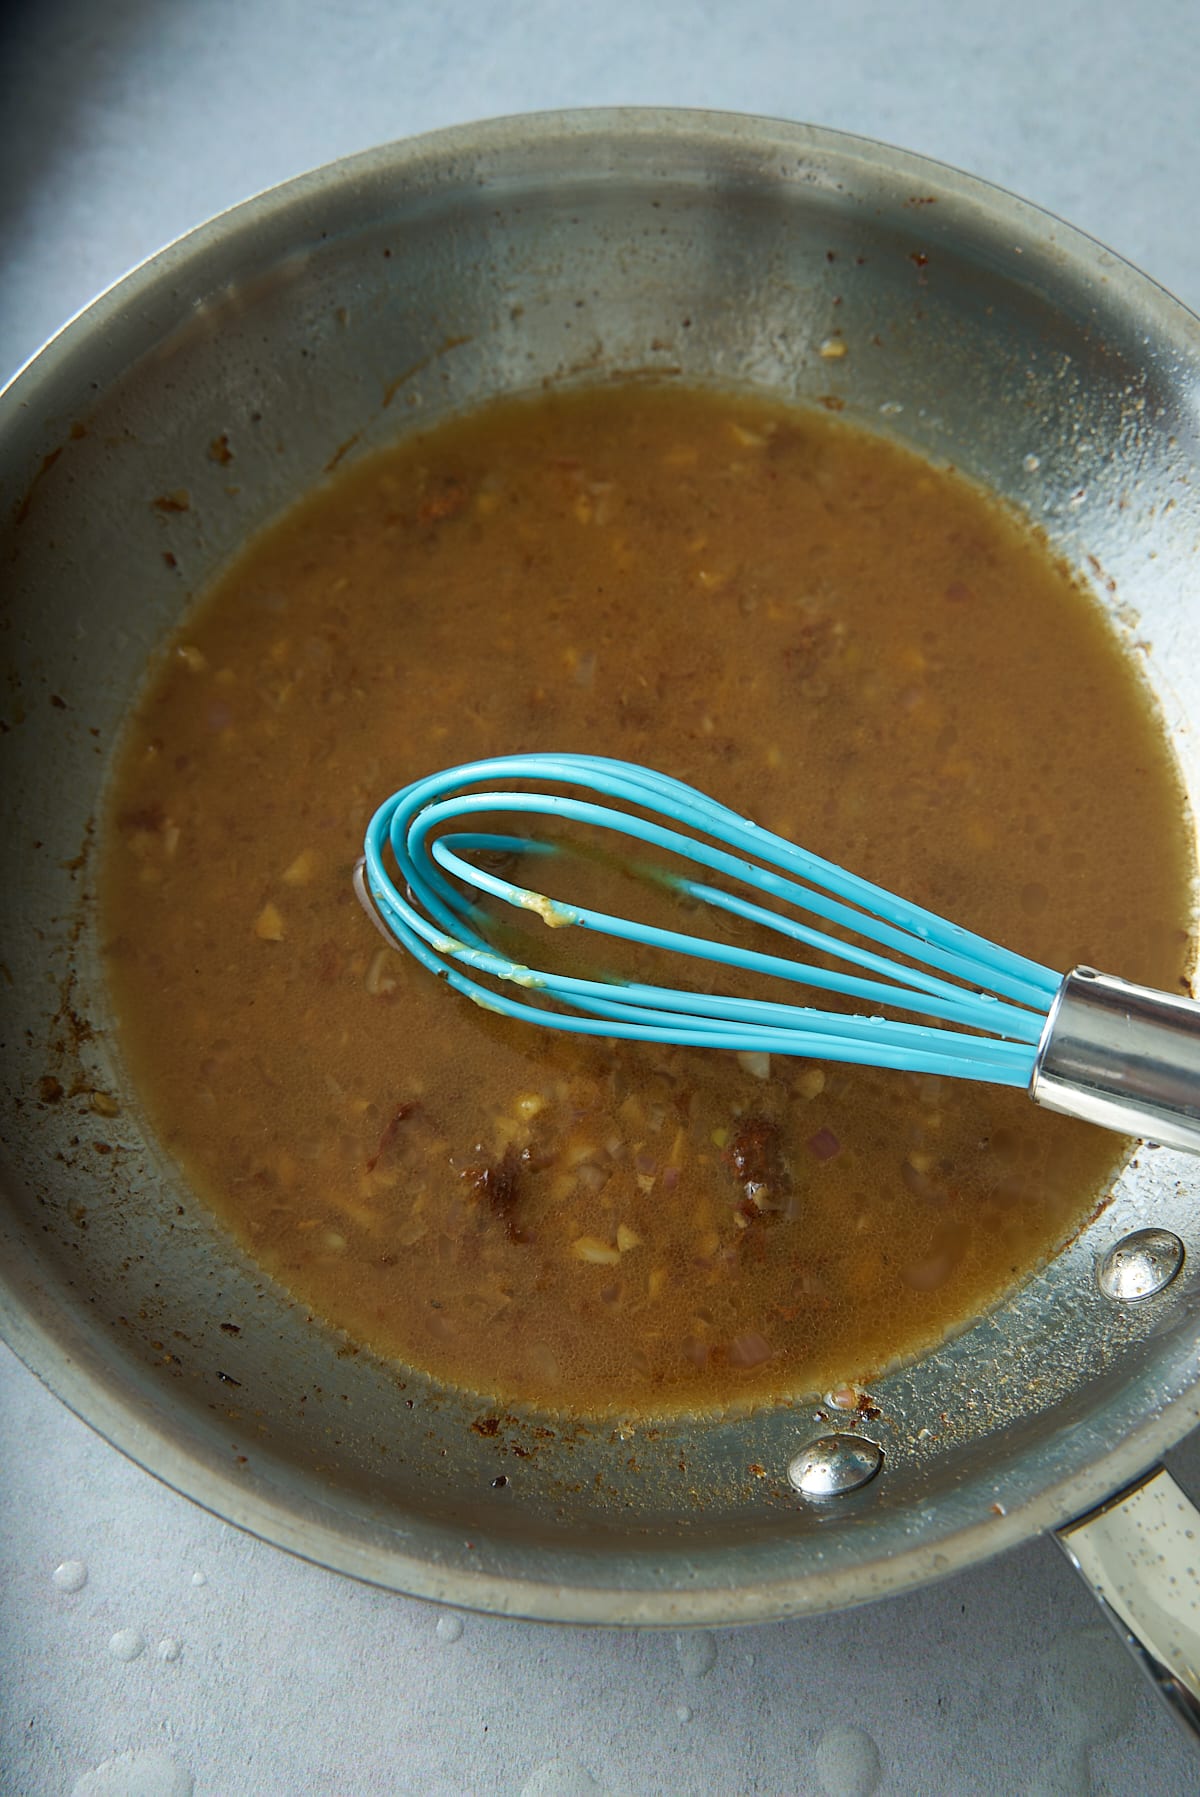
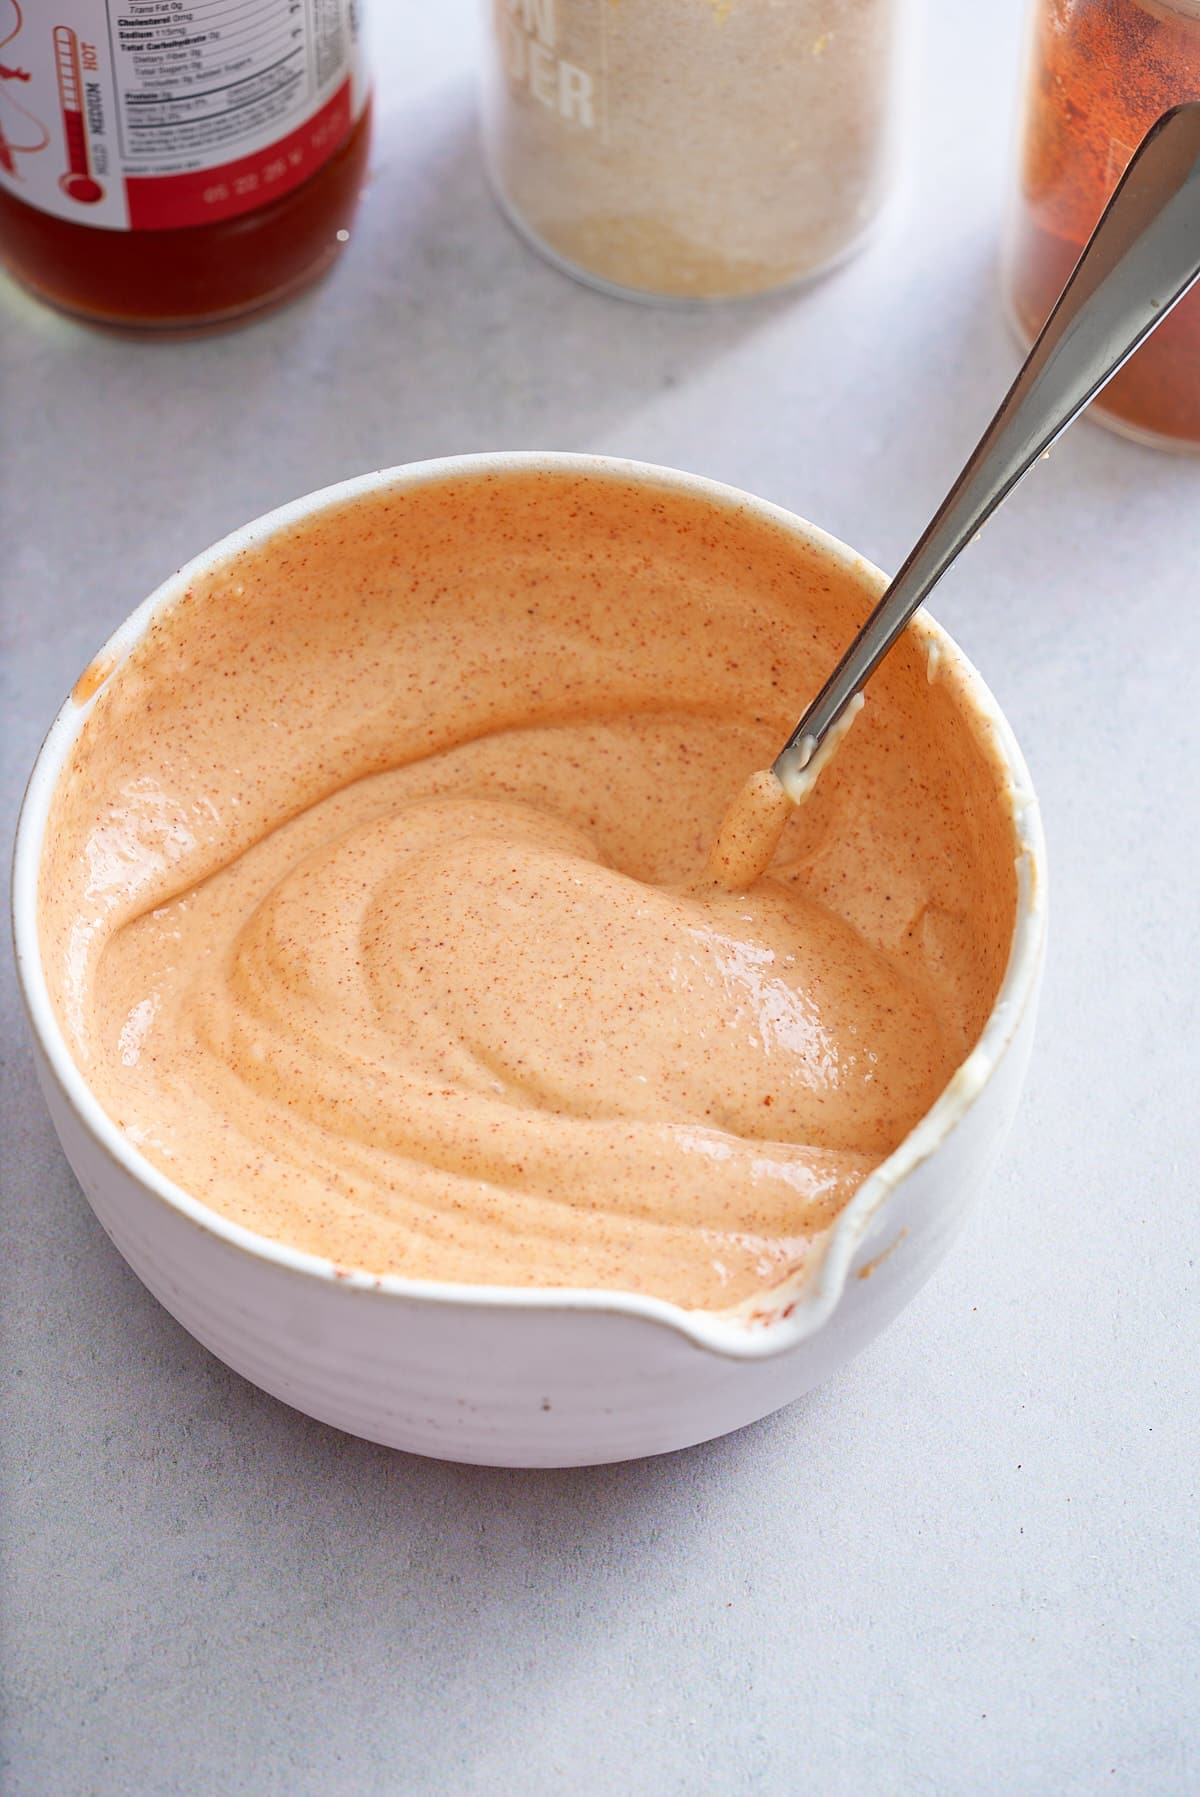
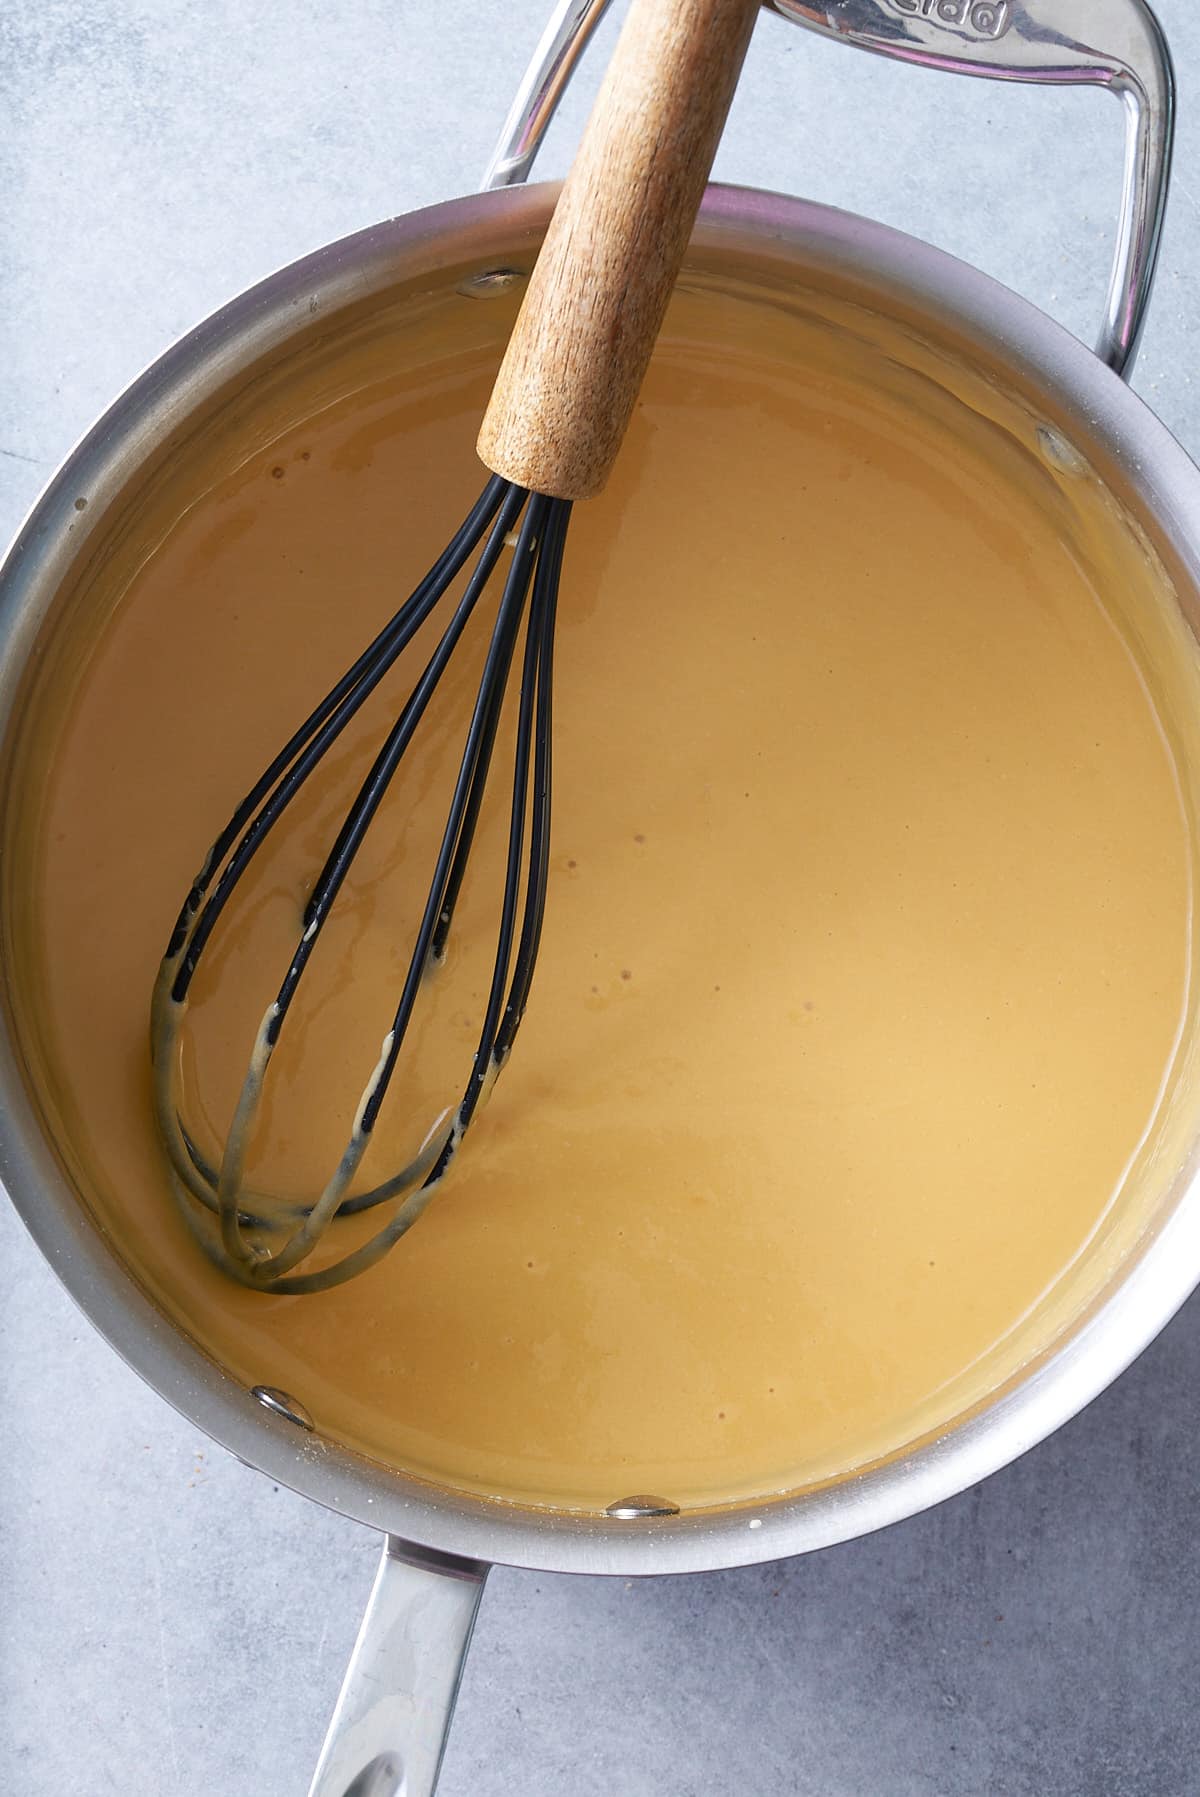
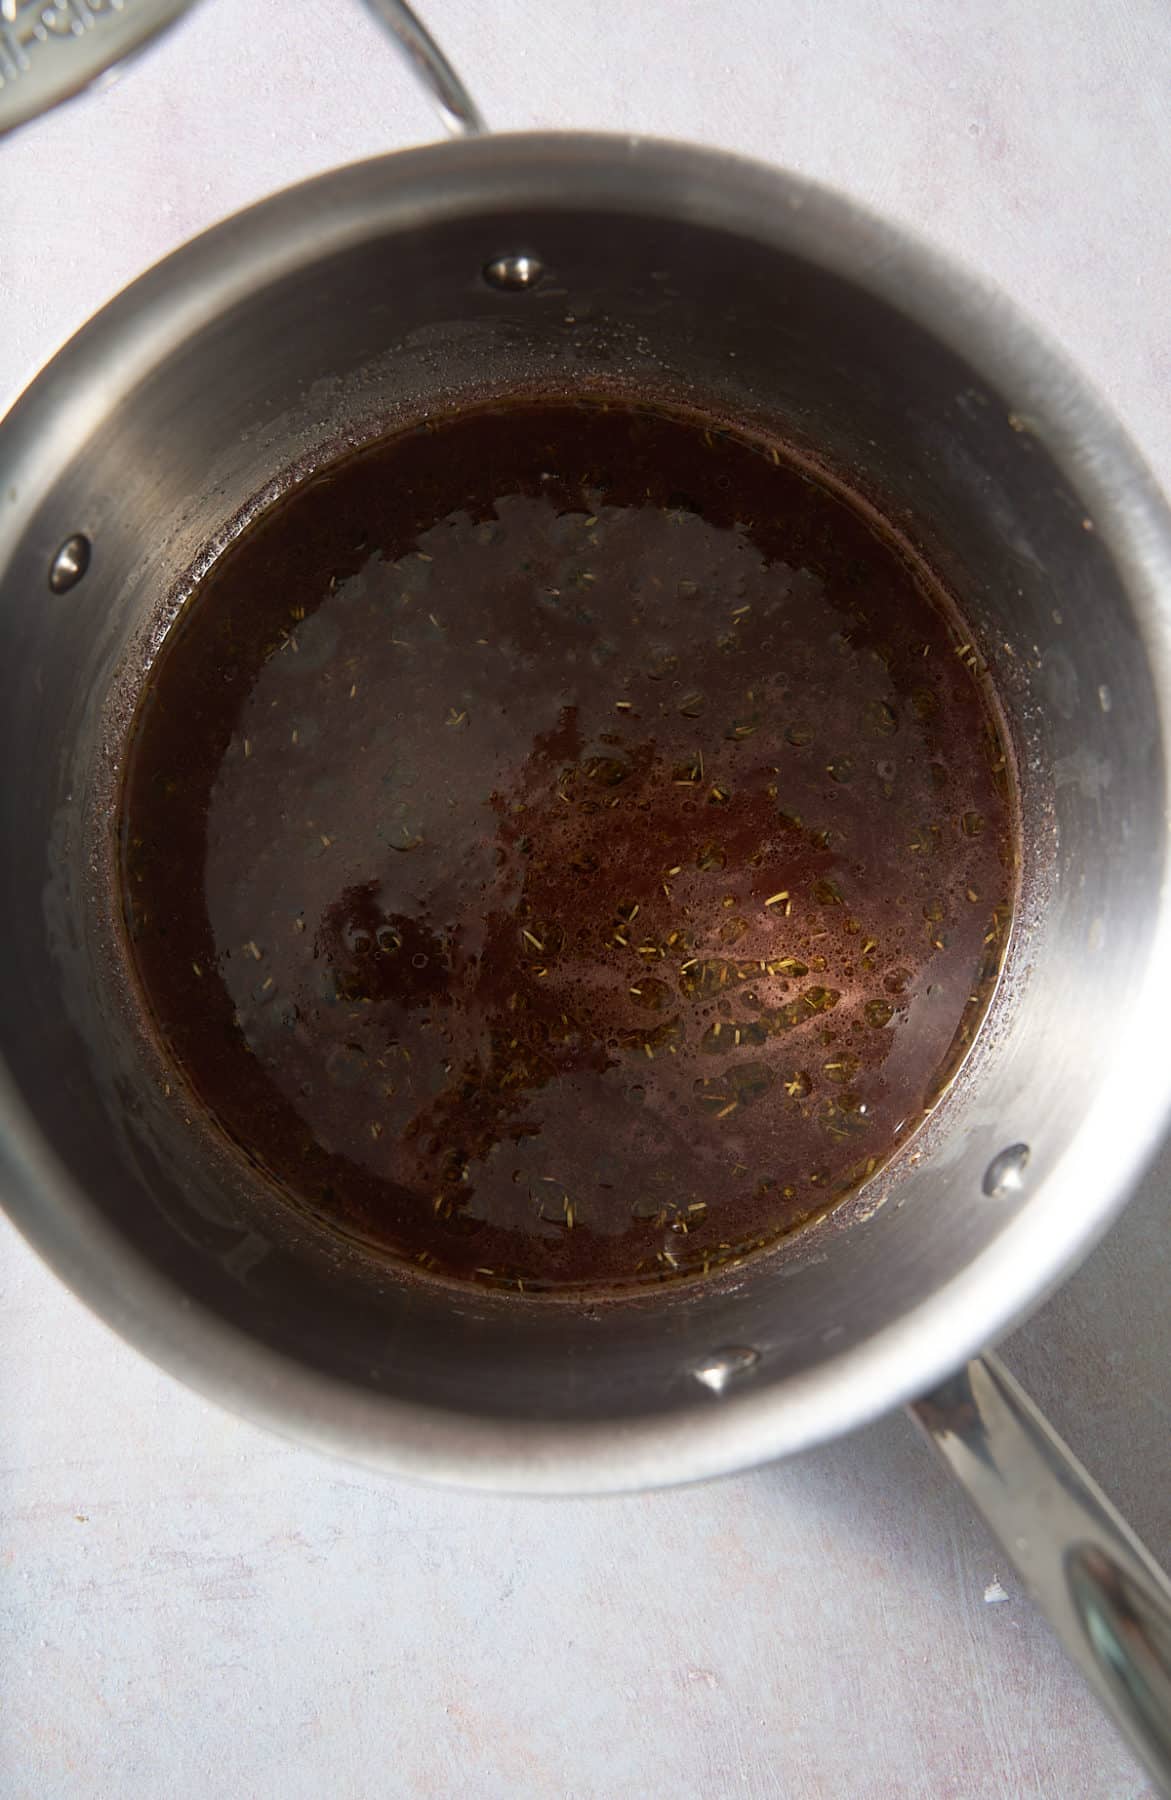
Pour in the beef broth and red wine and let the mixture simmer on low heat for about 5-7 minutes, stirring occasionally, allowing the flavors to meld together. Season with salt and pepper to taste, adjusting the seasoning according to your preference.
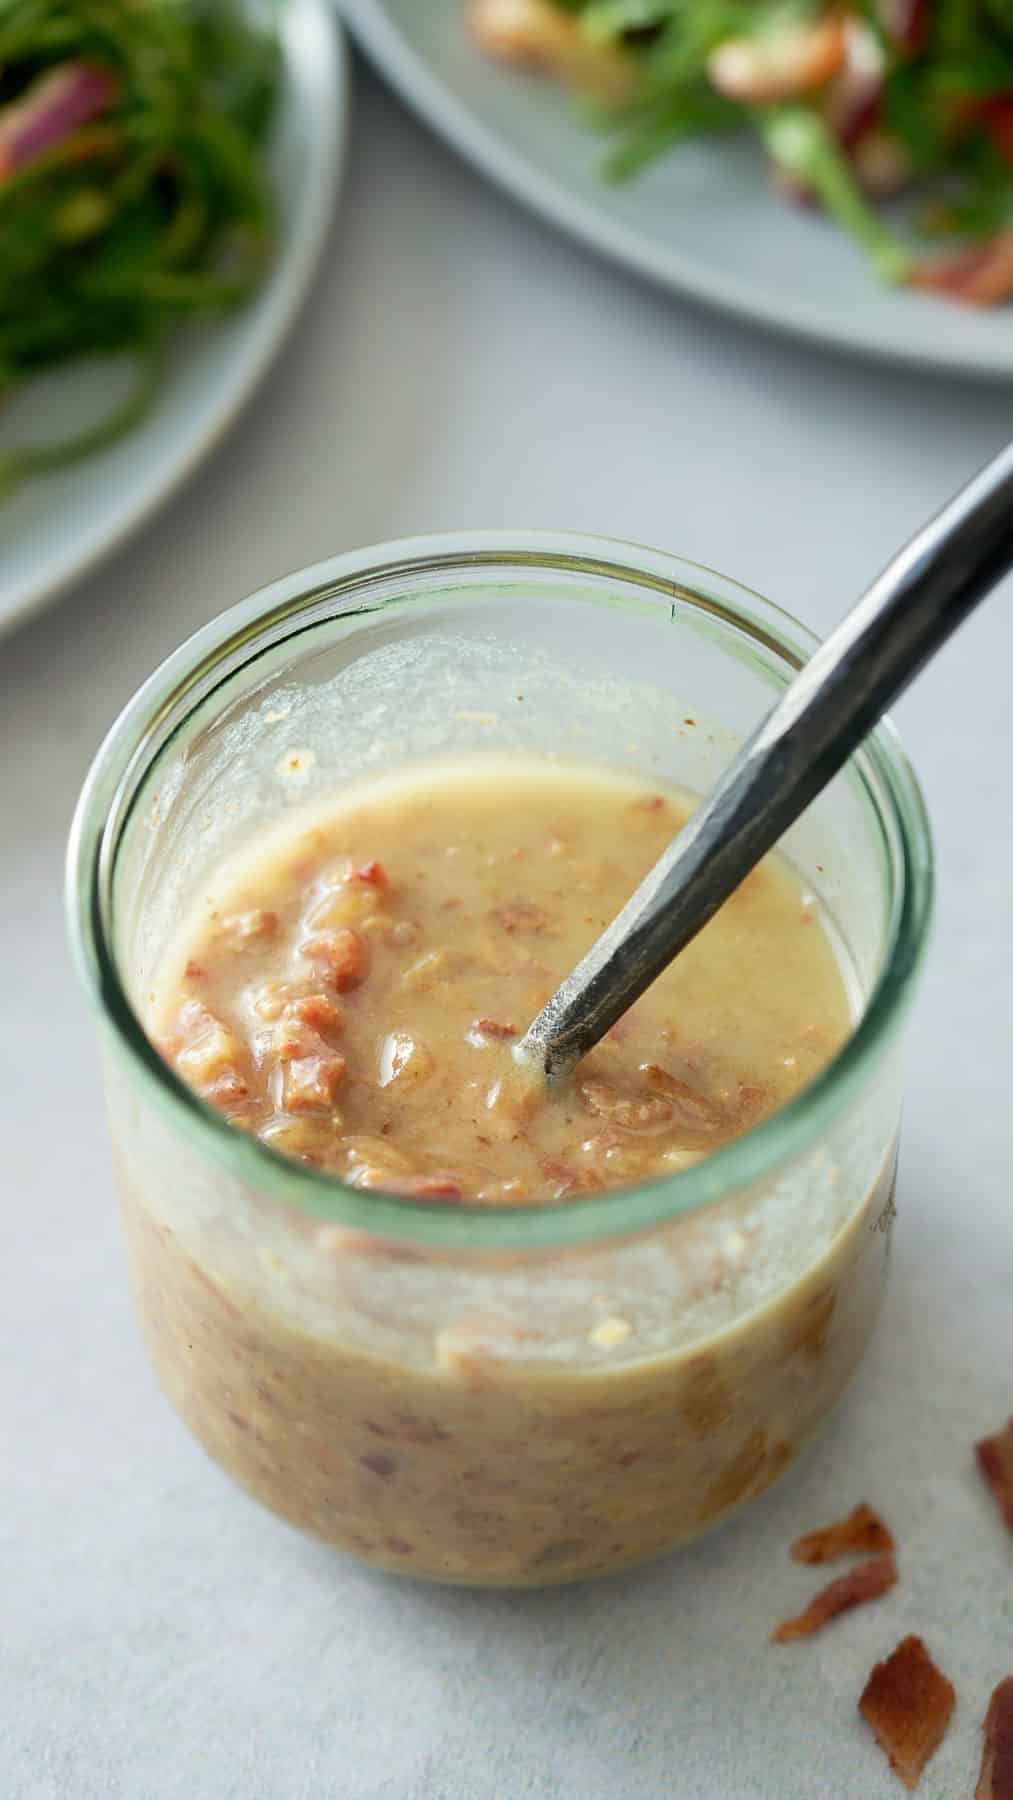
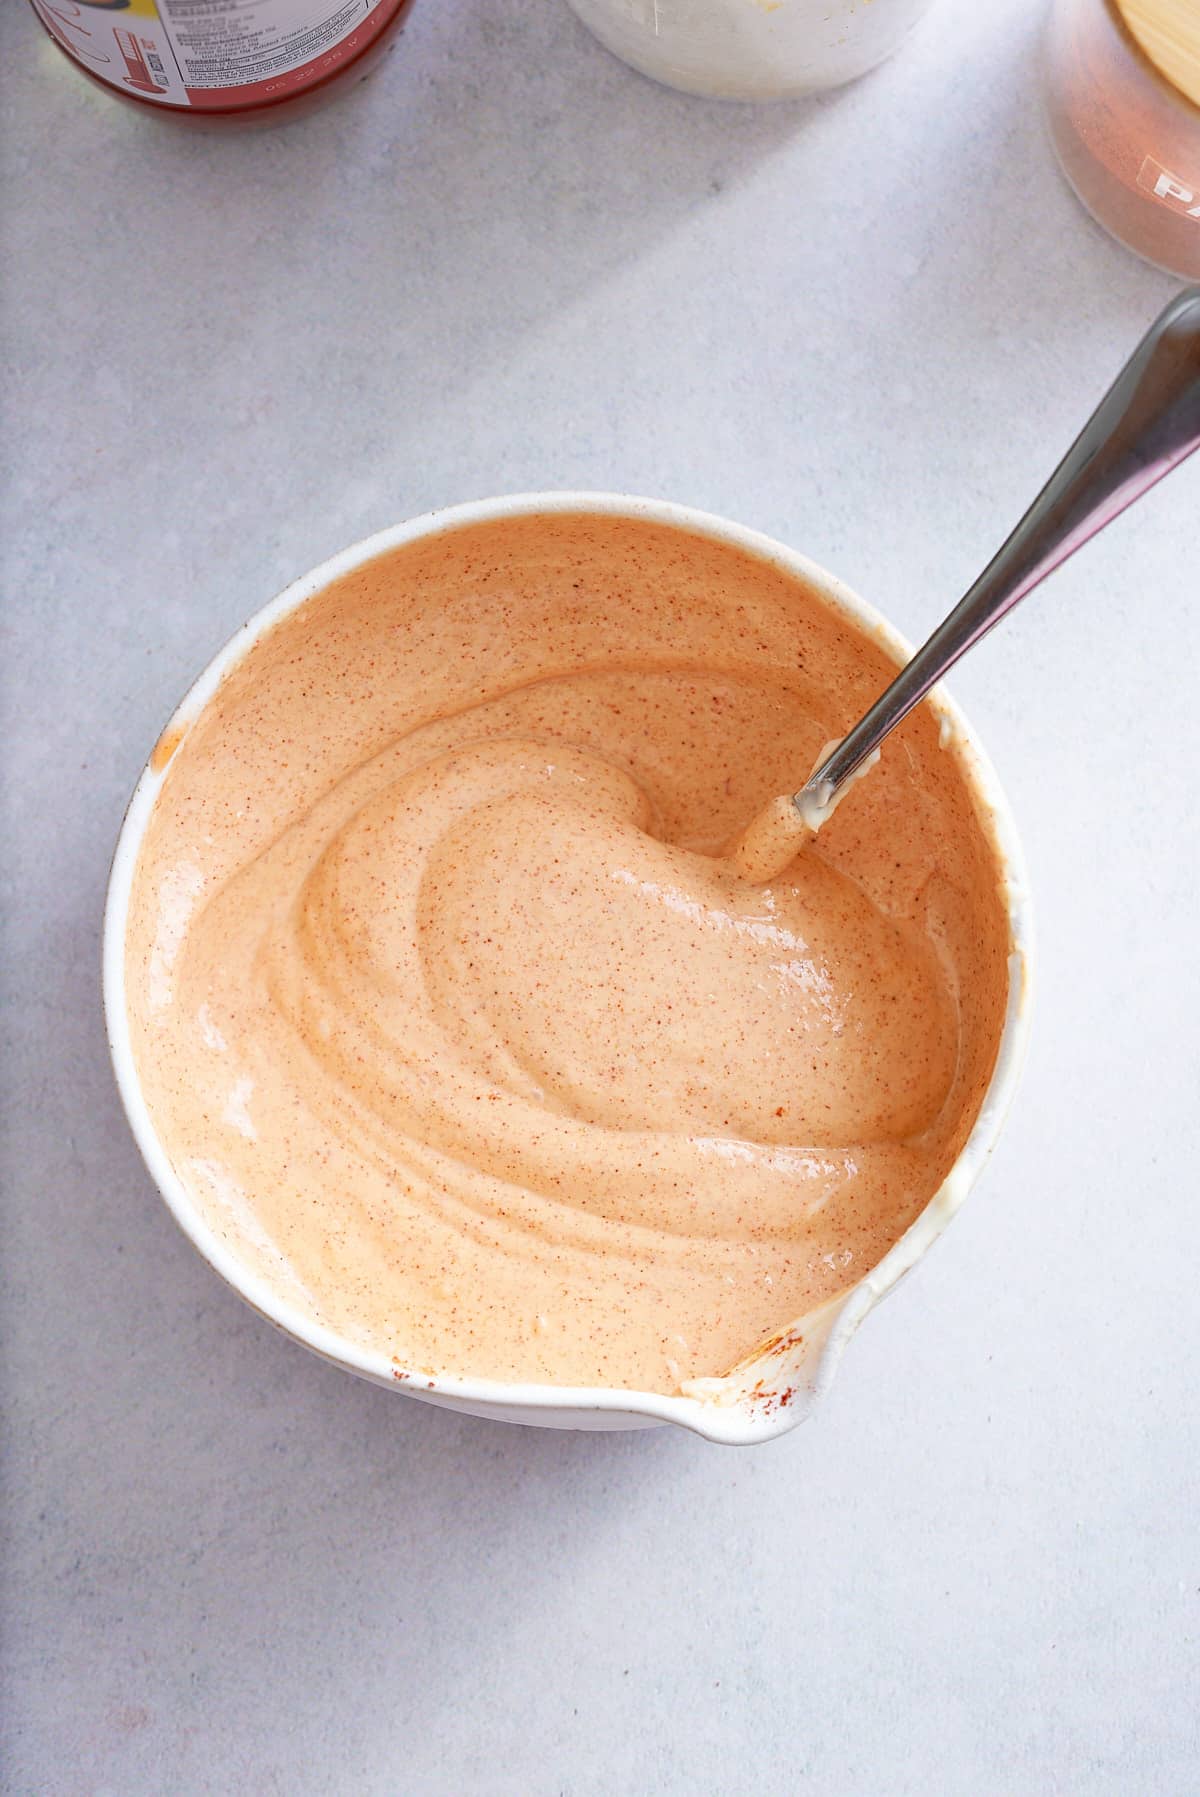
Remove the saucepan from the heat. Strain the au jus to remove the Italian seasoning. Transfer to a serving container or gravy boat.
Recipe variations
While this recipe is delicious as is, switch it up a bit with any of these ideas:
- For a richer flavor, consider using homemade beef broth or a high-quality store-bought version. The quality of the broth will significantly impact the taste of the finished gravy.
- If you do not wish to use wine, you can substitute it with additional beef broth.
- Not using wine, add a splash of Worcestershire sauce to add a touch of acidity.
- Add fresh herbs like parsley, rosemary, or thyme to the sauce while it is cooking. Just remember to remove it before serving.
How to serve
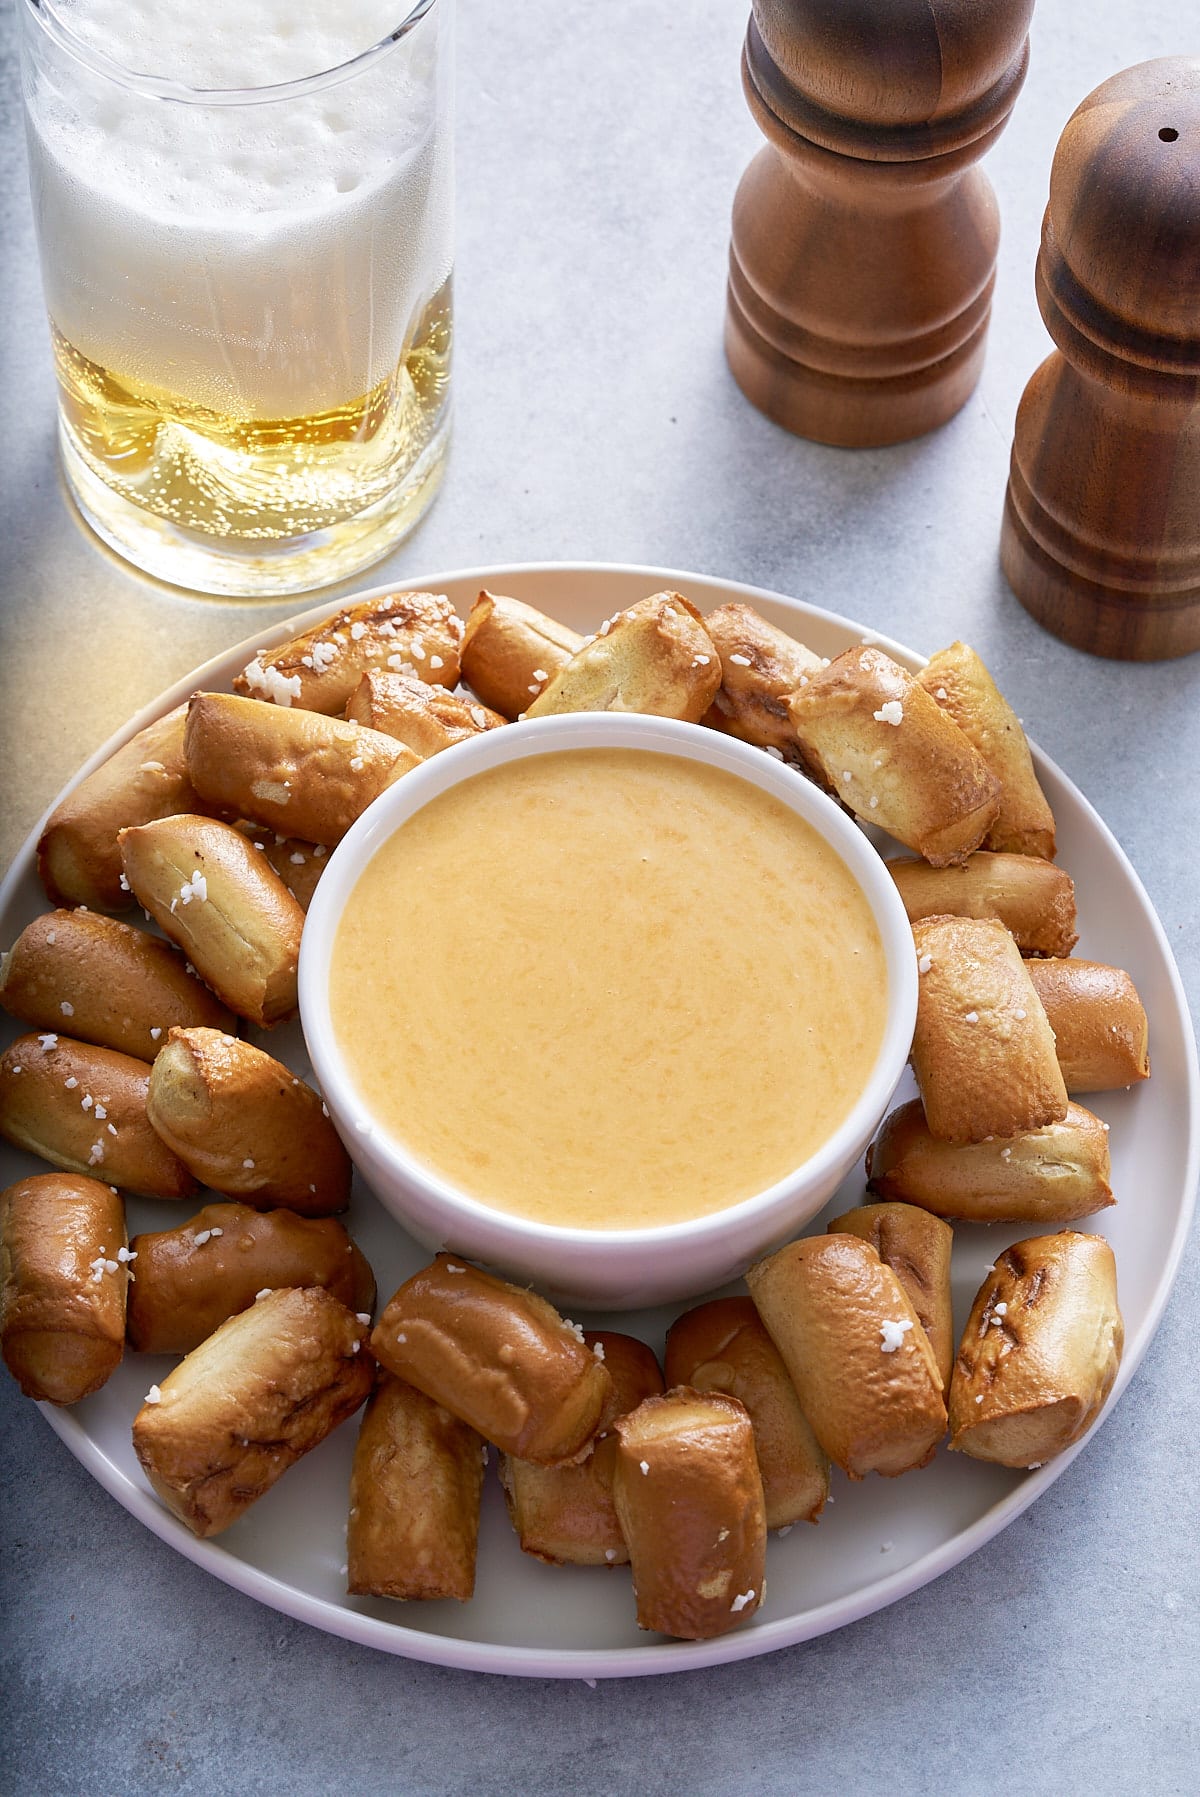
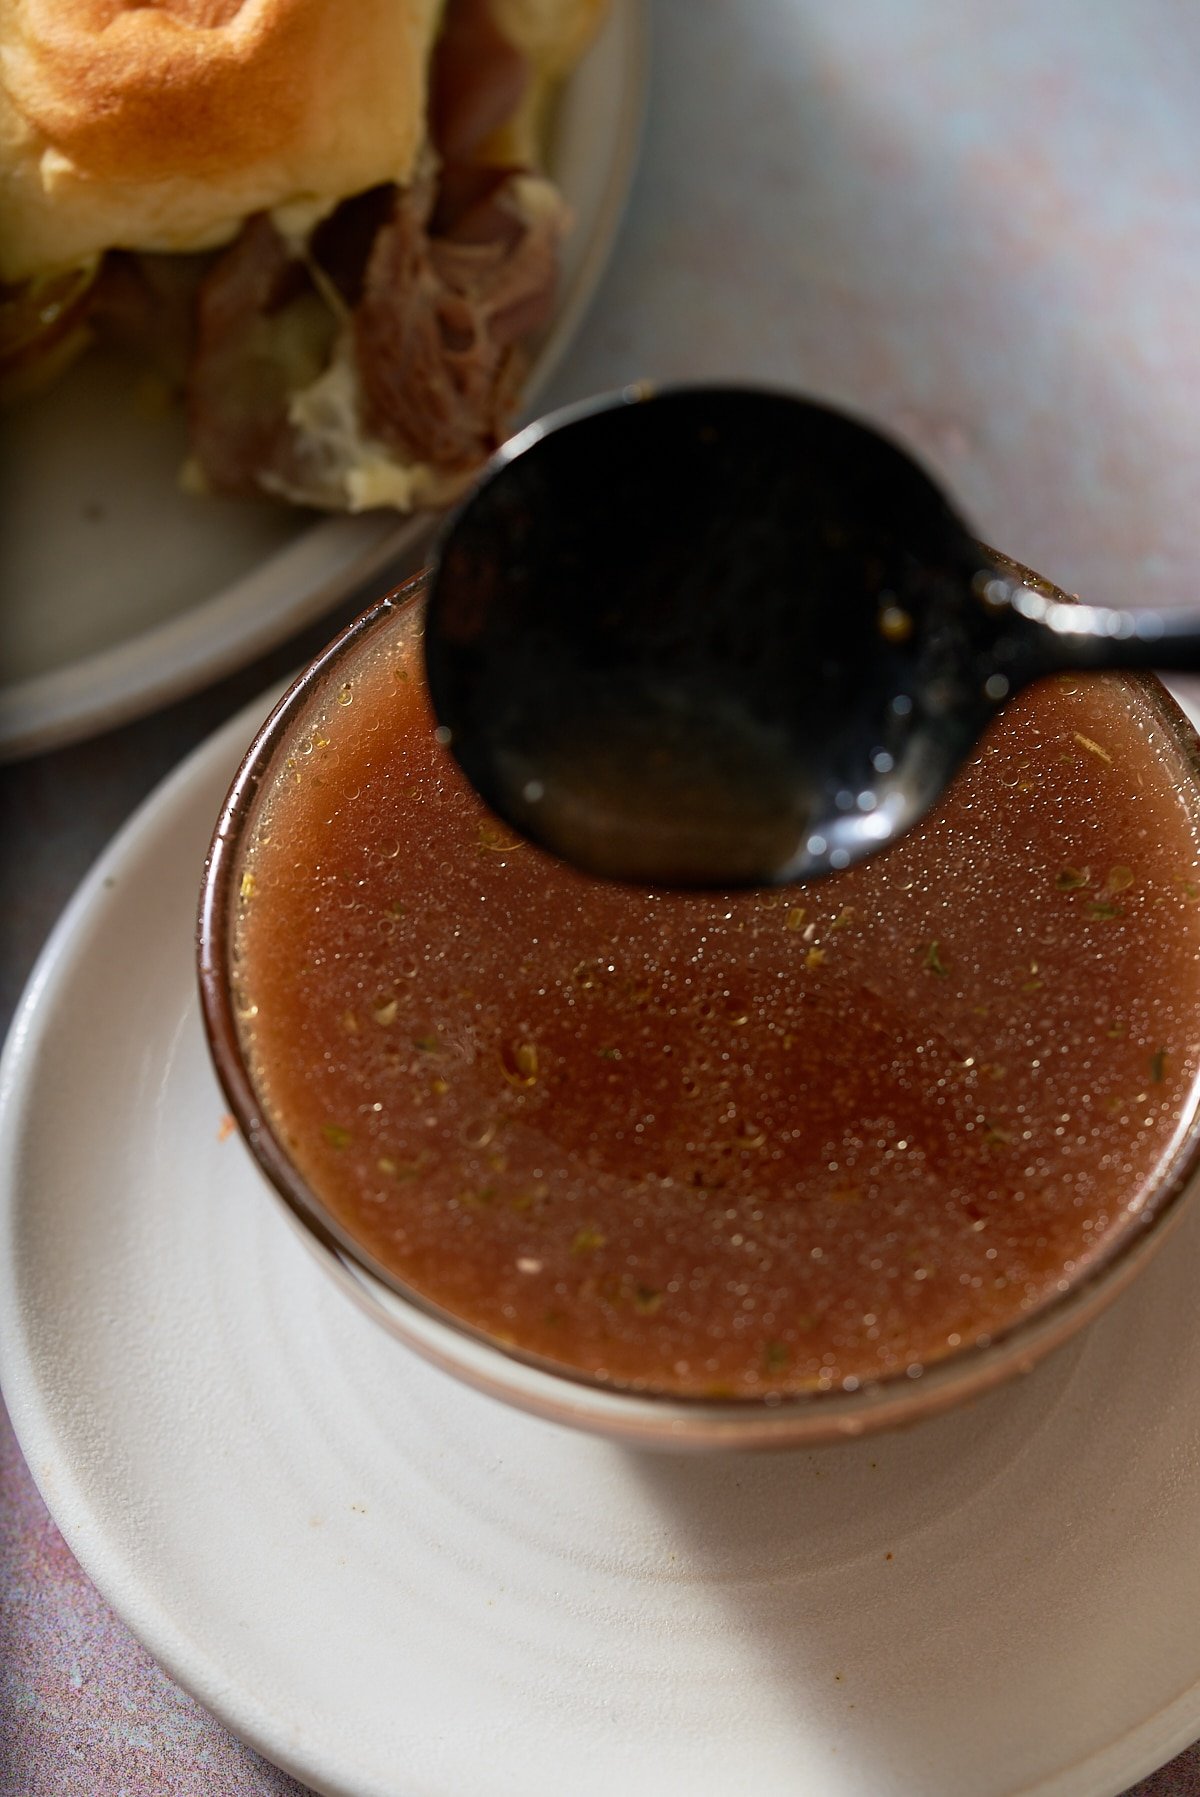
This is a beef au jus recipe, so I serve it alongside beef-based dishes. It is perfect with my Boneless Roast Beef, or Air Fryer Beef Tenderloin, as part of the weekend's roast. Or try it with my Perfect Air Fryer Grilled Steak.
However, also it makes a quick and easy gravy, enhancing the flavor of simple midweek dinner dishes, like my Roast Beef Sliders.
How to store
Make ahead: Get ahead by making earlier in the day, or the day before, and store in the refrigerator until you are ready to warm up and serve.
To refrigerate: Once made, store in an airtight container in the refrigerator for 3 days. When ready to serve, place in a small saucepan on the stovetop to warm through.
To freeze: Once cooked and cooled, place into an airtight container and store in the freezer for up to 3 months.
FAQ's
Au jus is a French term meaning "with juice". It is a light gravy made with broth, wine, and a variety of seasonings. It is served alongside meat-based dishes like beef, chicken, veal, and lamb to enhance the flavor.
Au jus and gravy contain similar ingredients, however, au jus is a lot thinner than regular gravy, which is often thickened with a lot more flour or cornstarch.
Yes, this recipe is gluten-free, just ensure you use a gluten-free beef broth.
If you have tried this au jus recipe or any other recipe on my blog, please rate it and let me know how it turned out in the comments below!
Au Jus Recipe
Equipment
Ingredients
- 2 Tablespoons unsalted butter
- ½ teaspoon Italian seasoning
- ½ teaspoon cornstarch
- ½ teaspoon onion powder
- ¼ teaspoon garlic powder
- 1 ½ cup beef broth
- ¼ cup red wine I used Cabernet Sauvignon
- salt and pepper to taste
Instructions
- In a small saucepan, melt the unsalted butter over medium heat.
- Add the Italian seasoning, cornstarch, onion powder, and garlic powder to the saucepan, stirring well for about 20 seconds.
- Pour in the beef broth and red wine and let the mixture simmer on low heat for about 5-7 minutes, stirring occasionally, allowing the flavors to meld together.
- Season the au jus with salt and pepper to taste, adjusting the seasoning according to your preference.
- Remove the saucepan from the heat. Strain the au jus to remove the Italian seasoning.
- Transfer the au jus to a serving container or gravy boat.
Notes
- For a richer flavor, consider using homemade beef broth or a high-quality store-bought version. The quality of the broth will significantly impact the taste of the au jus.
- If you do not wish to use wine, you can substitute it with additional beef broth.