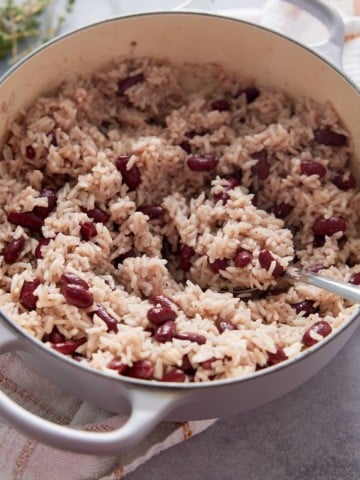
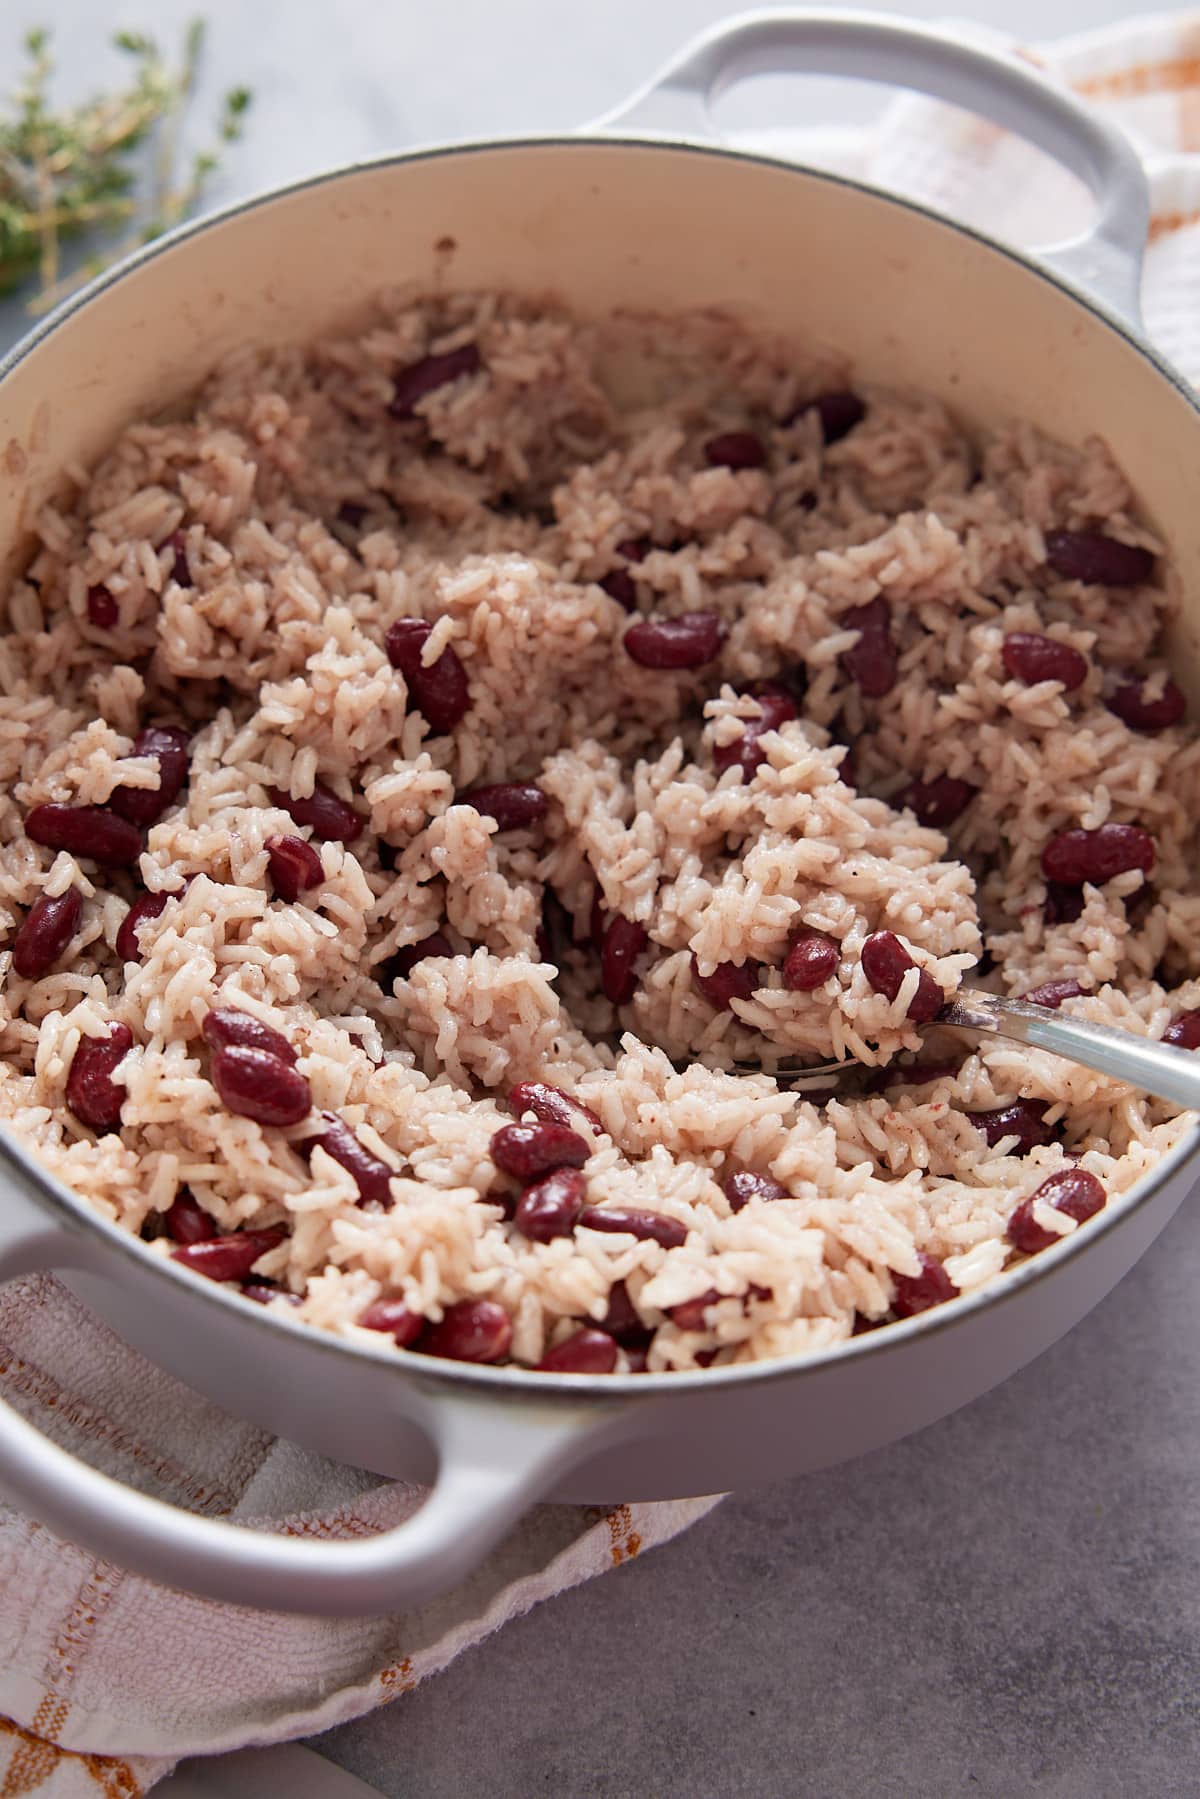
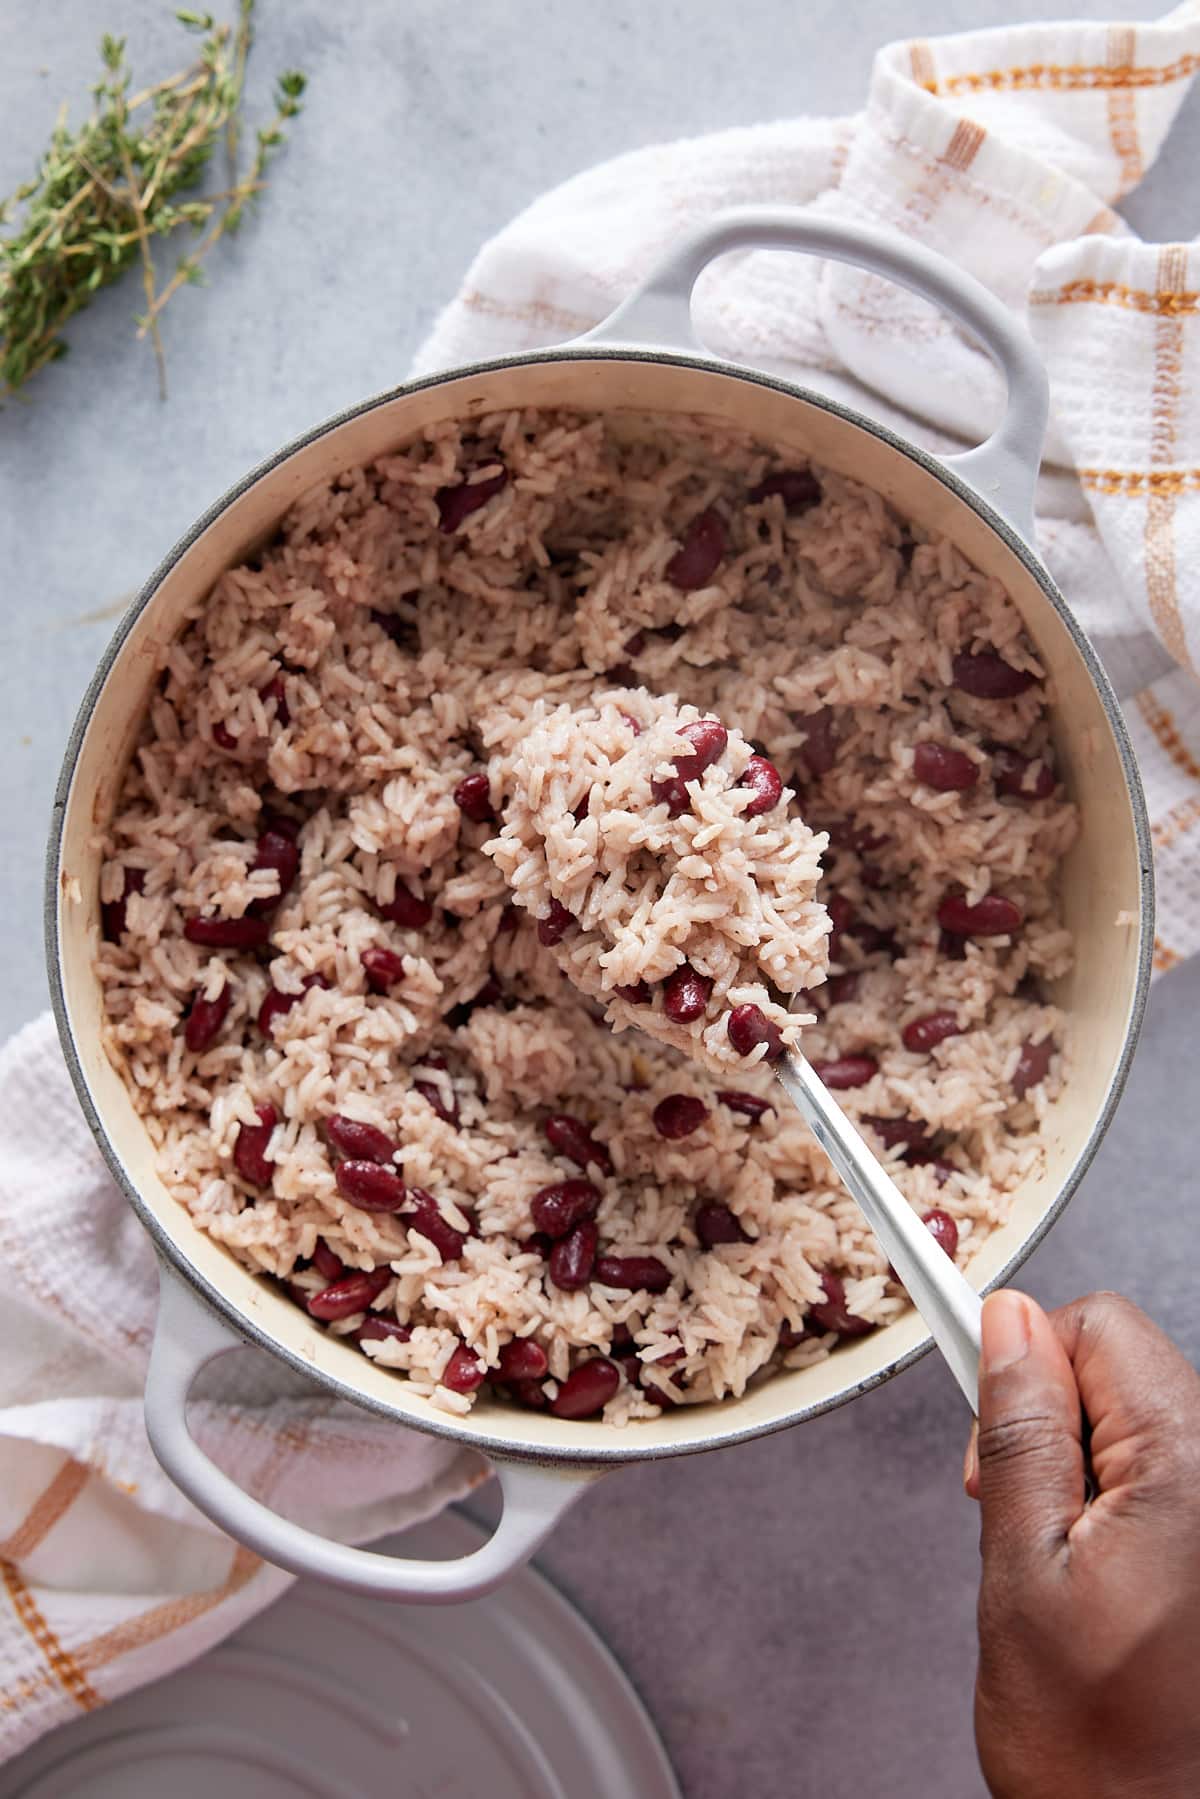
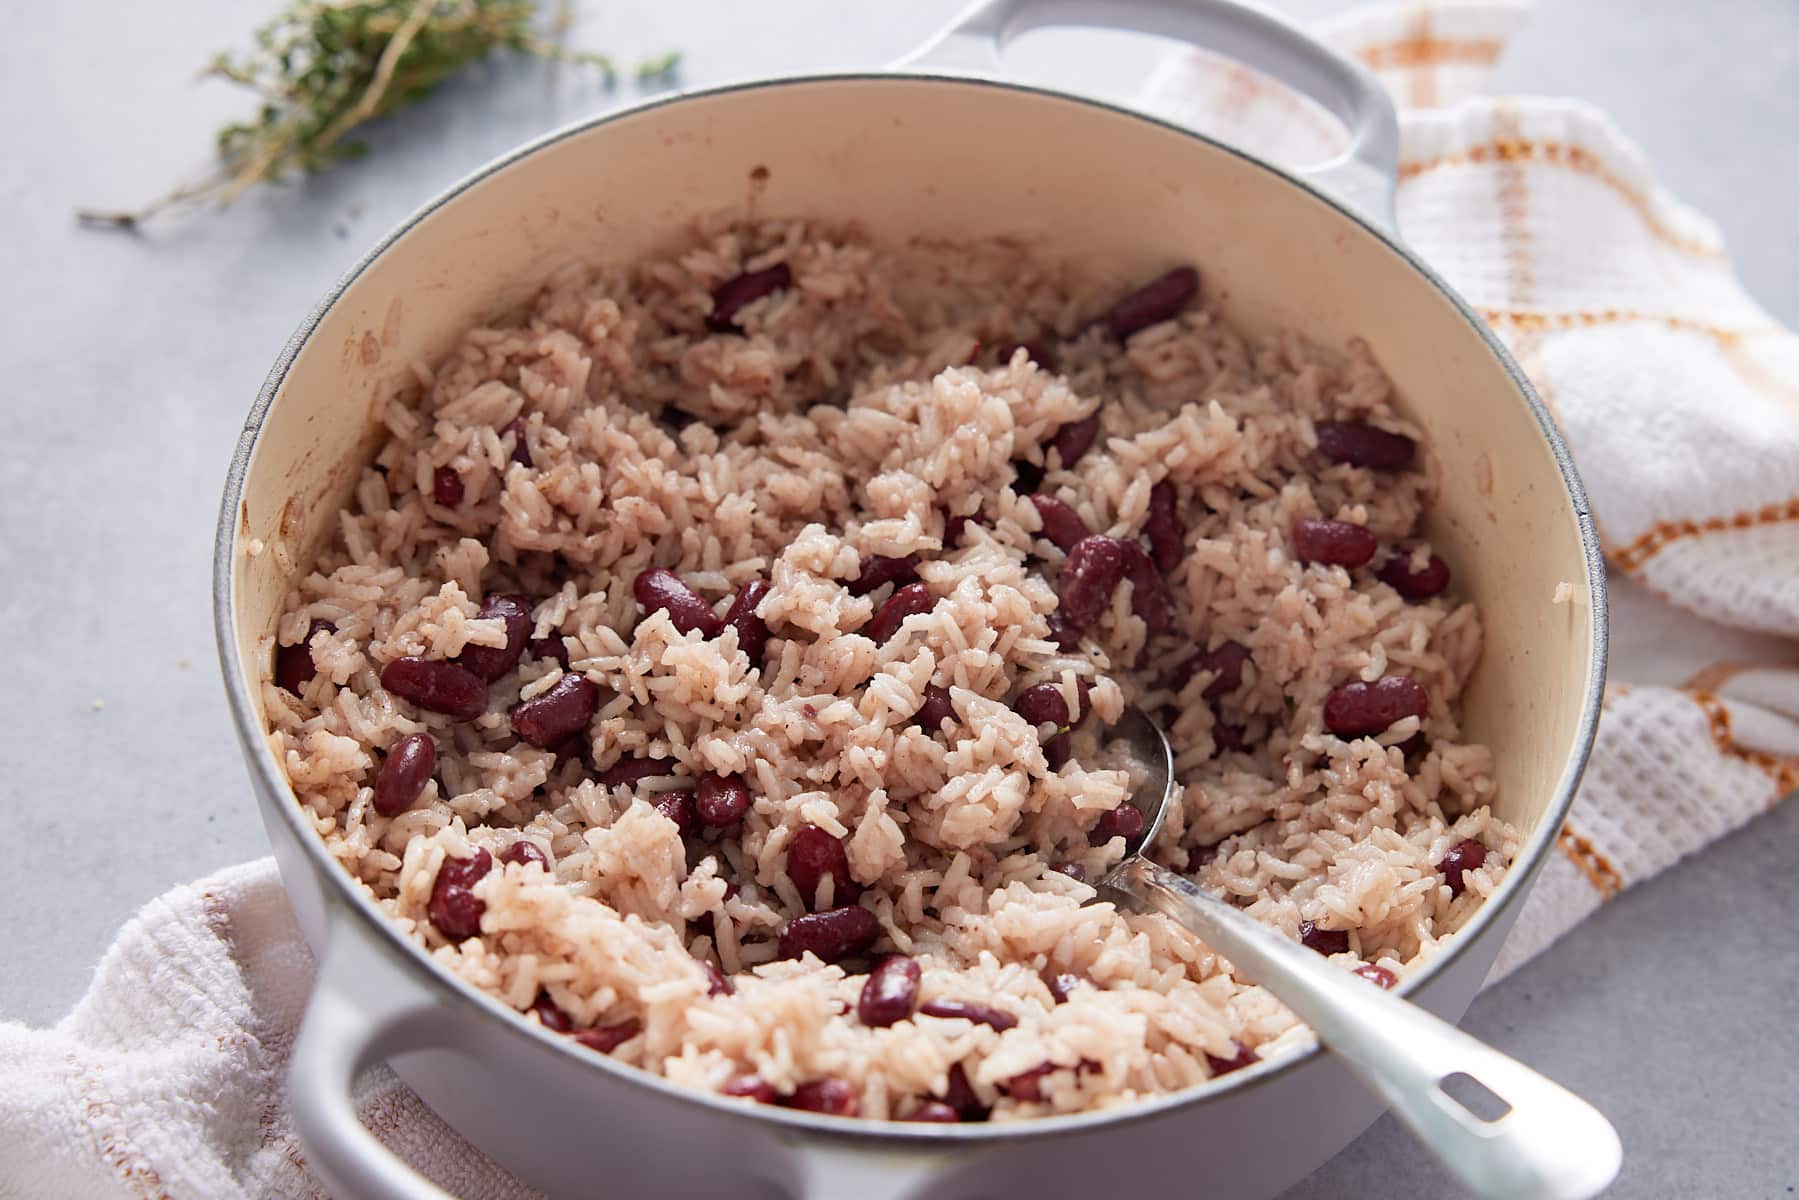
When it comes to one of my favorite sides you can't beat authentic Jamaican Rice and Peas. The rice and peas are infused with allspice and fresh thyme, cooked in coconut milk, with a Scotch bonnet pepper added for flavor and just a touch of mild heat.
This post contains affiliate links, please read my full disclaimer here.
You’ll find the full recipe with ingredient amounts and instructions in the recipe card at the bottom of this post. Be sure to check out the blog post itself for extra tips and tricks!
You will find Jamaican rice and peas served in homes all across Jamaica. The spicing is mild and the coconut milk adds real depth of flavor to the cooked rice. This recipe is also naturally vegan, so can be served to all diners.
Preparing this dish is a lot easier than you may think. Just a few simple steps and for ease, I make my Jamaican rice and peas with canned beans, it saves me having to soak the beans overnight.
This quick Jamaican rice and peas dish features regularly on my family's dinner plan, as it pairs really well alongside so many main dishes. It's also served during family get together's and for holiday celebrations.
If you love this rice dish, try my Fluffy Coconut Rice, Dirty Rice Recipe, Instant Pot Cajun Dirty Rice, Pressure Cooker (Instant Pot) Brown Rice or Jamaican Instant Pot Rice and Beans, which is the same as rice and peas.
Why is it called it rice and peas?
This is a really popular, traditional Jamaican dish and you will find it served across the Caribbean islands. Although made with red kidney beans, beans are called peas across the Caribbean, hence the name rice and peas, rather than rice and beans.
Jamaican rice and peas ingredients

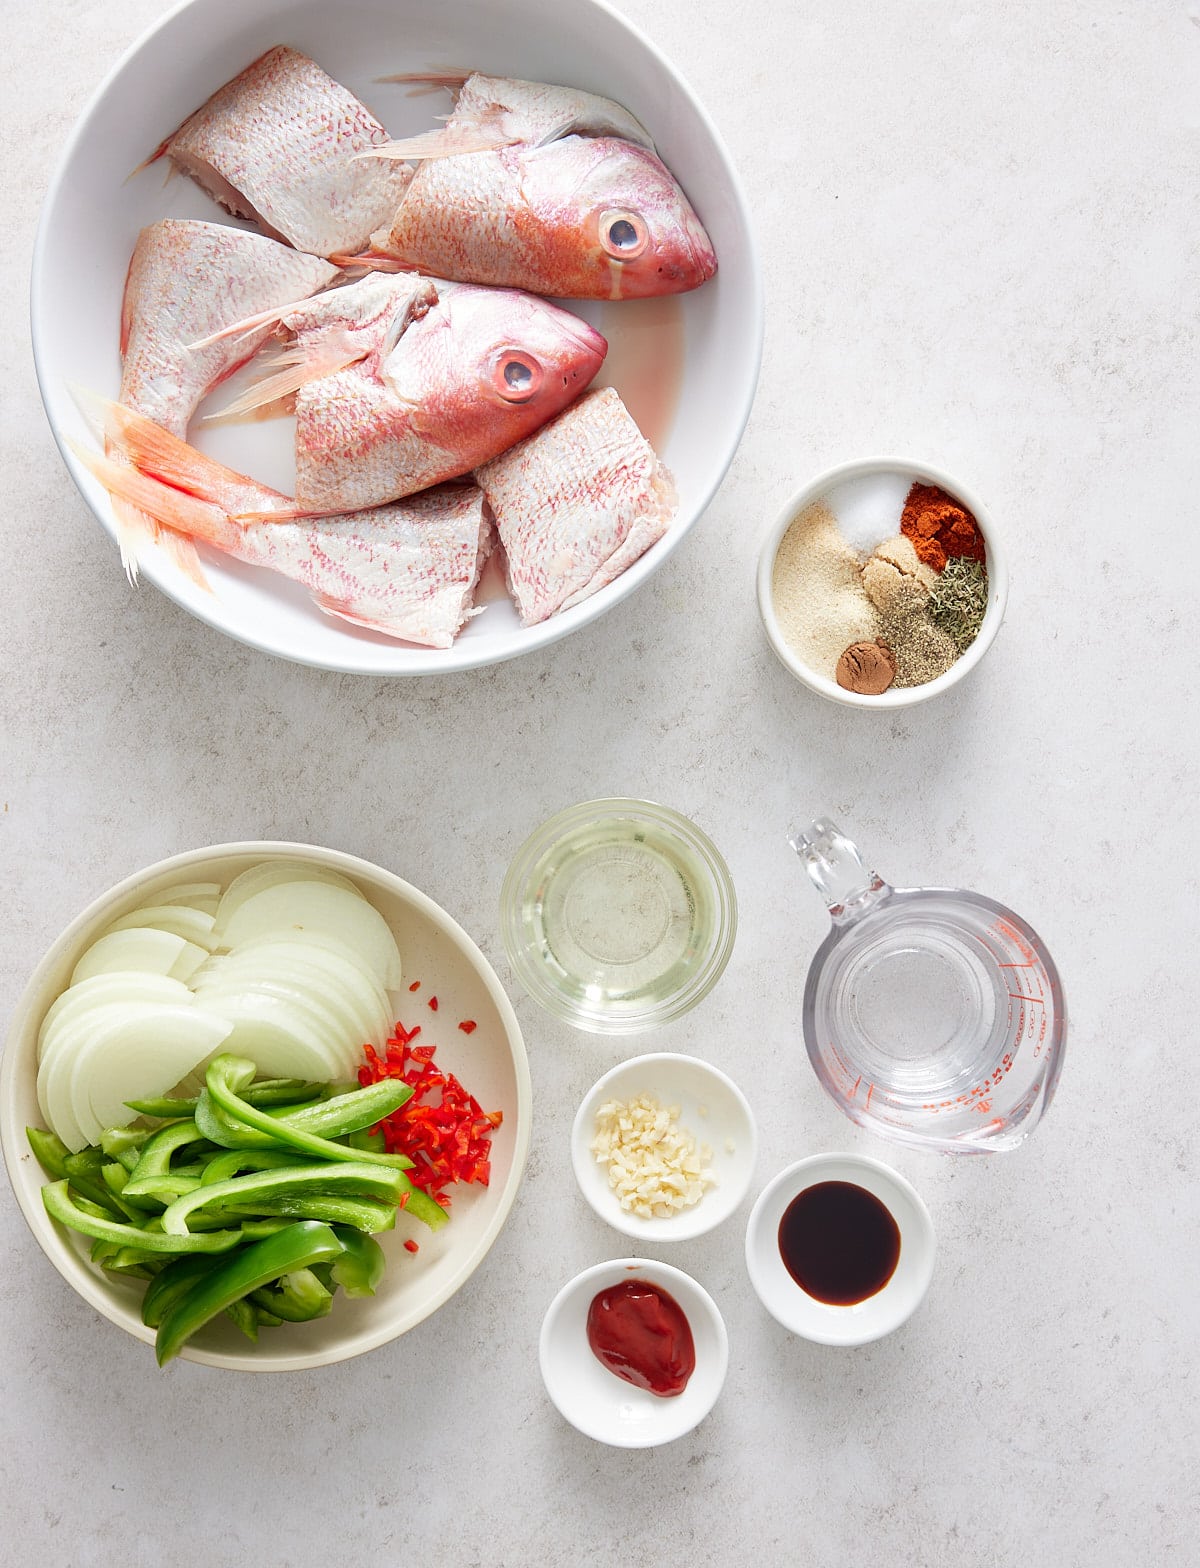
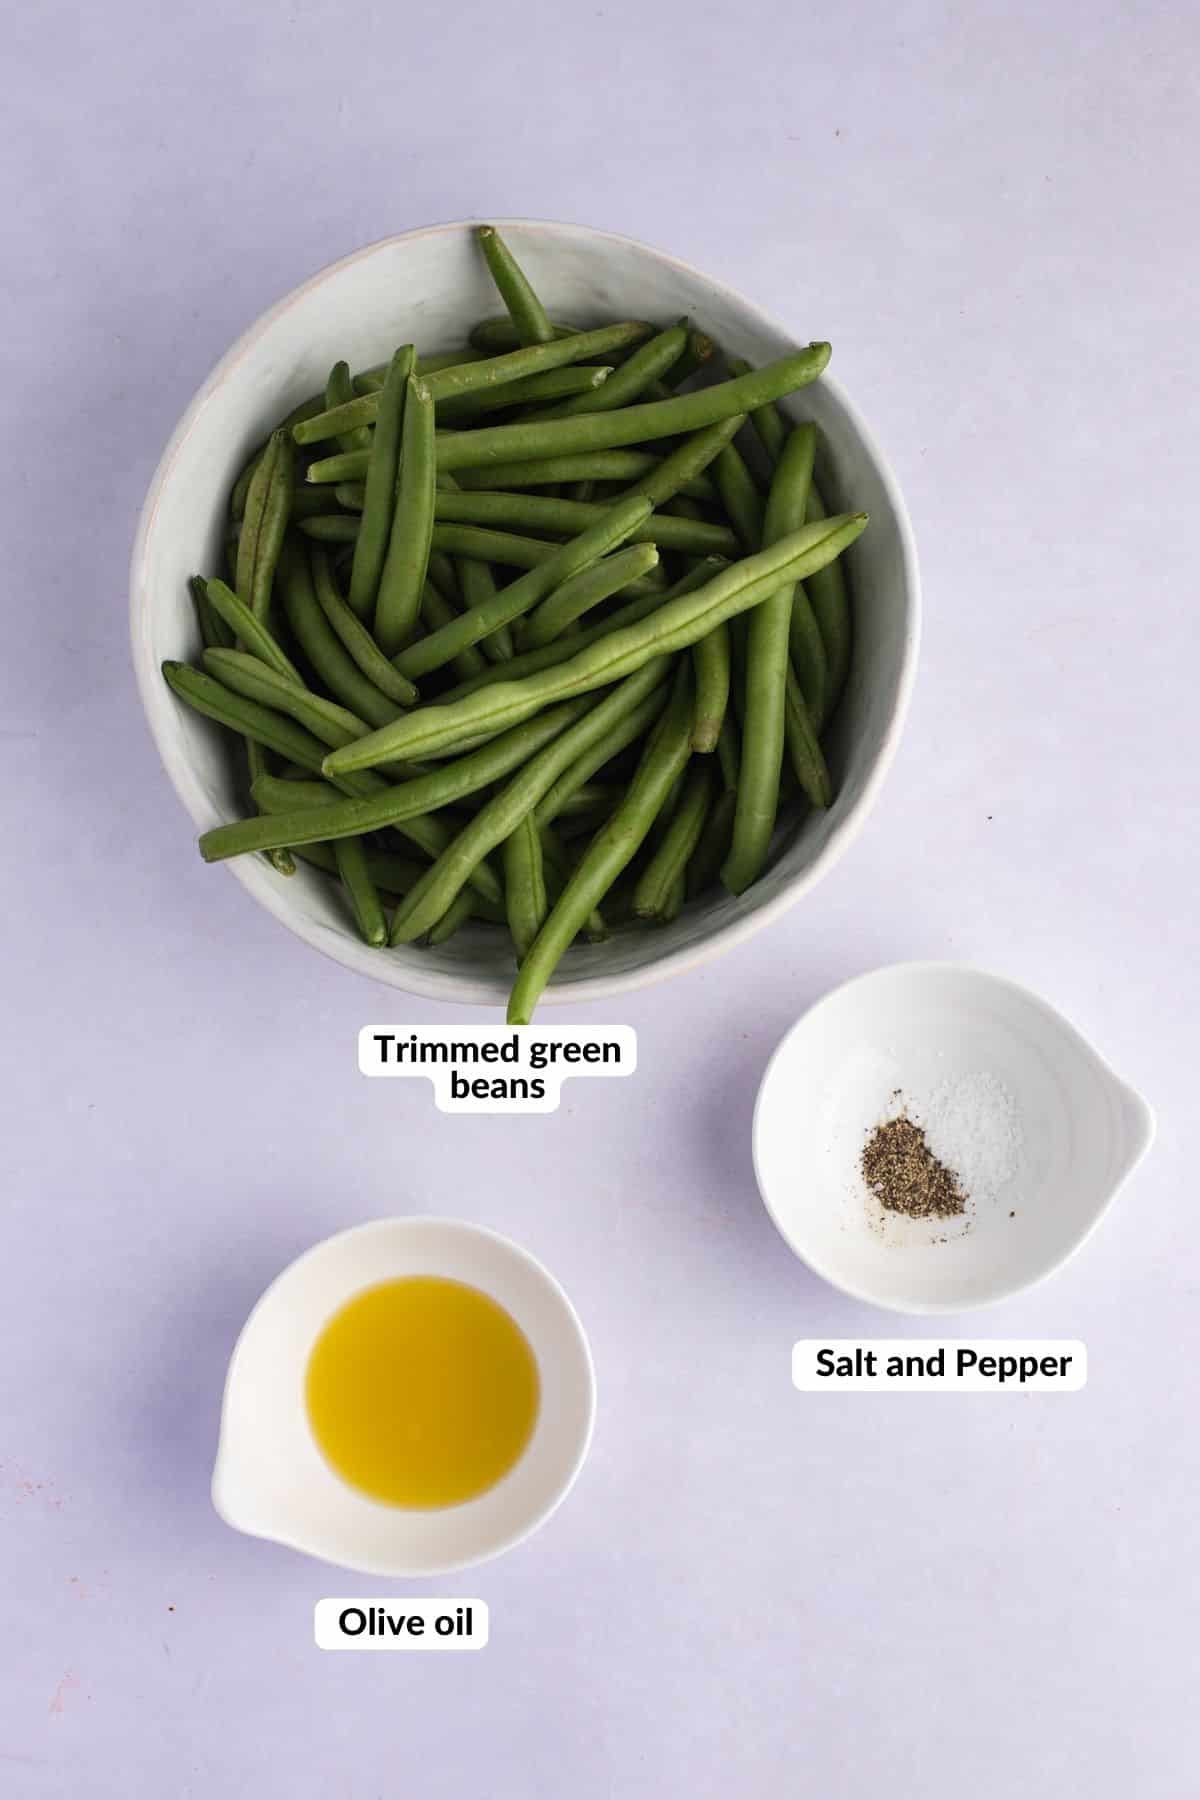
You can find these simple ingredients in your local grocery store. Here is what you will need for this recipe.
- Long grain white rice - this is the most popular rice for this recipe. It also cost less than other rice types.
- Can unsweetened coconut milk - growing up, we used creamed coconut. However, coconut milk works great.
- Can kidney beans - dark red kidney beans work best. Do not drain or rinse the beans. The liquid in the can gives the rice some color and flavor.
- Water
- Spices - Kosher salt, ground allspice, ground black pepper
- Fresh aromatics - green onions, fresh thyme, scotch bonnet pepper
How to make my Jamaican rice and peas recipe
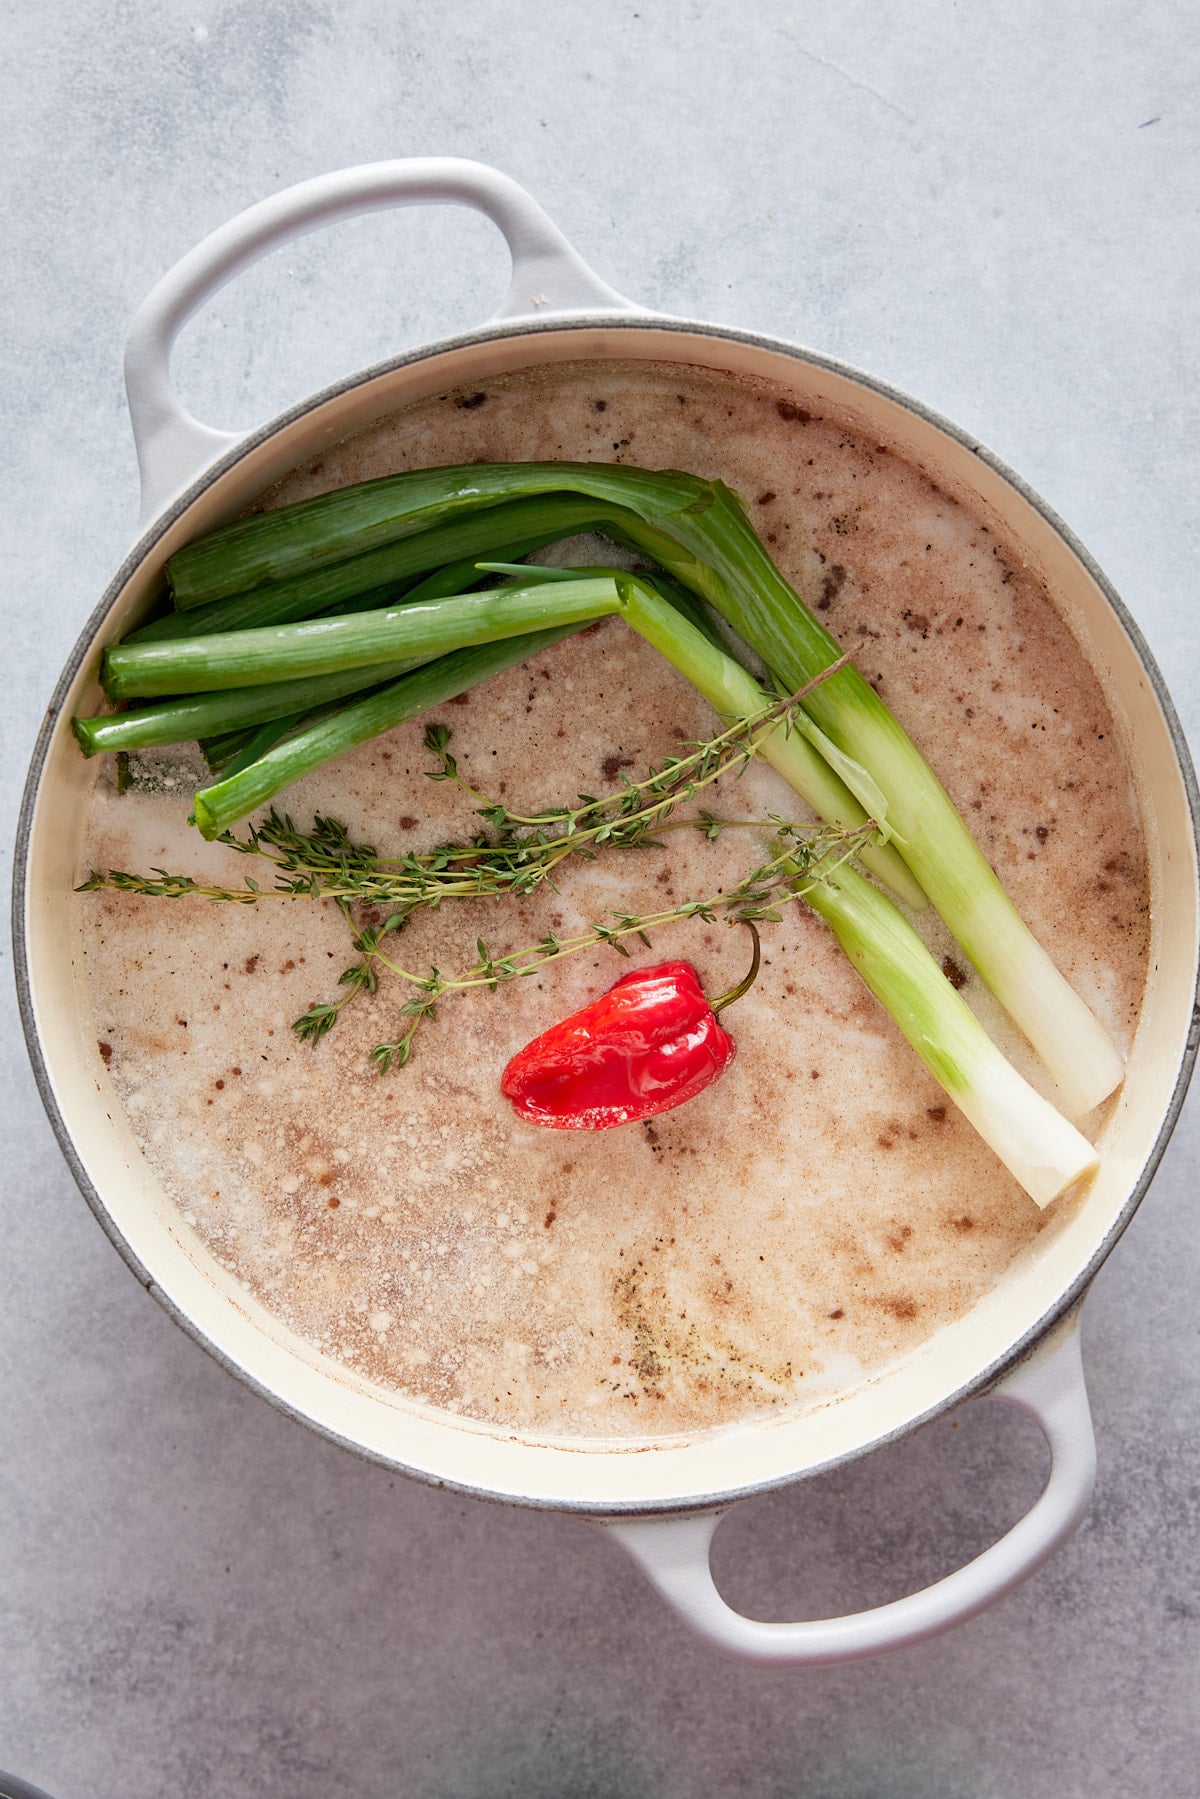
This recipe is quite easy and mostly hands off. Add rice, coconut milk, kidney beans, water, kosher salt, allspice, and black pepper to a large pot and stir until combined.
Lay green onions, thyme, and scotch bonnet pepper on top. Bring mixture to a boil.
Once boiling, reduce heat to low and cover with a lid.
Allow to cook covered for 18 minutes over low heat, then remove from heat.
Leave the lid on for an additional 5 minutes.

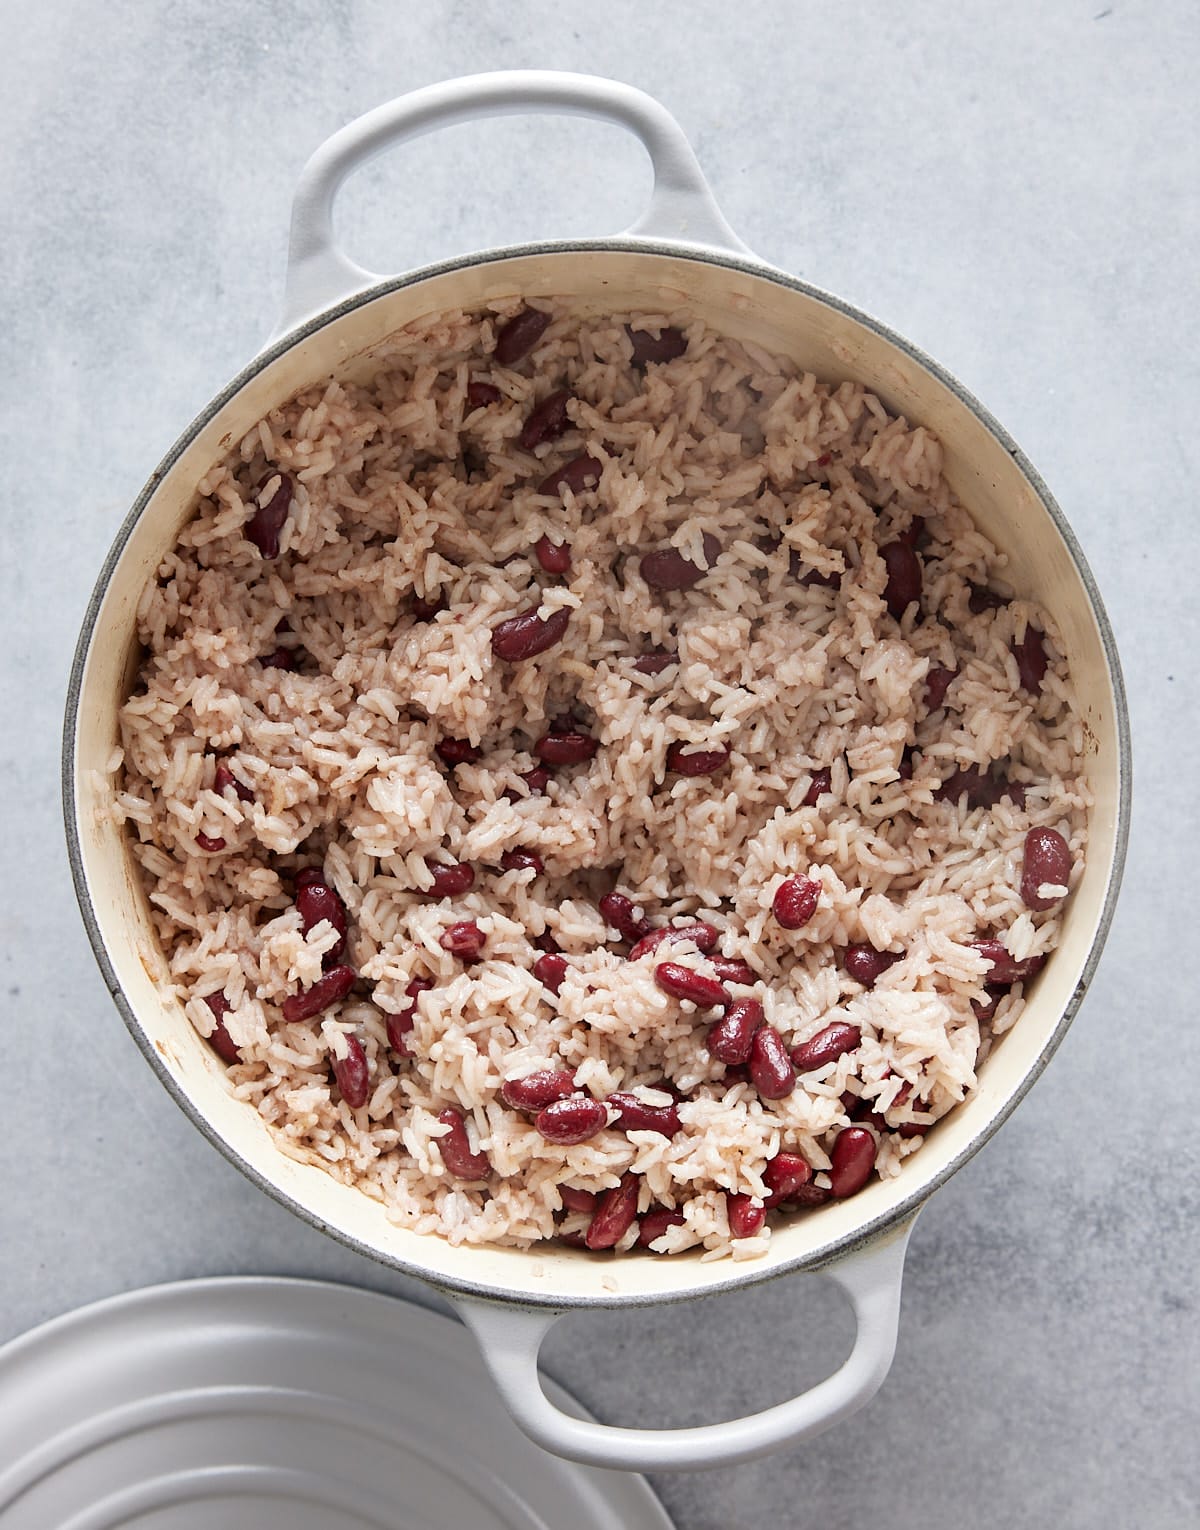
Open the lid and remove the green onion, scotch bonnet pepper, and thyme.
Fluff rice and peas with a fork. Serve and enjoy.
Expert Tips
These tips will help you make the best rice and peas you've ever tasted.
- No special equipment required, but I do like to use a 4-quart dutch oven pot for this recipe.
- Ensure your scotch bonnet pepper does not have any cuts or bruises. It's added whole to give the dish flavor, not make it spicy.
- Allow the rice to sit for 5 minutes with the lid on before you serve. This will allow the flavors to meld together.
- For ease I use canned kidney beans, but if using dried beans you will need to soak them overnight and cook them for 45 minutes first, before adding to this dish.
- The brand of coconut milk matters. Avoid using lite coconut milk and stick with the full fat versions. Lite coconut milk is known to curdle in the rice.
Variations
This simple rice recipe is full of flavor but here are some suggestions if you want to mix things up.
- Habanero pepper can be subbed for the scotch bonnet pepper.
- Substitute ground allspice with whole allspice berries, just ensure you remove them from the rice before serving.
- Use and leftover rice and peas to stuff peppers with the next day, just top with some shredded cheese and bake in the oven at 350 Fahrenheit for 30 minutes.
How to adjust this Jamaican rice and peas recipe
This recipe serves 6 portions of rice and peas but can be easily adapted to make a bigger or smaller batch. Here are the best ways to do this.
Double: To make a larger batch, double all the ingredients.
Halve: For a smaller serving, halve all the ingredients. Or make the regular portion size and save the leftovers for another meal.
What do you serve with rice and peas?
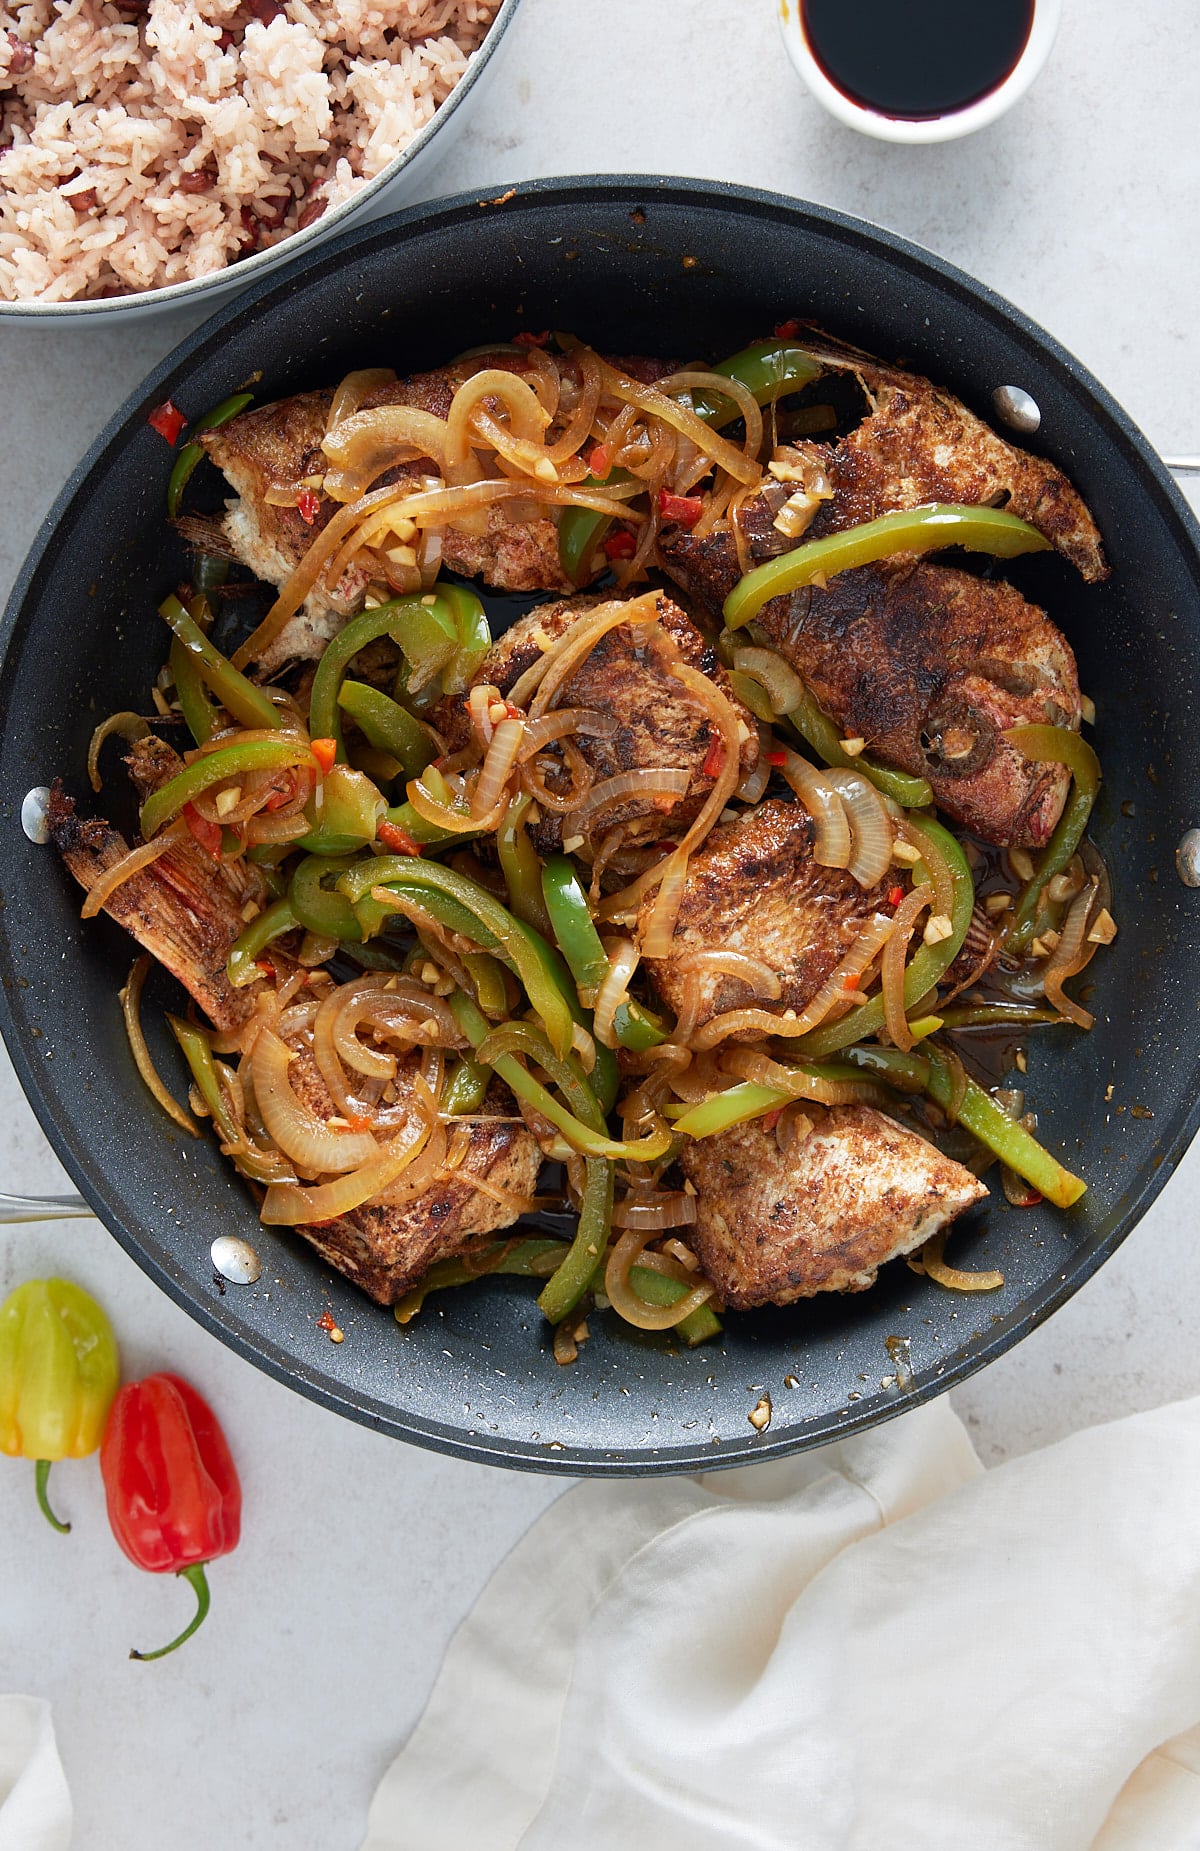
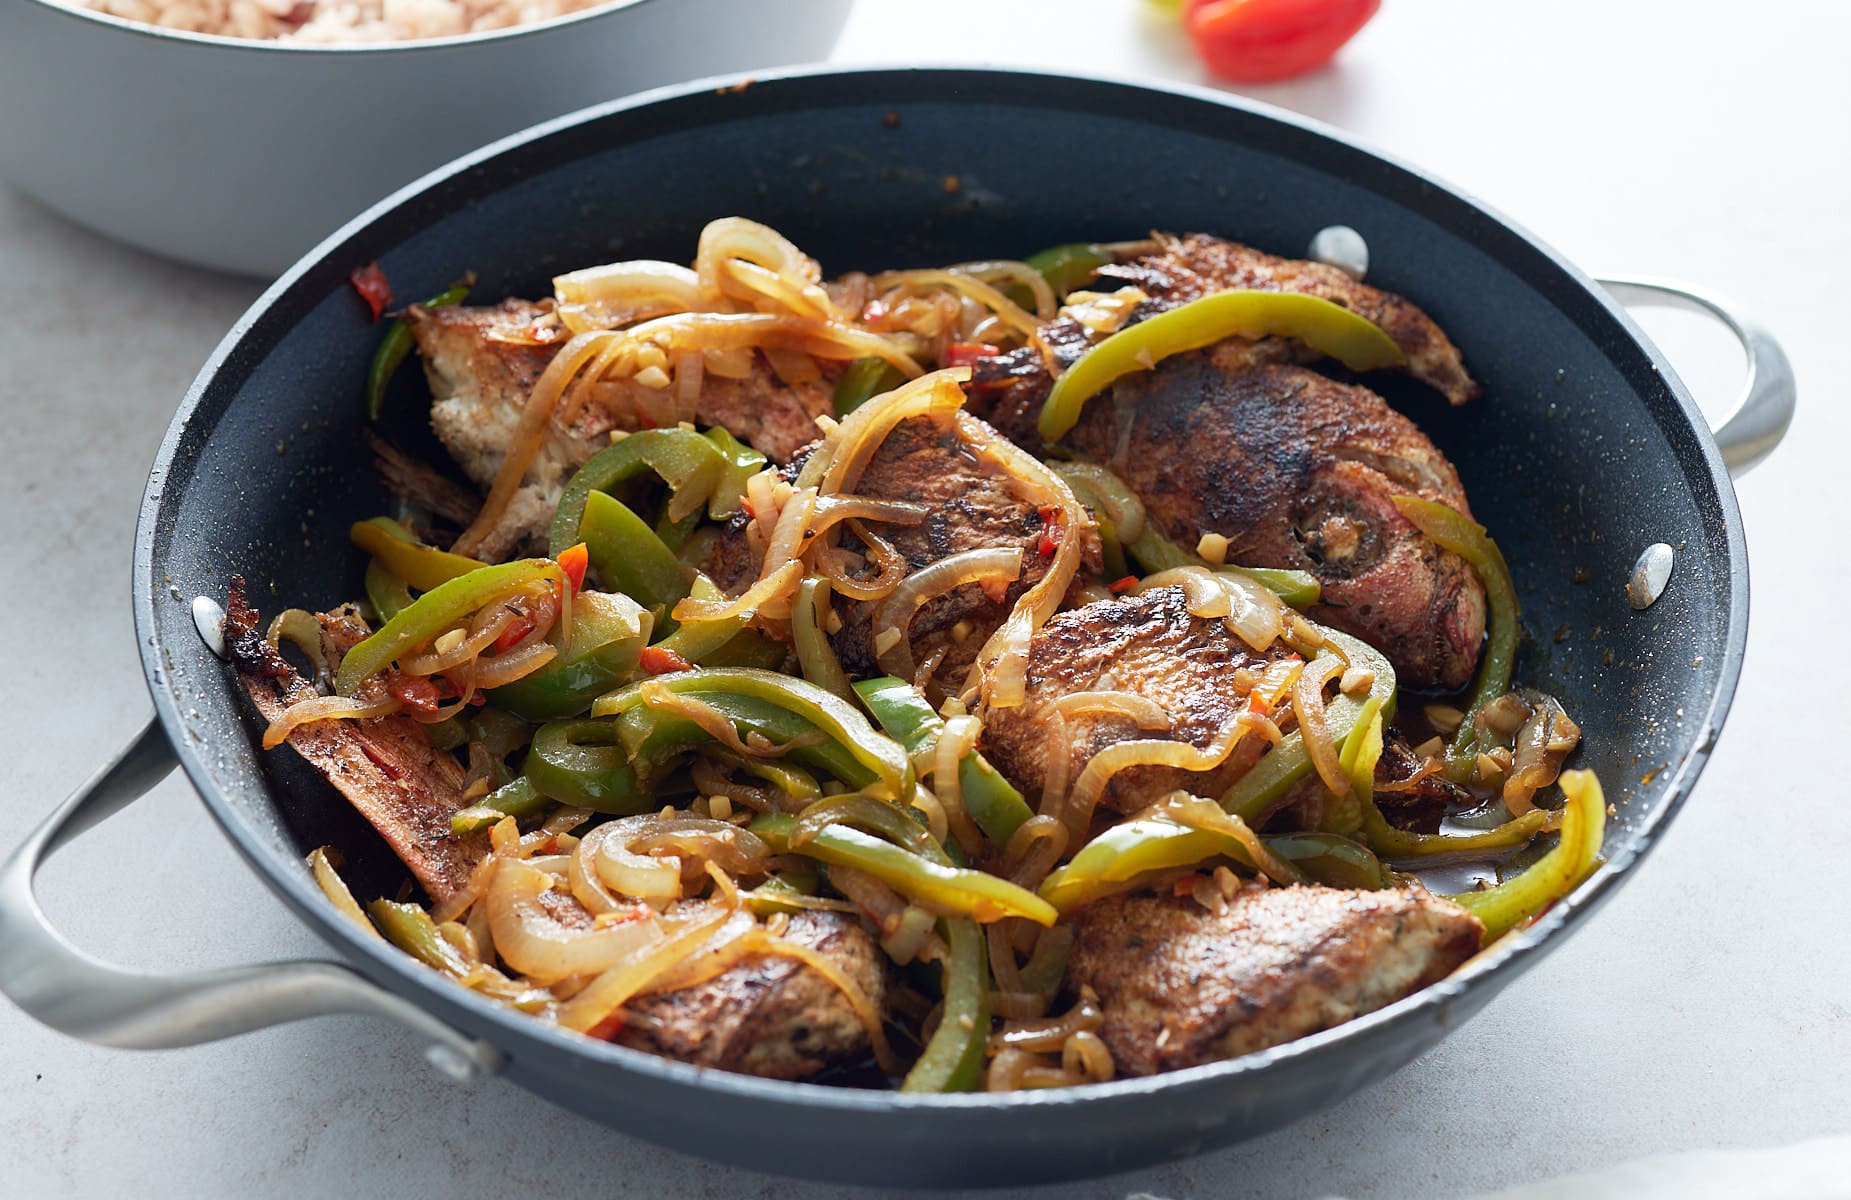
Rice and peas work with a whole variety of traditional Jamaican and Caribbean dishes. I like to serve it alongside my Brown Stew Chicken, Brown Stew Fish, Baked Jamaican Jerk Shrimp and my Jamaican Jerk Chicken.
For additional sides, I like to keep them light, my Sautéed Yellow Squash, Jamaican Cabbage, or Southern Cucumber Salad would work a treat.
How to store leftover rice and peas
To refrigerate: Store leftover rice in an airtight container in the fridge for 3-4 days. Then reheat to piping hot when you are ready to enjoy.
To freeze: Once the rice has been cooked and cooled, place into an airtight container and store in the freezer for up to 3 months. Defrost thoroughly and reheat it to piping hot before serving.
FAQs:
It's really important that you use the right ratio of rice to water, otherwise the rice becomes waterlogged. Also, cook it only until the rice is cooked through, no longer.
I use long grain white rice, as it is readily available and great for soaking up flavor. If you want you can swap out the white rice for brown rice instead.
If you have tried this Jamaican Rice and Peas recipe, or any other recipe on my blog, then please rate it and let me know how it turned out in the comments below!
Jamaican Rice and Peas
Equipment
Ingredients
- 2 cups long grain white rice rinsed
- 1 13.5 oz can unsweetened coconut milk
- 1 15.5 oz can kidney beans undrained
- 1 cup water
- 2 teaspoons kosher salt
- ½ teaspoon ground allspice
- ¼ teaspoon ground black pepper
- 3 green onions
- 2 sprigs fresh thyme
- 1 Scotch bonnet pepper whole
Instructions
- Add rice, coconut milk, kidney beans, water, kosher salt, allspice, and black pepper to a large pot and stir until combined. Lay green onions, thyme and Scotch bonnet pepper on top. Bring mixture to a boil.
- Once boiling, reduce heat to low and cover with a lid. Allow to cook covered for 18 minutes over low heat, then remove from heat. Leave the lid on for an additional 5 minutes.
- Open the lid and remove the green onion, Scotch bonnet pepper, and thyme. Fluff the rice and peas with a fork. Serve and enjoy.
Video
Notes
- I use a 4-quart dutch oven pot for this recipe.
- Ensure your scotch bonnet pepper does not have any cuts or bruises. It's added whole to give the dish flavor, not make it spicy.
- Habanero pepper can be subbed for the scotch bonnet pepper.
- The brand of coconut milk matters. Avoid using lite coconut milk and stick with the full fat versions. Lite coconut milk is known to curdle in the rice.
- For ease I use canned kidney beans, but if using dried beans you will need to soak them overnight and cook them for 45 minutes first, before adding to this dish.