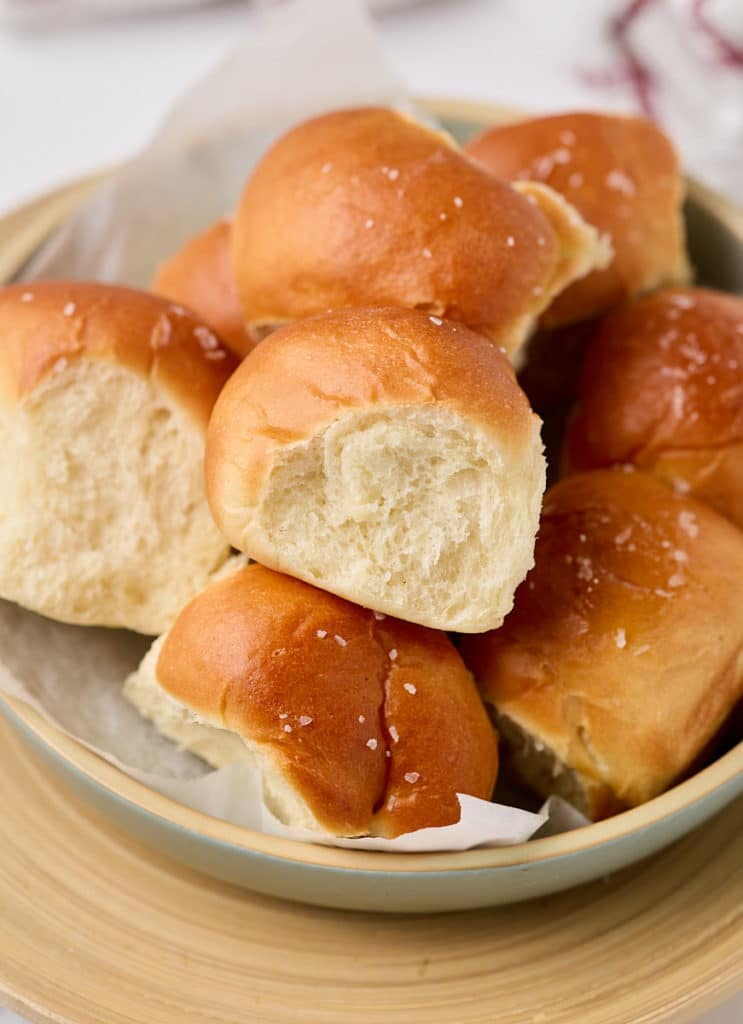
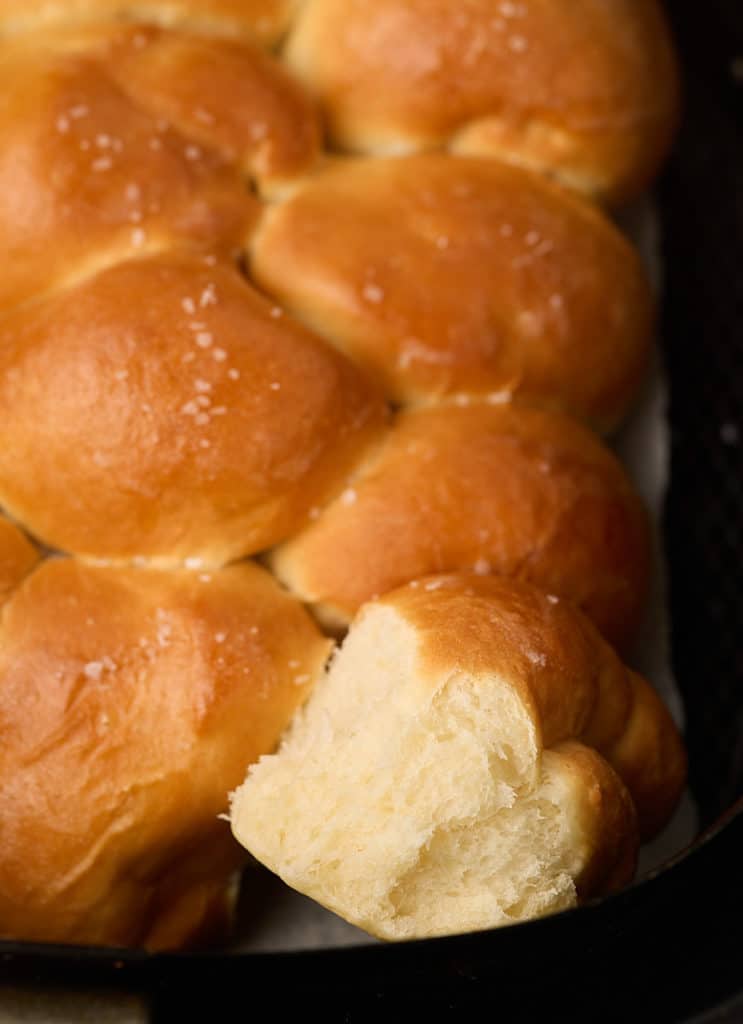
Whip up some delicious homemade dinner rolls quickly and easily in your air fryer. These dinner rolls are so light and fluffy, and take less time to bake compared to the oven. The perfect bread side for any meal, and a must have for Thanksgiving!
This post contains affiliate links, please read my full disclaimer here.
You’ll find the full recipe with ingredient amounts and instructions in the recipe card at the bottom of this post. Be sure to check out the blog post itself for extra tips and tricks!
No Thanksgiving or holiday meal is complete without some light and fluffy dinner rolls, and they are a breeze to make in the air fryer!
Made from scratch, these bread rolls are a wonderful addition to any dinner and because they are baked in the air fryer they are ready in a fraction of the time and it frees up your oven. You'll notice that this recipe for dinner rolls uses less flour than most. That way your air fryer can hold all the dough.
You'll also notice that this recipe uses no egg. After testing multiple roll recipes and batches, we found that these dinner rolls just didn't need it. They're perfectly delicious, fluffy, and buttery.
Make them ahead of time and be sure to make a double batch to freeze, they really are delicious!
Be sure to try my Honey Whole Wheat Dinner Rolls and Vegan Dinner Rolls too!
How to make air fryer dinner rolls
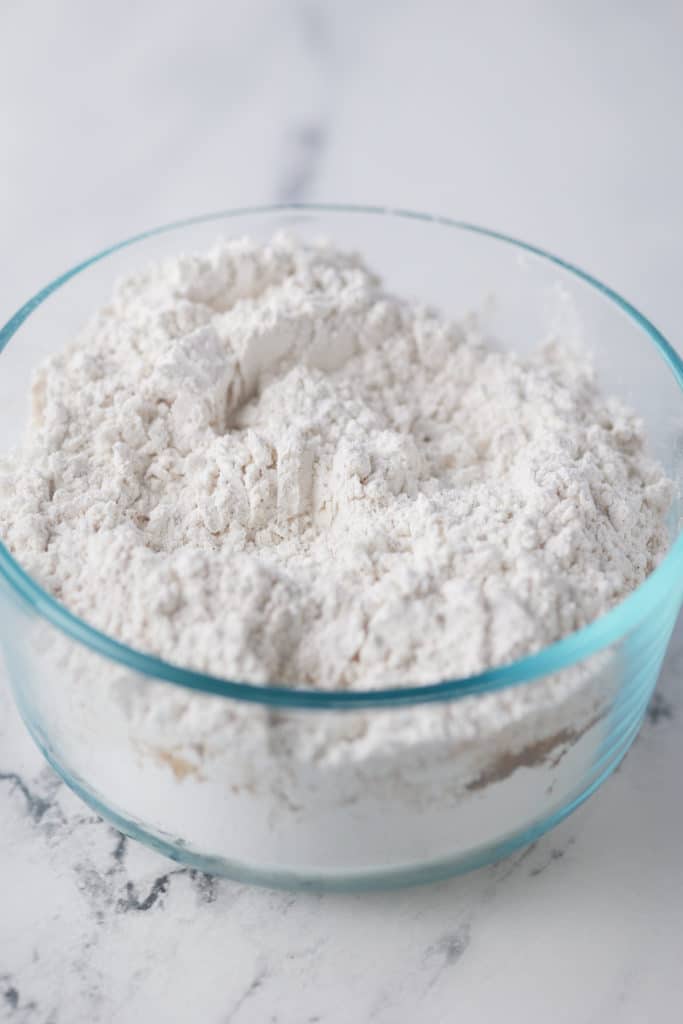
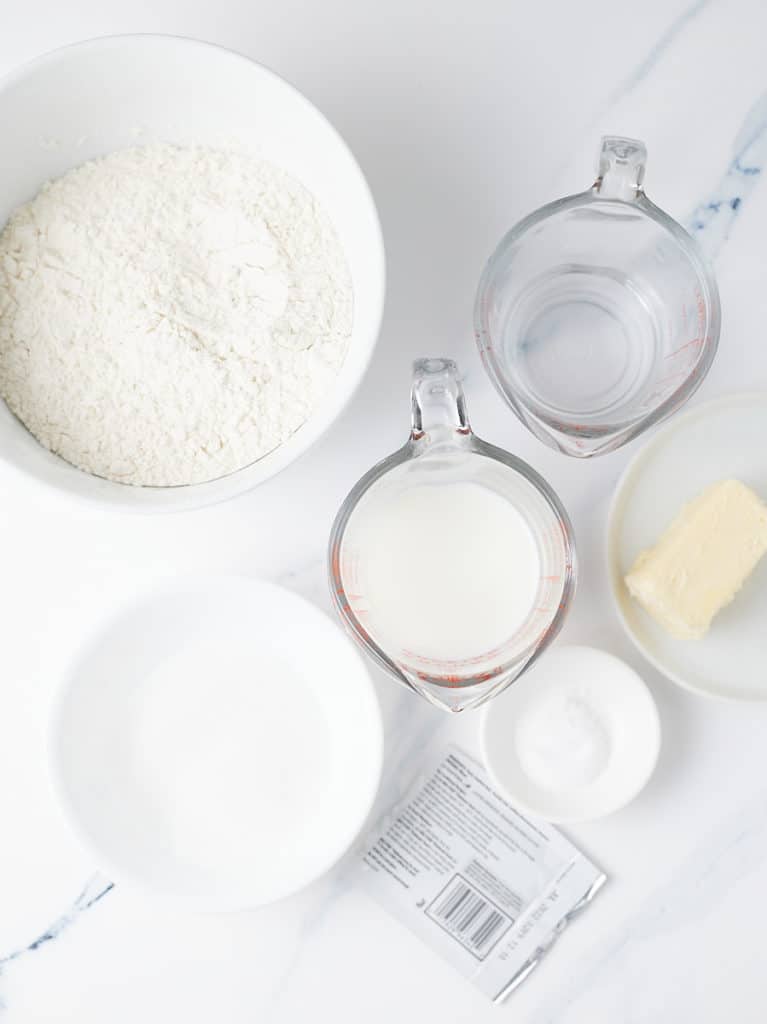
- Gather your ingredients.
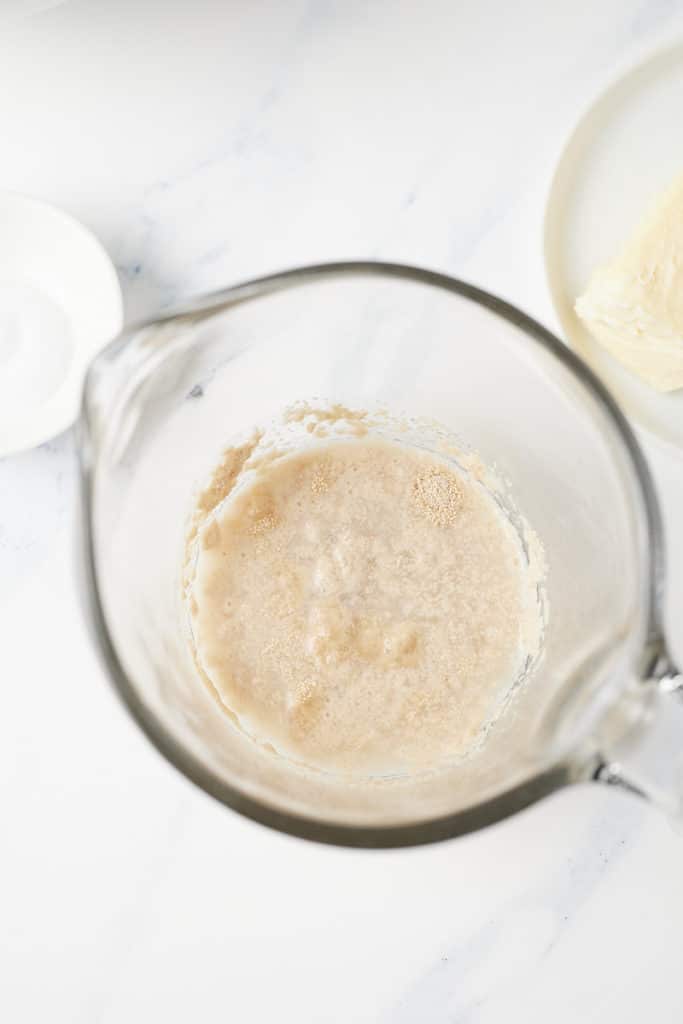
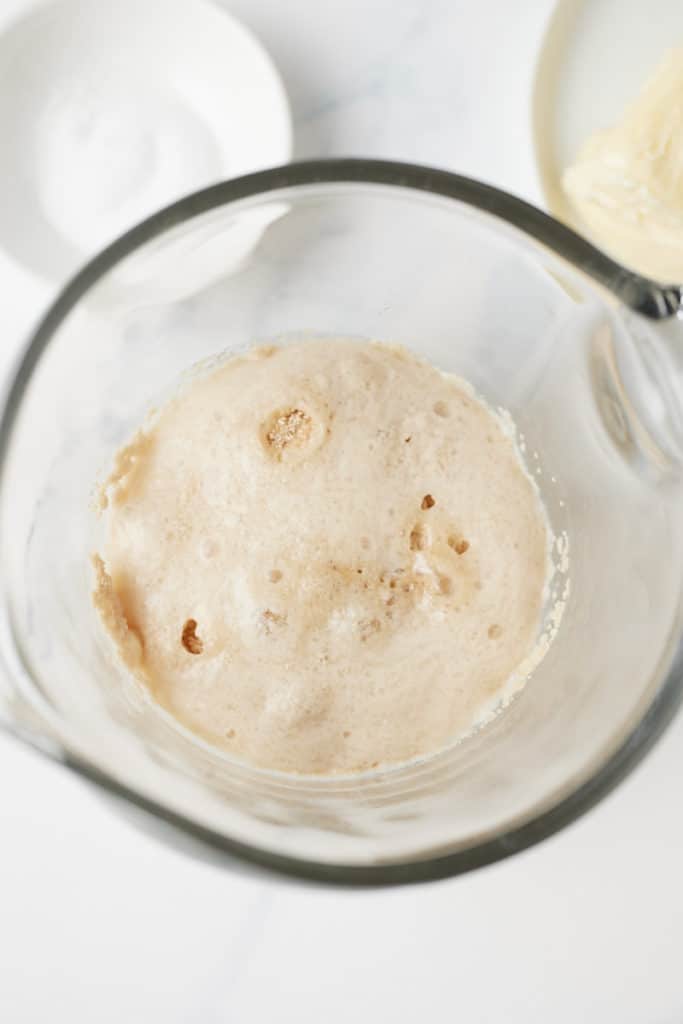
- Add water, yeast, and 1 teaspoon of granulated white sugar to a small measuring cup. Stir and set aside for 10 minutes, until the yeast has bloomed.
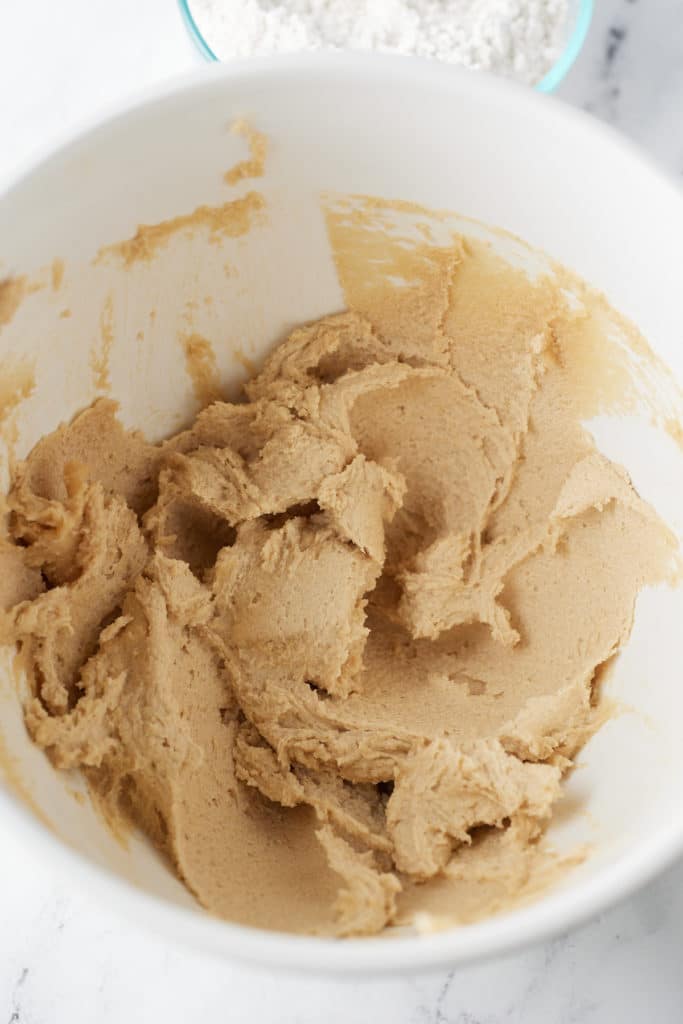
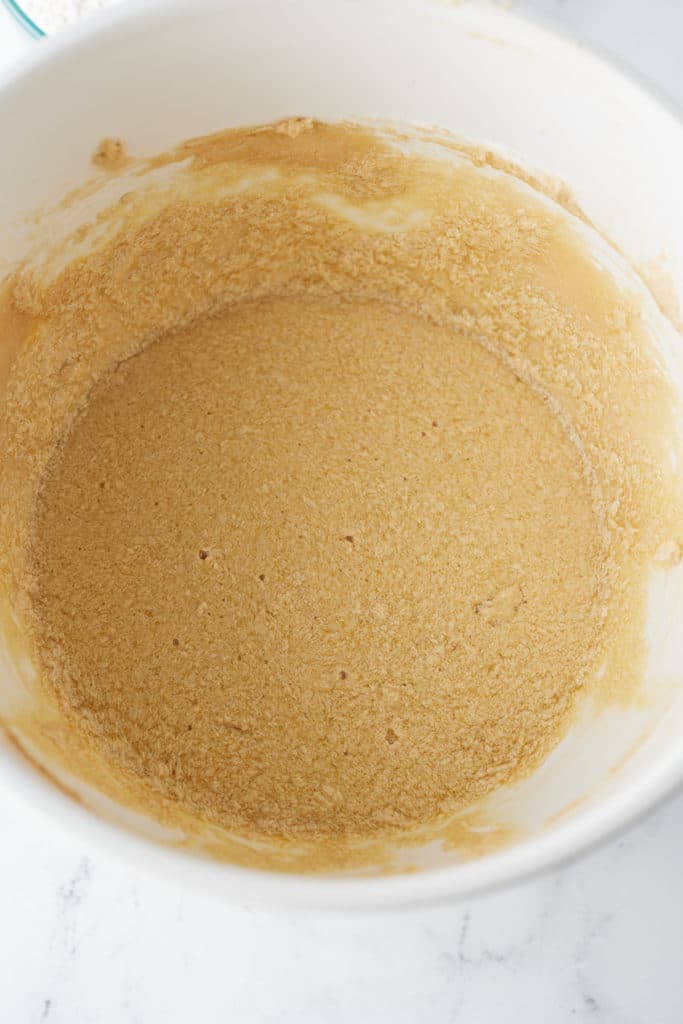
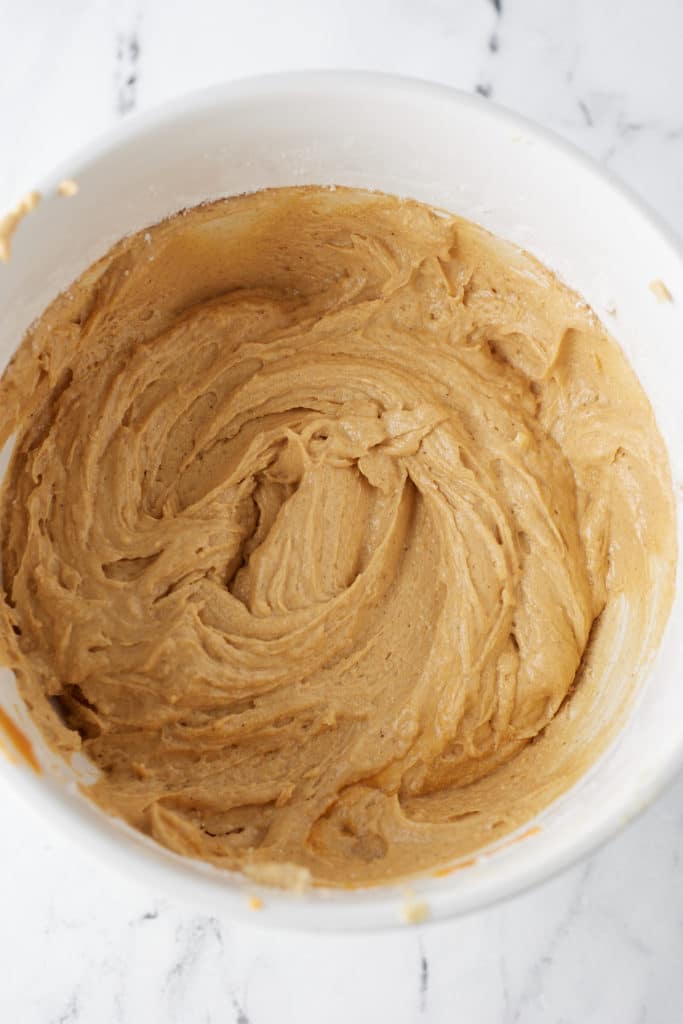
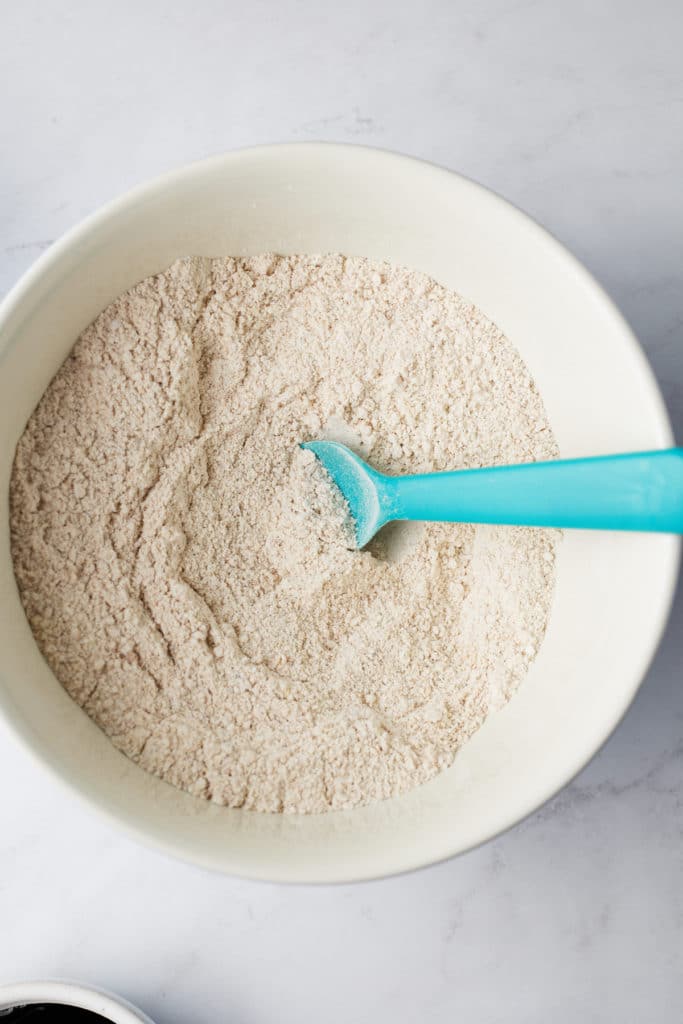
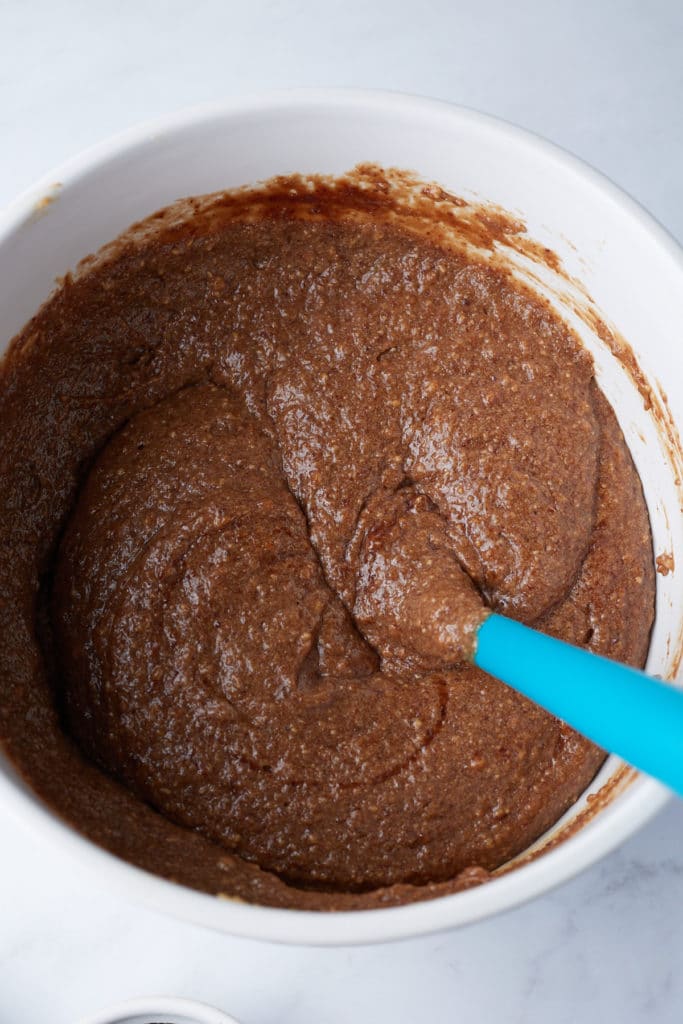
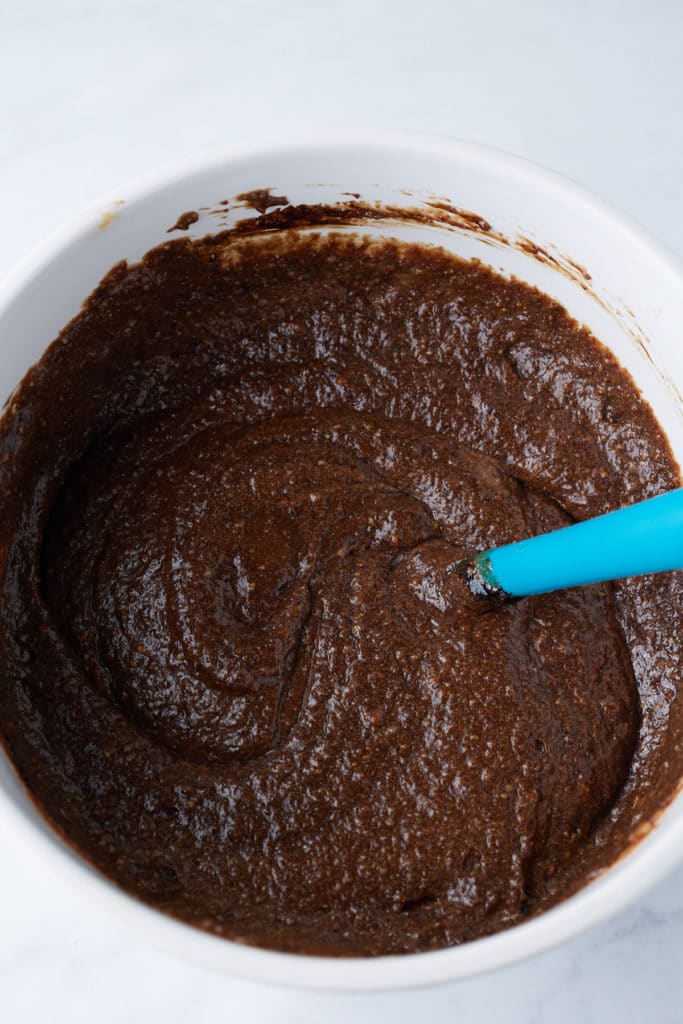
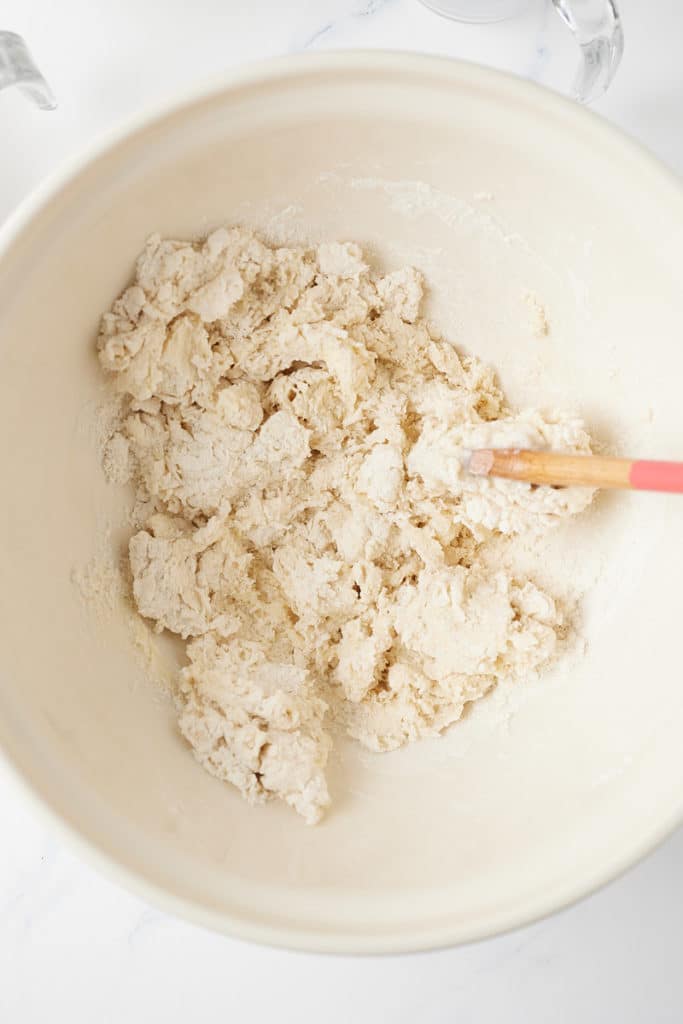
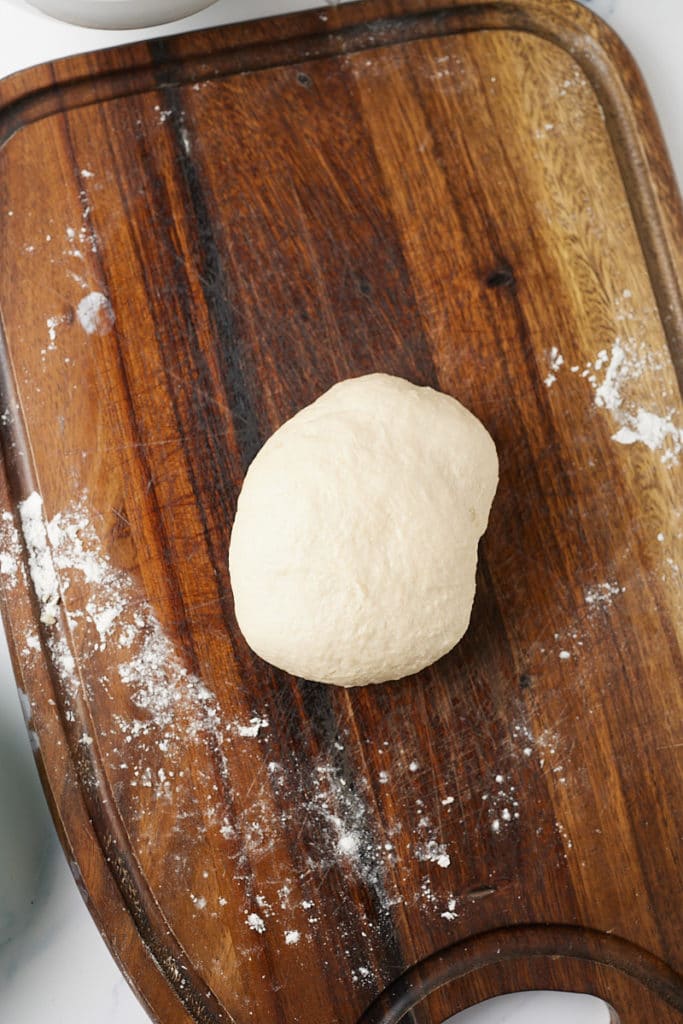
- Add bread flour, remaining granulated sugar, and salt to a large bowl. Mix until combined. Add yeast mixture, milk, and 3 Tablespoons of softened butter and mix until combined. Use your hands to clump the dough together and place on a lightly floured surface. Knead the dough for 8-10 minutes until smooth. You could also use a stand mixer for these steps.
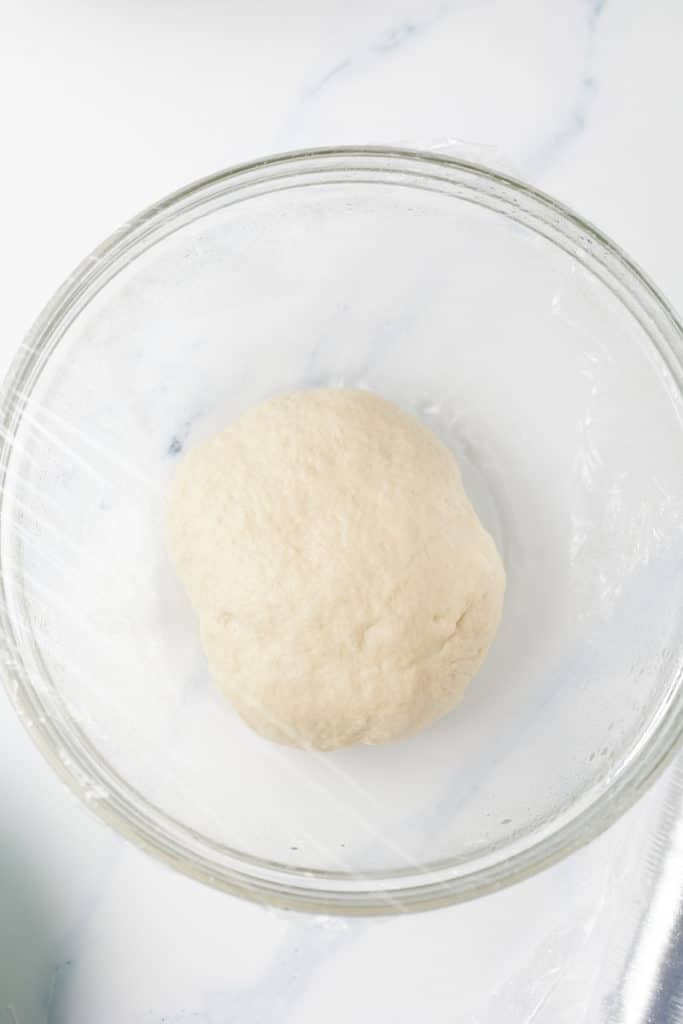
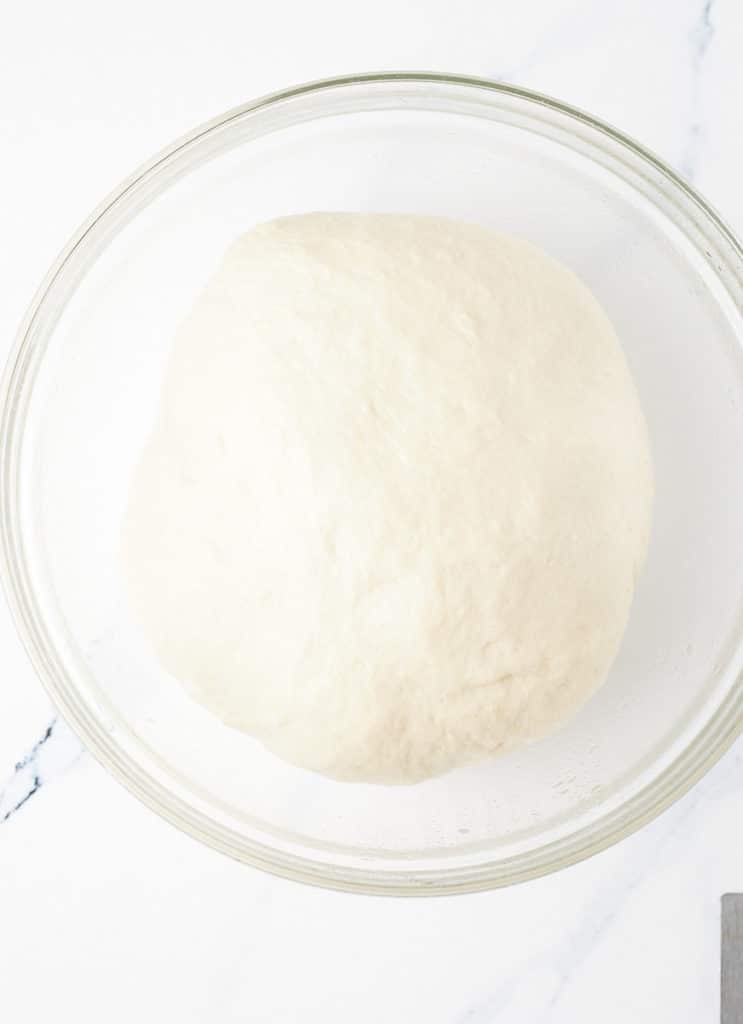
- Place dough in a greased bowl, cover with plastic wrap, and allow it to proof in a warm area until it’s almost double in size, about 1 - 1 ½ hours.
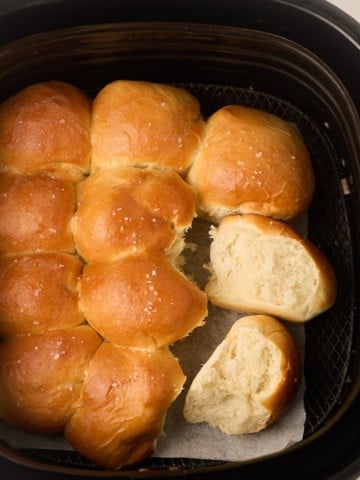
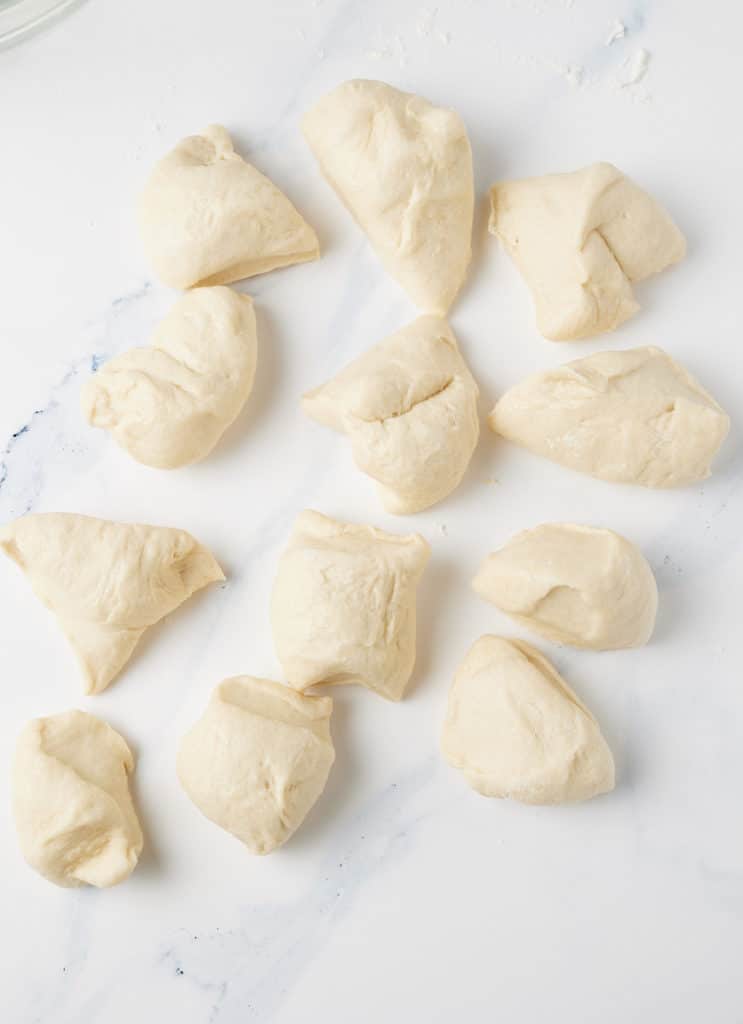
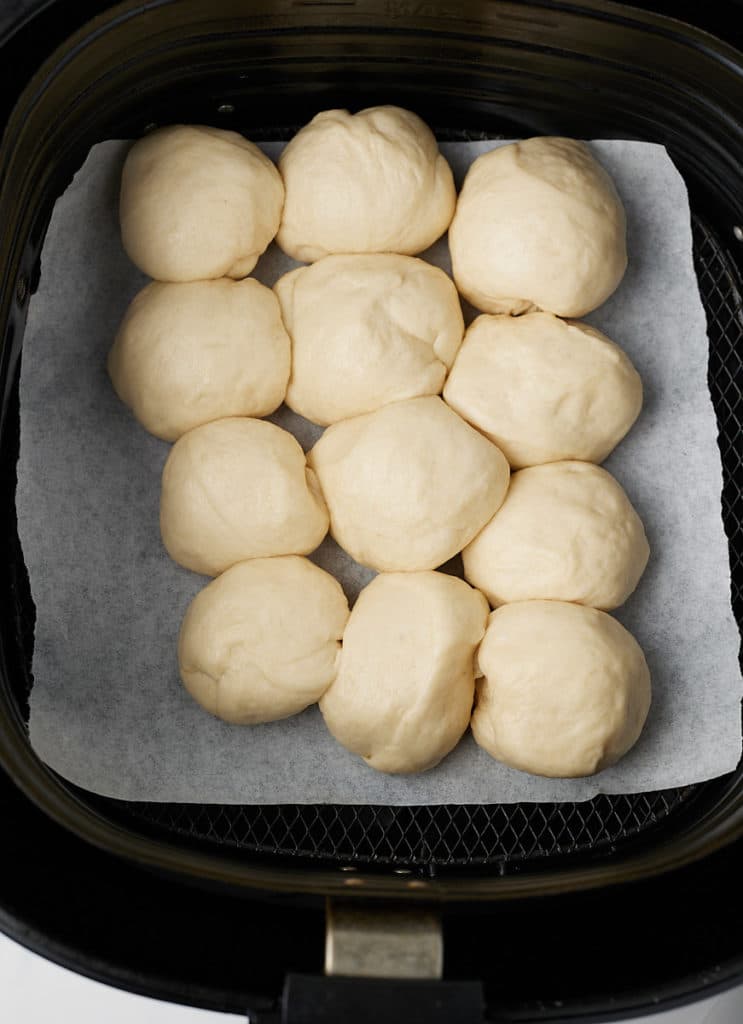
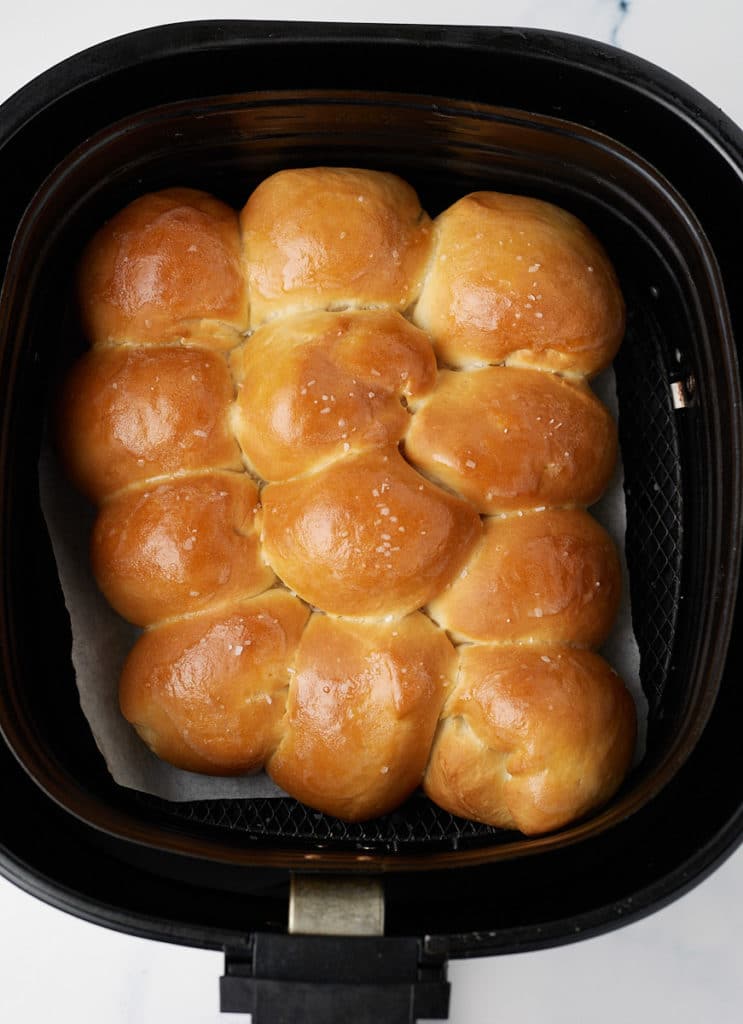
- Meanwhile, line the bottom of the air fryer basket with parchment paper. DO NOT turn on the air fryer at this time. Place proofed dough on a lightly floured surface and cut dough into 12 equal pieces. Roll each piece into a roll and place them in the lined air fryer basket next to each other, with the sides touching. Close the air fryer. DO NOT start the air fryer at this time. Allow the rolls to rise again for 45 minutes to 1 hour in the closed air fryer that is off.
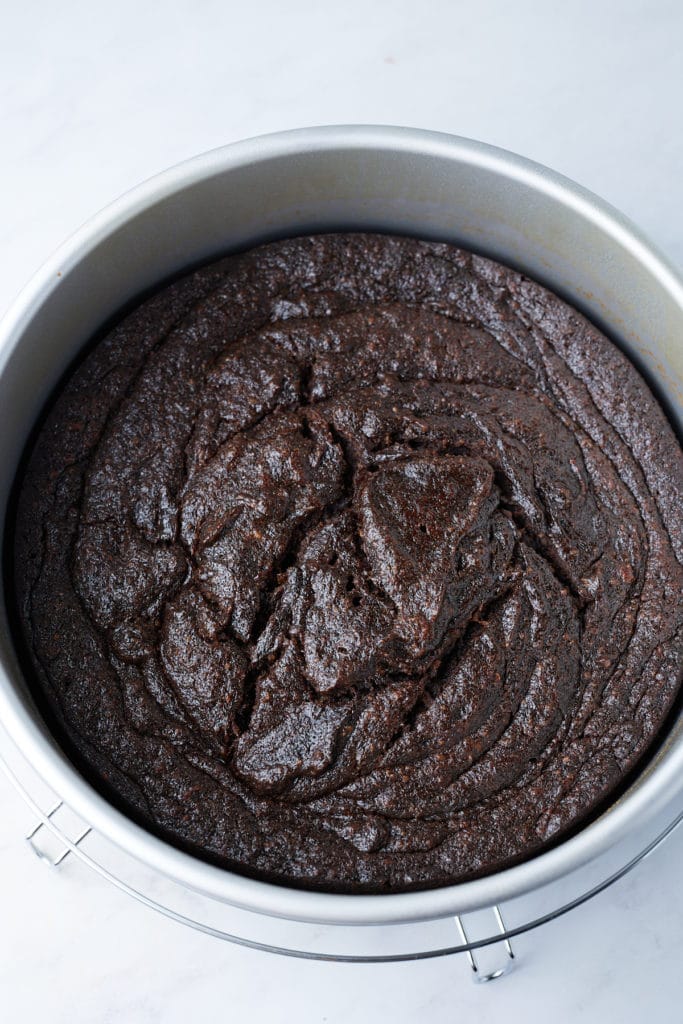
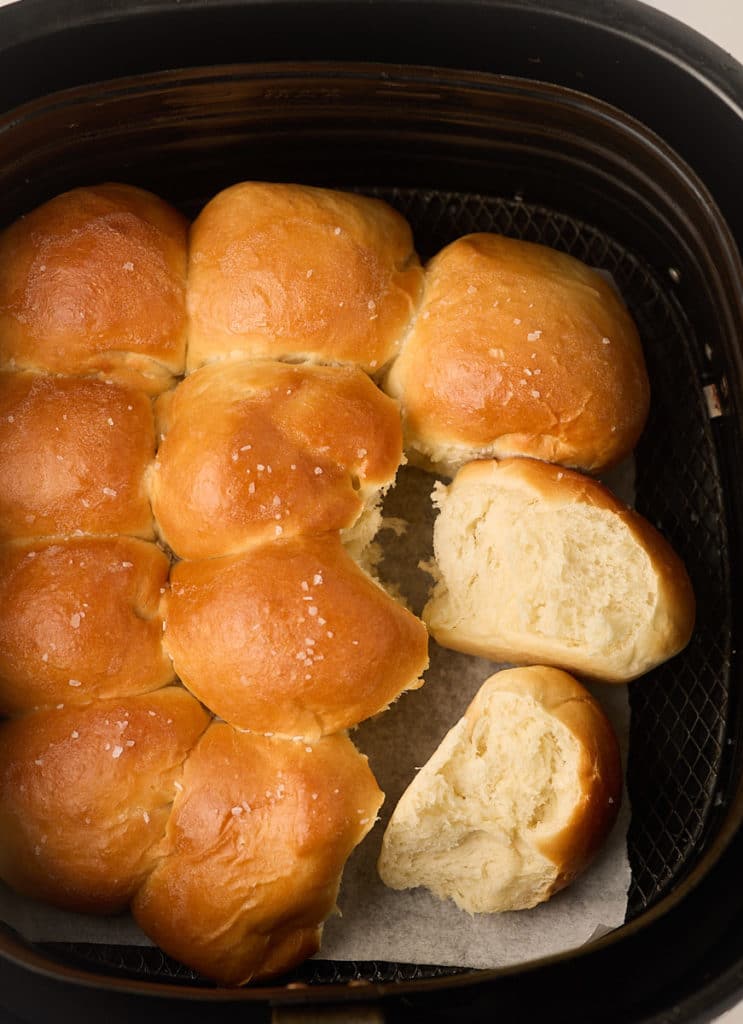
- When ready to air fry, turn on the air fryer and set the temperature to 300 degrees Fahrenheit and bake for 15-18 minutes until the rolls are done, and golden on top.
- Brush the rolls with the remaining butter and sprinkle with coarse kosher salt or sea salt if desired. Enjoy.
How long do dinner rolls stay fresh?
You can of course enjoy these dinner rolls straight away, but they are a great option to make ahead of time so they're ideal for Thanksgiving and Christmas. Let the rolls cool fully before transferring them to an airtight container. They will keep well at room temperature for 4 to 5 days, I don't recommend storing them in the fridge as this can dry them out. You can serve them at room temperature or warm them through in the air fryer at 360F for a minute or two.
Can you freeze them?
Yes! These freeze really well and will keep for up to 6 months. Be sure to wrap them well in plastic wrap and then place them in a freezer bag to protect them from freezer burn. You can thaw them at room temperature for a couple of hours before serving. Thaw them on a rack so that they don't get soggy when they defrost.
What do you serve them with?
These air fryer dinner rolls are the perfect bread side dish to serve up with your Thanksgiving or holiday dinner, they are also great for everyday use served with soups and chilis. Try them alongside my other favorite Thanksgiving recipes:
- Homemade Honey Butter
- Roasted Air Fryer Turkey Breast
- Cranberry Sauce
- Garlic Mashed Potatoes
- Giblet Gravy
Recipe Notes and Tips
- This dough can be made in a stand mixer. Follow the directions and knead dough in the stand mixer with a dough hook for 7-8 minutes.
- It’s best to use a scale to weigh the flour in this recipe. However, if you don’t have a scale, cups will work fine. Just make sure to spoon the flour into the cup and level it before placing it in the bowl.
- All-purpose flour can be used instead of bread flour if needed.
- Don't skip the rising times, this is what results in light and fluffy dinner rolls.
- You do not need to preheat the air fryer for this recipe.
- Different air fryer models can run slightly differently, so cooking times may vary slightly. Check them at around 15 minutes.

More Bread Recipes

Soft Air Fryer Dinner Rolls
Ingredients
- ¼ cup water warmed (100F - 110F)
- 2 ¼ teaspoons active dry yeast 1 packet
- 3 Tablespoons granulated white sugar divided
- 2 ¼ cup Bread flour spooned and leveled (281g)
- 1 teaspoon salt
- ½ cup milk
- 4 Tablespoons softened unsalted butter divided
- Coarse salt for sprinkling on top optional
Instructions
- Add water, yeast, and 1 teaspoon of granulated white sugar to a small measuring cup. Stir and set aside for 10 minutes, until the yeast has bloomed.
- Add bread flour, remaining granulated sugar, and salt to a large bowl. Mix until combined. Add yeast mixture, milk, and 3 Tablespoons of softened butter and mix until combined. Use your hands to clump the dough together and place on a lightly floured surface. Knead the dough for 8-10 minutes until smooth. You could also use a stand mixer for this step.
- Place dough in a greased bowl, cover with plastic wrap, and allow it to proof in a warm area until it’s almost double in size, about 1 - 1 ½ hours.
- Meanwhile, line the bottom of the air fryer basket with parchment paper. DO NOT turn on the air fryer at this time. Place dough on lightly floured surface and cut dough into 12 equal pieces. Roll each piece into a roll and place them in the lined air fryer basket next to each other, with the sides touching. Close the air fryer. DO NOT start the air fryer at this time. Allow the rolls to rise again for 45 minutes to 1 hour in the closed air fryer that is off.
- When ready to air fry, turn on the air fryer and set the temperature to 300 degrees Fahrenheit and bake for 15-18 minutes until the rolls are done, and golden on top.
- Brush the rolls with the remaining butter and sprinkle with coarse kosher salt or sea salt if desired. Enjoy.
Video
Notes
- This dough can be made in a stand mixer. Follow the directions and knead dough in the stand mixer with a dough hook for 7-8 minutes.
- It’s best to use a scale to weigh the flour in this recipe. However, if you don’t have a scale, cups will work fine. Just make sure to spoon the flour into the cup and level it before placing it in the bowl.
- All-purpose flour can be used instead of bread flour if needed.
- Don't skip the rising times, this is what results in light and fluffy dinner rolls.
- You do not need to preheat the air fryer for this recipe.
- Different air fryer models can run slightly differently, so cooking times may vary slightly. Check them at around 15 minutes.