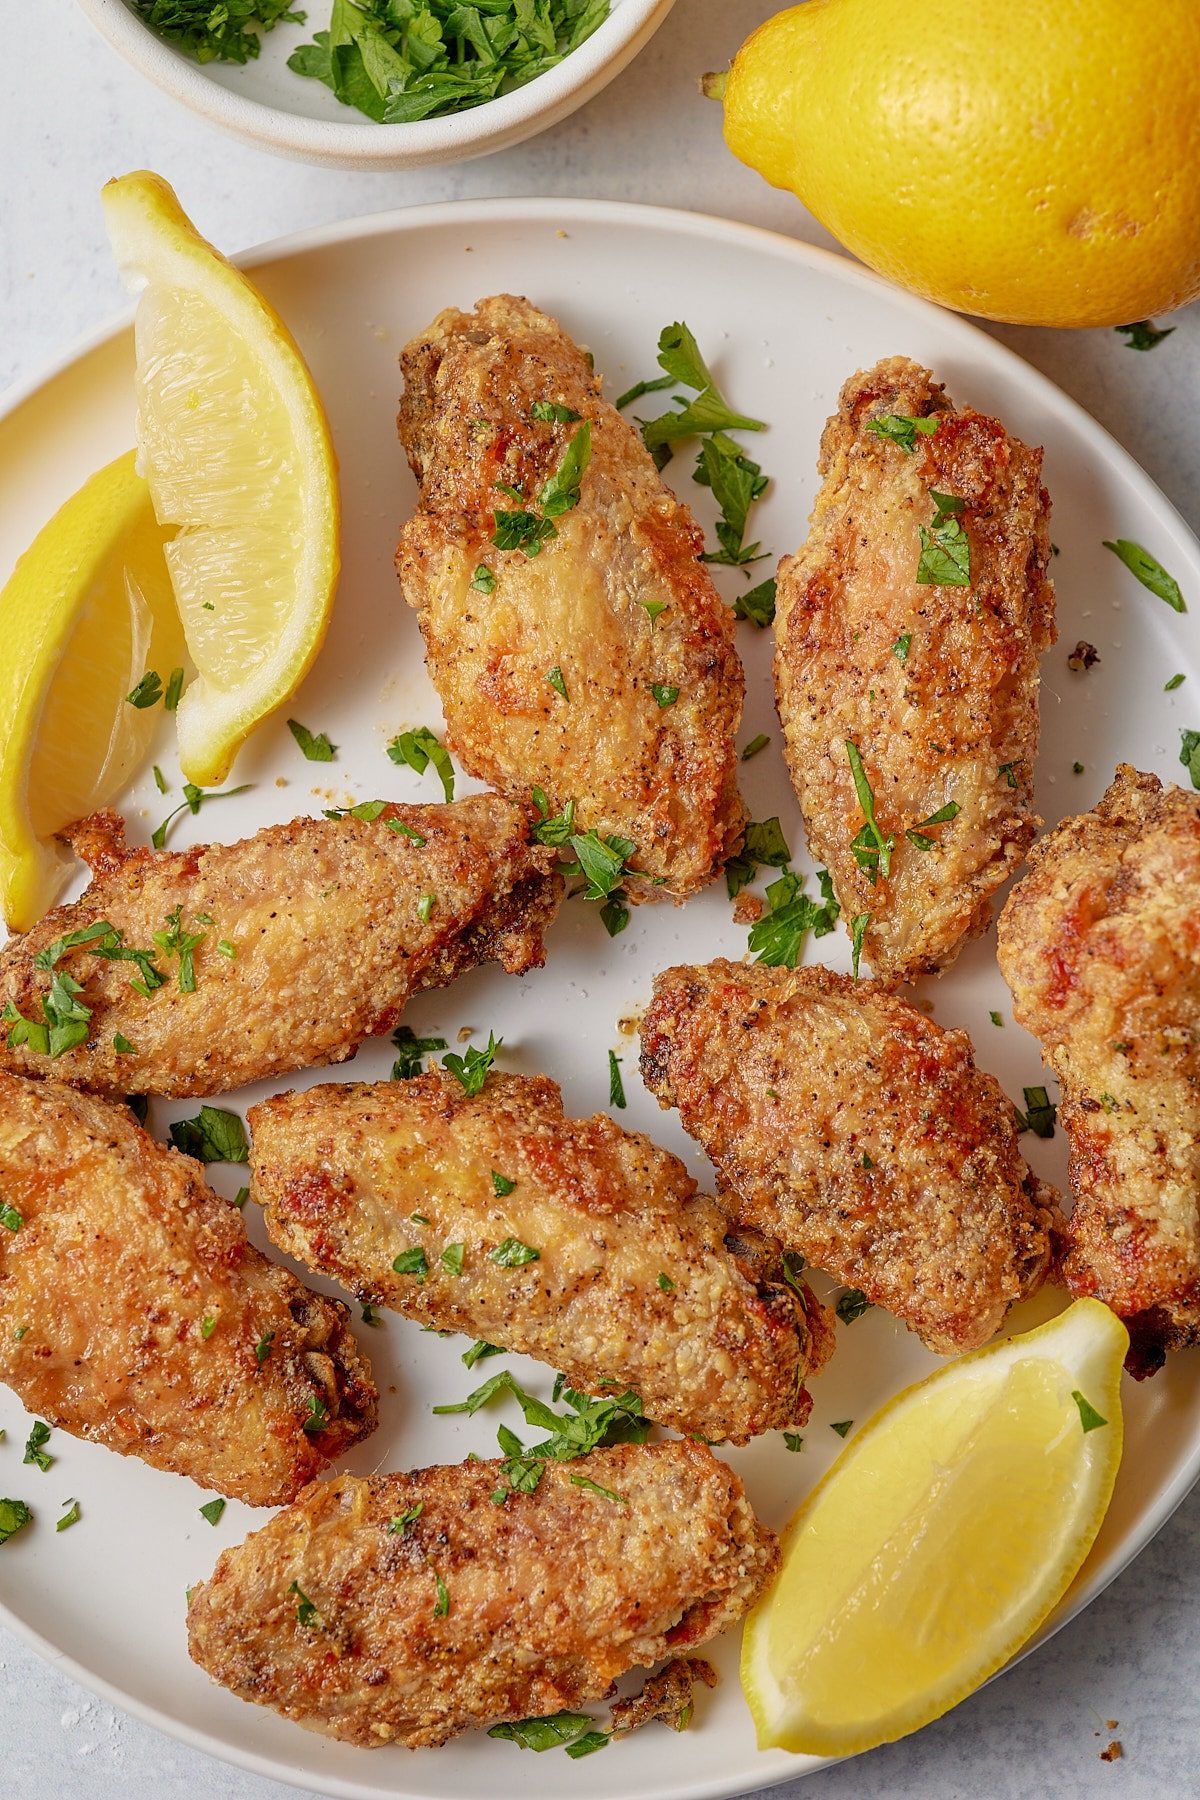
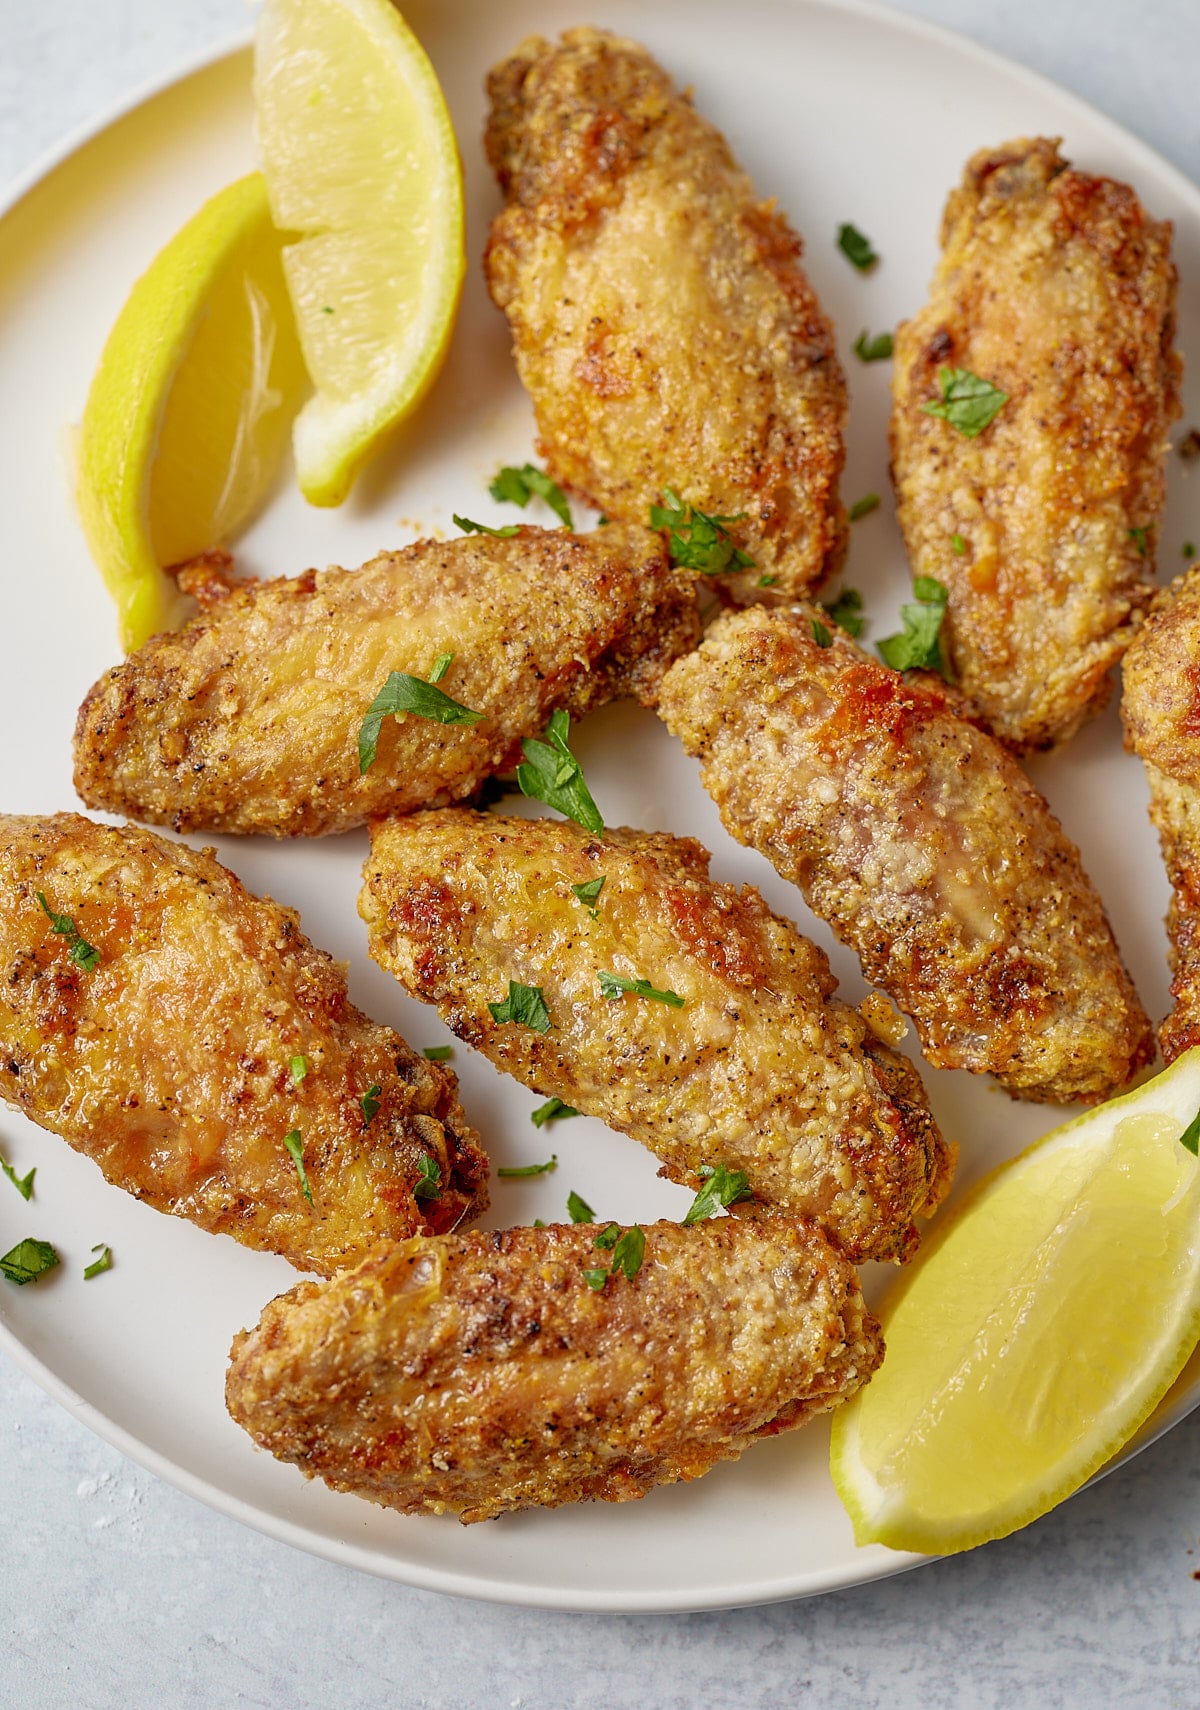
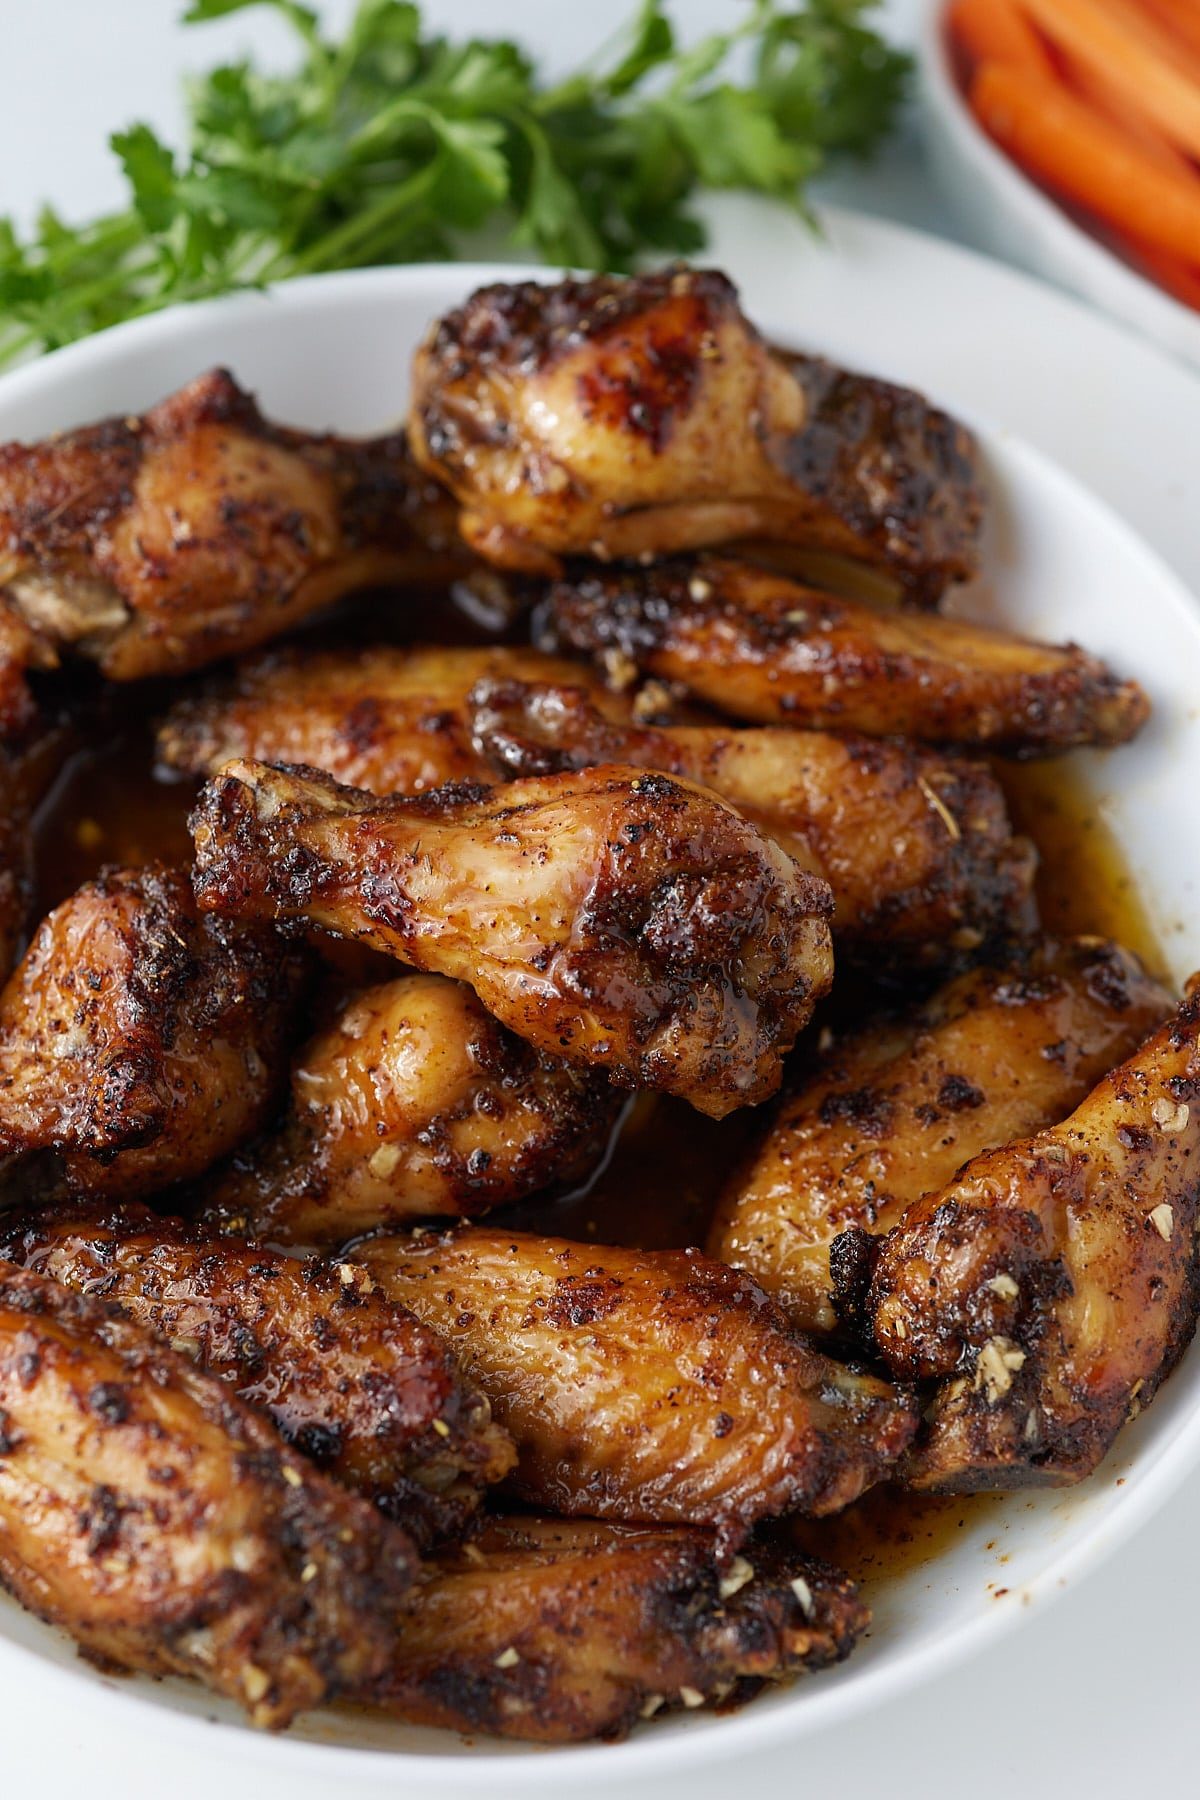
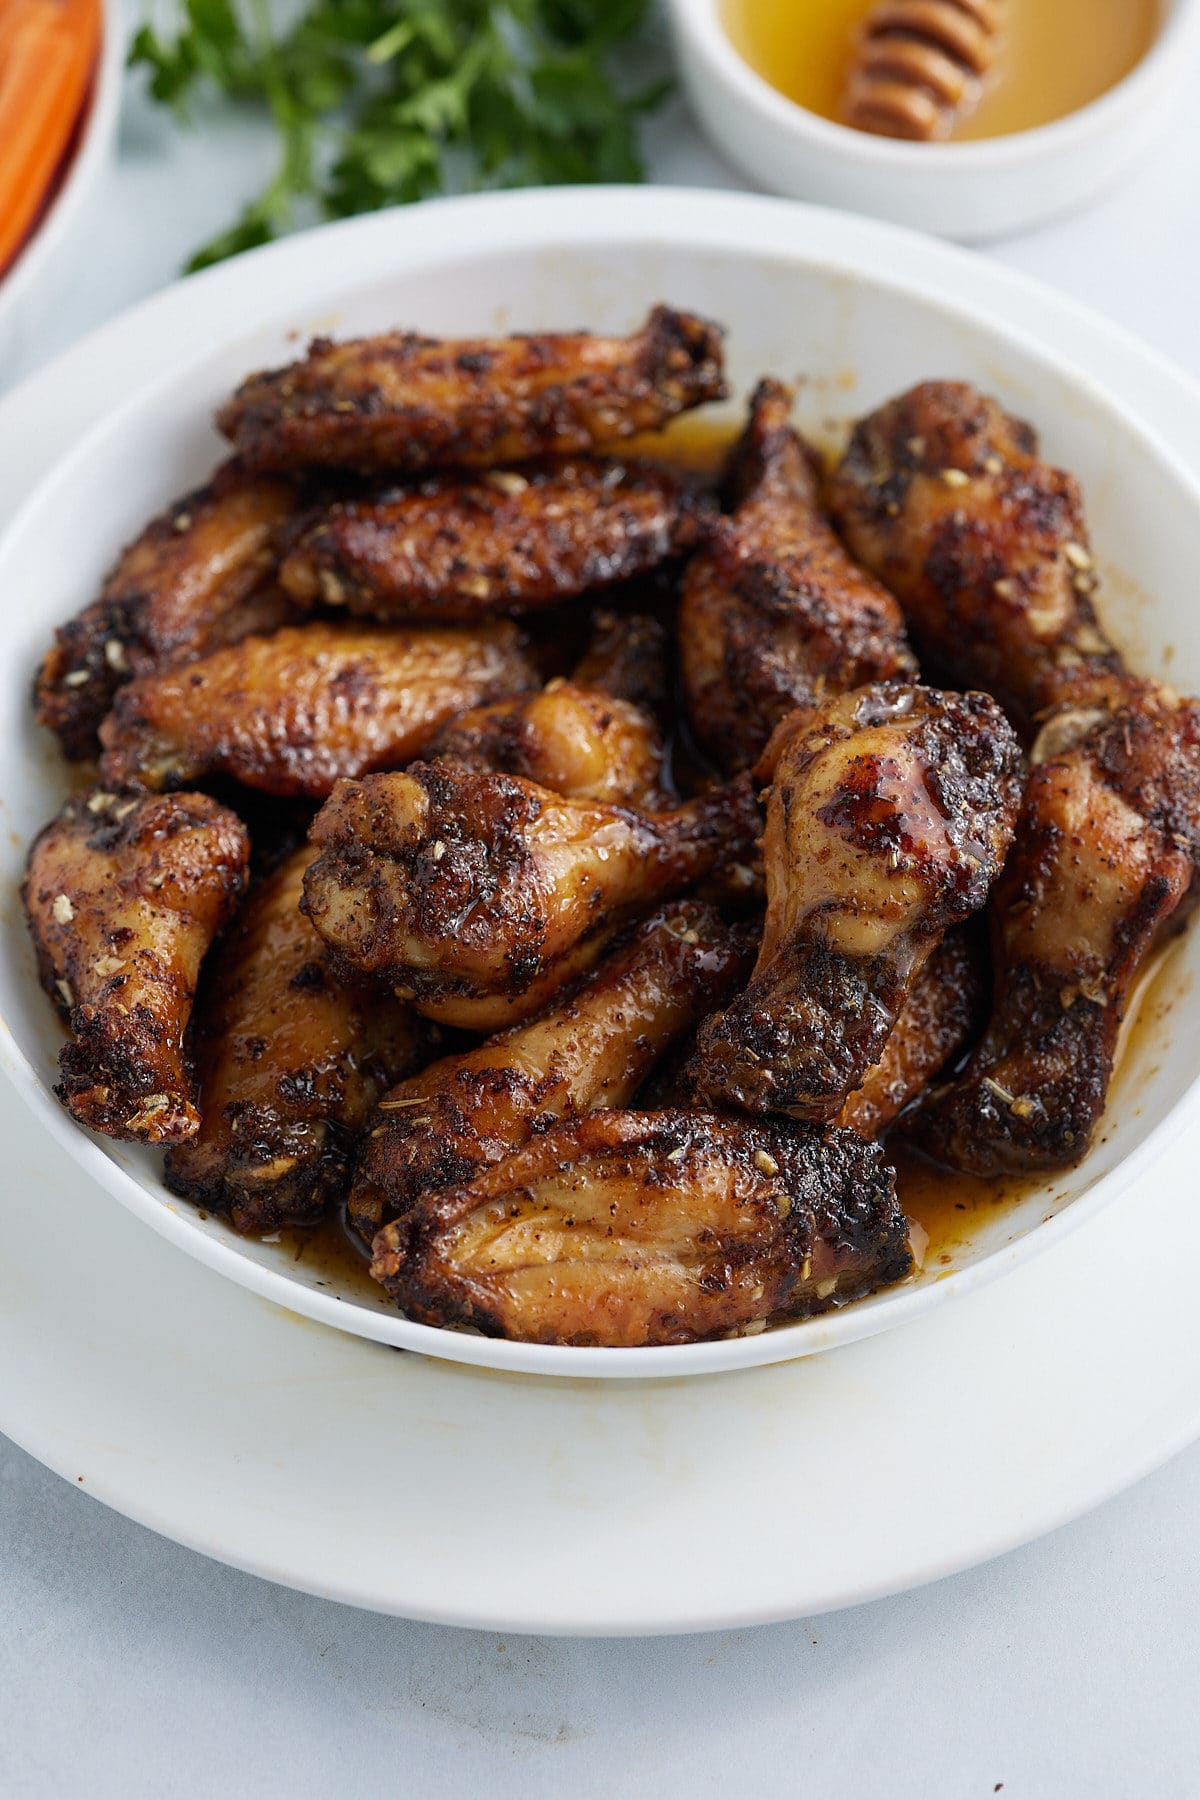
Perfectly sweet and totally addictive, these honey garlic chicken wings are so quick and easy to cook in the air fryer. Perfectly tender and juicy, the honey garlic sauce has a spicy kick that is hard to resist!
You’ll find the full recipe with ingredient amounts and instructions in the recipe card at the bottom of this post. Be sure to check out the blog post itself for extra tips and tricks!
Let's be honest, there is never a bad time for wings, whether you are watching the game or enjoying a family feast, they are always a crowd pleaser!

These honey garlic chicken wings are sweet, sticky, and really good. My only regret whenever I make them is not making more.
I like using the air fryer for these because they're done in about half the time as in the oven, and they're less hassle than deep frying. They come out tender and juicy every time.
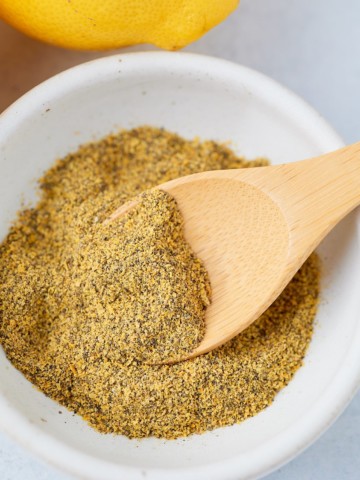
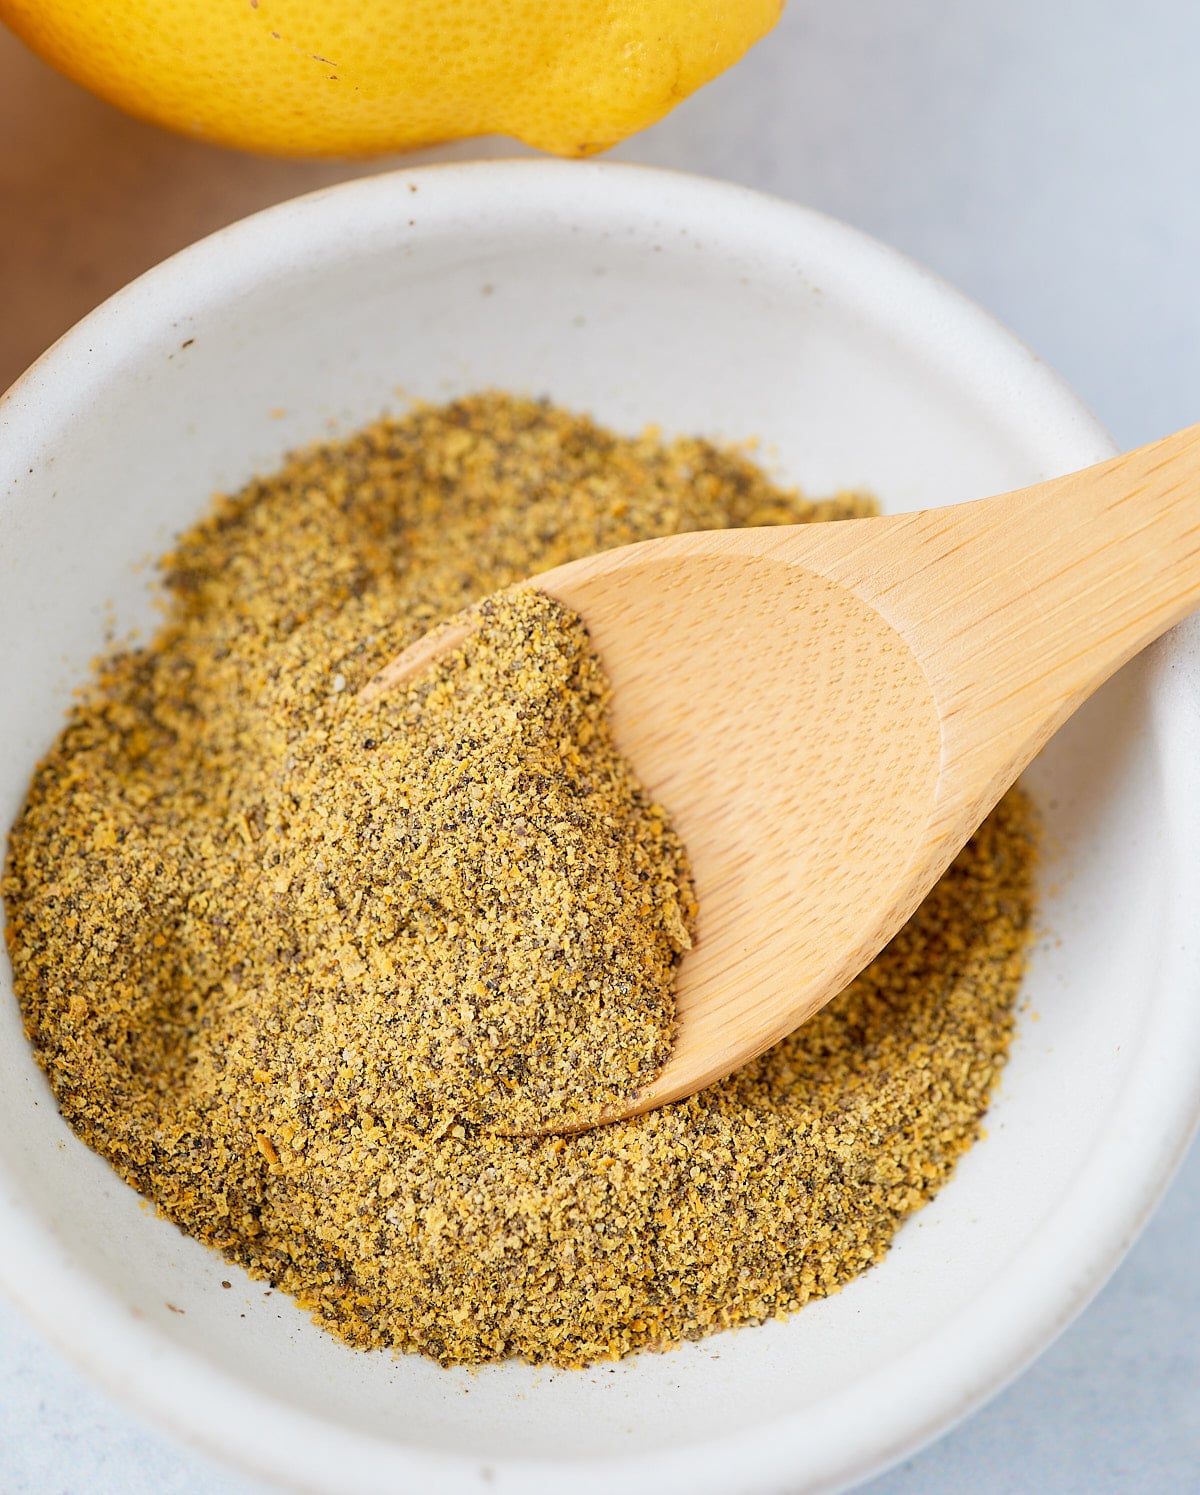
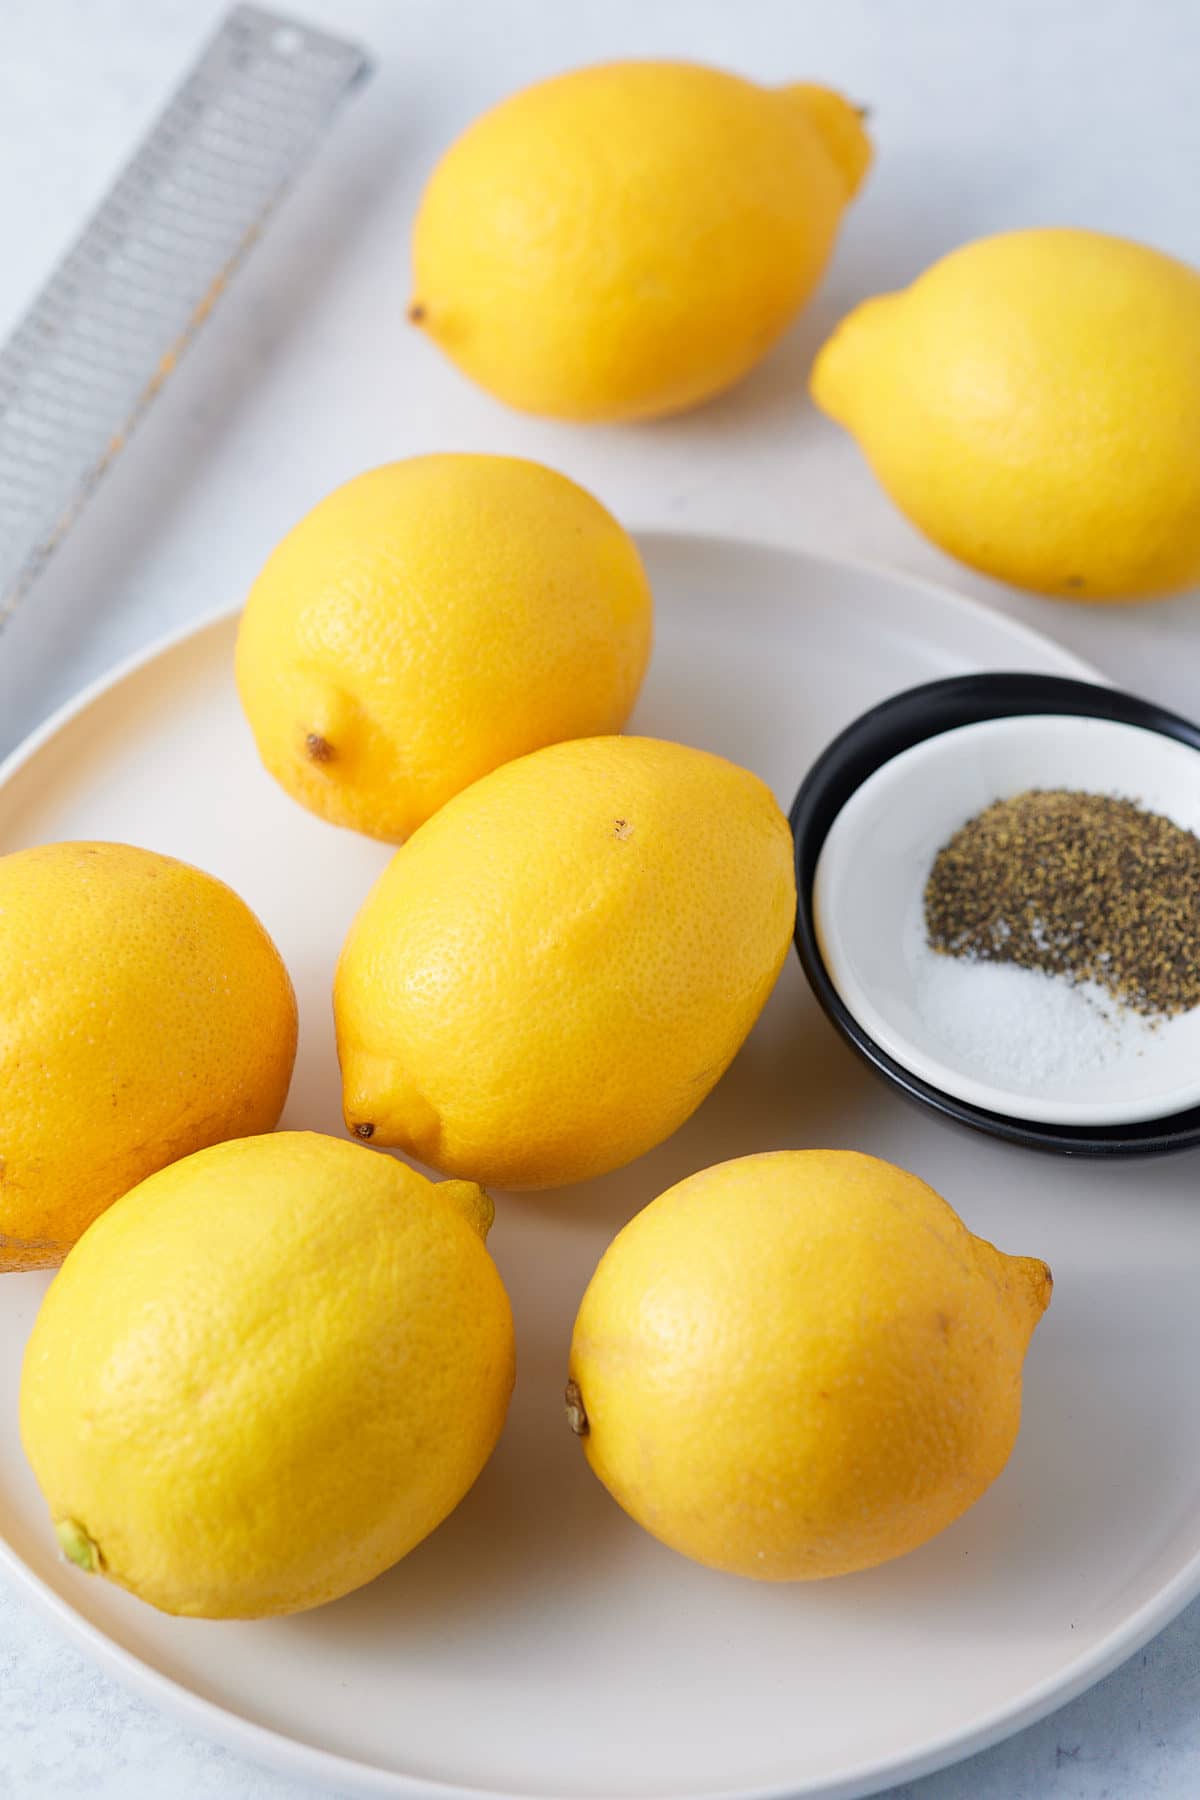
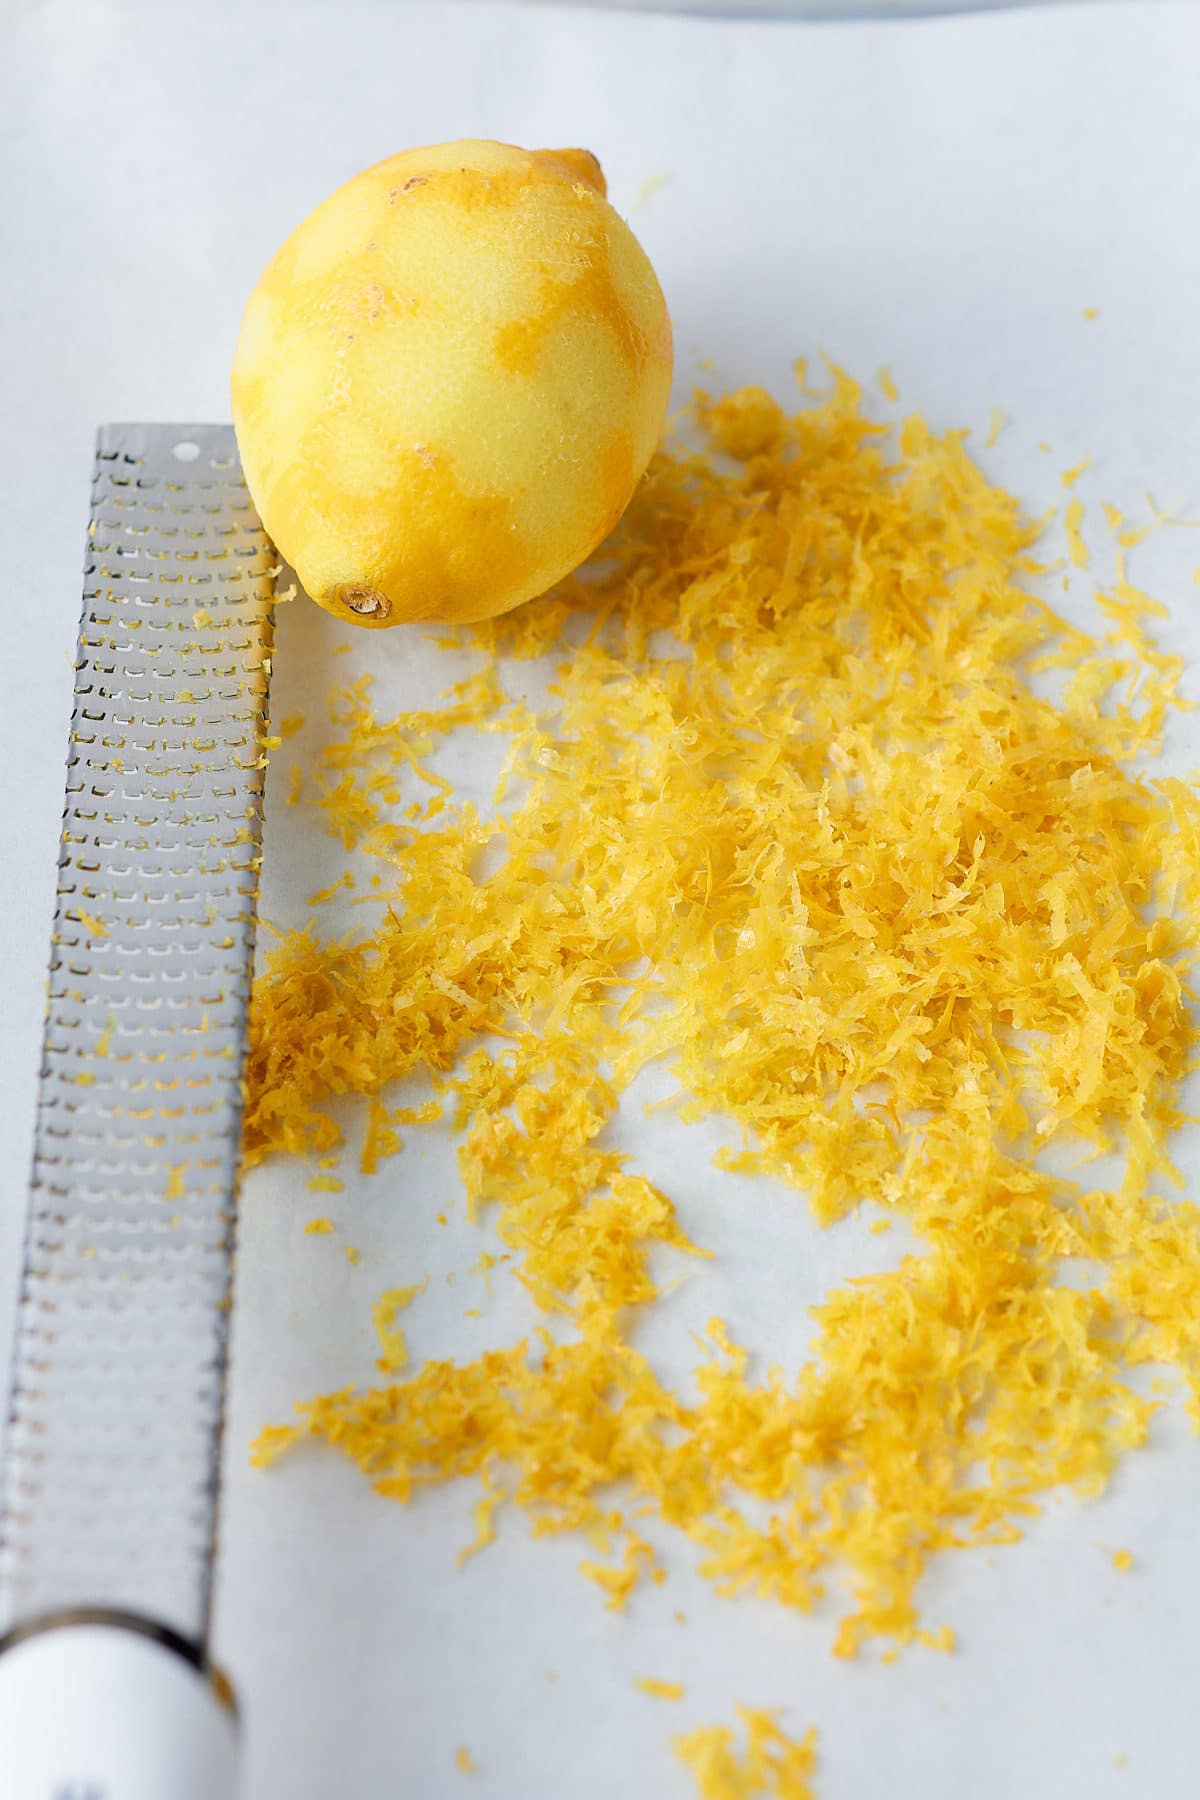
If you like these, you should also try my Lemon Pepper Chicken Wings and Garlic Parmesan Wings.
♡ Tanya
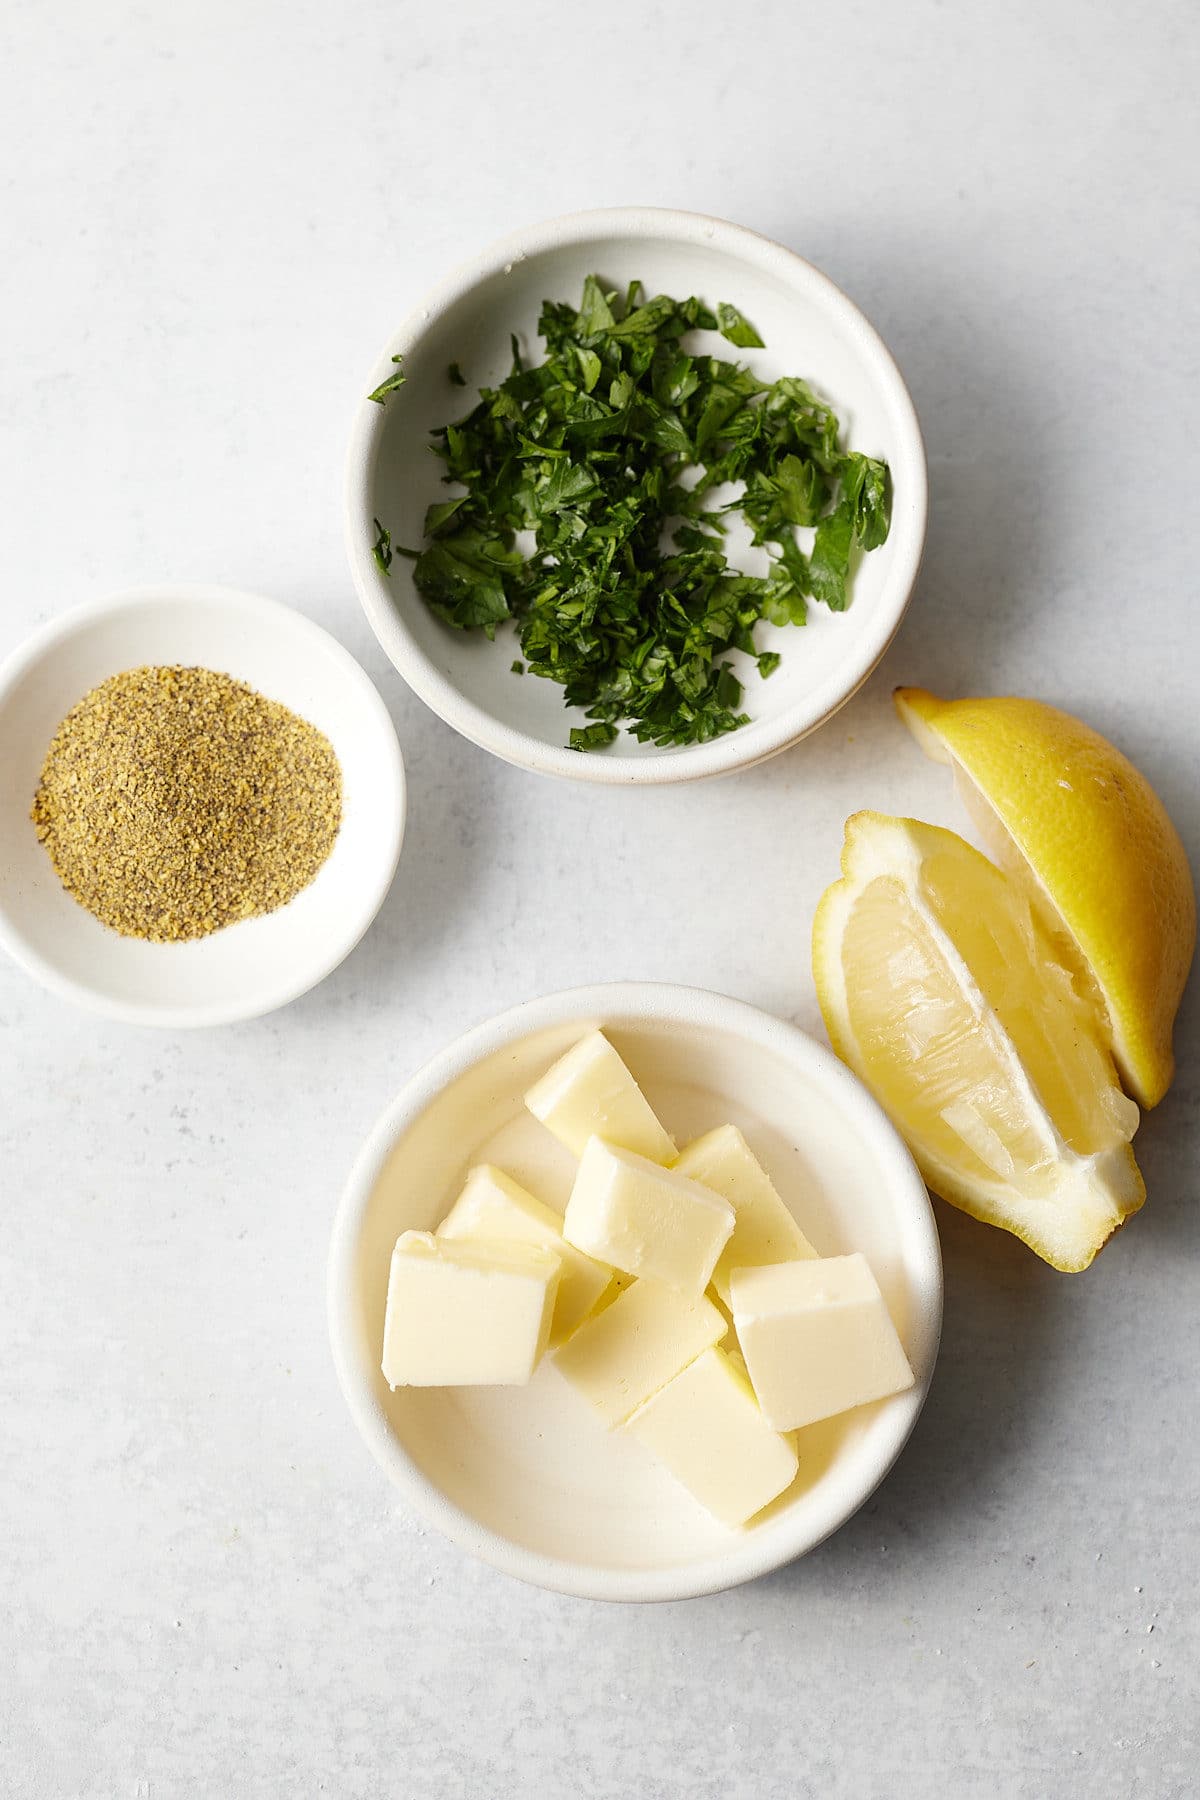
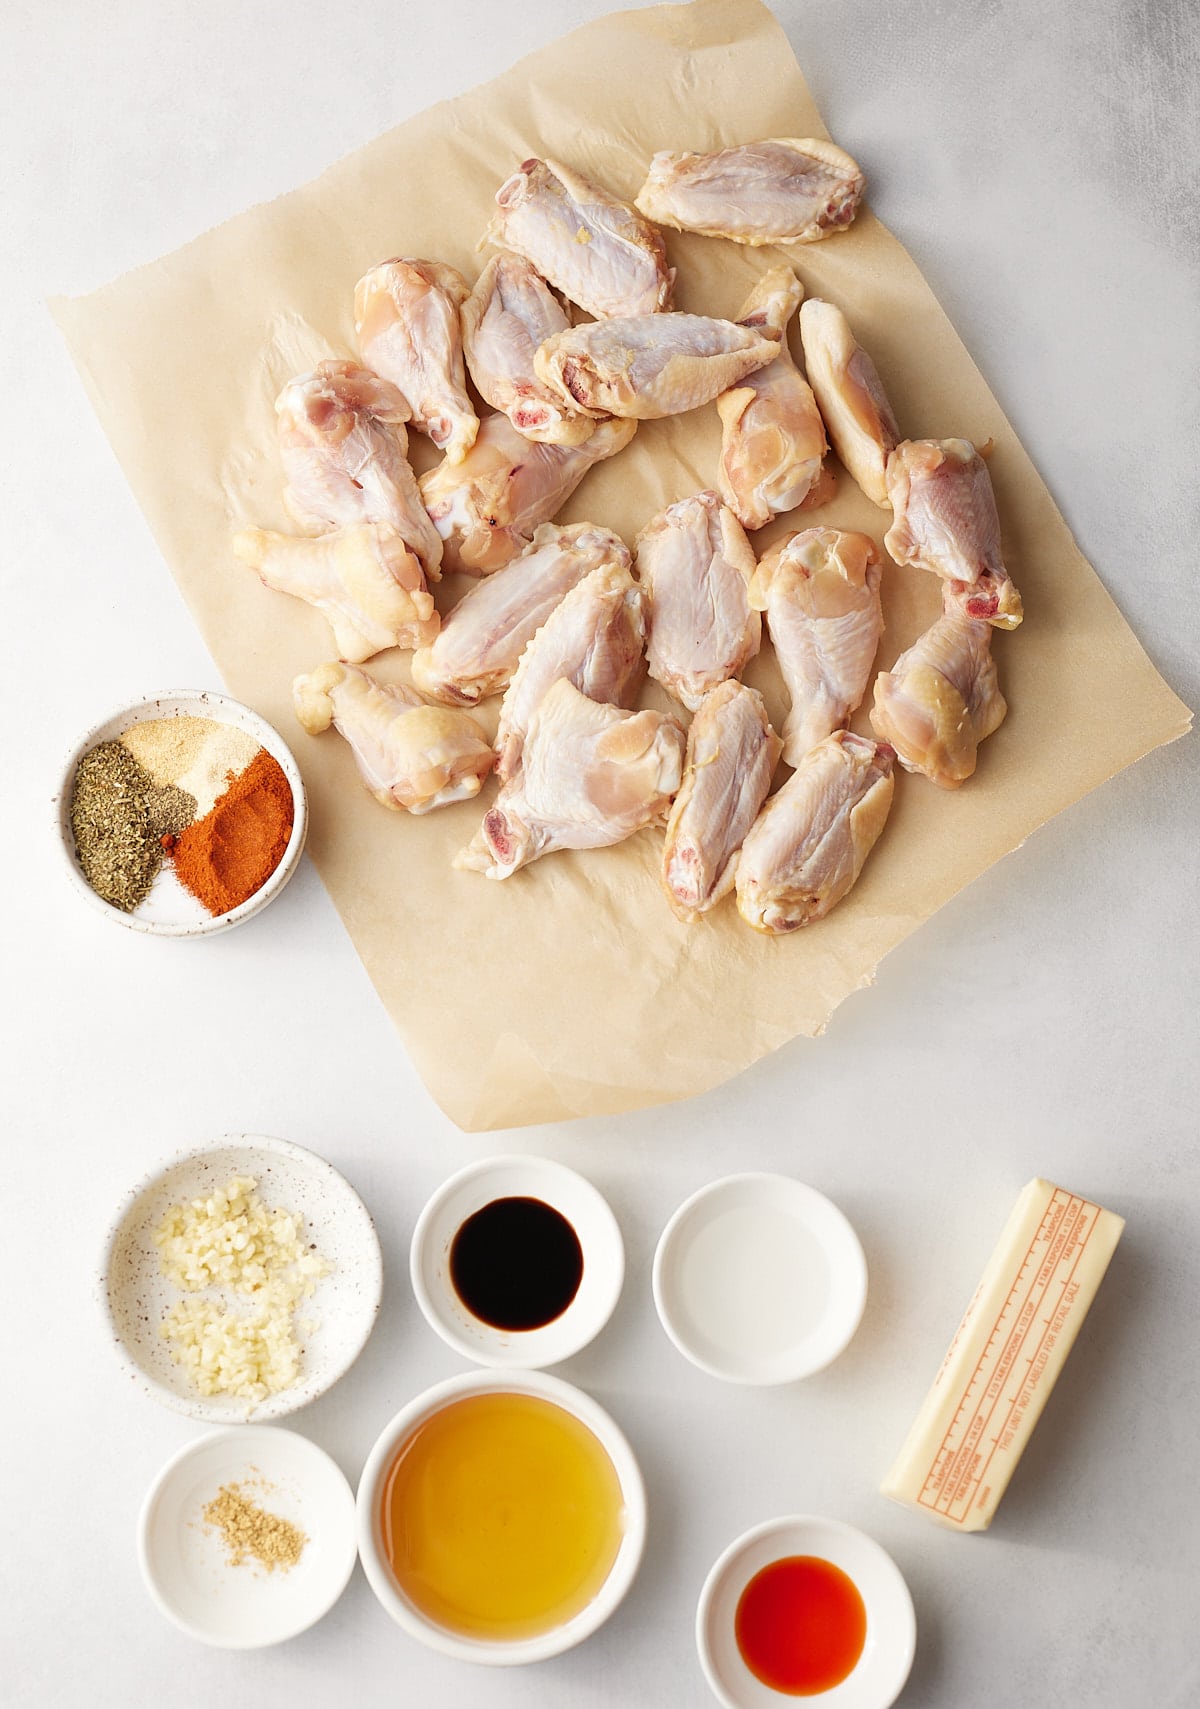
A Quick Look at The Ingredients
Ingredient amounts and full recipe instructions are on the printable recipe card at the bottom of the post.
For the Chicken:
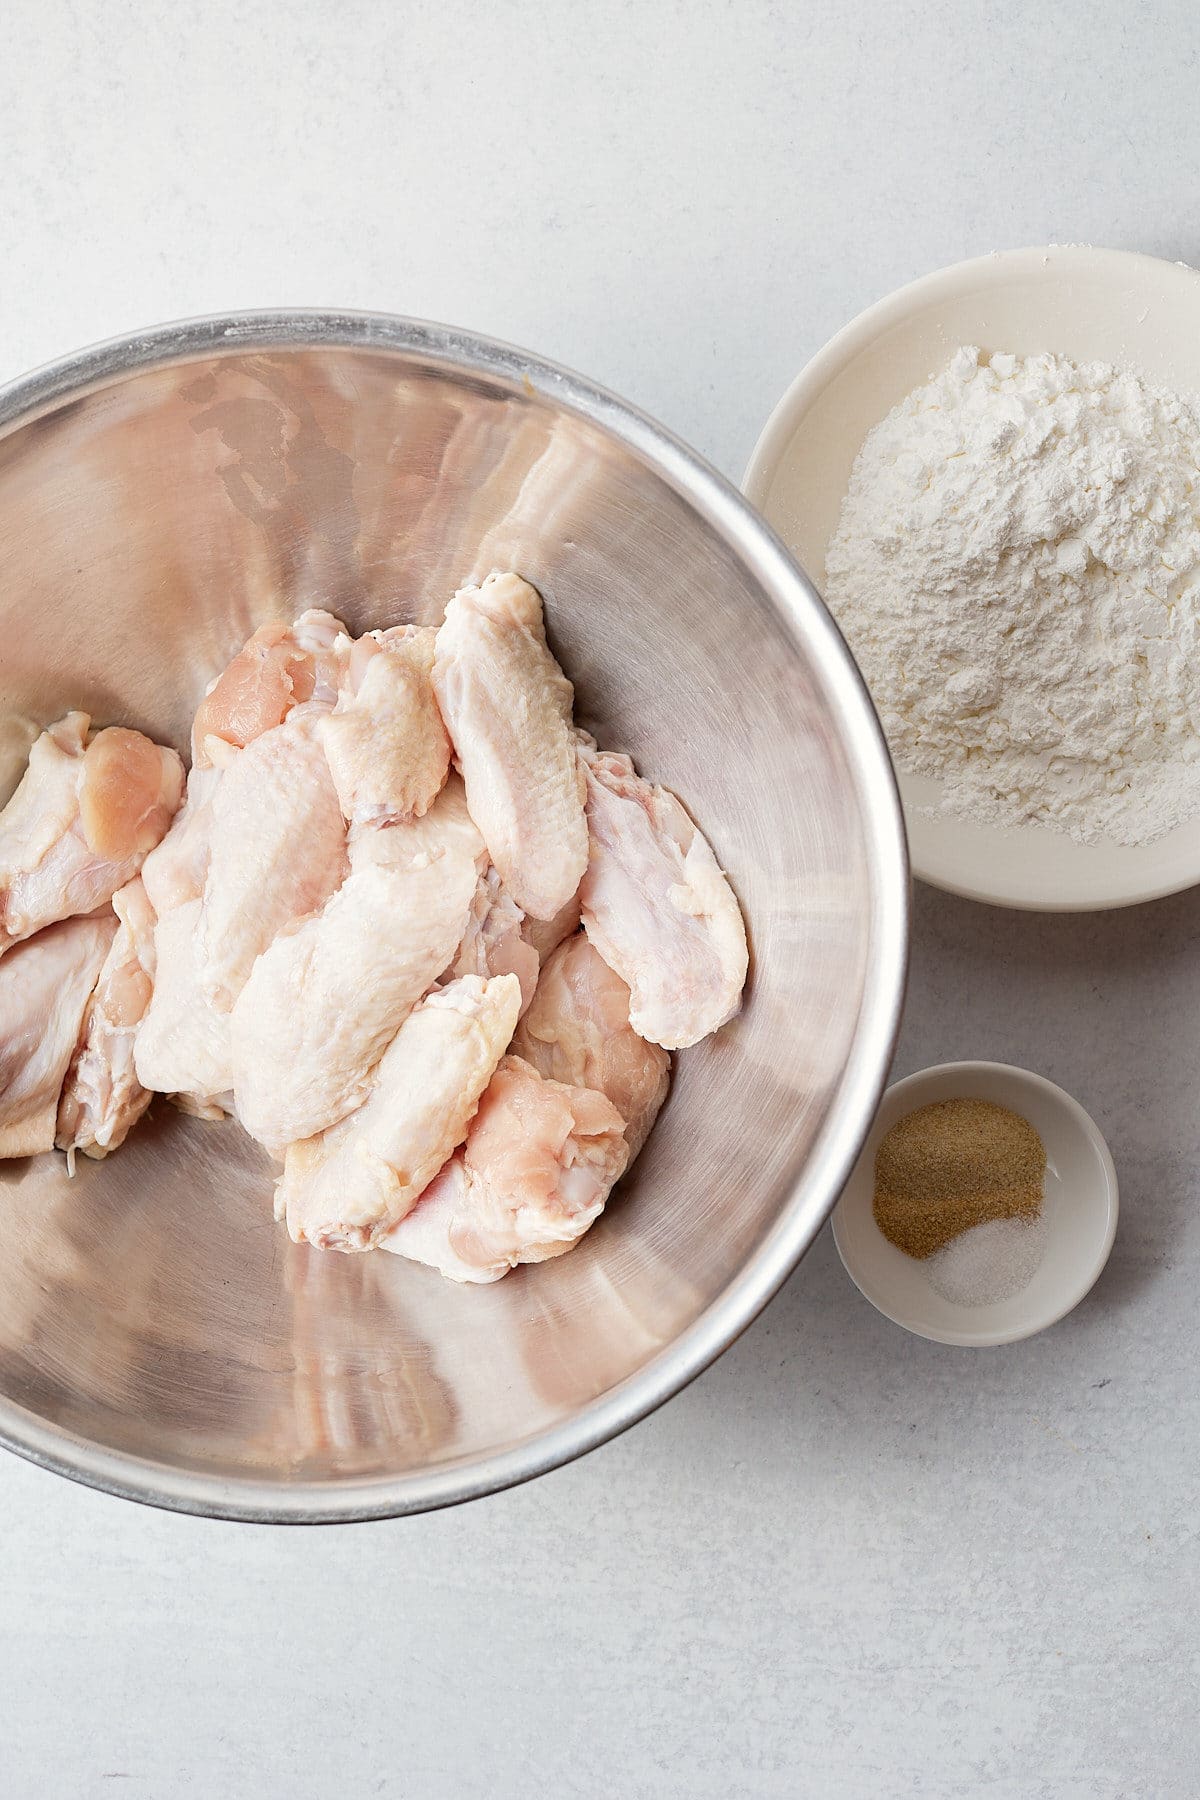
- Chicken wings – Pat them dry before seasoning so they crisp up beautifully in the oven or air fryer.
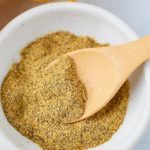
- Seasoning blend – A mix of salt, black pepper, garlic powder, onion powder, paprika, and Italian seasoning adds layers of flavor and color before the sauce even goes on.
For the Sauce:
- Butter and garlic – Create the rich, savory base for the sauce.
- Honey – Adds that sticky sweetness that clings perfectly to each wing.
- Soy sauce and vinegar – Balance the sweetness with a little salt and a touch of tang.
- Hot sauce – For a gentle heat that rounds out the flavor.
- Ground ginger – Adds a subtle warmth that ties everything together.
How to make Honey Garlic Chicken Wings
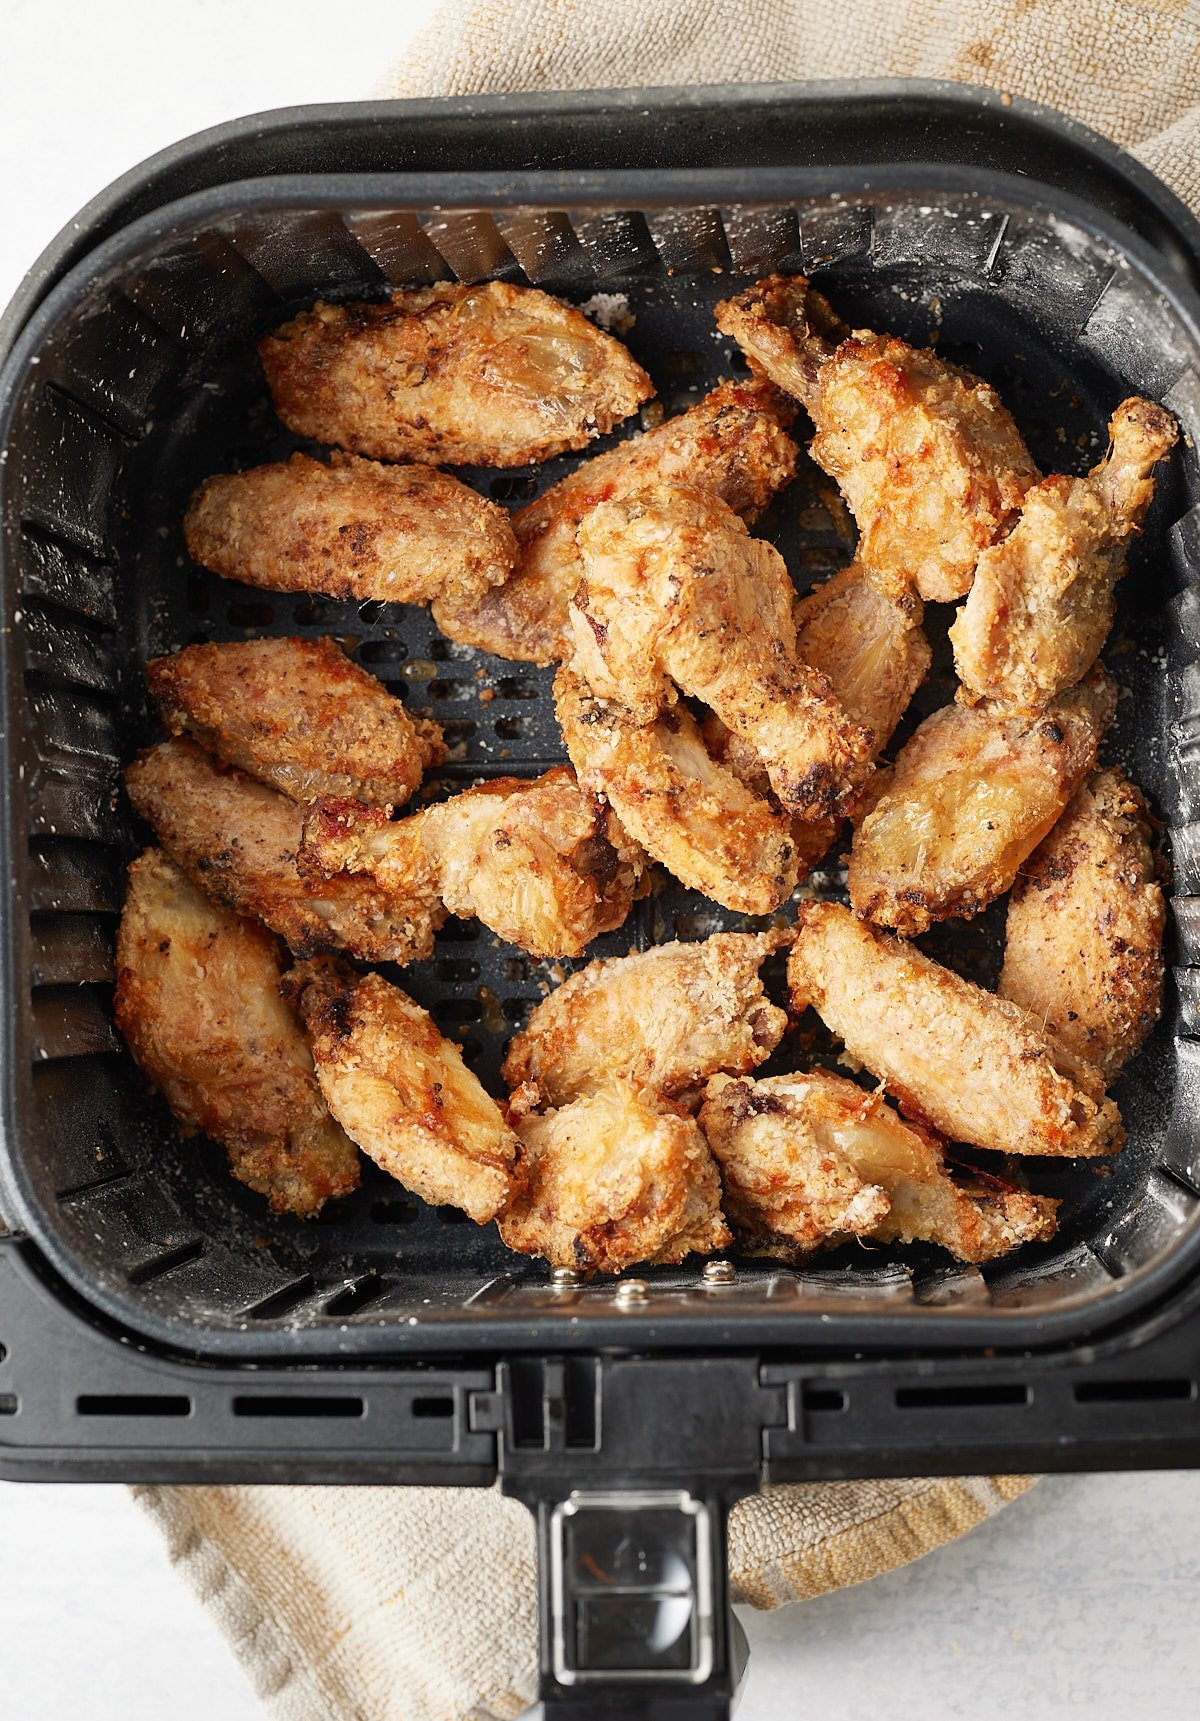
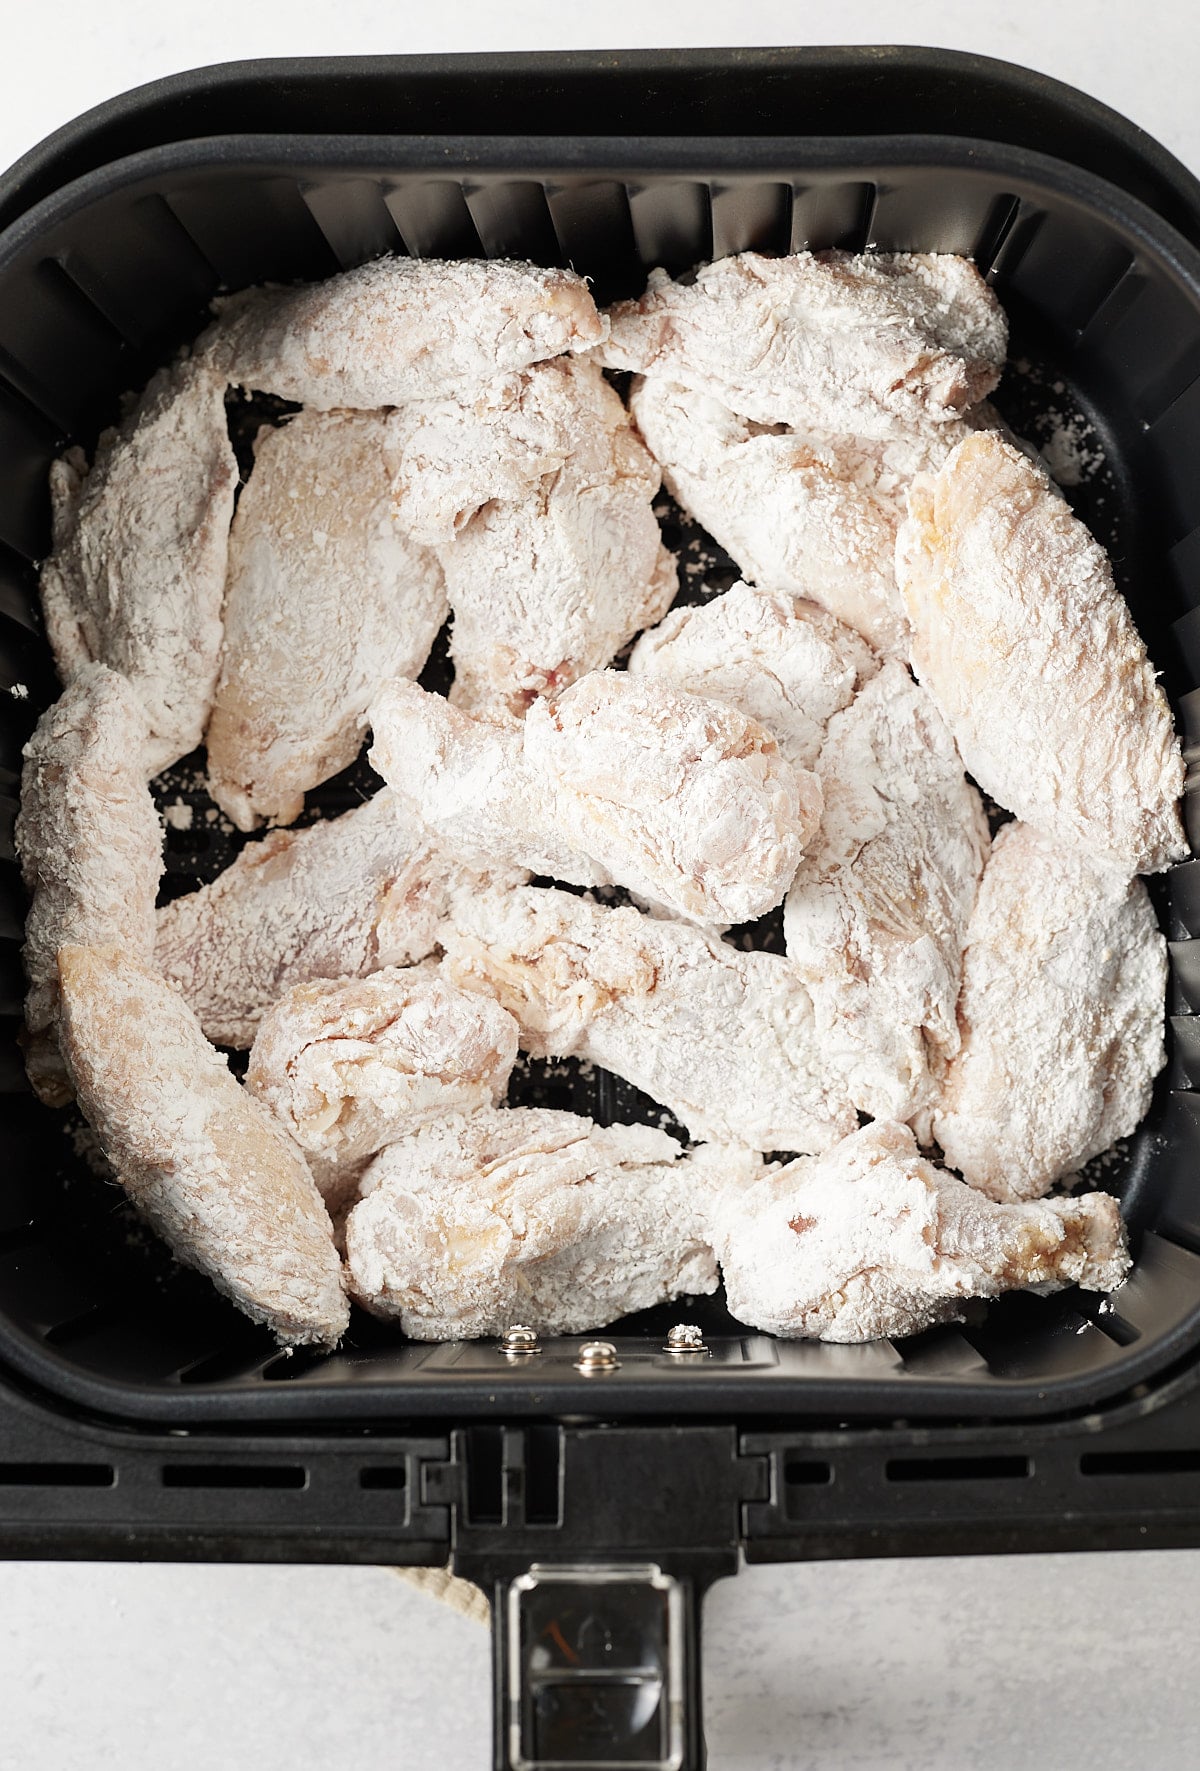
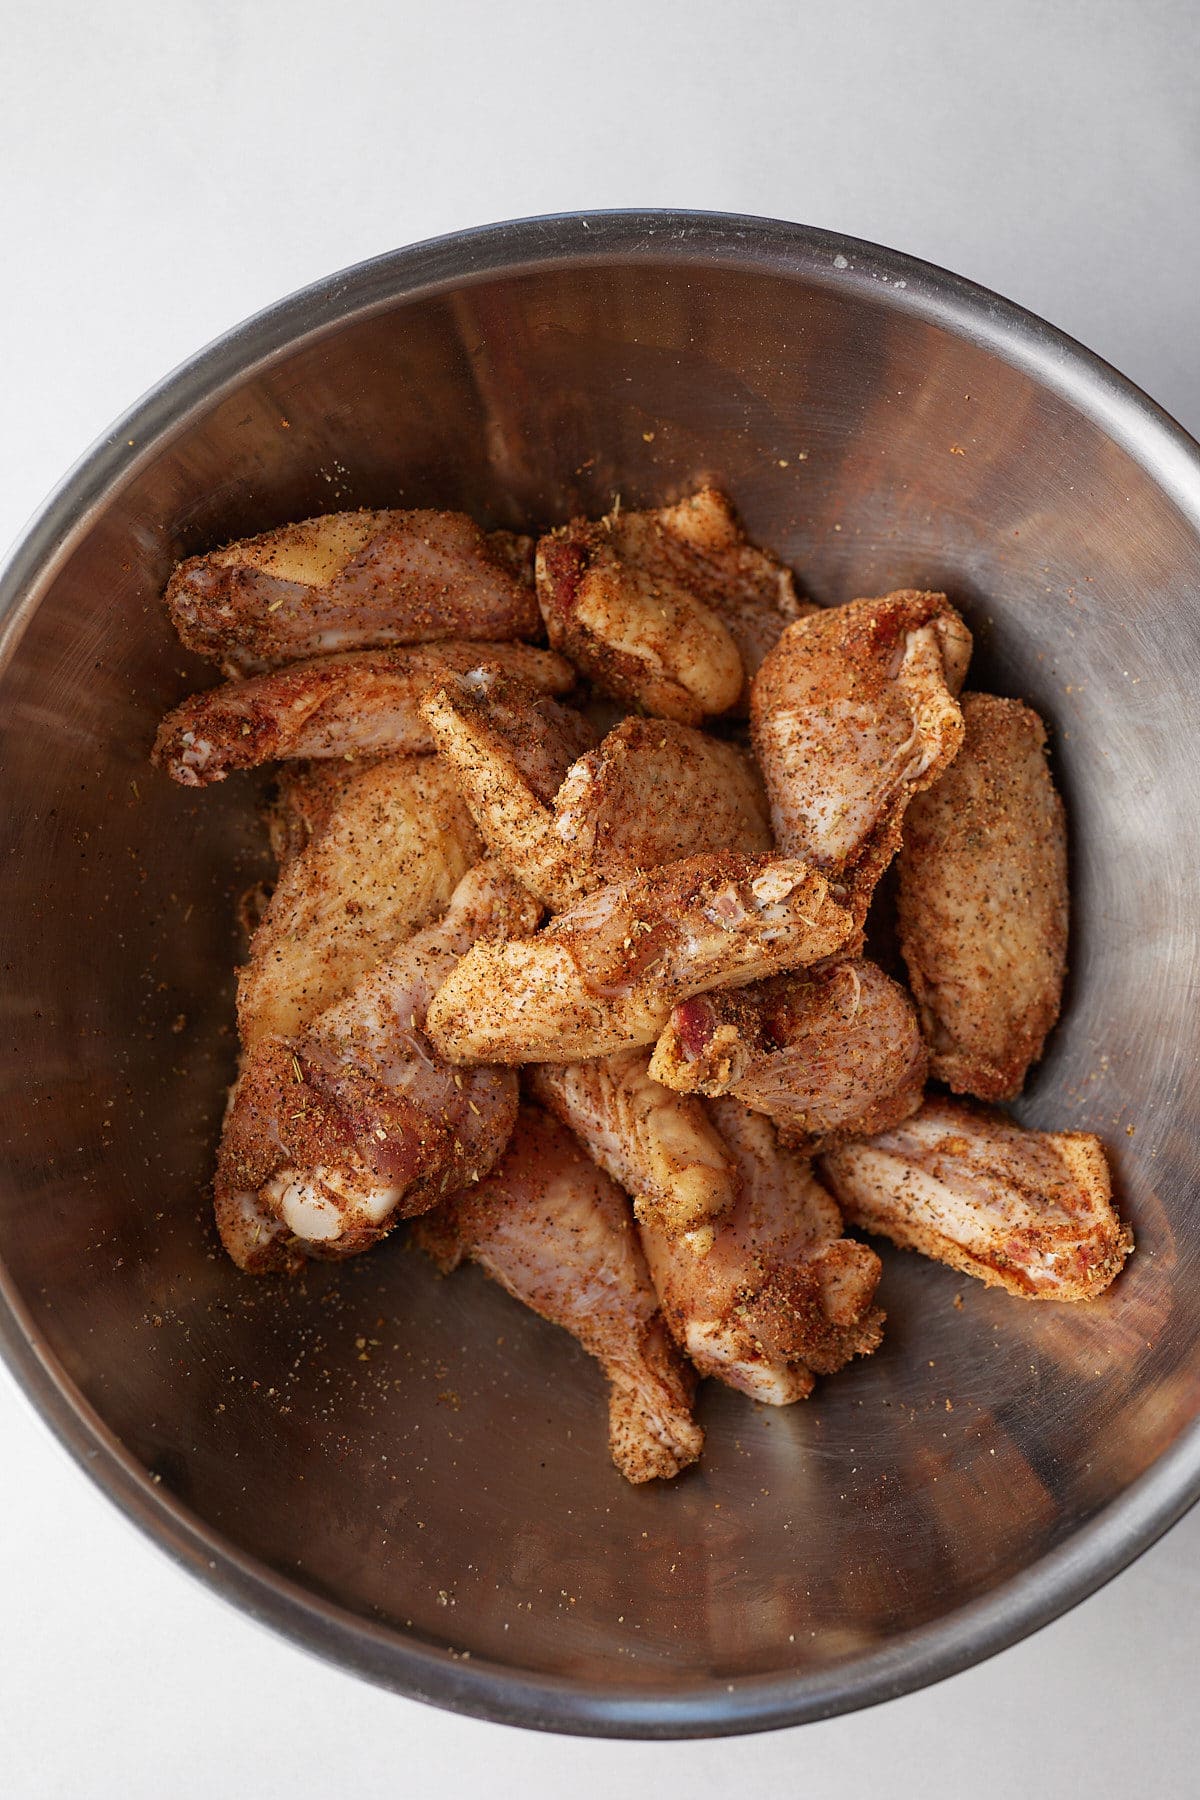
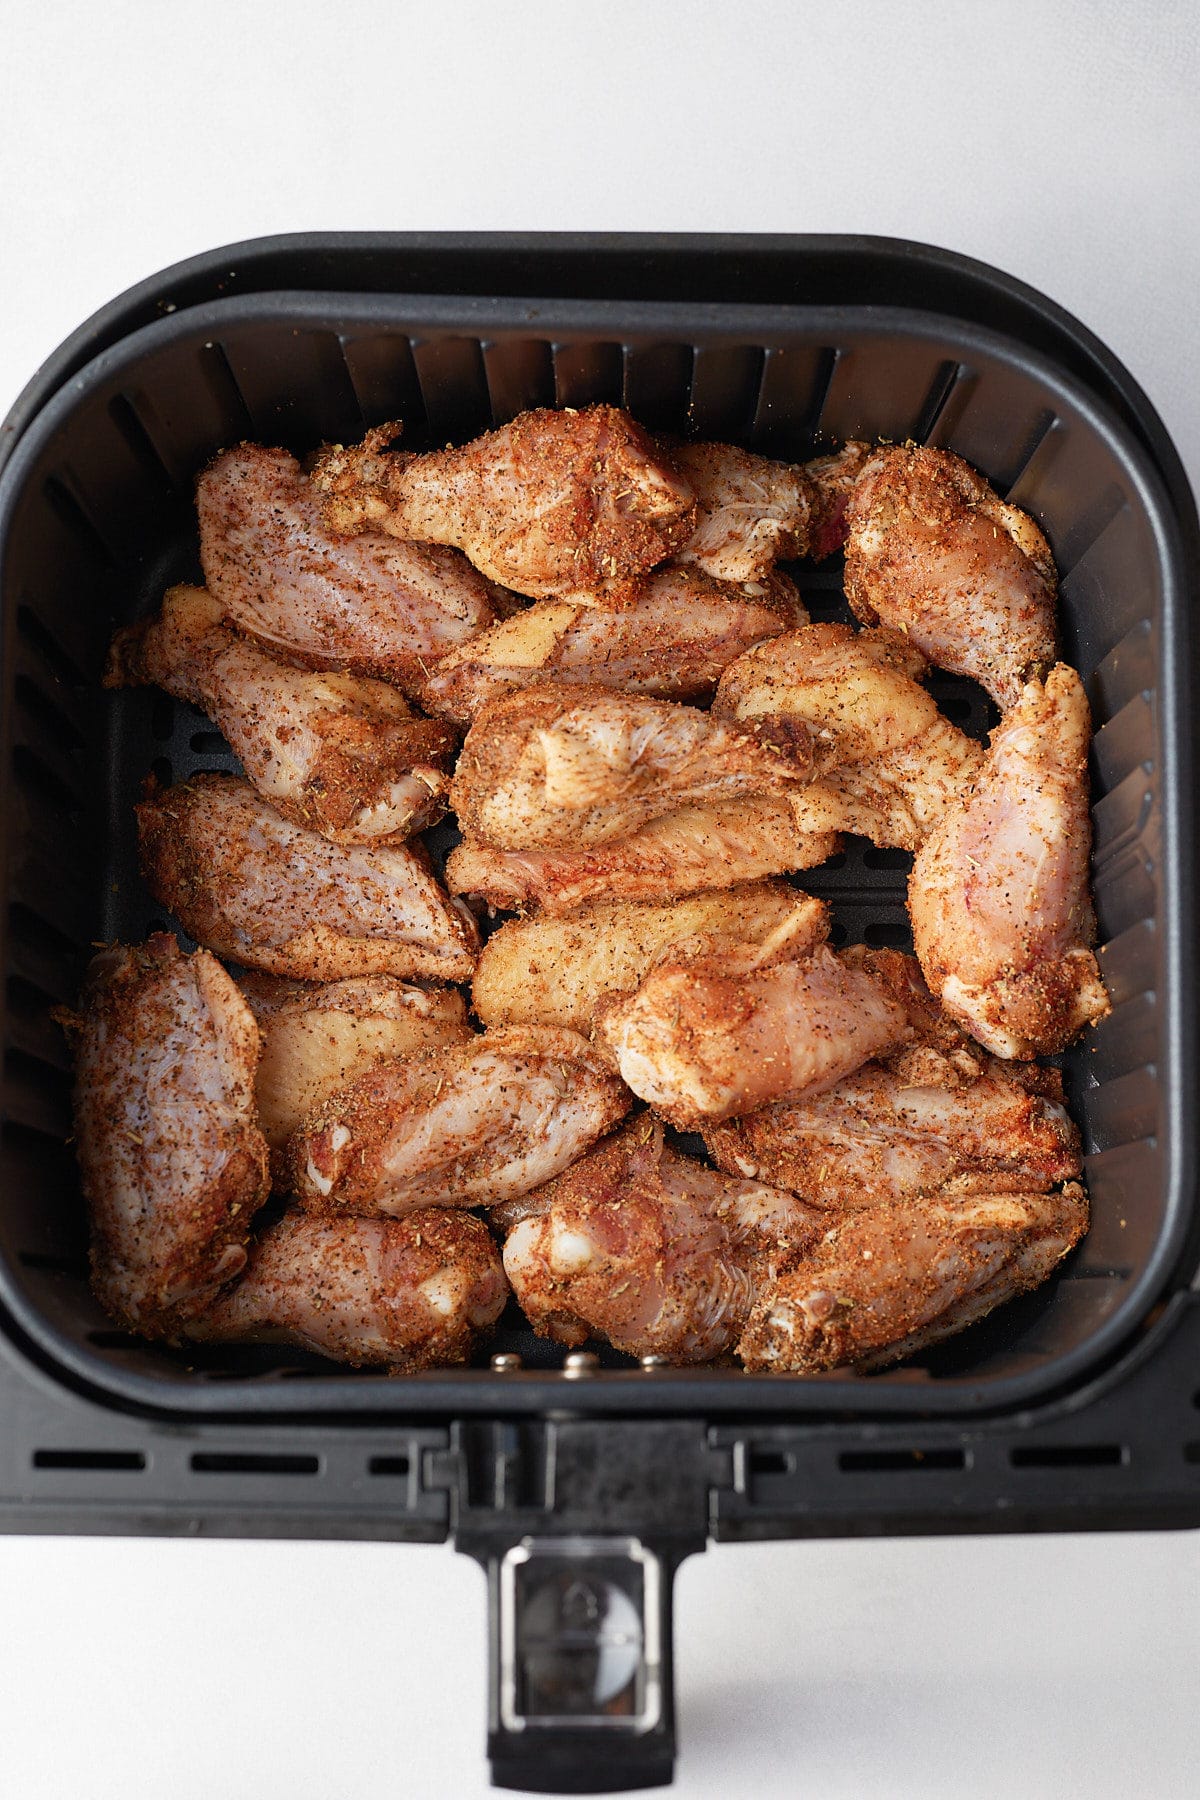
Step 1: Gather your ingredients. Preheat the air fryer basket to 400 degrees Fahrenheit for about 2-3 minutes. Season chicken wings with kosher salt, black pepper, garlic powder, Italian seasoning, onion powder, and paprika.
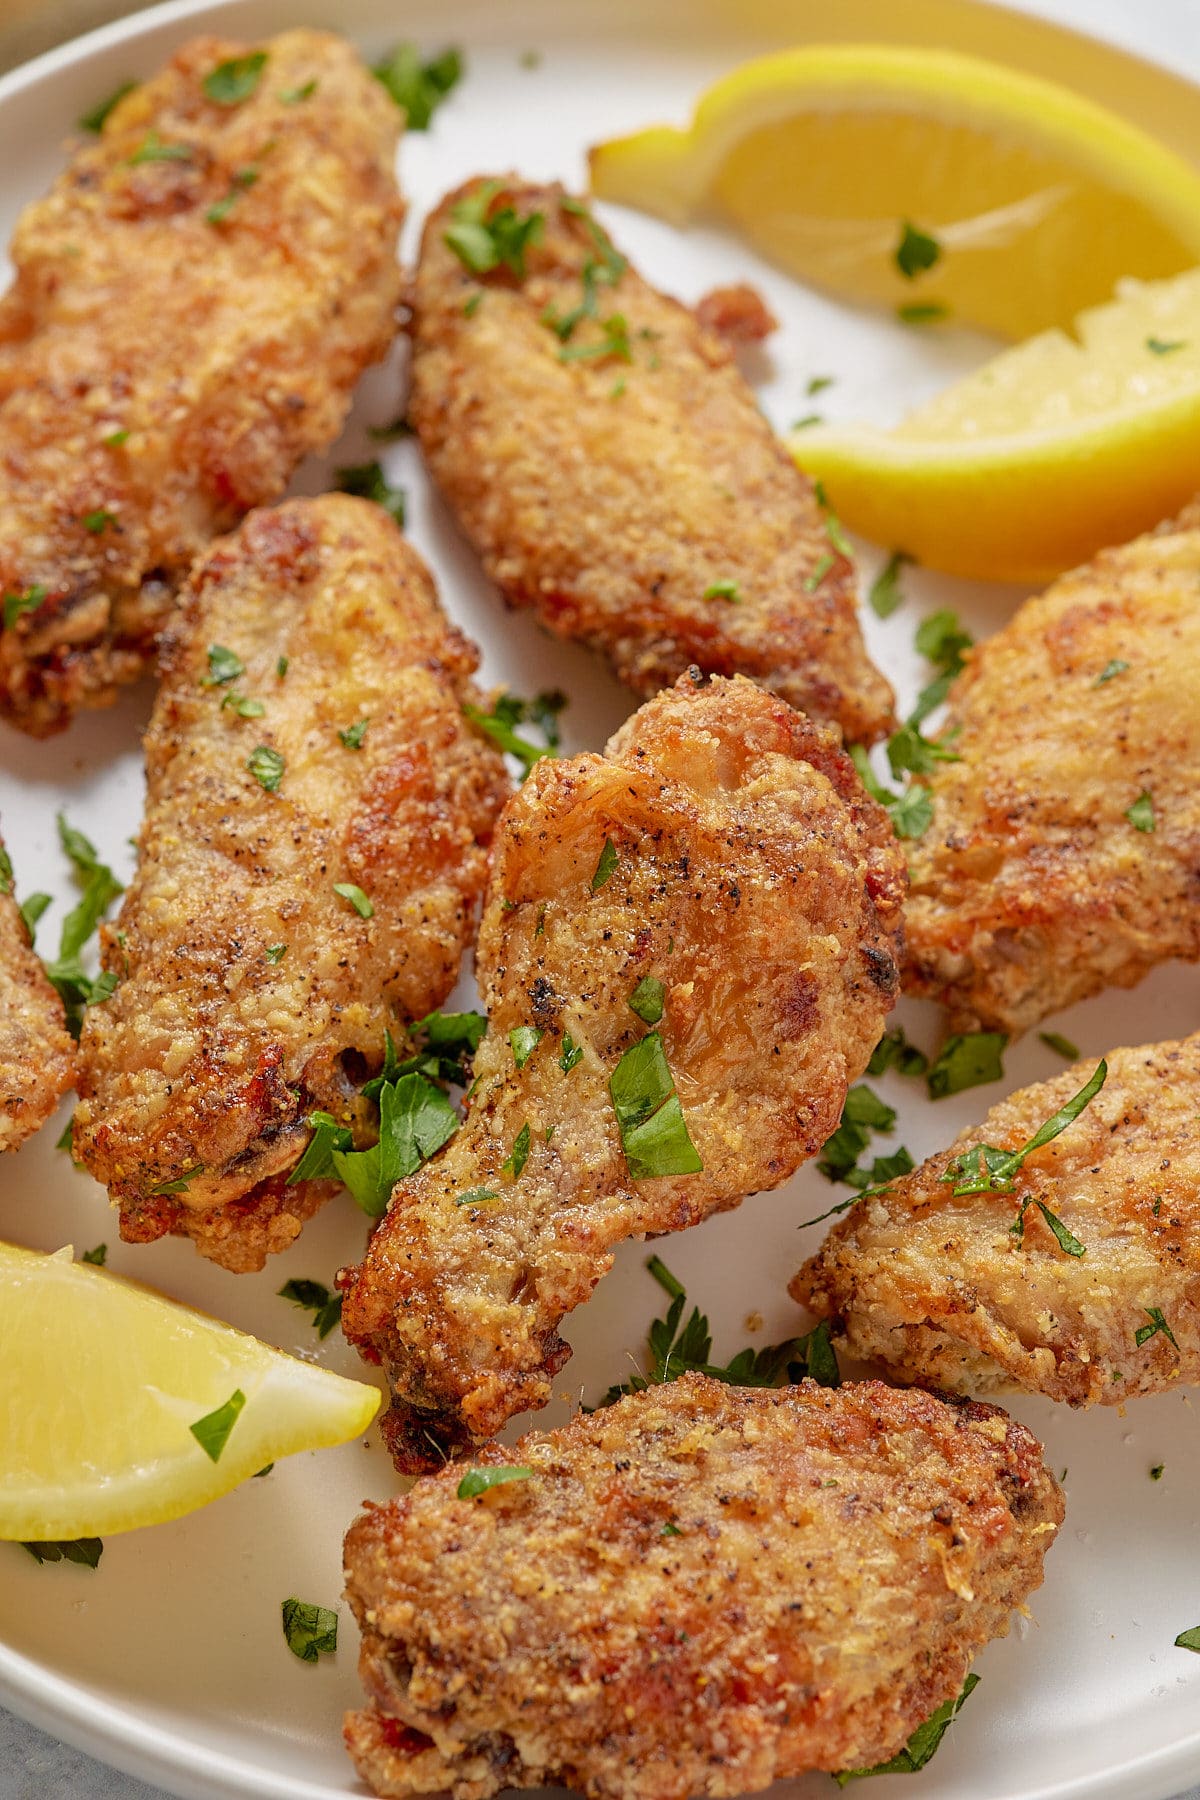
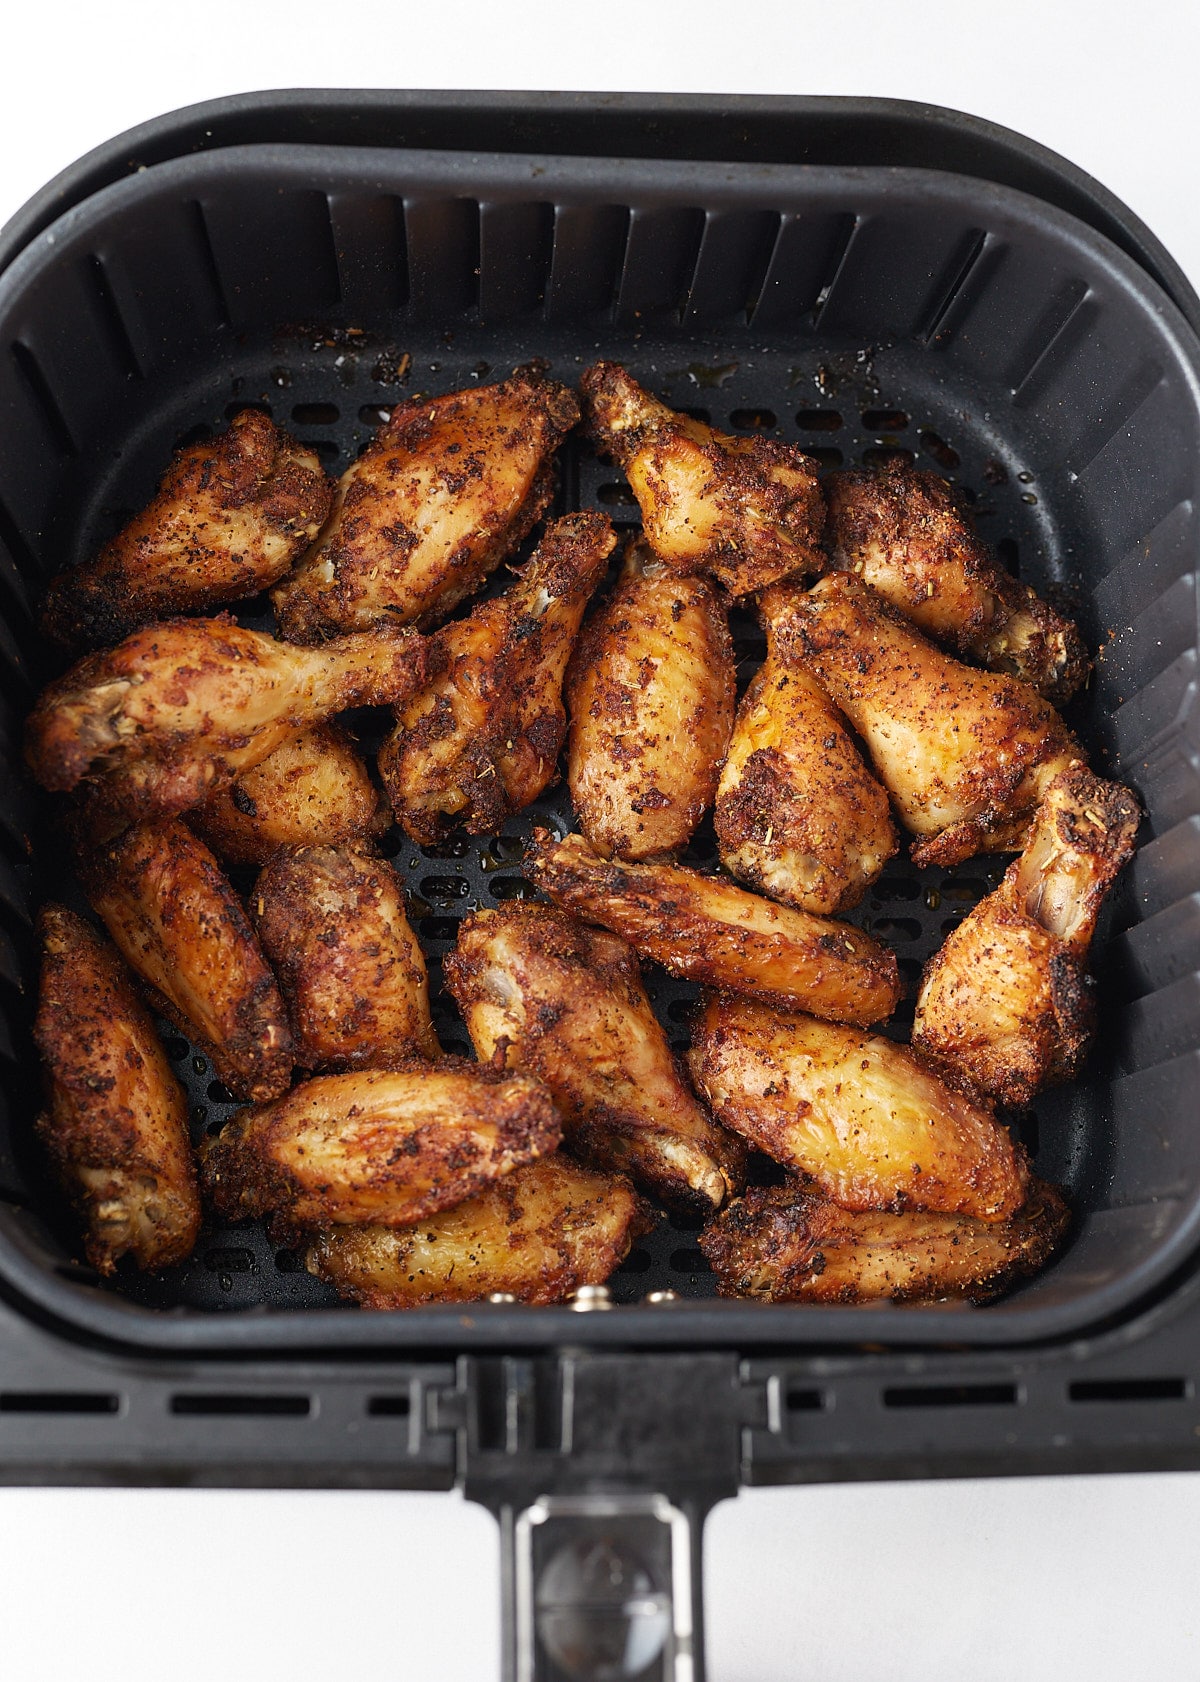
Step 2: Add the chicken wings to the basket and cook for 20-25 minutes, flipping them about every 7 minutes. Cook the wings until they are crispy and golden.
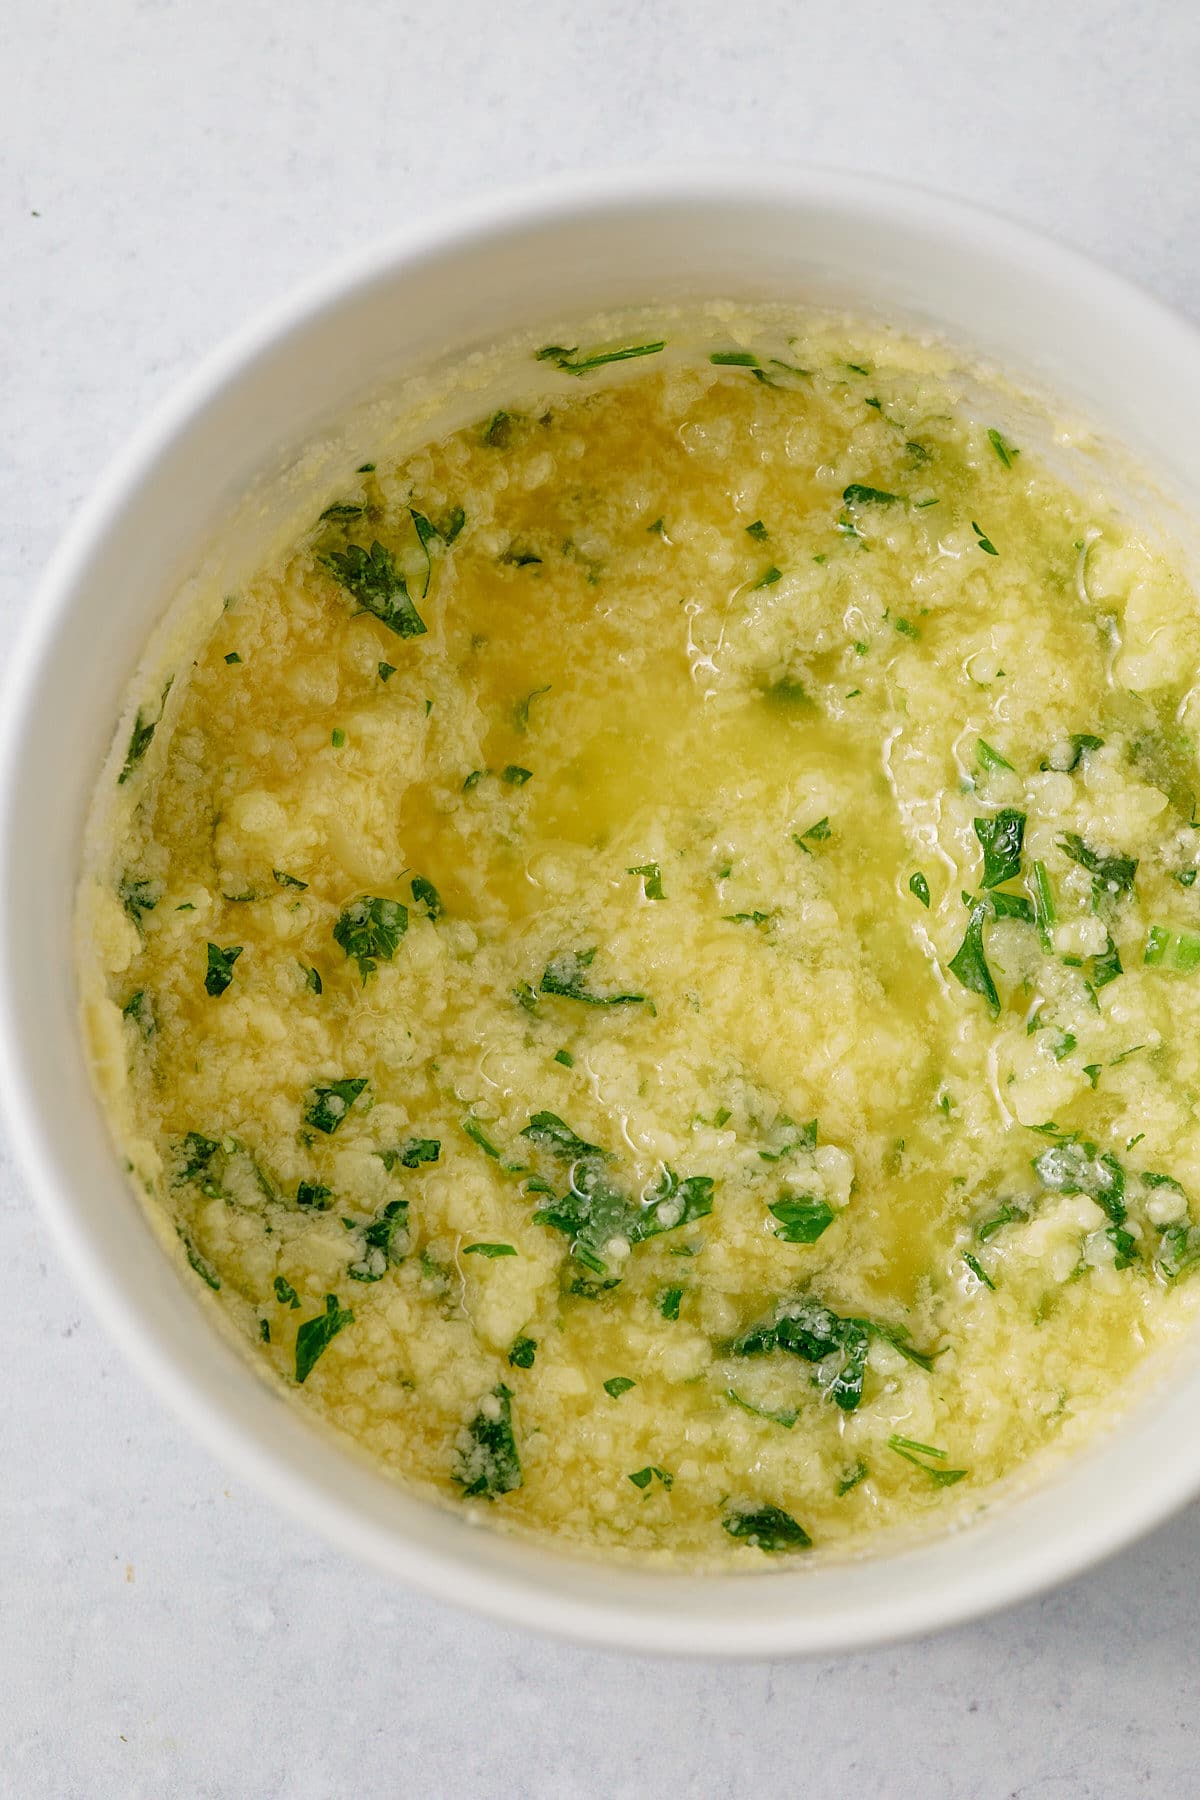
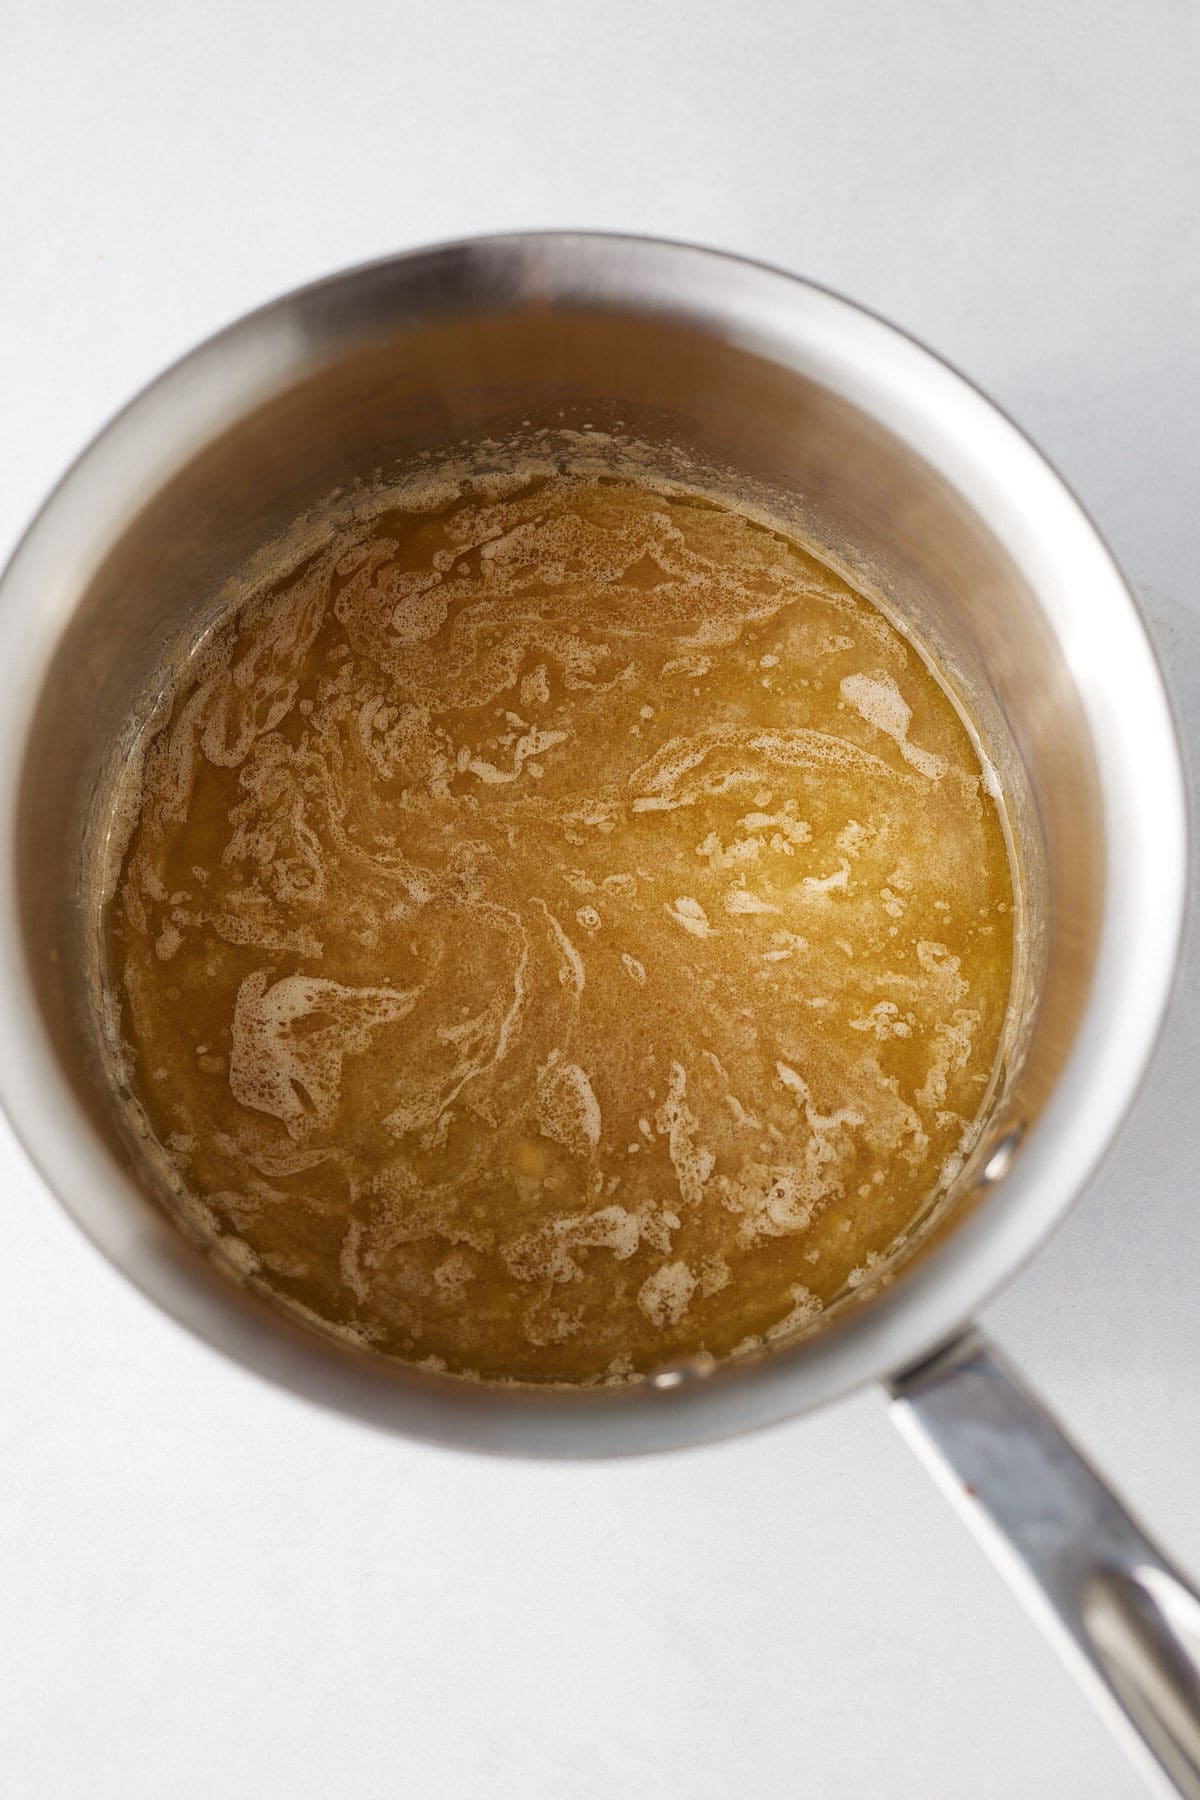
Step 3: Once done, remove the wings and place them in a large bowl. Meanwhile, combine butter, minced garlic, honey, vinegar, hot sauce, soy sauce, and ginger powder over medium-high heat. Stir until the butter is completely melted and all ingredients are combined.
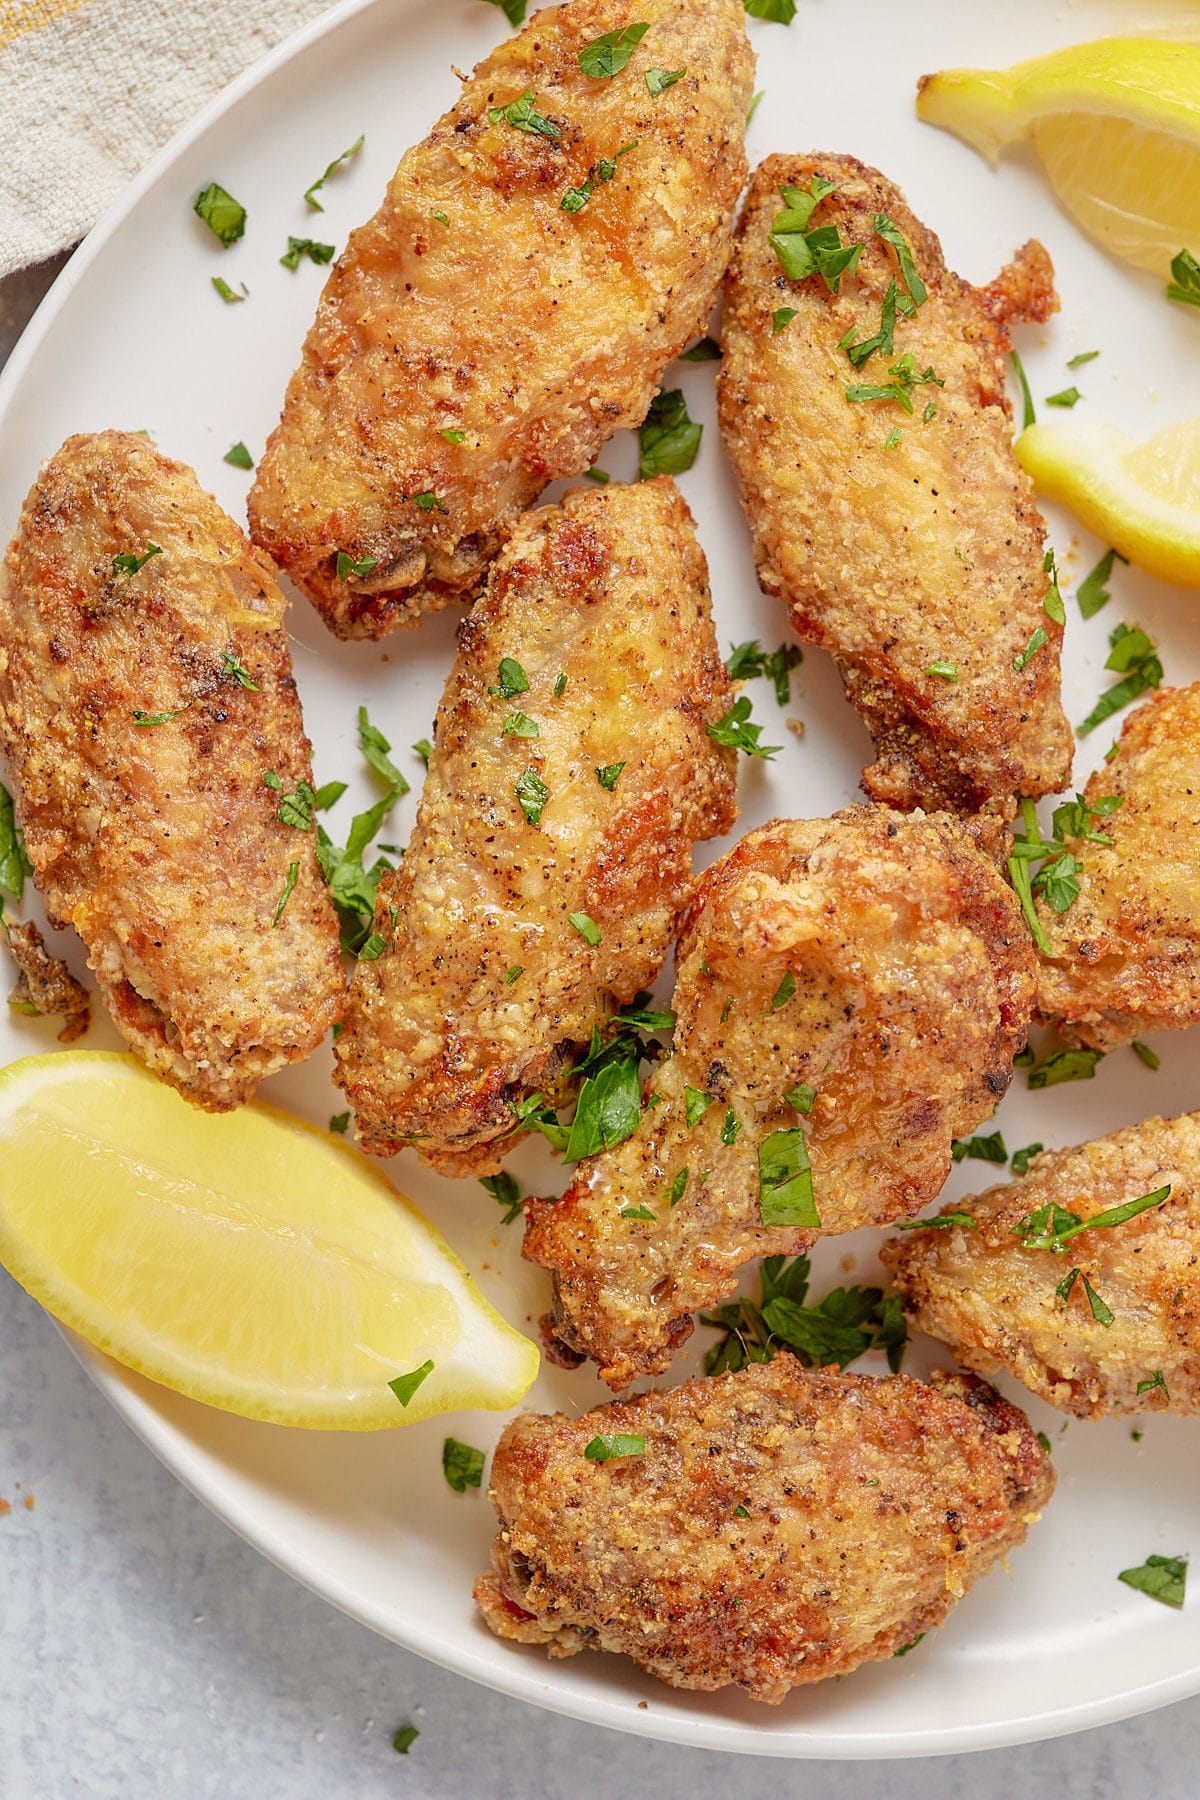
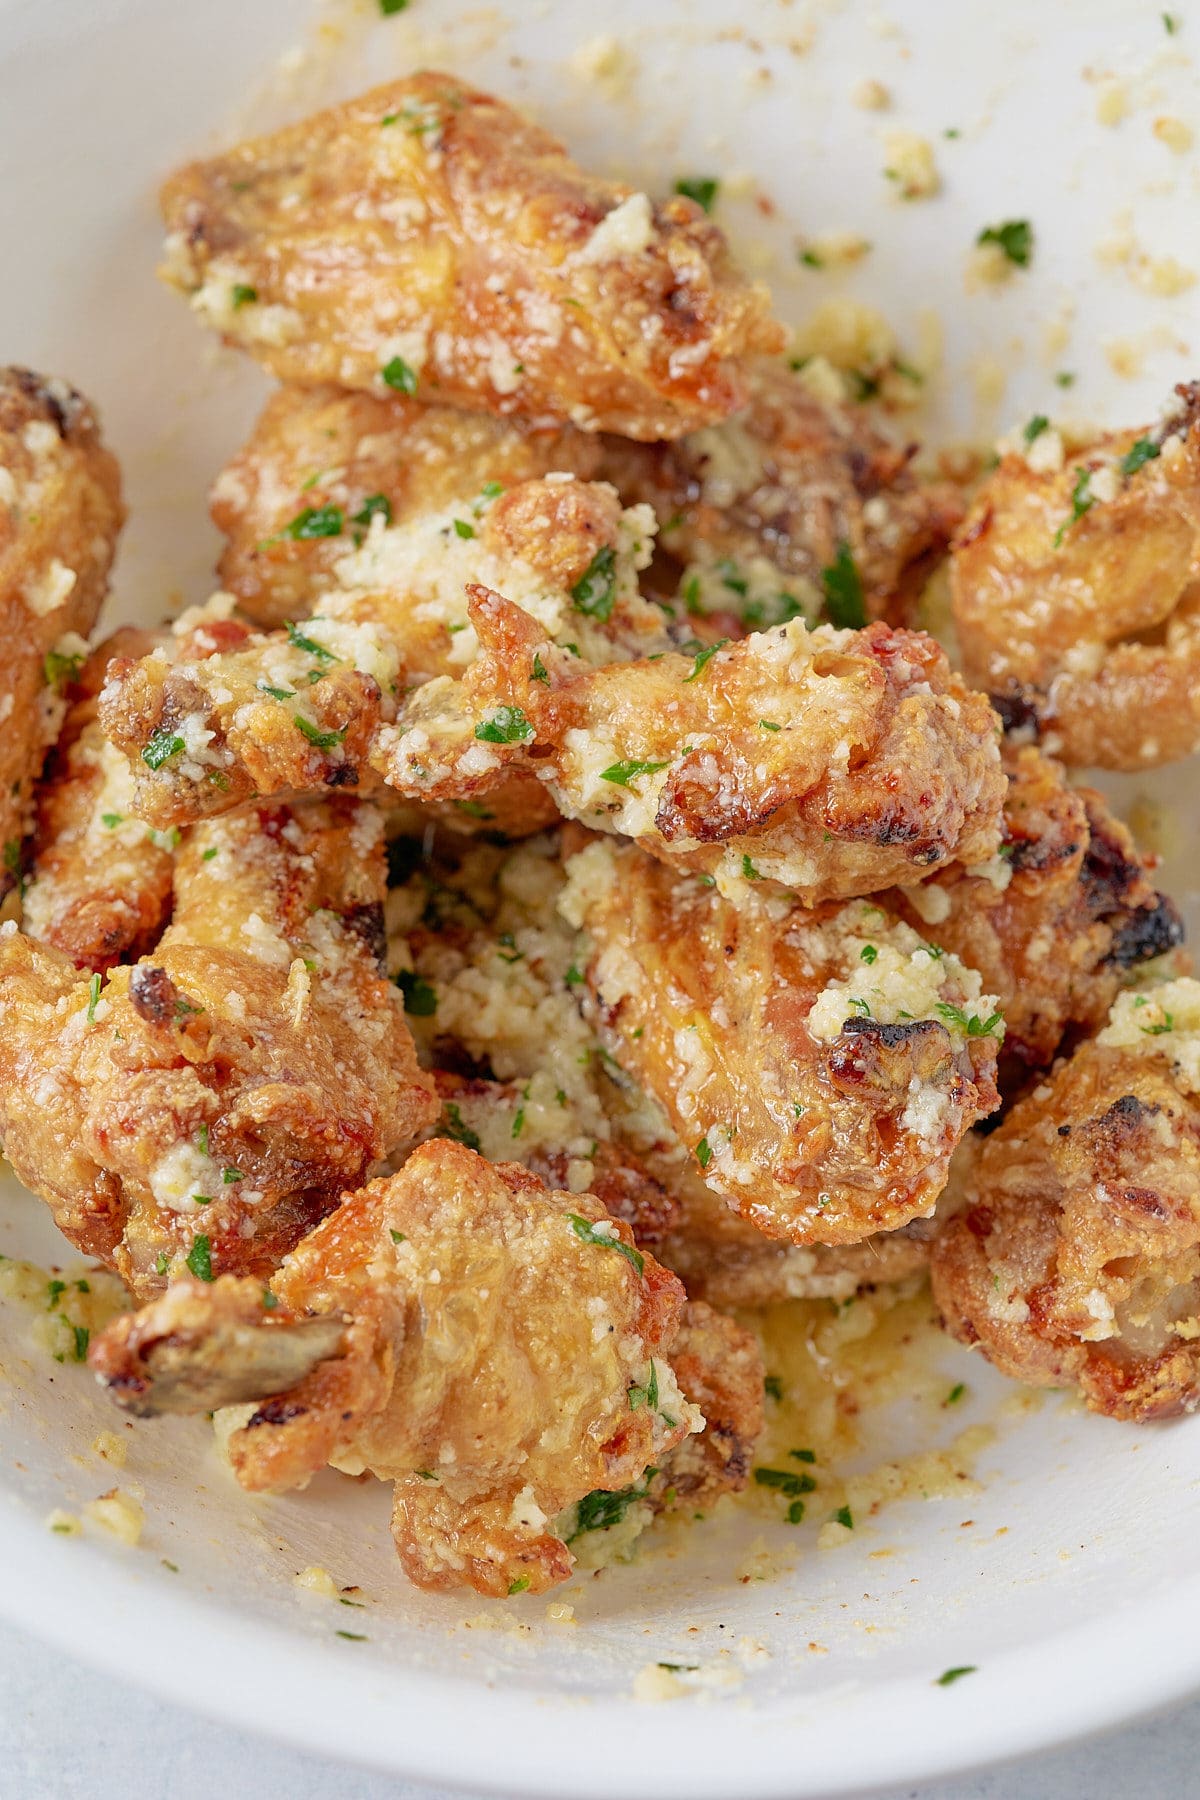
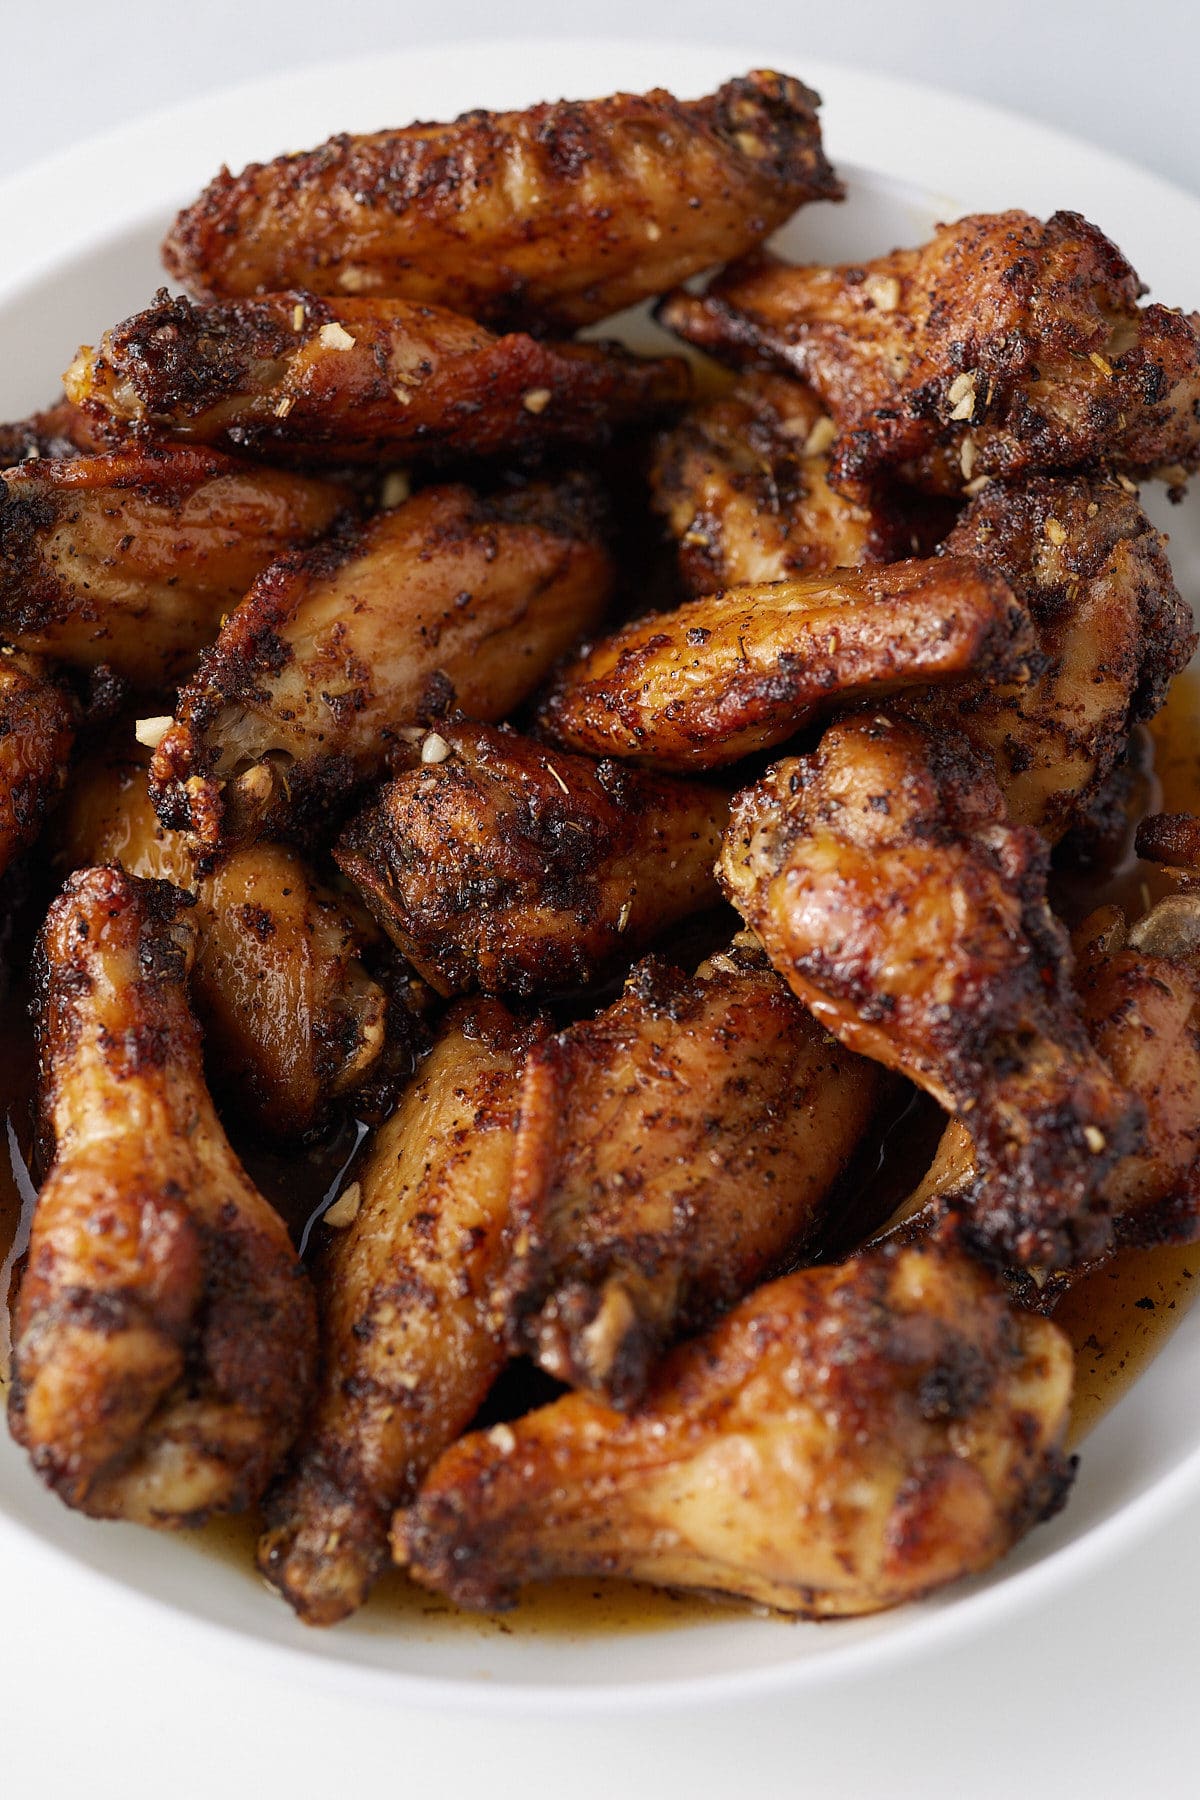
Step 4: Pour the sauce over the cooked chicken wings in the bowl, then toss to coat all the chicken. Serve and enjoy.
Can you use frozen wings?
You can use frozen wings in this recipe, but it's best to thaw them fully before seasoning and cooking. Let them thaw in the fridge overnight before using. Be sure to pat them dry before starting the recipe; this will remove excess water and help them to crisp up beautifully.
If you'd like to cook the wings from frozen, follow the tips in my Air Fryer Frozen Chicken wings post.
Can you oven-bake them?
If you don't have an air fryer, you can bake the seasoned wings at 370 degrees Fahrenheit for around 40 minutes before tossing them in the sauce.
What do you serve them with?
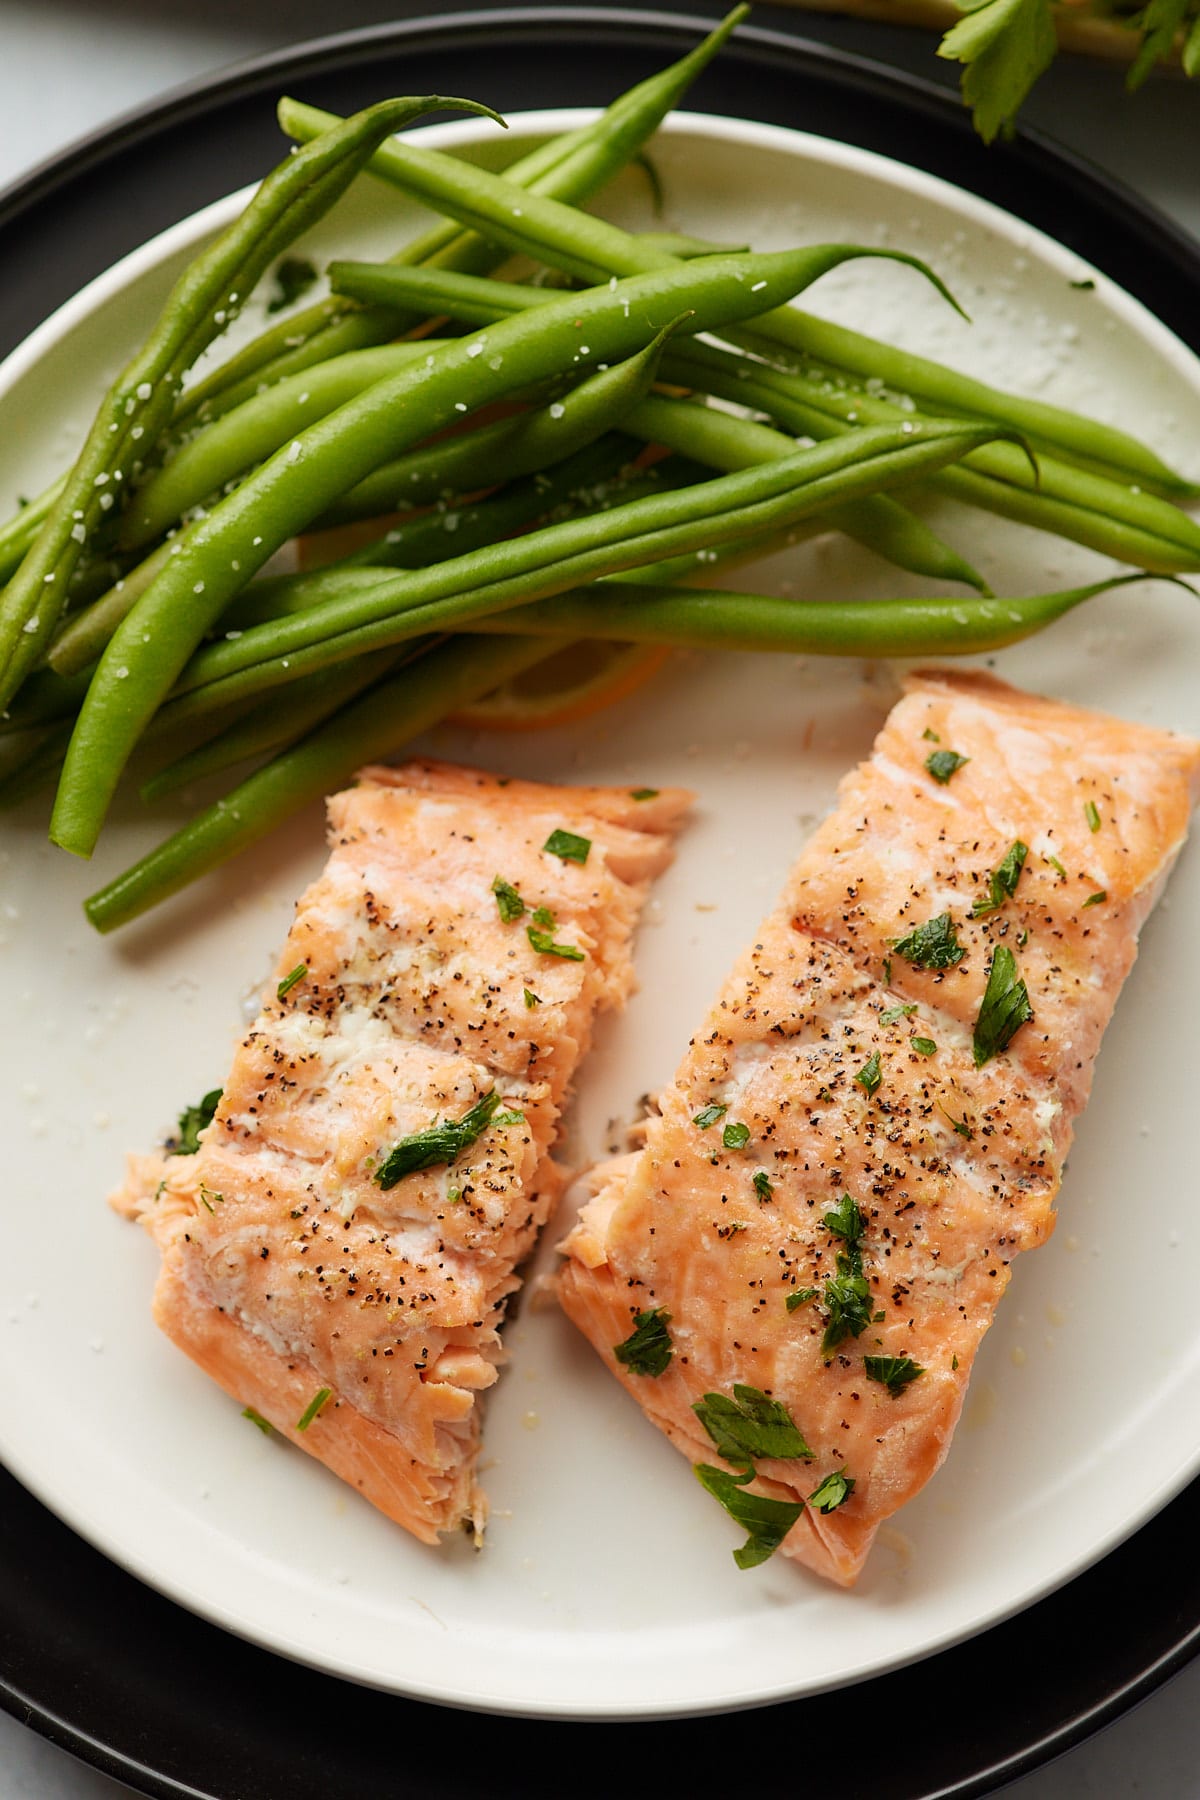
These air fryer honey garlic chicken wings make for a great appetizer served with carrot and celery sticks and your favorite dips. I love to serve them with blue cheese sauce and ranch. You can also serve them as part of a larger meal, with fries and veggies on the side.
The sauce is incredible, so serving this over rice is a great idea.
Tanya's Top Tips
- Pat the wings dry before seasoning for the best crispy texture.
- Air fryers can run slightly differently, so cooking times may vary. Allow 20 to 25 minutes for the wings to be cooked.
- I love to add a bit of hot sauce to the honey garlic sauce. Omit this if you don't like spicy foods, or add a little more if you want your wings hot!
More Air Fryer Appetizers
- Air Fryer Fried Pickles
- Air Fried Toasted Ravioli
- Air Fryer Crispy Fried Shrimp
- Air Fryer Jerk Chicken Wings

Honey Garlic Chicken Wings Recipe
Ingredients
For the Chicken:
- 2 pounds chicken wings patted dry
- 2 teaspoons Kosher Salt
- 2 teaspoons Black Pepper
- 2 teaspoons of Garlic Powder
- 2 teaspoons Italian Seasoning
- 2 teaspoons Onion Powder
- 2 teaspoons Paprika
Instructions
- Preheat the air fryer basket to 400 degrees Fahrenheit for about 2-3 minutes.
- Season chicken wings with kosher salt, black pepper, garlic powder, Italian seasoning, onion powder, and paprika. Add chicken wings to the basket and cook for 20-25 minutes, shaking about every 7 minutes. Cook the wings until they are crispy and golden.
- Once done, remove the wings and place them in a large bowl.
- While the wings are cooking, combine butter, minced garlic, honey, vinegar, hot sauce, soy sauce, and ginger powder over medium-high heat. Stir together until butter is melted completely and all ingredients are combined.
- Pour the sauce over the cooked chicken wings in the bowl and toss to ensure all the chicken is covered in the sauce. Serve and enjoy.
Video
Notes
- Pat the wings dry before seasoning for the best crispy texture.
- Air fryers can run slightly differently, so cooking times may vary. Allow 20 to 25 minutes for the wings to be cooked.
- I love to add a bit of hot sauce into the honey garlic sauce. Omit this is you don't like spicy foods, or add a little more in if you like your wings hot!