These Instant Pot Mashed Potatoes are creamy and absolutely delicious. There’s no need to drain any liquid when making these potatoes, just place them in your Pressure Cooker, cook, open and season.

This post contains affiliate links, please read my full disclaimer here.
You’ll find the full recipe with ingredient amounts and instructions in the recipe card at the bottom of this post. Be sure to check out the blog post itself for extra tips and tricks!
Listen. These mashed potatoes are on another level. I’ve had some that are so stiff that I wonder if they were even mashed, and I’ve had some that were way too watery. But these mashed potatoes made in the Pressure Cooker are so good you’ll think you got them from a 5-star restaurant when, in reality, you made them right in your very own kitchen.
For this recipe, I've used an electric pressure cooker. I've made these in multiple brands, the Instant Pot Pressure Cooker, the Mealthy Pressure Cooker, and the Our Place Multi Cooker. All had excellent results.
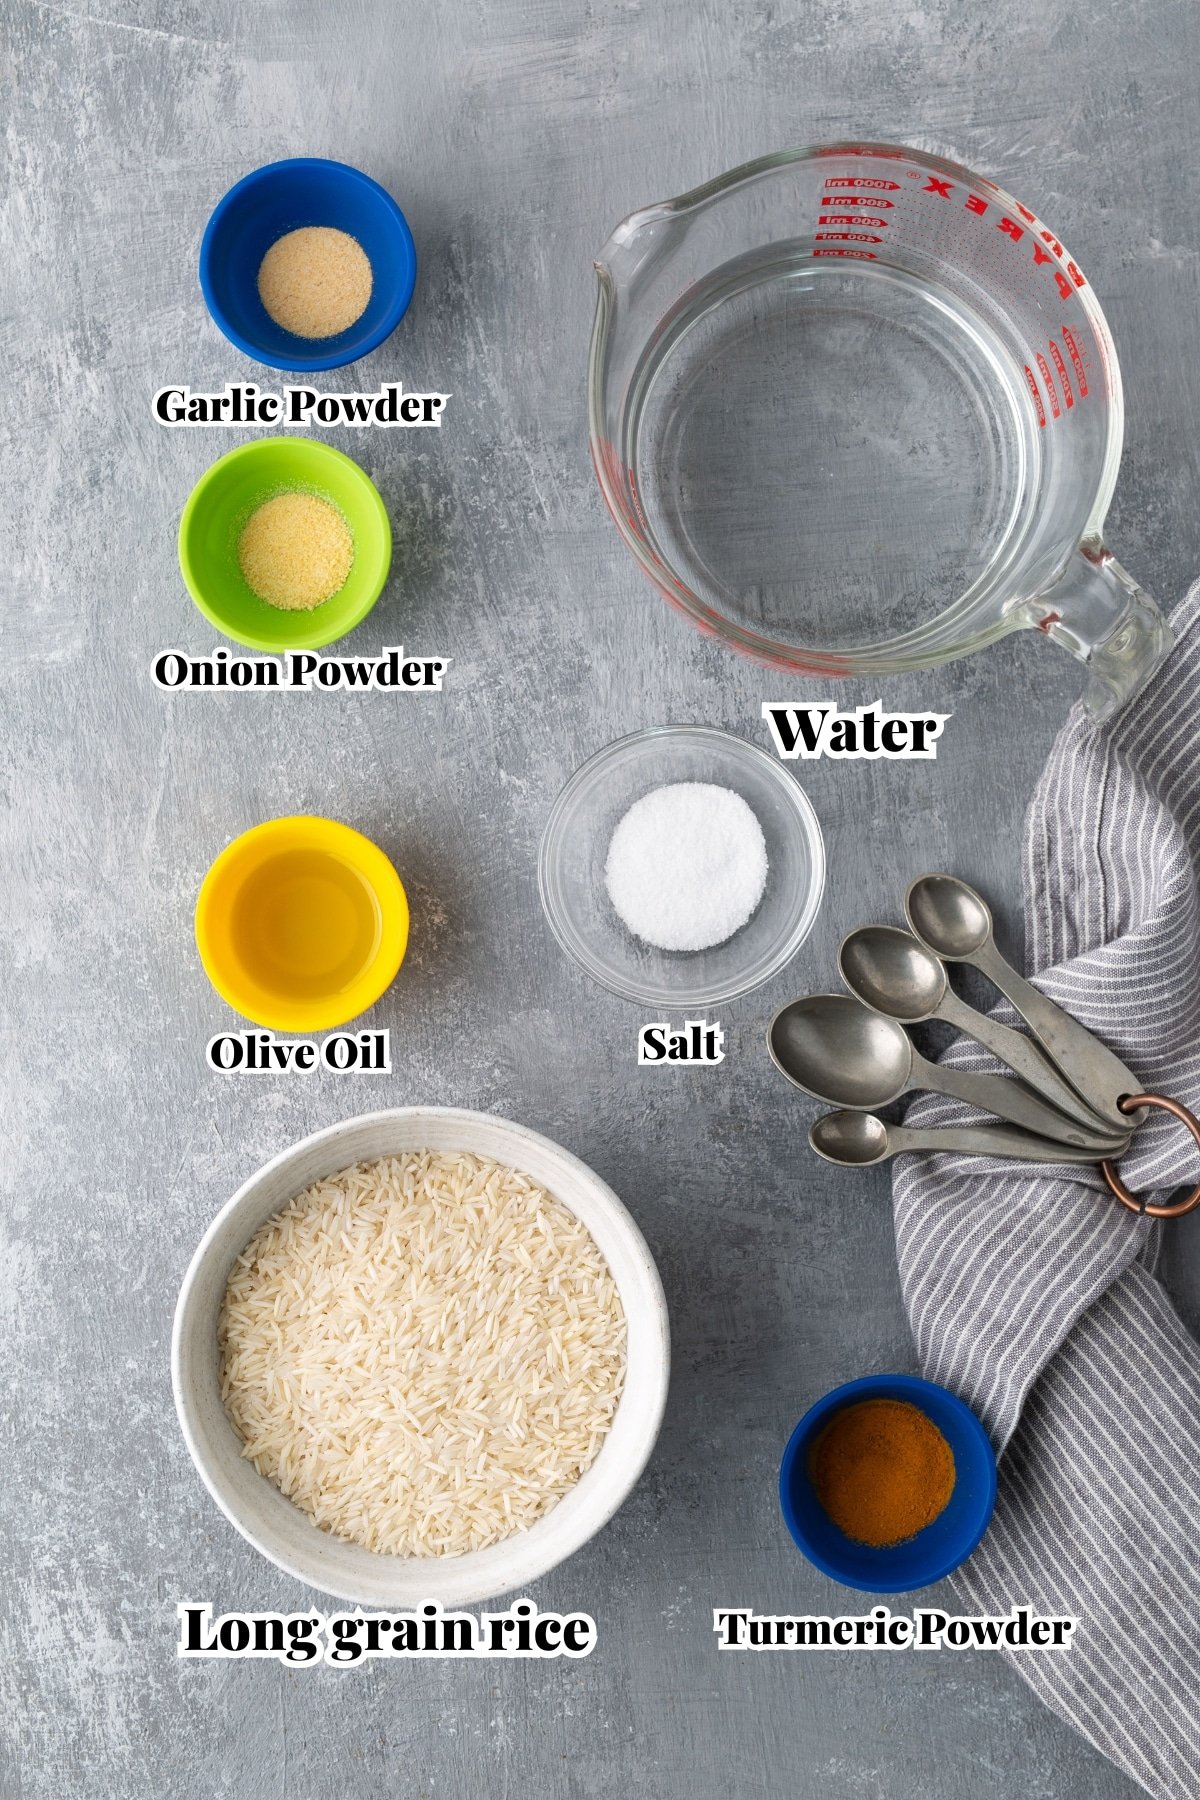
Ingredients for Pressure Cooker Mashed Potatoes
Ingredient amounts and full recipe instructions are on the printable recipe card at the bottom of the post.
This recipe is quite easy to make and only includes a few ingredients:
- Russet Potatoes
- Water
- Heavy cream
- White truffle flavored olive oil
- Parmesan Cheese
- Salt
If you did a double-take at the white truffle flavored olive oil, I totally understand. It’s not a common ingredient in most mashed potato recipes but it’s oh so good. However, if you can’t find it, replace it with a little butter for that traditional buttery mashed potato taste.
How to Make Creamy Instant Pot Mashed Potatoes
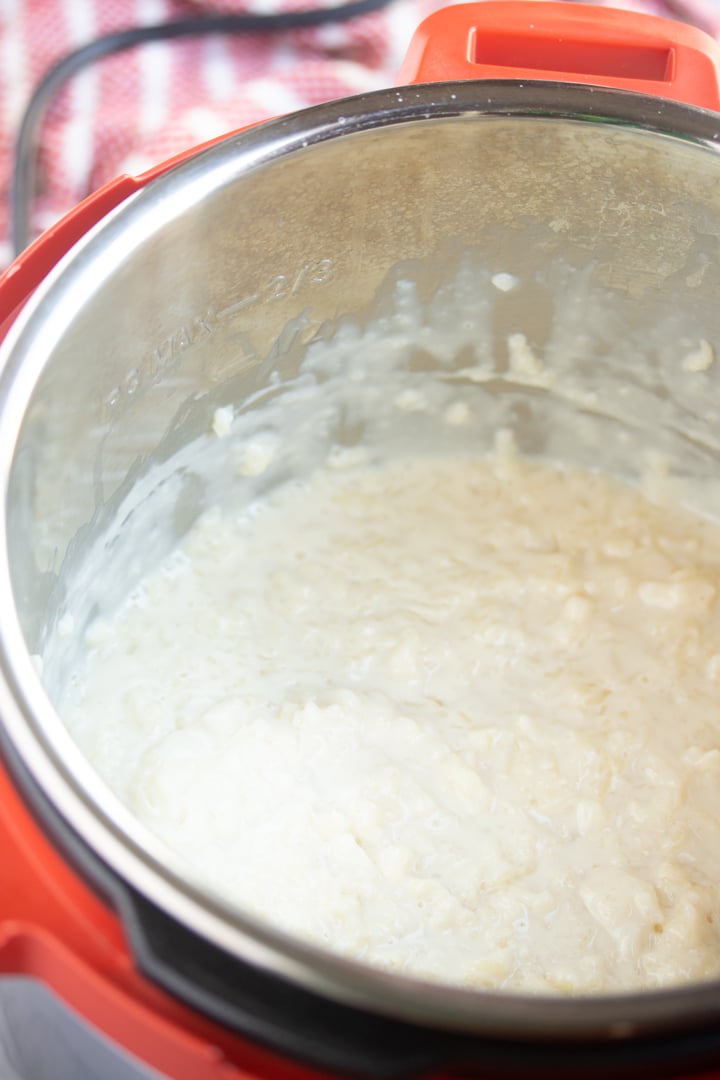
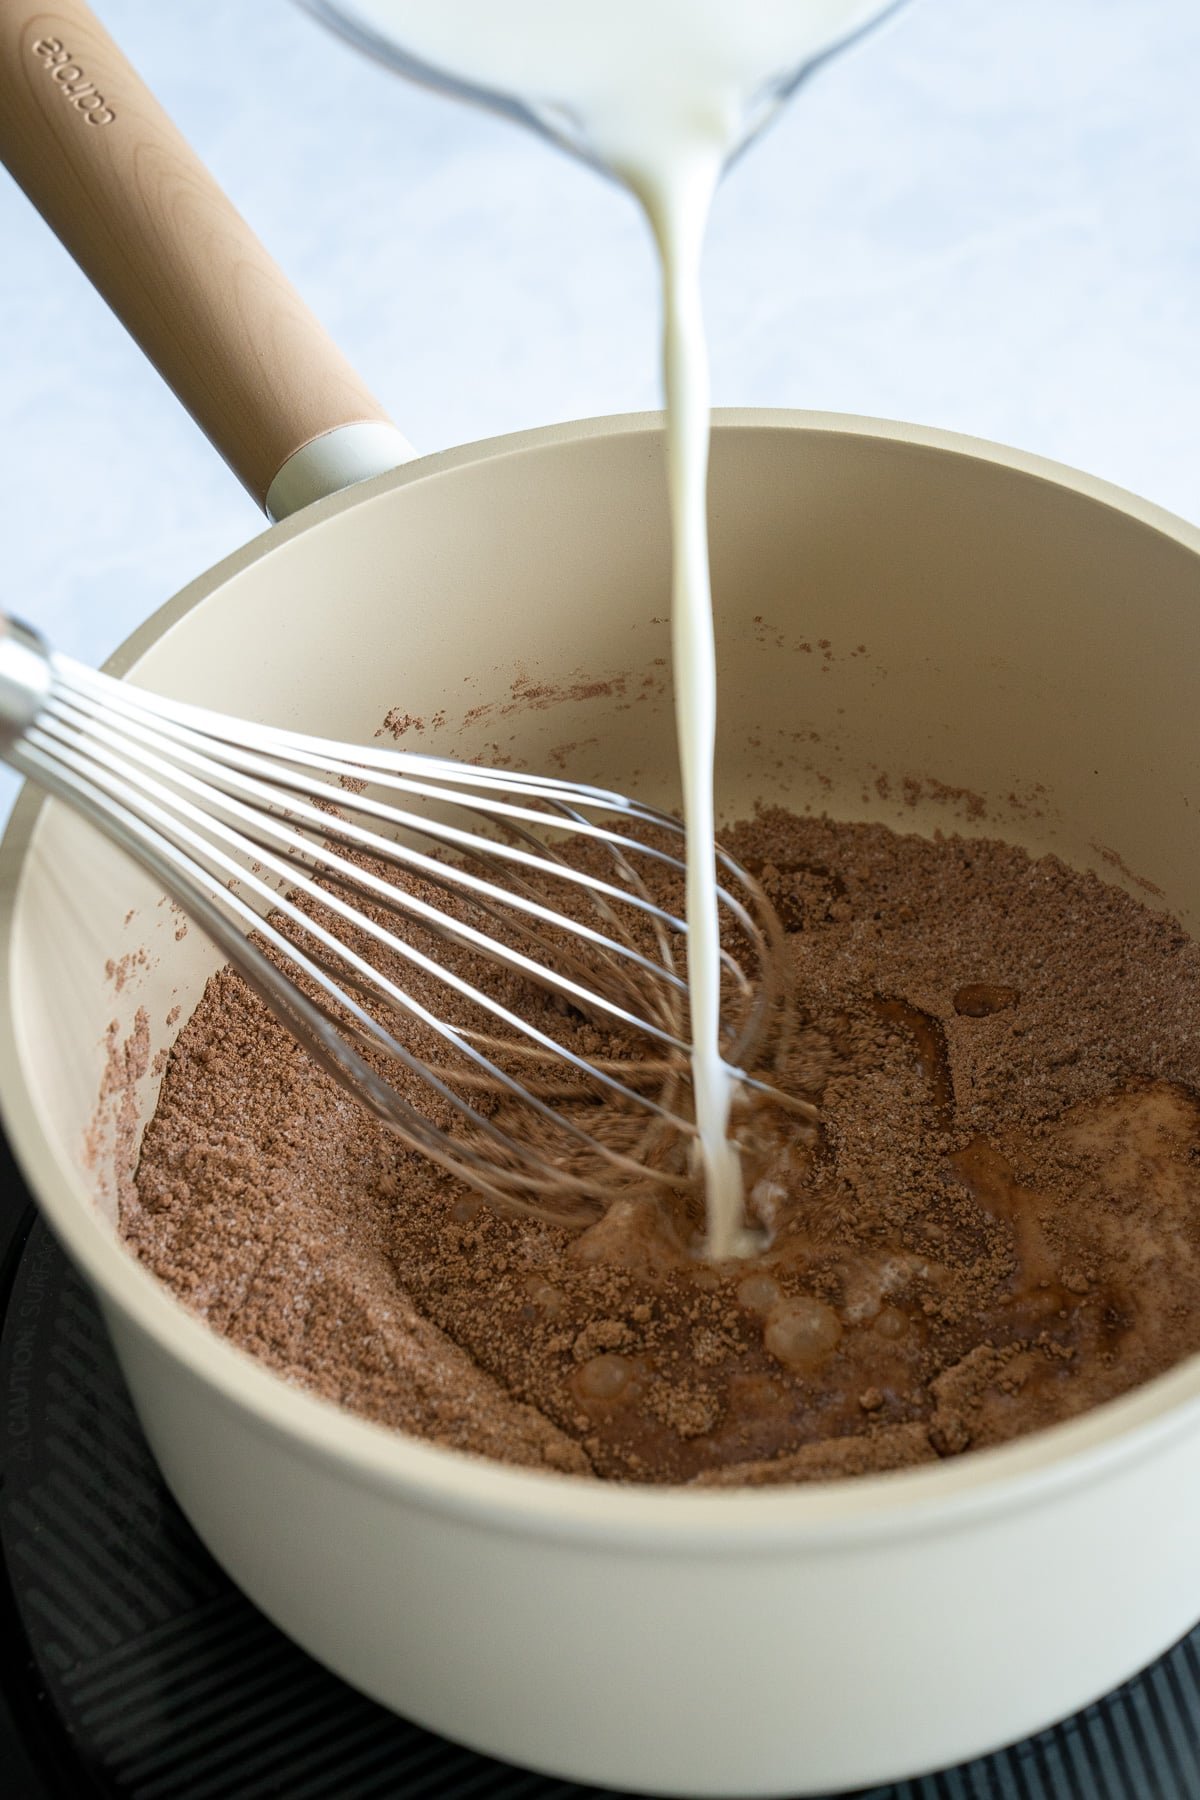
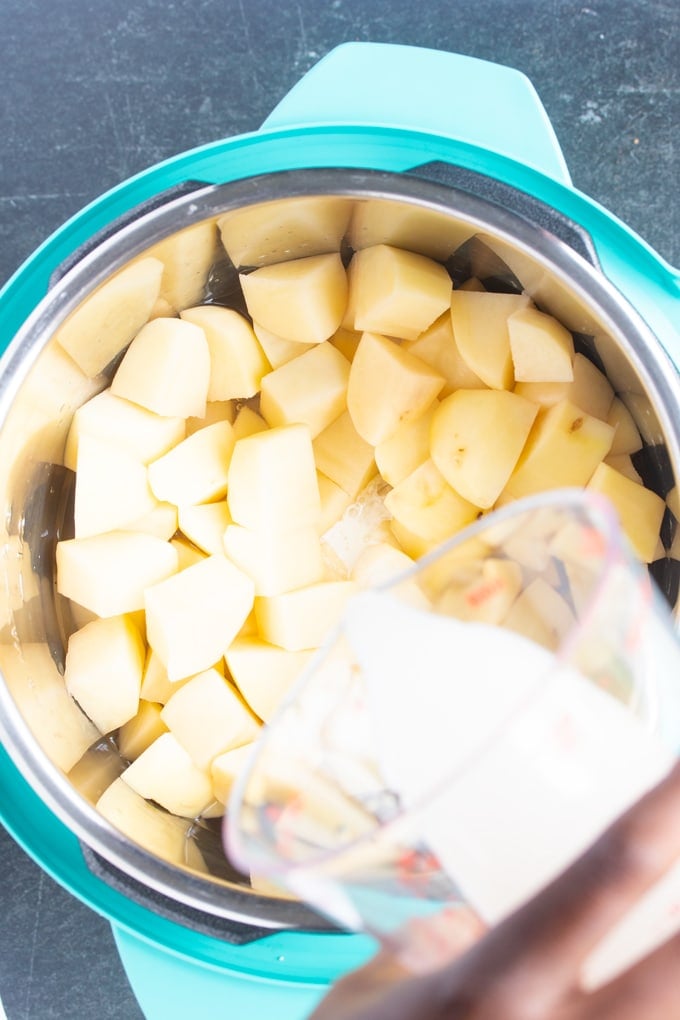
I use my 6qt Pressure Cooker to make this recipe. First, wash, peel and chop 5 medium russet potatoes into 2-inch chunks. Then place them in the pressure cooker insert. Pour in water and heavy cream. You’ll notice that your water will not cover the potatoes. That’s perfectly fine. Cover your pressure cooker, making sure your valve is set to “Seal.”

Cook on high pressure for 11 minutes. It will take around 15 minutes for your pressure cooker to reach pressure and for the clock to start counting down.
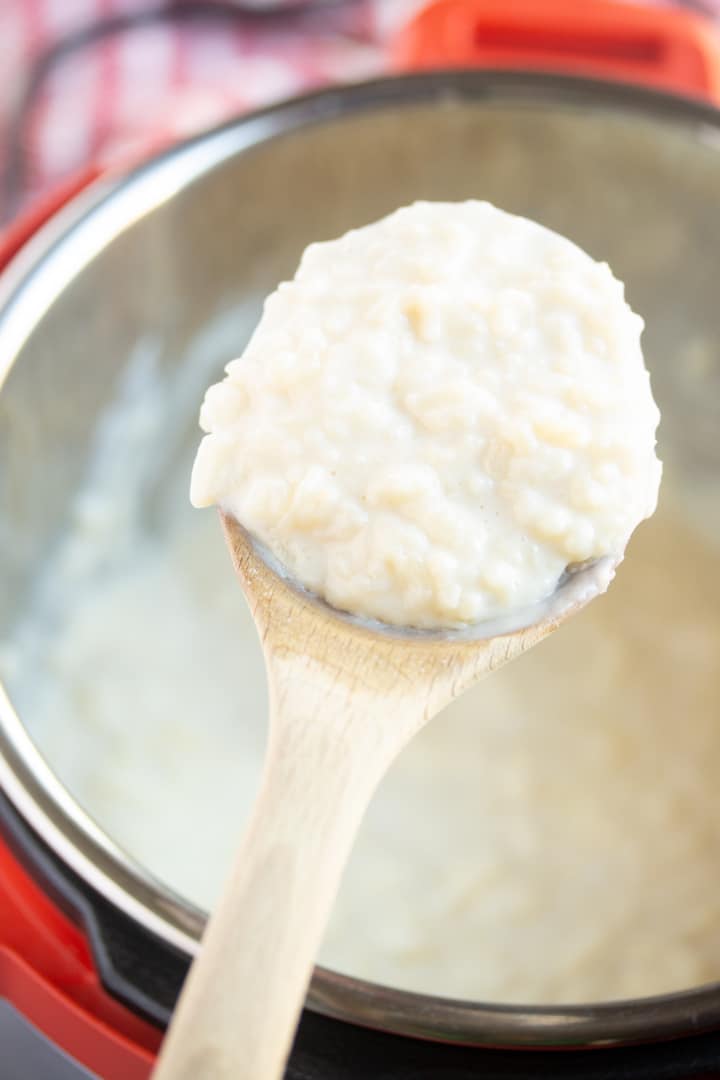
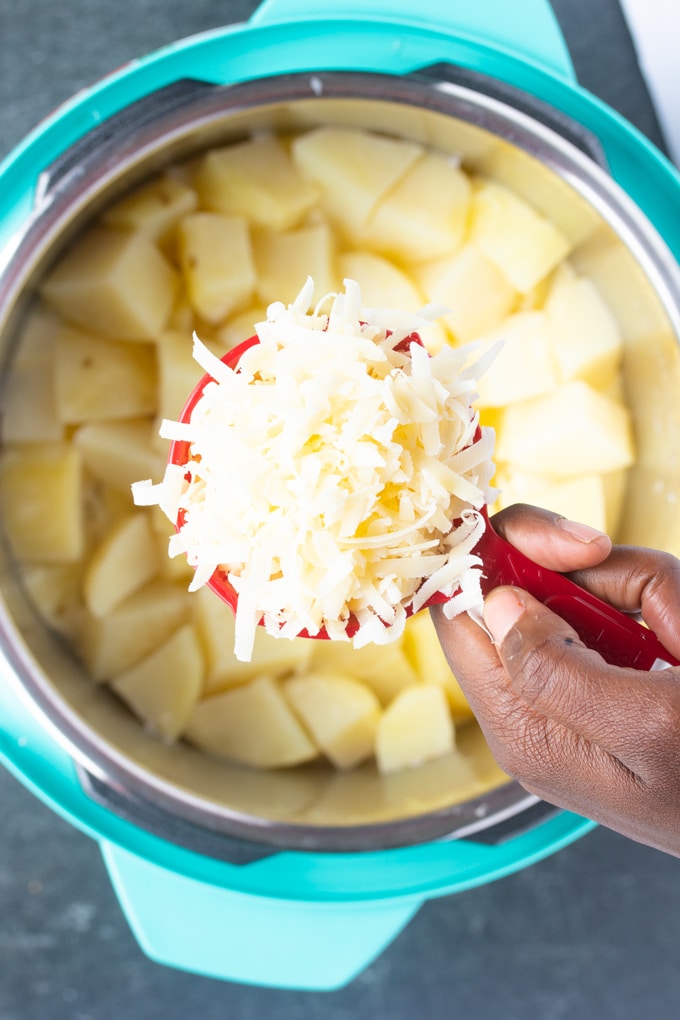
Once your timer has gone off, allow your pressure cooker to naturally release for about 3 minutes, then quick release any remaining pressure by turning the valve to “Vent.” Once all the pressure is released, open the lid and add your white truffle flavored olive oil, parmesan cheese, and salt.

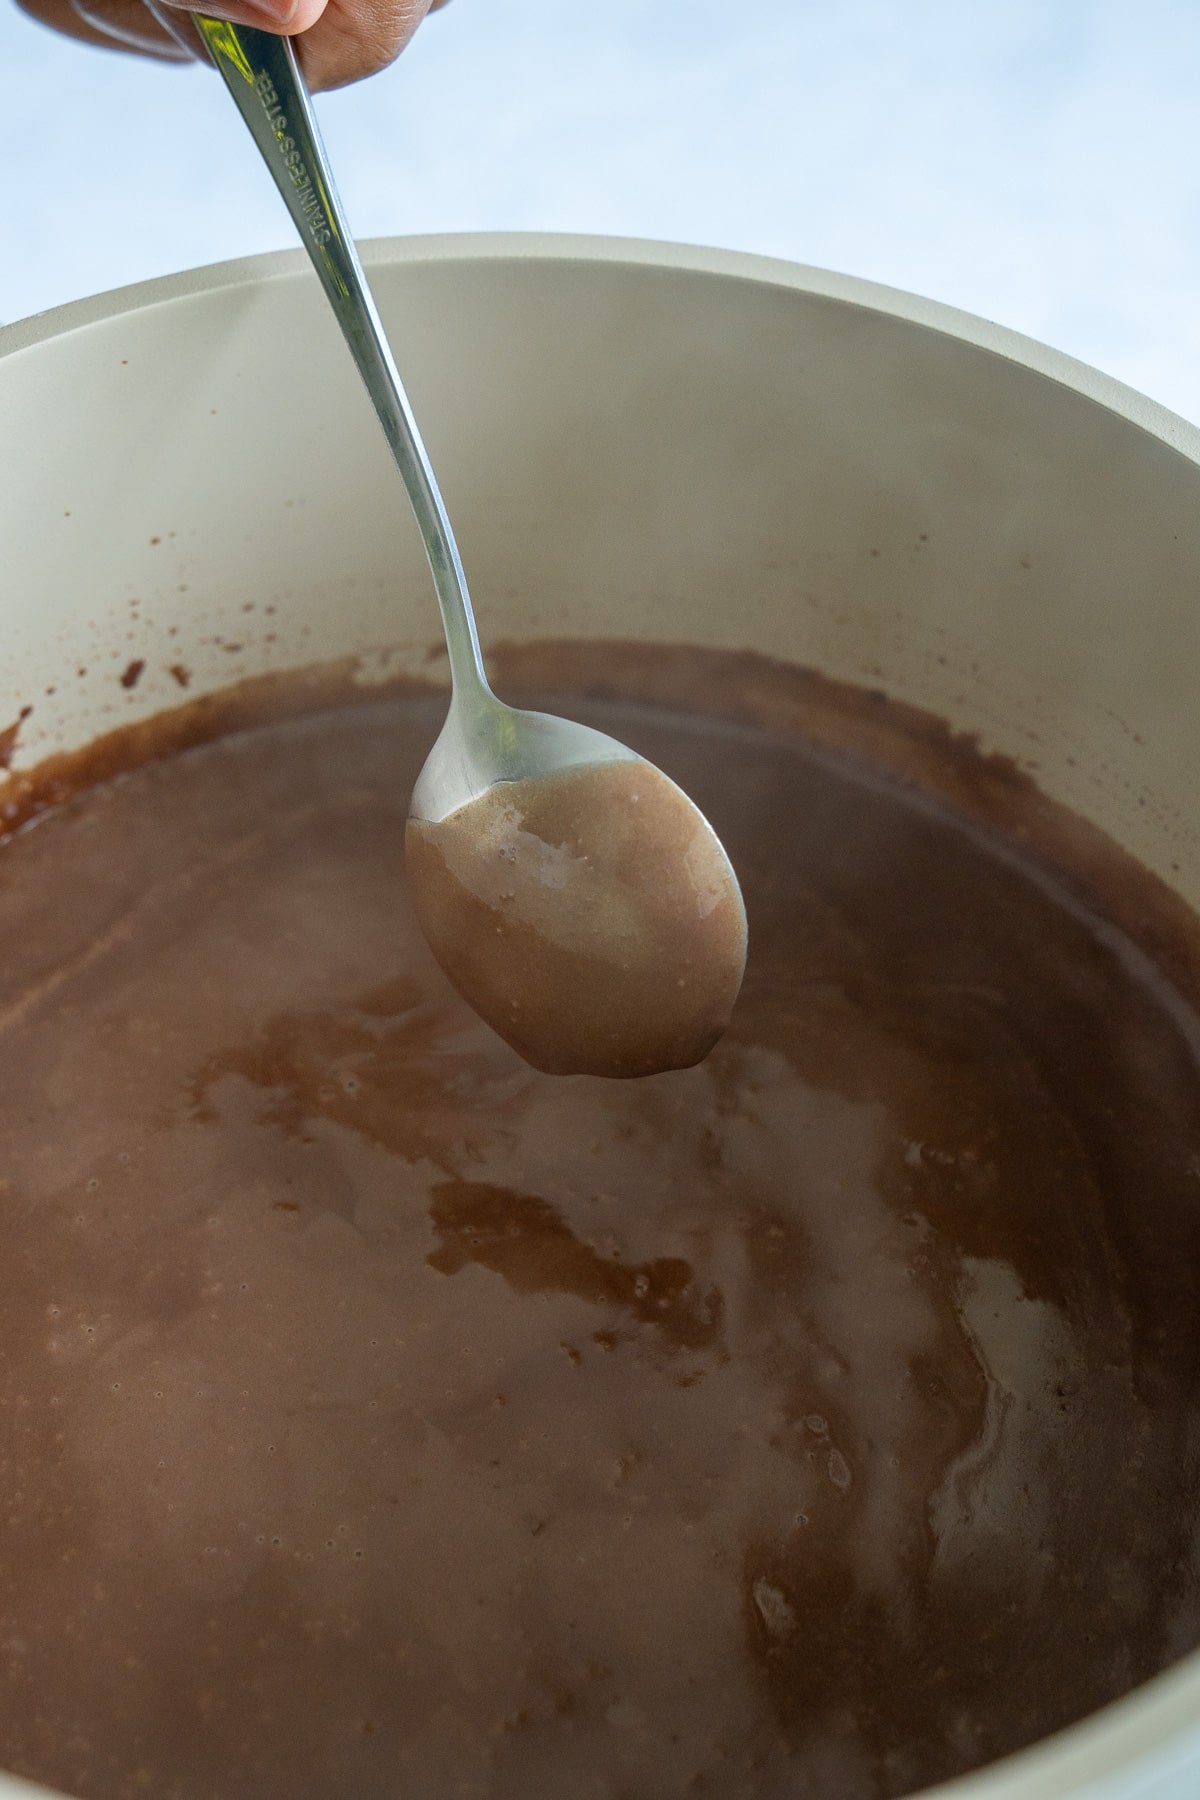
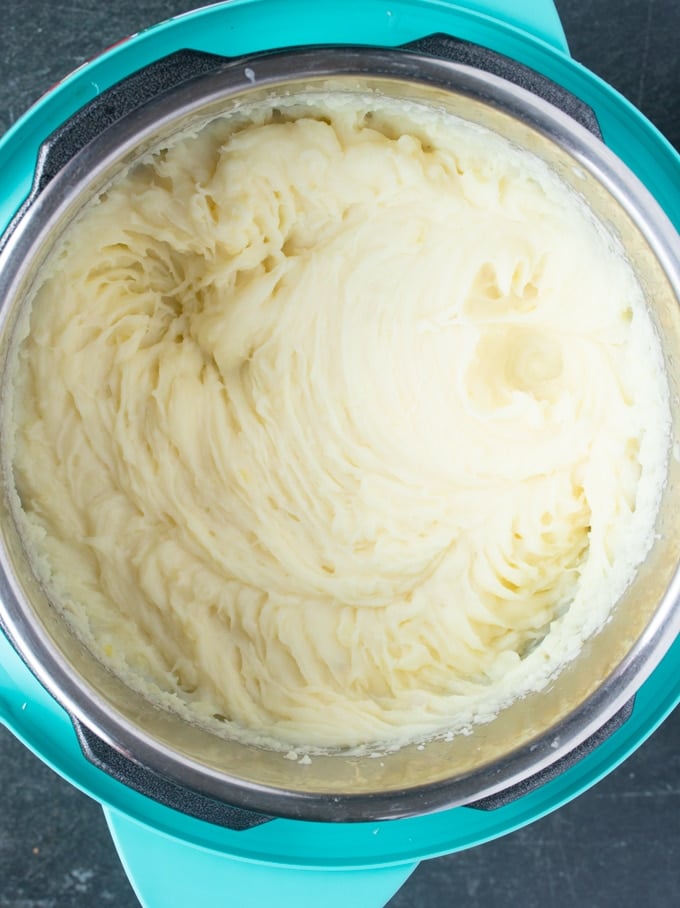
Then begin to mash the potatoes with a potato masher until creamy.
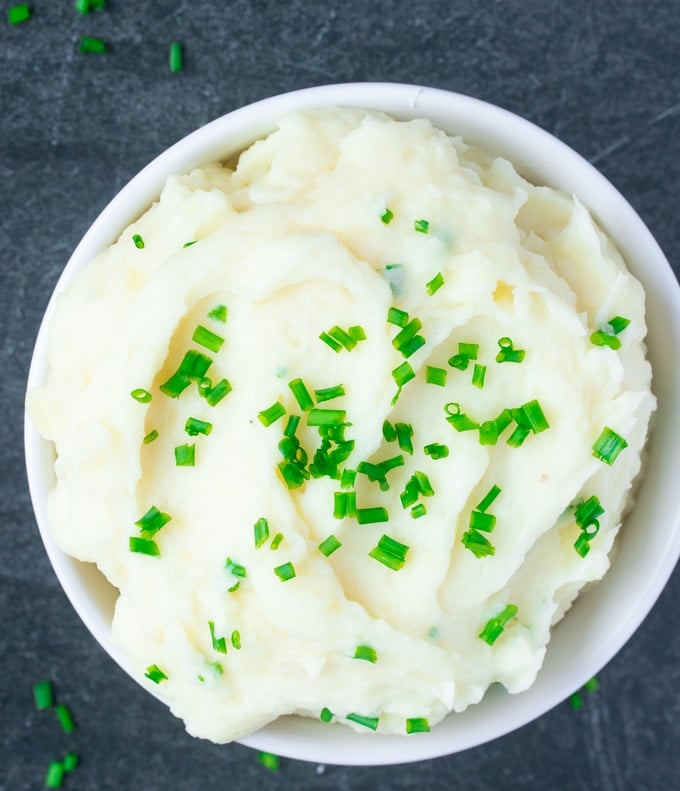
These potatoes are so smooth and creamy I generally eat them on their own but you could top them with some freshly cut chives or green onion, homemade gravy, or whatever else goes well with mashed potatoes.
Storage Options
Alternatively, you can reheat them on the stovetop over low heat, adding a splash of milk or cream to maintain the creamy texture. If freezing, store in a freezer-safe container for up to 2 months. Thaw in the refrigerator overnight before reheating.
Tanya's Top Tips
- You can skip the truffle oil and parmesan and opt for butter instead.
- I’ve made this recipe in the 6 qt Instant Pot and 6qt Mealthy Pressure Cooker.
- You could also use an electric beater to mash the potatoes. I would recommend removing the potatoes from the pressure cooker insert into a large bowl before using an electric beater.
- I’ve never had to drain my potatoes with this recipe. The pressure in the Instant Pot, as well as the fact that potatoes will release their own liquid, is why you don’t need to submerge the potatoes water.
If you liked this Instant Pot Mashed Potato recipe, you may like these as well:
- Instant Pot Collard Greens
- Instant Pot Cabbage
- Instant Pot Corn on the Cob
- Garlic Mashed Potatoes (Stovetop recipe)
Looking for recipes to serve this with? Try these out:

Creamy Instant Pot Mashed Potatoes
Equipment
Ingredients
- 2 ½ lbs russet potatoes About 5 medium-sized potatoes, peeled and chopped into 2 inch chunks
- 1 ¼ cup water
- ½ cup heavy cream
- 1 Tablespoon white truffle flavored olive oil
- ½ cup freshly grated parmesan cheese
- Salt to taste*
Instructions
- Place potatoes in the pressure cooker insert. Pour in water and heavy cream. You’ll notice that your water will not cover the potatoes. That’s perfectly fine. Cover your pressure cooker, making sure your valve is set to “Seal.”
- Cook on high pressure for 11 minutes. It will take around 15 minutes for your pressure cooker to reach pressure and for the clock to start counting down.
- Once your timer has gone off, allow your pressure cooker to naturally release for about 3 minutes, then quick release any remaining pressure. Open the lid and begin to mash the potatoes with a potato masher.
- Add the white truffle flavored olive oil, parmesan cheese, and salt and stir until combined. Serve and Enjoy 🙂
Video
Notes
Nutrition
This post was first published on October 15, 2019. It has been updated with new information.