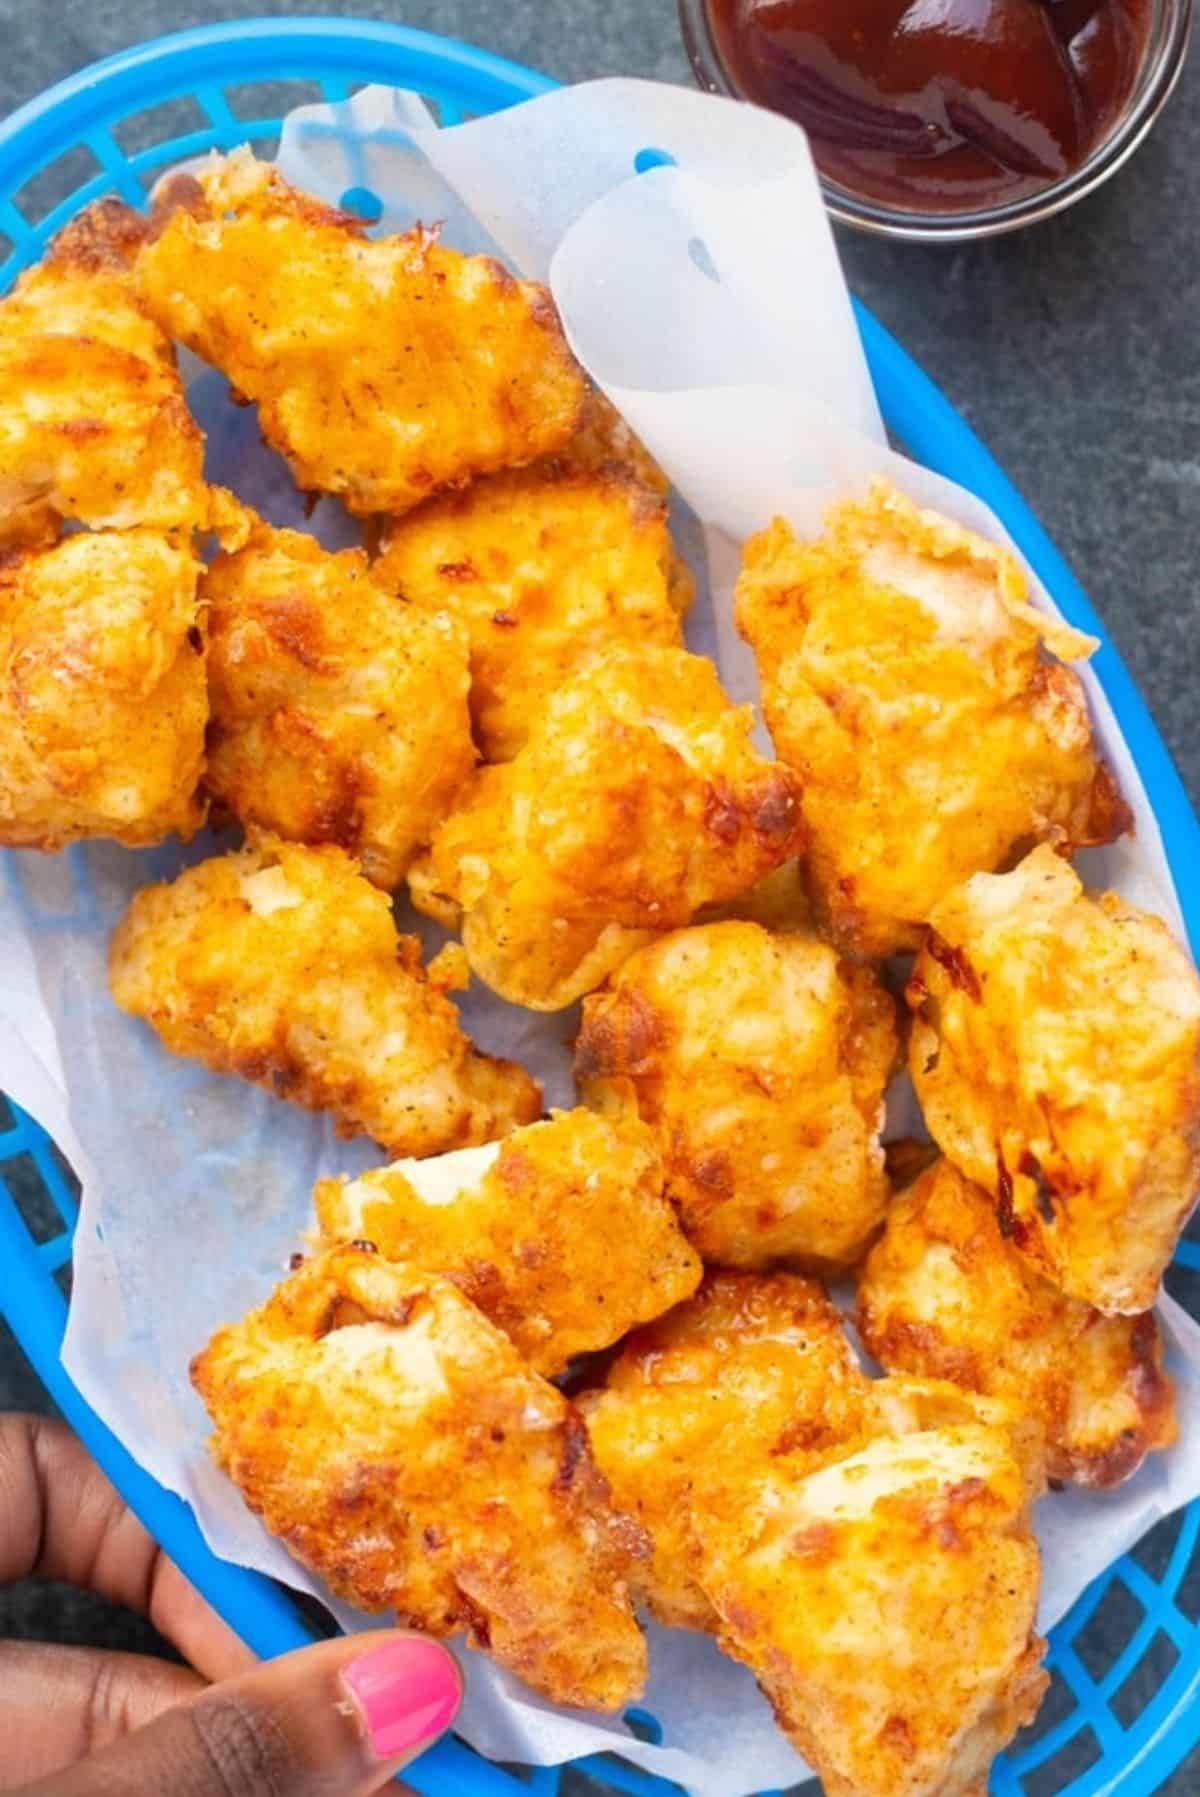
These air fryer chicken nuggets are golden on the outside, juicy on the inside, and packed with flavor. They are the perfect, easy family-friendly dinner.
You’ll find the full recipe with ingredient amounts and instructions in the recipe card at the bottom of this post. Be sure to check out the blog post itself for extra tips and tricks!
The Air Fryer and chicken make the perfect combination, especially for chicken nuggets. I like to make homemade chicken nuggets as they are healthier and almost as easy as the premade kinds.
My family absolutely enjoys Chick-fil-A nuggets. When we can't go to the restaurant, we make our own delicious nuggets at home.
Now I’m not going to say that these taste exactly like Chick-fil-A nuggets, but they come pretty darn close. They fry those nuggets in peanut oil. These nuggets are air-fried (saving on fat and calories), and I use whatever oil I have on hand to spray the nuggets. According to my 10-year-old, both nuggets are “yummo.”
Make sure to try my Air Fryer Fried Chicken and my Air Fryer Chicken Wings, too.
A Quick Look at the Ingredients
Ingredient amounts and full recipe instructions are on the printable recipe card at the bottom of the post.
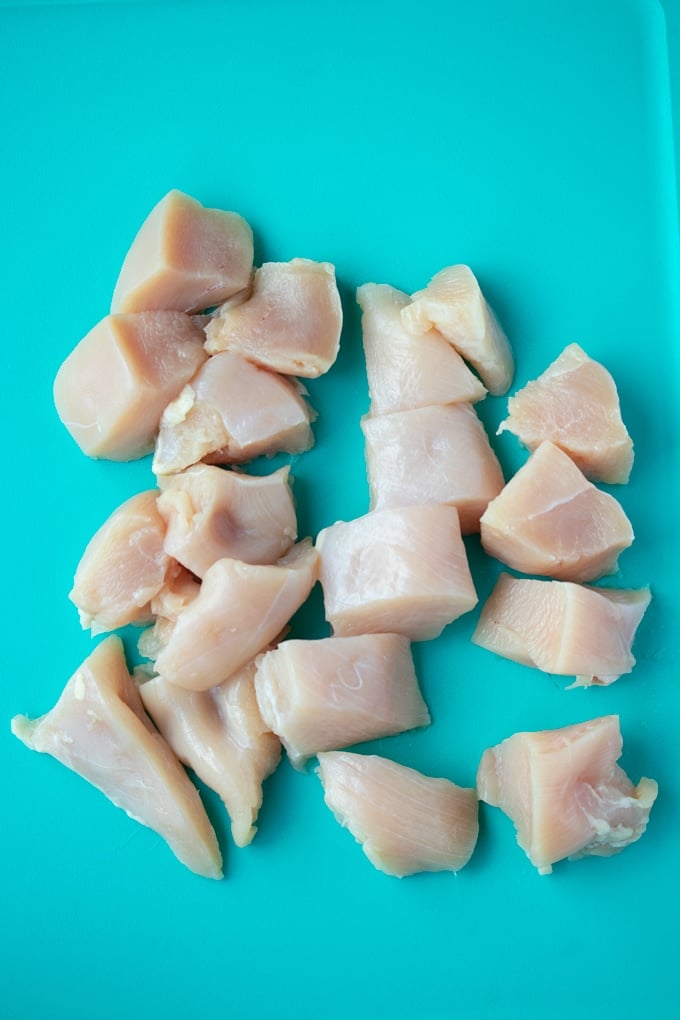
- Main Ingredients - Boneless, skinless chicken breast. You can also use chicken tenderloins. They'll be cut into 2-inch pieces.
- For the Brine - pickle juice. If you're not a fan of pickle juice, buttermilk is also a good substitute for this brine.
- Breading - egg, milk, all-purpose flour, cornstarch, powdered sugar, salt, paprika, garlic powder, onion powder, and black pepper.
- Oil for spraying the nuggets - Any high-heat sprayable oil works here.
How to Make Air Fryer Chicken Nuggets
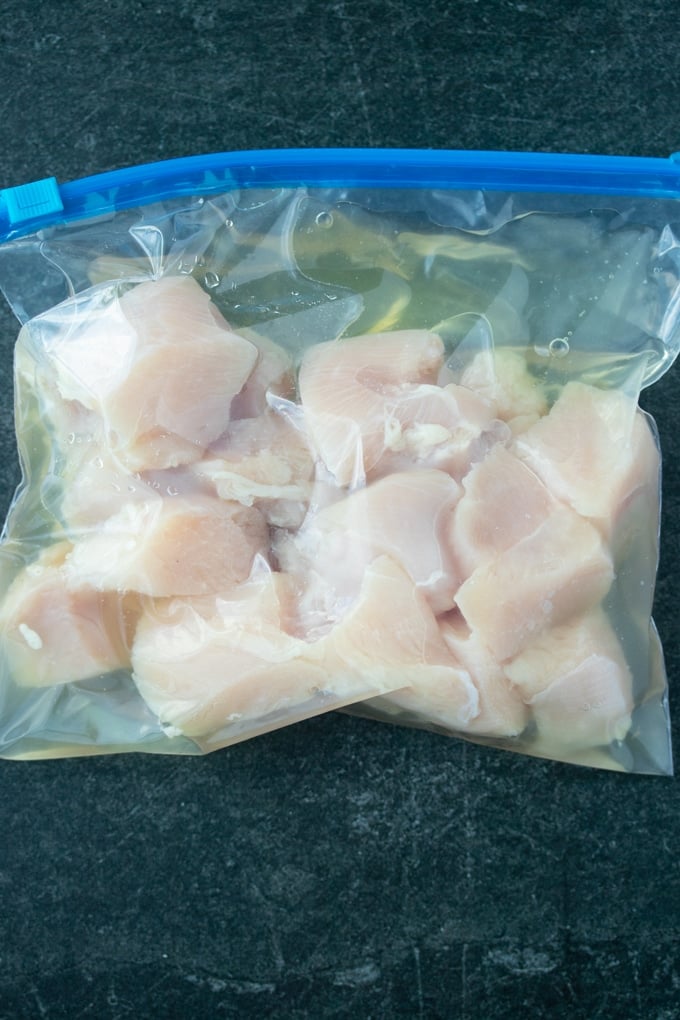
Step 1: Cut your chicken into large chunks, about 2 inches in size. This will give you nice, juicy chicken.
Step 2: Soak those beautiful chicken pieces in pickle juice for 20-30 minutes.
Step 3: After you finish soaking your chicken pieces in the pickle juice, you will prepare your coating station for your nuggets. Grab two shallow bowls. Place egg and milk in one bowl and whisk to combine.
Put flour, cornstarch, sugar, garlic powder, onion powder, paprika, salt, and pepper in another bowl. Mix with a whisk.
Time to Air Fry...
Step 4: Prepare your air fryer basket by lightly spraying the bottom with oil from a spray bottle. Avoid using aerosol spray oils in air fryers, as they can damage the bottom over time. I discuss this in my air fryer tips post. I use a spray bottle to hold my oils.
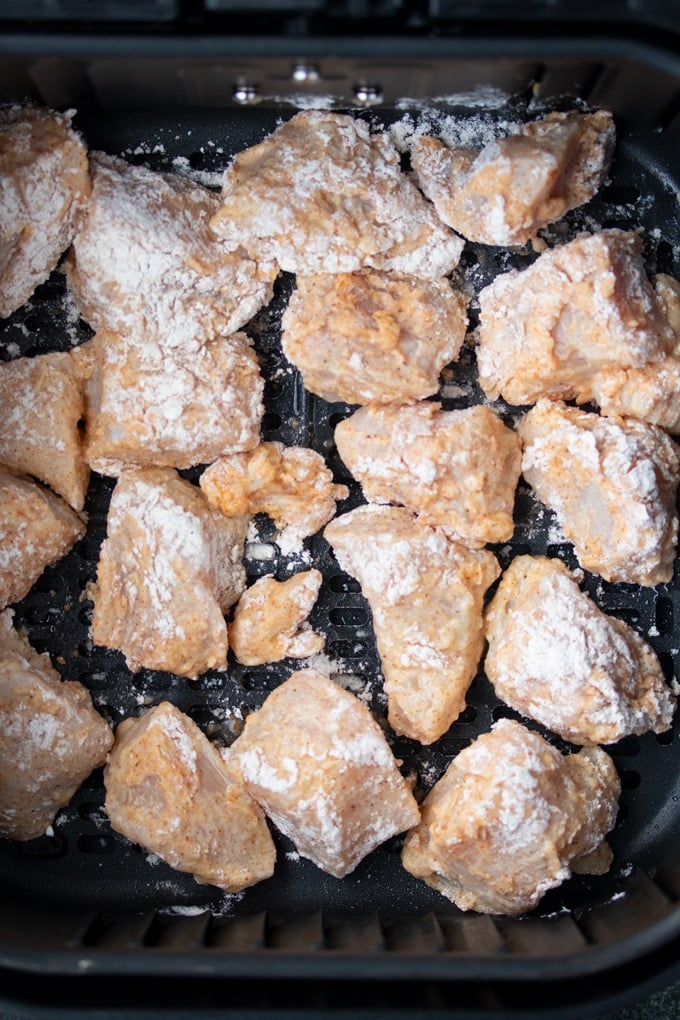
Grab a piece of chicken with metal tongs. Dip it in the egg mixture, then in the flour mixture. Shake off any excess flour and place it in the air fryer basket.
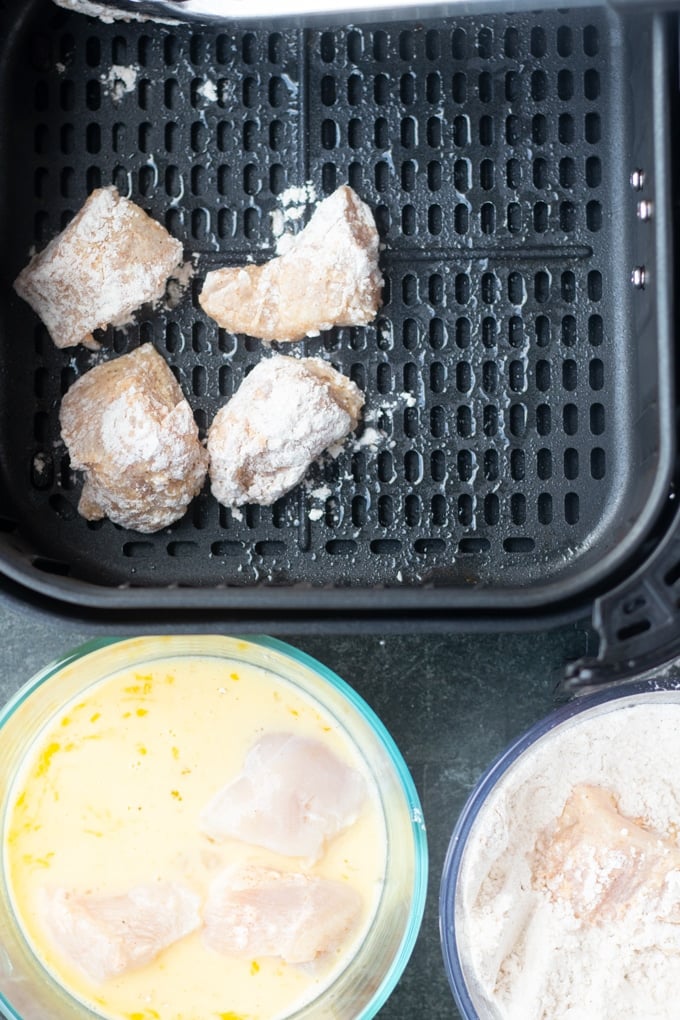
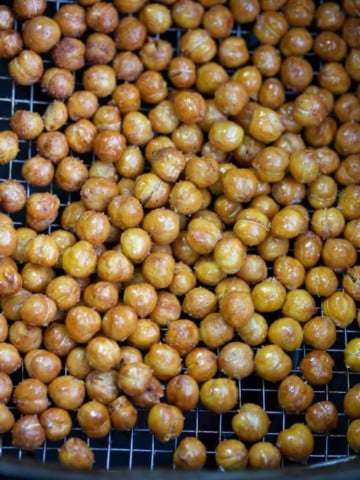
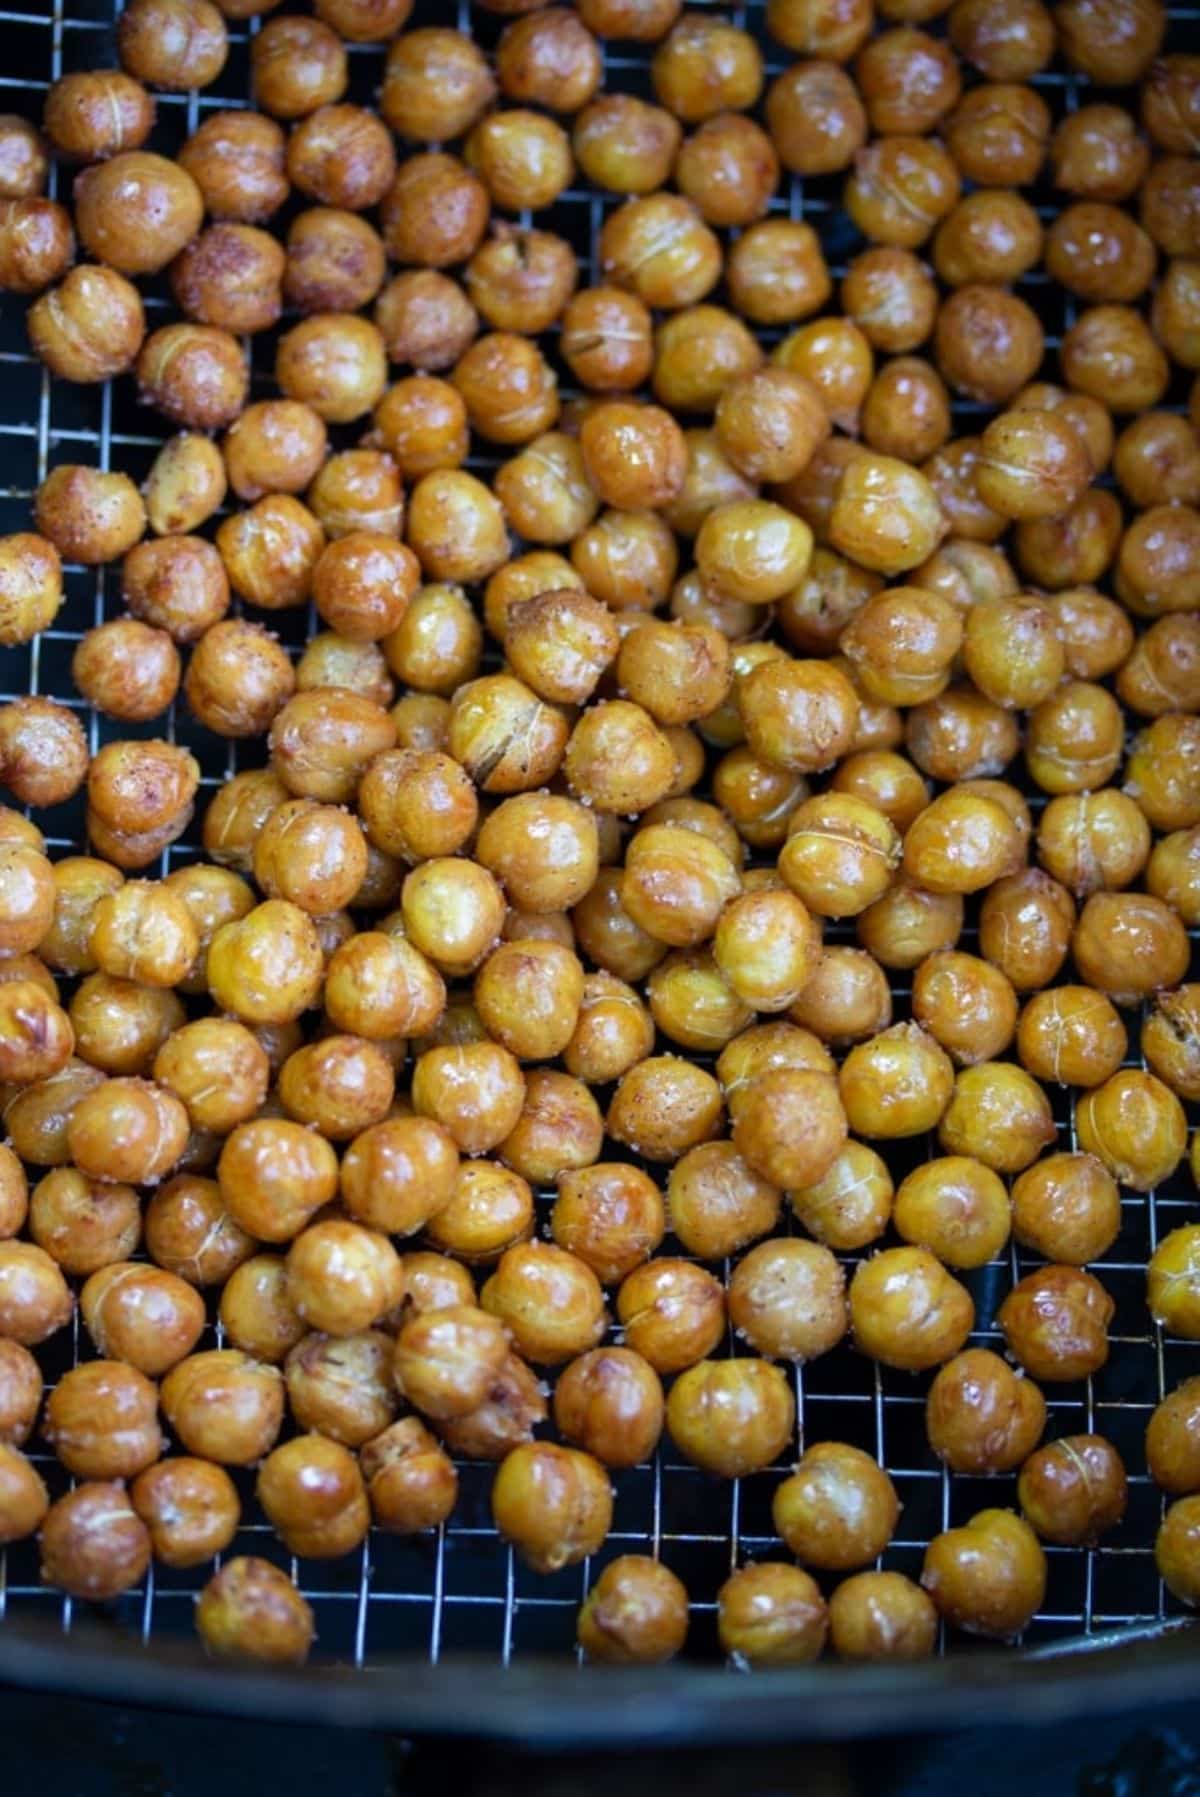
Repeat this step with all your chicken pieces until the bottom of your air fryer is full. Do not overlap the pieces, and make sure they are not touching. You’ll need them spaced apart so that air can flow around them.
Step 5: Close the air fryer basket and cook at 360 degrees Fahrenheit for 6 minutes. Open and spray any flour spots that appear on your chicken, then flip the pieces. If you see any flour spots on the chicken after flipping, spray that, too. Cook for 6 more minutes.
After finishing cooking, check if the chicken is cooked to your liking and has reached 165 degrees Fahrenheit. If so, you can take it out and eat it. If you like them a little darker, close the basket, increase the heat to 400 degrees Fahrenheit, and cook for 2 minutes more.
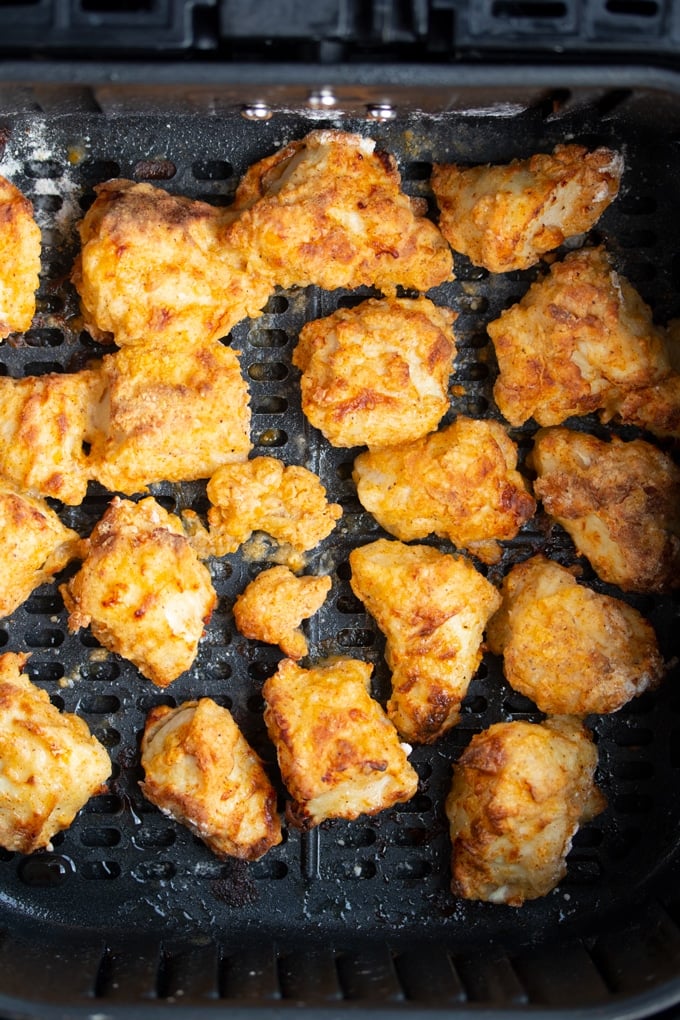
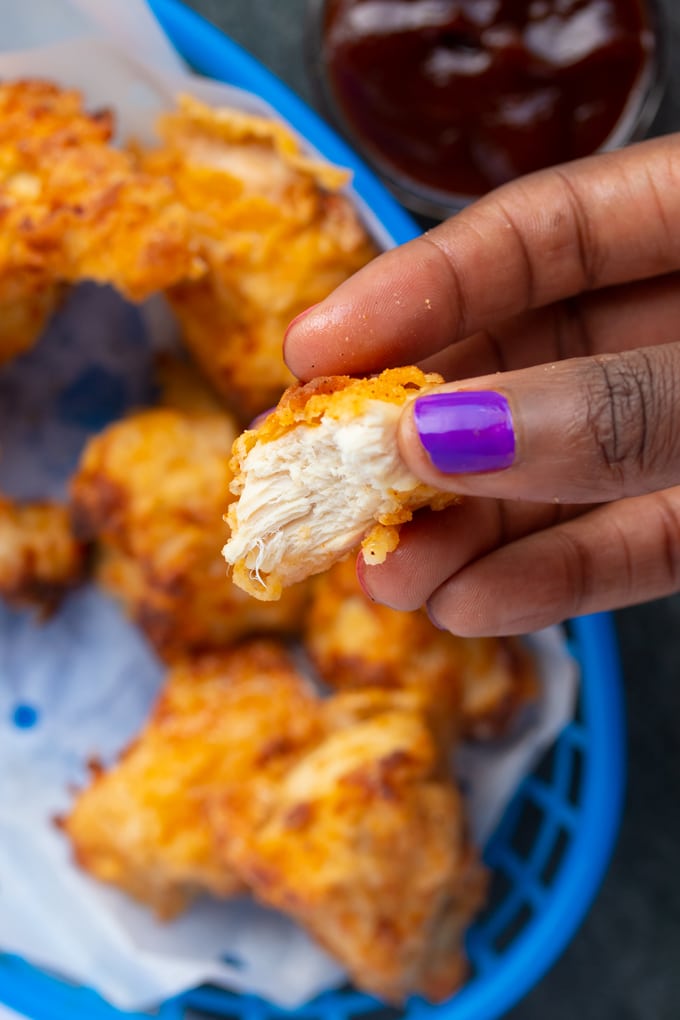
And that’s it, golden delicious air fryer chicken nuggets. Serve them with your favorite dipping sauce and enjoy 🙂
Serving Suggestions
Here are a few suggestions on how to serve these chicken nuggets.
Dipping Sauces for these Nuggets
There are endless choices for dipping sauces. You could use store-bought sauces or try your hand at some homemade favorites, like my homemade BBQ sauce or homemade ranch. You could dip these copycat nuggets in some spicy mayo or some copycat Chick-fil-A sauce.
Sides
Try these nuggets with sides like copycat air fryer potato wedges or these Air Fryer French Fries. I also like these with a good pasta salad on the side.
How to make Frozen Chicken Nuggets in the Air Fryer
Frozen nuggets are handy and great in the air fryer. To cook store-bought frozen nuggets in the air fryer, place them inside and cook at 400°F for 10-12 minutes. Remember to flip them halfway through the cooking process.
If you need to freeze these nuggets, let the cooked chicken nuggets cool completely, then place them in a single layer on a baking sheet until solid before transferring to a freezer-safe bag or container. When ready to cook, cook them from frozen until cooked through, and the inside reaches an internal temperature of 165°F (74°C).
Tanya's Notes on Air Fryer Chicken Nuggets:
- The longer your chicken soaks in pickle juice, the stronger the pickle flavor will be. I usually opt for 20 minutes.
- I use the pickle juice from a jar of dill pickles. My hubby and my oldest love pickles, so we always have a jar around.
- These chicken nuggets are best served fresh. If you need to reheat, reheat in the Air Fryer at 350°F for 3-5 minutes until heated through.
Looking for more air fryer chicken recipes? Or try these out:
- Air Fryer Bacon Chicken Bites - my non-breaded version of chicken nuggets wrapped in bacon
- Air Fryer Lemon Pepper Chicken Thighs - for those who love lemon pepper and chicken combined.
- Air Fryer Chicken Bites (No Breading) - these are seasoned well and then air-fried with no breading.
- Crispy Air Fryer Chicken Tenders - My chicken tender recipe is also a family favorite. This recipe uses panko in the breading for even crisper results.
I hope you love this chicken nuggets recipe as much as we do. If you have tried this or any other recipe on my blog, please rate it and let me know how it turned out in the comments below! Your feedback is invaluable and helps us grow. I appreciate your support!

Homemade Air Fryer Chicken Nuggets Recipe
Ingredients
- 2 6 oz chicken breast cut into 2-inch pieces
- 1 cup pickle juice
- 1 large egg
- 3 Tablespoons milk
- ¾ cup all-purpose flour
- 3 Tablespoons corn starch
- 2 Tablespoon powdered sugar
- 1 ½ teaspoon salt
- ¾ teaspoon paprika
- ¼ teaspoon black pepper
- ¼ teaspoon garlic powder
- ¼ teaspoon onion powder
- oil for spraying
Instructions
- Place chicken pieces and pickle juice in a plastic bag. Close and place in the refrigerator for 20-30 minutes.
- Meanwhile, in a shallow bowl, whisk together egg and milk.
- In another bowl, whisk together flour, cornstarch, powdered sugar, salt, paprika, onion powder, garlic powder, and black pepper. Set Aside.
- Remove chicken pieces from the refrigerator. Grease the Air Fryer basket with a little oil.Coat chicken pieces in egg mixture, then coat it in flour mixture, then shake off any excess flour and place it in the basket. Repeat until the bottom of the air fryer basket is full. Make sure none of the pieces are overlapping, nor should they be touching.
- Close the air fryer basket and cook at 360 degrees Fahrenheit for 12 minutes, flipping halfway. Spray any flour spots when flipping.
- After 12 minutes is up, increase the heat to 400 degrees Fahrenheit and cook for an additional 2 minutes.
- Remove and serve with your favorite dipping sauce.
Notes
- You can use this technique and batter to make chicken tenders, chicken sandwiches, etc.
- As always, different air fryers cook differently. Use a quick-read thermometer to ensure your food is thoroughly cooked.
Nutrition
This post was originally published on August 6, 2019. It has been updated with new information.