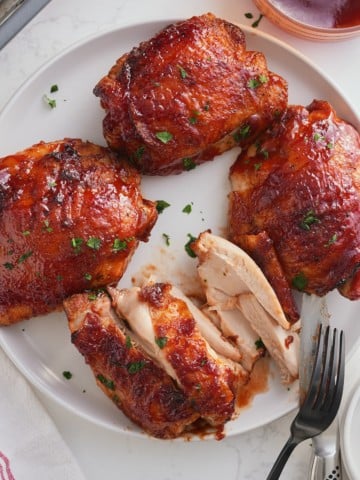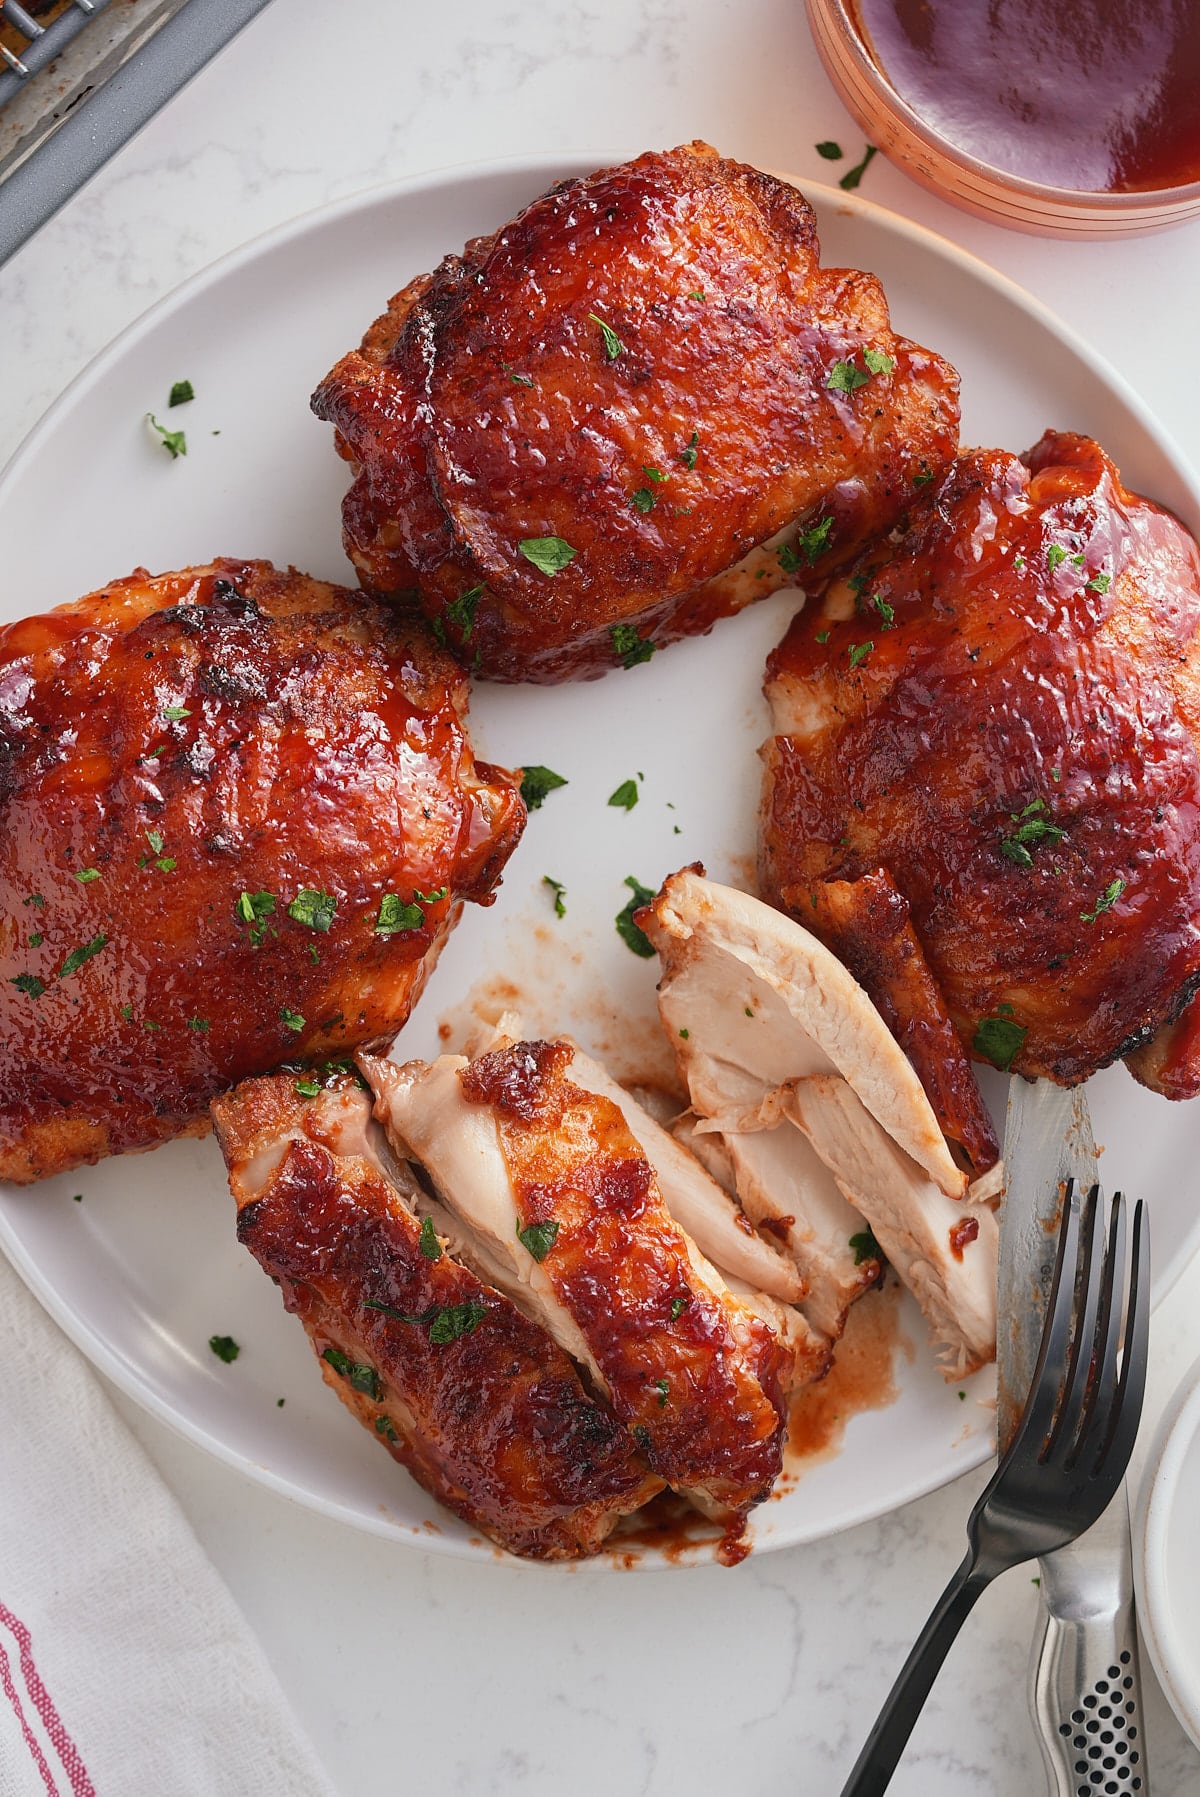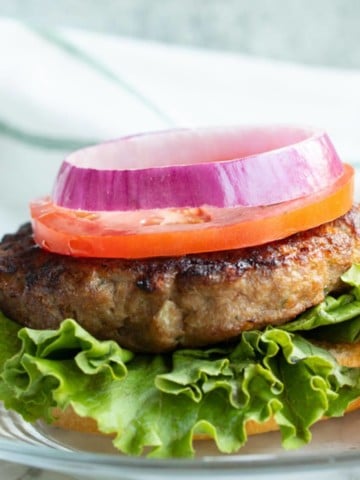
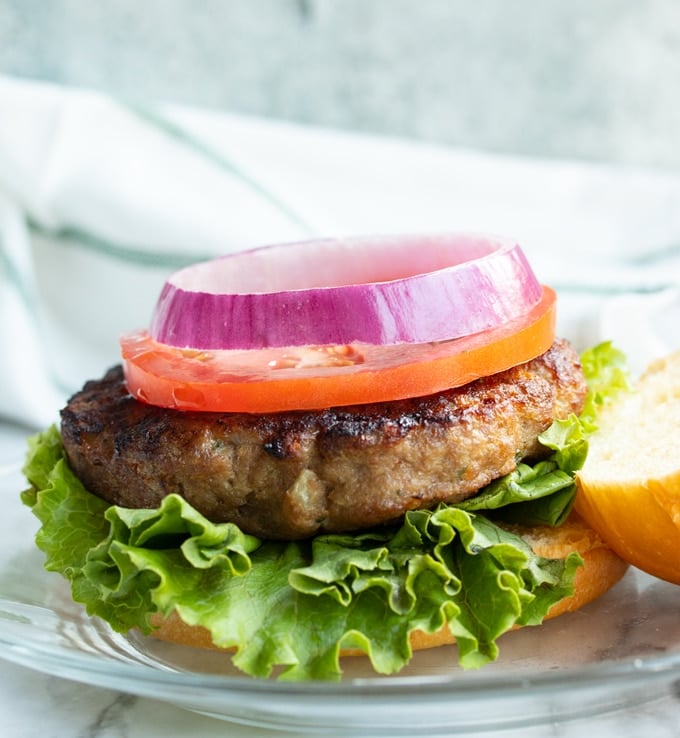
These Air Fryer Turkey Burgers are juicy, delicious, and full of amazing flavor. I use my healthy secret ingredient to keep these turkey burgers nice and juicy with no added oil or butter.
You’ll find the full recipe with ingredient amounts and instructions in the recipe card at the bottom of this post. Be sure to check out the blog post itself for extra tips and tricks!
I’ve used ground turkey to replace ground beef in a ton of recipes for as long as I can remember. Not because I think it’s better for you, but because I like diversity in my food.
But turkey burgers usually get a bad rap for being dry and tasteless. That’s because turkey has to be cooked to a temperature of 165 degrees Fahrenheit, so you can’t get away with undercooking it a bit as you can with other meats. But the secret ingredient to keep those turkey burgers nice and juicy is unsweetened apple sauce.
Apple sauce without sugar adds moisture to burgers, keeping them juicy without extra oil. I also add a bit of grated fresh onion to the meat mixture to add moisture and flavor.
It works every time and results in perfectly cooked, juicy turkey burgers. And because I love my Air Fryer, that’s exactly what I use to cook them.
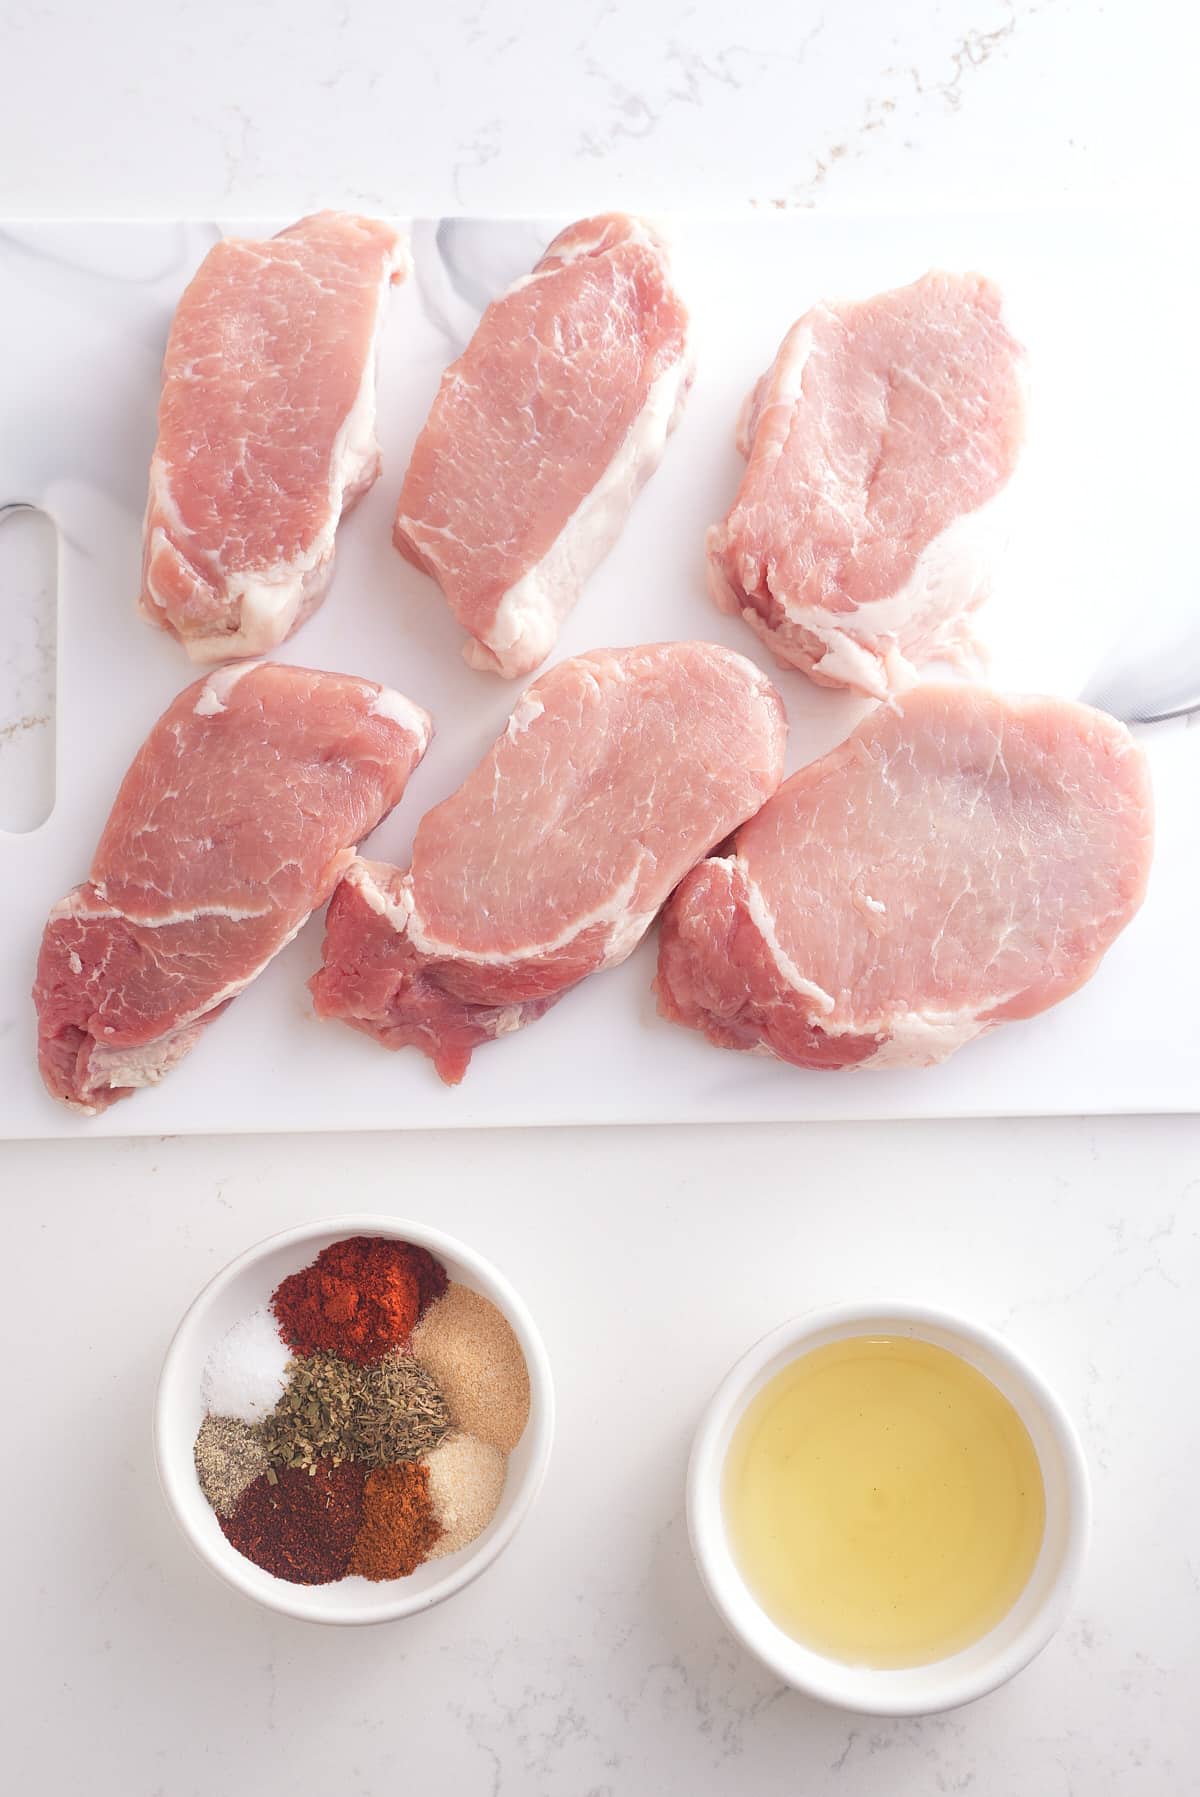
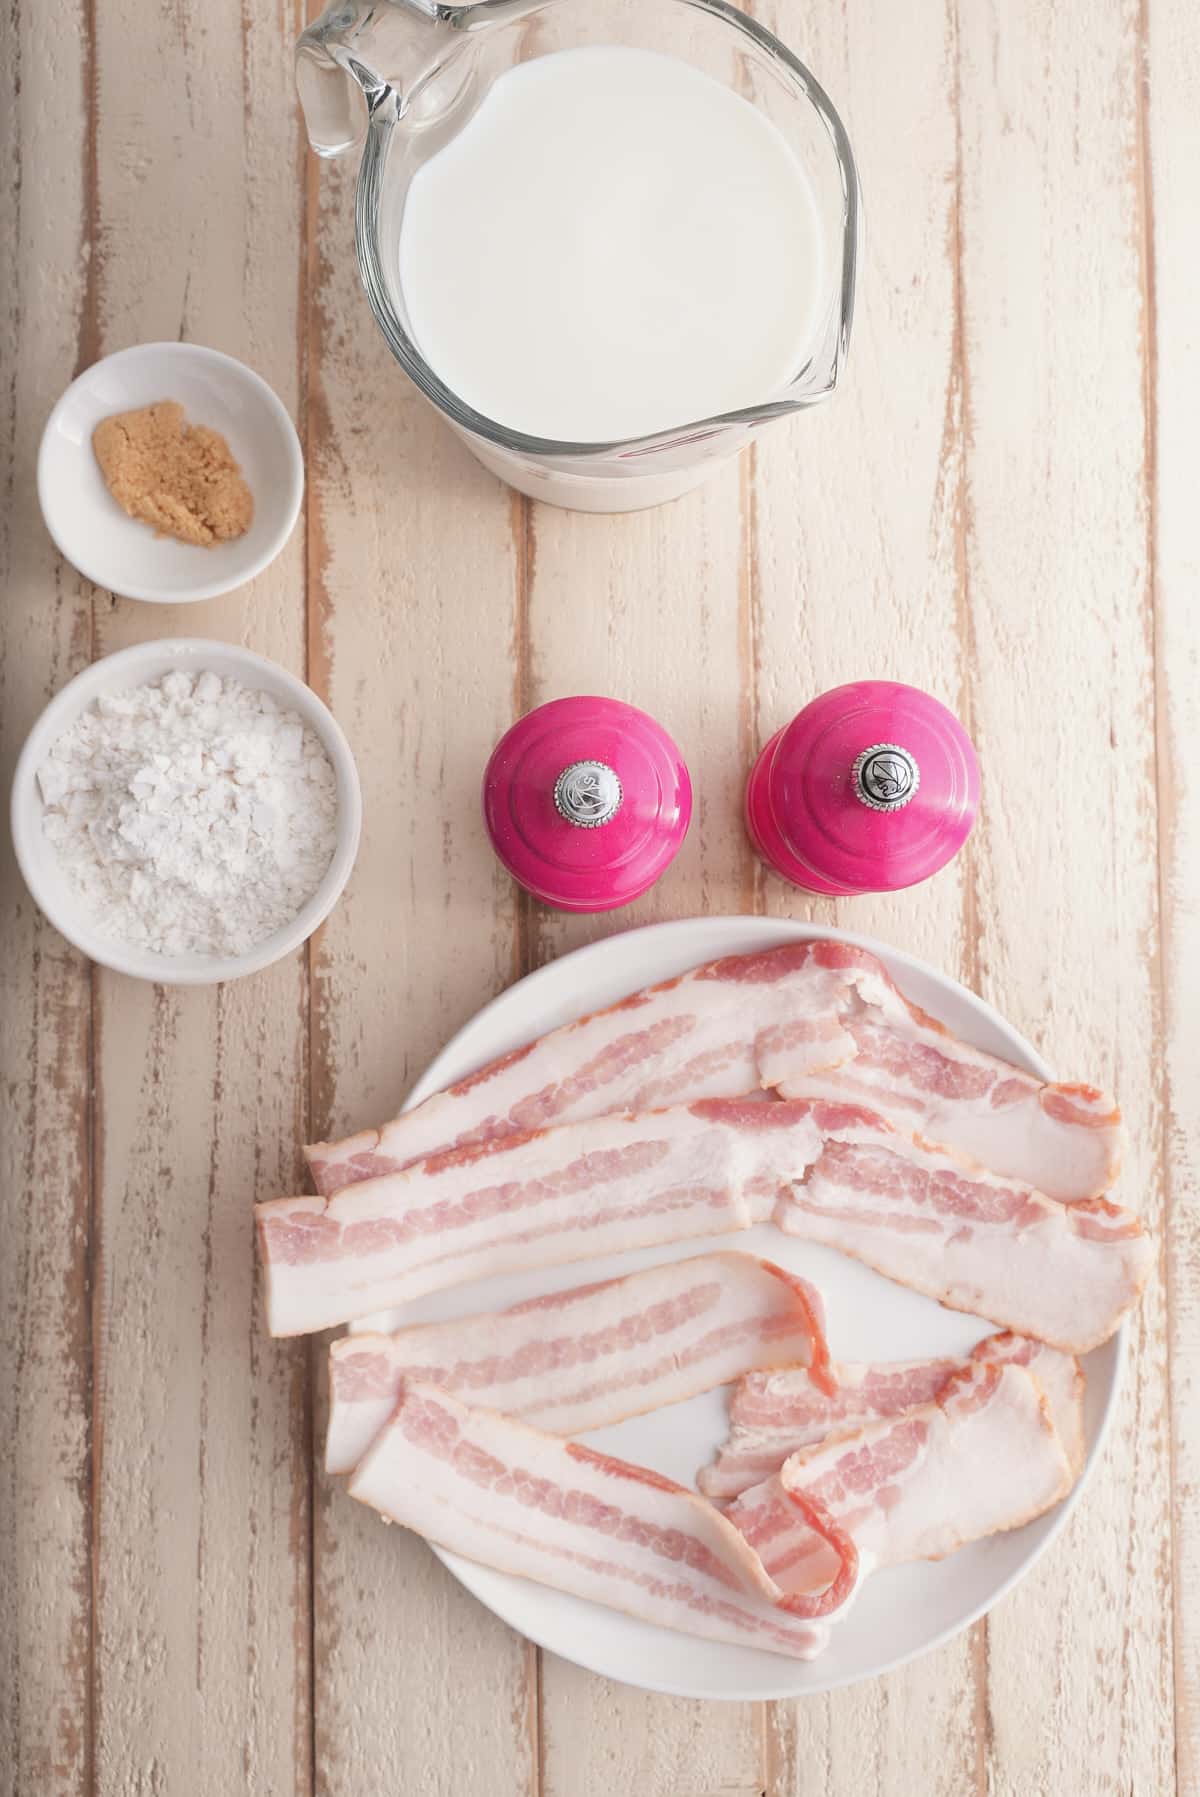
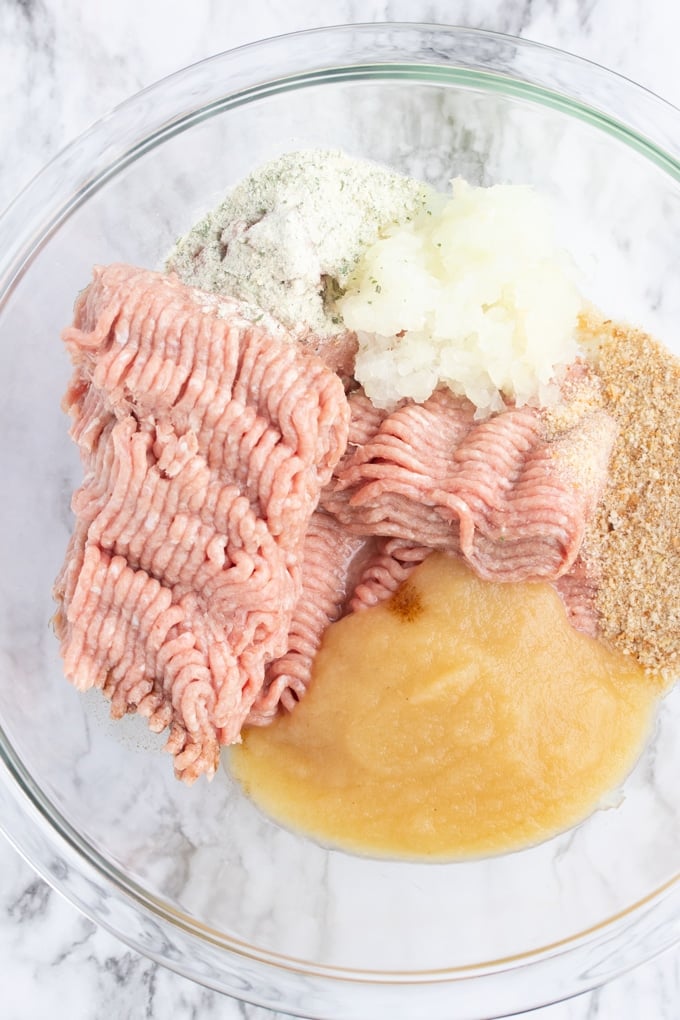
A Quick Look at the Ingredients
Ingredient amounts and full recipe instructions are on the printable recipe card at the bottom of the post.
- Ground turkey – I recommend using 85/15 lean ground turkey for the best balance of flavor and moisture. Super lean turkey (like 93/7 or 99%) can dry out faster.
- Unsweetened applesauce – My go-to secret for keeping turkey burgers juicy. It adds moisture without fat and disappears into the mix once cooked.
- Grated onion – Adds both moisture and flavor. I use a box grater or food processor to keep the pieces small and avoid big onion chunks.
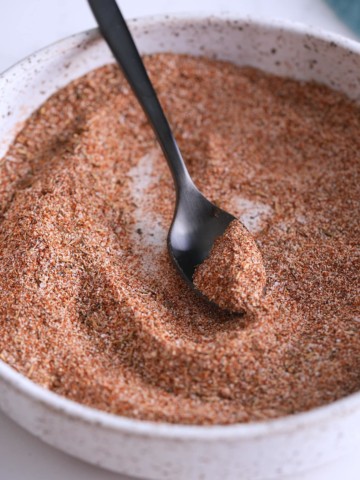
- Ranch seasoning, Worcestershire, garlic, and breadcrumbs – These build flavor and help the patties hold together.
- Salt and black pepper – Always essential for seasoning ground meats.
How to make Air Fryer Turkey Burgers
Step 1: Start by grating half an onion using a box grater or a small food processor. I add minced onion to burgers for juiciness and flavor, without big onion chunks.
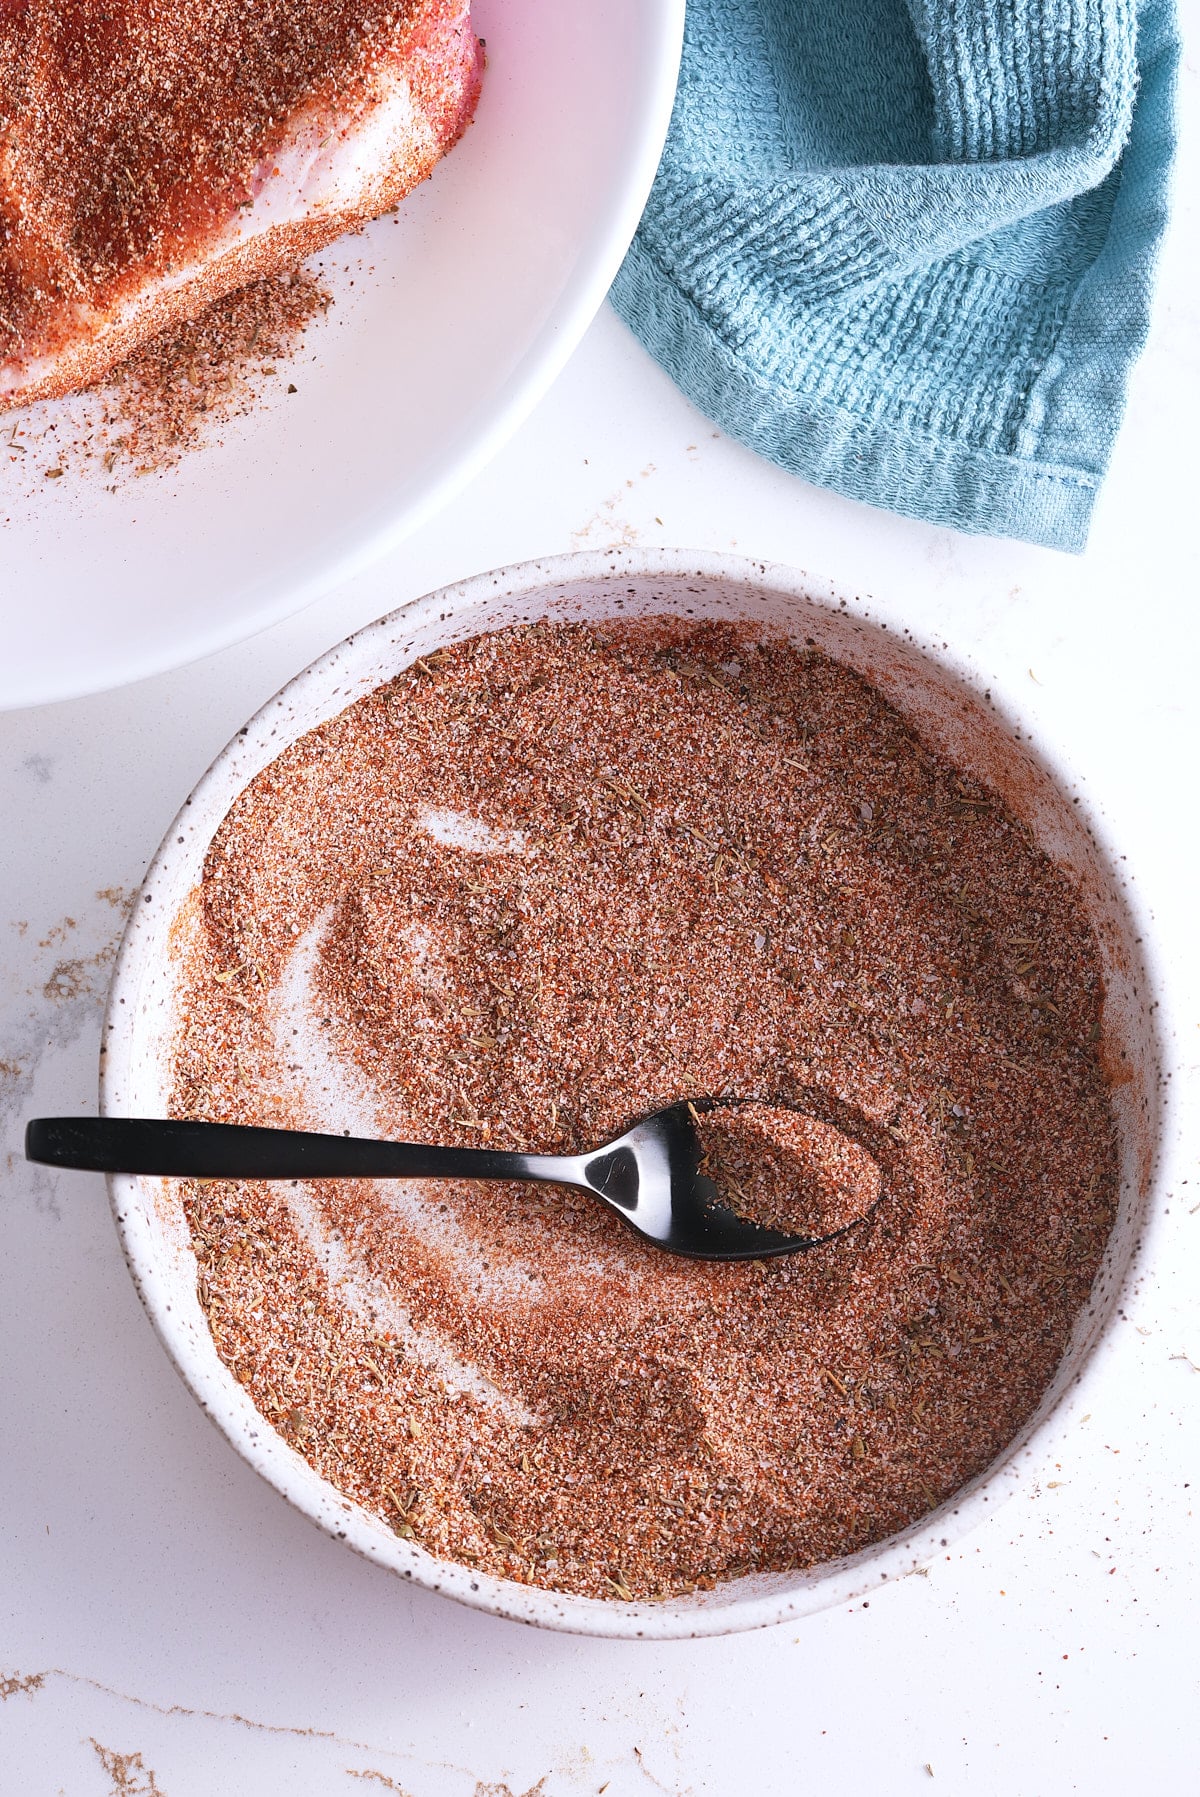
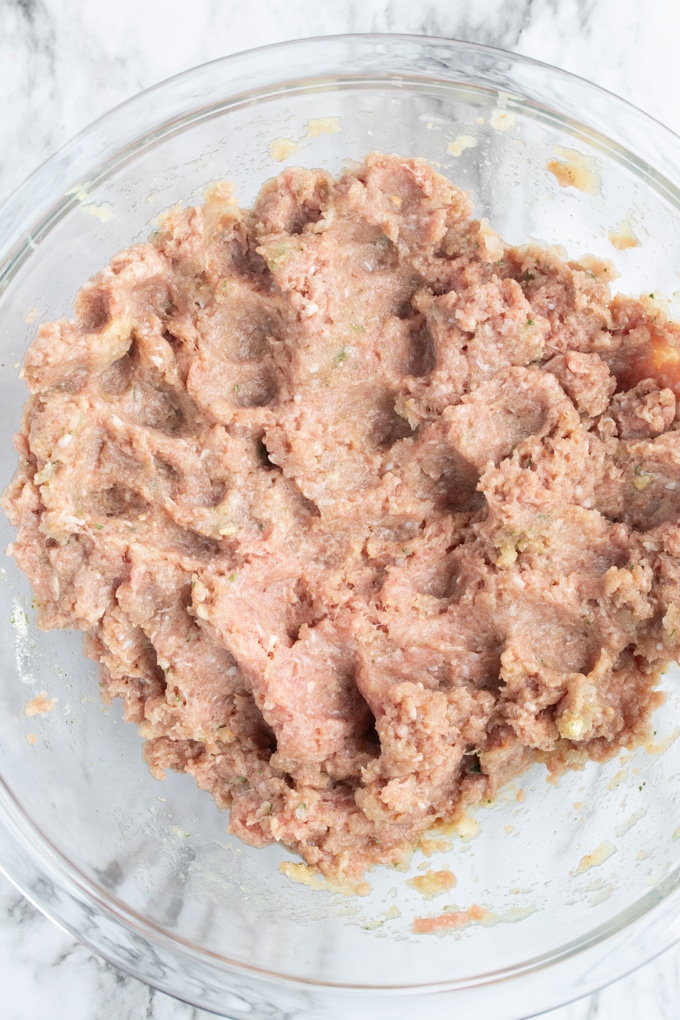
Step 2: Mix onion, turkey, apple sauce, ranch seasoning, Worcestershire sauce, garlic, breadcrumbs, salt, and pepper. Mix with your hands until combined.
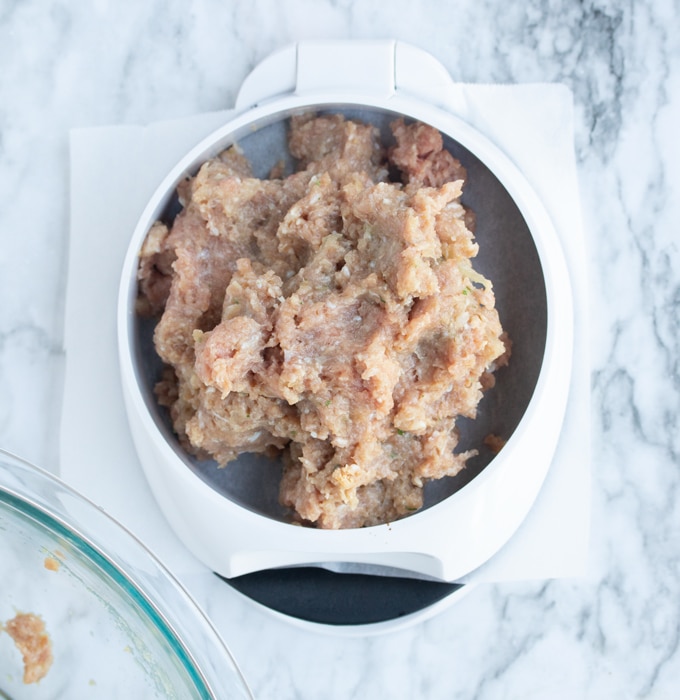
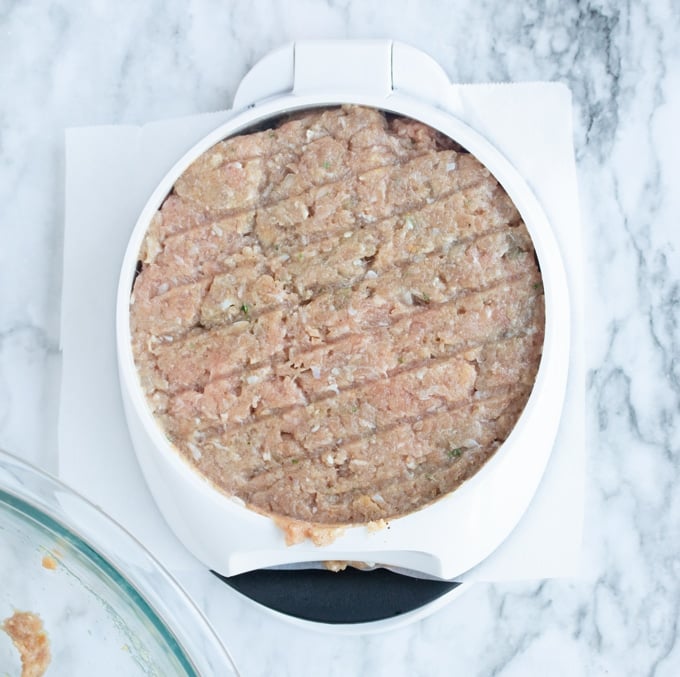
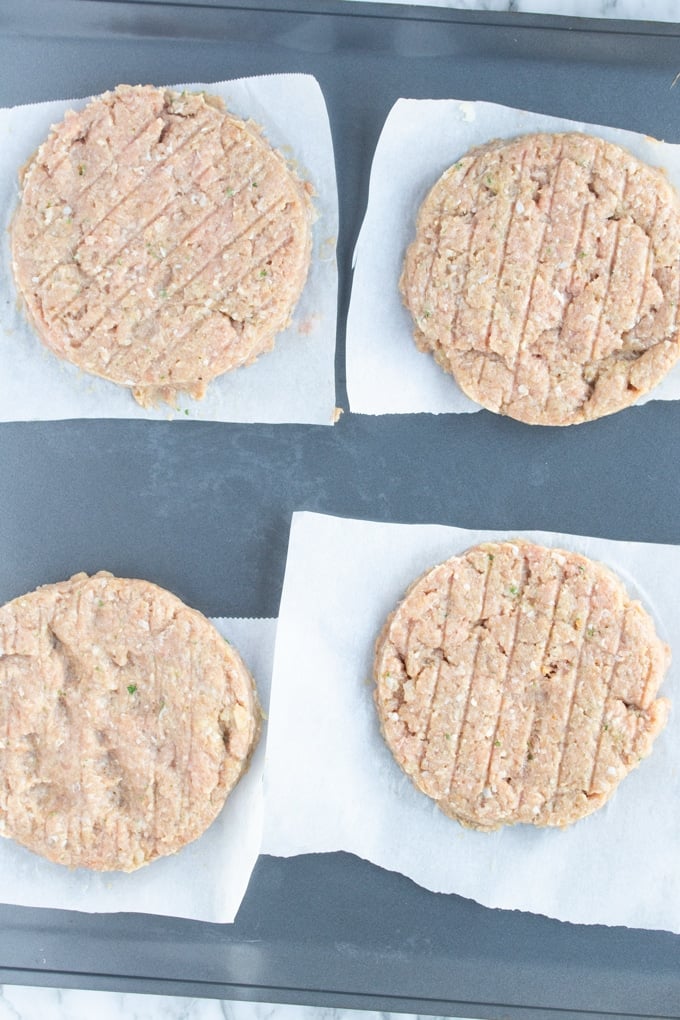
Step 3: Form into four hamburger patties. I use my burger press to ensure that my burgers are equally sized and perfectly formed.
Step 4: Place your burgers in the refrigerator for about 30 minutes to have them firm up a bit. This step will help your patties stay together when you are air frying.
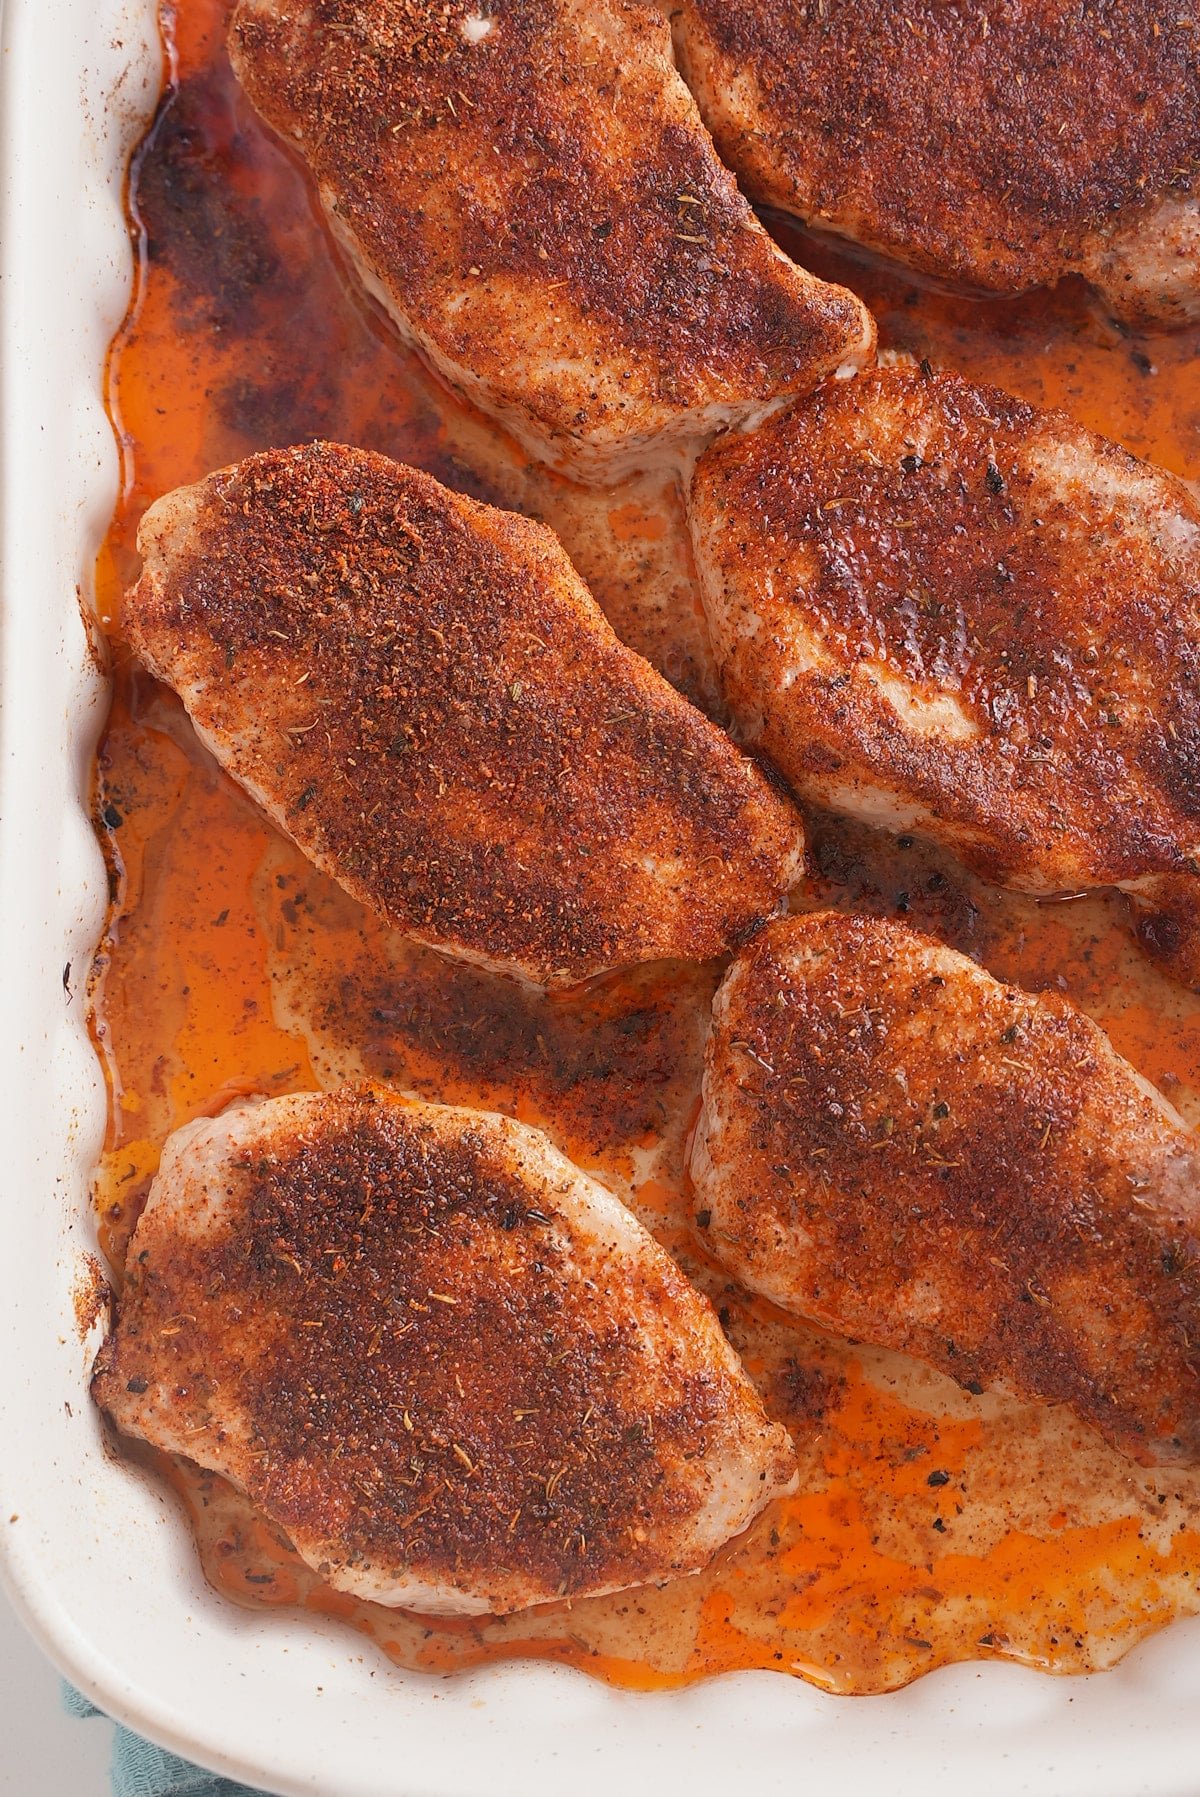
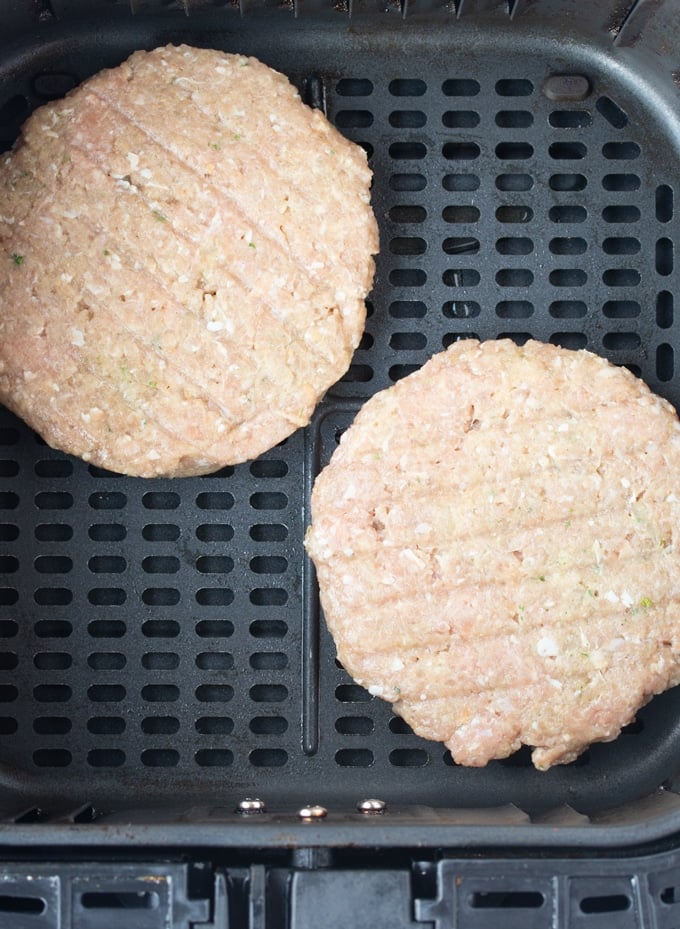
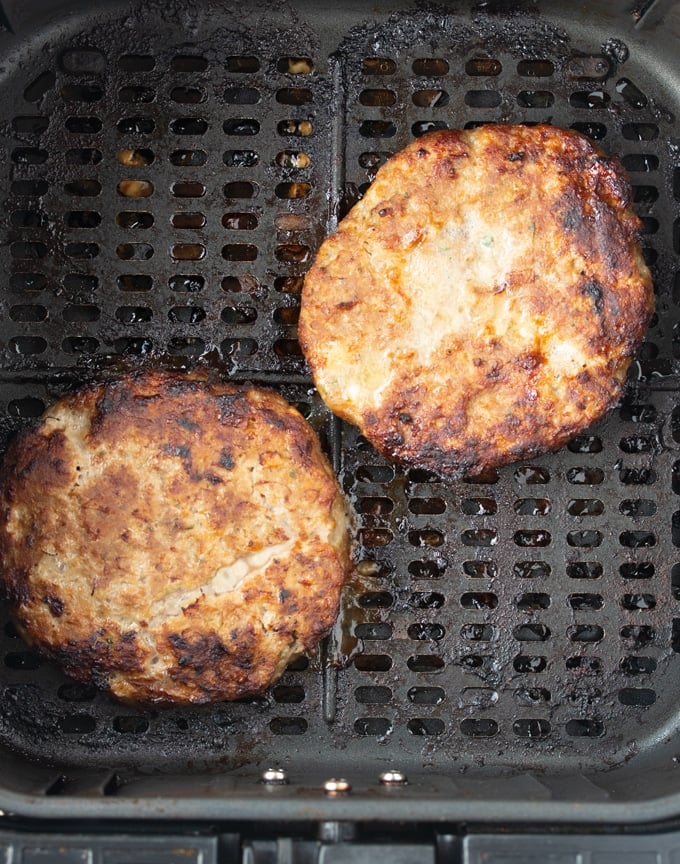
Step 5: Preheat your Air Fryer to 360 degrees Fahrenheit. Place your burgers in your Air Fryer basket, ensuring they don’t overlap or touch. Cook at 360 degrees Fahrenheit for 15 minutes, flipping halfway through. Your burgers are finished when they reach an internal temperature of 165 degrees Fahrenheit on a quick-read thermometer.
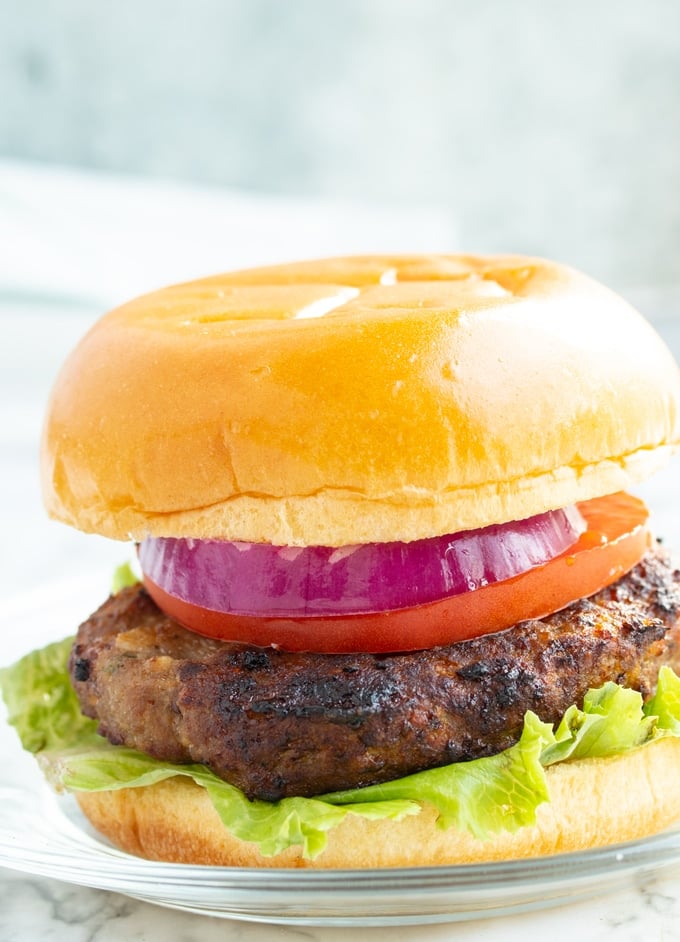
Serve them however you like. I generally top them with lettuce, tomato, a slice of red onion, and spicy mayo. I also top them with a little cranberry sauce if I'm feeling fancy.
How to make burgers from frozen in the Air Fryer
These turkey burgers freeze beautifully and can go straight from the freezer to the Air Fryer. For frozen turkey burgers, cook at 360 degrees Fahrenheit for 18 minutes, flipping halfway through. Use a quick-read thermometer to ensure your turkey burger has reached 165 degrees Fahrenheit.
How to Add Cheese to These Burgers
Whenever we get the craving for a little melted cheese, I add them after I cook the burger in the air fryer and then close the basket for a few minutes without running the air fryer. The cheese will melt on your burger while it sits in the warm air fryer.
Storage Options
Refrigerator: Cool the cooked burgers and then place them in an airtight container; the burgers will keep well in the fridge for up to 3-4 days.
Freezer: For more extended storage, wrap the burgers individually and freeze them, where they can last for up to 3 months.
Tanya's Top Tips
- You can prep the patties up to 24 hours ahead. Just store them covered in the fridge until you're ready to cook.
- If you don't have applesauce, try plain Greek yogurt or a splash of milk instead. It won’t be quite as juicy, but it still works.
- To keep them from falling apart, don’t skip the breadcrumbs, and always refrigerate the patties before air frying.
I hope you enjoy these turkey burgers as much as we do. If you’re looking for sides to go with these burgers, try these out:
- Air Fryer Potato Wedges or French Fries - I love a potato side dish with my burgers. Make either one of these in the air fryer.
- Easy Air Fryer Baked Potato - a classic baked potato. It's super easy to make in the air fryer.
- Air Fryer Sweet Potatoes with Hot Honey Butter - A sweet and spicy twist we can't stop making.
Looking for other recipes with ground turkey? Try these out:
- Ground Turkey Tacos - we make this one weekly. It's a family favorite.
- Pressure Cooker Turkey Chili - A delicious chili recipe.
- Air Fryer Turkey Meatballs - meatballs are so good in the air fryer. If you've got leftover ground turkey, you'll love making these with it.
How I Make These Juicy Turkey Burgers (Video)
To see how exactly these come together, watch the full step-by-step video, and don’t forget to like and subscribe on YouTube for more easy air fryer recipes!

The Juiciest Air Fryer Turkey Burgers
Ingredients
- 1 lb ground turkey 85/15
- ¼ cup unsweetened apple sauce
- ½ onion grated
- 1 Tablespoon ranch seasoning
- 2 teaspoon Worcestershire Sauce
- 1 teaspoon minced garlic
- ¼ cup plain breadcrumbs
- Salt and pepper to taste
Instructions
- Combine your onion, ground turkey, unsweetened apple sauce, ranch seasoning, Worchestire sauce, minced garlic, breadcrumbs, and salt and pepper. Mix with your hands until combined. Form into 4 equally sized hamburger patties.
- Then place your burgers in the refrigerator for about 30 minutes to have them firm up a bit.
- Preheat your Air Fryer to 360 degrees Fahrenheit by running your Air fryer on 360 degrees for about 3 minutes. Place your burgers on your Air fryer, making sure they don’t overlap or touch. Cook on 360 degrees for 15 minutes, flipping halfway through. Your burgers are finished when they reach an internal temperature of 165 degrees Fahrenheit on a quick-read thermometer.
Notes
- For frozen burgers, place the burger straight into a preheated air fryer basket and cook at 360 degrees Fahrenheit for 18 minutes, flipping halfway through.
- A little oil on the air fryer basket can help prevent sticking.
Nutrition
This post was originally published on October 1, 2019. It has been updated with additional helpful information.