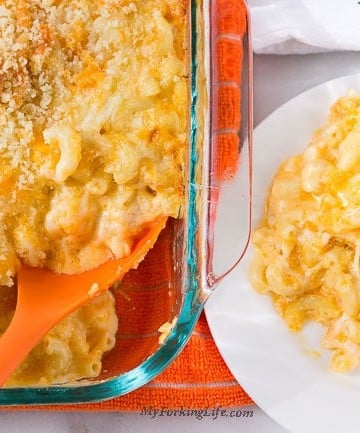
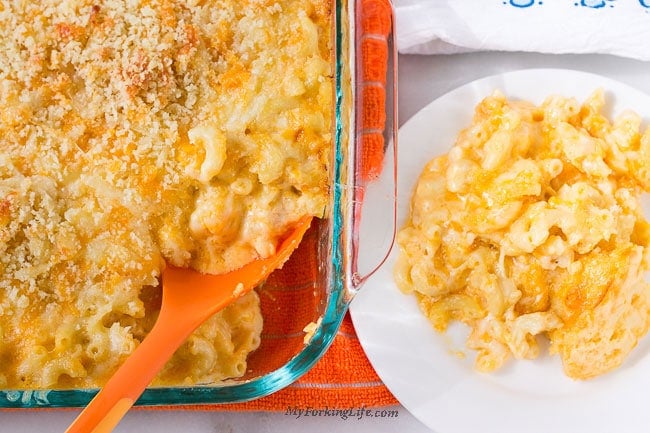
This Creamy Baked Macaroni and Cheese recipe is the perfect combination of flavor and creaminess. This is the recipe to use when making that big casserole of macaroni and cheese for the Holidays.
You’ll find the full recipe with ingredient amounts and instructions in the recipe card at the bottom of this post. Be sure to check out the blog post itself for extra tips and tricks!
If you were wondering what side you should make and bring to Thanksgiving this year look no further. It's this creamy baked macaroni and cheese recipe. As a matter of fact, don't even wait that long to make this homemade creamy baked macaroni and cheese.
Make it now, and thank me later. If you do decide to make it, perhaps for dinner, why not try it along with these Easy Baked Chicken Wings and wash it down with this Peach Sweet Tea & Rum for that Southern feel.
This recipe comes courtesy of Elgin. Thanks, Elgin! Here's a little back story...Two years ago, a friend of mine, Sally, had a beach getaway for her hubby, Lou, where we were all invited to stay at this lovely beach house on the outer banks.
Sally invited her friends who included hubby and me, and Lou invited his friends, which included Elgin and his wife, among other friends. The things that happened that weekend is for another post...or maybe I'll never tell because what happens at the beach house, stays at the beach house.
Ok, back to this mac and cheese. So apparently, one night, Elgin makes this baked creamy macaroni and cheese, and everyone in the house gets some...except for me. Why not may you ask? Well, they claim I was drunk...or asleep. I don't believe it, I think the greedies in the house didn't want to share. hmmmpph. So I got none of this macaroni and cheese, but I heard enough about it the entire weekend to imagine how delicious it was.
Fast forward to a year later, and my friend put together another event for her hubby. This time, everyone pretty much demands that Elgin makes this baked macaroni and cheese. This time, I for sure was going to get me a plate. Get me a plate I did and I had about 4 servings that night of this macaroni and cheese.
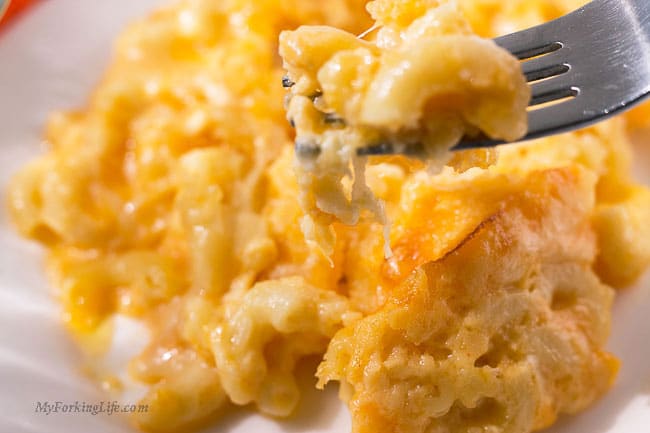
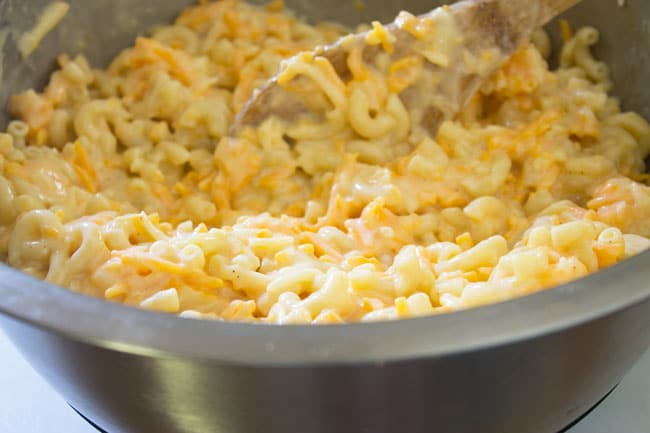
This macaroni and cheese was so creamy and delicious, it reminded me of stovetop....but it was baked! Yall, I have had so much dry and bad-baked macaroni in my life that I usually run when I see it.
But this macaroni was so creamy and cheesy and gooey that it was love...all love! It as so good that I begged and pleaded with Elgin for the recipe. Just kidding! I asked once and he was like "sure, let me write it down," and his wife even got the pen and paper. Seriously, if it were me, I don't know if I'd share. hmm...thinking of hitting the delete button on this post...just kidding.
I hope you all enjoy this oooey goooey creamy baked macaroni and cheese recipe. I will go ahead and go on record and say that this is the BEST baked macaroni and cheese recipe I have ever had. No more of that dry baked macaroni and cheese...Come on over to the creamy side.
Notes on Creamy Baked Macaroni and Cheese
- The original recipe for this macaroni and cheese recipe comes from Patti Labelle. She is a beast in the kitchen so no surprise that it's so good. Elgin did make modifications by doubling the cheese and substituting whipping cream for half&half.
- I modified the recipe as well by creating a crunchy topping, increasing the heat by 25 degrees. I also subbed colbyjack/monterey cheese for just monterey. Feel free to leave the panko topping off if you choose but I feel it's a must in a baked macaroni and cheese recipe.
- This recipe has 5 types of cheese. Yes, 5 different kinds of cheese. The amount of cheese will scare you at first but believe me, it's necessary and makes this dish delicious.
- Is this recipe healthy? Probably not...but who cares because...CHEEEEEEEESE.
- I'd recommend keeping the cheeses the same as stated...even the Velveeta. The beauty of this is that all the cheese melts and tastes perfect. There is a science to melting cheese.
Looking for more Recipes for the Holidays??? Try these out:
- Southern Style Pressure Cooker Collard Greens
- Pressure Cooker White Cheddar Macaroni and Cheese
- Roasted Cauliflower and Sweet Potato Recipe
- Corn Soufflé
- Southern Candied Sweet Potatoes
Looking for more pasta recipes?
- Patti Labelle's Mac and Cheese
- Pressure Cooker Cajun Chicken Pasta
- Pressure Cooker Chicken Spaghetti
- Creamy Air Fryer Mac and Cheese
You can also use this leftover macaroni and cheese to make these Air Fried Macaroni and Cheese Balls recipe.
Click Here to Pin Creamy Baked Macaroni and Cheese for Later
How to store Creamy Baked Mac and Cheese
Make ahead: This whole recipe can be made 1-2 days ahead of time. You can either cook and combine the macaroni and sauce, spreading it into a casserole dish. Then cover it and store in the refrigerator until you are ready to serve. When ready to bake, remove from the refrigerator 30 minutes prior to baking (you can preheat your oven at this time), sprinkle over the cheesy breadcrumb topping, and place into the hot oven to bake.
Alternatively, you can bake the creamy mac and cheese, then allow it to cool completely before covering it and storing it in the refrigerator for 1-2 days. When ready to enjoy, place back into a warm oven to heat through for 30 minutes.
To refrigerate: Leftover mac and cheese can be stored, and covered in the refrigerator for up to 3 days. When ready to heat up, place the dish back into a warm oven, or into the microwave to warm through.
To freeze: Creamy baked mac and cheese freezes well, and again there are two points where you can do this. You can cook and combine the macaroni and sauce, spreading it into a casserole dish and allowing it to cool completely. Then cover the dish and store it in the freezer for up to 3 months. When ready to enjoy, defrost overnight in the refrigerator, sprinkle over the cheesy breadcrumb topping, and place into the hot oven to bake.
Or, you can finish the recipe and allow the baked mac and cheese to cool completely before covering and storing it in the freezer for up to 3 months. Again defrost overnight in the refrigerator before placing it into a warm oven to heat through until piping hot.
FAQs:
As you can see from the recipe card, I use a combination of mild cheddar, Monterey jack, muenster and Velveeta cheese in my creamy mac and cheese. However, you could also use sharp cheddar, Parmesan, mozzarella, fontina, or Gruyere cheese too.
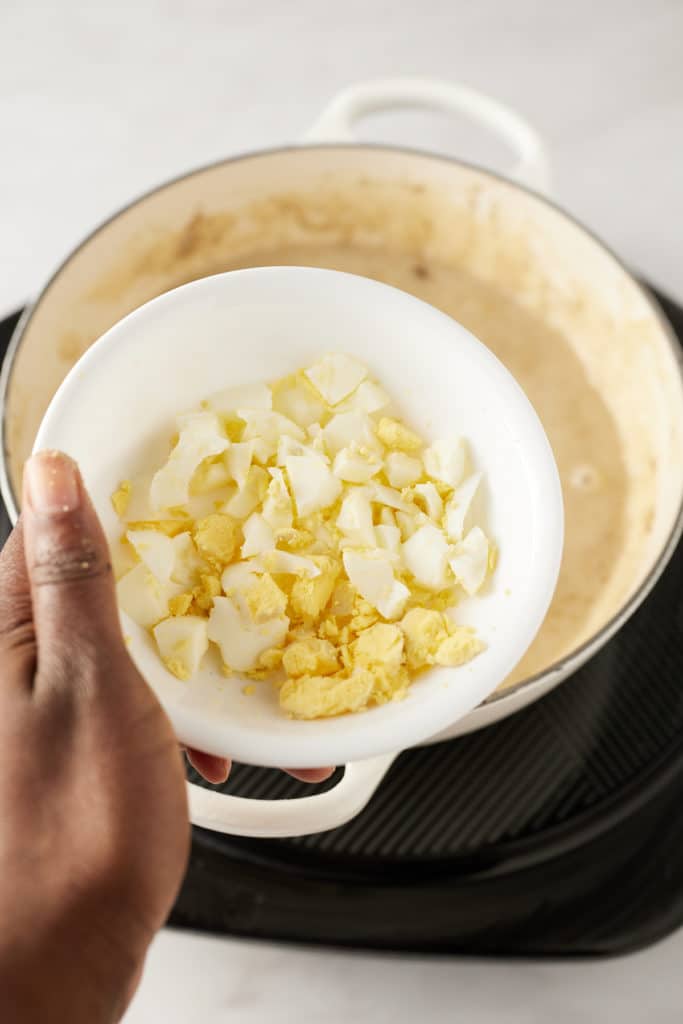
I add eggs to give the cheese sauce a richer, creamier and smoother texture, which makes all the difference to the finished dish.
No you don't need to cover this baked macaroni dish while baking in the oven. You want to leave the top uncovered so that the cheesy bread-crumbed topping becomes crisp and golden.
If you have tried my Creamy Baked Macaroni & Cheese recipe, or any other recipe on my blog, then please rate it and let me know how it turned out in the comments below!

Creamy Baked Macaroni and Cheese
Ingredients
- 8 Tablespoons unsalted butter divided
- 1 lb elbow macaroni
- 1 Tablespoon olive oil
- 1 teaspoon salt
- 8 oz mild cheddar cheese
- 8 oz sharp cheddar cheese
- 8 oz monterey jack cheese
- 8 oz Muenster cheese
- 8 oz velveeta cheese
- 2 eggs
- 2 cups heavy whipping cream
- 1 teaspoon creole seasoning
- ¼ teaspoon salt
Topping
- 1 cup panko breadcrumbs
- 3 Tablespoons unsalted butter melted
Instructions
- Preheat oven to 350 degrees Fahrenheit. Coat a 3 quart casserole dish with 1 Tablespoon of butter and set aside.
- Prepare macaroni following the instructions on the box. (Add 1 tablespoon oil and 1 teaspoon salt to about 8 cups water and bring to a boil. Cook to al dente). Drain and Set aside the noodles in a large bowl. Add the remaining butter to the hot noodles in the bowl.
- Meanwhile, shred mild cheddar, sharp cheddar, Monterey jack, and Muenster cheese. Mix shredded cheese in a bowl and remove 1 cup of cheese and set aside for the topping. Cut Velveeta cheese into small pieces and mix with the other cheese.
- In a separate bowl, whisk together eggs and heavy whipping cream. Add to macaroni and stir. Add cheese, creole seasoning, and salt and stir to combine.
- Pour the mixture into the buttered casserole dish and spread it out.
- Prepare the topping by adding melted butter, panko breadcrumbs, and the 1 cup of shredded cheese in a bowl. Sprinkle the toppng over the top of the macaroni.
- Bake in the preheated oven for 35-40 minutes, until bubbly. Remove from oven and allow to cool for about 10 minutes. Serve and enjoy 🙂
Notes
Suggested Tools for Creamy Baked Macaroni and Cheese
3 Qt Glass Baking DishNutrition
This post was originally published on October 16, 2018. It has been updated with helpful information.