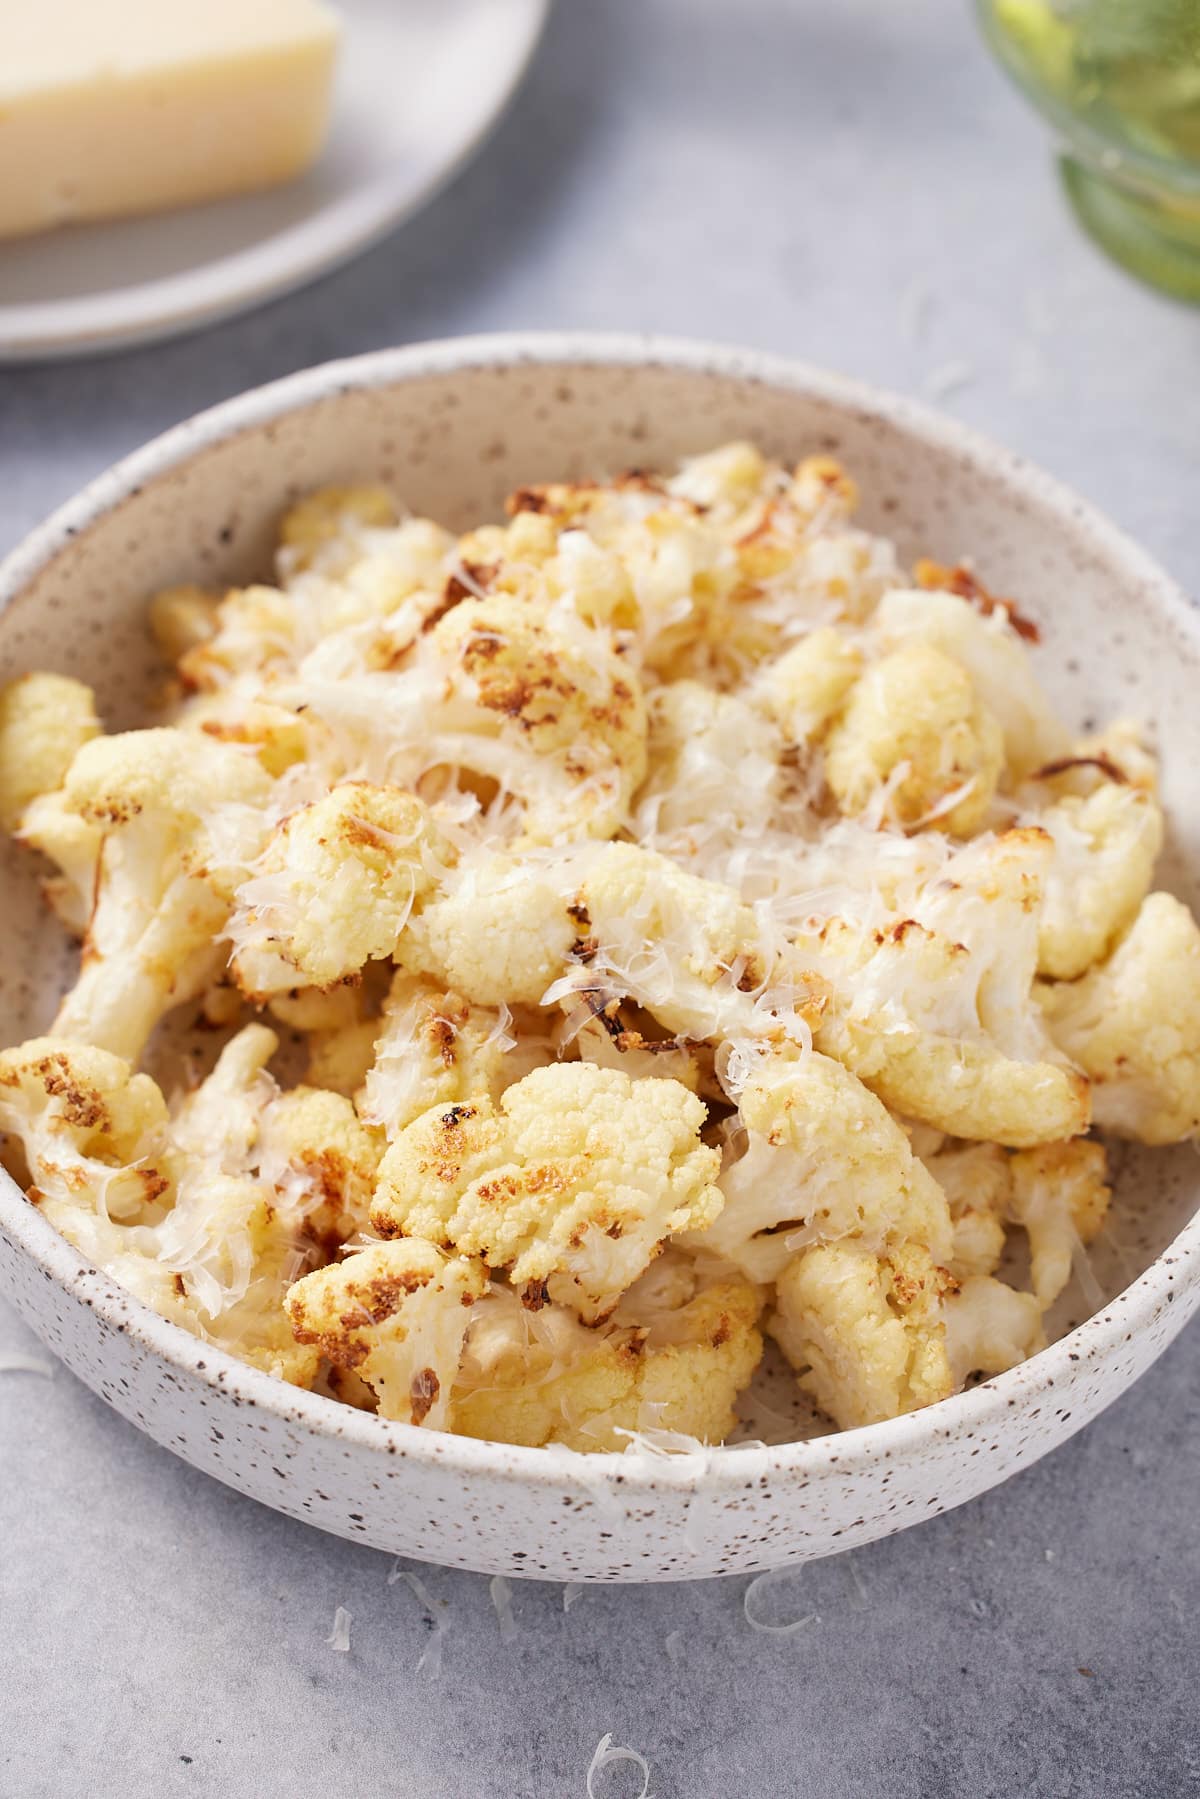
Crispy Air Fryer Cauliflower is fast becoming a favorite side dish with my family. Cauliflower florets are coated in olive oil, garlic powder and Parmesan cheese, then seasoned with a little salt before being roasted to crisp perfection.
This post contains affiliate links, please read my full disclaimer here.
You’ll find the full recipe with ingredient amounts and instructions in the recipe card at the bottom of this post. Be sure to check out the blog post itself for extra tips and tricks!
I love cauliflower and cheese, so I've flavored my air fryer cauliflower with Parmesan. It just makes sense. The Parmesan cheese adds a cheesy flavor and a touch of seasoning as it's a salty cheese.
Air fryer cauliflower is an easy vegetable side that takes less than 15 minutes from prep to plate. Any dish that can be on the table this quickly is a winner any night of the week.
This is a versatile dish too, as it can be served as a delicious appetizer with your favorite dip or as a flavorful side with any main dish. If you like cauliflower, you'll love my seasoned air fryer broccoli or my air fryer cauliflower wings.
Ingredients
You can find these simple ingredients in your local grocery store:
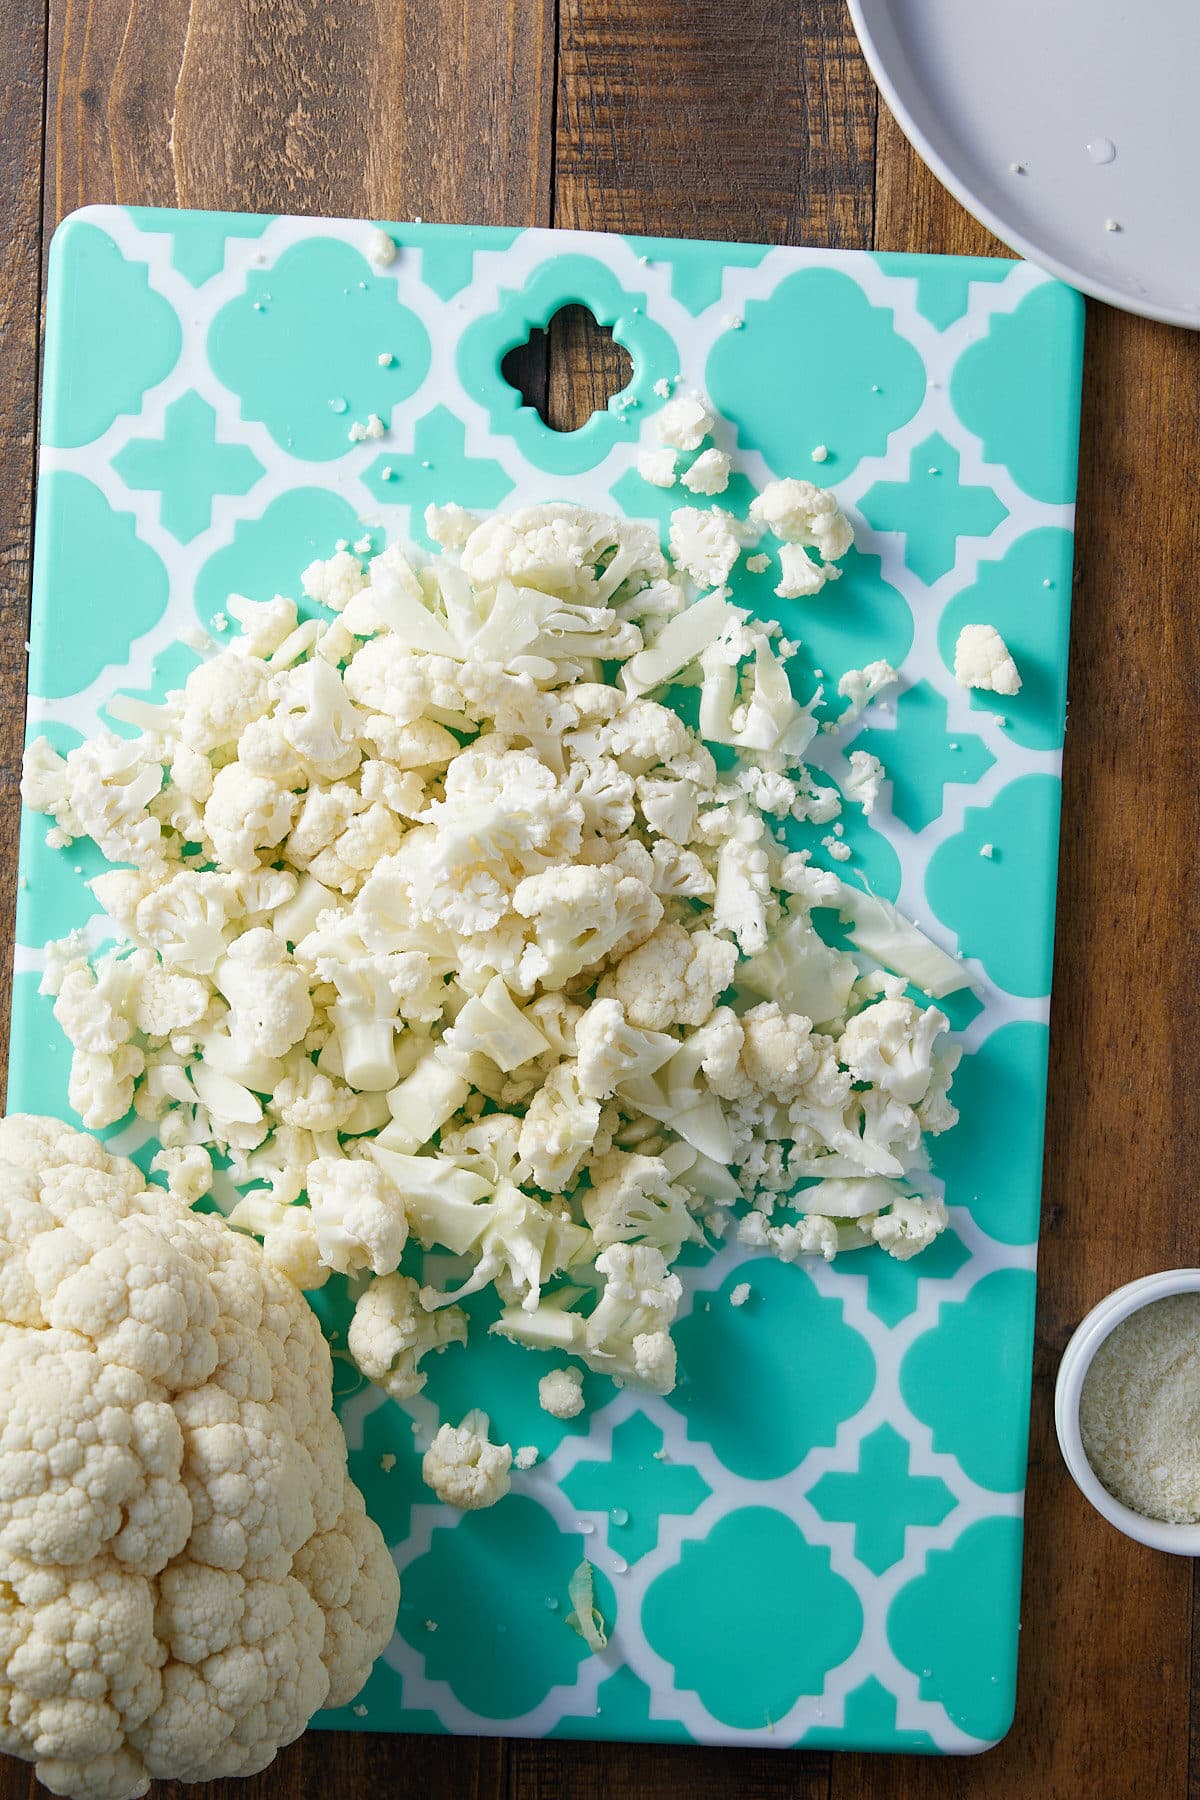
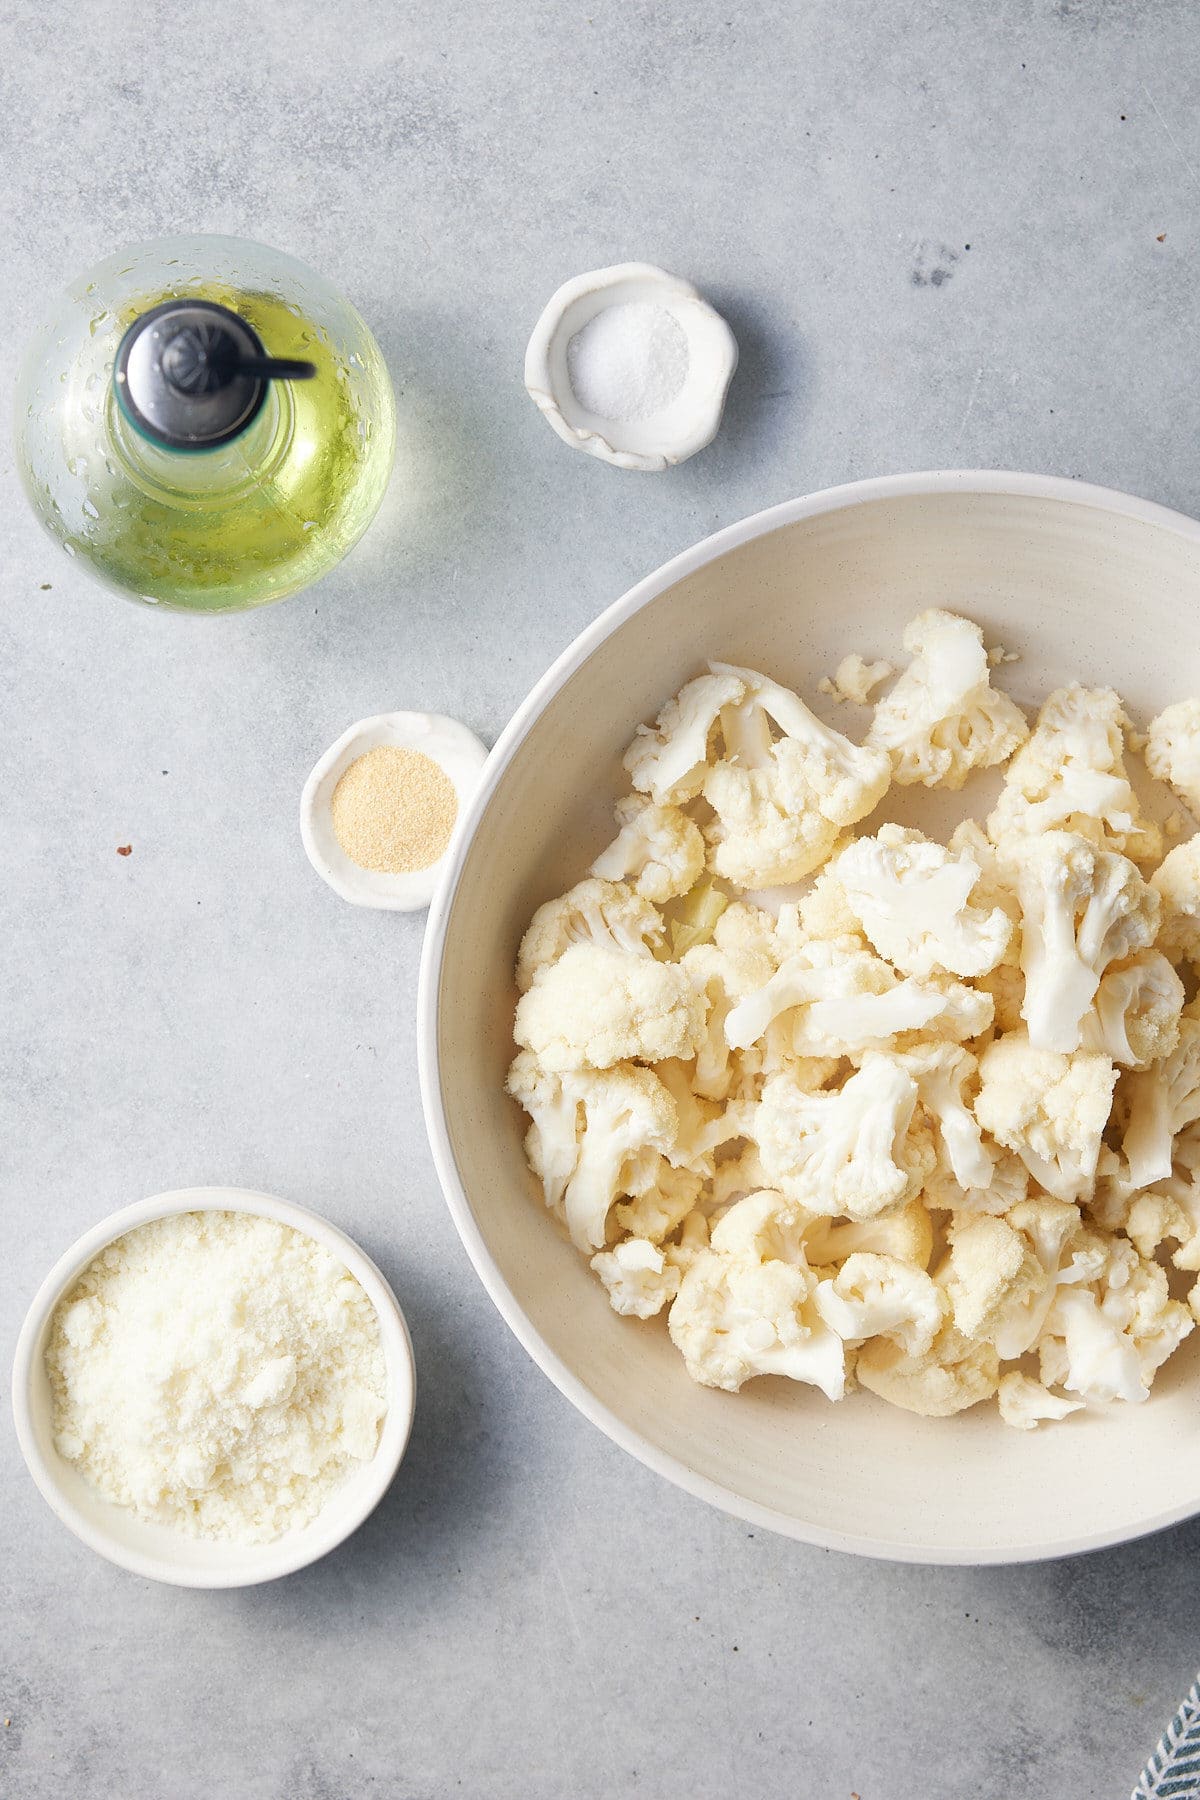
- Cauliflower florets - I usually buy a medium cauliflower head and cut it into florets.
- Olive oil - Or any oil made for high-heat cooking will do. I usually use light-tasting olive oil, canola oil, or avocado oil.
- Seasoning - Kosher salt, garlic powder, and parmesan cheese - my favorite way to season this cauliflower.
How to make Air Fryer Cauliflower
Here are the directions; you can also print this out using the recipe card below.
Preheat the air fryer to 400 degrees Fahrenheit.
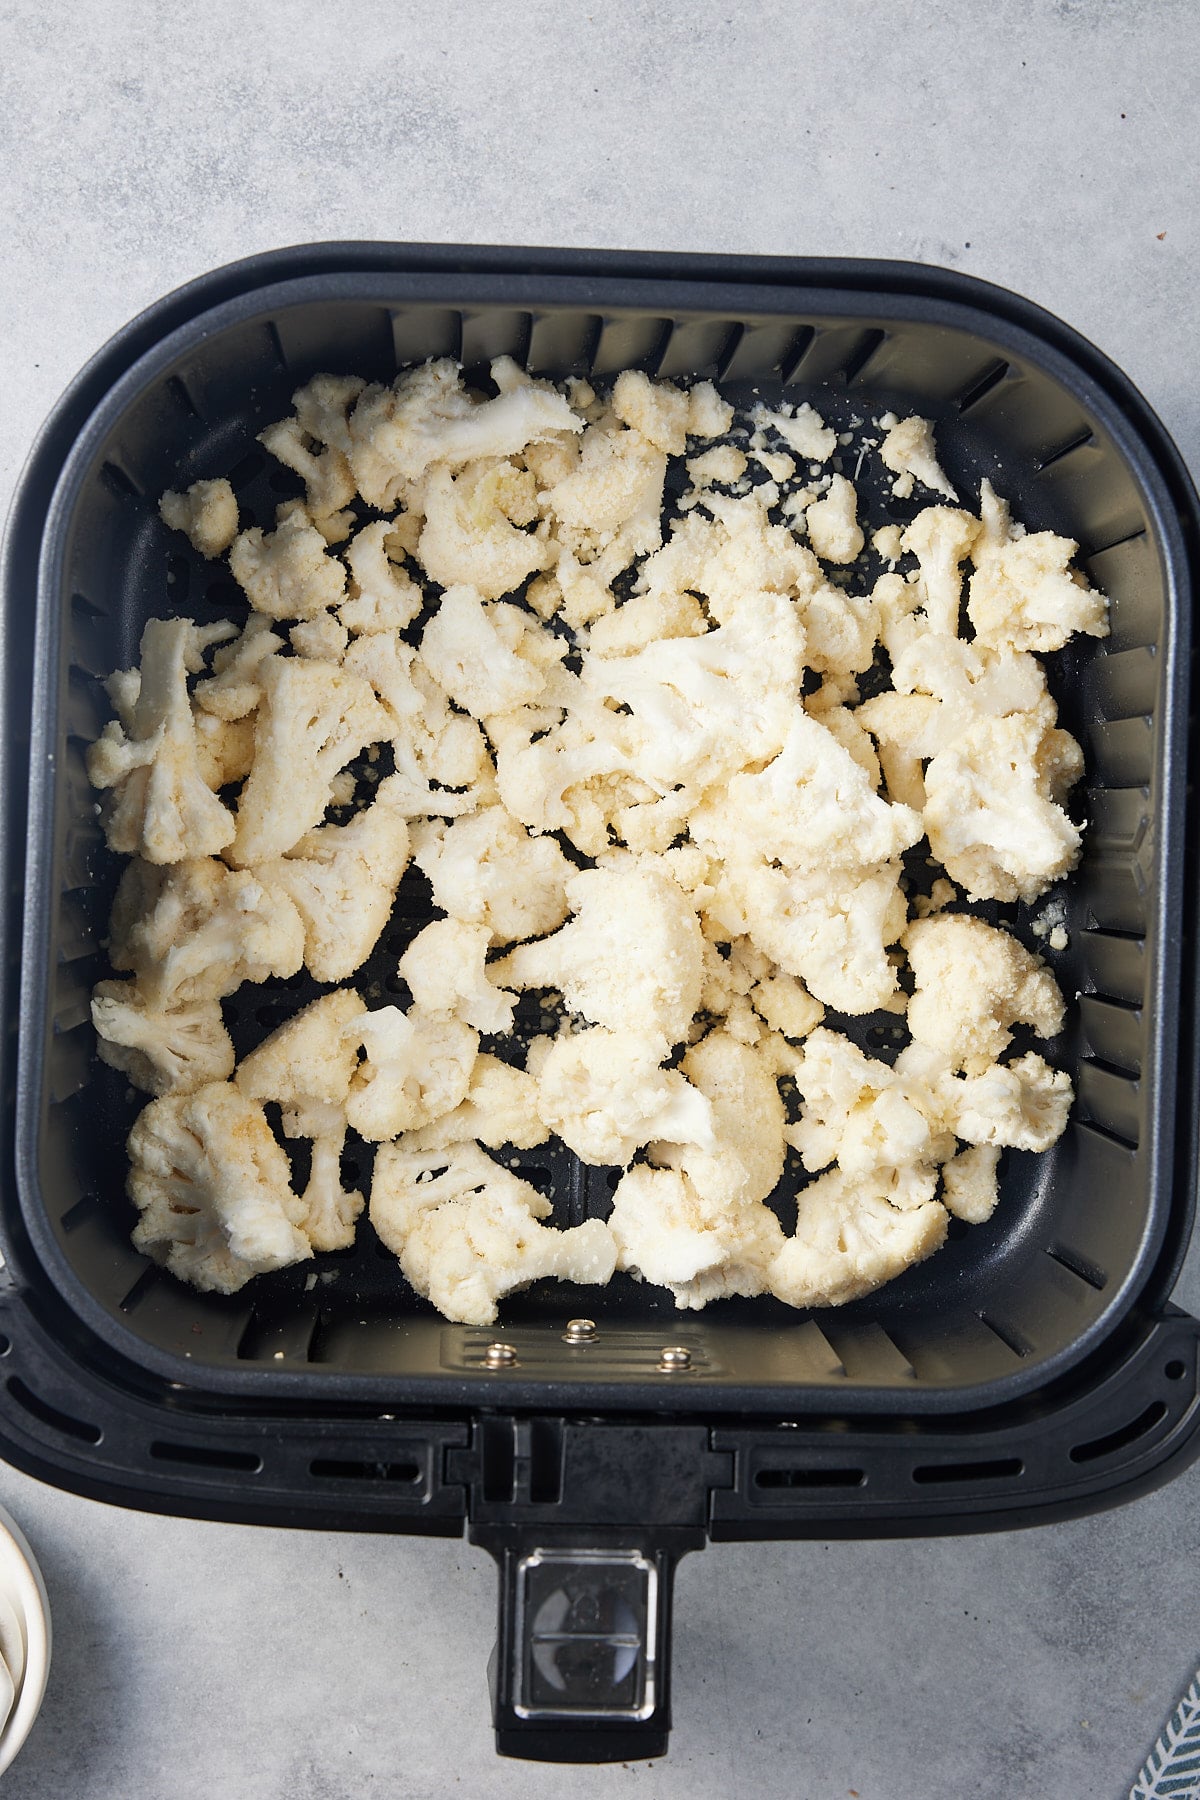
Add the cauliflower florets, olive oil, kosher salt, garlic powder, and Parmesan cheese in a large bowl and stir until fully combined.
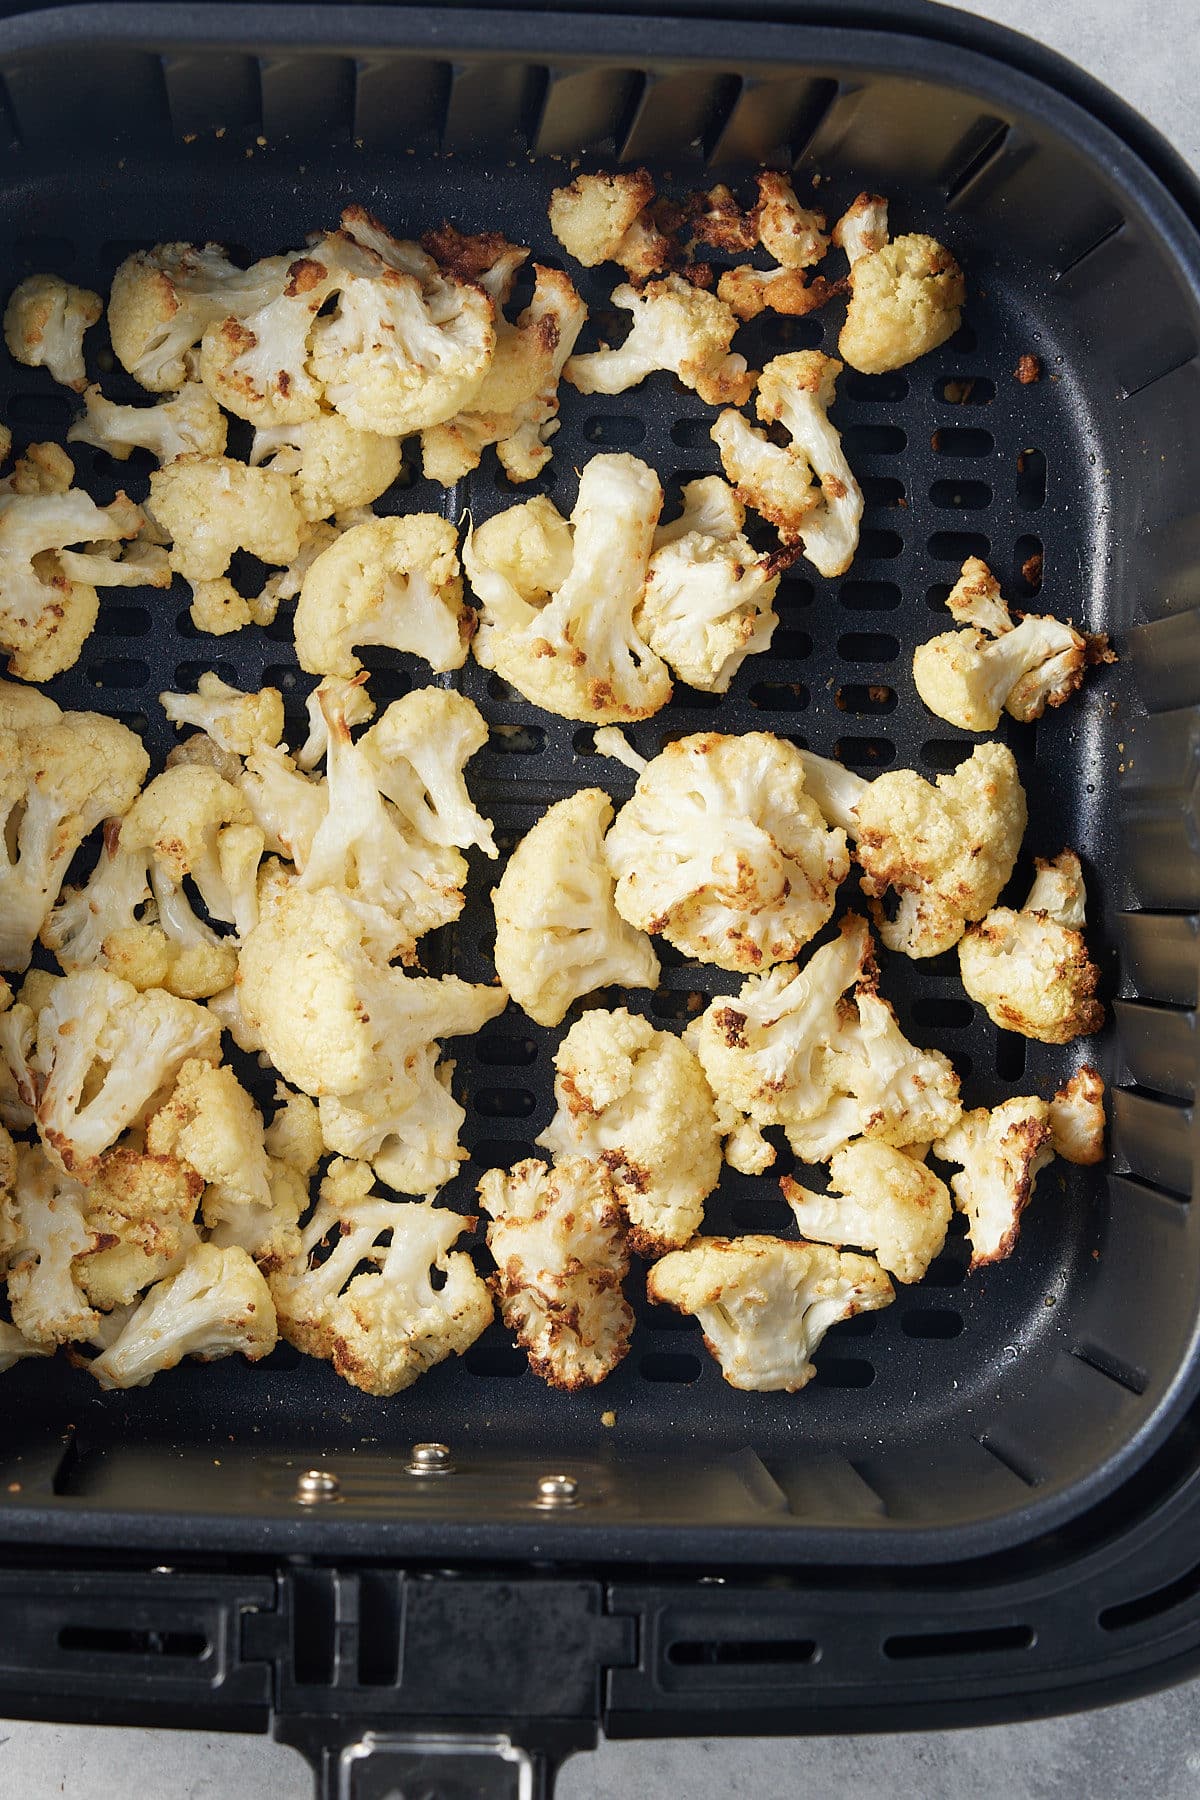
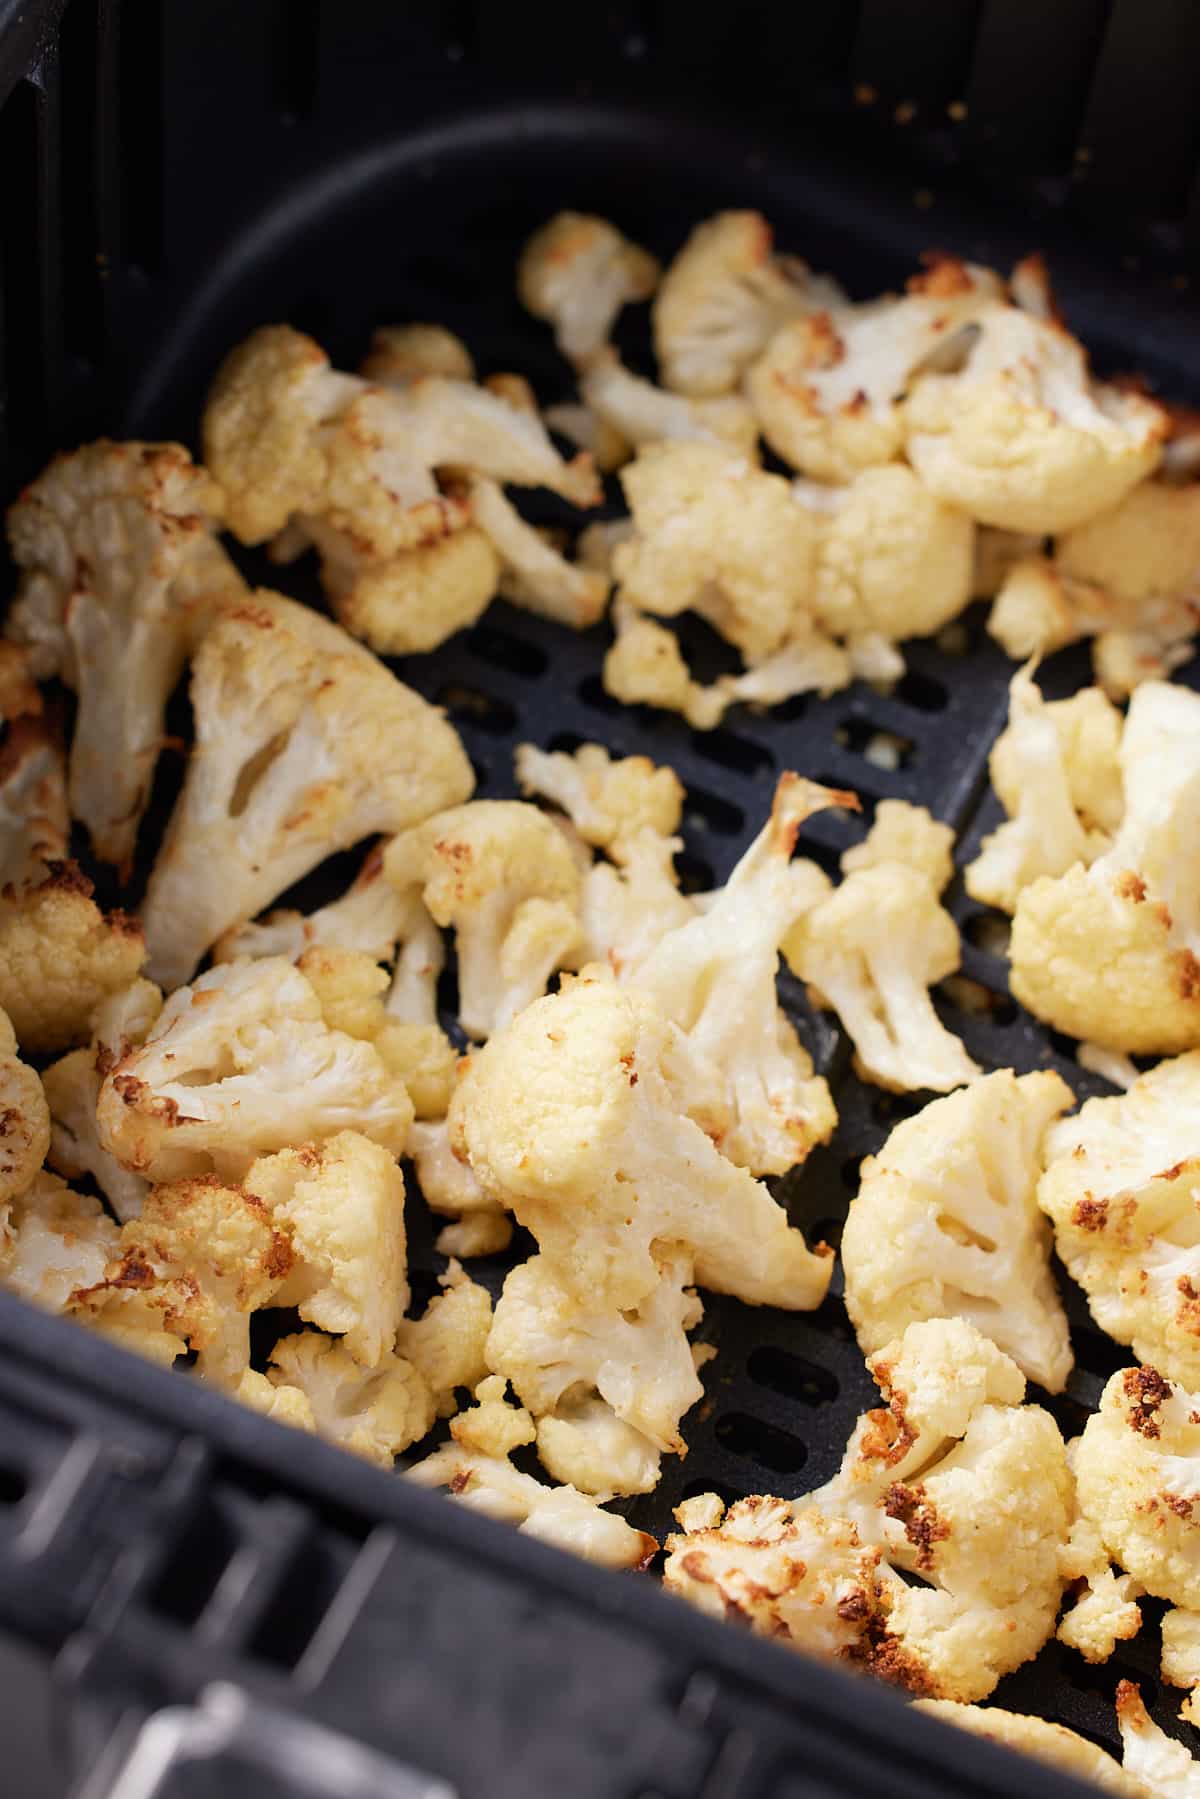
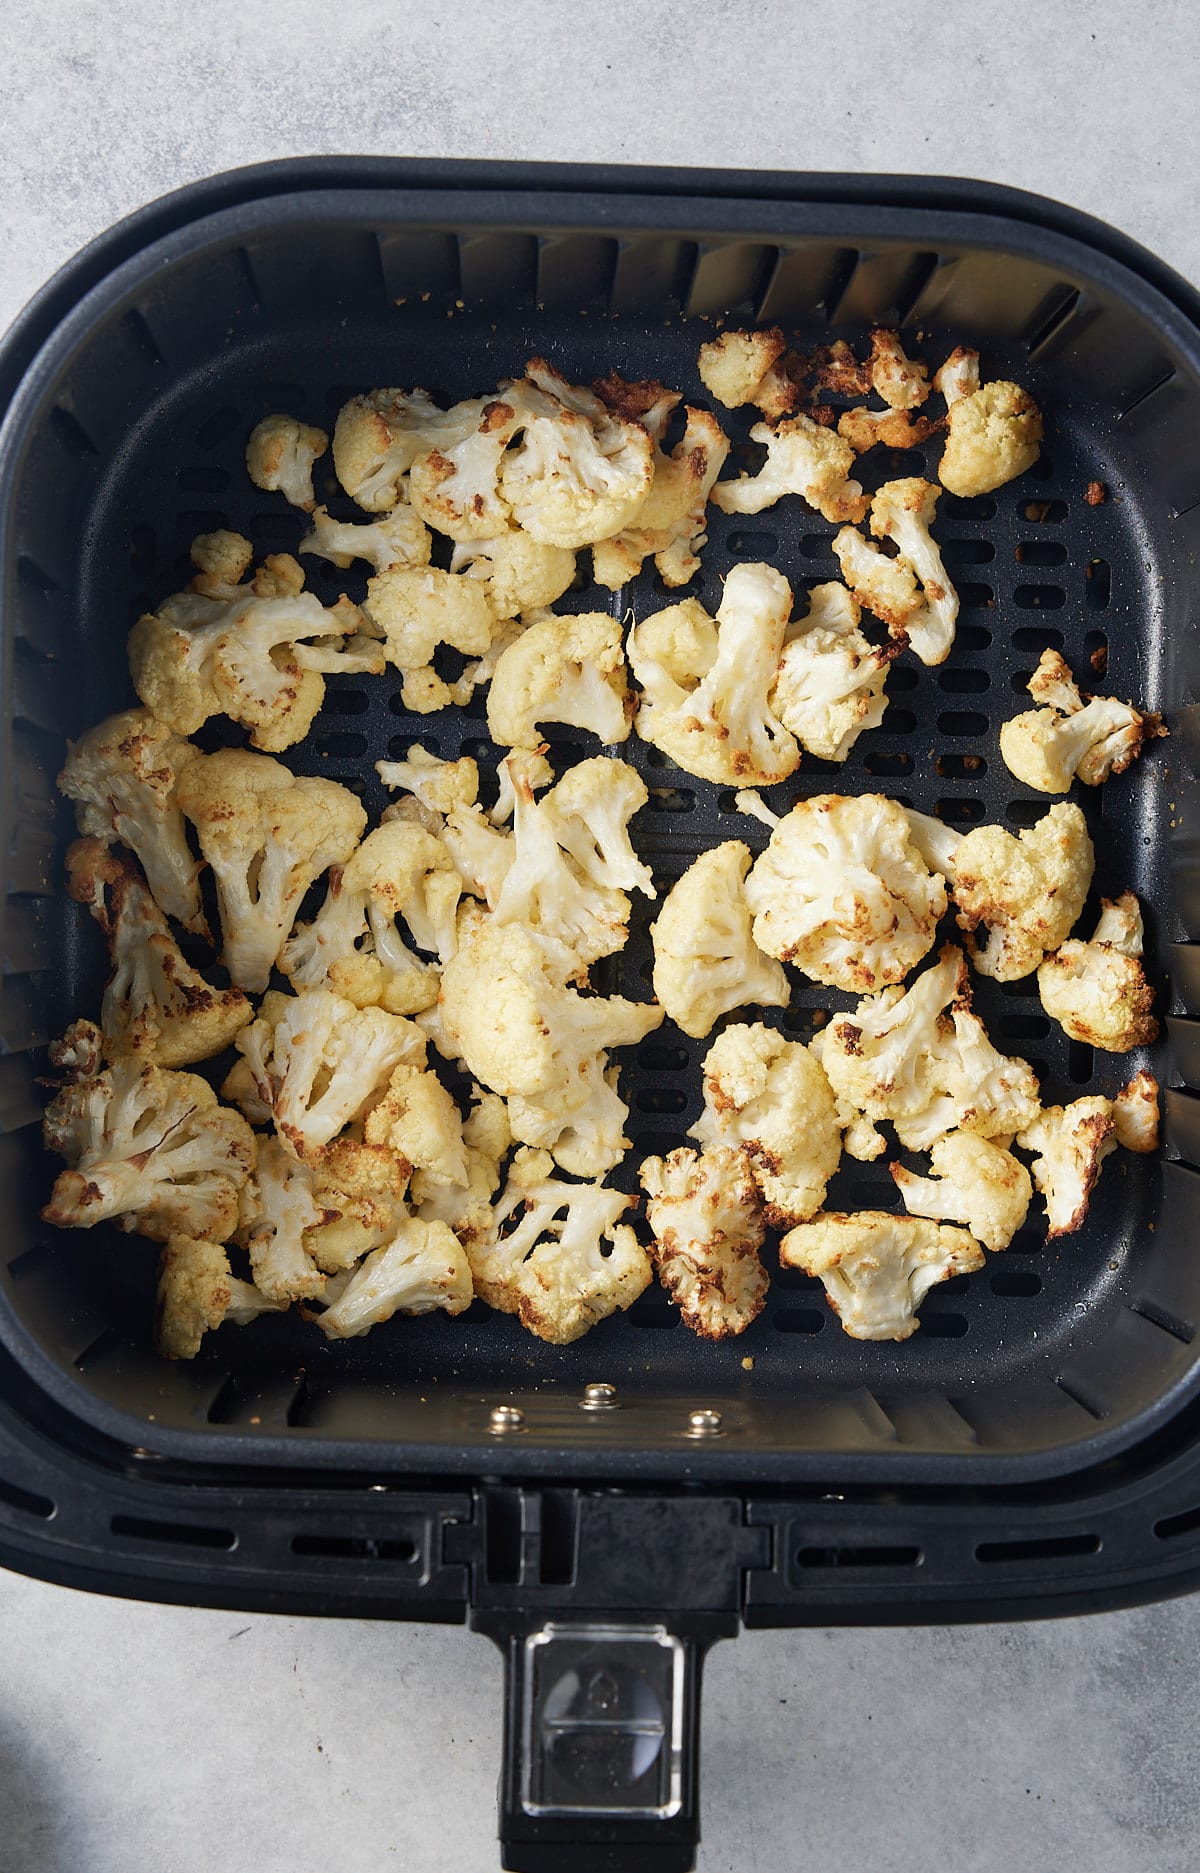
Once preheated, add the cauliflower to the air fryer basket in a single layer. Close the air fryer basket and air fry at 400 degrees Fahrenheit for 8-10 minutes, stirring and flipping halfway.
Remove and enjoy.
Expert Tips
These tips will help you make the best air fryer cauliflower you've ever tried.
- Cut the cauliflower into even-sized florets; that way, they will all cook simultaneously.
- Take time to ensure that every floret is covered in the olive oil mixture; this will result in maximum flavor with every bite.
- Don't overcrowd your air fryer basket. You want to cook the florets in a single layer, so that it roasts rather than steams. So, depending on the size of your air fryer basket, work in batches.
- To ensure an even cook, turn the florets over mid-way through.
Flavor variations
I've flavored my cauliflower with salt, garlic powder, and Parmesan cheese, but you can add other flavors to this versatile veggie. Here are some ideas to get you started:
- Ground chili or red pepper flakes
- Onion or garlic powder
- Ground cumin or a pinch of ground nutmeg
How to serve Air Fryer Cauliflower
Serve these tasty bites as an appetizer with your favorite dip. Try my Easy Queso Dip, or my BBQ Black-Eyed Pea Dip.
Cauliflower is a versatile vegetable that works well with seafood, chicken, turkey, pork and beef. Try them with my Spinach Stuffed Chicken Breasts, Garlic Parmesan Spatchcock Chicken, Air Fryer Steak with Garlic Herb Butter, Air Fryer Turkey Burgers, or my Marinated Air Fryer Salmon,
If you enjoy cauliflower as much as I do, try my Roasted Cauliflower & Sweet Potato, Cauliflower Wings, or my Creamy Broccoli Cauliflower Salad.
How to store
To refrigerate: Keep any leftover cauliflower in an airtight container, in the fridge, for up to 3 days. You can reheat it in a small bowl in the microwave in 30-second increments until it's warm all the way through.
Make ahead: You can prepare the cauliflower and place it into the olive oil coating earlier in the day. Then cover the bowl and place it into the refrigerator until you are ready to start cooking.
FAQs
Cooking times may vary depending on the air fryer brand, the size of the cauliflower florets, and how many florets are placed in the basket.
The trick is to get the air fryer nice and hot. I cook the cauliflower at 400 degrees Fahrenheit. Then work in batches to cook the cauliflower in a single layer; this ensures that the cauliflower becomes crispy. Do not be tempted to load up the air fryer basket, or you will just steam the cauliflower, and it will become mushy.
Roasting vegetables adds an extra depth of flavor to this healthy vegetable. Cauliflower is full of antioxidants and has a high fiber content which helps keep you fuller for longer.
If you have tried this Air Fryer Cauliflower recipe, or any other recipe on my blog, then please rate it and let me know how it turned out in the comments below!

Air Fryer Cauliflower
Equipment
Ingredients
- 4 cups cauliflower florets
- 1 Tablespoon olive oil
- ½ teaspoon kosher salt
- ½ teaspoon garlic powder
- ¼ cup grated Parmesan cheese
Instructions
- Preheat the air fryer to 400 degrees Fahrenheit.
- Add the cauliflower florets, olive oil, kosher salt, garlic powder, and parmesan cheese in a large bowl and stir until fully combined.
- Once preheated, add the cauliflower to the air fryer basket in a single layer. Close the air fryer basket and air fry at 400 degrees Fahrenheit for 8-10 minutes, stirring and flipping halfway. Remove and enjoy.