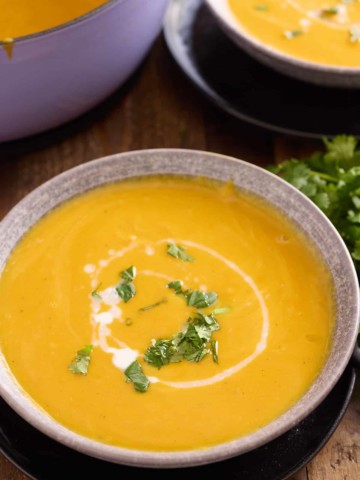
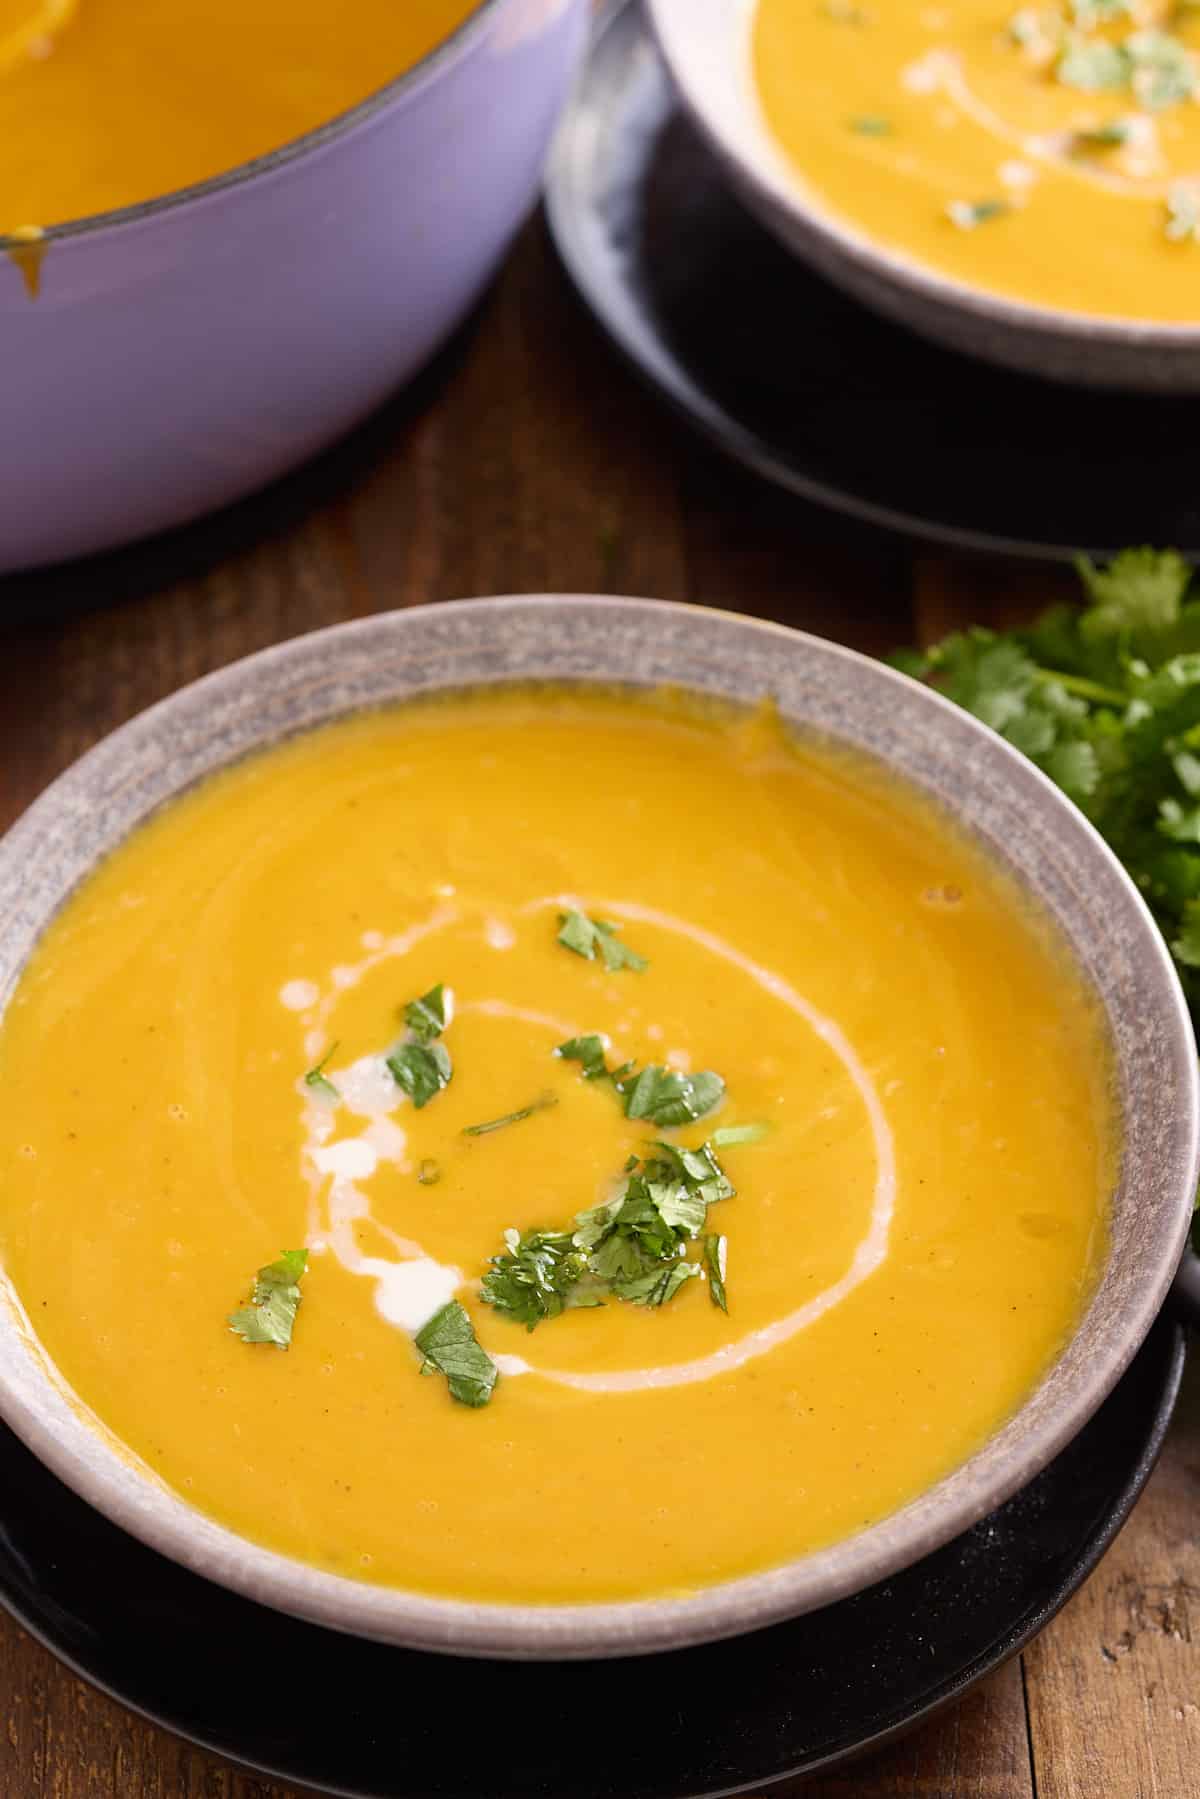
My family love the flavor of sweet potato, so this Sweet Potato Soup recipe with coconut milk is always popular and a hit every time I serve it. This mildly spicy sweet potato soup recipe has curry powder and ground coriander added to it, taking the flavor to another level.
This post contains affiliate links, please read my full disclaimer here.
You’ll find the full recipe with ingredient amounts and instructions in the recipe card at the bottom of this post. Be sure to check out the blog post itself for extra tips and tricks!
I love a good sweet potato recipe, as it's one of my favorite tubers. So it's no surprise that I've made this delicious curry-flavored sweet potato soup recipe to share with you all.
I like to add apple to this healthy sweet potato soup recipe as the apple adds just a touch of sharpness to balance out the sweetness of the potato. This is also a great dairy-free and vegan sweet potato soup, as I use coconut milk, rather than cream. If you use gluten-free vegetable stock it makes a great tasting gluten-free soup too.
Depending on portion size, soup makes a great appetizer or main dish served with some crusty bread.
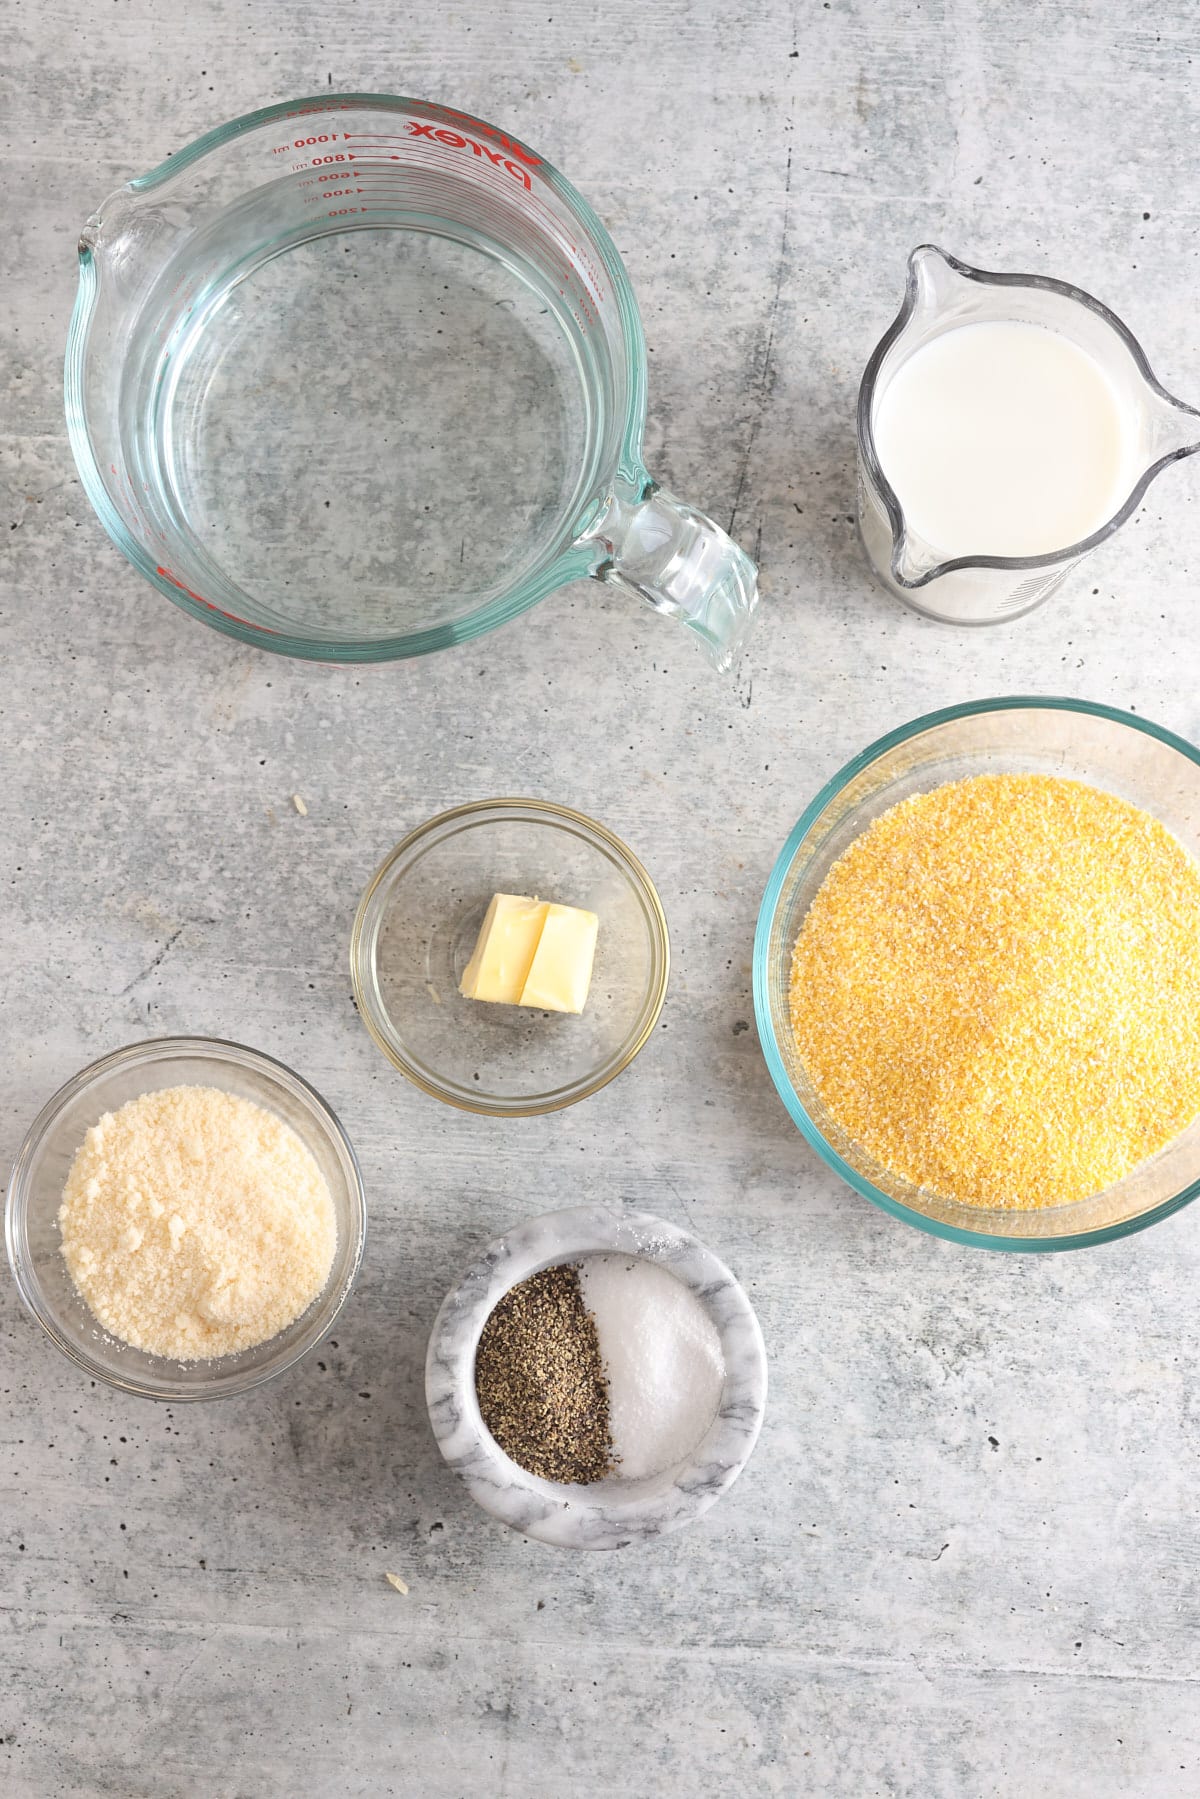
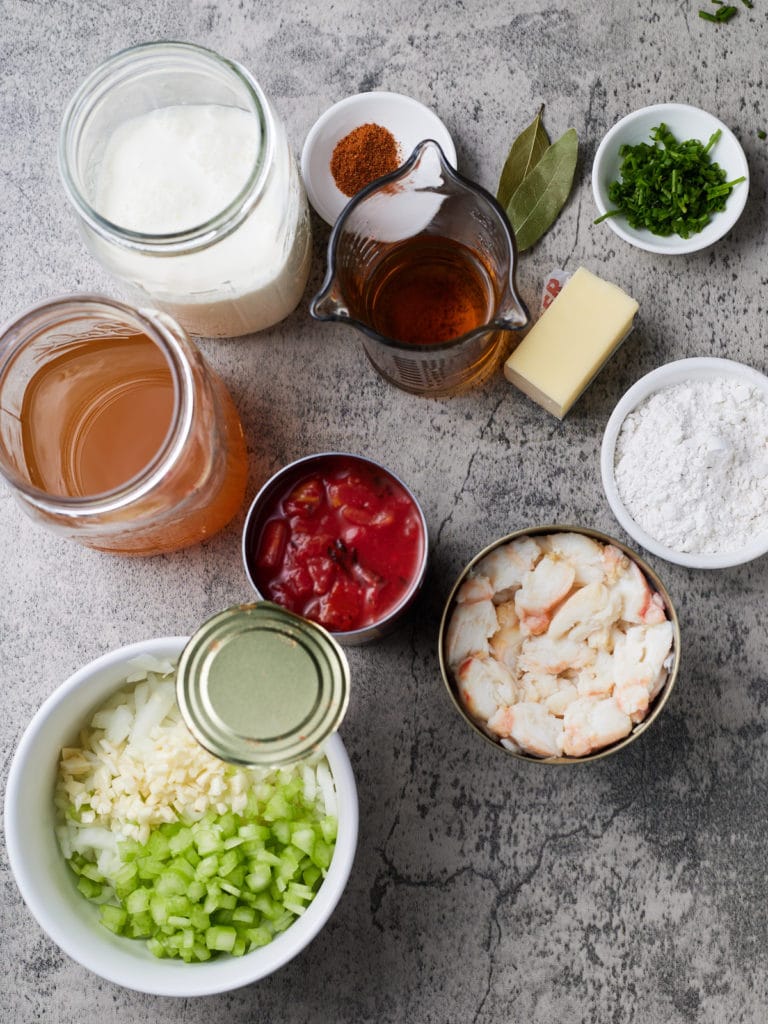
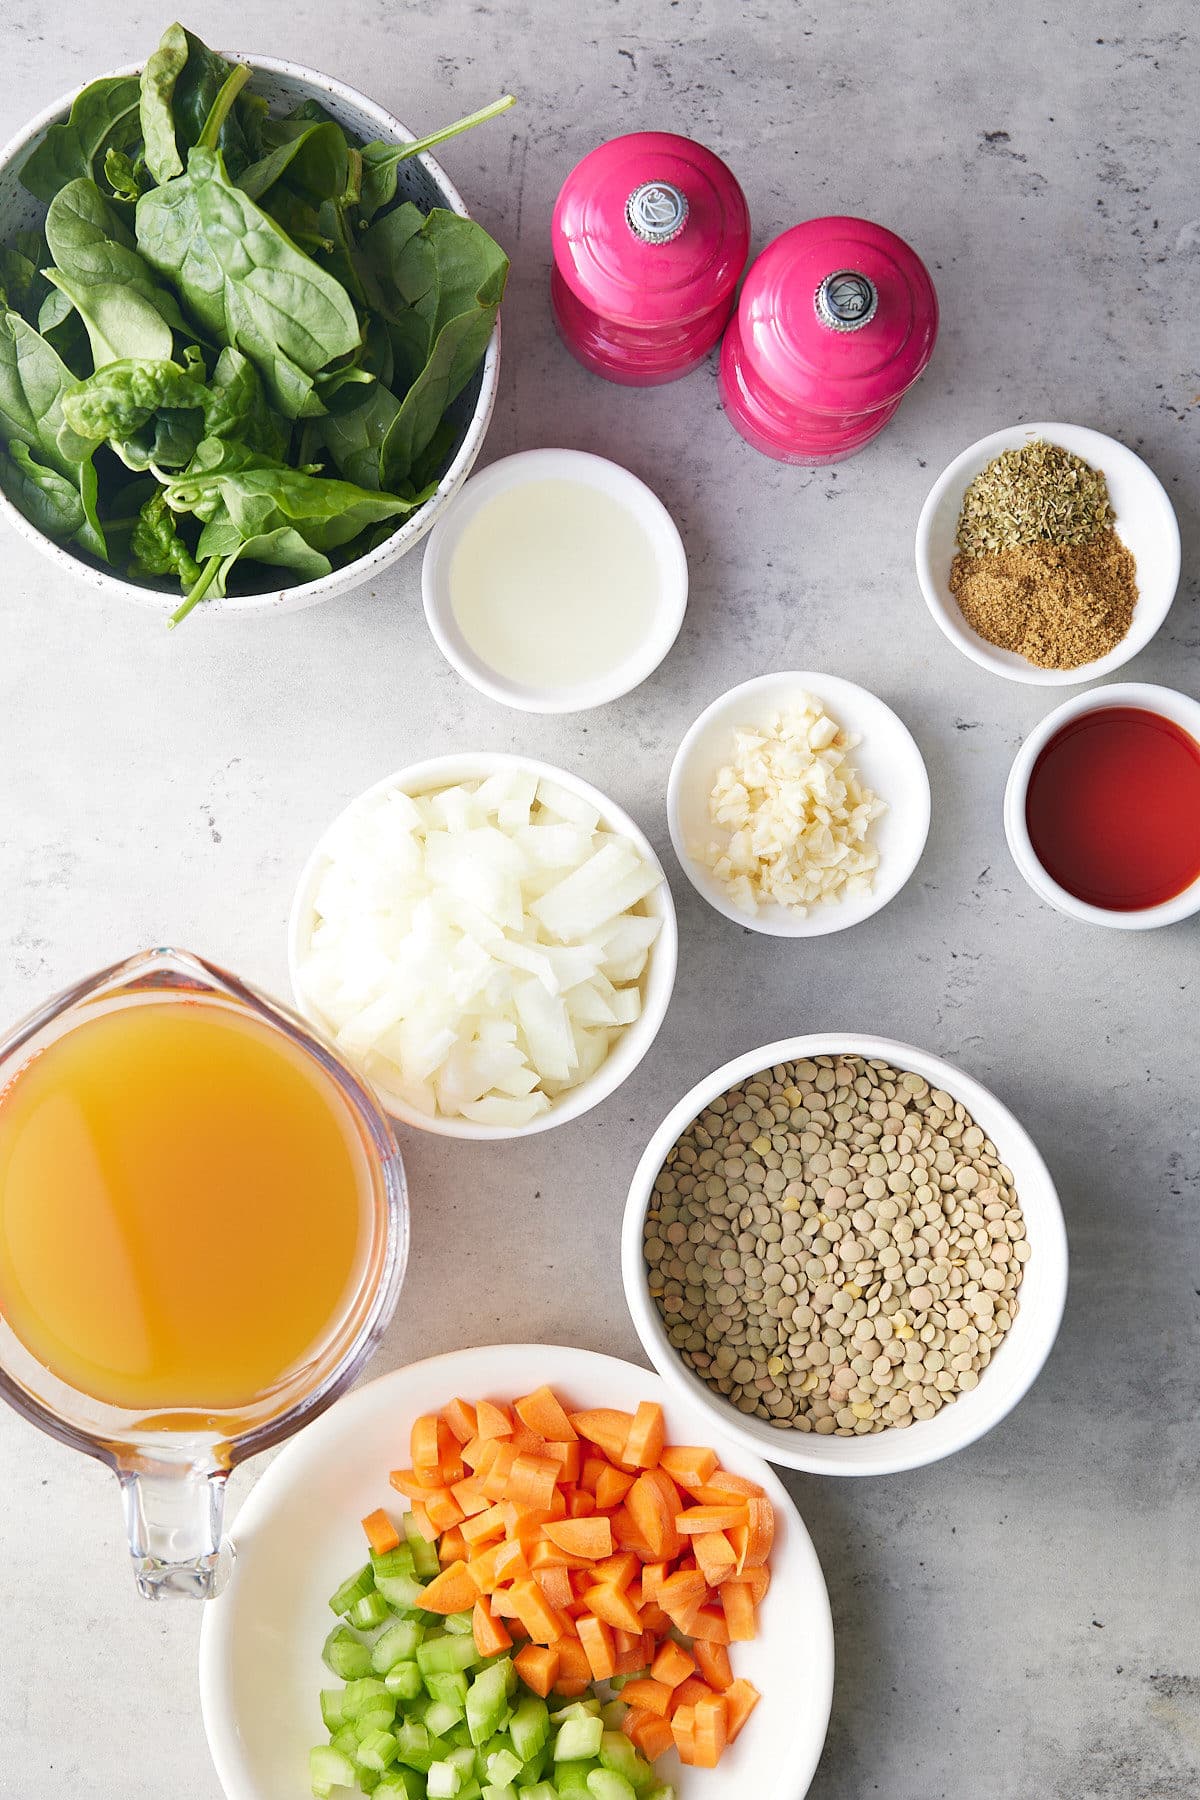
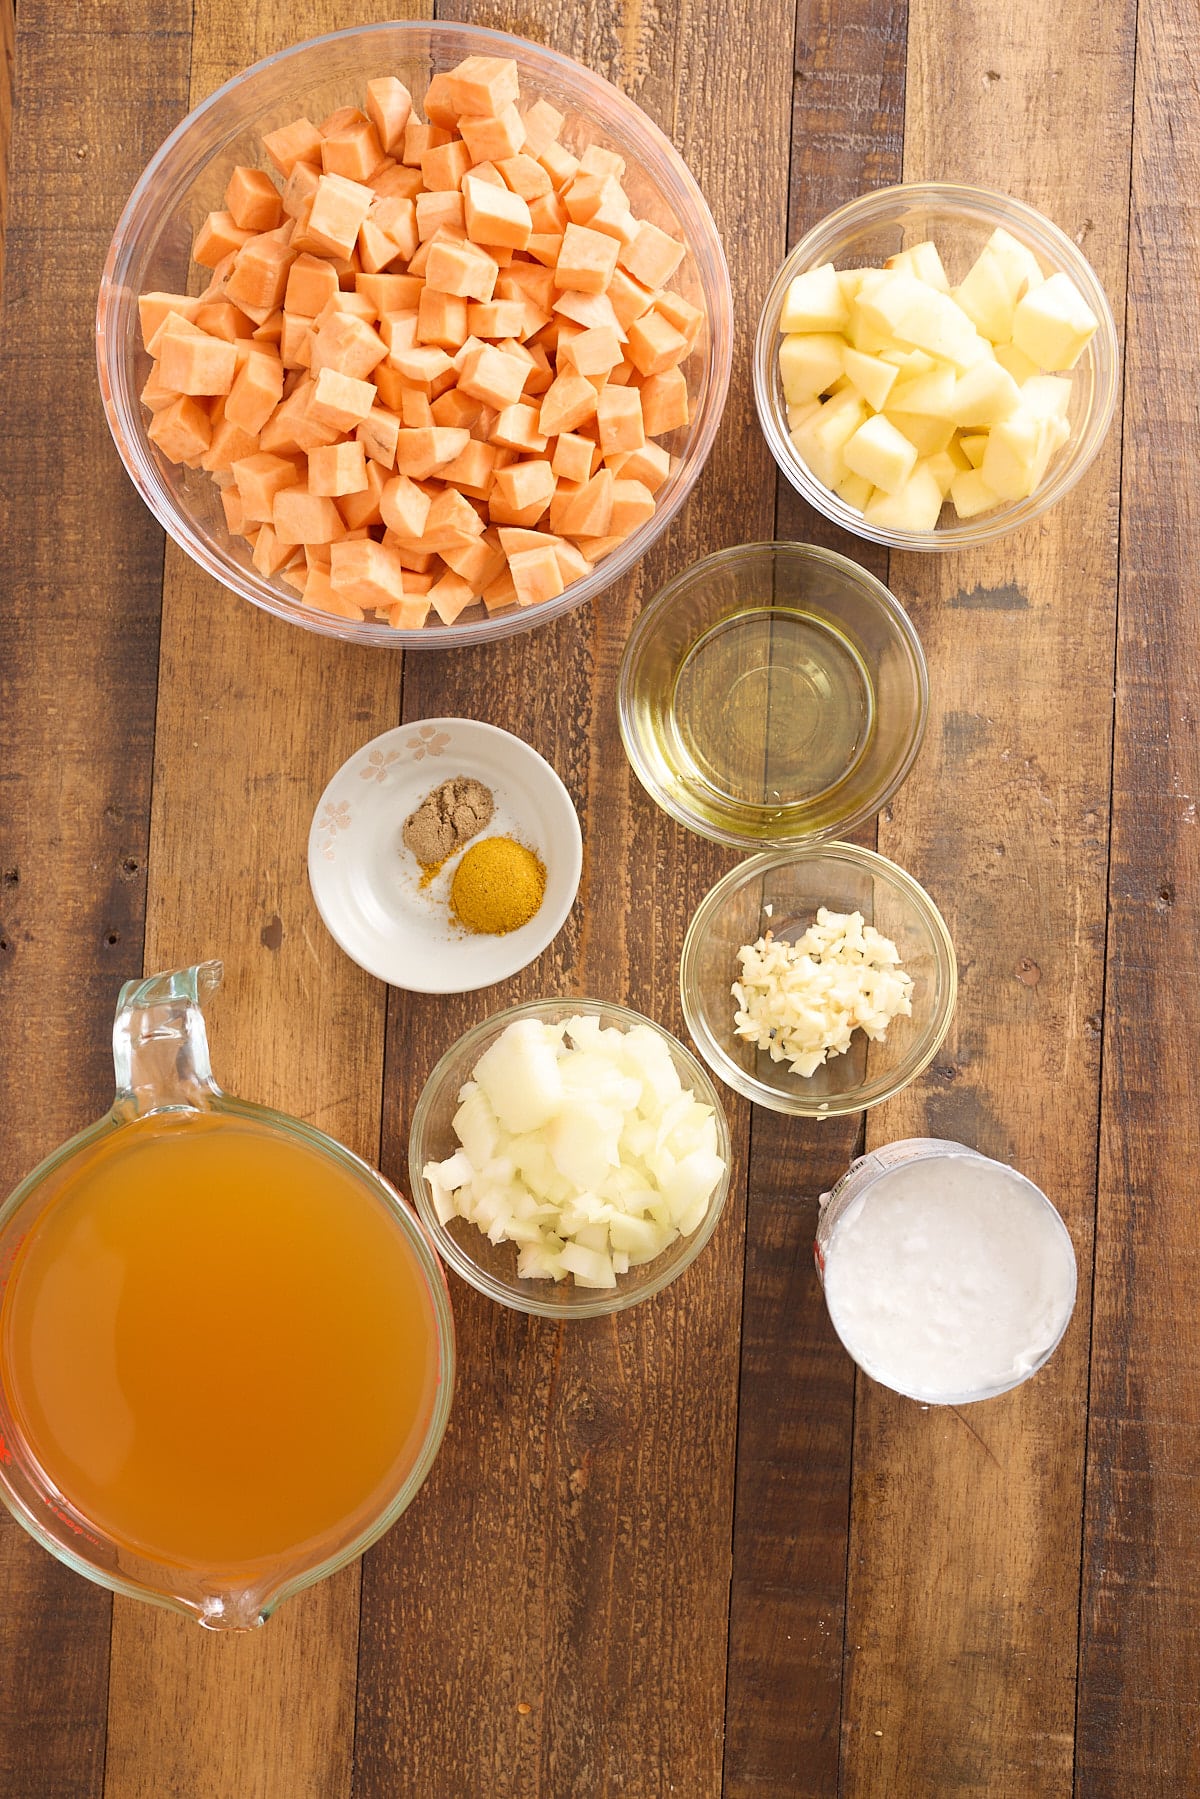
Ingredients
- Olive oil - or any oil made for high-heat cooking will do. I usually use light-tasting olive oil, canola oil, or avocado oil.
- Aromatics - onion and garlic for flavor.
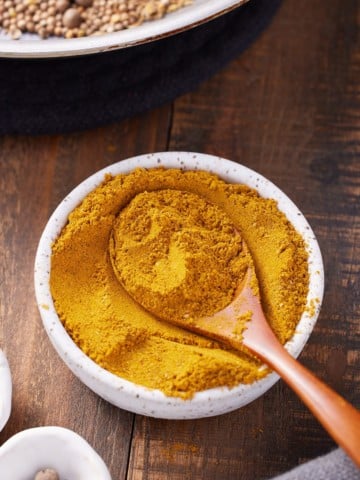
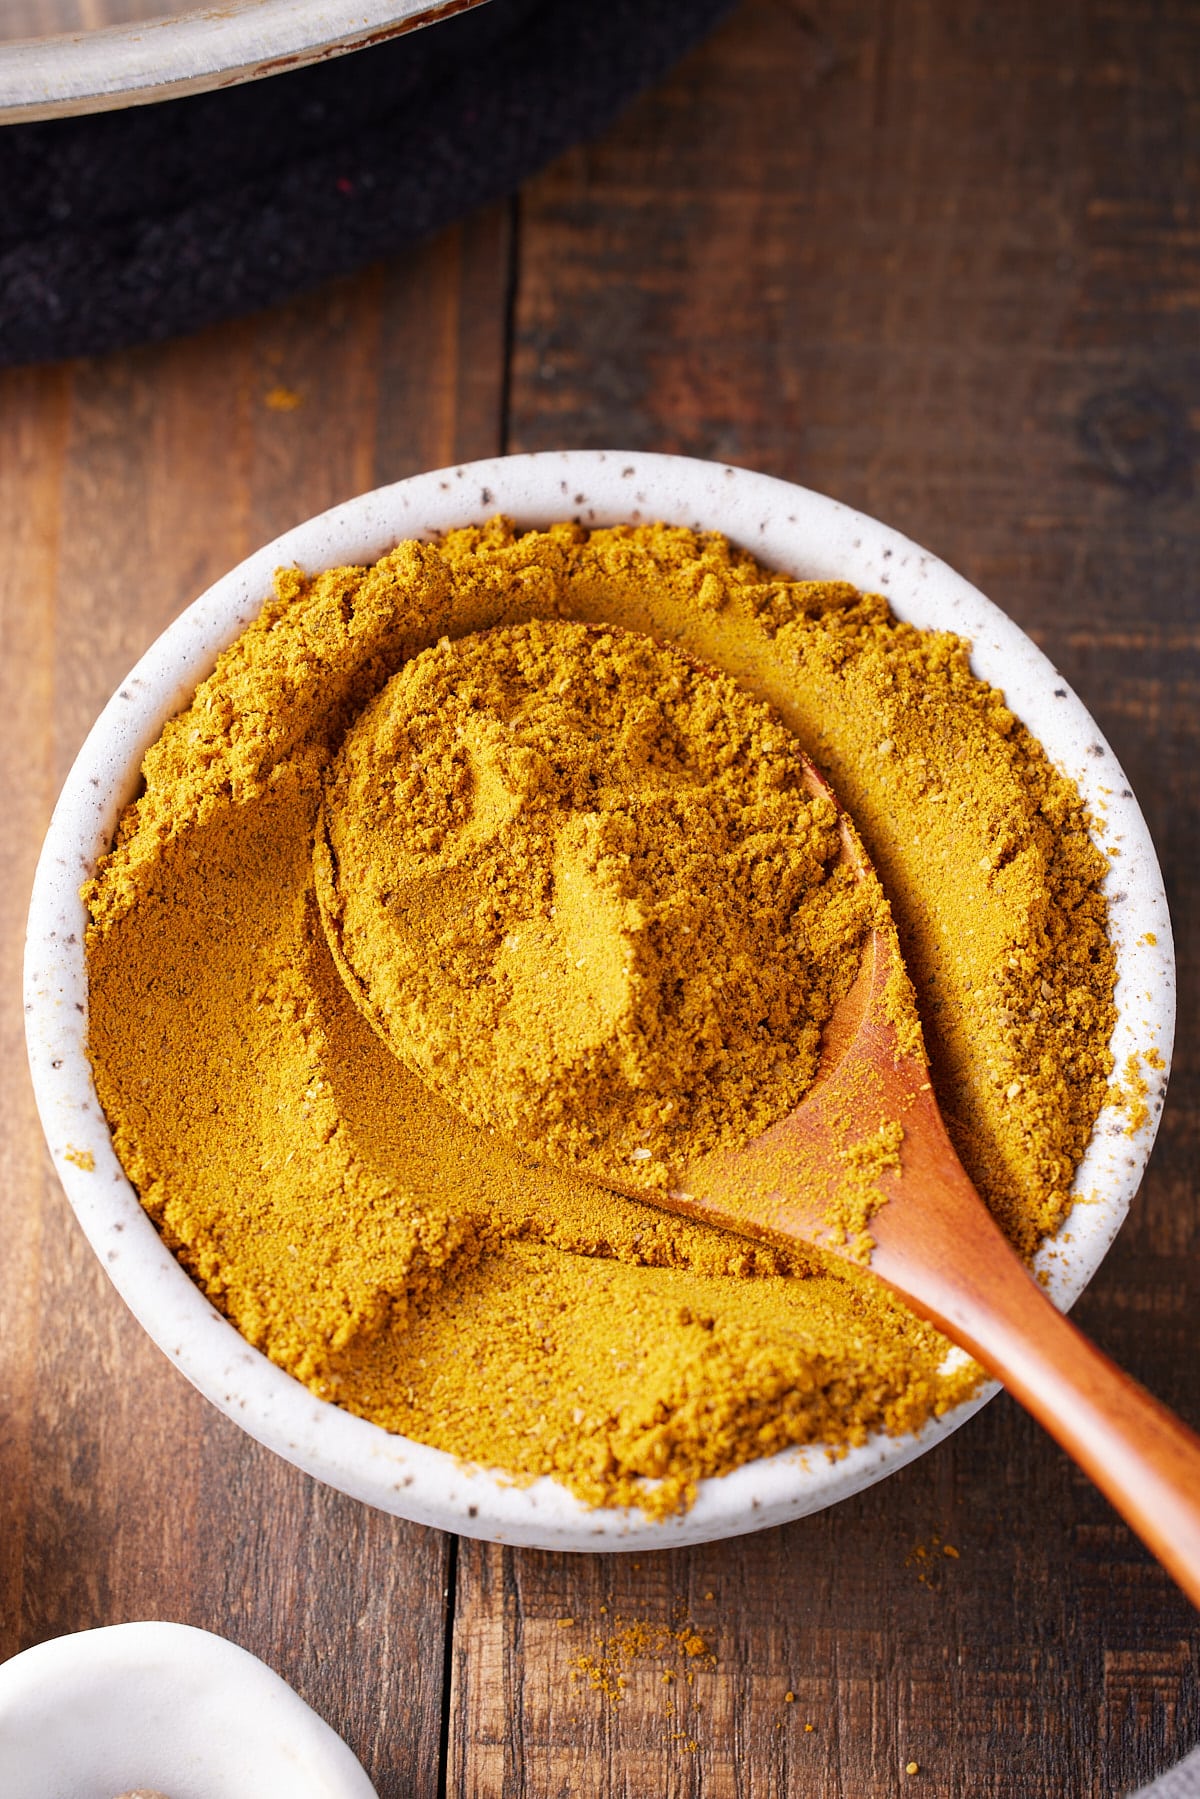
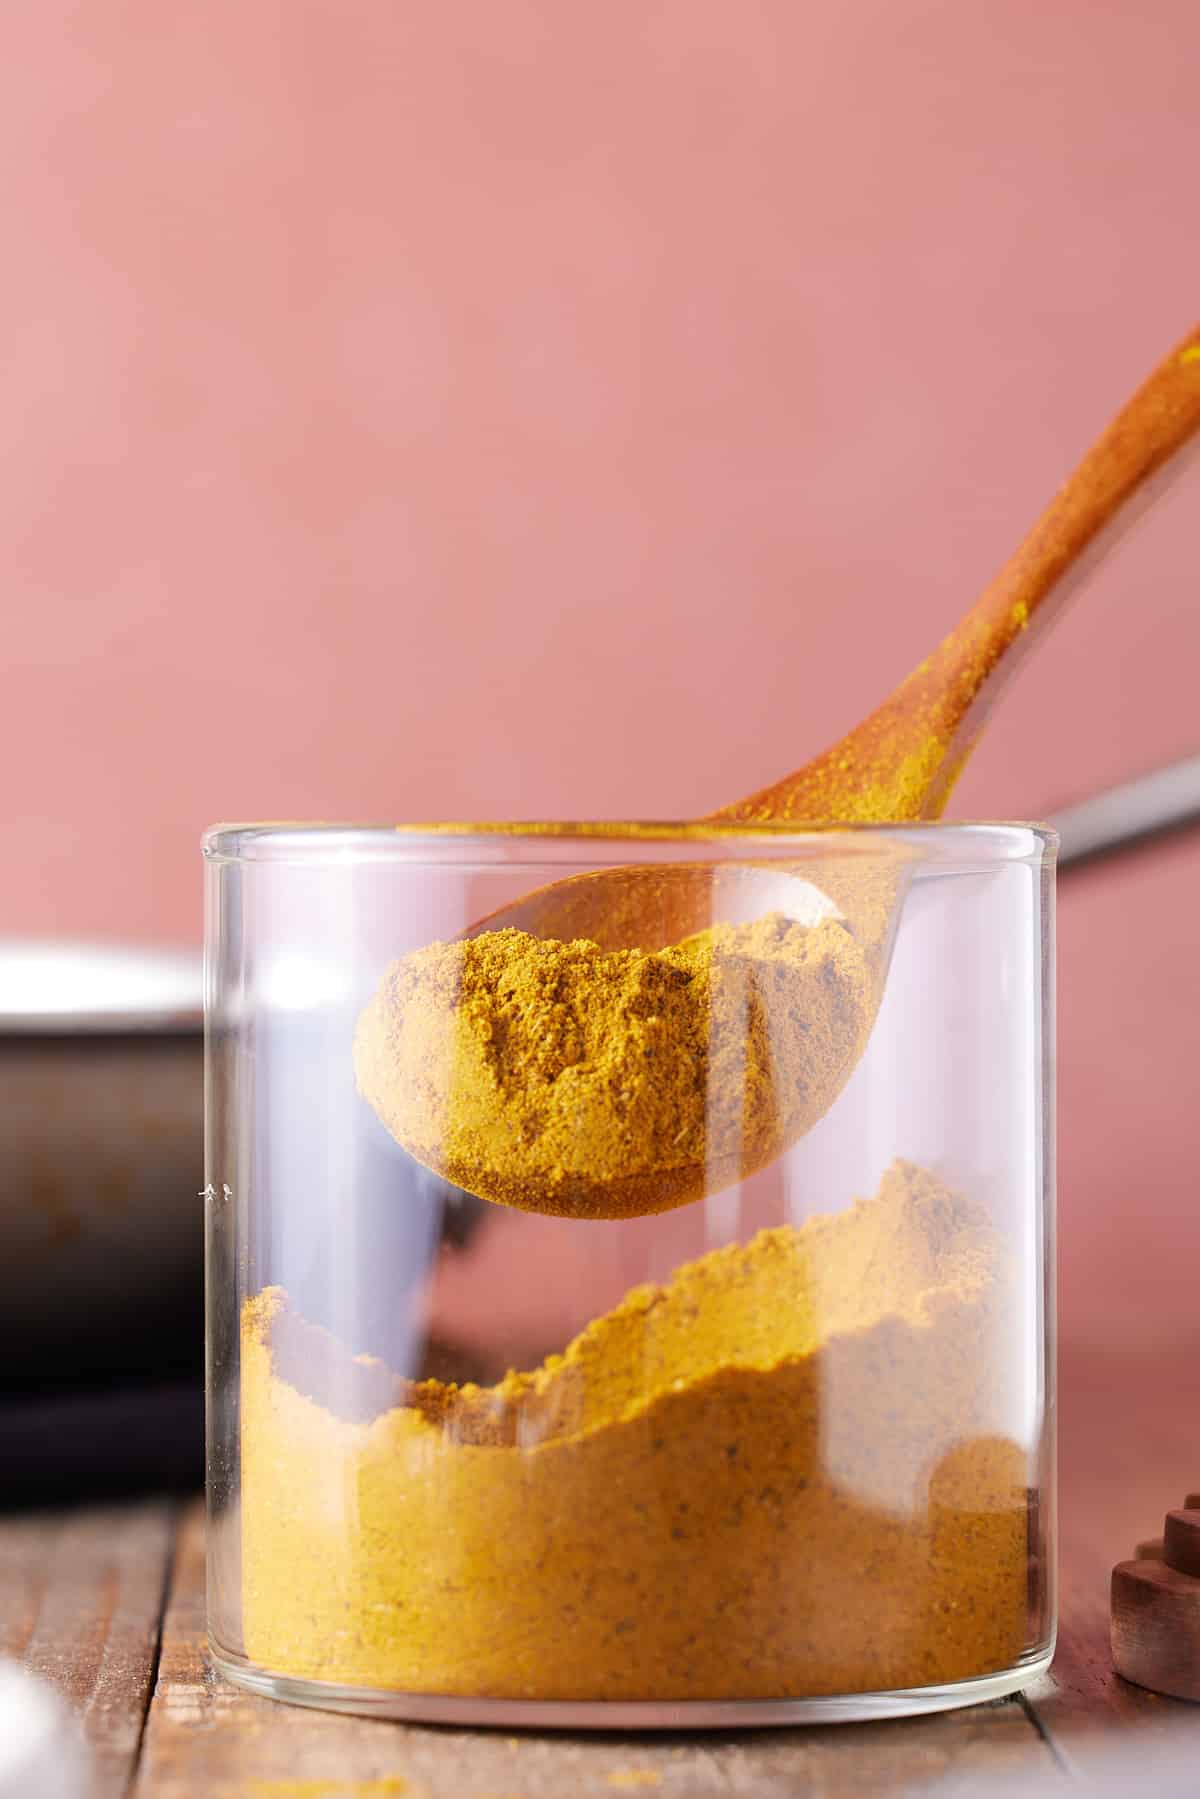
- Seasoning - flavor with curry powder and ground coriander, then add salt and black pepper to taste once the soup has cooked.
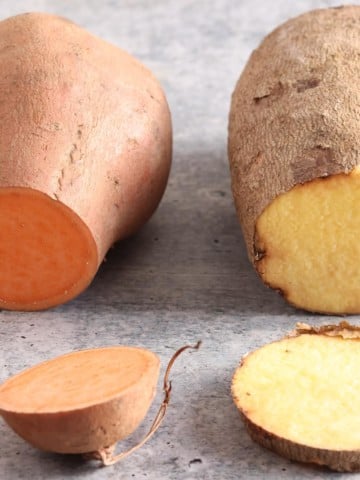
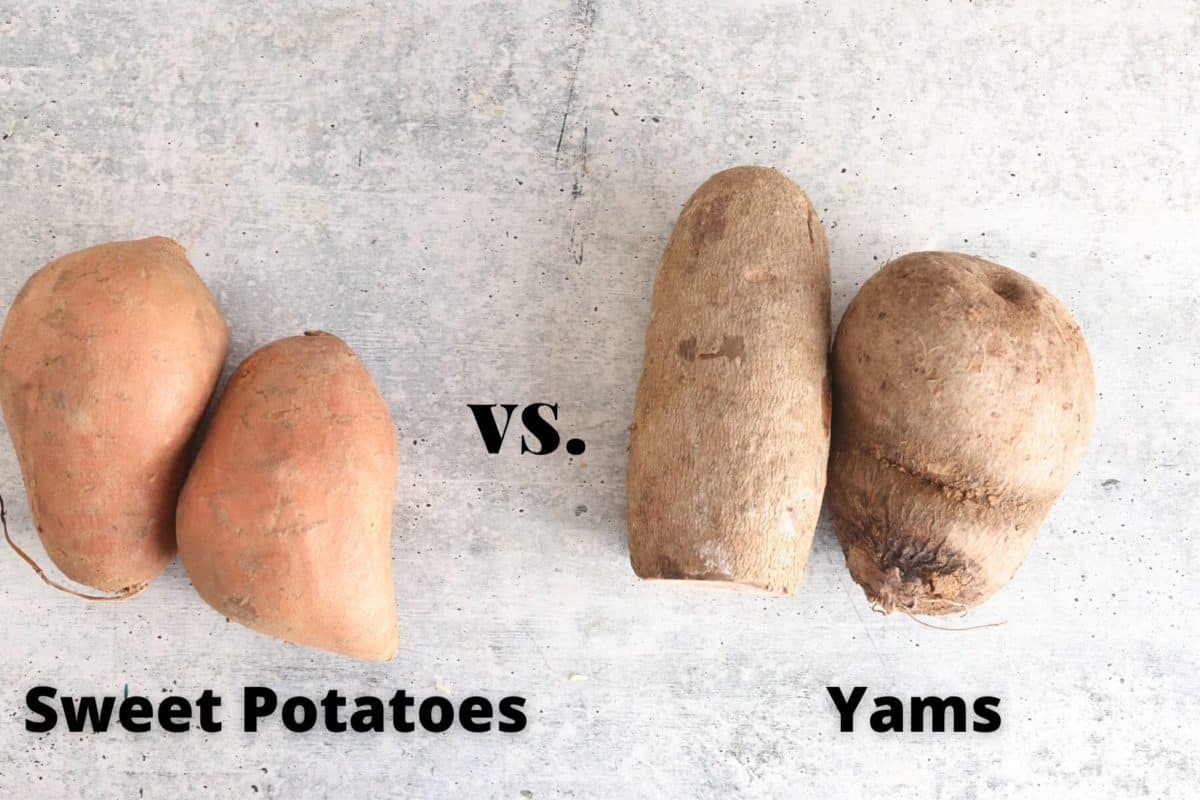
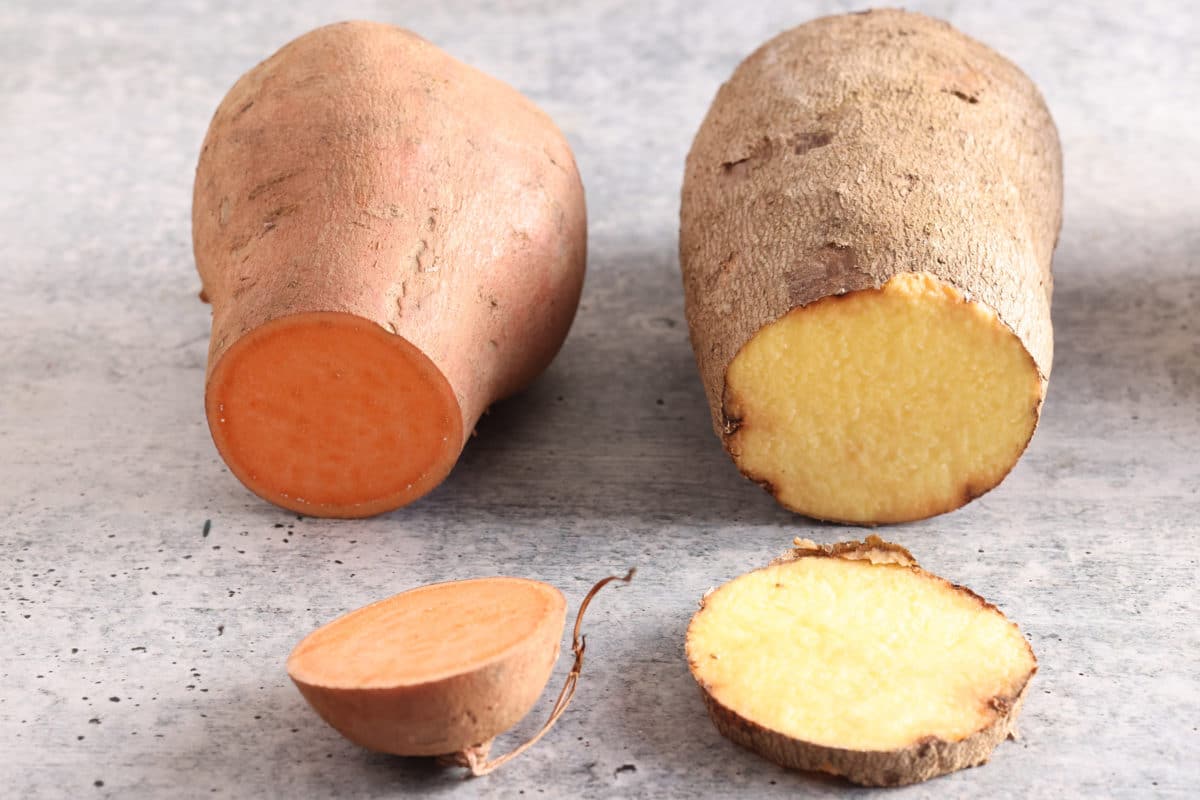
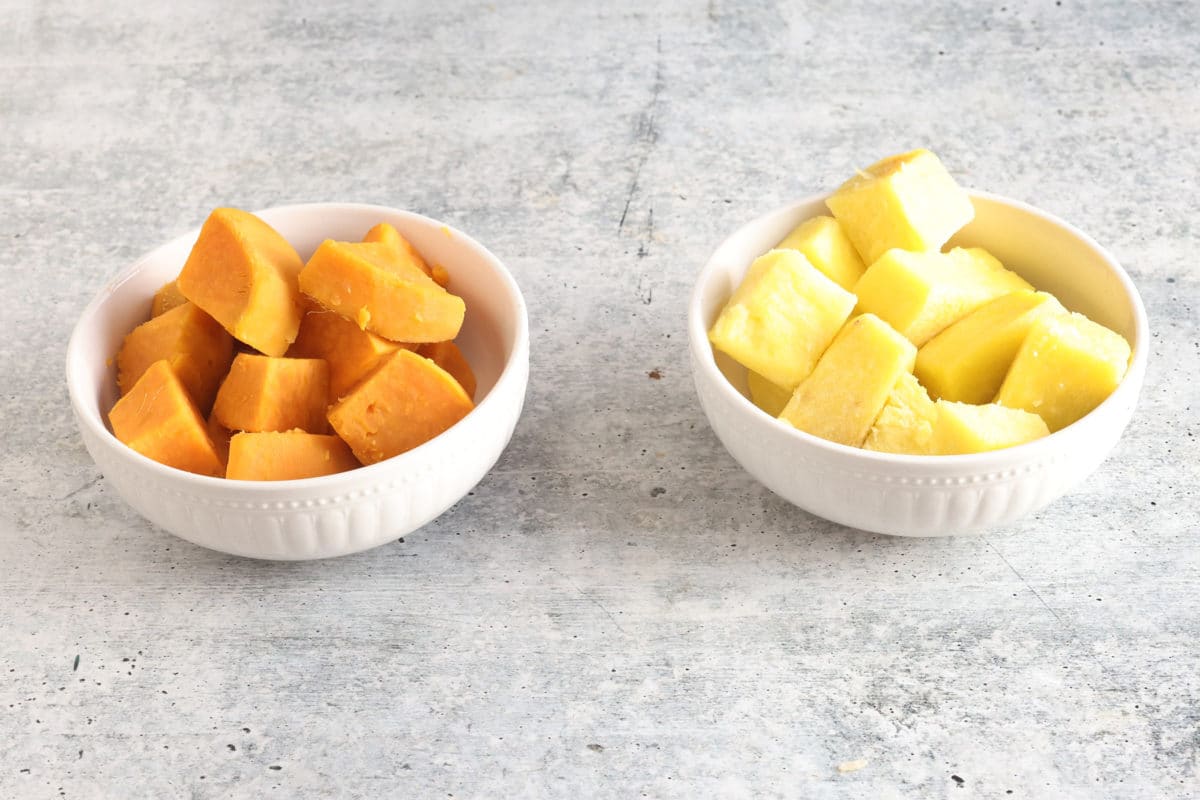
- Sweet potatoes - use any color sweet potato.
- Apple - I suggest a large sweet apple, something like Honeycrisp or Fuji would be ideal.
- Broth - vegetable broth, but chicken broth can work too.
- Coconut milk - full-fat unsweetened coconut milk adds a creamy element. You can use lite coconut milk if you prefer, but the soup will have a thinner texture.
- Cilantro - for garnish, you can sub with chives or sliced green onions.
How to make Sweet Potato Soup recipe
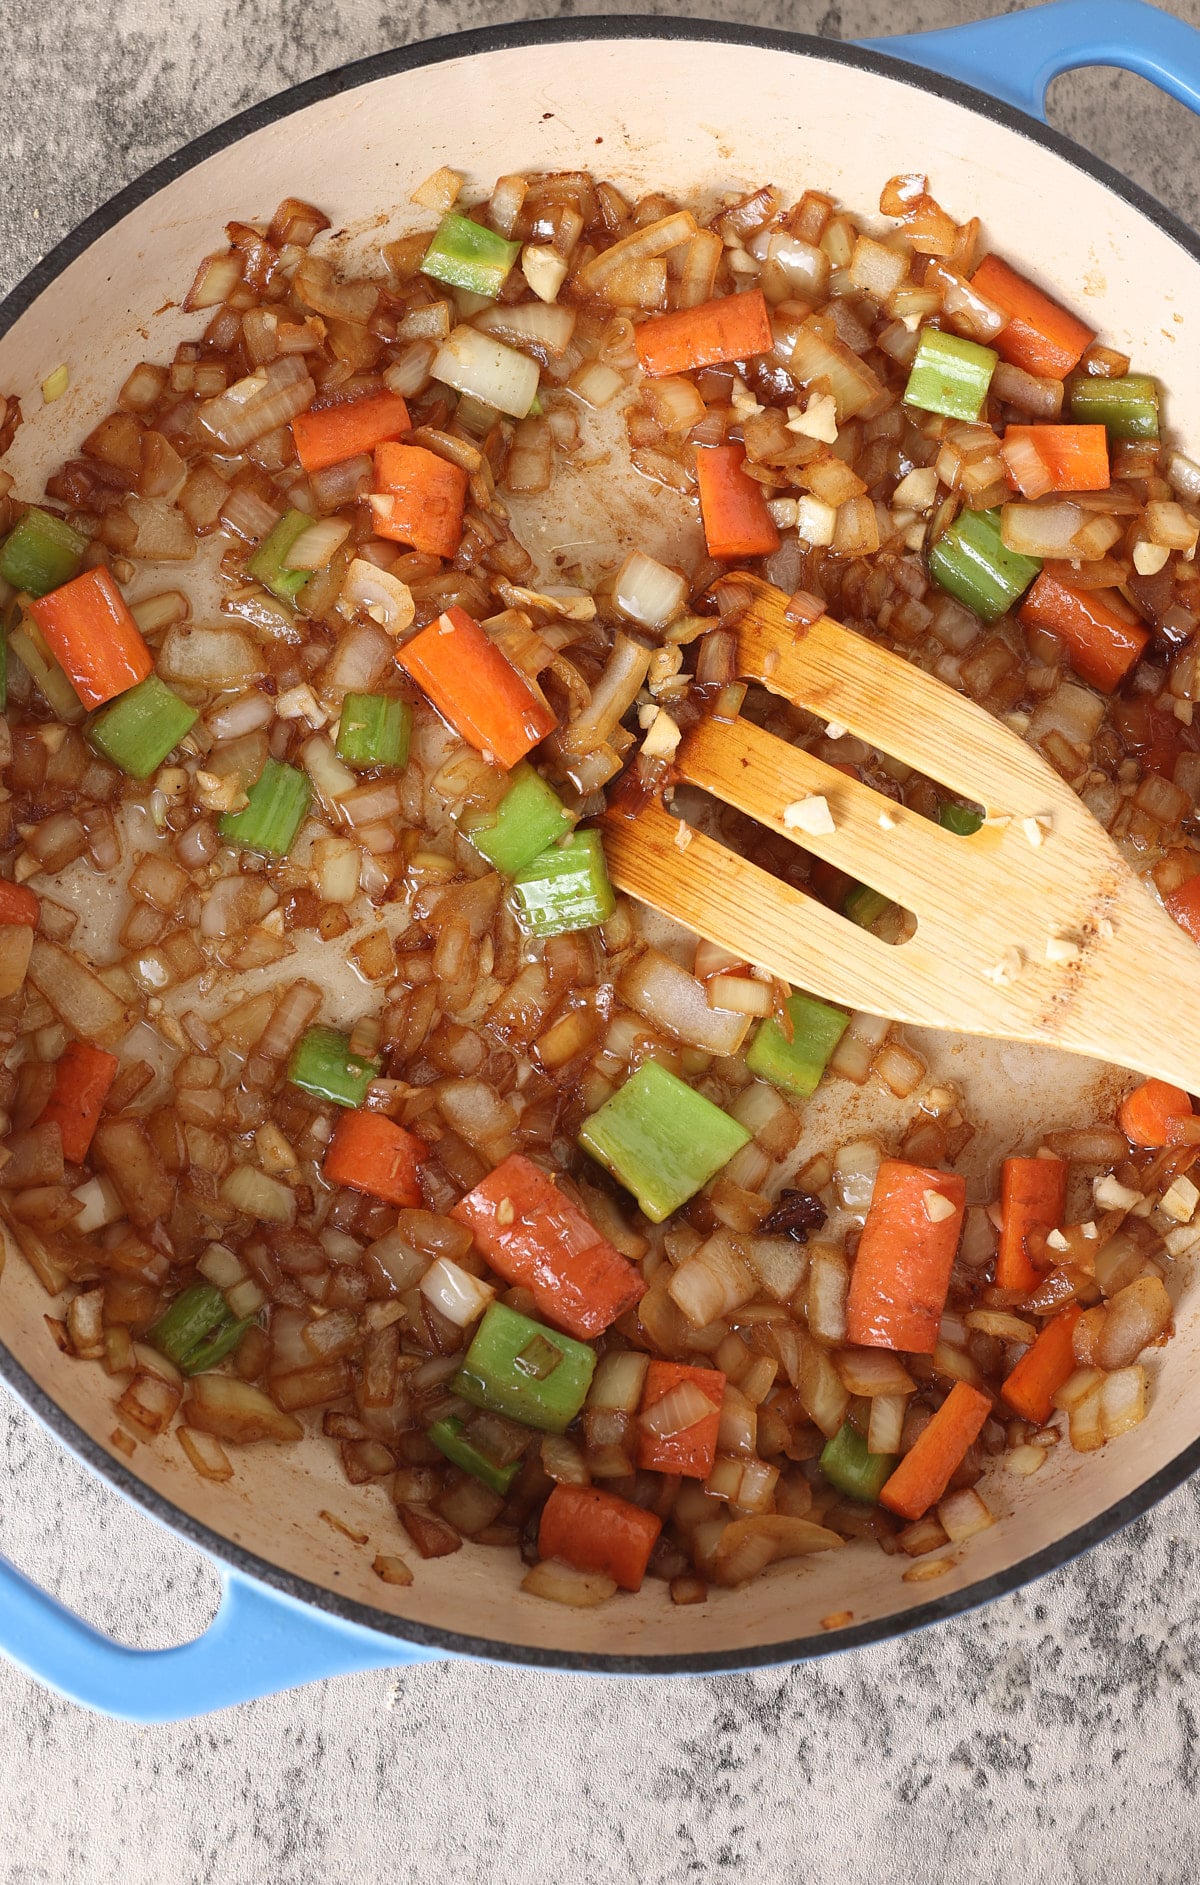
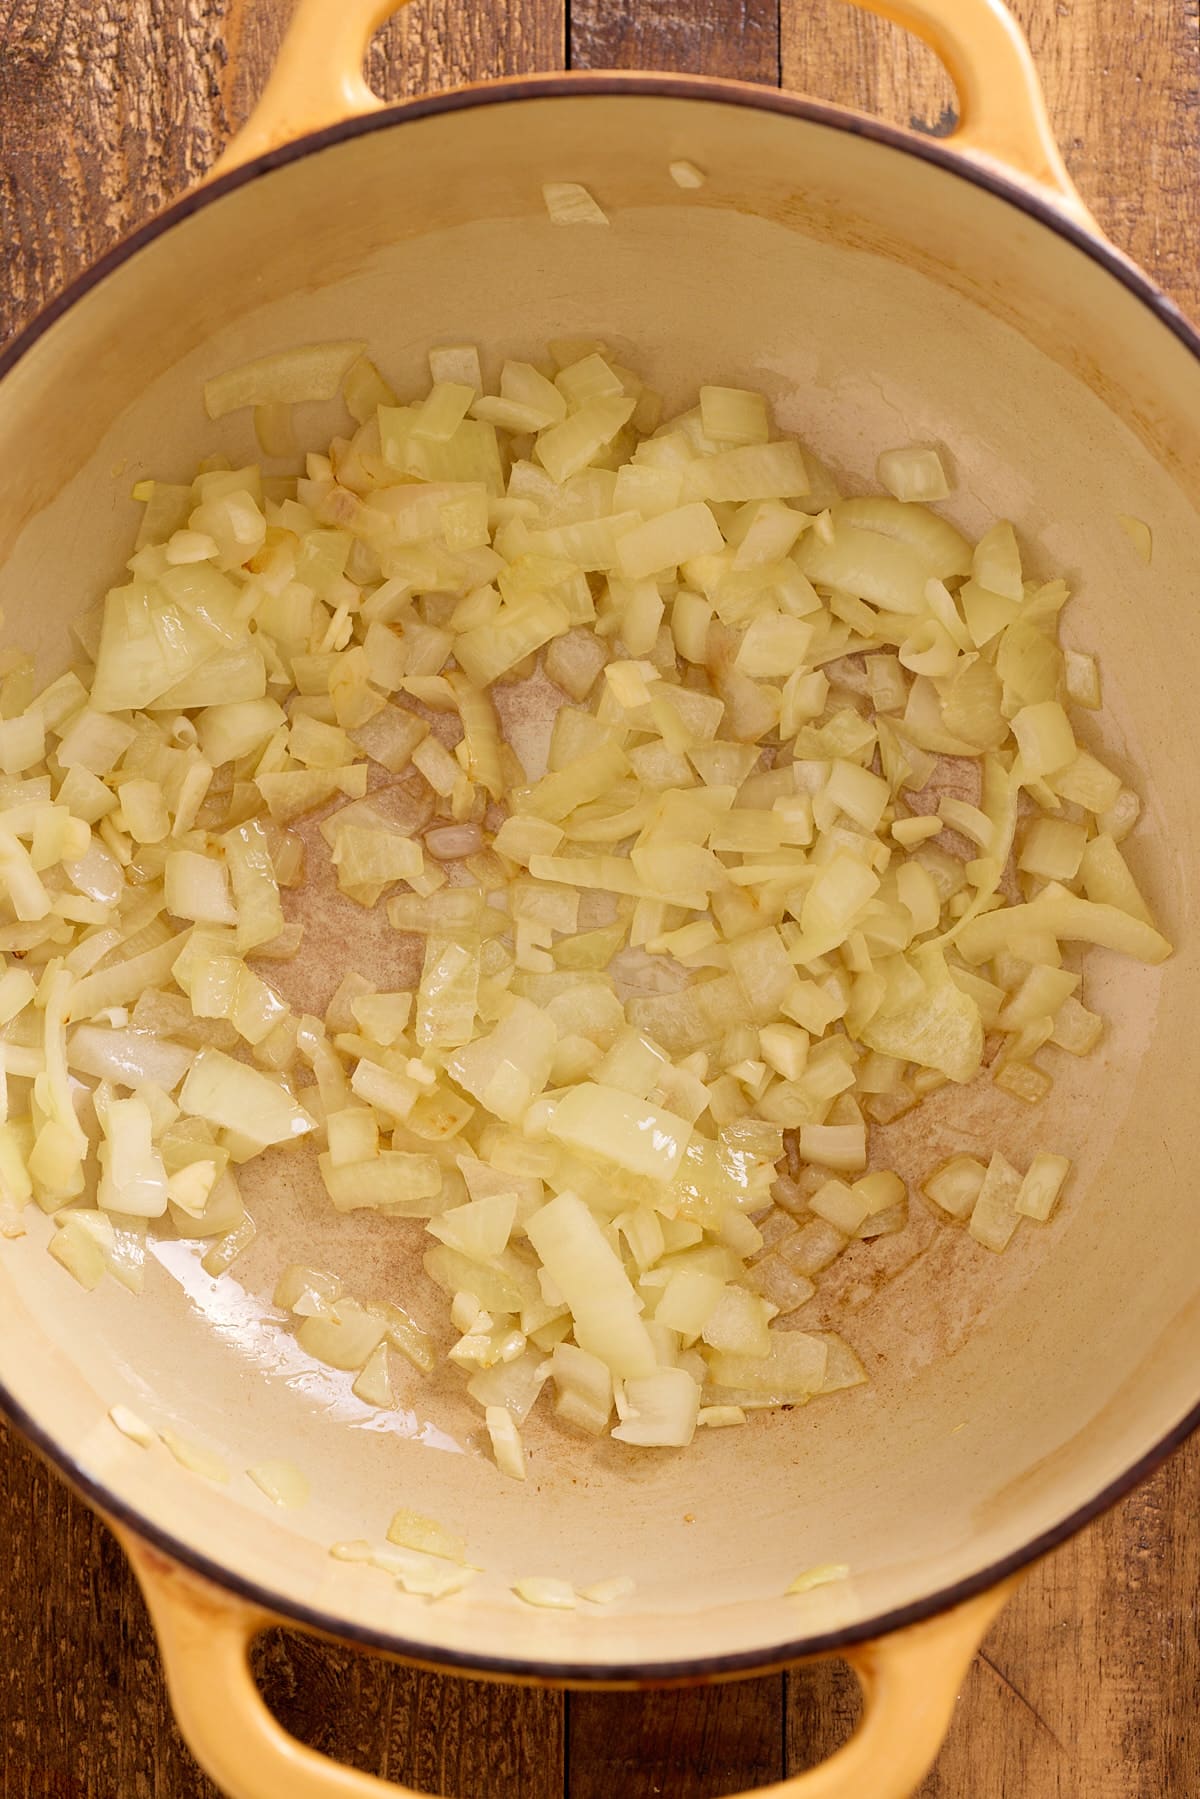
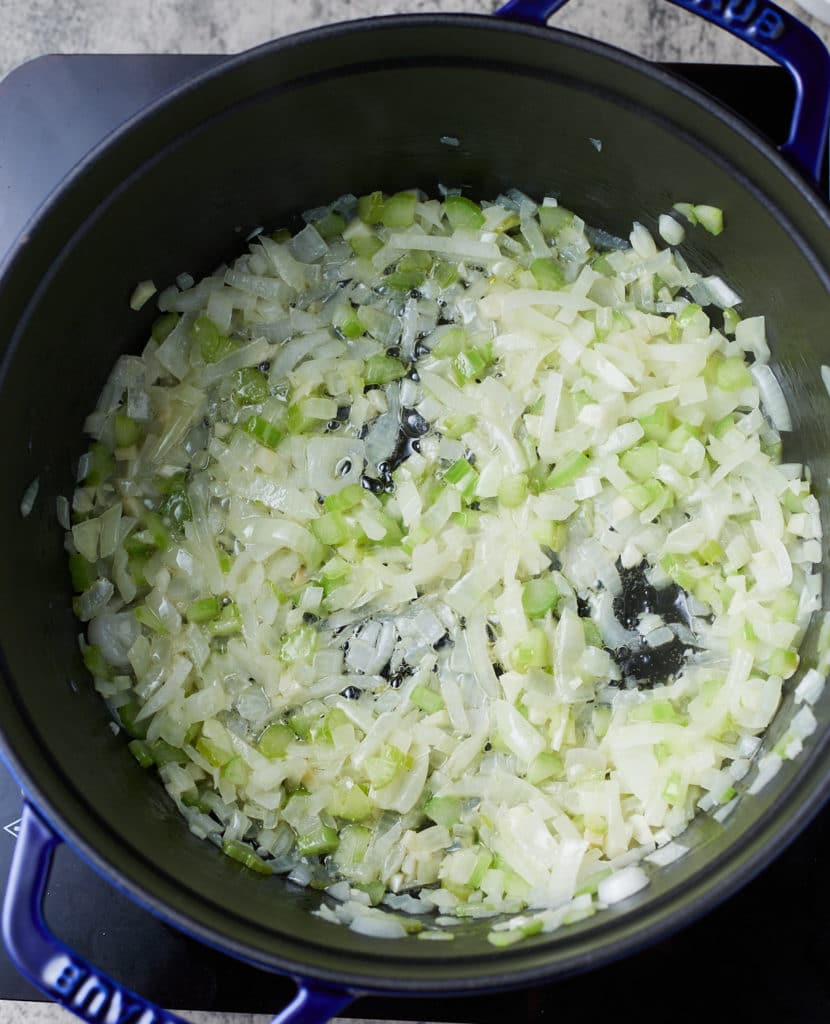
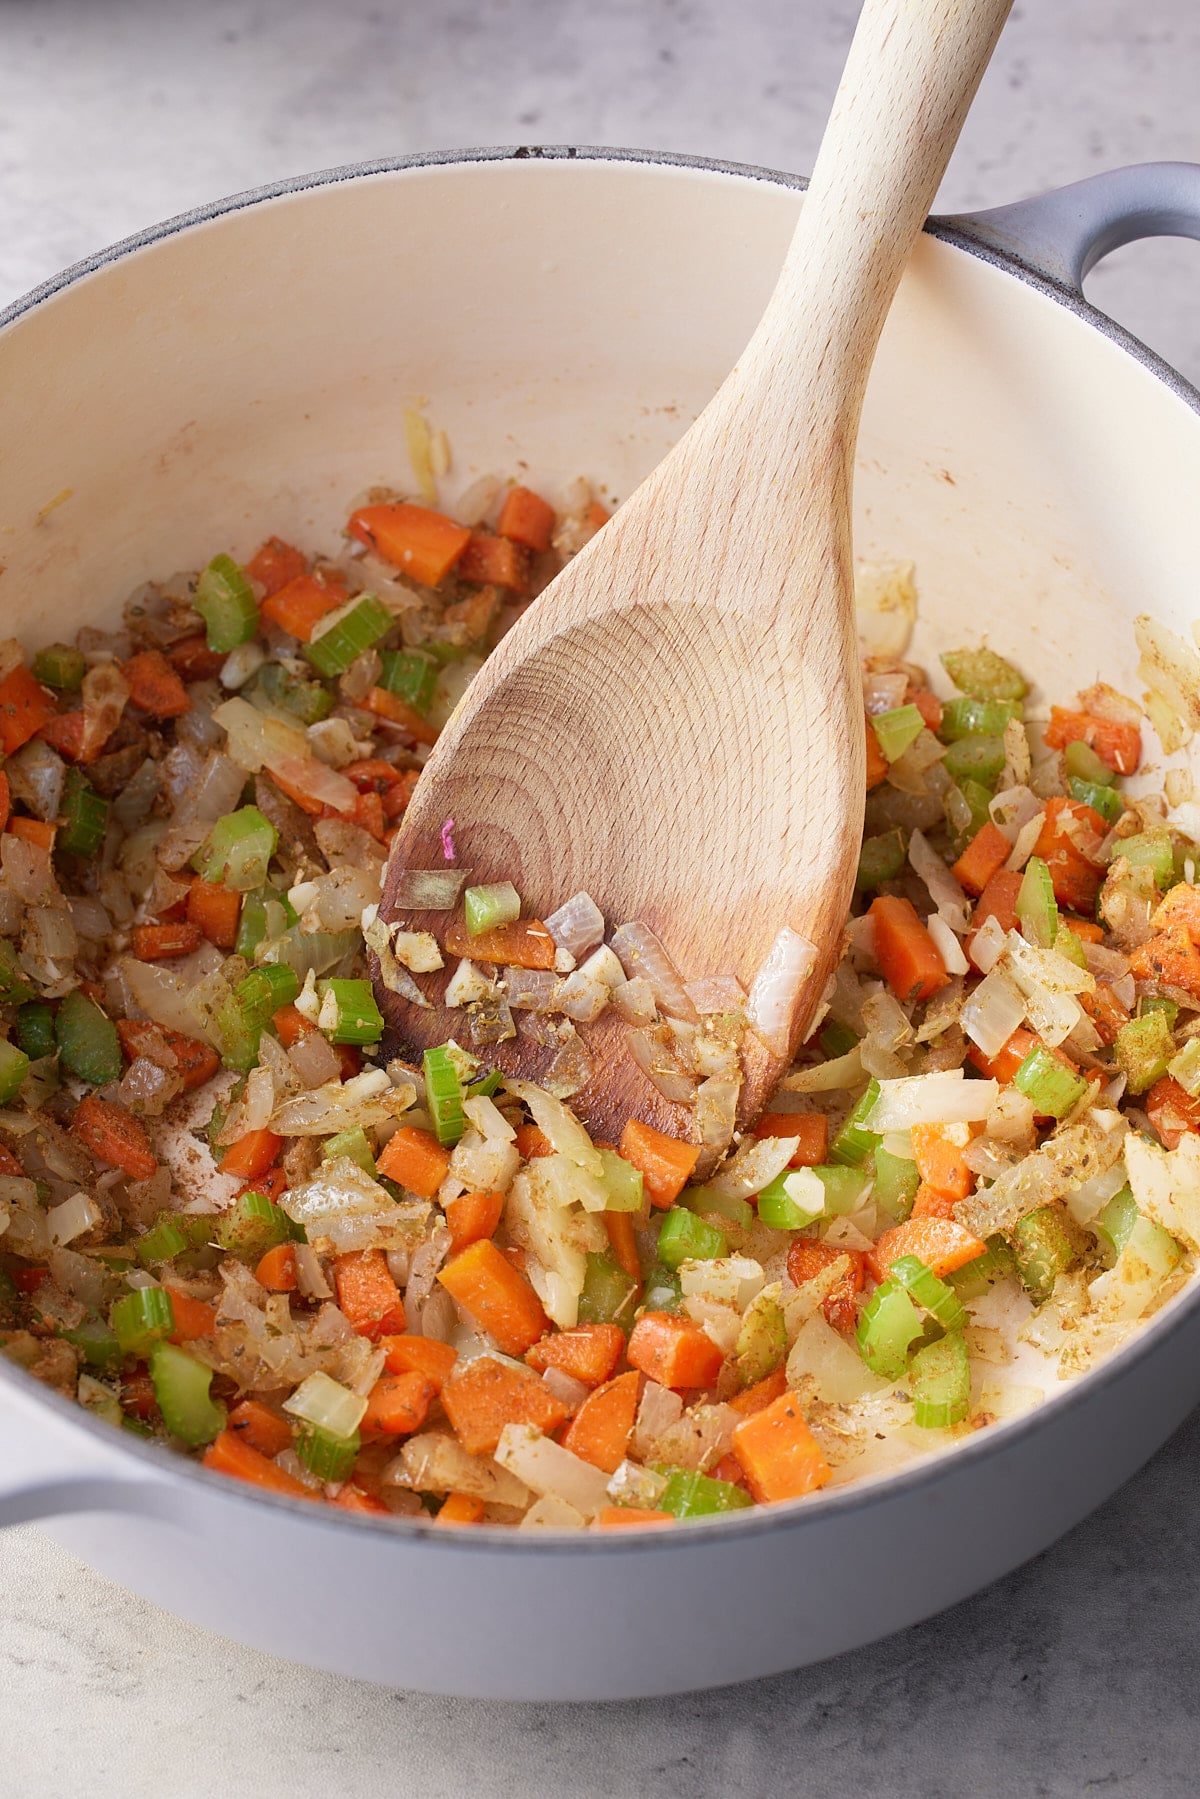
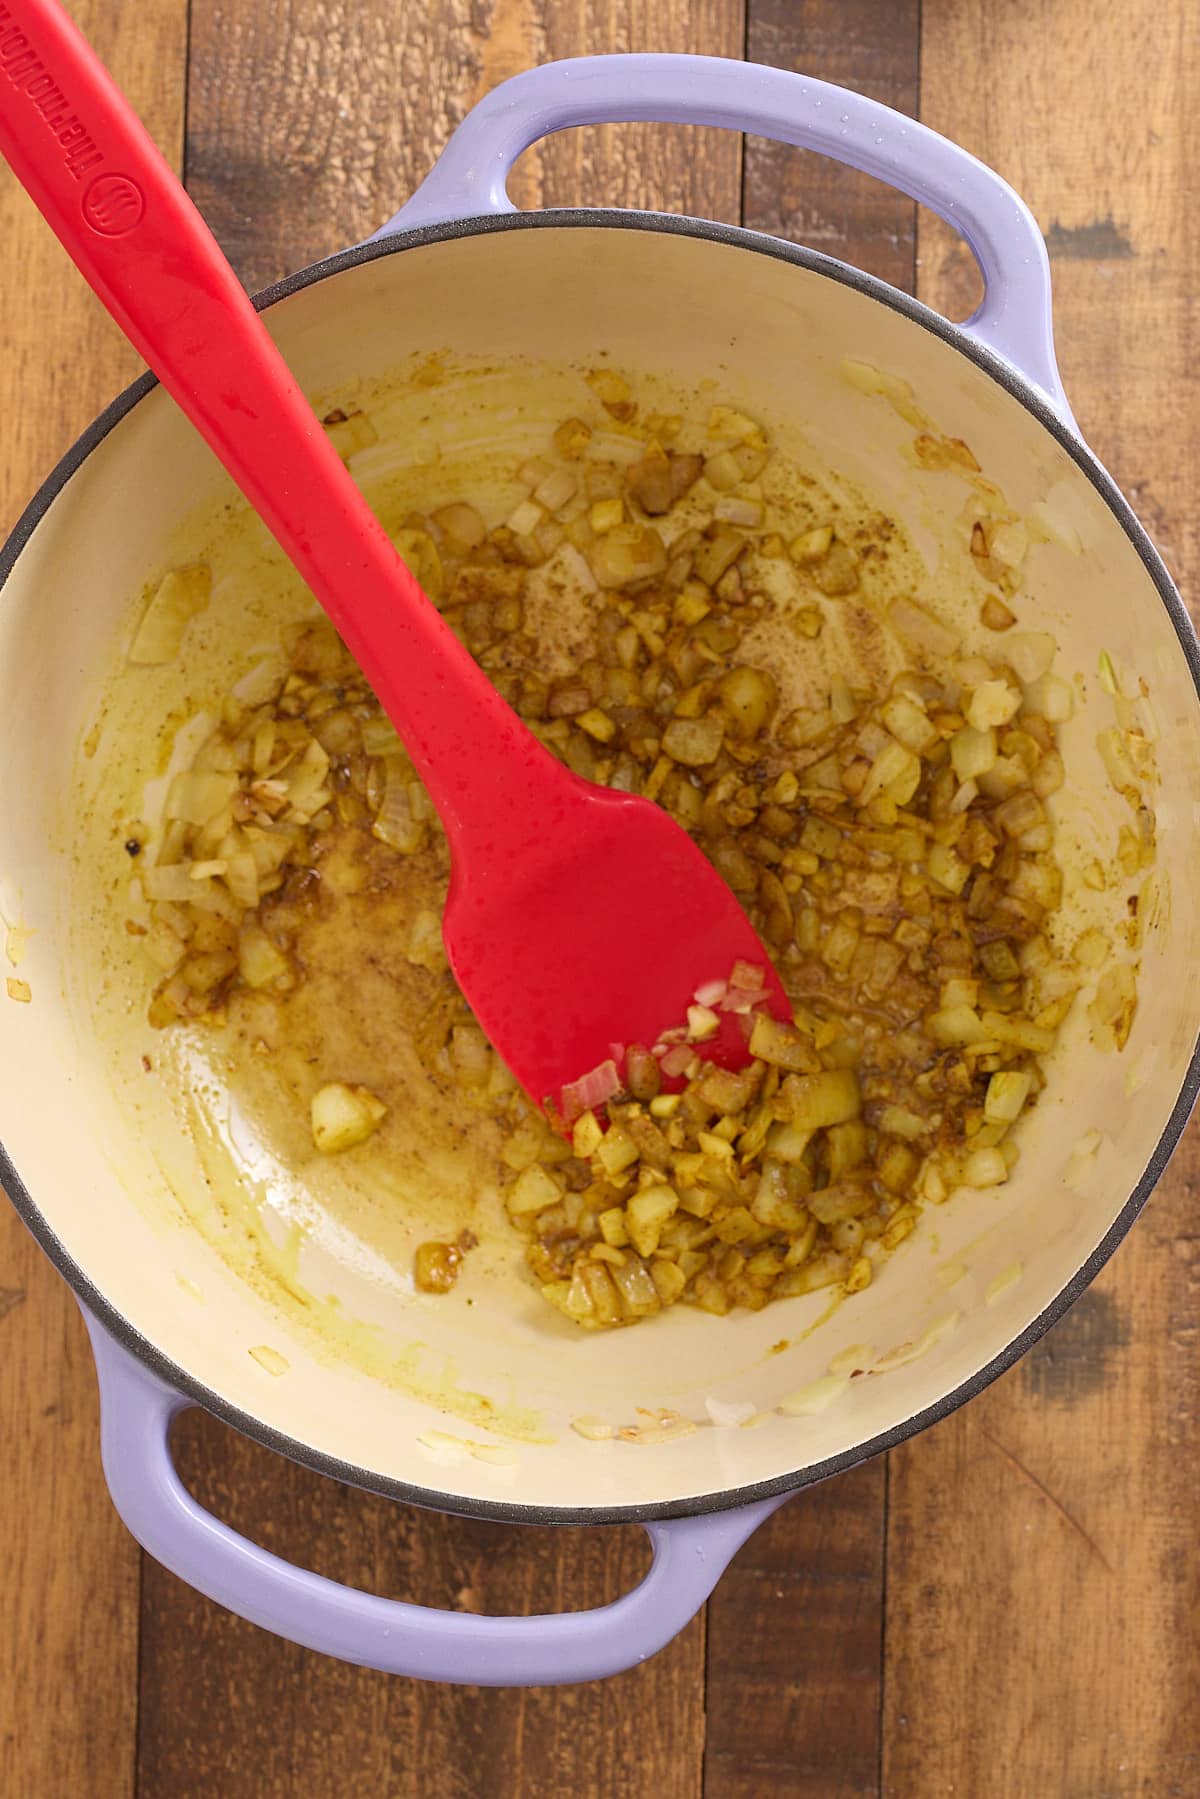
Heat the olive oil in a large pot over medium heat. Add the onions and sauté gently until softened, about 3-5 minutes.
Now add the garlic and sauté for an additional minute.
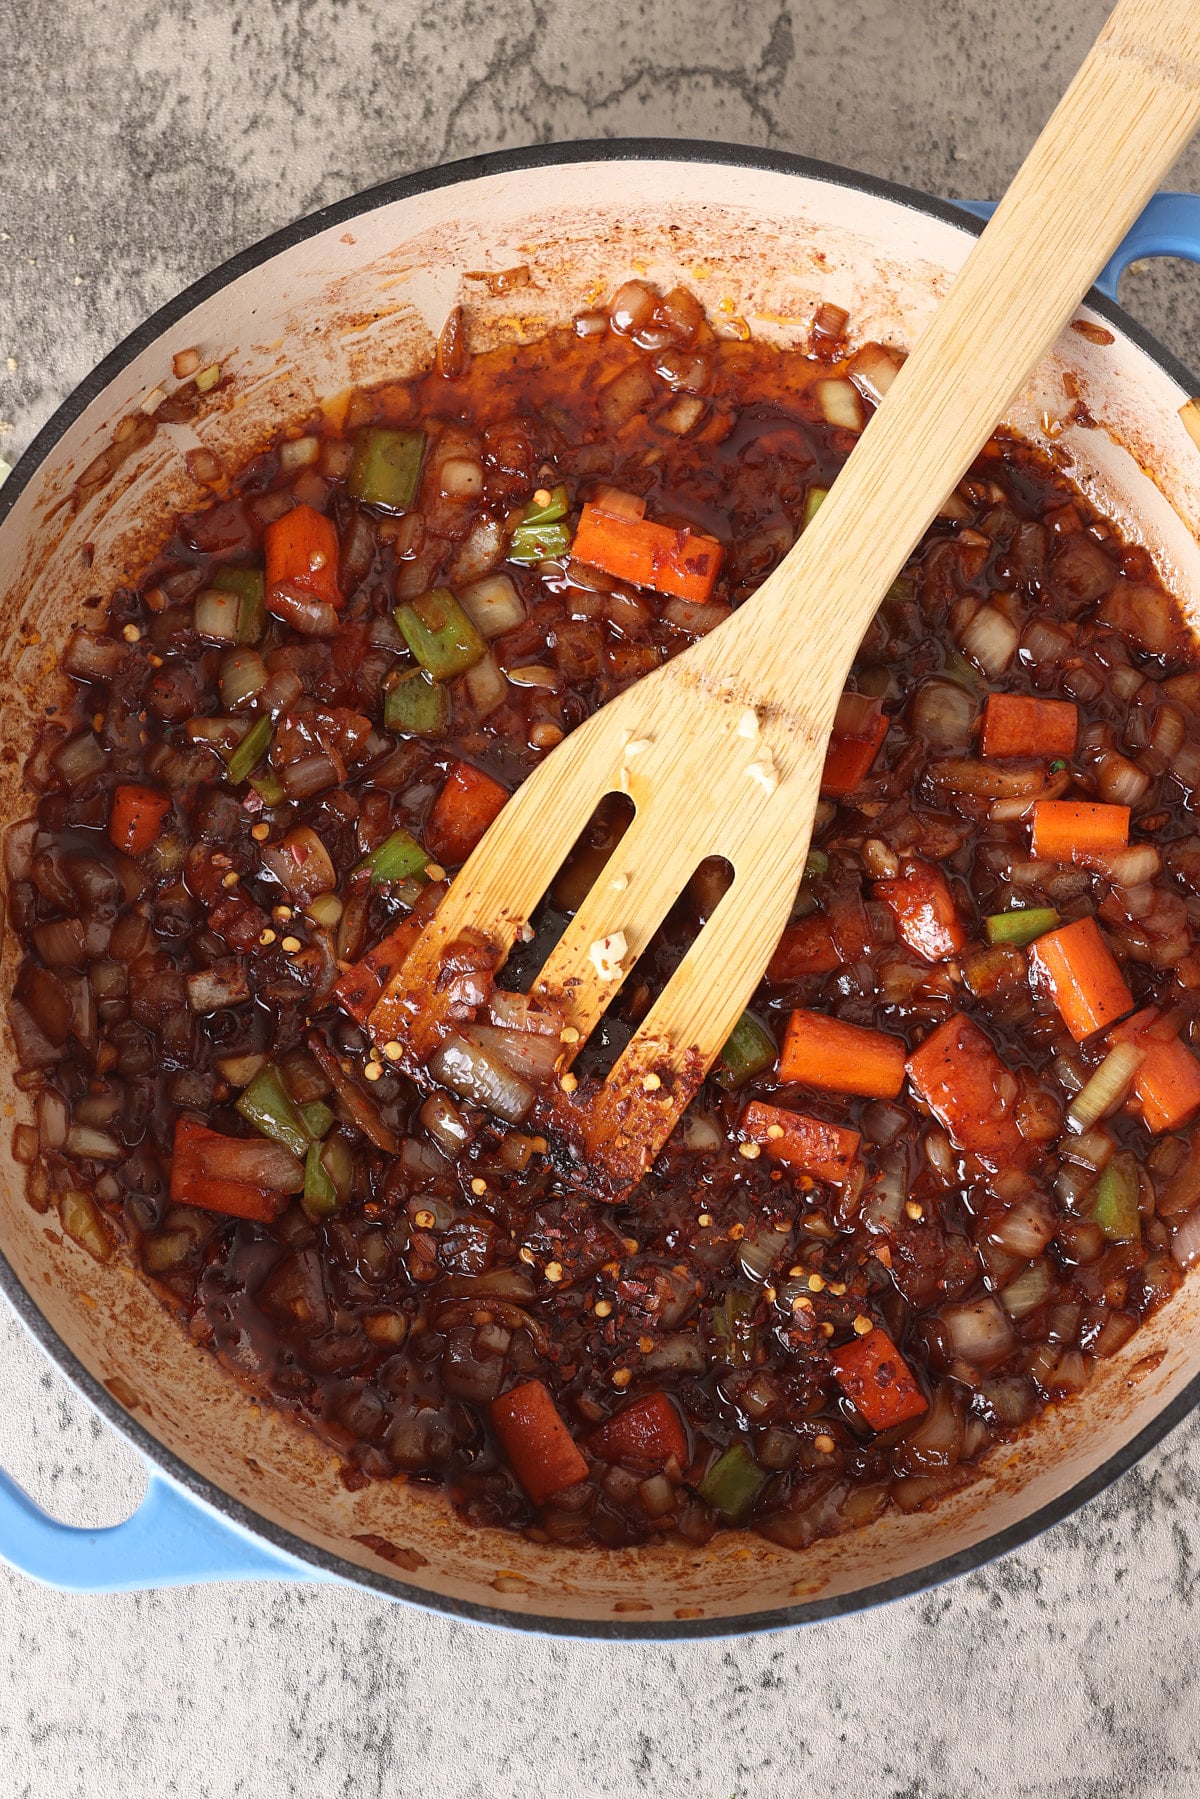
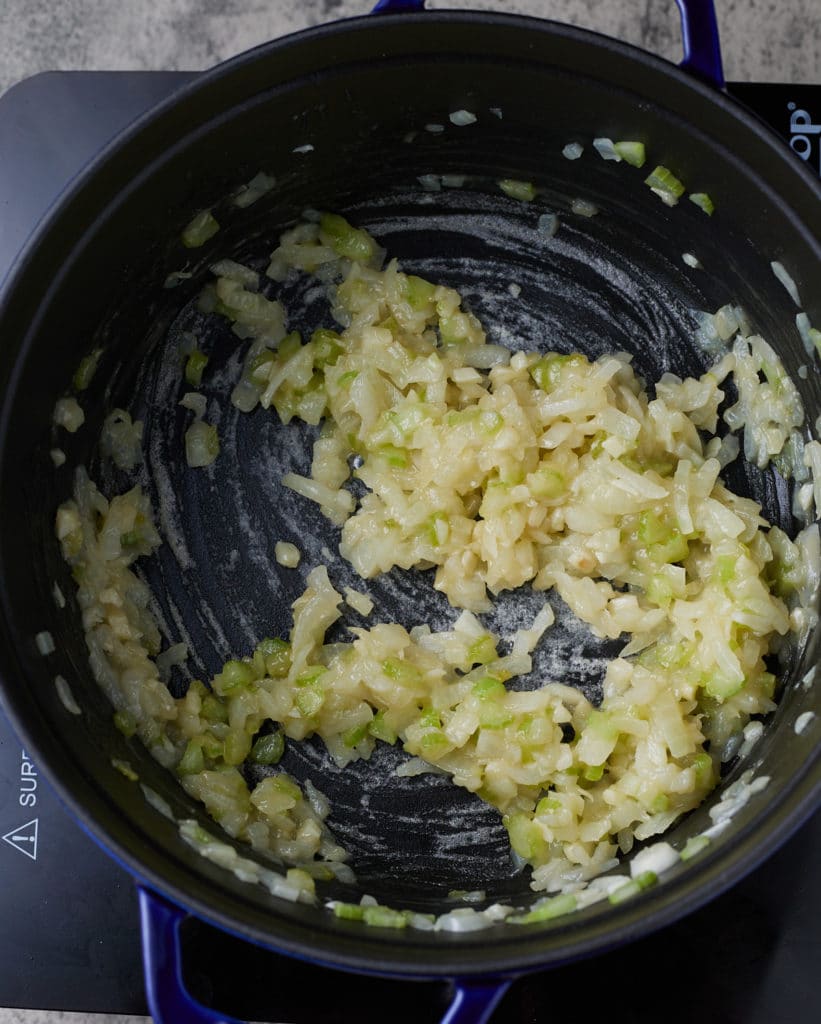
Add the curry powder and ground coriander to the pot and sauté for an additional 20 seconds, to bloom the spices.
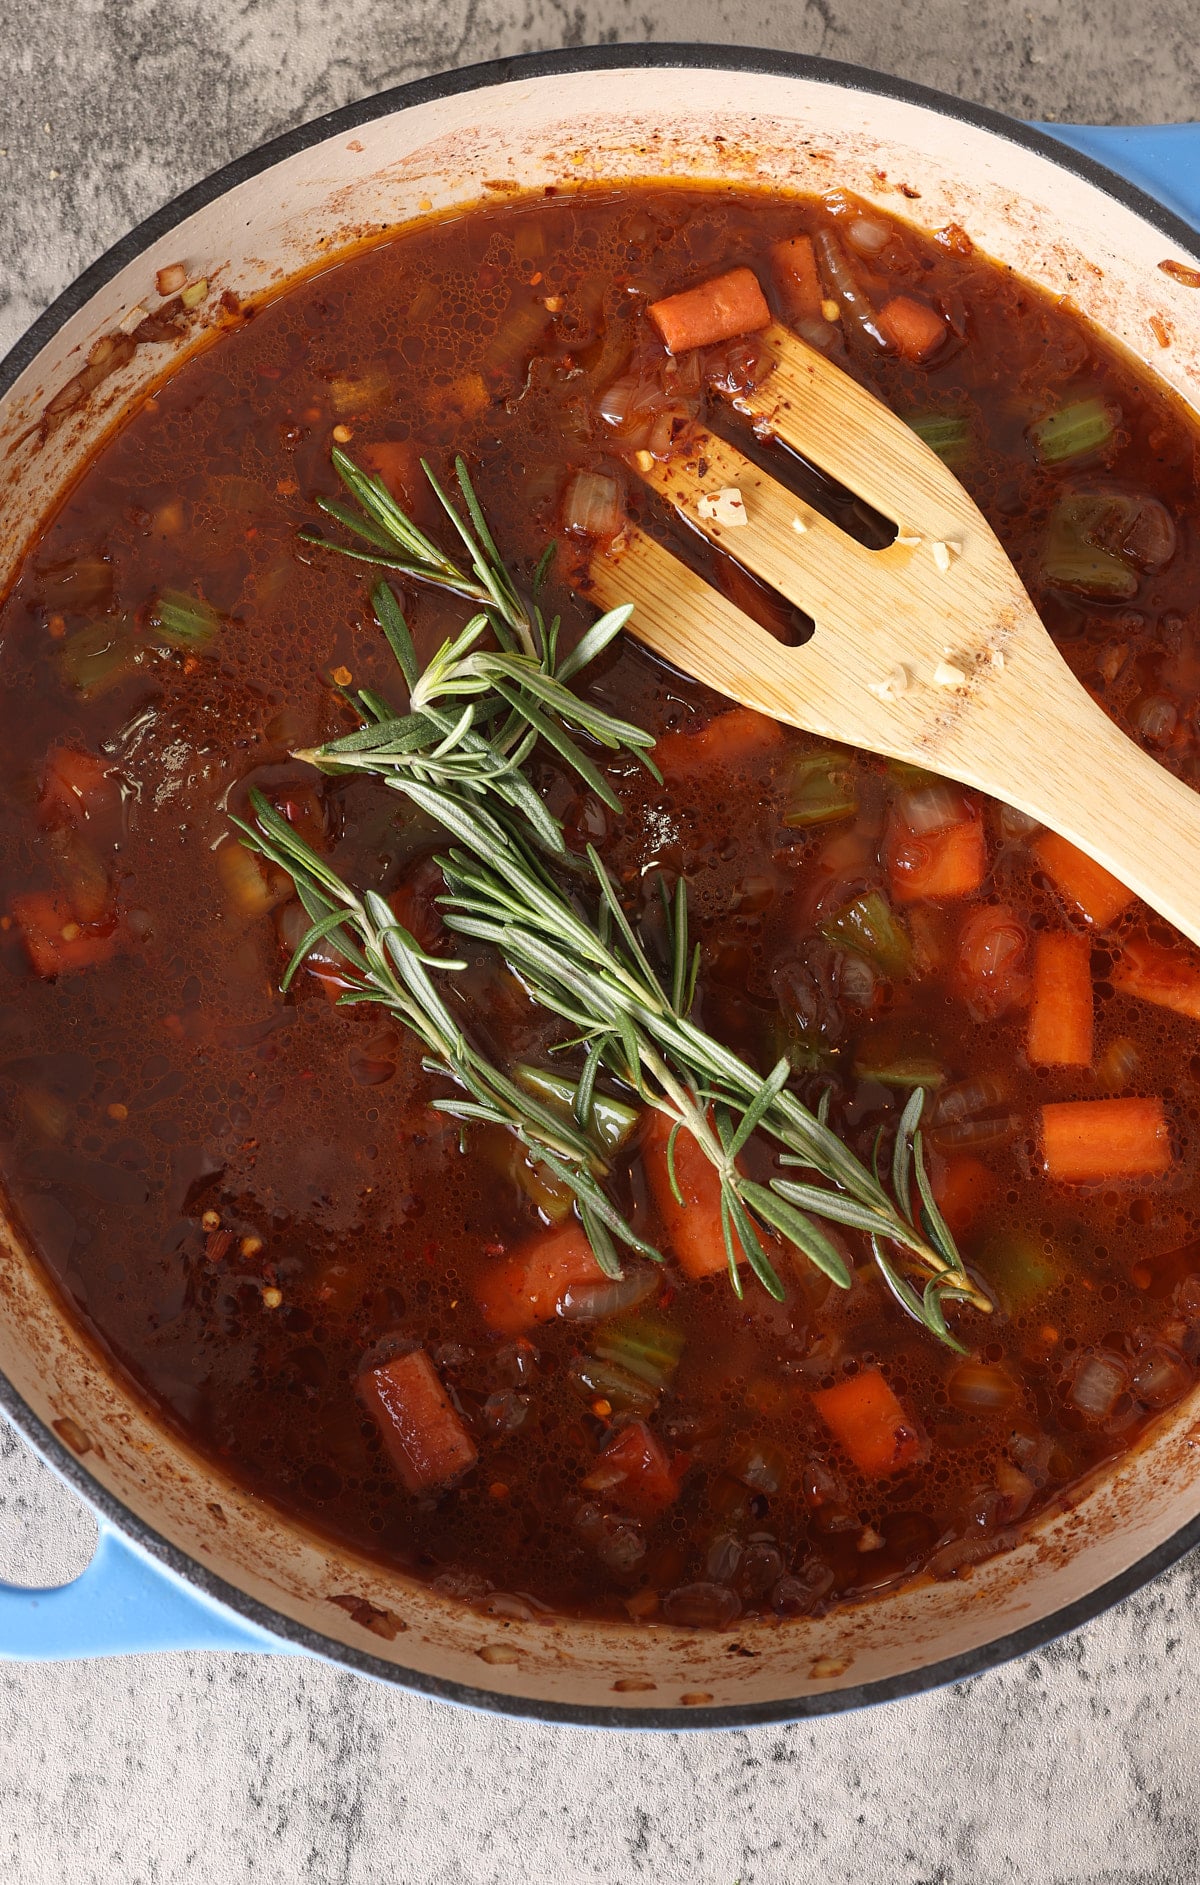
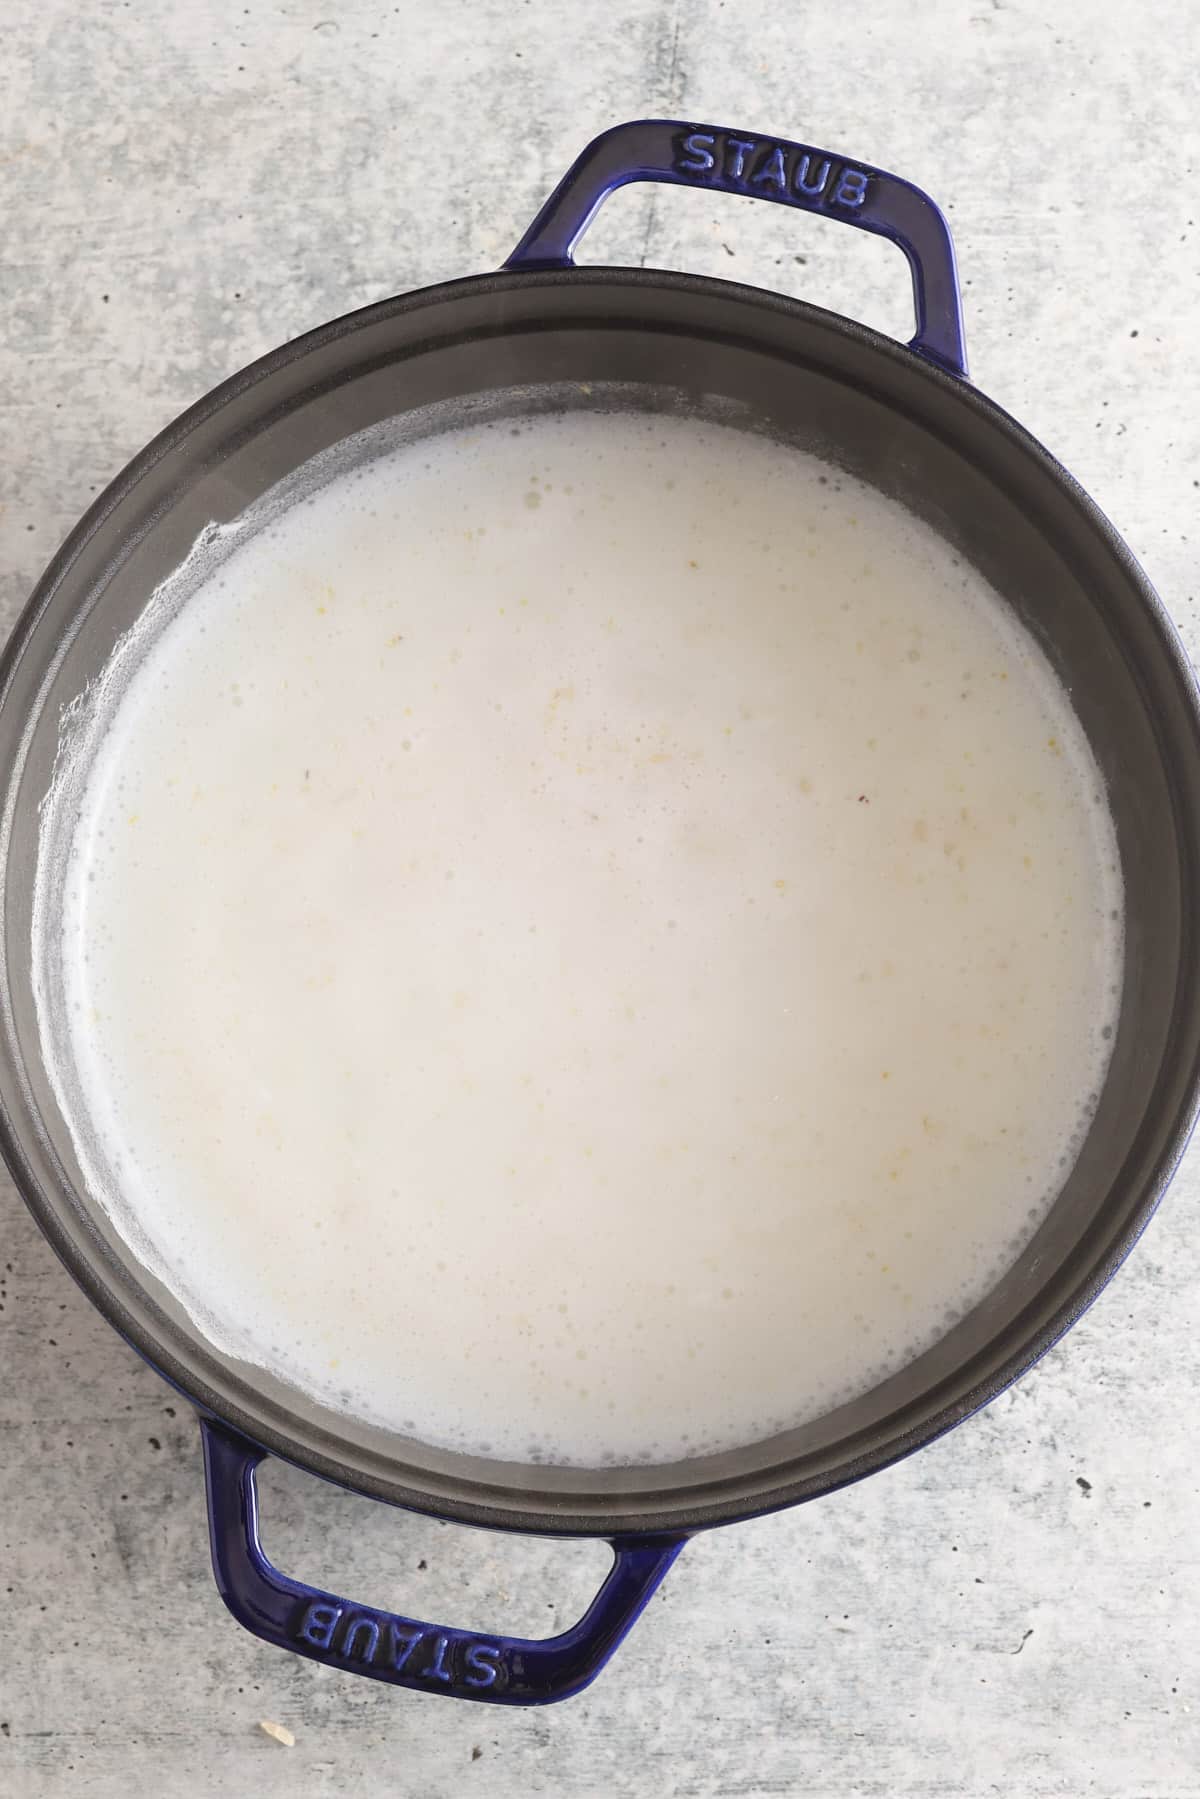
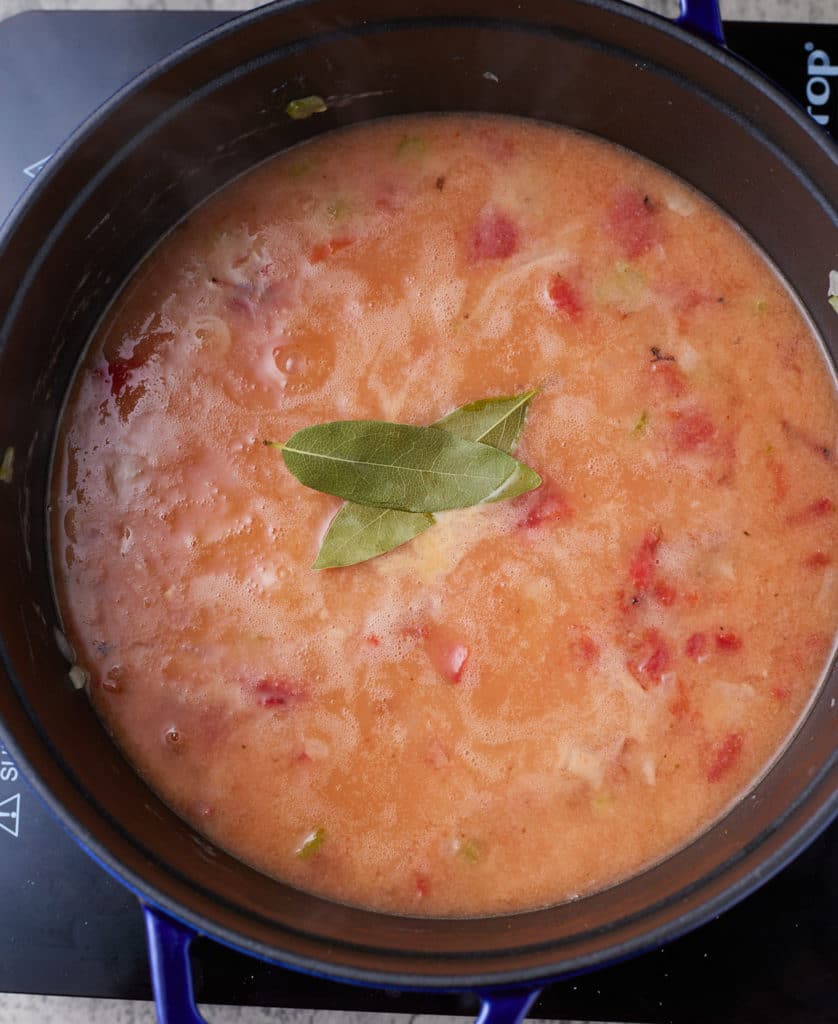
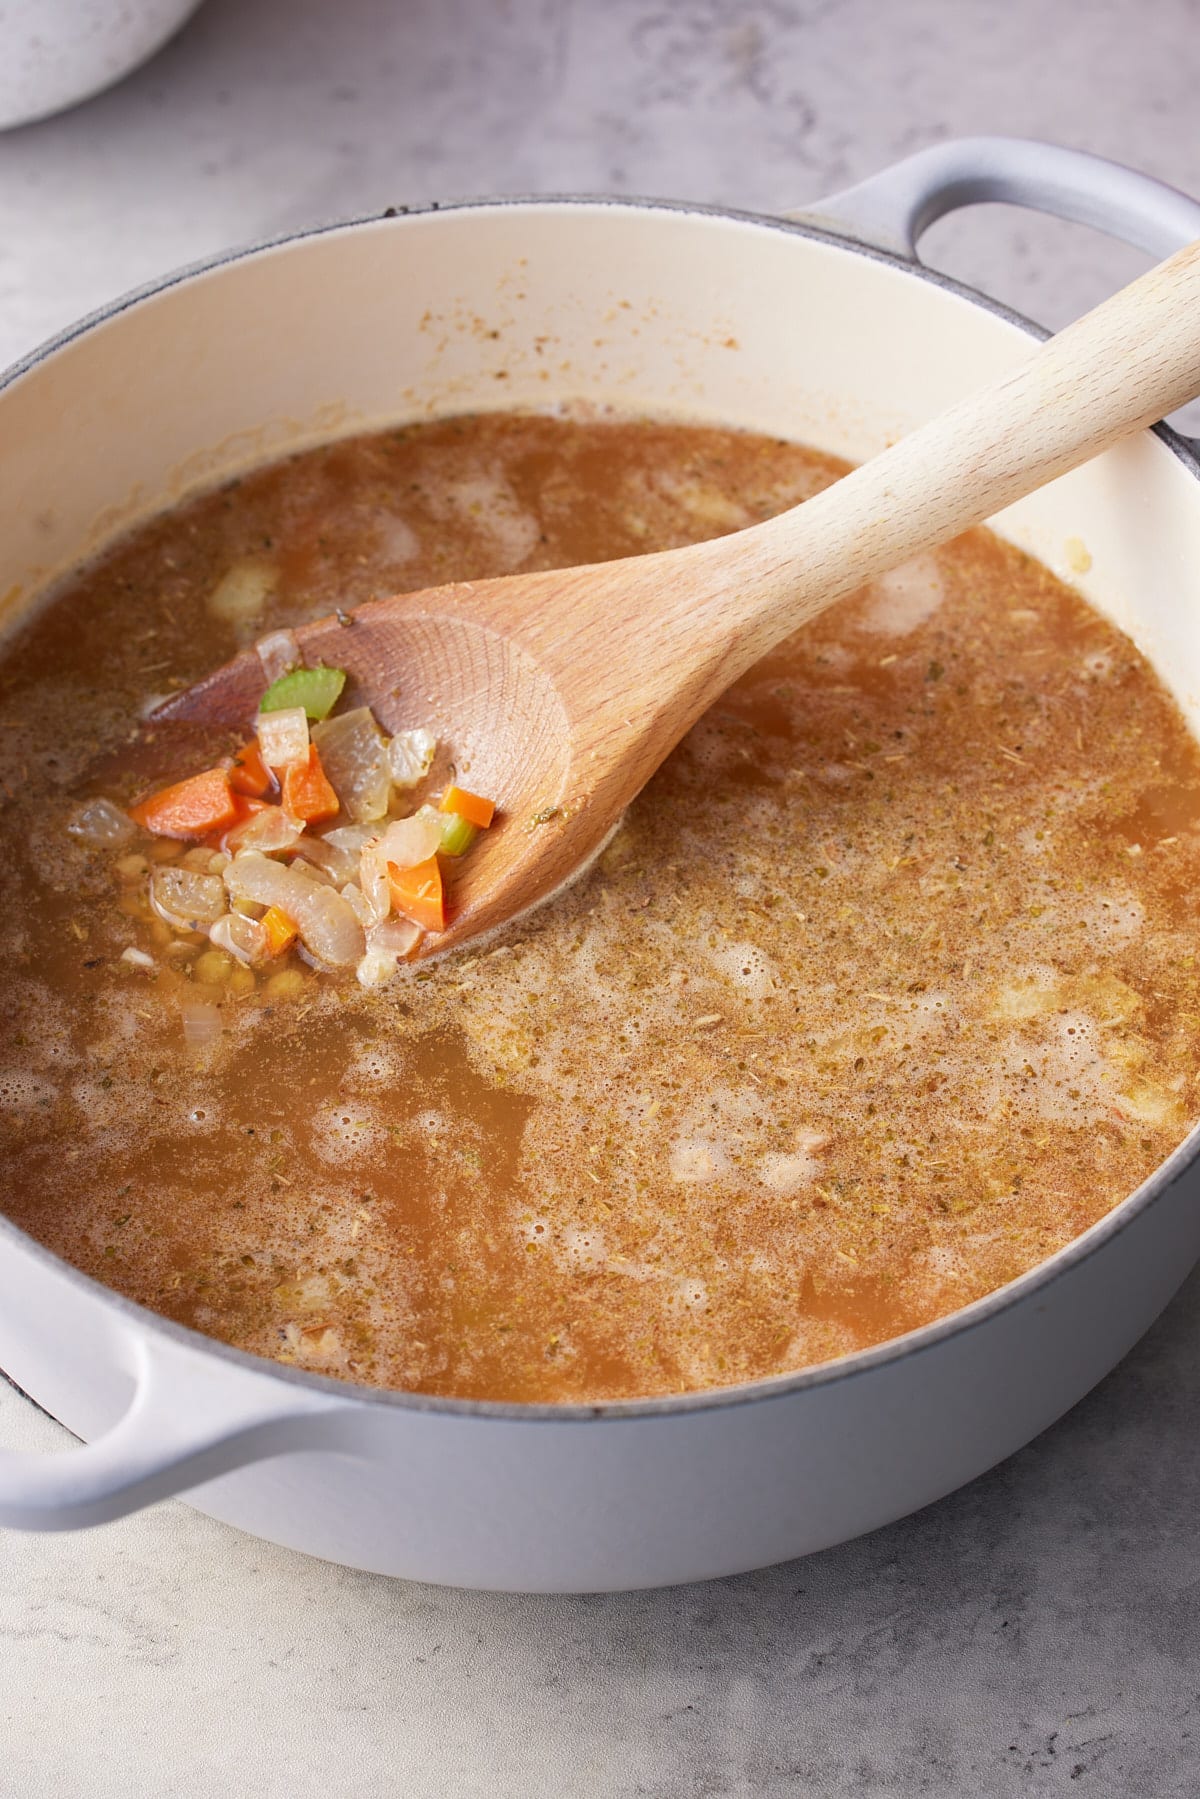
Now add the sweet potatoes, apple, and vegetable broth to the pot, ensuring that the broth covers the sweet potatoes and apples.
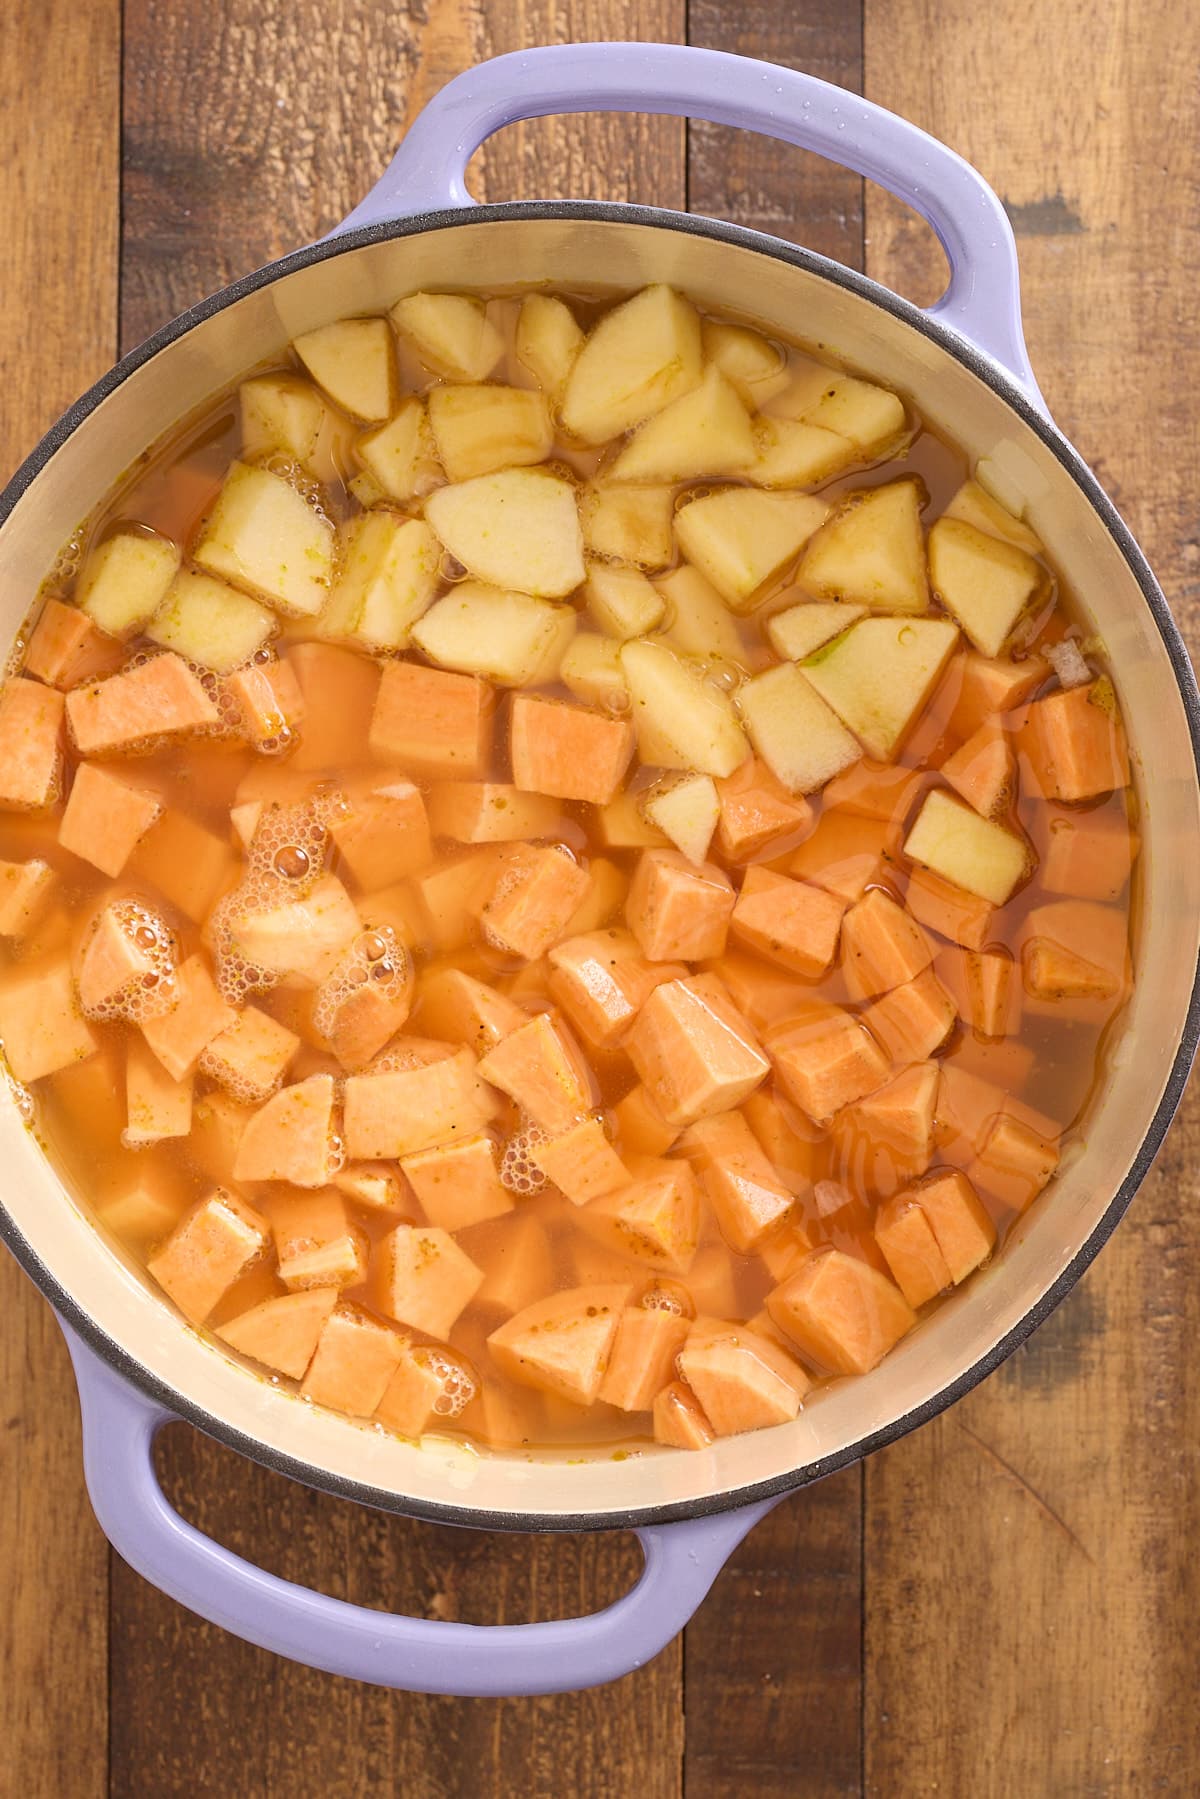
Bring the mixture to a boil, then reduce the heat to medium-low, and cover the pot with a lid.
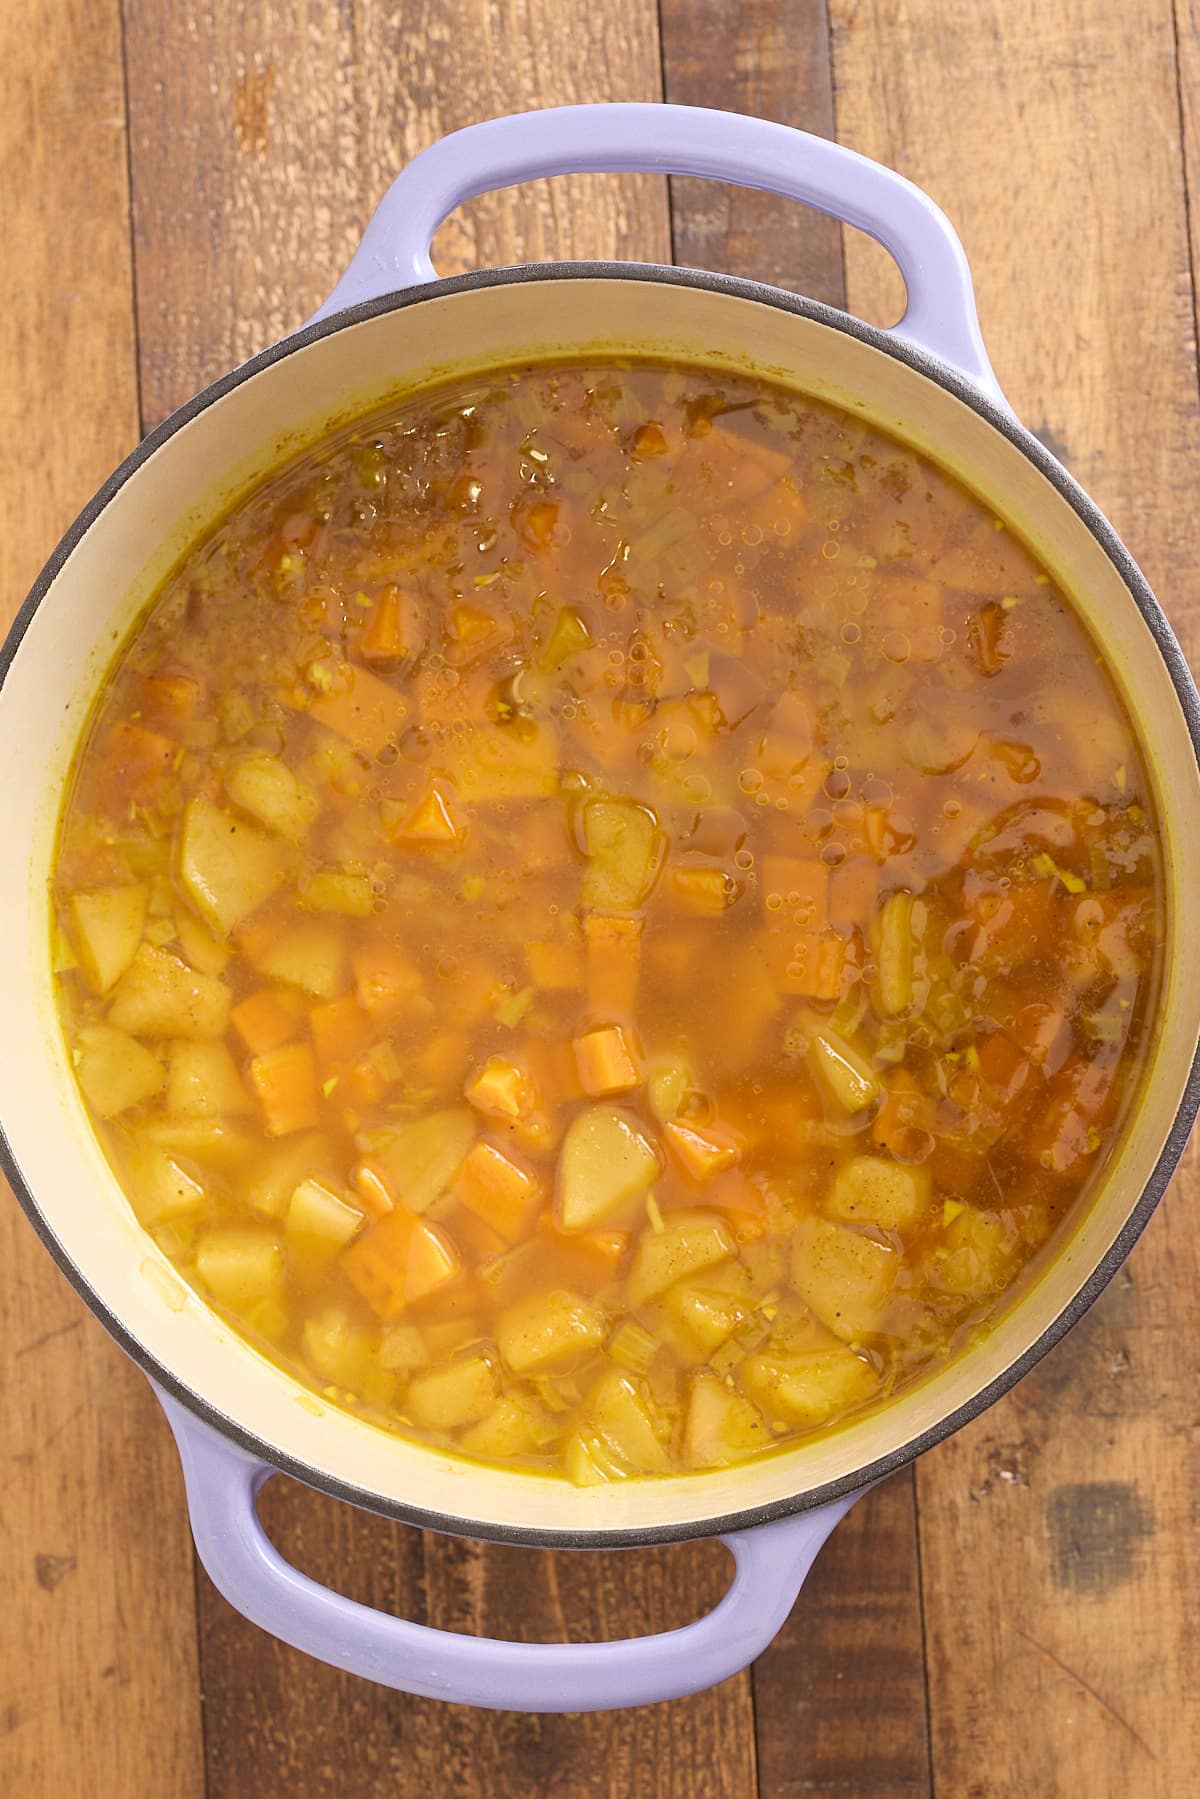
Allow the soup to simmer, covered, for about 15 minutes, until the sweet potatoes and apples are soft.
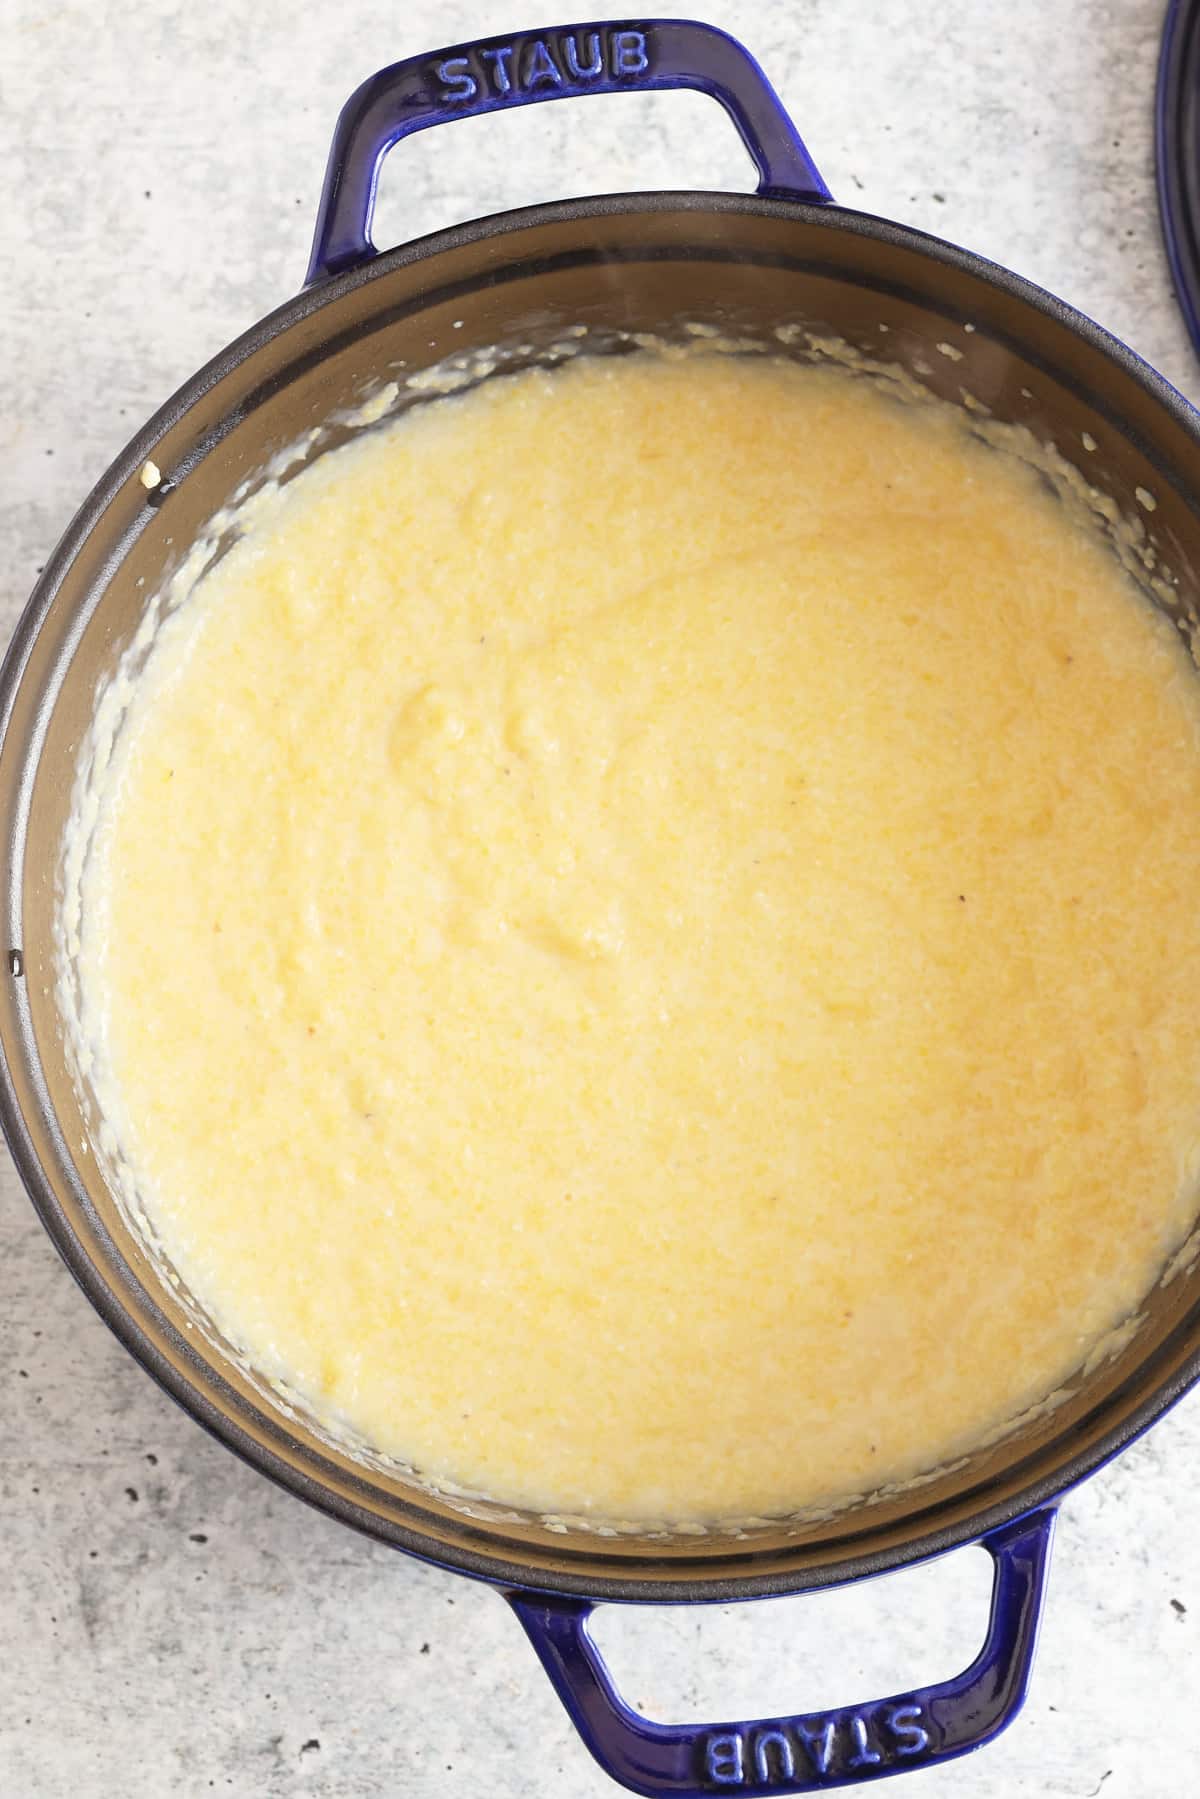
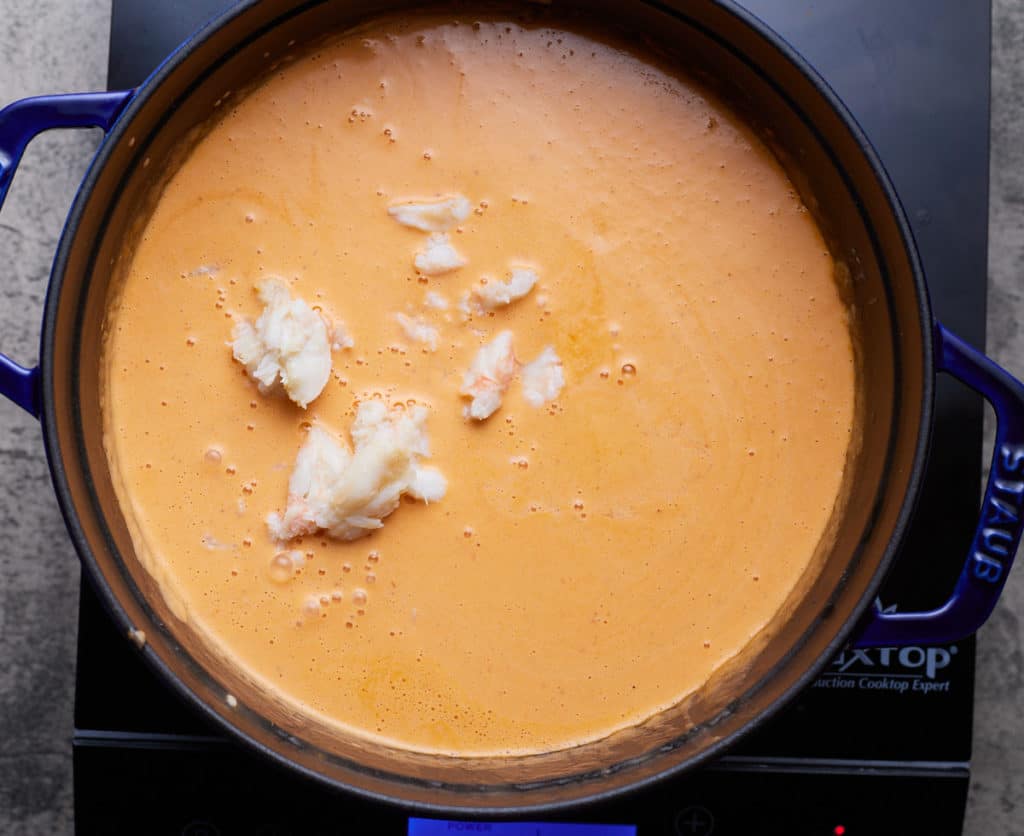
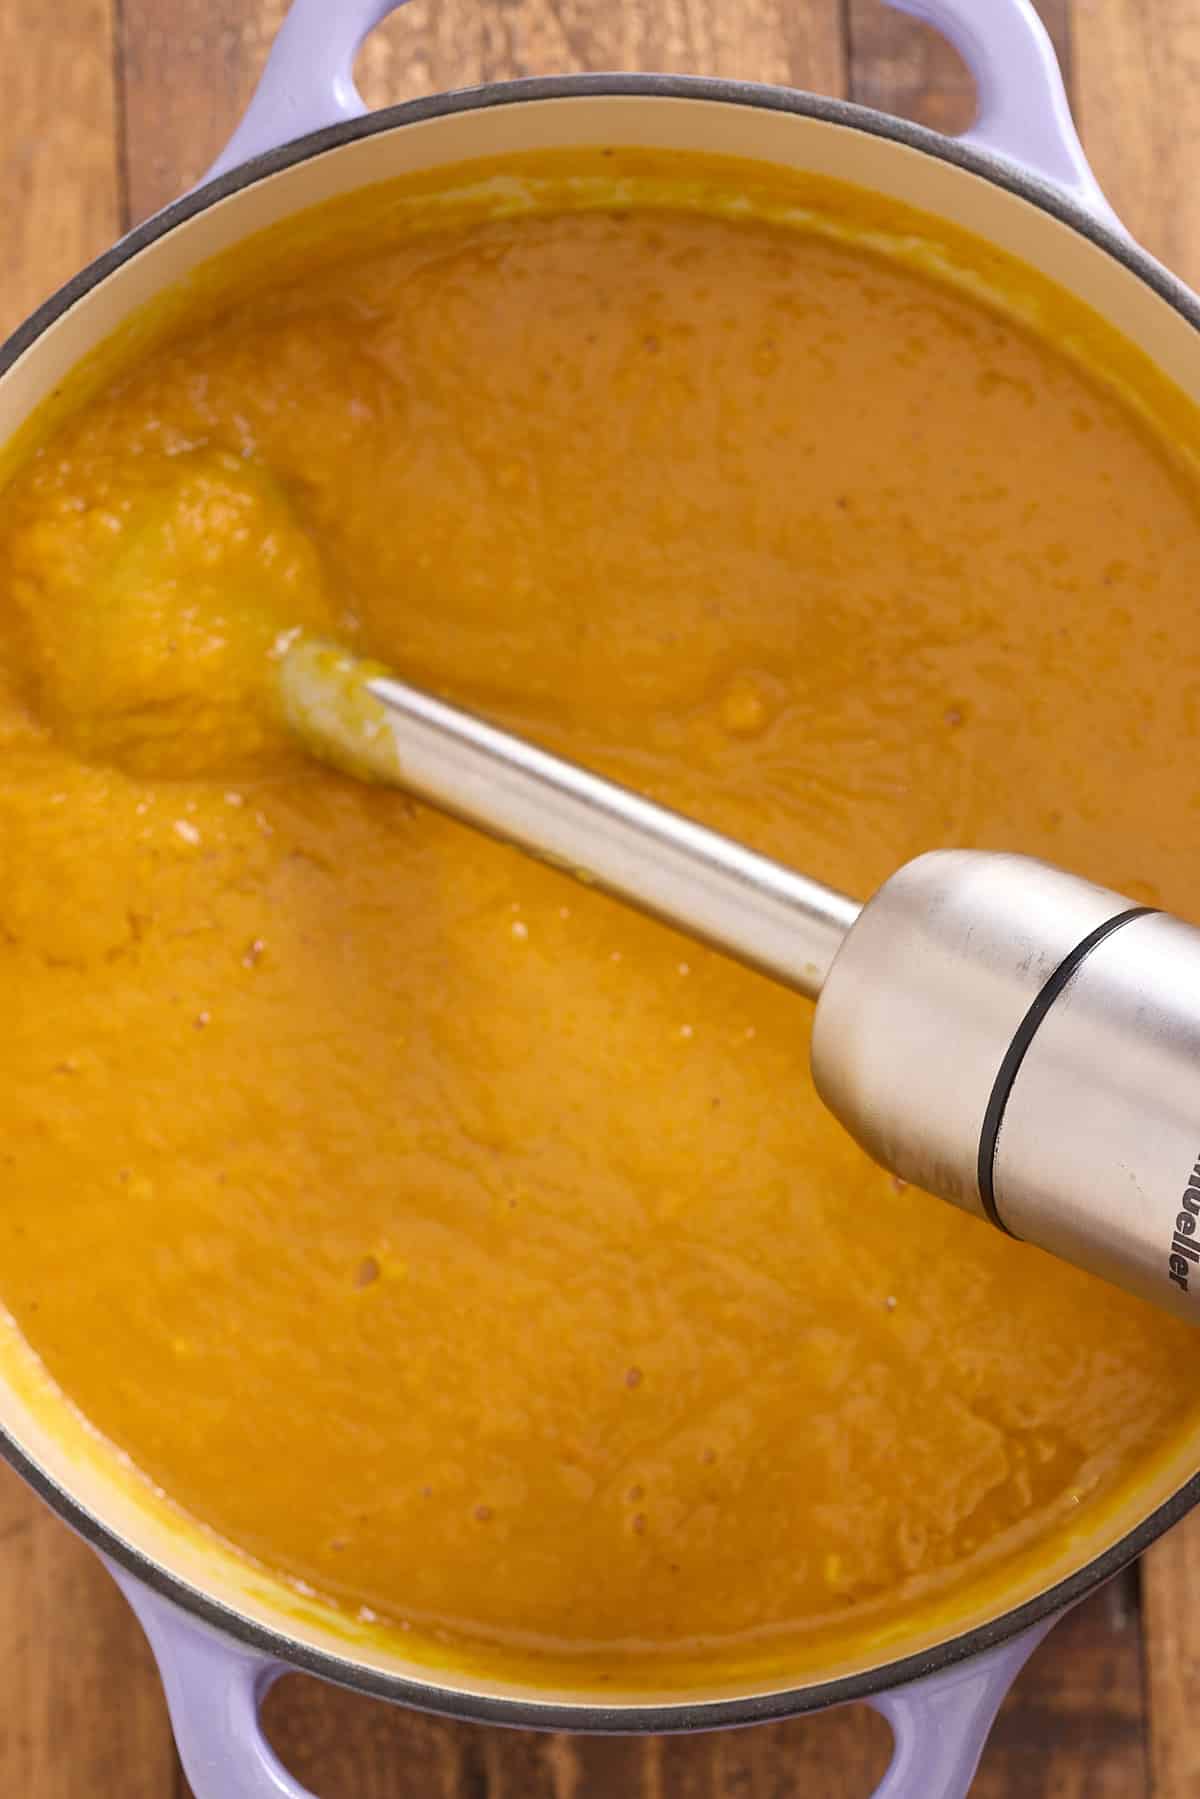
Remove the pot from the heat. Blend the soup using an immersion blender (or a regular blender), until it’s smooth.
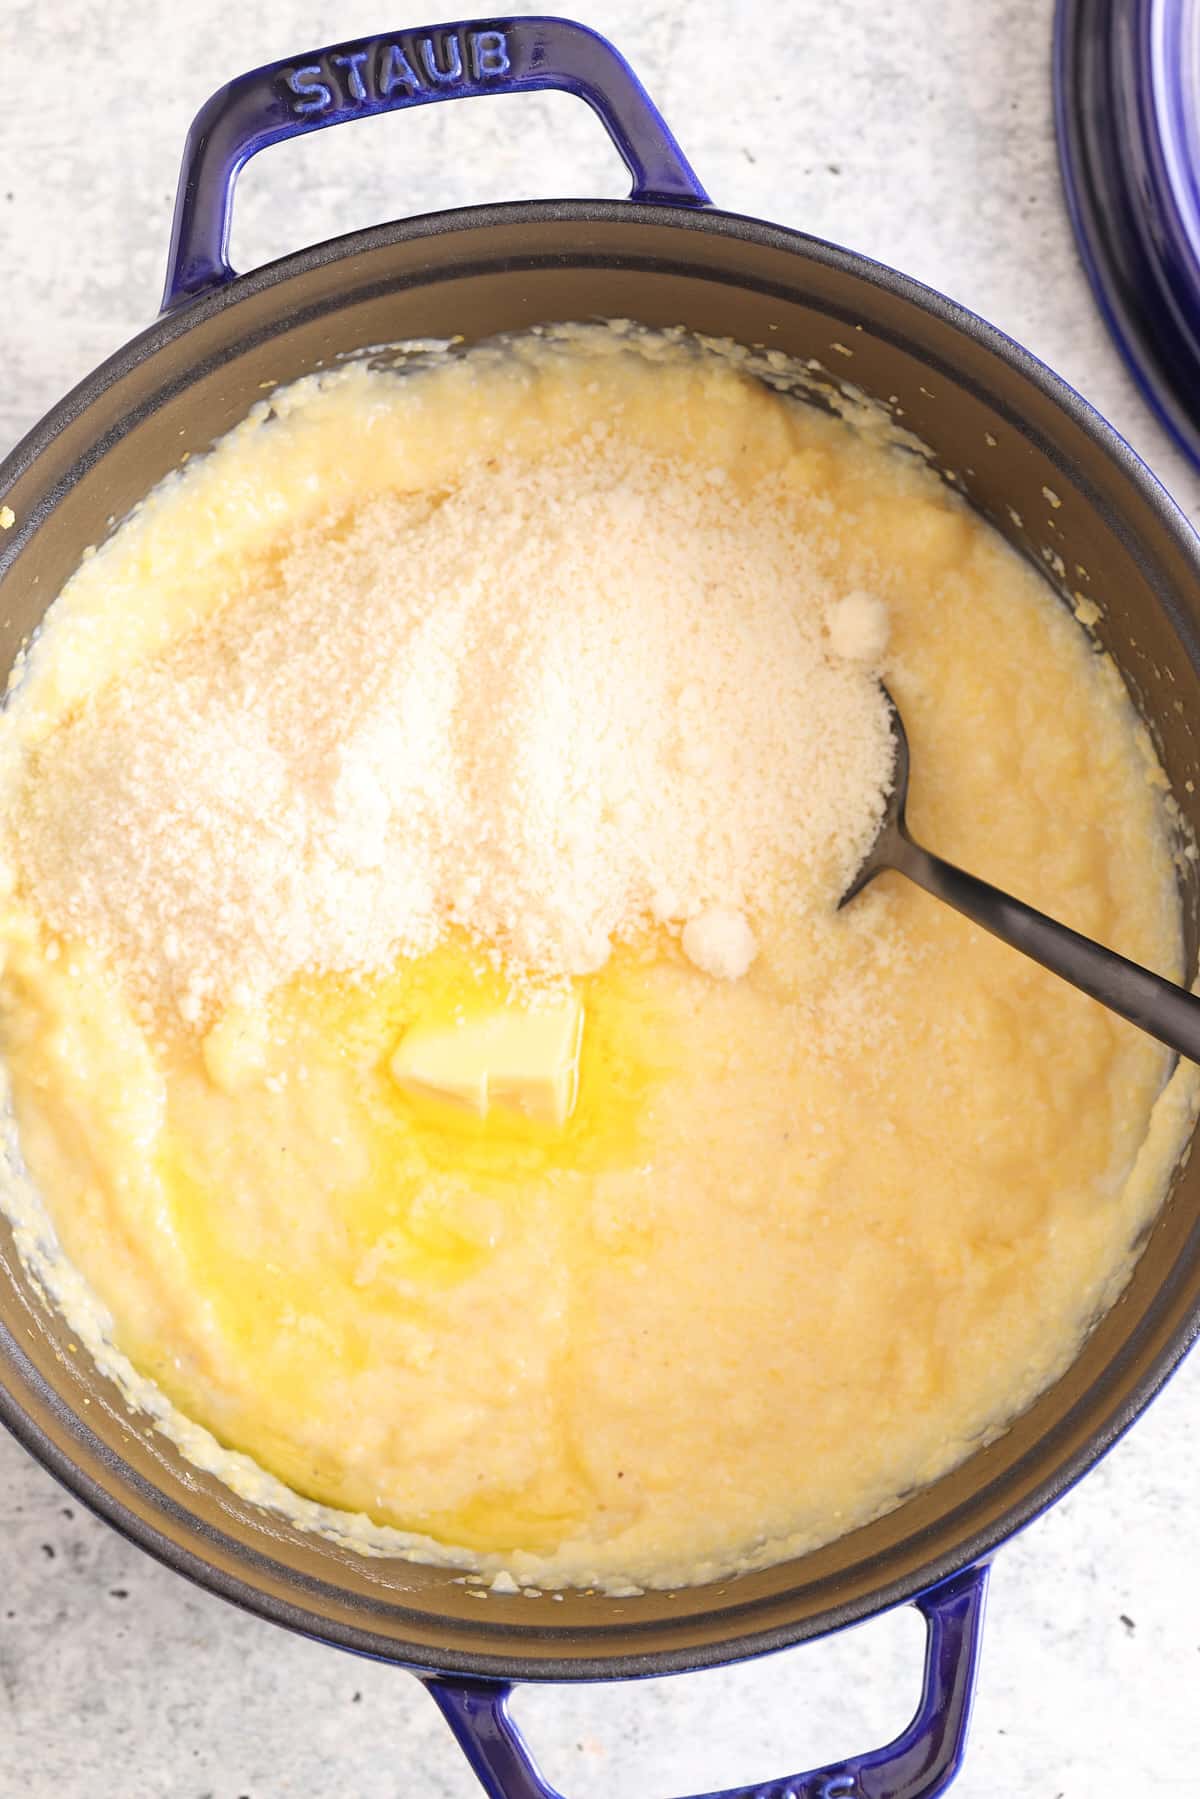
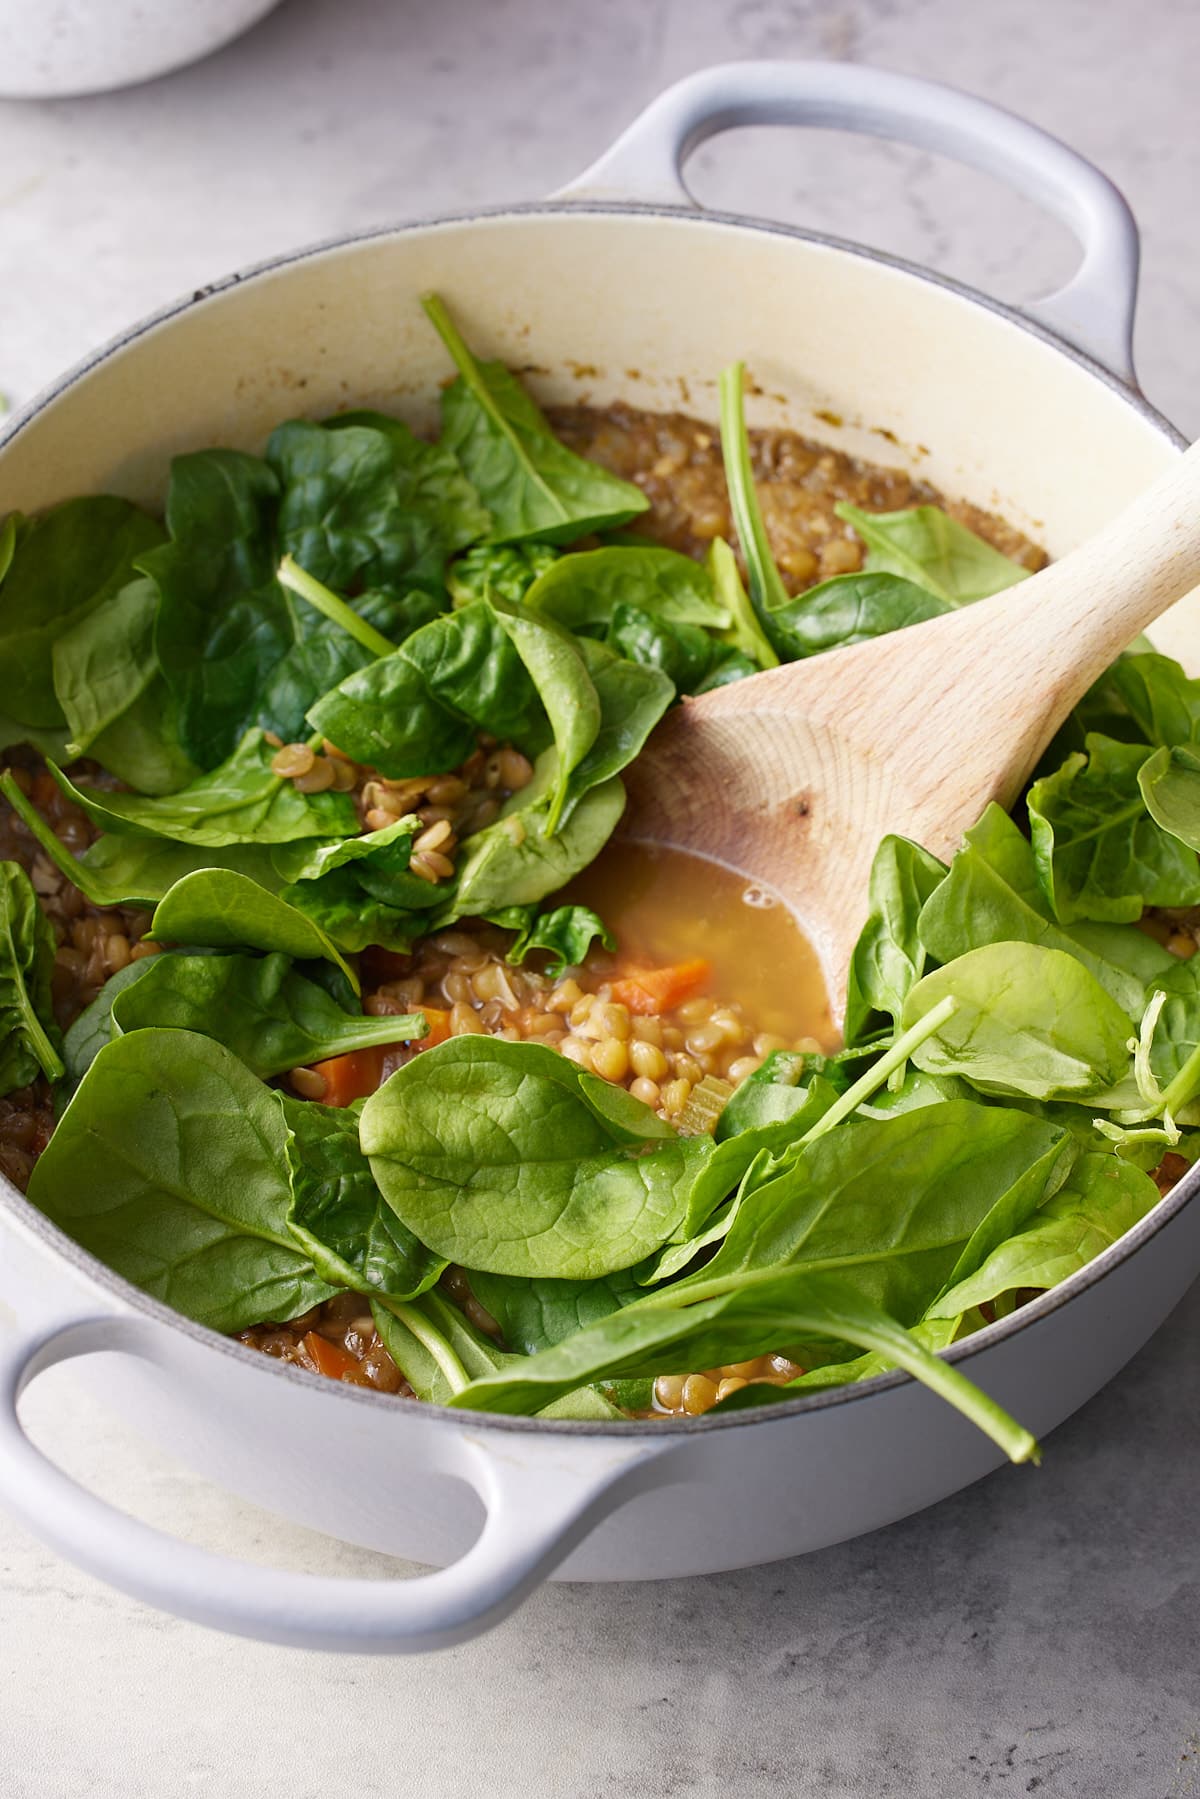
Stir in coconut milk and add salt and pepper to taste.
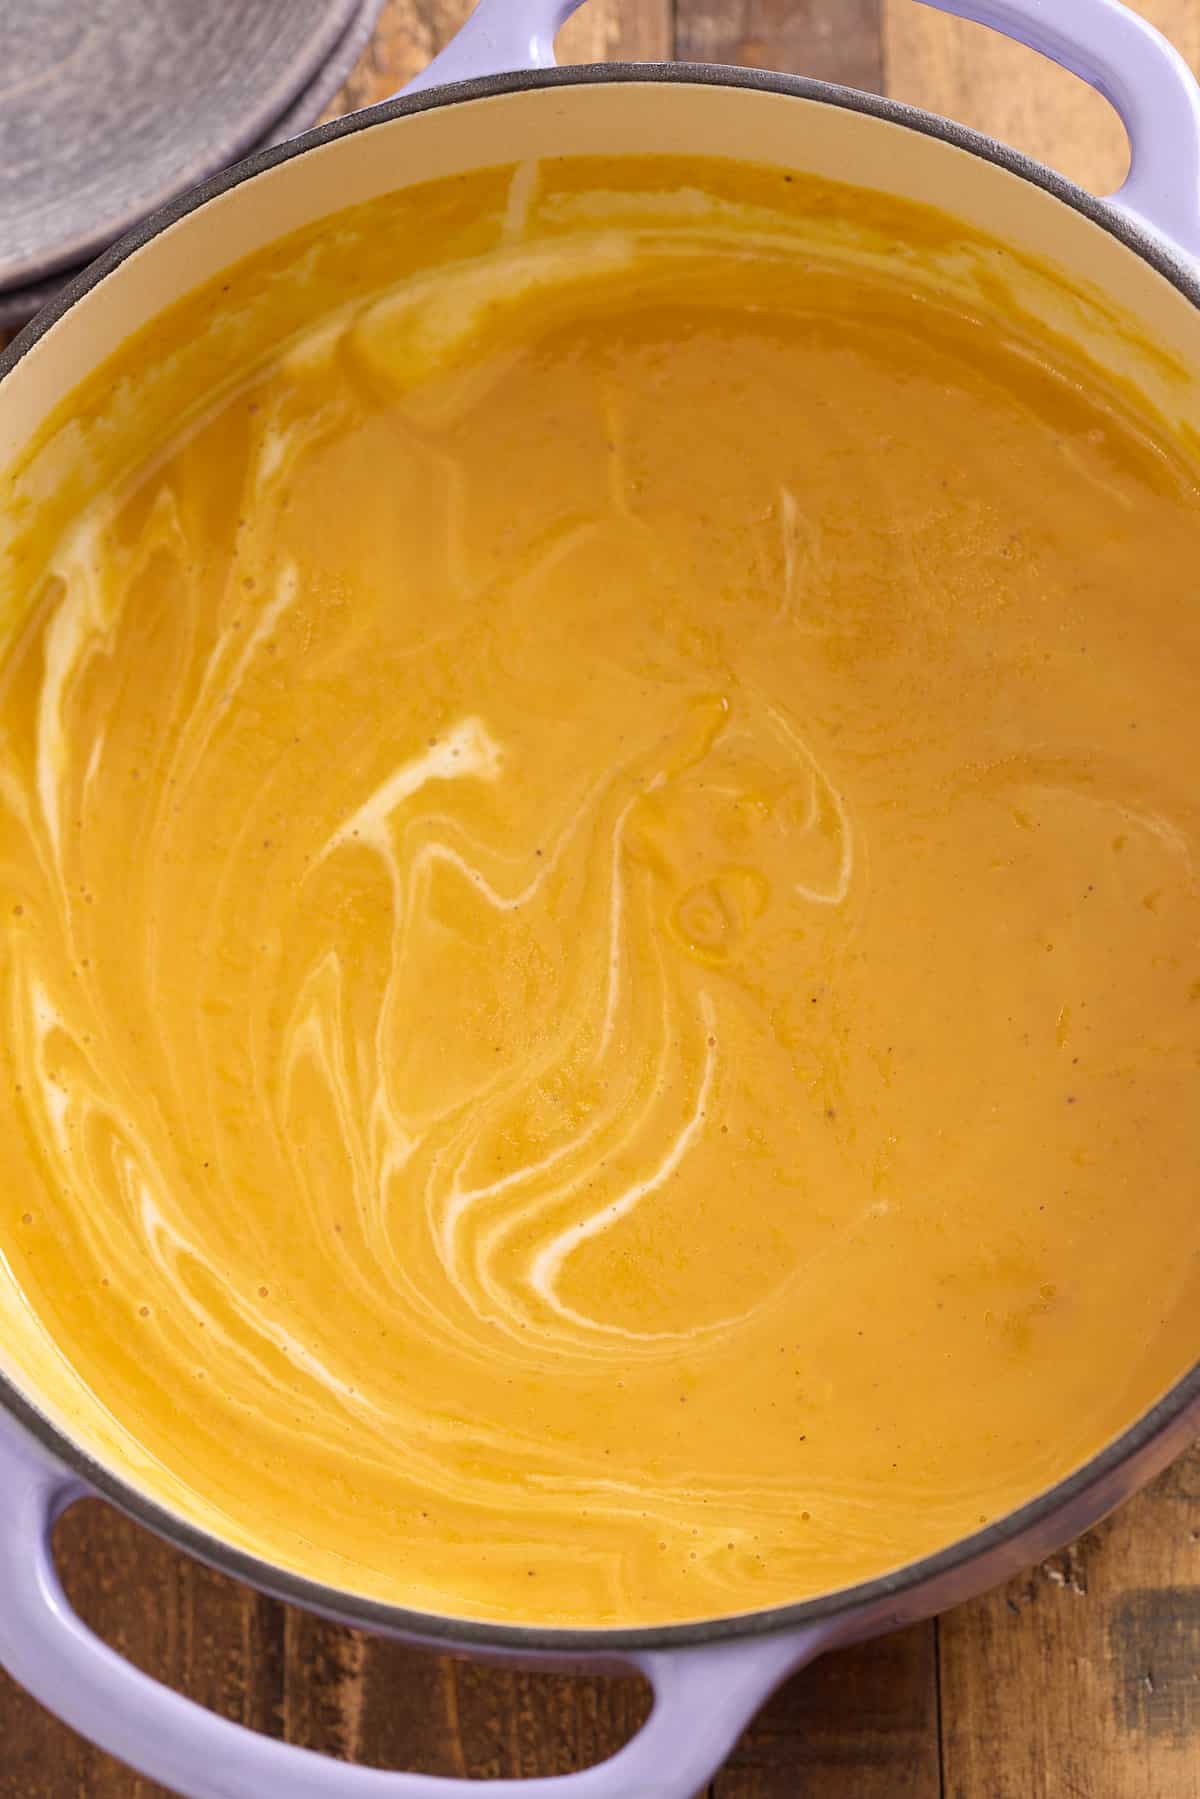
Serve the soup and top with chopped cilantro if desired.
Expert Tips
These tips will help you make the best sweet potato soup you've ever tried.
- Take care when sautéing the onion, you only want to soften it, not color it. Only add the garlic for the final minute, otherwise, you risk burning it.
- The amount of salt and pepper added will depend if your curry powder has salt or pepper in the mixture. I suggest tasting the soup and then adding any salt and or pepper if desired.
- If you don’t have an immersion blender, you can use a stand blender. Carefully transfer the soup to the blender and blitz to smooth. Work in batches and take care as the soup will be very hot.
- For a gluten-free sweet potato soup, ensure the vegetable stock you are using is gluten-free.
- This recipe is easily doubled up so is great for batch cooking. Enjoy some now and freeze some for a quick and easy meal another day.

Flavor variations
- Butternut squash would be a great substitution for the sweet potato.
- Increase the number of vegetables in this soup; for example, add some chopped carrots or parsnips. Just ensure you add a little extra broth too.
- If you like chili heat, saute some freshly chopped red chili along with the onion and garlic.
- Try serving with a wedge of lime to add a burst of zesty freshness.
How to store
To refrigerate: Leftovers can be stored in an airtight container in the refrigerator for up to 3 days. When ready to enjoy, reheat the soup on the stove top until piping hot.
To freeze: Once cooked and cooled, place the soup into an airtight container and store it in the freezer for up to 3 months.
Frozen soup can either be defrosted overnight in the refrigerator then reheated to piping hot. Alternatively, you can heat it straight from frozen, just place the soup in the pot and heat up gently over low-medium heat.

FAQs
I prefer to peel sweet potatoes when making soup as it results in smooth soup that has a great velvety texture once blended.
Yes, provided you are not serving this soup to vegan or vegetarian diners, you can easily substitute the vegetable broth for chicken.
As the sweet potatoes have been peeled and chopped into smaller chunks, it only takes around 15 minutes to simmer in the broth to cook the potatoes. Just always check the potatoes are soft before you blitz the soup.
More Delicious Soup Recipes
- Creamy Crab Bisque
- Easy Seafood Chowder
- Cream of Mushroom Soup
- Vegetable Soup
- Moroccan Spiced Soup
- Roasted Tomato Basil Soup
If you have tried this Sweet Potato Soup recipe, or any other recipe on my blog, then please rate it and let me know how it turned out in the comments below!

Sweet Potato Soup Recipe
Equipment
- 1 Dutch Oven or large pot
Ingredients
- 2 tablespoon olive oil
- 1 small onion chopped
- 3 cloves garlic chopped
- ¾ teaspoon curry powder
- ½ teaspoon ground coriander
- 2 lbs sweet potatoes peeled and chopped
- 1 large sweet apple like honeycrisp or fuji - peeled and chopped
- 4 cups vegetable broth
- ½ cup full-fat unsweetened coconut milk
- salt & pepper to taste
- chopped cilantro garnish
Instructions
- Heat the olive oil in a large pot over a medium heat. Add the onions and sauté gently until softened, about 3-5 minutes. Add the garlic and sauté for an additional minute.
- Add the curry powder and ground coriander to the pot and sauté for an additional 20 seconds, to bloom the spices.
- Now add the sweet potatoes, apple, and vegetable broth to the pot, ensuring that the broth covers the sweet potatoes and apples. Bring the mixture to a boil, then reduce the heat to medium-low, and cover the pot with a lid. Allow the soup to simmer, covered, for about 15 minutes, until the sweet potatoes and apples are soft.
- Remove the pot from the heat. Blend the soup using an immersion blender (or a regular blender), until it’s smooth. Stir in coconut milk. Salt and pepper to taste.
- Serve the soup and top with chopped cilantro if desired.