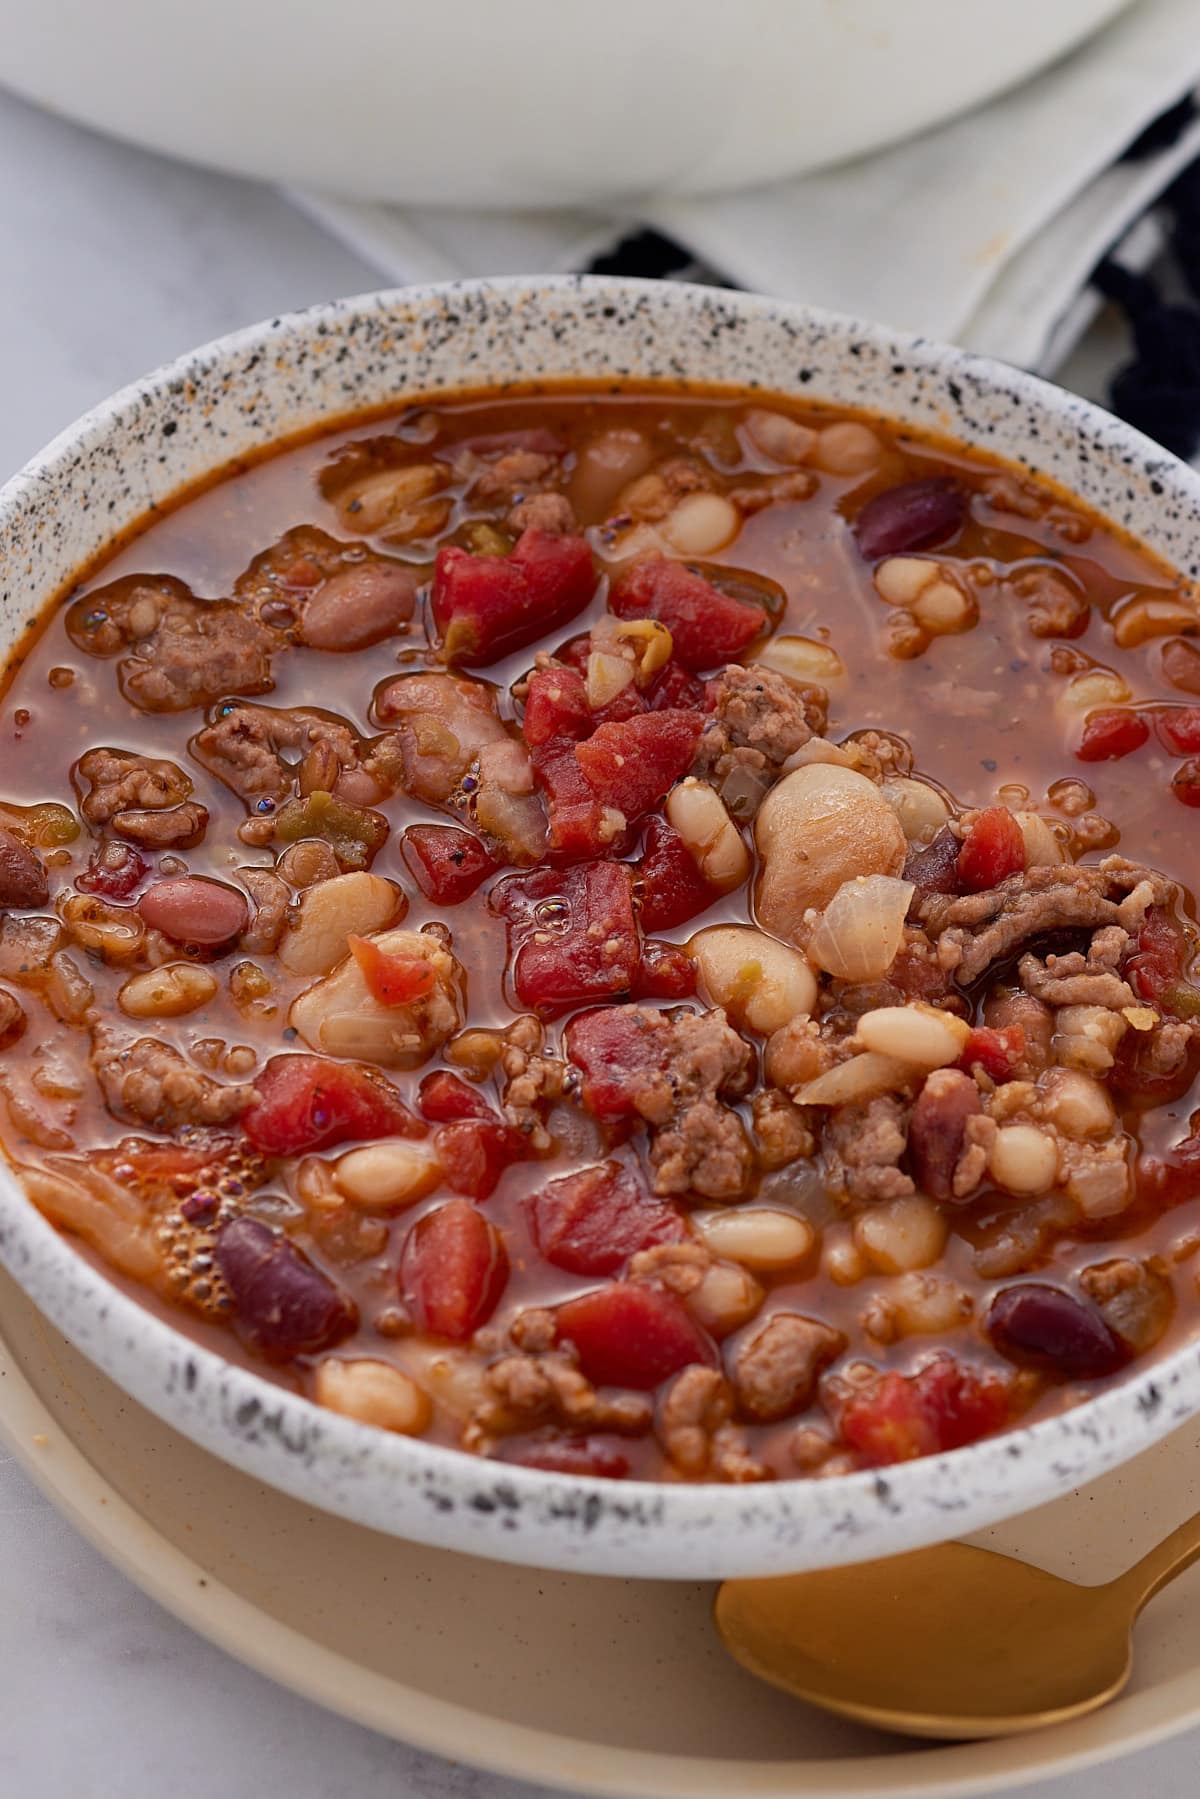
A warm and hearty dish to make during the winter season, this 15-bean soup is packed full of protein, Cajun spice, and sweet tomatoes.

You’ll find the full recipe with ingredient amounts and instructions in the recipe card at the bottom of this post. Be sure to check out the blog post itself for extra tips and tricks!

The 15 Bean Soup is perfect for bean lovers, and I love that this soup pack contains such a wide variety of beans. That's one of the reasons it's so tasty. My version uses added meat, but I like to add Italian sausage because it is already seasoned meat. It makes your beans so flavorful. It helps lessen the amount of ingredients needed for this soup. It's such a hearty soup.
My other favorite hearty winter-month soups are Oxtail Soup and my Brunswick Stew. I hope you love these just as much as I do!
Love, Tanya
15 Bean Soup at a Glance
- Prep Time: 10 minutes
- Cook Time: 2 hours
- Total Time: 2 hours 10 minutes
- Serves: 16
- Best For: Weeknight dinners, feeding a crowd, meal prep, cozy winter cooking
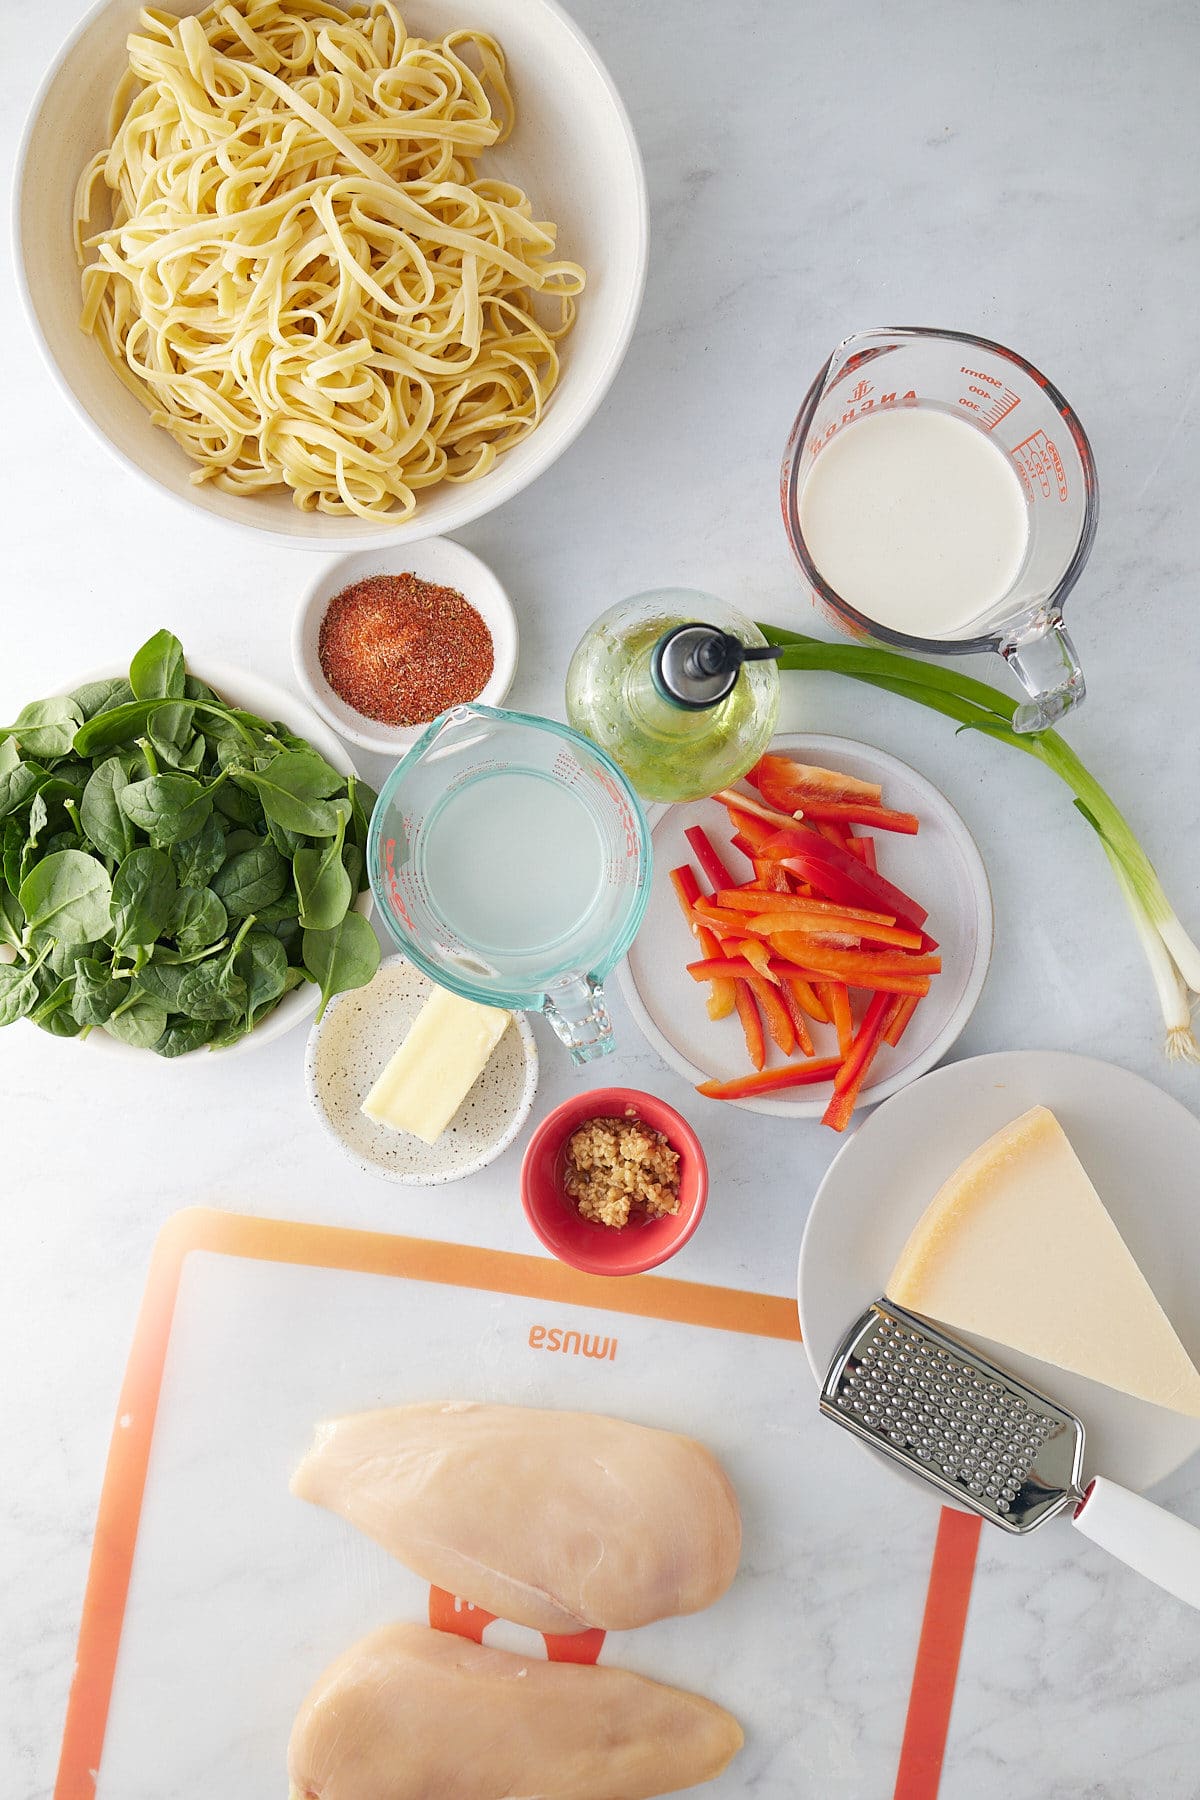
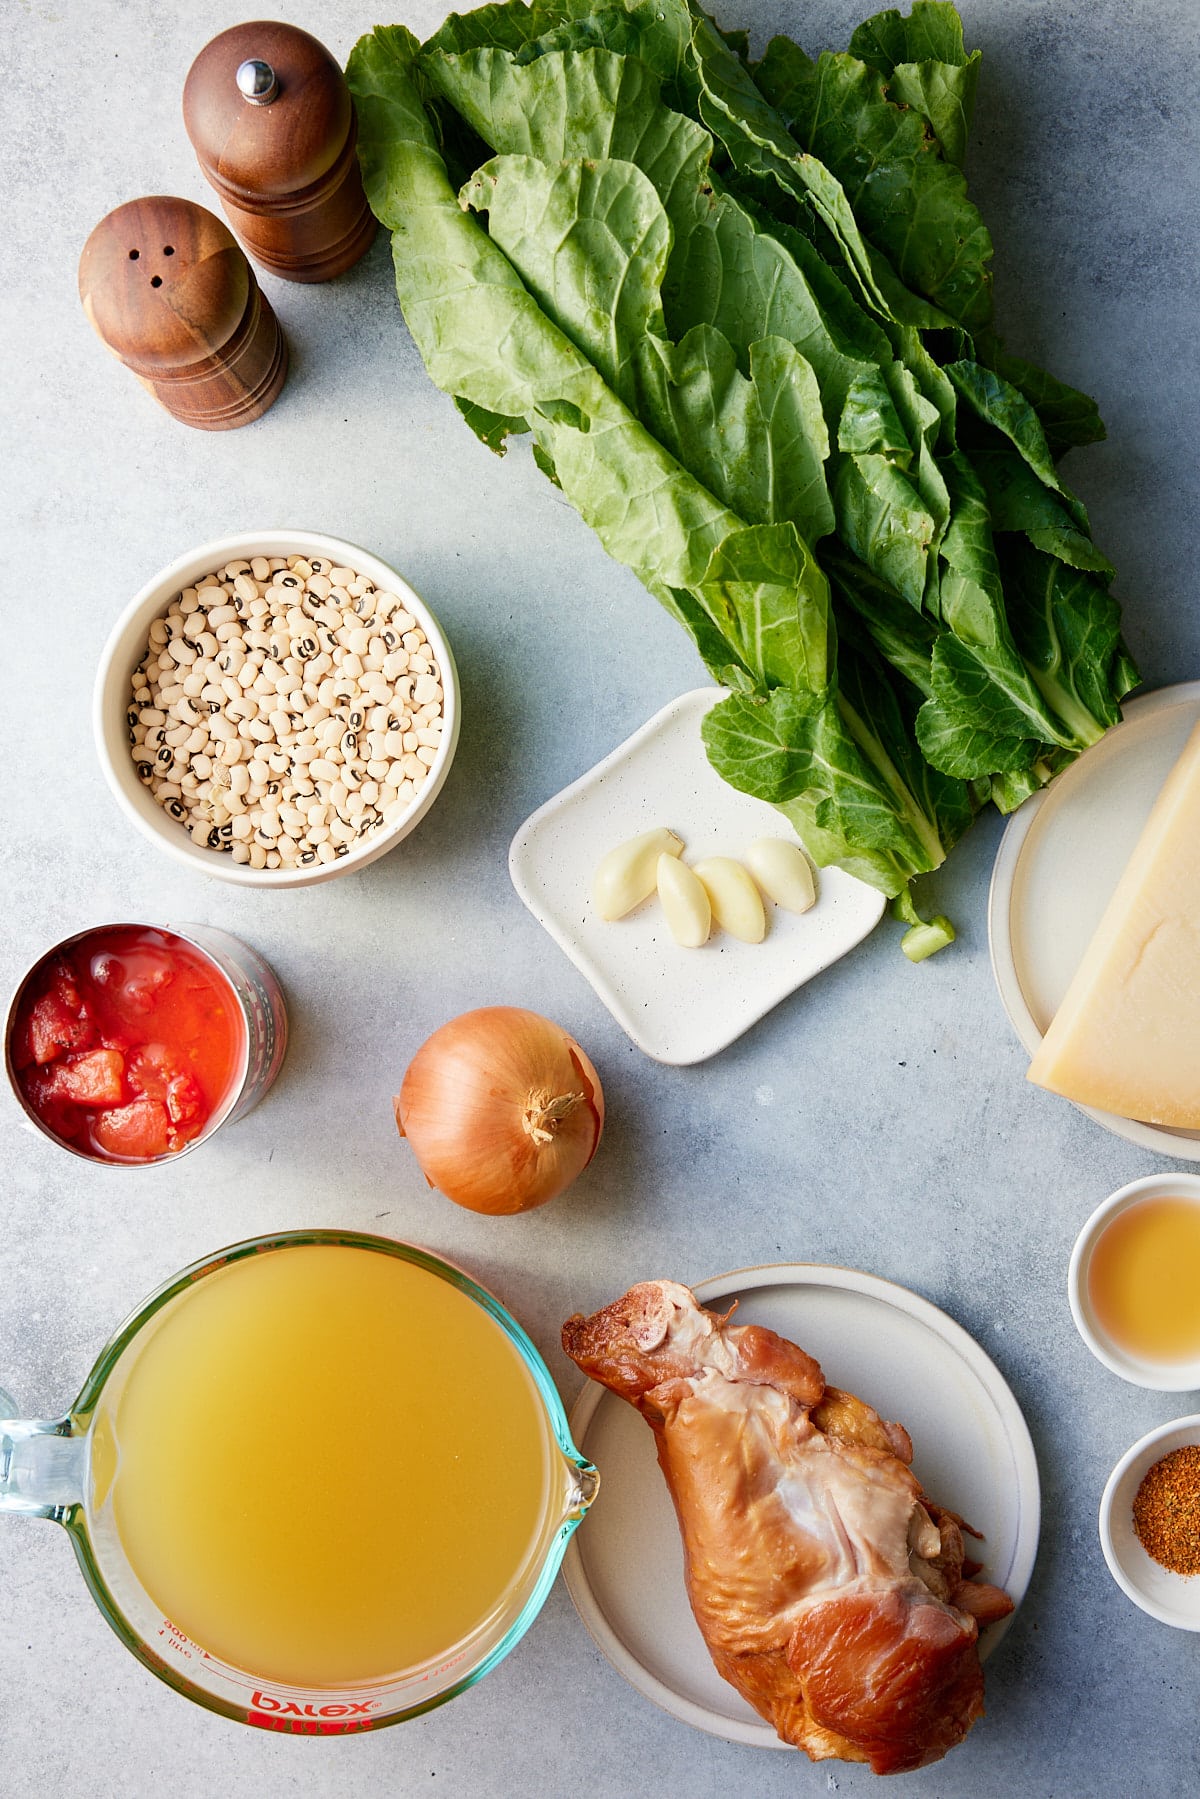
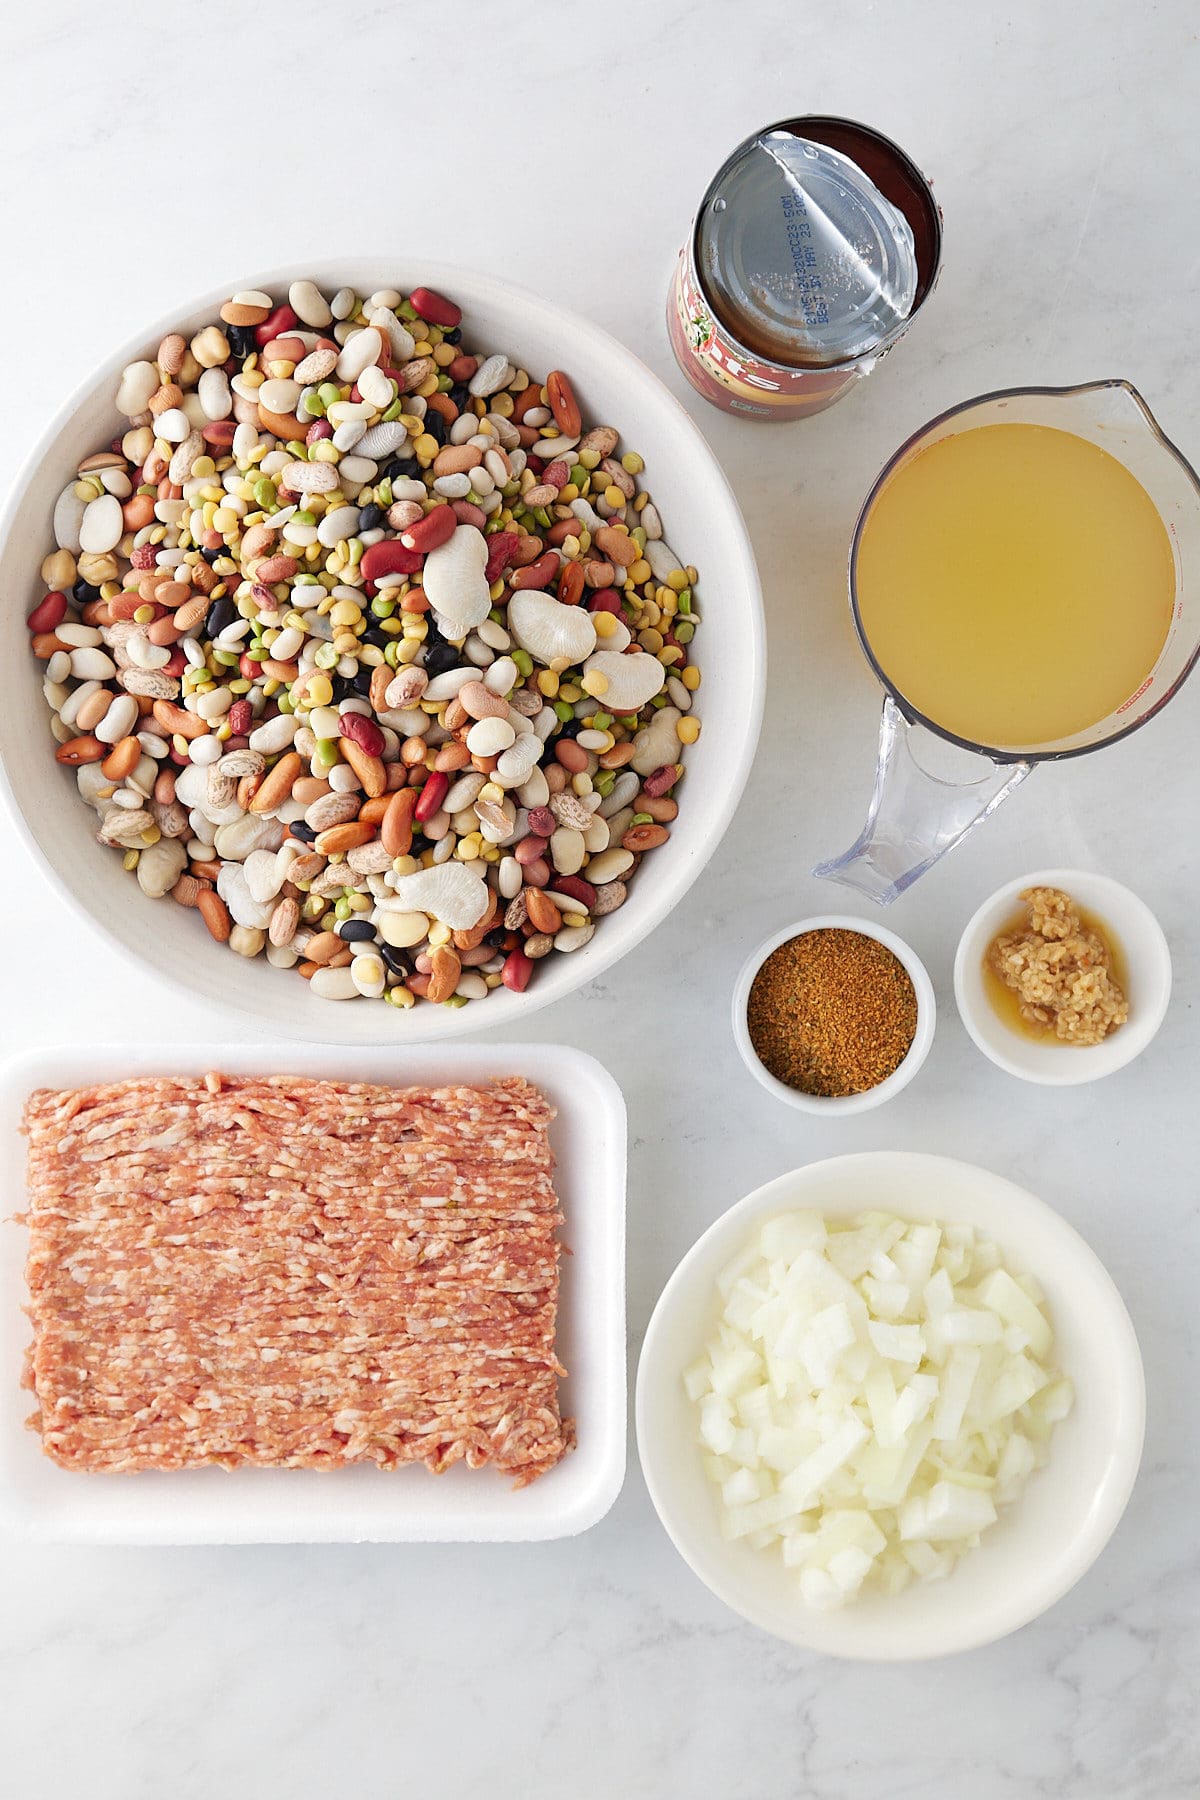
A Quick Look at the Ingredients
Ingredient amounts and full recipe instructions are on the printable recipe card at the bottom of the post.
- Bag of 15 bean soup mix – A 20-ounce bag of mixed dried beans you’ll find in the dry bean aisle. Tons of texture and flavor in one bag.
- Italian sausage – I use mild or hot ground Italian sausage. It’s already seasoned, so it adds a ton of flavor without needing a bunch of extra spices.
- Onion and garlic – Build the flavor base for the soup. Don’t skip these.
- Cajun seasoning – Use your favorite Cajun blend and adjust to taste, depending on how spicy you like it.
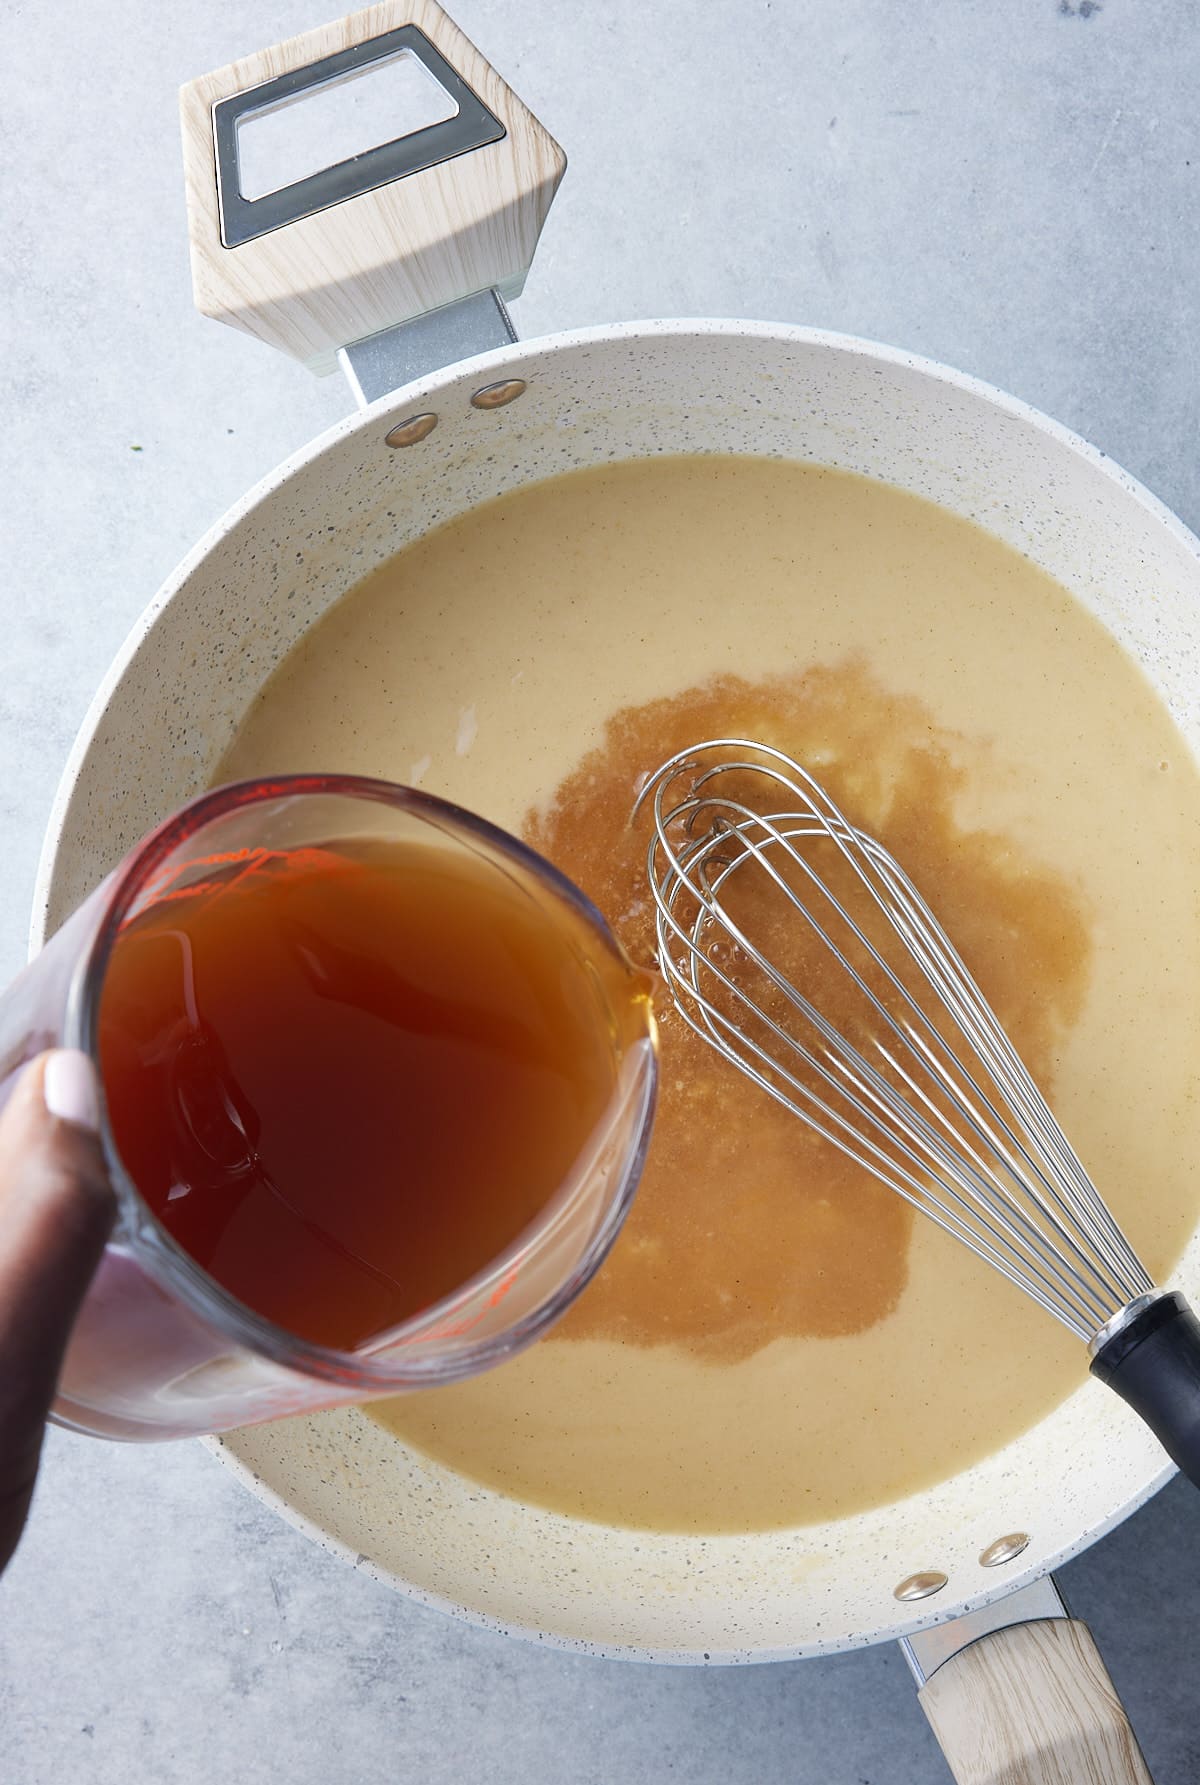
- Chicken broth and water – Broth adds flavor, and the extra water gives the beans plenty of liquid to get nice and tender.
- Diced tomatoes – A can of diced tomatoes (undrained) adds a little sweetness and acidity to balance the rich beans and sausage.
- Sour cream (optional) – A dollop on top makes the soup extra creamy and delicious. It's not optional for me, but I know some people aren't fans.
Tools Needed:
- Dutch pot
- Wooden spoon
How To Make 15-Bean Soup
You can choose to soak the beans overnight or skip the step altogether. Soaking the beans will allow them to cook a bit faster.
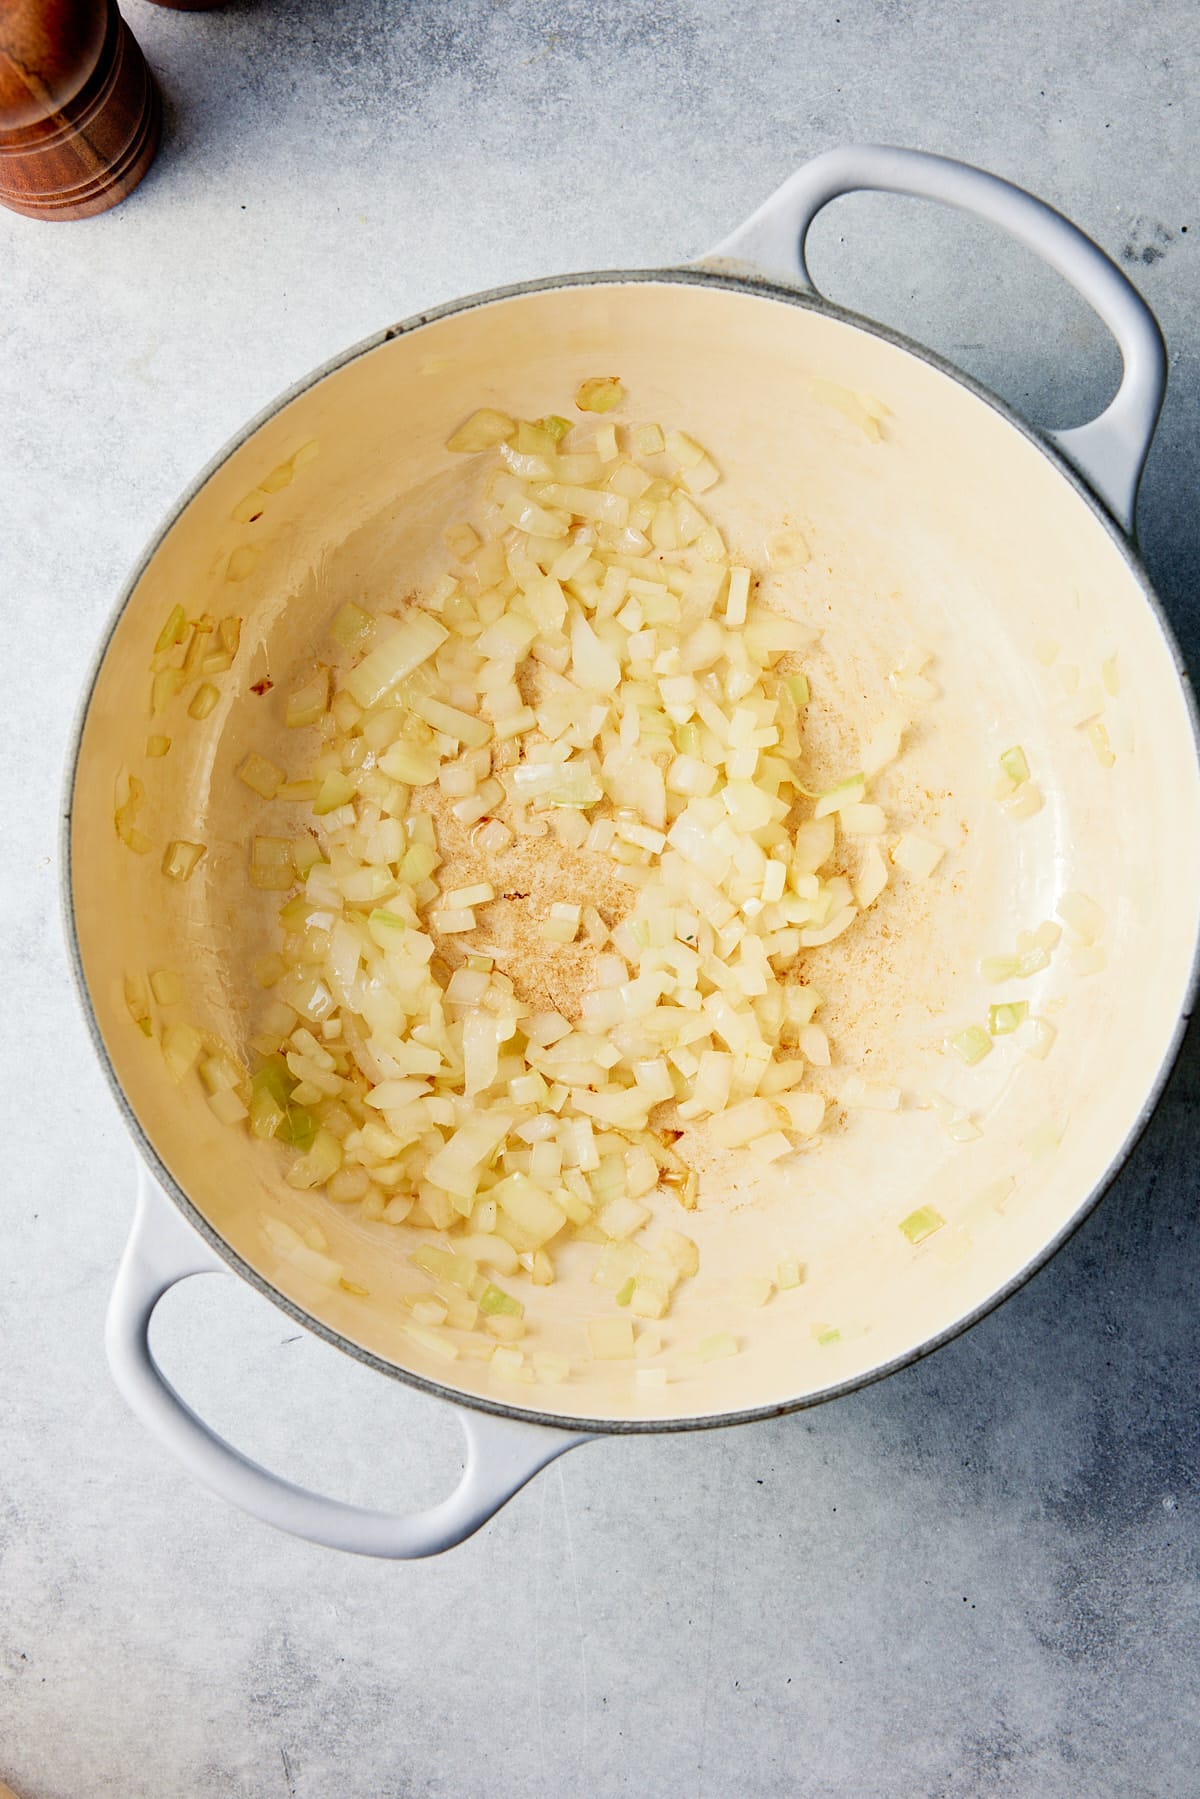
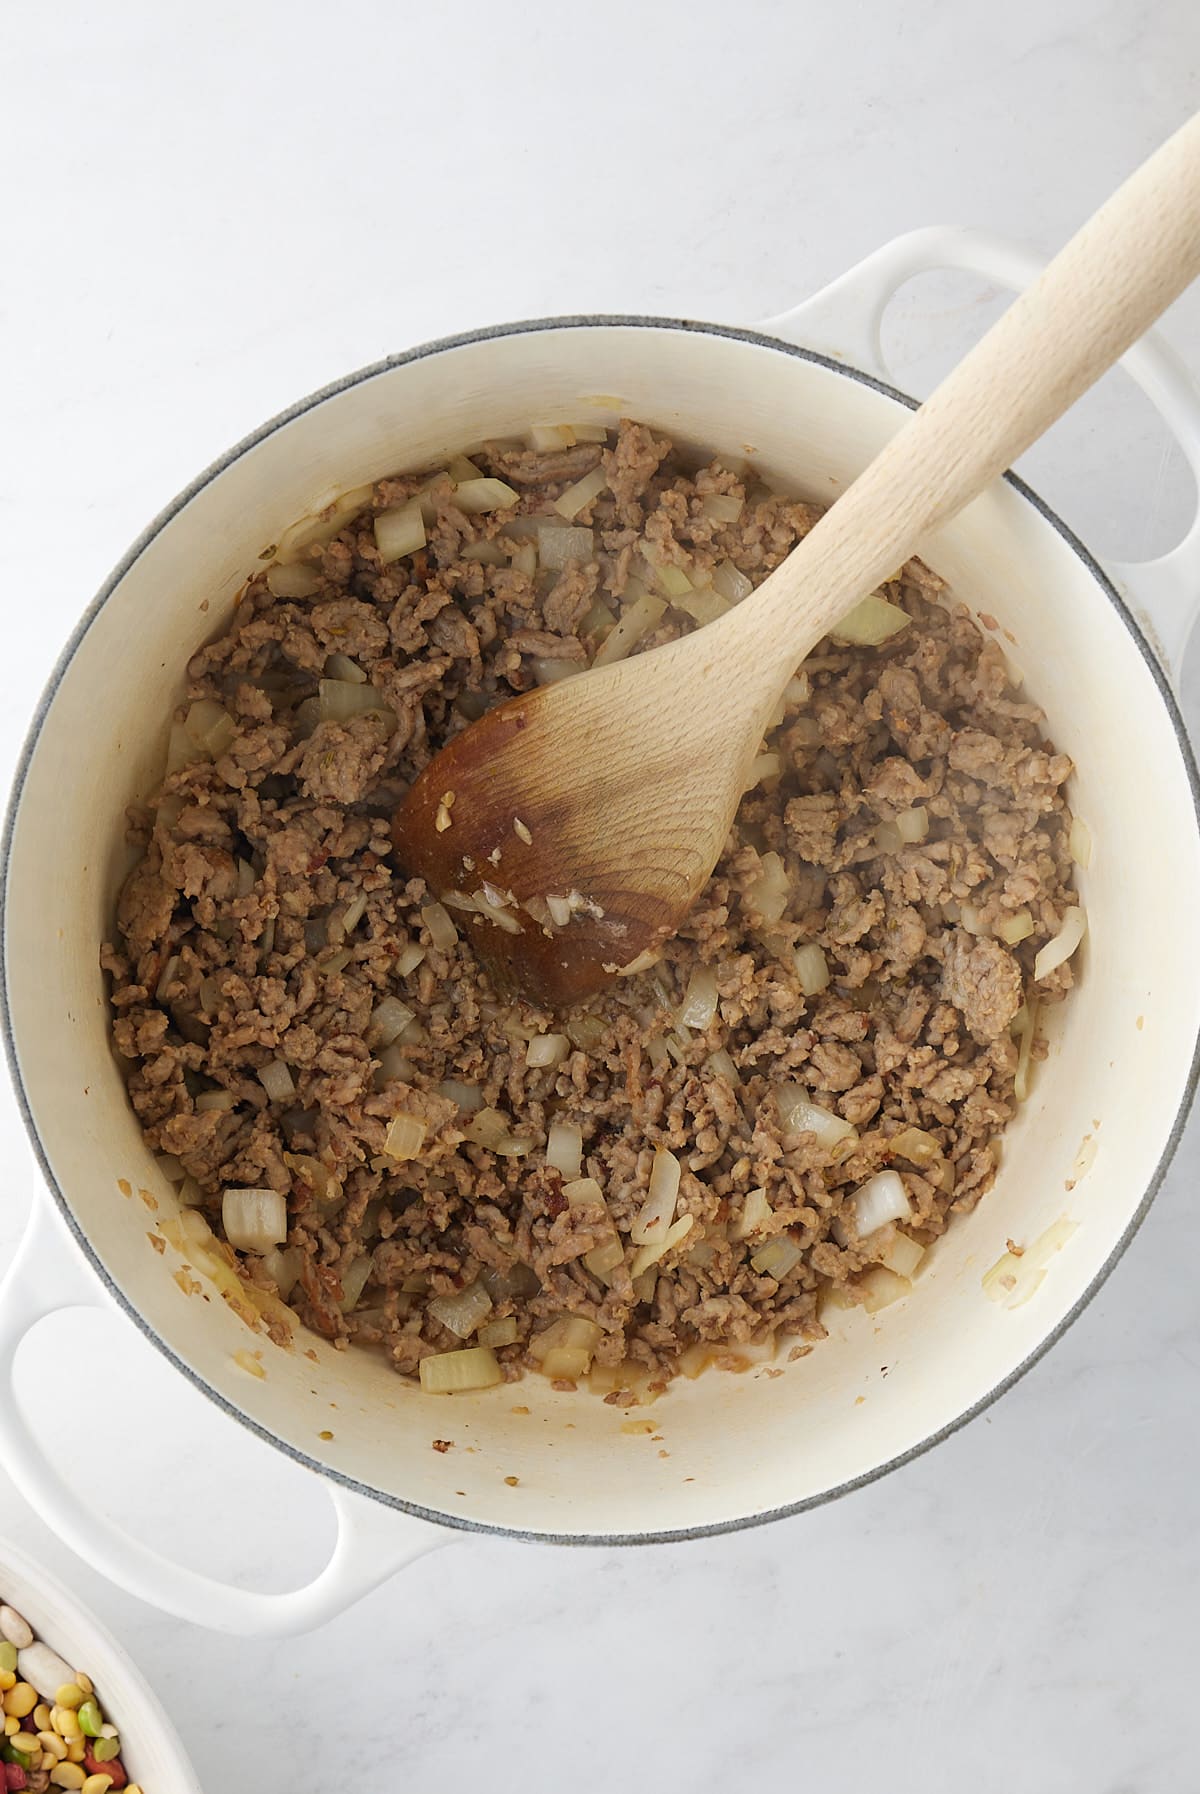
Step 1: In a large pot, brown Italian sausage over medium-high heat. Add onions and garlic and sauté for an additional 3-4 minutes. Add Cajun seasoning and stir.
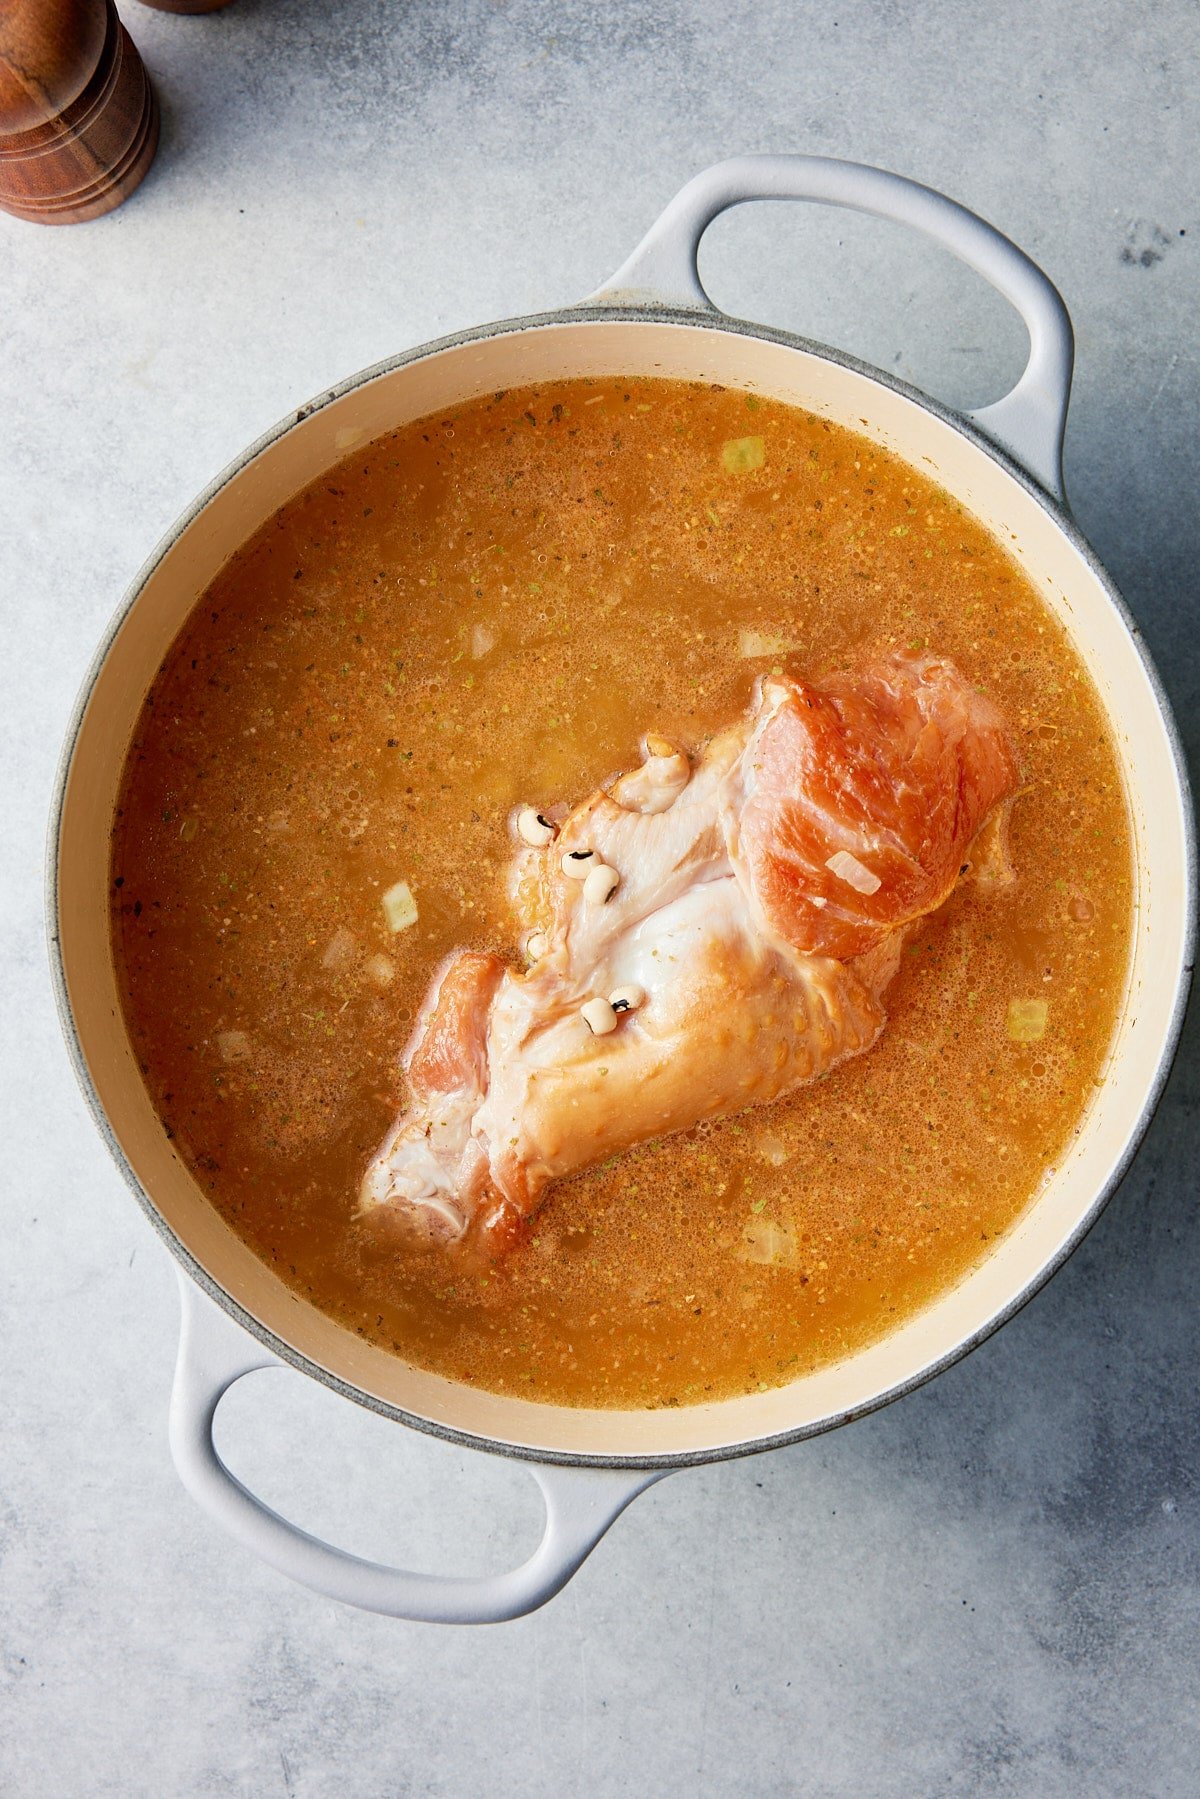
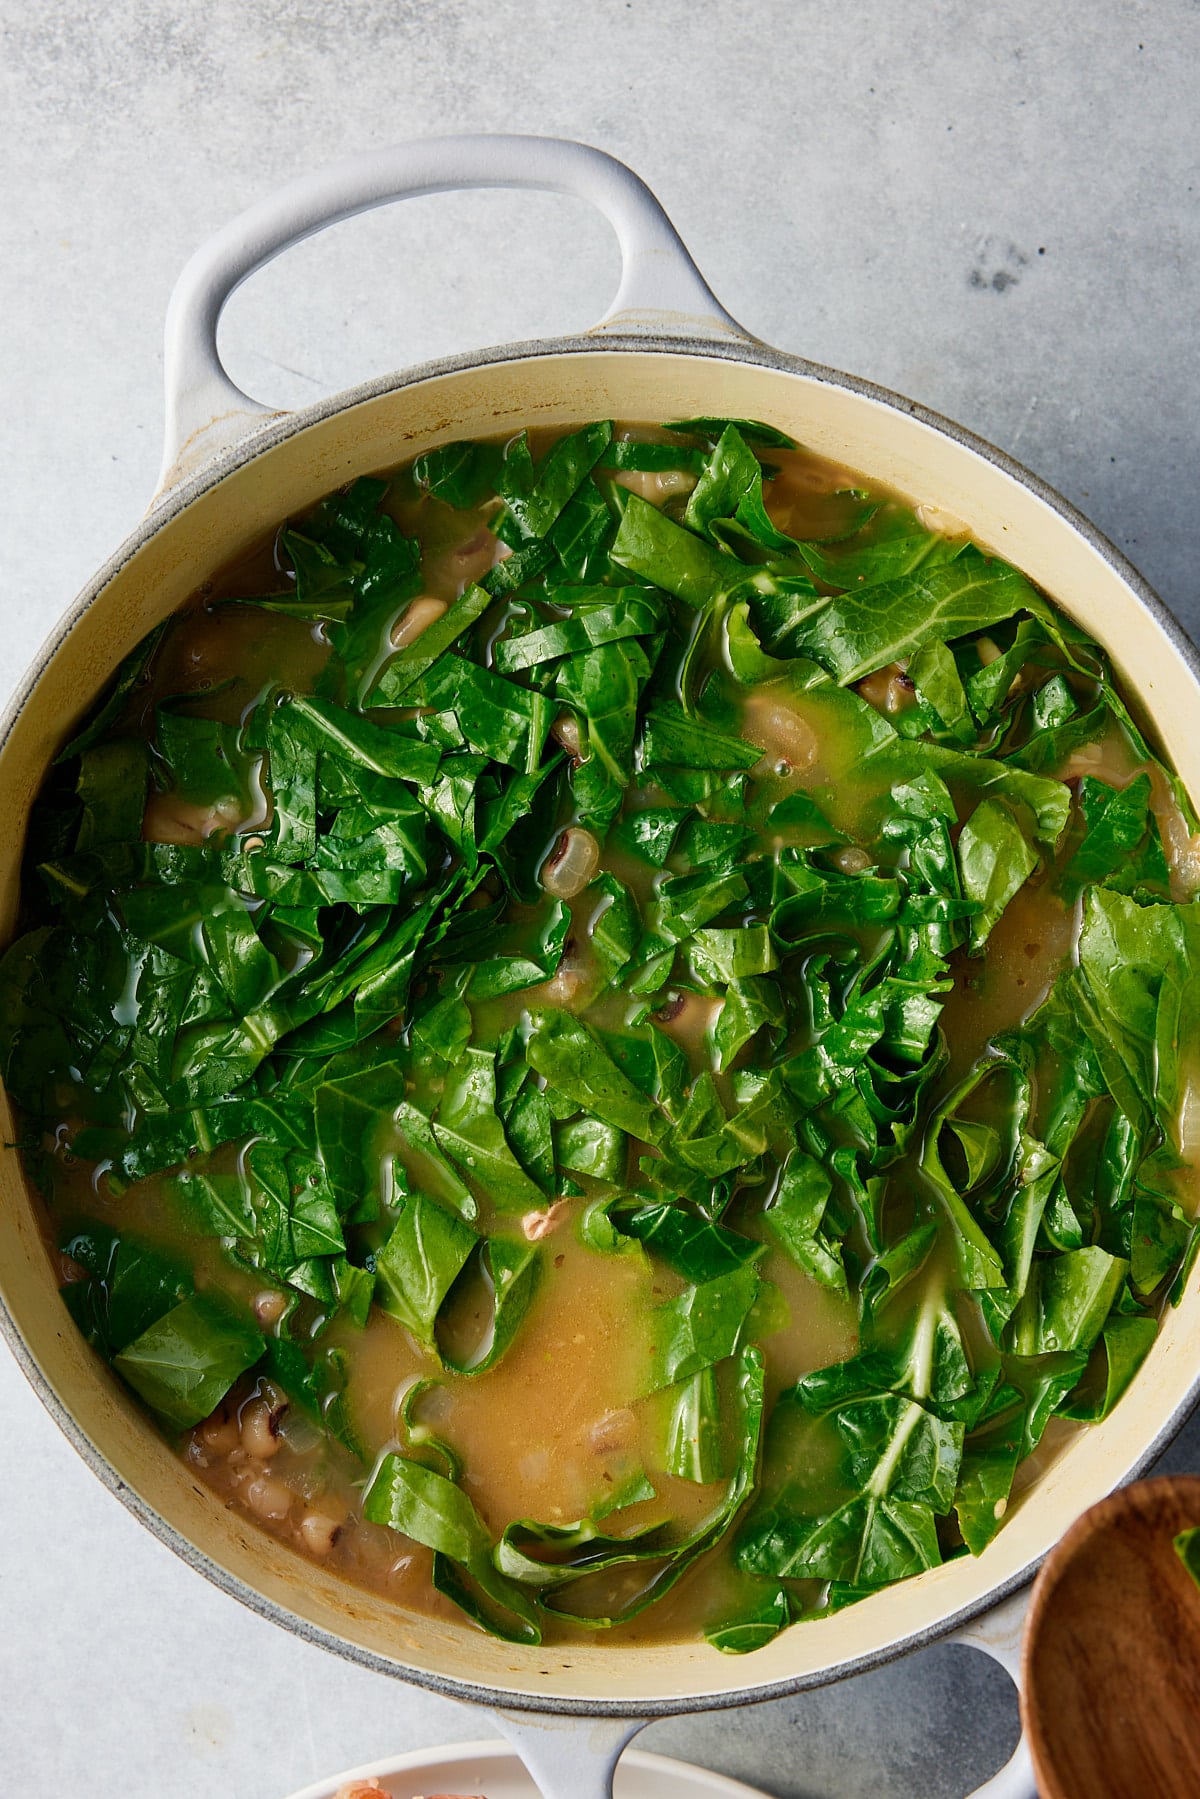
Step 2: Reduce the heat to medium-low and add beans, chicken broth, and water. Cover and cook for an additional 1-2 hours, until the beans are tender.
Step 3: Add tomatoes and cook for an additional 10 minutes. Remove from heat and serve in soup bowls.

Step 4: Enjoy as is, or top each bowl with a dollop of sour cream. Enjoy.
To Make these Beans in an Instant Pot Pressure Cooker
This recipe can easily be made in the Instant Pot as well. For this option, there isn't any need to soak your beans overnight, just simply rinse and remove any bean debris.
- First, reduce the amount of chicken broth by 1 cup. So you’ll use 5 cups of chicken broth instead of 6.
- Brown Italian sausage in the Instant Pot insert. Add onions and garlic and sauté for an additional 3-4 minutes. Add Cajun seasoning and stir.
- Turn off the Instant Pot and add beans, chicken broth, and water.
- Then pressure cook on high pressure for 20 minutes. After the time is up, allow the pressure to release manually for 10 minutes before slowly releasing the remaining pressure.
- Open the lid and stir in the tomatoes. Serve and enjoy.
Making 15-Bean Soup In A Slow Cooker?
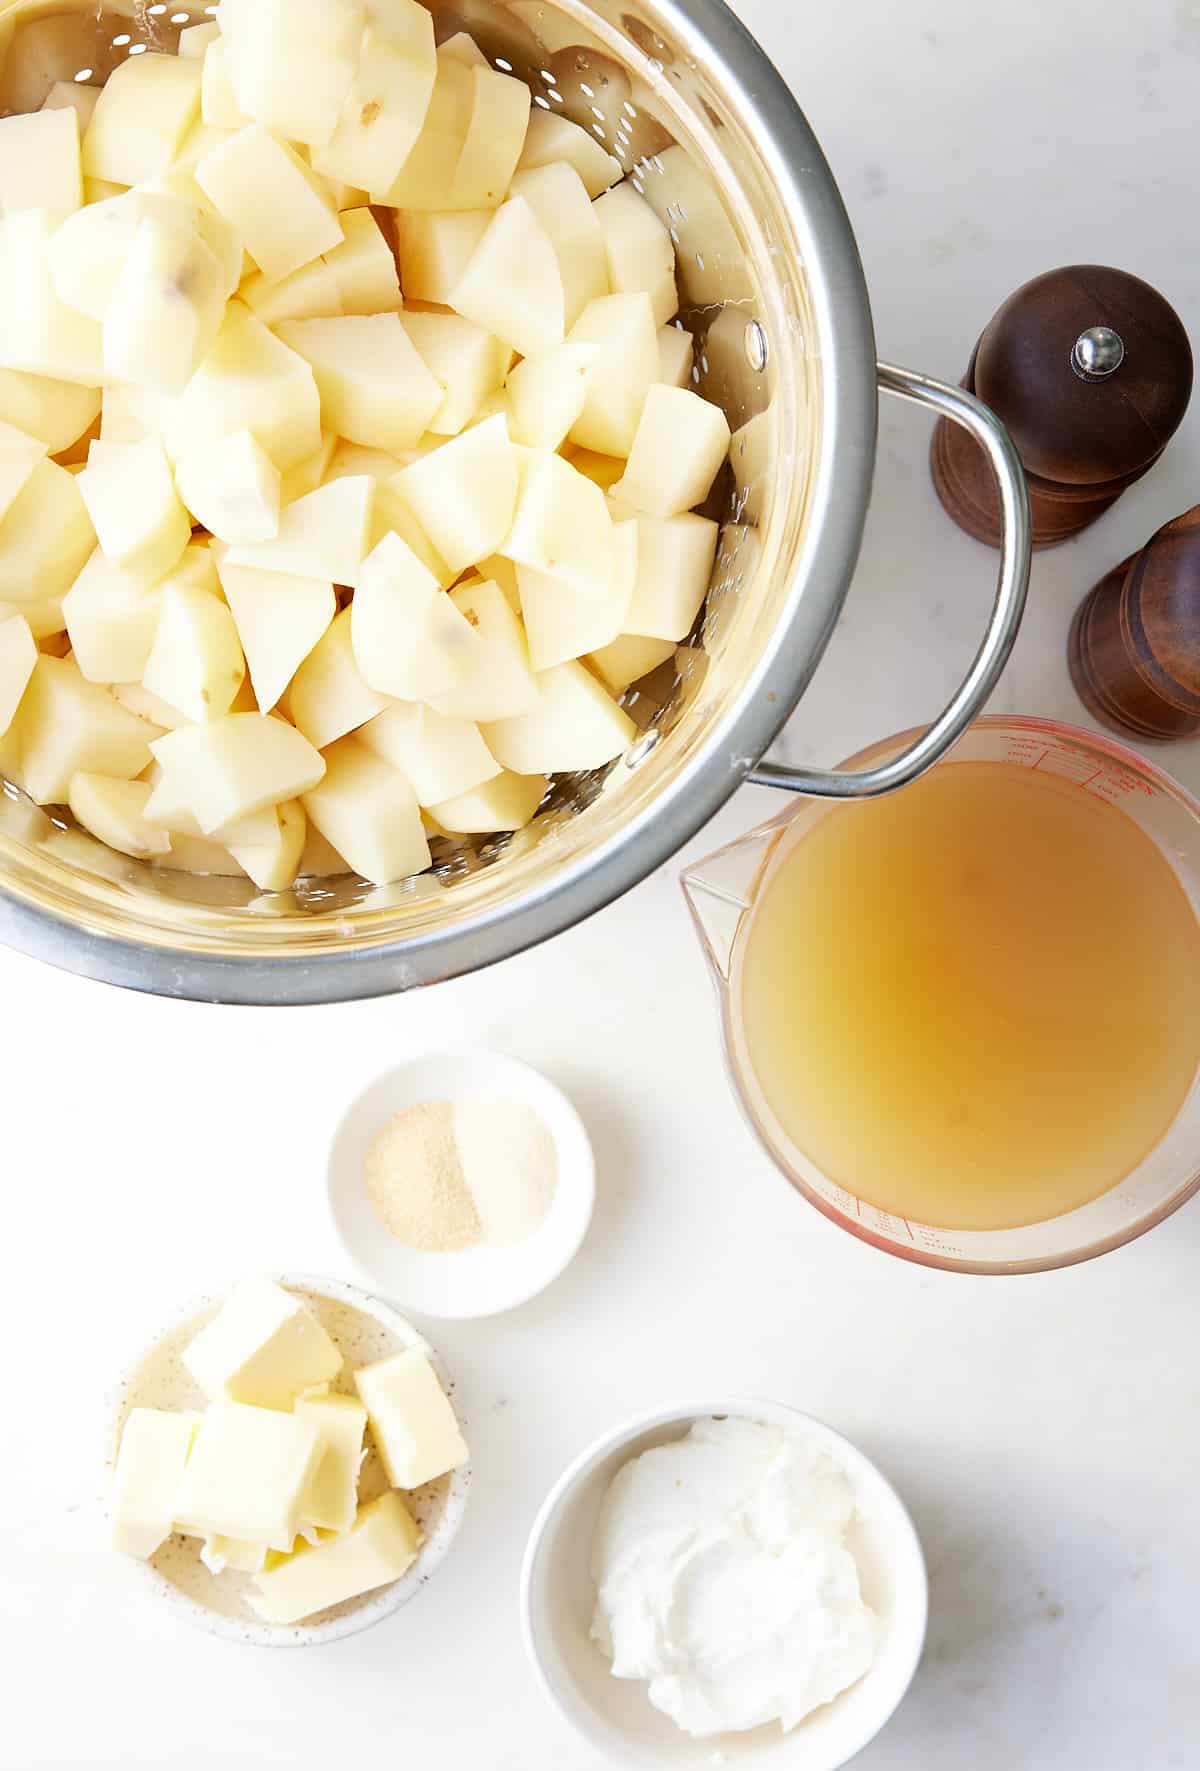
Yes, but you will need to do a bit of prep beforehand. First, place the beans in a large pot and cover with about 3 inches of water. Bring to a boil for about 10 minutes. Drain the beans and set them aside.
- Brown your meat, onions, and garlic first before adding them to your slow cooker.
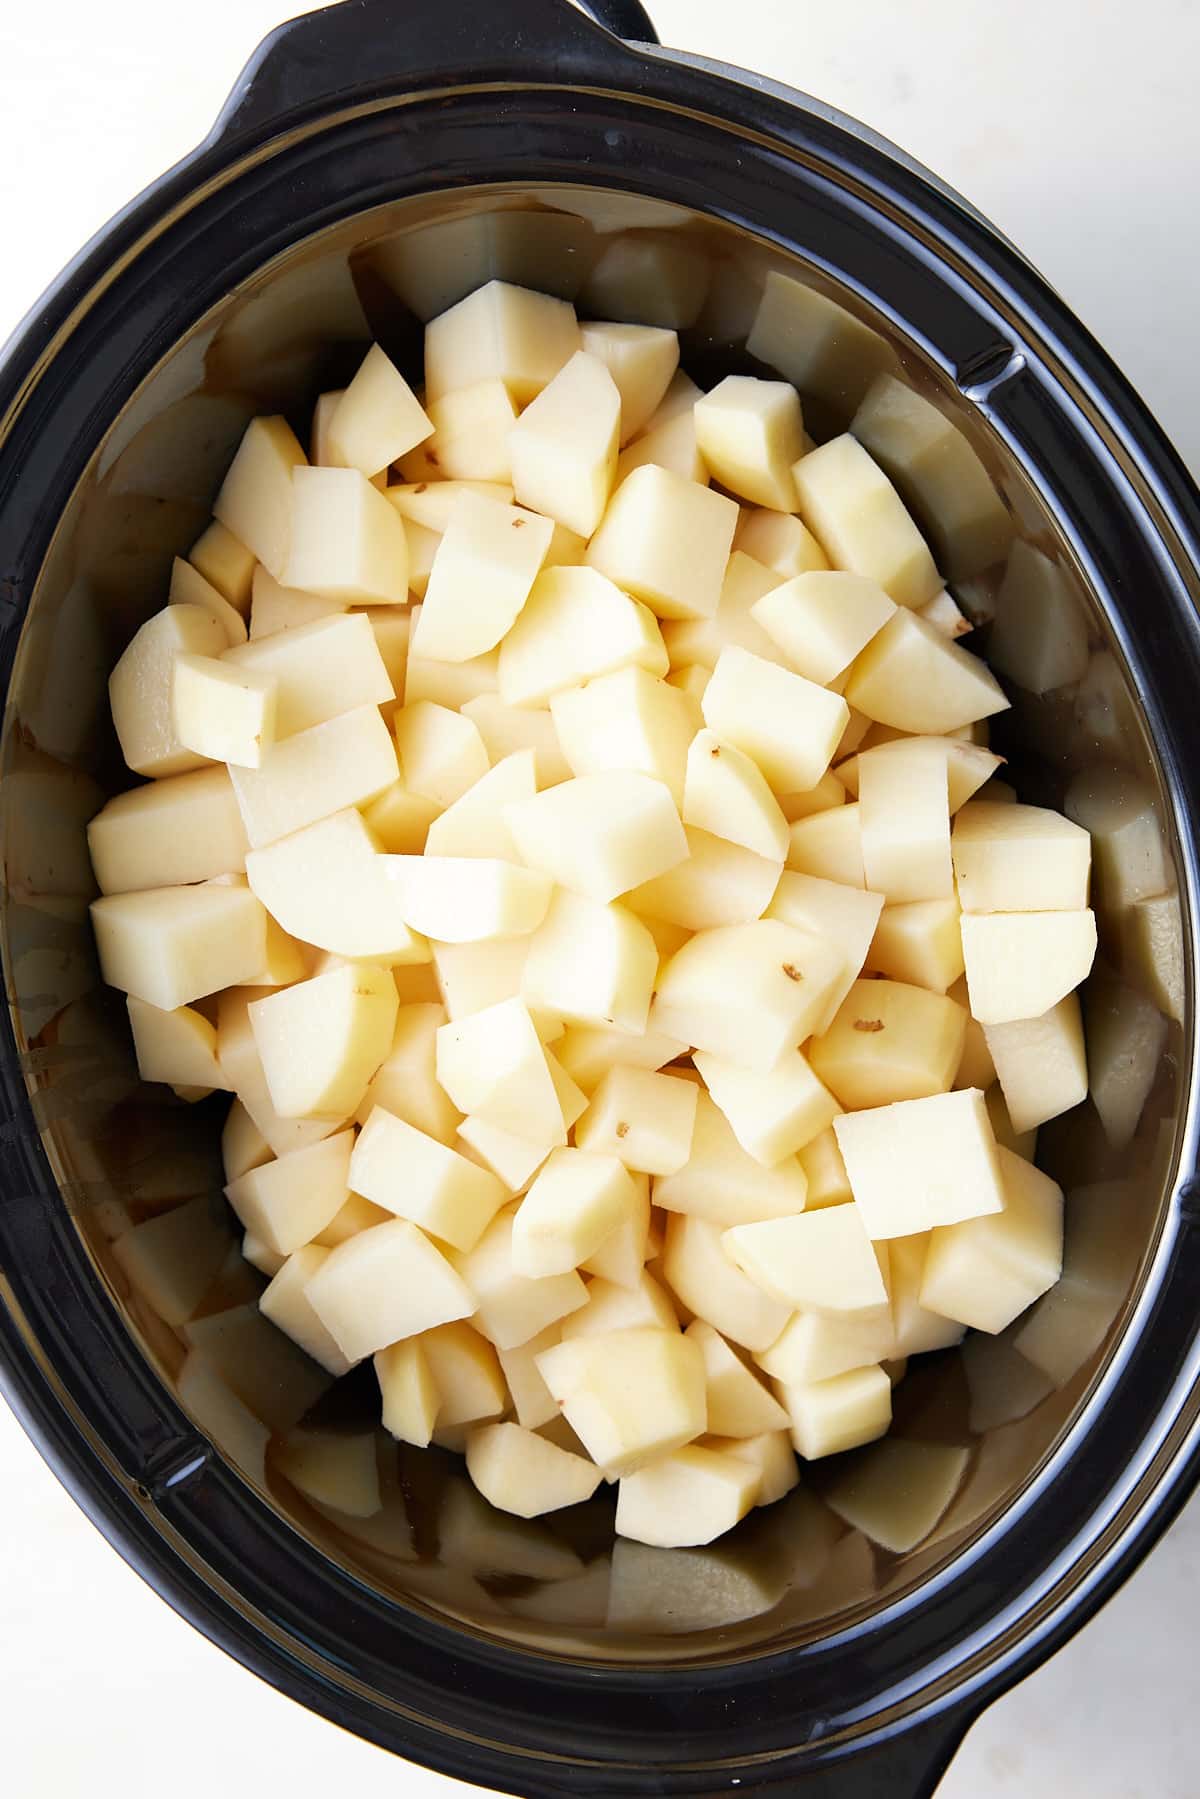
- Add the rest of the ingredients to your slow cooker except the canned tomatoes and seasoning.
- Secure the lid and cook on high for 7 hours without removing the lid.
- Remove the lid, add your seasoning and canned tomatoes, and stir to mix through.
How to Store
Store leftover bean soup in an airtight container in the refrigerator for 3-4 days.
Freezing leftover bean soup is also another great option if you have lots of leftovers. Freeze in a freezer-safe bag or container for up to 6 months. Allow it to thaw overnight in the refrigerator before reheating.
What To Serve With This Soup
For topping your 15-bean soup, I recommend:
- A dollop of sour cream
- Shredded cheddar cheese
- Scallions
- Diced avocado
- Sliced Jalapeños
To serve alongside your bean soup, I recommend:
- Classic Southern Cornbread Recipe or Easy Cornbread Muffins
- Mayonnaise Biscuits or Homemade Air Fryer Biscuits
- Honey Whole Wheat Dinner Rolls or Soft Air Fryer Dinner Rolls
Need more bean recipes?
Check out An Easy to Follow Guide for How to Cook Dried Beans. Or try these out:
- Pinto Bean Pie
- Beef and Bean Stew
- Homemade Baked Beans
- Black Bean Soup
If you're looking for more soup recipes? Try these out:
- Oxtail Soup - Rich, slow-cooked oxtail in a deeply flavored broth with tender veggies.
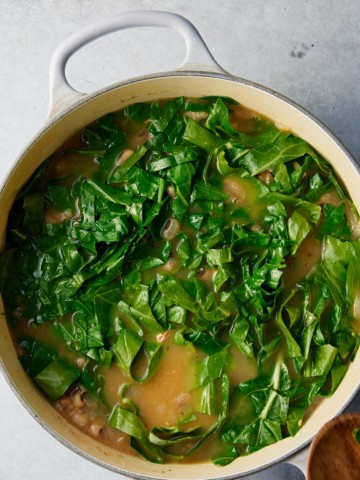
- Collard Green Soup - All the flavors of Southern collards turned into a hearty, sippable soup.
- Creamy Cream of Mushroom Soup - Better than canned, with mushrooms and a silky, creamy base. Perfect on its own or as a base for casseroles.
- Vegetable Beef Soup - Classic veggie-packed beef soup with a rich broth and tender chunks of meat. Great for an easy, filling family dinner.
If you have tried this recipe or any other recipe on my blog, please rate it and let me know how it turned out in the comments below!

15 Bean Soup
Ingredients
- 20 ounce Bag of 15 bean soup mix soaked overnight
- 1 pound Mild or hot italian sausage
- 1 large Onion chopped
- 4 cloves Garlic chopped
- 3 tablespoons Cajun seasoning
- 6 cups Chicken broth
- 2 cups Water
- 1 14.5 oz Can diced tomatoes undrained
- Sour cream for topping optional
Instructions
- In a large pot, brown Italian sausage over medium-high heat. Add onions and garlic and sauté for an additional 3-4 minutes. Add Cajun seasoning and stir.
- Reduce the heat to medium-low and add beans, chicken broth, and water.
- Cover and cook for an additional 1-2 hours, until the beans are tender. Add tomatoes and cook for an additional 10 minutes. Remove from heat and serve in soup bowls.
- Enjoy as is, or top each bowl with a dollop of sour cream. Enjoy.
Notes
- This recipe can also be prepared in a pressure cooker or slow cooker.