Simple and easy to make, this delicious yellow squash soup is the perfect way to make the most of the season's produce. Ready to serve in around 30 minutes, it's perfect to serve for lunch or a sit-down appetizer.

You’ll find the full recipe with ingredient amounts and instructions in the recipe card at the bottom of this post. Be sure to check out the blog post itself for extra tips and tricks!
Summer squash is starting to appear in stores, and this delicious recipe will help you make the most of them. I make this recipe every time I see yellow squash appearing in the stores, and it's such a great way to use the vegetable.
This simple soup is light and fresh-tasting, seasoned with garlic, nutmeg, and thyme. It's all made in one pot and ready to enjoy in around 30 minutes.
Made with natural and healthy ingredients, this soup is easy to make, vegetarian or vegan, and it's a tasty way to get some veggies into your family's diet!
Be sure to try my Roasted Tomato Basil Soup and sauteéd yellow squash, too!
What Readers Say
I made this soup and it was just lovely. Thank you so much for this taste of summer.
Denise
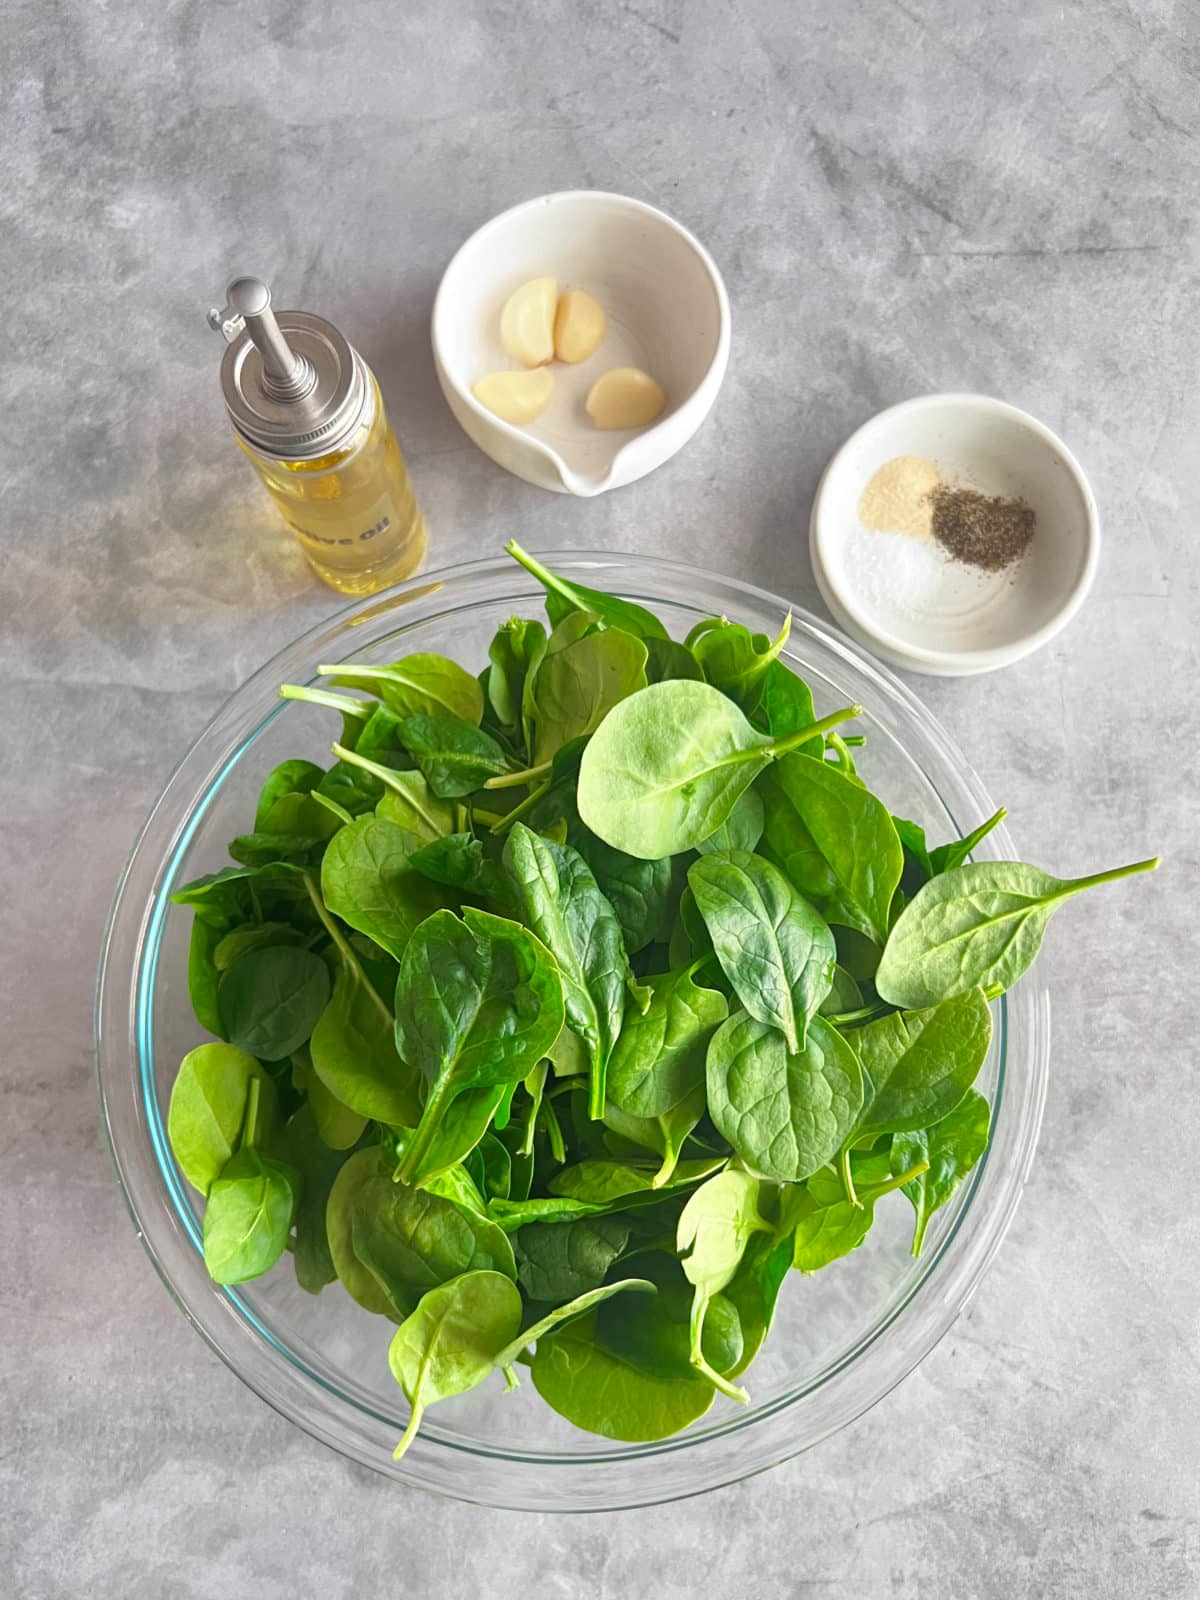
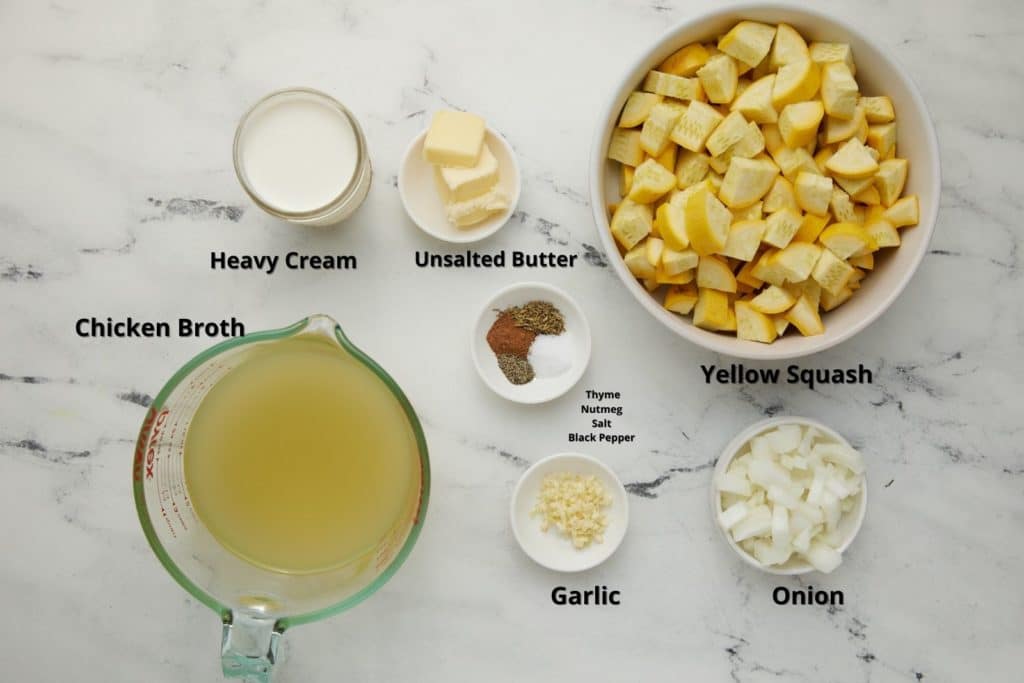
A Quick Look at the Ingredients Needed for this Recipe
Ingredient amounts and full recipe instructions are on the printable recipe card at the bottom of the post.
- For sautéing: unsalted butter, sweet onion, garlic cloves
- For the soup base: yellow squash, dried thyme, ground nutmeg, kosher salt, chicken broth (or vegetable broth as an alternative)
- For finishing: heavy cream, pepper (optional)
Tools Needed
- Dutch oven or large pot
- Blender (stand or immersion)
- Cutting board & chef’s knife
- Measuring cups & spoons
- Wooden spoon or spatula
- Ladle
How to Make Yellow Squash Soup
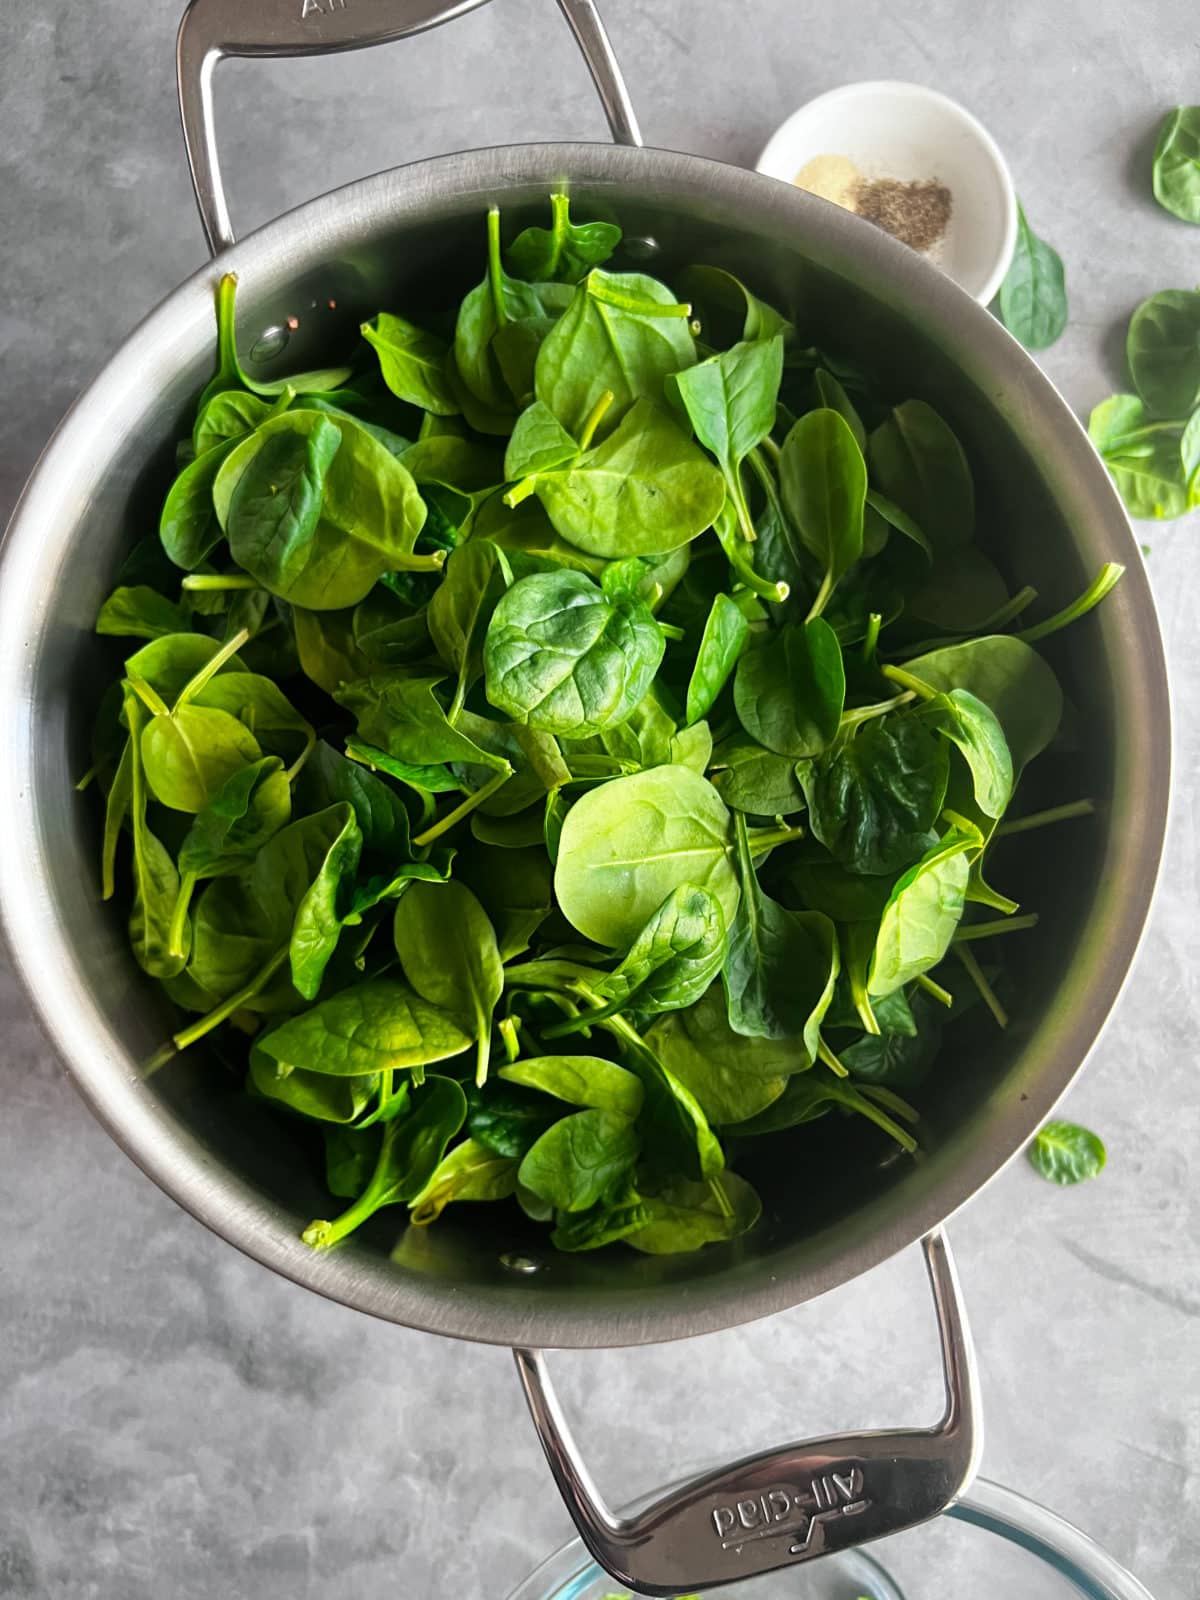
Step 1: Gather your ingredients.
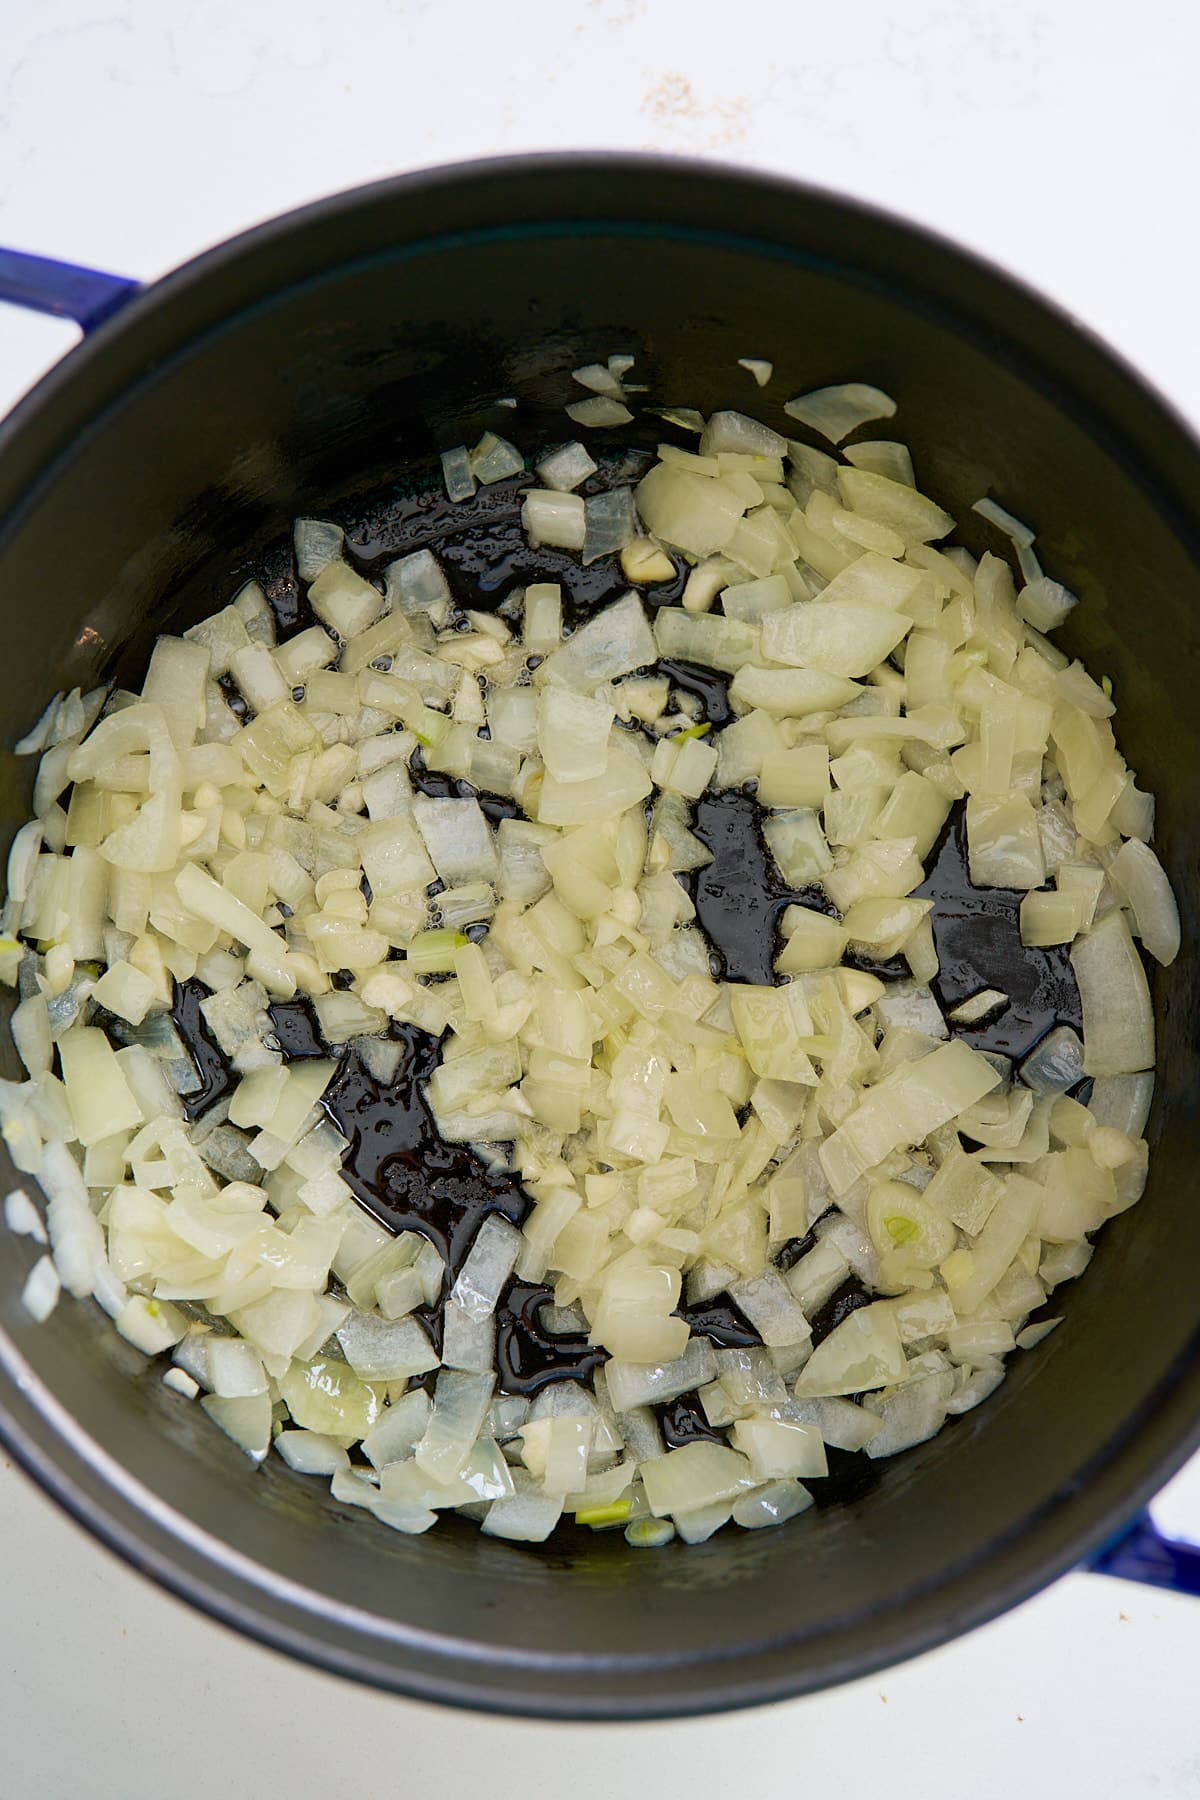
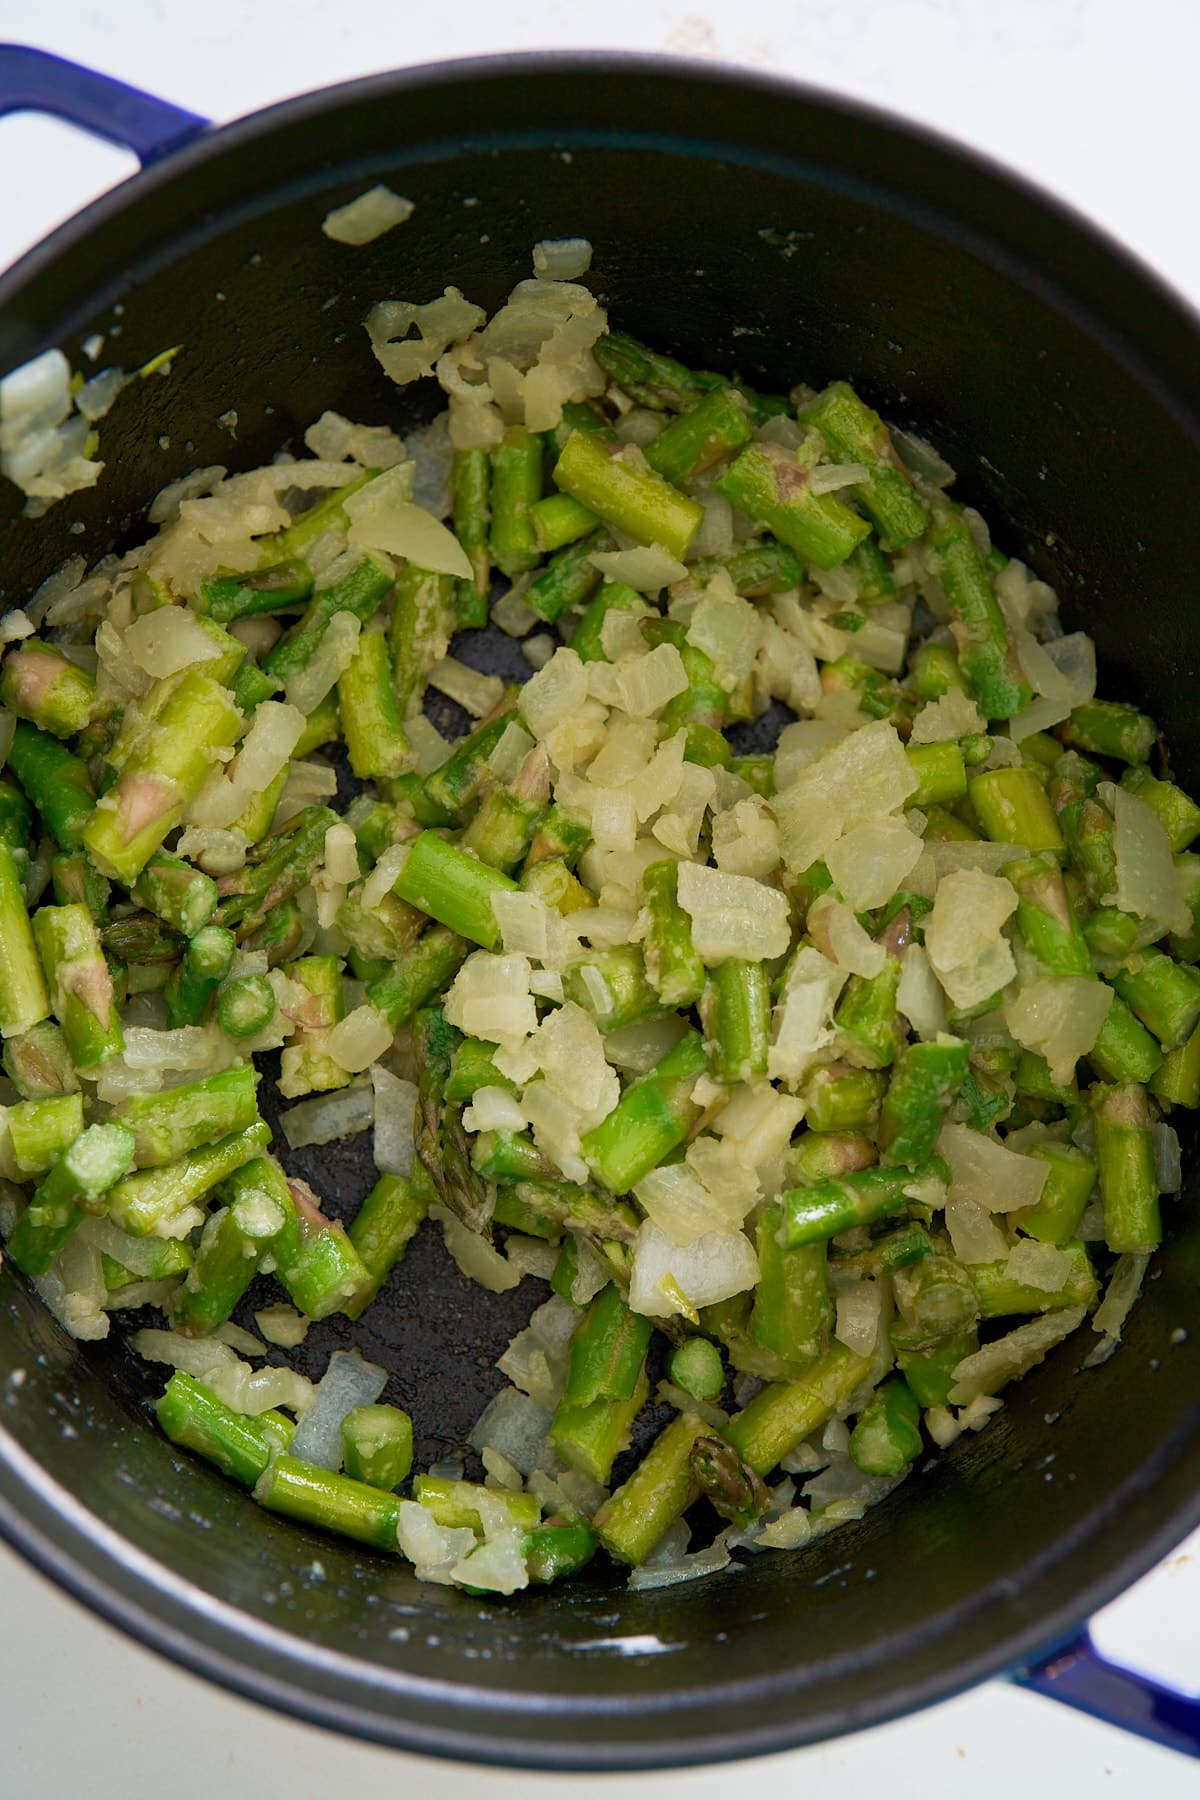
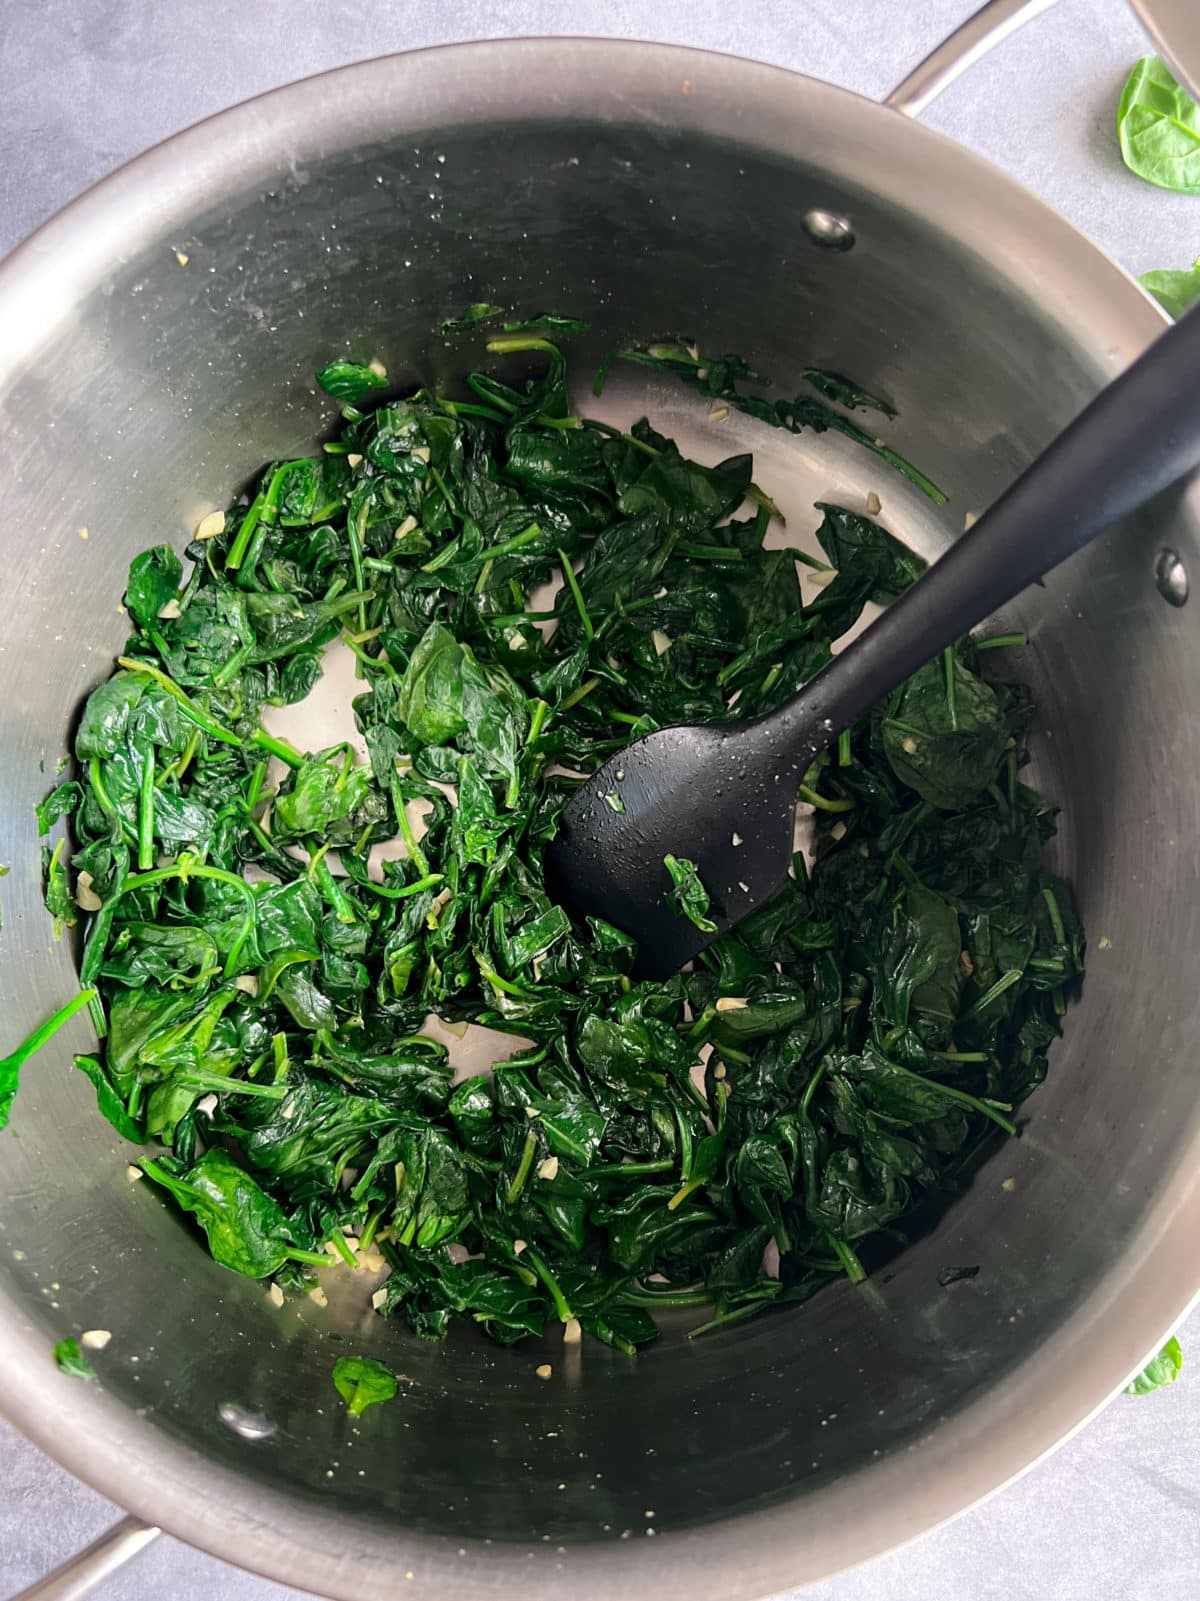
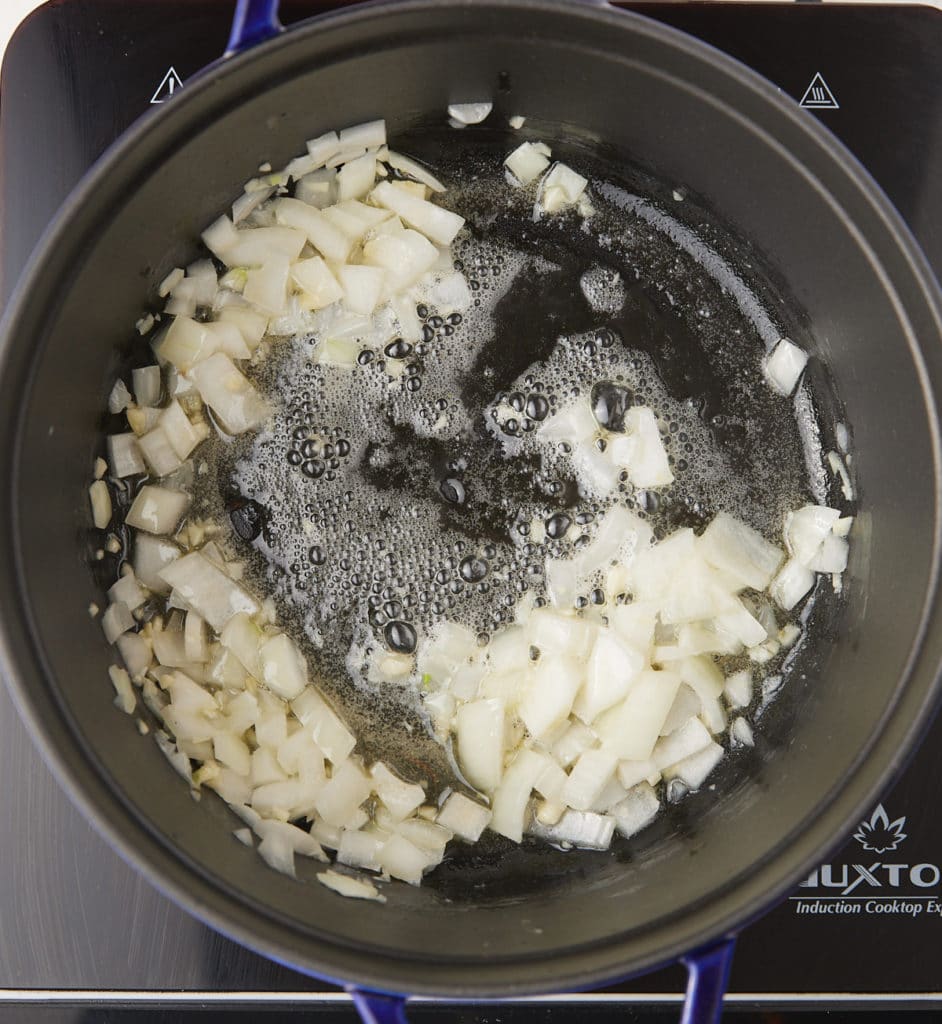
Step 2: Melt butter in a large heavy-bottomed pot over medium heat. Add onions, garlic, and sauté for 5 minutes, or until the onions soften.
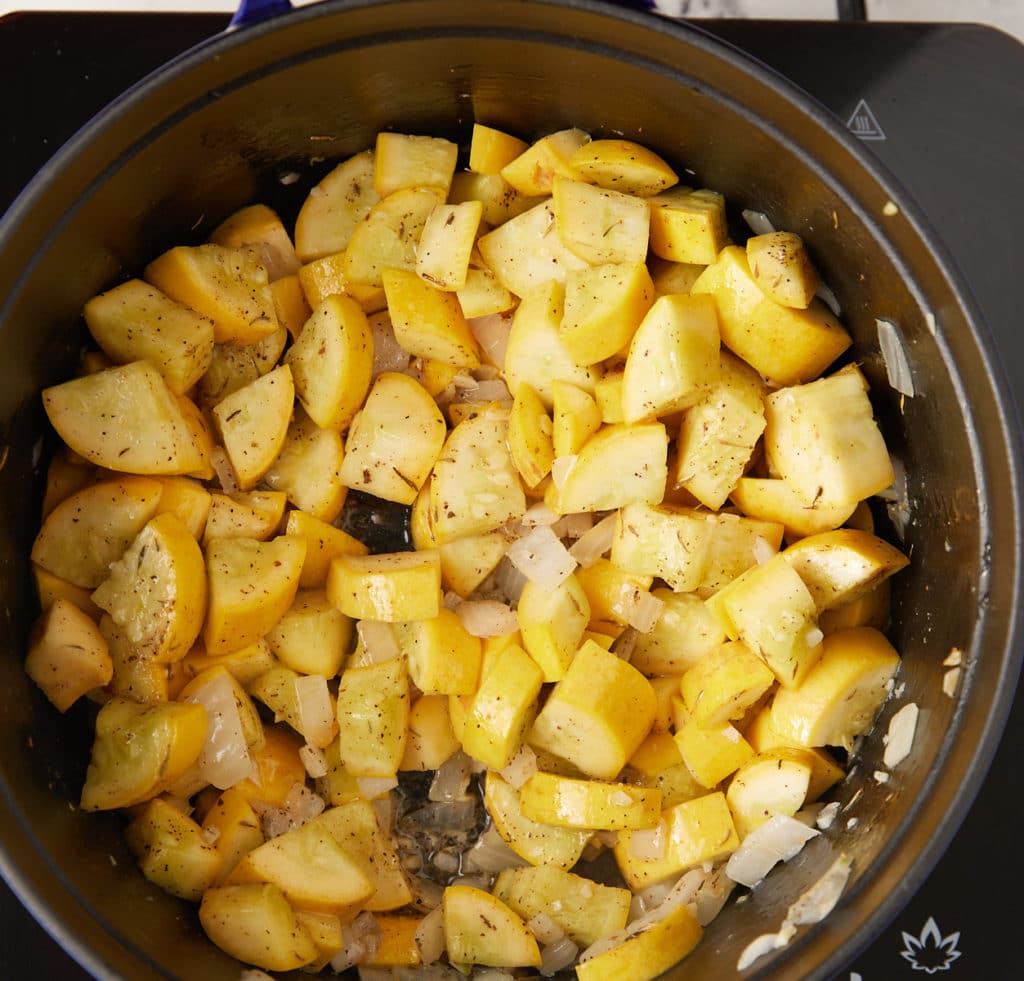
Step 3: Add squash, thyme, nutmeg, and salt. Stir, then continue to cook for an additional 10 minutes, stirring occasionally.
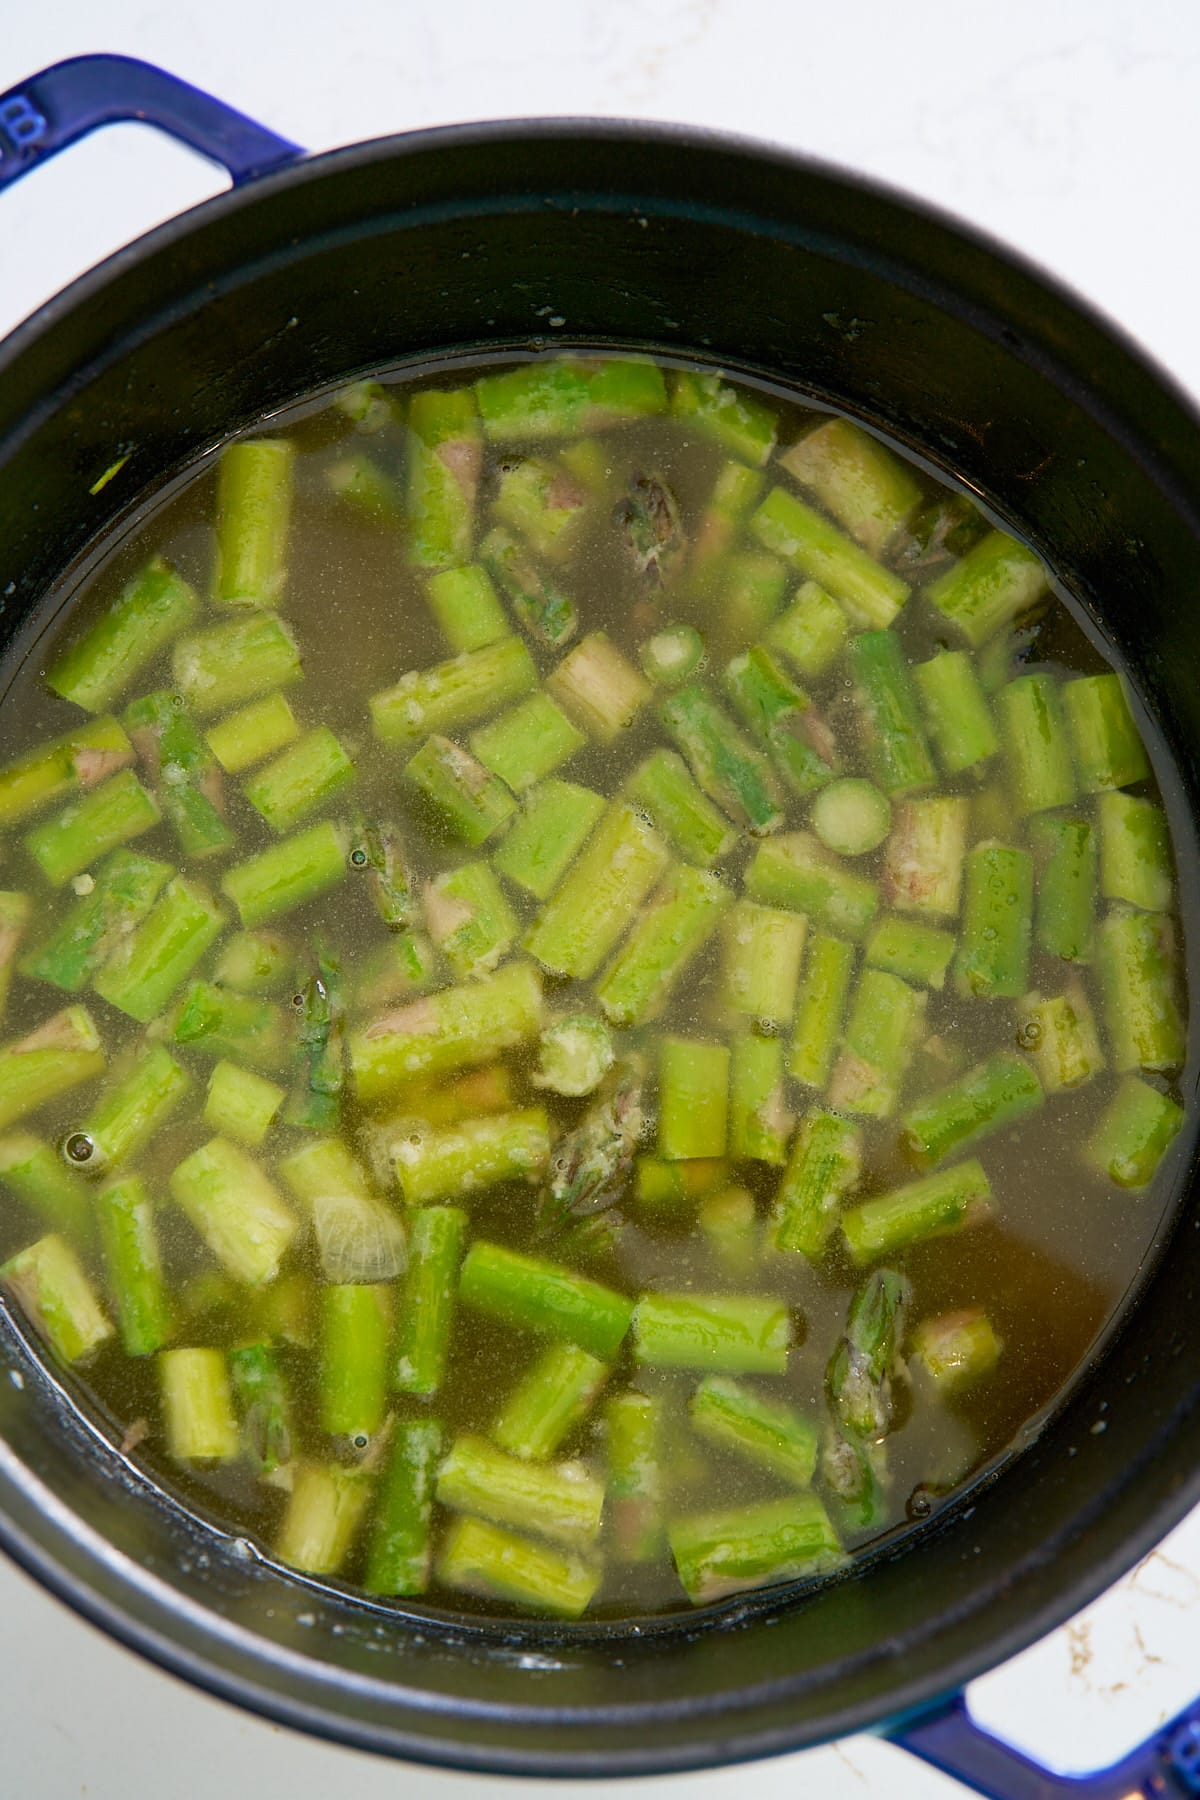
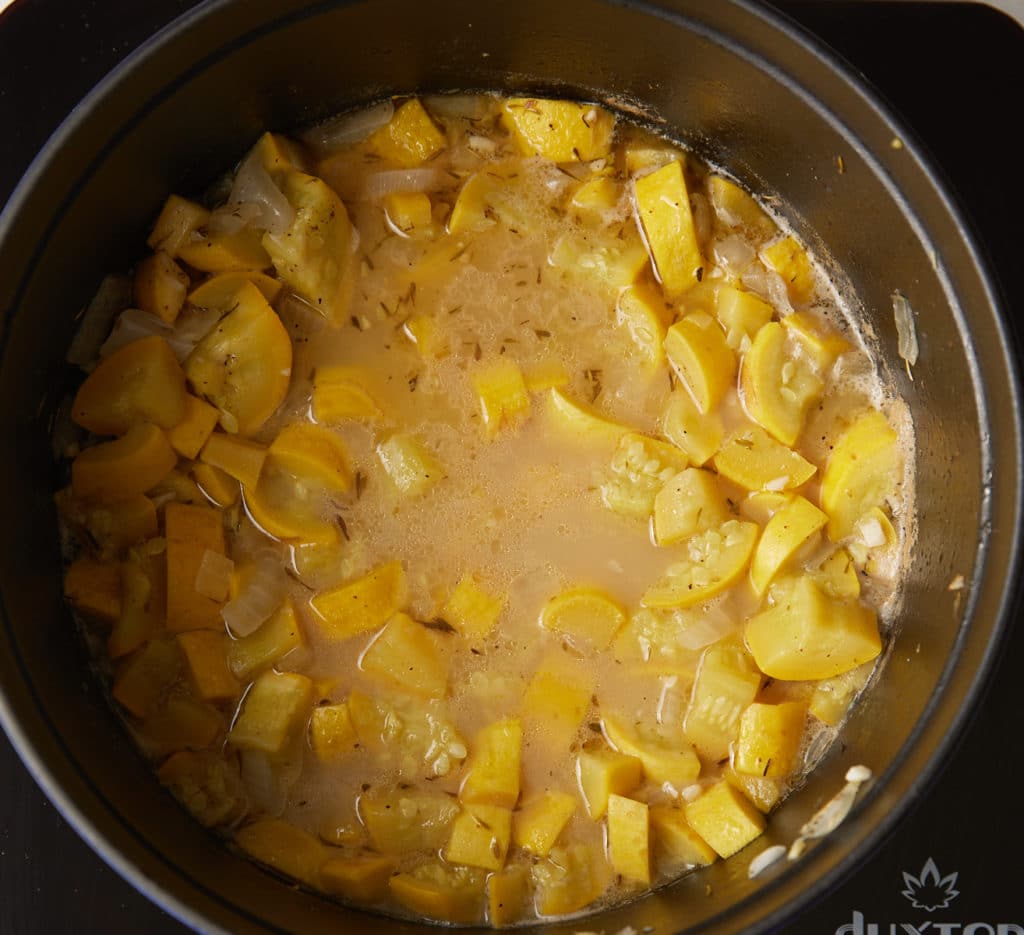
Step 4: Add the broth, increase the heat to medium-high, and bring the mixture to a boil. Allow the mixture to boil for about 10 minutes, or until the squash is tender and softened.
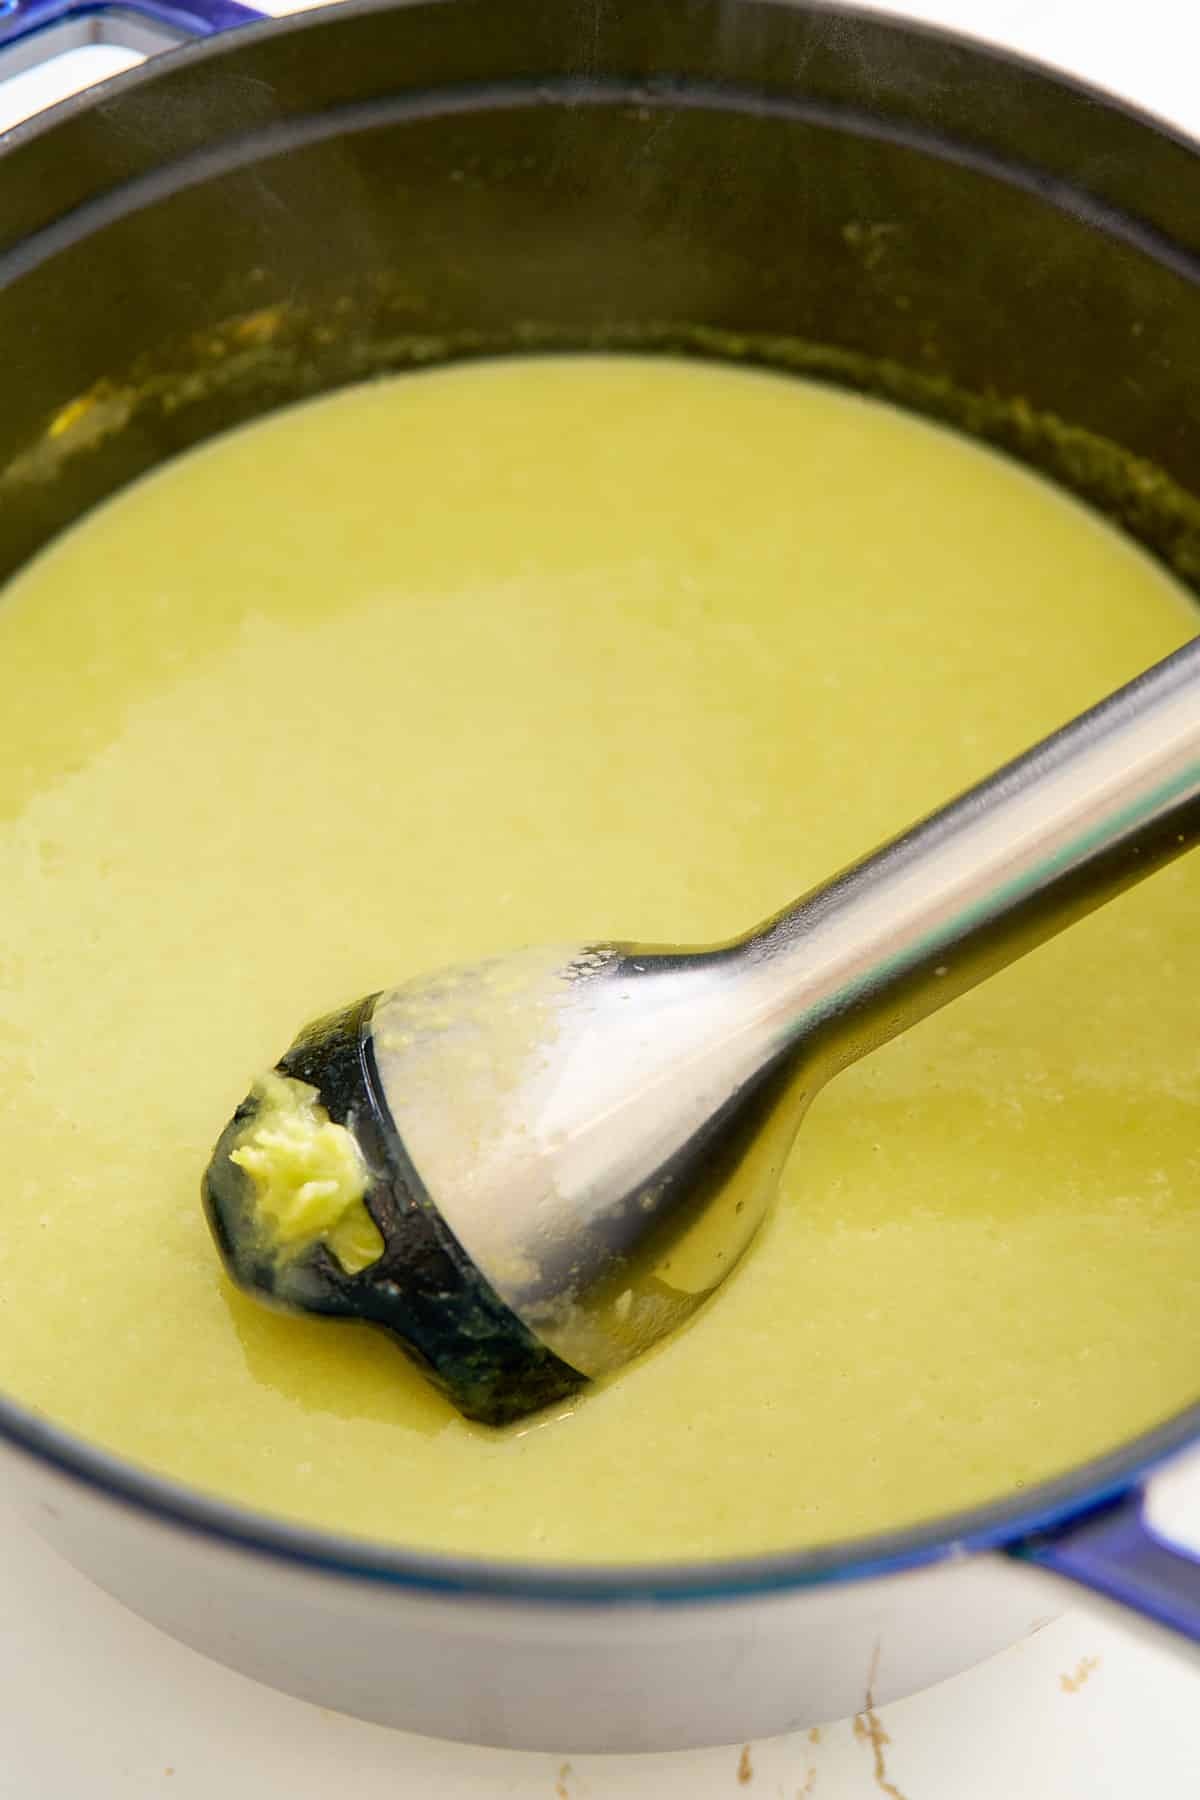
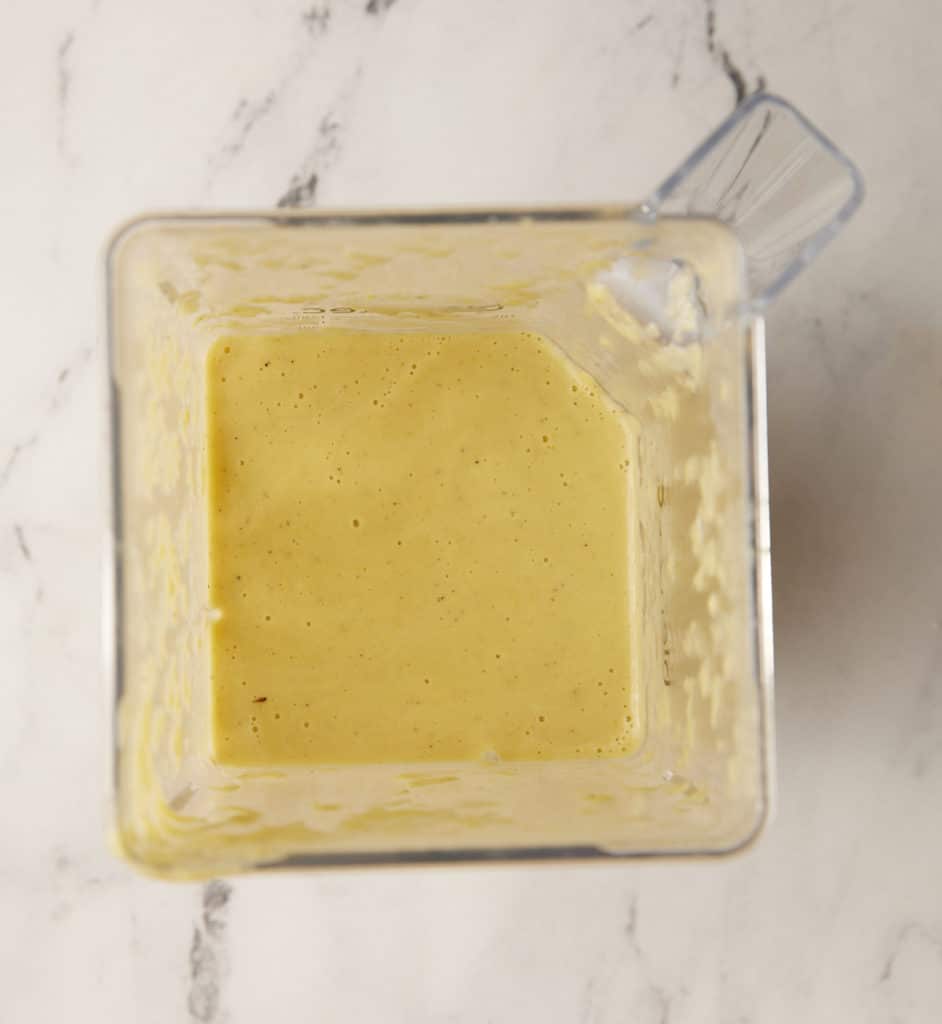
Step 5: Remove the mixture from the heat and add it to a blender. Blend until smooth.
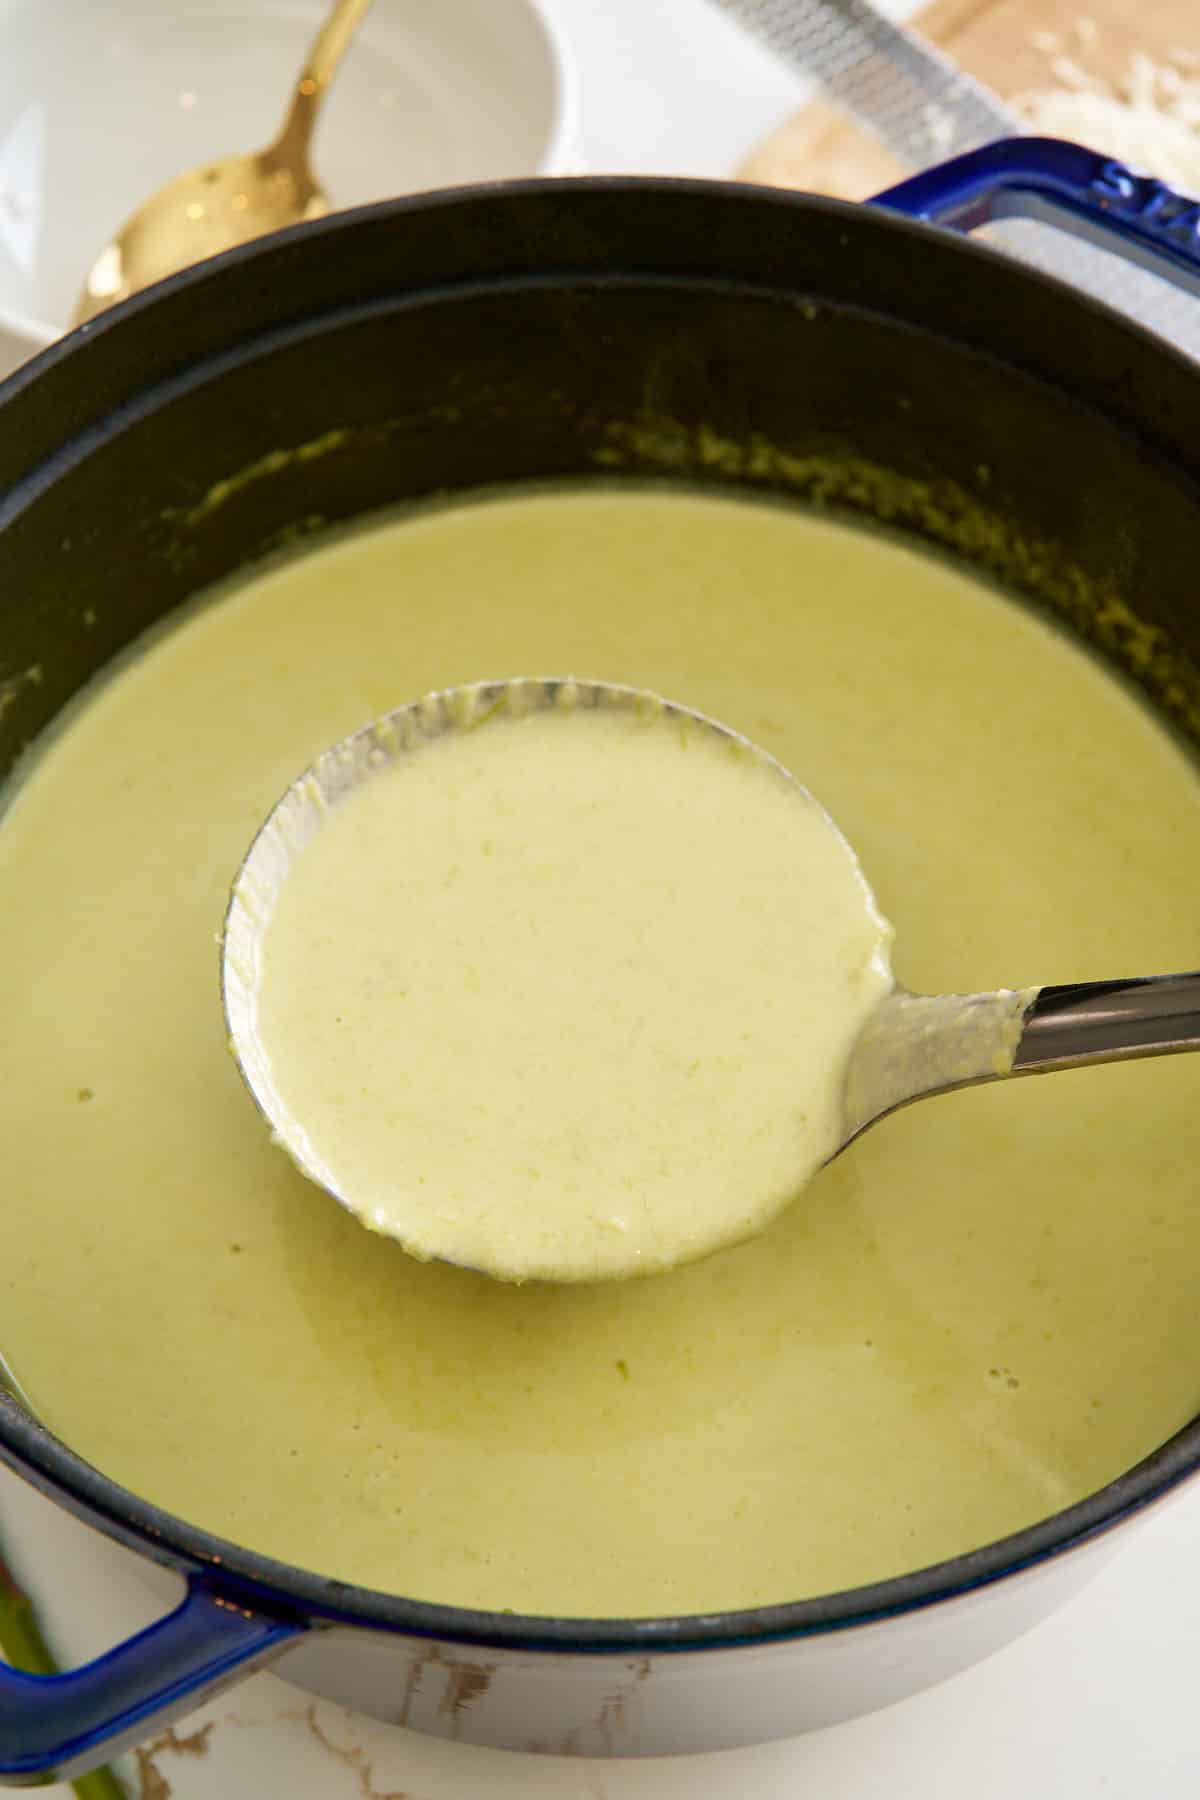
Step 6: Add in heavy cream, salt and pepper to taste.
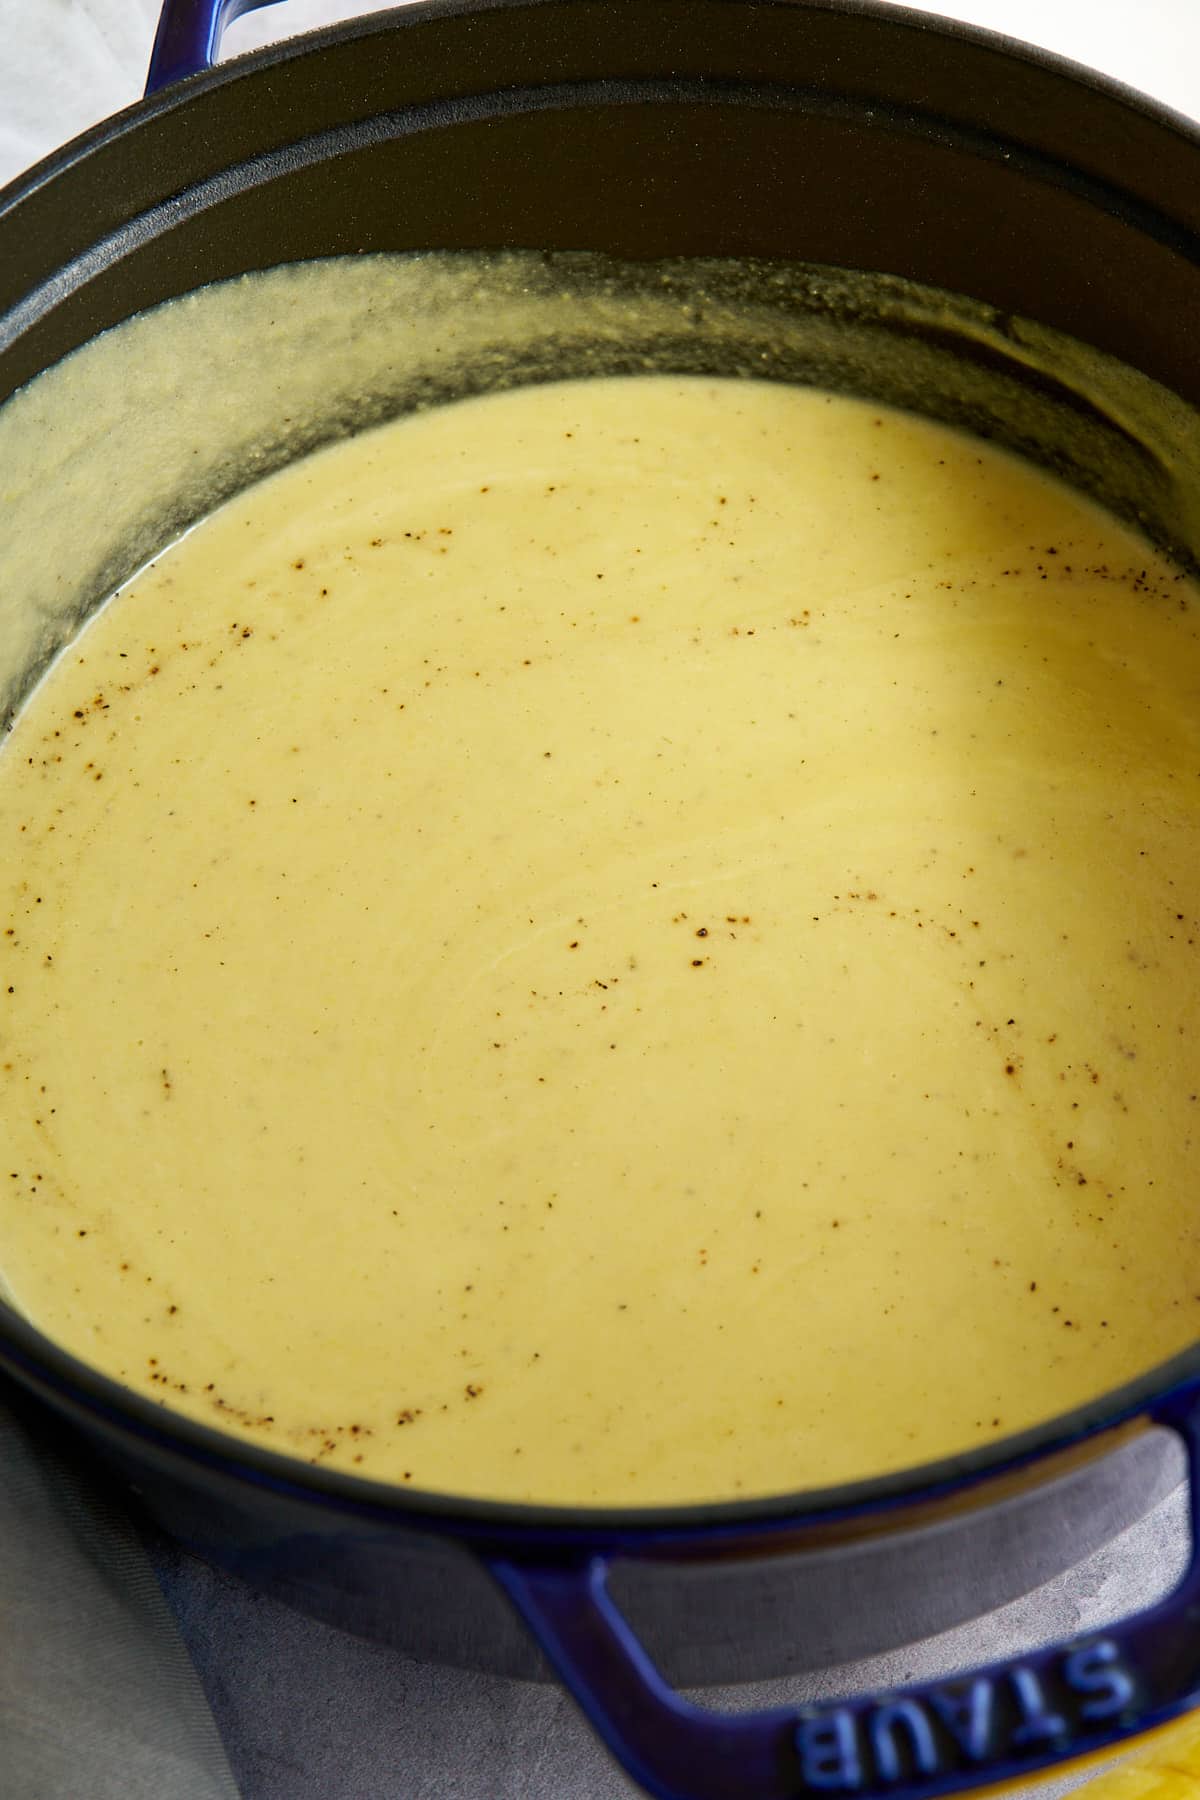
Step 7: Serve and enjoy.
How long does it keep?
This soup is excellent for meal prep throughout the week, so feel free to make a bigger batch! Once cooled, transfer the soup to an airtight container. It will keep well in the fridge for 4 to 5 days.
Reheat the soup on the stovetop over medium heat, stirring occasionally, until it's heated through. Alternatively, you can heat it through in the microwave for about 3 minutes, stirring halfway.
Can you freeze it?
Yellow squash soup is a great freezer meal and will keep well for up to 3 months. Place the cooled soup into a container or divide it into individual portions in ziplock bags. Thaw the soup in the fridge overnight before reheating.
Serving
This soup is perfect for a light lunch or sit-down appetizer before a main meal. Drizzle each bowl with cream, top with freshly baked croutons, and garnish with a few fresh thyme leaves, and you're good to go. For a fuller meal, serve it with cornbread muffins or crusty bread.

Recipe Variations
This yellow squash soup is delicious, but you can make a few easy swaps to suit your tastes.
- Make it vegetarian by using vegetable broth in place of chicken broth.
- Make it vegan by using a plant-based cream.
- Use other herbs, such as parsley or rosemary.
- Carrots would be a great choice if you want to add some extra veggies!
Tanya's Recipe Notes and Tips
- Please be careful when blending hot soups. Ensure your blender can handle them, and don’t fill it more than halfway.
- An immersion blender can also be used. However, a standing blender makes the soups a little creamier.
- Make the soup in a heavy-bottomed pot or Dutch oven. These pots distribute the heat evenly.
- You do not need to peel the squash for this recipe.

More Soup Recipes
- Fish Soup
- Carrot and Lentil Soup
- Beet Soup
- Cream of Mushroom Soup
- Creamy Cauliflower Soup
- Cream of Asparagus Soup
- Instant Pot Vegetable Soup
- Tomato Basil Soup
Pin this Recipe for Later


Yellow Squash Soup
Ingredients
- 3 Tablespoon unsalted butter
- ½ cup chopped sweet onion
- 2 garlic cloves chopped
- 4 medium yellow squash ends removed and chopped
- ½ teaspoon dried thyme
- ¼ teaspoon ground nutmeg
- ¼ teaspoon kosher salt or to taste
- 2 cups chicken broth vegetable broth
- 2 Tablespoon heavy cream
- Pepper to taste optional
Instructions
- Melt butter in a large heavy bottomed pot over medium heat. Add onions and garlic and sauté for 5 minutes, or until the onions have softened.
- Add squash, thyme, nutmeg and salt and stir and continue to cook for an additional 10 minutes, stirring occasionally.
- Add broth and increase the heat to medium high and bring mixture to a boil. Allow mixture to boil for about 10 minutes, until squash is softened.
- Remove from heat and add contents to a blender. Blend until smooth.
- Add in heavy cream. (Salt and pepper to taste)
- Serve and enjoy.
Notes
An immersion blender can also be used. I find the soups to be a little more creamy when a standing blender is used.
Use vegetable broth in place of chicken broth if you prefer.
Nutrition
This post was originally published on April 30, 2021. It has been updated with new photos and additional helpful information.