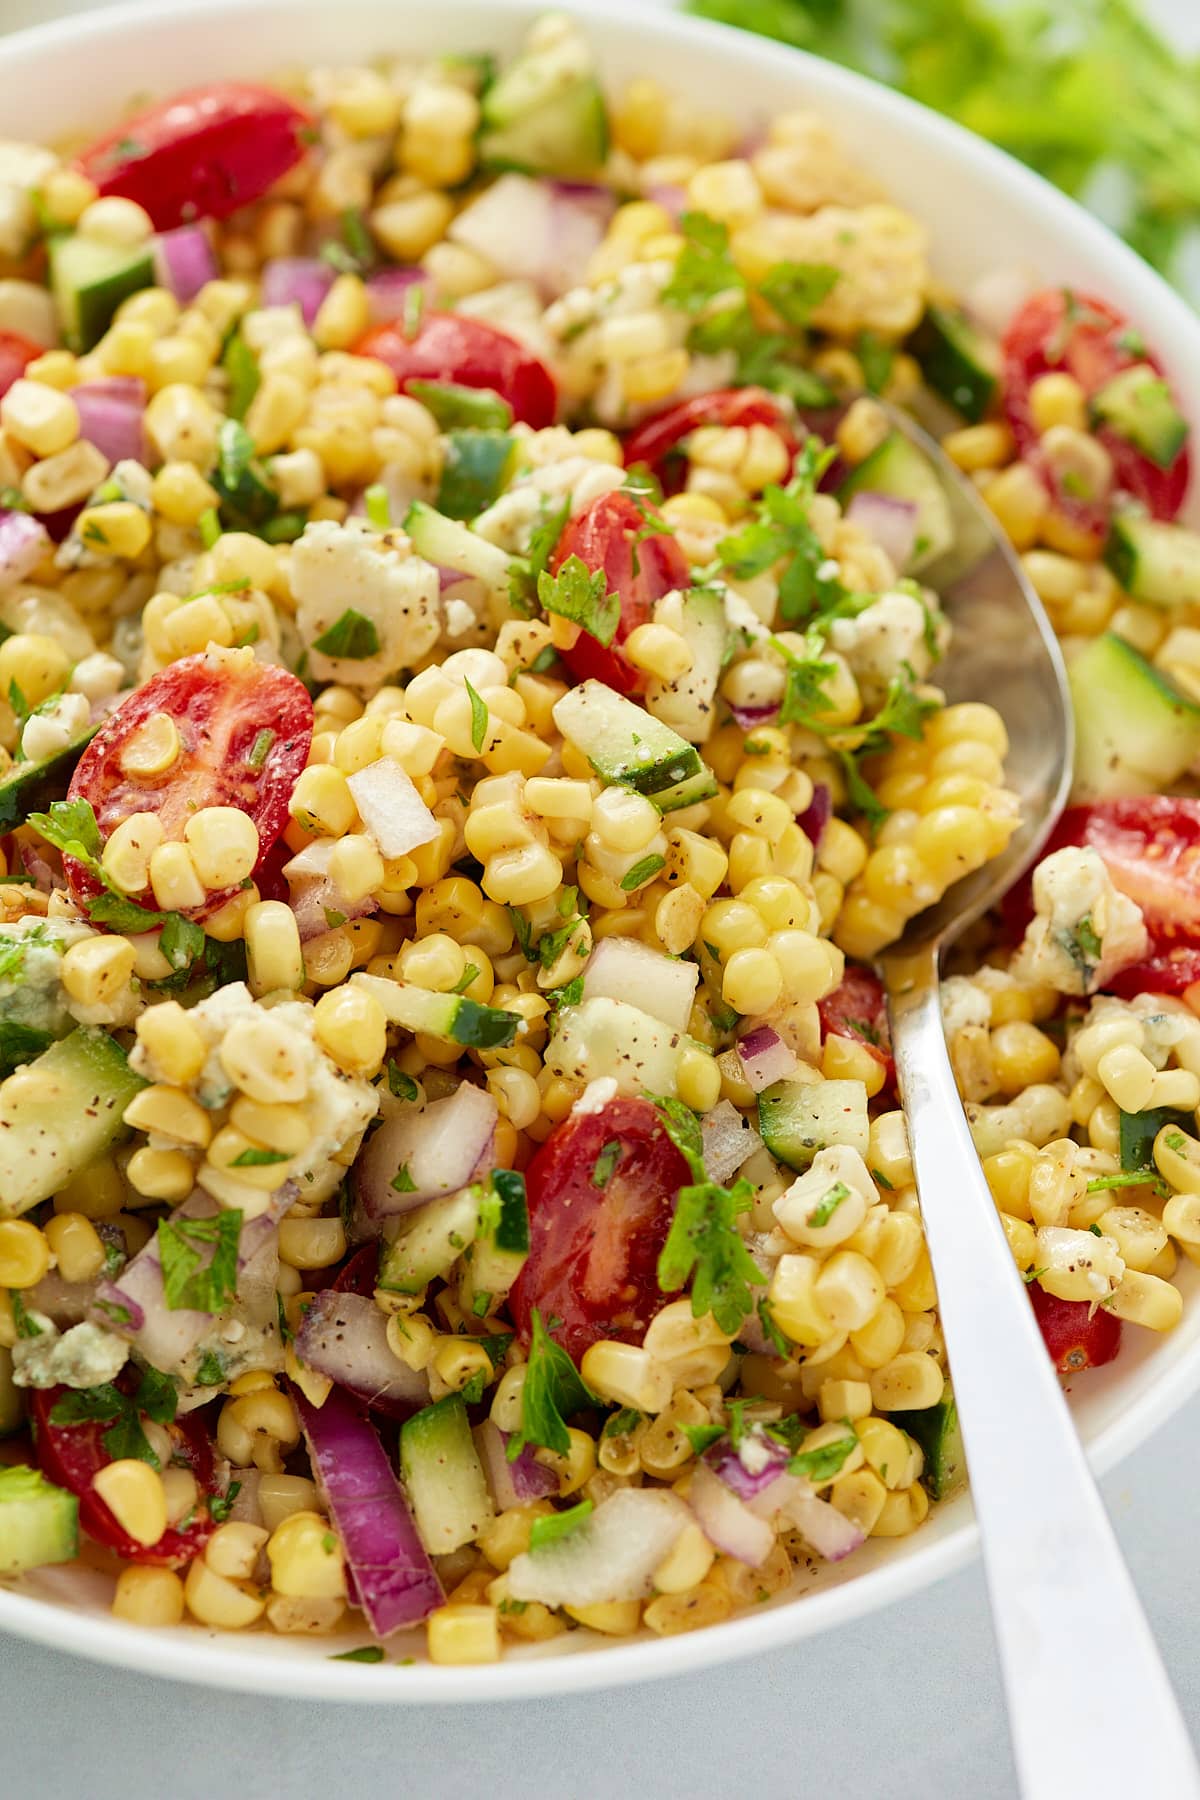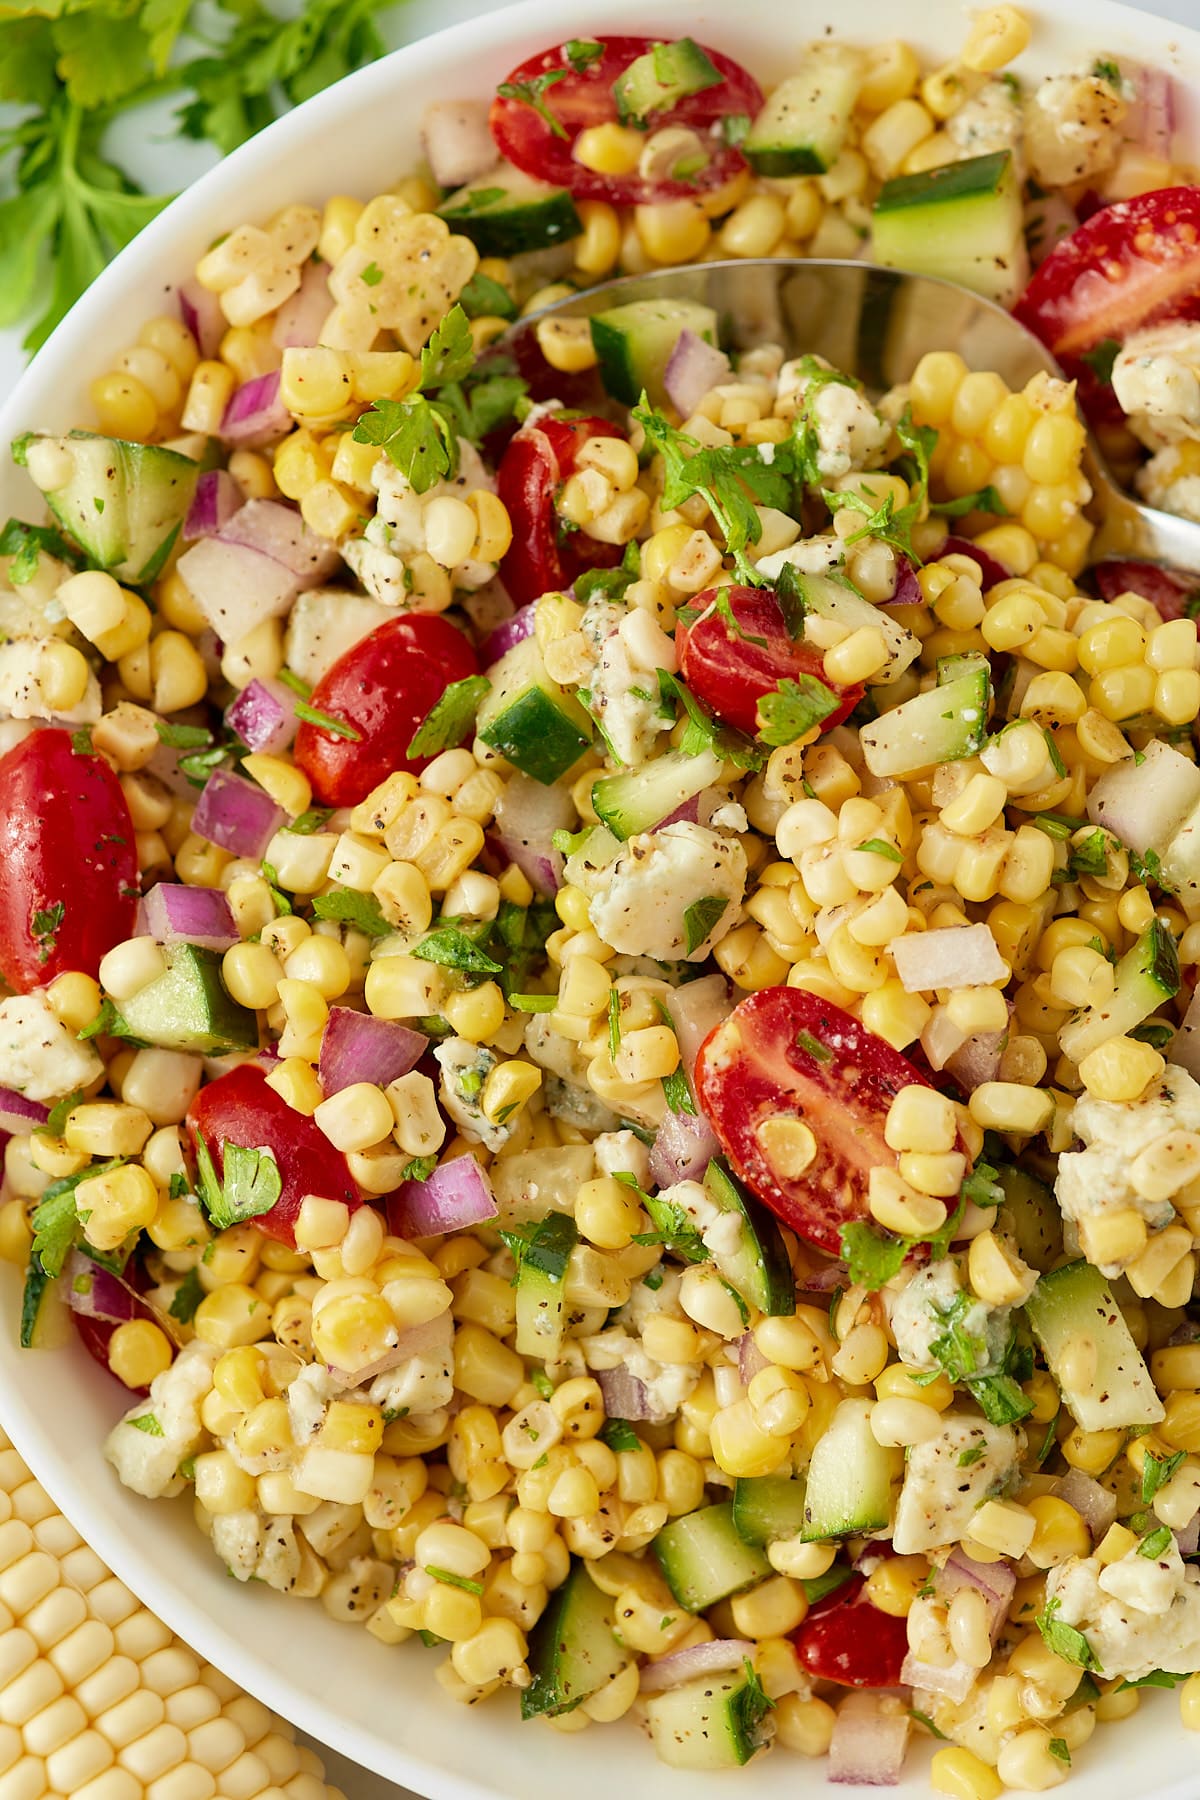
This no mayo broccoli slaw is the perfect salad side dish for grilling and potlucks, or to serve as part of an easy weeknight dinner. Quick and easy to make, this tangy slaw is packed full of fresh veggies and makes for a light and healthy accompaniment to any meal.

This post contains affiliate links, please read my full disclaimer here.
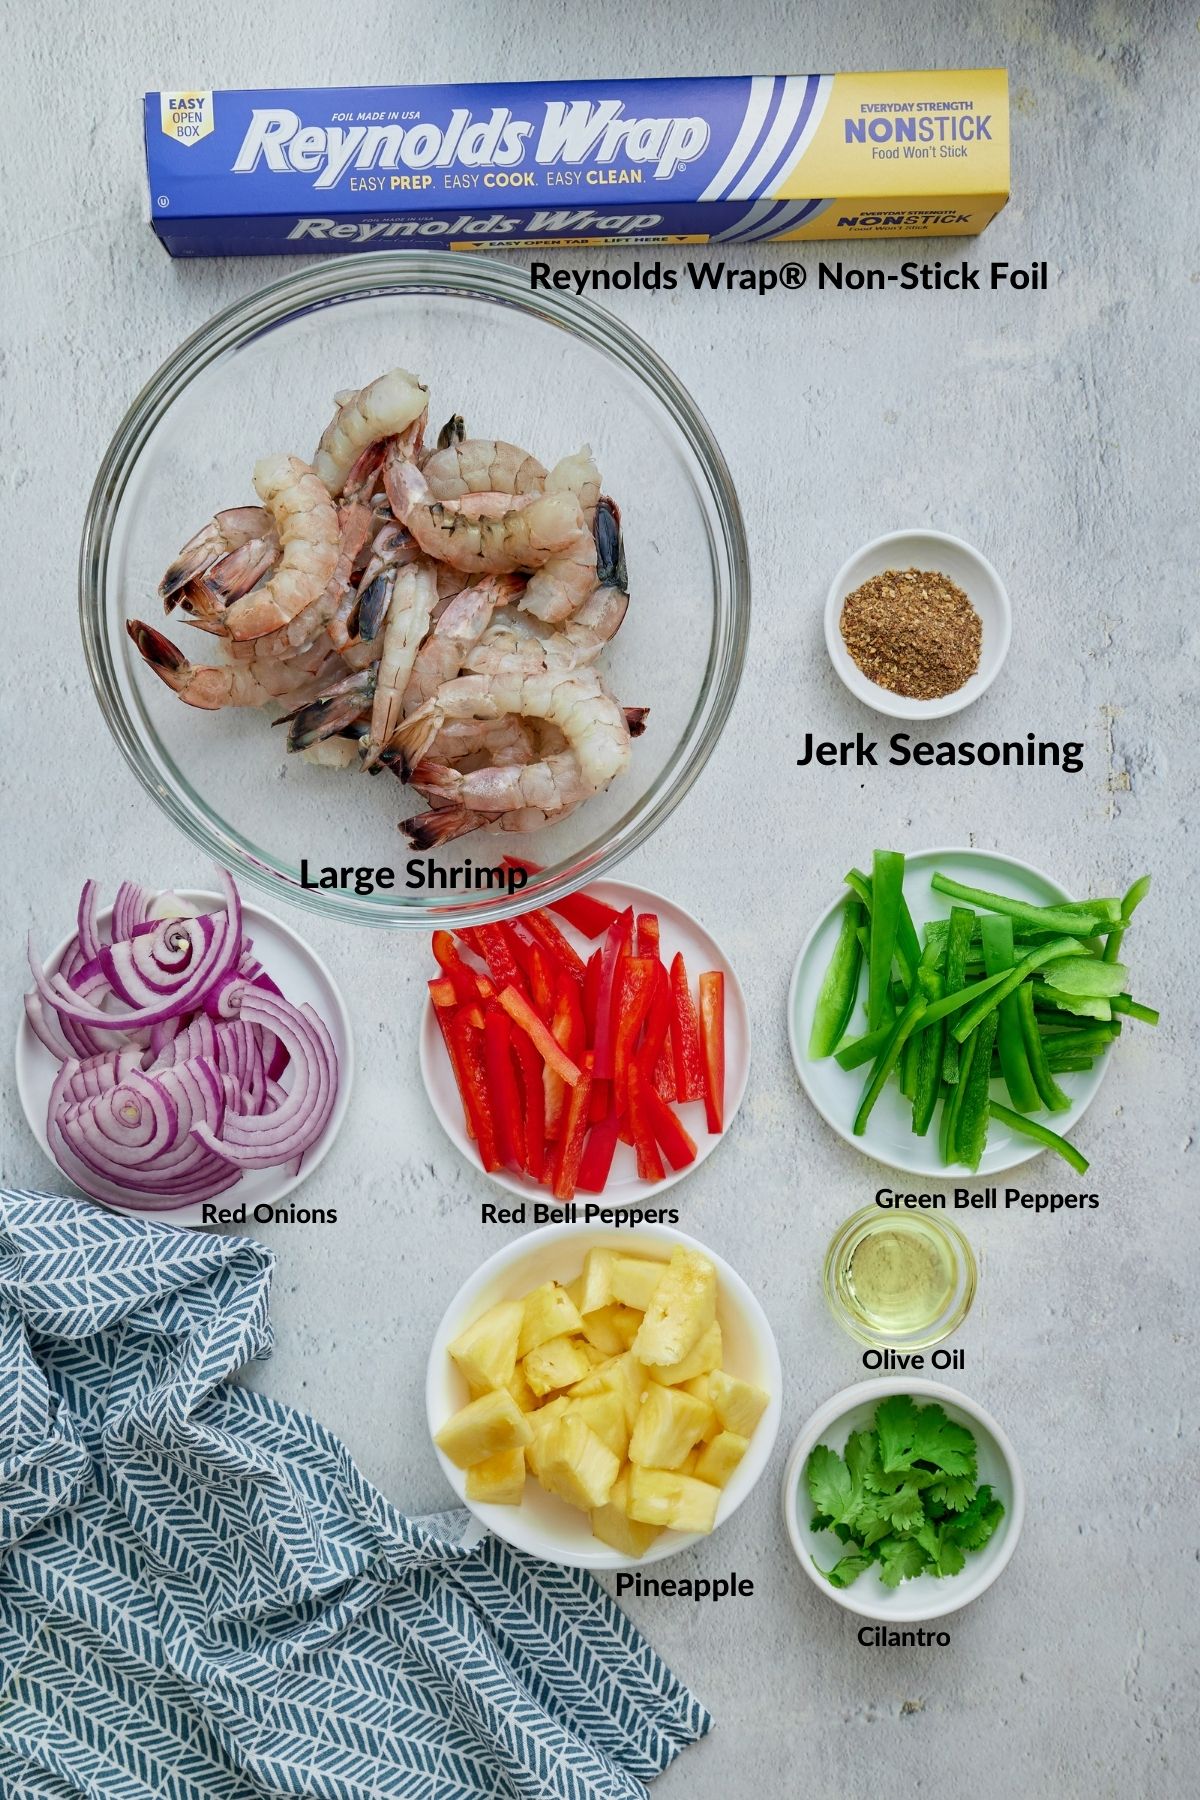
You’ll find the full recipe with ingredient amounts and instructions in the recipe card at the bottom of this post. Be sure to check out the blog post itself for extra tips and tricks!
This broccoli slaw is my current squeeze, seriously can not get enough of it! Super quick and easy to make, it has a nice tangy flavor, whilst being slightly sweet, and it's so easy to pair with all of your favorite meals.
Made without mayonnaise, this is a great healthy slaw recipe that is low in calories and fat. You can make this with a store-bought broccoli slaw mix for convenience, or, cut your own broccoli with the aid of a food processor.
This salad side is light and fresh, with just the right amount of zing, and it's perfect to serve up at your cookouts throughout the summer!
Be sure to try my Vinegar Coleslaw and Creamy Broccoli Cauliflower Salad too!

How to make broccoli slaw
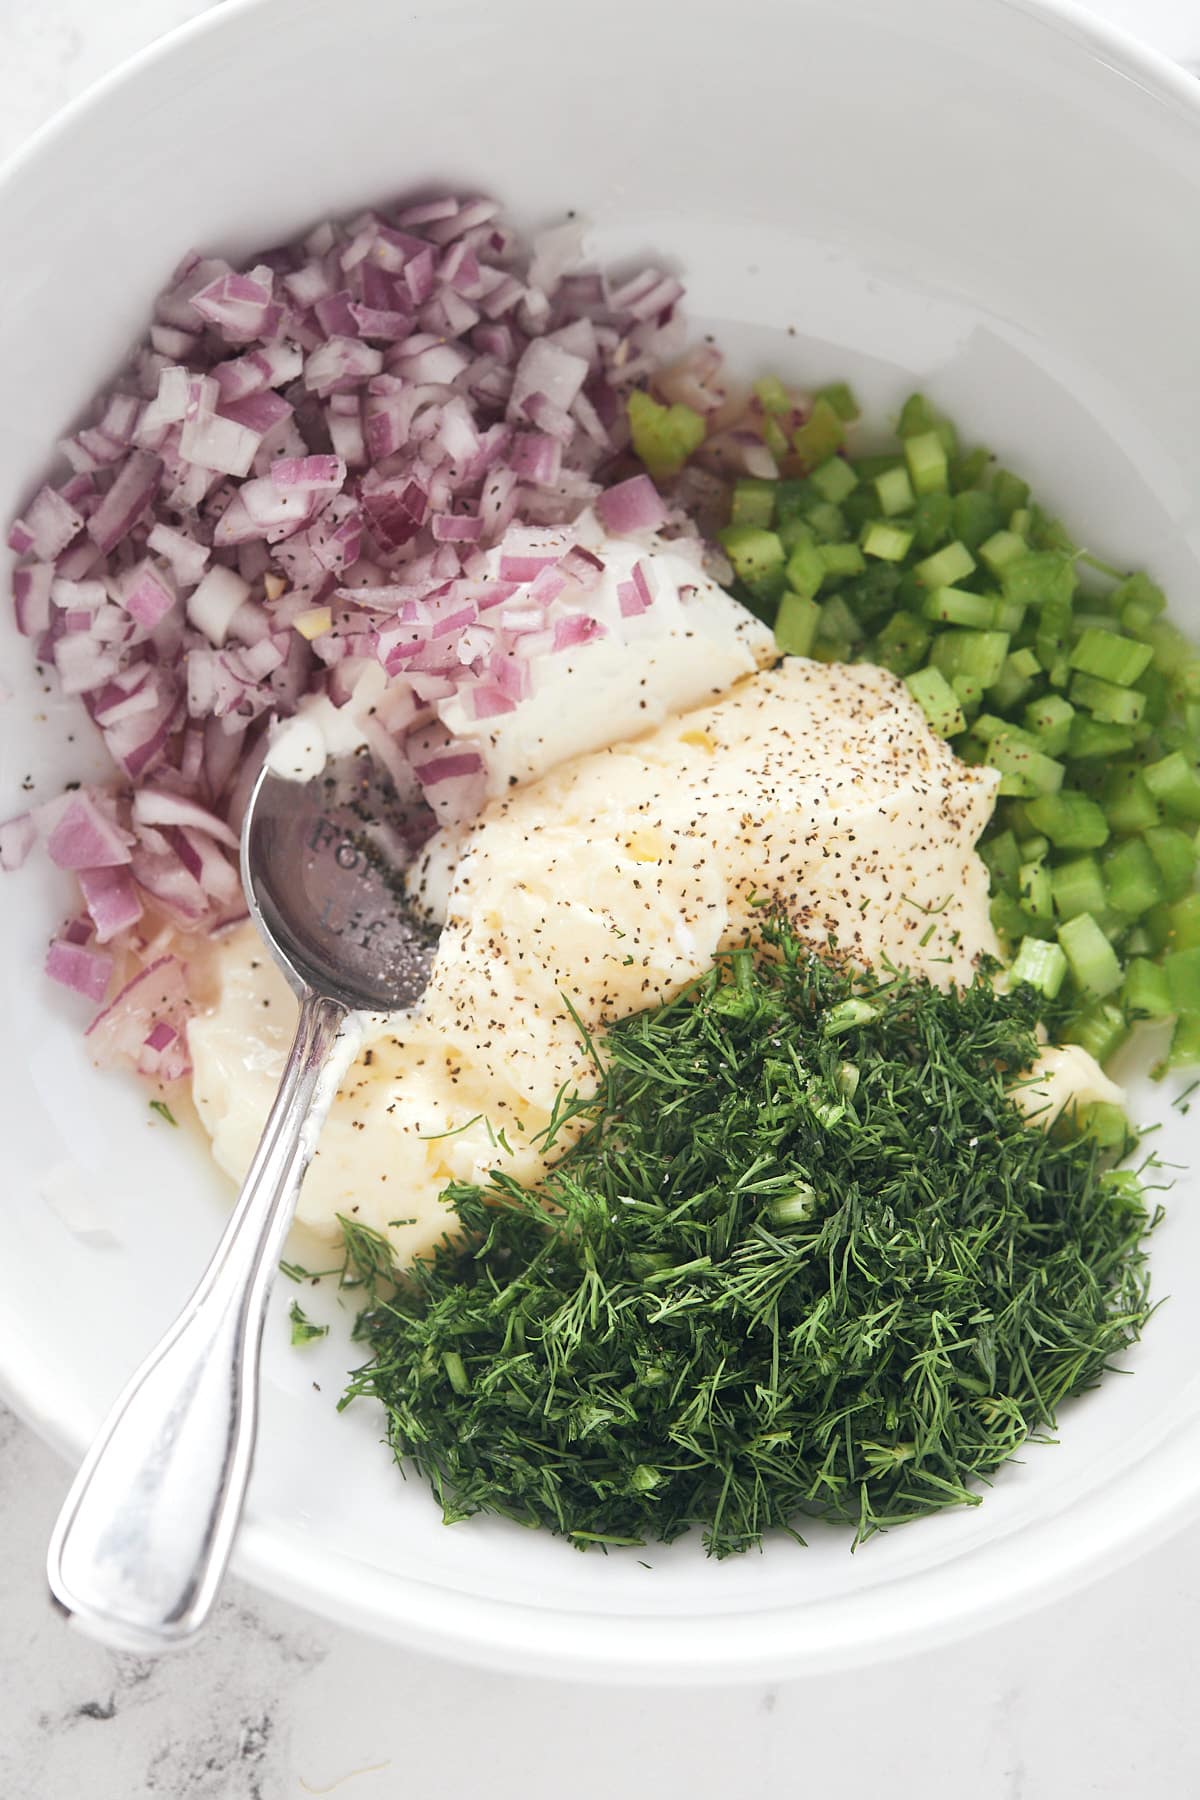
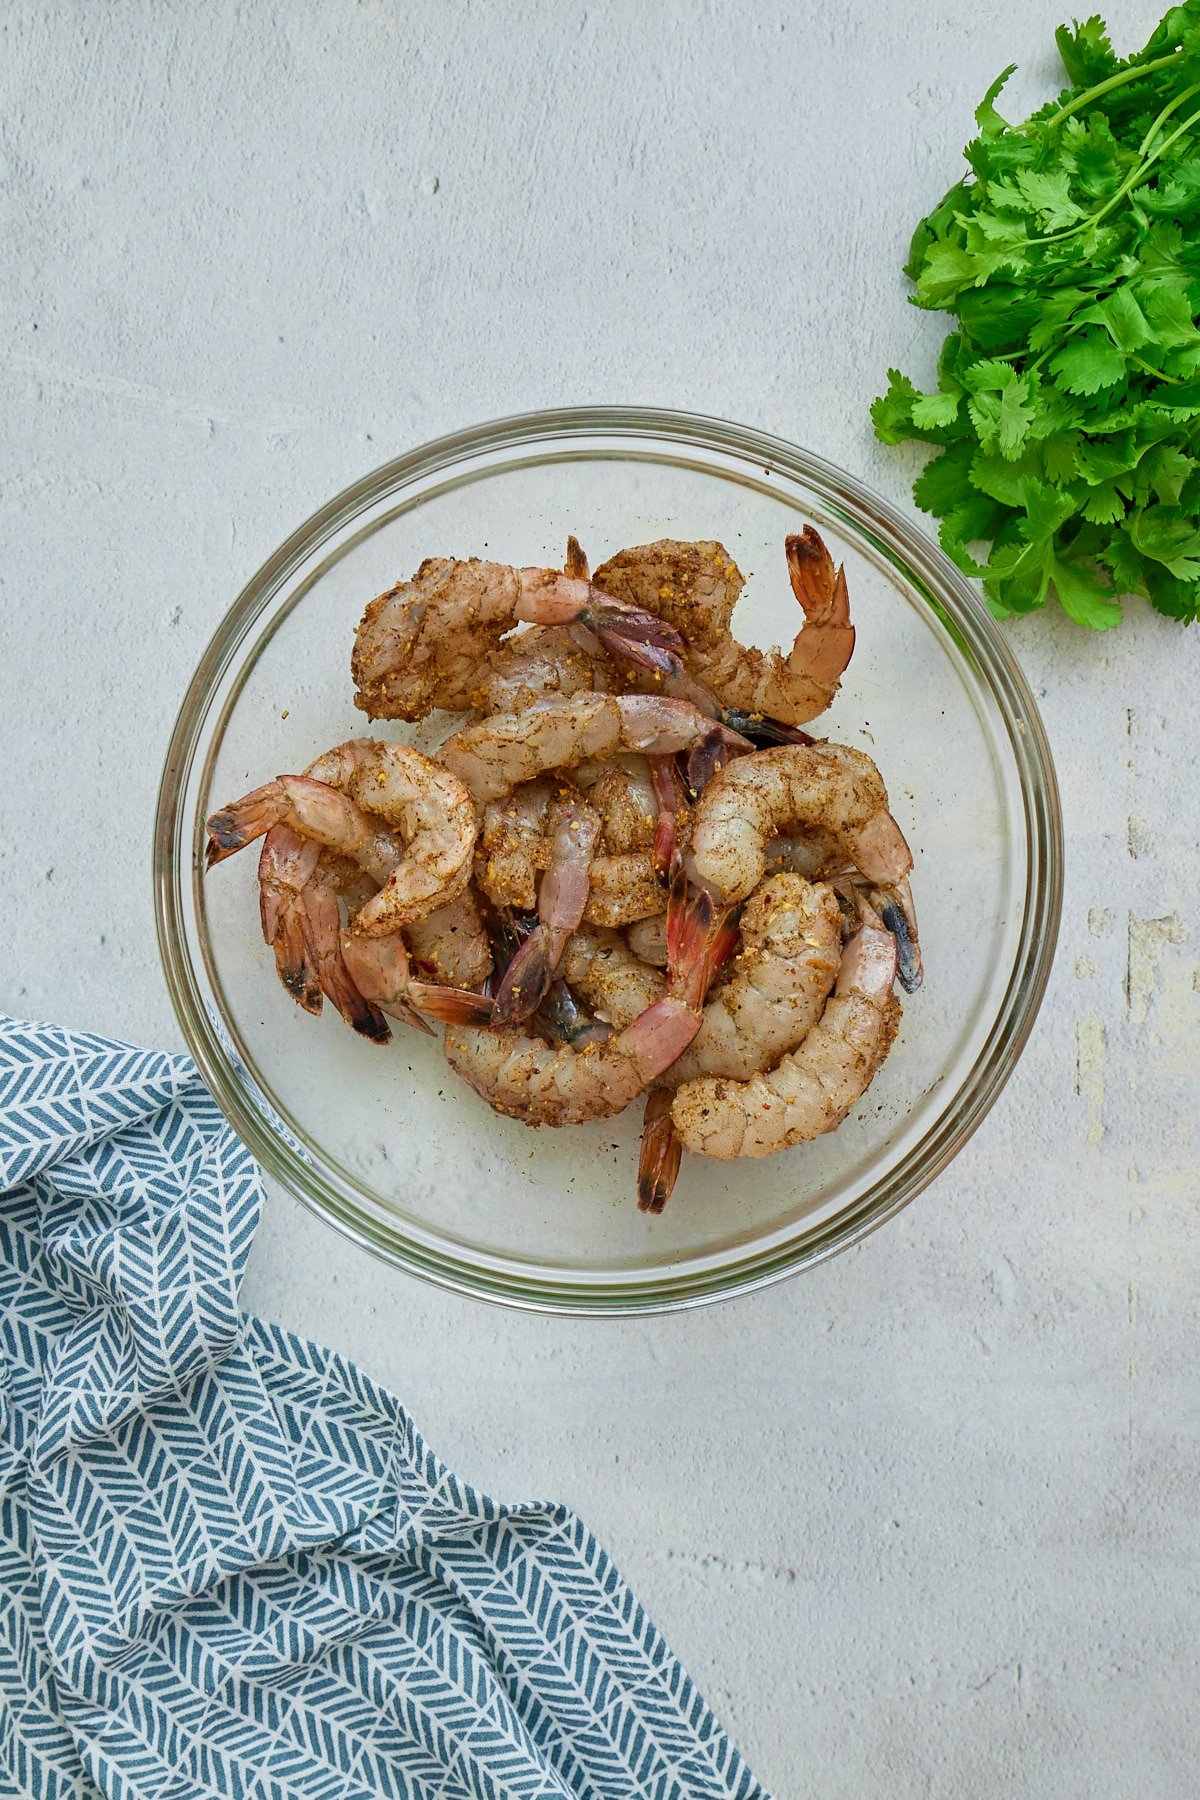
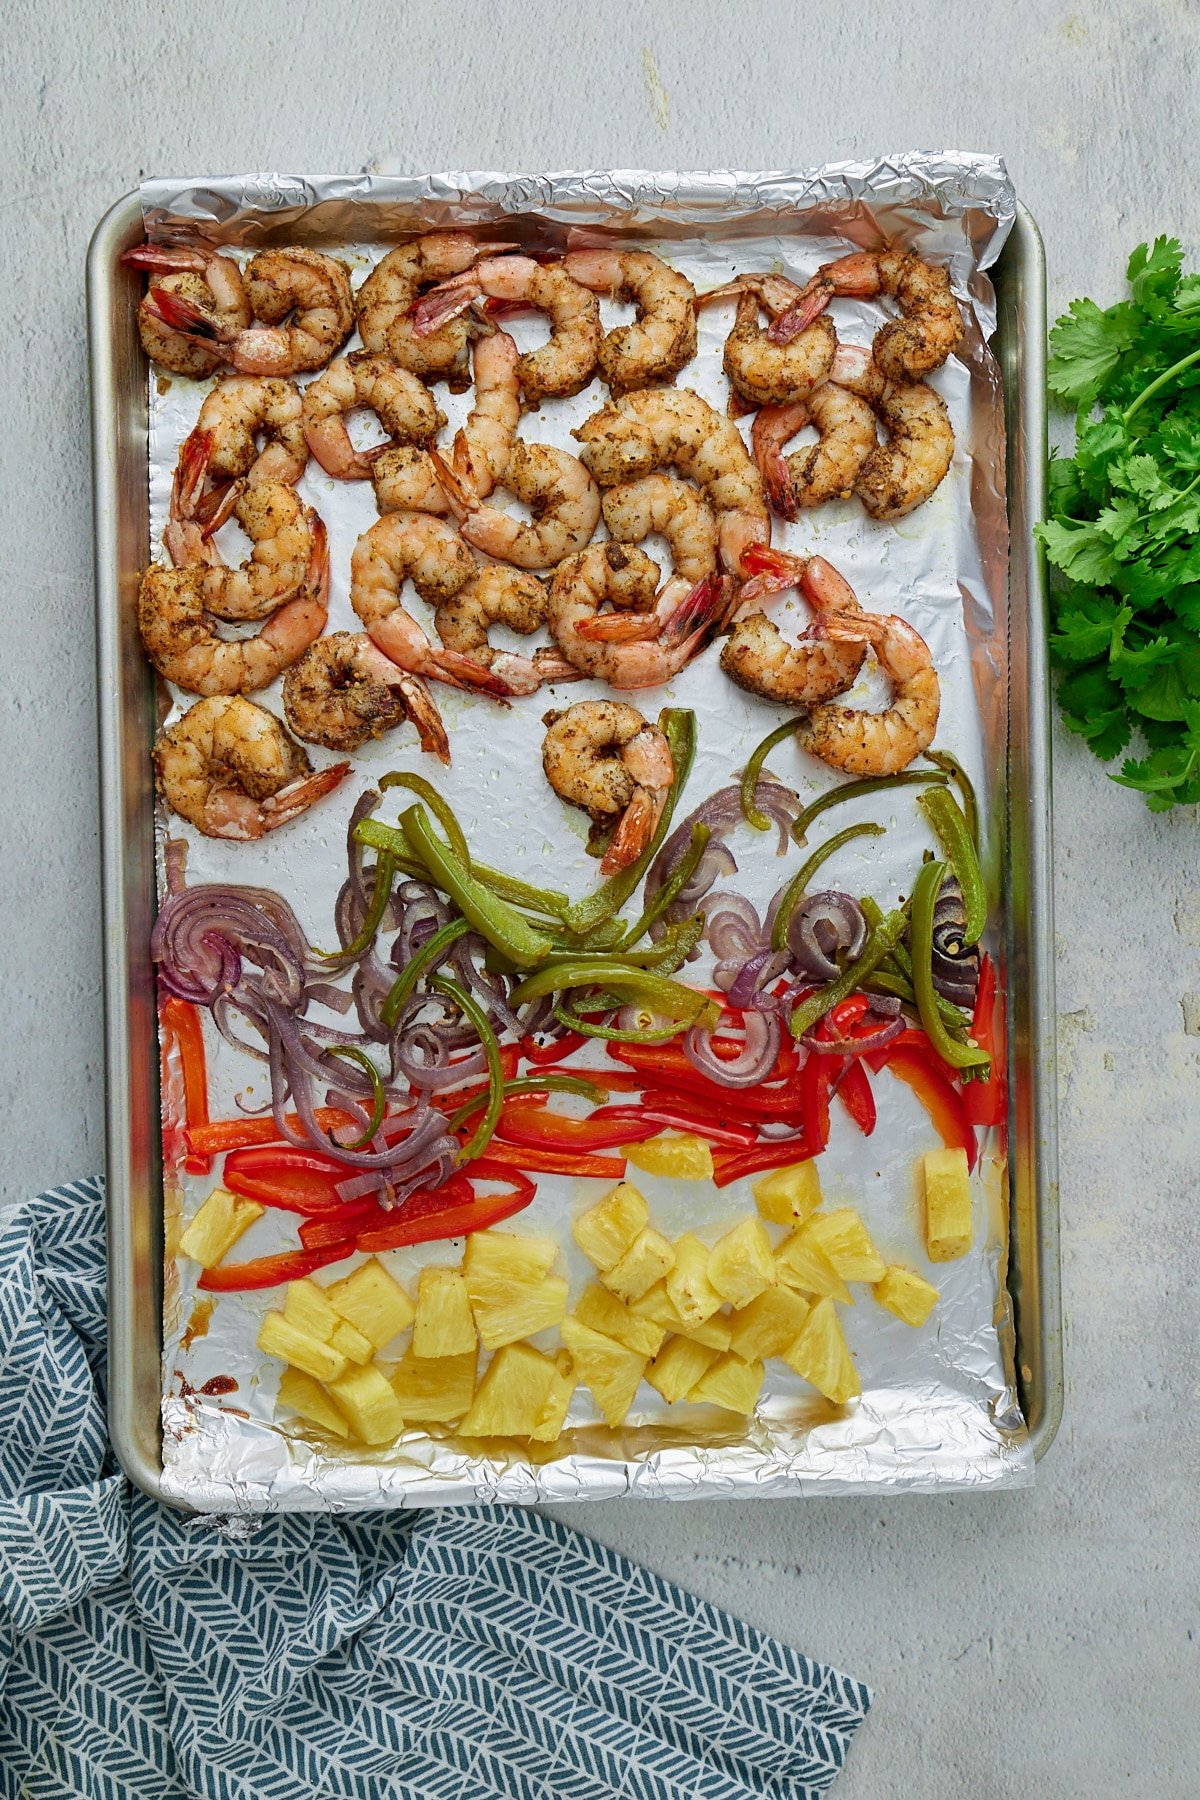
- Gather your ingredients
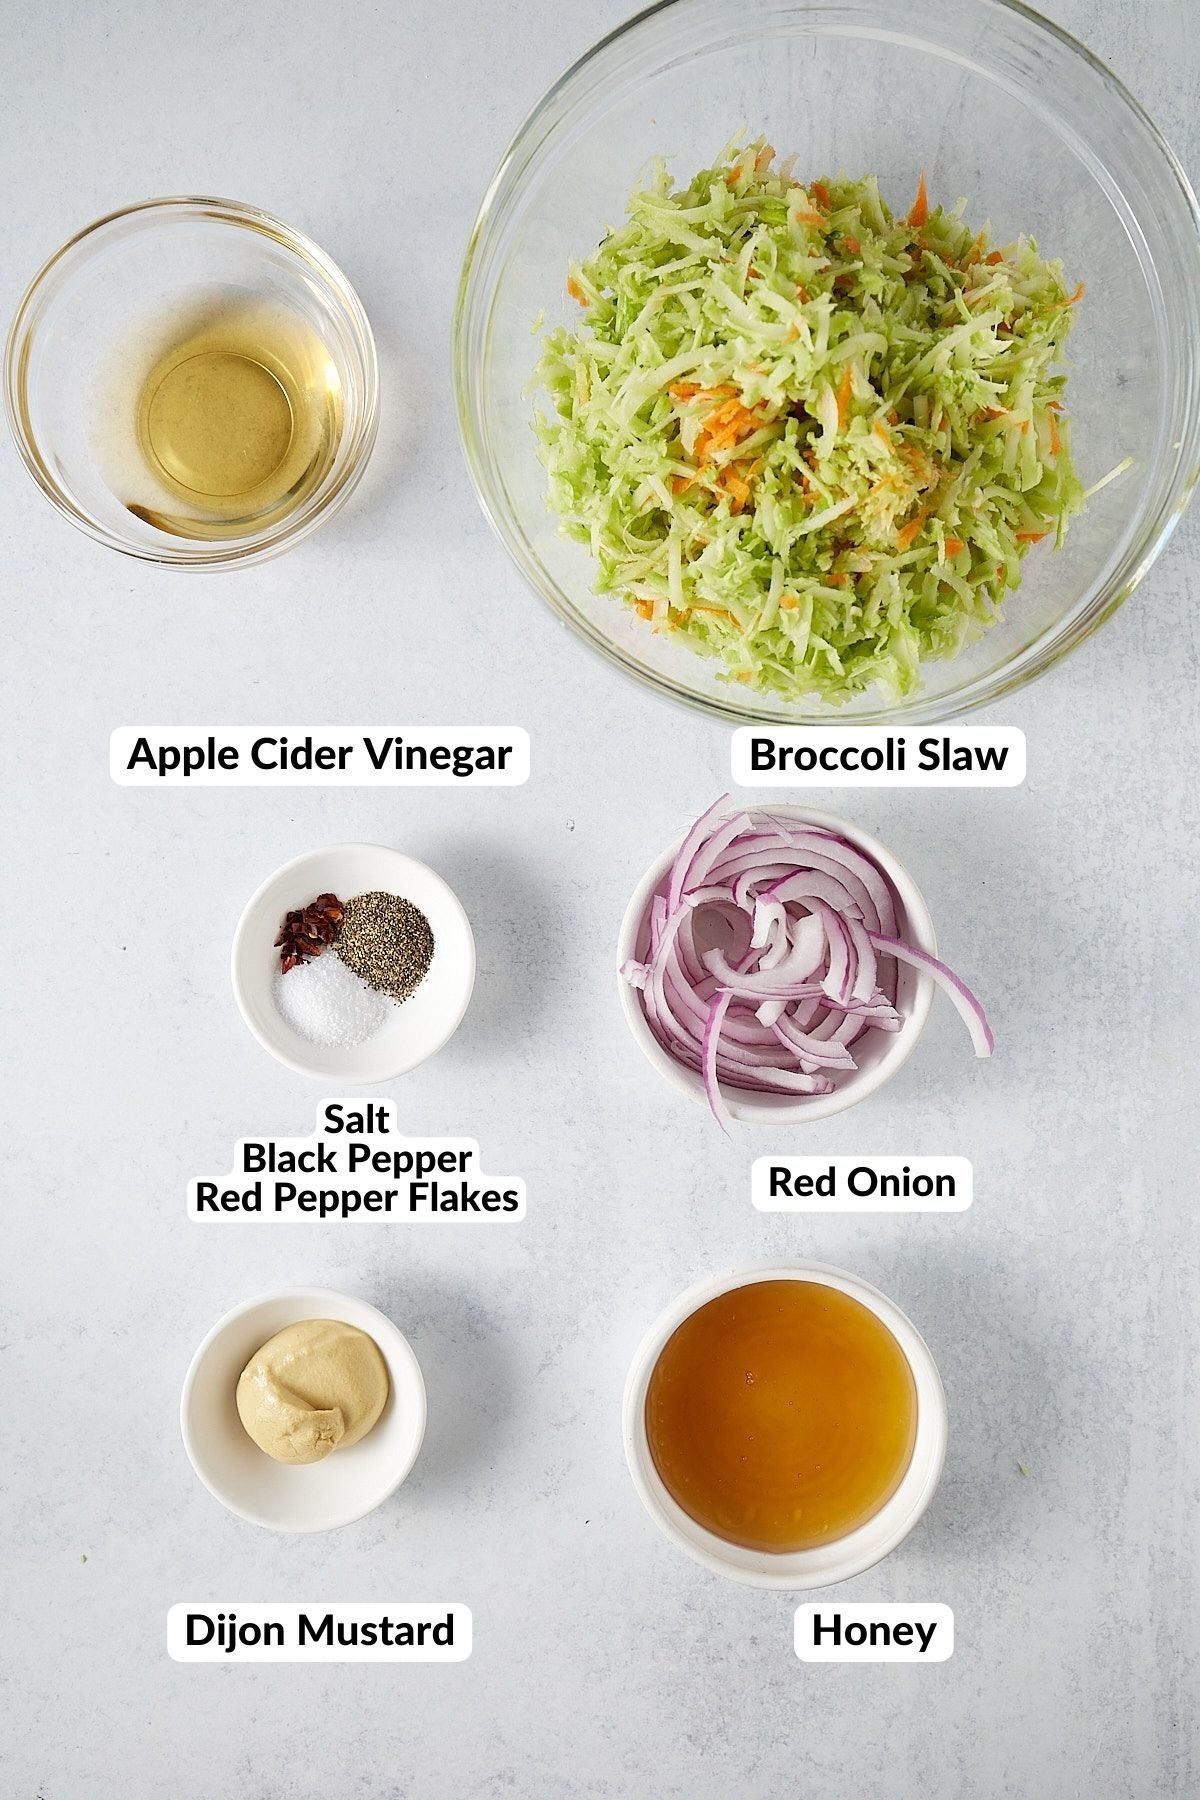
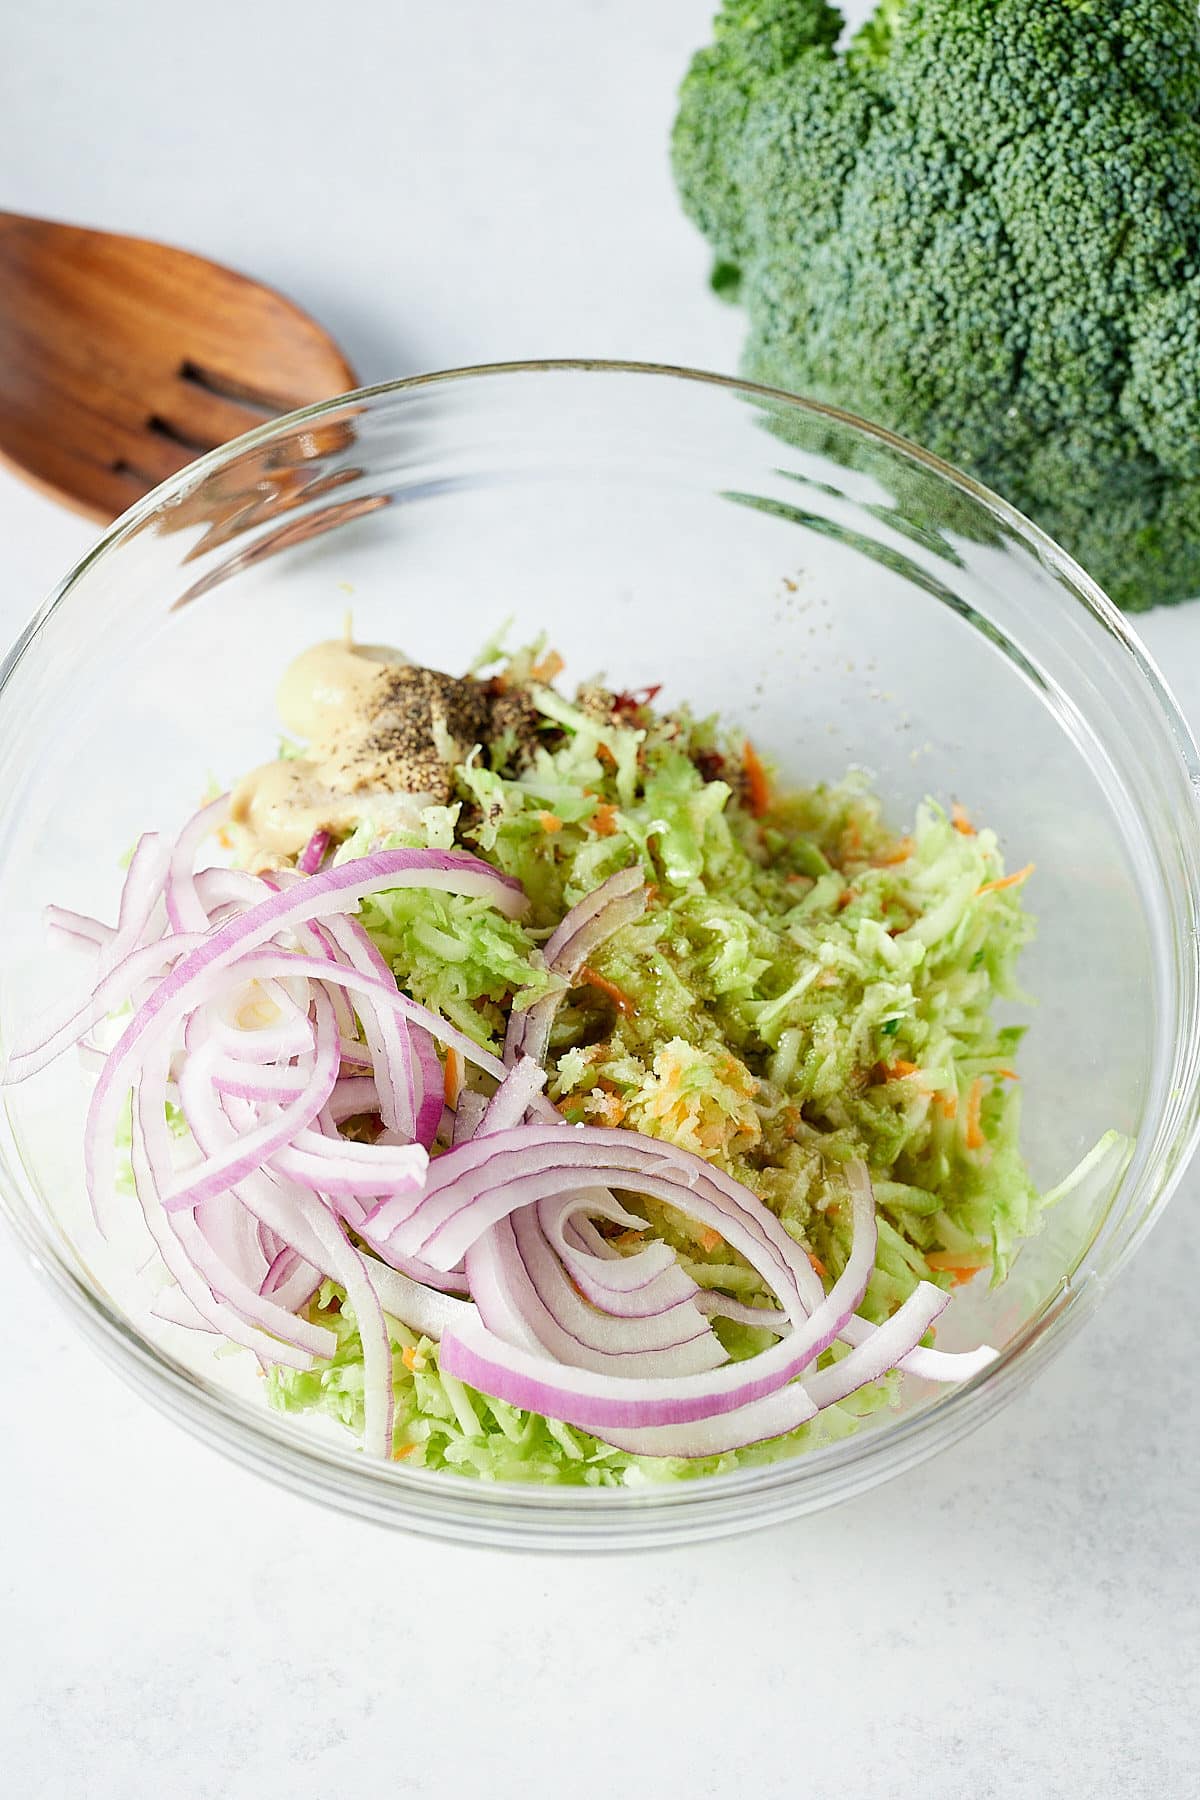
- Add broccoli slaw, sliced red onion, apple cider vinegar, honey, dijon mustard, salt, black pepper, and red pepper flakes to a large bowl and stir until thoroughly combined.
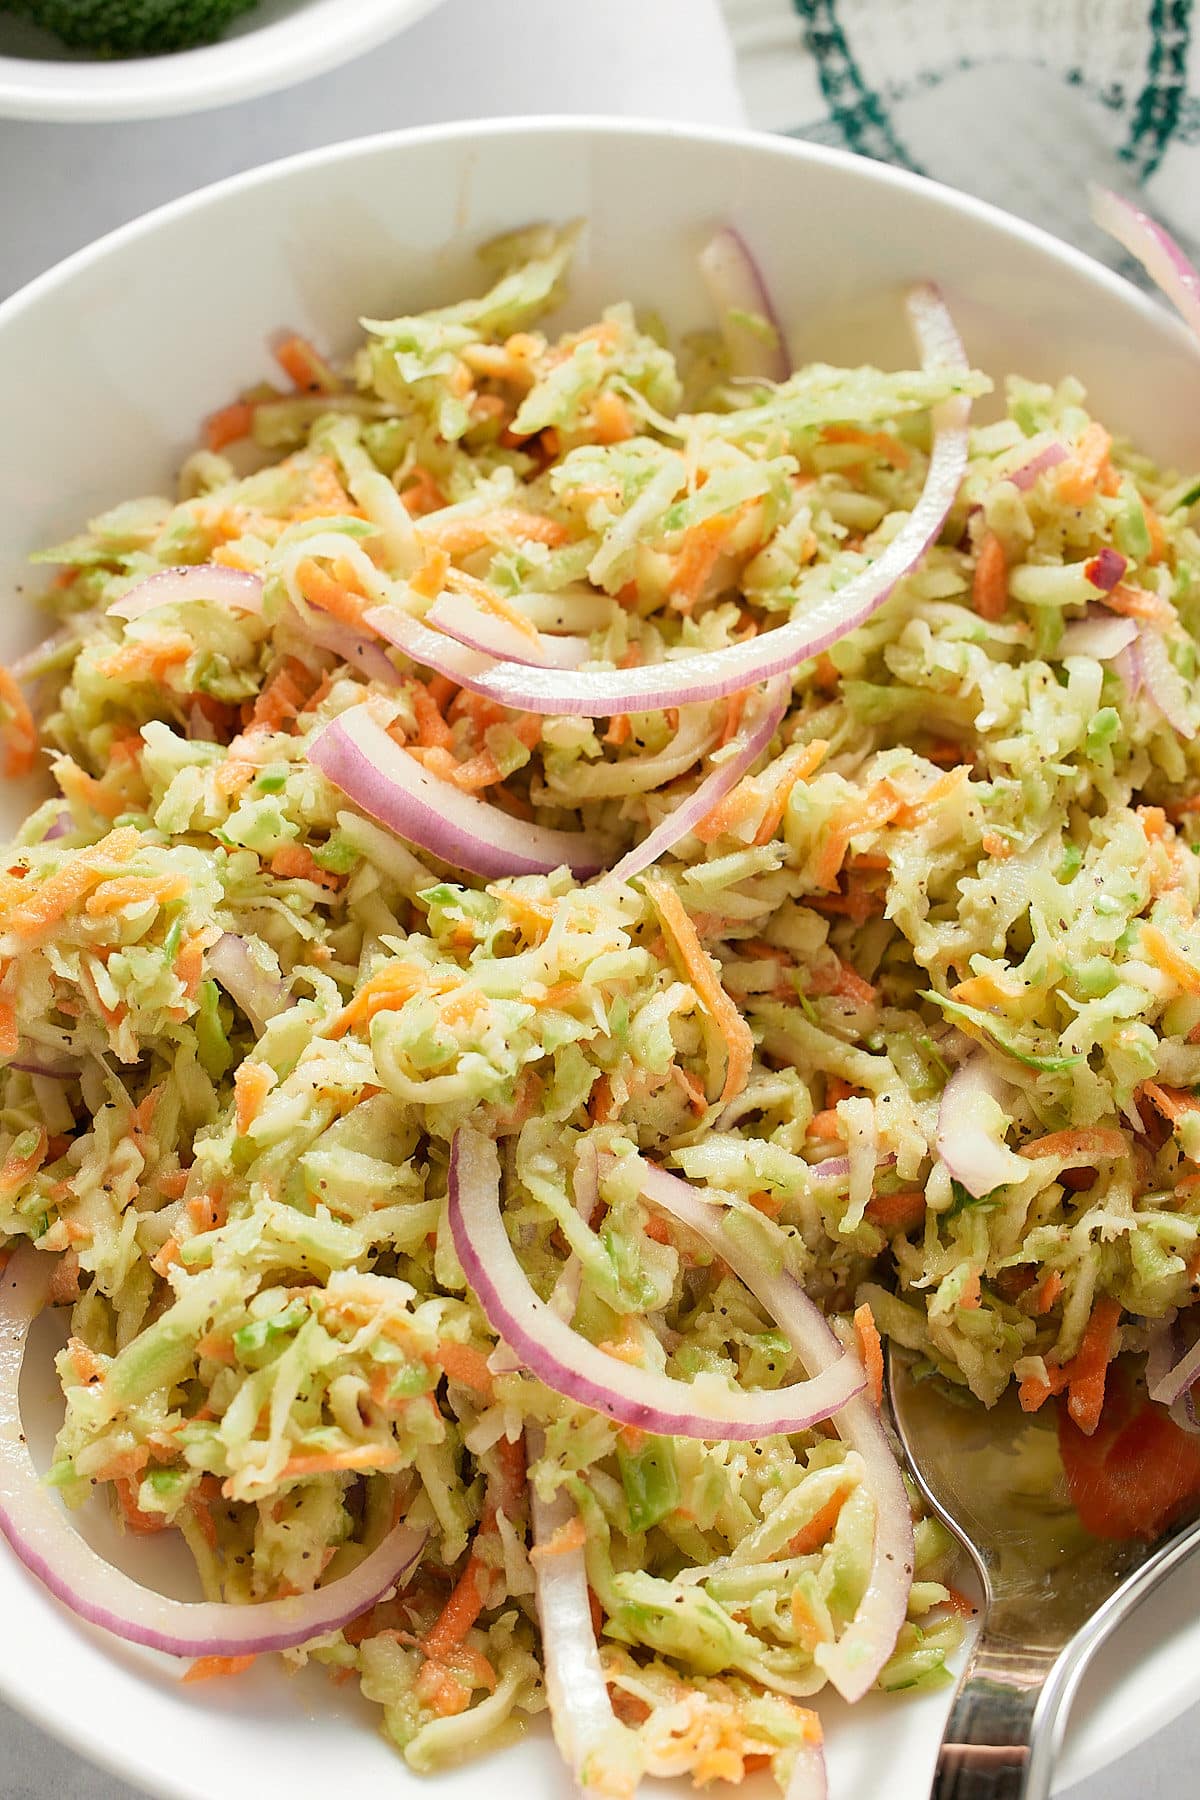
- Cover and chill in the refrigerator for at least one hour or up to overnight. Serve and enjoy.

Can you make it ahead of time?
For the tastiest slaw, ideally you want to make this up at least an hour before serving, and let it sit, covered in the fridge, to let the flavors develop. Once made, it will keep well for a couple of days. Because this slaw doesn't have a mayo dressing, it can also be frozen for 2 to 3 months. Place it into bags and remove as much air as possible and thaw overnight in the fridge.
Can you use cabbage instead of broccoli?
You can easily use cabbage slaw instead to make this recipe if you prefer or make a kale or brussel sprout slaw instead. The dressing is also super versatile and can easily be used with other favorite salad recipes.
What do you serve it with?
This broccoli slaw is a great side dish to serve up as part of a cookout with grilled meats, hot dogs, and burgers and it's also perfect to serve as part of a regular weeknight dinner. Because it is made without mayo, it travels well, so is a great option for picnics and pot lucks. Try it with some of these favorite recipes:
Recipe Notes and Tips
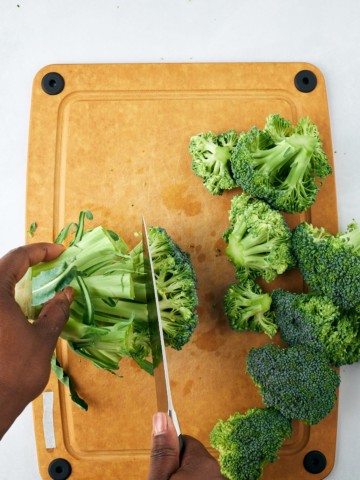
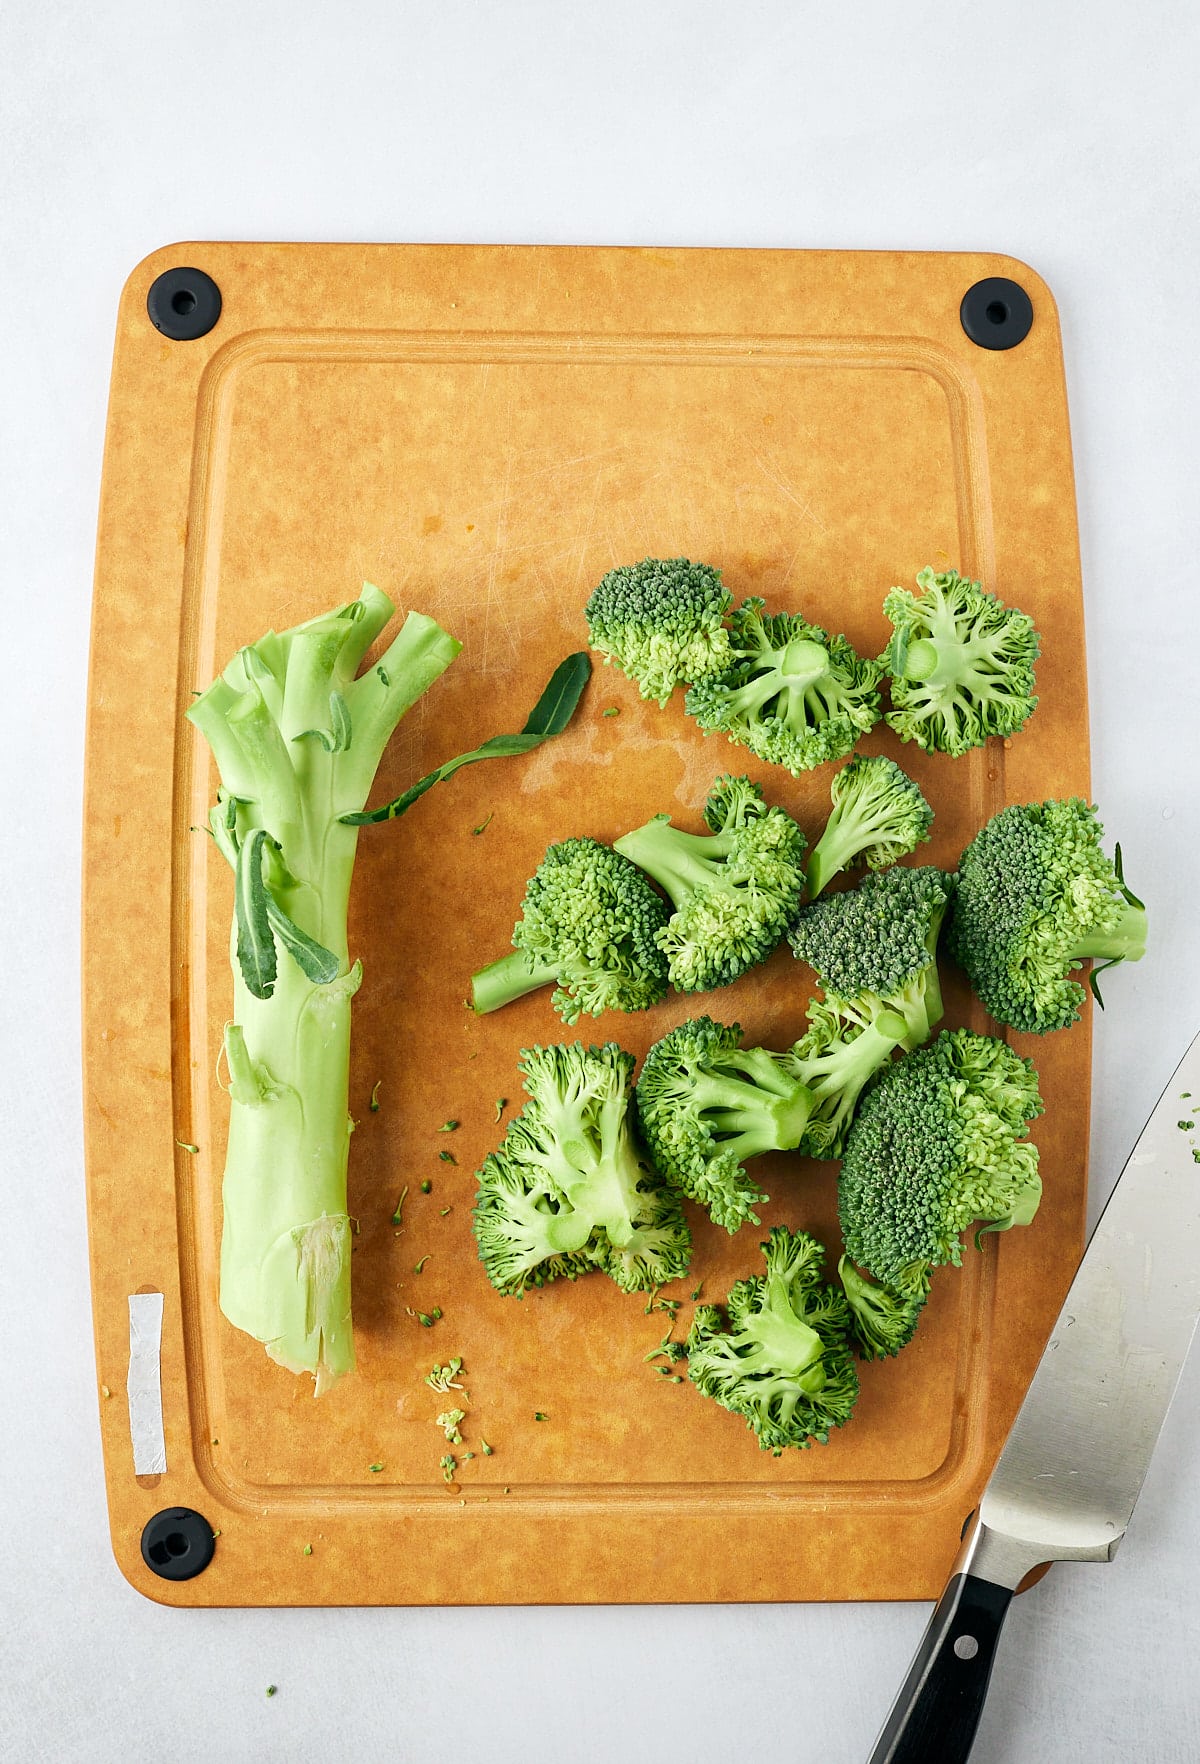
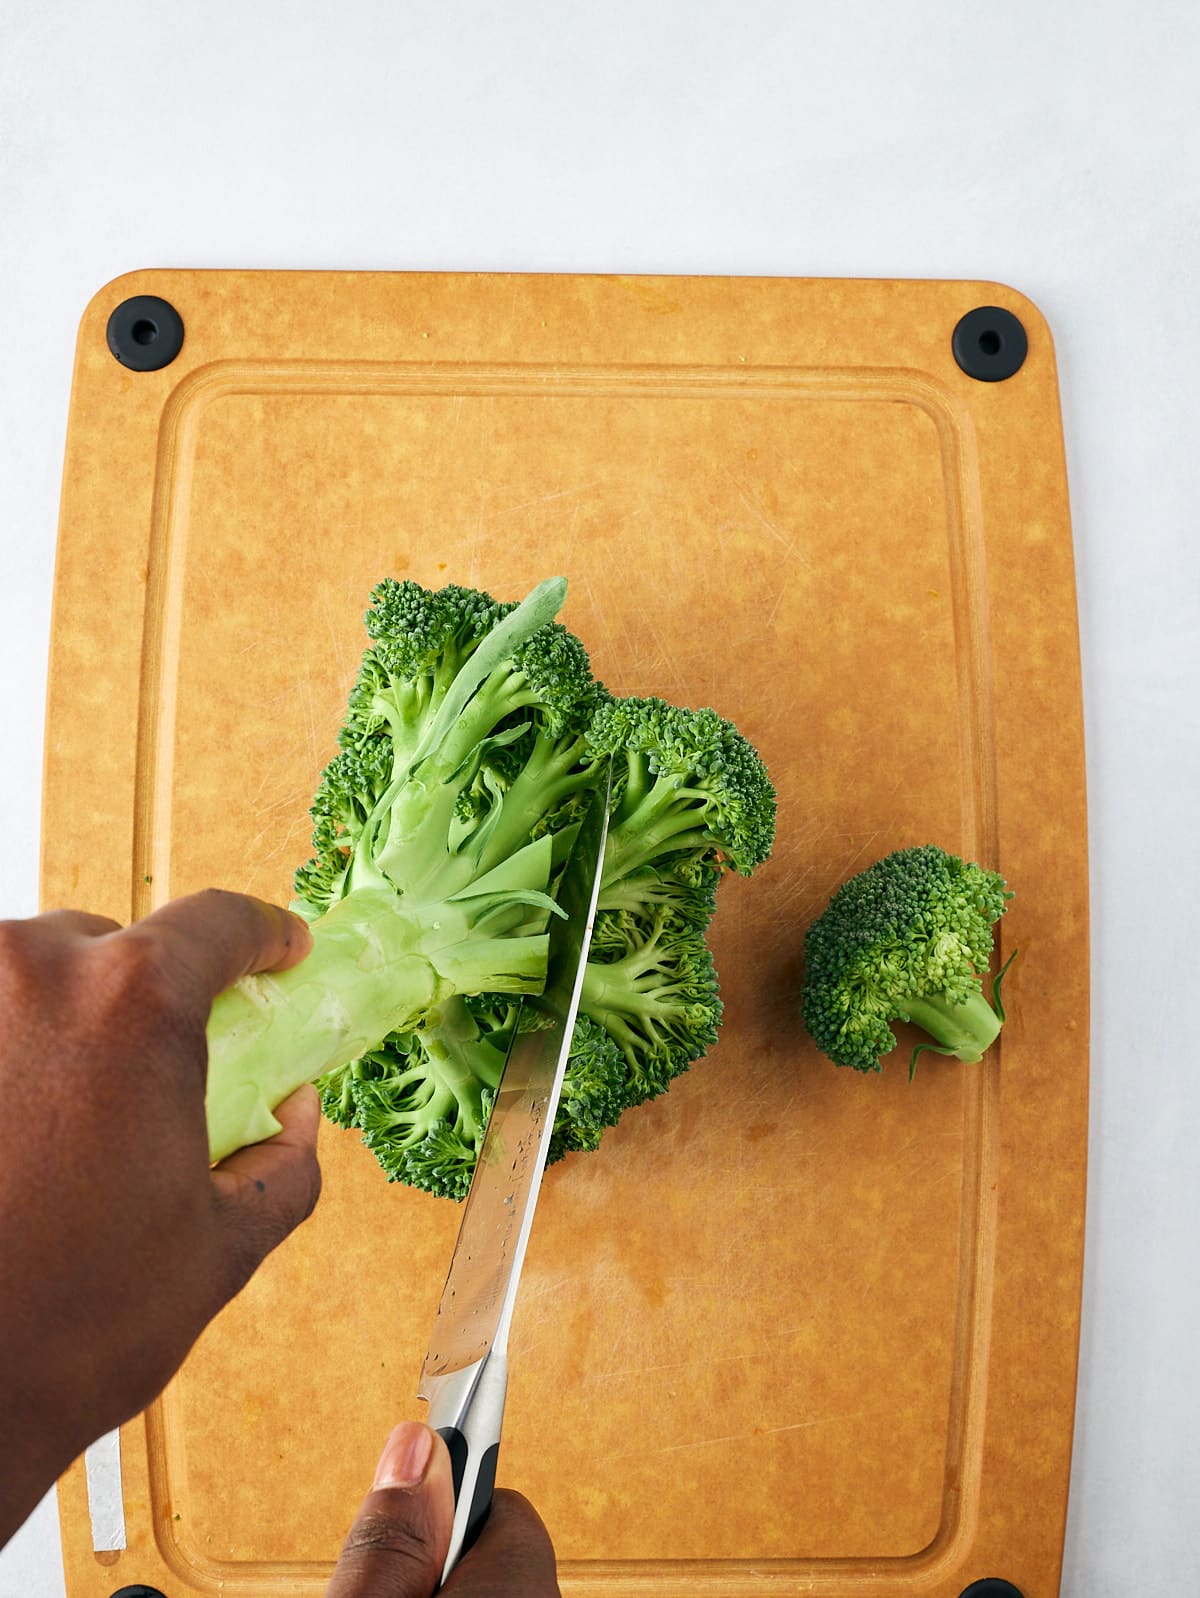
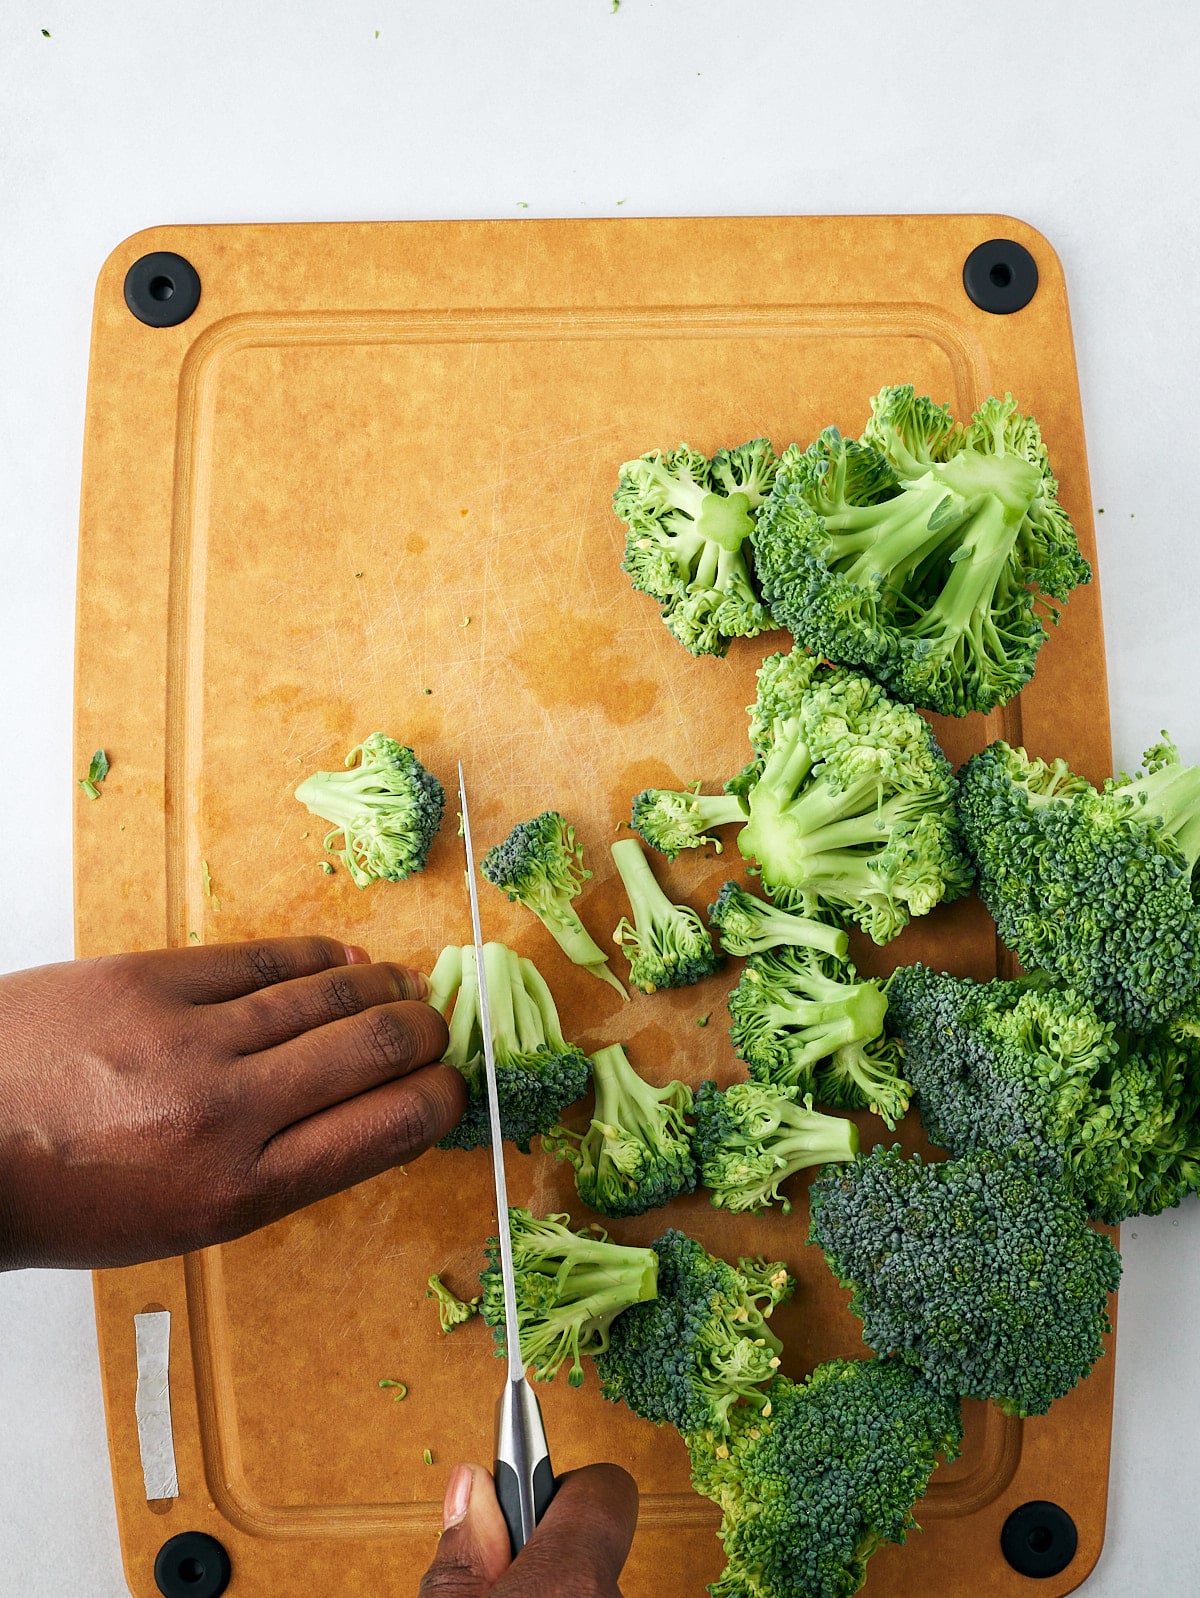
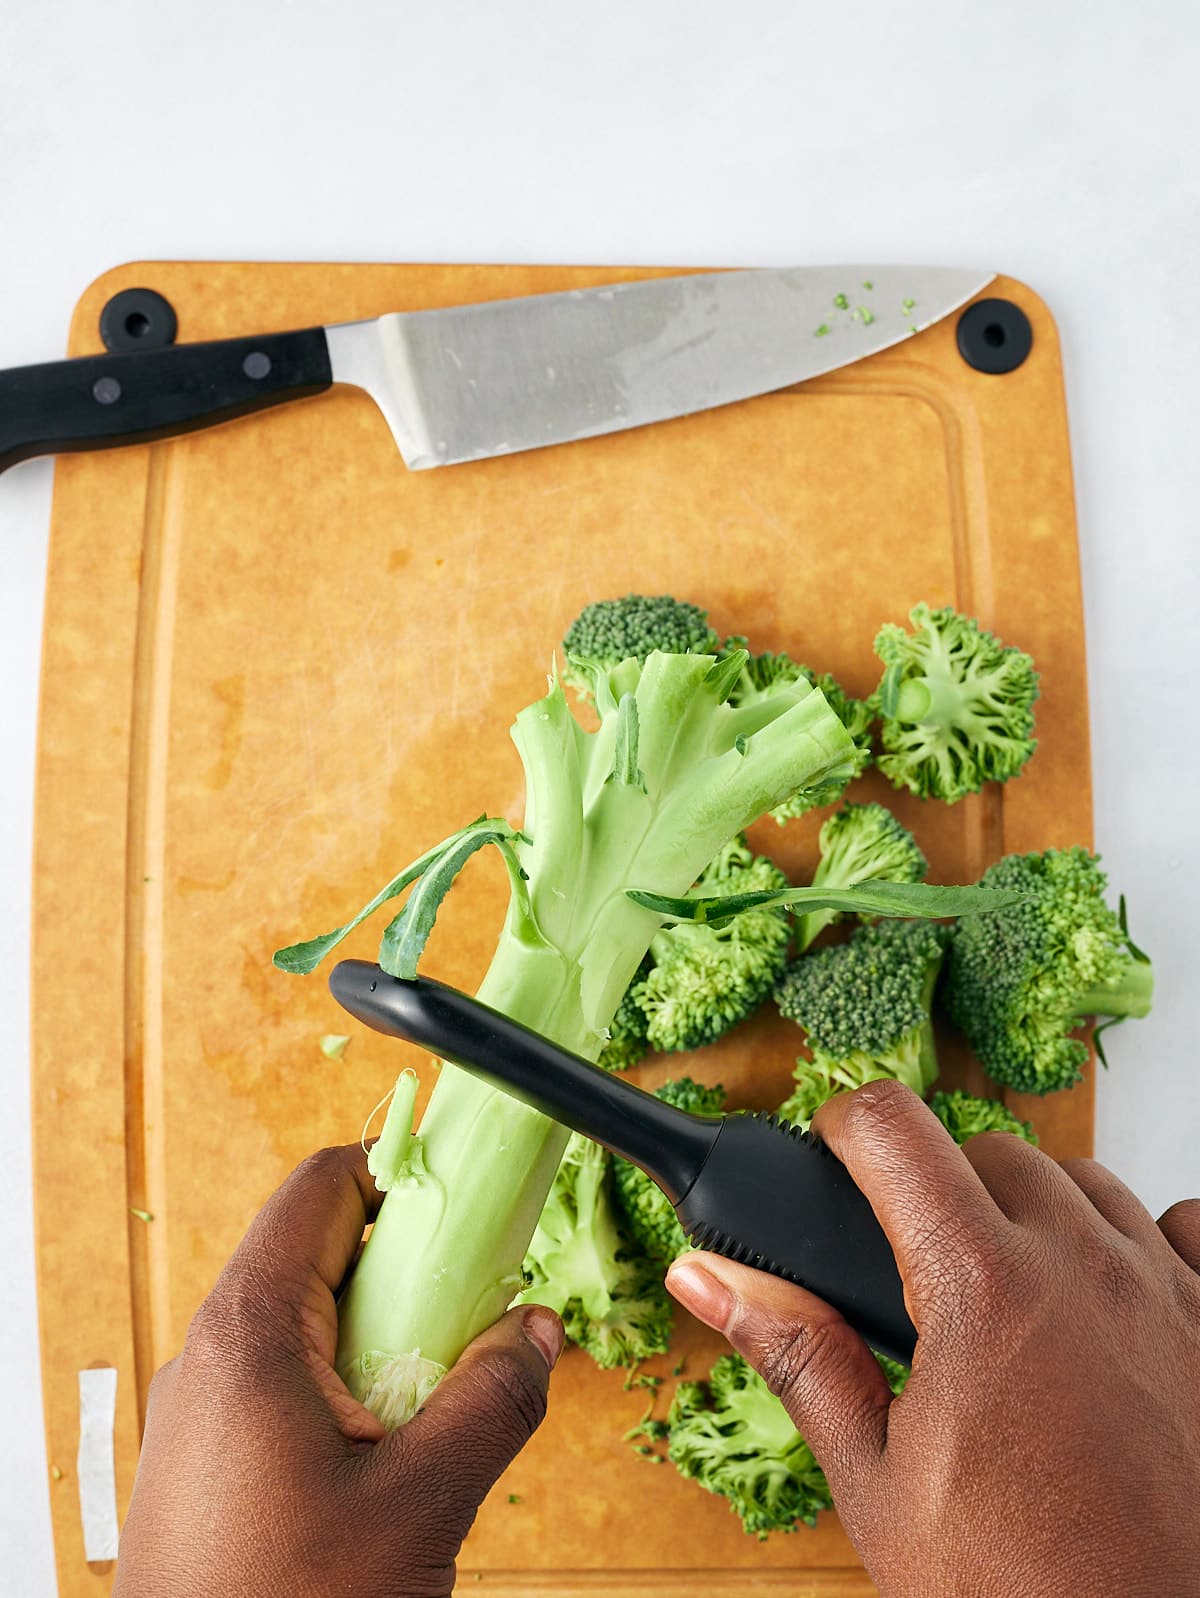
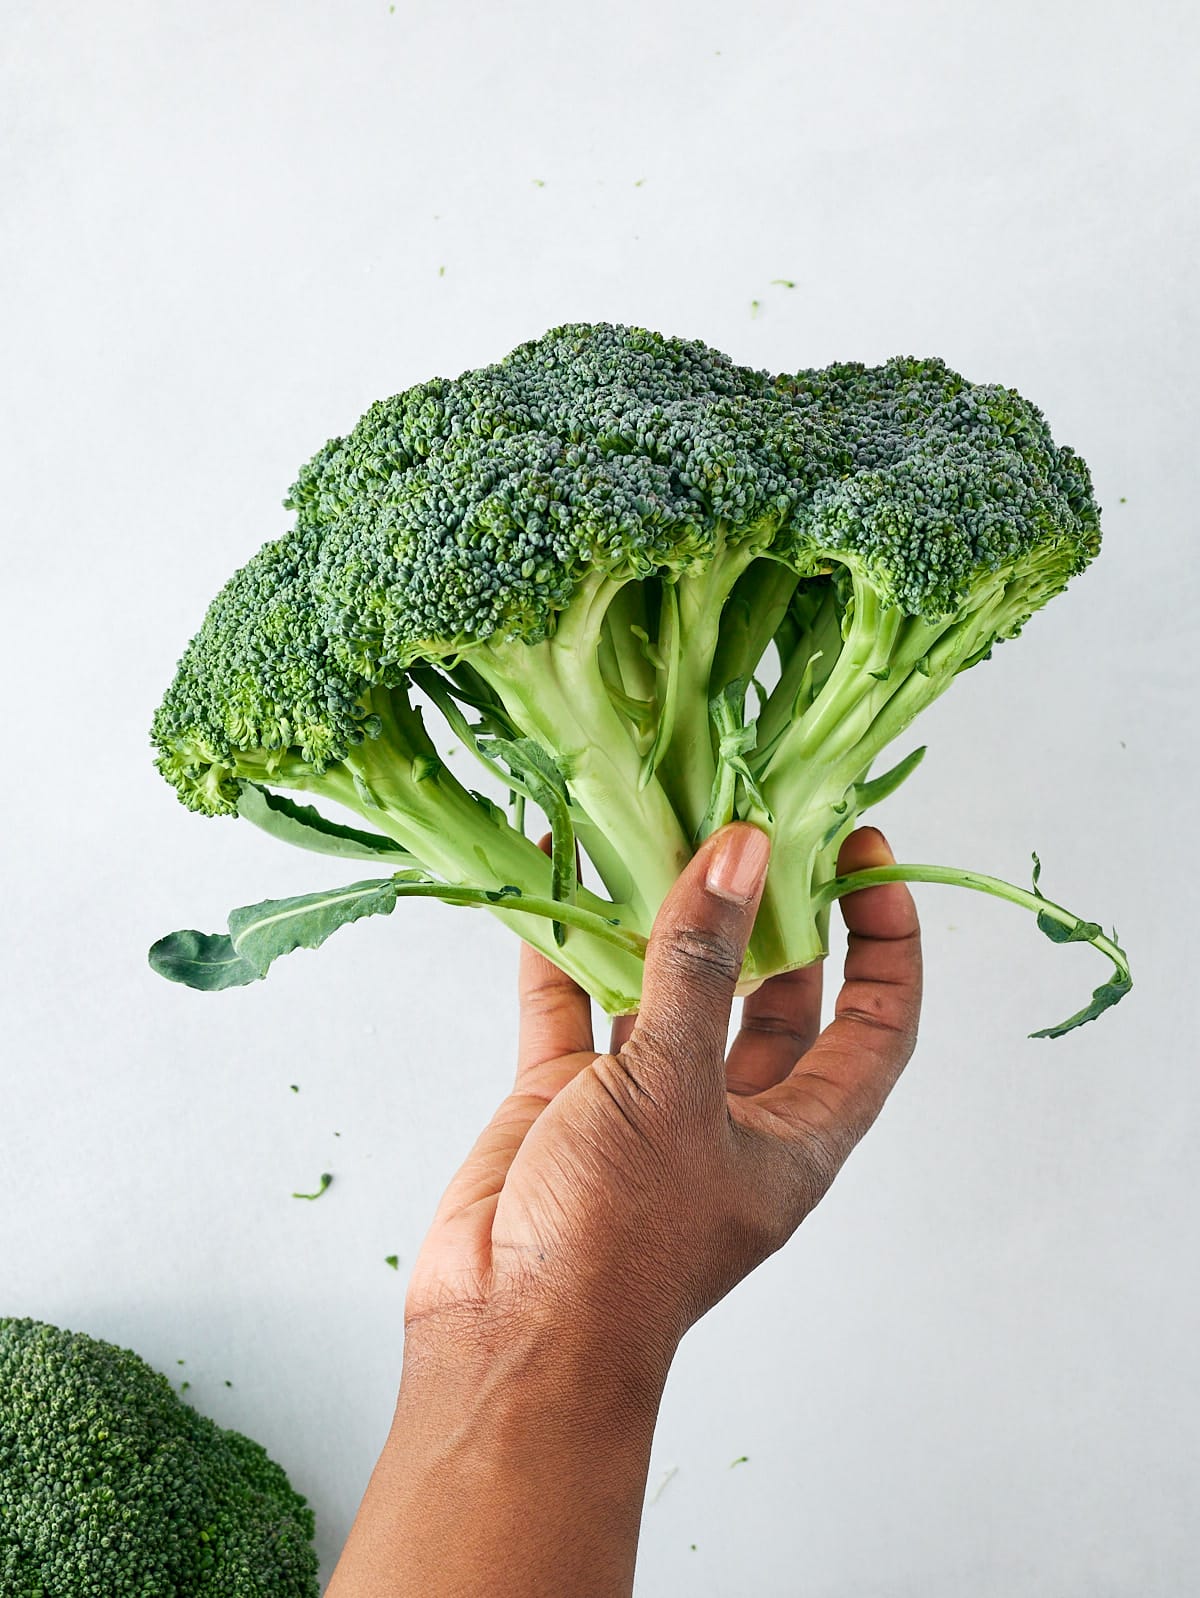
- You can make your own broccoli slaw by shredding 2 broccoli stalks and 1 medium-sized carrot in a food processor. Using a food processor will result in finer shreds than you will find in most grocery store bagged versions.
- Slice the red onion thinly so that it isn't too overpowering.
- Make this recipe vegan by swapping the honey for maple syrup.
More Salad Recipes

Broccoli Slaw
Ingredients
- 10 oz broccoli slaw bag or homemade
- ½ cup thinly sliced red onion
- 3 Tablespoons apple cider vinegar
- 3 Tablespoons honey
- 1 Tablespoon dijon mustard
- ½ teaspoon kosher salt
- ½ teaspoon ground black pepper
- ⅛ teaspoon red pepper flakes
Instructions
- Add broccoli slaw, sliced red onion, apple cider vinegar, honey, dijon mustard, salt, black pepper, and red pepper flakes to a large bowl and stir until thoroughly combined.
- Cover and chill in the refrigerator for at least one hour or up to overnight. Serve and enjoy.
Notes
- You can make your own broccoli slaw by shredding 2 broccoli stalks and 1 medium-sized carrot in a food processor. Using a food processor will result in finer shreds than you will find in most grocery store bagged versions.
- Slice the red onion thinly so that it isn't too overpowering.
- Make this recipe vegan by swapping the honey for maple syrup.