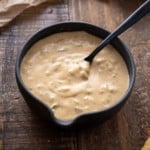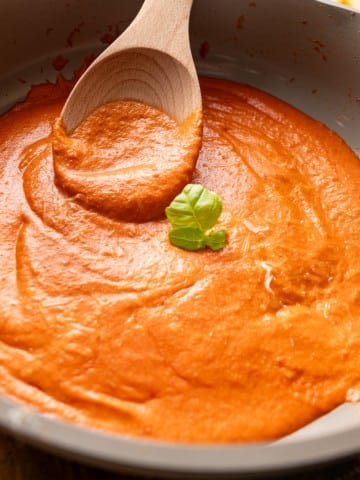
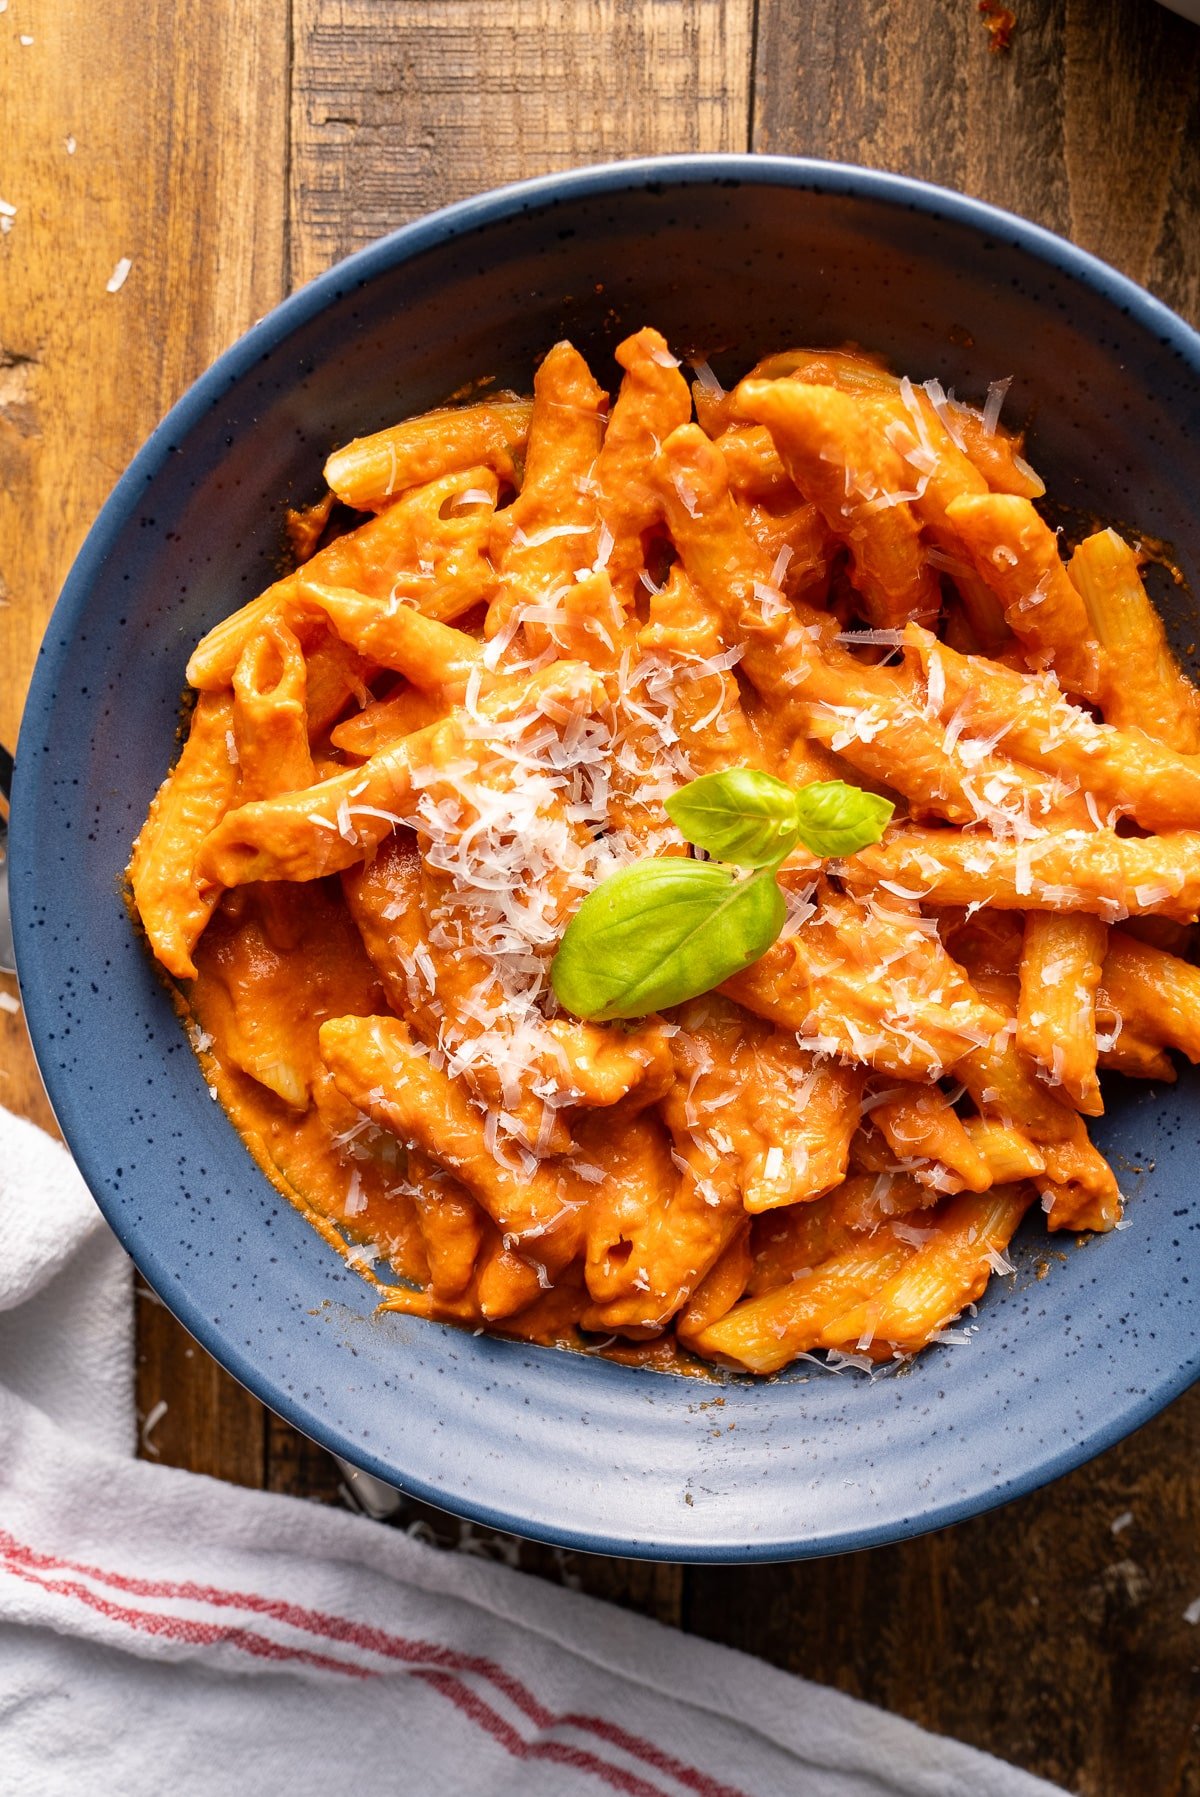
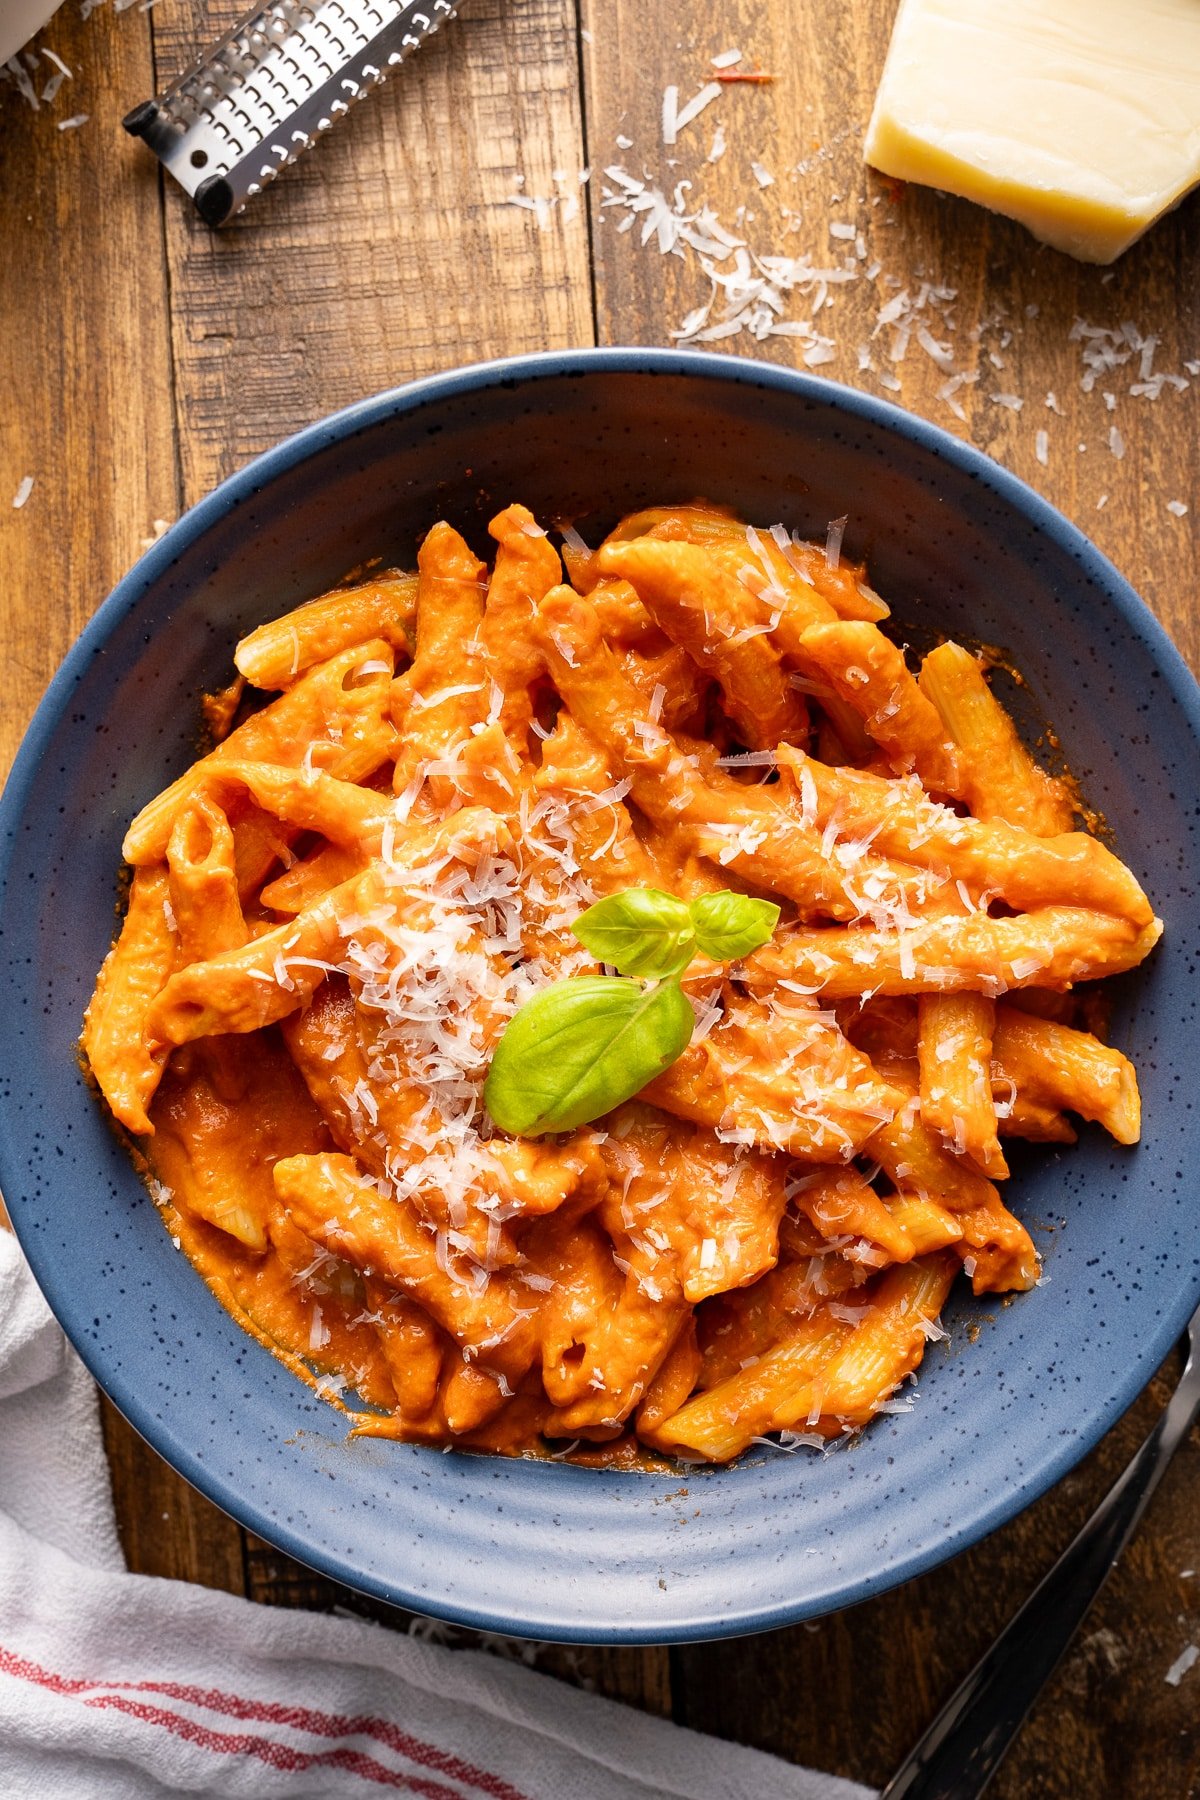
This homemade vodka sauce perfectly balances rich creaminess and bright tomato flavor. This sauce perfectly balances rich creaminess and bright tomato flavor. Its smooth texture and hint of vodka make any pasta taste like a restaurant meal in just 20 minutes.
Look, I’m all about those easy weeknight dinners that still feel special. Pasta with a tasty vodka sauce is my favorite when I want comfort food. Hello, penne alla vodka! It’s quick, easy, and perfect for when I want comfort food without spending hours in the kitchen.
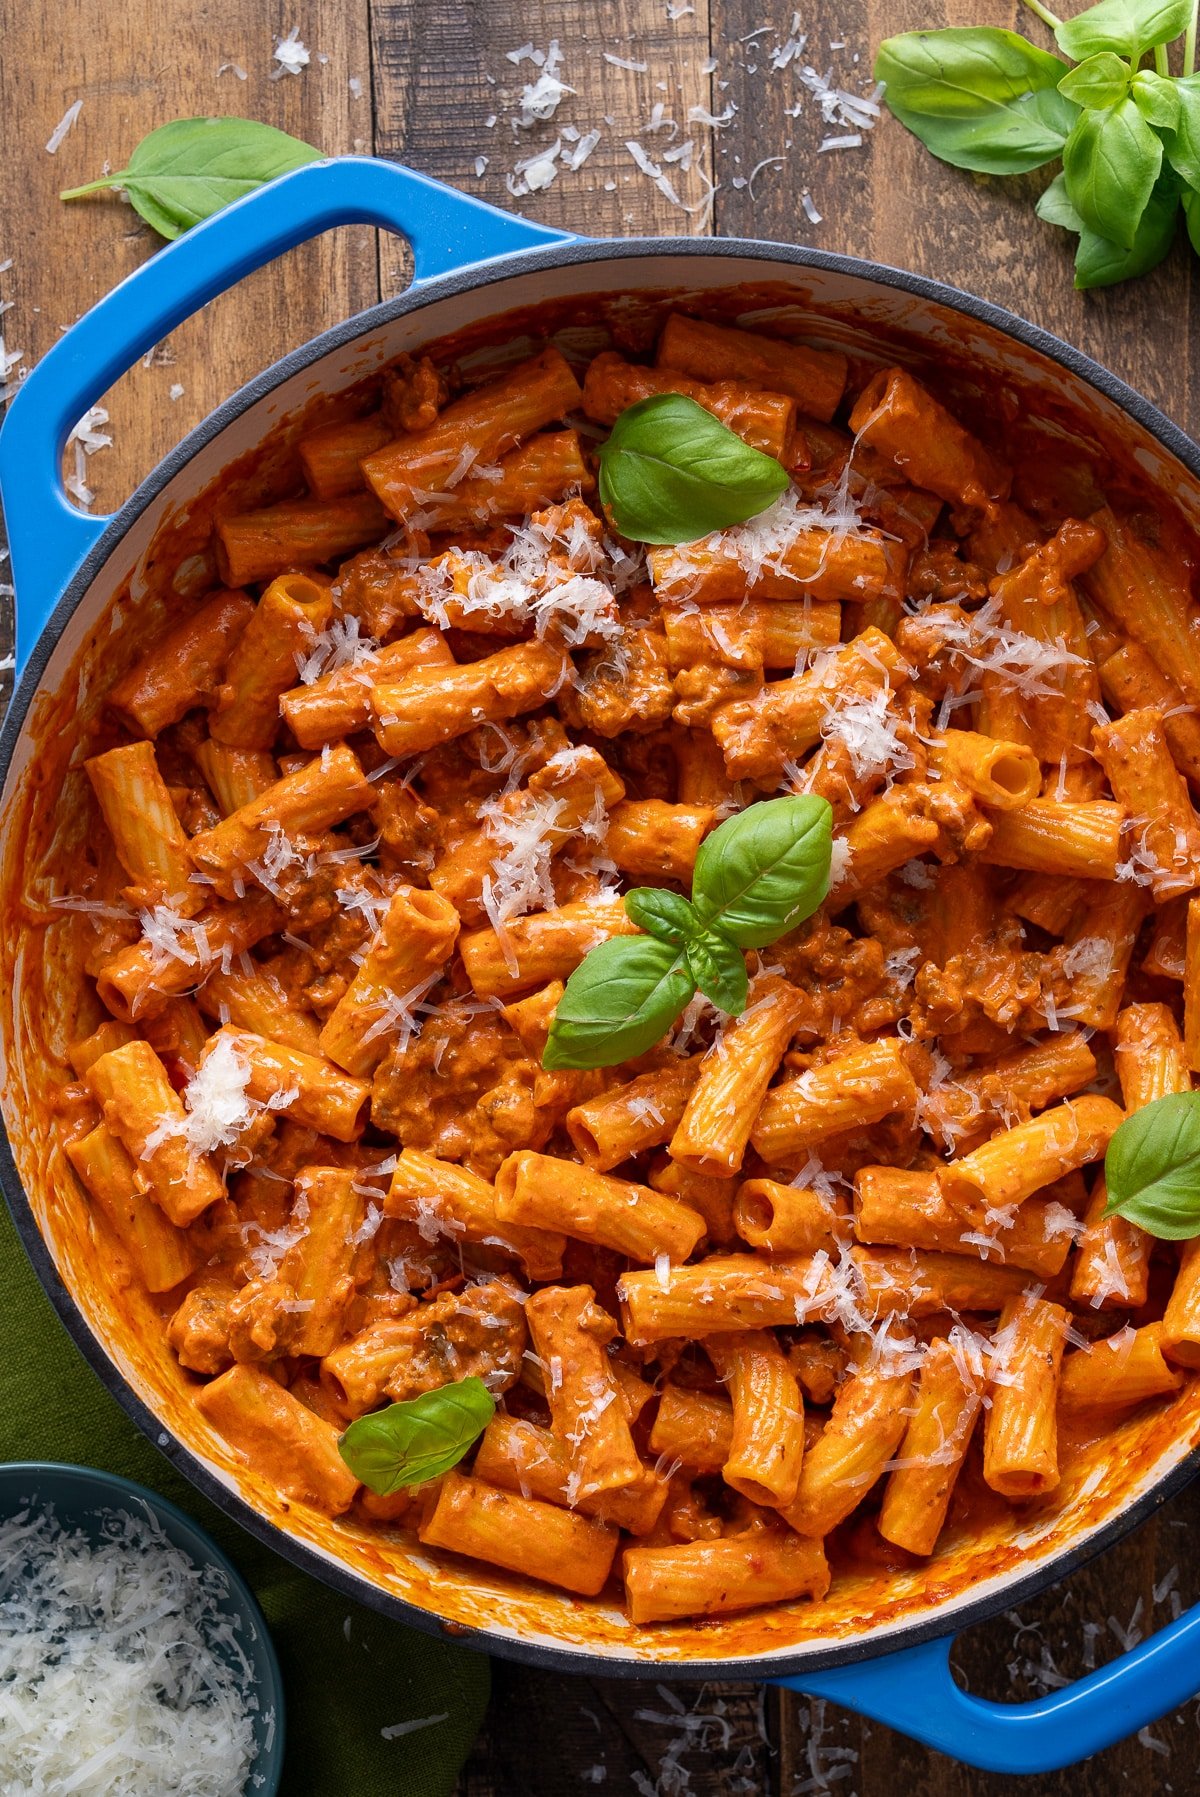
My spicy vodka rigatoni has always been a favorite—both for me and my spice-loving friends!
However, I understand that not everyone wants their taste buds challenged with every bite. That’s why this classic, non-spicy vodka sauce had to make it onto the blog. Trust me - it’s just as good without the heat, and might just become your new pasta night obsession.
What Makes This Vodka Pasta Sauce So Special?
If you’ve never made vodka sauce, you’re in for a treat! The vodka enhances the tomatoes, adding a little tang and richness without any boozy taste. Don’t worry—the alcohol cooks off, leaving behind nothing but flavor.
We’ve tested this recipe to perfection, and our technique ensures it turns out just right every time. Plus, it comes together in no time!
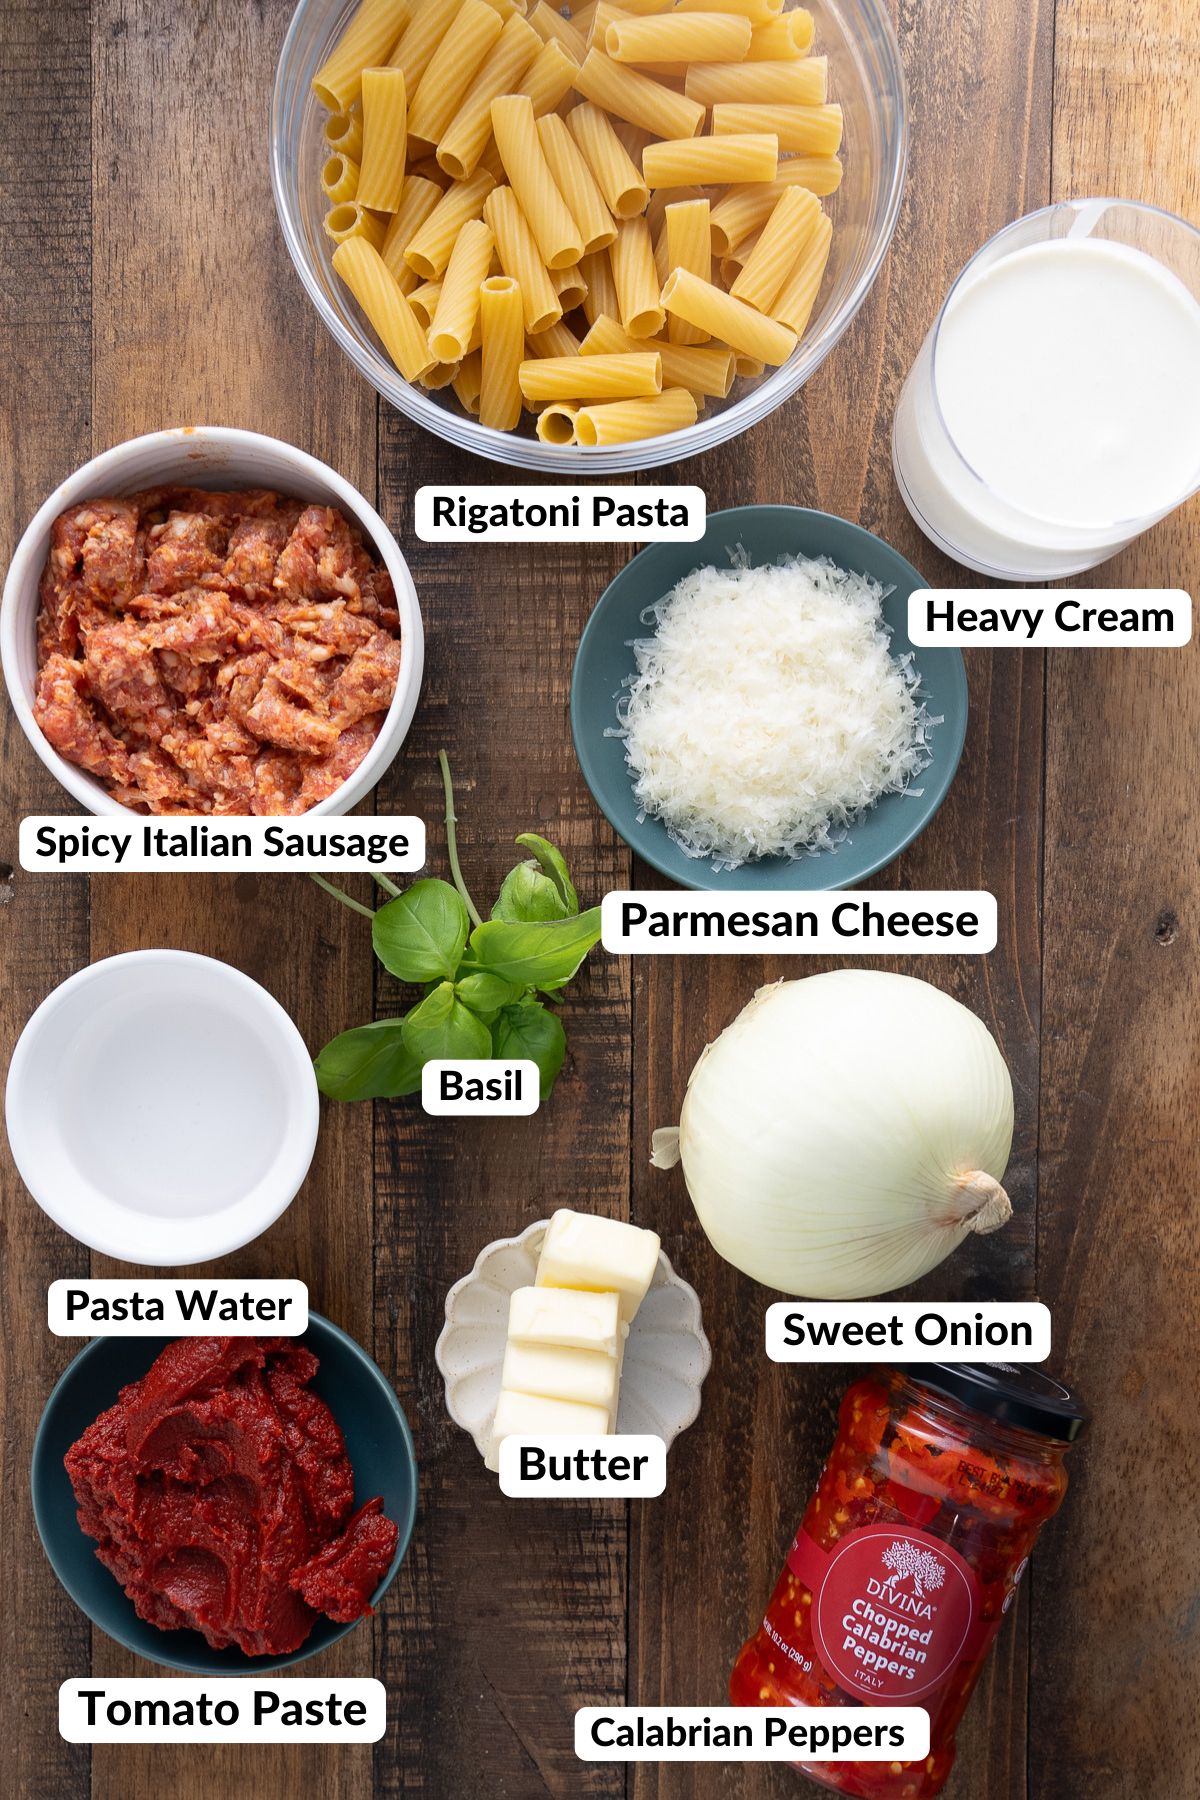
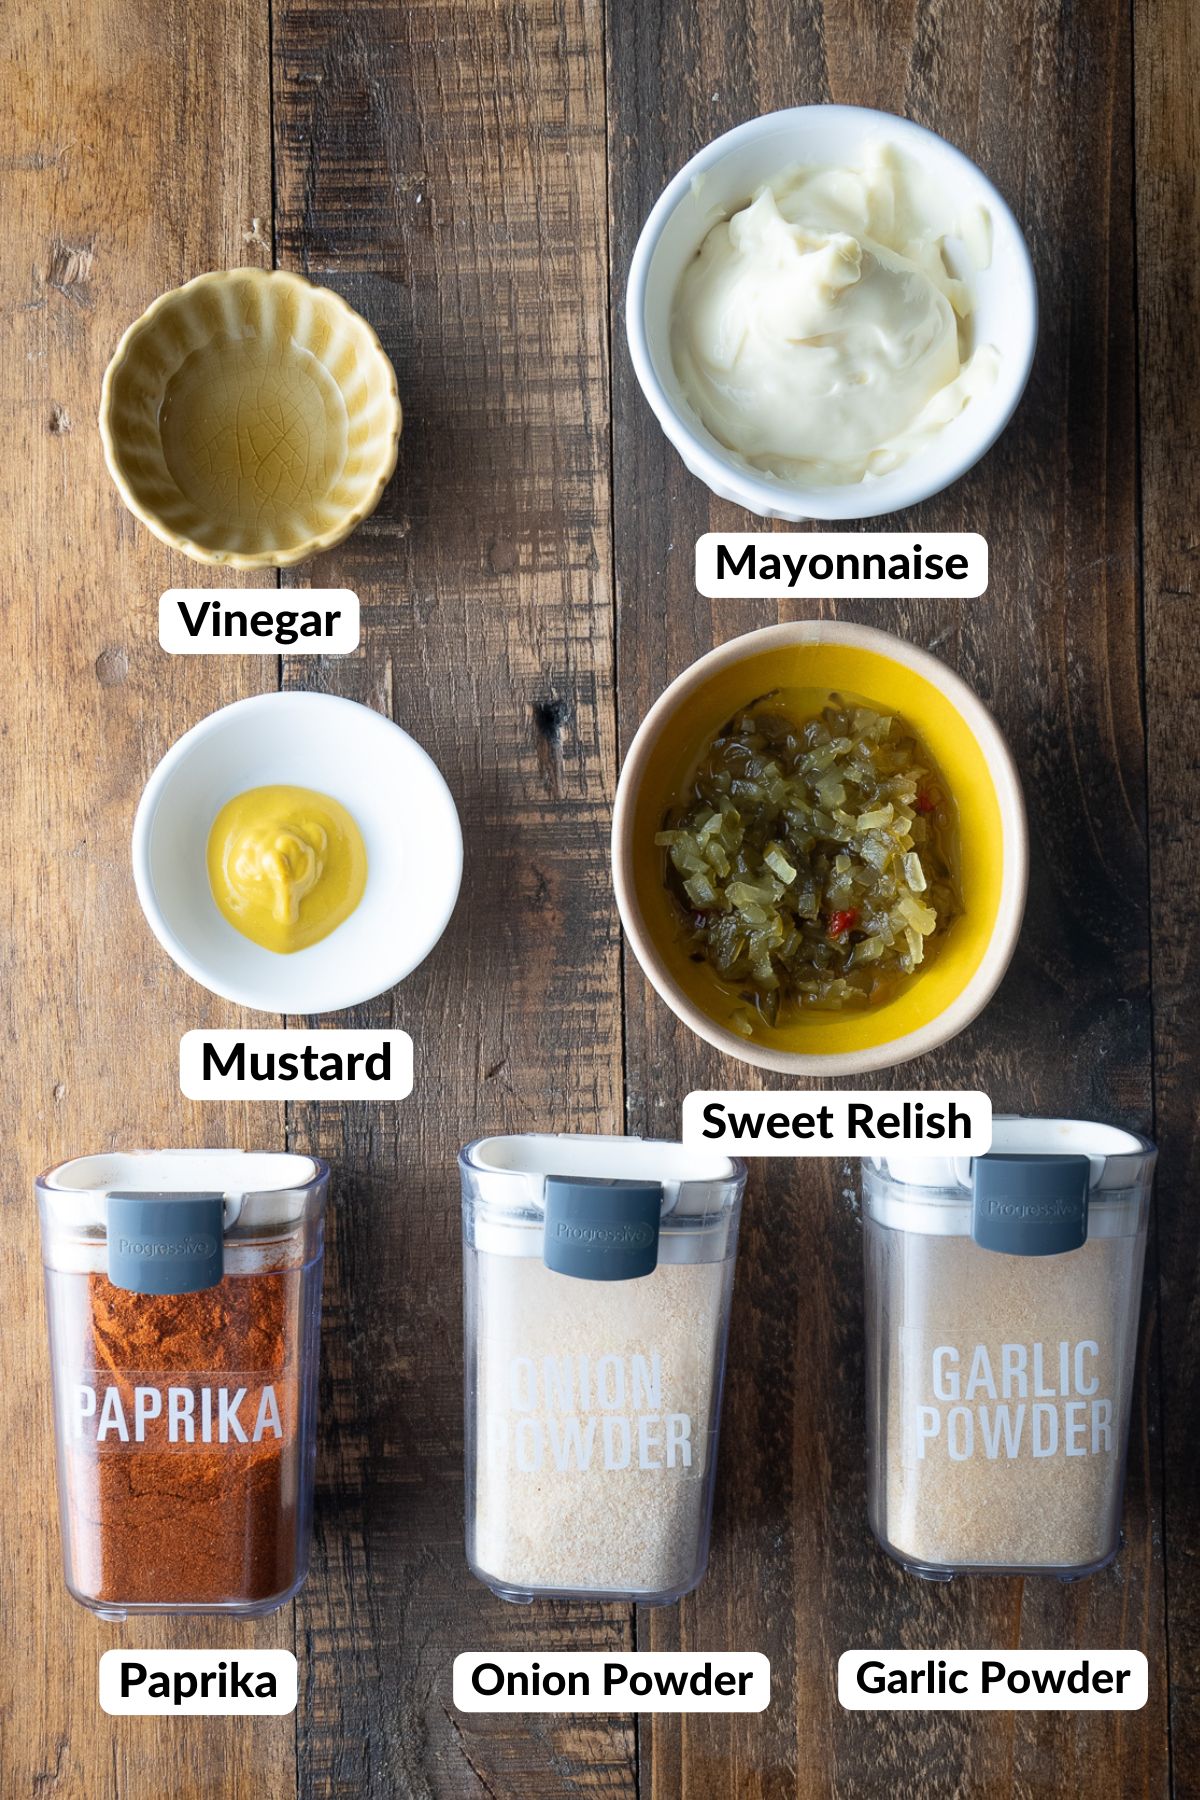
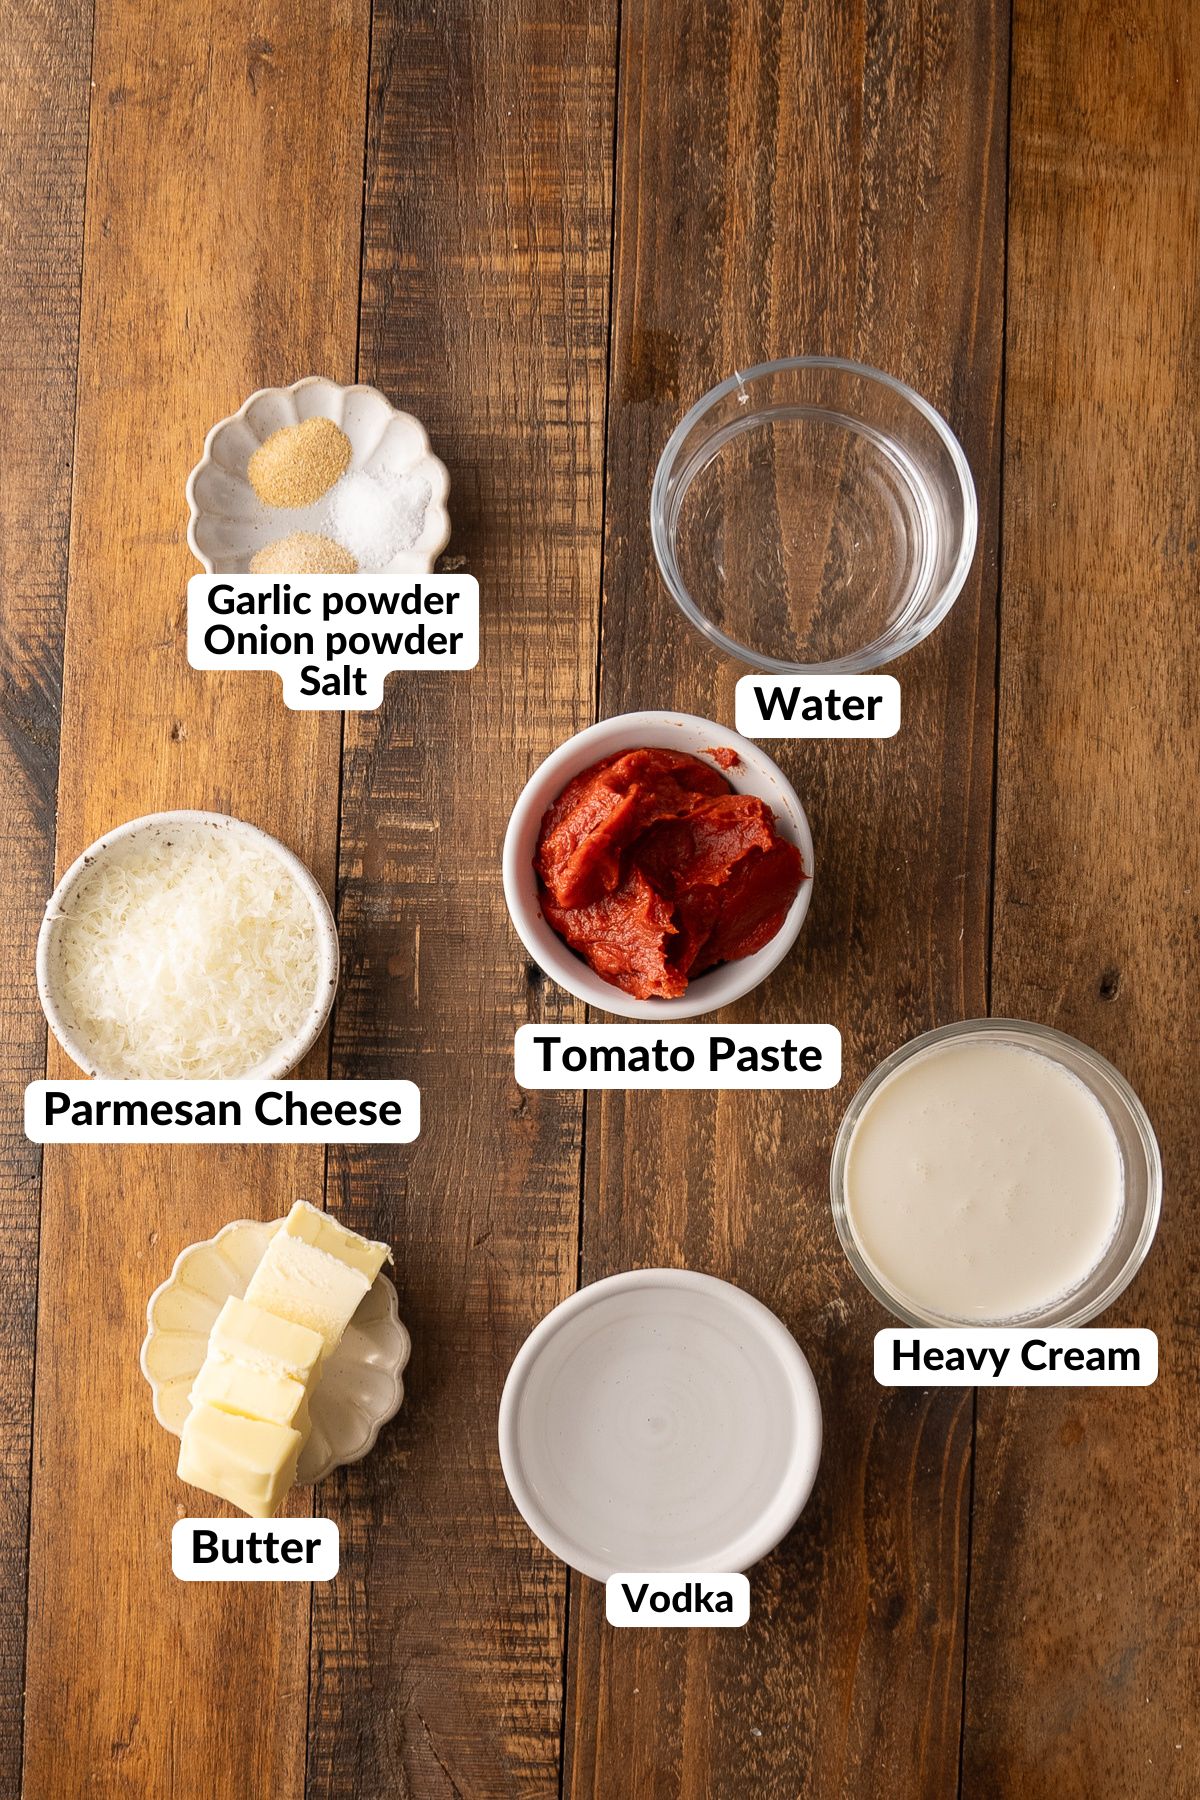
A Quick Look at the Ingredients
Ingredient amounts and full recipe instructions are on the printable recipe card at the bottom of the post.
- The Base: unsalted butter, tomato paste (This gets caramelized in butter, which deepens the flavor and reduces the acidity)
- Aromatics & Seasonings: onion powder, garlic powder, salt
- The Stars of the Show: vodka (Don’t worry, the alcohol cooks off, leaving just a wonderful depth of flavor), heavy cream, parmesan cheese, water.
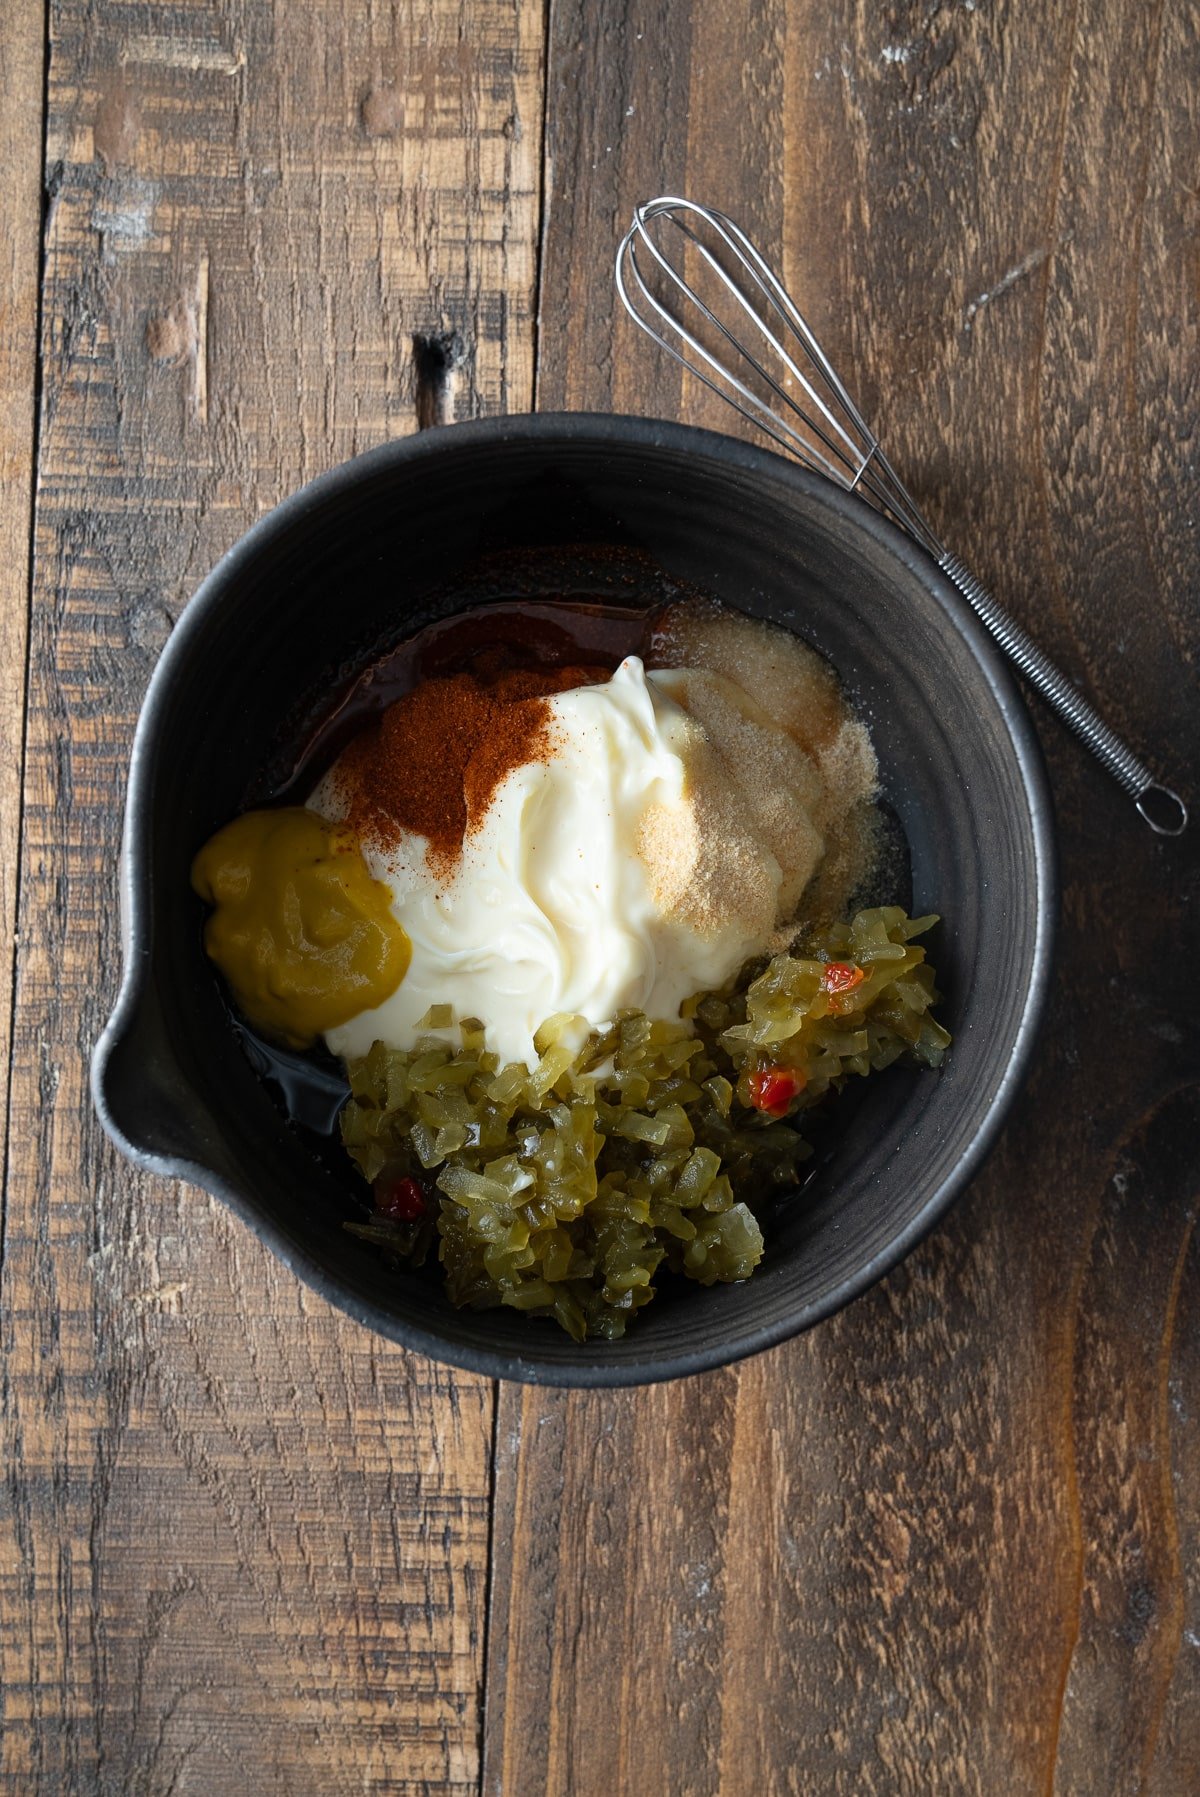
How to Make This Creamy Vodka Pasta Sauce
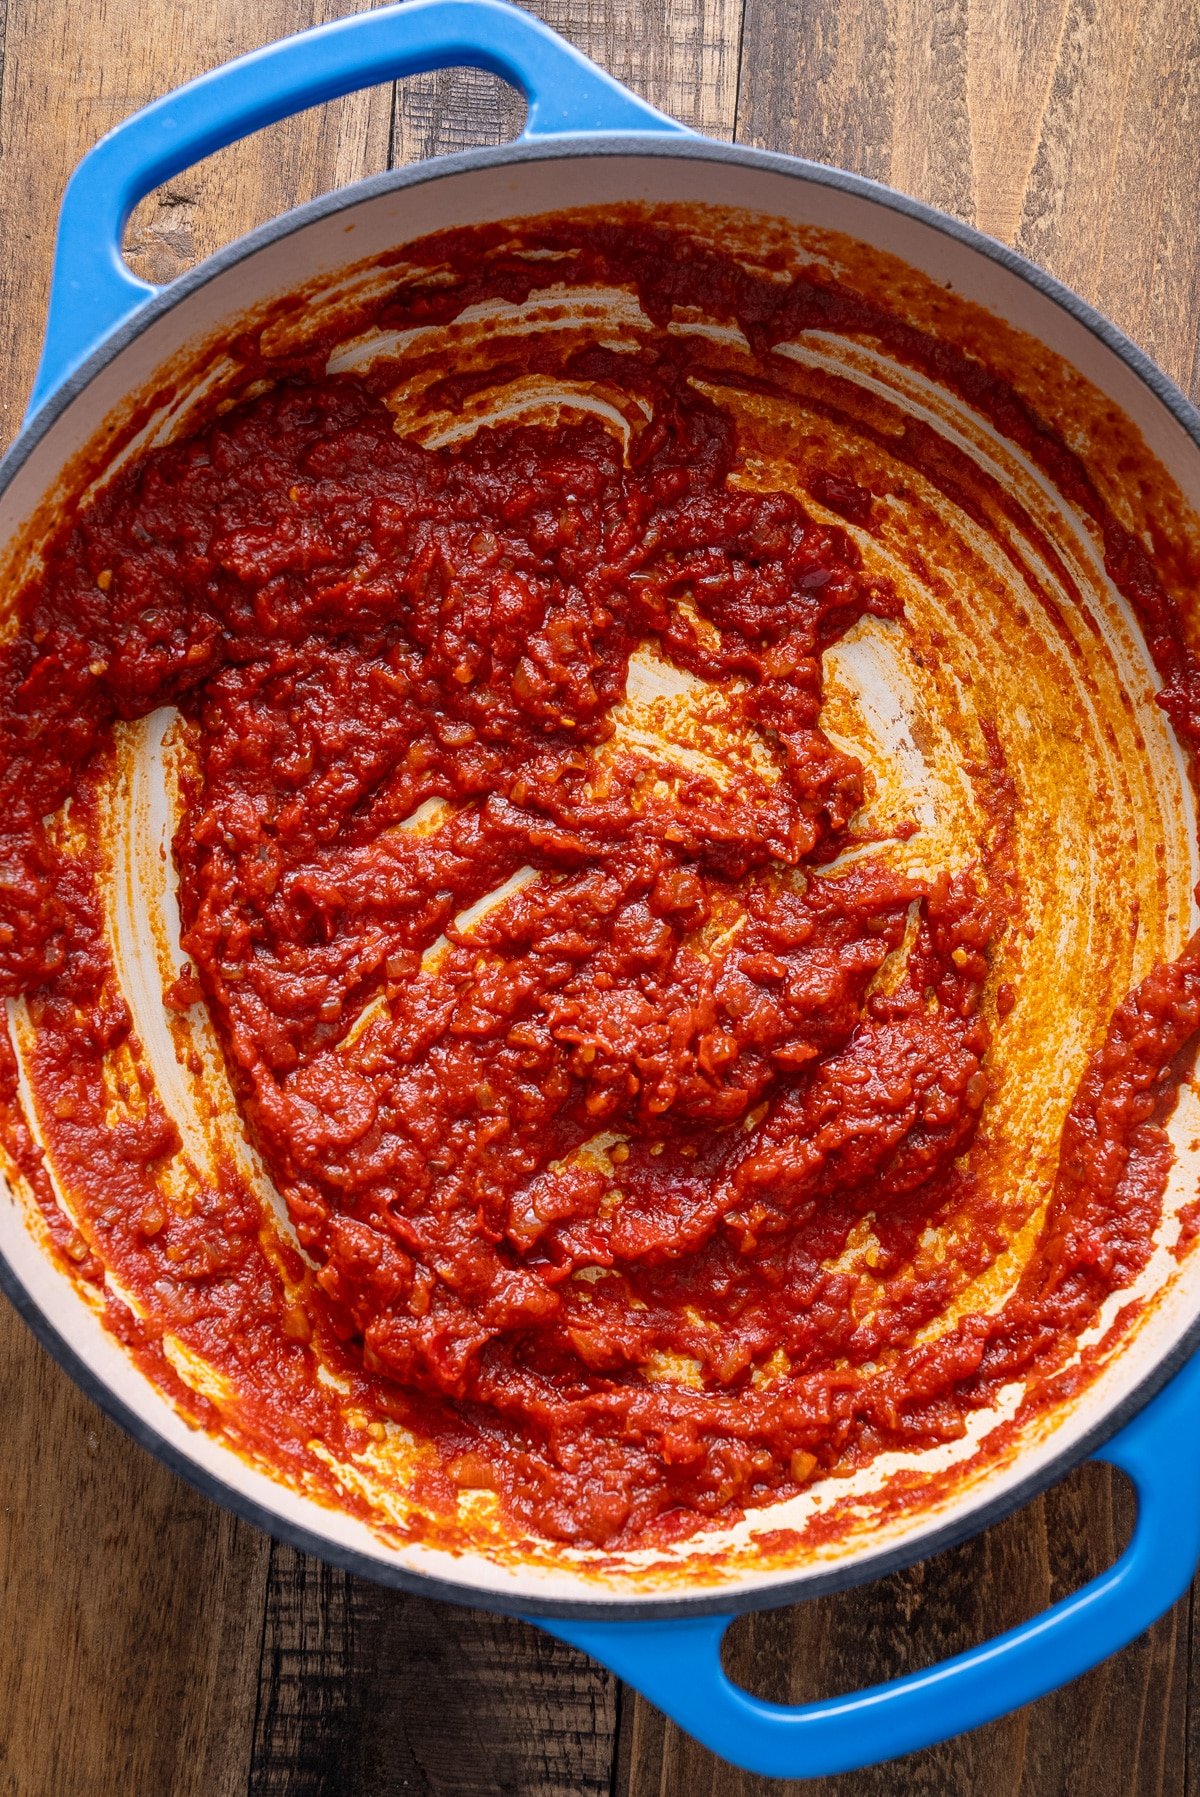
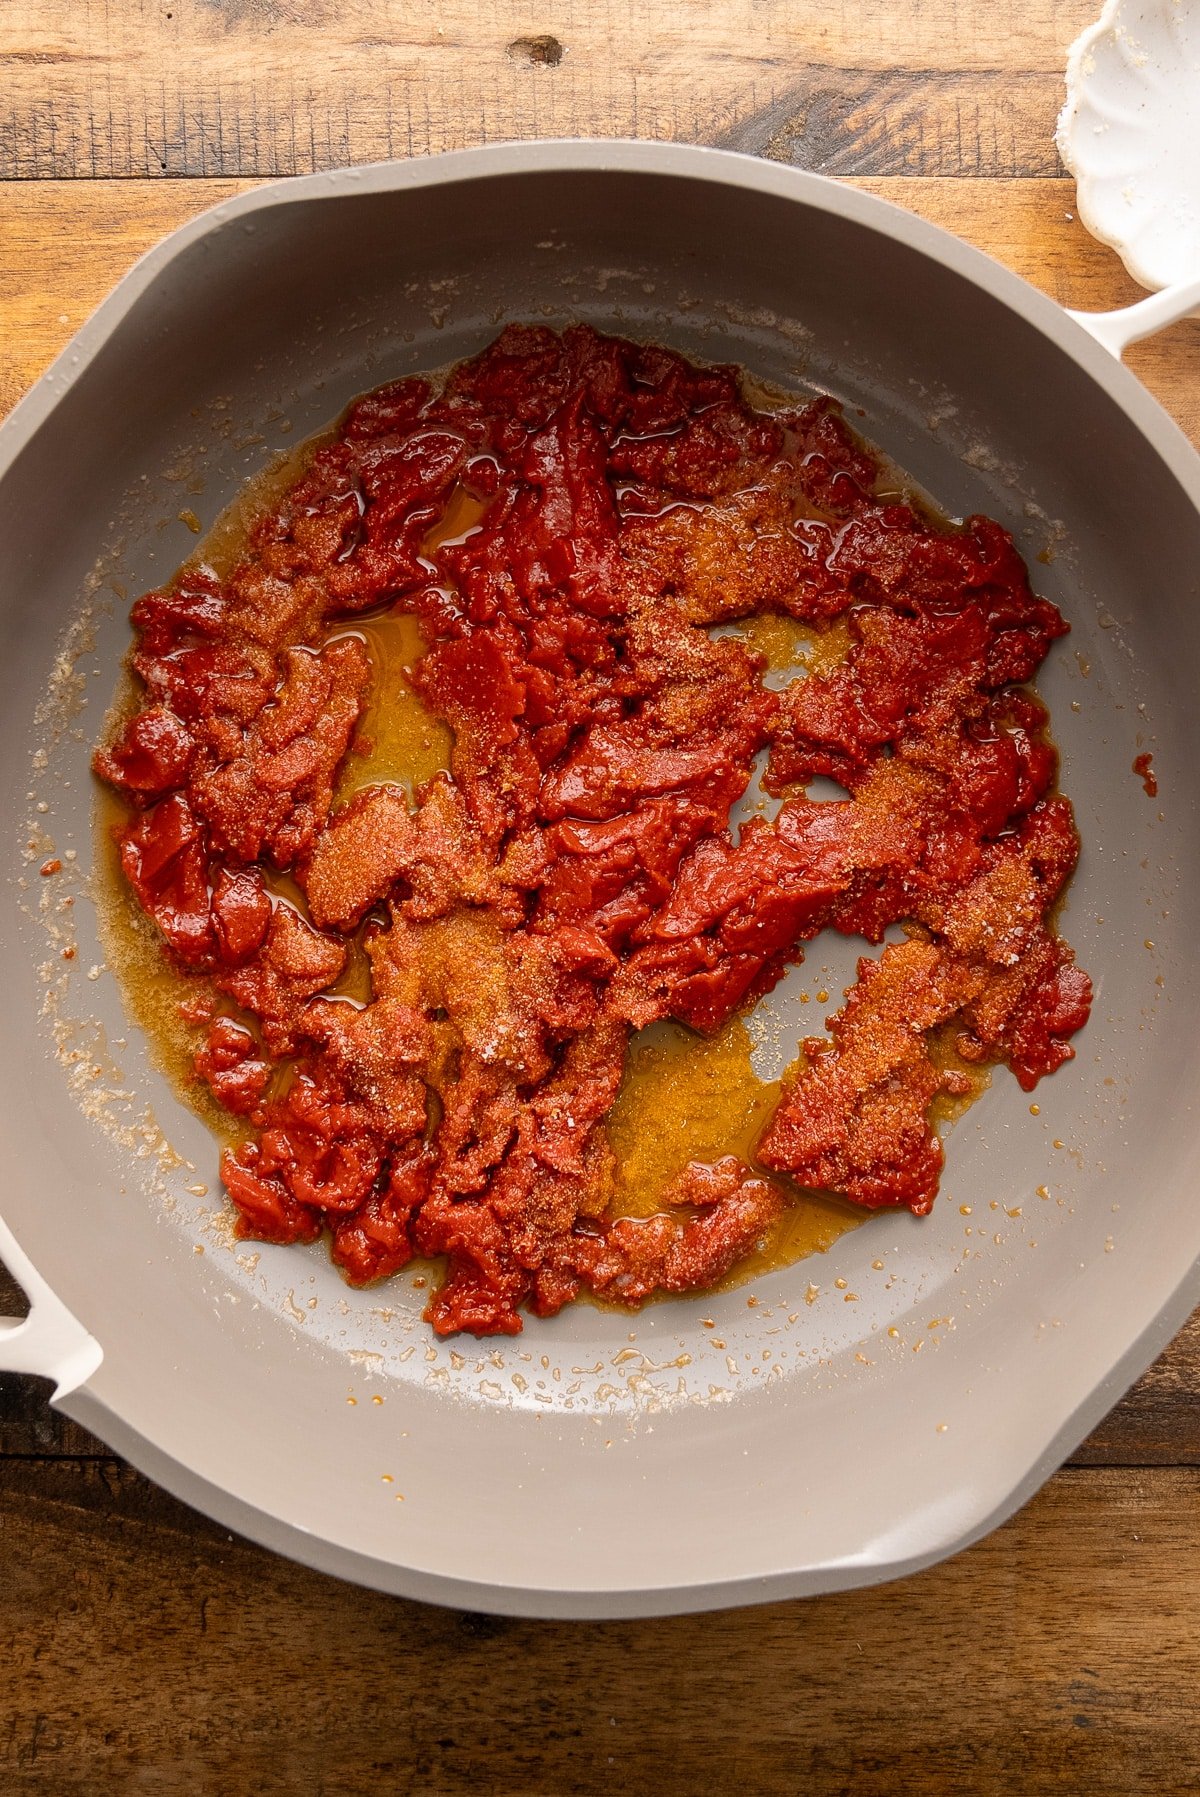
Step 1: Melt the butter in a skillet over medium heat. Add the tomato paste and cook for 20 seconds, stirring constantly. Add onion powder, garlic powder and salt. Stir to combine and cook for about 2 minutes until fragrant.
Step 2: Add the vodka and simmer for 2-3 minutes, stirring, until slightly reduced.
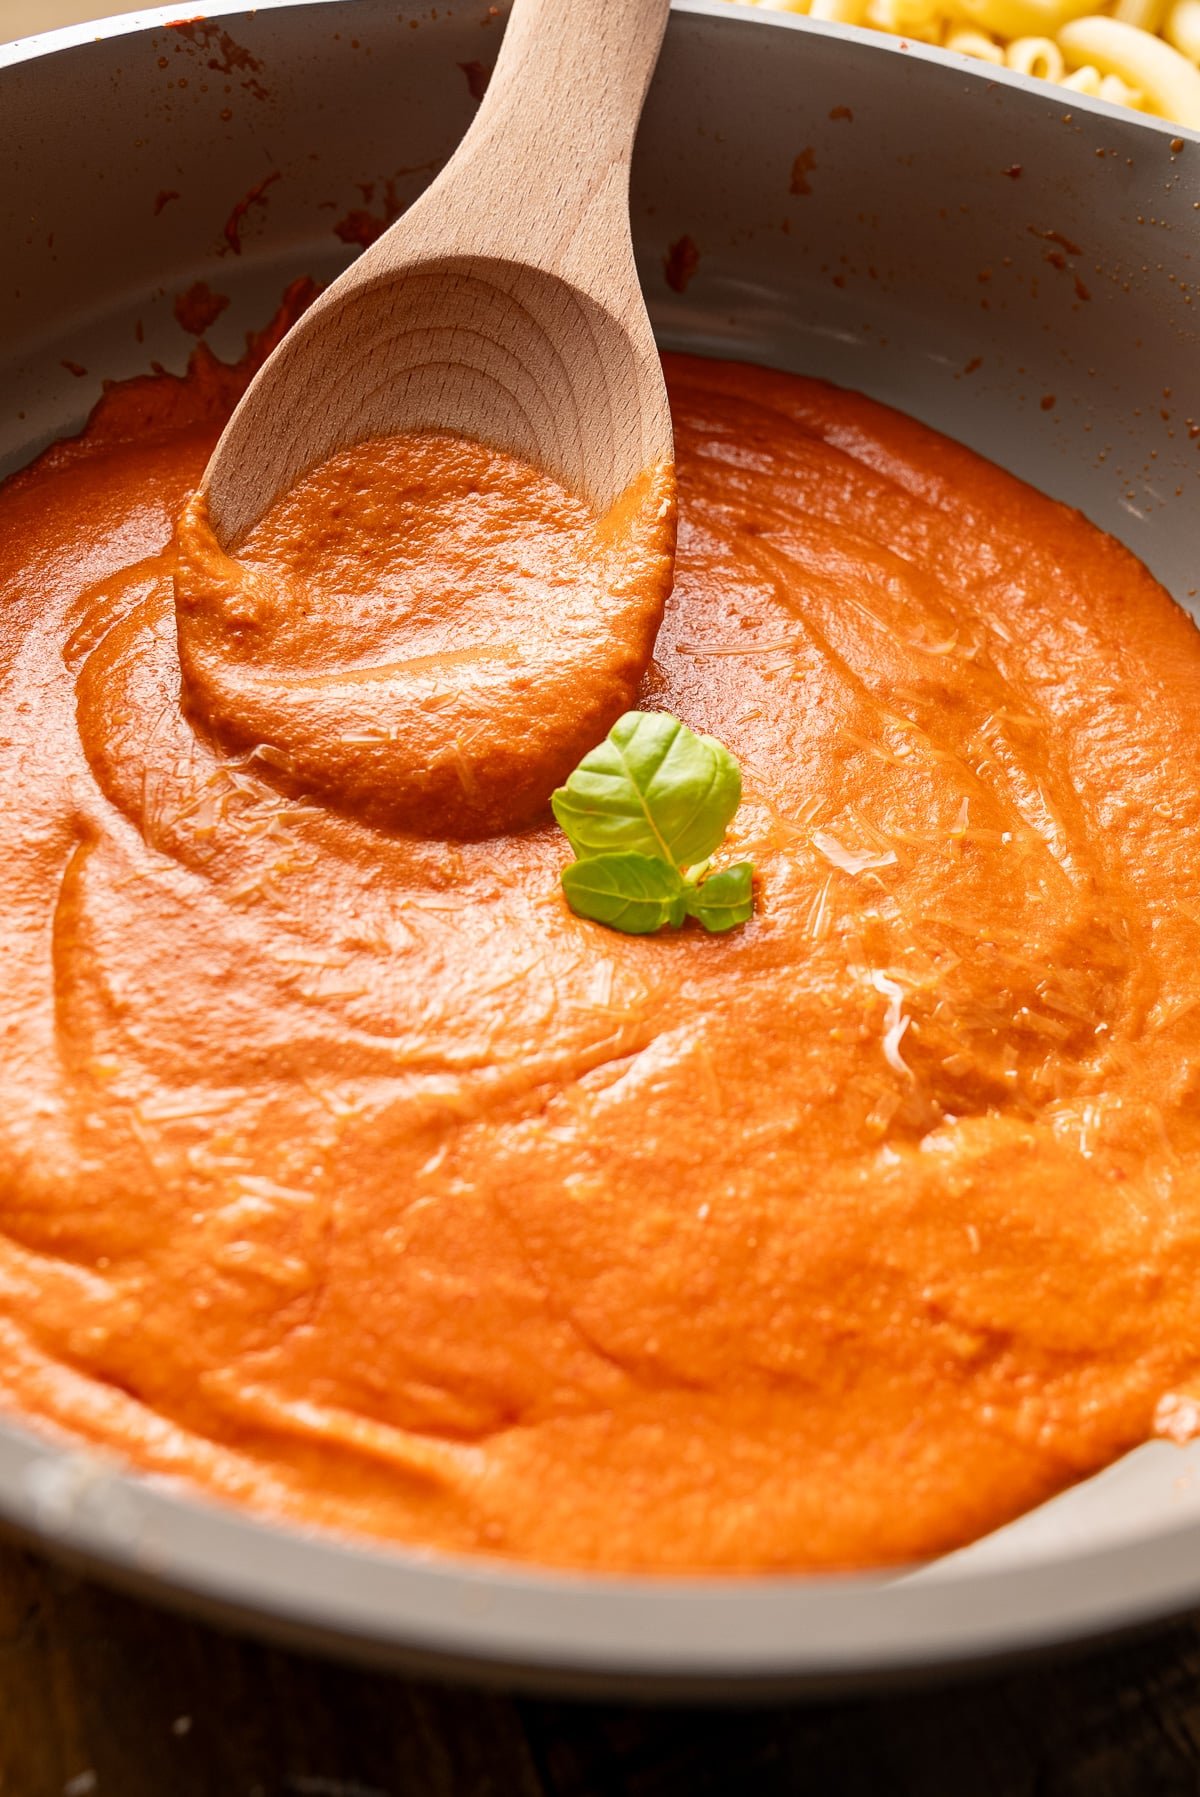
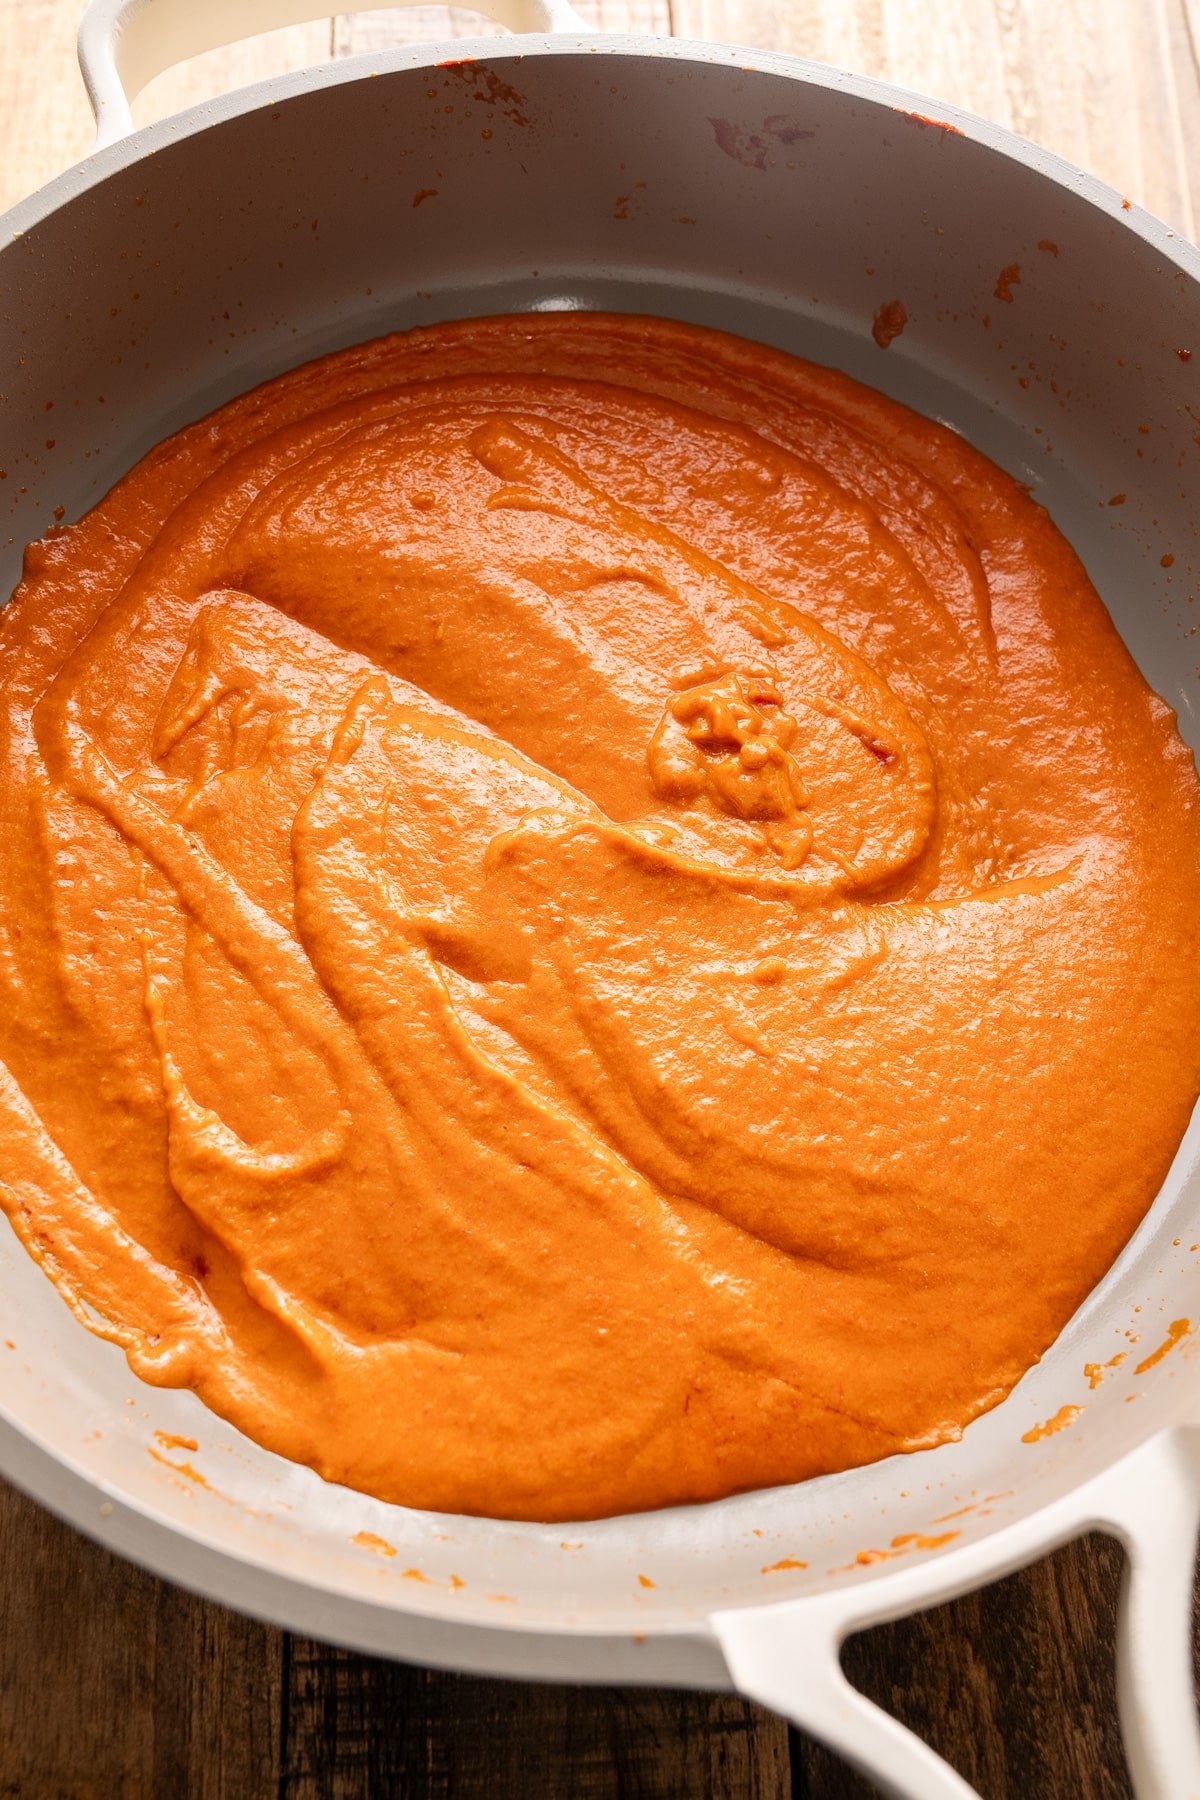
Step 3: Stir in the heavy cream and ½ cup water. Reduce heat to low and simmer for 5-10 minutes, occasionally whisking until the sauce thickens.
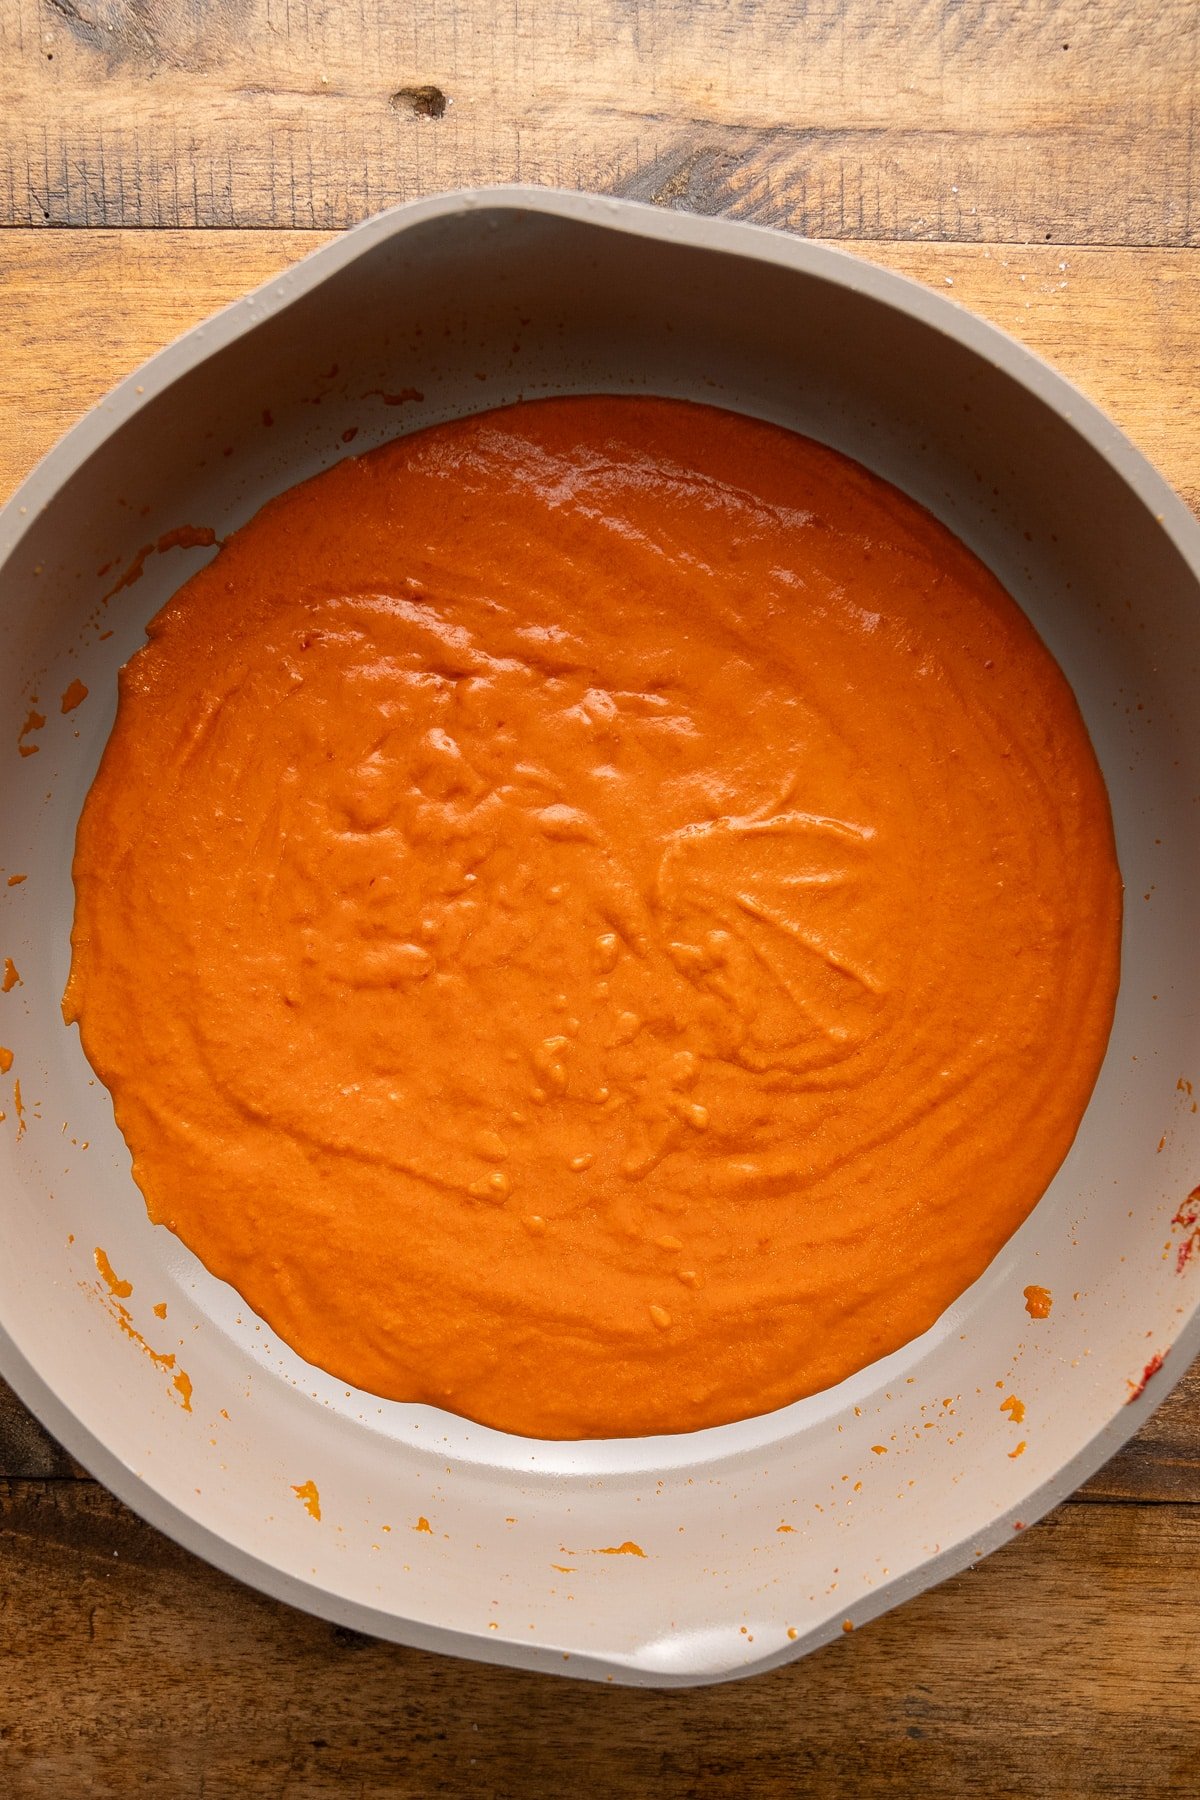
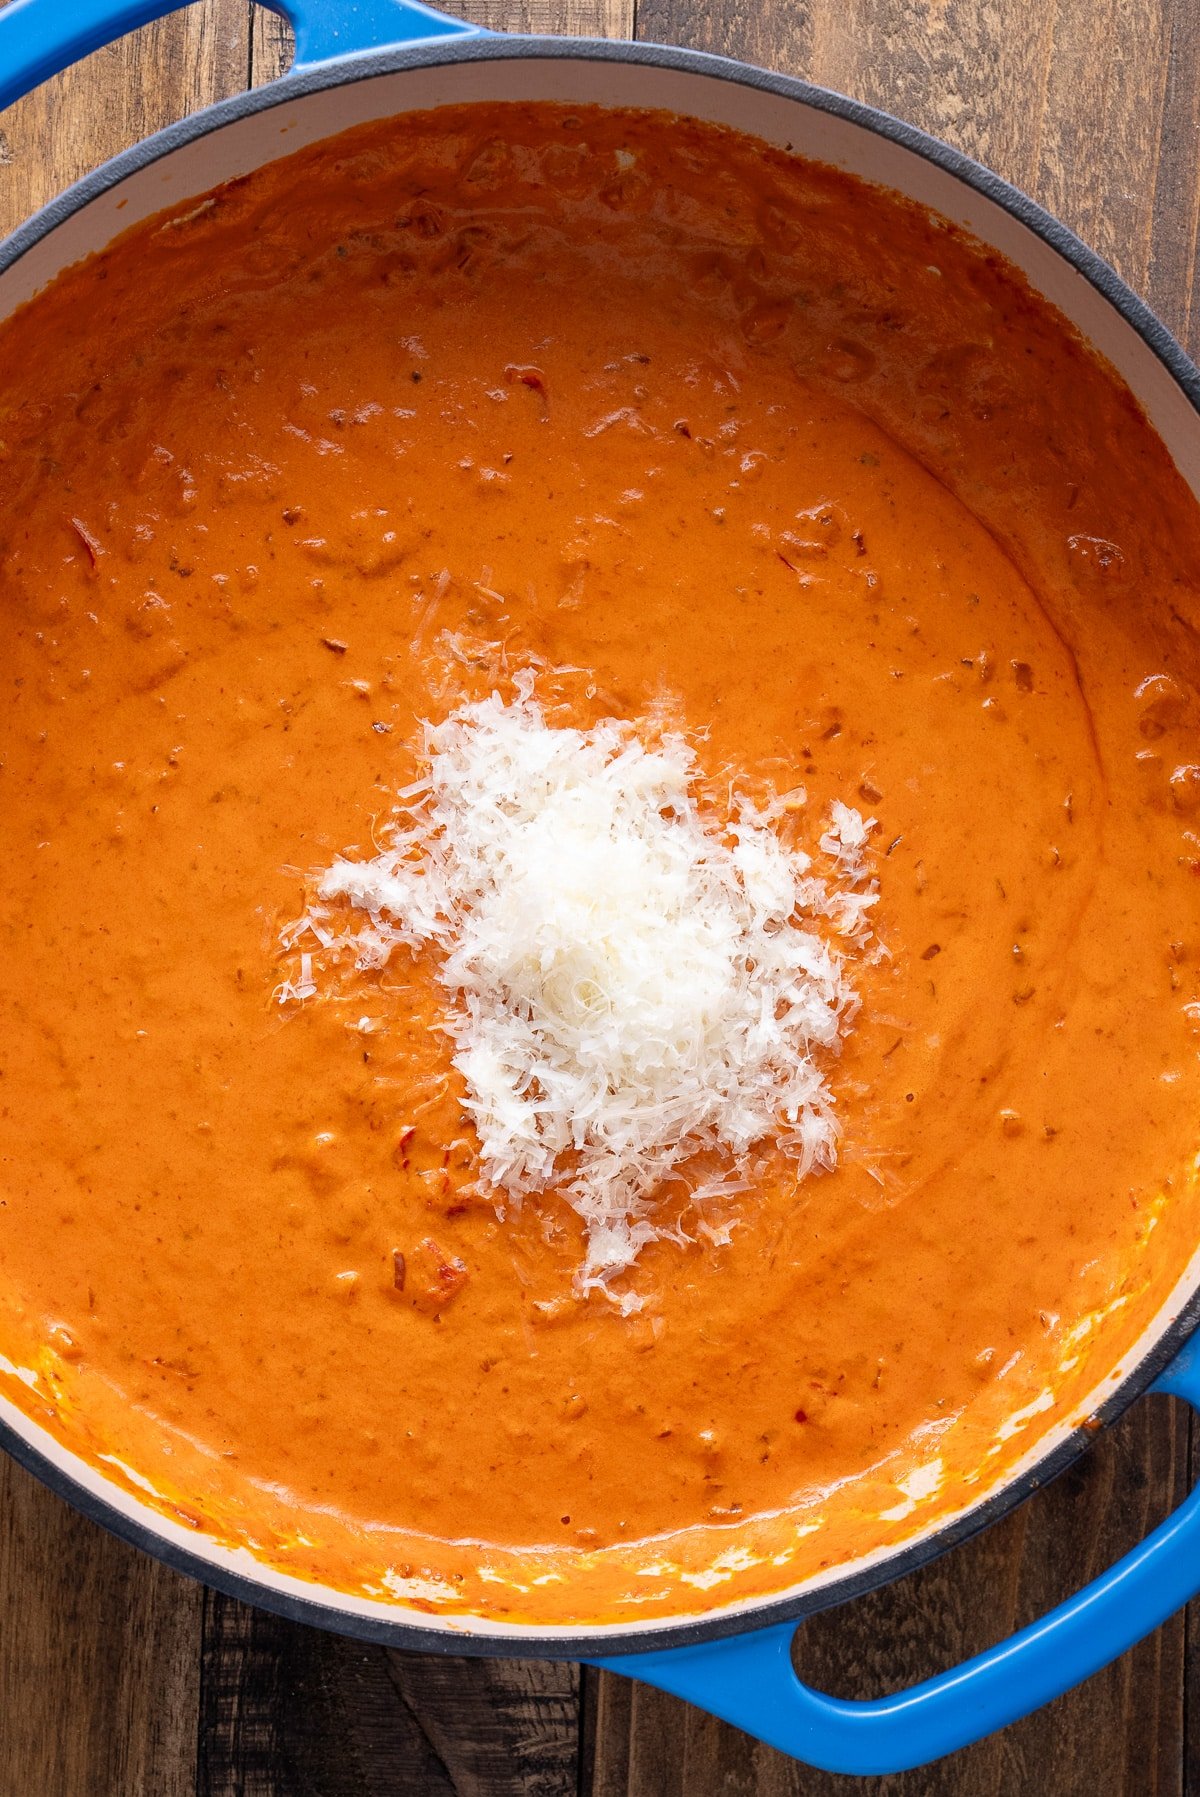
Remove from heat and stir in the parmesan cheese until melted and smooth.
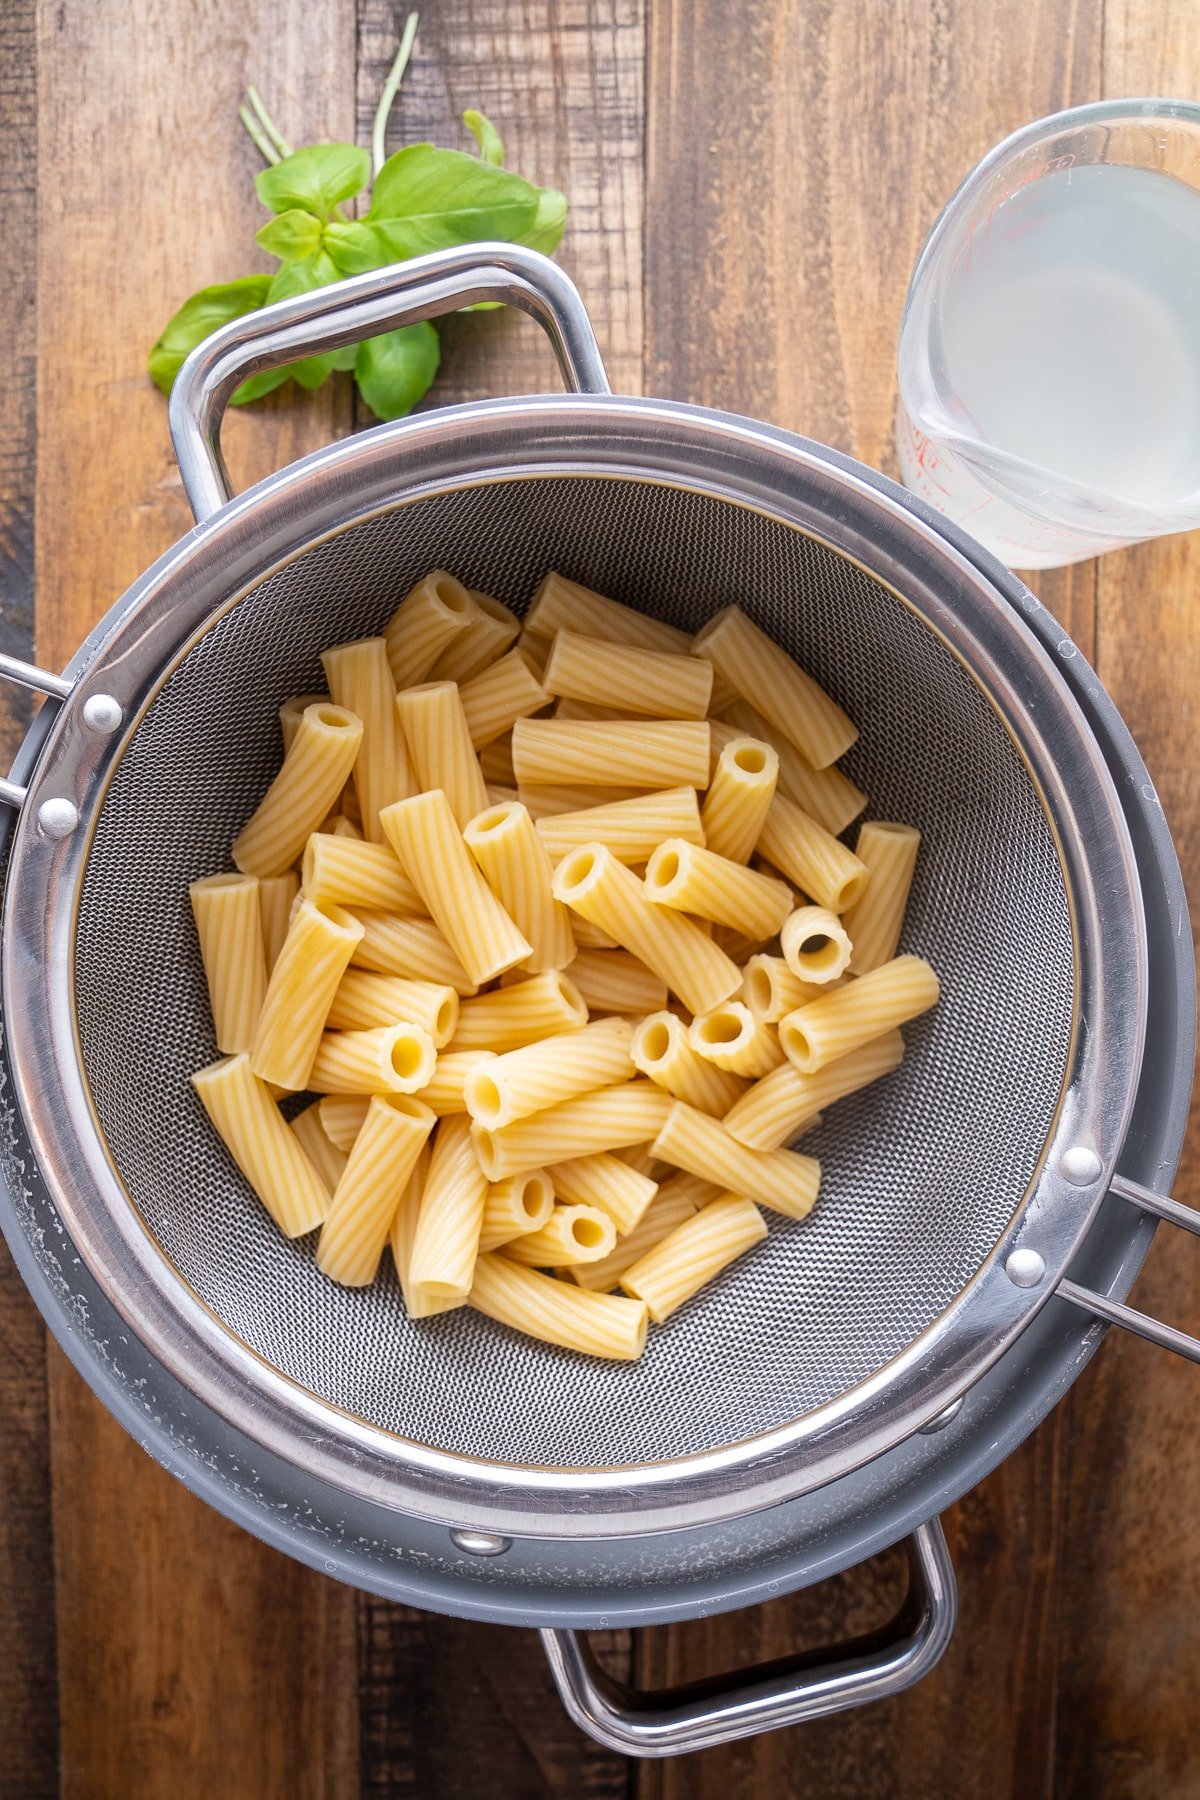
Serve over your favorite pasta, topped with additional parmesan cheese.
Tanya’s Top Tips
- Don’t skip cooking the tomato paste in butter! This crucial step caramelizes it, deepens the flavor, enhances natural sweetness, and cuts acidity.
- Make sure your heavy cream is at room temperature. This helps prevent separation in the sauce.
- Use freshly grated parmesan cheese rather than pre-shredded for the smoothest sauce. Pre-shredded cheese often contains anti-caking agents that can make your sauce grainy.
- Try adding a sprinkle of chopped fresh parsley just before serving for a bright pop of color and flavor.
Perfect Pairings for Vodka Sauce
This sauce works beautifully with several pasta shapes, but these are my top recommendations:
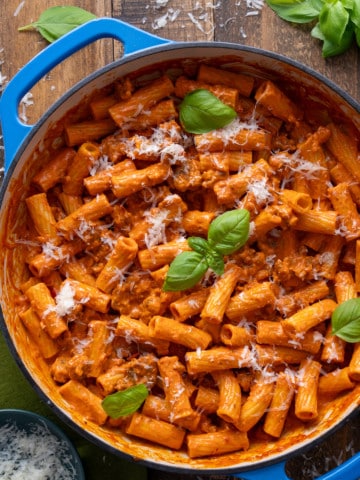
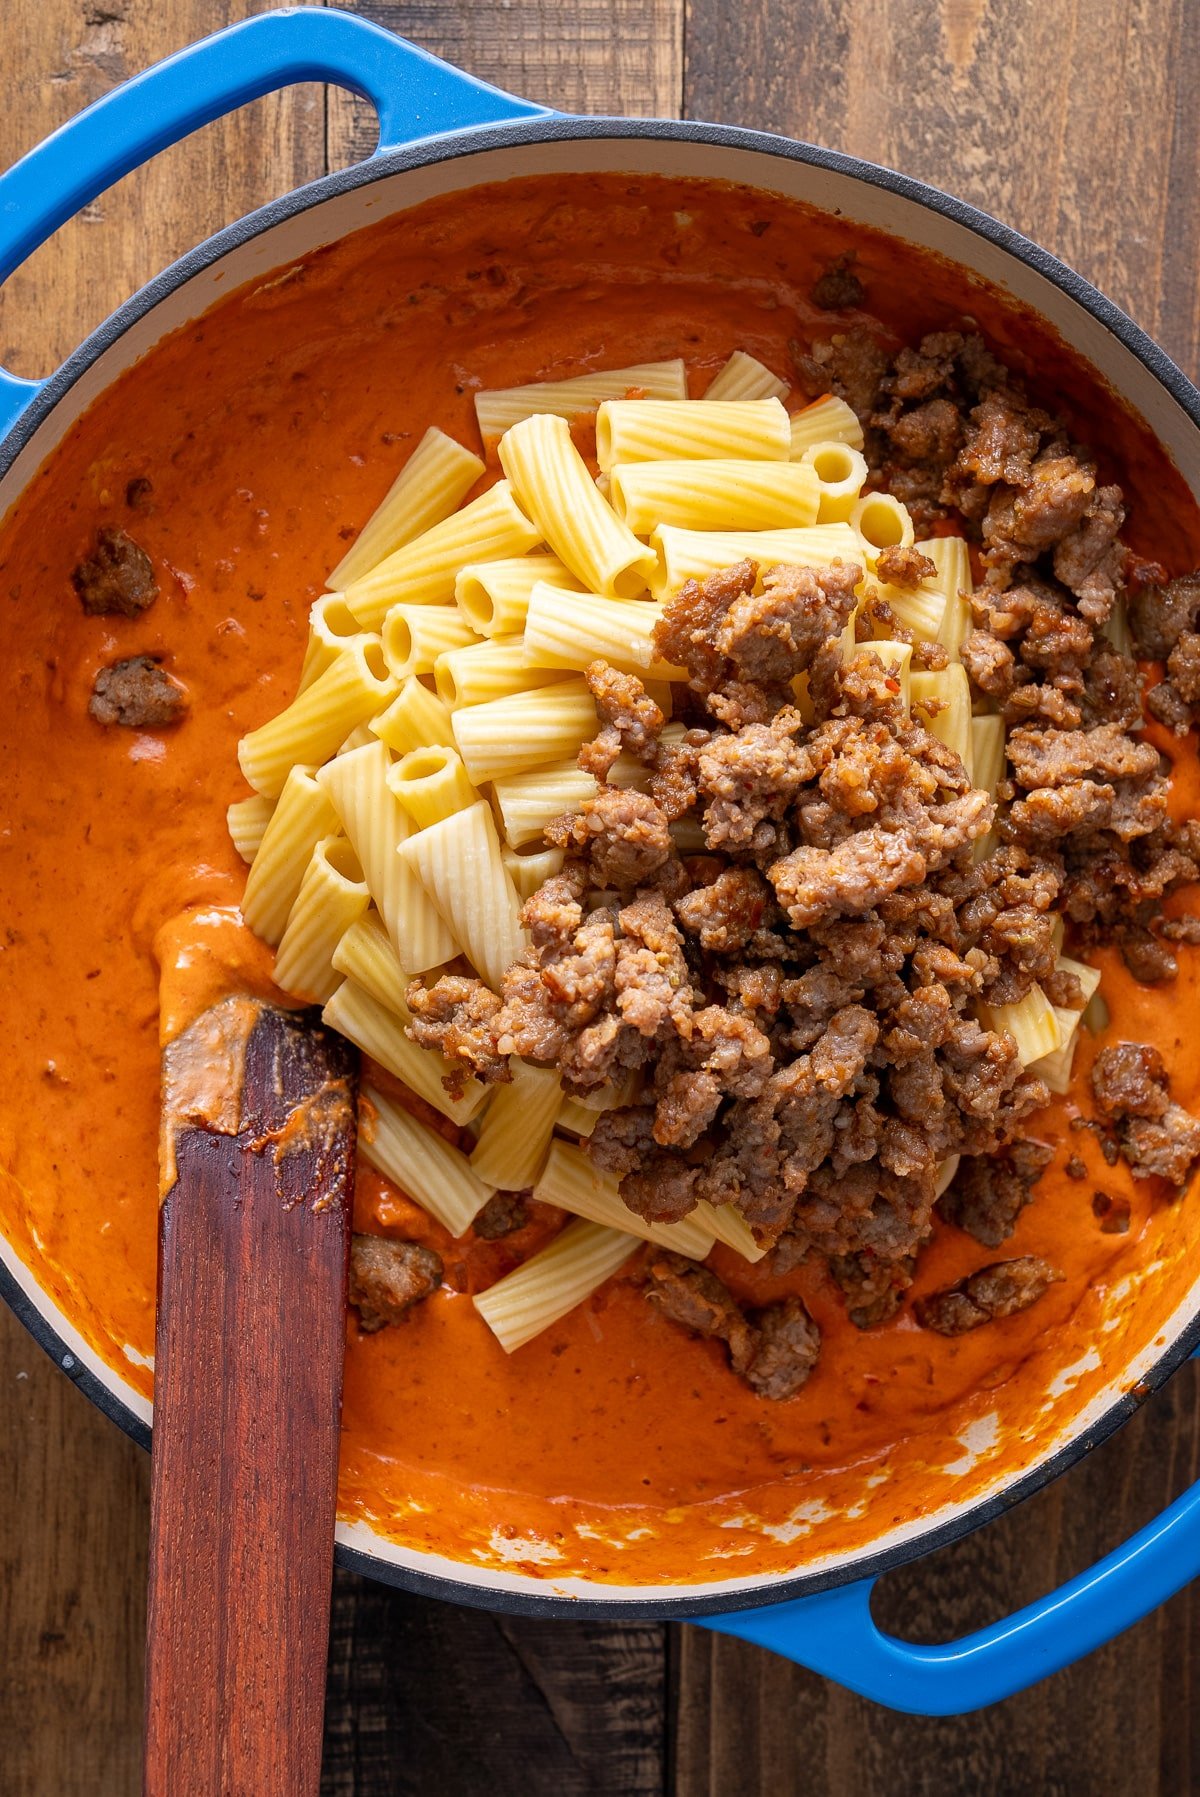
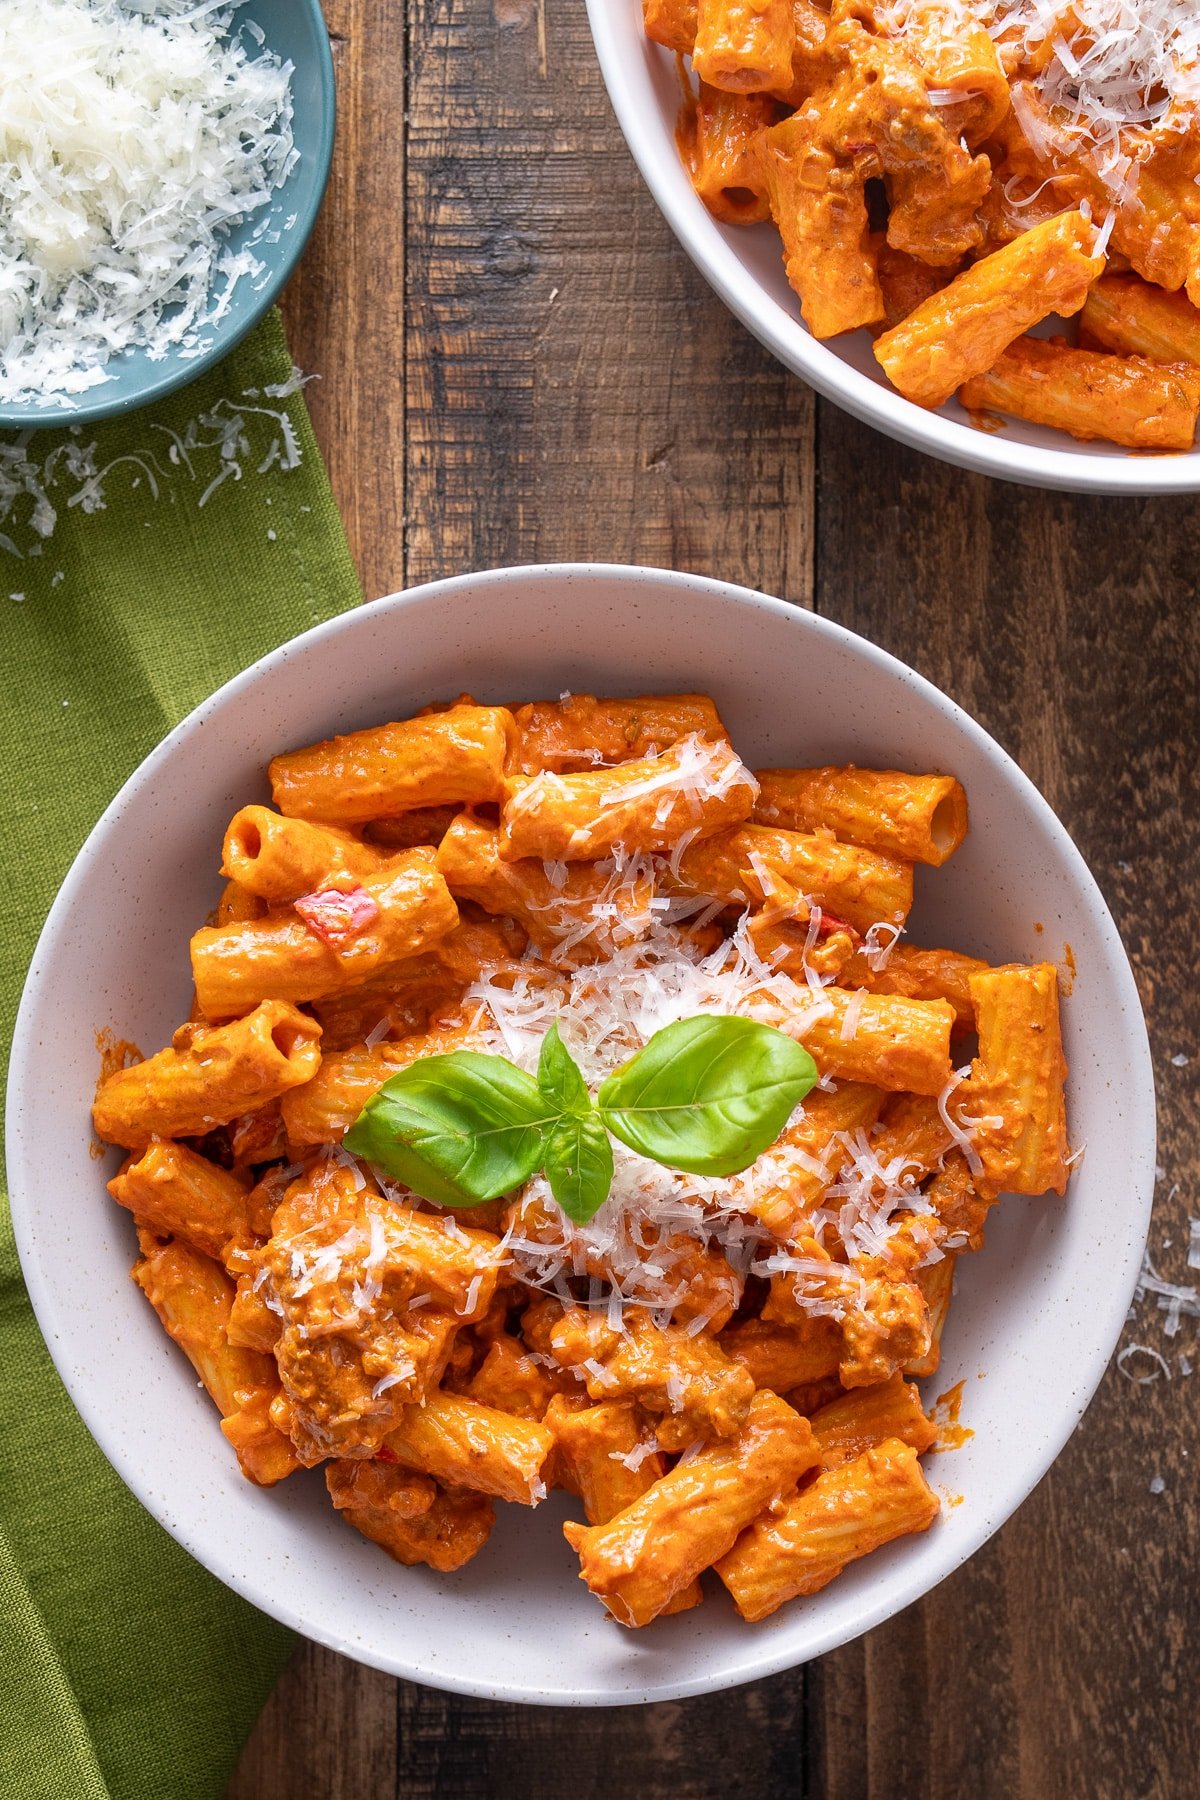
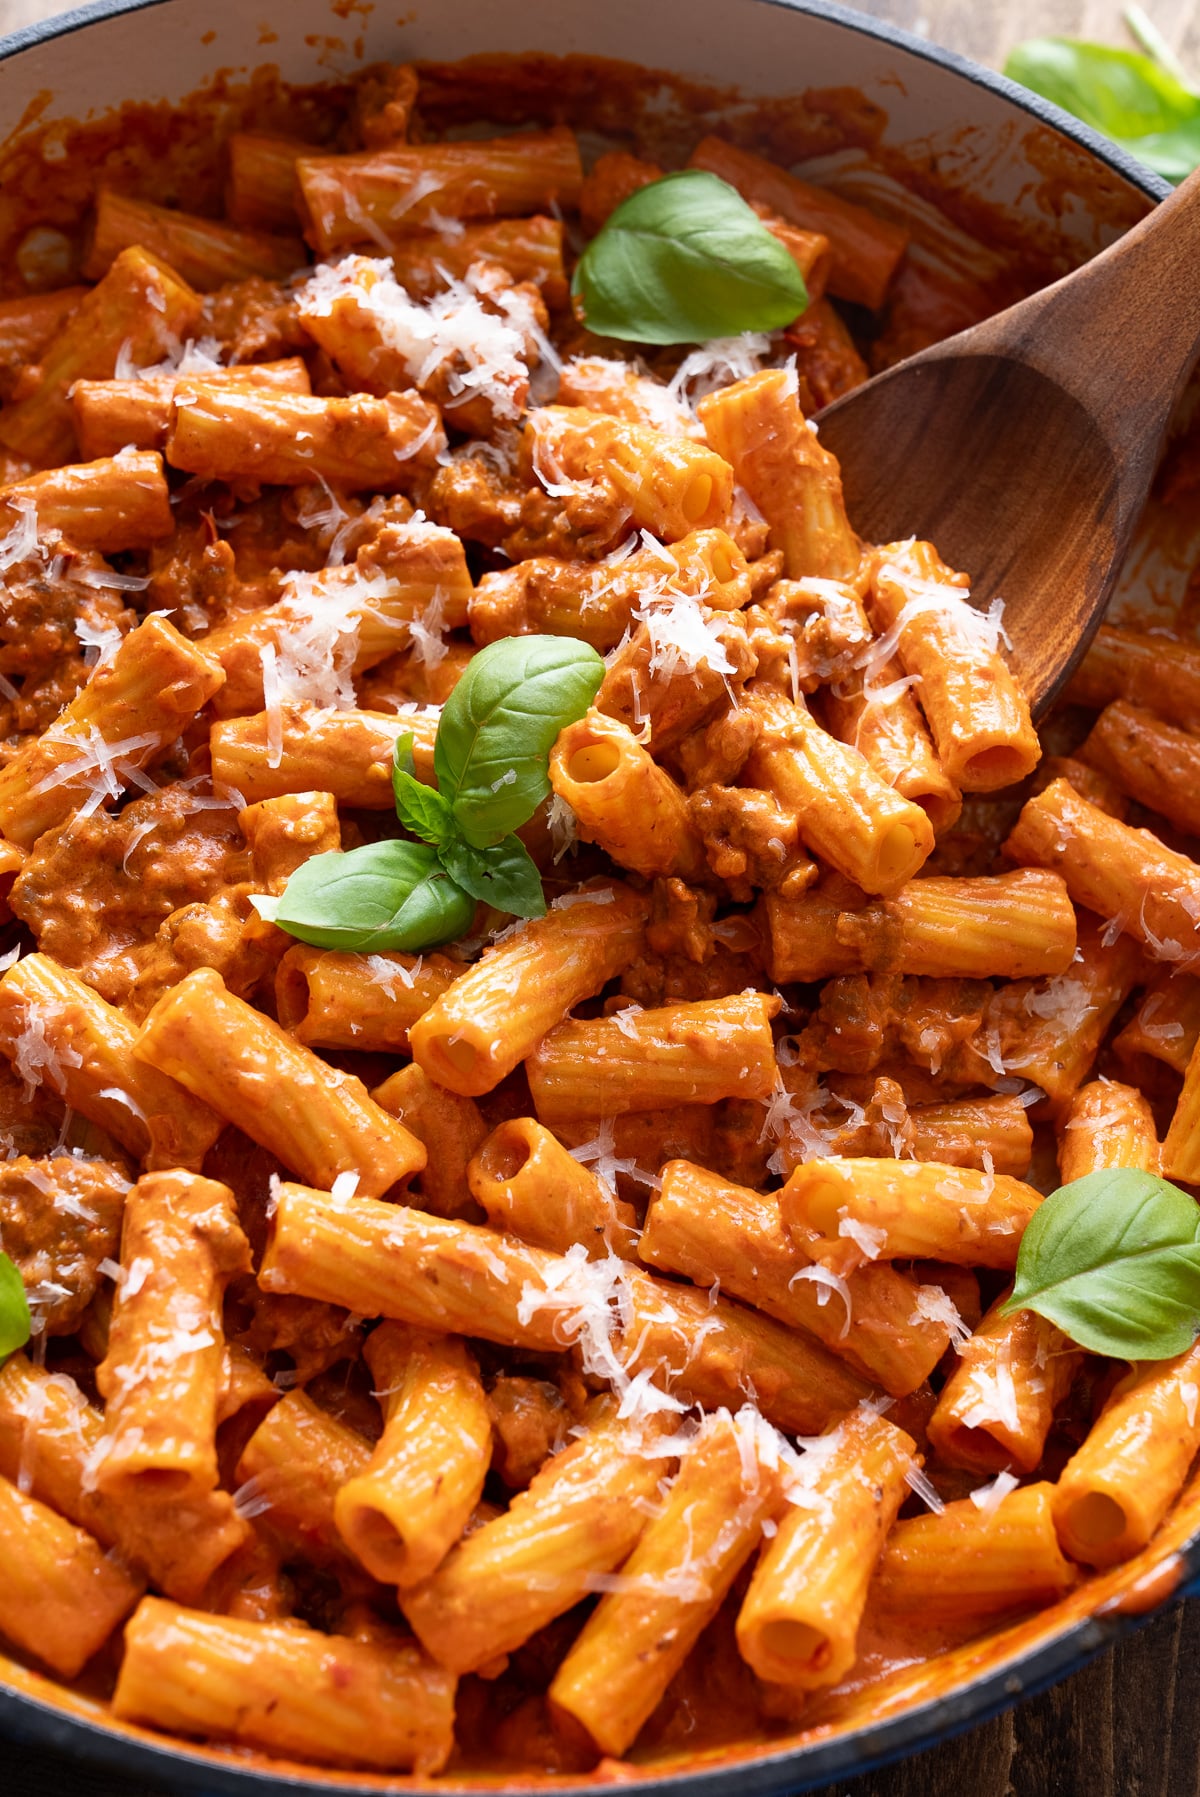
- Rigatoni: My personal favorite! The ridges and larger tubes capture pockets of the creamy sauce in the most satisfying way.
- Penne: The classic choice for vodka sauce. Its cylindrical shape and ridges effectively capture the sauce, ensuring a flavorful bite.
- Any ridged pasta: Generally, pasta shapes with ridges or tubes are perfect for holding and distributing creamy sauces like this one.
Make It Your Own
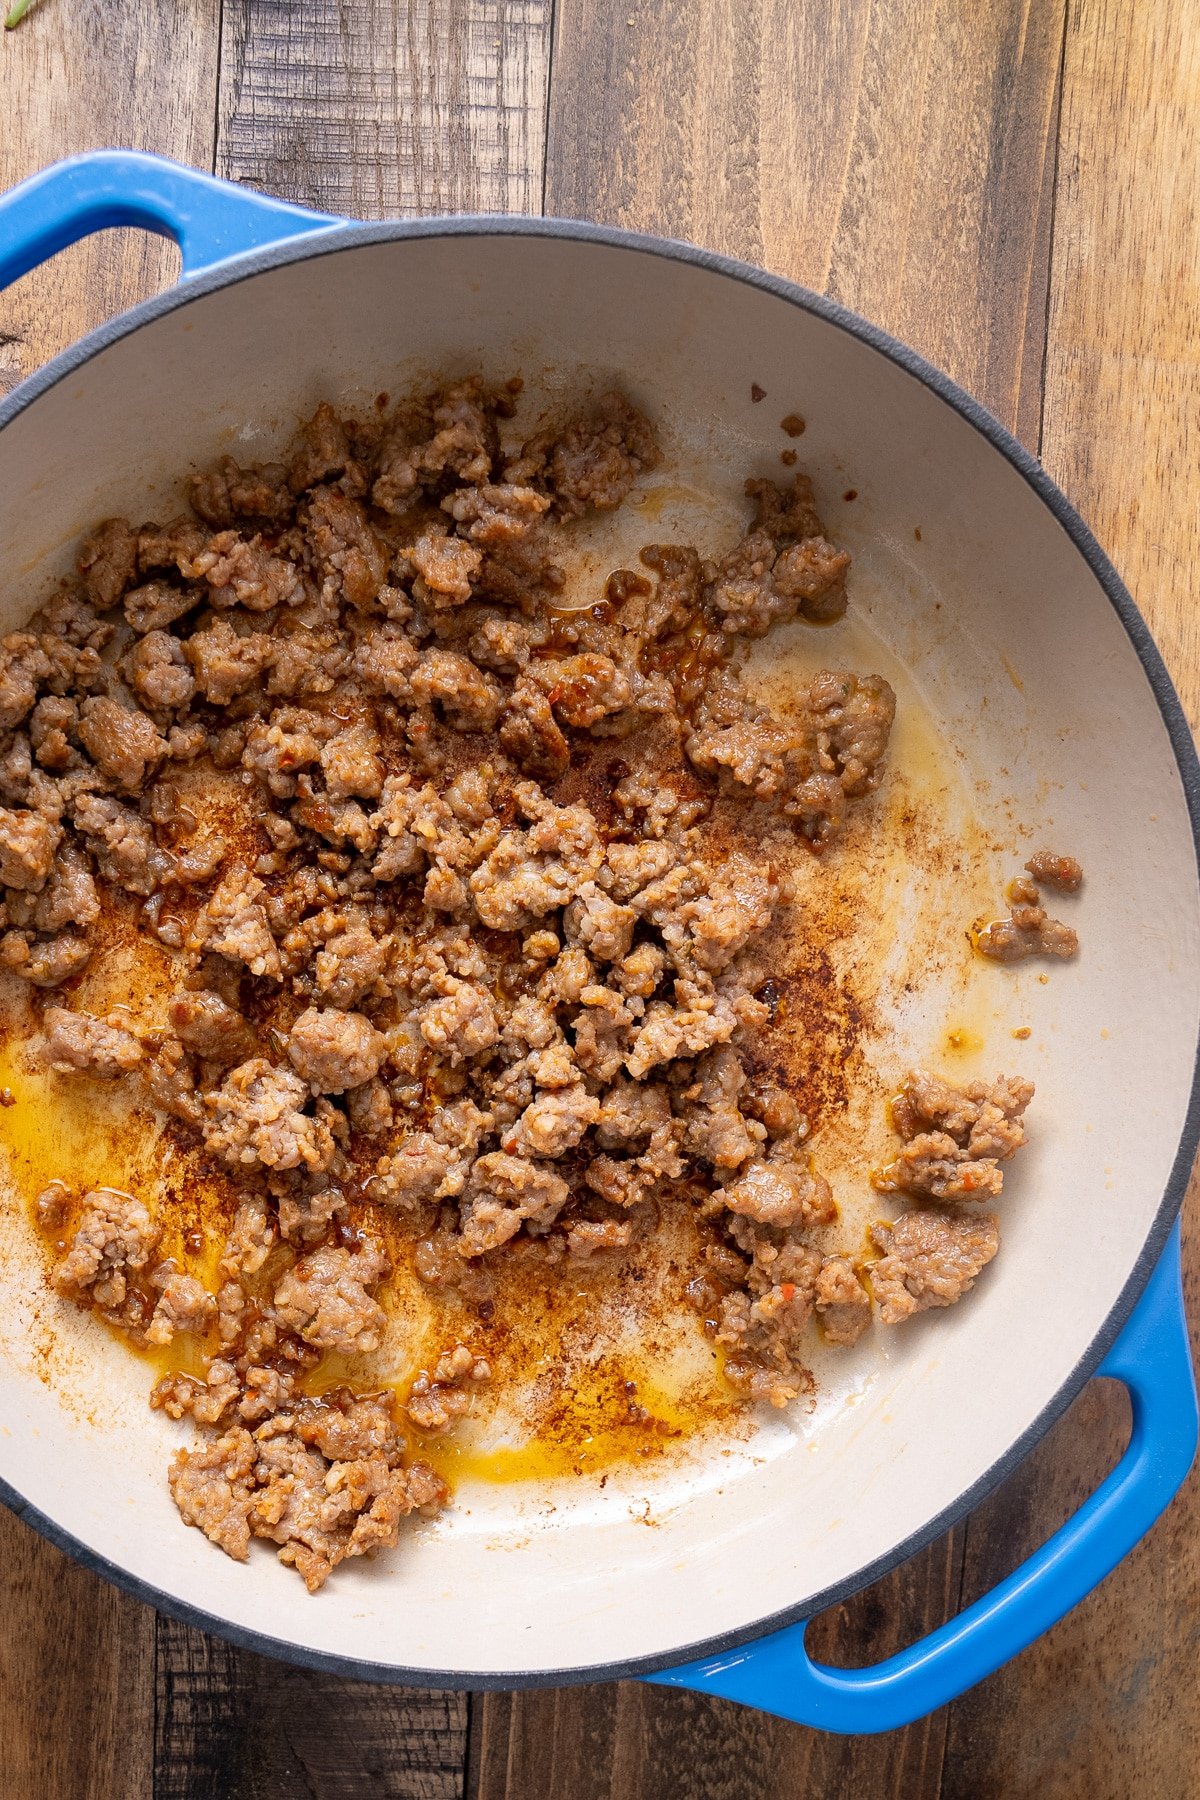
- Add protein: Grilled chicken, shrimp, or Italian sausage make this a heartier meal.
- Veggie boost: Sautéed mushrooms, peas, or spinach fold in beautifully.
- Heat option: If you’re like me and sometimes crave a kick, add ¼-1/2 teaspoon of red pepper flakes when you add the other spices.
- A splash of extra cream or a dollop of mascarpone cheese stirred in at the end takes this sauce to the next level.
- Vodka Substitute: If you want to skip the vodka, use the same amount of chicken broth or water. Add a squeeze of lemon juice for flavor. It won’t have the exact same, but it will still be rich, creamy, and delicious!
Storage Tips
This sauce will keep in the refrigerator for up to 4 days in an airtight container. It will thicken when chilled, so when reheating, add a splash of water or cream and warm gently over low heat, stirring frequently.
This vodka sauce freezes beautifully. Just let it cool, store it in an airtight container, then thaw and reheat gently to prevent separation.
For best results, reheat over low heat on the stove or in short bursts in the microwave, stirring frequently to maintain its creamy texture.
FAQs
Yes, but don’t worry—the alcohol mostly cooks off as the sauce simmers, leaving behind only its subtle depth of flavor. If you’re concerned, you can let it simmer a little longer to reduce the alcohol even more.
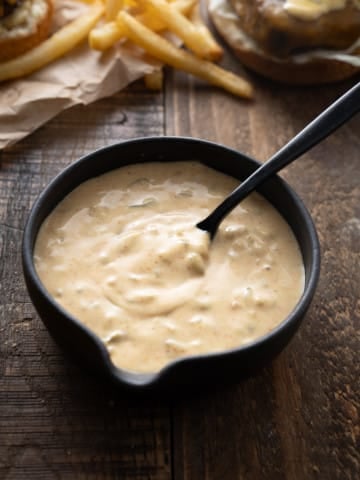
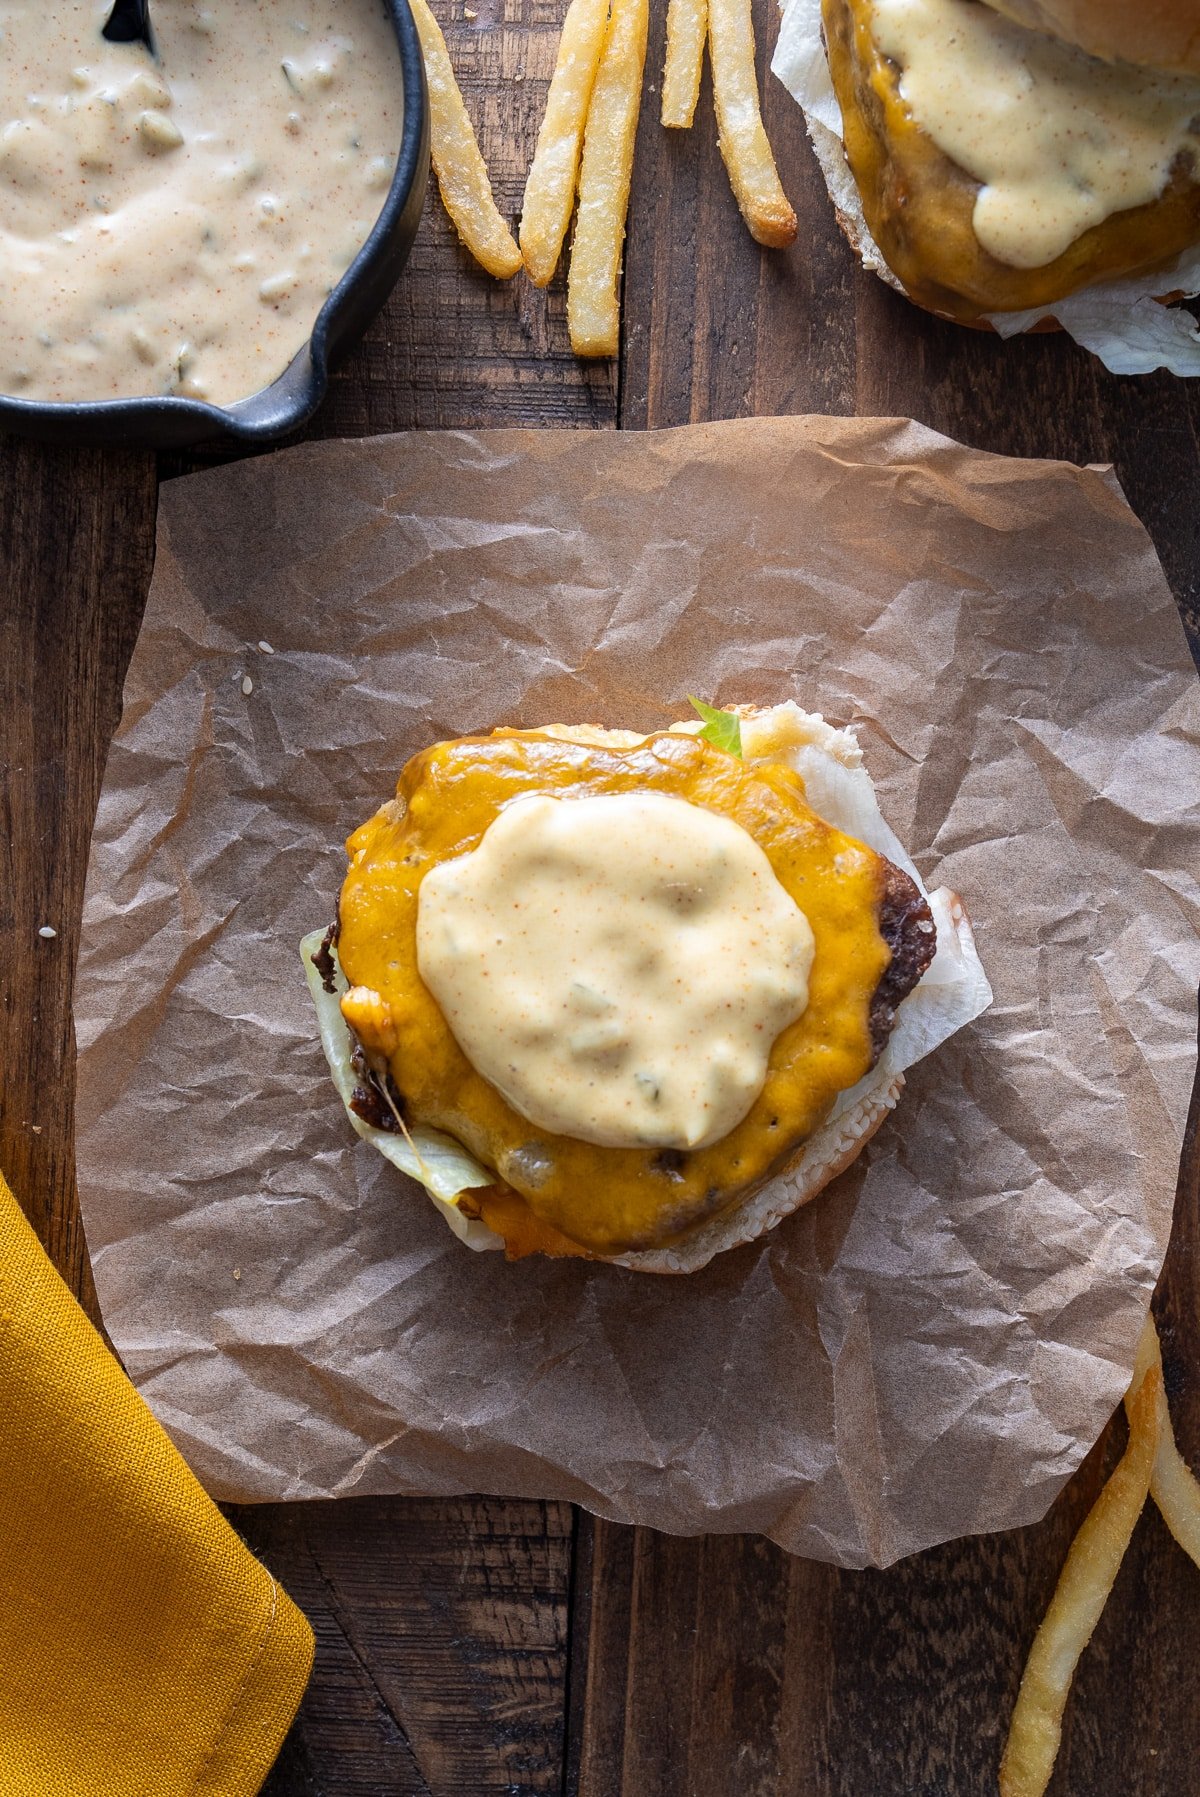
Vodka sauce is perfect with pasta (hello, penne alla vodka!), but it’s also great as a dip for bread, spooned over grilled chicken, or even drizzled on a homemade pizza for a creamy tomato twist.
Looking for more easy weeknight pasta sauce recipes? Try my vegetarian spaghetti sauce.
Let me know in the comments if you try this creamy vodka pasta sauce! Leave a comment below to show me how it turned out.

Vodka Sauce Recipe
Ingredients
- 4 tablespoons unsalted butter or salted,
- 6 ounces tomato paste
- ½ teaspoon Onion powder
- ¼ teaspoon Garlic powder
- ¼ cup vodka
- 1 cup heavy cream room temperature
- ¼ cup loosely packed grated parmesan cheese plus more for serving
- ½ cup water
- Salt to taste
Instructions
- Melt the butter in a medium skillet over medium heat. Add the tomato paste and cook for 20 seconds, stirring constantly.
- Add onion powder and garlic powder. Stir to combine and cook for about 2 minutes until fragrant.
- Add the vodka and simmer for 2-3 minutes, stirring, until slightly reduced.
- Stir in the heavy cream and ½ cup water. Reduce heat to low and simmer for 5-10 minutes, stirring occasionally, until the sauce has thickened.
- Remove from heat and stir in the parmesan cheese until melted and smooth. Add salt to taste.
- Serve over your favorite pasta, topped with additional parmesan cheese.
Notes
- Penne: This is the most traditional choice for vodka sauce. Its cylindrical shape and ridges effectively capture the sauce, ensuring a flavorful bite.
- Rigatoni: Some restaurants serve vodka sauce with rigatoni. Like penne, rigatoni's ridges and tube-like shape are well-suited for holding creamy sauces.
- Pasta shapes with ridges or tubes: Generally, pasta shapes with ridges or tubes are effective at holding and distributing creamy sauces like vodka sauce.