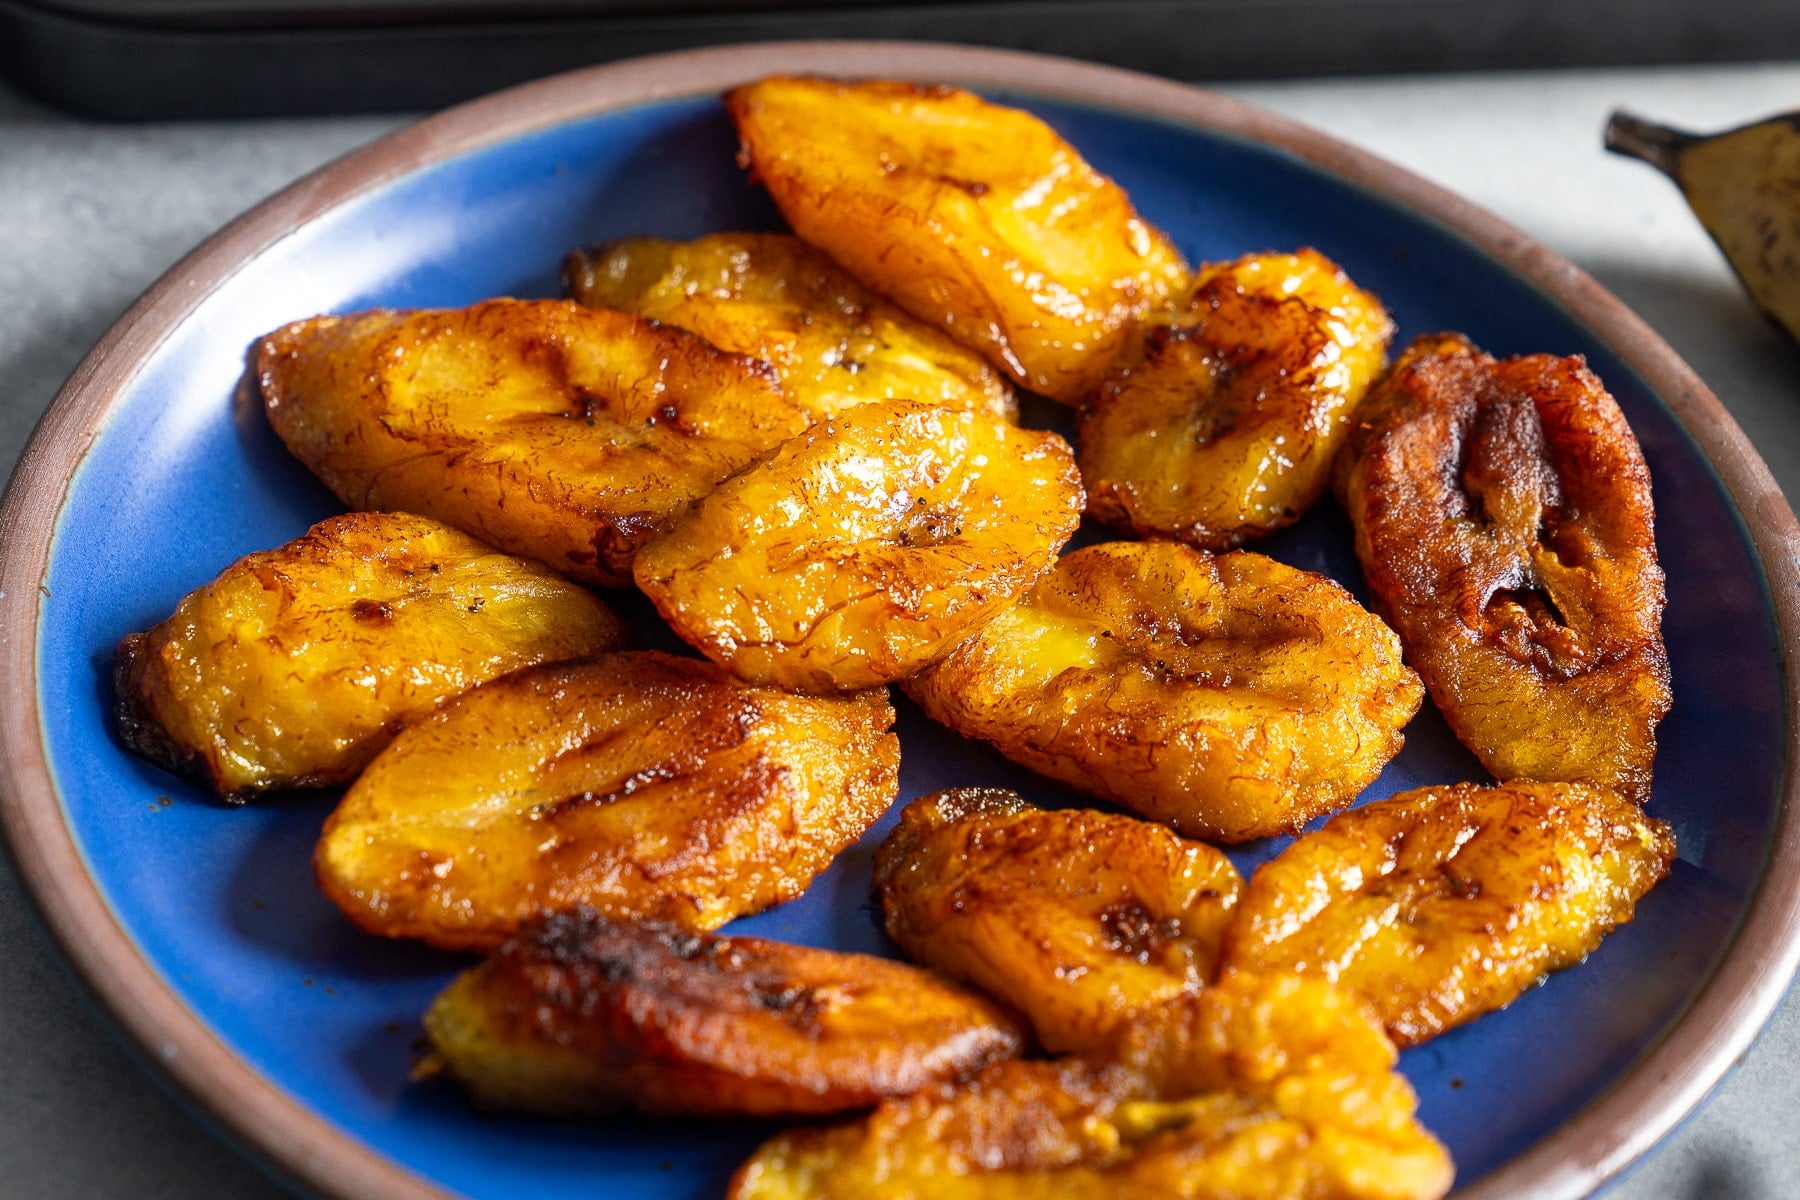
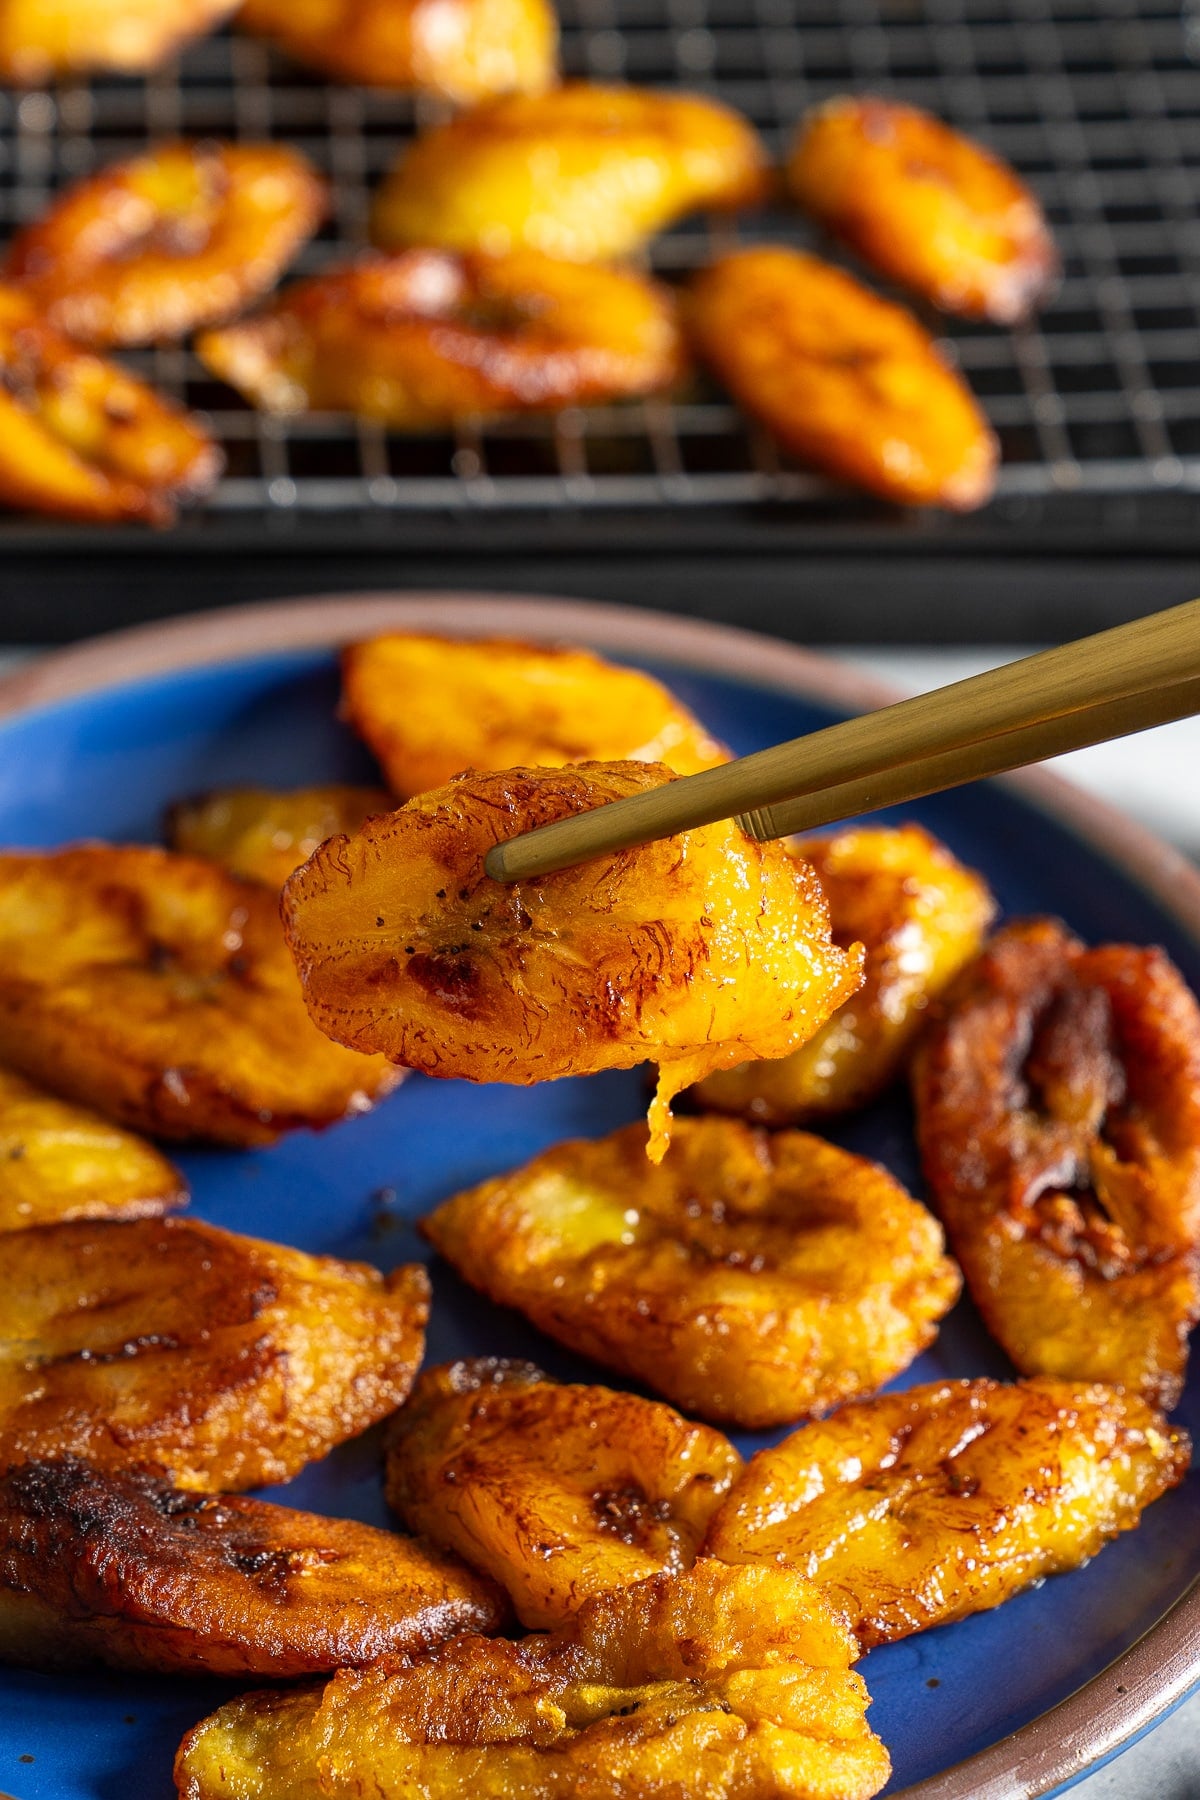
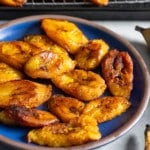
These fried plantains come out sweet, golden, and caramelized around the edges with just two ingredients.

You’ll find the full recipe with ingredient amounts and instructions in the recipe card at the bottom of this post. Be sure to check out the blog post itself for extra tips and tricks!
Fried Plantains at a Glance
Enjoy these sweet, caramelized fried plantains as an easy side dish or snack, perfect with your favorite Caribbean meals or a simple breakfast plate.
Tip: For the sweetest flavor, use plantains that are mostly black or heavily speckled yellow with black spots.

If there is a plate of Caribbean or Jamaican food in front of me, then I want some fried plantains on it. It's the one side I order with every single meal if I can get it. Brown stew, oxtail, rice and peas, whatever the main is, the plantains are just so good on the side.
My favorite way to eat them is for breakfast. I love them layered in a sandwich with a fried egg on top, all tucked between two slices of bread. And on days when I don't feel like dealing with a skillet of oil, I make my air fryer plantains instead. Frying plantains is a bit of an art, to ensure they don't burn. Here I'm sharing everything you need to know to fry them right.
Happy Cooking,
Tanya
Ingredient Notes
Ingredient amounts and full recipe instructions are on the printable recipe card at the bottom of the post.
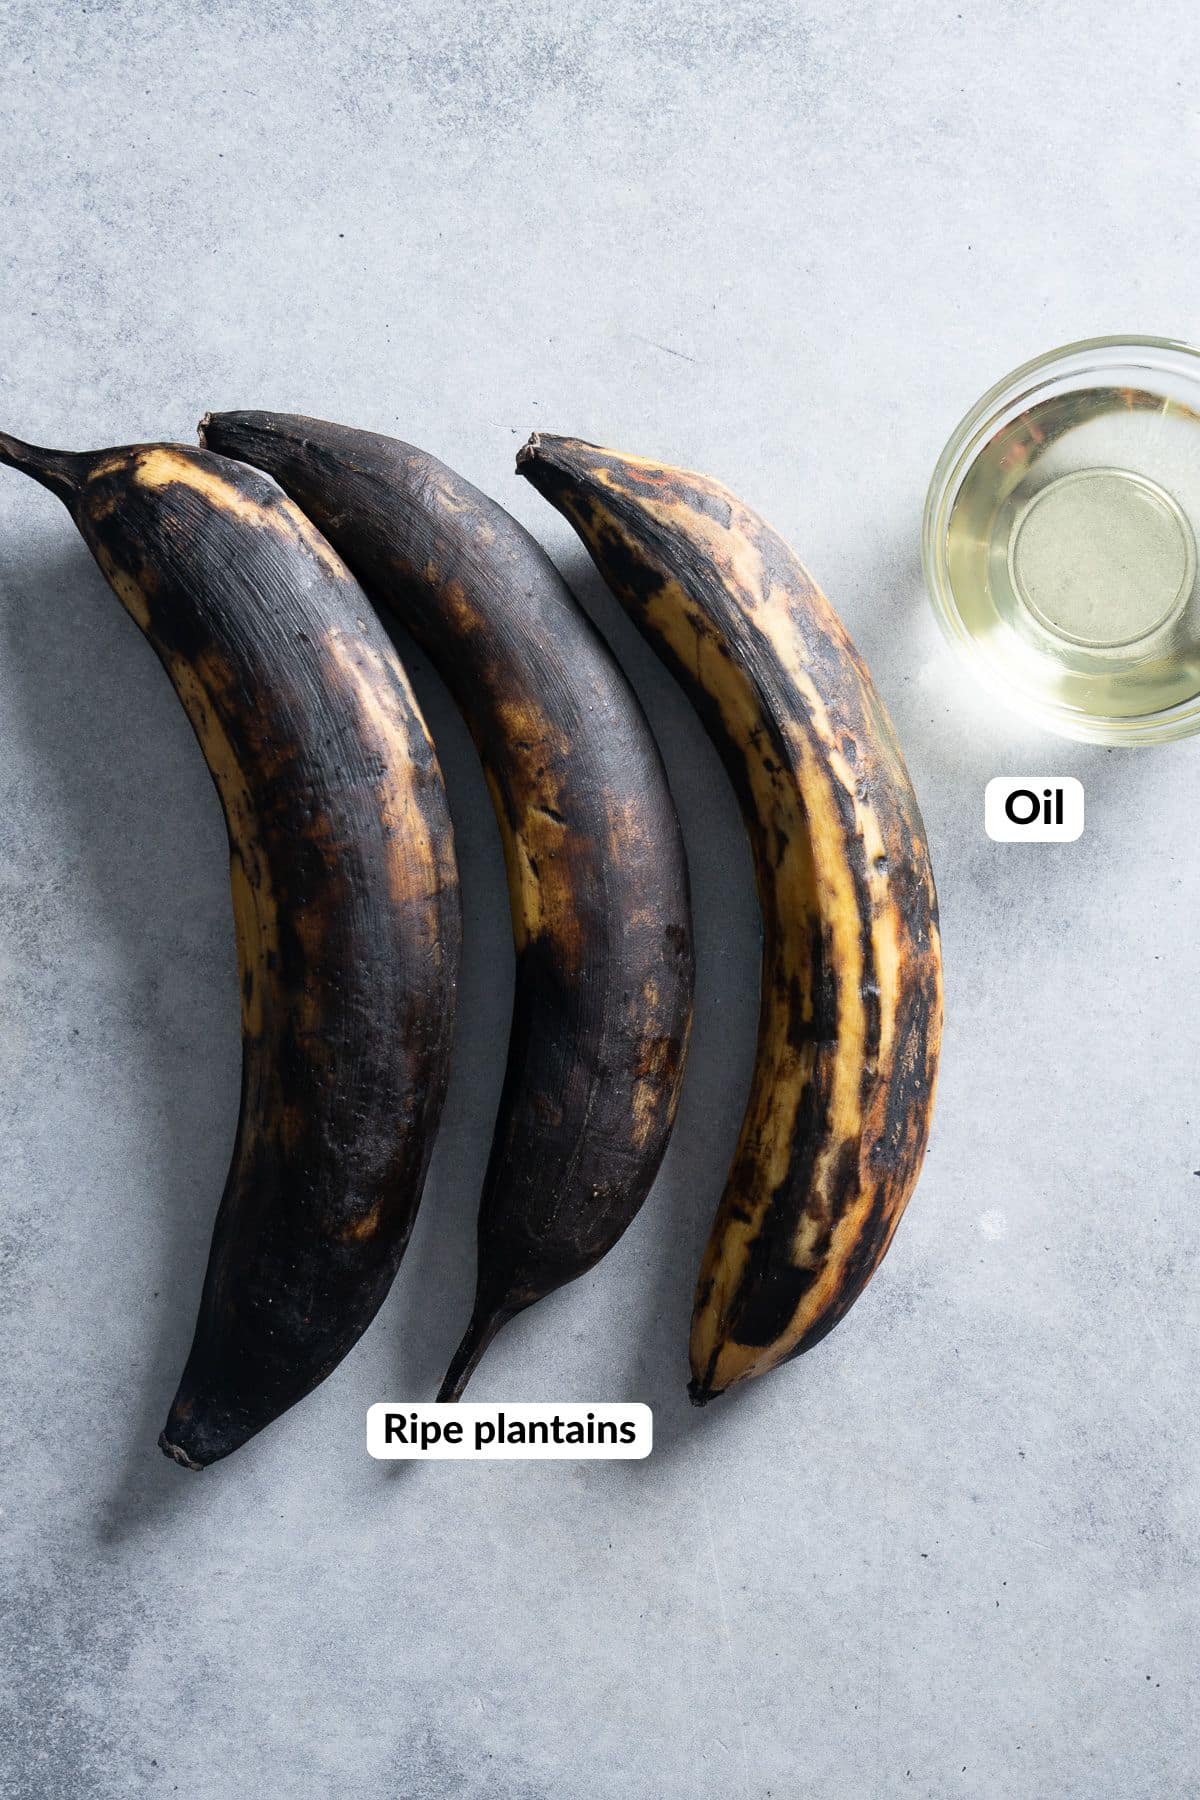
- Ripe plantains. This is the whole recipe, so choose well. You want plantains that are mostly black, or yellow with lots of black spots. The riper the plantain, the sweeter the result. Look for them near the bananas at your grocery store, or check an international market if your regular store doesn't carry them. I tend to purchase them yellow, and allow them to ripen at home on the countertop.
- Neutral oil. Vegetable, avocado, or canola oil all work. You want a neutral flavor so the plantains stay the star, and these oils handle frying heat without smoking.
How to make Fried Plantains
Please see the recipe card below for the full printable recipe, ingredients, and instructions. Here you will find step-by-step photos of how to make this recipe.
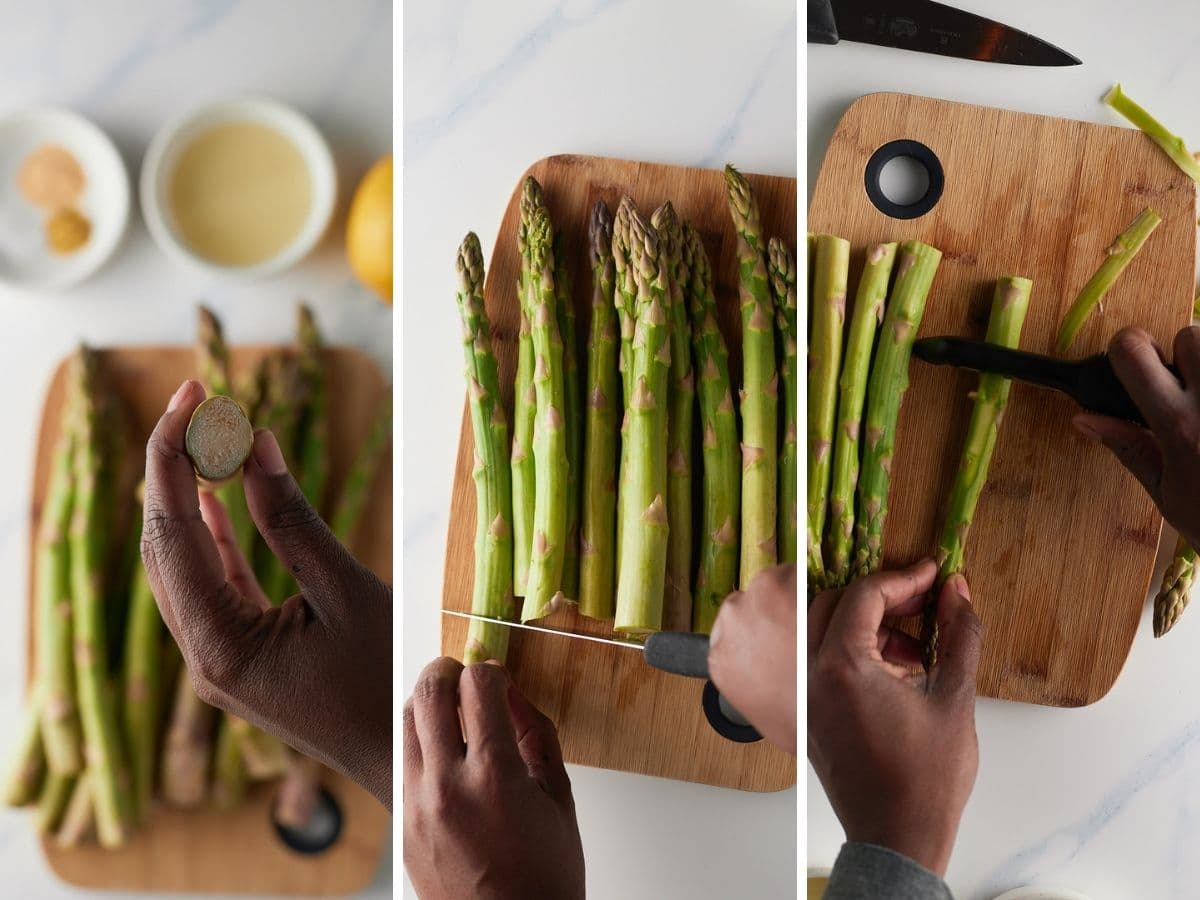
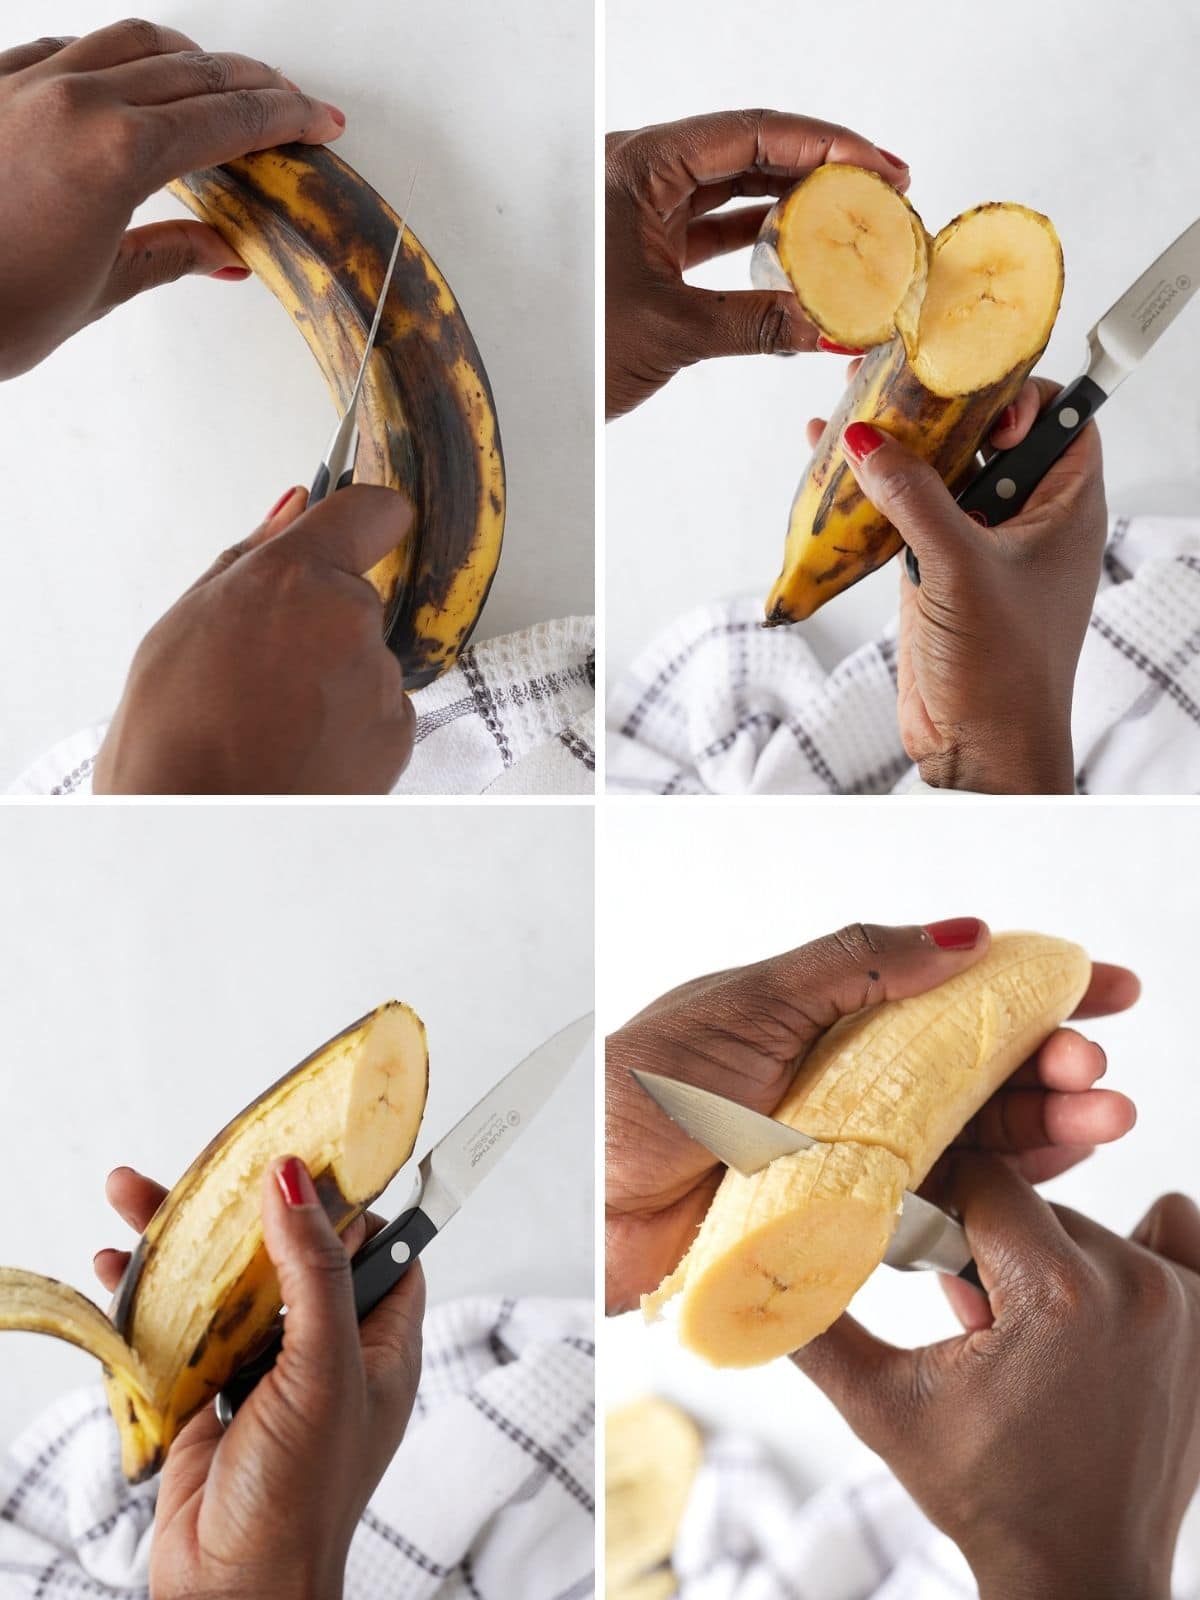
Peel and Slice the Plantains
Cut the ends off the plantains, cut each one in half, and slice a shallow line down the peel. The peel on a ripe plantain comes away easily once you get under that line. Slice the plantains diagonally into ½-inch-thick pieces.
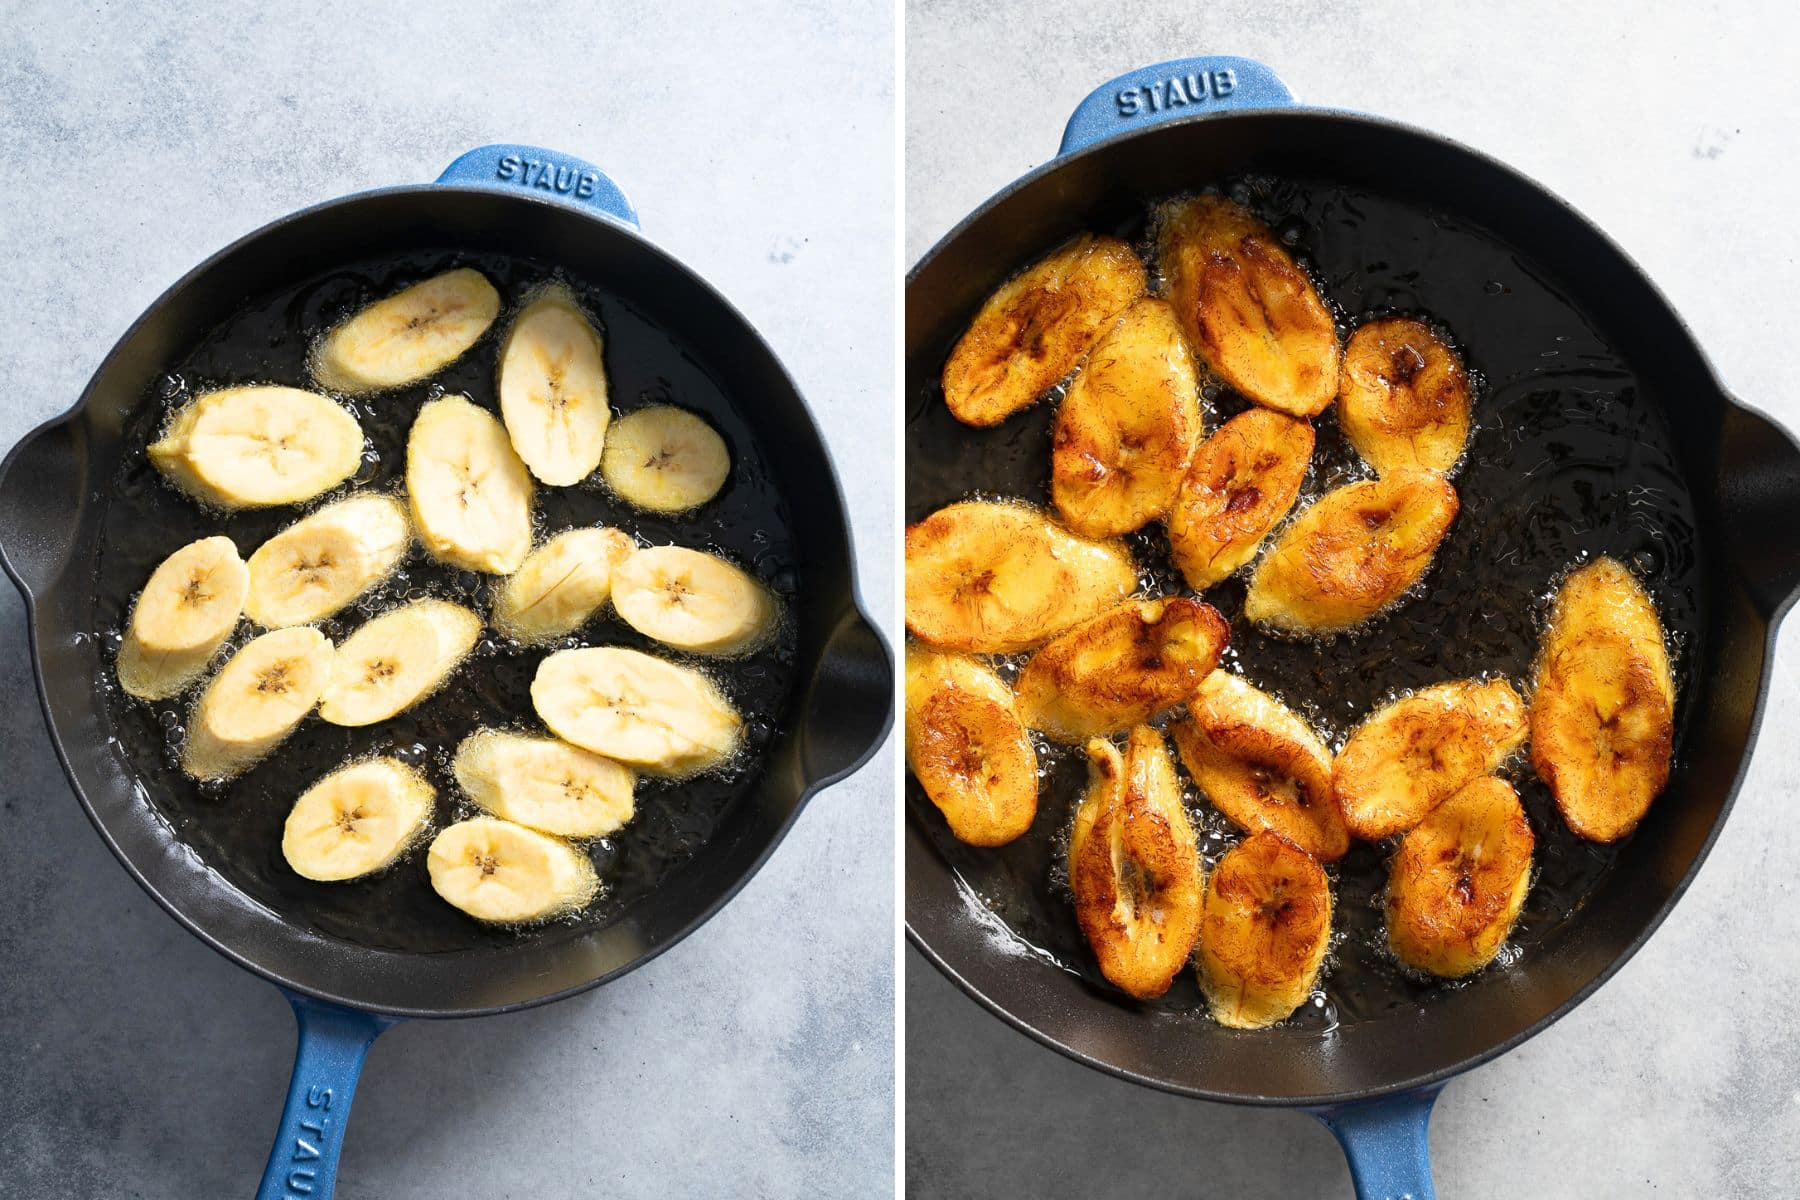
Heat the Oil and Fry the Plantains
Heat the oil in a large nonstick skillet over medium heat. You want about ¼ inch of oil, enough to cover the plantain slices halfway. The oil should reach a temperature of 325°F to 350°F (160°C to 180°C). If you don't have a thermometer, drop in one slice. It should bubble gently around the edges right away, not sit still or sputter violently.
Carefully place the plantains in the oil in a single layer. Don't crowd them. Let them fry for about 3 to 4 minutes on each side, flipping when the bottom begins to caramelize.
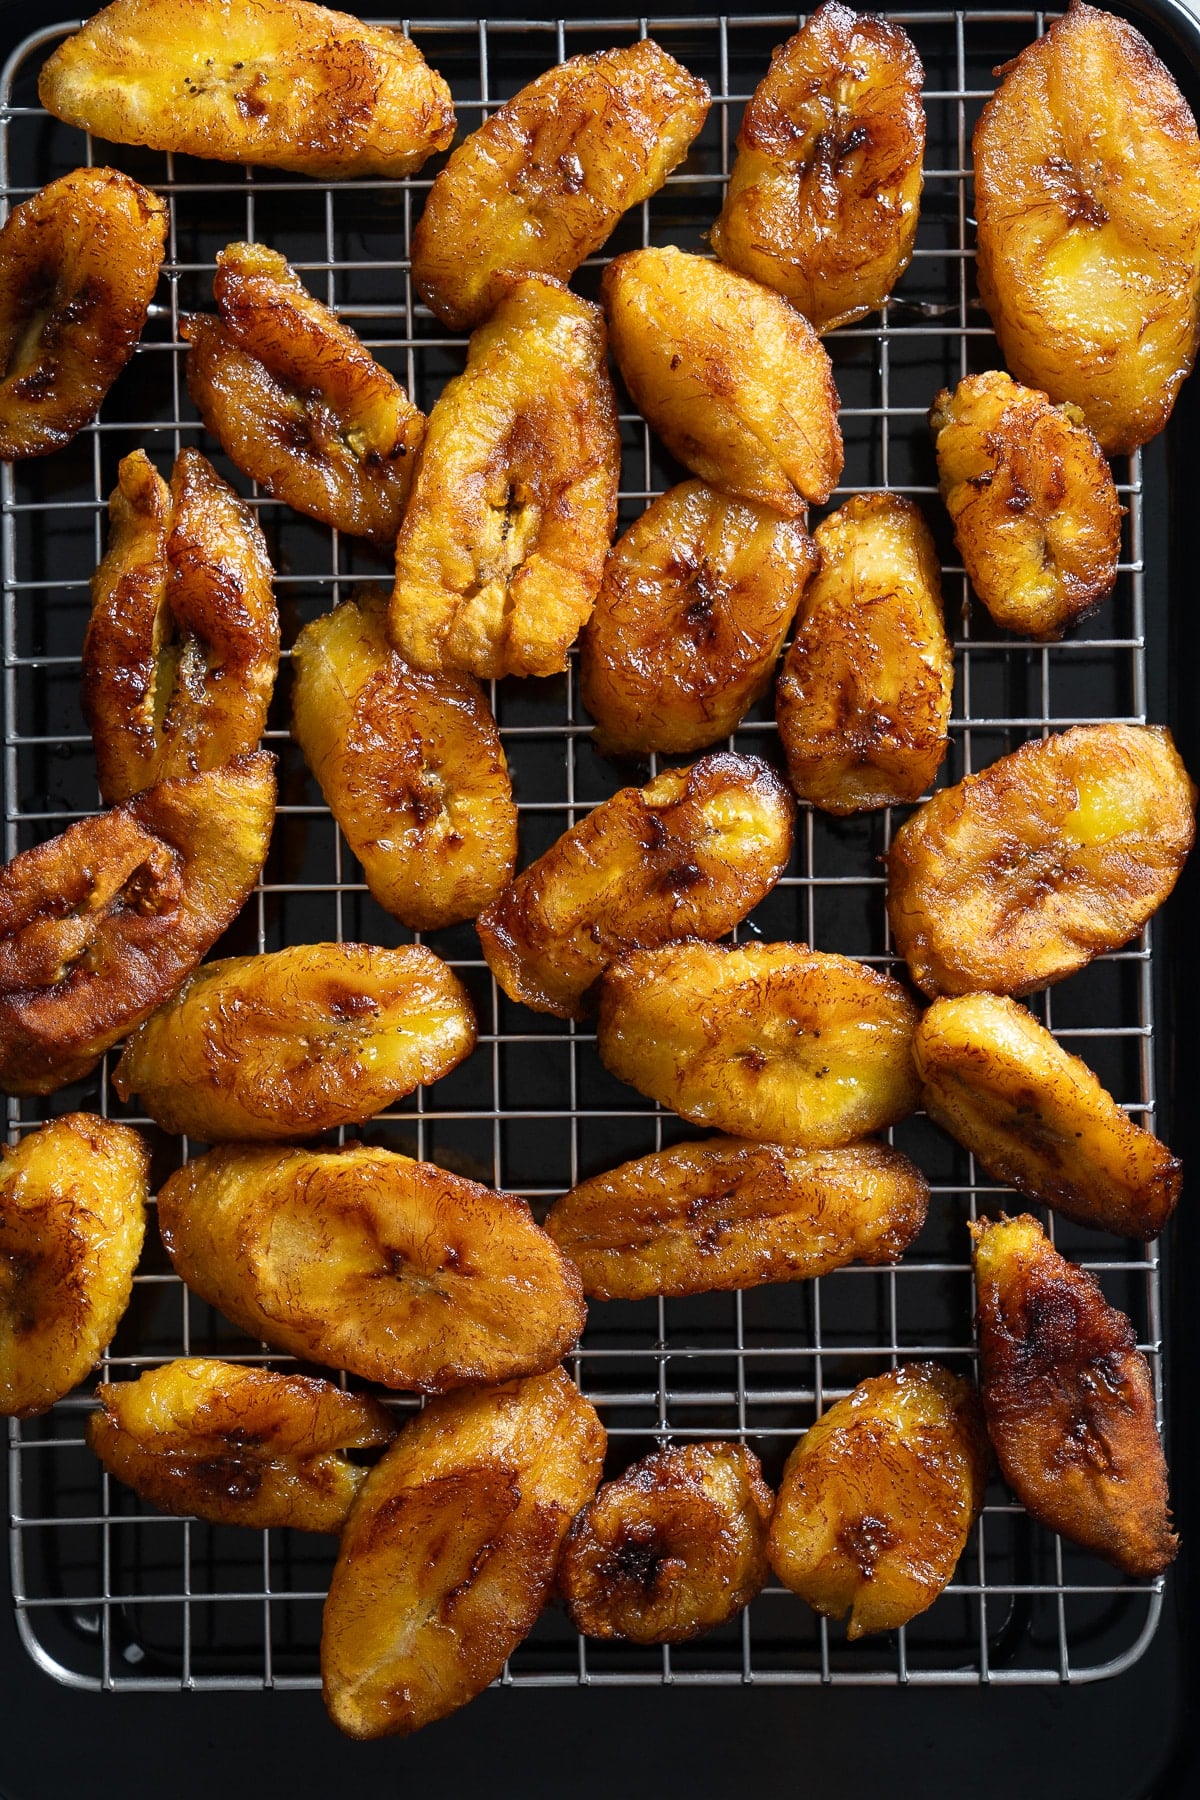
Drain and Serve
Transfer the plantains to a wire rack to drain any excess oil and cool for a couple of minutes. Then serve them warm.
Tanya's Top Tips
- Squeeze before you slice. Your plantains should feel soft before frying. Hard plantains going in means hard plantains coming out, no matter how long you cook them. I've also had plantains that look ripe, but feel hard. This is rare, but possible. Avoid frying these plantains.
- Watch your oil temperature. If your oil temp is too high, you risk burning your plantains. Aim for a temperature of 325°F to 350°F (160°C to 180°C). I like to heat my oil over medium heat to ensure it doesn't get too hot.
- Flip gently, especially with very ripe plantains. The riper the plantain, the softer and more delicate it is in the pan. Use a thin spatula or tongs to turn each piece with a little care so they don't break apart.
- Keep them in a single layer. Crowding the pan drops the oil temperature, and the plantains steam instead of caramelizing. Fry in batches if you need to.
- Drain on a wire rack, not paper towels. A rack keeps the air moving so the bottoms don't feel greasy.
Variations
- Salted. A small sprinkle of kosher salt right after frying plays up the sweetness. This is how many households serve them.
- Cinnamon sugar. Toss the hot plantains with a little cinnamon sugar for a dessert-style plate.
- Air fryer. Want the same result with a fraction of the oil? Use my air fryer plantains method.
What to Serve With Fried Plantains
Fried plantains might be the most flexible side dish I make. My favorite combination is fried plantains with coconut rice and black beans. The sweet plantains against the creamy rice and savory beans is so delicious.
They also pair well with any Caribbean main you love, like picadillo or your protein of choice. And don't sleep on breakfast. A fried egg on top of warm plantains, sandwiched between two slices of bread, is my personal favorite way to eat them.
FAQs
Roughly 1-2 weeks from green to mostly black on the counter. To speed it up, put them in a loosely closed paper bag with a banana or apple.
Yes. Maduros, platanos maduros, and sweet plantains are all names for the same dish of ripe plantains fried until caramelized. The name just depends on the culture serving them.
Not for this recipe. Green plantains are starchy, not sweet, and they'll stay firm no matter how long you fry them. Green plantains are what you'd use for tostones, which is a completely different dish. For sweet fried plantains, wait until they're mostly black and soft.
No. They're in the same family, but plantains are larger, starchier, and have a thicker skin. Unlike bananas, plantains are meant to be cooked before eating.
I hope you love these fried plantains as much as we do. If you've made this recipe, please leave a comment below. We love to hear your feedback.
Other Recipes you May Like

Fried Plantains Recipe
Ingredients
- 2-3 ripe plantains yellow with lots of black spots or mostly black
- ¾ - 1 cup neutral oil vegetable, avocado, or canola
Instructions
- Cut the ends of the plantains, cut it in half, and then slice a shallow line down the peel. Remove the peel and slice the plantains diagonally into ½ inch-thick pieces.
- Heat the oil in a large nonstick skillet over medium heat. You want about ¼ inch of oil, enough to come halfway up the plantain slices. The oil should reach a temperature of 325°F to 350°F (160°C to 180°C).
- Carefully place the plantains in the oil in the skillet in a single layer. Allow the plantains to fry for about 3-4 minutes on each side, flipping when the bottom gets a little caramelization.
- Transfer the plantains to a wire rack to drain any excess oil and cool. Serve and enjoy.
Notes
- Storage: Store leftovers in an airtight container in the refrigerator for up to 3 days.
- Ripeness matters: The riper the plantain, the sweeter the result. Use plantains that are mostly black or yellow, with many black spots.