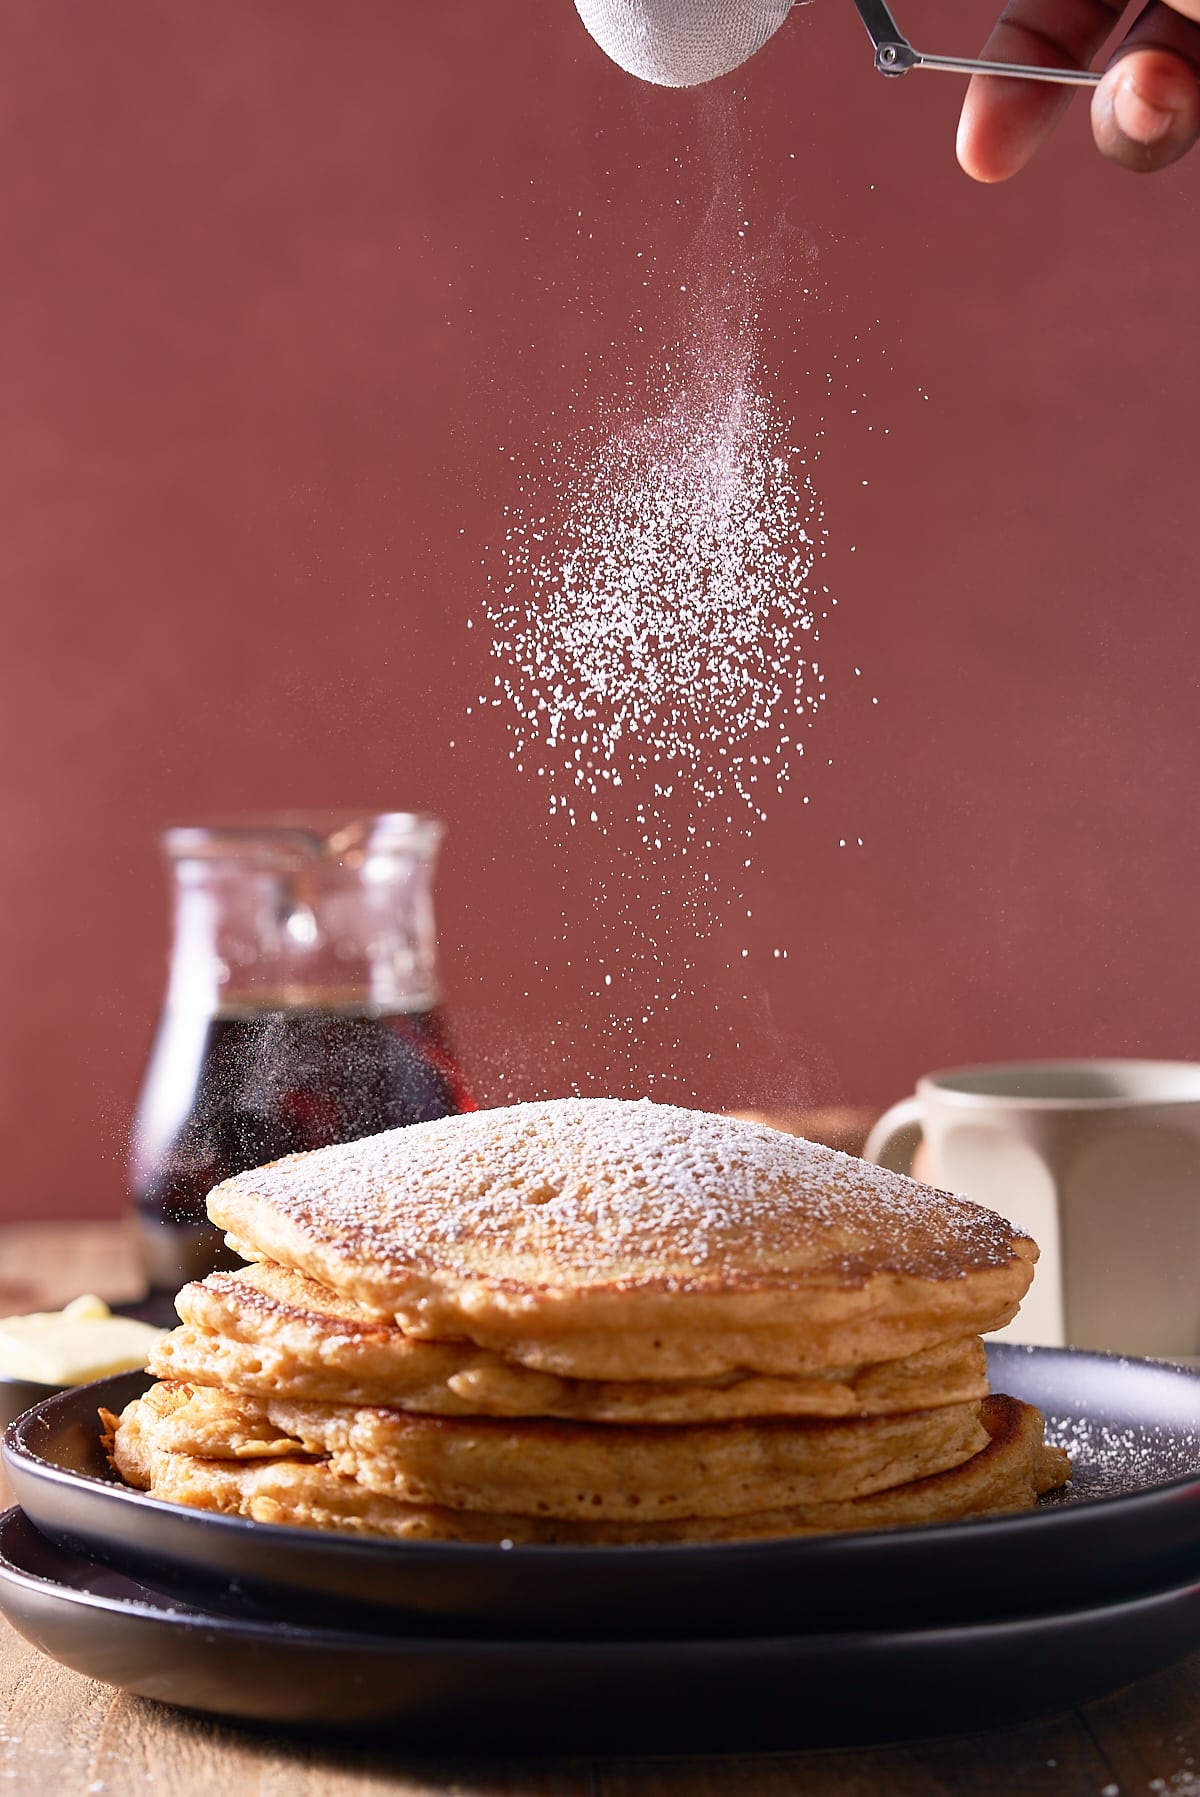
Microwave sweet potatoes offer a fusion of convenience and flavor, transforming this humble root vegetable into a quick and versatile bite. Whether you're short on time or simply craving one, microwaving sweet potatoes is an easy technique that retains their natural goodness without the lengthy oven commitment.

This post contains affiliate links, please read my full disclaimer here.
You’ll find the full recipe with ingredient amounts and instructions in the recipe card at the bottom of this post. Be sure to check out the blog post itself for extra tips and tricks!
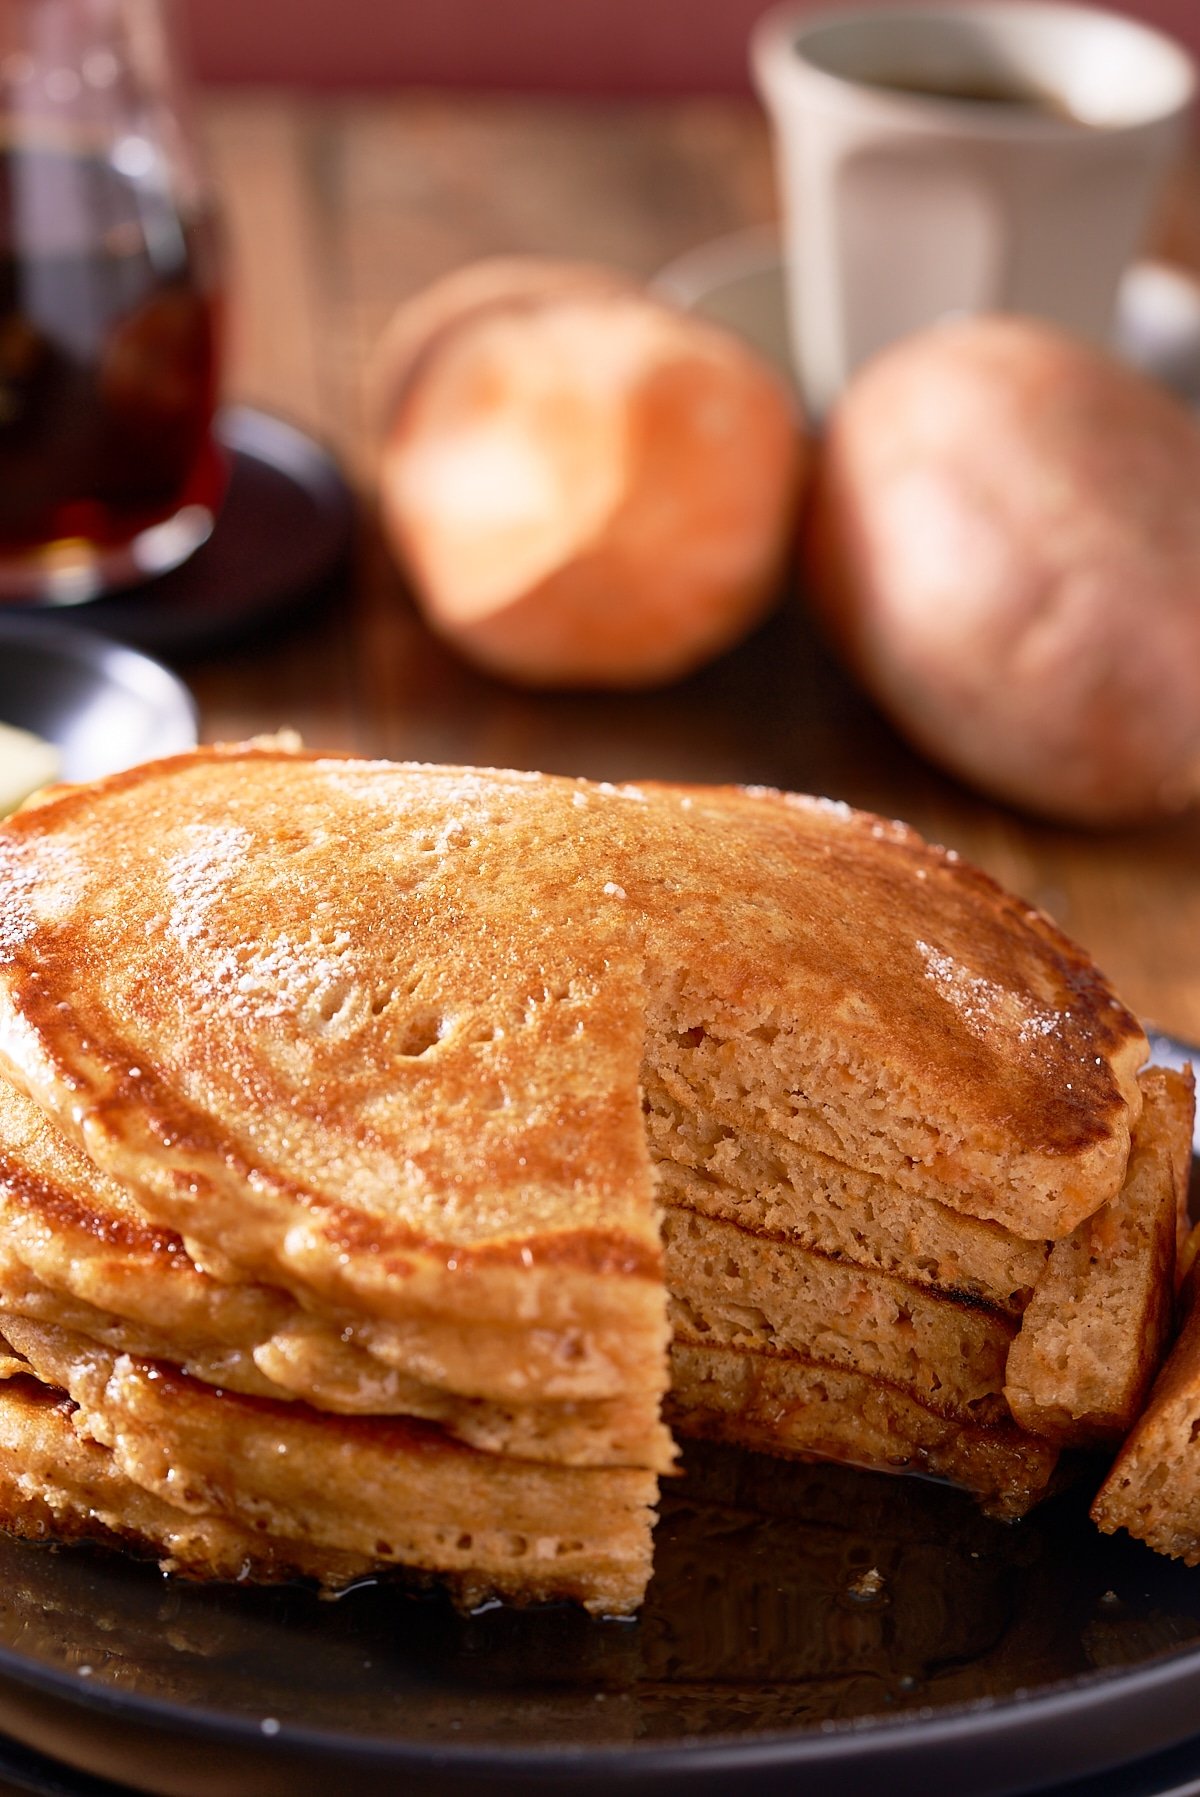
Microwaved sweet potatoes are an excellent base for savory and sweet toppings. They pair well with herbs, cheeses, nuts, and even fruits, allowing you to customize your potatoes according to your liking. So, whether you're seeking a nutritious weeknight meal or a quick snack, the microwave proves to be a remarkable tool in bringing out the best in sweet potatoes.
You can also use this method for prepping sweet potatoes for other recipes, like pies or casseroles.
Find even more ways to enjoy sweet potatoes with my Sweet Potato Soup Recipe, Southern Style Sweet Potato Casserole, and this sweet Southern Sweet Potato Pie.
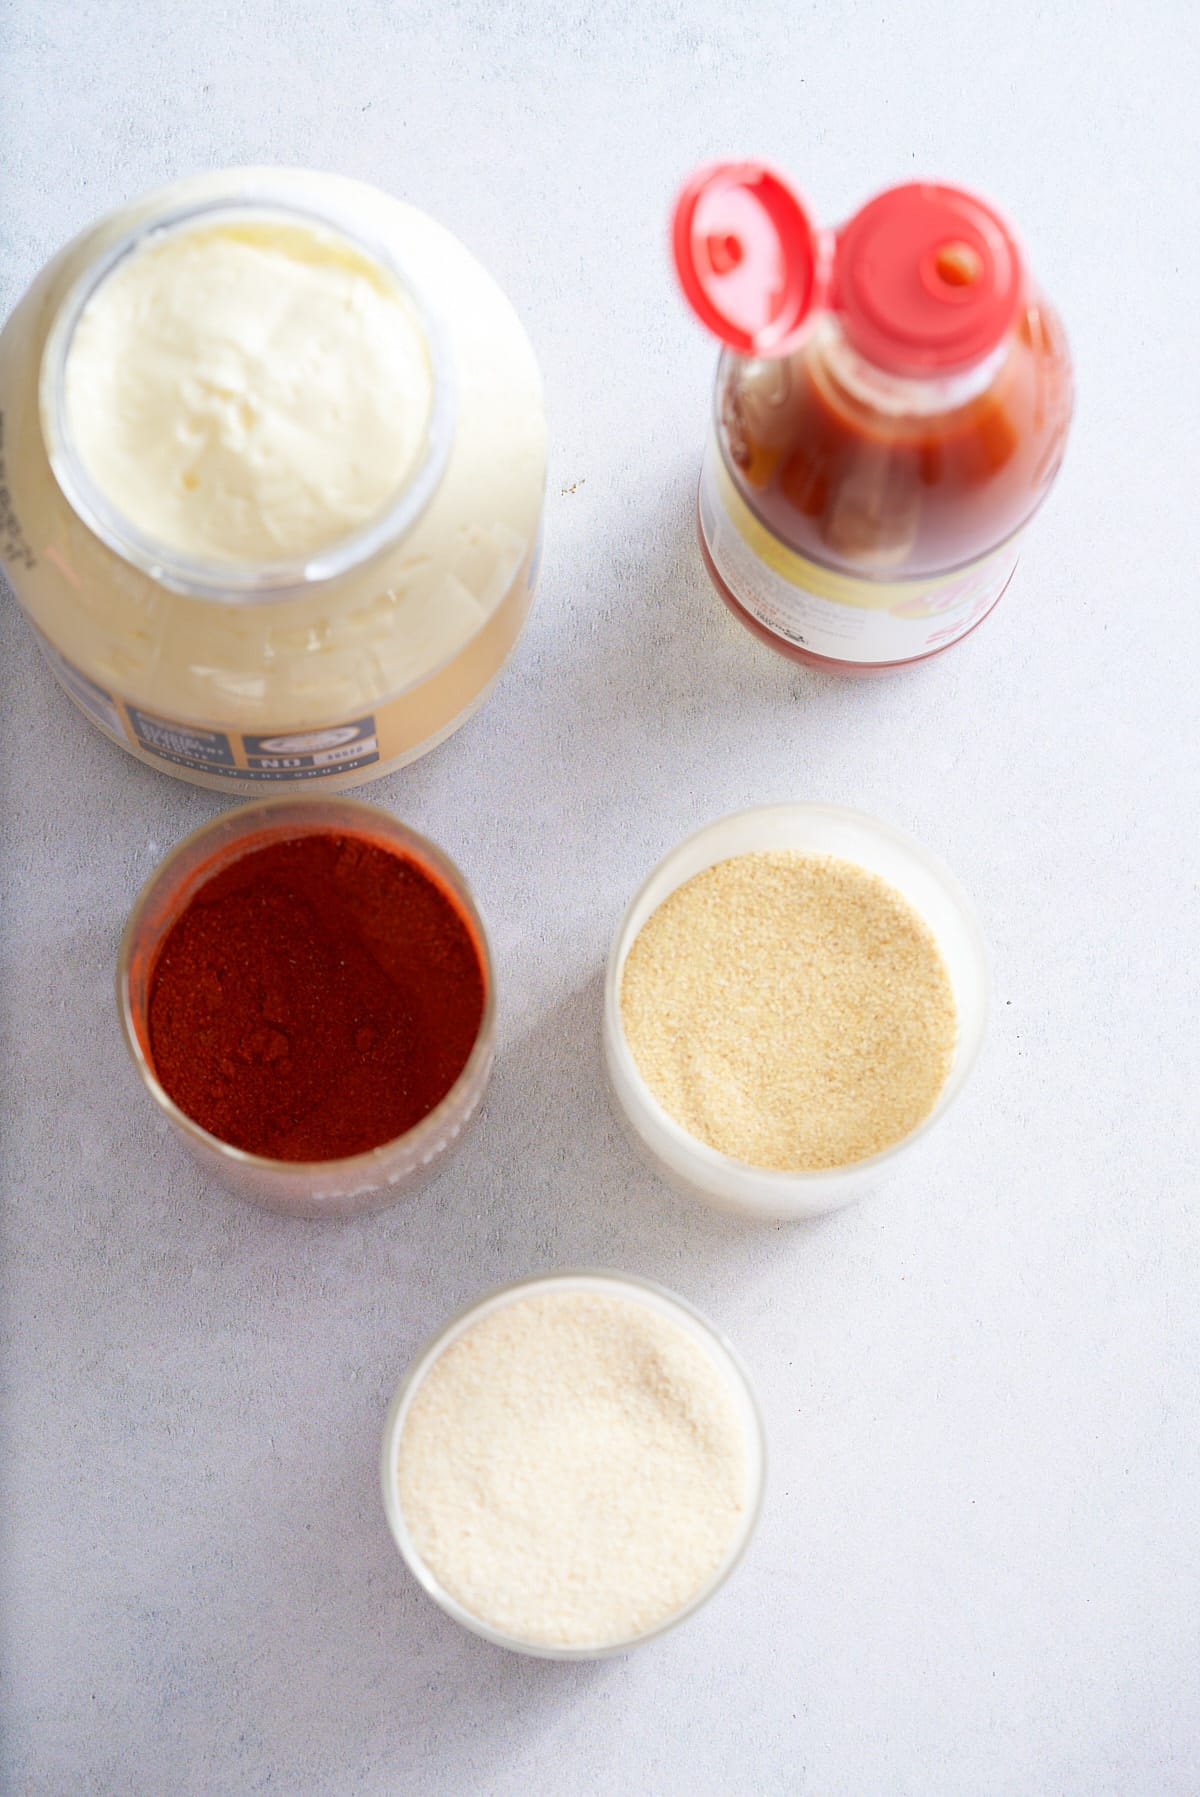
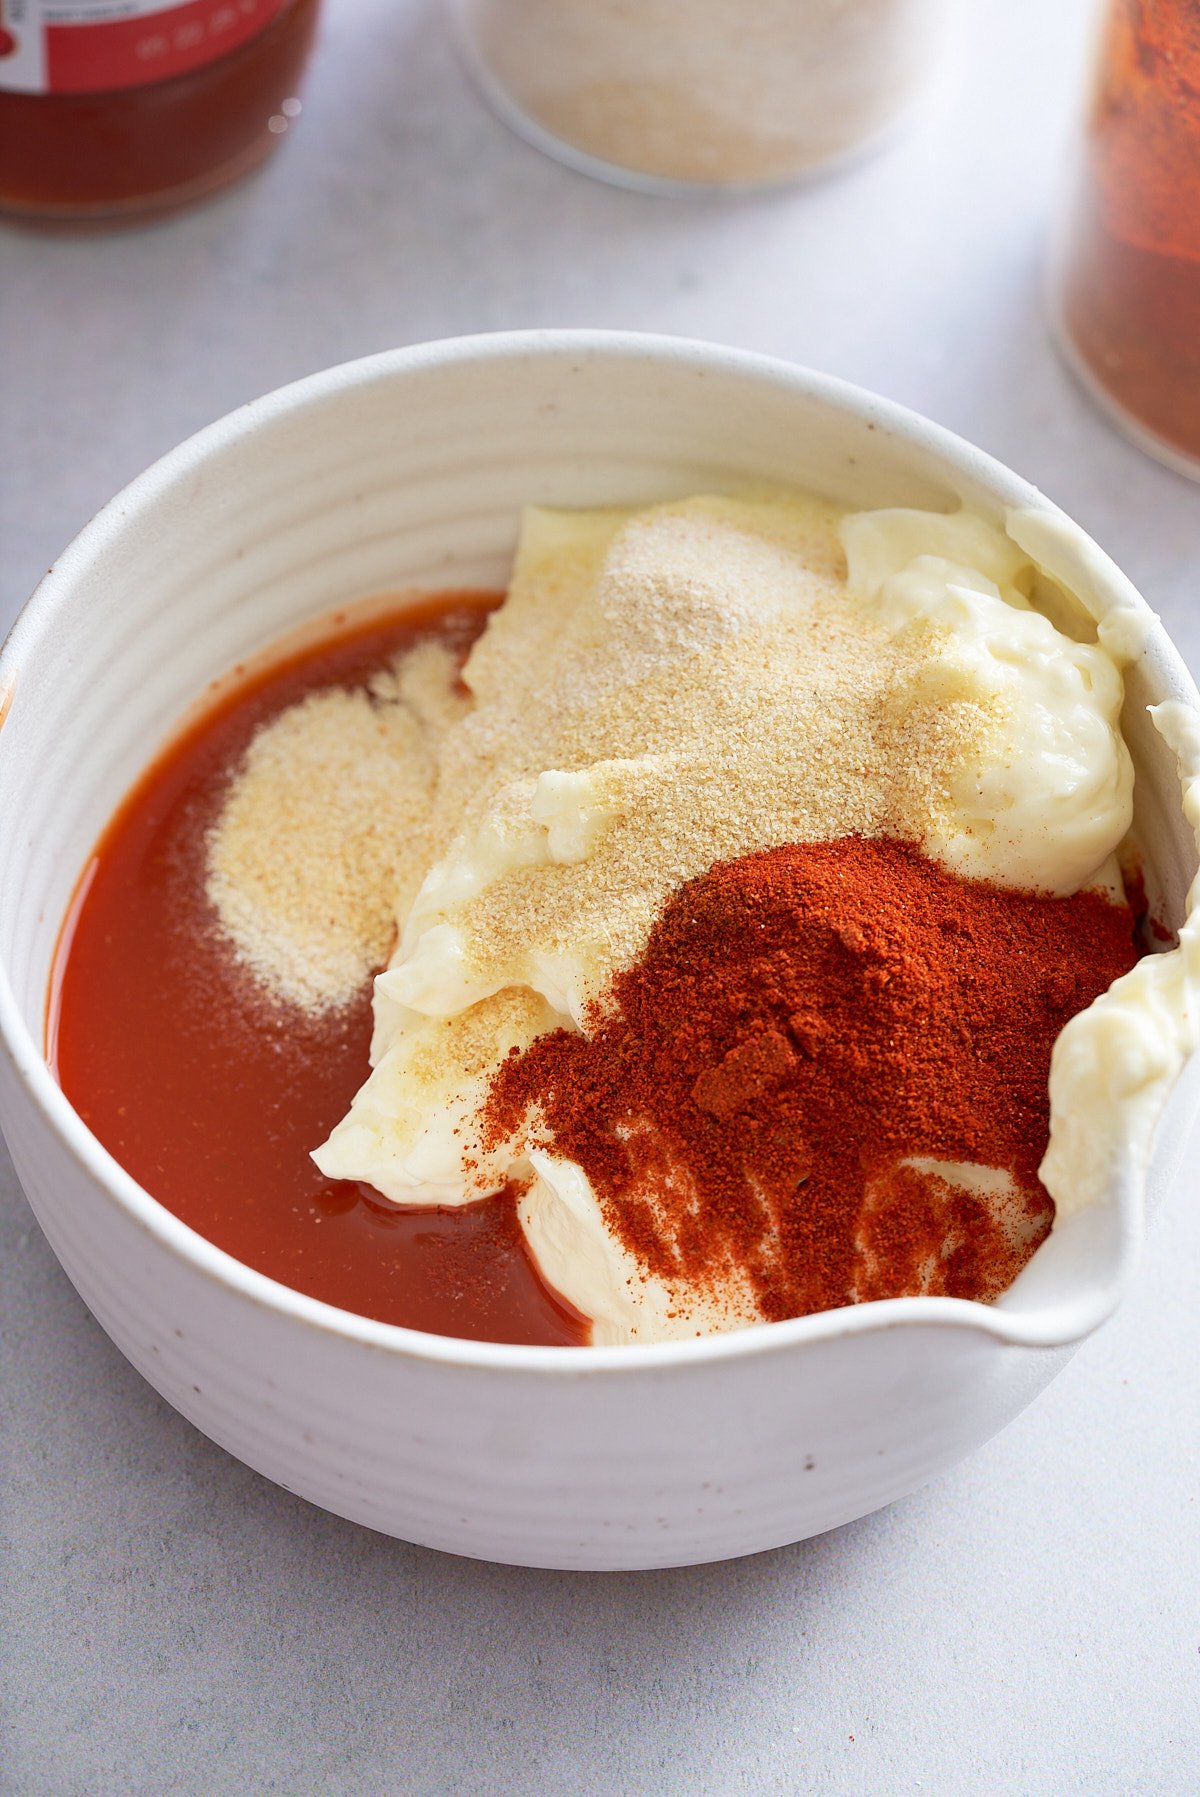
Ingredients
- Sweet potatoes - Use medium sweet potatoes about 8 oz each.
- Oil, salt, and pepper - Seasonings are optional but recommended.
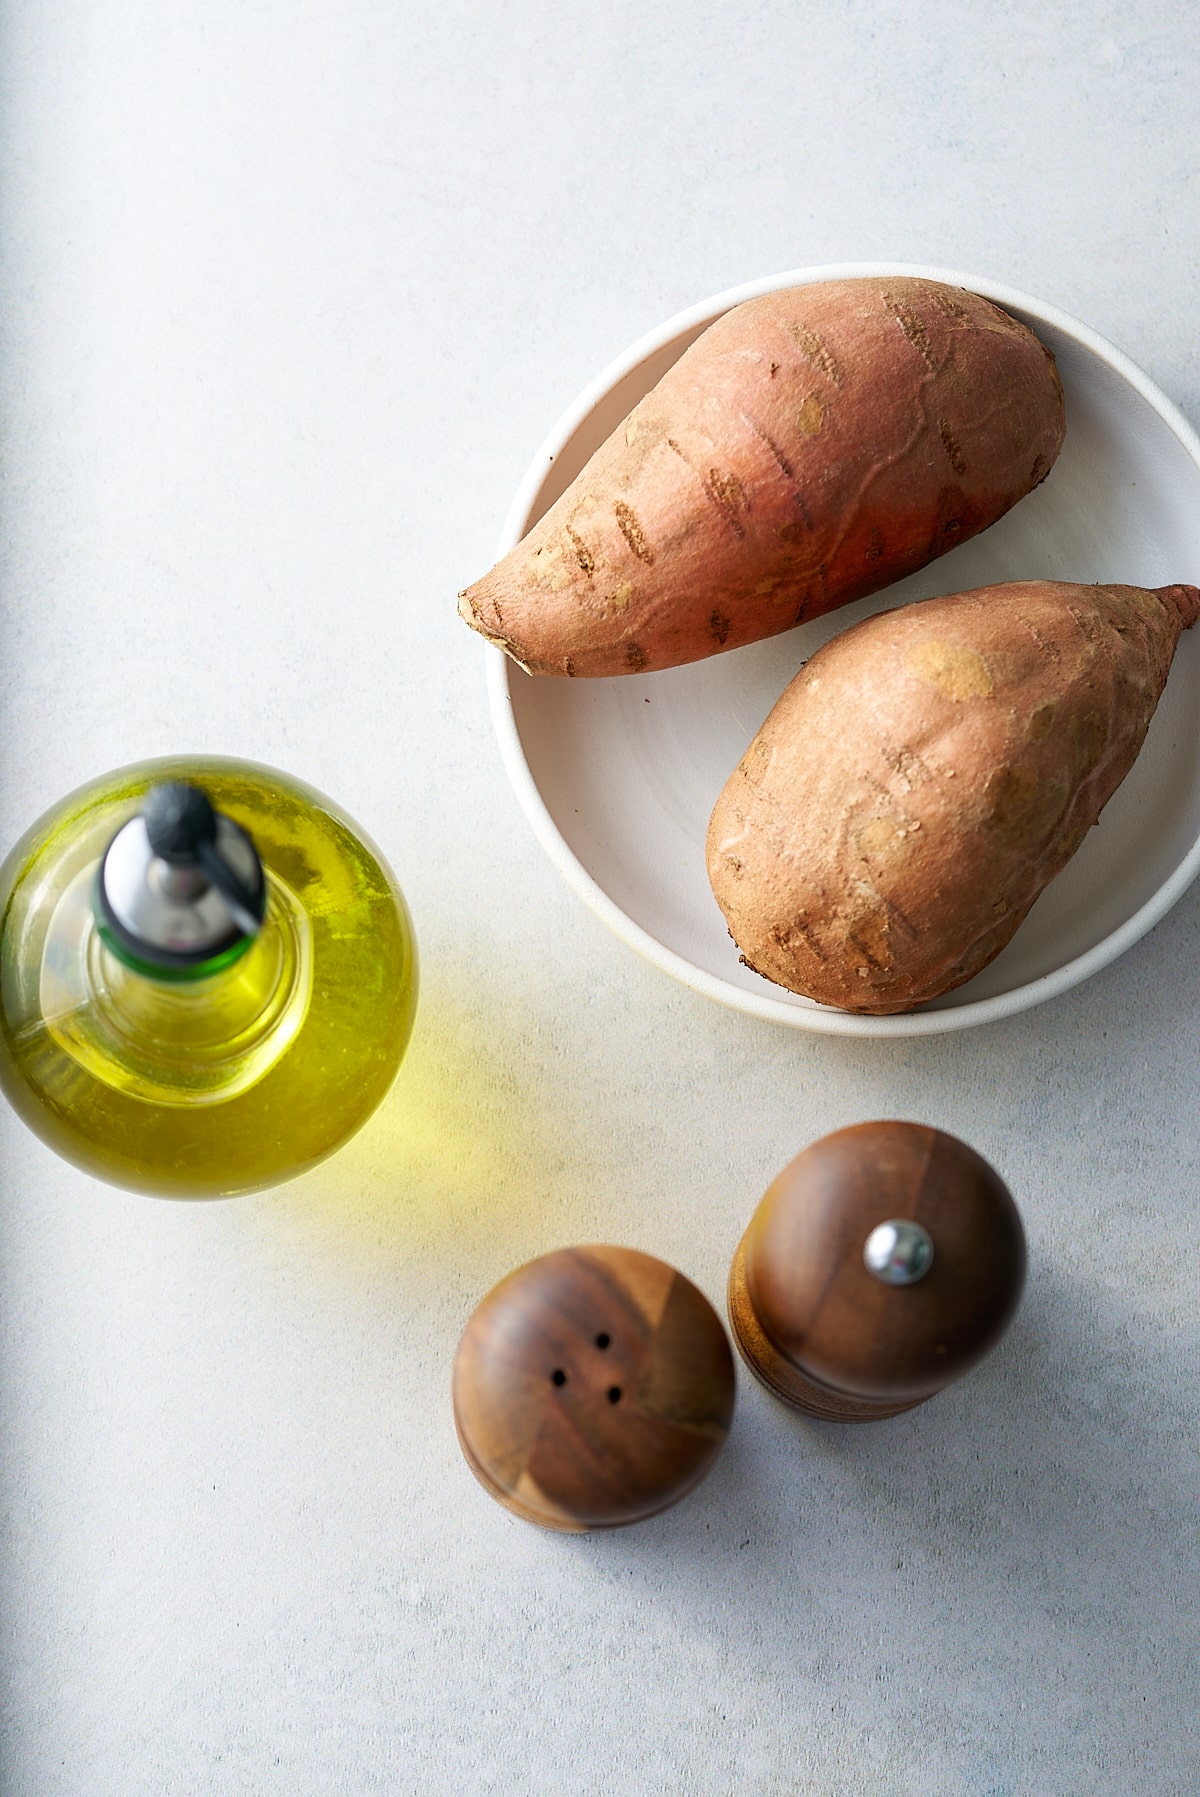
Tools needed for this recipe
- Microwave
- Fork
- Microwave safe dish
How To Make A Microwave Sweet Potato
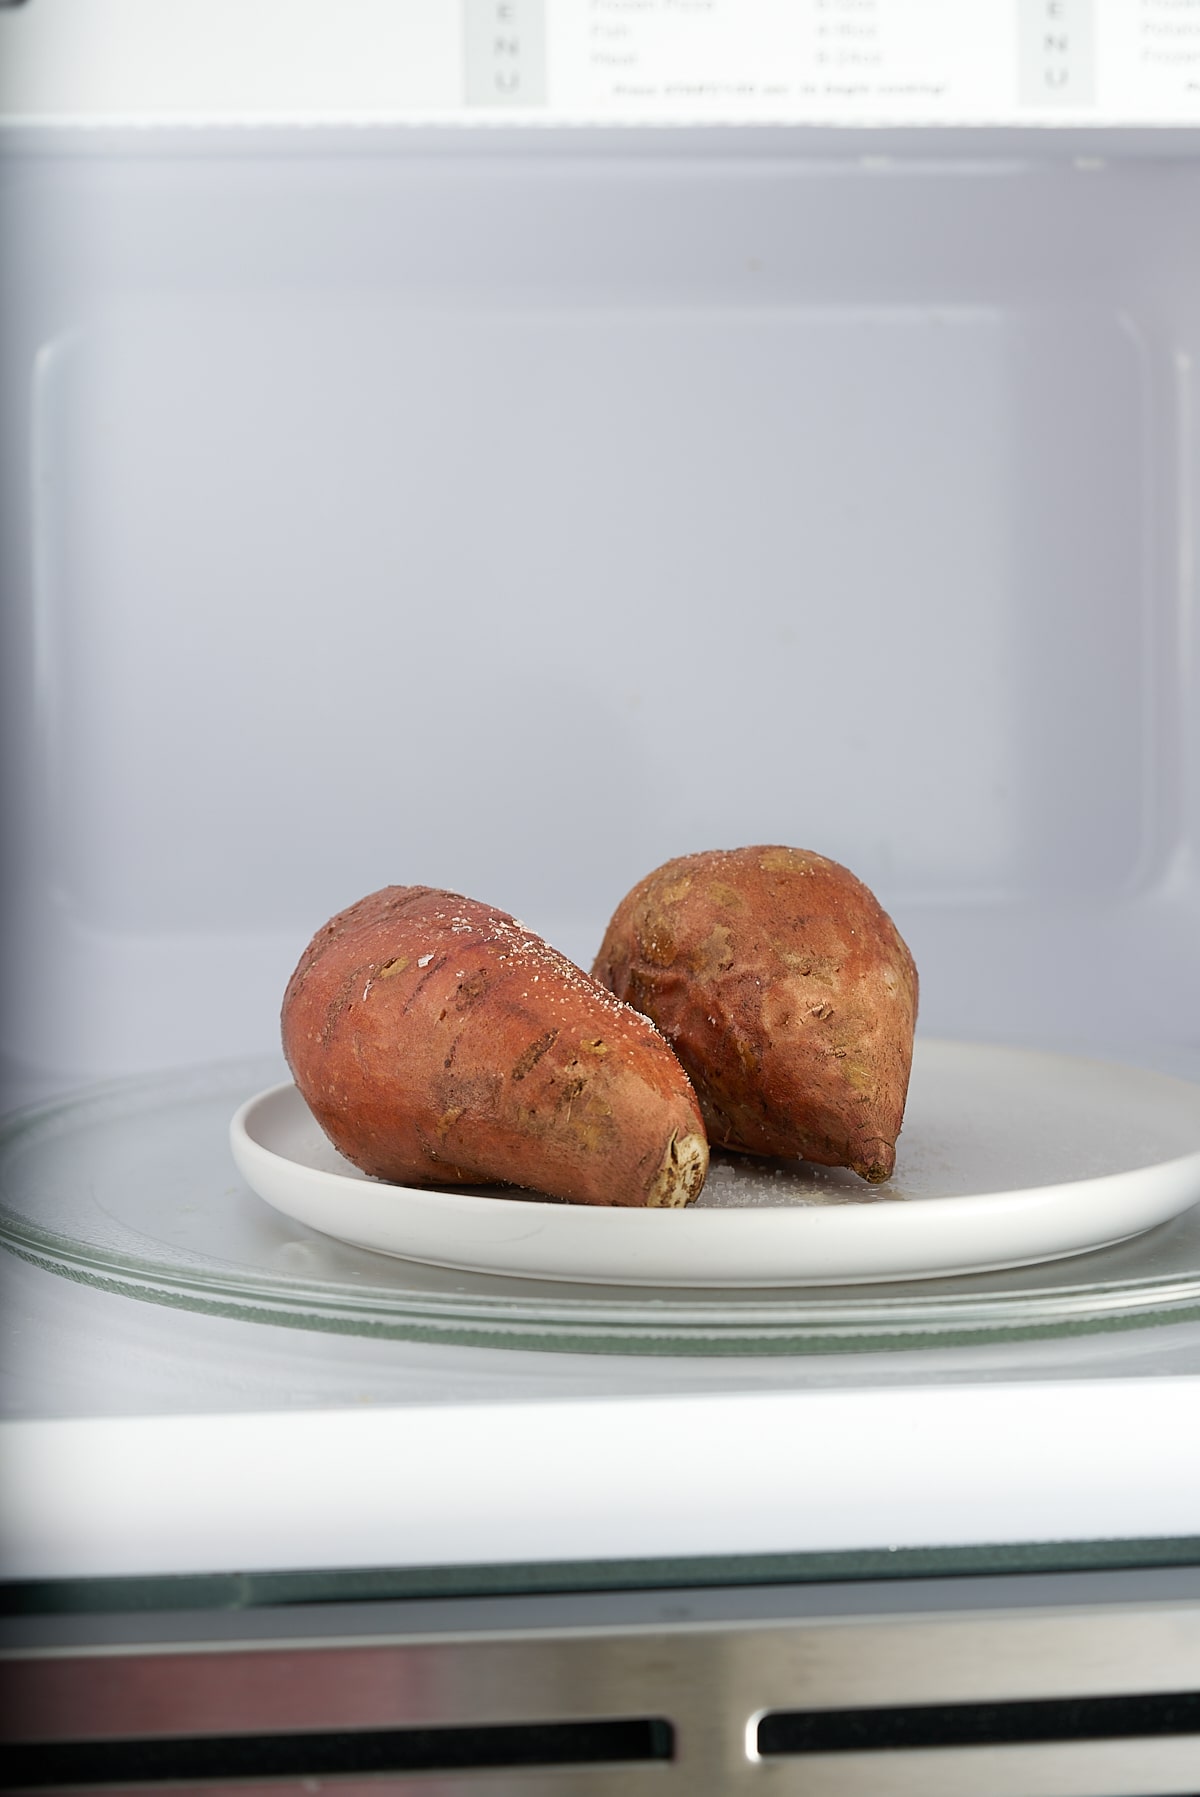
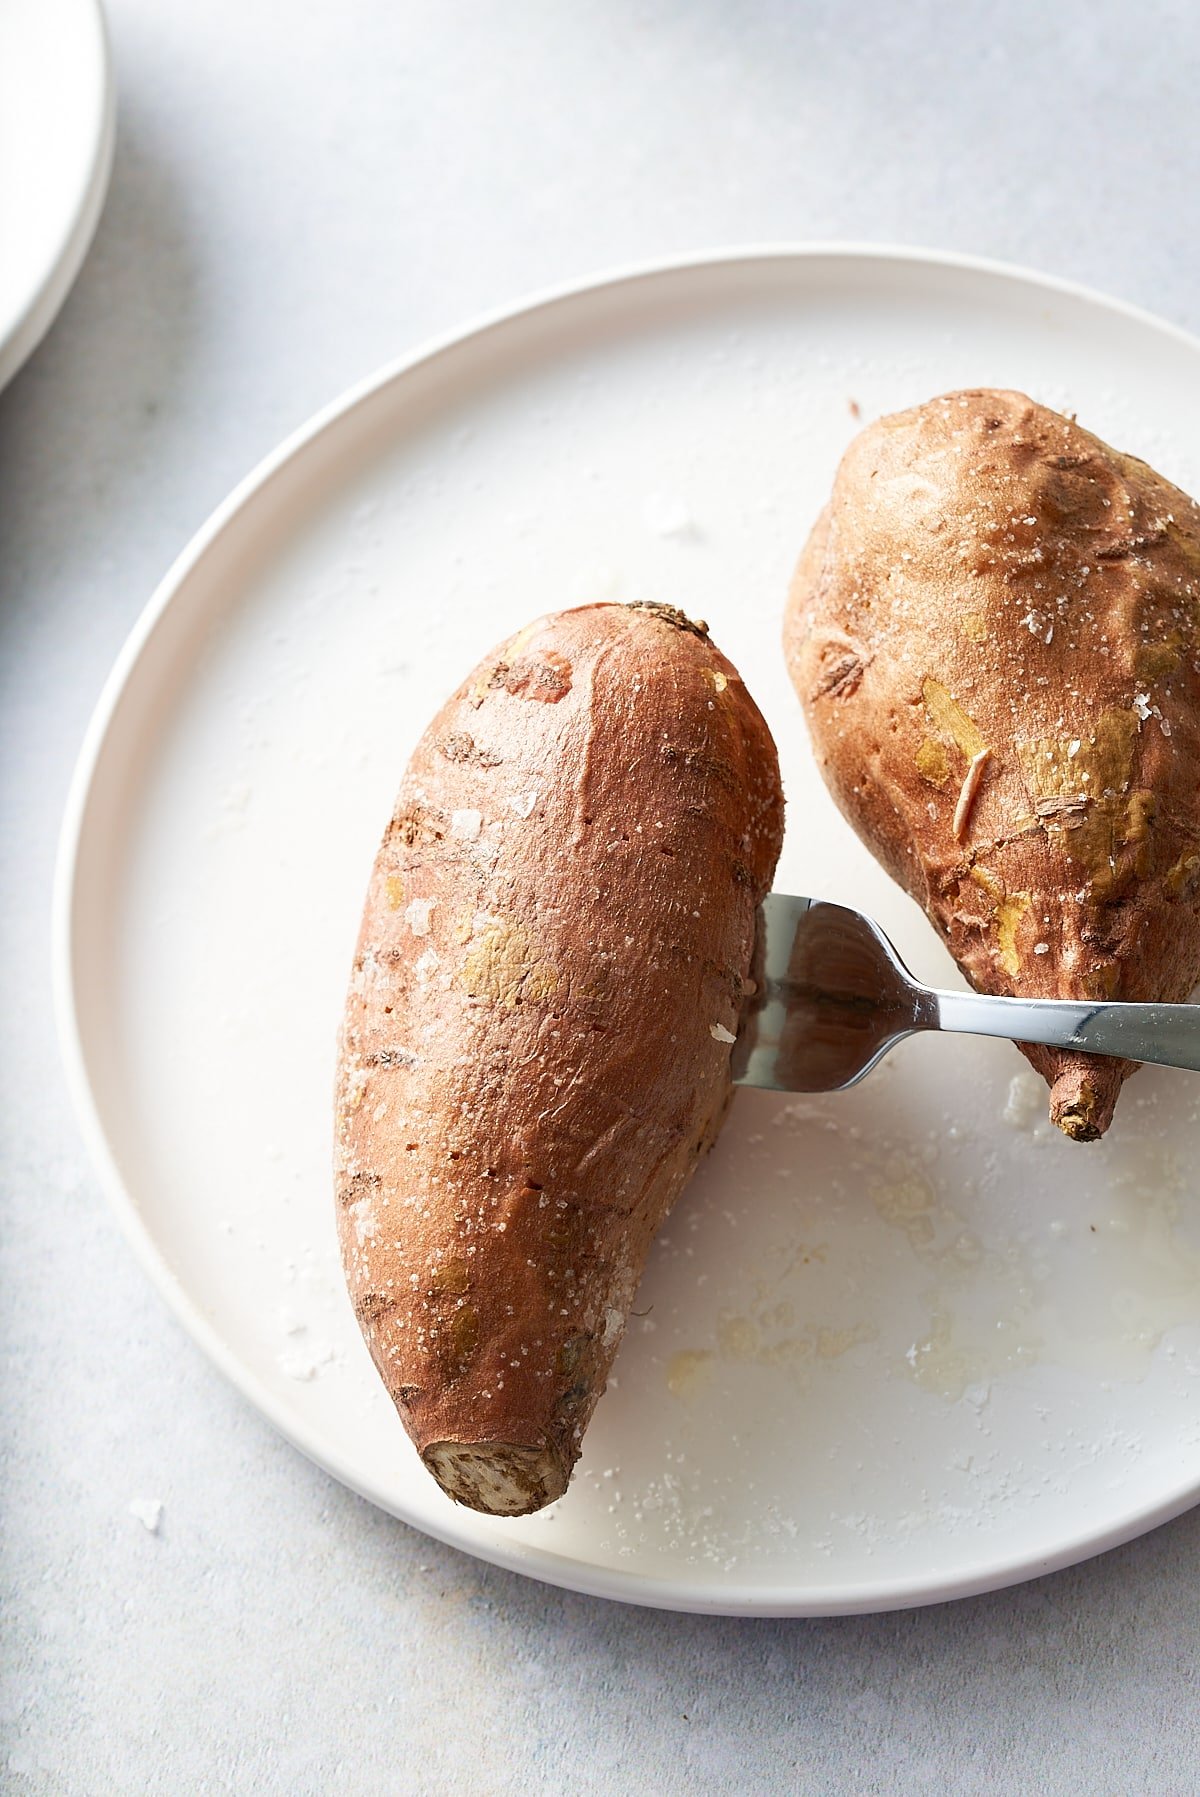
Clean the sweet potato. Use a brush to scrub it under cool running water. Then, use a fork to prick the sweet potato all around.

Place the sweet potato on a microwave-safe plate. Microwave on high for 5-11 minutes, flipping the sweet potatoes halfway through, depending on the wattage of your microwave. See the suggested times below.
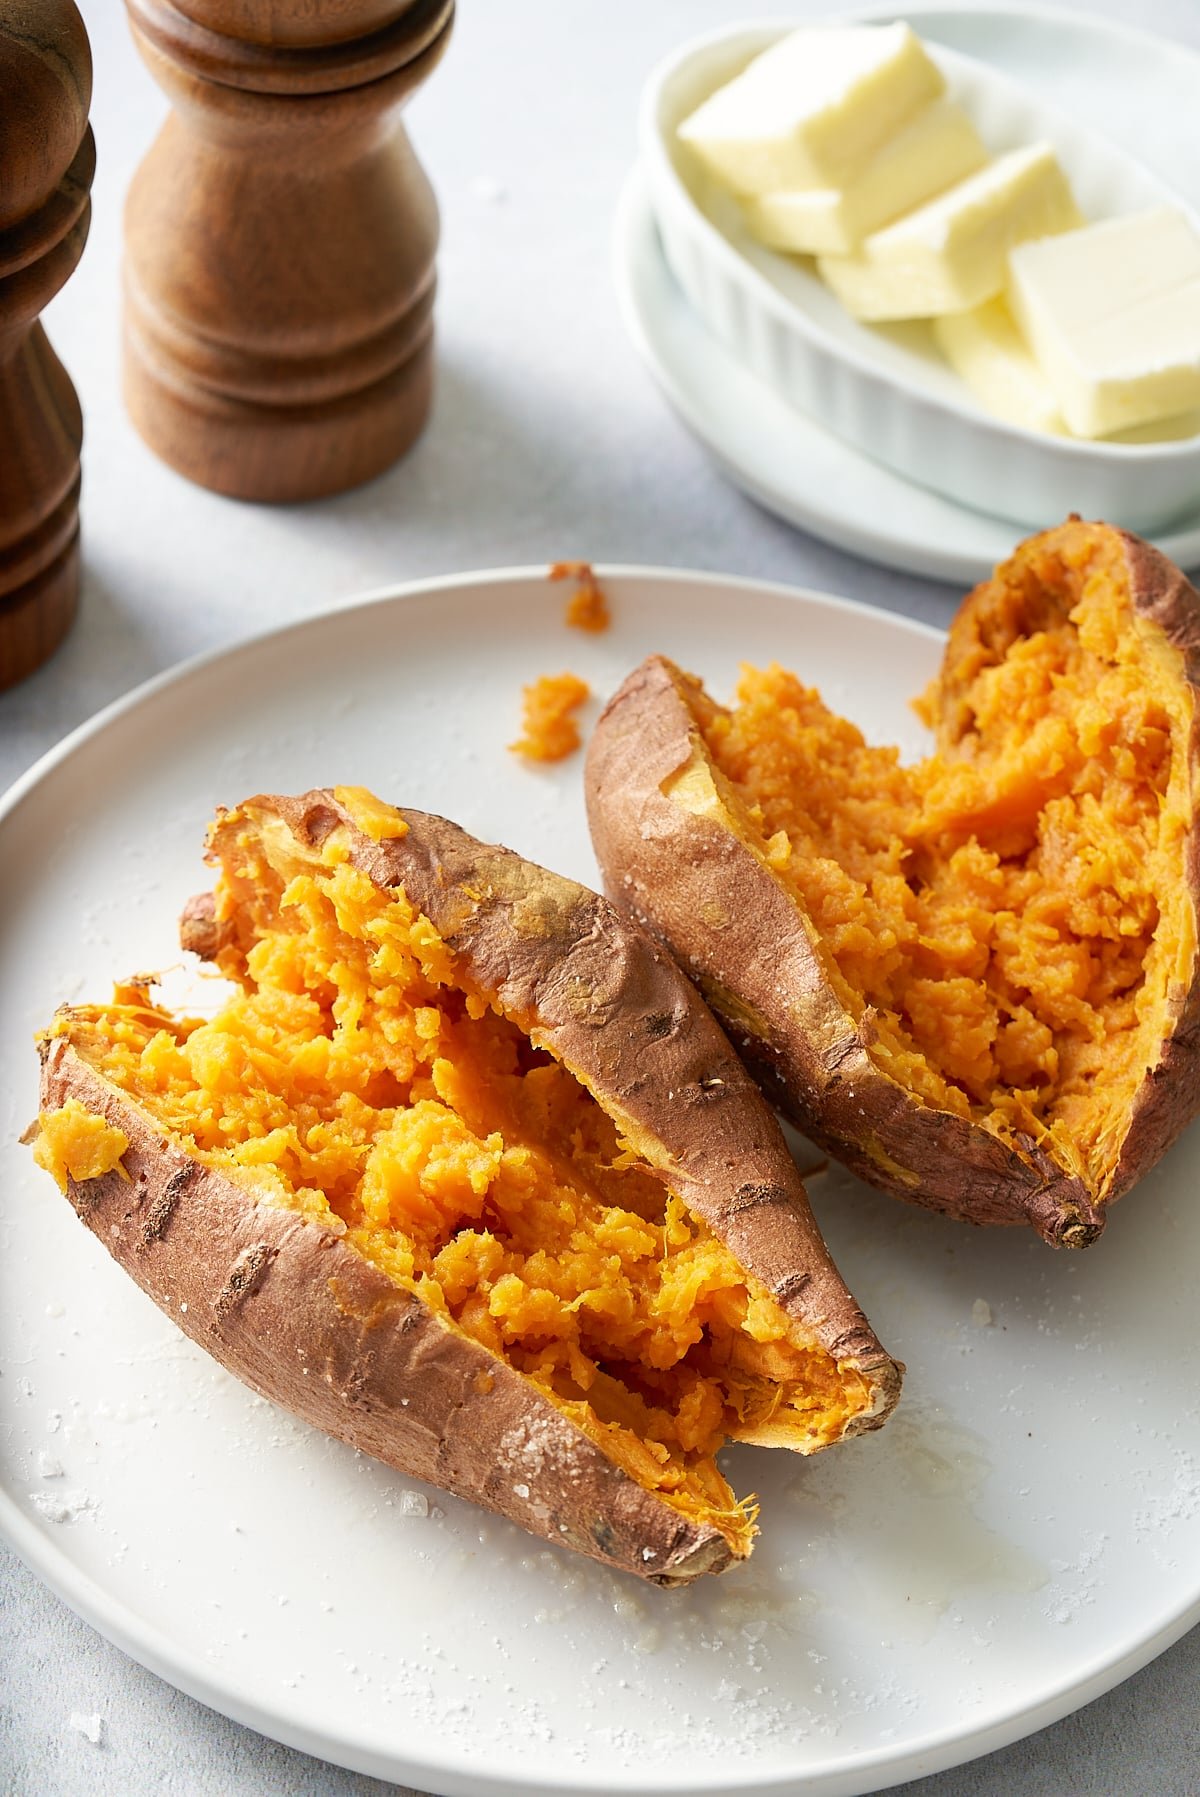
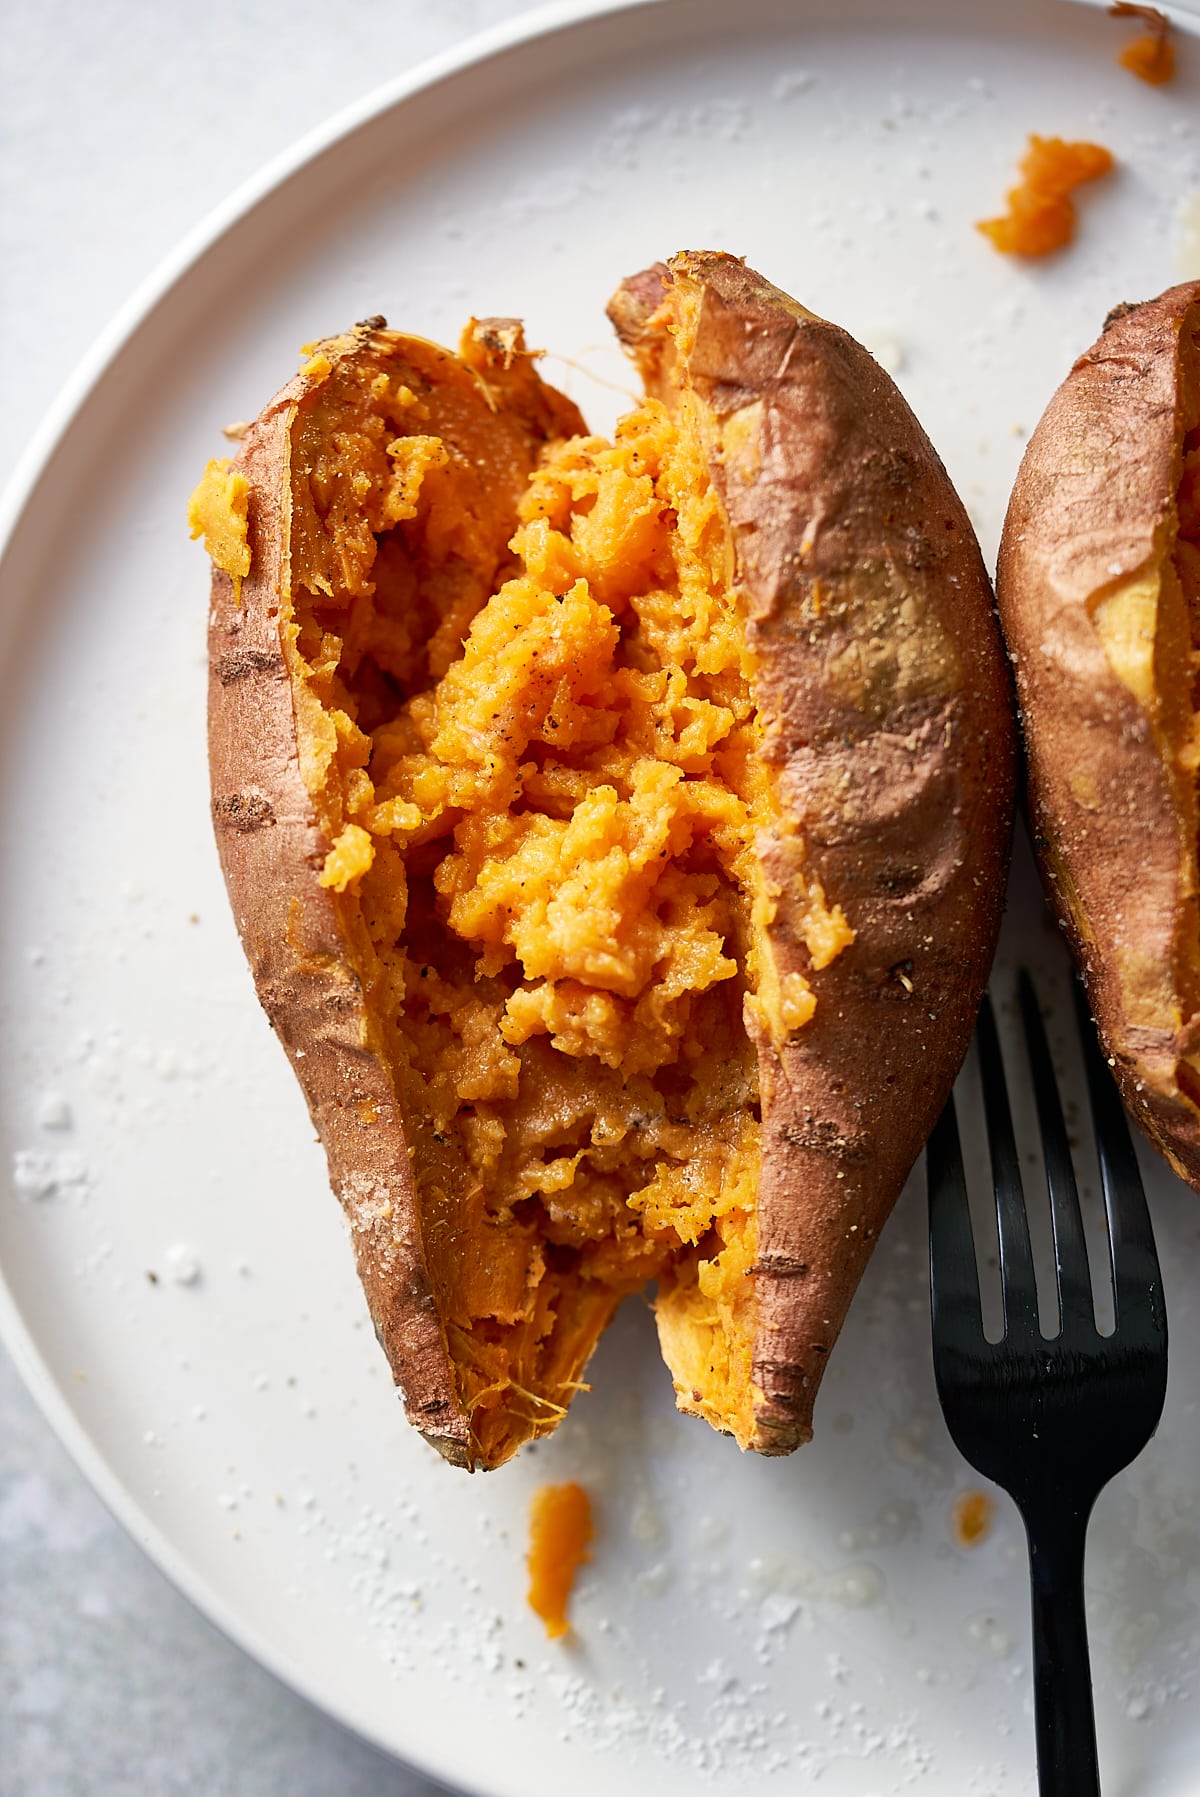
Once done, you'll be able to stick a fork into the flesh easily. Then, let it rest for a few minutes. It will be extremely hot when it comes out of the microwave, so let it rest for a few minutes to cool down.
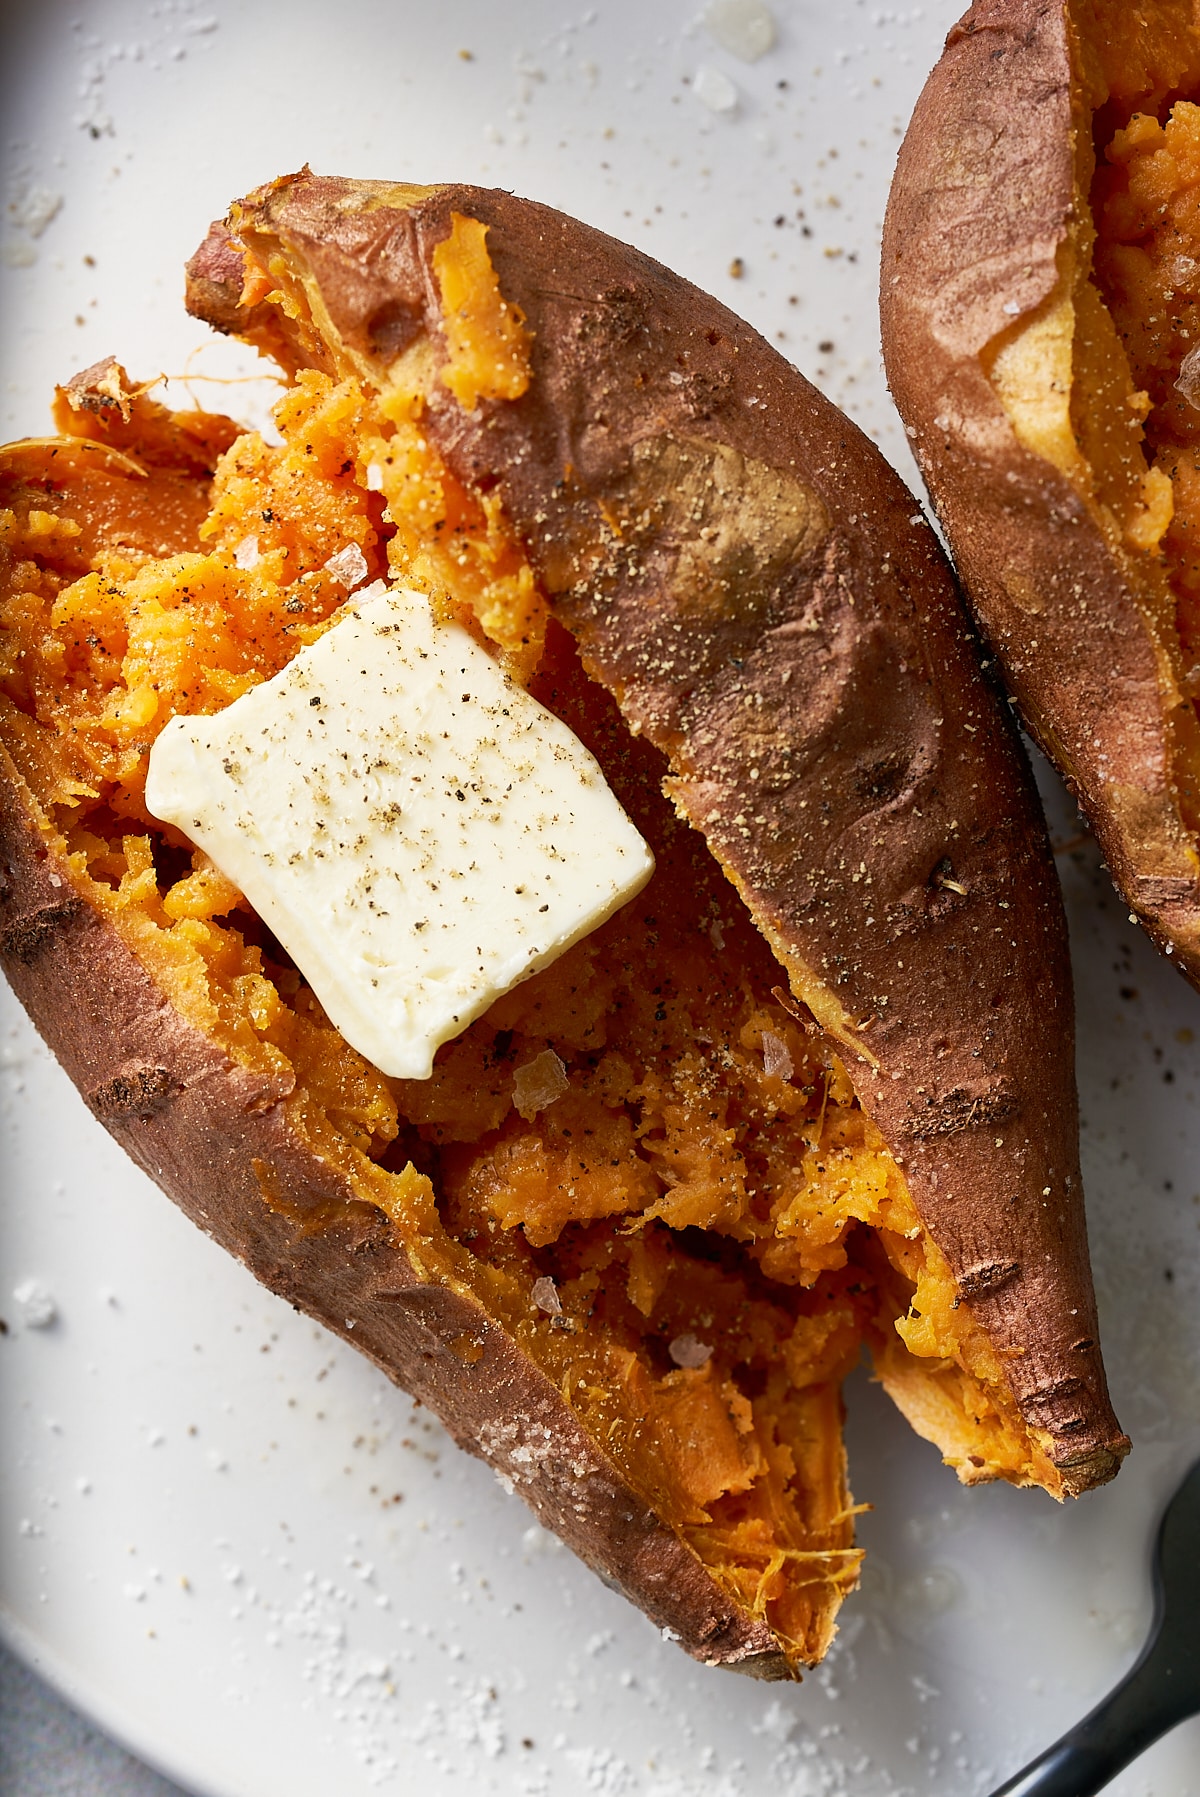
Cut it open and season to taste.
How to store
Store leftover microwaved sweet potatoes in an airtight container in the refrigerator for up to 3-4 days. Reheat in the microwave or oven when you're ready to enjoy them again.
Can I freeze whole cooked sweet potatoes? Yes, you can freeze whole-cooked sweet potatoes. First, let them cool completely, then individually wrap each sweet potato in plastic wrap or aluminum foil, then store in the freezer. When you want to use them, thaw them in the refrigerator and reheat them as needed. Keep in mind that freezing might slightly change their texture, so they'll be best for mashed or pureed dishes. Use them within a few months for the best quality.
Ways to serve microwaved sweet potatoes
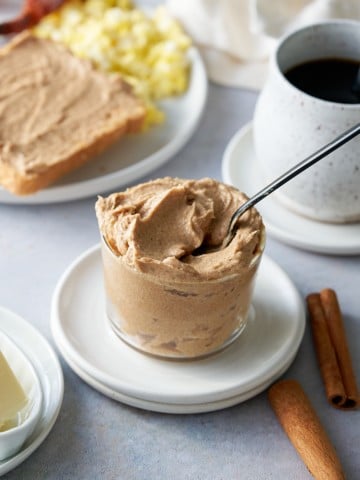
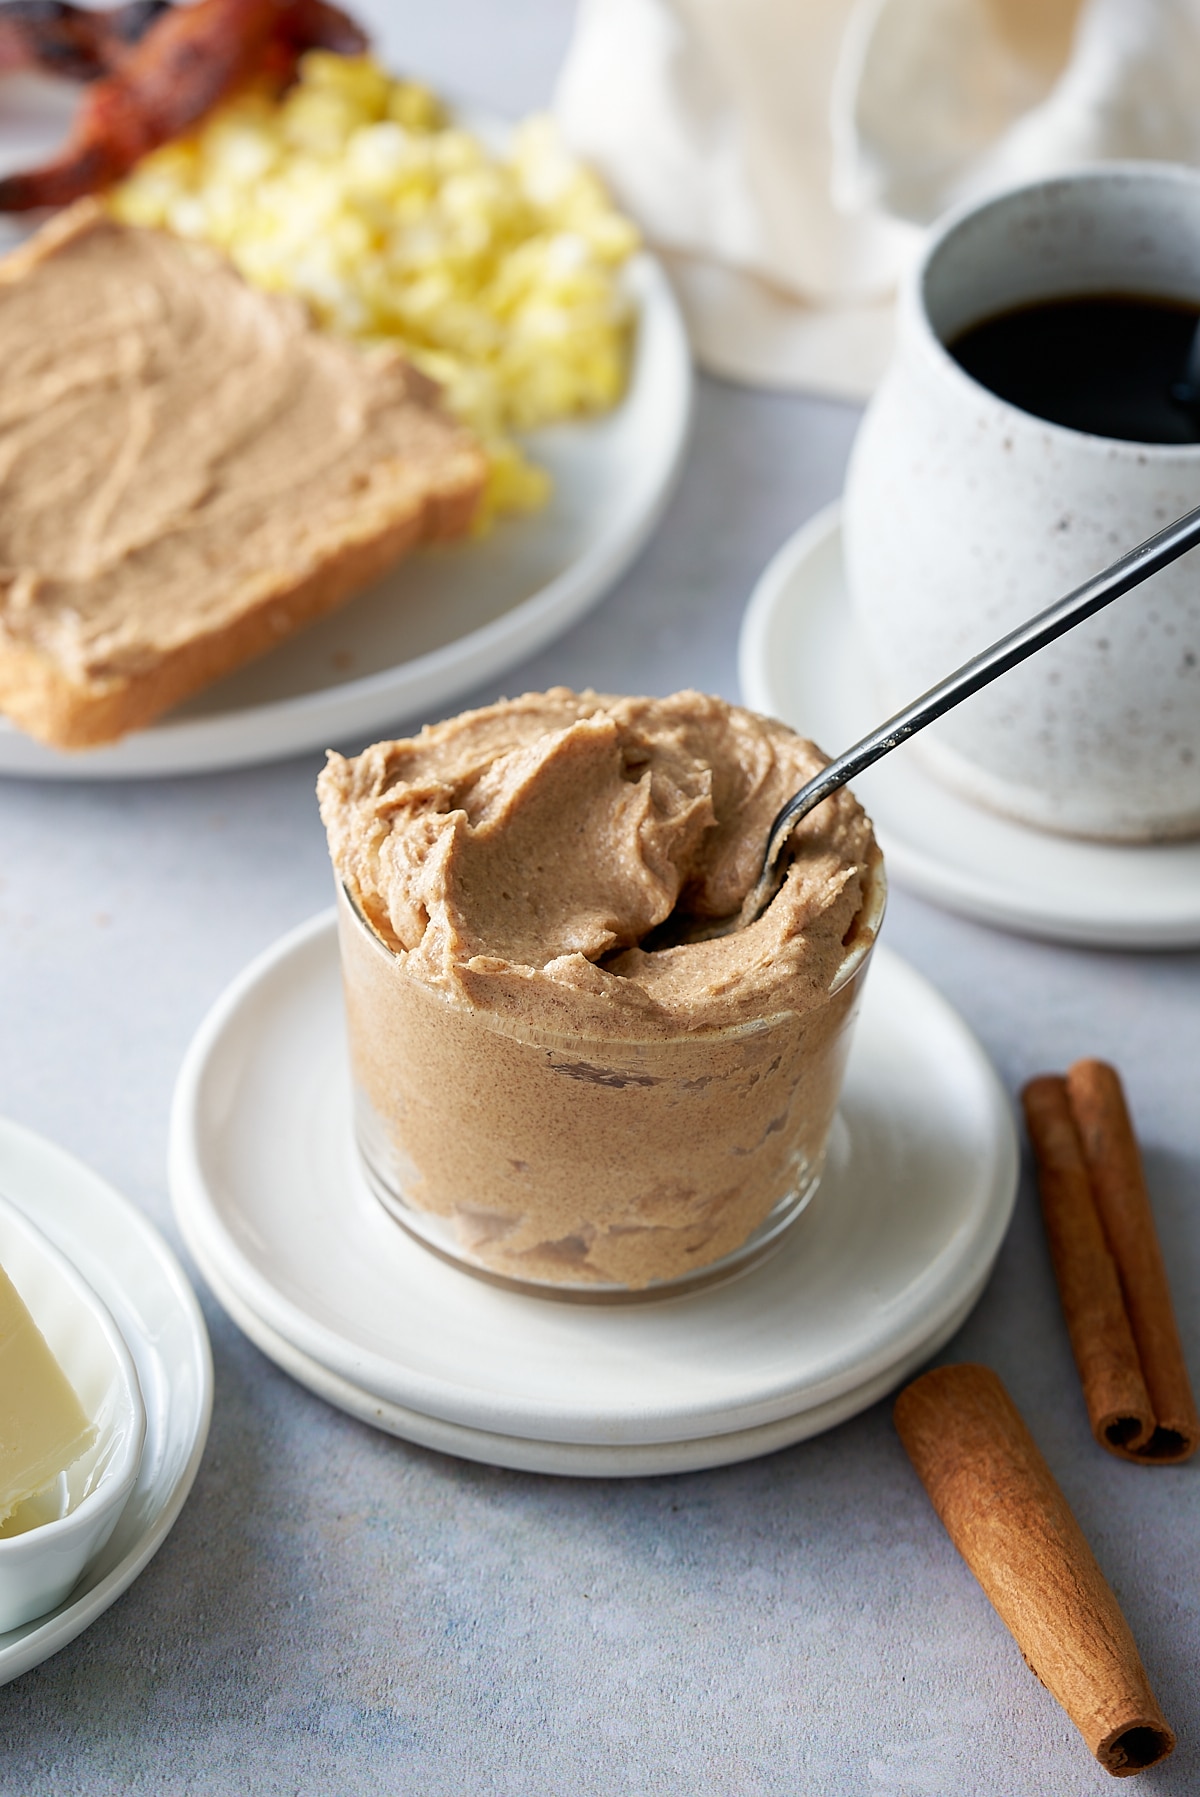
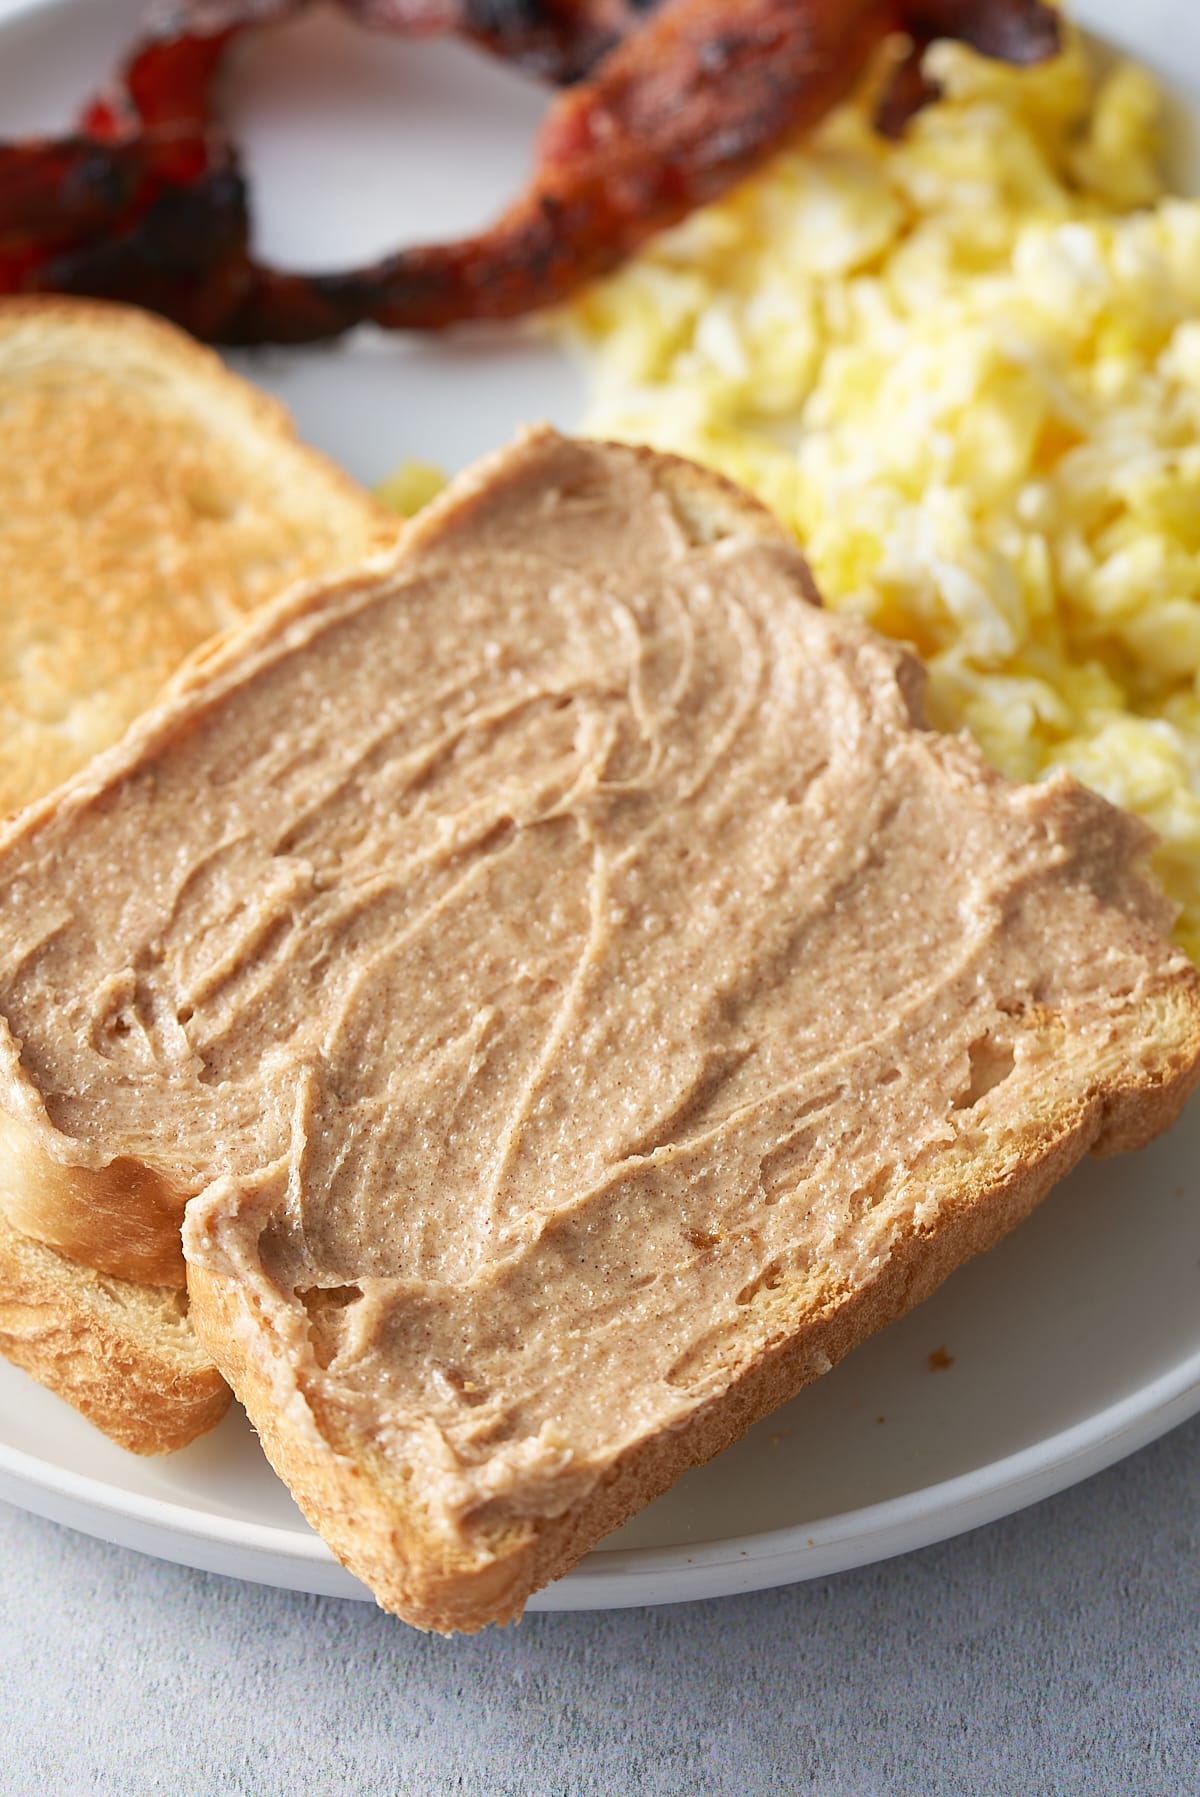
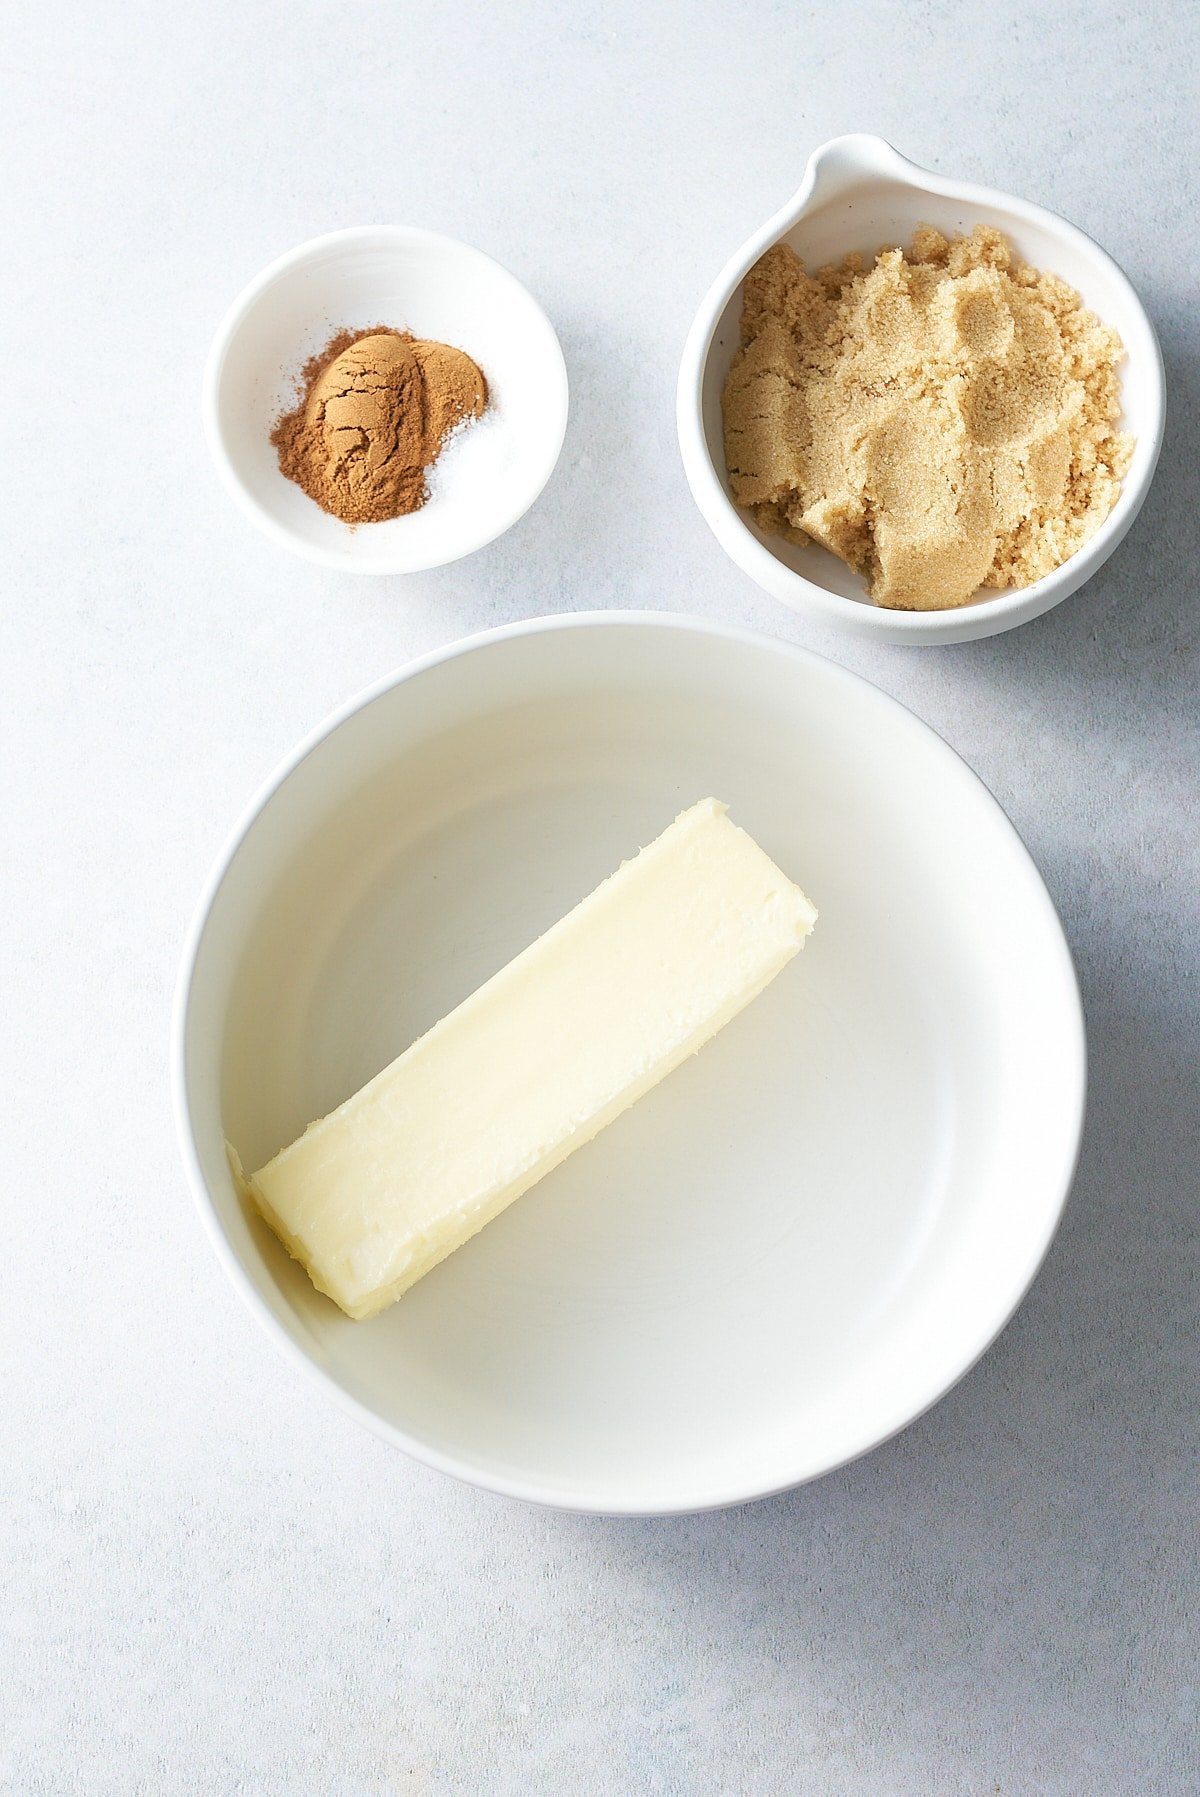
Classic Butter and Cinnamon: Top the microwaved sweet potato with a pat of butter, a sprinkle of cinnamon, and a drizzle of honey or maple syrup for a simple treat.
Savory Herbs: Mash the sweet potato and mix in chopped fresh herbs like rosemary, thyme, and parsley. Season with a pinch of salt and pepper.
Tex-Mex Delight: Load up the sweet potato with black beans, diced avocado, salsa, and a dollop of Greek yogurt for a Tex-Mex-inspired meal.
Maple Glazed Pecans: Mix chopped toasted pecans with a touch of melted butter and maple syrup. Spoon this mixture over the sweet potato for a warm and crunchy topping.
Mediterranean Medley: Stuff the sweet potato with cooked quinoa, chopped cucumber, red onion, cherry tomatoes, and crumbled feta cheese. Finish with a drizzle of olive oil and a squeeze of lemon.
Cranberry Pecan Mix: Combine dried cranberries and chopped toasted pecans, then scatter over the sweet potato for a festive option.
Eggs and Avocado: Top the sweet potato with a poached or fried egg and slices of ripe avocado. This makes for a hearty and satisfying breakfast.
FAQ's
Look for sweet potatoes that are uniform in size and free from blemishes or bruises. Choose ones that are similar in thickness for even cooking.
Wrapping sweet potatoes in a damp paper towel or microwave-safe plastic wrap can help create steam and speed up the cooking process. Just be sure not to wrap them too tightly.
While microwaving won't produce the same crispy skin as baking in an oven, you can achieve a slightly crispy texture by finishing microwaved sweet potatoes in a hot oven for a few minutes.
Notes
- You can rub a little oil, salt, and pepper on the skin of the sweet potato before microwaving if you plan on eating it as a baked sweet potato. You could add a pat of butter, a sprinkle of cinnamon, or a drizzle of maple syrup for a sweet version.
- For a savory version, try a sprinkle of sea salt and cracked black pepper, or a dollop of Greek yogurt and a drizzle of olive oil.
- I use this method when using mashed sweet potato in another recipe, like sweet potato pie. Just cook in the microwave as instructed, peel the skin, and mash the potatoes before proceeding with other recipes.
- After the initial time, check the sweet potato for doneness (it should be soft and easy to pierce with a fork). If it's not done, continue microwaving in 1-minute intervals until it is.
- The cooking time of a sweet potato in a microwave can vary greatly depending on the wattage of the microwave and the size of the potato. Below is a rough guide on how long you should initially set the microwave for, based on its wattage.
Microwave Wattage & Minutes
600 Watts. 10-11 minutes
800 Watts. 8-9 minutes
1000 Watts. 5-6 minutes
1200 Watts. 4-5 minutes
Looking for more sweet potato recipes? Try these out:
- Air Fryer Sweet Potatoes with Hot Honey Butter
- Super Easy Slow Cooker Sweet Potatoes
- Instant Pot Sweet Potatoes
- Baked Sweet Potato Slices
- Air Fryer Sweet Potato Wedges
If you have tried this recipe or any other recipe on my blog, please rate it and let me know how it turned out in the comments below!

Microwave sweet potato
Ingredients
- 2 medium sweet potatoes about 8 oz each
- Oil salt, and pepper (optional)
Instructions
- Clean the sweet potato. Use a brush to scrub it under cool running water. Then, use a fork to prick the sweet potato all around.
- Place the sweet potato on a microwave-safe plate. Microwave on high for 5-11 minutes, flipping the sweet potatoes halfway through, depending on the wattage of your microwave. See the suggested times below.
- Let it rest for a few minutes. It will be extremely hot when it comes out of the microwave, so let it rest for a few minutes to cool down.
- Cut it open and season to taste.
Notes
- You can rub a little oil, salt, and pepper on the skin of the sweet potato before microwaving if you plan on eating it as a baked sweet potato. You could add a pat of butter, a sprinkle of cinnamon, or a drizzle of maple syrup for a sweet version.
- For a savory version, try a sprinkle of sea salt and cracked black pepper, or a dollop of Greek yogurt and a drizzle of olive oil.
- I use this method when using mashed sweet potato in another recipe, like sweet potato pie. Just cook in the microwave as instructed, peel the skin, and mash the potatoes before proceeding with other recipes.
- After the initial time, check the sweet potato for doneness (it should be soft and easy to pierce with a fork). If it's not done, continue microwaving in 1-minute intervals until it is.
- The cooking time of a sweet potato in a microwave can vary greatly depending on the wattage of the microwave and the size of the potato. Below is a rough guide on how long you should initially set the microwave for, based on its wattage.
- Microwave Wattage & Minutes
600 Watts
10-11 minutes
800 Watts
8-9 minutes
1000 Watts
5-6 minutes
1200 Watts
4-5 minutes