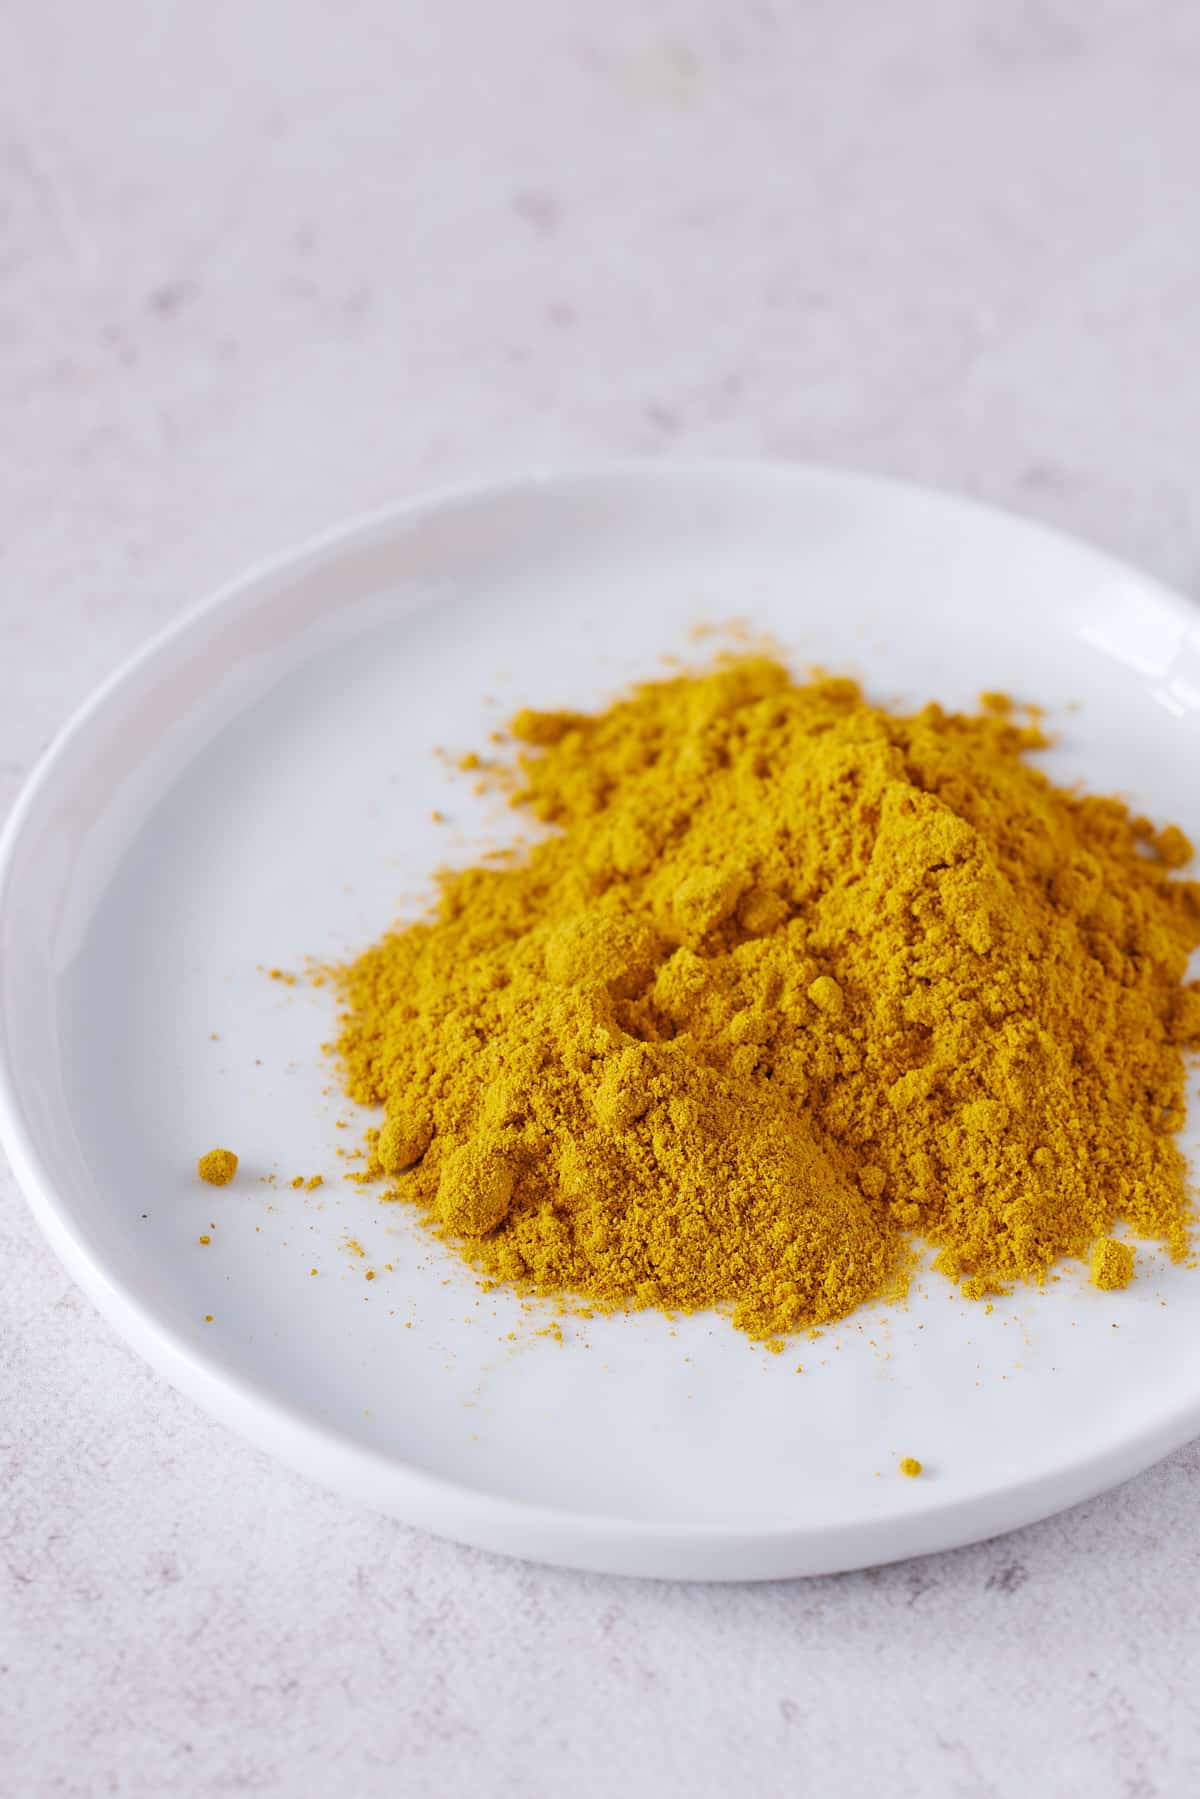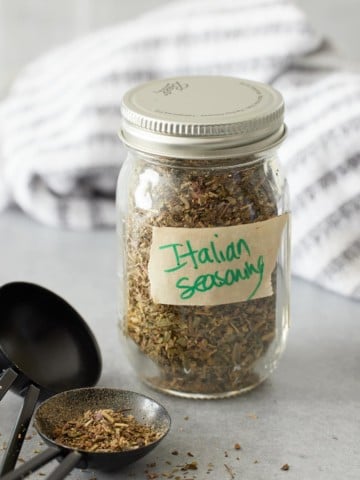
Homemade Italian Seasoning can be yours in minutes, you likely have all of these ingredients on hand already! No more fishing out multiple bottles of spices to create your weeknight dinner. Absolute time saver!
This post contains affiliate links, please read my full disclaimer here.
You’ll find the full recipe with ingredient amounts and instructions in the recipe card at the bottom of this post. Be sure to check out the blog post itself for extra tips and tricks!
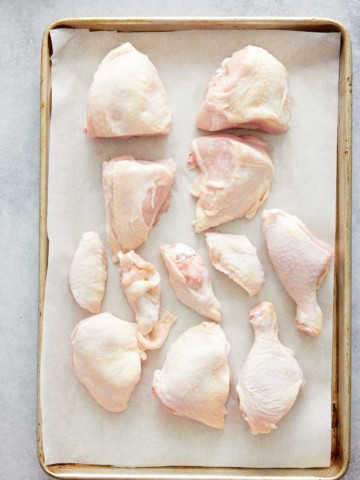
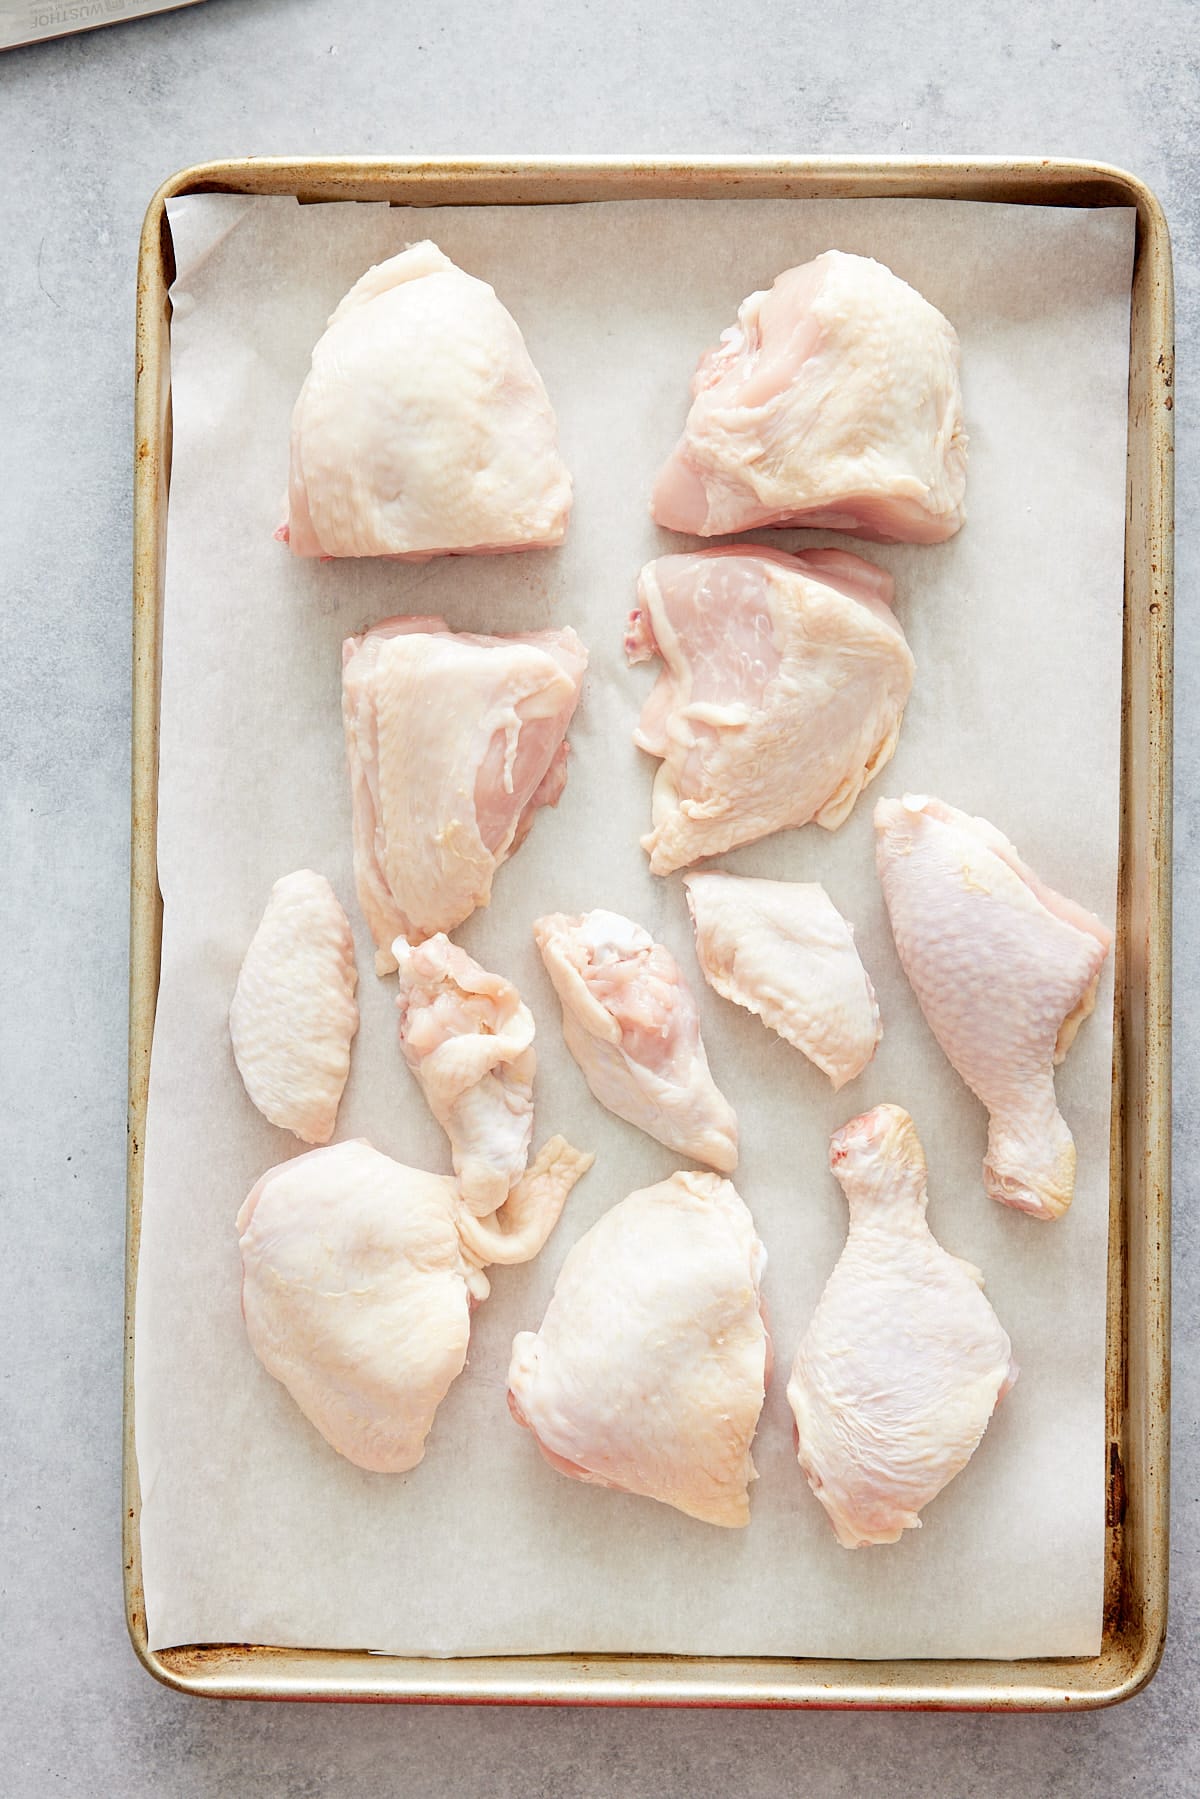
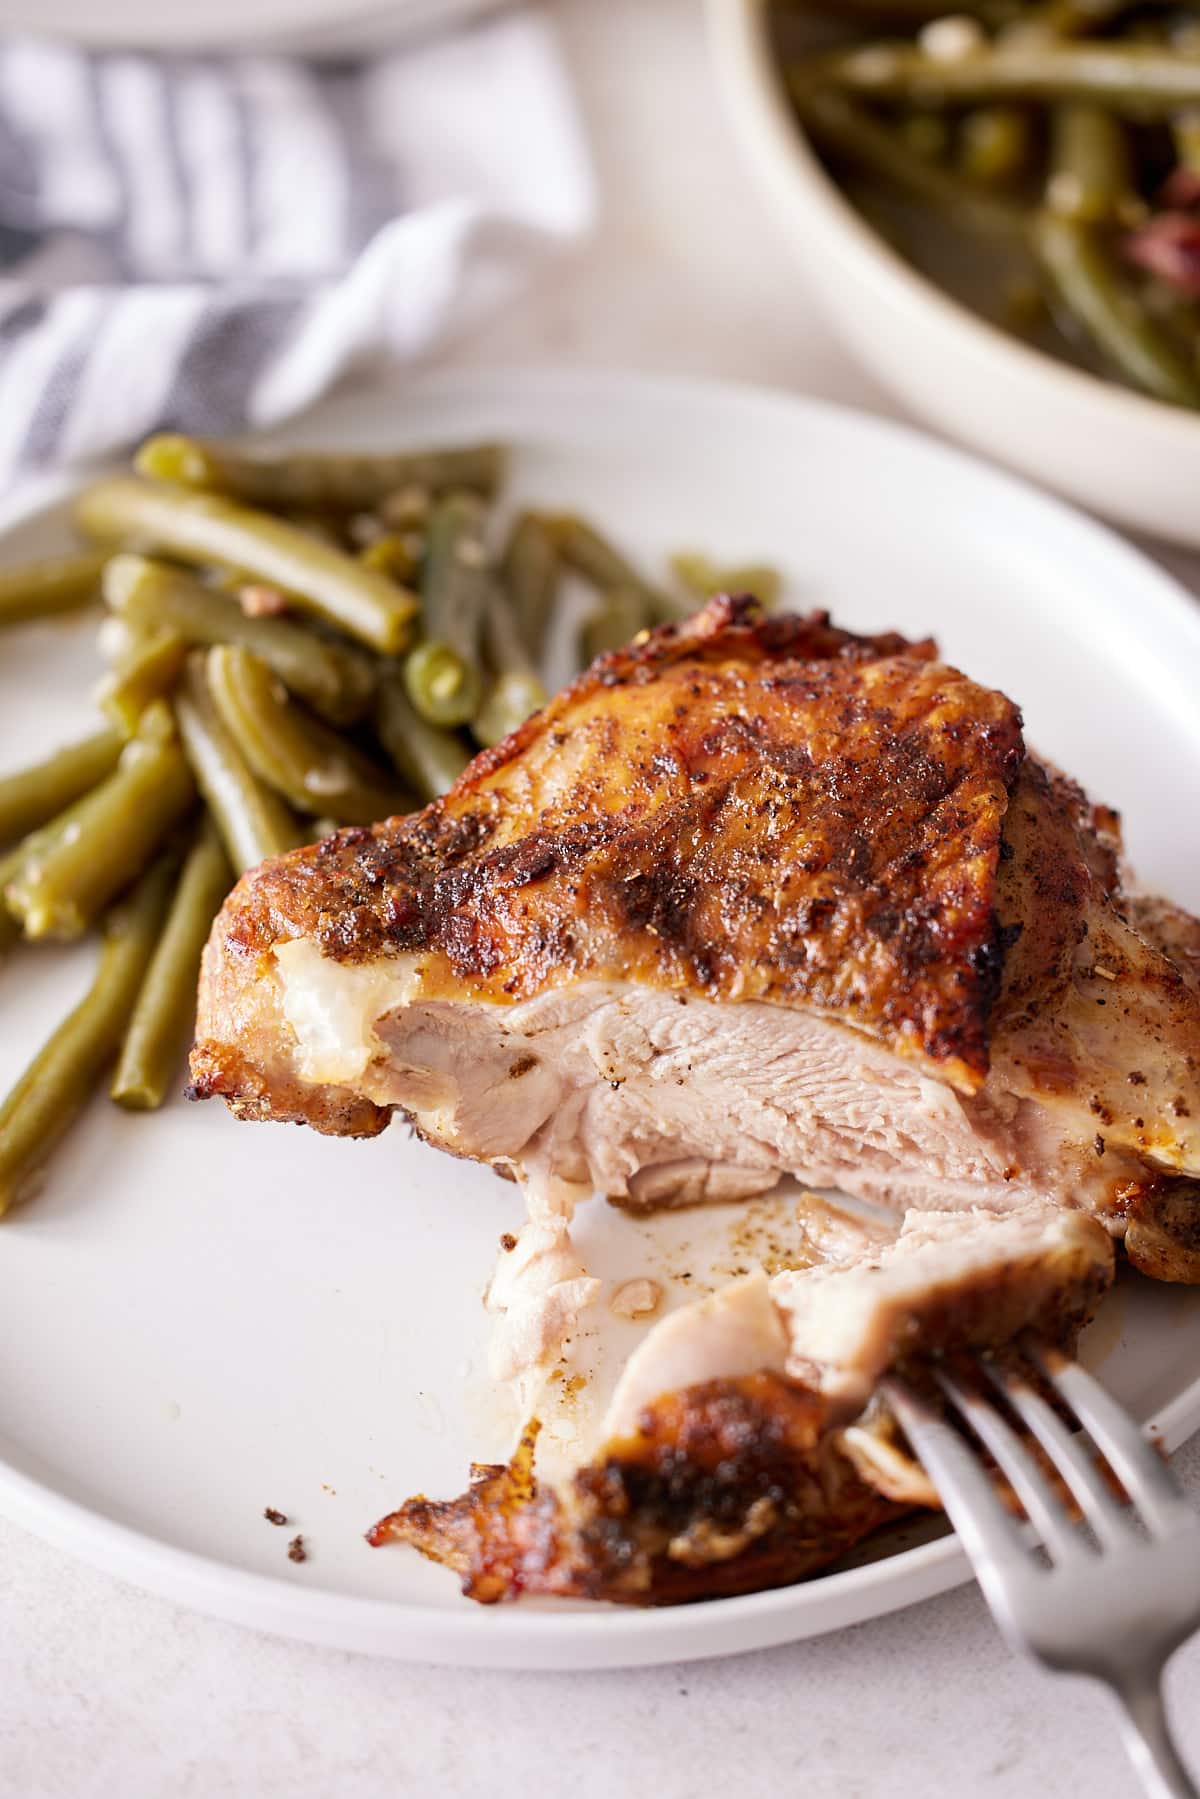
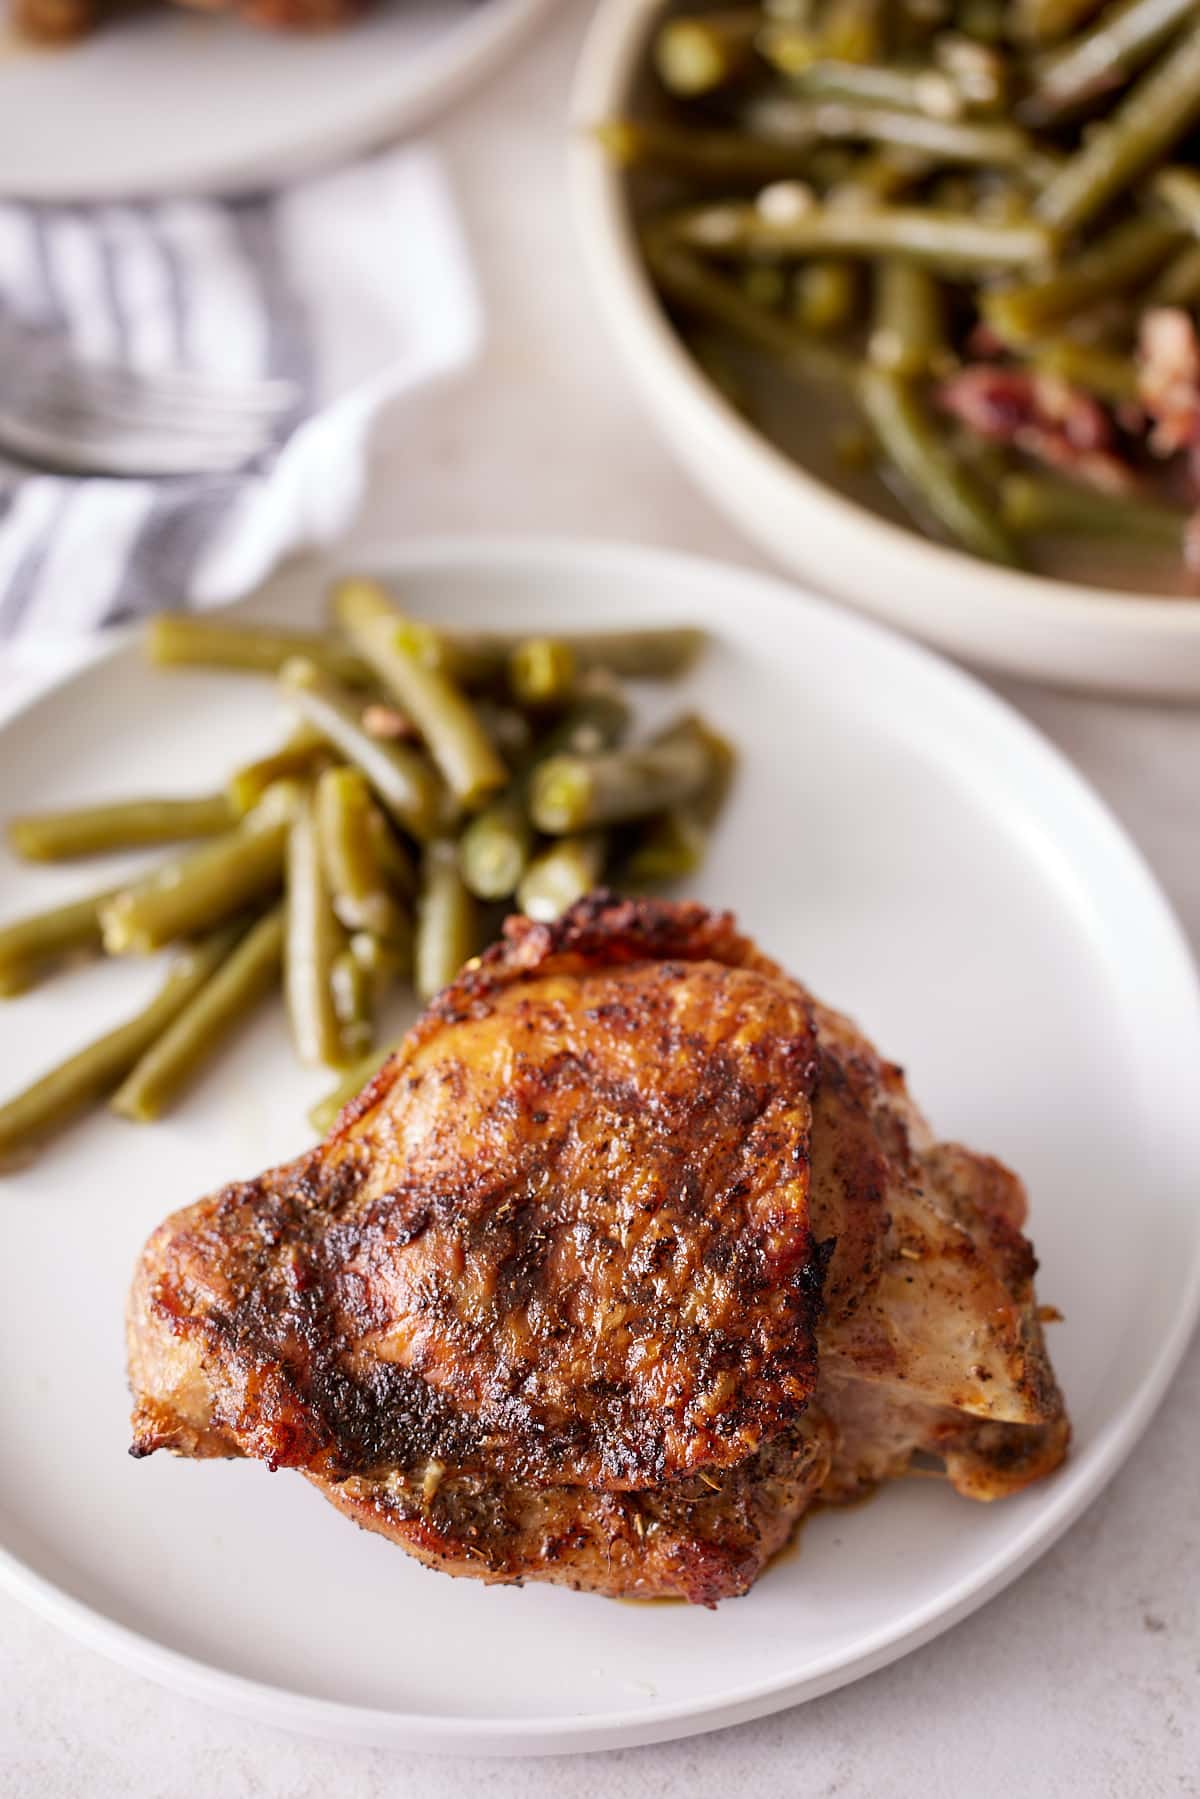
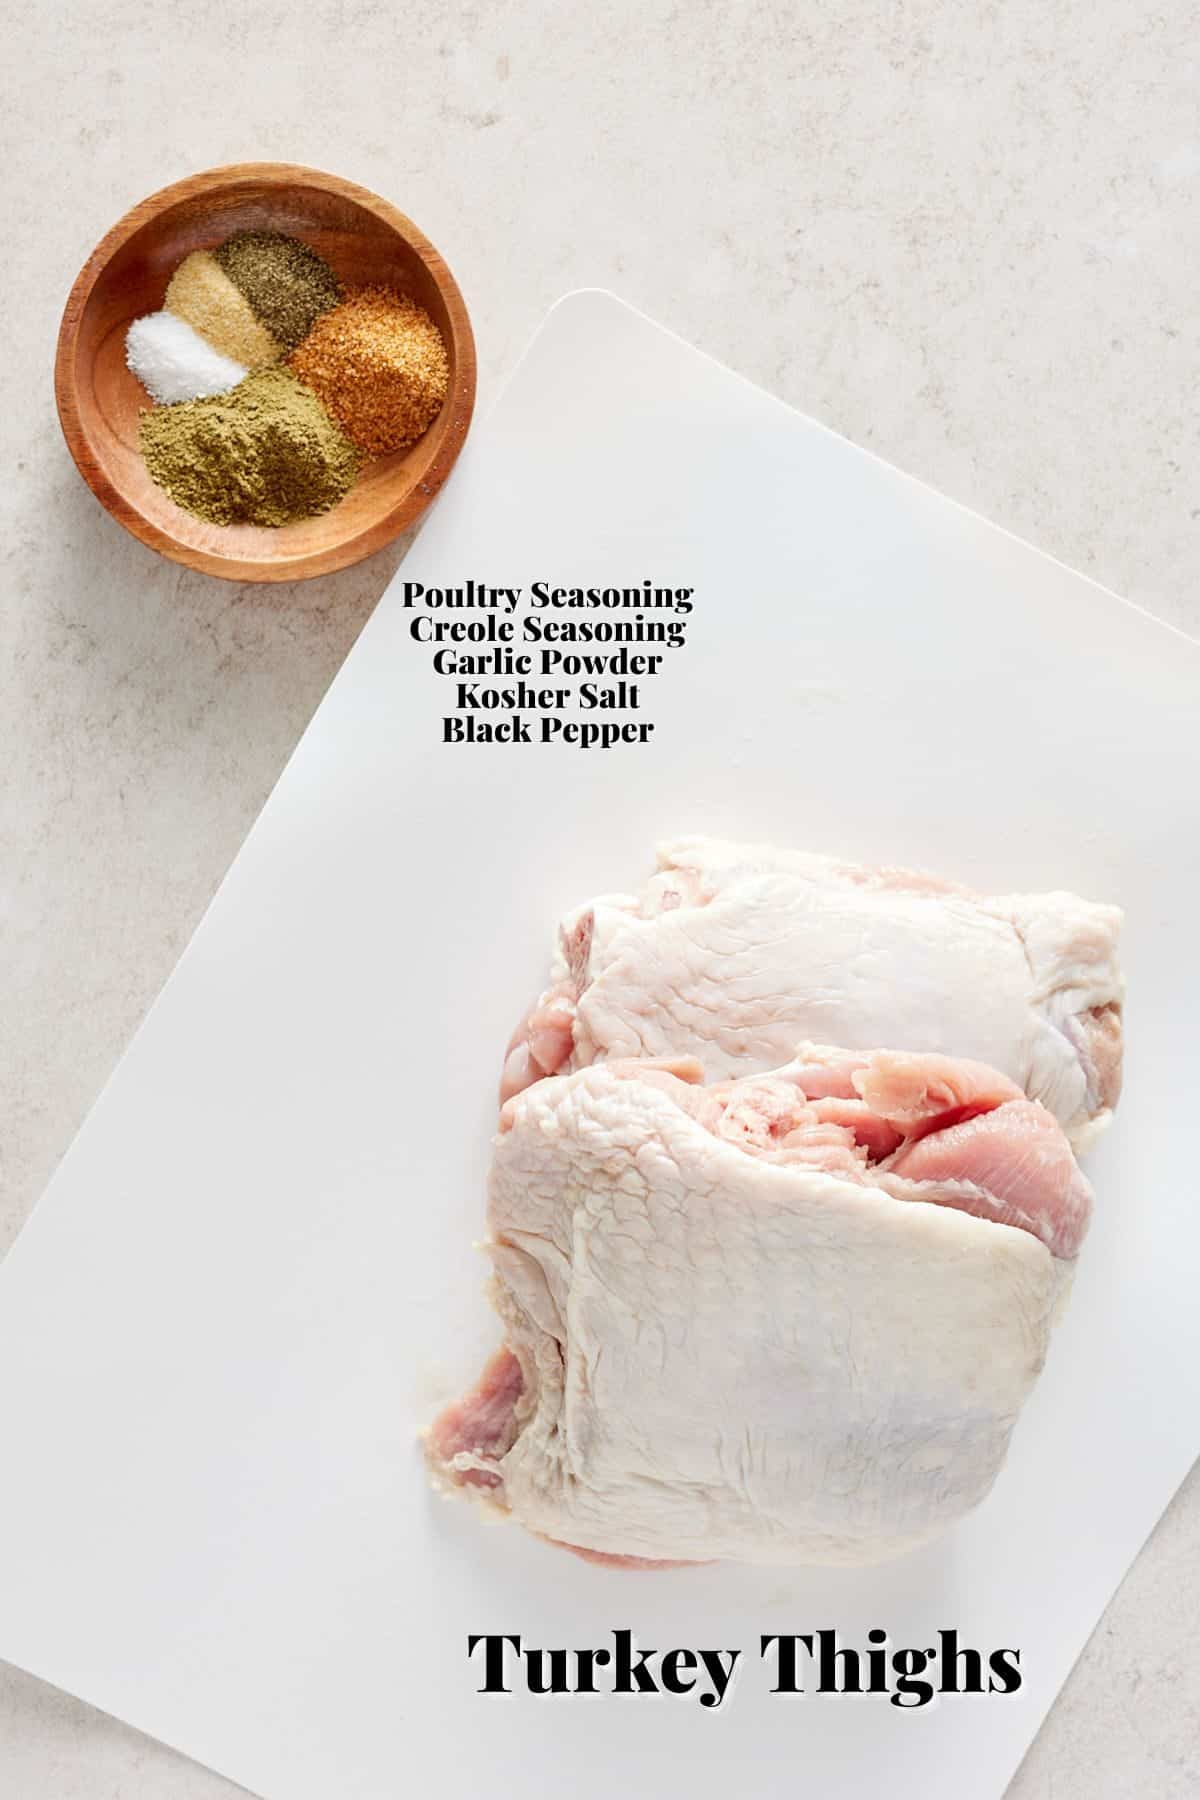
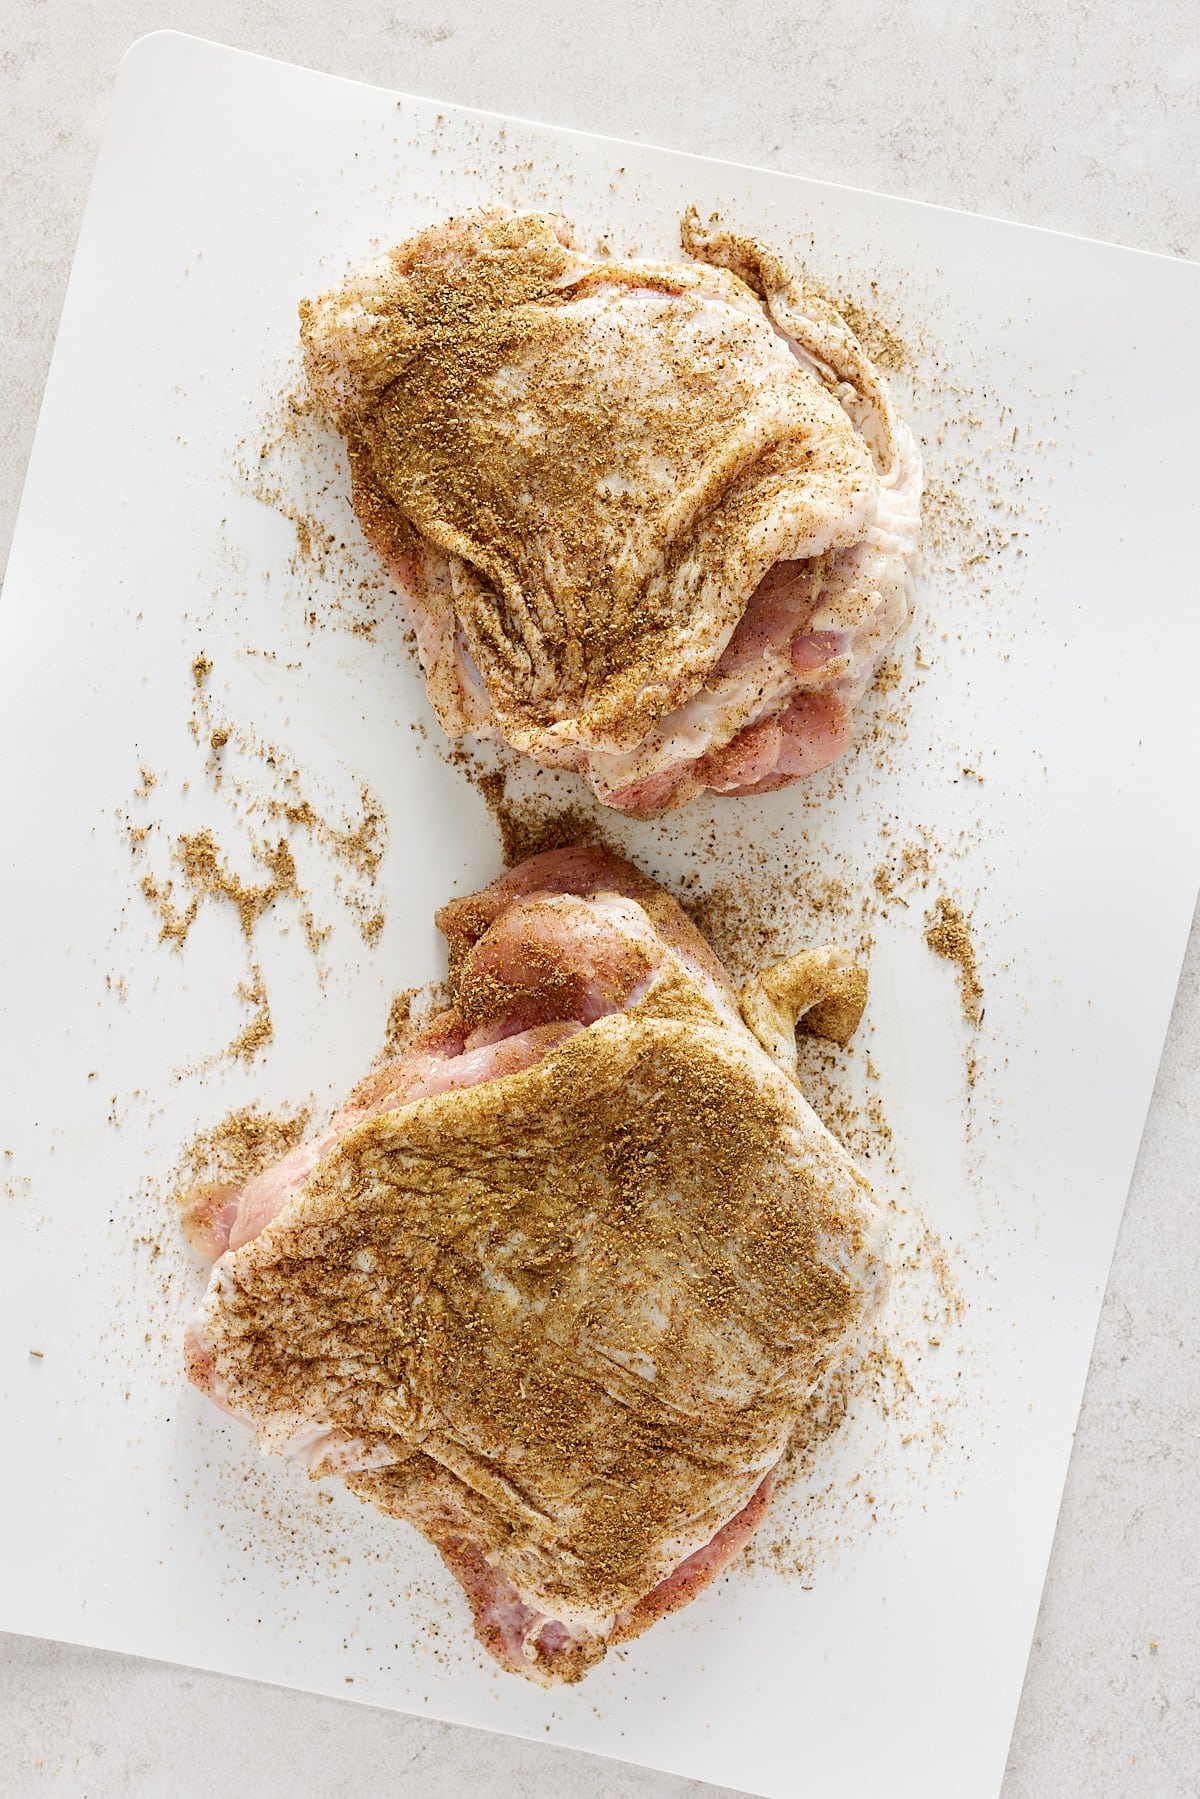
Creating your own seasoning costs nothing but a few minutes of your time. Use Italian Seasoning on your next chicken or turkey dish! Not only is this seasoning very easy to make, Homemade All-Purpose Seasoning is also just as quick and SO delicious!
Looking for more homemade spices? Check out this awesome list of 9 Homemade Seasonings I've put together for you! Curious about how to use other dried herbs in your recipes? Here you'll find The Best Ways to Use Dried Herbs.
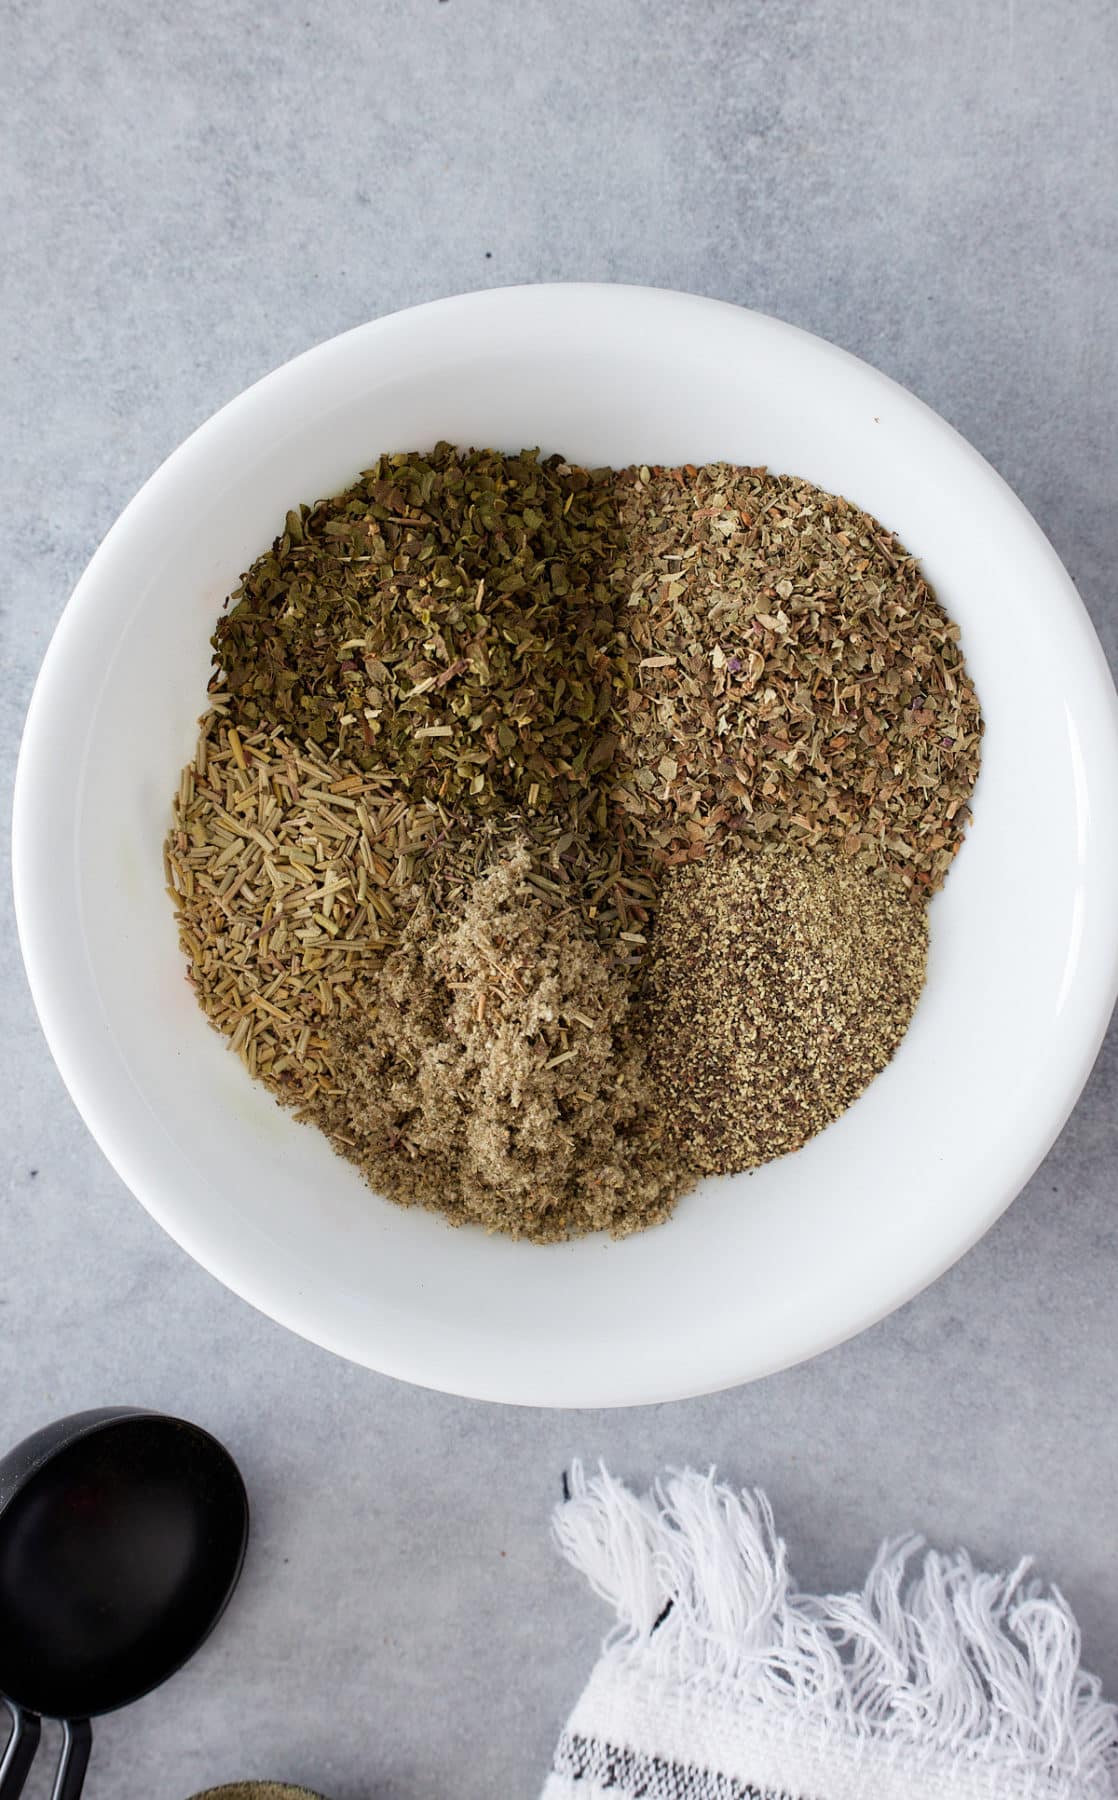
Ingredients and Tools Needed
Ingredients needed for this recipe
- Basil
- Dried Oregano
- Crushed Dried Rosemary
- Dried Thyme leaves
- Black Pepper
- Rubbed Sage
Tools needed for this recipe
- Measuring spoons
- Small bowl
- Spoon for mixing
- Small jar for storing
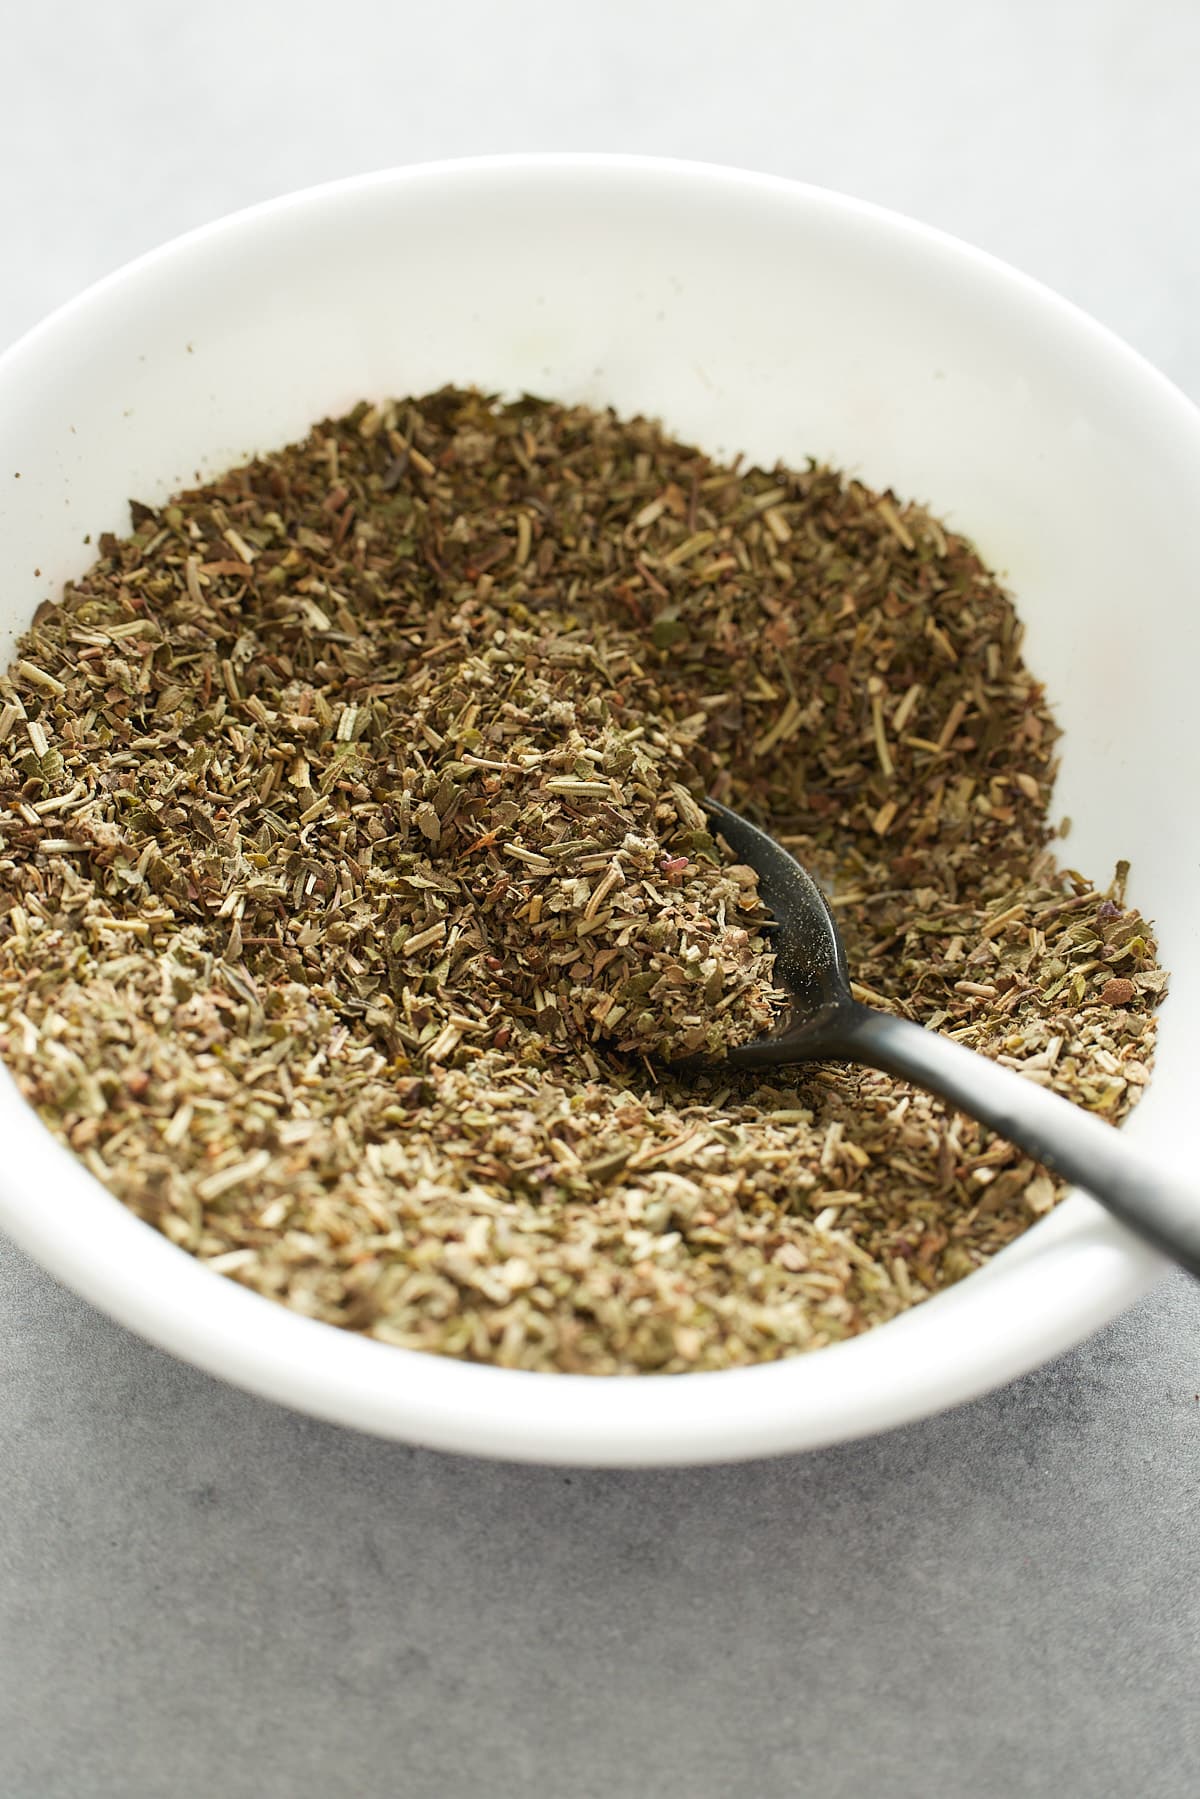
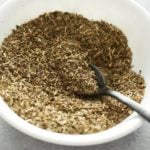
How to make Italian Seasoning
Mix ingredients in a bowl. Enjoy 🙂
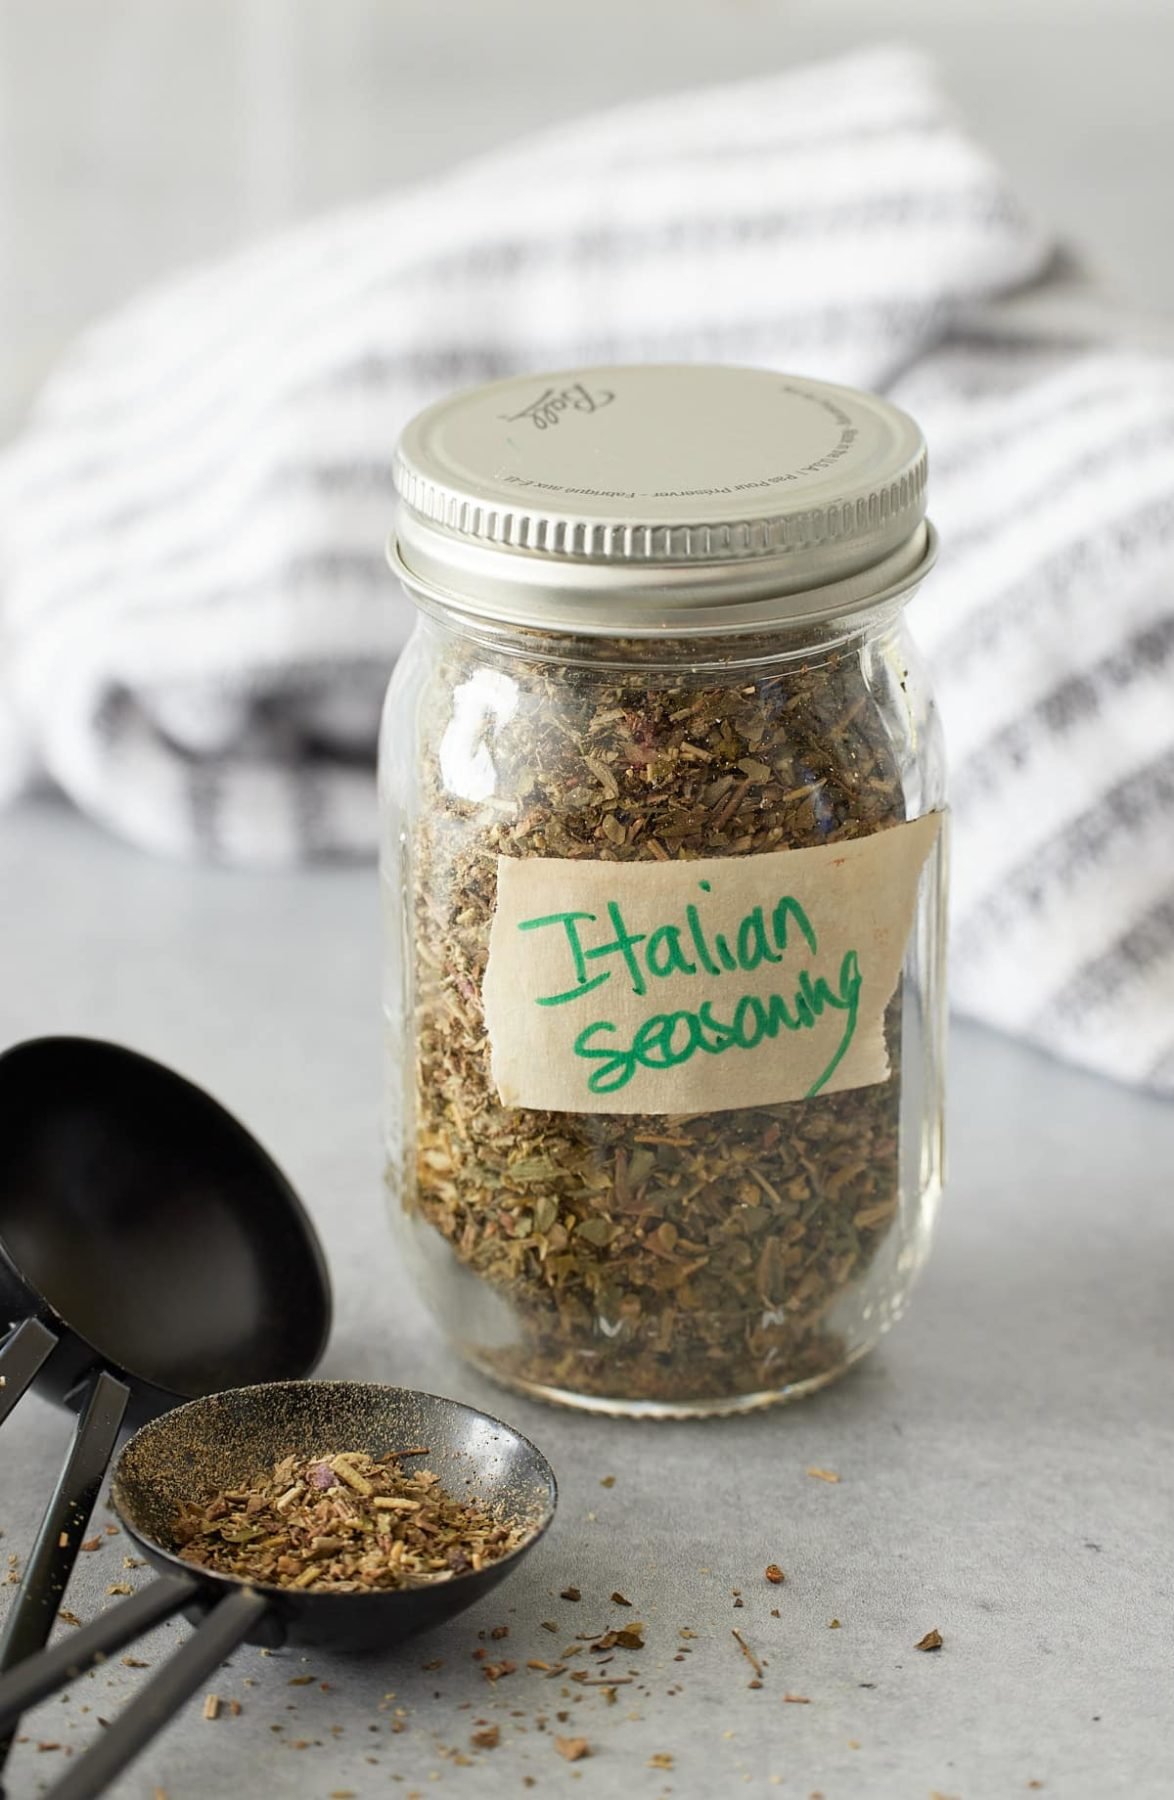
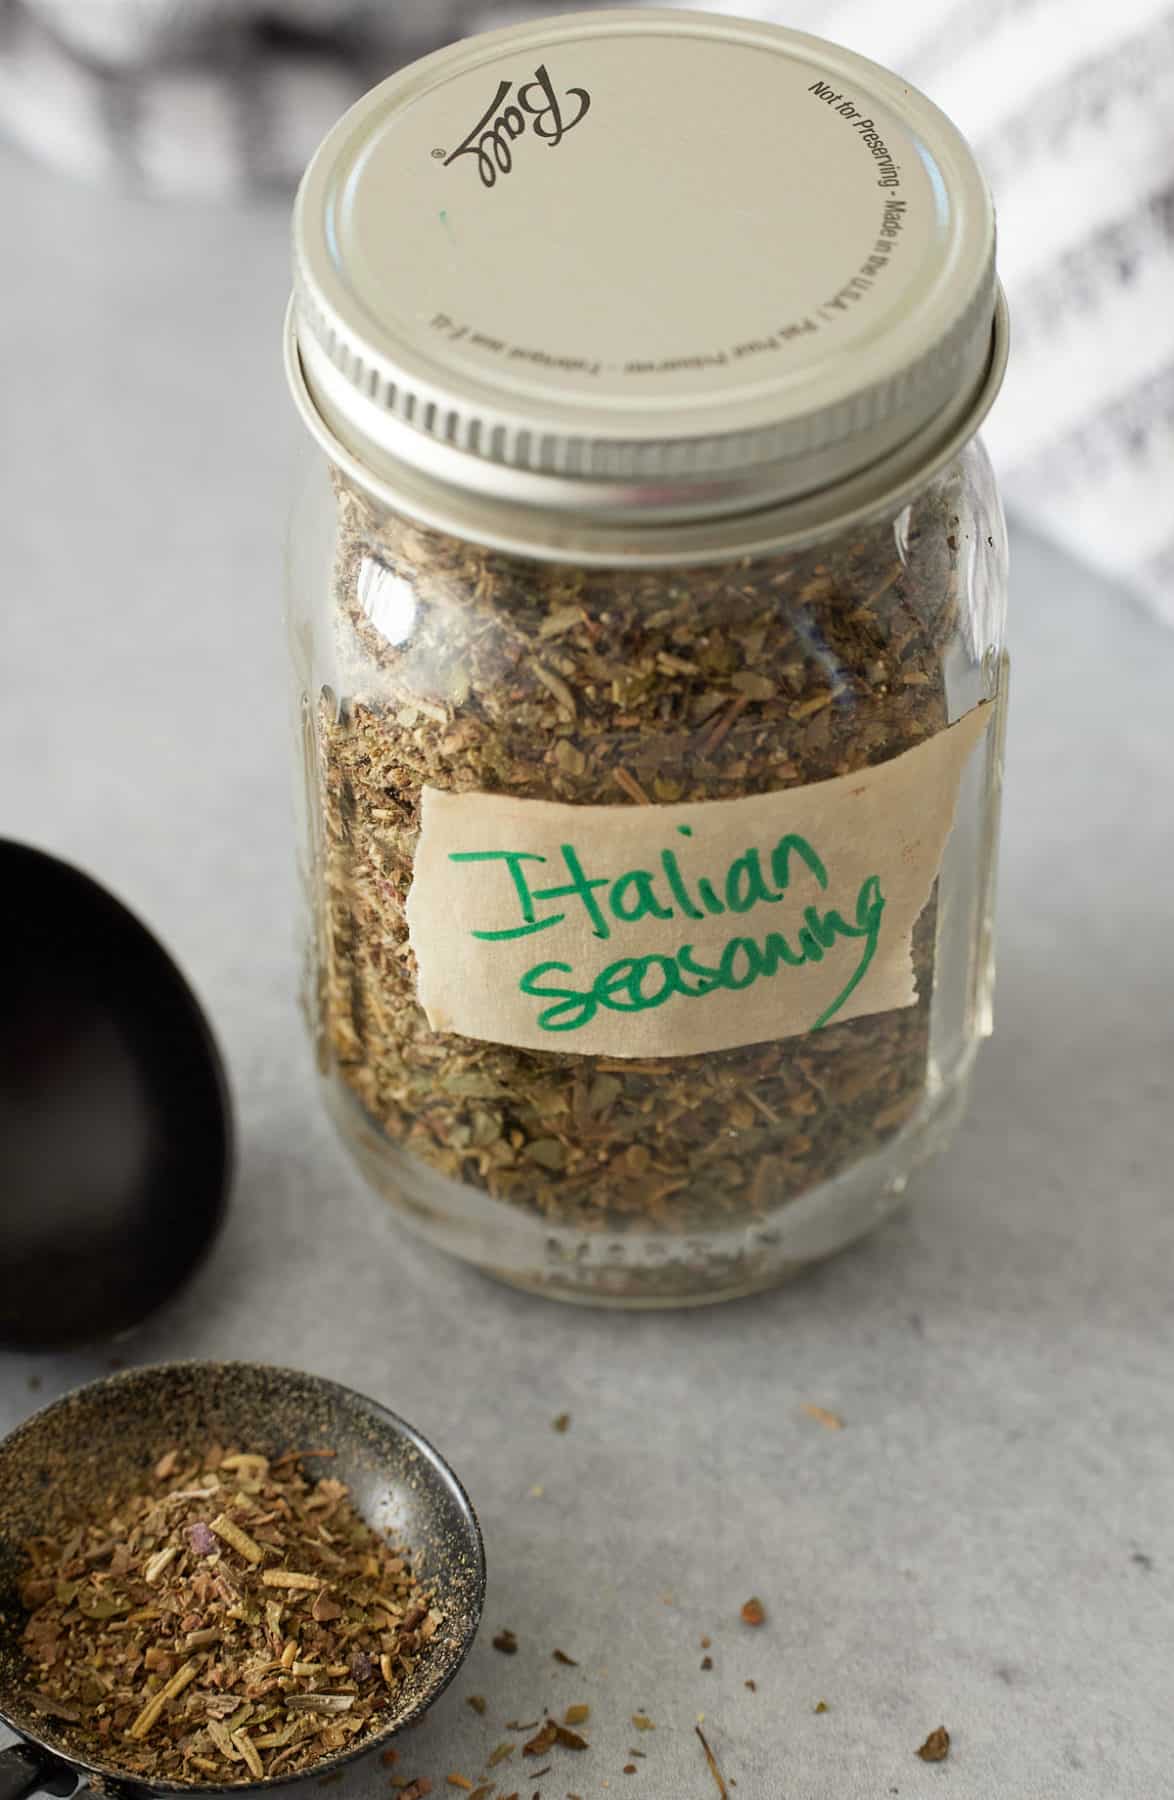
How to store homemade Italian Seasoning
Store your own homemade Italian seasoning the same way you'd store any store-bought seasoning mixes. Store in a cool dark spot, typically the spice cupboard where other spices are stored.
Depending on the amount of seasoning you've made a small or large mason jar will work perfectly. Don't have a mason jar? An empty spice jar with the label removed is a great way to reuse it.
Most importantly storing dried herbs in an airtight container will keep them fresh and tasty longer.
For more information on storing herbs, I've put together The Best Ways to Use Dried Herbs for you here.
Can I double this recipe?
Yes, please do!
Just make sure the container you've chosen is large enough and seals tightly.

What is the main Italian seasoning blend?
You can still enjoy the wonderful flavors of your own Italian seasoning if you don't have all of the ingredients listed for this recipe. The combination of the following dried Italian herbs will still bring life to your dishes.
- Oregano
- Basil
- Thyme
- Rosemary
My recipe for Italian seasoning has black pepper added. We like the extra bite of flavor black pepper brings to this recipe. Other great additions are garlic powder and red pepper flakes.
Are there other spice blends I can include in Italian seasoning?
Yes! In addition to the ingredients in this recipe, you can add some other flavorful spices to boost it up a notch. Personalize this to your taste.
Spice: Add some warmth with red pepper flakes or cayenne pepper powder.
Garlic: If you love garlic, add garlic powder or dried minced garlic to this mixture.
Onion: Another flavor boost you can add is onion powder or dried minced onions.
Notes
- Double, triple, or quadruple the recipe if you like. Change the serving size in the recipe card below to modify the ingredients.
- Store in an airtight container for future uses. Keep it in a cupboard out of direct sunlight.
- Make sure that your ingredients aren’t stale. Rub a little of each between your fingers, if they release an aroma they are good to use.
Looking for more seasoning recipes? Try these out:
- Homemade All-Purpose Seasoning Recipe
- Homemade Cajun Seasoning
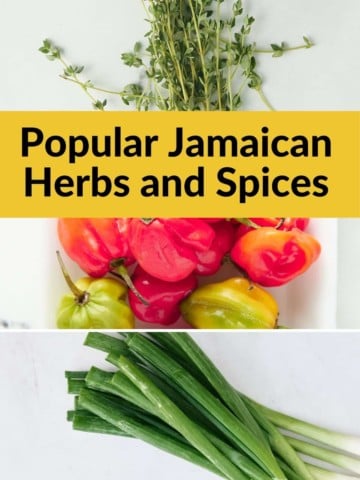
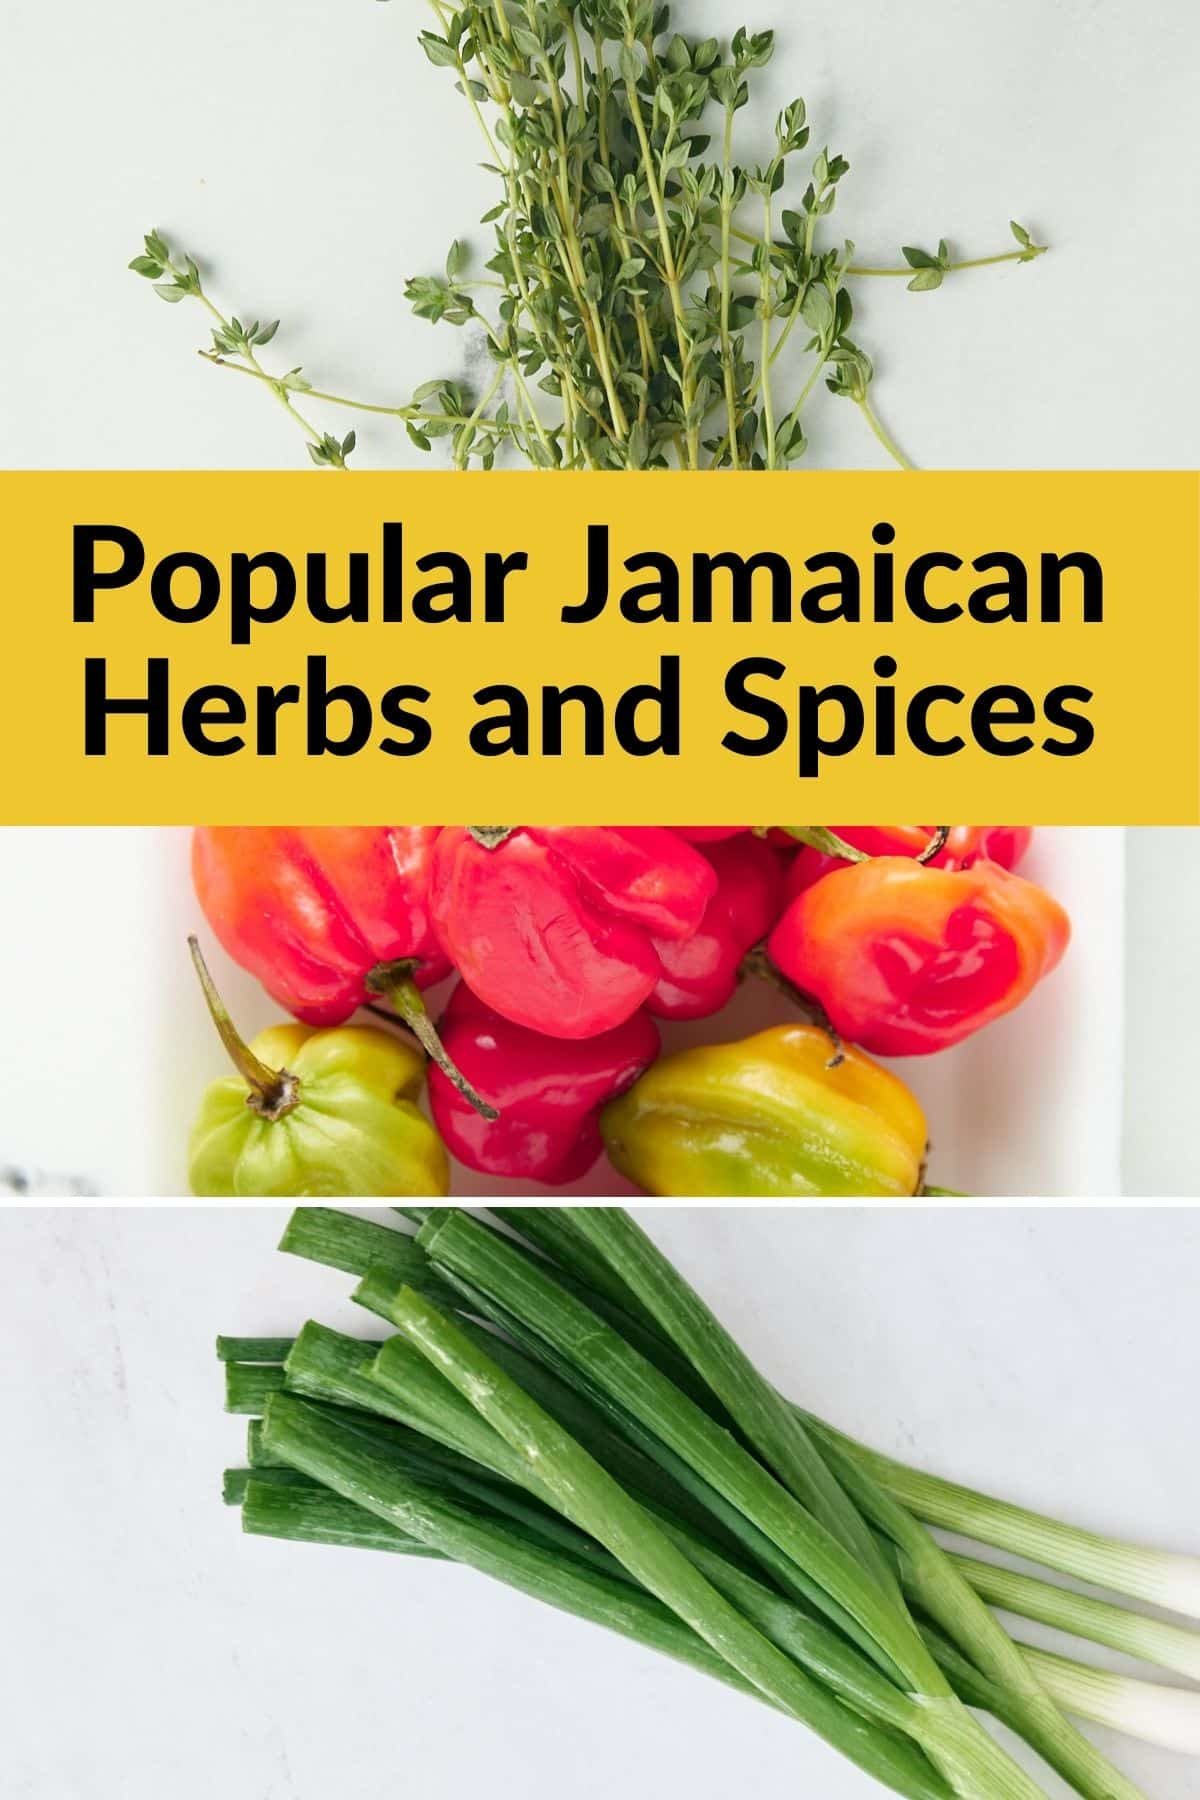
- The Most Popular Jamaican Herbs and Spices and How to Use Them
- Homemade Ranch Seasoning
- Homemade BBQ Seasoning
- Homemade Fish Seasoning
If you have tried this or any other recipe on my blog, please rate it and let me know how it turned out in the comments below!
Italian Seasoning
Ingredients
- 2 Tablespoons Basil
- 2 Tablespoons Oregano
- 1 Tablespoon Crushed Rosemary
- ½ Tablespoon Thyme Leaves
- ½ Tablespoon Black Pepper
- ½ Tablespoon Rubbed Sage
Instructions
- Mix the ingredients in a bowl. Enjoy 🙂
Notes
- Double, triple, or quadruple the recipe if you like. Change the serving size in the recipe card below to modify the ingredients.
- Store in an airtight container for future uses. Keep it in a cupboard out of direct sunlight.
- Make sure that your ingredients aren’t stale. Rub a little of each between your fingers, if they release an aroma they are good to use.