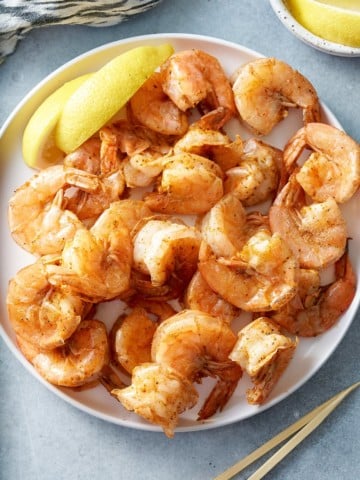
This recipe for Steamed Shrimp has minimum ingredients but lots of flavor! Old Bay seasoning, lemon, and a bit of hot sauce make this simple recipe extra delicious. This delectable dish is the perfect blend of taste and simplicity.
You’ll find the full recipe with ingredient amounts and instructions in the recipe card at the bottom of this post. Be sure to check out the blog post itself for extra tips and tricks!
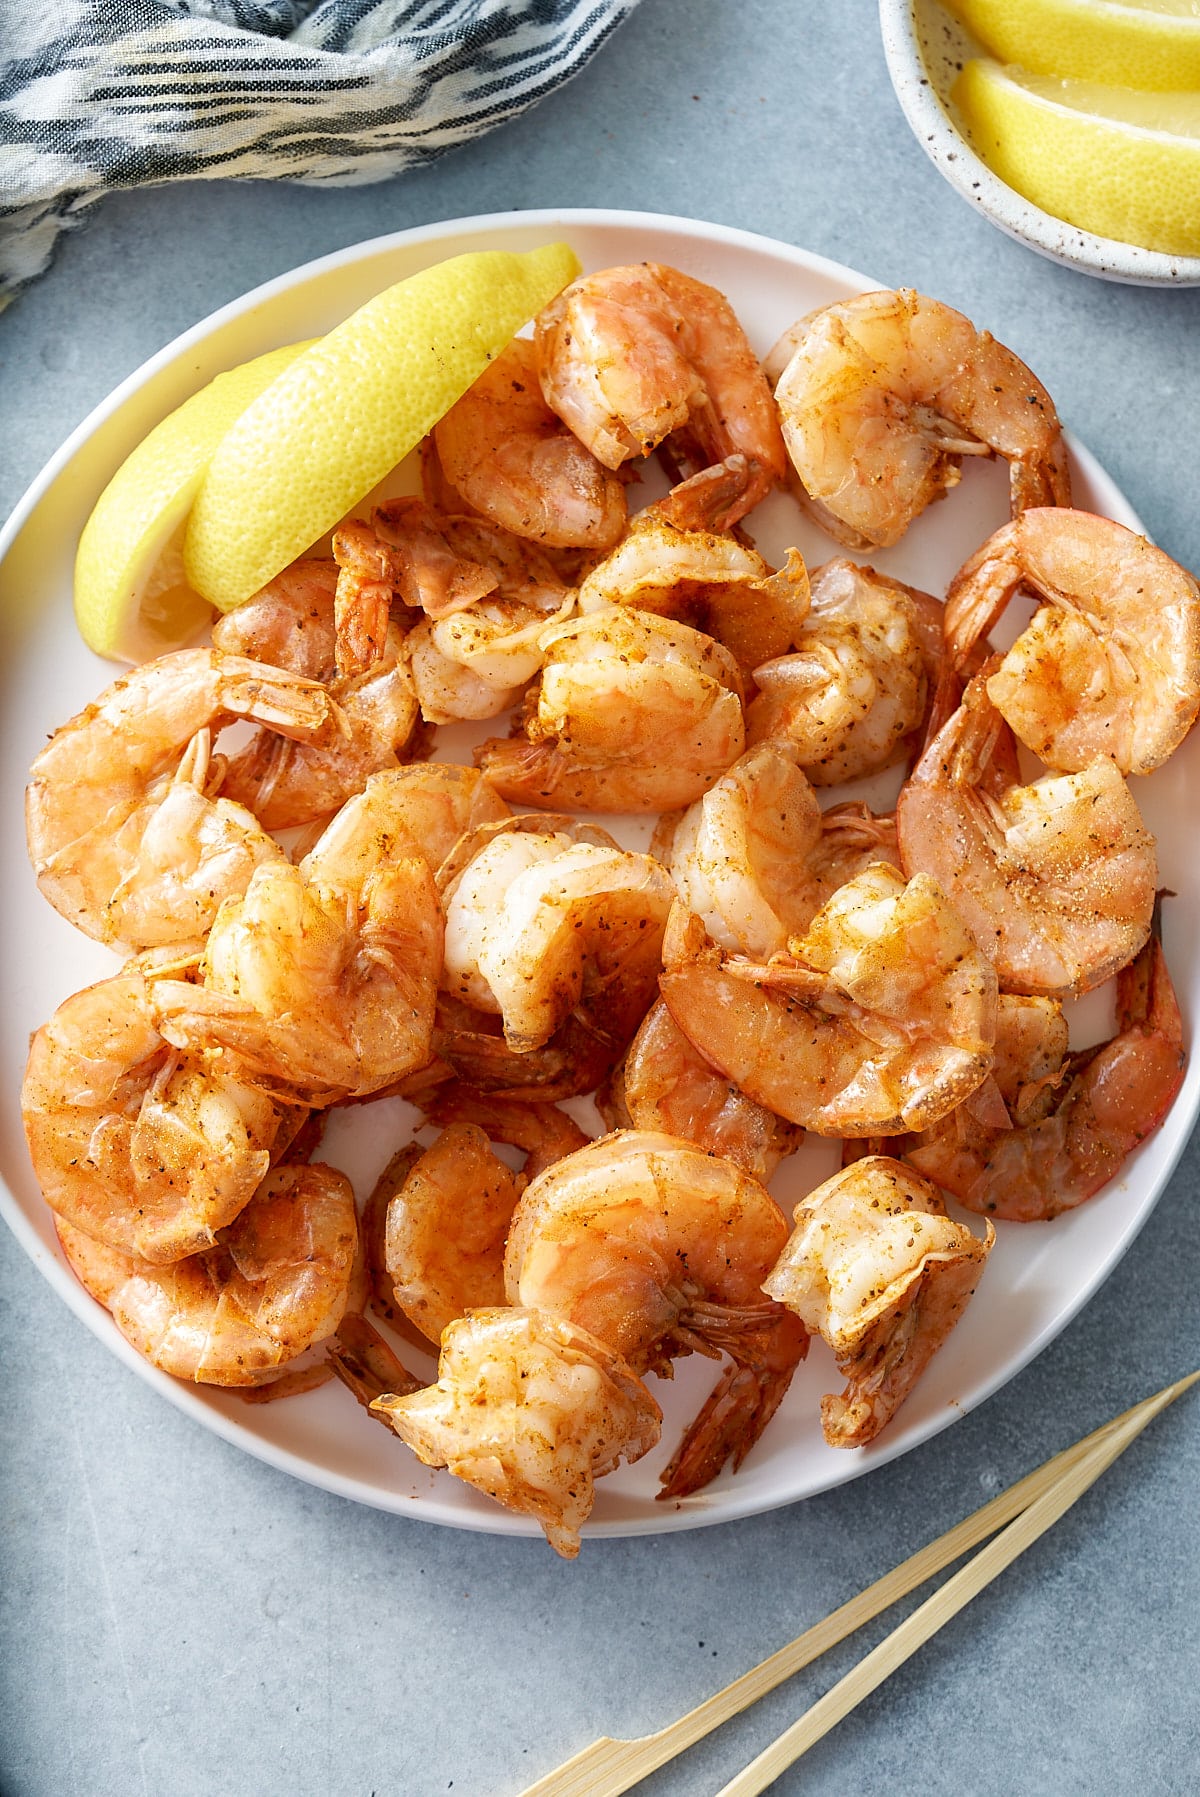
Peel-and-eat shrimp is one of my favorite appetizers. Your hands get messy when peeling shrimp made in a delicious Old Bay marinade, but it’s so well worth it.
Steaming shrimp is easy to master and requires just a few essential steps to achieve the perfect consistency. This recipe is ready to eat in about 20 minutes and is the ideal quick recipe when you want delicious seafood.
If you love steamed seafood, check out my steamed lobster tails.
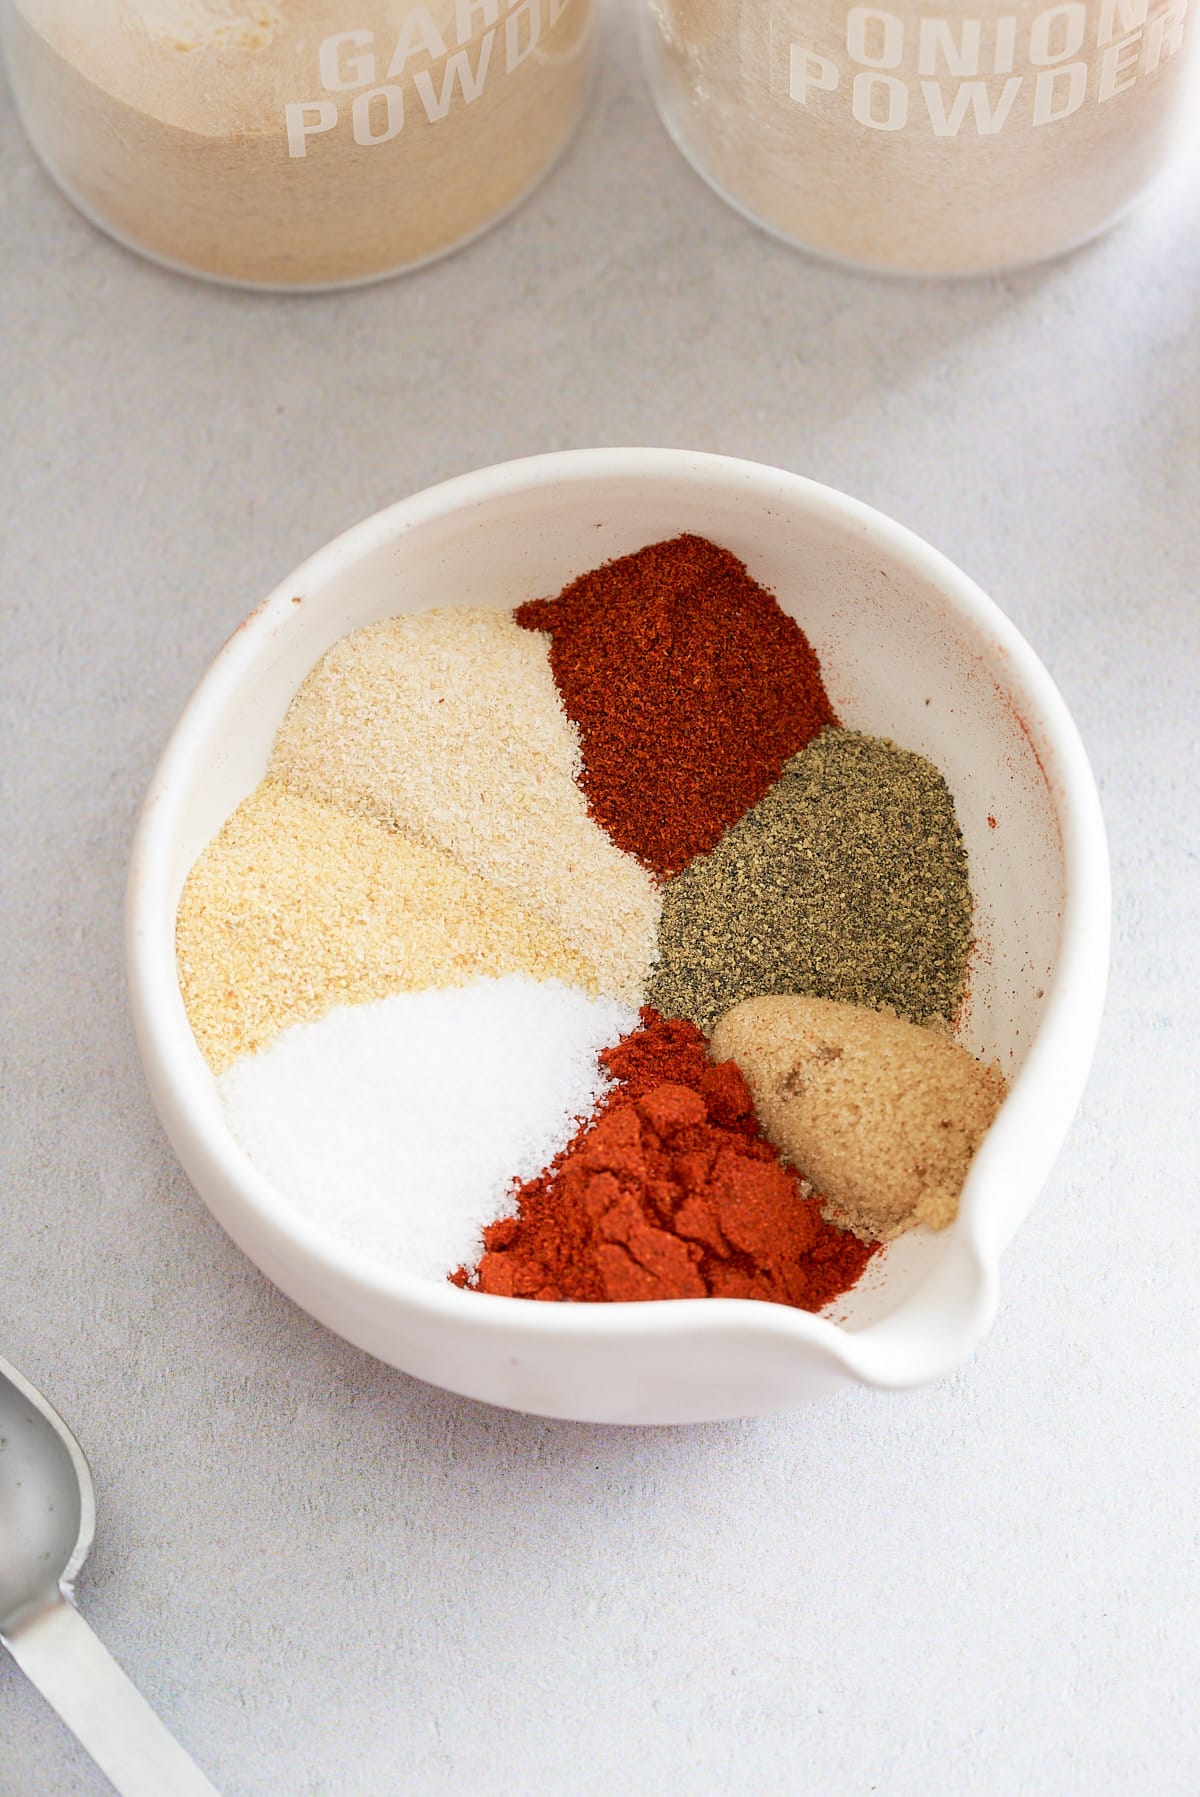
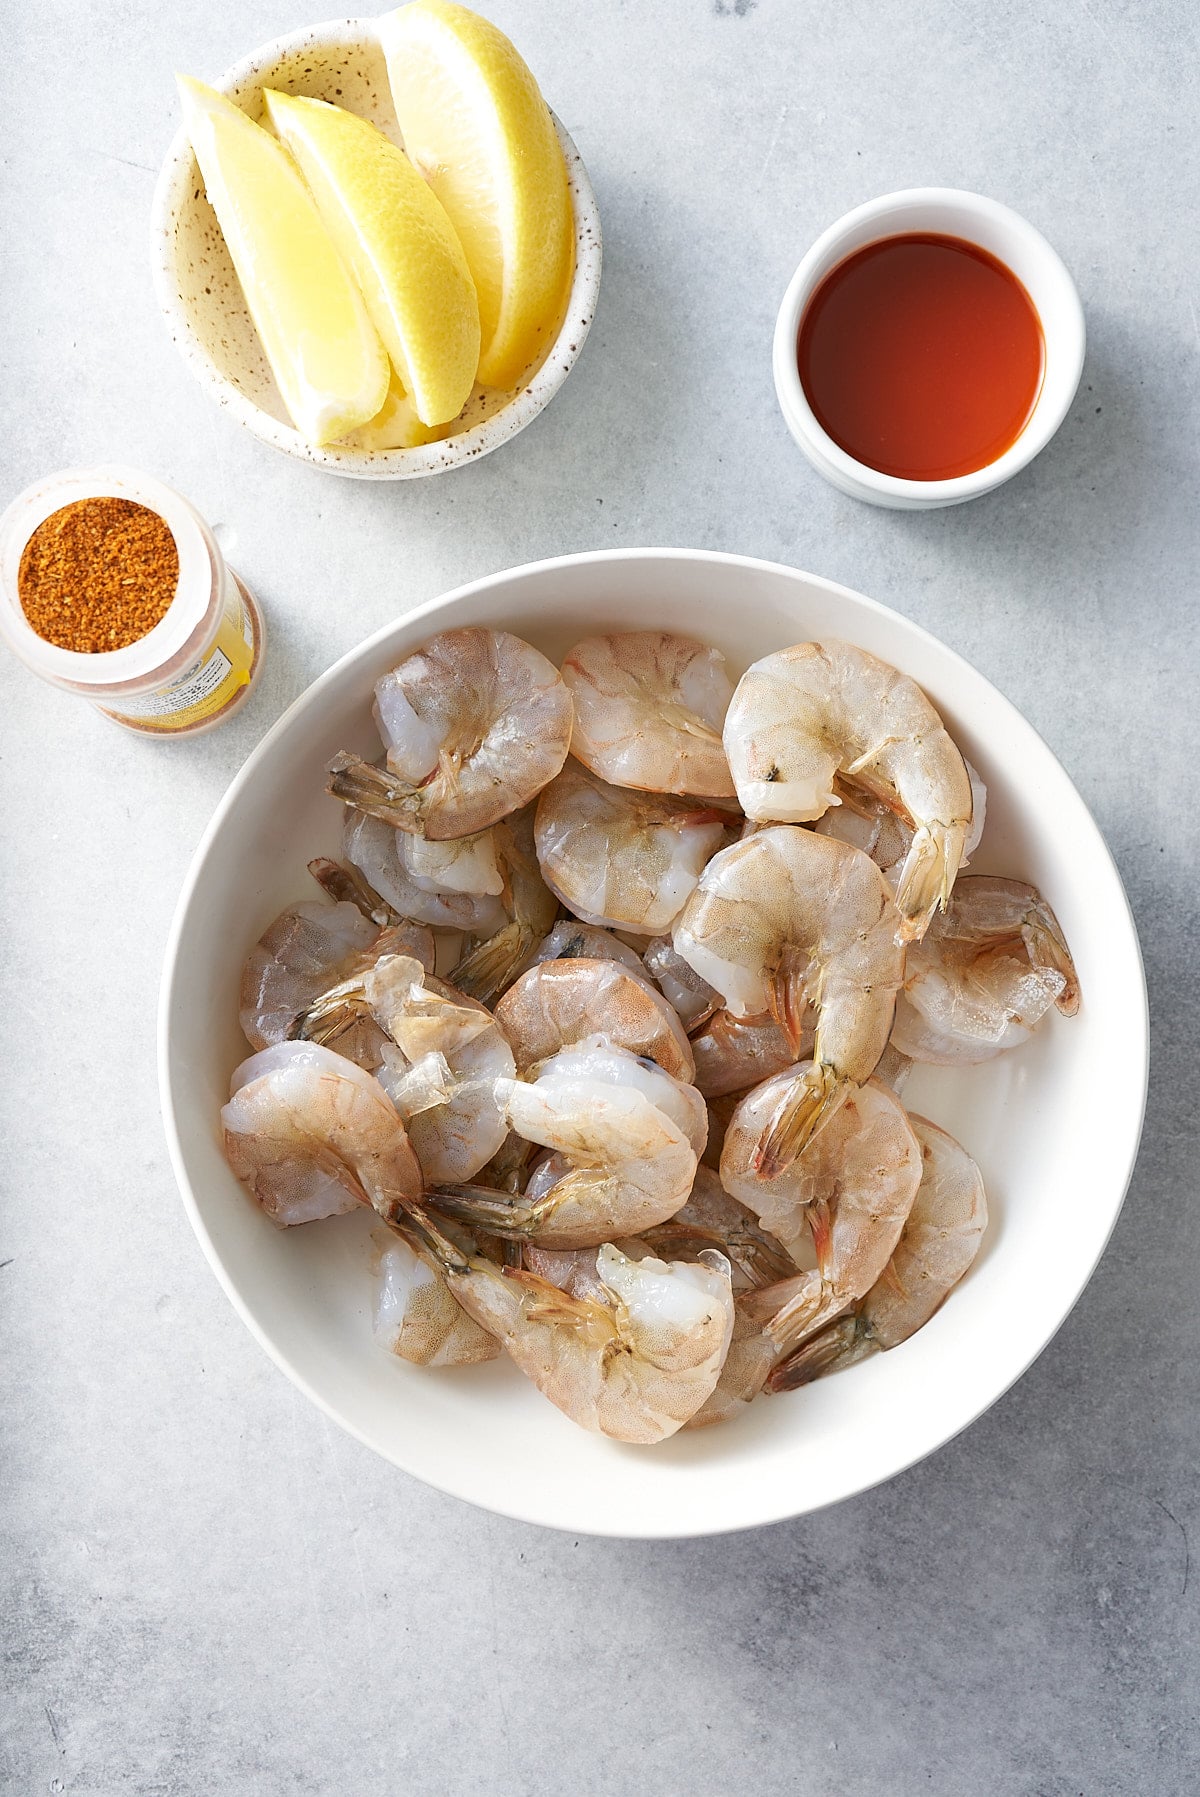
A Quick Look at the Ingredients
Ingredient amounts and full recipe instructions are on the printable recipe card at the bottom of the post.
- Shrimp - I use Jumbo, shell-on, deveined shrimp for this recipe.
- Old Bay Seasoning - this was developed to complement seafood. It's delicious!
- Fresh lemon juice
- Hot Sauce - provides a little kick and flavor. I use Texas Pete in this recipe as it's mild and not too spicy. If using a spicy sauce, use less than I do in this recipe unless you prefer a spicier flavor.
- Water
TOOLS NEEDED
- A steamer - either a bamboo steamer, a metal steamer, or an electric steamer.
- Tongs
- A mixing bowl
- Kitchen mitts
How to make Steamed Shrimp
Rinse the shrimp and pat them dry. If you're starting from frozen shrimp, defrost and pat them dry.
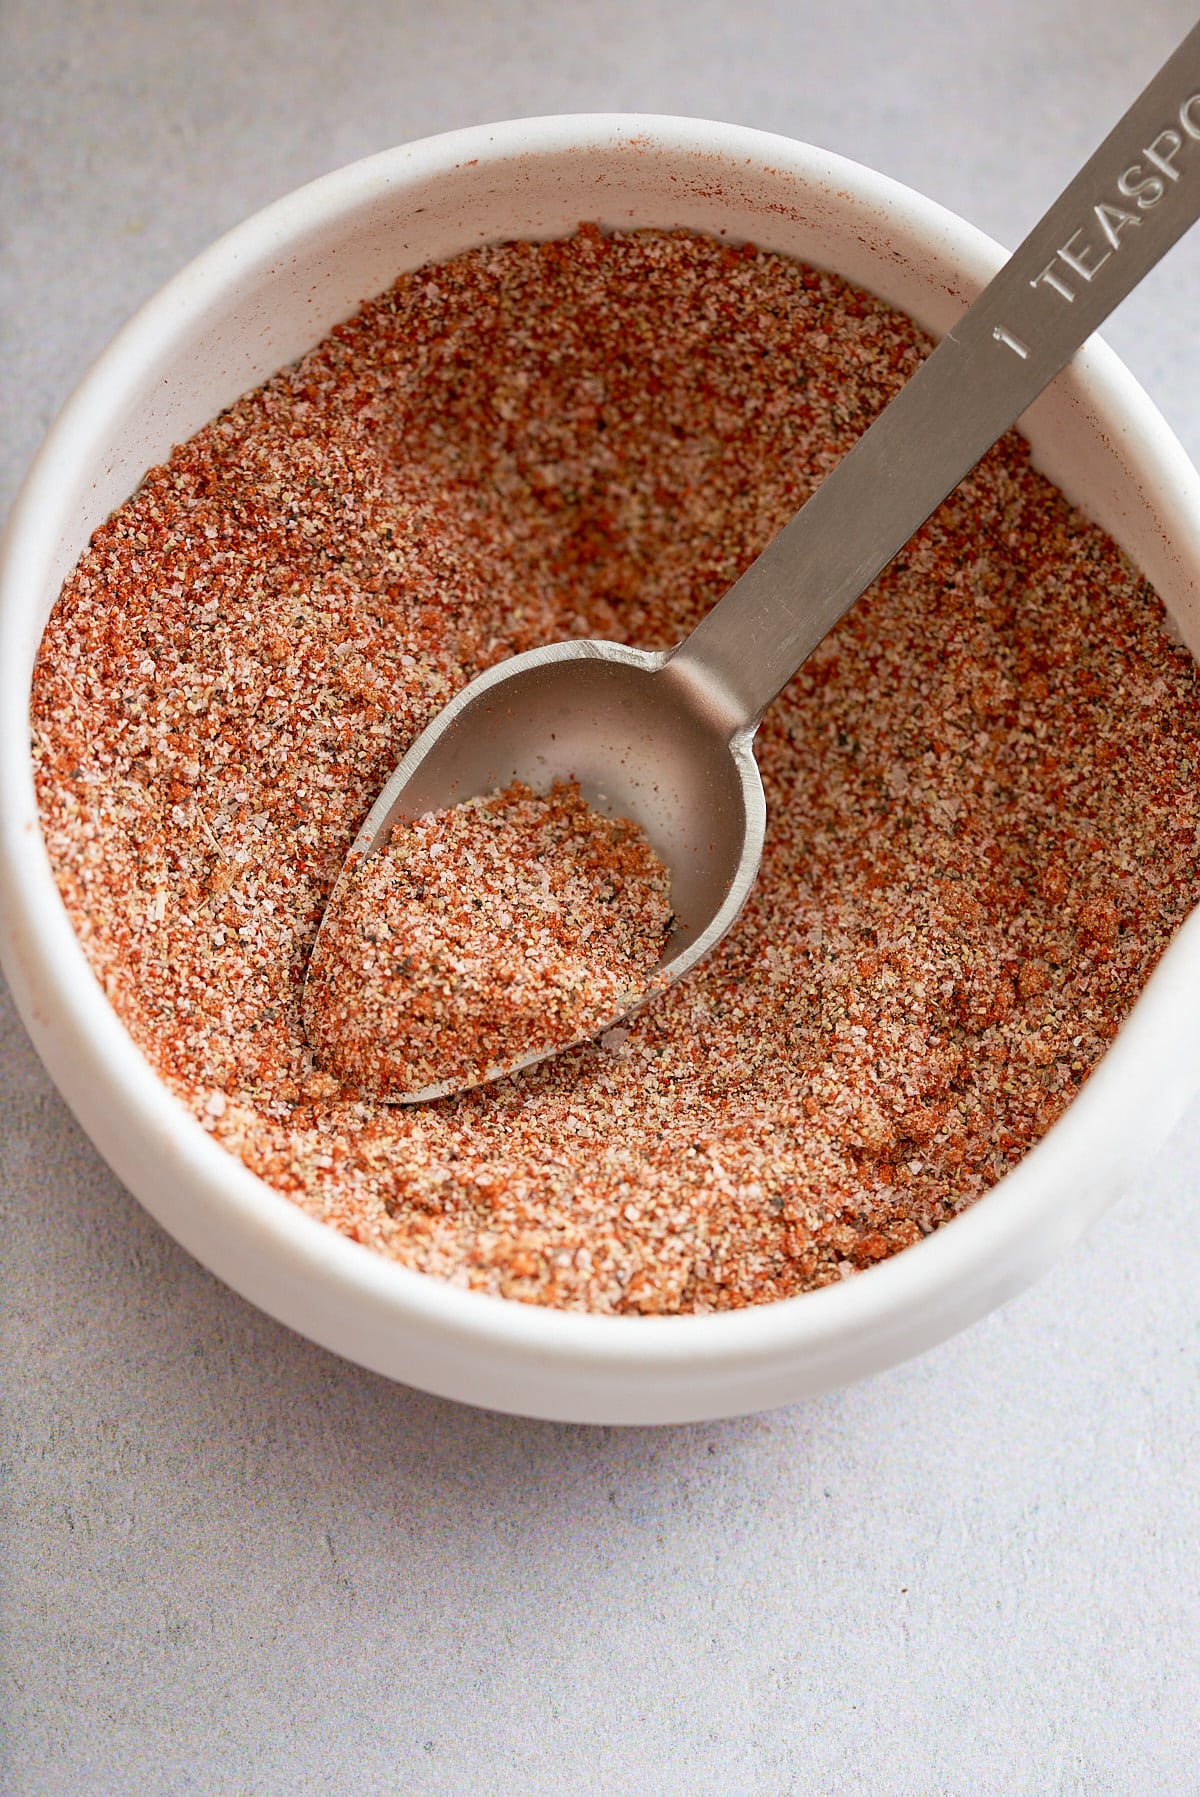
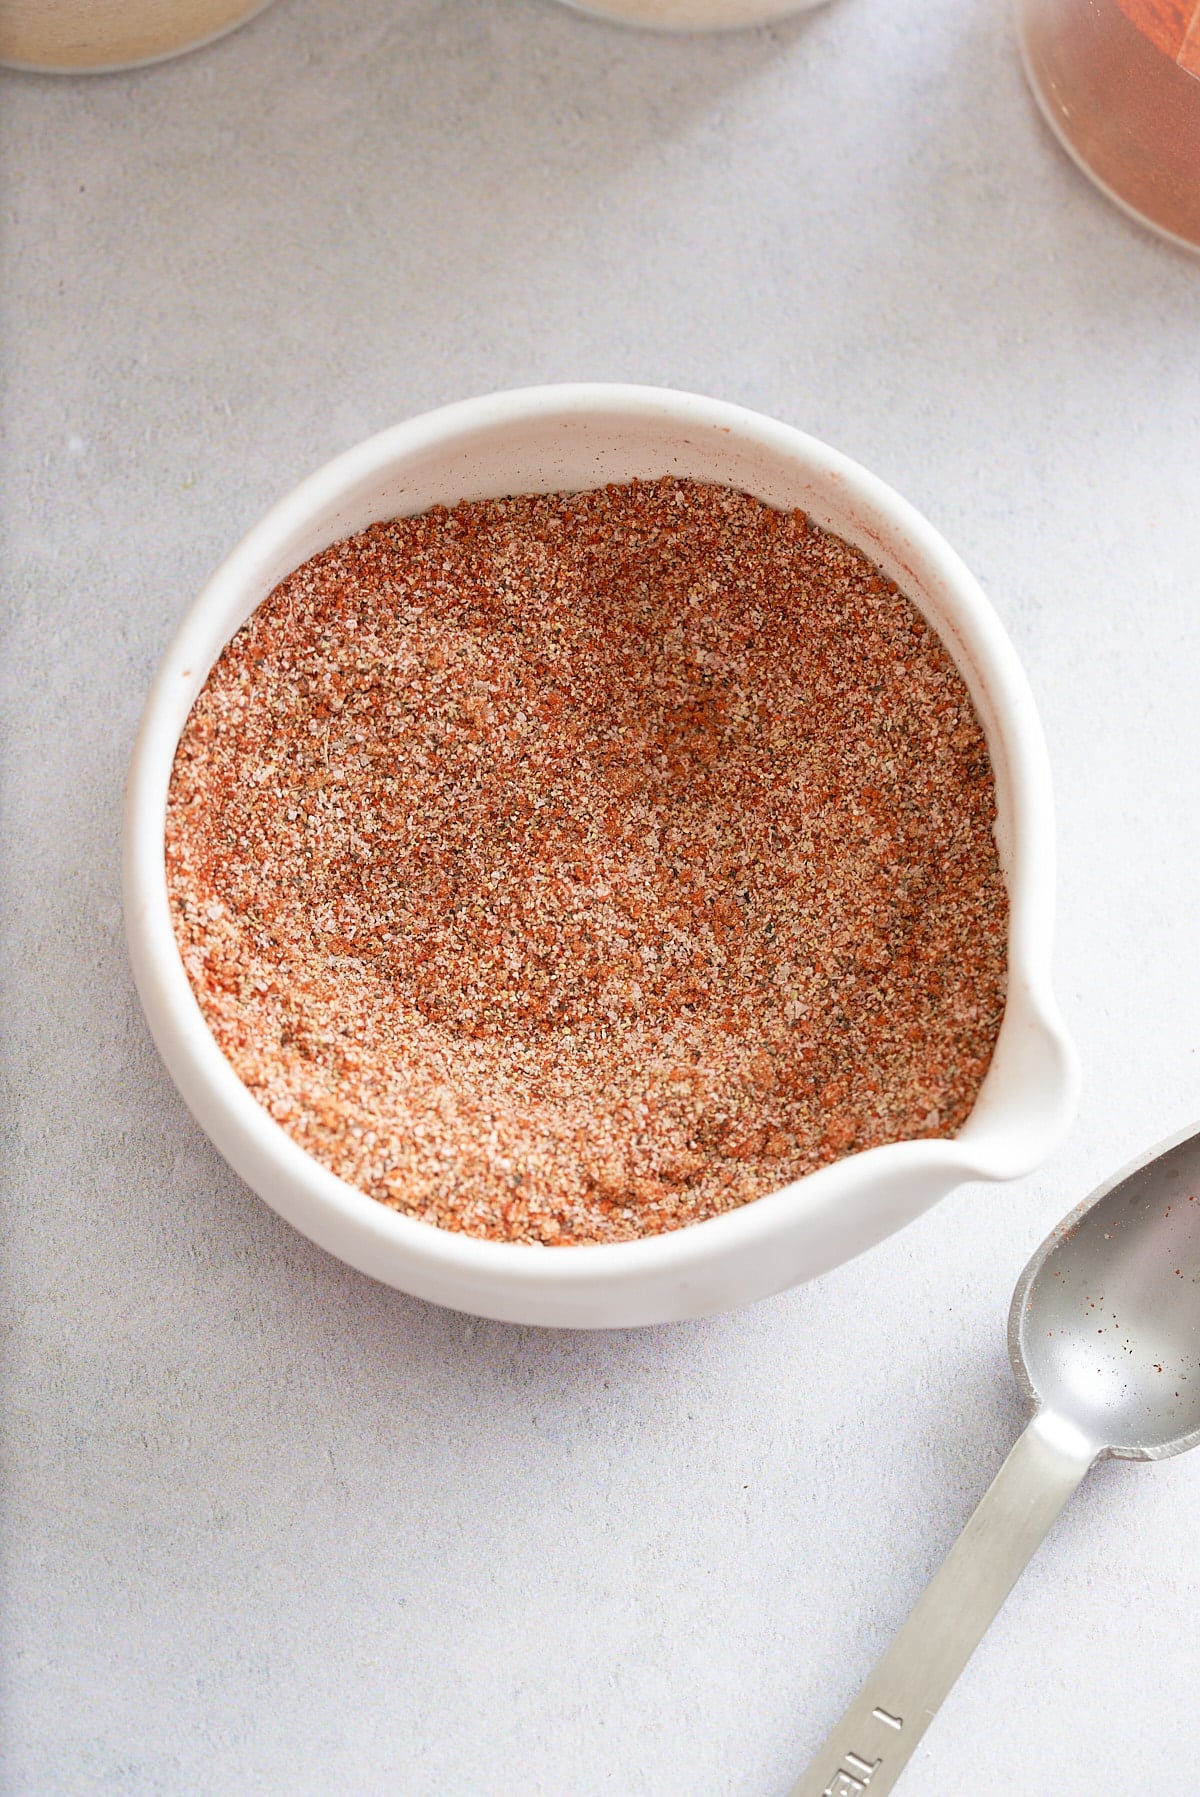
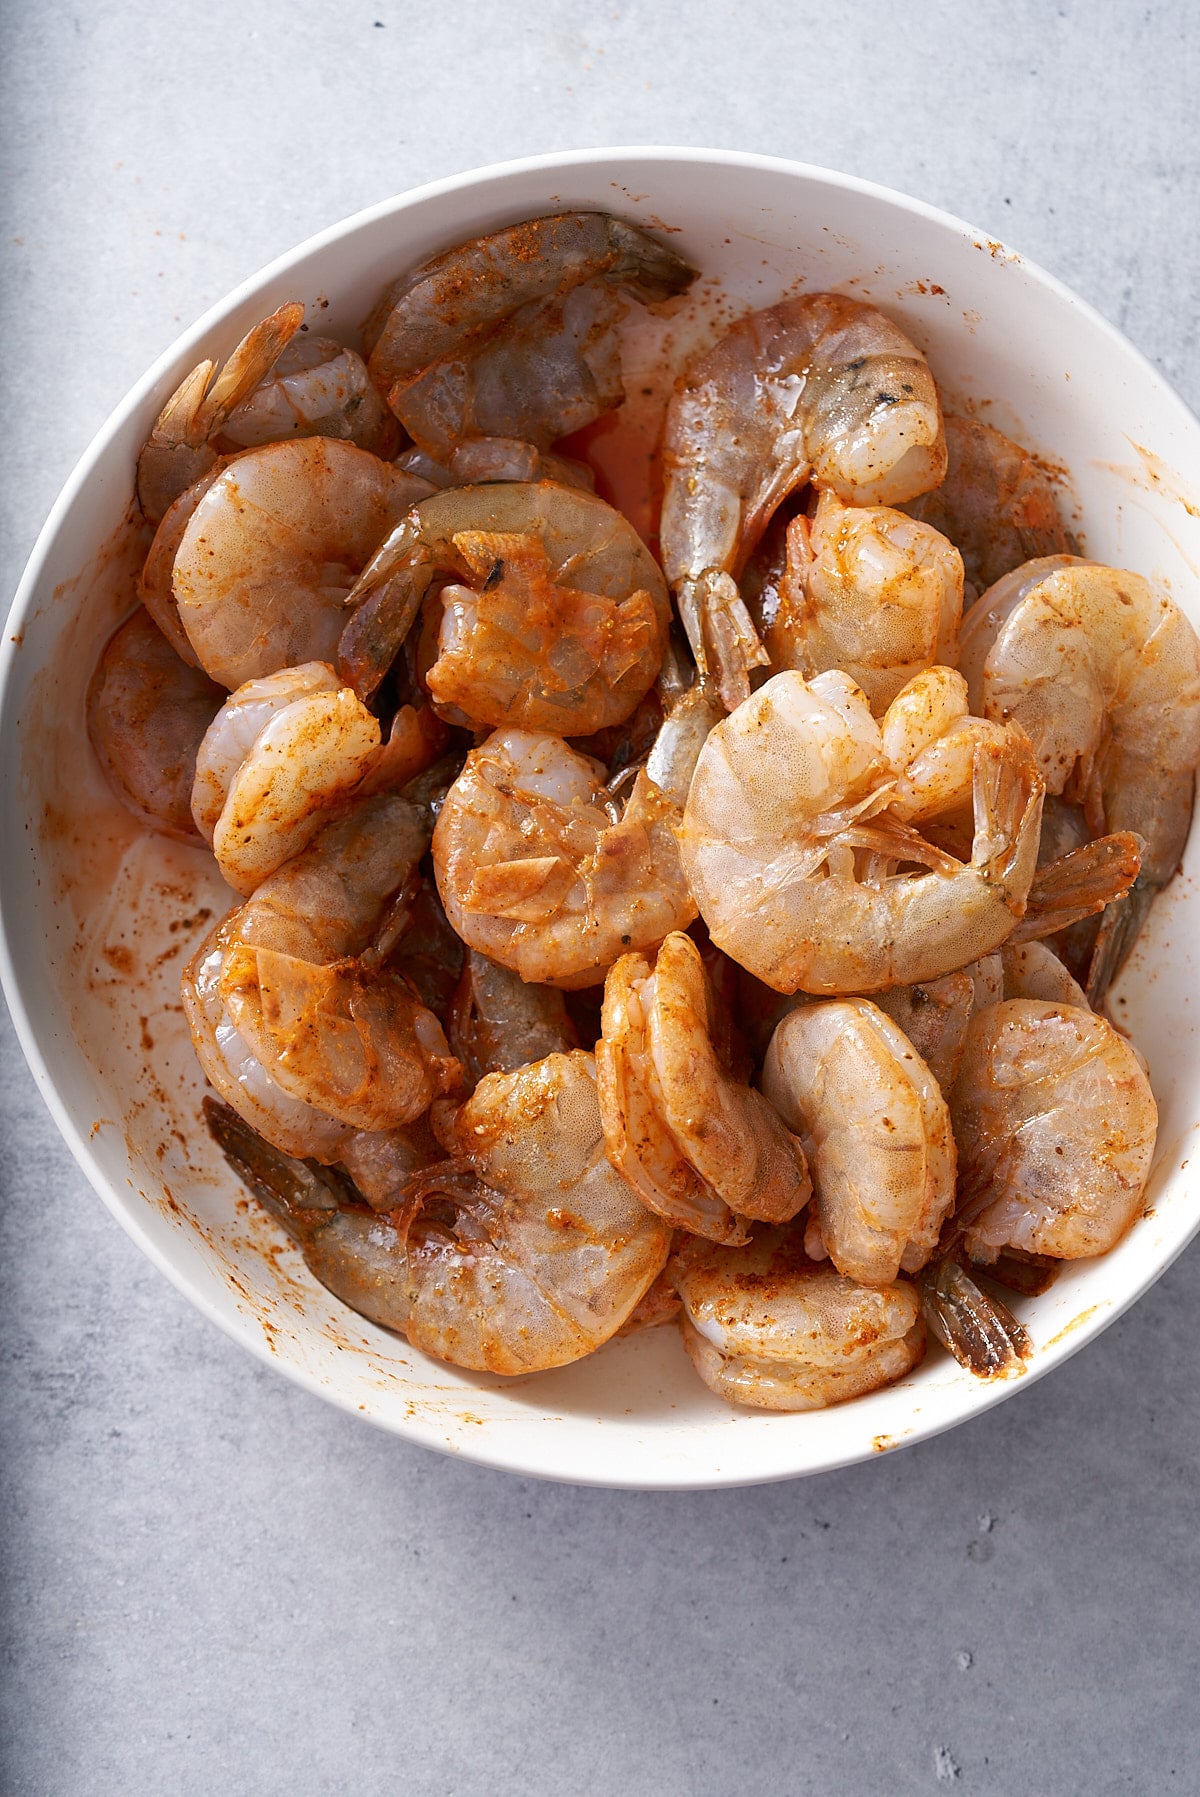
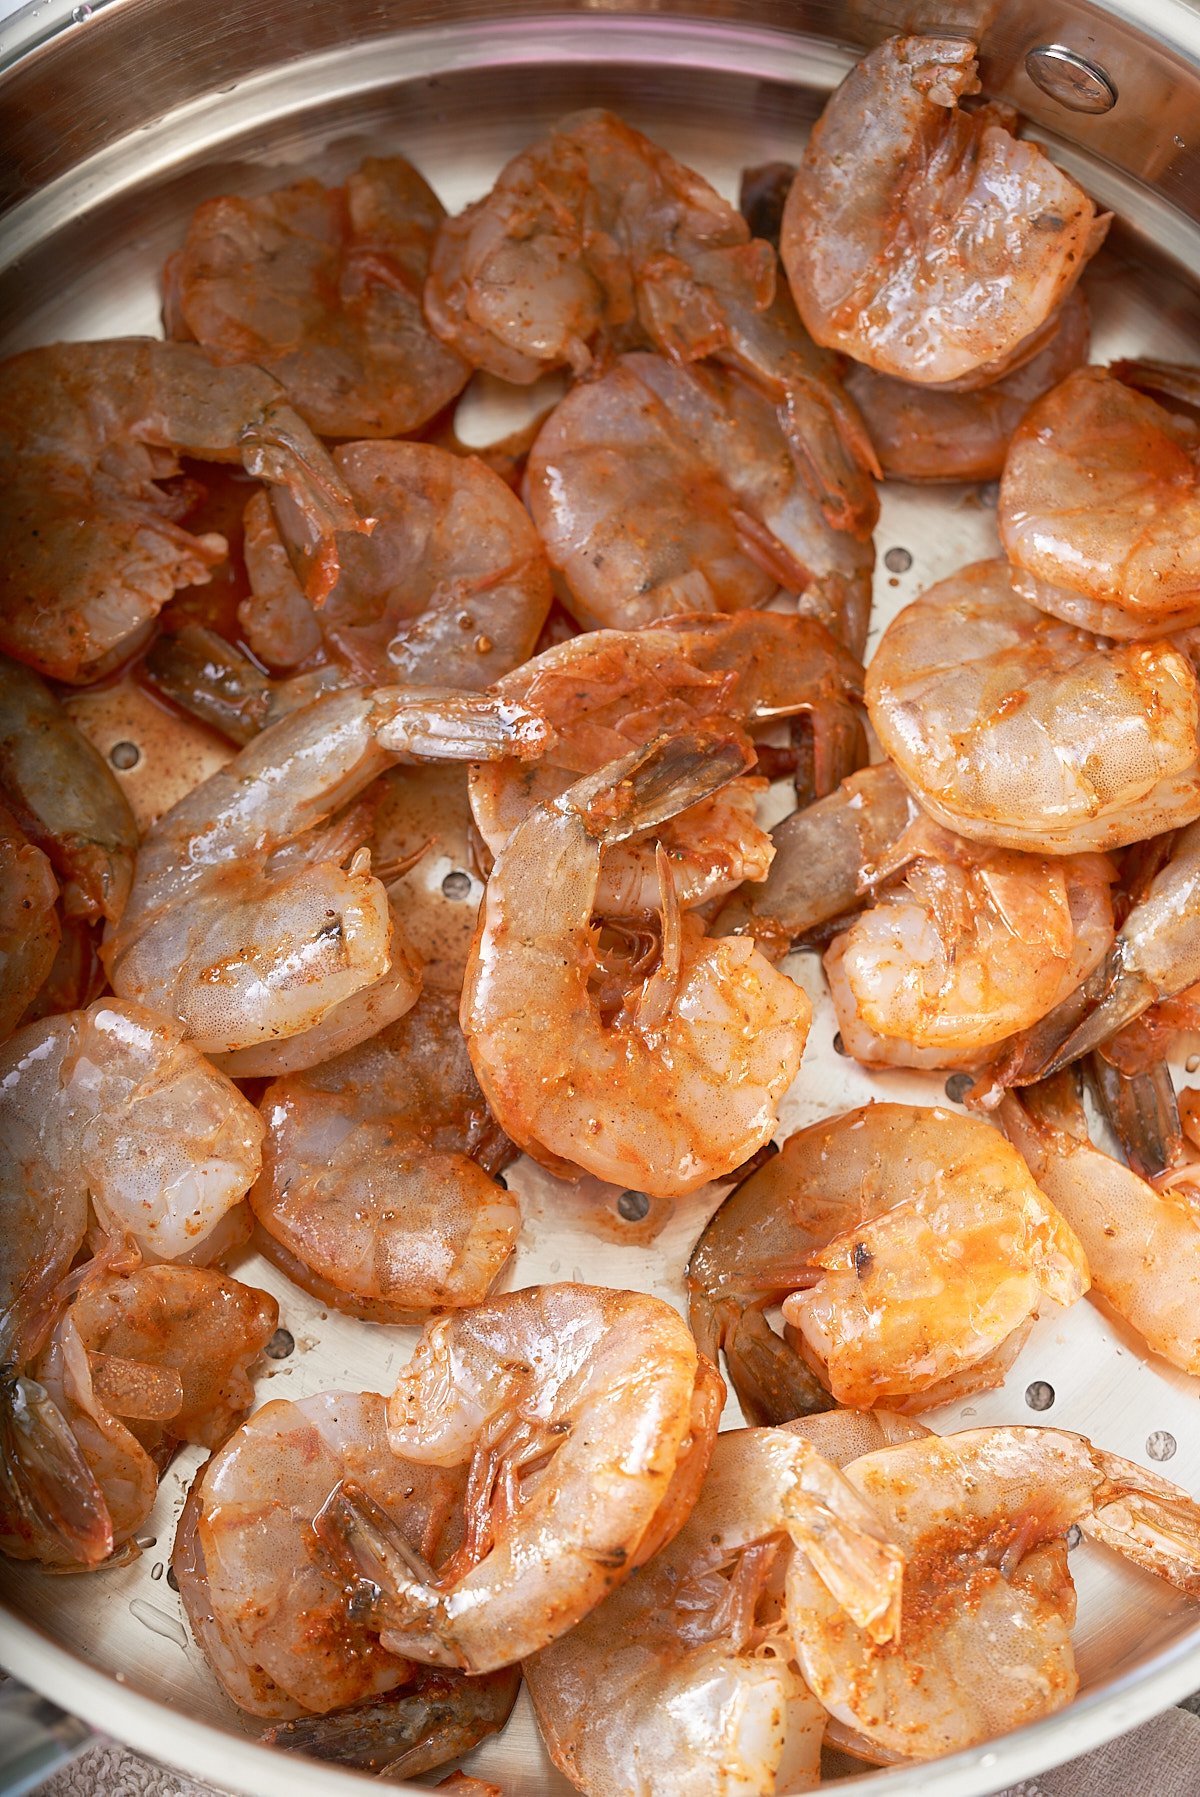
Combine the Old Bay seasoning, hot sauce, and fresh lemon juice in a large bowl. Mix well to create a marinade.
Add the shrimp to the marinade and toss until evenly coated. Let the shrimp marinate for about 10 minutes to allow the flavors to infuse.
Fill a pot with 1 inch of water, ensuring it is positioned below the steamer basket. Bring the water to a boil.
Place the marinated shrimp in the steamer basket in a single layer.
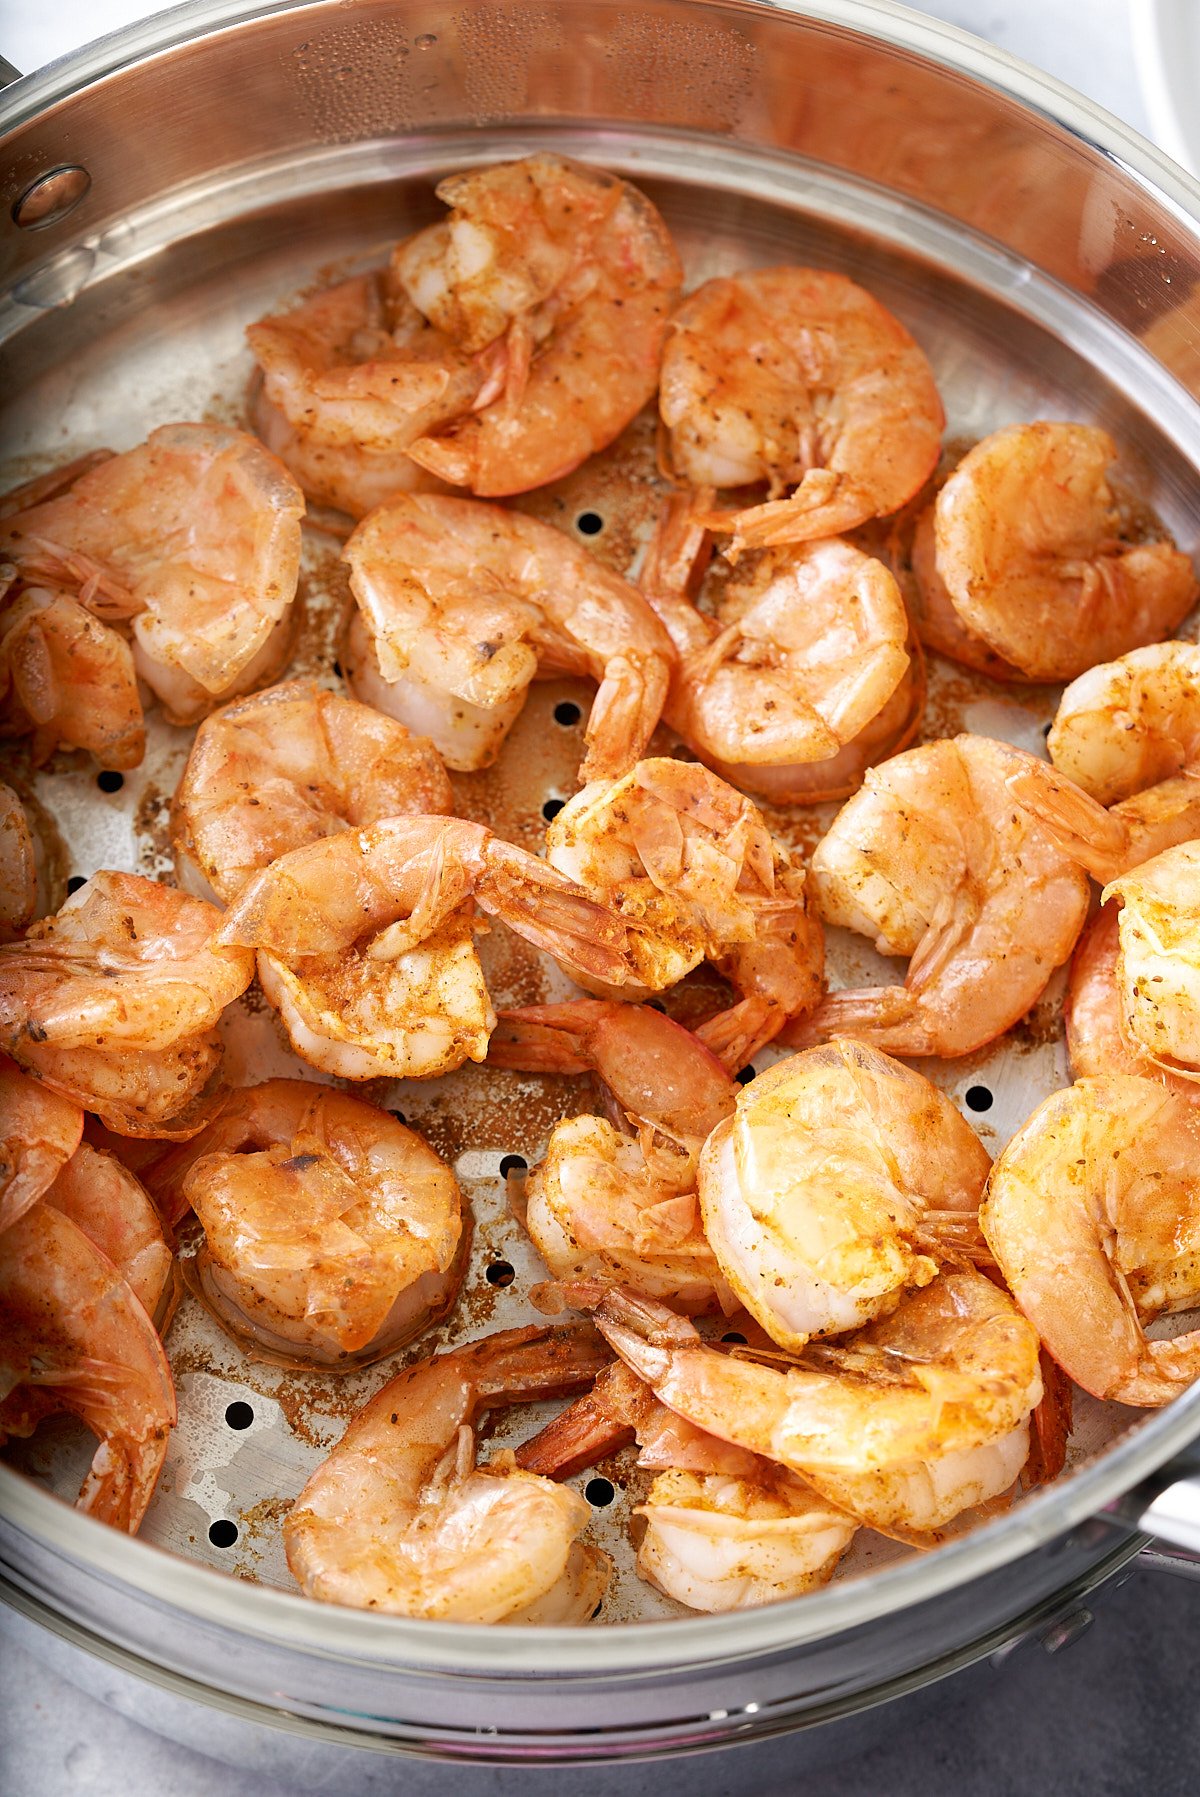
Place the steamer basket on top of a pot filled with boiling water to cook the shrimp. Keep steaming until the shrimp turn pink and opaque.
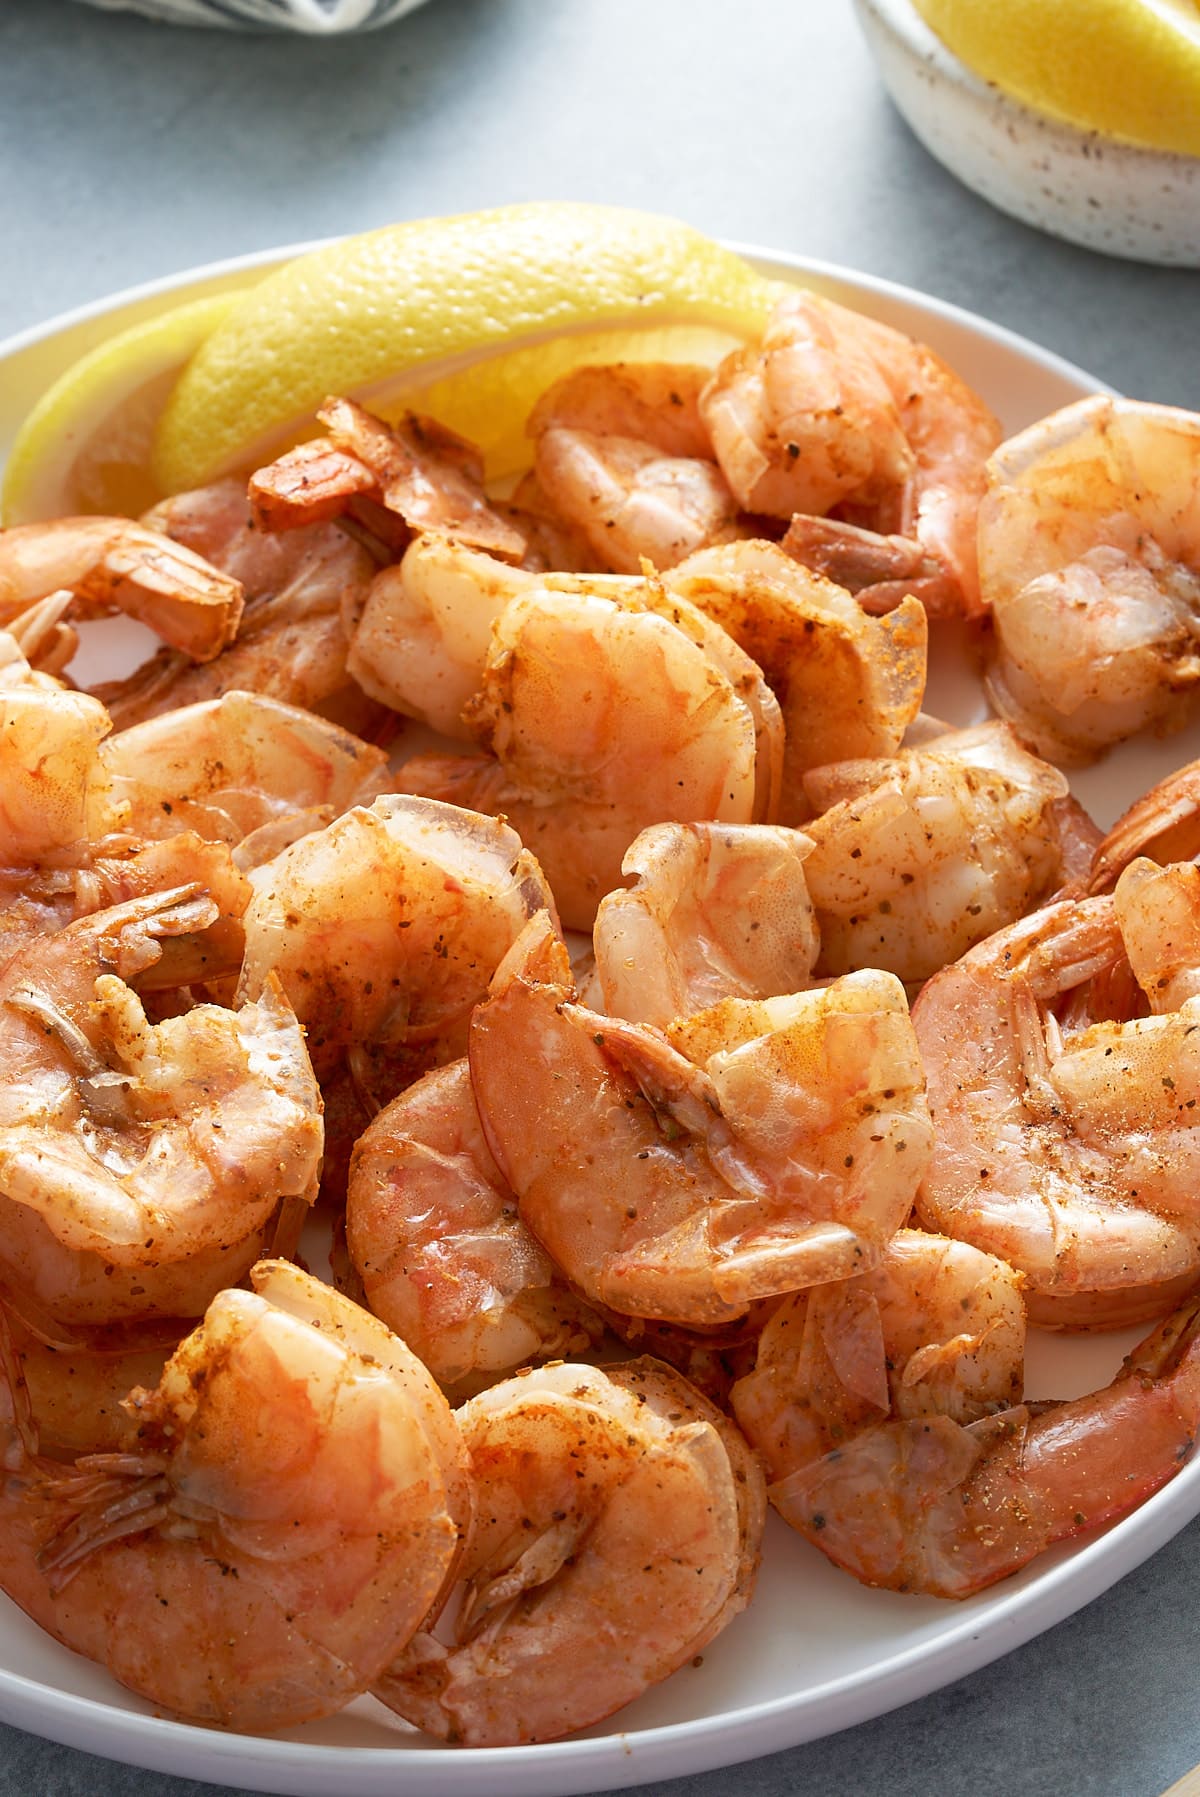
Remove the steamer from the heat and pour the shrimp onto a platter or bowl. Cool for a few minutes before serving.
Serve the steamed shrimp as an appetizer or main dish. You can garnish them with additional lemon wedges and fresh herbs if desired.
How to store this steamed shrimp recipe
Once the shrimp have been steamed, store them immediately in an airtight container or resealable bag.
To refrigerate: Place any leftover shrimp in an airtight container in the refrigerator for up to 3 days. If heating up, do so gently so the shrimp warms through but does not overcook.
To freeze: It's perfectly safe to freeze shrimp. Remove excess air in an airtight container and store for 3 months. To thaw frozen shrimp, place them in the refrigerator overnight and use them as soon as possible.
Variations of this recipe
- Swap Out Spices: While Old Bay, hot sauce, and lemon juice create a flavorful combination, feel free to mix things up. Try using garlic butter for a more decadent touch, or add some smoked paprika for a dash of smokiness. Or use jerk seasoning for a Caribbean twist.
- Add Veggies: For a complete one-pot meal, add chopped vegetables to the steamer. Bell peppers, onions, and zucchini are great options that pair well with shrimp.
- Play with Proteins: If you're up for a seafood medley, you could add some mussels or clams. For a turf and surf theme, some slices of smoky sausage could be a fun twist.
- Serve Differently: Steamed shrimp can be served in a variety of ways. Over a bed of fresh salad for a light meal, tossed with some pasta for a filling dinner, or just with a side of crusty bread to soak up all the flavorful juices.
What is the best shrimp to use in Steamed Shrimp?
Shrimp cooked in their shells often have a deeper, more robust flavor as the shells contribute to the dish's overall taste. The shells can also help retain more of the shrimp's natural juices, resulting in a juicier end product.
On the other hand, shrimp that have been peeled and deveined before cooking are much easier to eat, as there's no need to remove the shell while dining. This can be particularly beneficial if you're serving the shrimp in a dish where eating with your hands is more convenient.
So either can be used. If using shrimp that have been peeled and deveined, cook for a minute less in the steamer.
I prefer shrimp with the shell on, and that is deveined.
Tanya's Top Tips
- For an even richer flavor, consider using a different steaming liquid, such as beer or wine, as the base for the steamer instead of water.
- If you don’t have a steamer pot, you can fit a steamer basket into a large pot; it will work just the same. Just ensure the liquid remains below the shrimp.
- Devein your shrimp before steaming or purchase shrimp that have already been deveined.
Serving Suggestions
- Serve with homemade cocktail sauce.
- Serve with a delicious crusty bread.
FAQs
Depending on the size of your shrimp, the cooking time typically takes between 5-10 minutes to steam them.
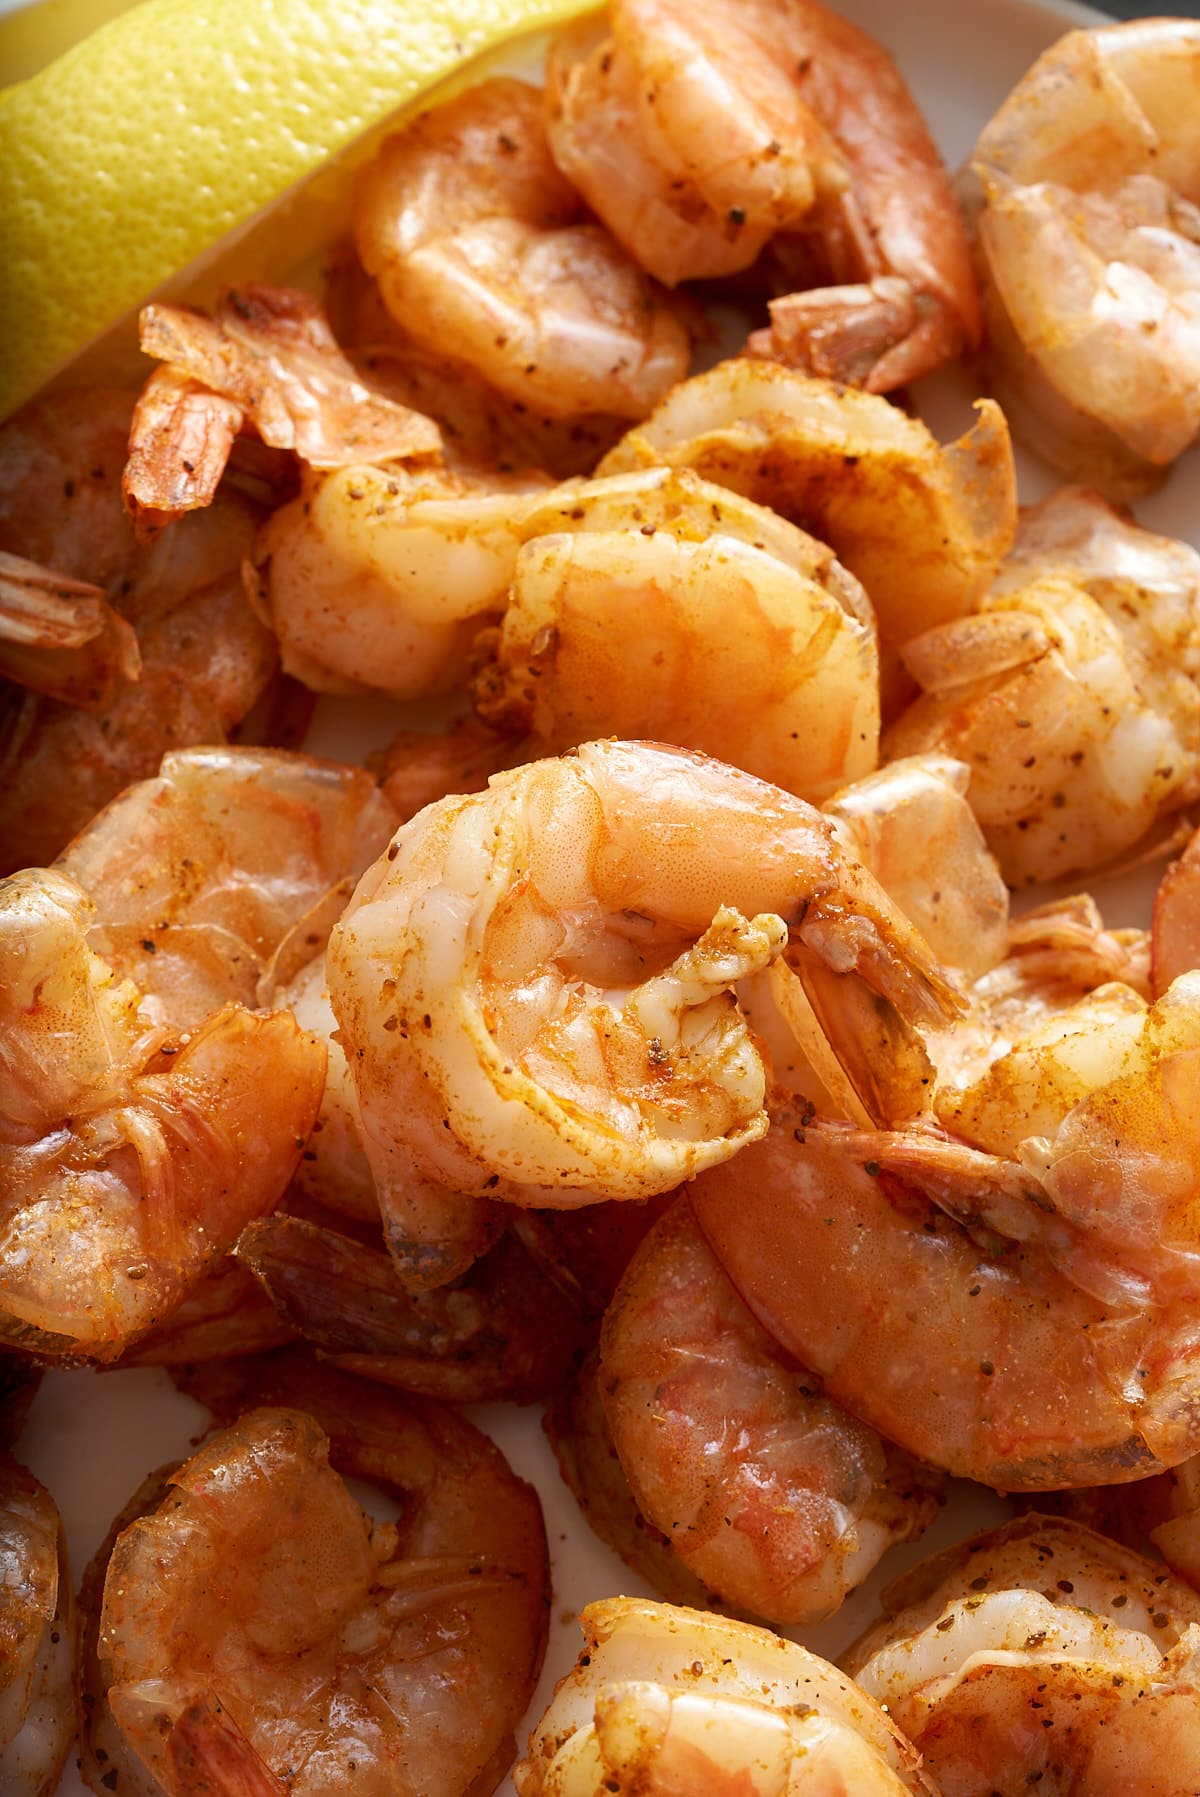
Cooked shrimp will turn pink and will no longer be translucent. The flesh will become white or opaque and should feel firm to the touch.
You can steam frozen shrimp directly, but it will take longer than fresh shrimp. It's usually better to thaw them first for even cooking, especially when using a marinade.
Steaming and boiling both have benefits. Steaming is gentler and retains more flavor, whereas boiling cooks shrimp faster and can provide more evenly cooked results.
I hope you like this recipe as much as we do. Love seafood? Check these out:
If you have tried this or any other recipe on my blog, please rate it and let me know how it turned out in the comments below!

Steamed Shrimp
Equipment
Ingredients
- 1 pound Raw Jumbo Shrimp shells on and deveined
- 1 Tablespoon Old Bay seasoning
- 3 Tablespoons Hot sauce
- 1 Tablespoon Fresh lemon juice
- Water for steaming
Instructions
- Rinse the shrimp under cold water and pat them dry with a paper towel.
- Combine the Old Bay seasoning, hot sauce, and fresh lemon juice in a large bowl. Mix well to create a marinade.
- Add the shrimp to the marinade and toss until evenly coated. Let the shrimp marinate for about 10 minutes to allow the flavors to infuse.
- Fill a pot with 1 inch of water so that it is below the steamer basket. Bring the water to a boil.
- Place the marinated shrimp in the steamer basket in a single layer.
- Place the steamer basket on top of a pot filled with boiling water to cook the shrimp. Cover the pot and let the shrimp steam for 5-6 minutes. Keep steaming until the shrimp turn pink and opaque. Be careful not to overcook them, as they can become tough.
- Remove the steamer from heat and pour the shrimp onto a platter or bowl. Cool for a few minutes before serving.
- Serve the steamed shrimp as an appetizer or main dish. You can garnish them with additional lemon wedges and fresh herbs if desired.
Notes
- You can adjust the amount of hot sauce according to your preference for spiciness. I use Texas Pete hot sauce in this recipe, which is a milder hot sauce. If using a spicier brand, use less hot sauce.
- If using shrimp with the shell already removed, reduce the cooking time by about a minute. The same goes if using smaller shrimp, as smaller shrimp will cook faster.