This easy and delicious oven-baked shrimp recipe is one of the most foolproof ways of cooking shrimp. This method makes seasoned shrimp that's cooked to perfection.
This post contains affiliate links, please read my full disclaimer here.
You’ll find the full recipe with ingredient amounts and instructions in the recipe card at the bottom of this post. Be sure to check out the blog post itself for extra tips and tricks!
When it comes to cooking shrimp, one of the best methods is oven-baking. This method ensures that the shrimp are cooked evenly and remain juicy and flavorful. Plus, it's a hands-off method that frees up your time so you can enjoy your meal.
Cooking shrimp in the oven is easy and laid back. It's one of the reasons why this method of cooking shrimp is ideal for my meal planning and prepping days.
The steps are simple; shrimp are coated in a light seasoning of your choice and then roasted in the oven until cooked through. This dish can be served as an appetizer or main course and will please any shrimp lover.
Check out my other shrimp recipes, like this Jamaican Jerk shrimp or my air fryer shrimp recipe.
How to make oven-baked shrimp
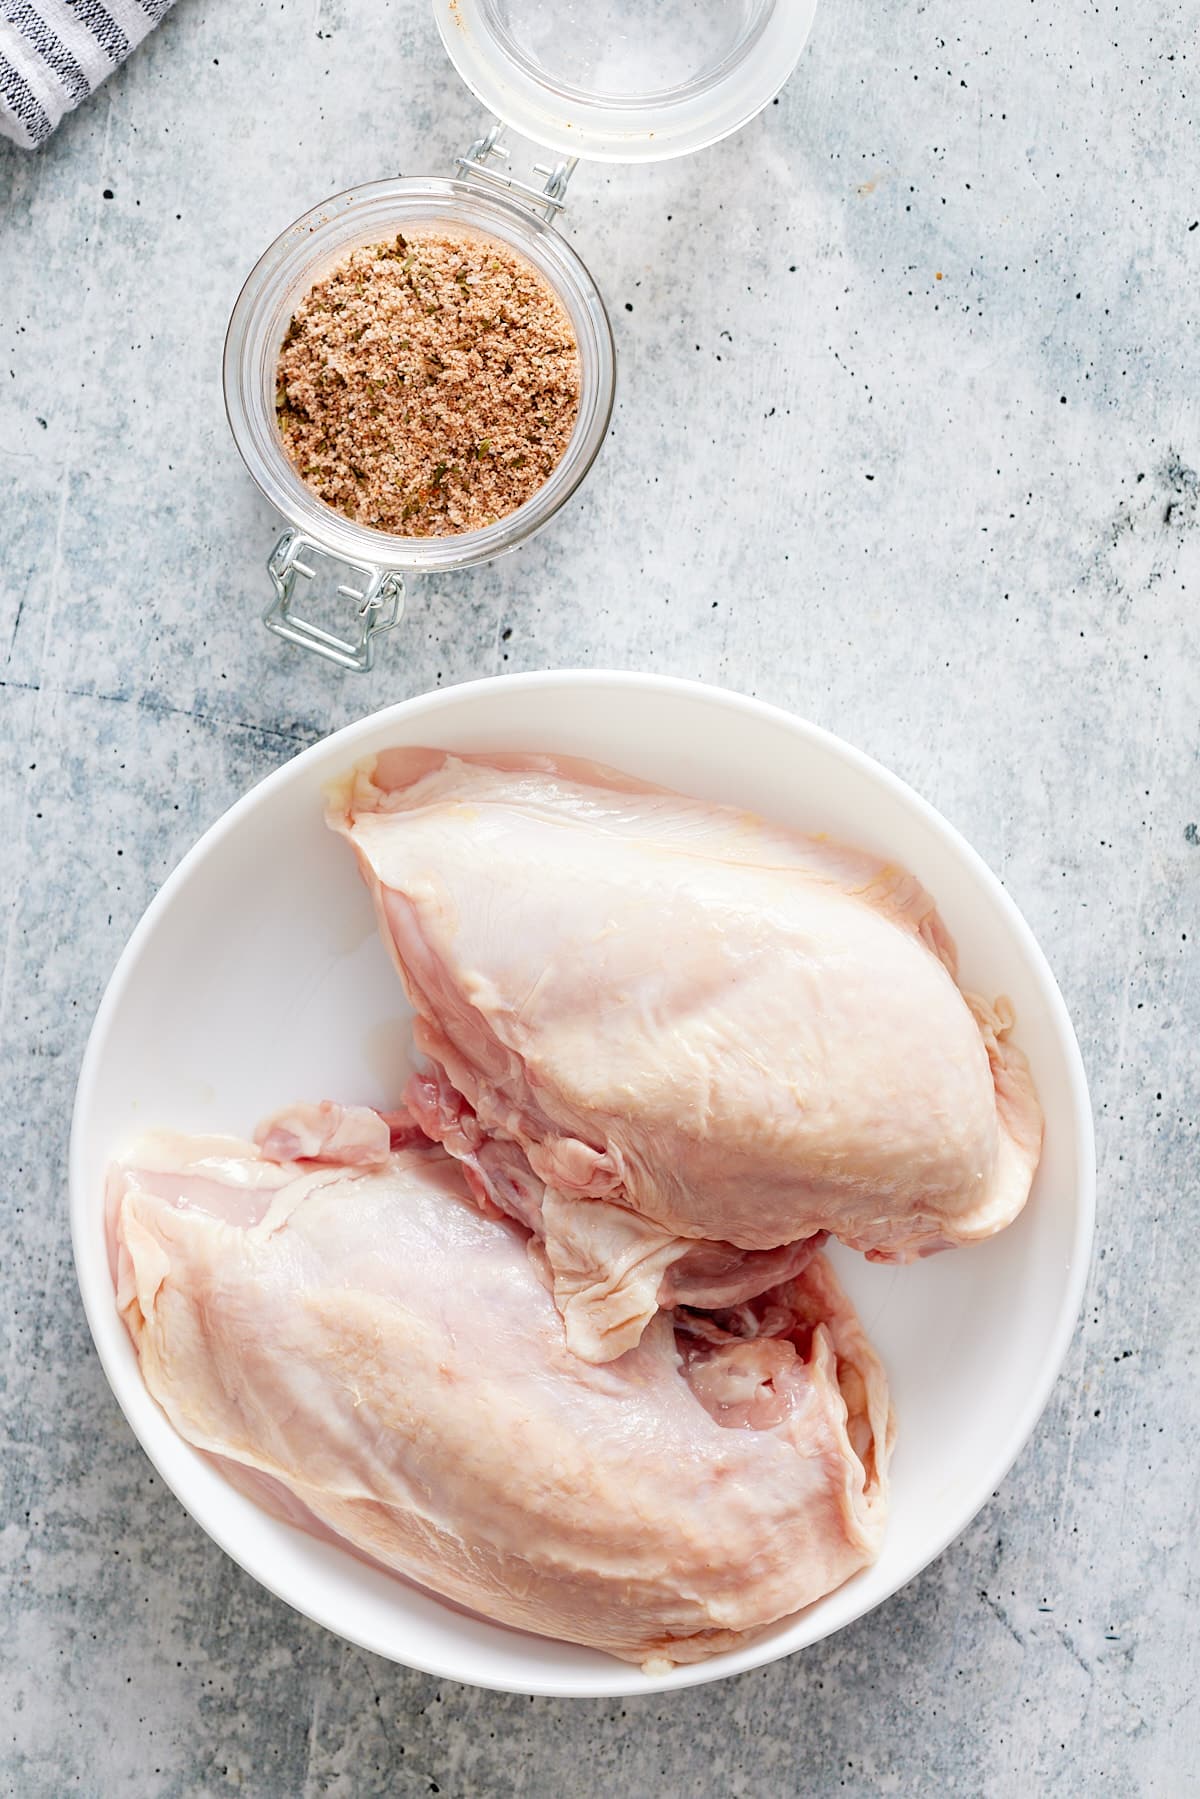
First, gather your ingredients. I prefer to use thawed large or jumbo shrimp that has been peeled and deveined. I also use olive oil and dry seasonings.
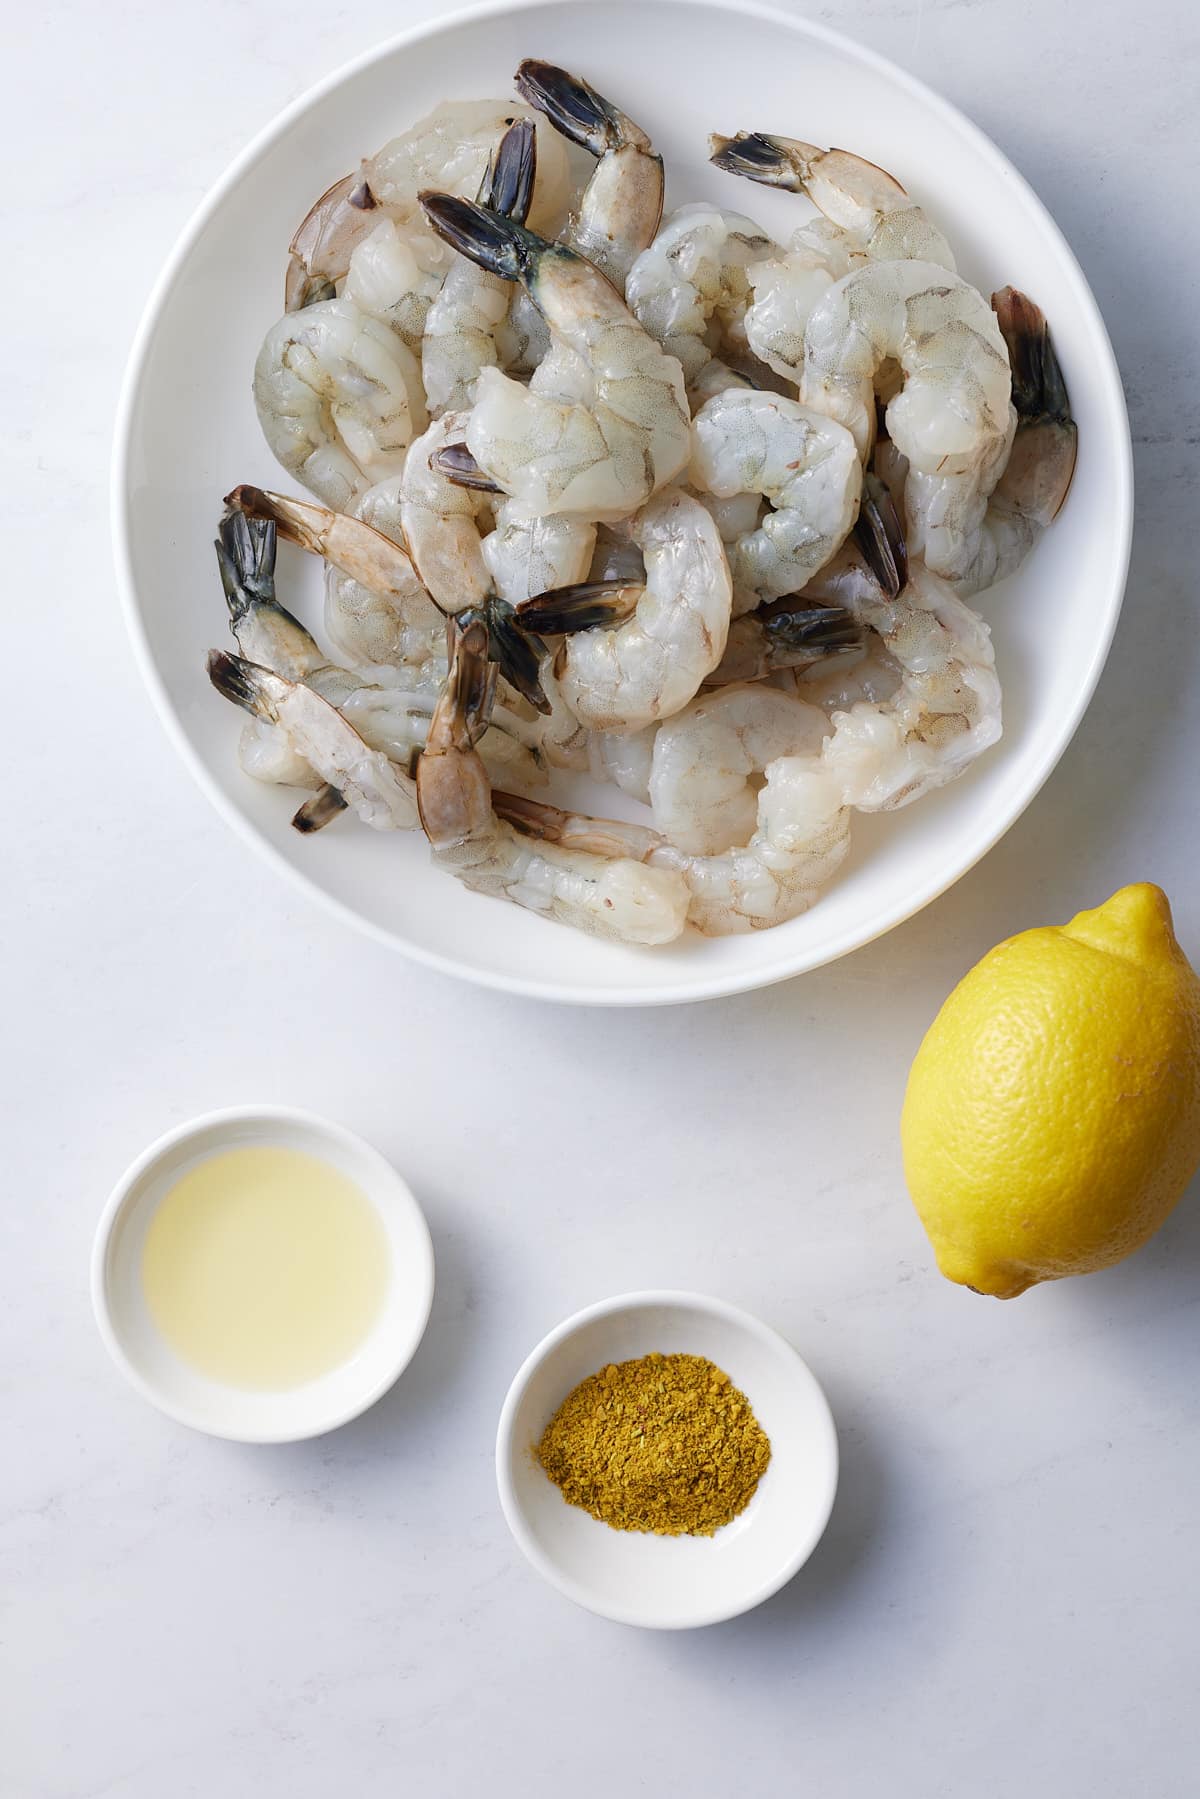
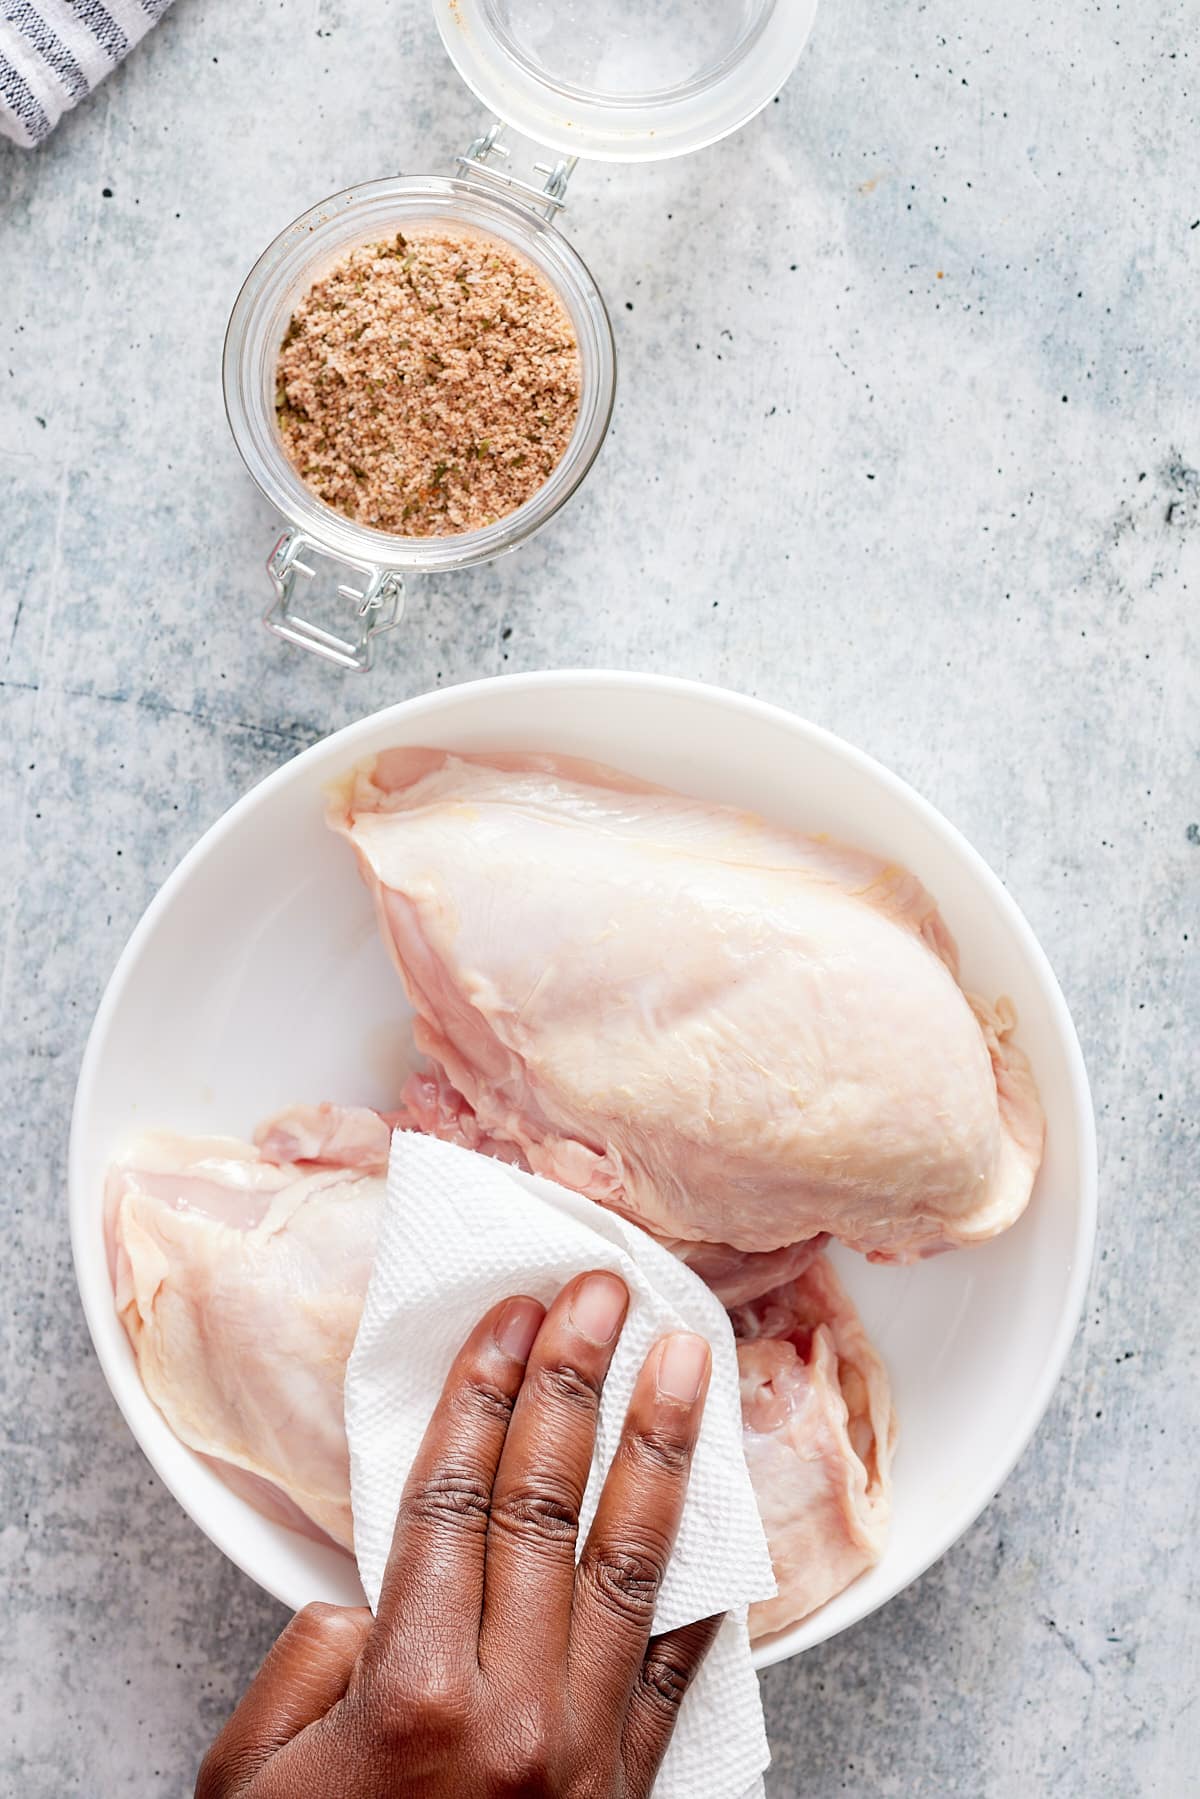
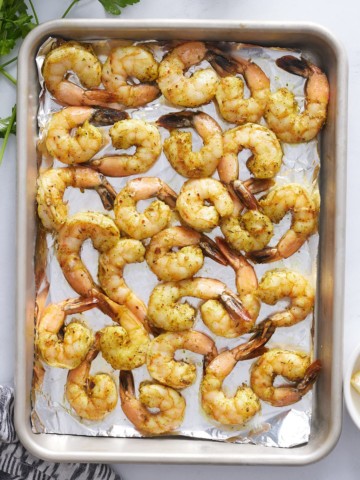
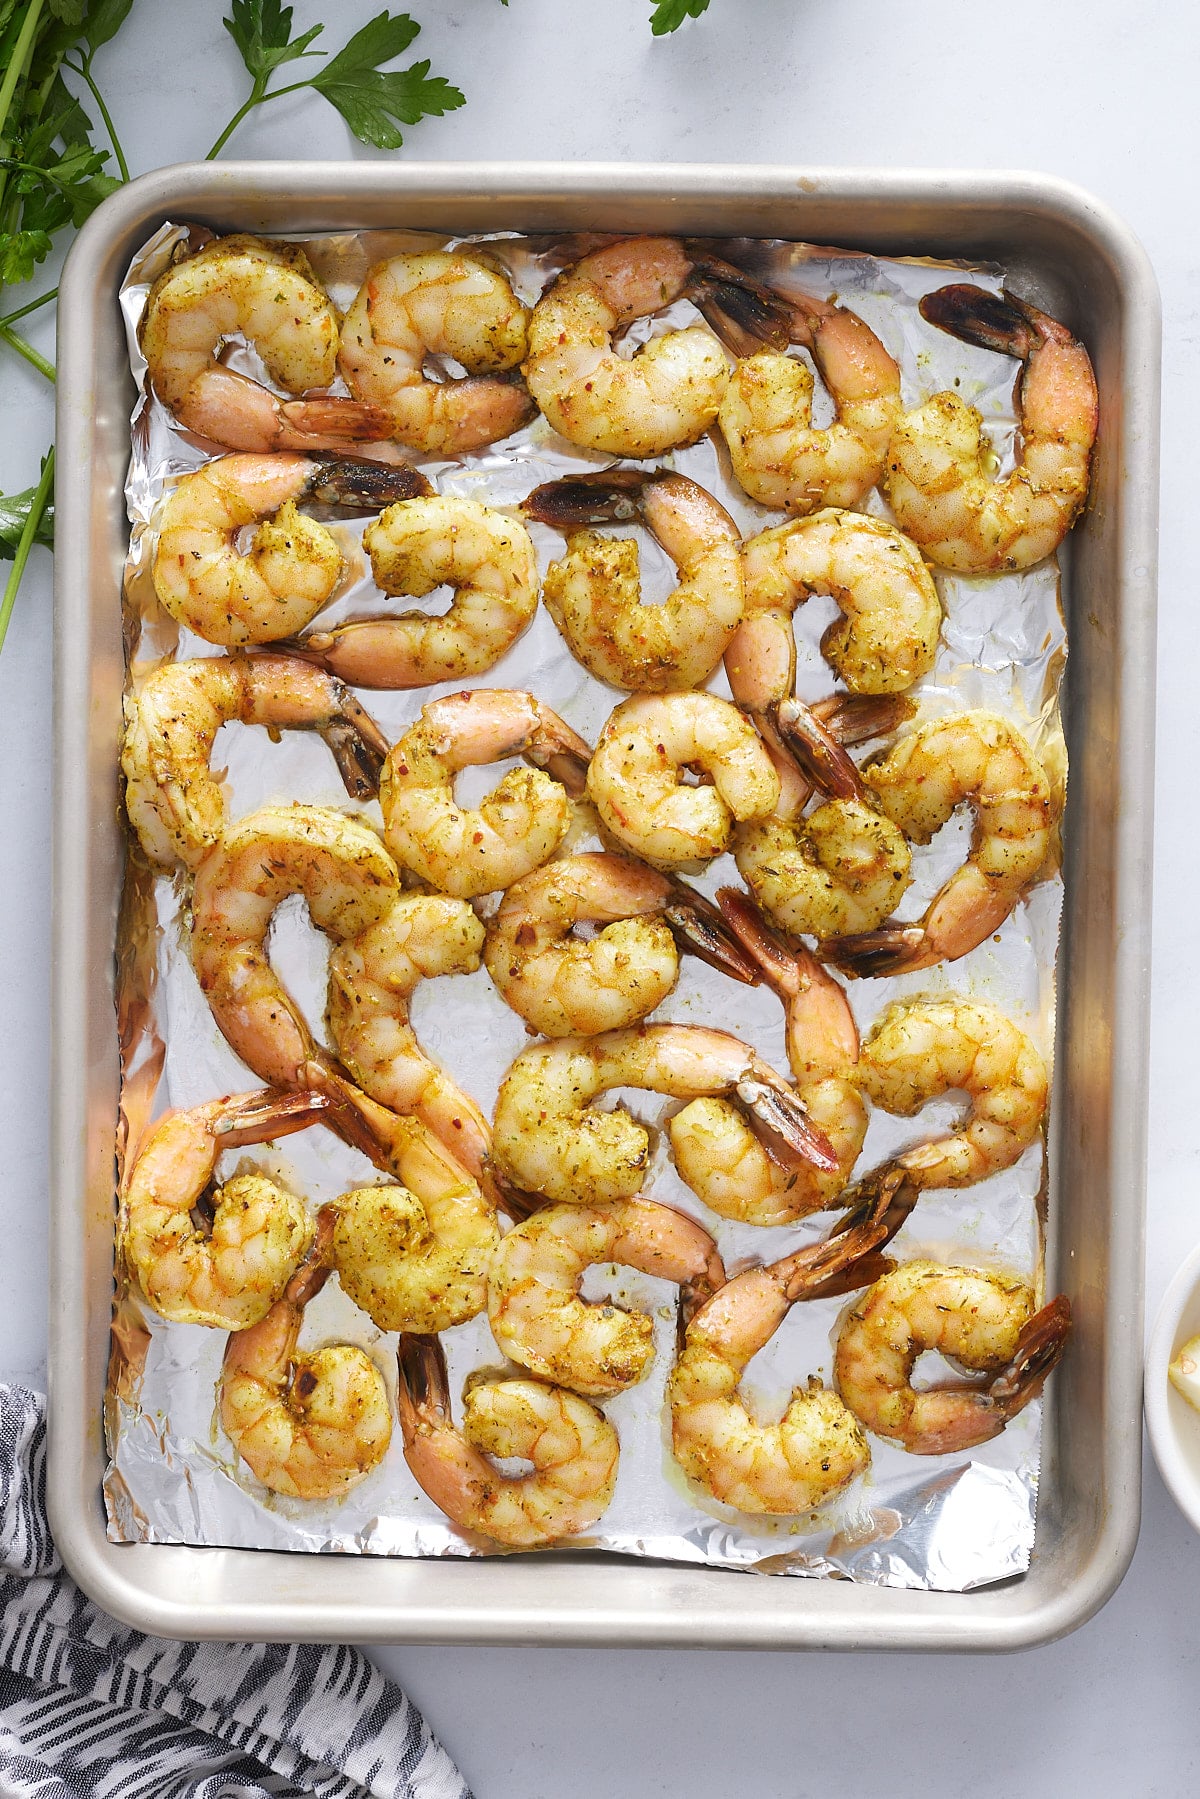
Preheat your oven to 375 degrees Fahrenheit. Pat your shrimp dry with a paper towel. Then, place the shrimp in a large bowl. Add the oil and seasonings to the shrimp and toss to coat all the shrimp with the oil and seasonings.
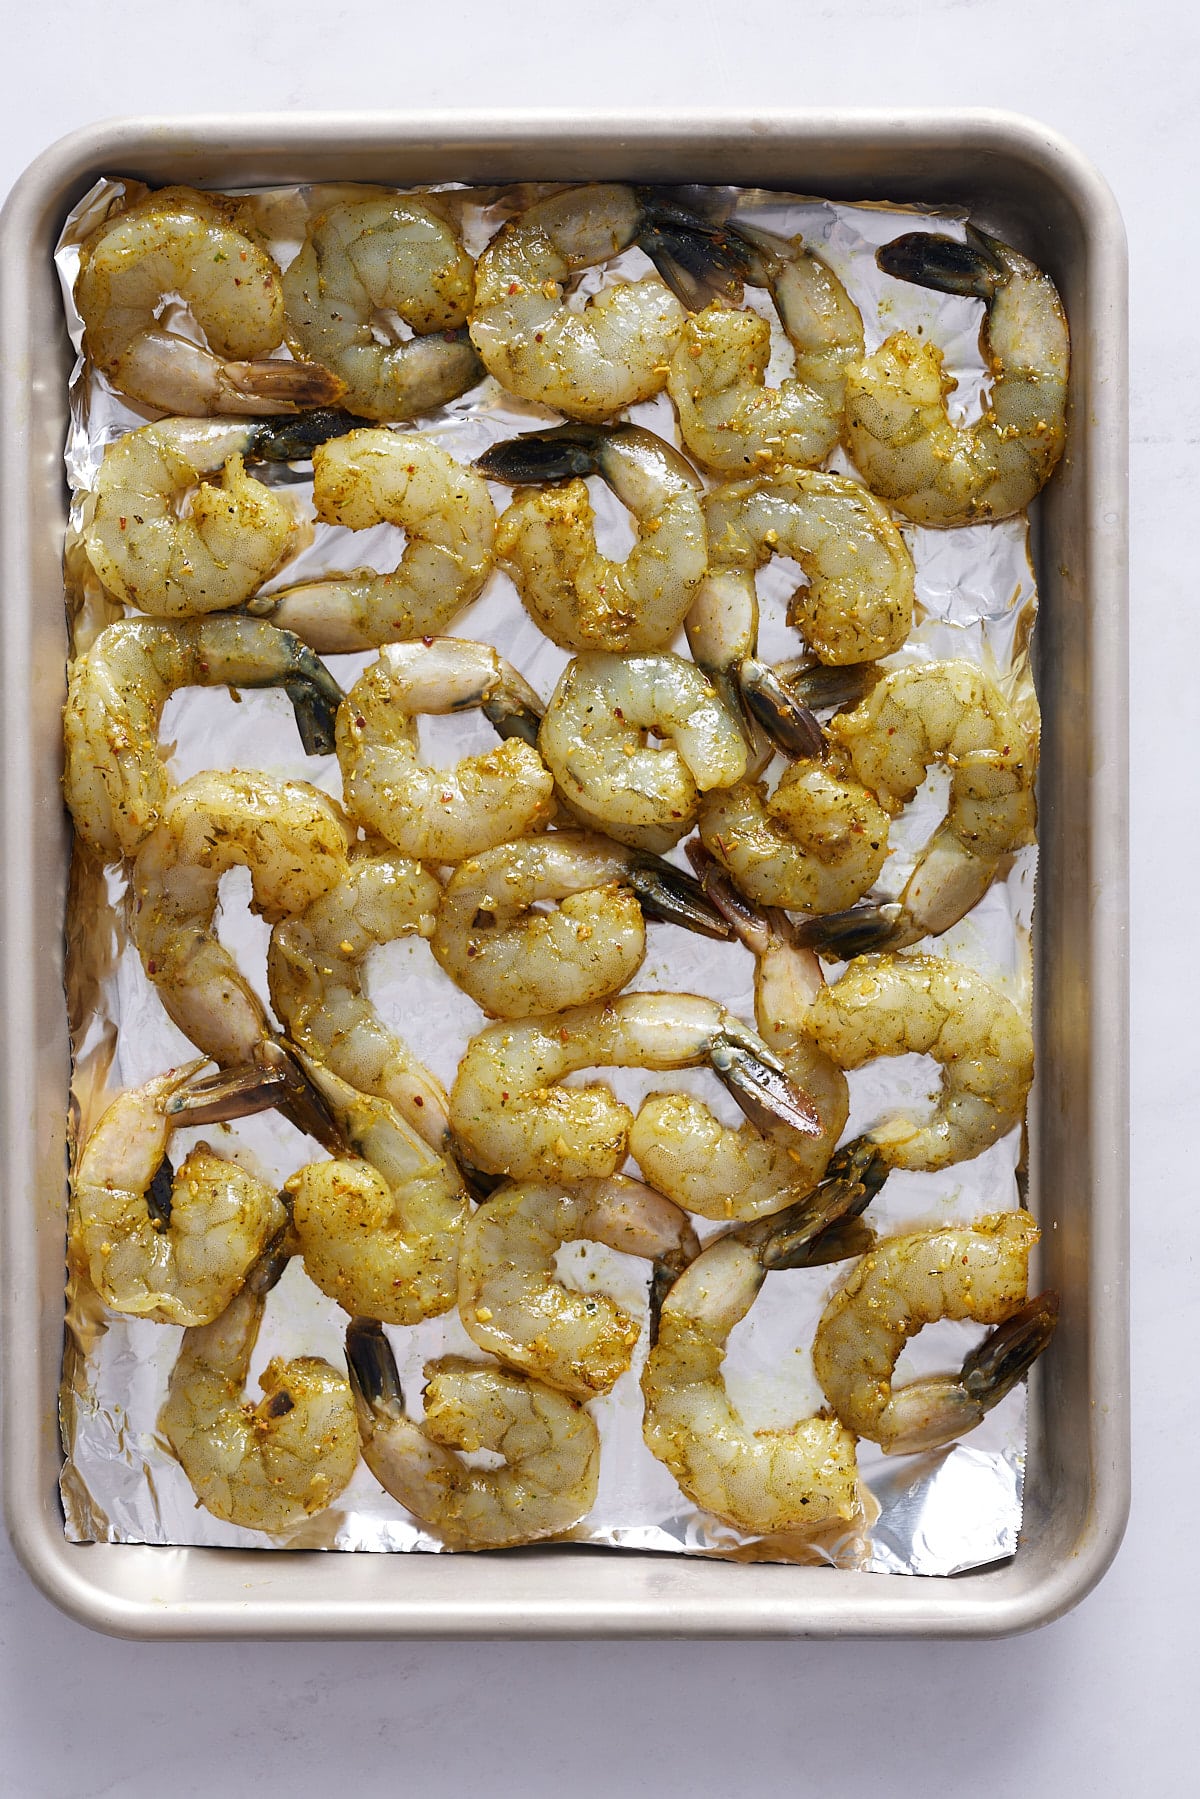
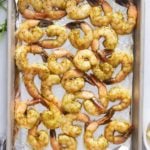
Place the seasoned shrimp on a large sheet pan and spread them in a single layer.
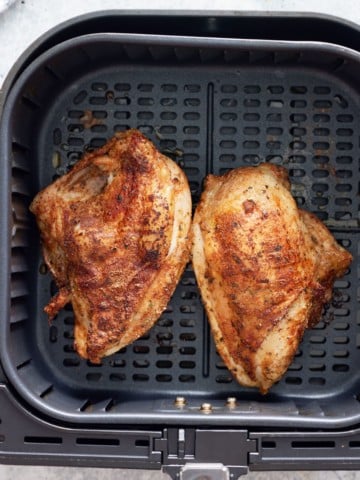
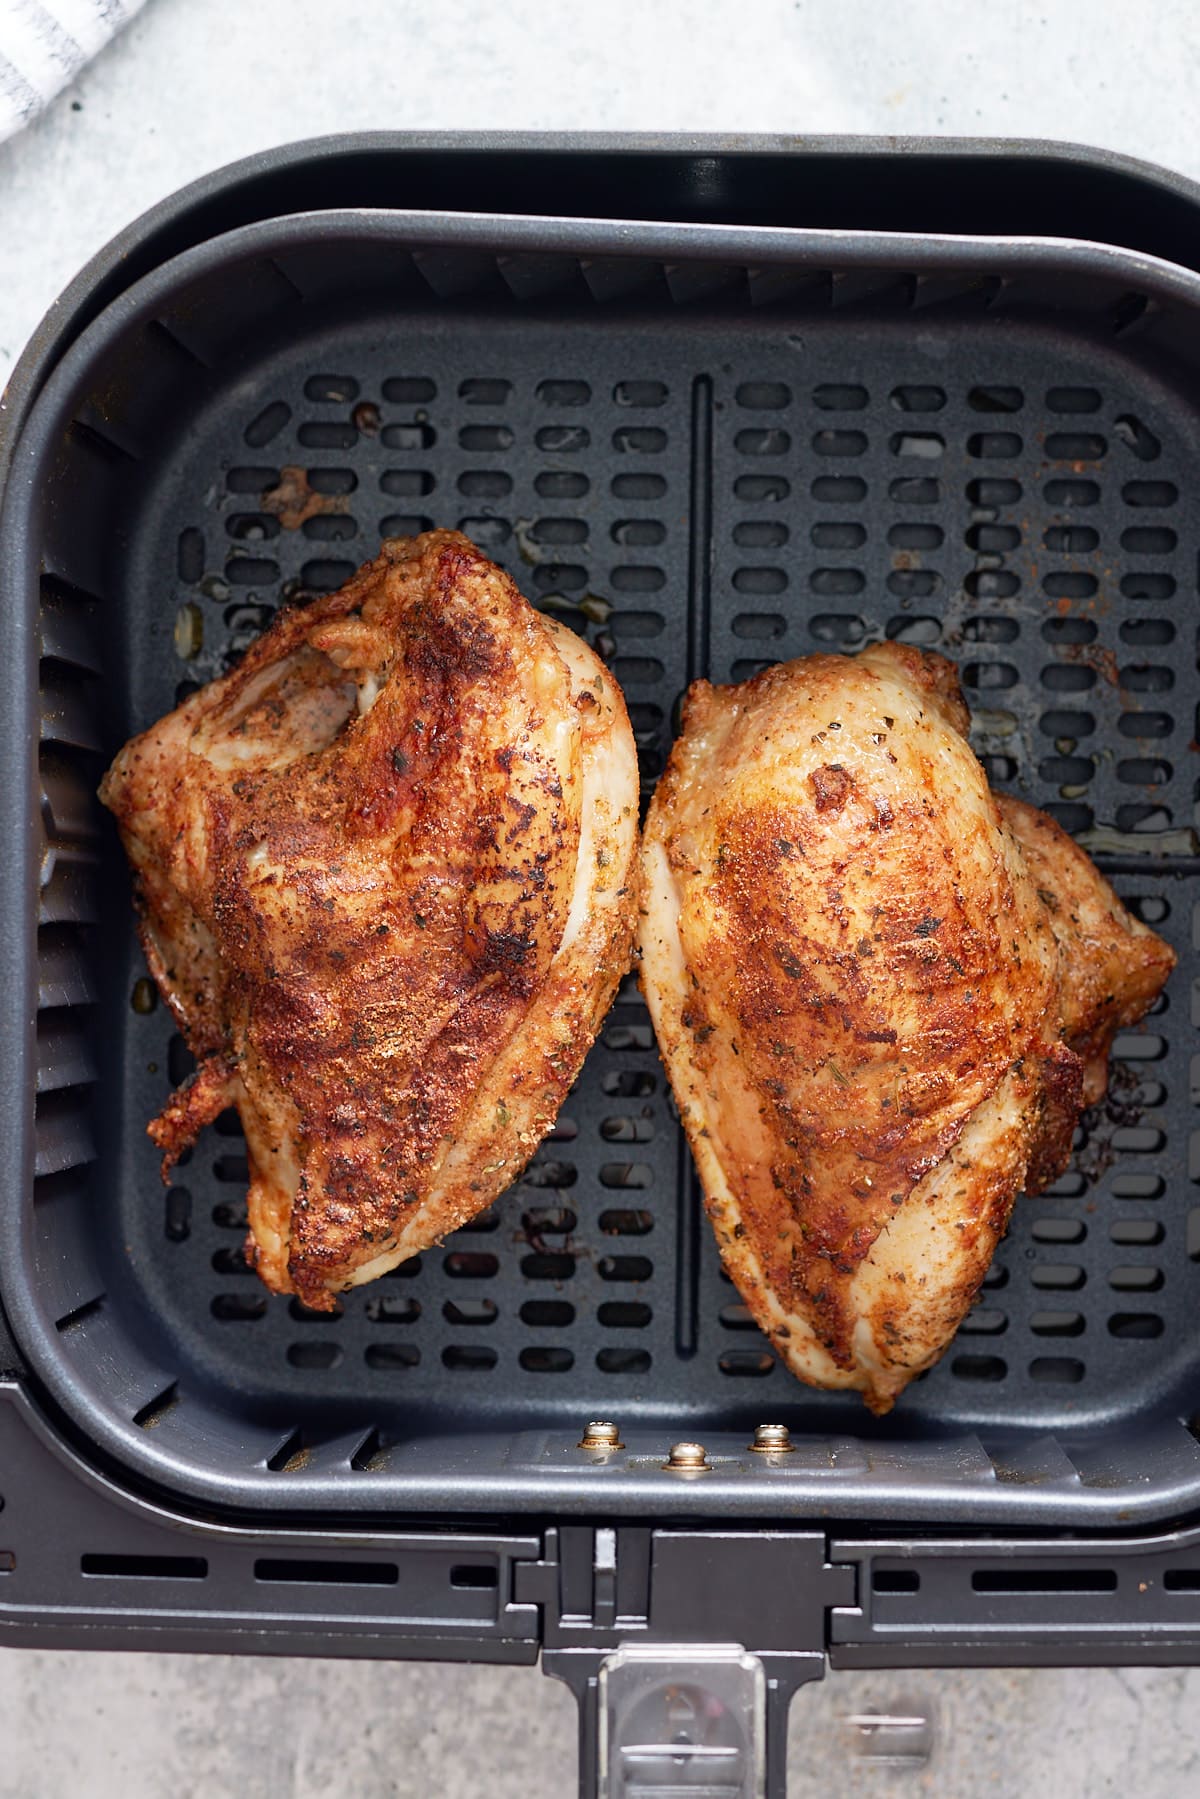
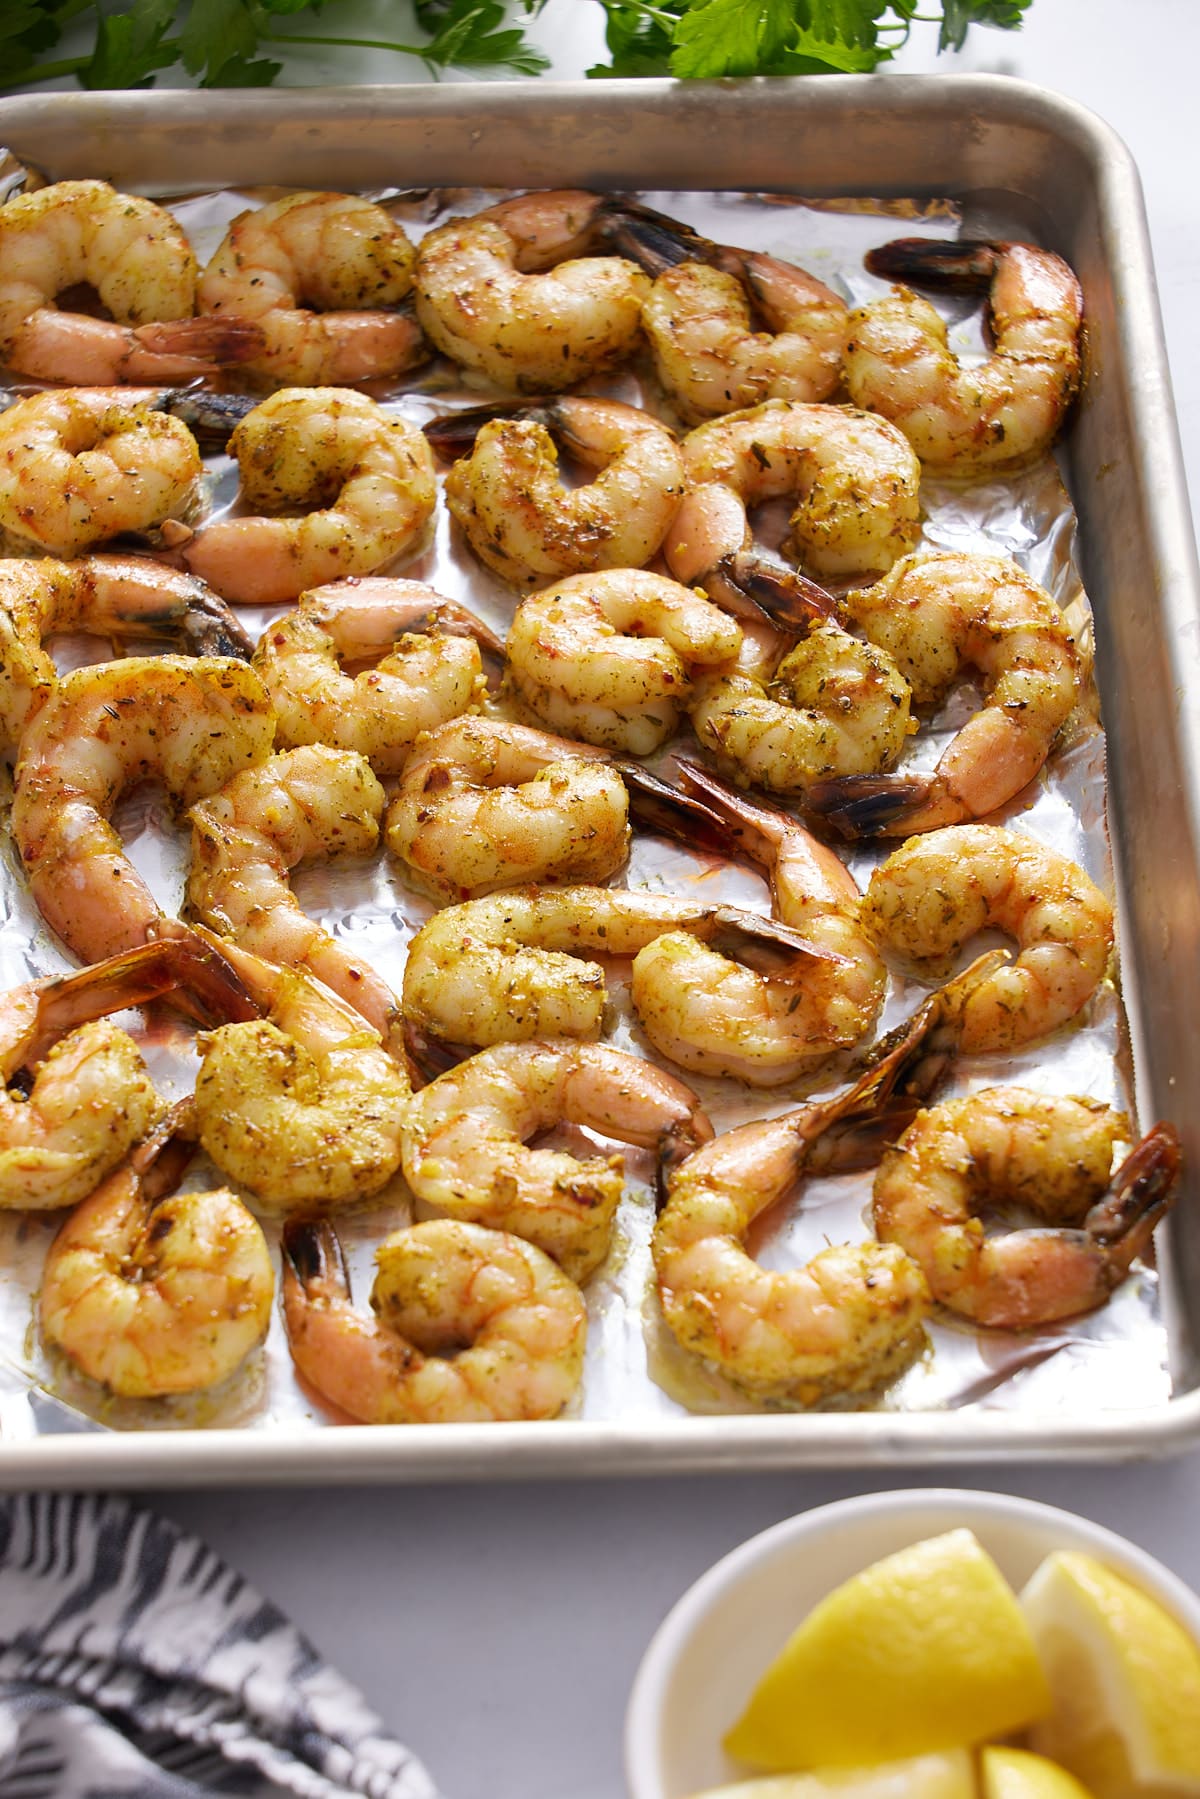
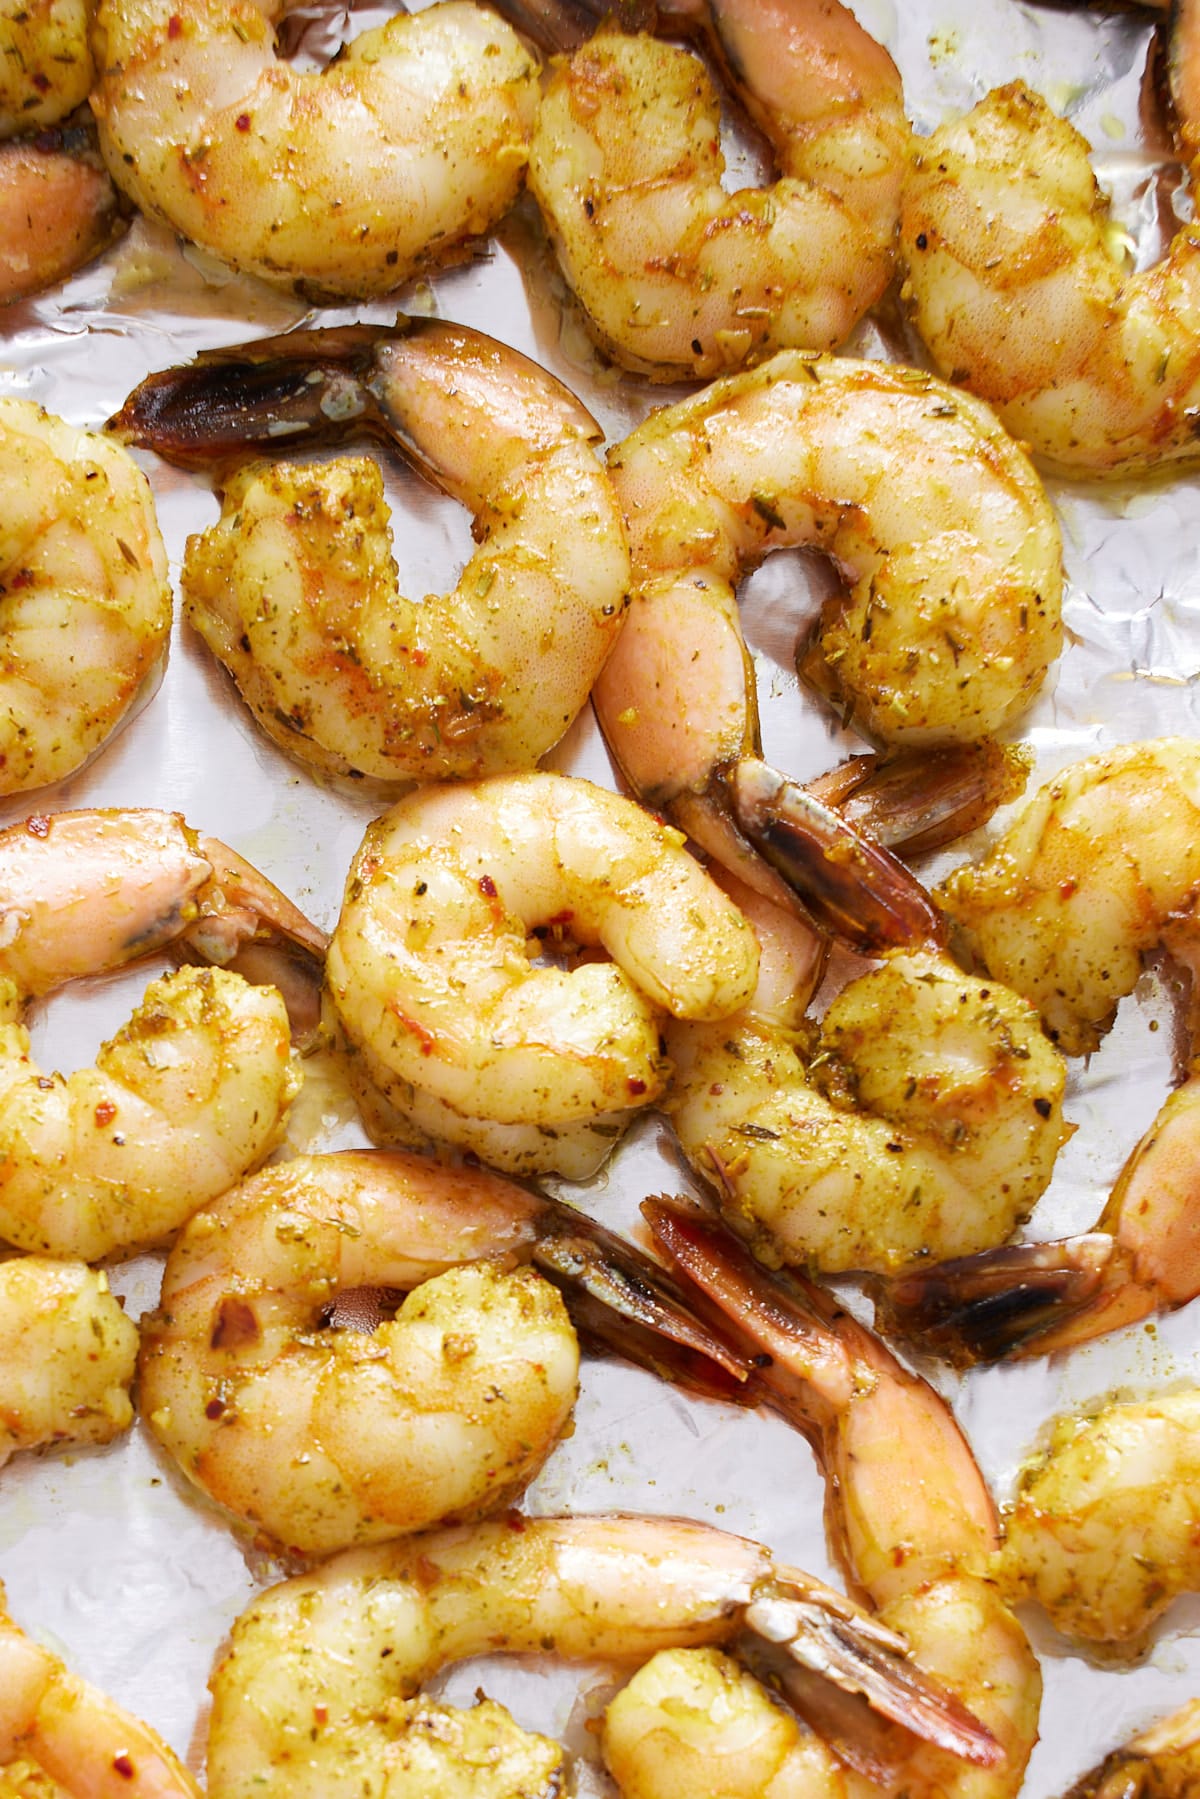
Place the baking sheet in the oven on the center rack and bake for 7-10 minutes (depending on the size of the shrimp) until the shrimp is pink and opaque.
Remove shrimp from the oven and enjoy.
What's the best shrimp to use?
You can bake any kind of shrimp in the oven, but I suggest using high-quality, large, or jumbo shrimp raw shrimp. If using shrimp of a smaller size, reduce the oven bake time by a minute or two. You can bake the shrimp with the shell on or off as well.
Can I use frozen shrimp?
Absolutely! You can bake shrimp frozen in the oven following the same method; you need to cook them a few minutes longer.
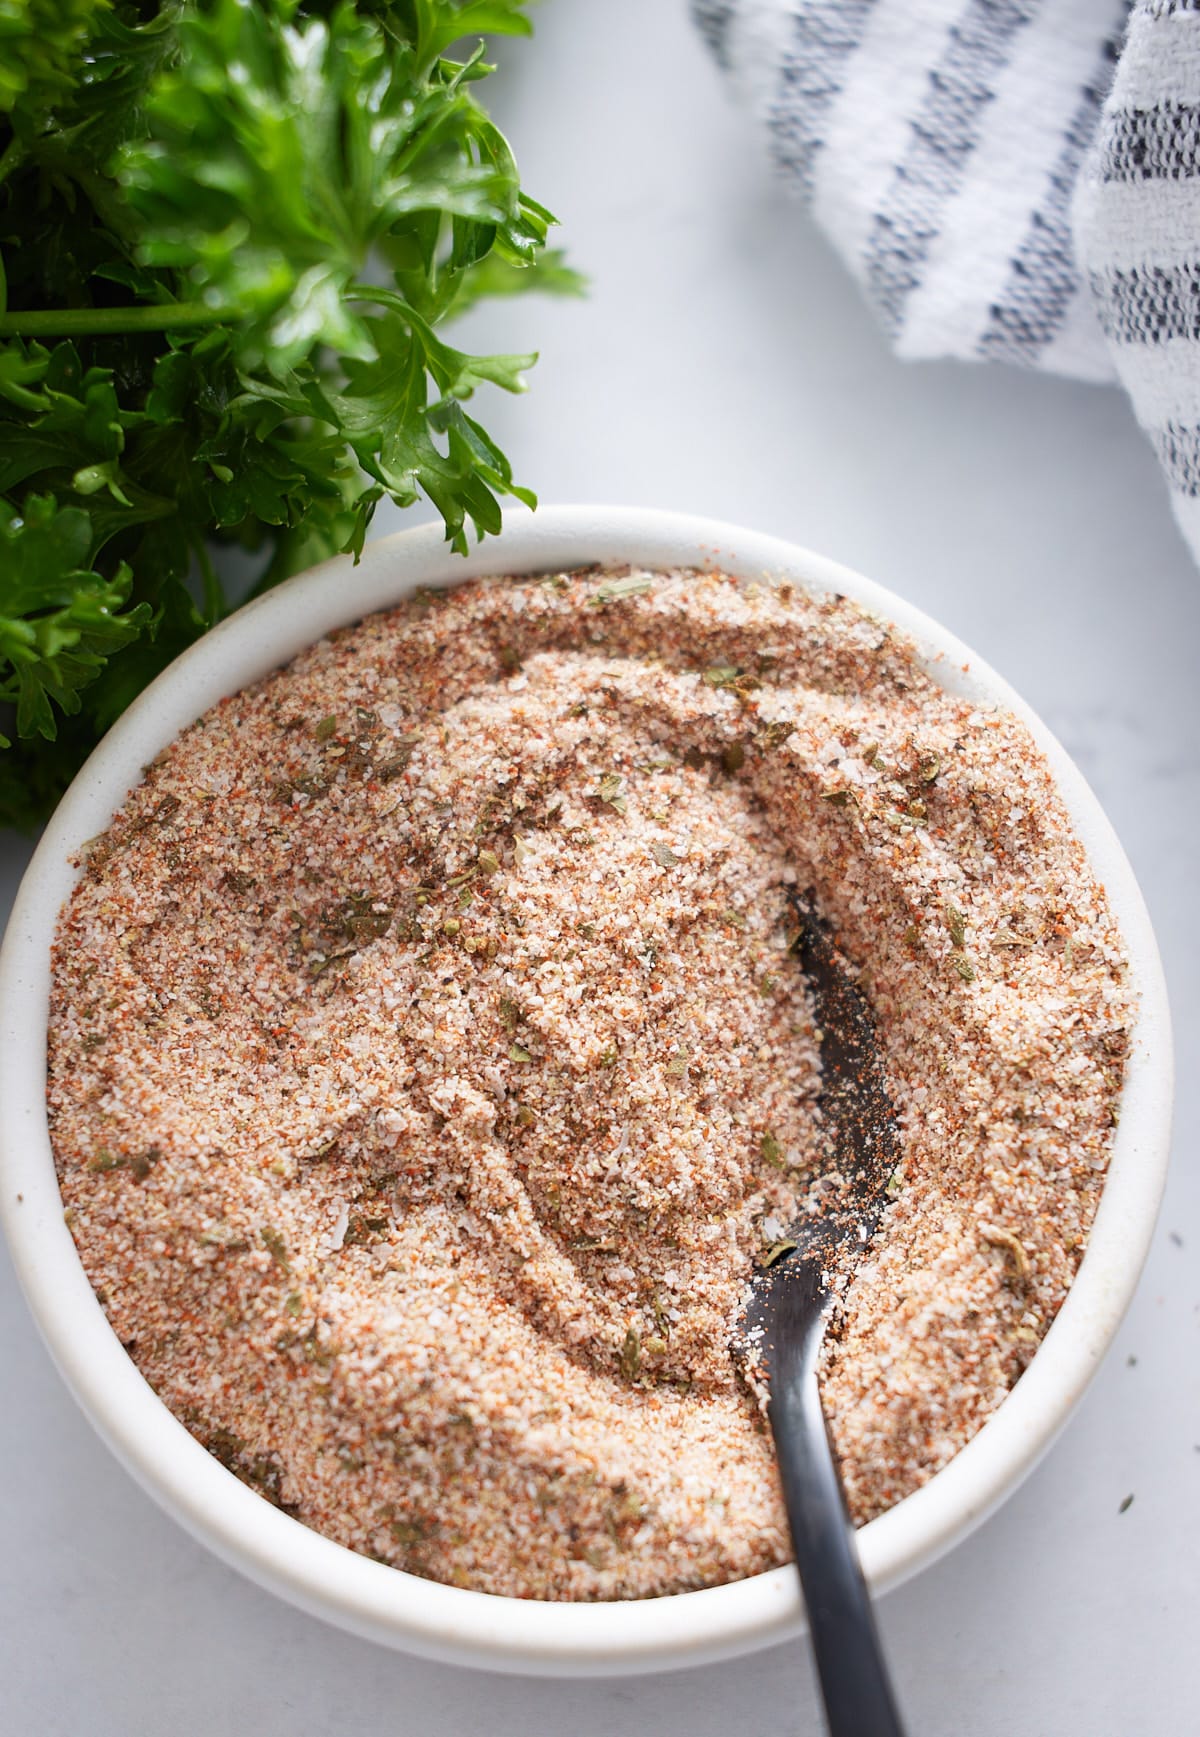
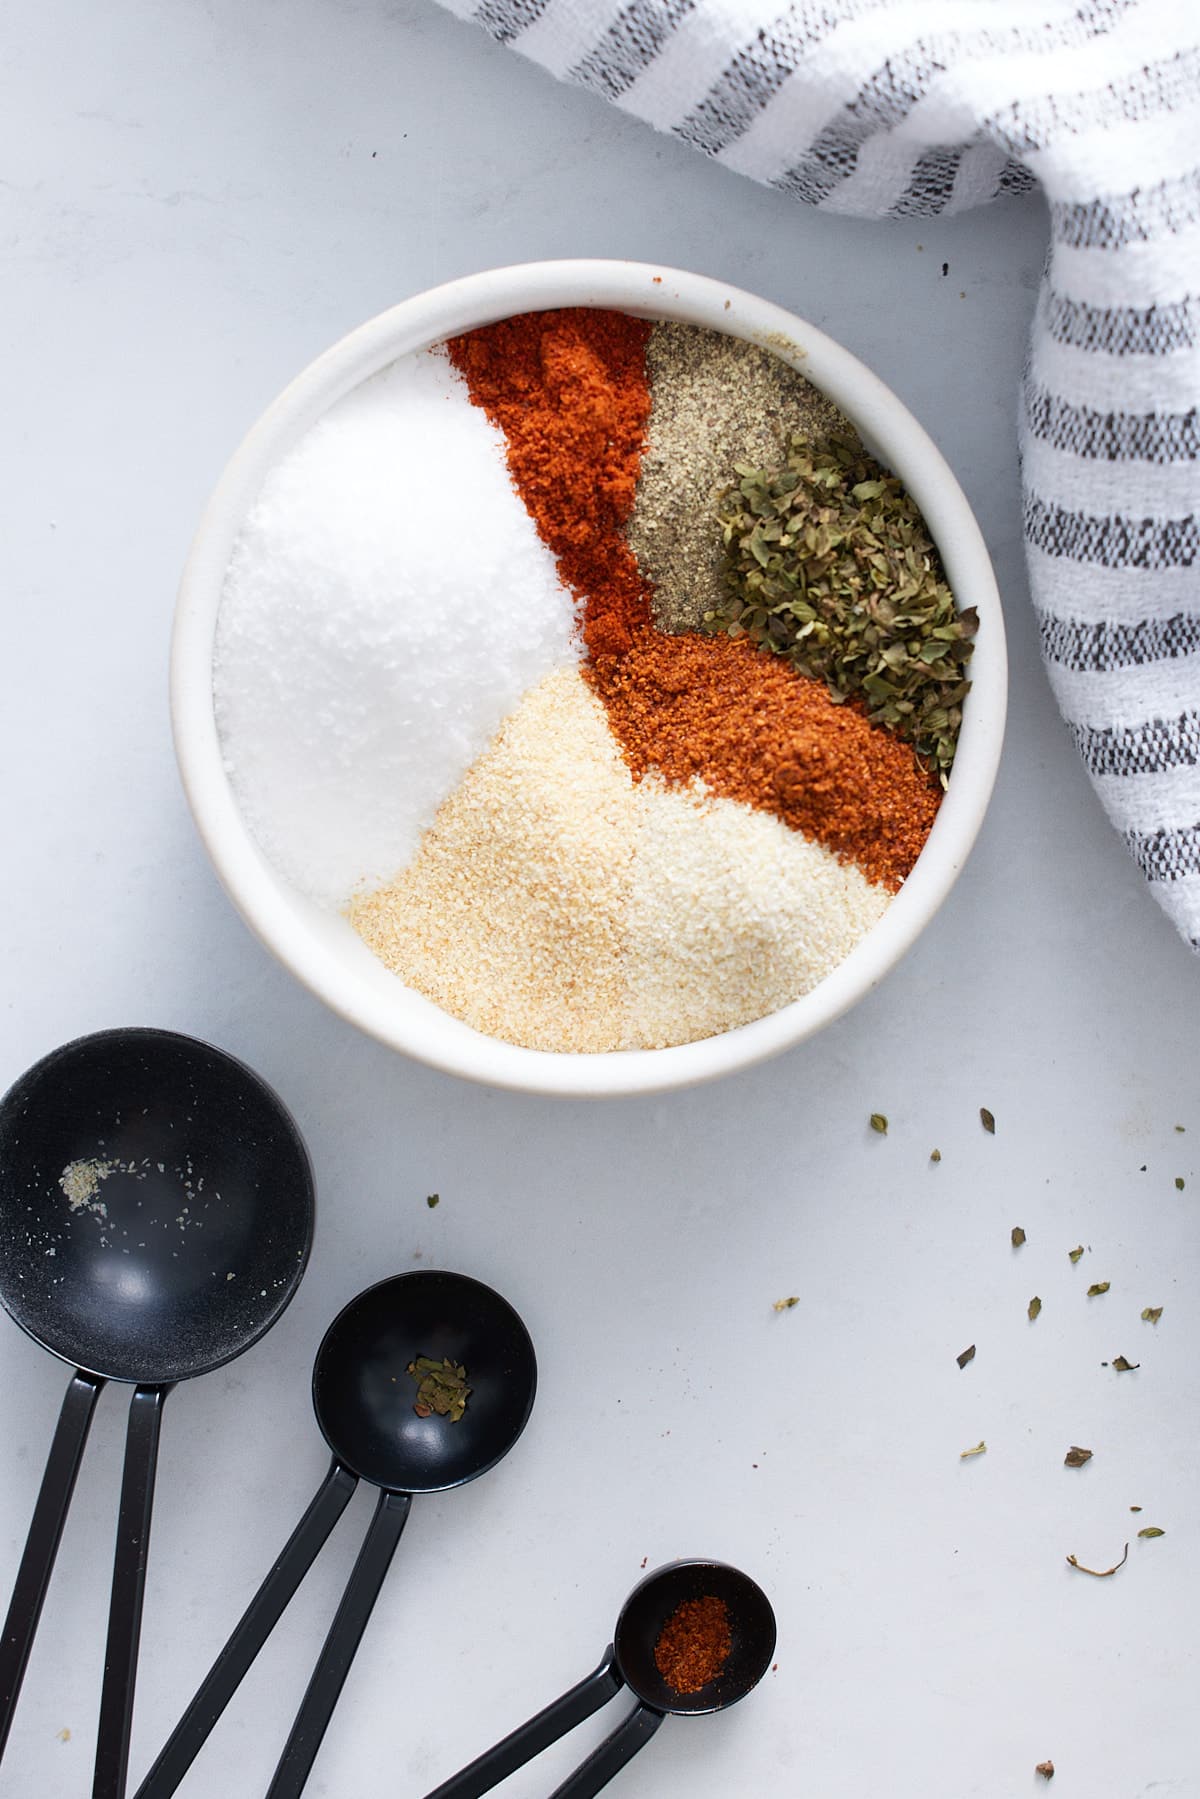
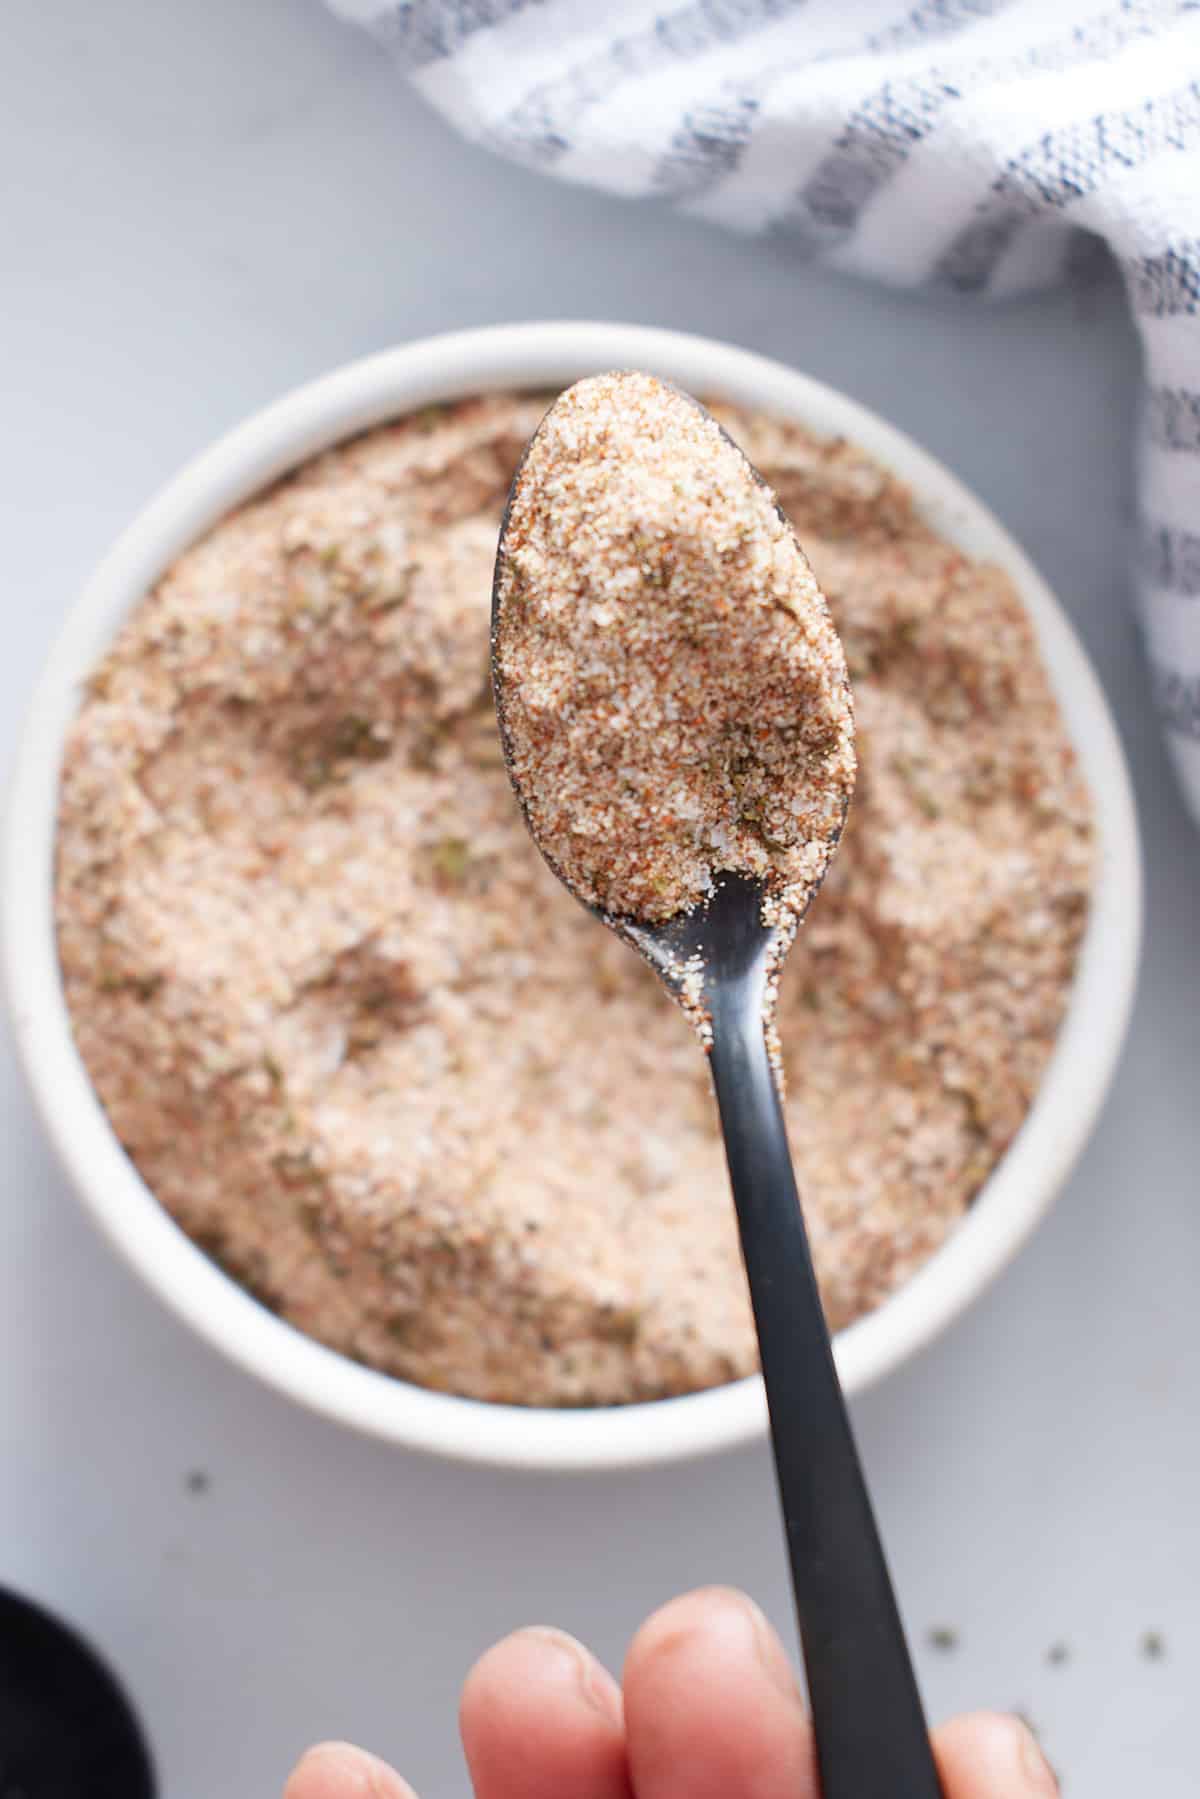
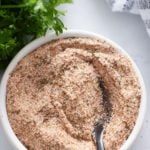
How to season oven-baked shrimp?
The choices of seasonings on shrimp are up to you. I like to use my all-purpose seasoning for this recipe, but you could keep it simple with some salt and black pepper and a little bit of garlic powder. Other suggested seasonings are:
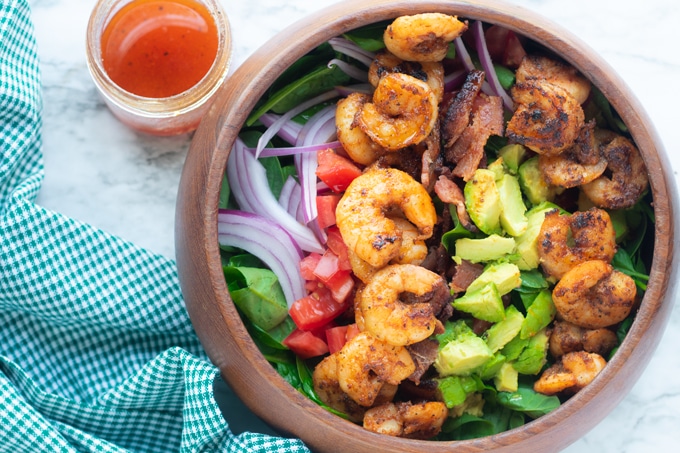
Shrimp is not only delicious, but it's also healthy and easy to prepare. This makes it the perfect ingredient for any dish, whether serving it as an appetizer or main course. I like to use oven-baked shrimp in salads, in fried rice, or simply just snack on them as an appetizer.
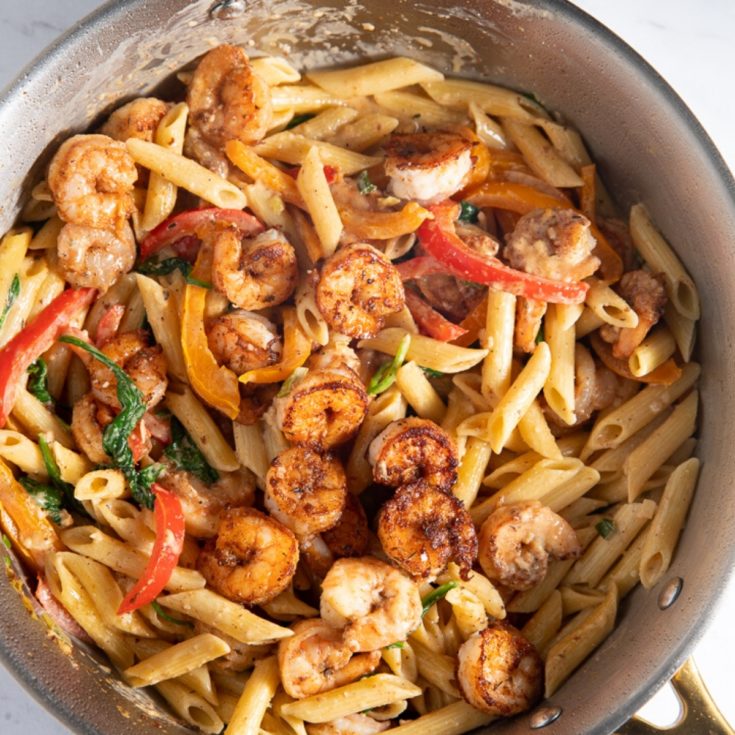
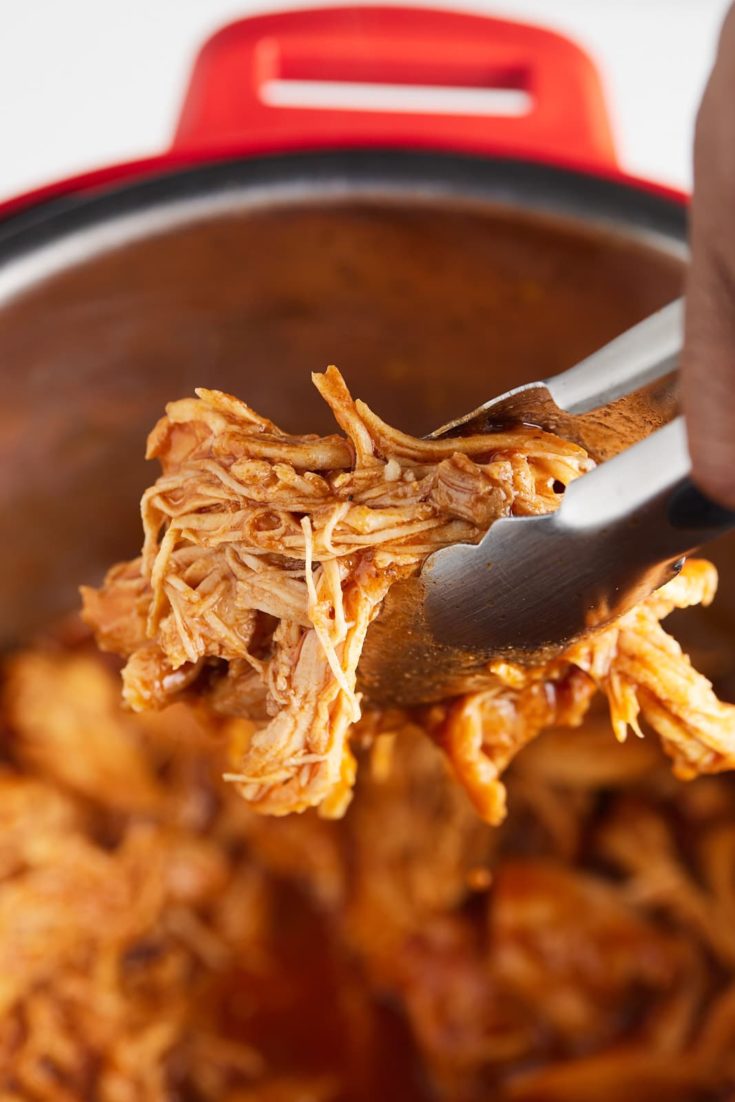
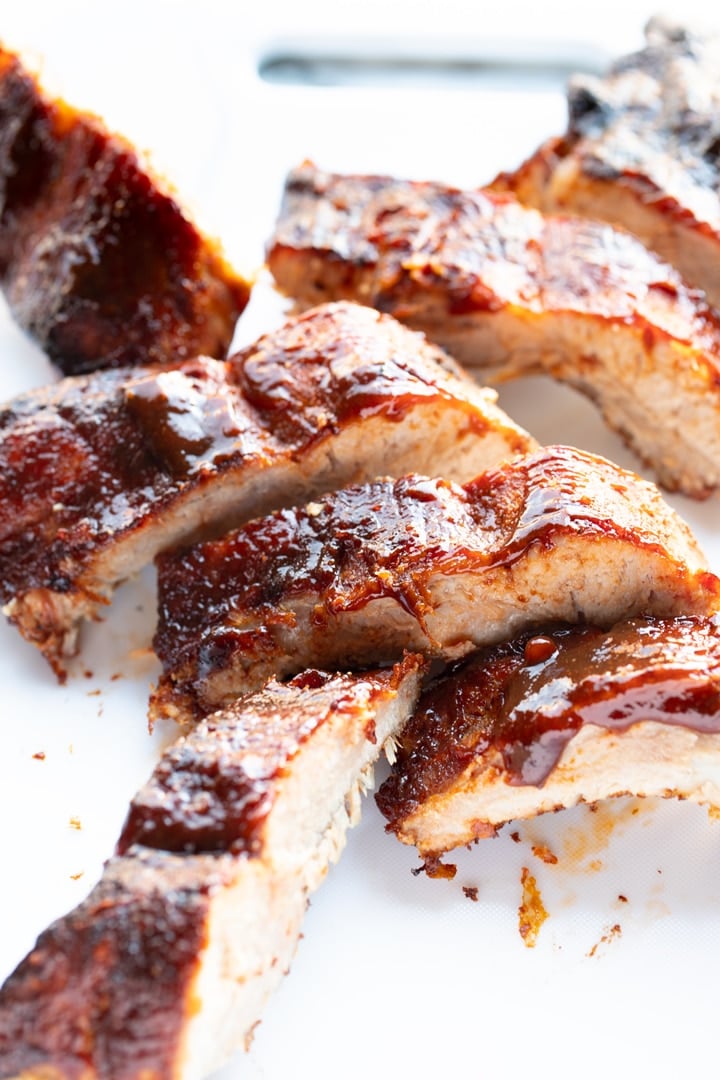
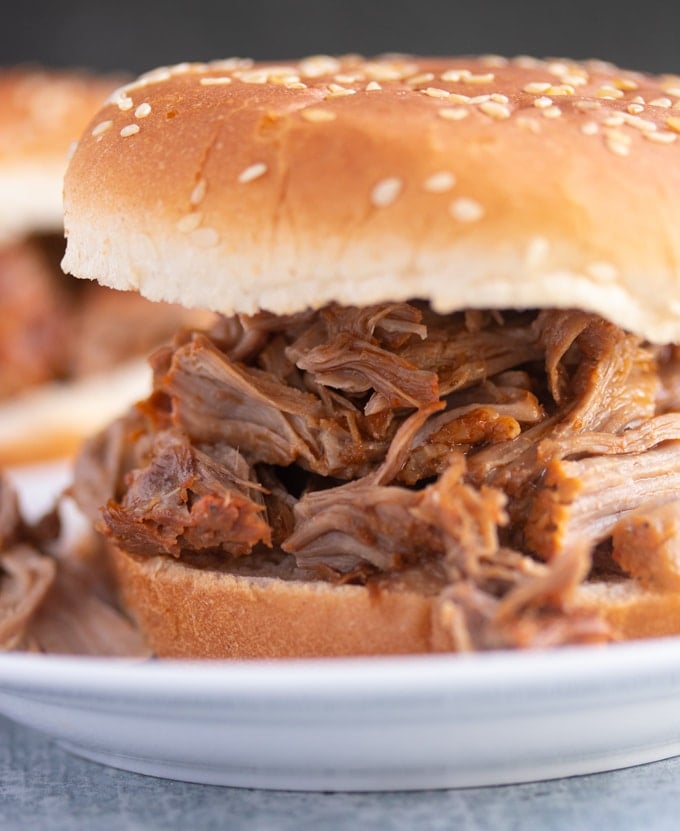
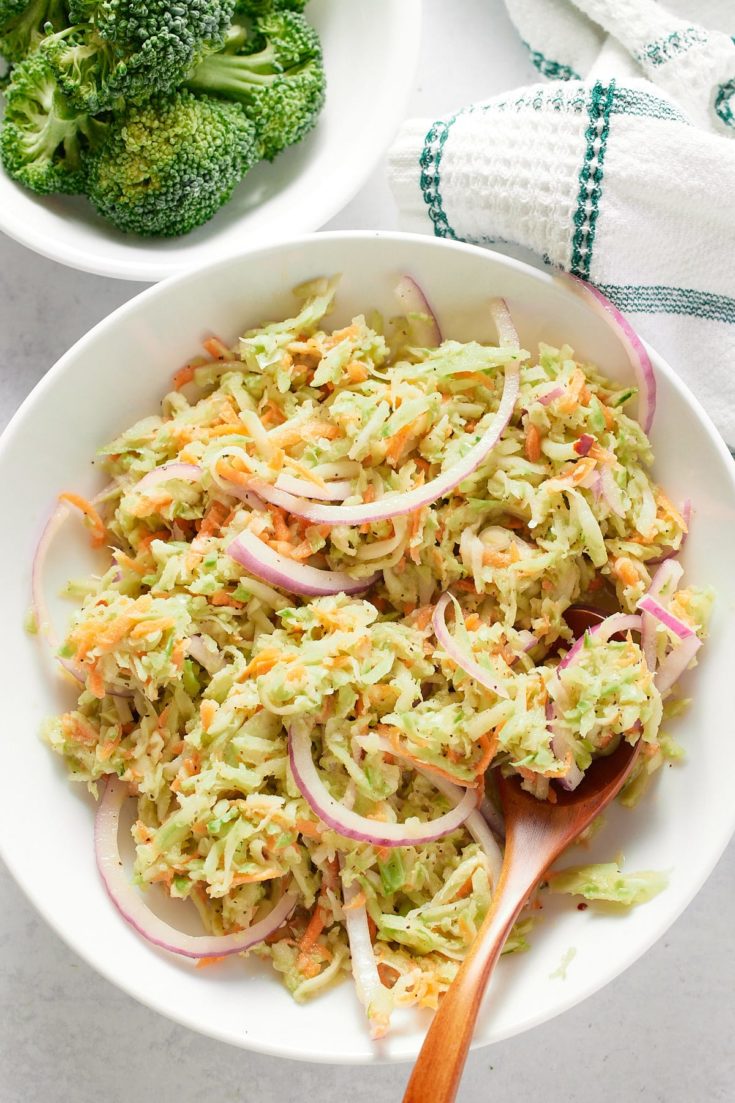
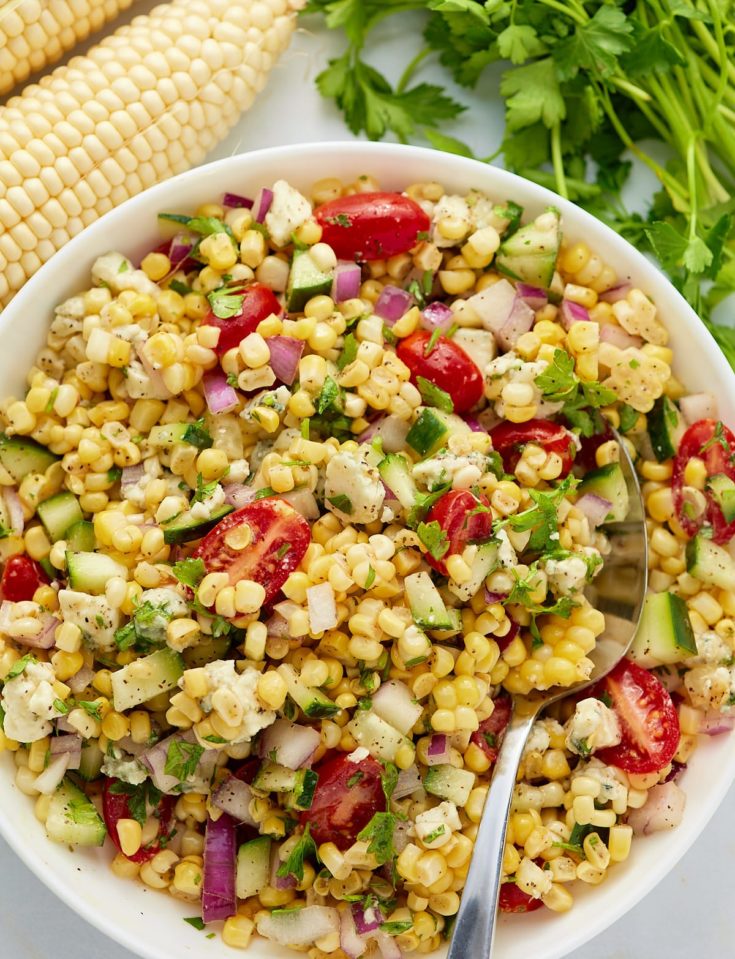
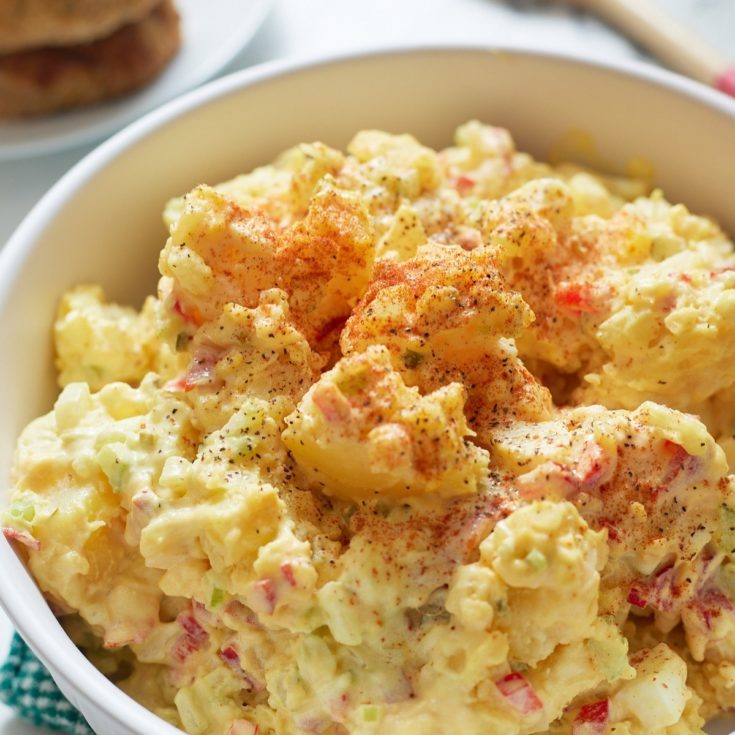
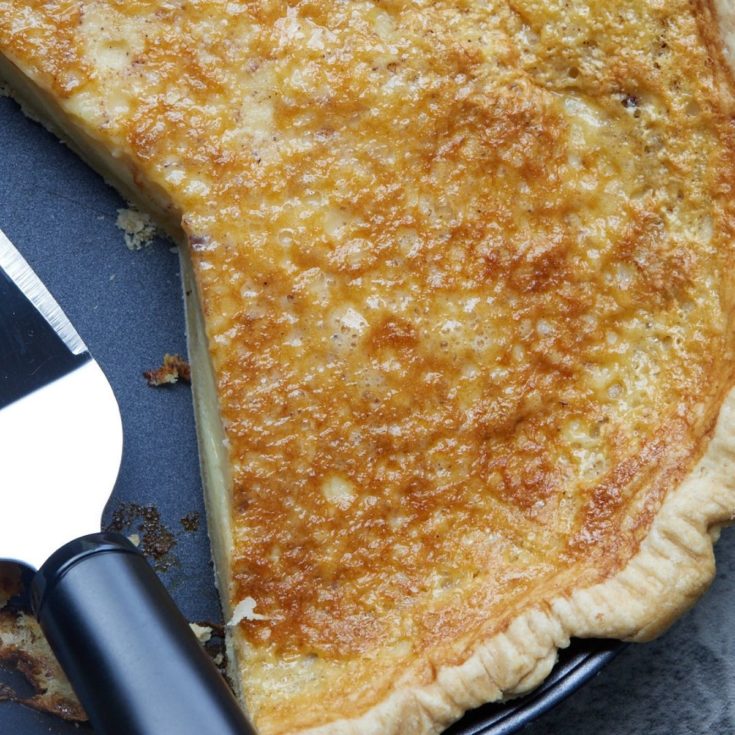
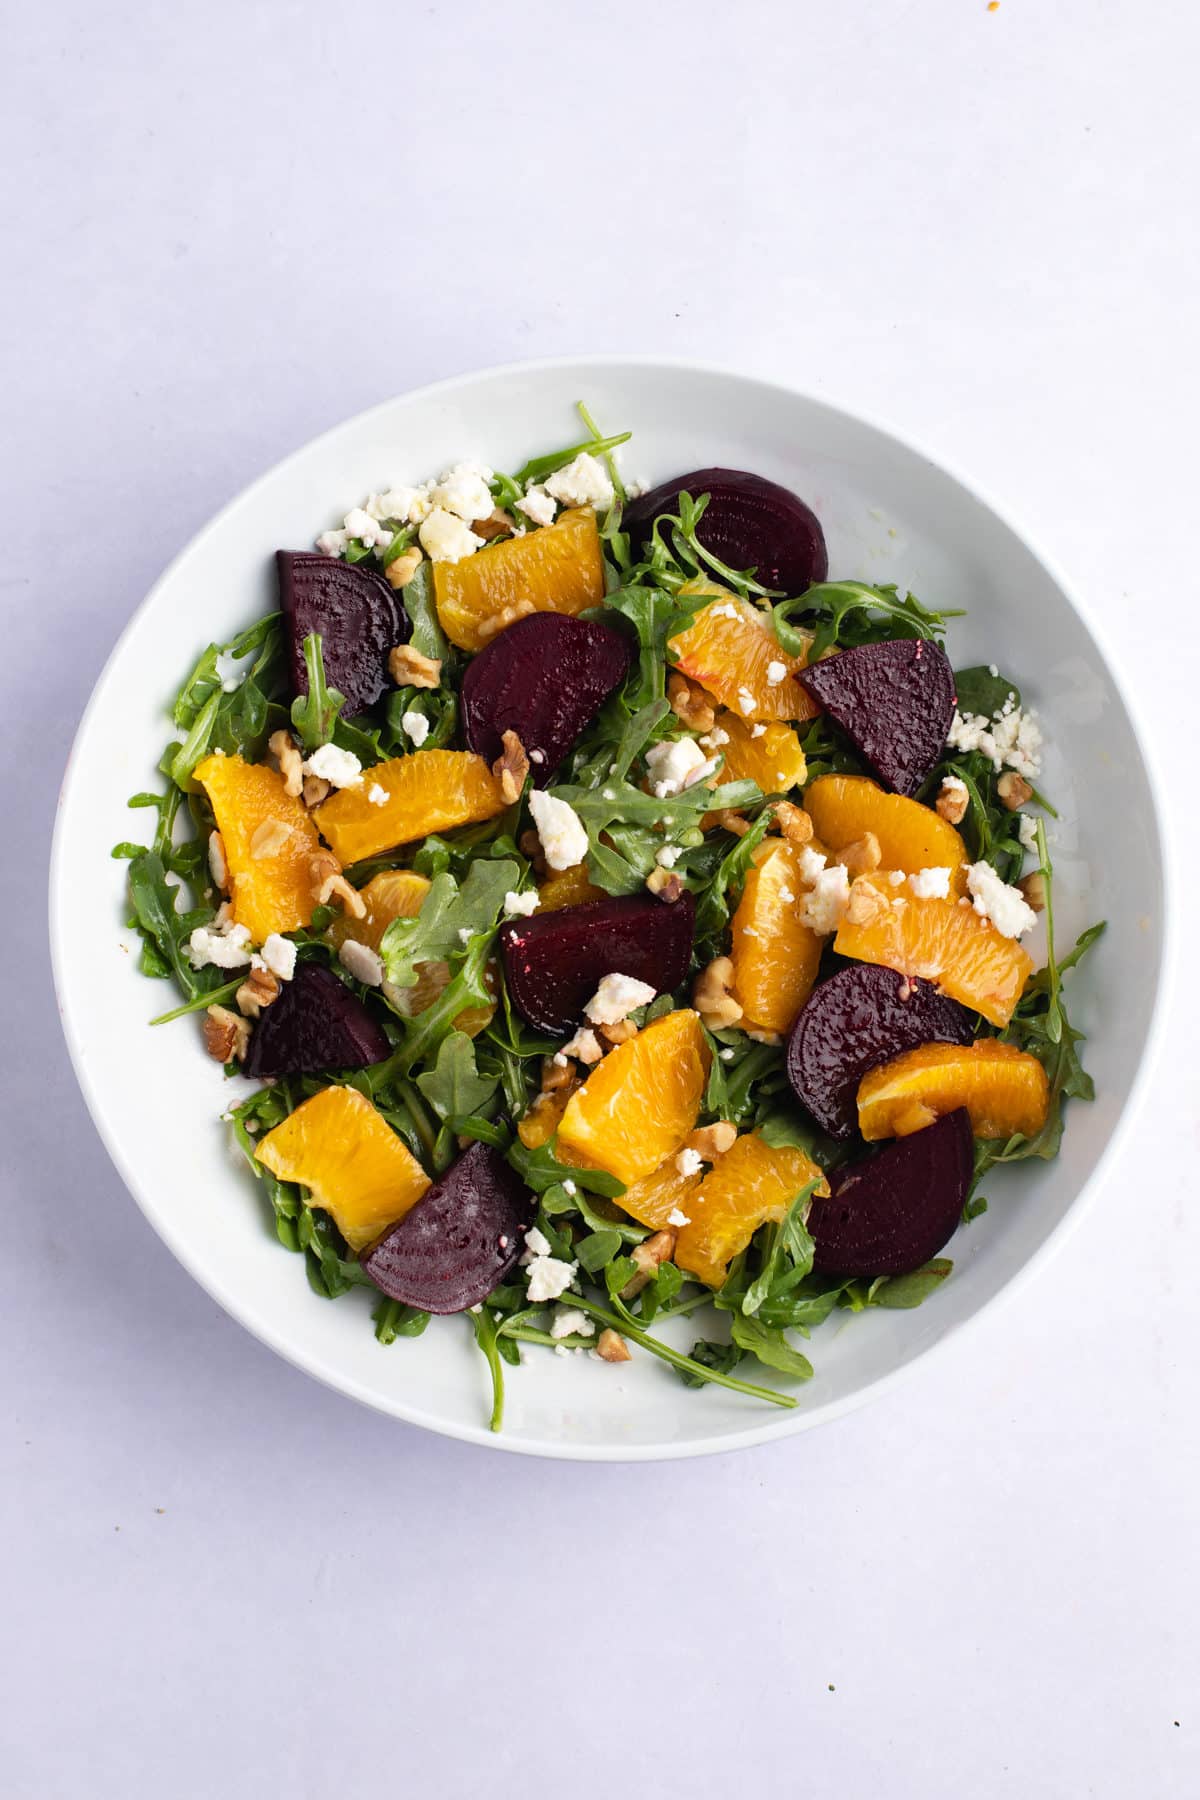
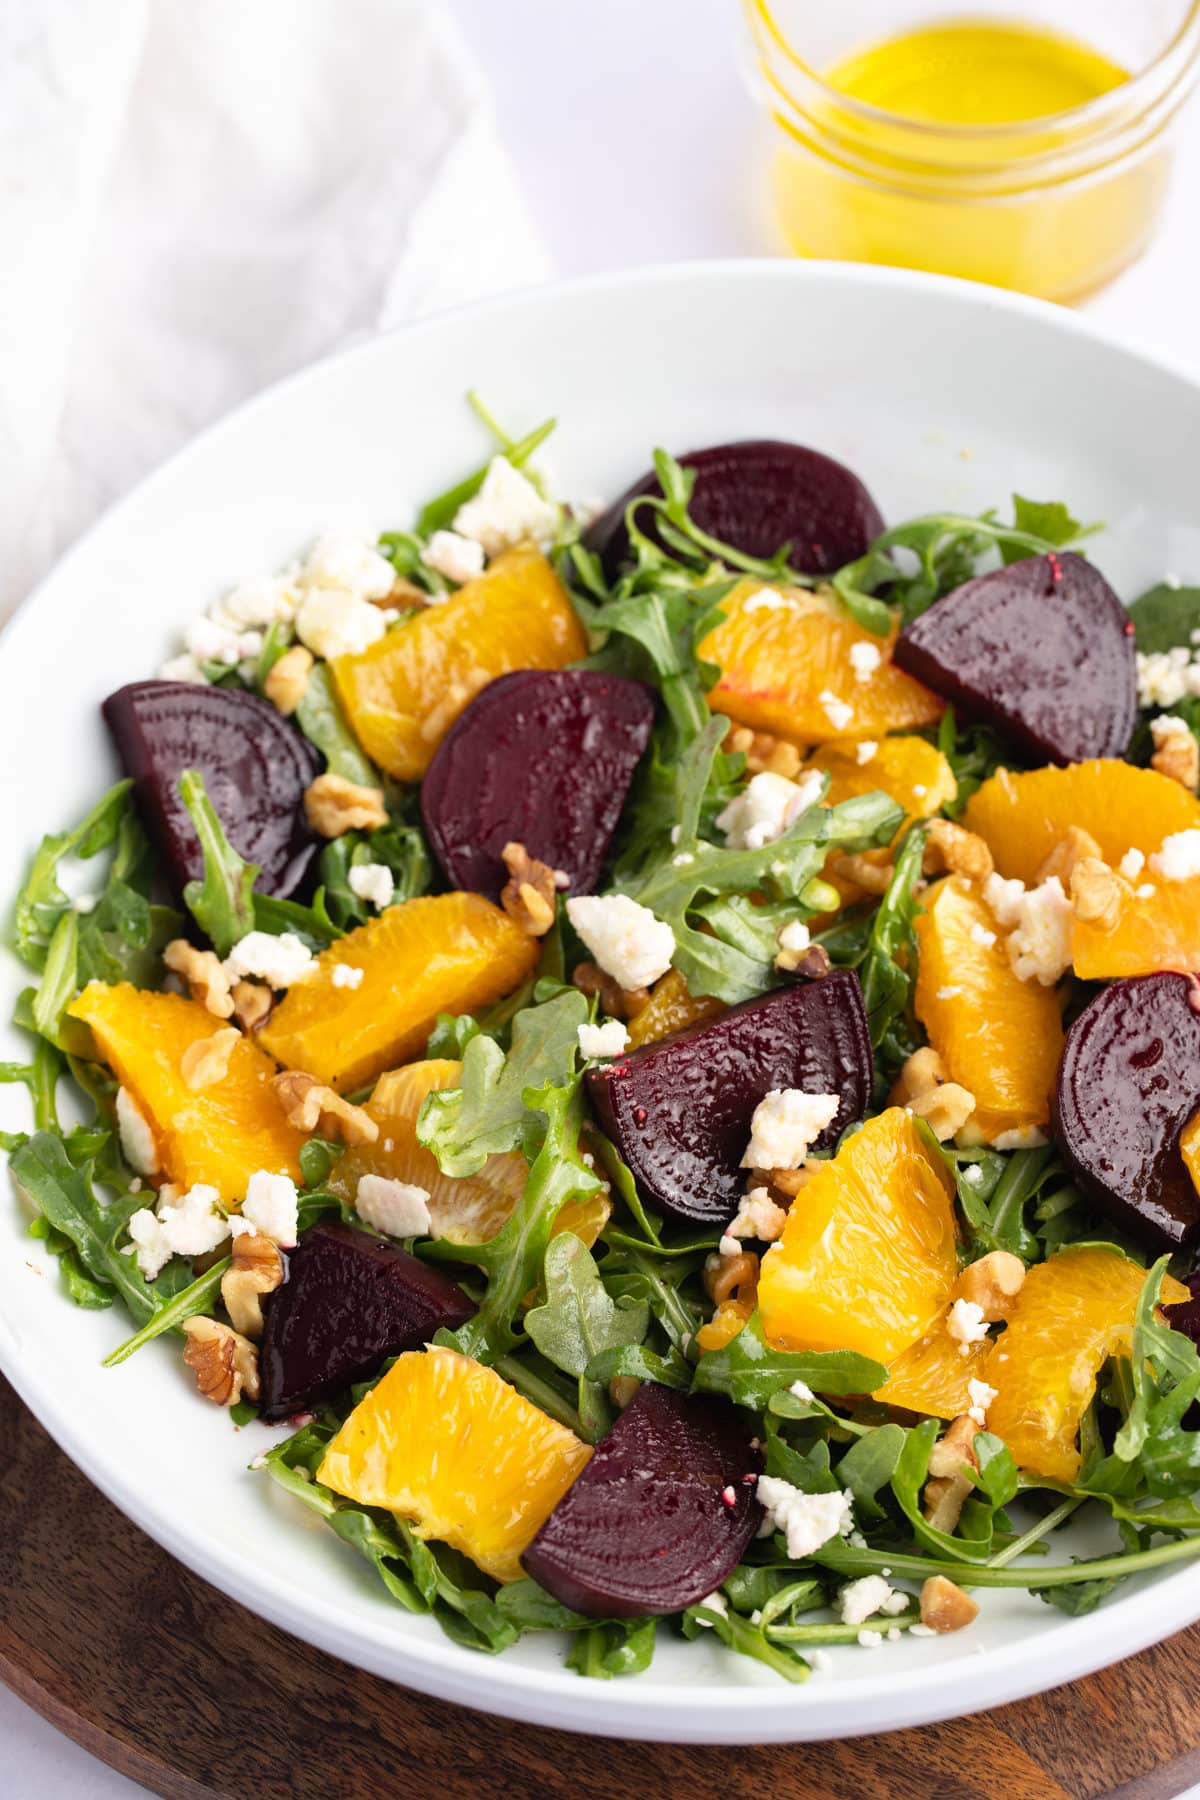
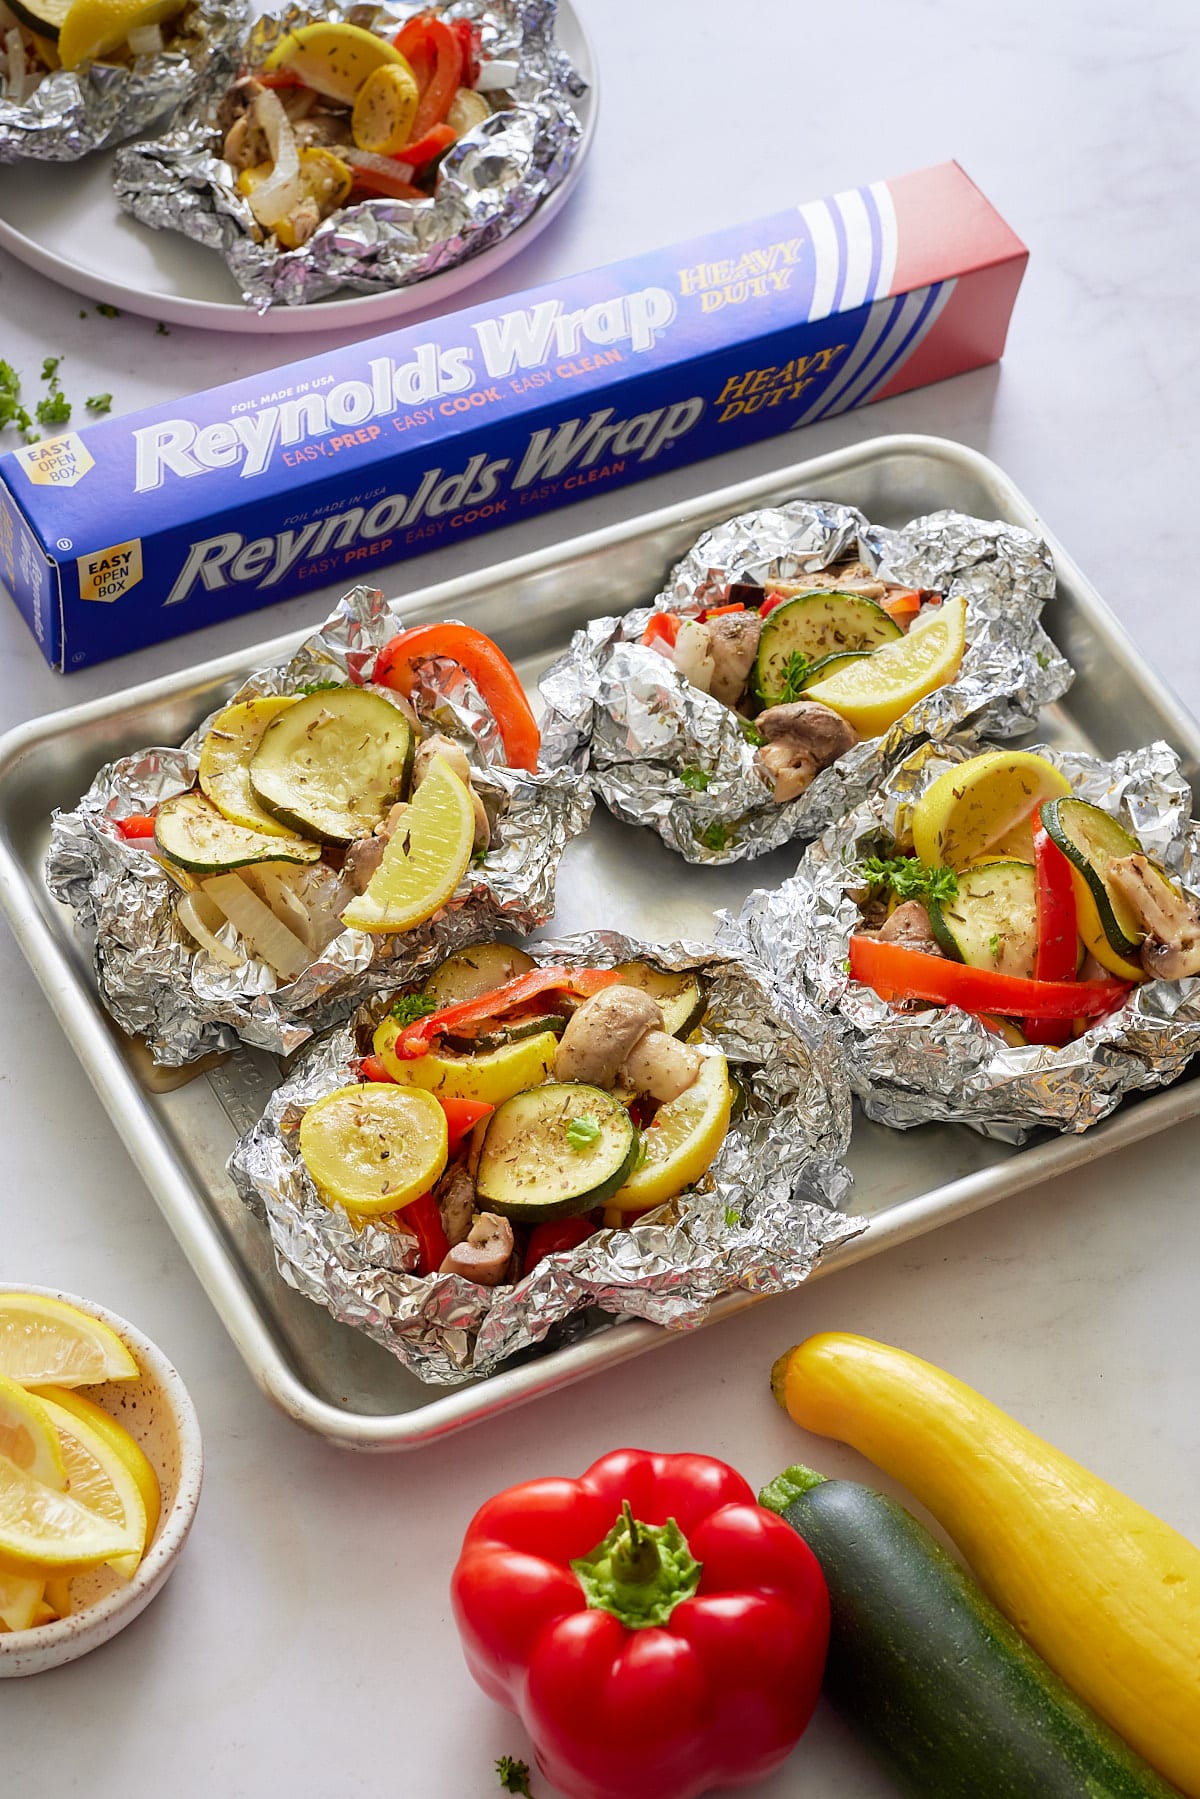
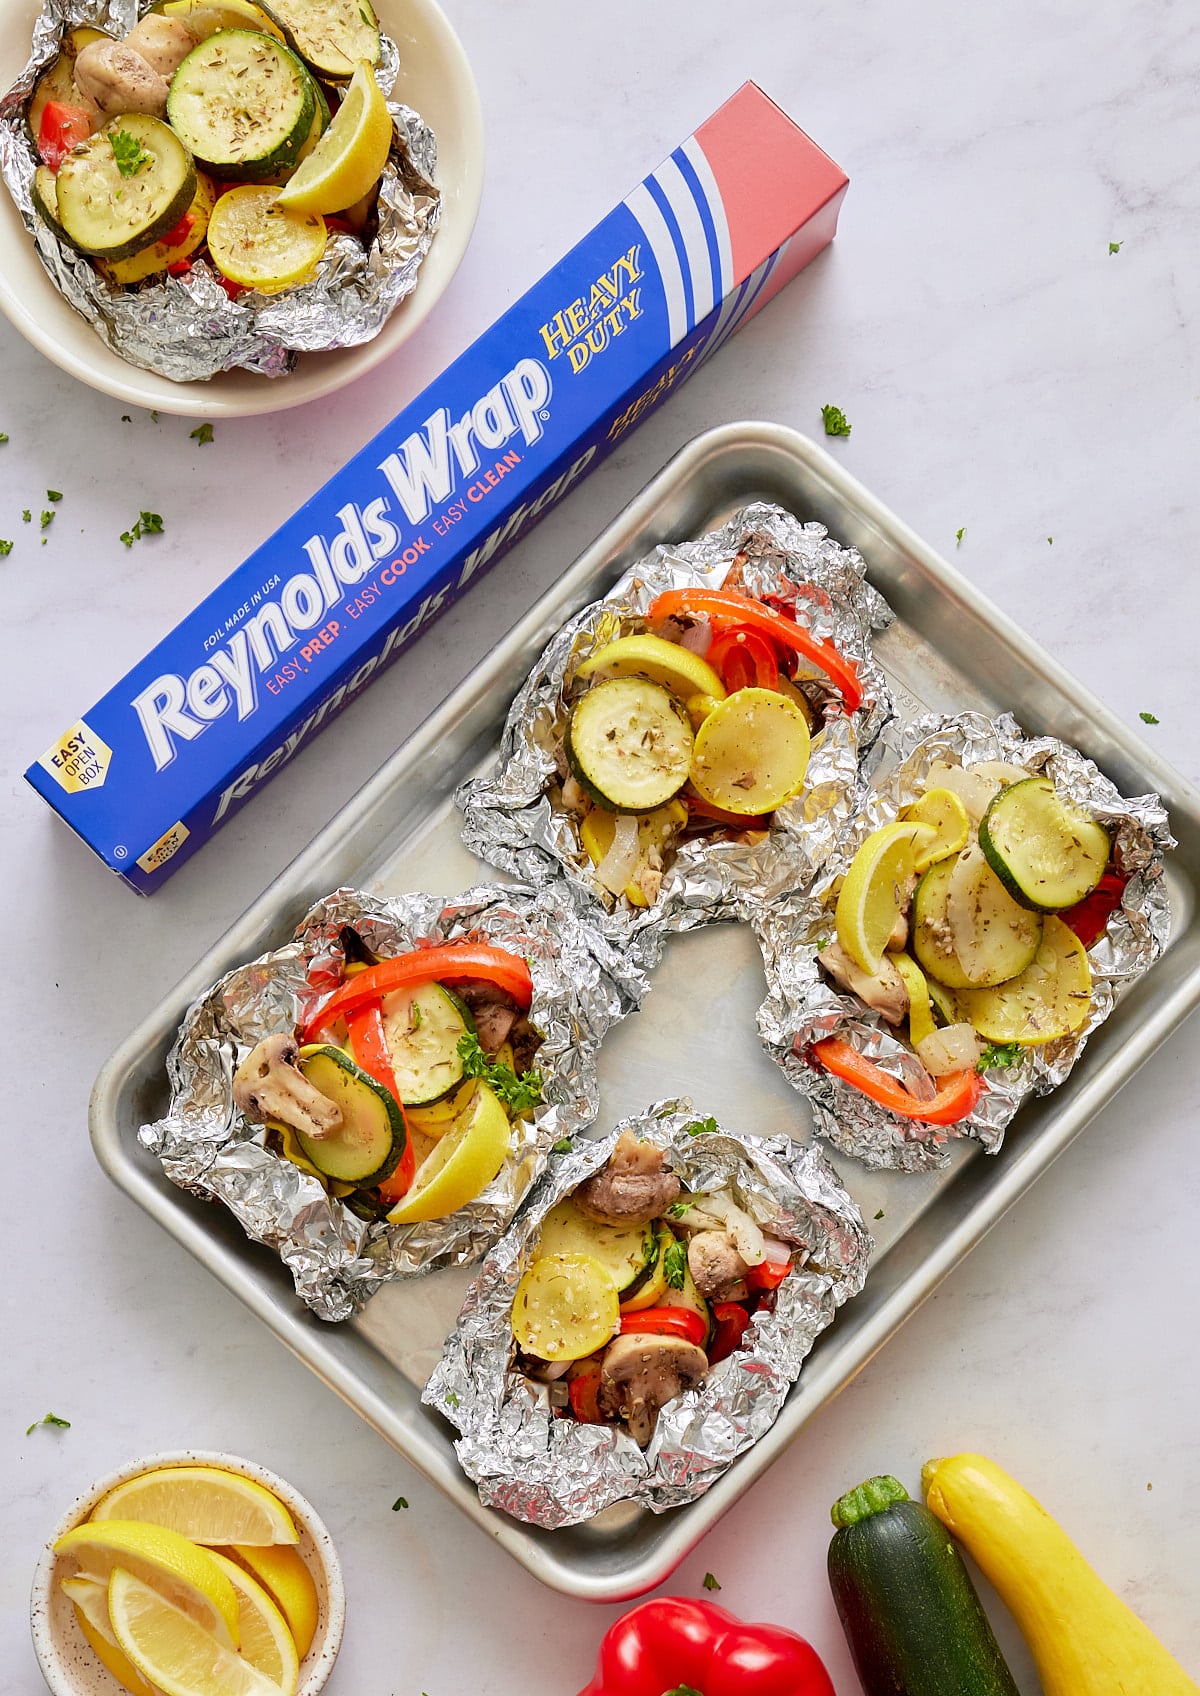
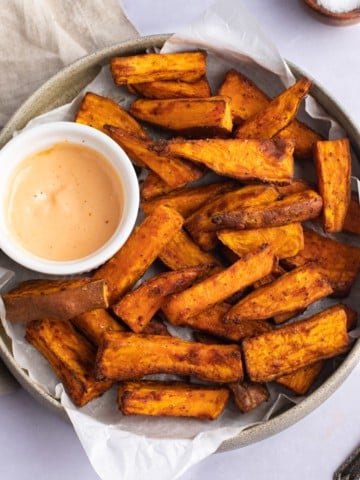
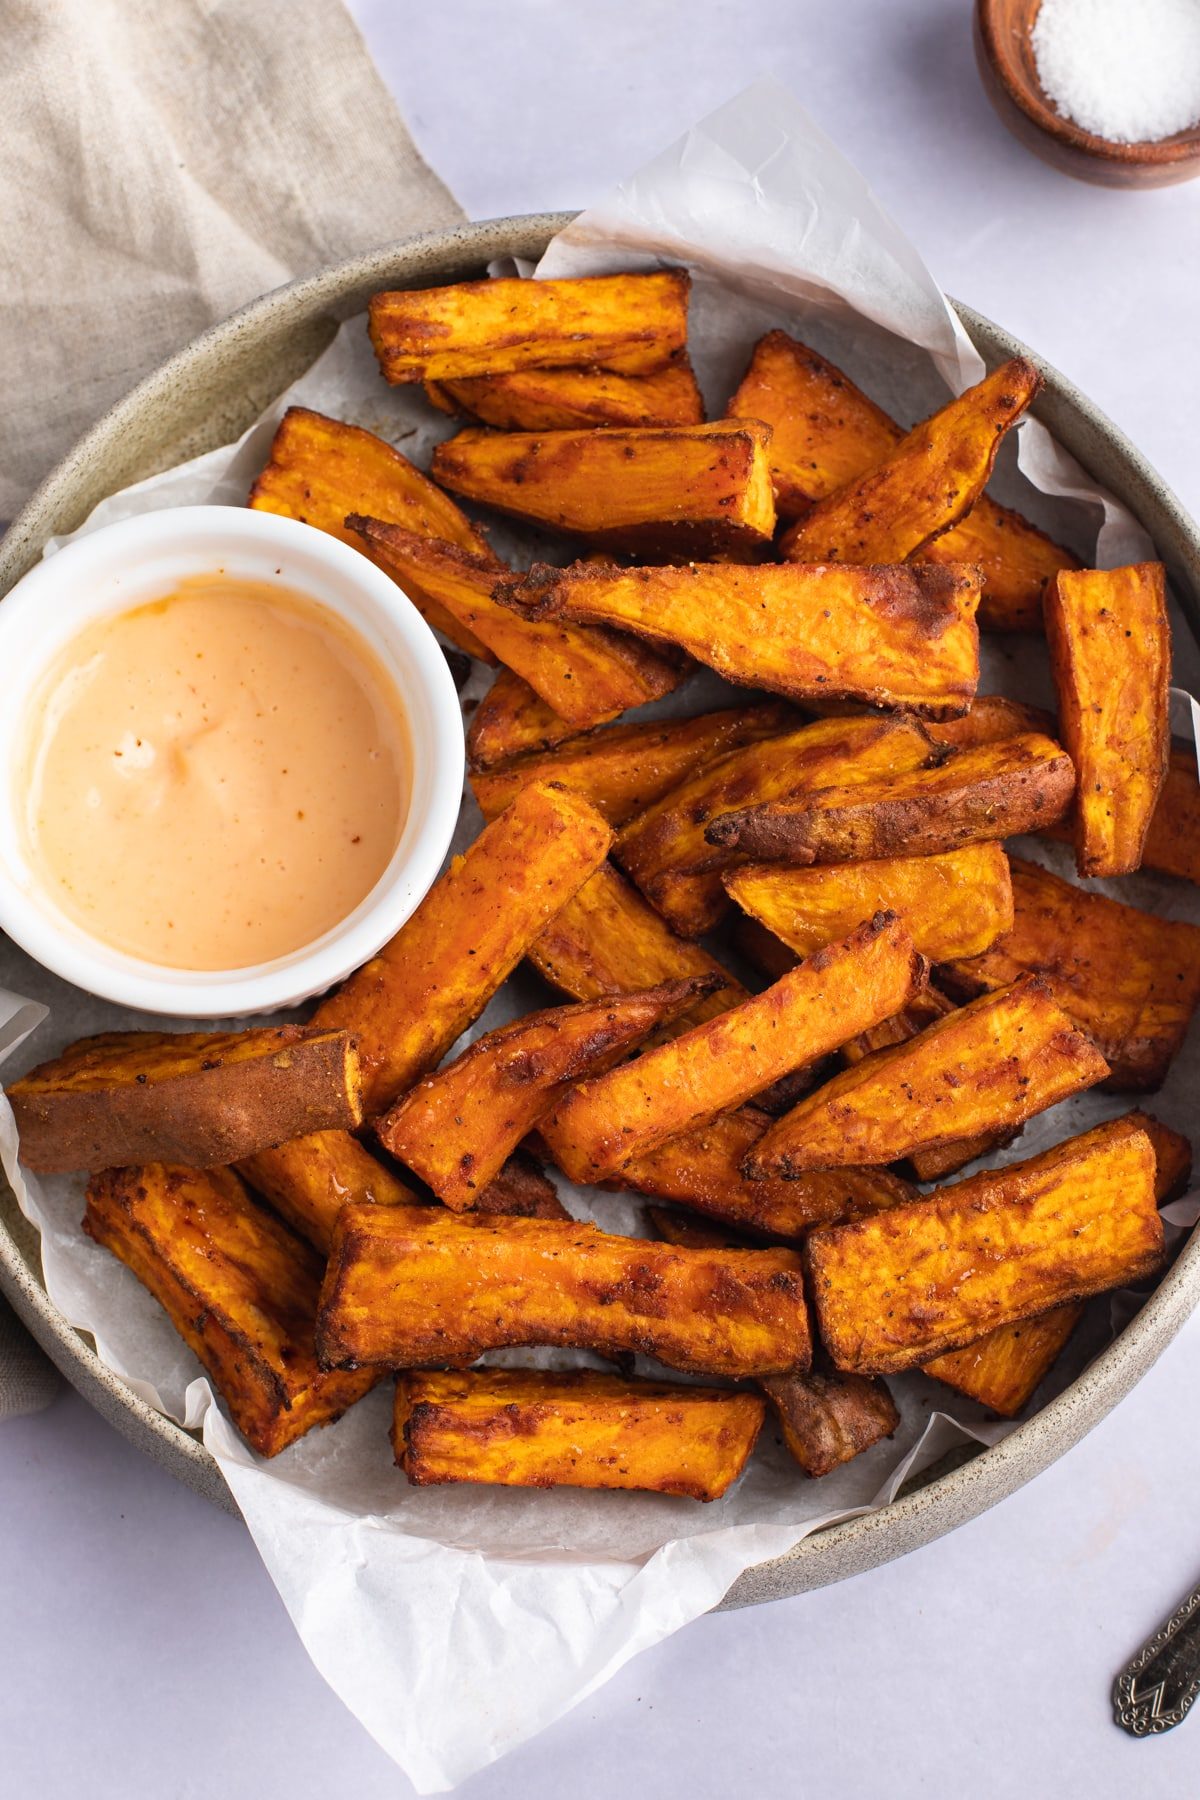
Looking for more quick oven-baked recipes? Try these out:
If you have tried this Oven-baked shrimp recipe, or any other recipe on my blog, then please rate it and let me know how it turned out in the comments below!
Easy Oven-Baked Shrimp Recipe
Ingredients
- 1 lb large or jumbo shrimp
- 1 Tablespoon olive oil
- 2-3 teaspoons of all-purpose seasoning or seasoning of your choice
Instructions
- Preheat your oven to 375 degrees Fahrenheit. Pat your shrimp dry with a paper towel. Then, place the shrimp in a large bowl. Add the oil and seasonings to the shrimp and toss to coat all the shrimp with the oil and seasonings.
- Place the seasoned shrimp on a large sheet pan and spread them in a single layer.
- Place the baking sheet in the oven on the center rack and bake for 7-10 minutes (depending on the size of the shrimp) until the shrimp is pink and opaque.
- Remove shrimp from the oven and enjoy.
Notes
- Use shrimp of equal sizes to ensure they cook evenly.