This Chicken Chili Recipe is full of flavor and the perfect bowl of comfort! Made with flavorful spices and broth, this easy chili recipe is perfect for busy weeknights or lazy weekends.
You’ll find the full recipe with ingredient amounts and instructions in the recipe card at the bottom of this post. Be sure to check out the blog post itself for extra tips and tricks!
It’s gotten a little chilly outside so it’s time for all things chili. Well, truth be told, I can have chili all times of the year, but when it’s getting a little chilly, it’s time for some chili. Ha!
I’ve shared a few chili recipes here, like this Instant Pot turkey chili and my traditional chili made with ground beef. But this Chicken chili is on another level. Made with fresh peppers and onions and a delicious spice combination, it’s a dish your whole family will love.
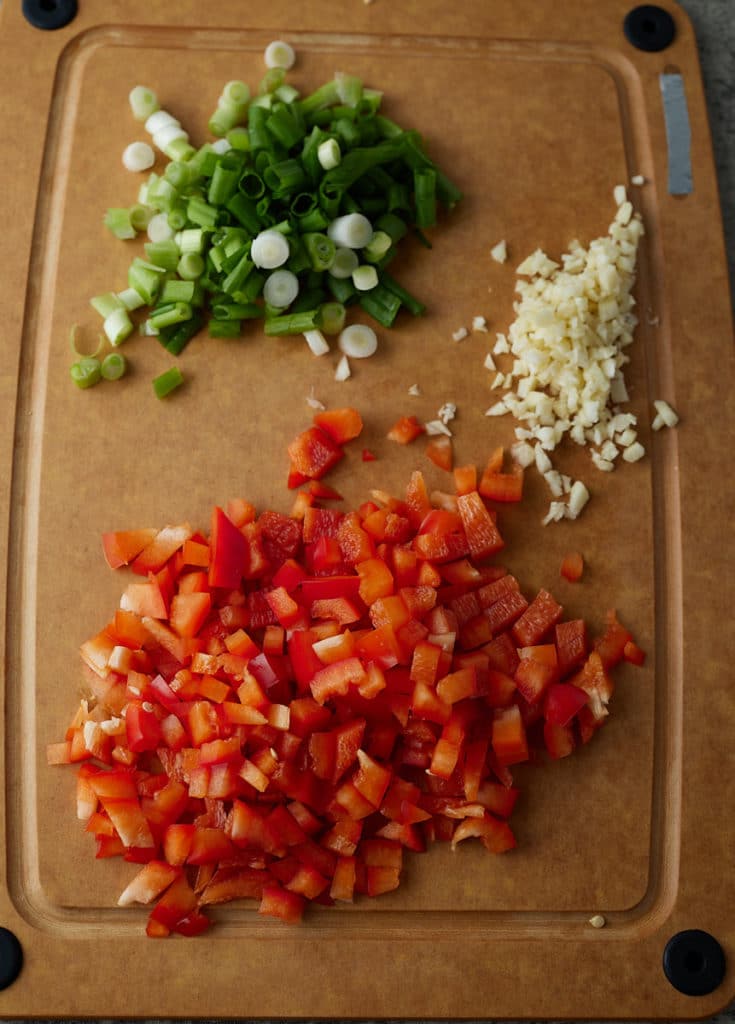
I opted for the stovetop for this recipe and use leftover shredded chicken breast to make this recipe quicker and easier. It’s ready from start to finish in less than 40 minutes. The most work you’ll need to do is chop up some peppers, onions, and garlic.
How to make Chicken Chili
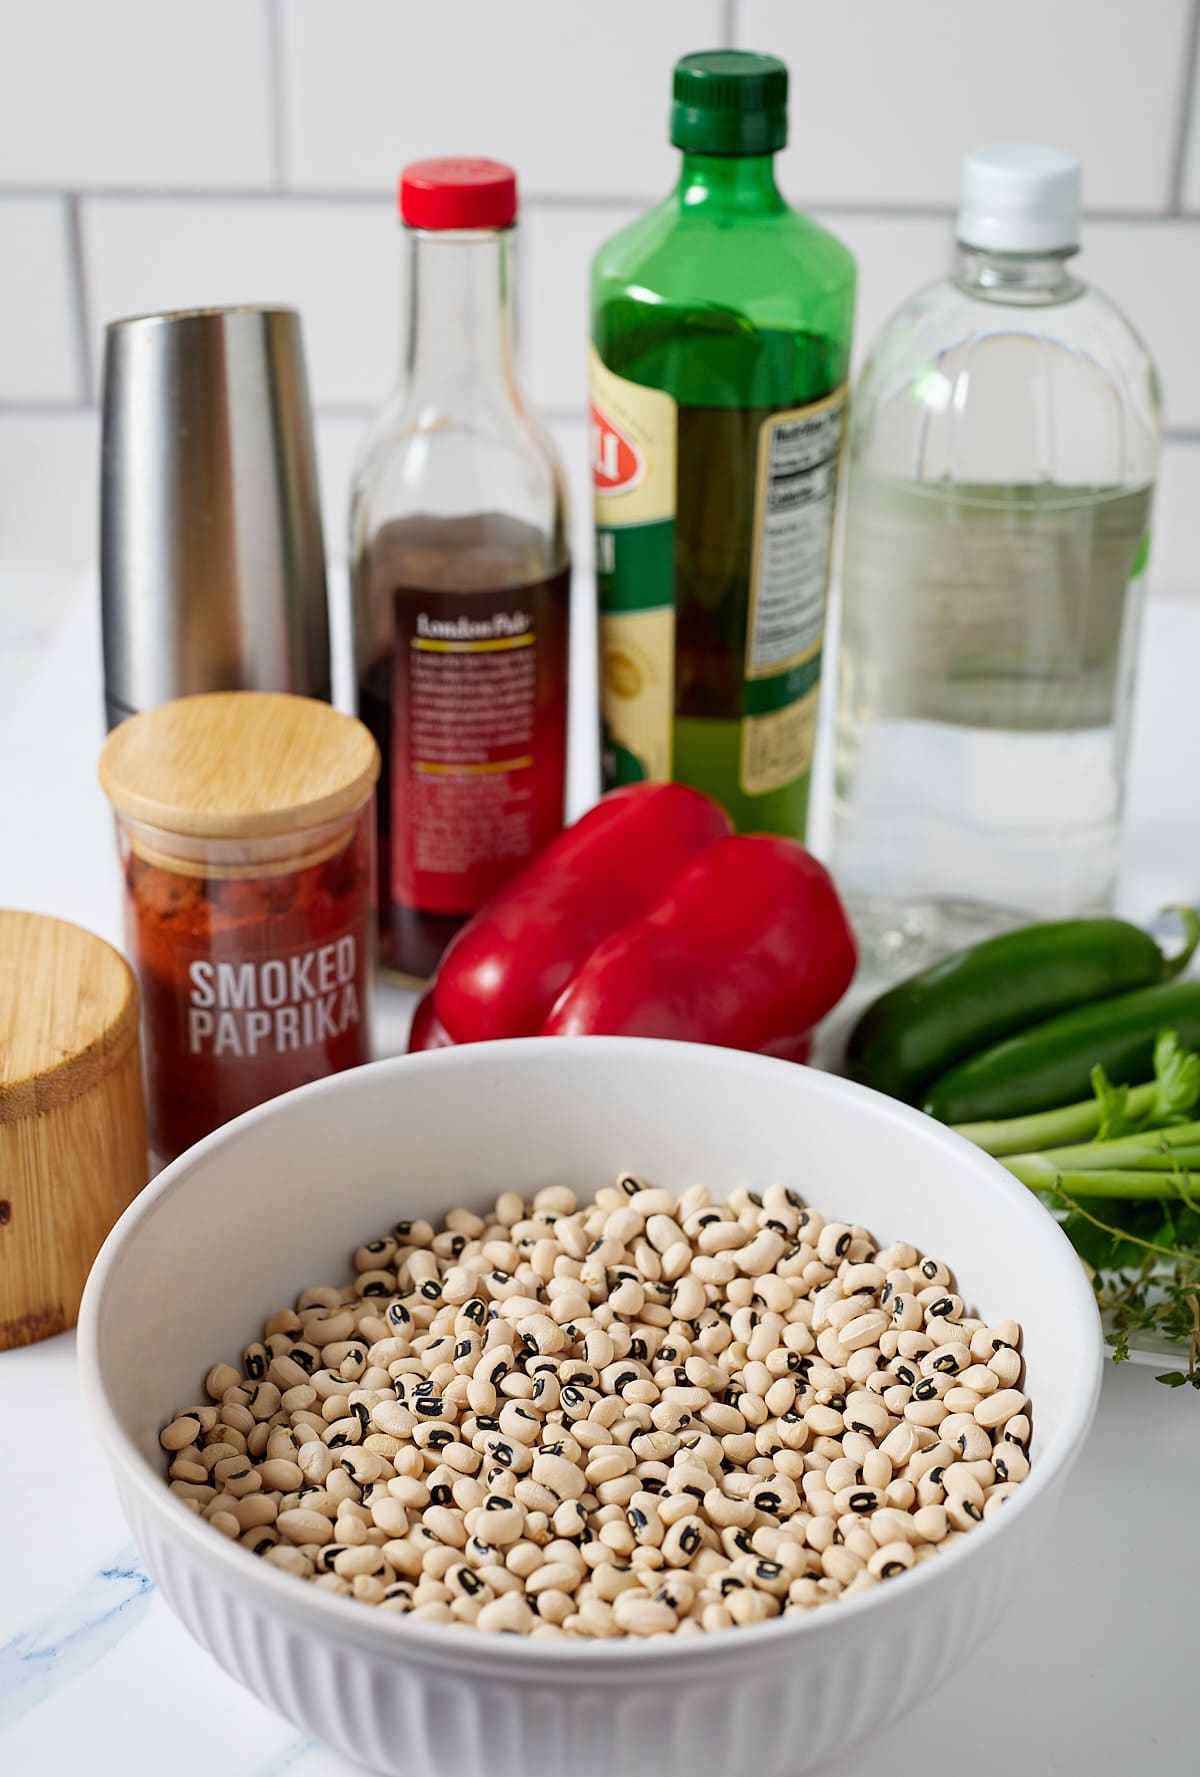
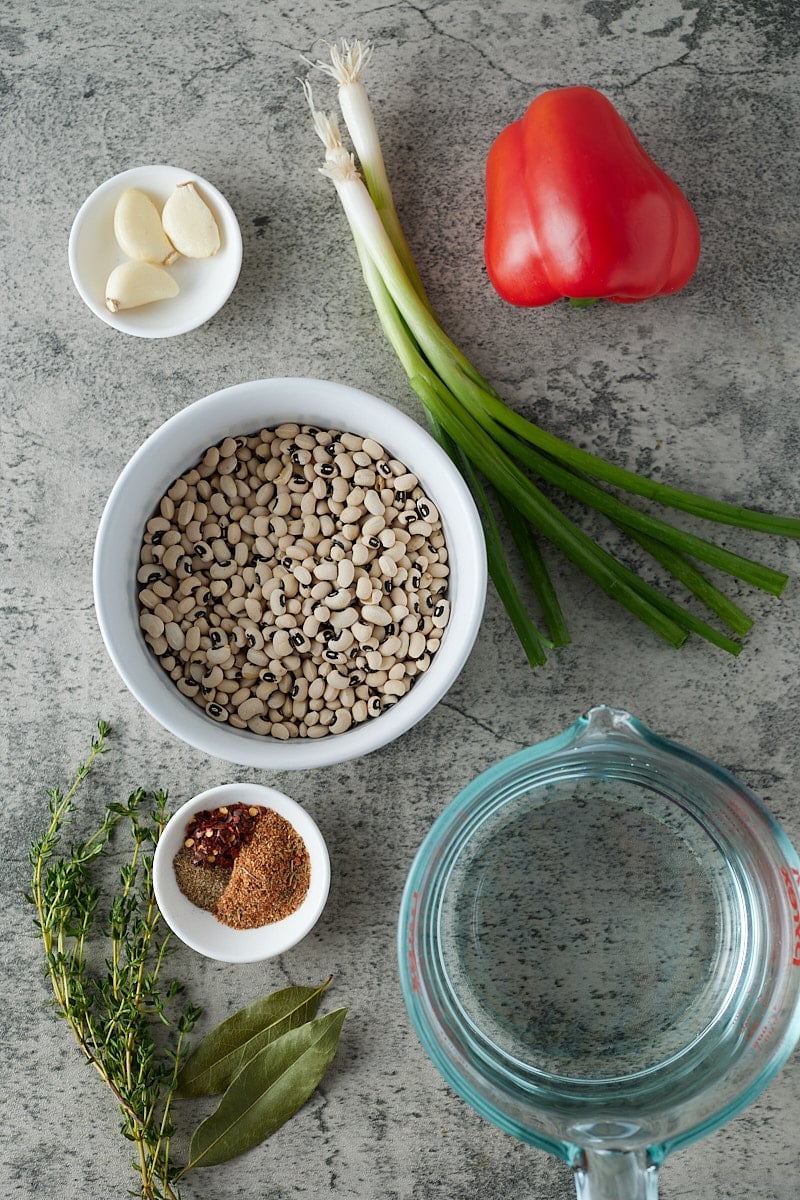
First, you will want to mis en place all your ingredients. Doing this makes the recipe come together so quickly.
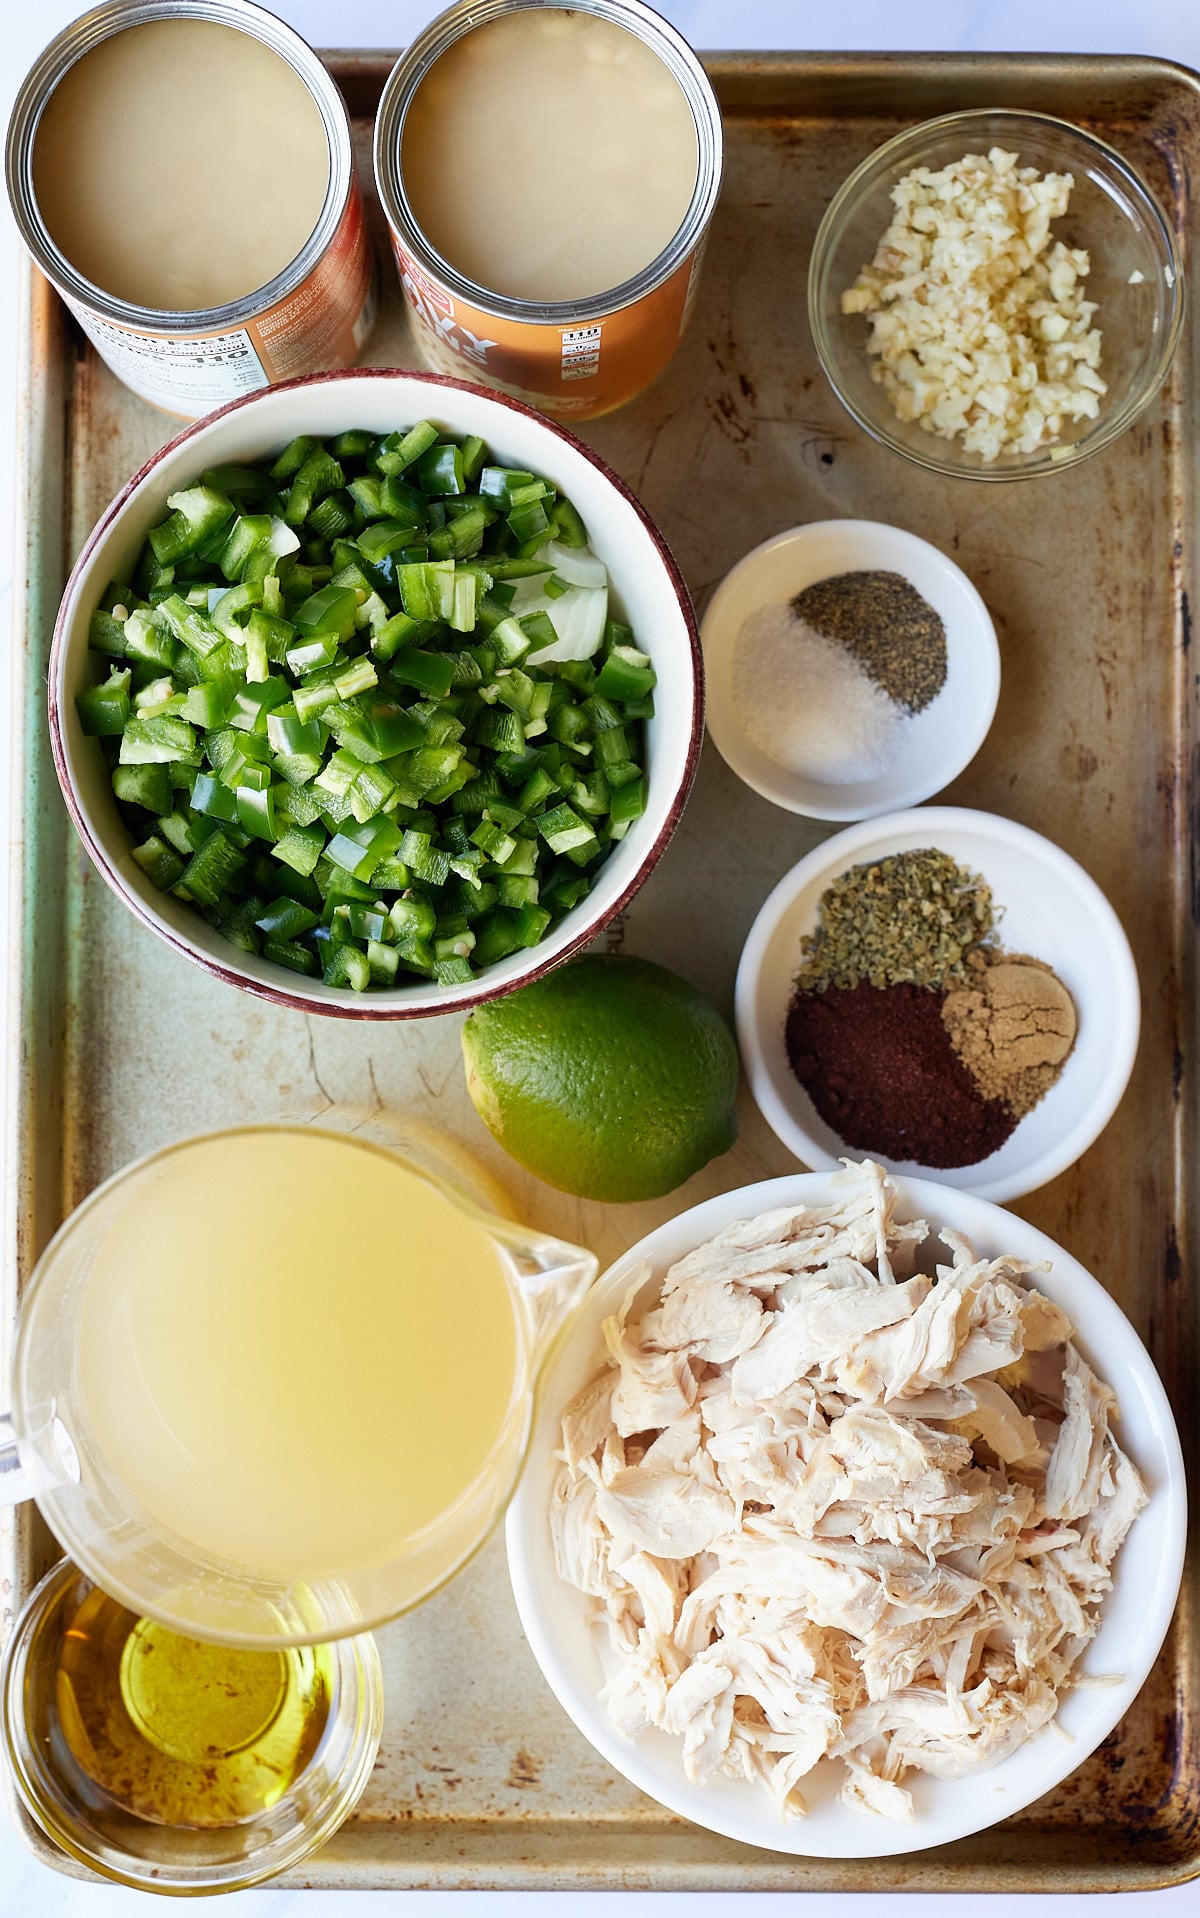
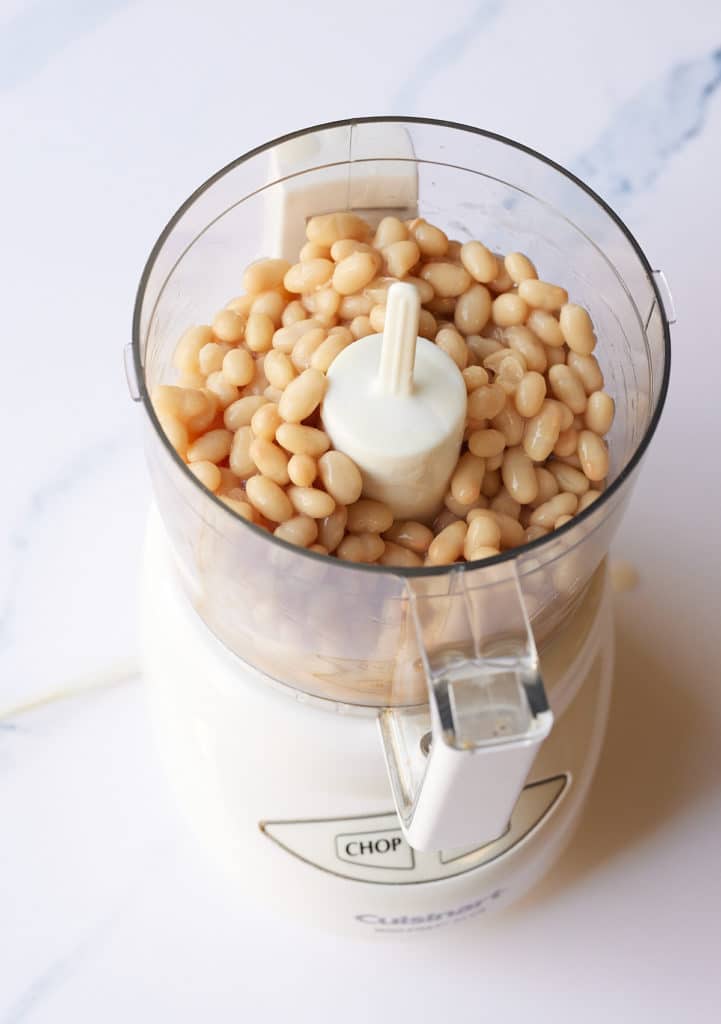
Next, place 1 can of the navy beans (with the liquid from the can) in a food processor and process until smooth. Set aside.

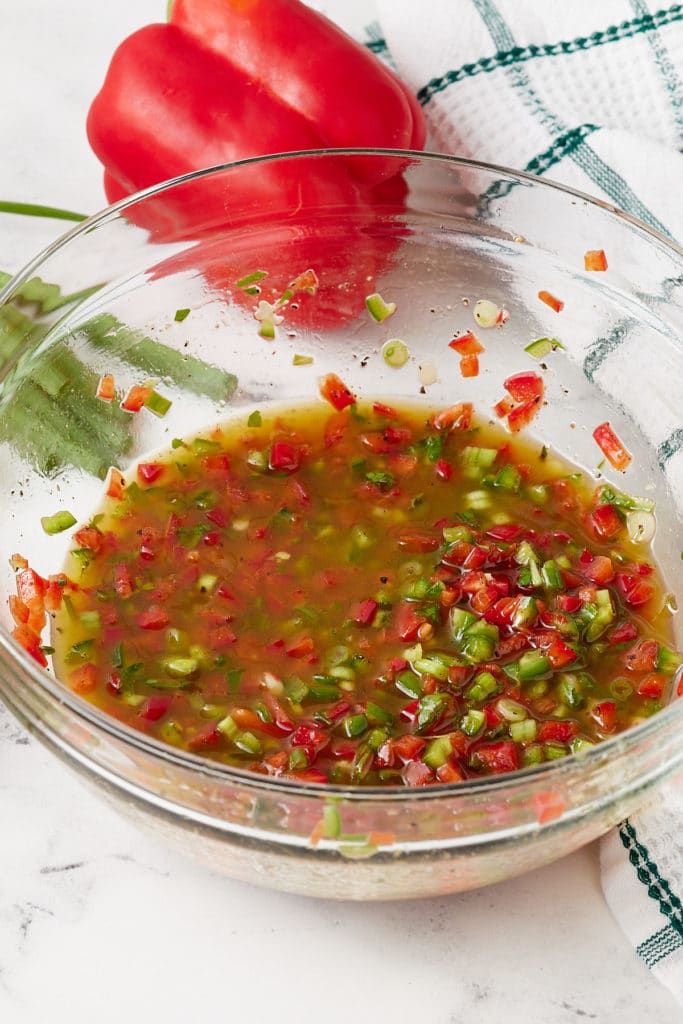
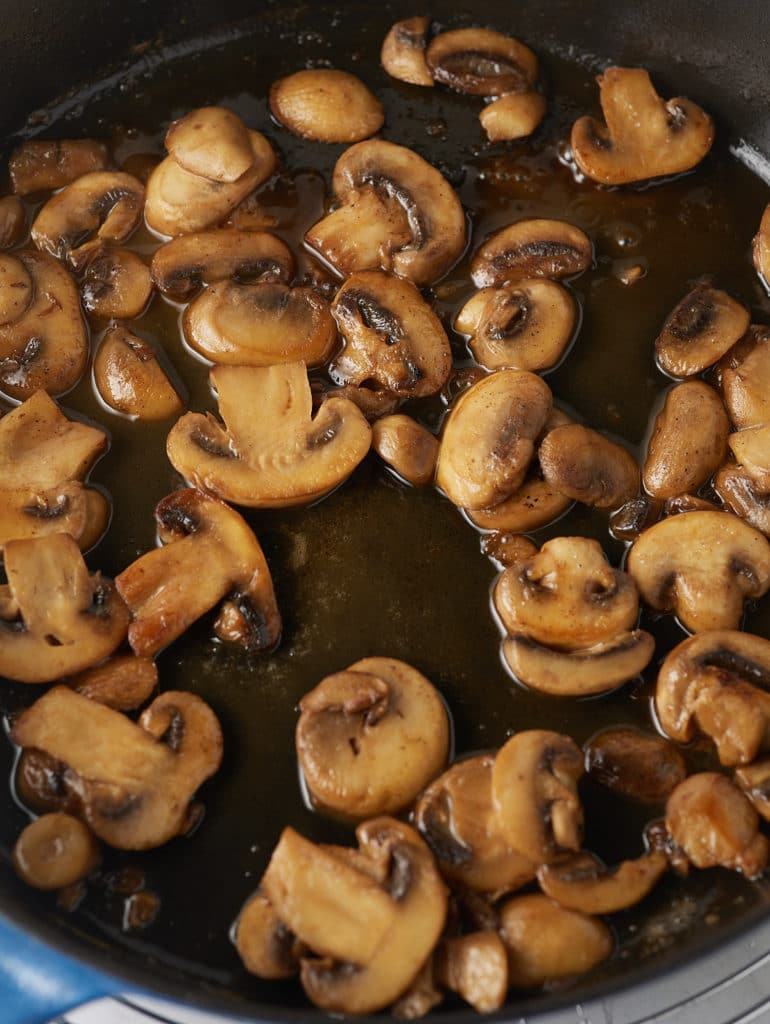
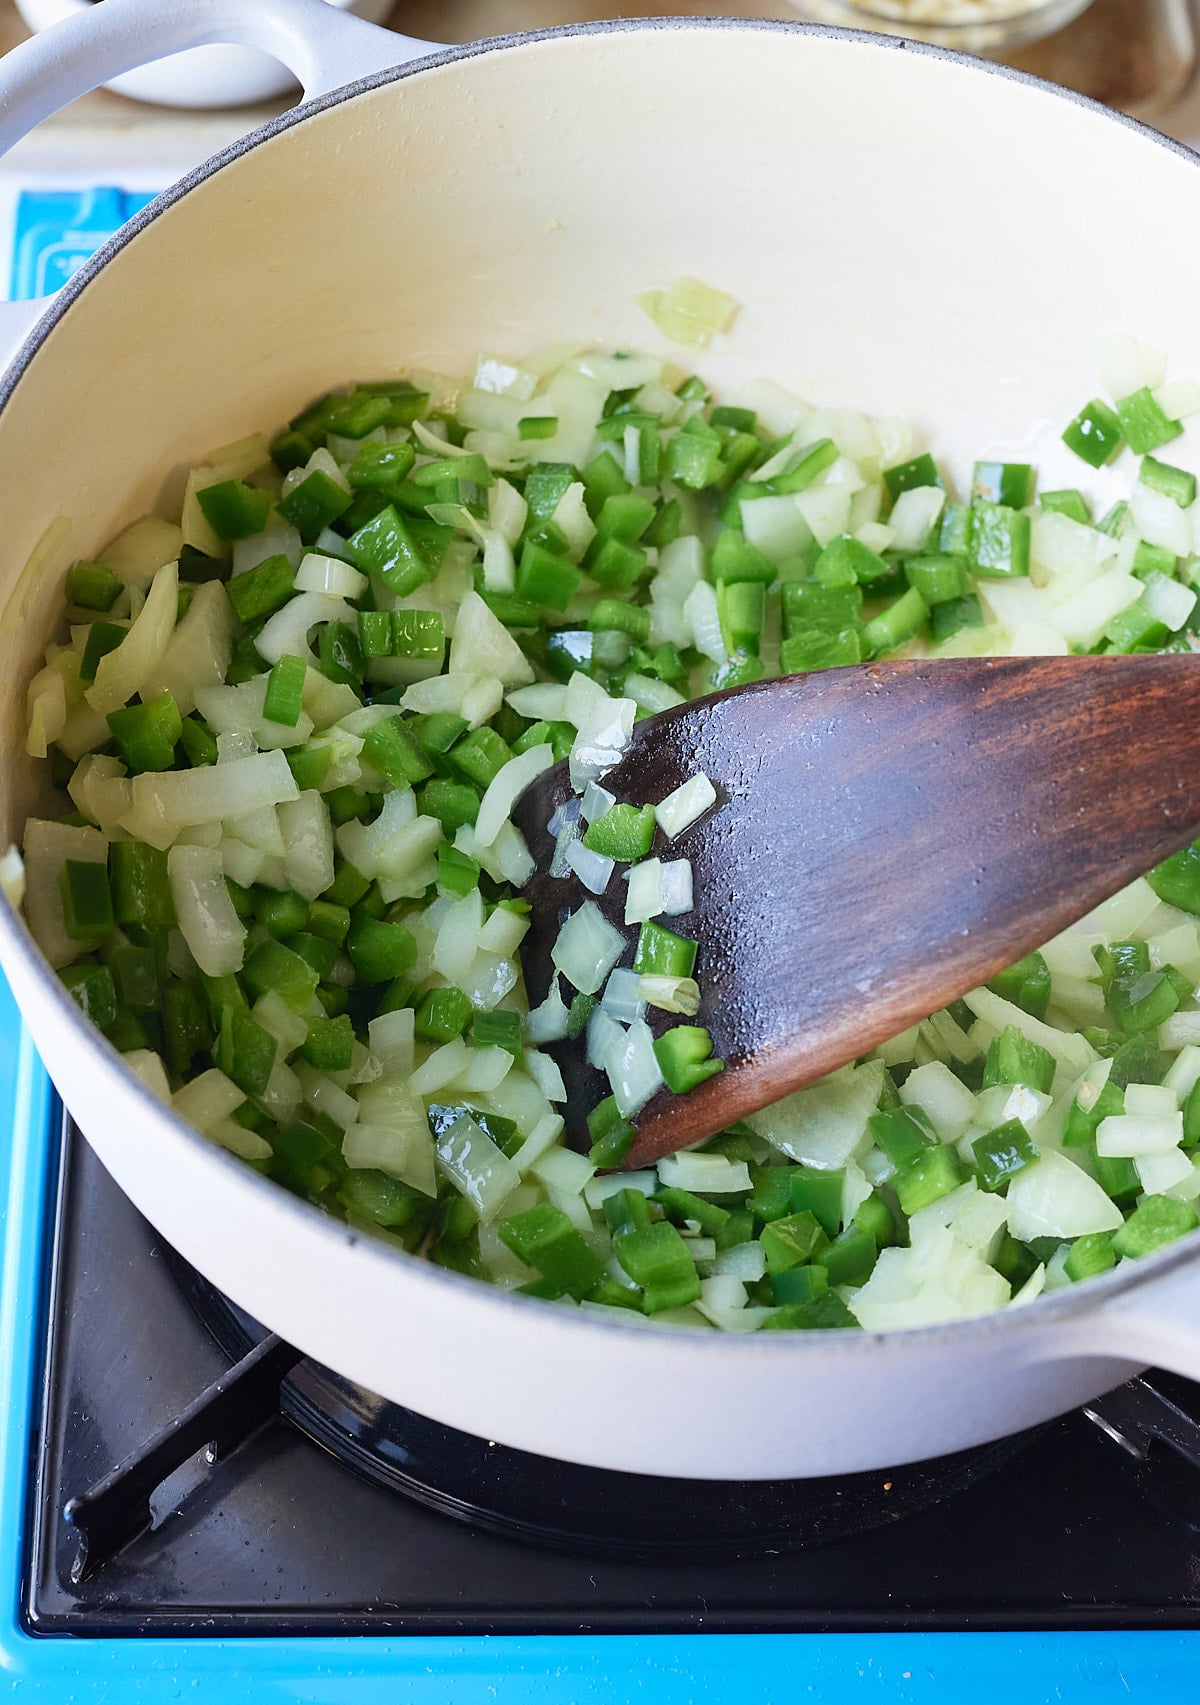
Heat oil in a large heavy-bottom pot over medium-high heat. Add chopped onions, poblano peppers, and jalapeño peppers and sauté for about 5 minutes, until softened. Then add the chopped garlic and sauté for an additional minute.
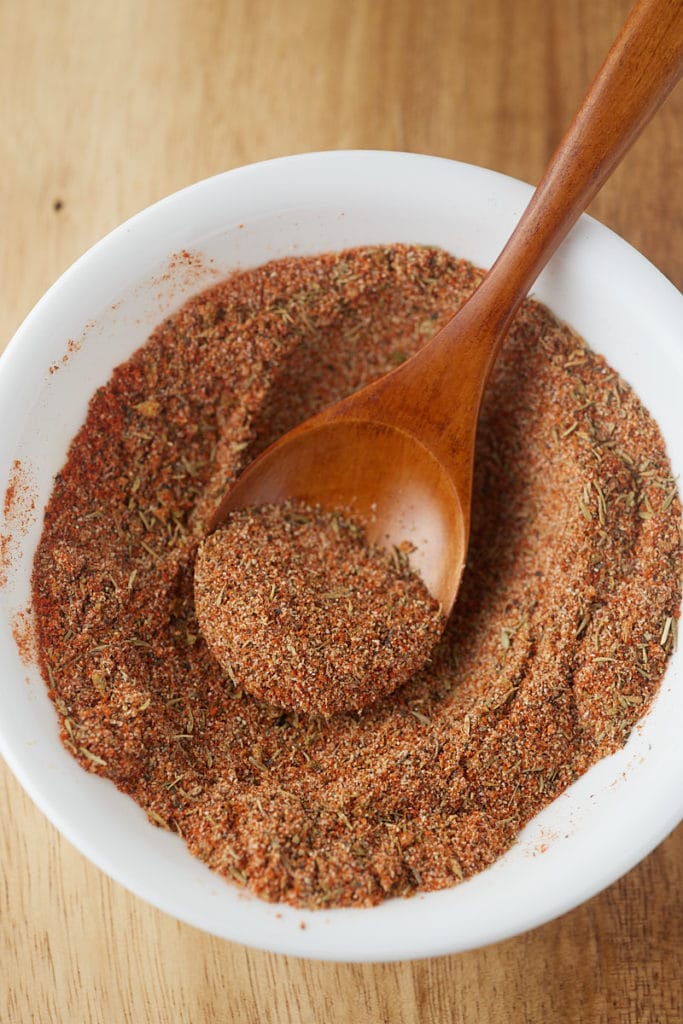
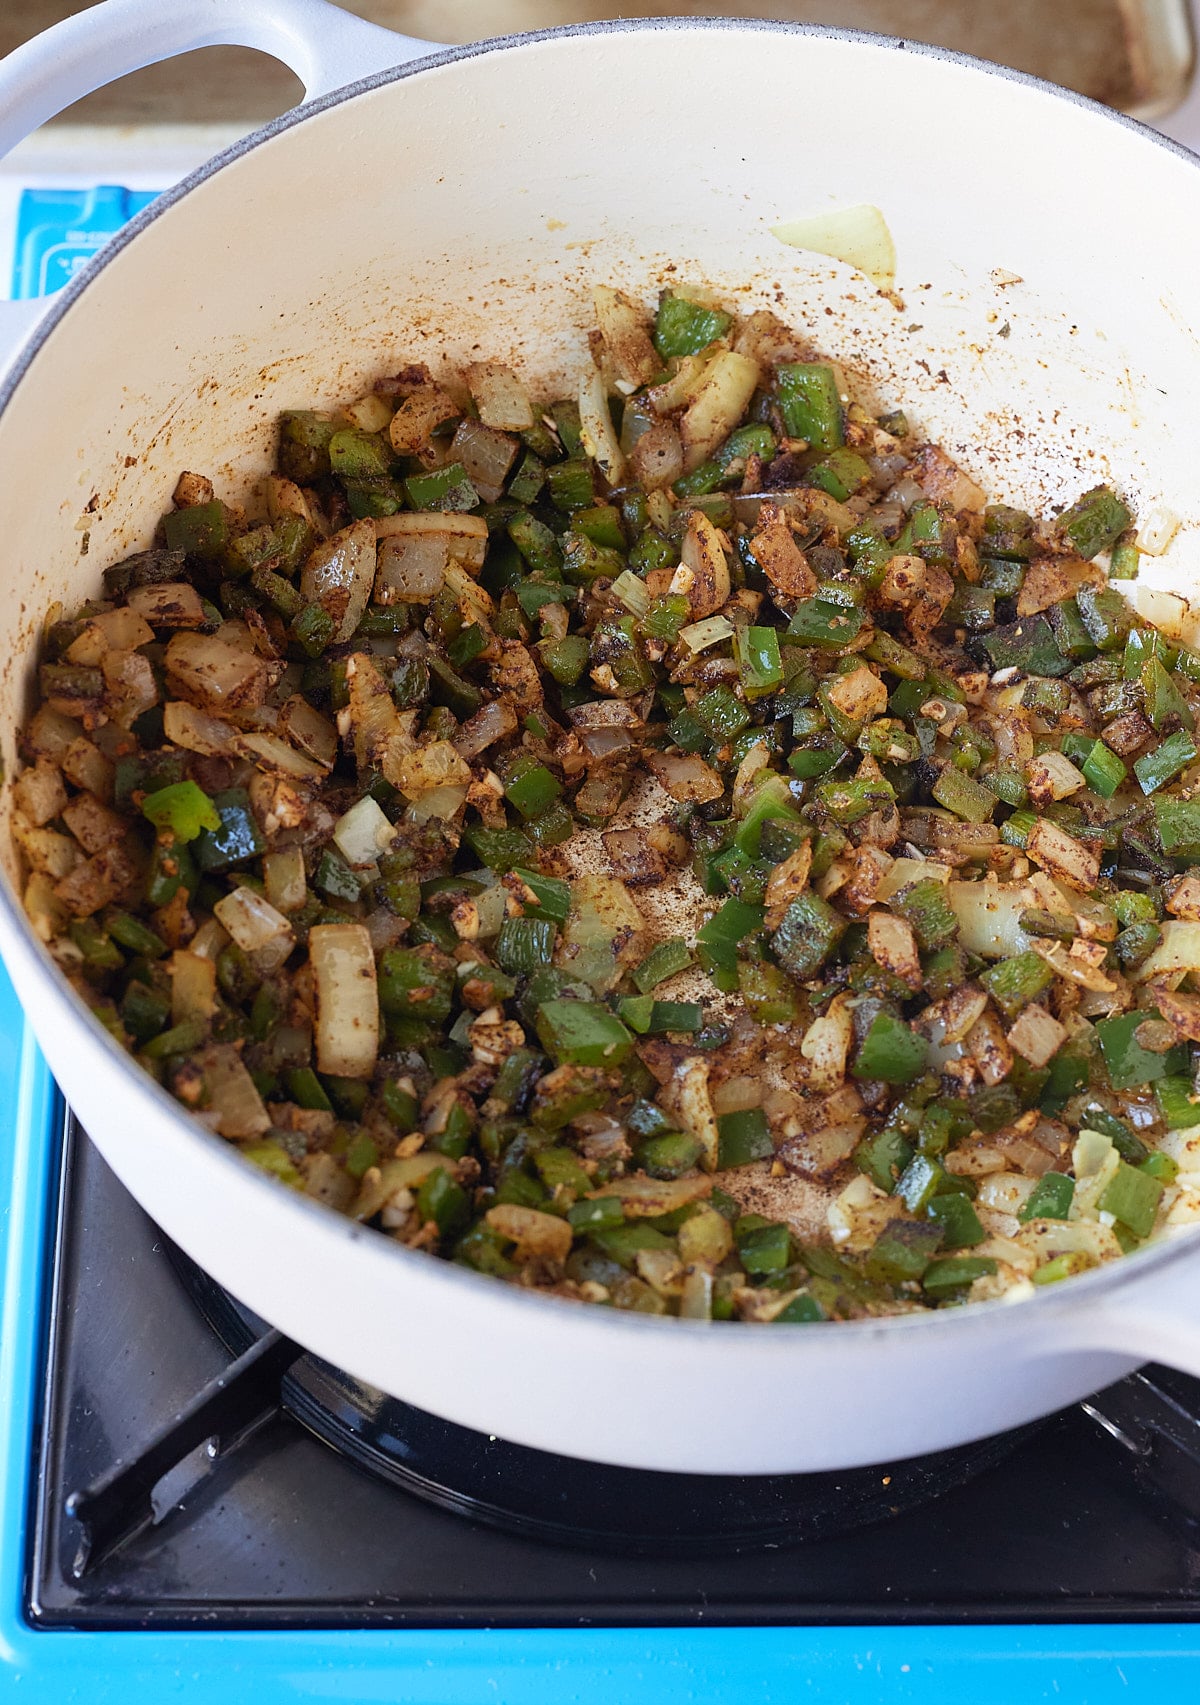
Add chili powder, cumin, and dried oregano, and sauté for an additional 30 seconds to toast the spices.
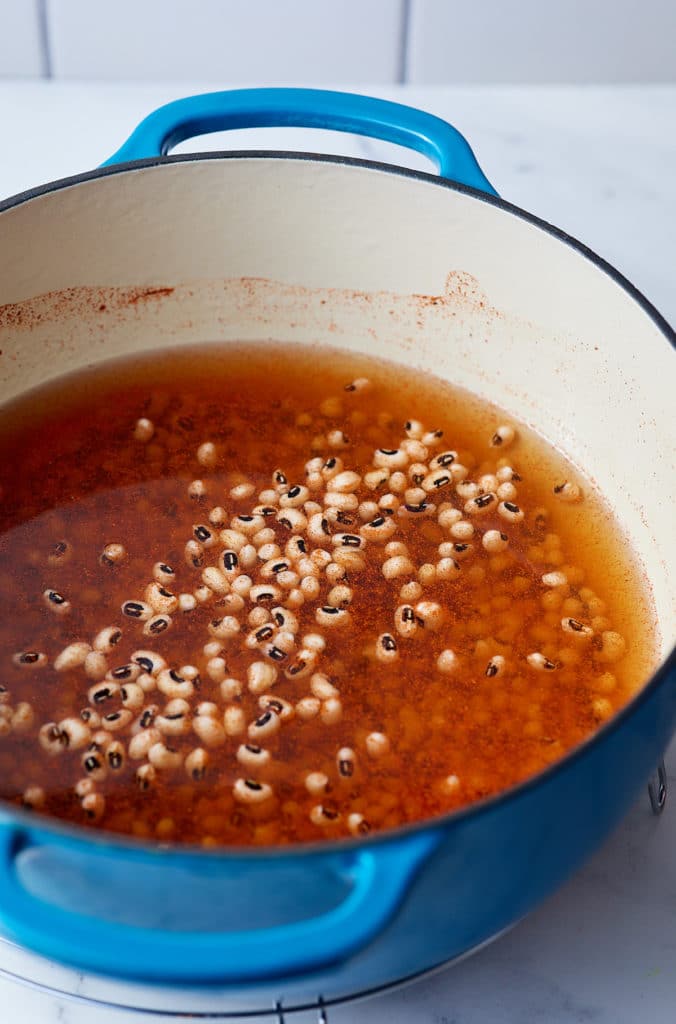
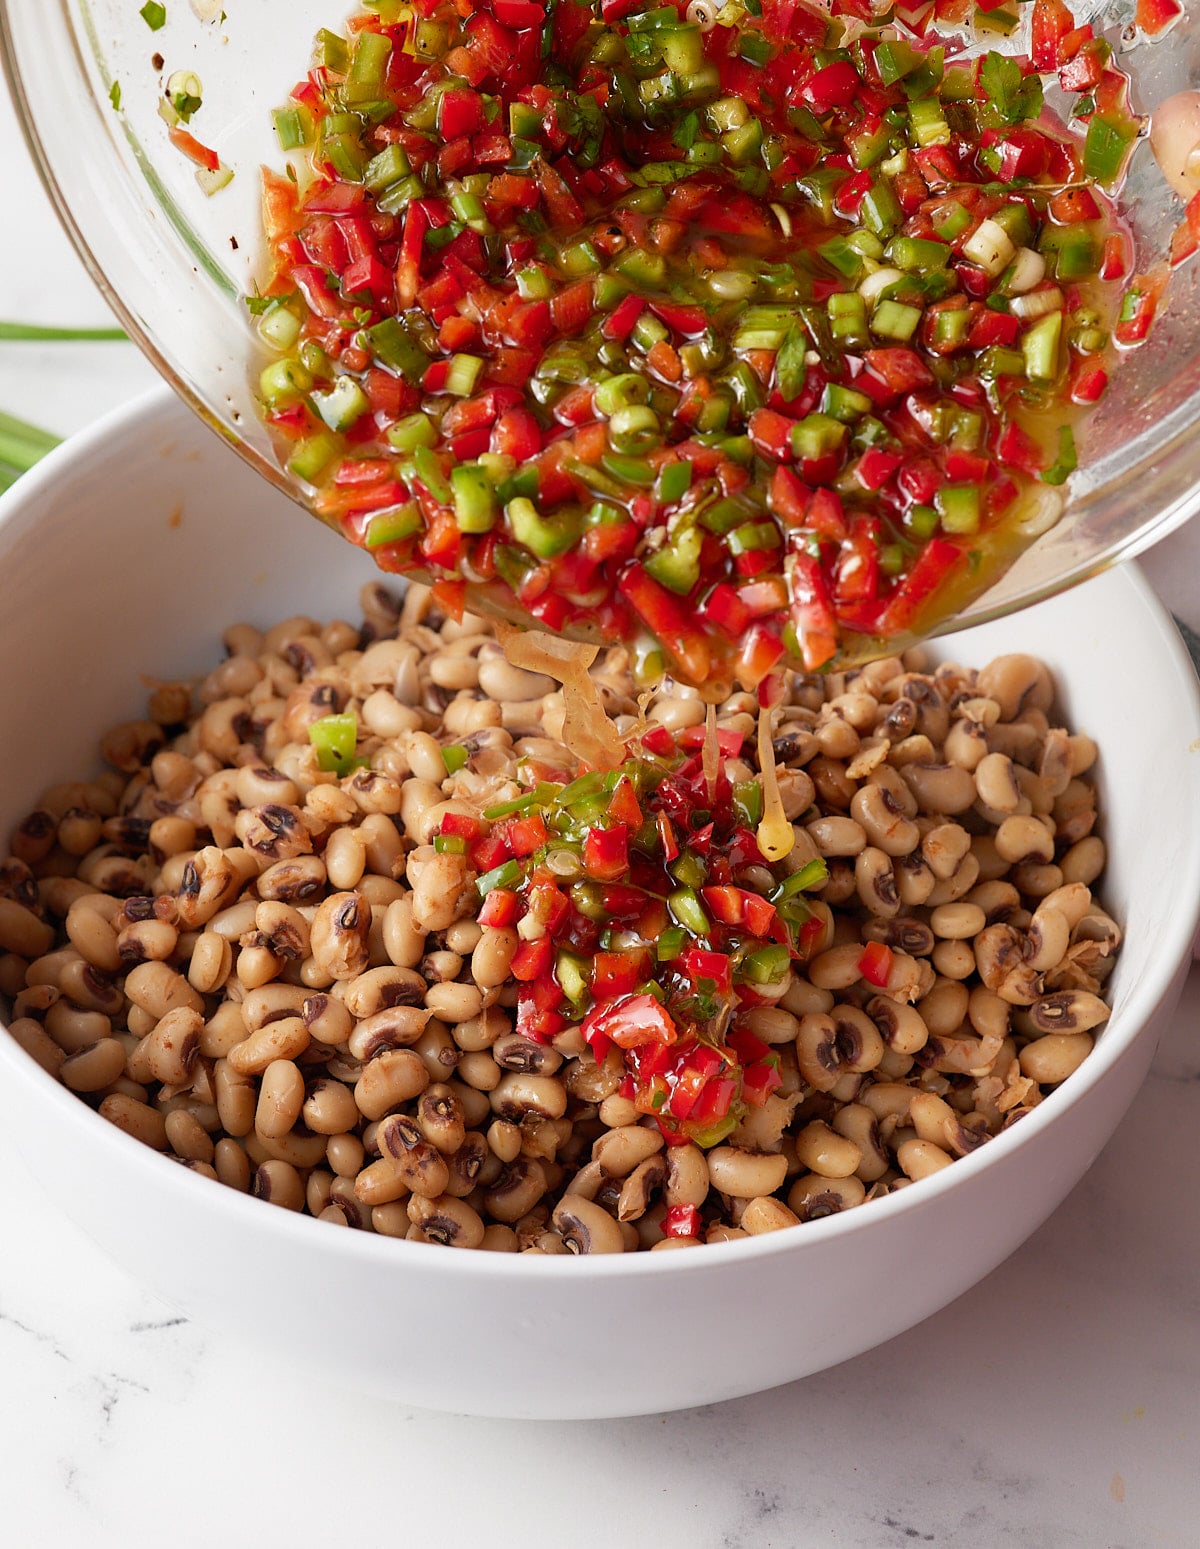
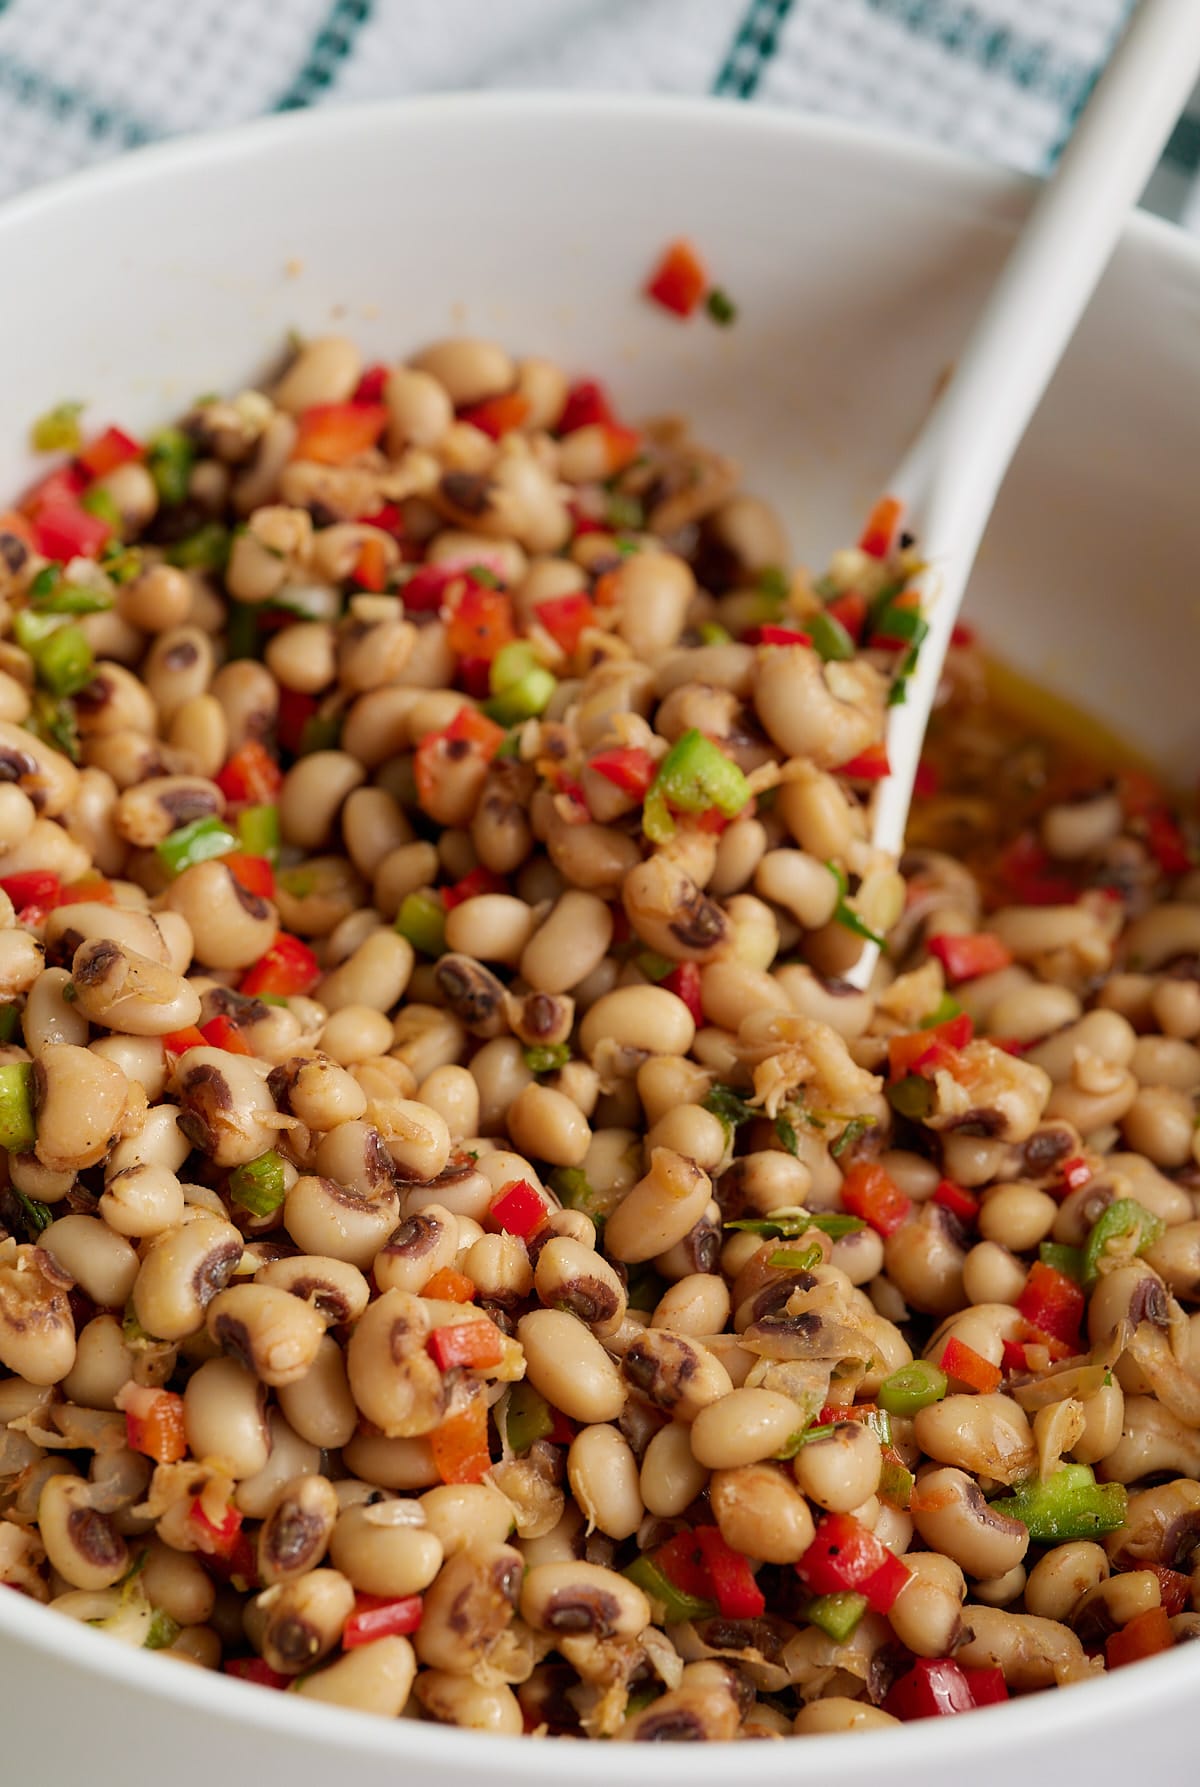
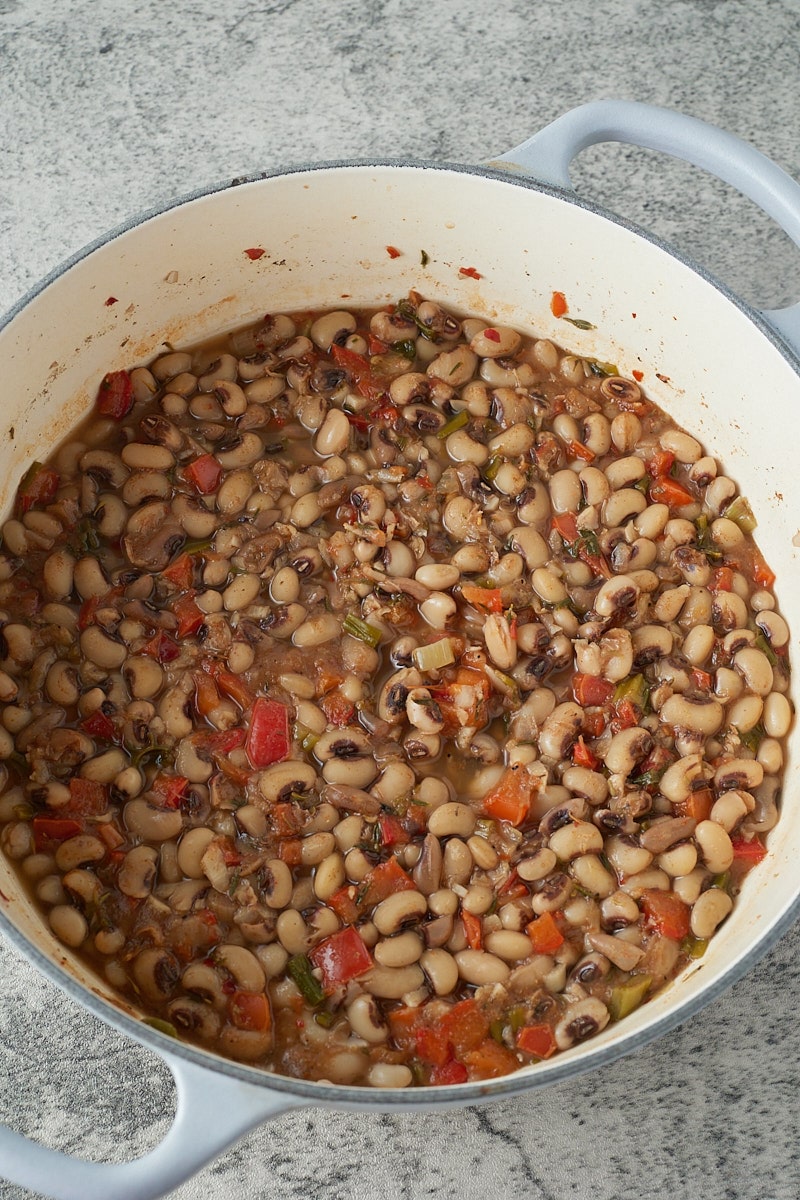
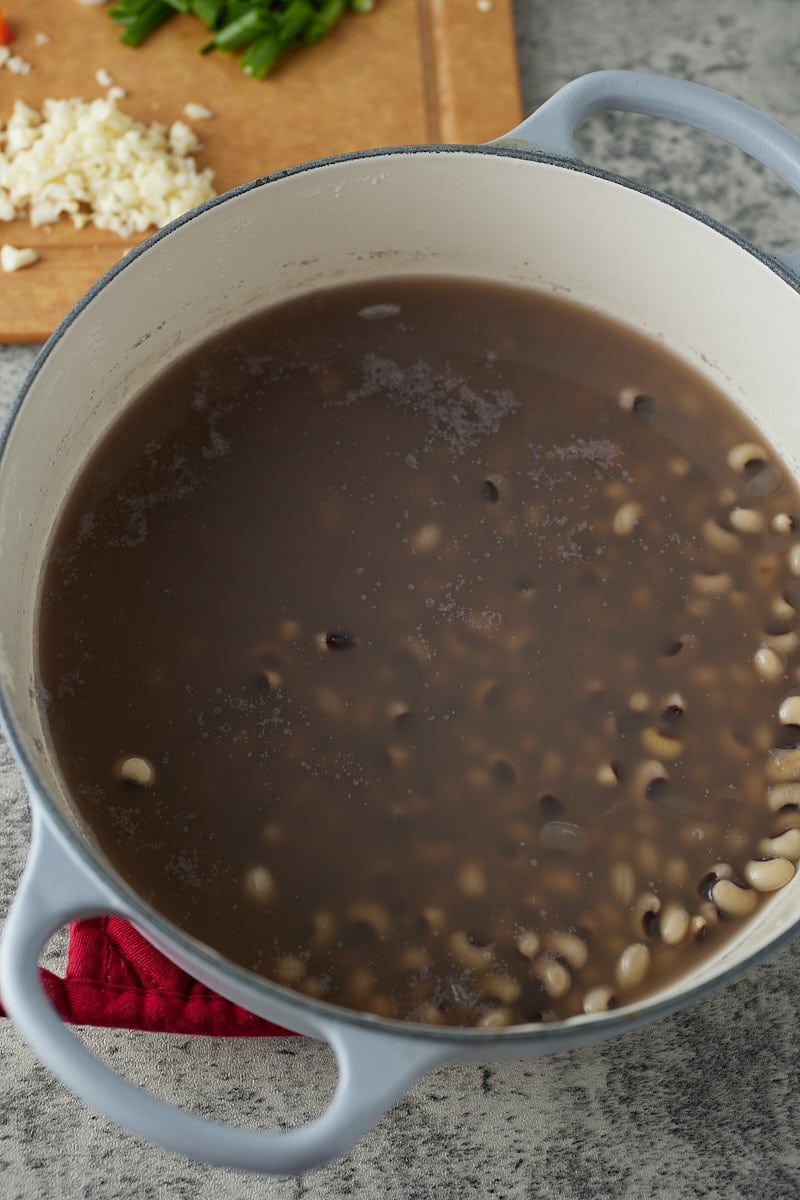
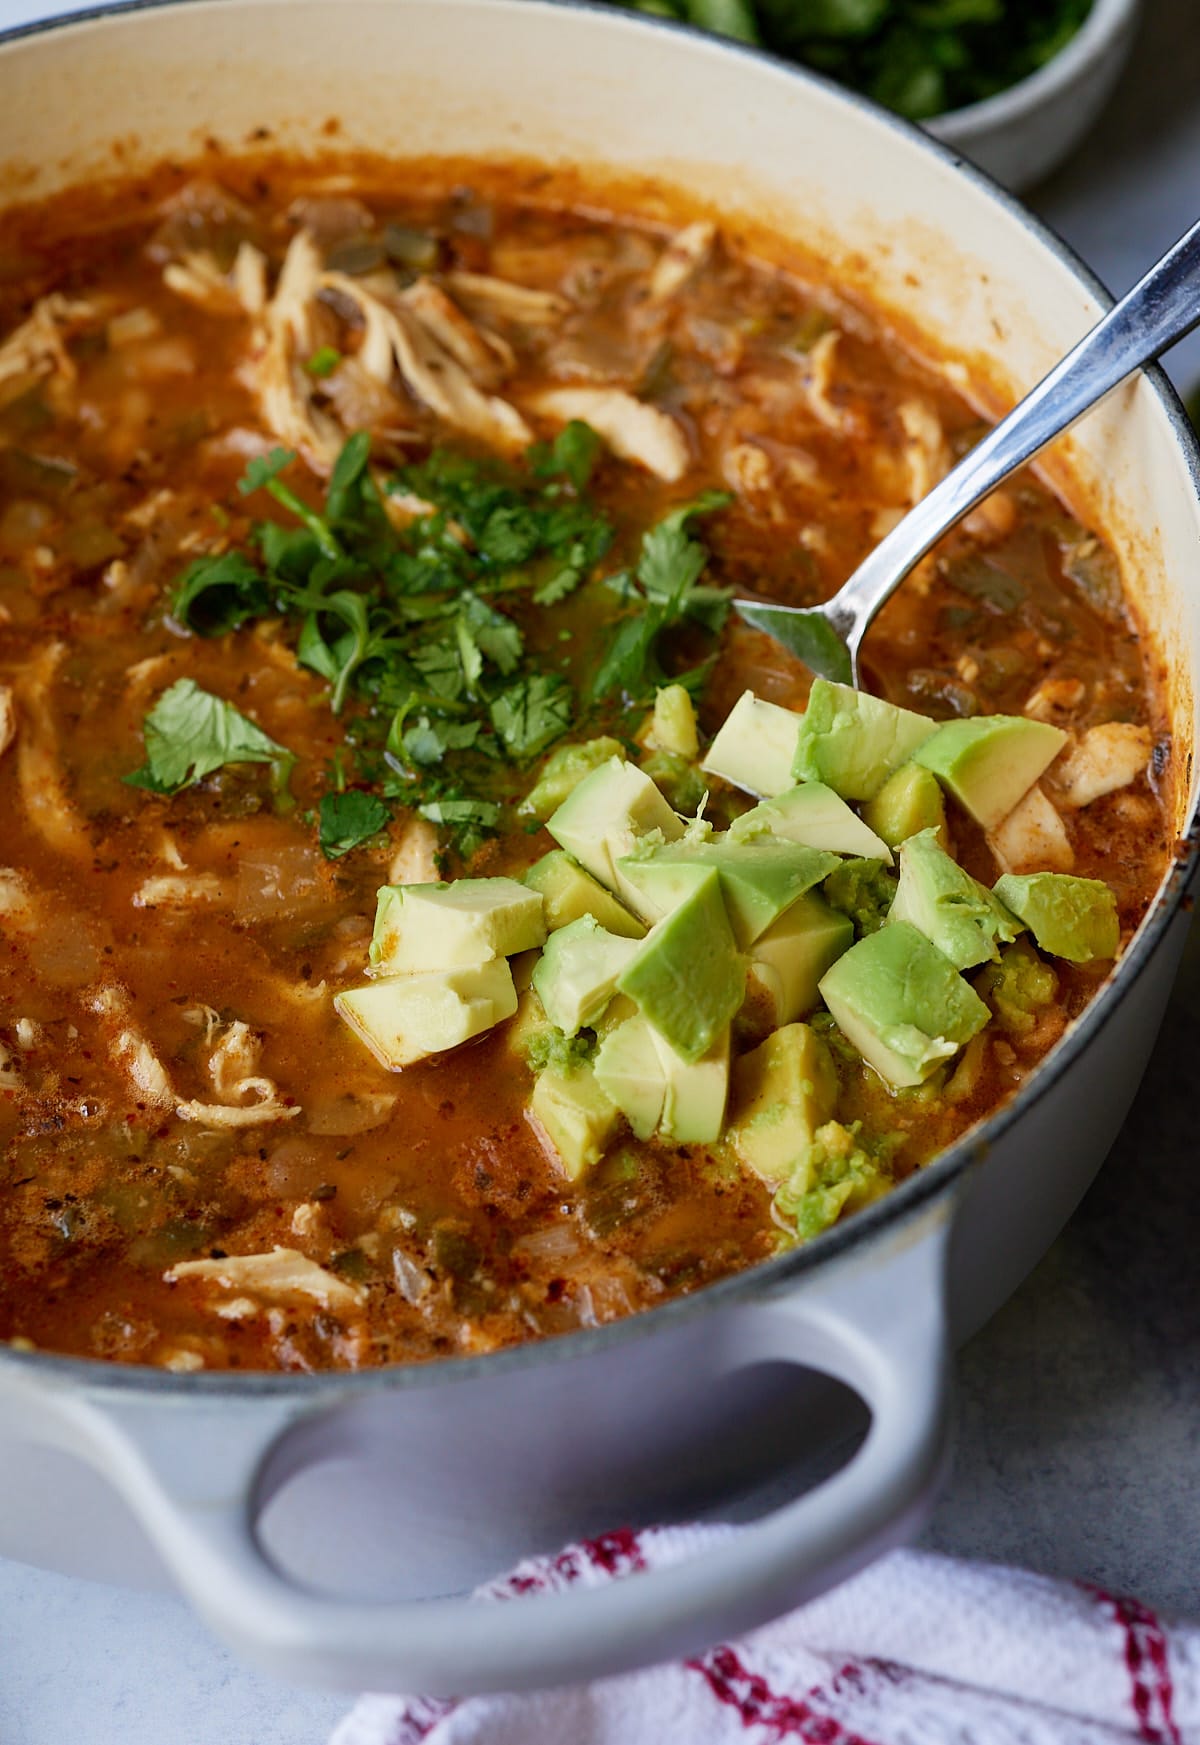
Pour in the chicken broth, lime juice, beans (the whole ones and the processed ones), and bring to simmer for about 20 minutes.
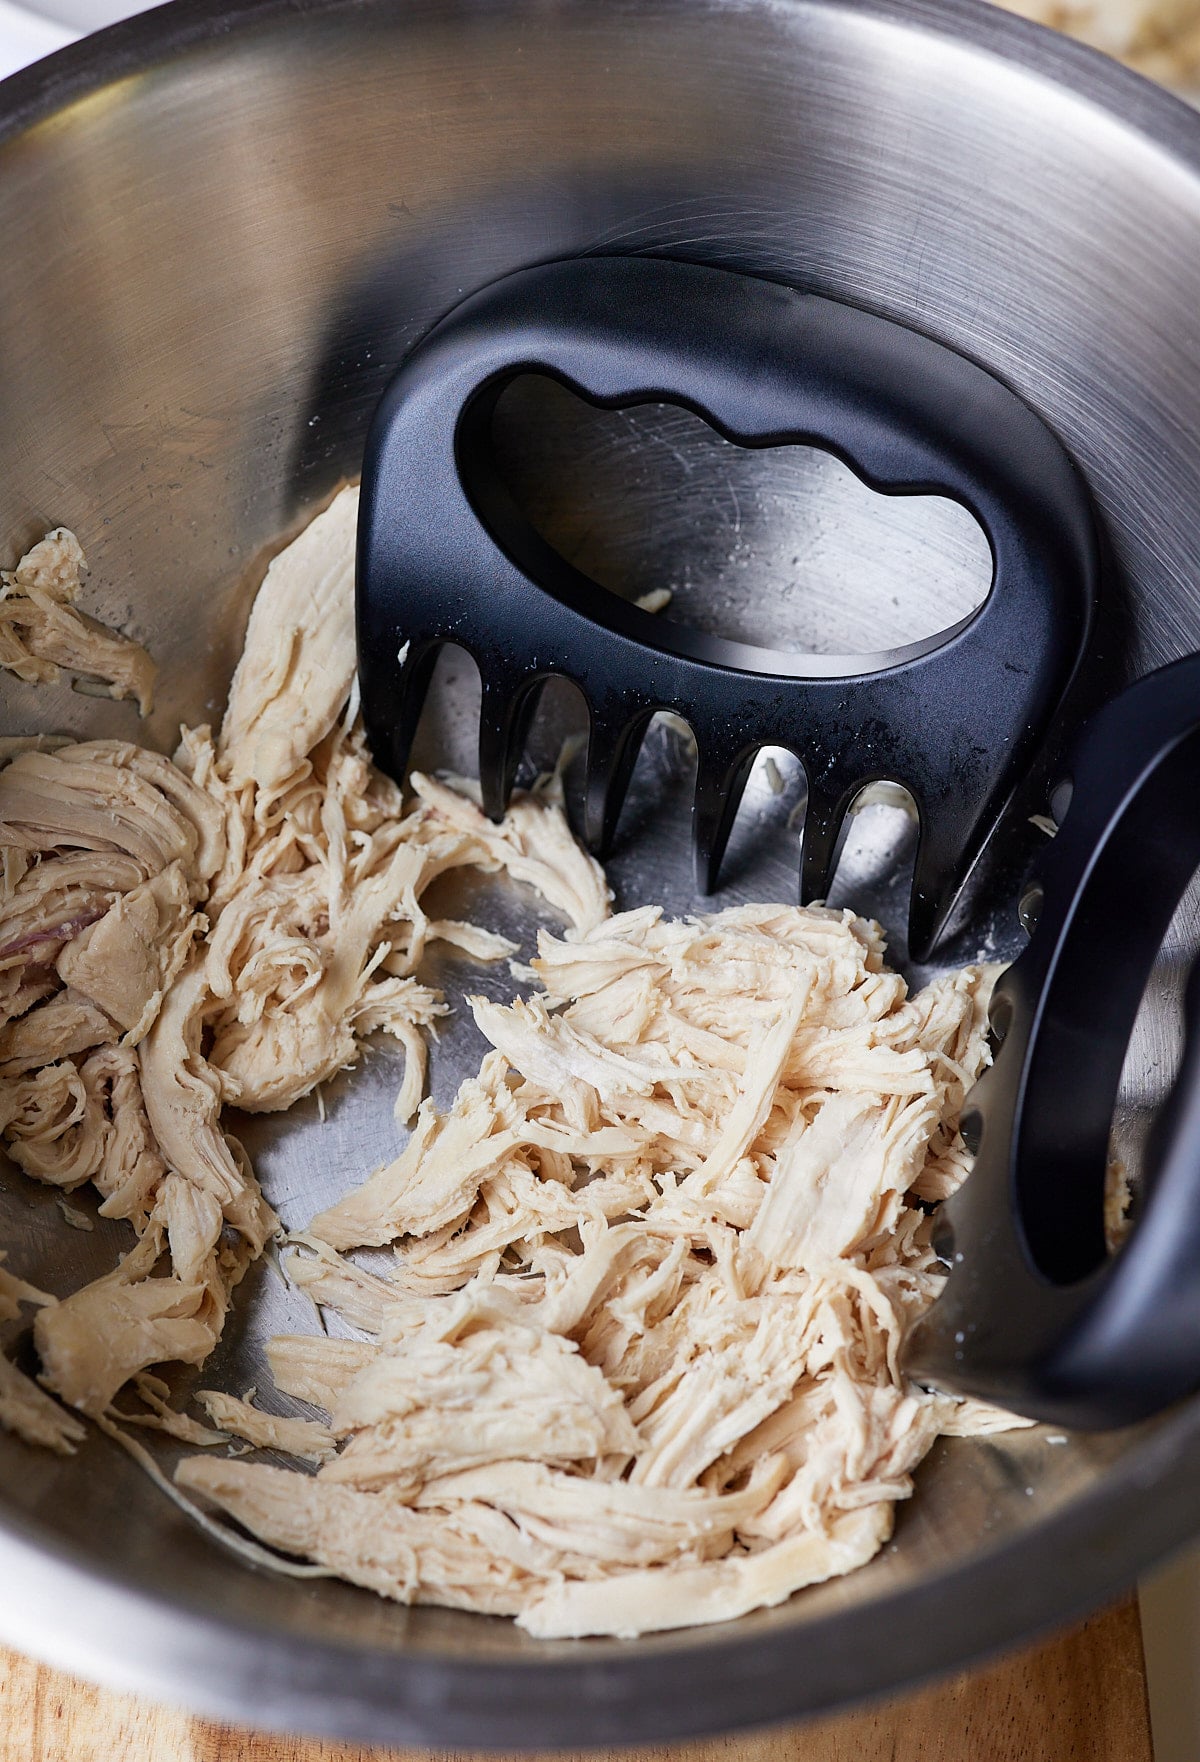
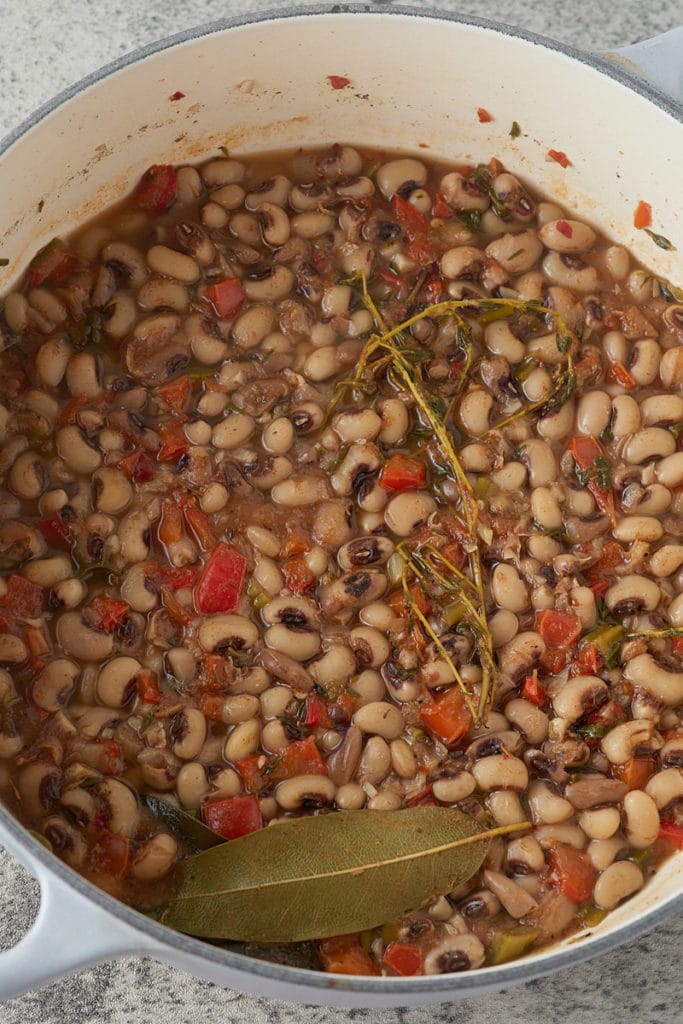
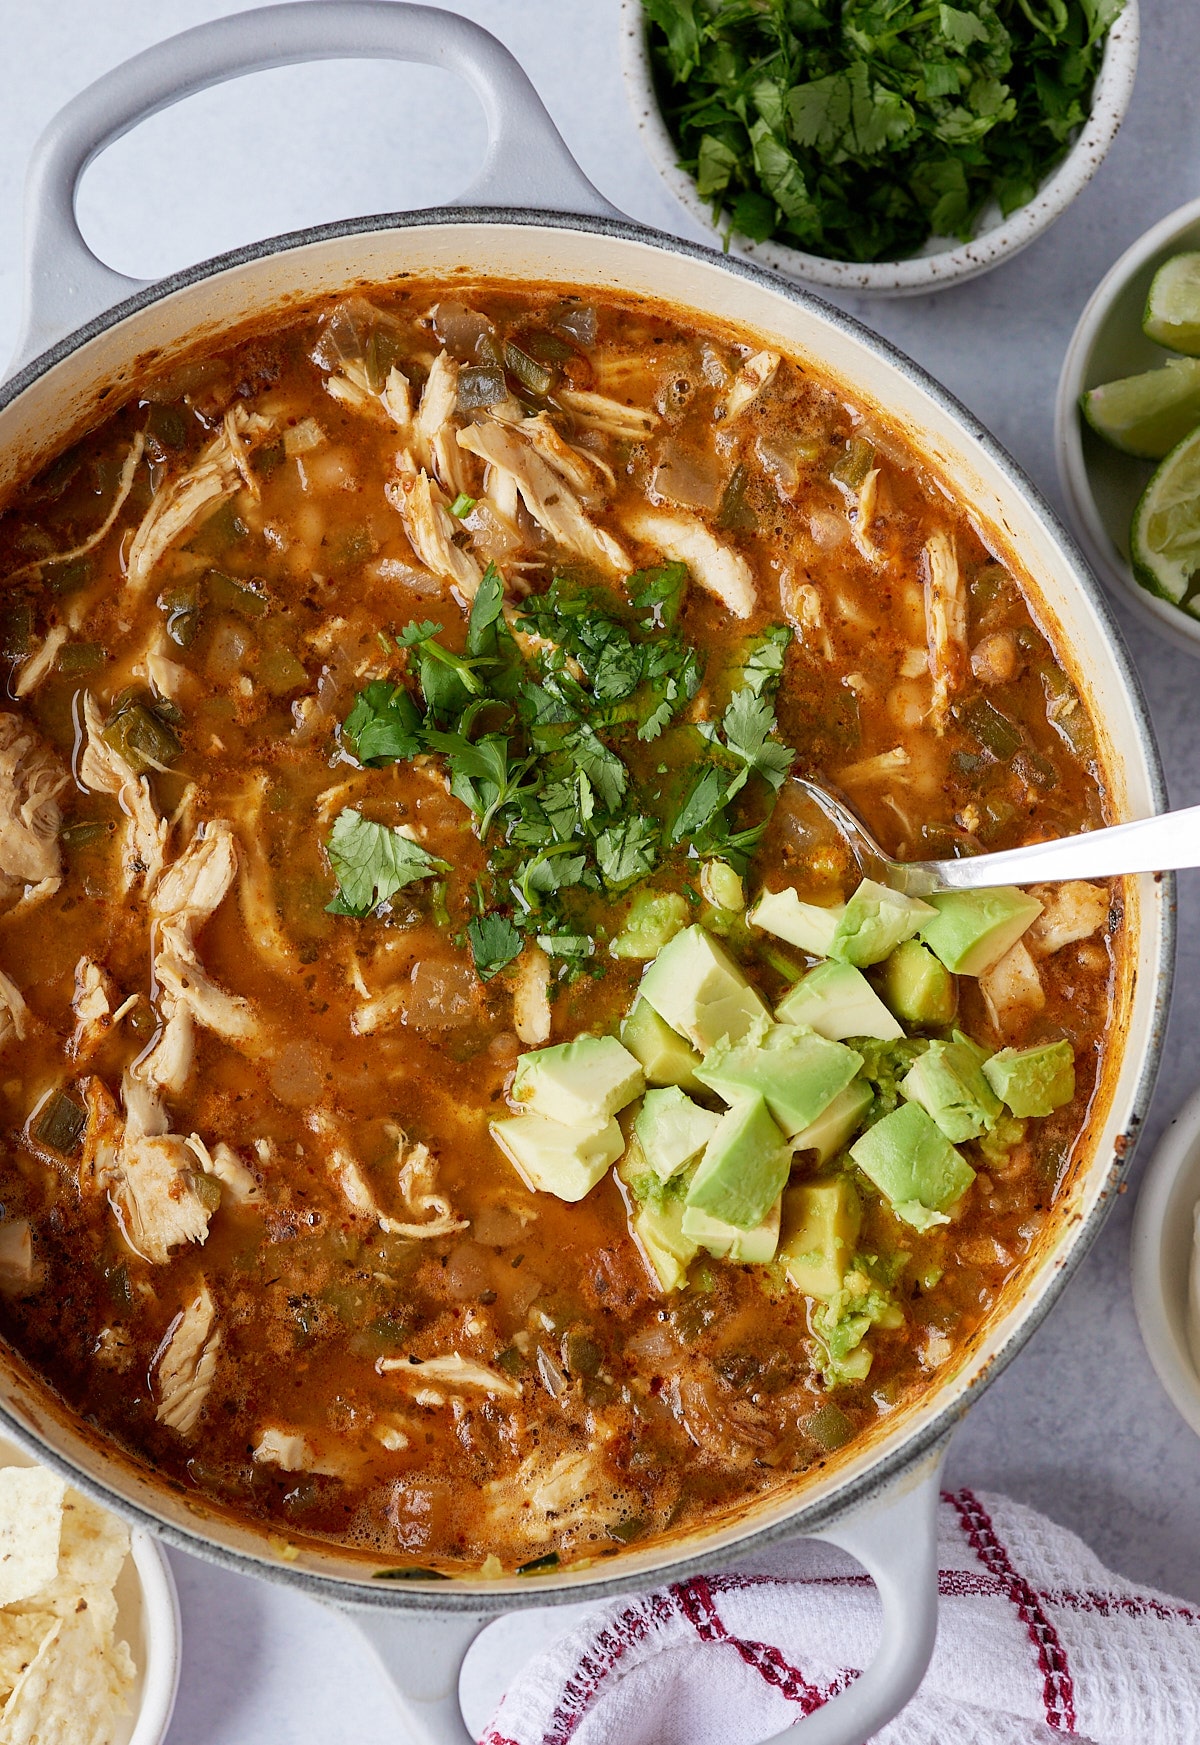
Add shredded chicken and continue to simmer for an additional 3-4 minutes until heated through.


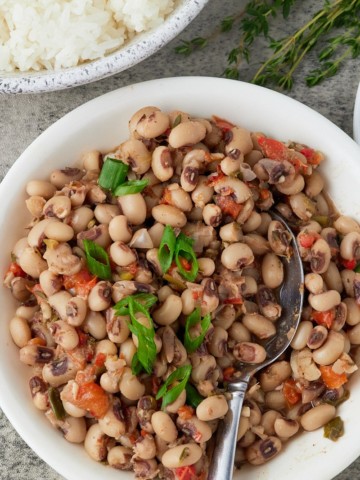
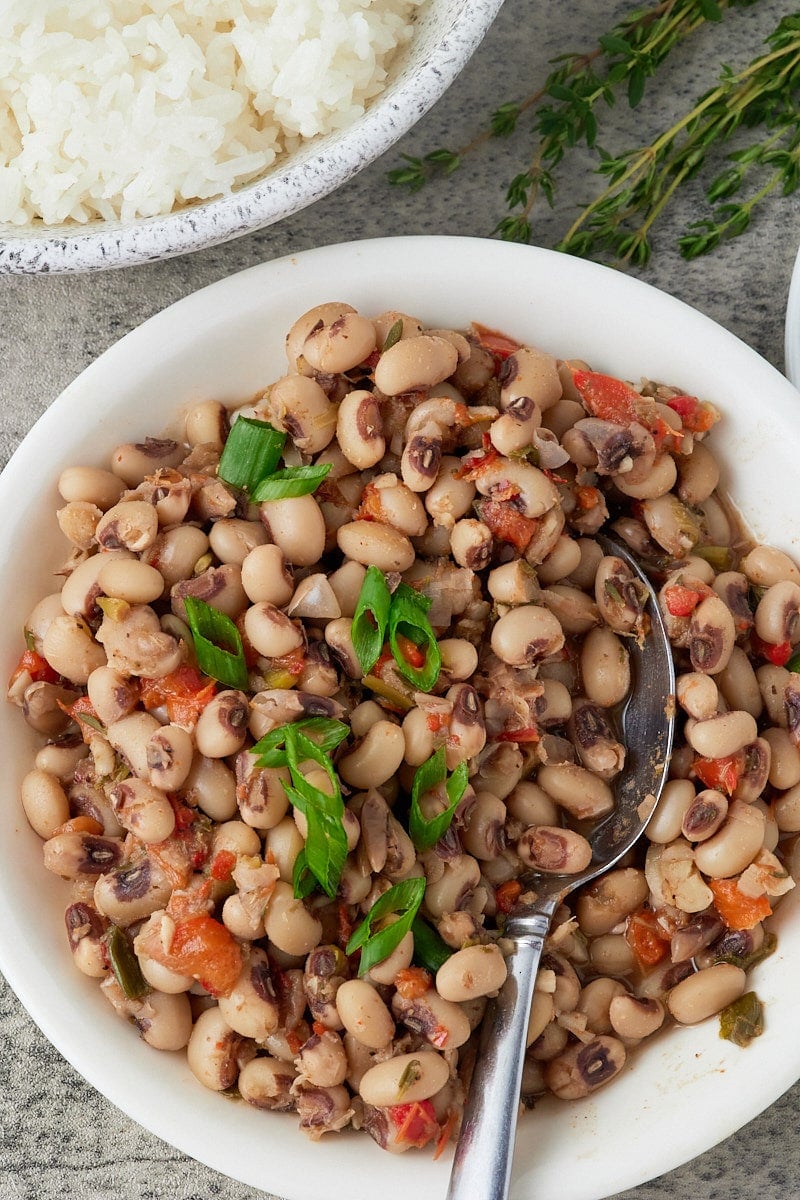
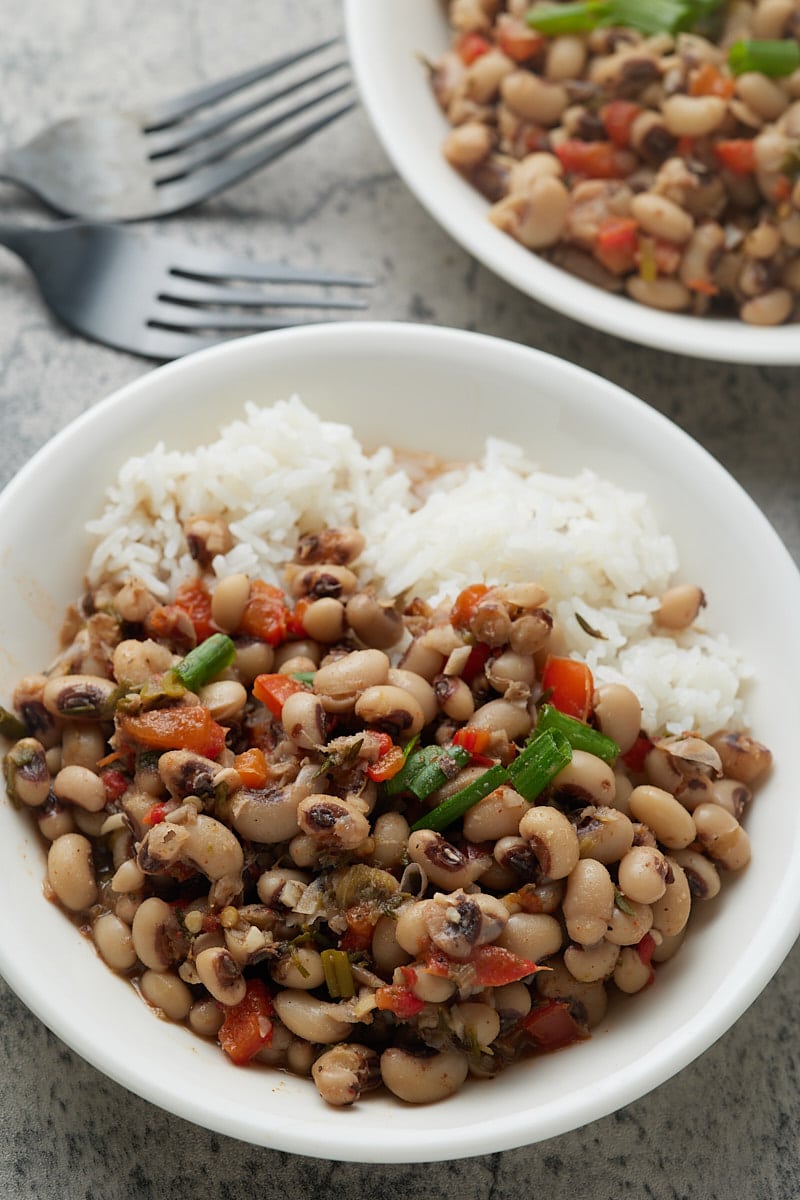
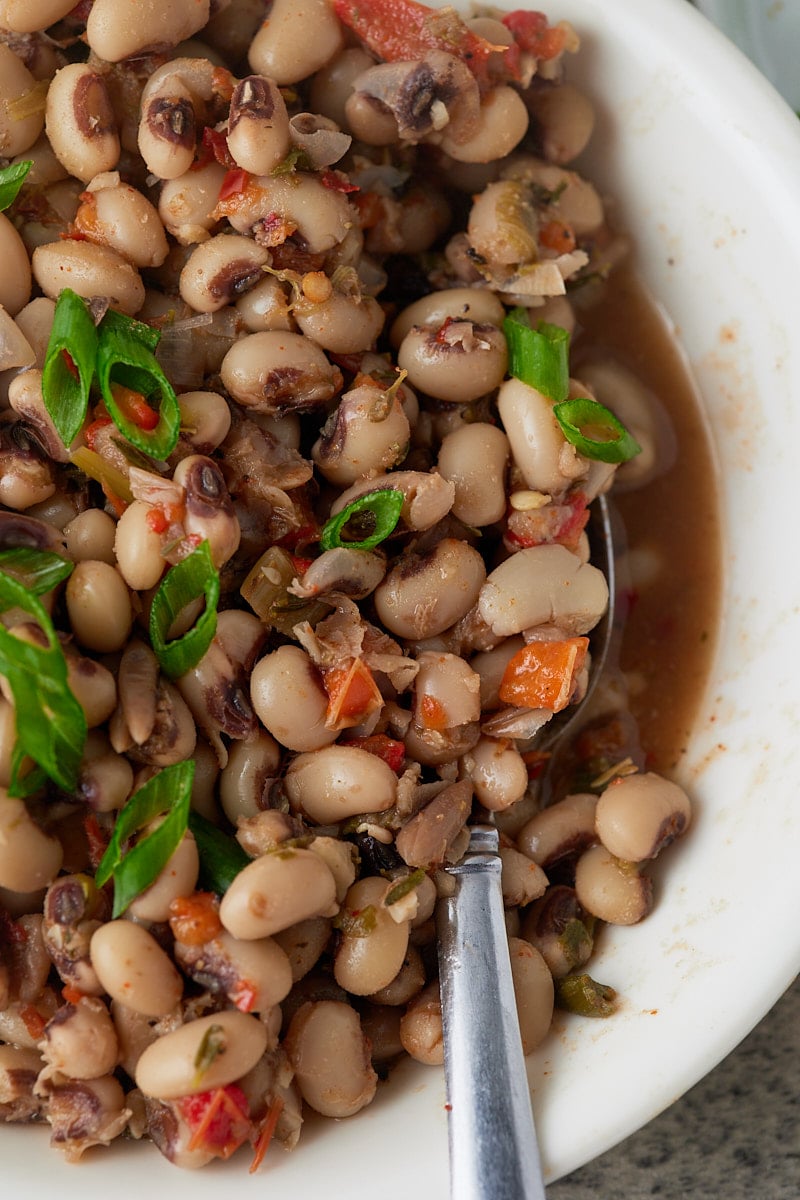
Serve with desired toppings. Enjoy.
How to thicken chicken chili?
This chili as written is loaded with peppers, onions, and chicken, but there is still a good amount of broth to balance it out. If you still want it thicker, you can use certain thickeners, like cornstarch, to thicken the chili.
To drain the beans or not drain the beans?
You’ll notice for this recipe, I do not drain the beans. The main purpose of draining beans before adding to chili is to reduce the amount of salt and sodium. For this recipe and its use of Navy beans, I chose to use the liquid in the can. If you would like to reduce the amount of sodium, you can purchase low sodium beans or drain the beans and an additional ½ cup of chicken broth.
What can I top this chicken chili with?
Cilantro and sour cream are my favorites! Stirring in a spoonful of sour cream in this chili will lighten up the color, making it white chicken chili. You could also try adding chopped avocado, tortilla strips or chips, and cheddar cheese.

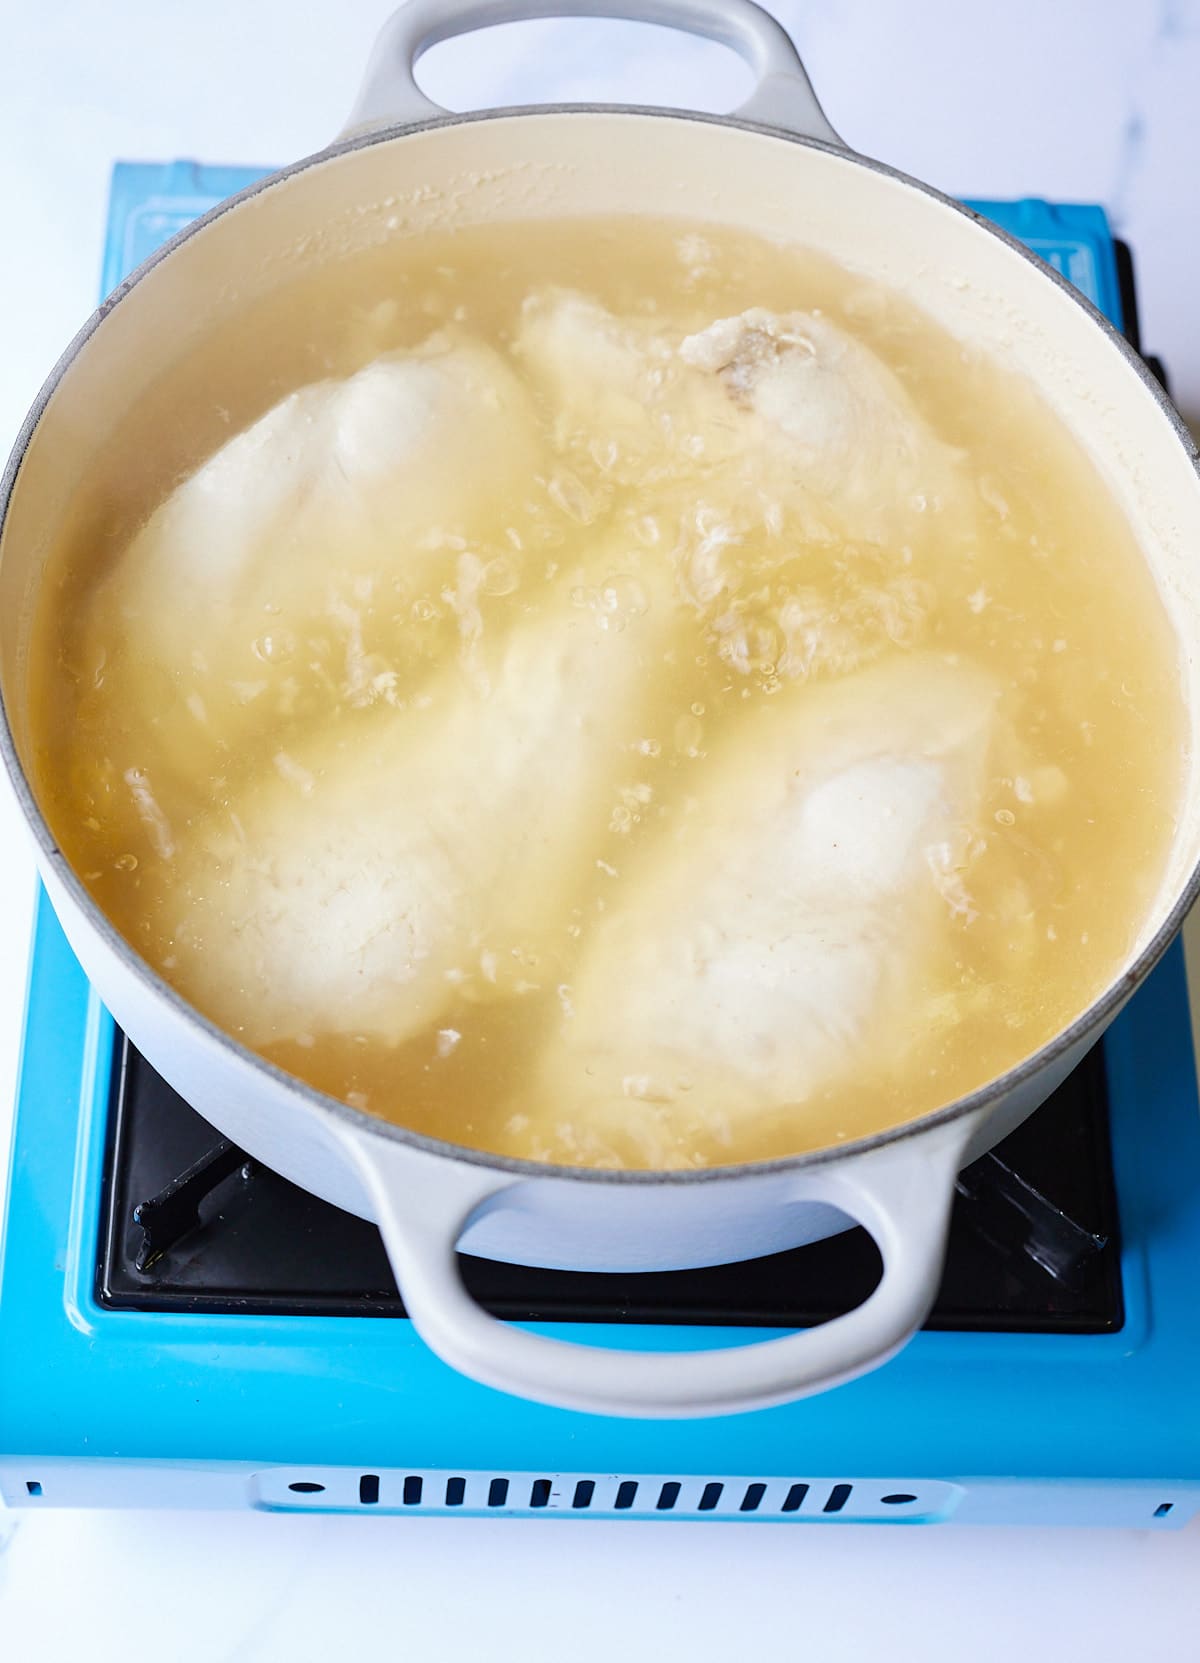
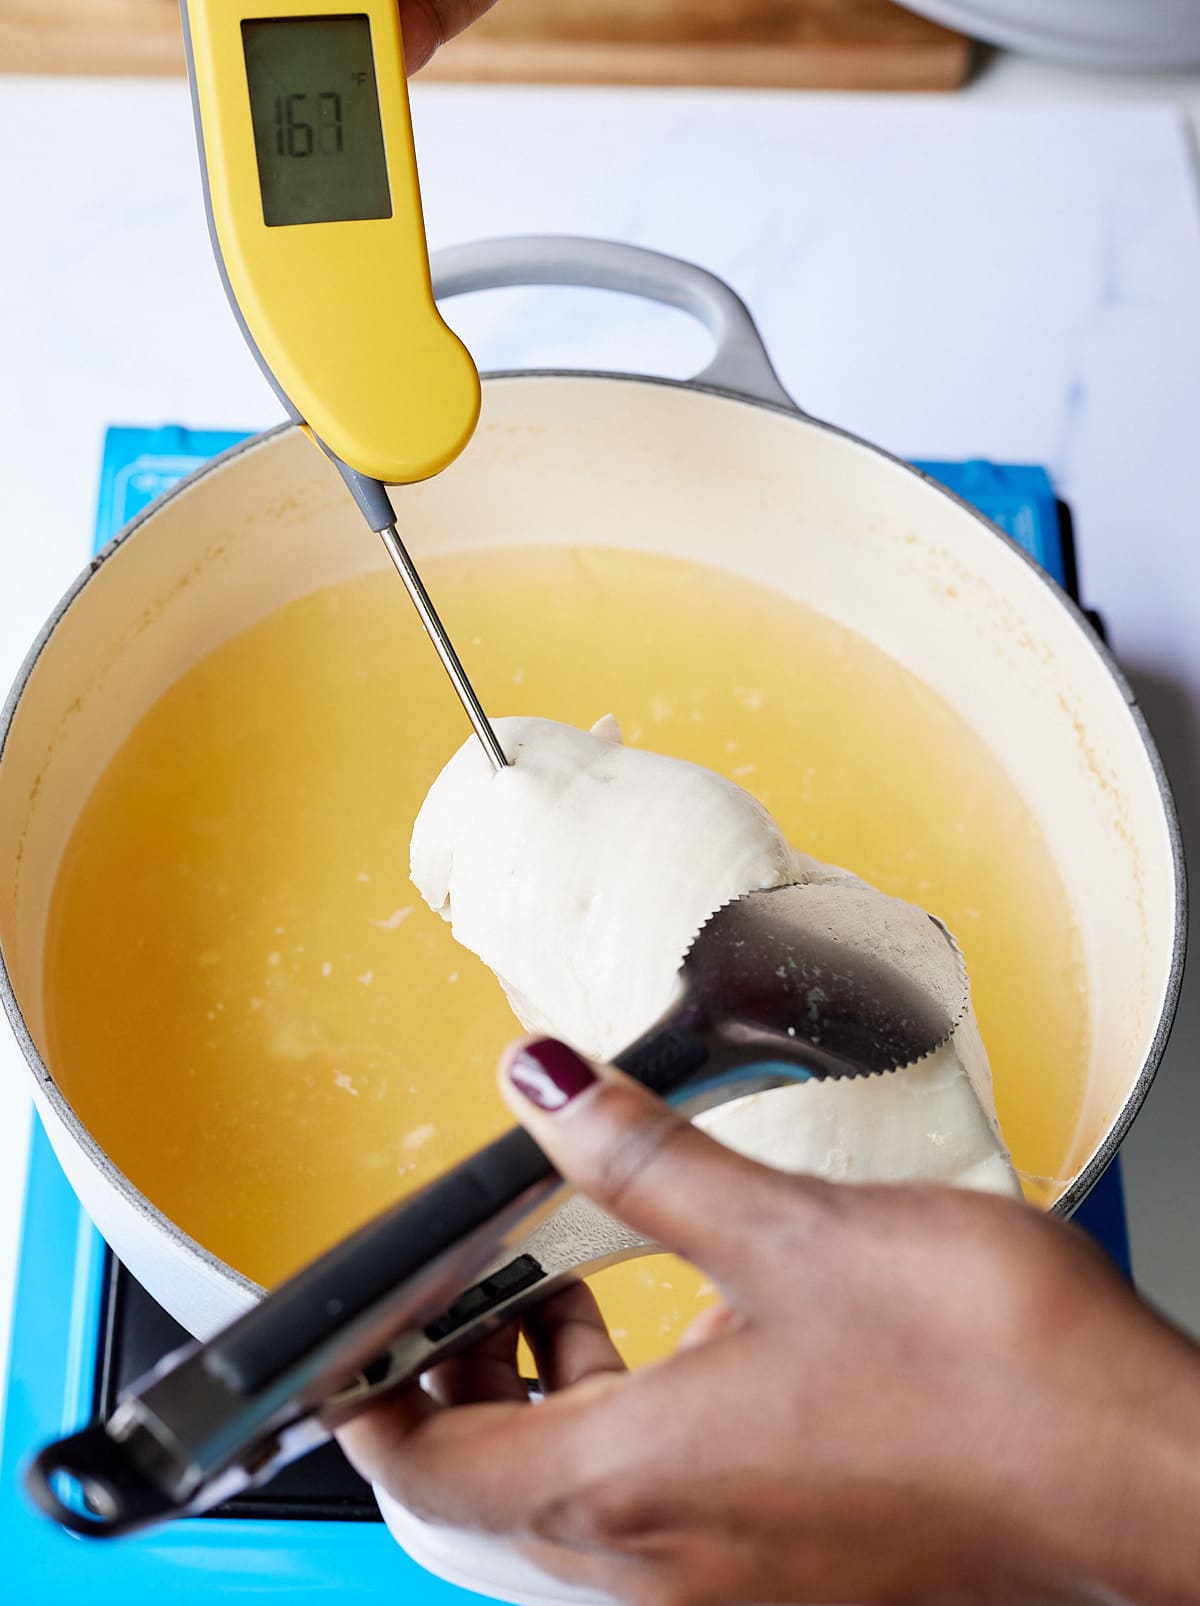
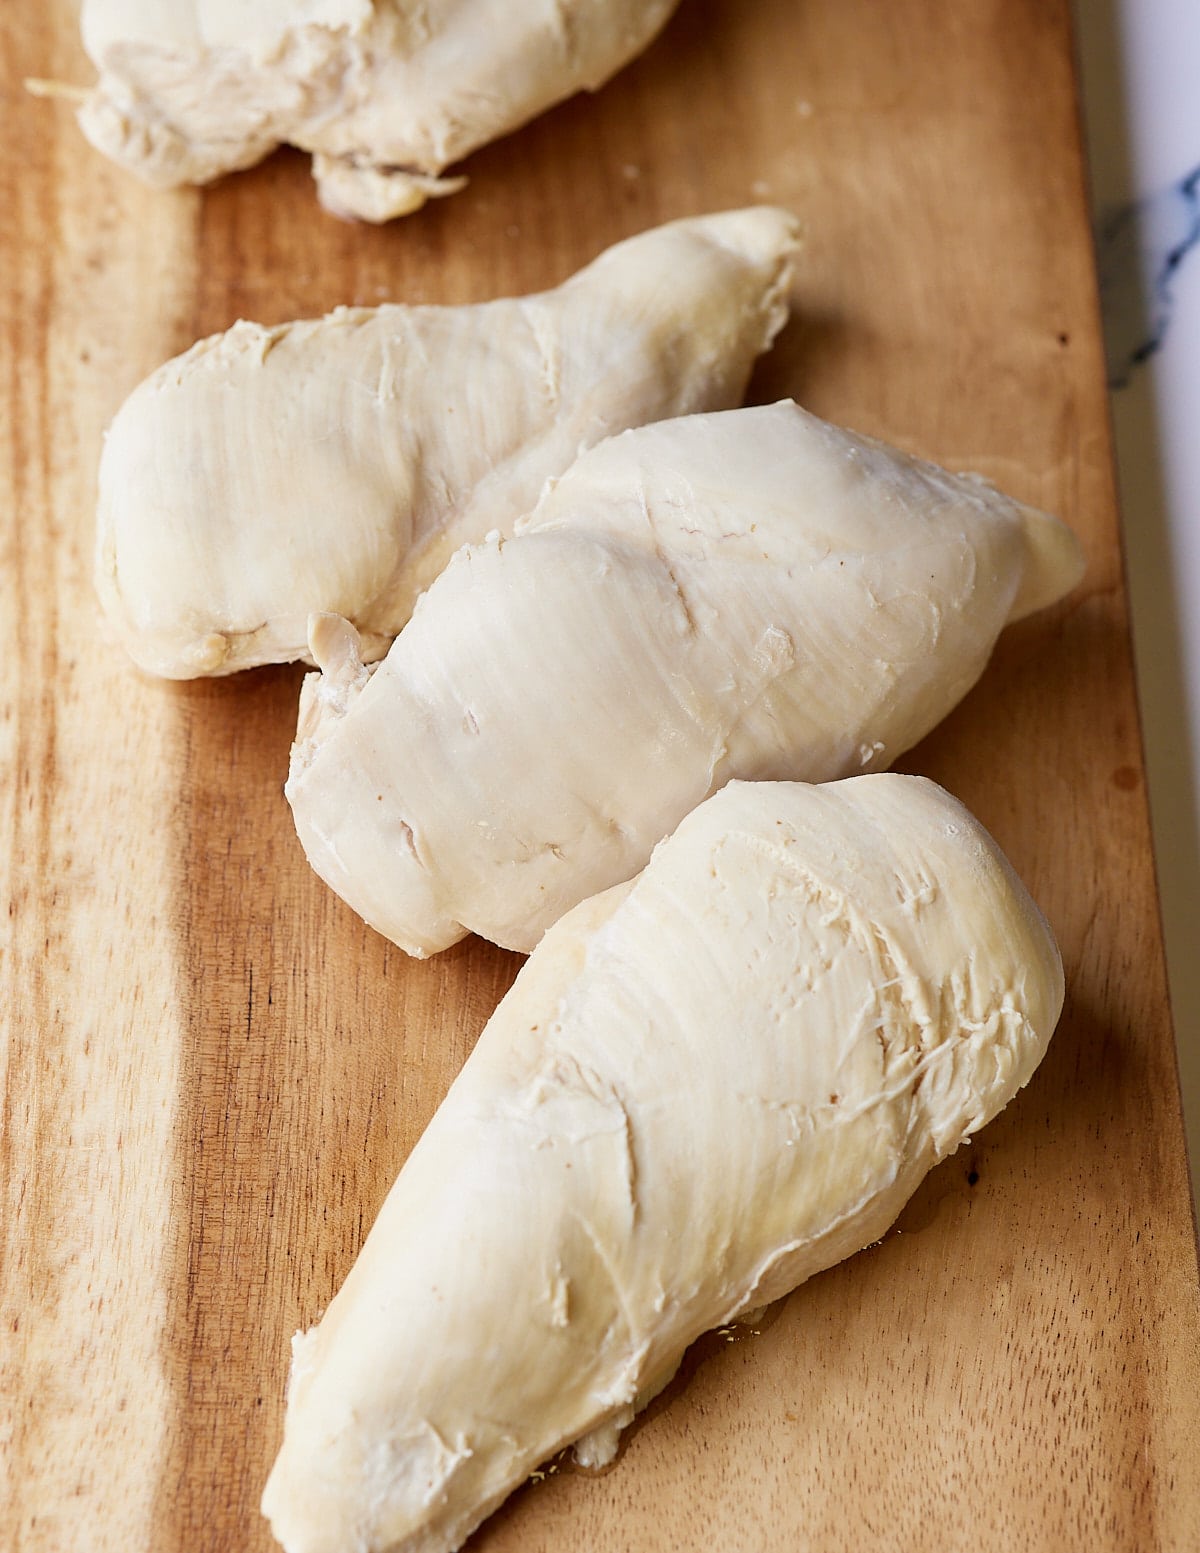
Where to find Leftover Chicken
I like to make a batch of chicken breast to use throughout the week in recipes just like this. I like to boil my chicken breast or make my chicken breast in the air fryer or oven. You could also use the chicken from a rotisserie chicken.
Notes
- This chicken chili will last in your fridge for 3-4 days and can be frozen for up to 4 months. Leftovers are absolutely delicious.
- If you aren’t a fan of any spice, feel free to leave the jalapeño peppers out.
- Navy beans can be subbed with other beans like pinto, Cannellini, and Great Northern beans.
- If you don’t have a food processor, simply mash the beans before adding them to the soup.
I hope you love this chicken chili as much as we do. Looking similar bowls of comfort? Try these out:

Easy Chicken Chili
Ingredients
- 2 15.5 oz canned navy beans undrained and separated
- 2 Tablespoons olive oil
- 1 yellow onion chopped
- 2 poblano peppers chopped
- 2 jalapeño peppers seeds and membrane removed, chopped
- 4 garlic cloves chopped
- 2 teaspoons chili powder
- 1 teaspoon cumin powder
- 1 teaspoon dried oregano
- 3 cups chicken broth
- 2 Tablespoons lime juice
- 3 cups cooked shredded chicken
- Salt and pepper to taste
- Cilantro and sour cream for serving or other desired toppings
Instructions
- Place 1 can of the navy beans in a food processor and process until smooth. Set aside.
- Heat oil in a large heavy-bottom pot over medium-high. Add onions, poblano peppers, and jalapeño peppers and saute for about 5 minutes, until softened. Add garlic and saute for an additional minute.
- Add chili powder, cumin, dried oregano, and saute for an additional 30 seconds to toast the spices.
- Pour in chicken broth, lime juice, beans (the whole ones and the processed ones), and bring to simmer for about 20 minutes.
- Add shredded chicken and continue to simmer for an additional 3-4 minutes until heated through. Salt and pepper to taste.
- Serve with desired toppings. Enjoy.
Notes
- This chicken chili will last in your fridge for 3-4 days and can be frozen for up to 4 months.
- Leftovers are absolutely delicious.
- If you aren’t a fan of any spice, feel free to leave the jalapeño peppers out. Navy beans can be subbed with other beans like pinto, Cannellini, and Great Northern beans.
- If you don’t have a food processor, simply mash the beans before adding them to the soup.