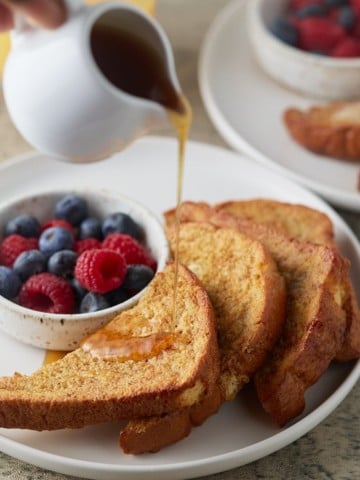
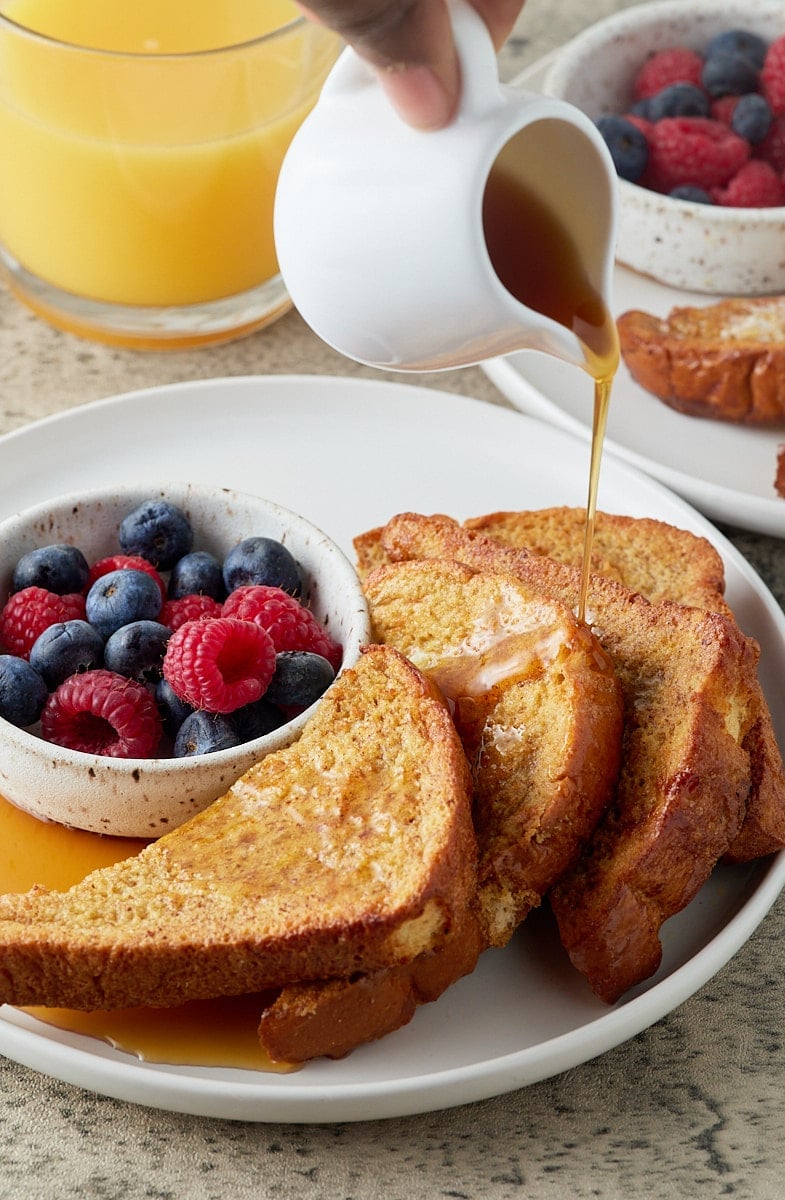
Perfect for a quick breakfast or a lazy Sunday brunch, classic French toast is so easy to make in your air fryer. Perfectly sweet, this family-friendly recipe is best served with lashings of maple syrup!
This post contains affiliate links, please read my full disclaimer here.
You’ll find the full recipe with ingredient amounts and instructions in the recipe card at the bottom of this post. Be sure to check out the blog post itself for extra tips and tricks!
I have always had a soft spot for French toast, and I'm now addicted to this air fryer recipe! I know, I know...french toast is easy enough in a skillet. But hey, sometimes the skillet just isn't available or the results aren't consistent. Whatever the need, french toast in the air fryer is mighty easy to make.
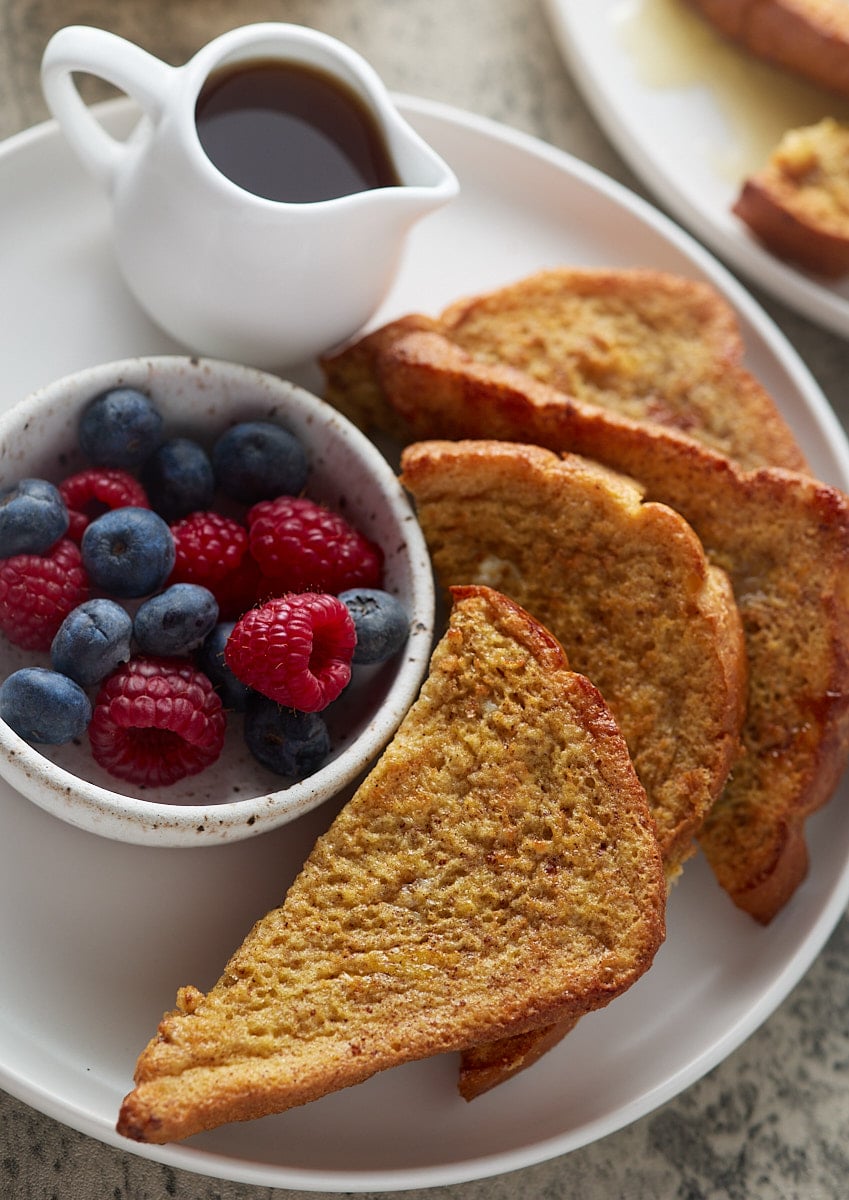
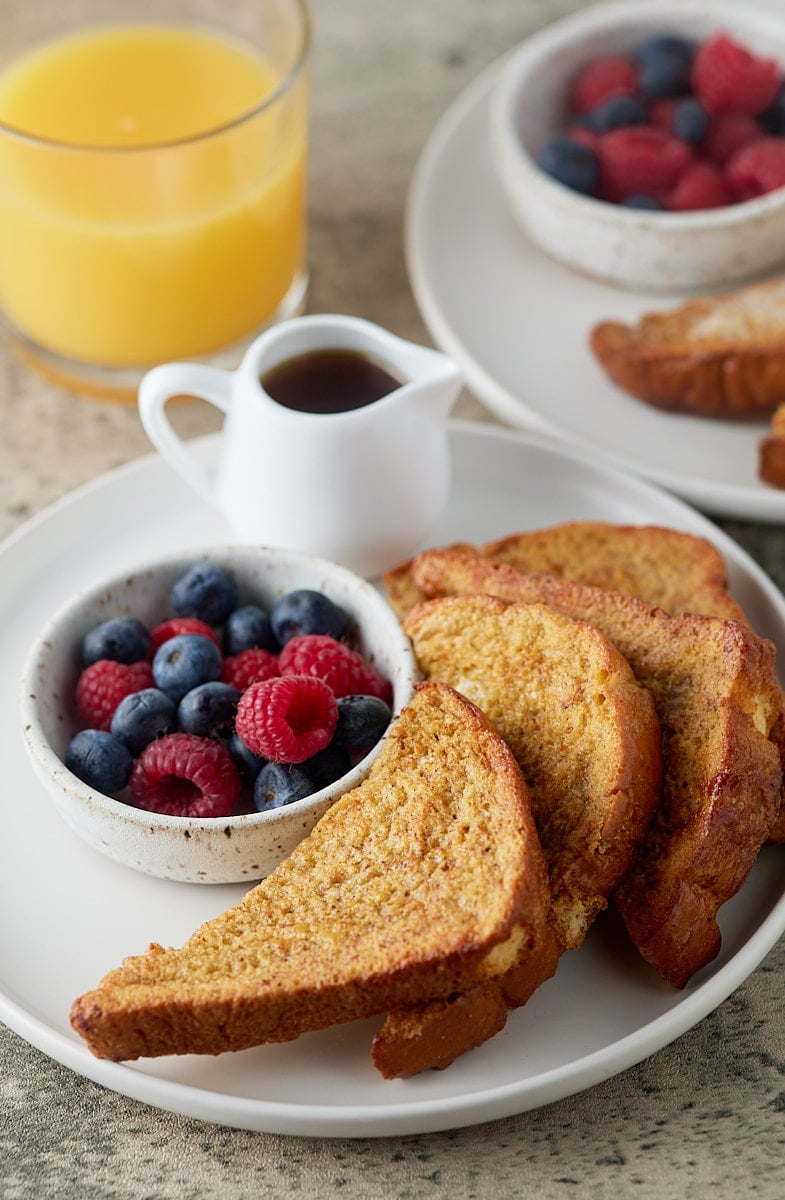
This recipe makes enough for 2 servings, about a slice and a half each serving. The french toast is perfectly crisp on the outside thanks to the high-powered heat of the air fryer.
Made with brioche bread and seasoned with vanilla and cinnamon, this delicious recipe is ready to serve in less than 15 minutes. Perfect for a family weekend breakfast or brunch, French toast has never been easier to make!
Be sure to try my Air Fryer Granola and these other Delicious Air Fryer Breakfast Recipes!
How to make air fryer French toast
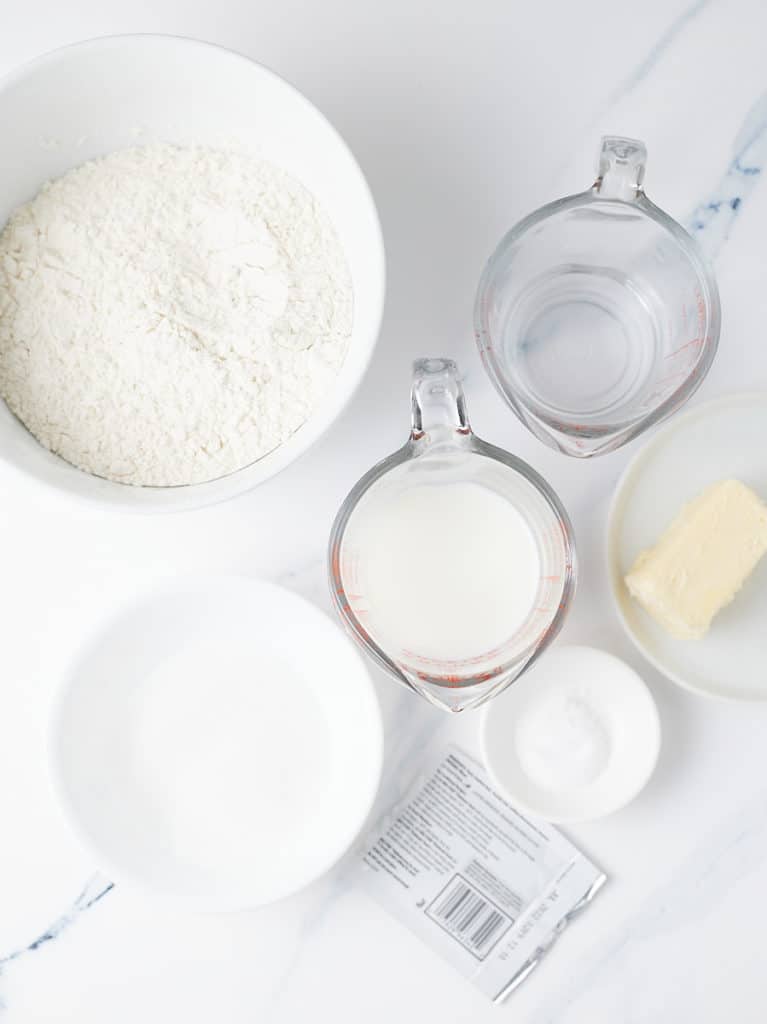
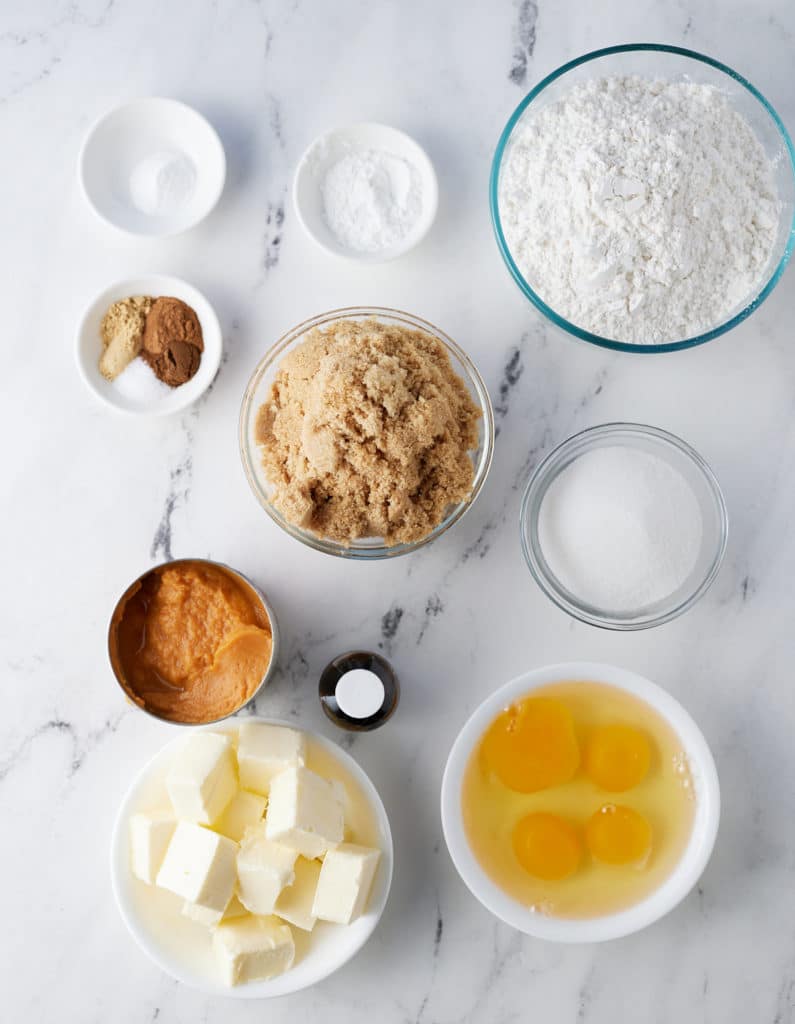
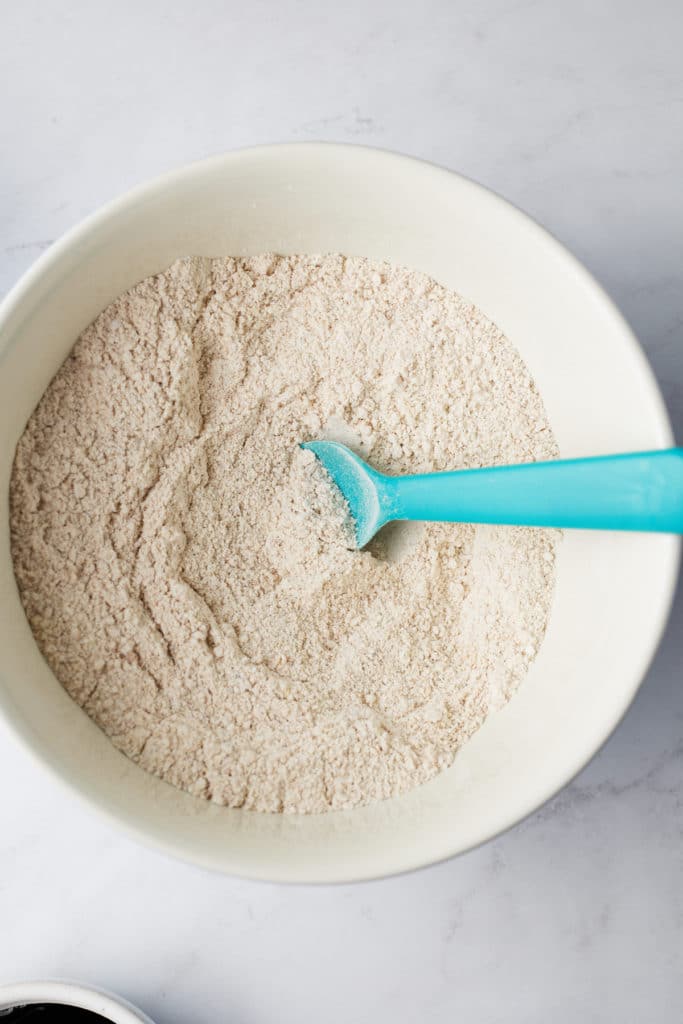
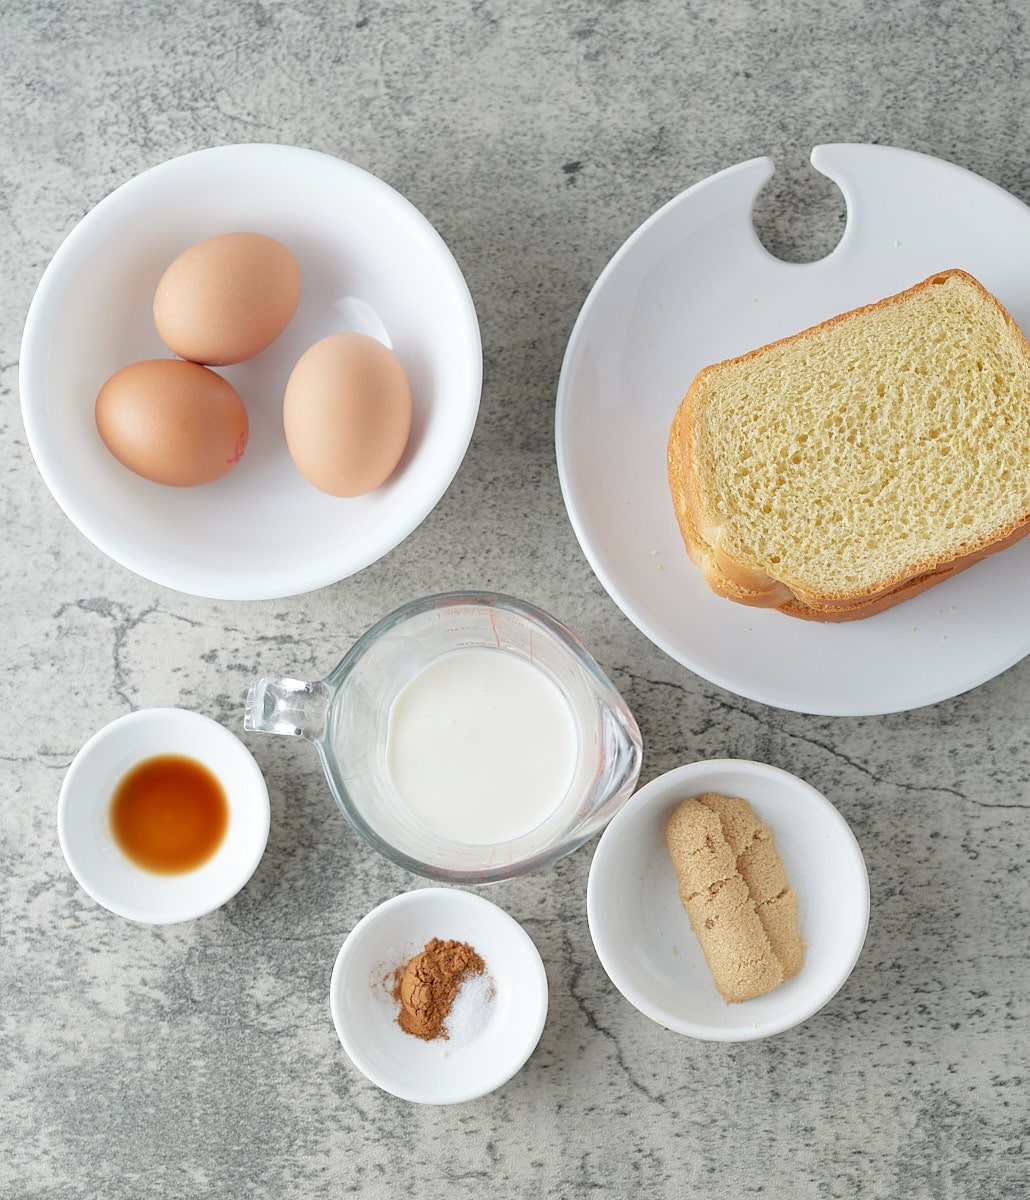
- Gather your ingredients.
- Preheat the air fryer to 380 degrees Fahrenheit.
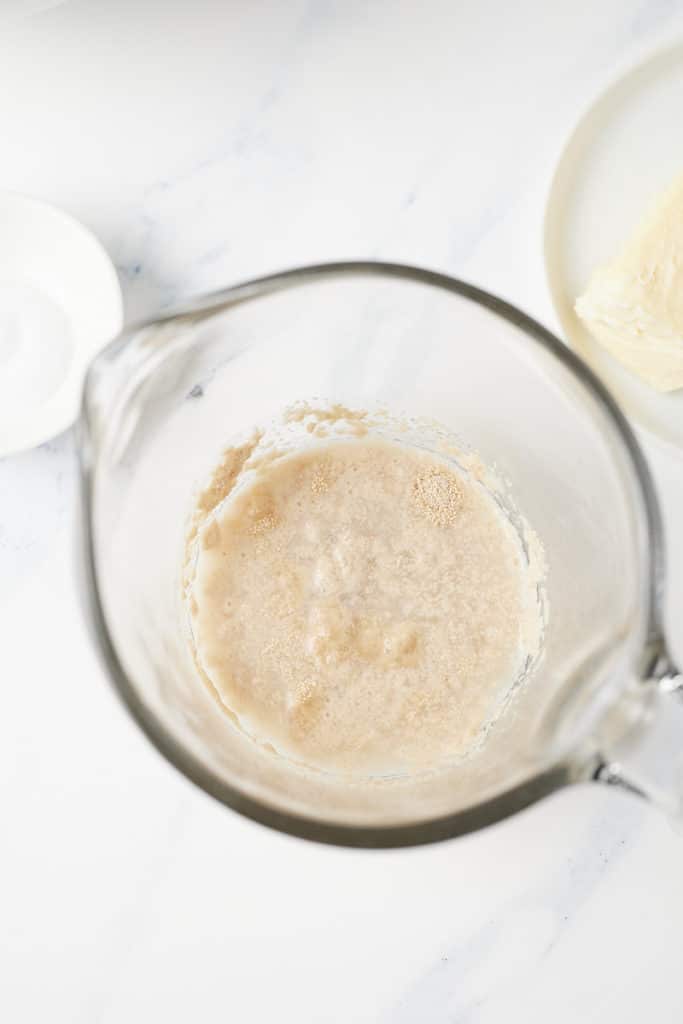
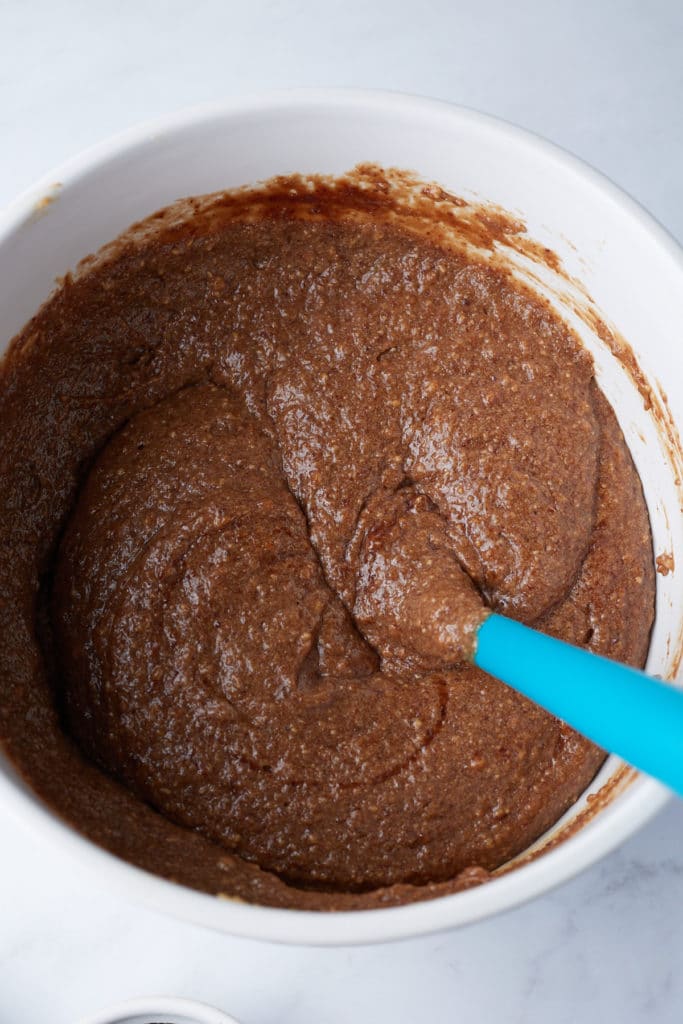
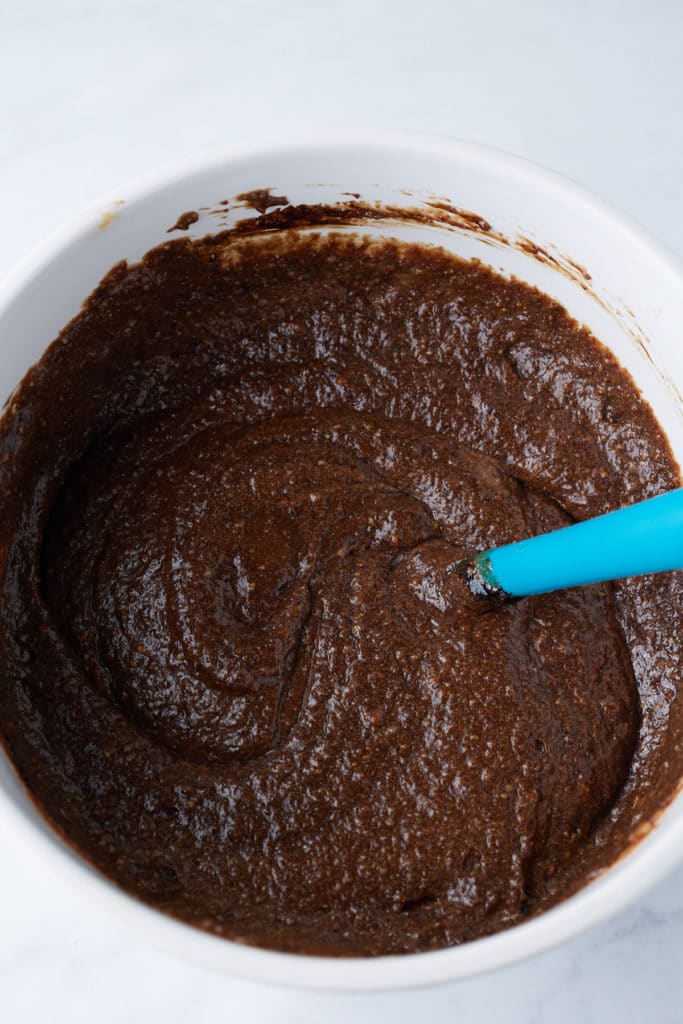
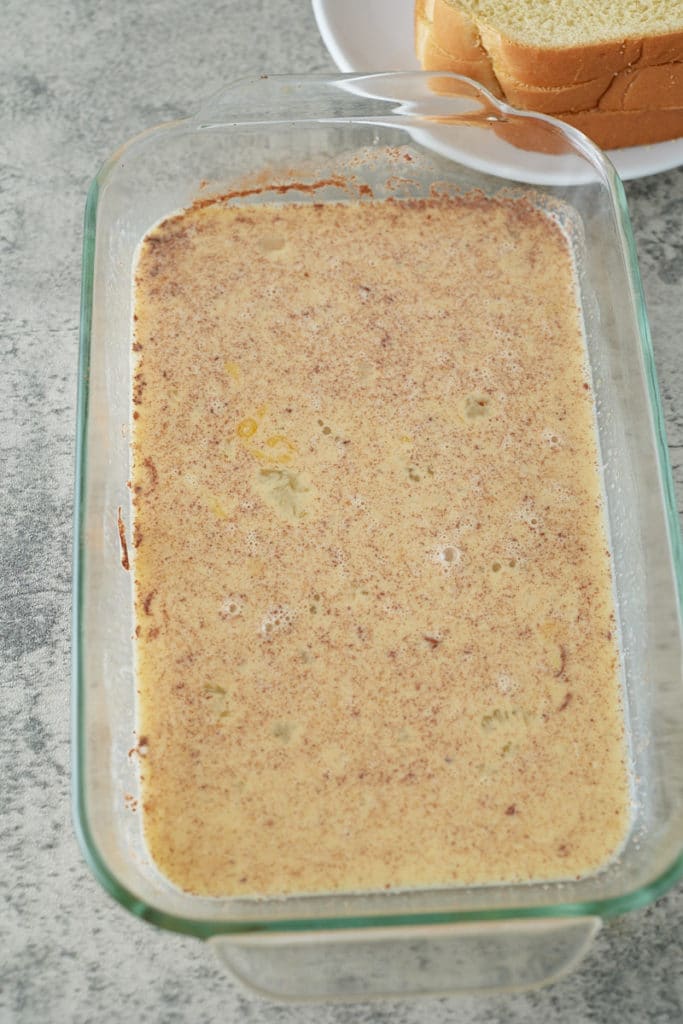
- Combine eggs, heavy cream, light brown sugar, vanilla extract, ground cinnamon and salt in a large shallow bowl. Set aside.
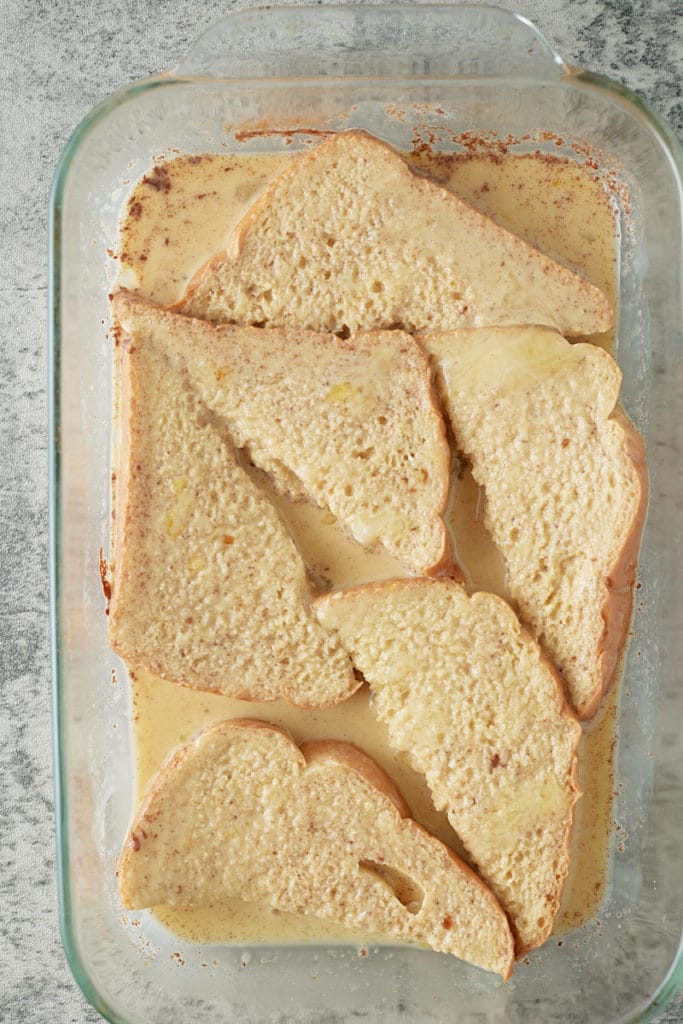
- Lay bread slices in egg mixture and allow mixture to soak for 10 seconds on each side.
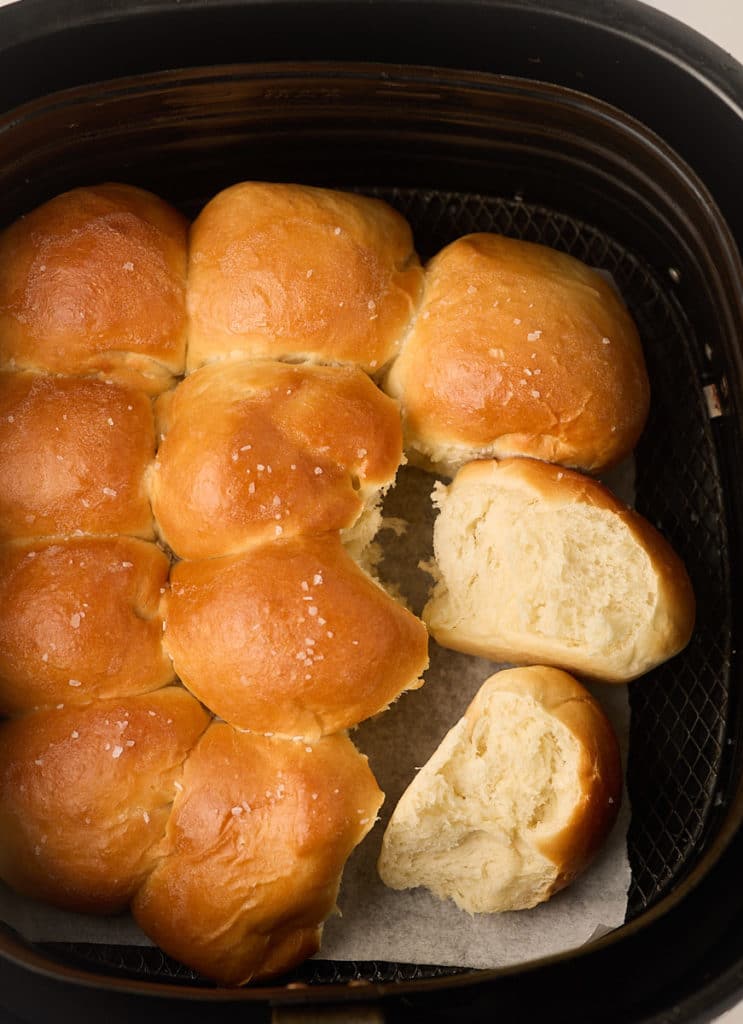
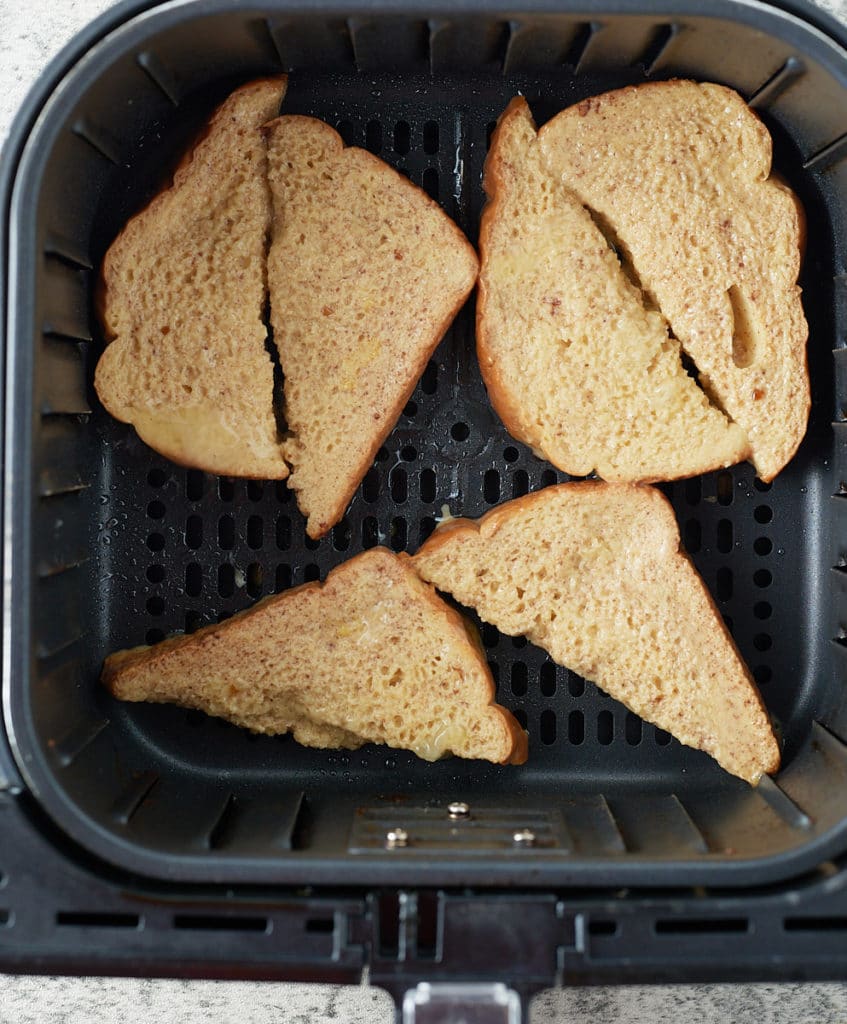
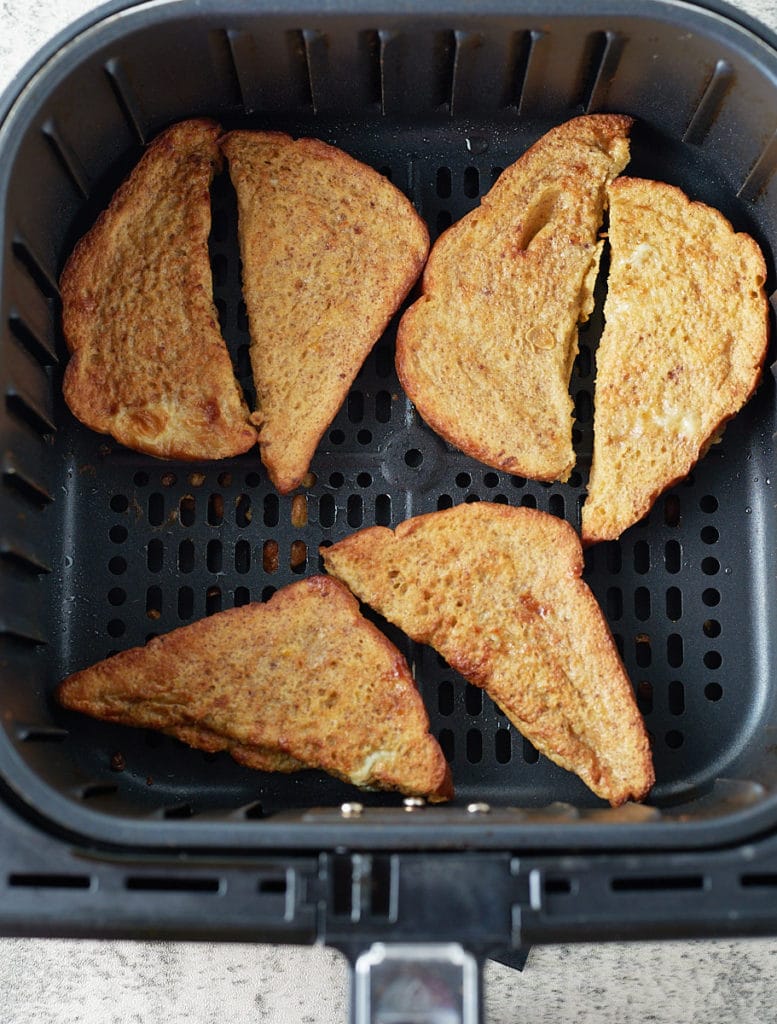
- Spray air fryer basket with oil and lay air fryer slices in basket. Close and cook on 380F for 4 minutes, then open and carefully flip bread slices and cook for an additional 3.
- Remove, serve and enjoy.

What's the best bread to use for French toast?
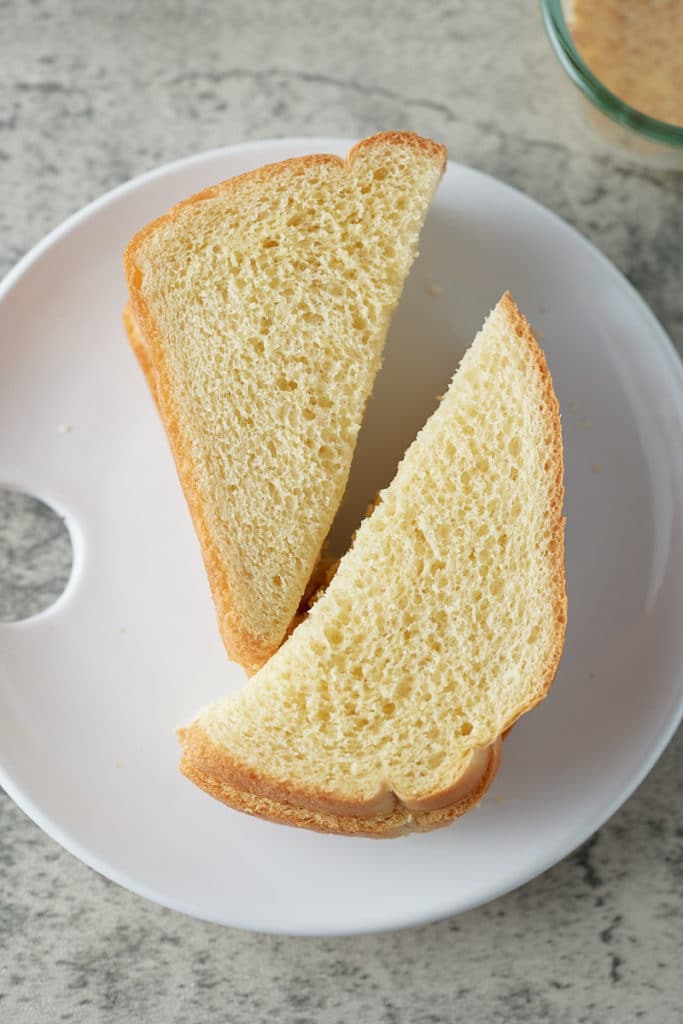
I love to make French toast with sliced brioche bread. It's slightly sweet and it really soaks up the egg mixture for that delicious custardy taste and texture. Most thickly sliced bread will work great, if you use a denser bread like sourdough, you will need to soak it for a little longer in the egg mixture. It's best to use bread that is a day or two old rather than fresh as it will be drier and will soak up more of the custard.
Why cook French toast in an air fryer?
I do find that cooking French toast in a skillet on the stovetop can be a bit hit and miss. The skillet may not be quite hot enough, or too hot, which can lead to uncooked middles and burnt outsides. This method takes all of the guesswork out and results in the most perfect French toast to serve and enjoy.
Can you make it ahead of time?
I can't resist eating my French toast as soon as I've made it, but if you are planning to serve this as a quick breakfast later in the week, or a serving to a crowd, then freezing is a great option. Make the French toast in the air fryer and let it cool completely. Freeze in an airtight container with parchment separating the layers and it will keep well for up to 3 months. Cook it right from frozen in the air fryer at 400F for 3 minutes on one side and 2 minutes on the other for a super quick breakfast option.
Recipe Notes and Tips
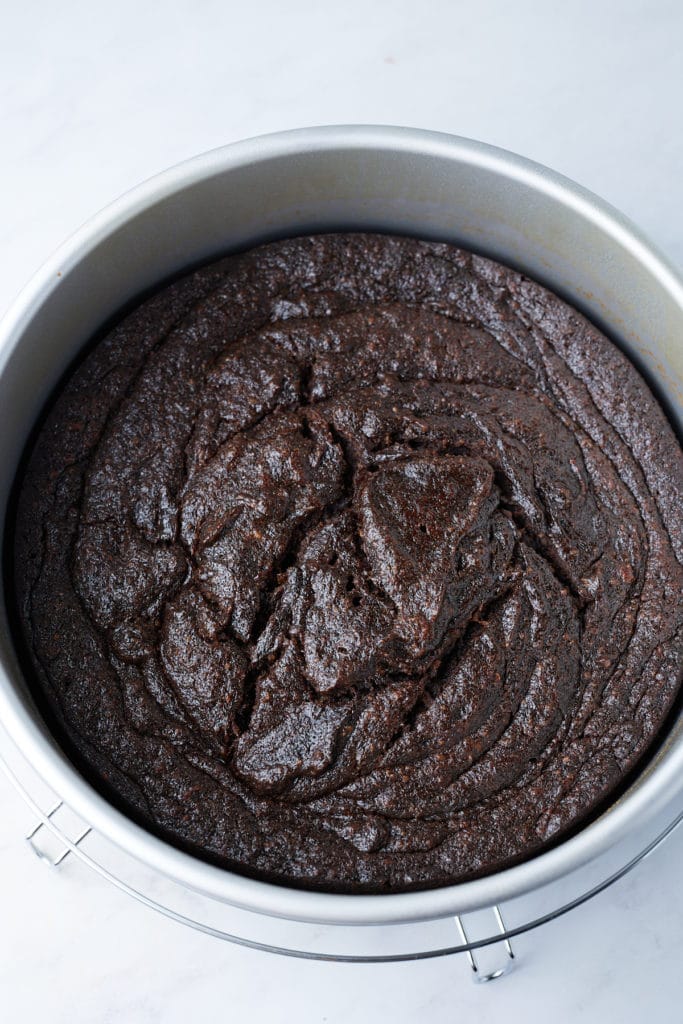
- The bottom of your french toast may have grooves in the bottom from being placed in the air fryer. This is only cosmetic and does not affect the taste or how the top of the french toast appears.
- Brioche bread is generally thicker-sliced and sweeter than normal bread. You can use other thick sliced bread if you prefer.
- I do not recommend making this recipe in air fryers with the silver metal grates. Wet batters tend to stick to those grates, no matter how much you grease them.
More Breakfast Recipes
- Banana Oatmeal Breakfast Cookies
- Breakfast Air Fried Potatoes
- Sheet Pan Pancakes
- Cheesy Corned Beef Hash Breakfast Casserole
Watch this video tutorial and see how I make this french toast from start to finish.

Air Fryer French Toast
Ingredients
- 3 large eggs
- ¼ cup heavy cream
- 2 Tablespoon light brown sugar
- ½ teaspoon vanilla extract
- ½ teaspoon ground cinnamon
- ⅛ teaspoon salt
- 3 slices of thick sliced brioche bread sliced in half
- Oil for spraying
Instructions
- Preheat the air fryer to 380 degrees Fahrenheit.
- Combine eggs, heavy cream, light brown sugar, vanilla extract, ground cinnamon and salt in a large shallow bowl. Set aside.
- Lay bread slices in egg mixture and allow mixture to soak for 10 seconds on each side.
- Spray air fryer basket with oil and lay air fryer slices in basket. Close and cook on 380F for 4 minutes, then open and carefully flip bread slices and cook for an additional 3.
- Remove, serve and enjoy.
Video
Notes
- The bottom of your french toast may have grooves in the bottom from being placed in the air fryer. This is only cosmetic and does not affect the taste or how the top of the french toast appears.
- Brioche bread is generally thicker-sliced and sweeter than normal bread. You can use other thick sliced bread if you prefer.
- I do not recommend making this recipe in air fryers with the silver metal grates. Wet batters tend to stick to those grates, no matter how much you grease them.