These cauliflower wings are the perfect appetizer. These wings are baked - not fried - and are flavored through and through. You can serve them plain or choose any of these 3 flavors: BBQ, Buffalo, or Teriyaki.

This post contains affiliate links, please read my full disclaimer here.
You’ll find the full recipe with ingredient amounts and instructions in the recipe card at the bottom of this post. Be sure to check out the blog post itself for extra tips and tricks!
I’m excited to partner with Reynolds Wrap® for this post.
In our house, we love all kinds of wings. Chicken wings would often make a presence at our dinner table, but now cauliflower wings have made their presence known. Move over chicken wings, cauliflower wings are here to stay!
Once I had cauliflower wings at a popular restaurant, I knew I had to try making them at home. I changed up the traditional method of making these wings by baking them rather than frying them, seasoning the batter so that they’re delicious right out of the oven, and coating them in panko breadcrumbs for an extra crispy finish.
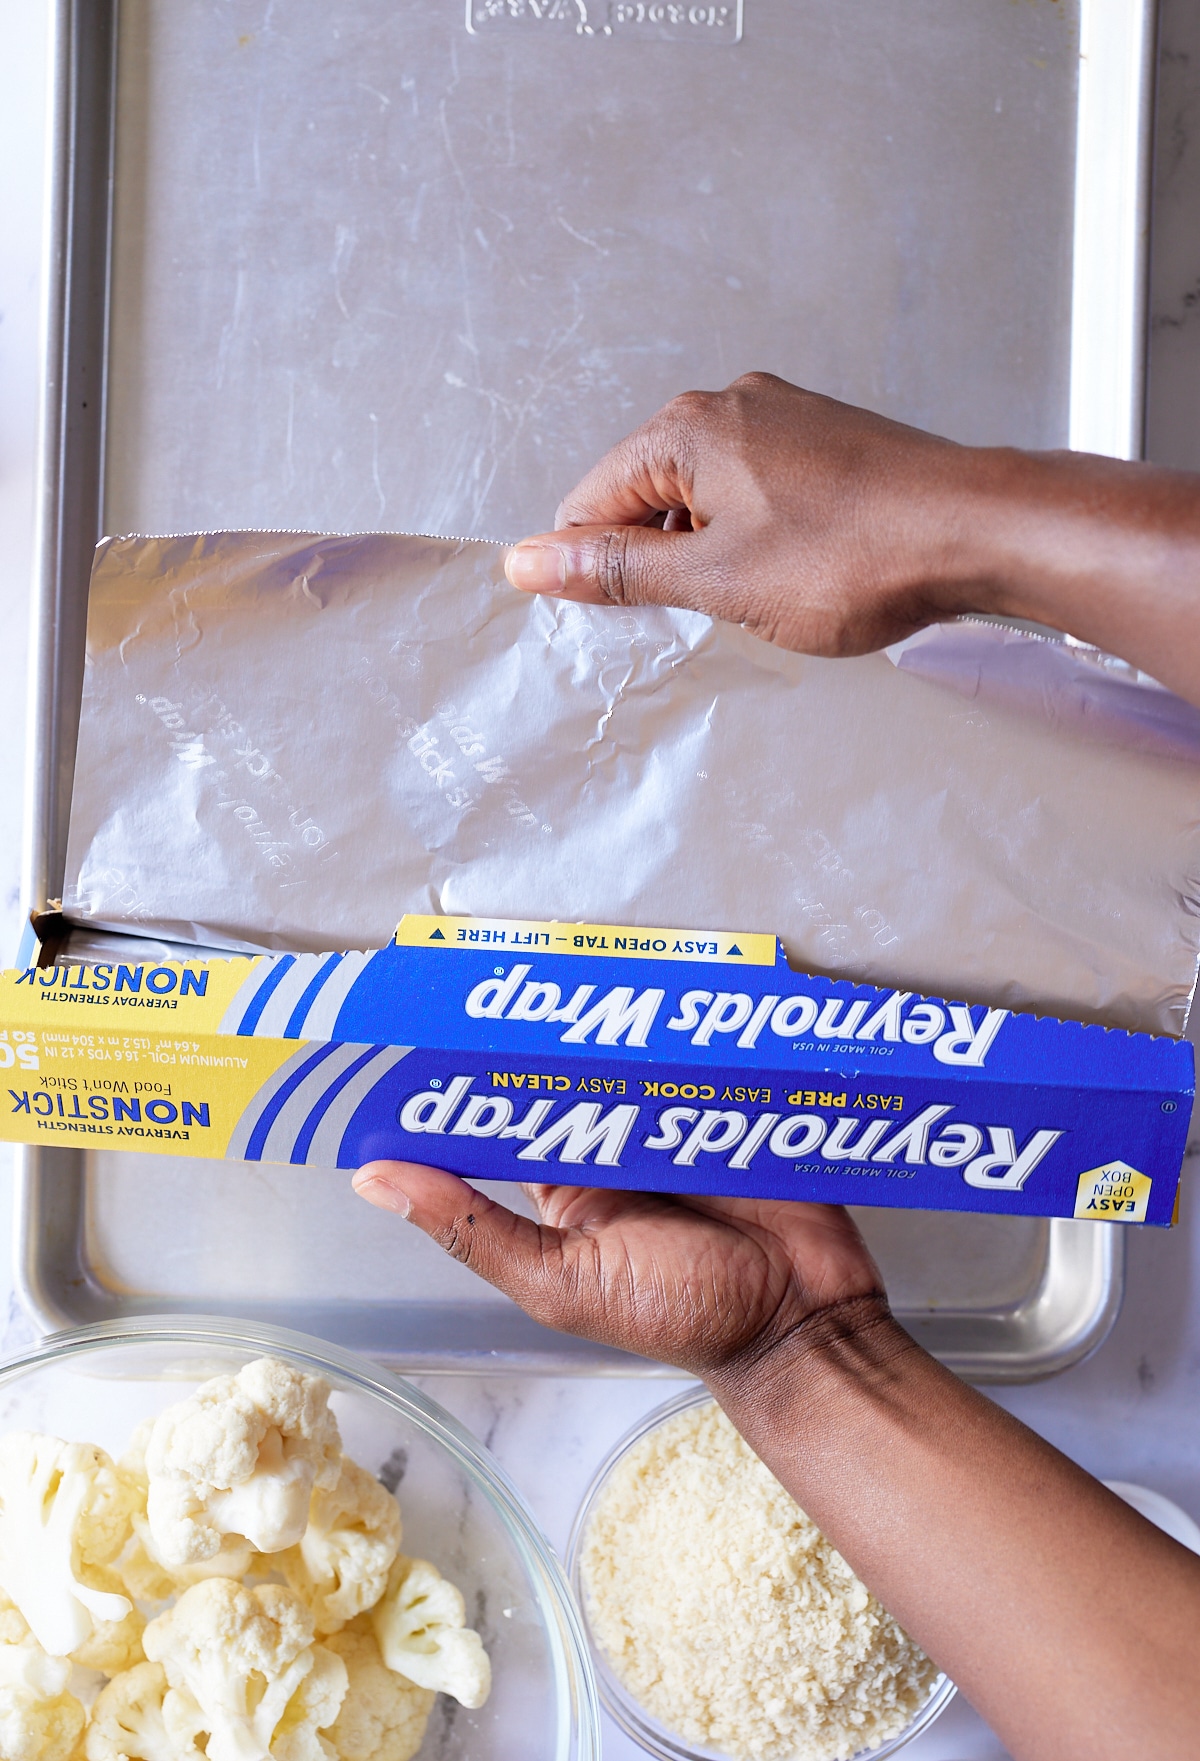
I use Reynolds Wrap® Non-Stick Foil for this recipe so that my wings don’t stick to the foil. The dull side of the non-stick foil with the watermark should always be facing up; that's the non-stick side. This allows the cauliflower to easily be removed from the pan before tossing them in the sauce. Plus, lining the pan with foil makes cleanup a breeze.
I’ve provided 3 homemade sauces for these cauliflower wings because homemade sauces are my favorite. Use one of the recipes listed below or toss these wings in your favorite sauce.

How to Make Cauliflower Wings
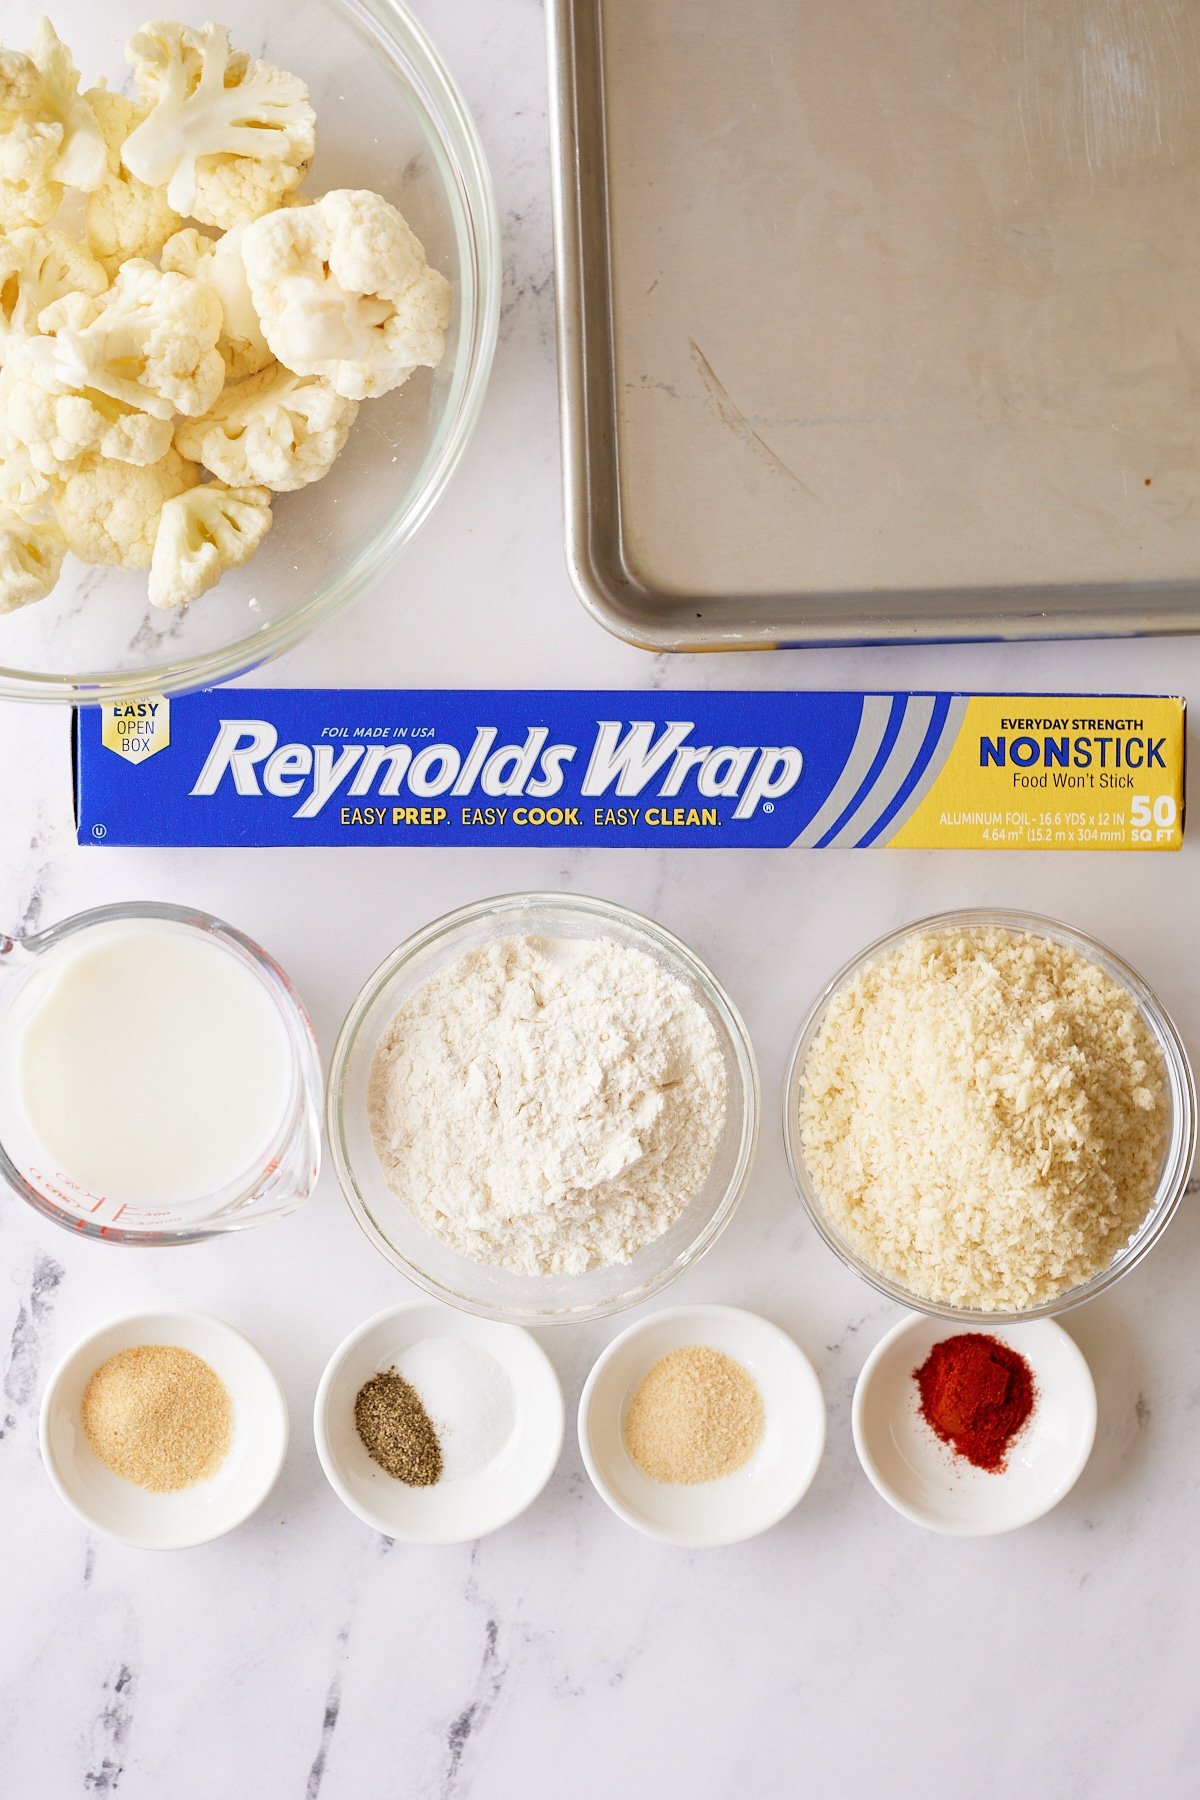
First, break your cauliflower into florets and gather all your other ingredients. Preheat your oven to 425 degrees Fahrenheit.
Then, line a large sheet pan with Reynolds Wrap® Non-Stick Foil. Make sure the dull side is up as this is the side that is non-stick.
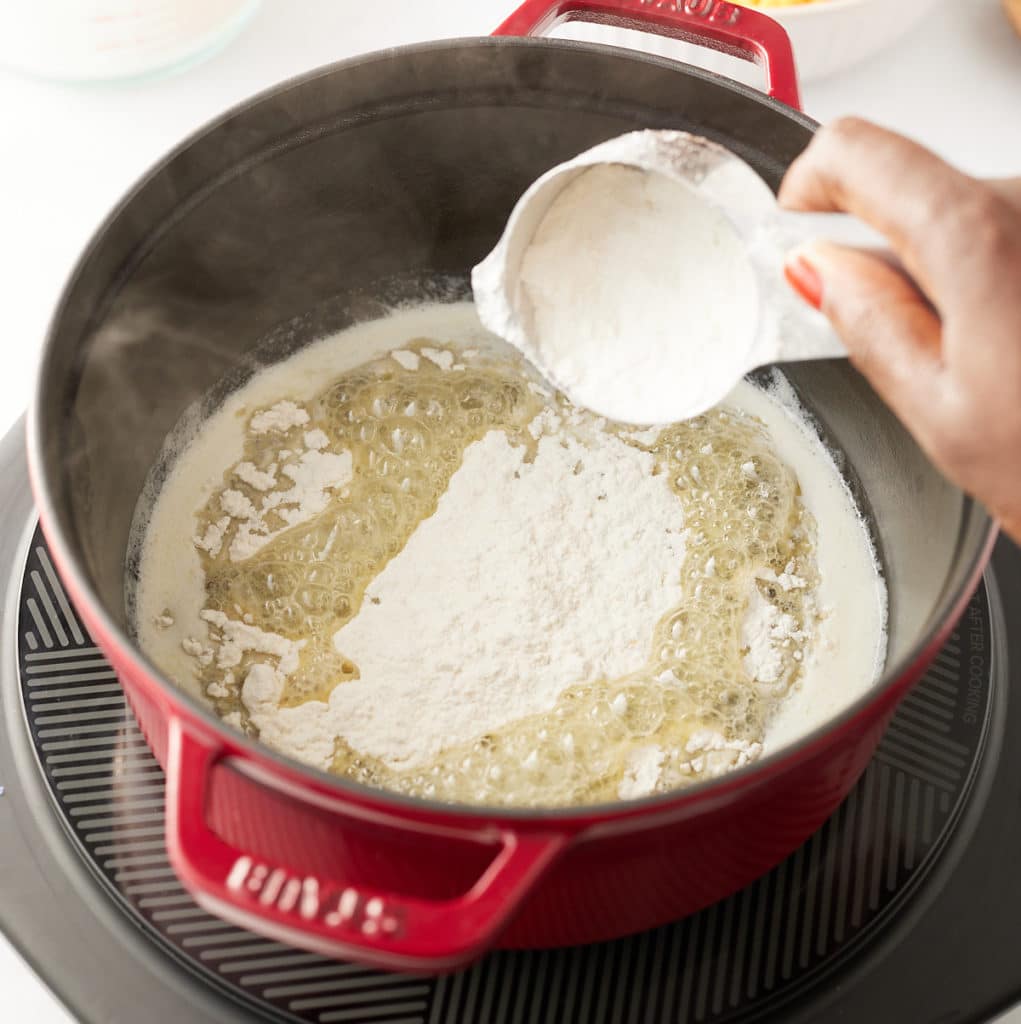
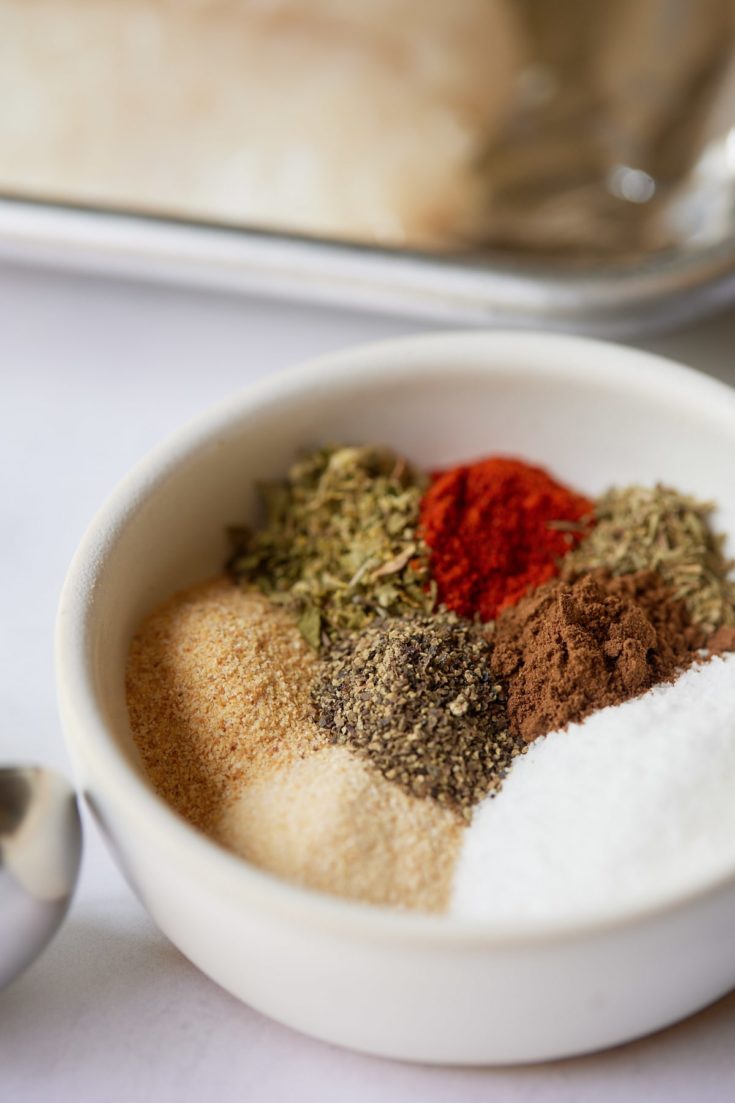
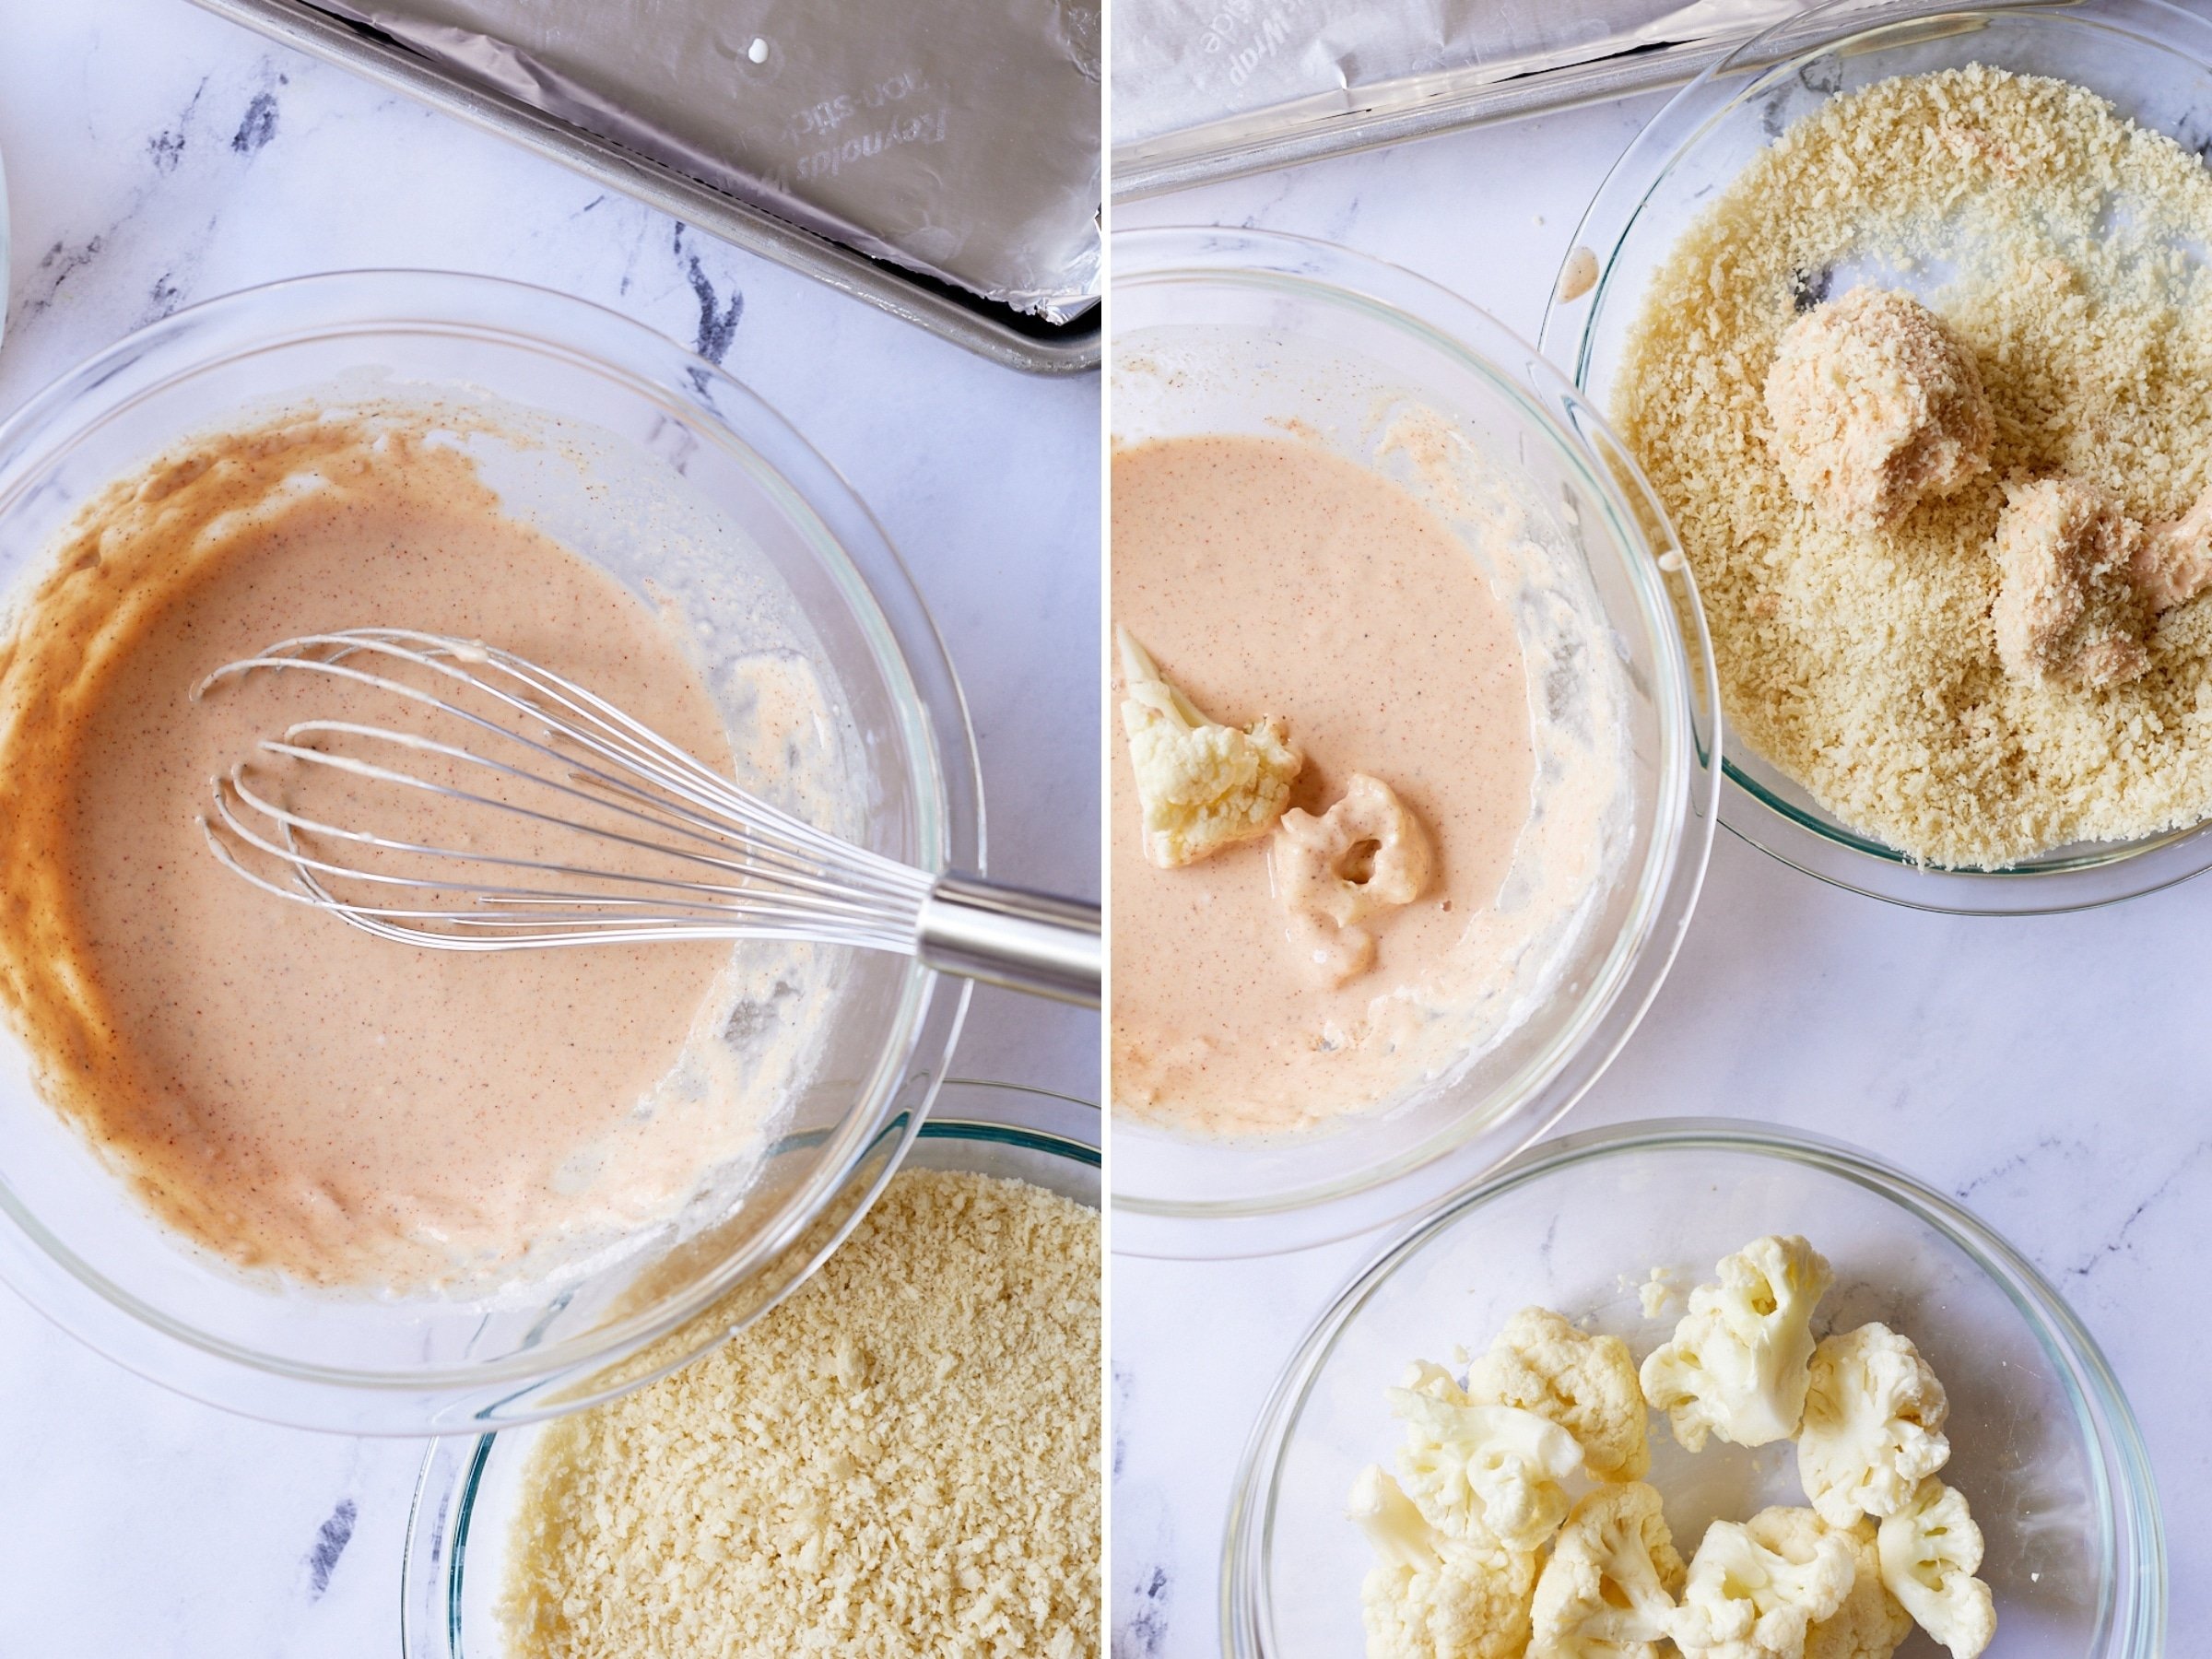
Combine all-purpose flour, garlic powder, onion powder, paprika, salt, and pepper in a large mixing bowl and whisk to combine. Slowly whisk in the milk until you get a loose batter.
Pour the panko breadcrumbs into a separate dish.
Place the cauliflower florets in the wet batter, coating all sides and shaking off any excess. Then place them in the panko breadcrumbs, making sure all sides are coated.
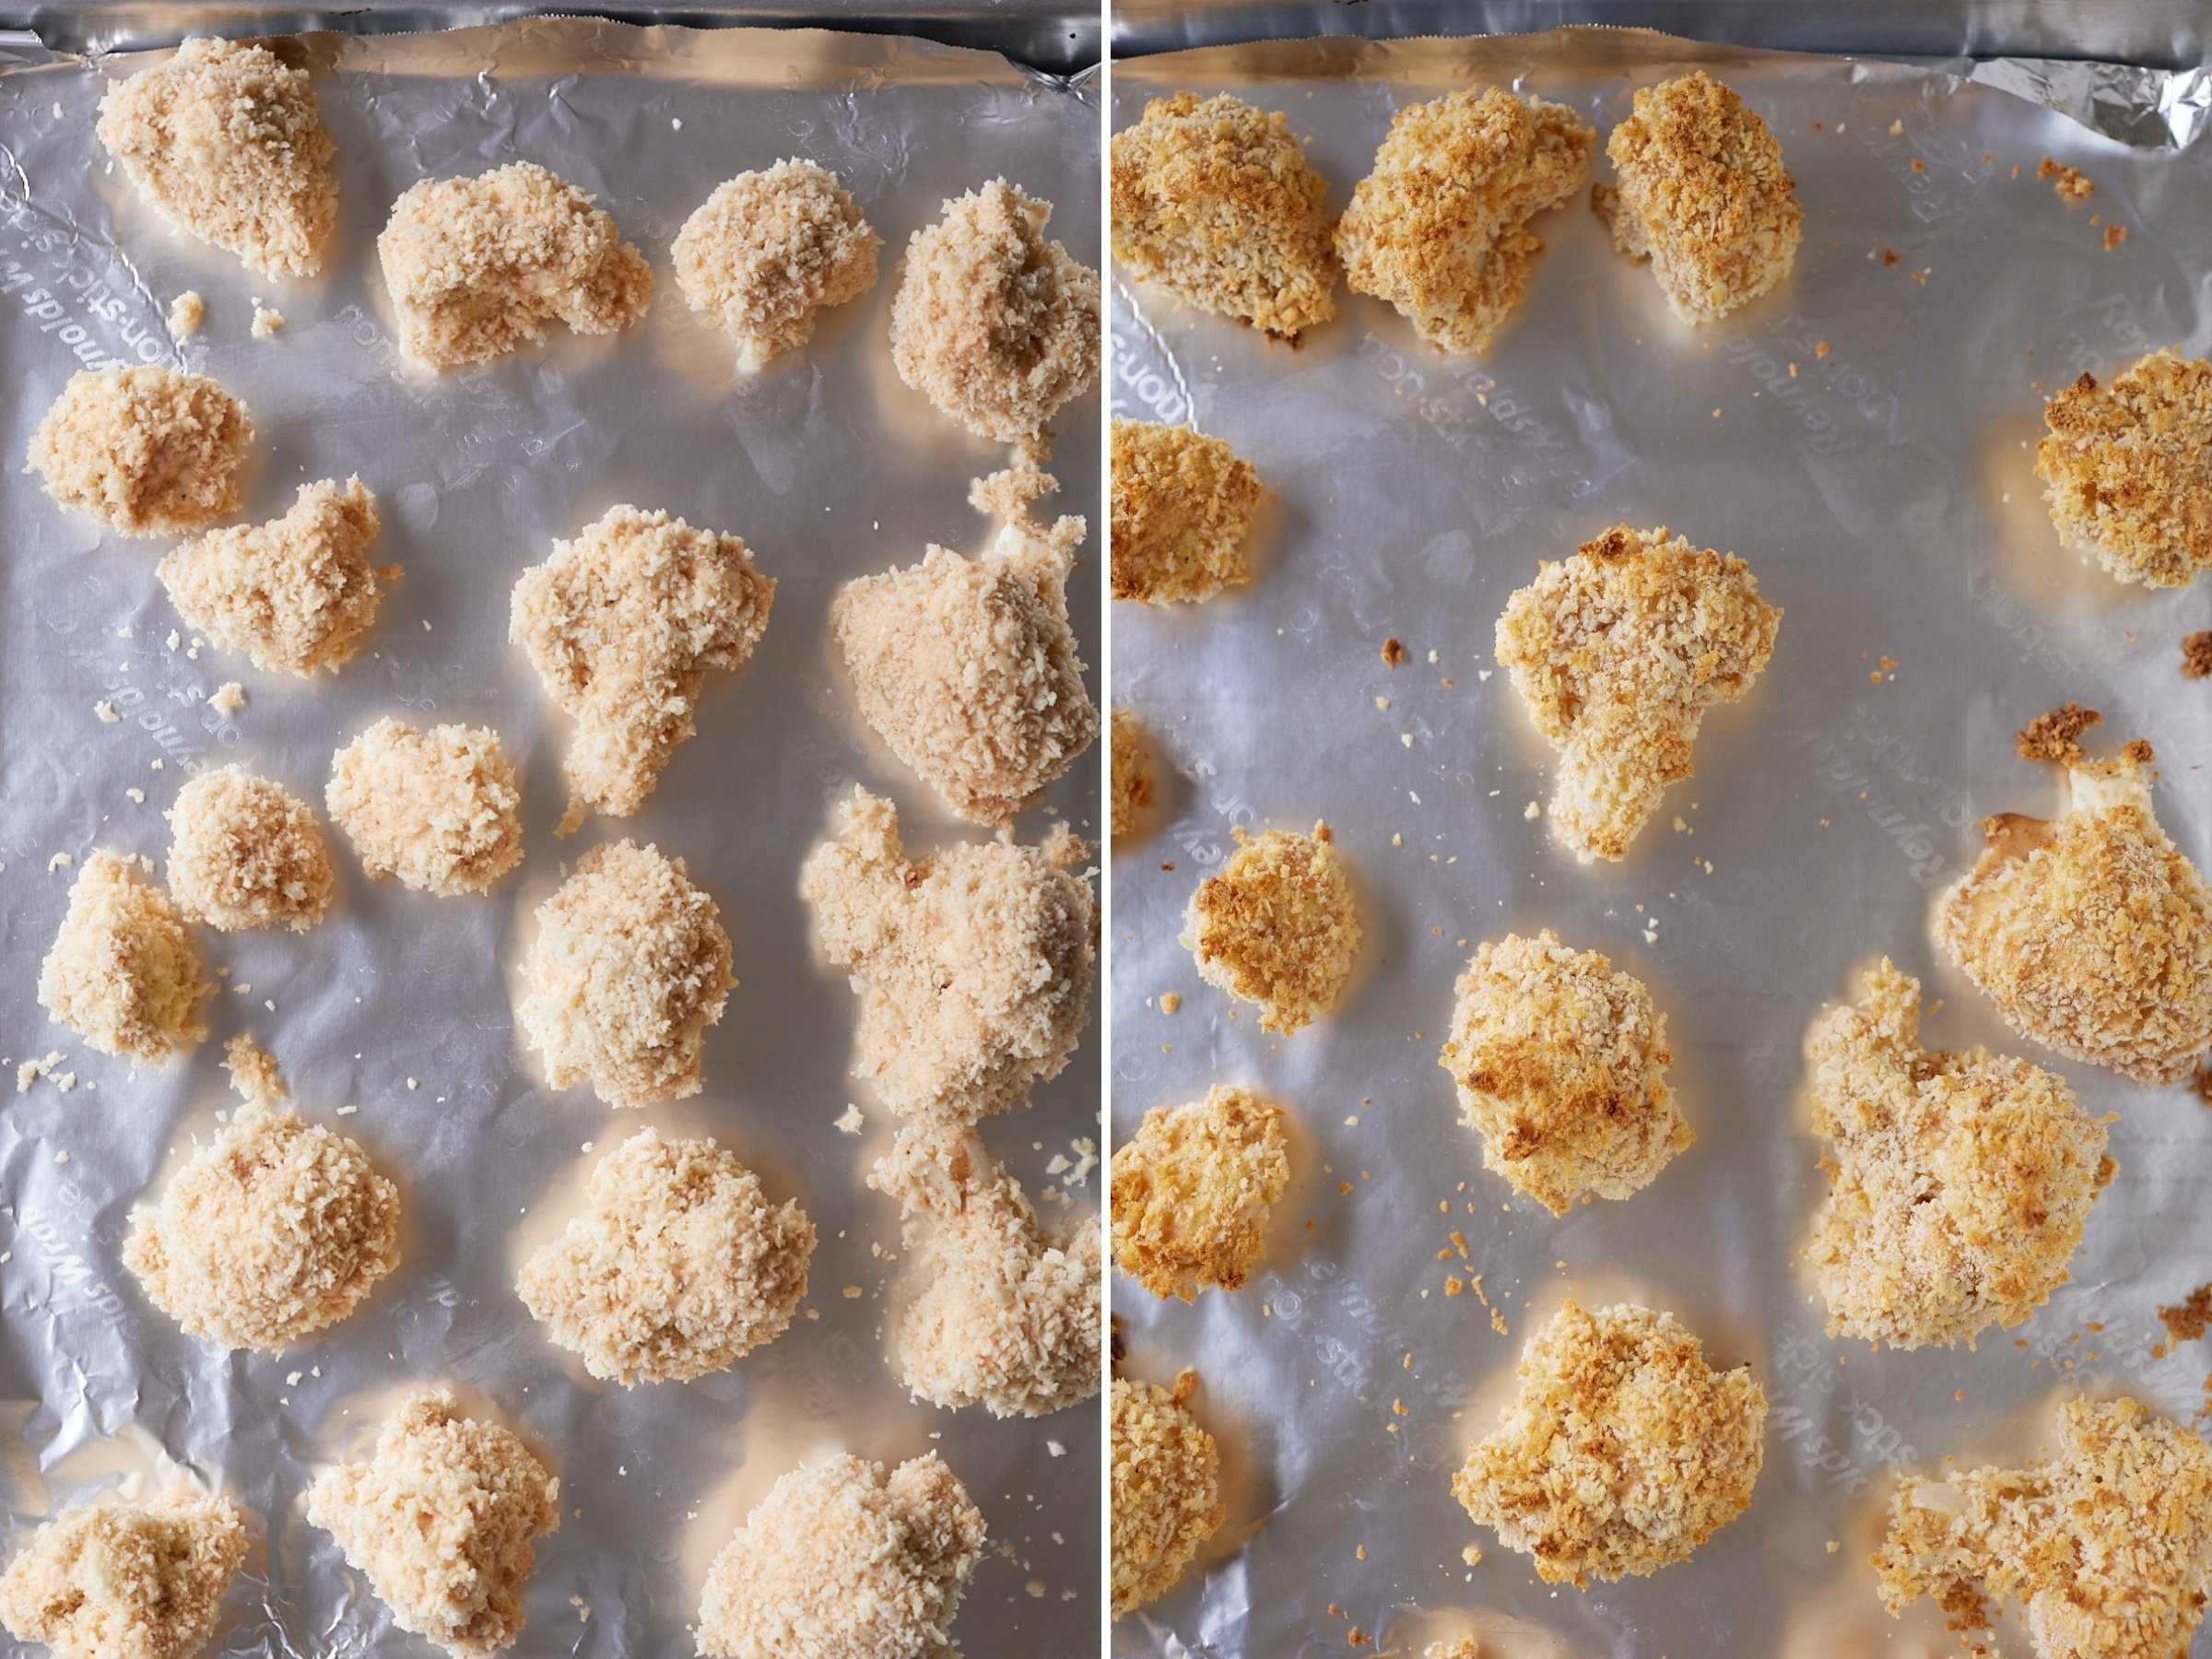
Place the coated florets on the lined baking sheet in a single layer, making sure not to overcrowd them. Bake in the preheated oven for 23-25 minutes, until browned on the outside.
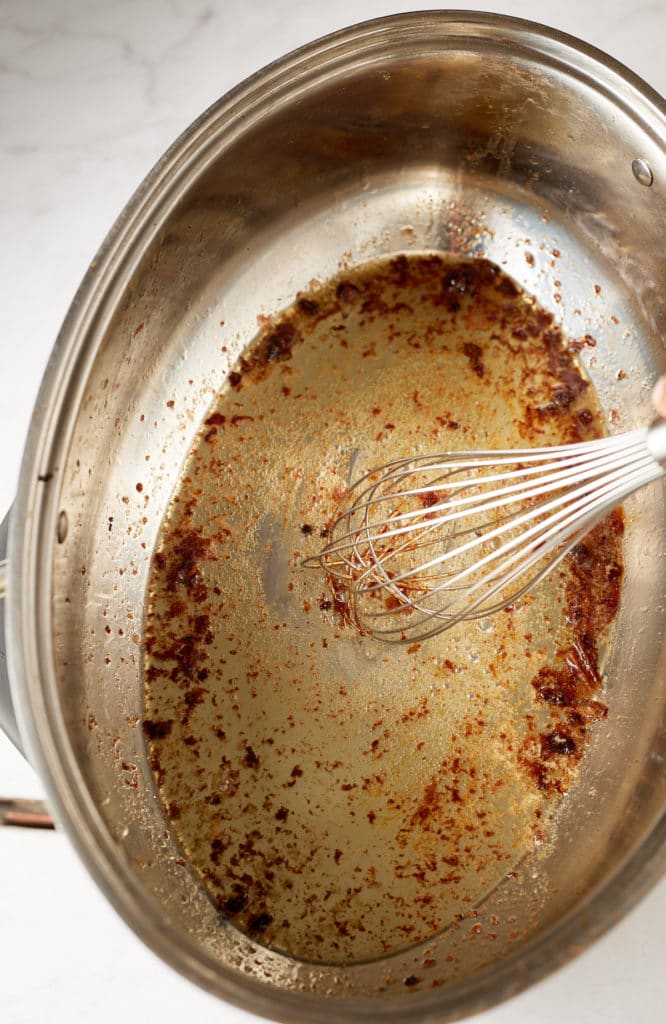
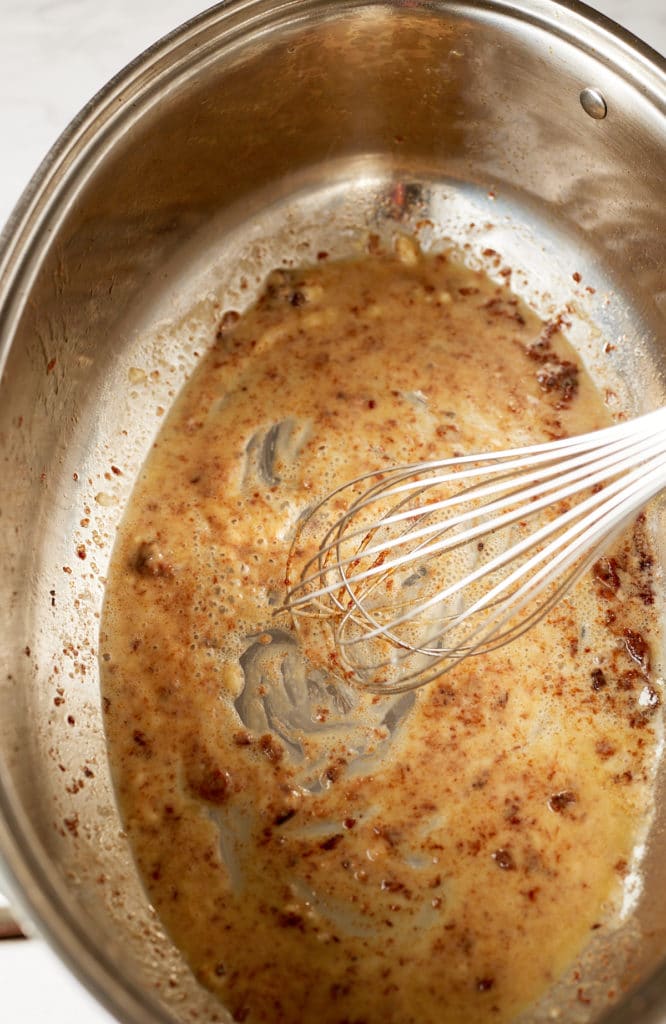
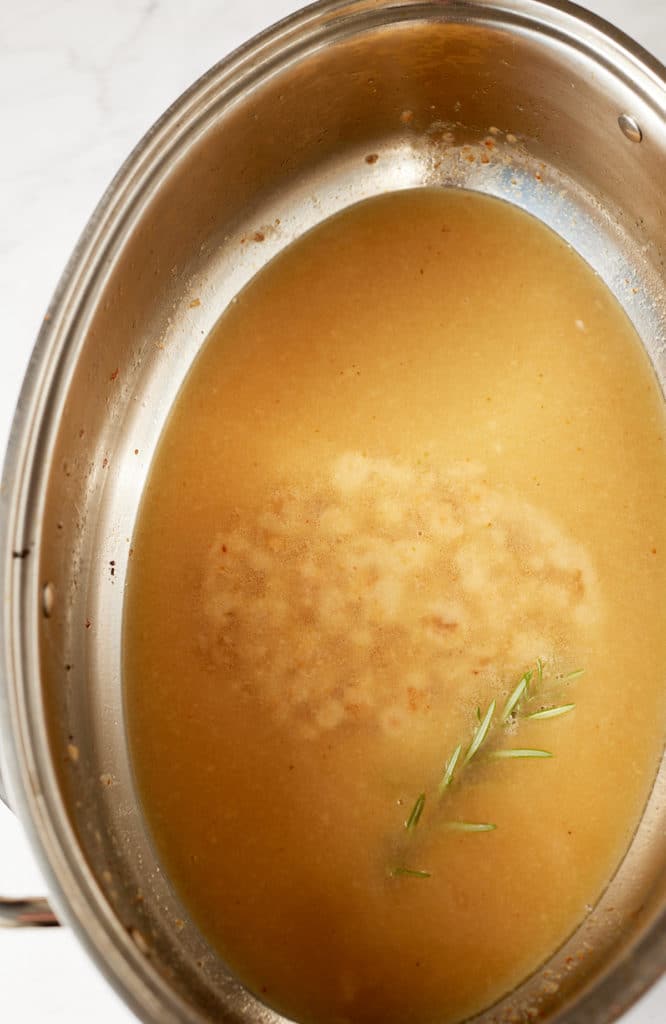
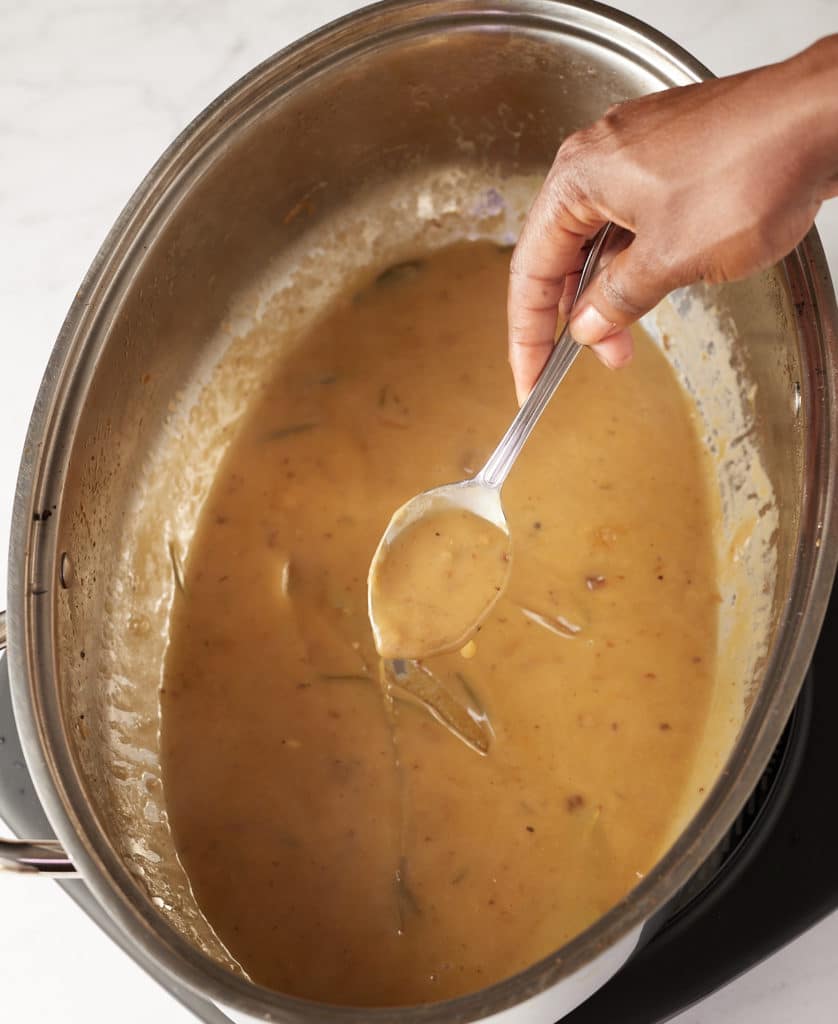
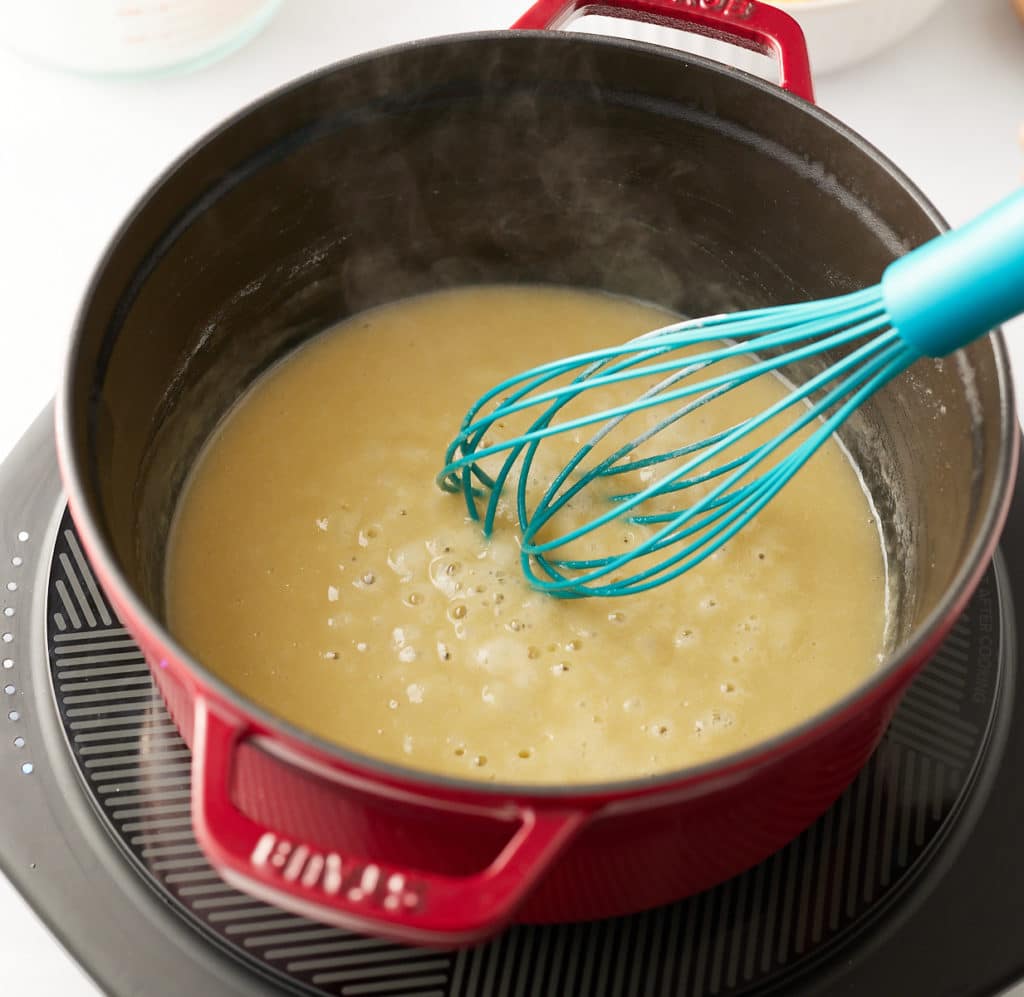
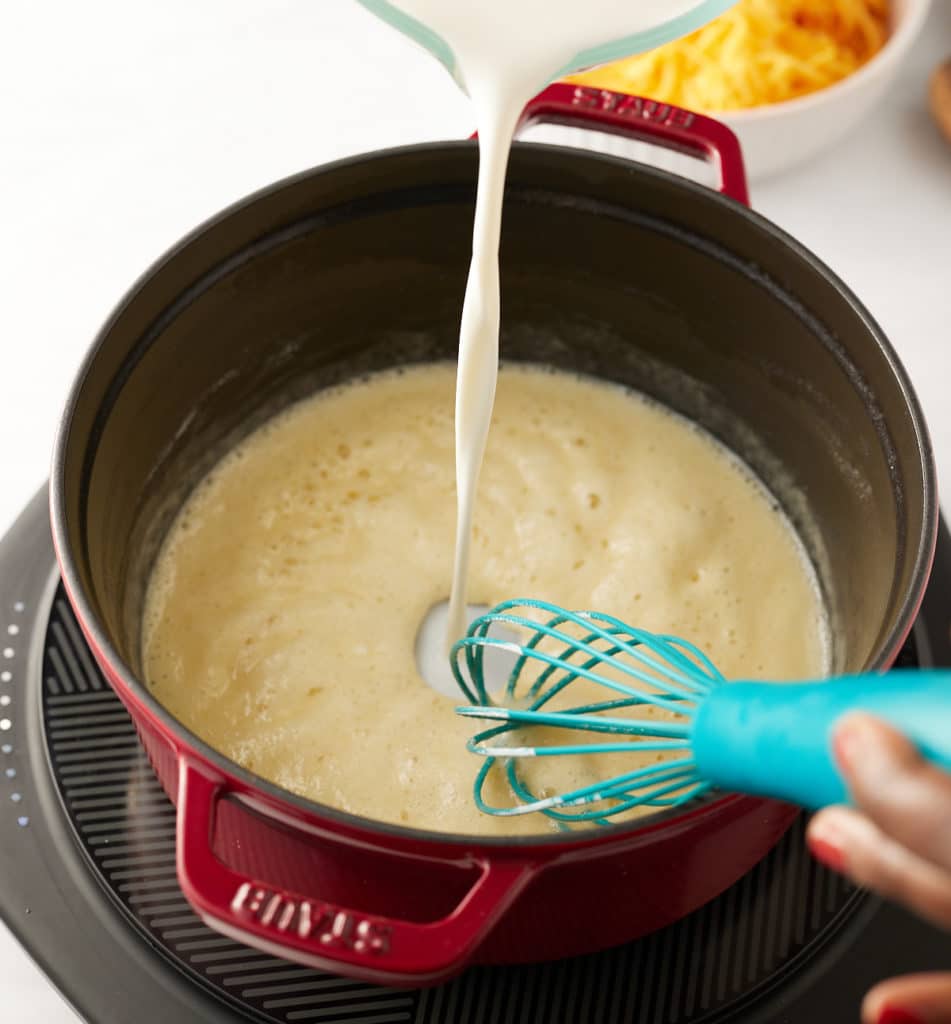
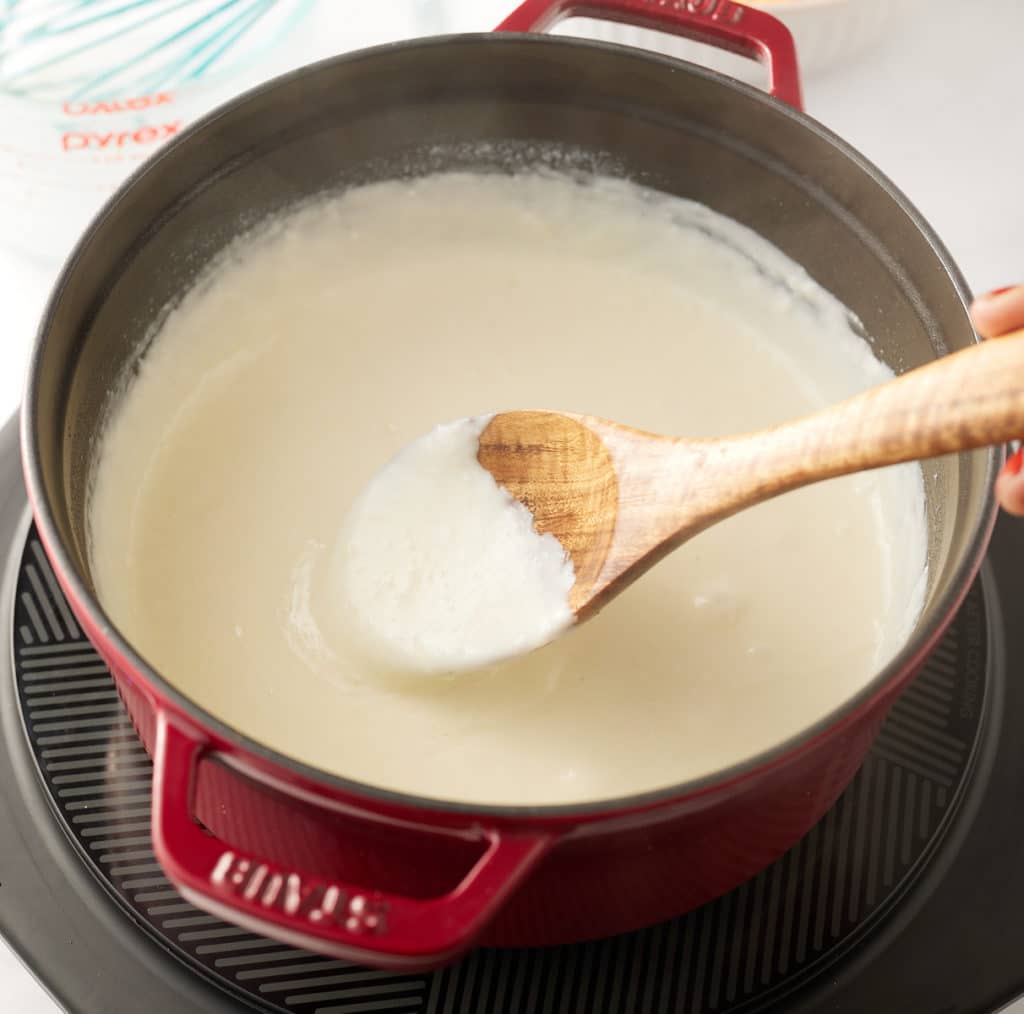
While the cauliflower wings are baking, prepare your sauce by combining the sauce ingredients in a small saucepan on the stovetop. Once wings are done baking, toss them in the sauce and place them back on the lined sheet pan and bake for an additional 5 minutes until done.

Serve your wings and Enjoy! Reynolds Wrap® has a new package that is easier to open and a tab that keeps the box fully closed for storing after use! There is also a color-coded system making the product easier to find, look for the yellow design for Reynolds Wrap® Non-Stick Foil.
Tips for Cauliflower Wings
- Use Reynolds Wrap® Non-Stick Foil so the food doesn’t stick - When baking these wings with Reynolds Wrap® Non-Stick Foil, no food sticks to the foil. This allows your cauliflower wings to stay intact and not break while preparing. The wings and the sauce will lift easily off the foil.
- Make sure cauliflower florets are even sizes - This will allow your florets to cook evenly in the oven.
- If you want extra crispy cauliflower wings, use the sauce as a dipping sauce instead - Once you toss these wings in the sauce, they won’t be as crispy. If you want really crunchy cauliflower wings, follow the recipe as is but rather than tossing the wings in the sauce, serve the sauce on the side as a dipping sauce. Or enjoy these wings plain, the seasoned batter provides tons of flavor.
- Prepare your sauces from scratch or use your favorite sauce - I have provided recipes for 3 of our favorite homemade sauces for these wings. You can toss the cauliflower wings in one of these or your favorite sauce.
Can you make these wings ahead of time?
- Absolutely! Just prepare the wings and the sauce as instructed, but store the plain baked cauliflower wings and sauce separately in the fridge. When ready to serve, toss the wings in the sauce and heat in the oven on 375 degrees Fahrenheit for 8-10 minutes.


Cauliflower Wings (3 Flavors)
Ingredients
Cauliflower Wings
- Reynolds Wrap® Non-Stick Foil
- 1 medium head of cauliflower broken into florets (about 4-5 cups)
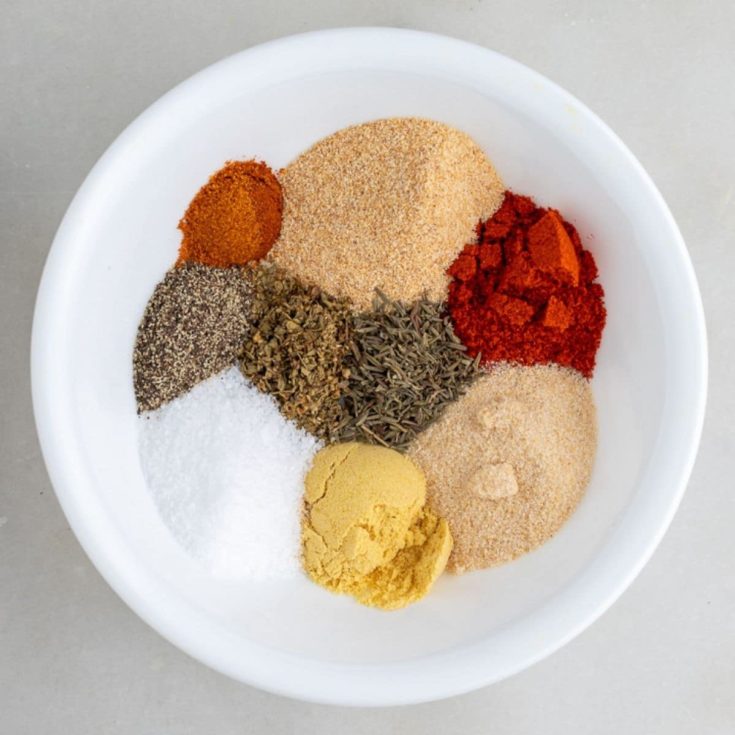
- 1 cup all-purpose flour
- 1.5 teaspoon garlic powder
- 1 teaspoon onion powder
- 1 teaspoon paprika
- 1 teaspoon salt
- ½ teaspoon black pepper
- 1 cup milk
- 2 cups panko bread crumbs
Sauces:
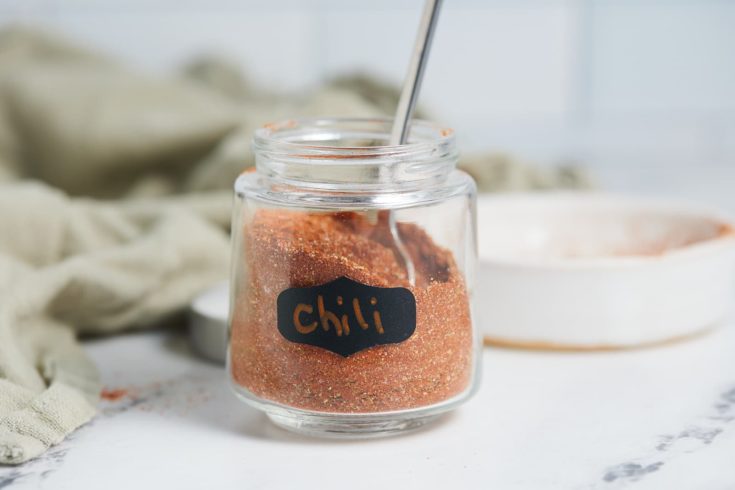
BBQ Sauce
- 1 cup ketchup
- 3 Tablespoons molasses
- 3 Tablespoons brown sugar
- 2 Tablespoons apple cider vinegar
- 1 Tablespoon Worcestershire sauce
- 2 teaspoons onion powder
- 1 teaspoon chili powder
- 1 teaspoon dry mustard
- ½ teaspoon cayenne pepper
- ½ teaspoon salt
- ½ teaspoon liquid smoke
Buffalo Sauce
- ¾ cup hot sauce
- 2 Tablespoons unsalted butter
- ½ Tablespoon white vinegar
- ¼ teaspoon Worcestershire sauce
- ⅛ teaspoon garlic powder
Teriyaki Sauce
- ½ cup orange juice
- ½ cup water
- ¼ soy sauce
- ¼ cup brown sugar
- 2 Tablespoons honey
- ½ teaspoon ginger powder
- ¼ teaspoon garlic powder
- ¼ cup water optional
- 2 Tablespoons cornstarch optional
Instructions
Cauliflower Wings:
- Line a large sheet pan with Reynolds Wrap® Non-Stick Foil, making sure the dull side (the non-stock side) is facing up. Preheat the oven to 425°F.
- Wash and cut cauliflower head into bite-sized pieces/florets.
- In a large bowl, mix all-purpose flour, garlic powder, onion powder, paprika, salt, and black pepper until combined. Slowly whisk in the milk until you get a loose batter.
- Pour the panko breadcrumbs into a separate dish.
- Place the cauliflower florets in the wet batter, coating all sides and shaking off any excess. Then place the cauliflower florets in the panko breadcrumbs, making sure all sides are coated.
- Place the florets on the lined baking sheet in a single layer, making sure not to overcrowd them. Bake in the preheated oven for 23-25 minutes, until browned on the outside.
- While the wings are baking, prepare your sauce by combining sauce ingredients in a small pot on the stovetop. Once wings are done baking, toss them in the sauce and place them back on the sheet pan and bake for an additional 5 minutes until done.
Sauce:
- Combine sauce ingredients in a saucepan over medium-high heat and bring to a simmer. Reduce heat and allow sauce to simmer over medium-low heat for about 5 minutes. Remove and toss over the wings before placing back into the oven.
- To thicken the Teriyaki sauce, thicken the sauce by making a cornstarch slurry. Whisk ¼ cup water and 2 tablespoon cornstarch in a separate container. Pour the slurry into the simmering liquid and allow to simmer for an additional 1-2 minutes.