Many people have either an air fryer basket or an air fryer toaster oven and wonder how they can adapt recipes created for the basket to work in the oven. This blog post will provide you with a step-by-step breakdown of cooking in the basket vs the air fryer toaster oven.
As a collector of air fryers...Really, I couldn’t stop myself from buying shiny new models. I found myself wondering what the difference was between the air fryer basket and the air fryer oven. The apparent difference is that one is larger than the other (the ovens typically provide more cooking space). Another difference was that baskets provided a nice little handle that allowed me to shake my food. But what about the actual food? Did they produce different results?
I took some time to note how three of my popular recipes performed in each machine. I chose to make and take note of the following recipes:
Things you should know beforehand:
All air fryer brands are not created the same, so the two I used could have different results from the ones you may have at home. However, your cook times shouldn’t be much different than mine.
For the basket, I used the Cosori 5.8qt and for the oven, I used the Instant Omni Plus Air Fryer Toaster Oven.
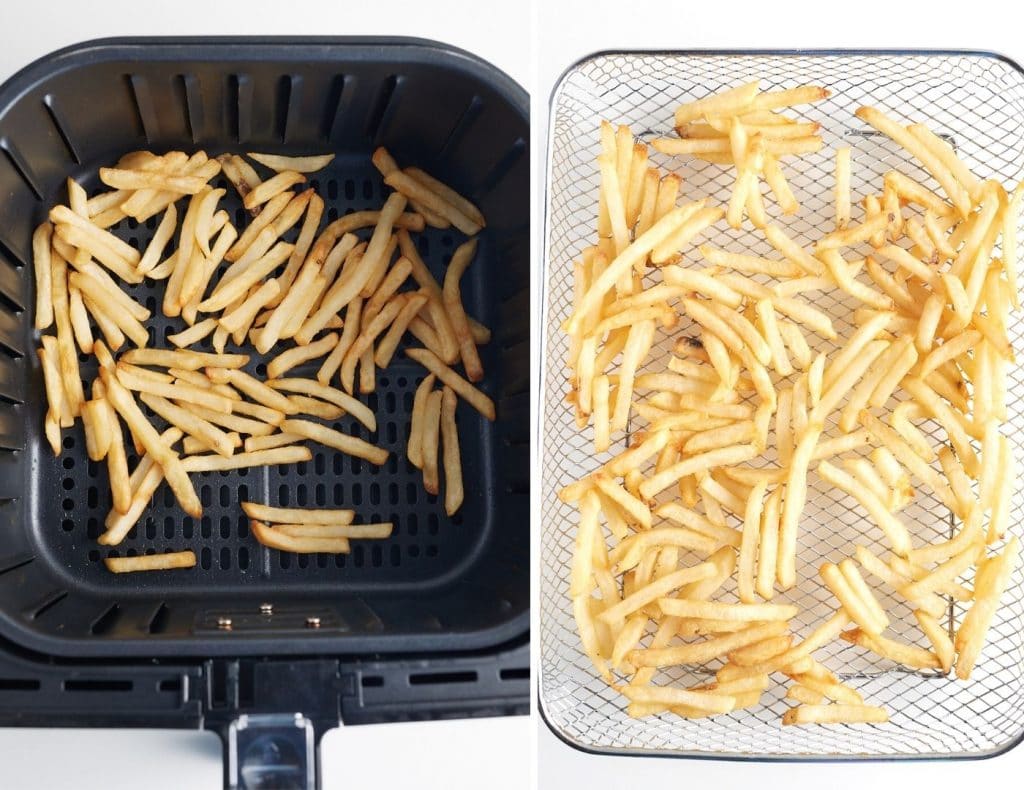
For the first round of the air fryer basket vs air fryer toaster oven, let's start with frozen French fries...
Air Fryer French Fries
These air fryer French fries are the reason I bought an air fryer in the first place. I used frozen French fries for this side-by-side comparison. I typically air fry French fries anywhere from 8-12 minutes, depending on the type of fries and how thickly cut they are.
Amount: .75 lbs of frozen shoestring French fries.
Preheat: Both the basket and the oven were preheated at 400 degrees Fahrenheit for 5 minutes. Then, each was cooked at 400 degrees Fahrenheit until it reached the desired crispiness.
- Basket: The basket took 8 minutes to cook until it reached the desired crispiness.
- Oven: The oven took 13 minutes to cook until the desired crispness was achieved.
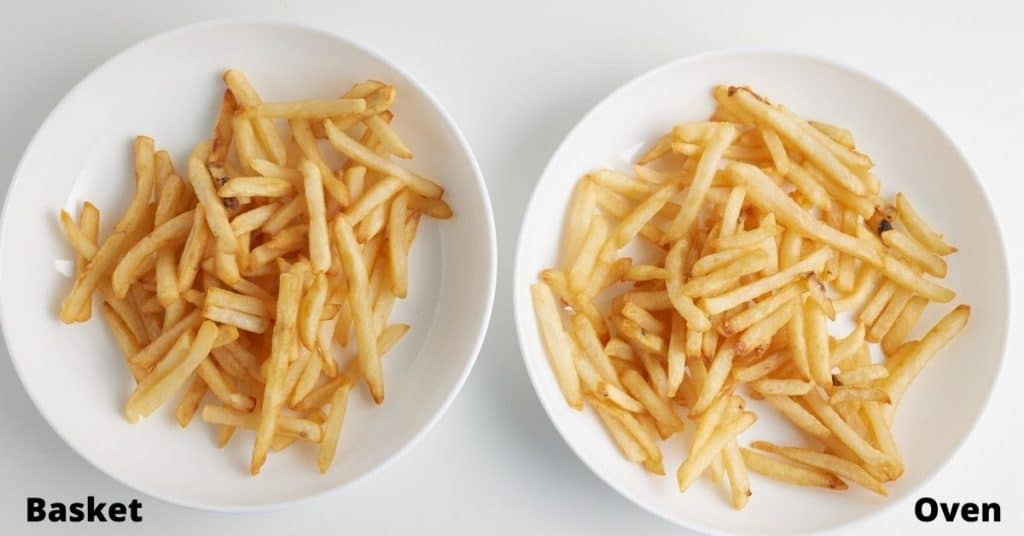
- Winner: The basket, by a little...as it cooked a few minutes faster.
Air Fryer Apple Chips
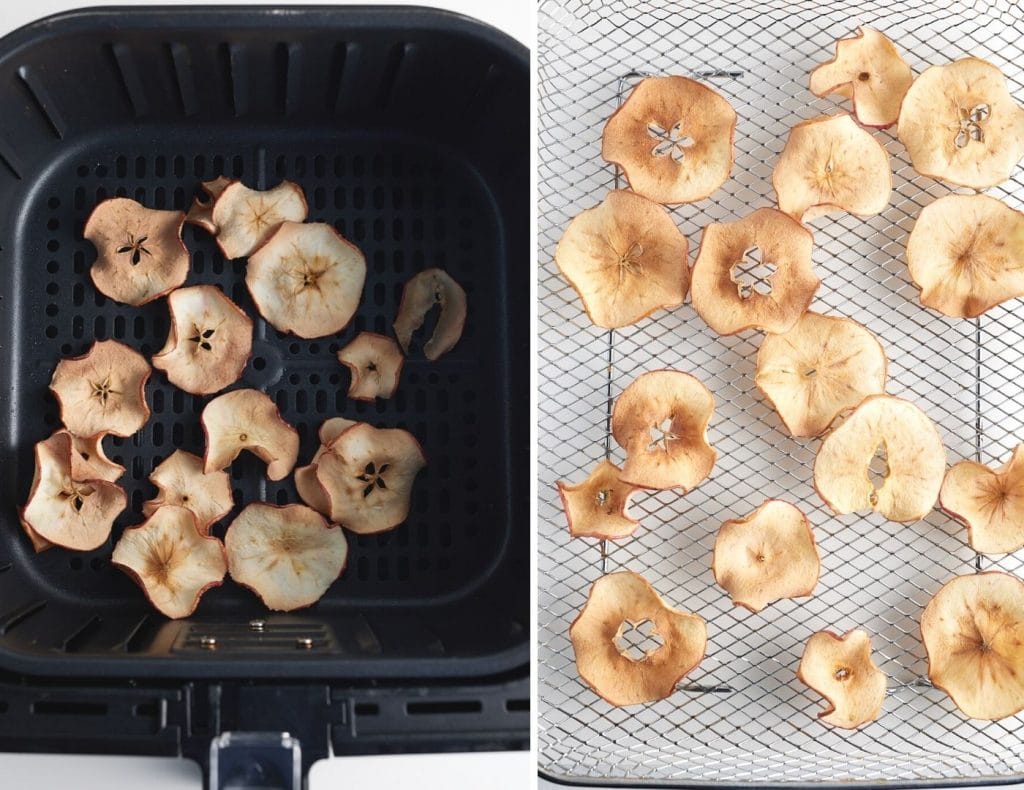
These Air Fryer Apple Chips are another quick favorite snack for my girls and me. It’s just one way I can make them get that apple a day to keep the doctor away. I used 1 Gala apple for this recipe.
Amount: 1 large Gala apple sliced into 2.5mm slices.
Preheat: None. I start apple chips from a cold basket. My air fryer oven does an automatic preheat time, so I adjusted the oven cook time to accommodate that.
- Basket: Cooked for 16 minutes to reach desired crispiness.
- Oven: Cooked for 17 minutes to reach the desired crispiness.
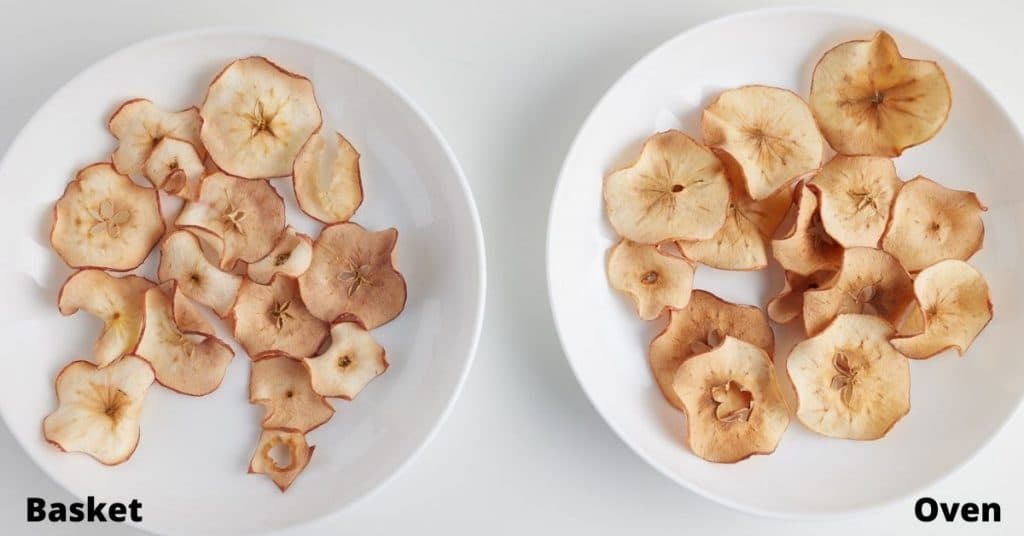
Winner: The oven, by a little. My husband said the ones in the oven tasted crispier. I thought they were the same. I’d say it’s a tie and with only a one-minute difference, I’d prefer to do these in the oven since there is more space.
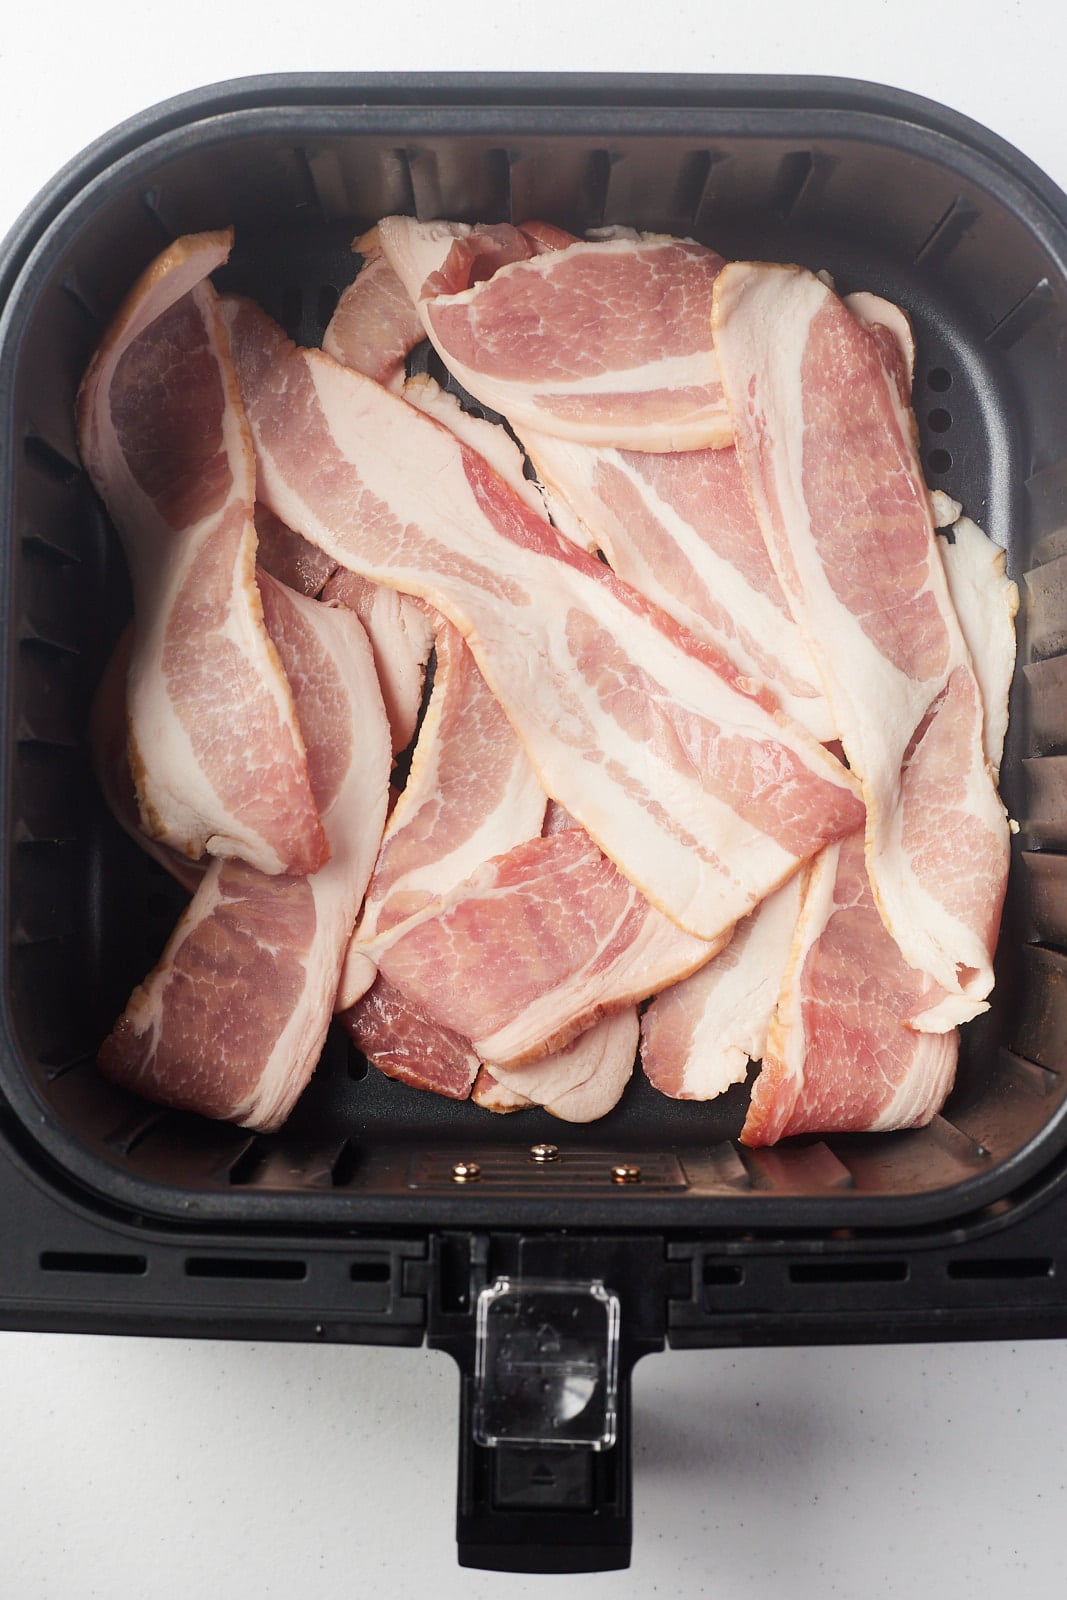
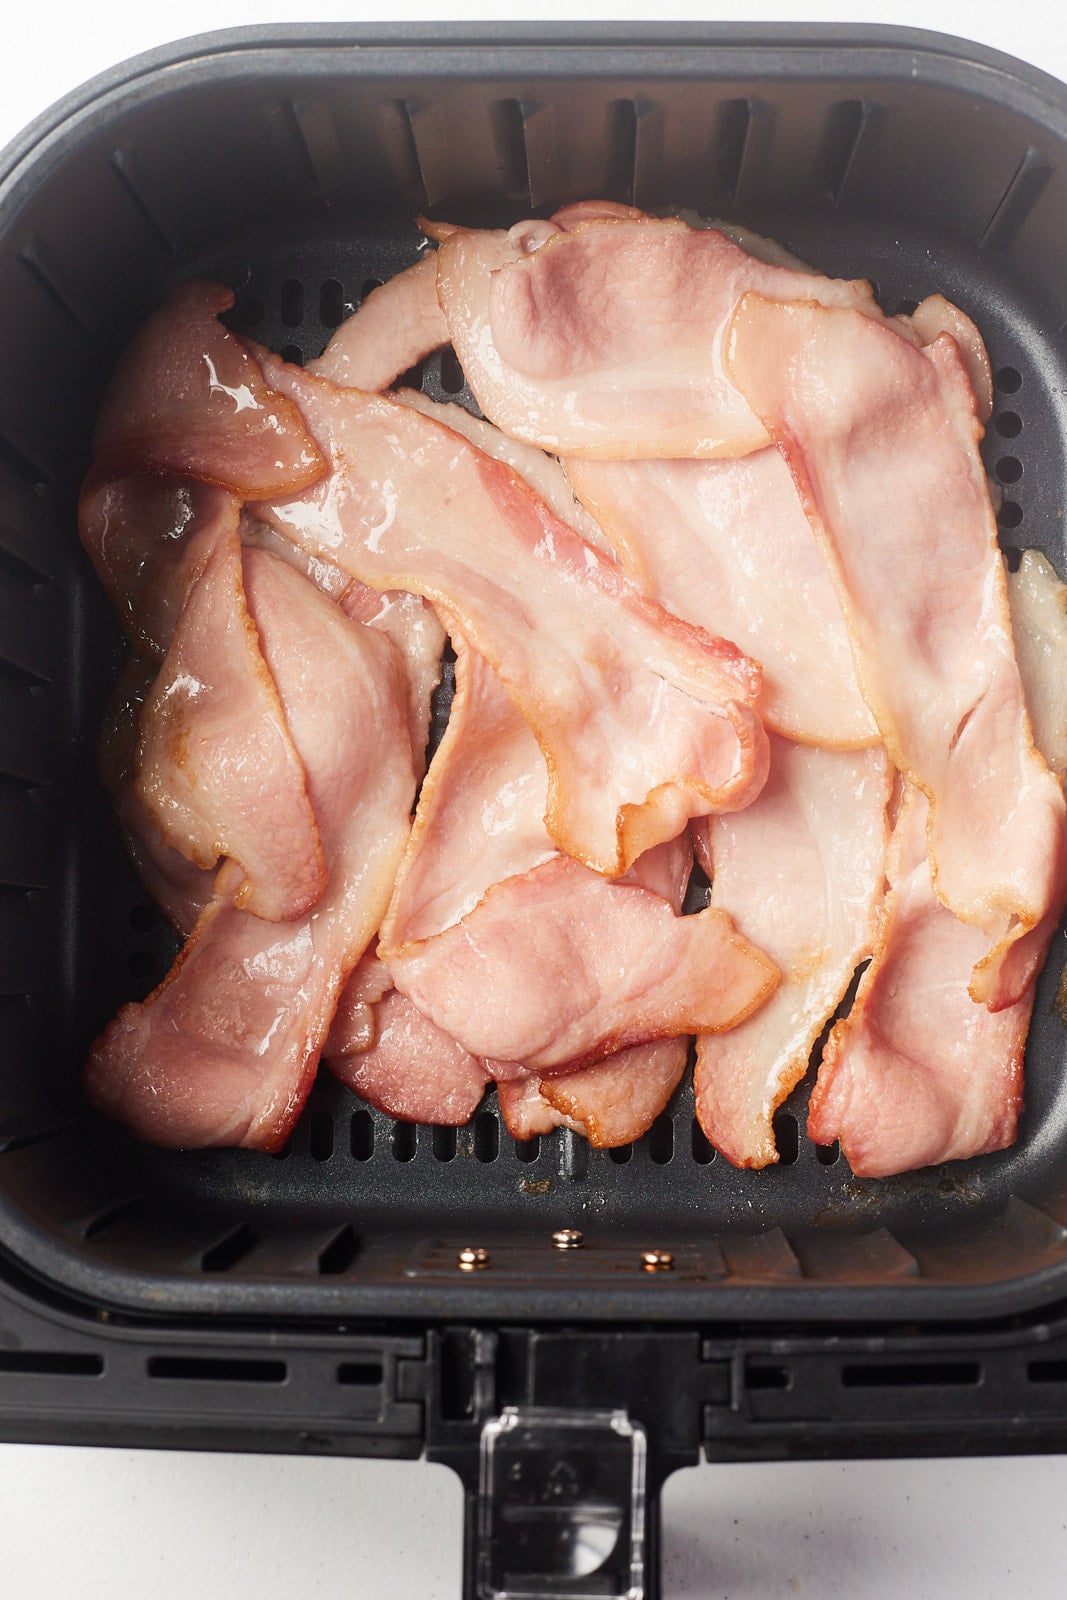
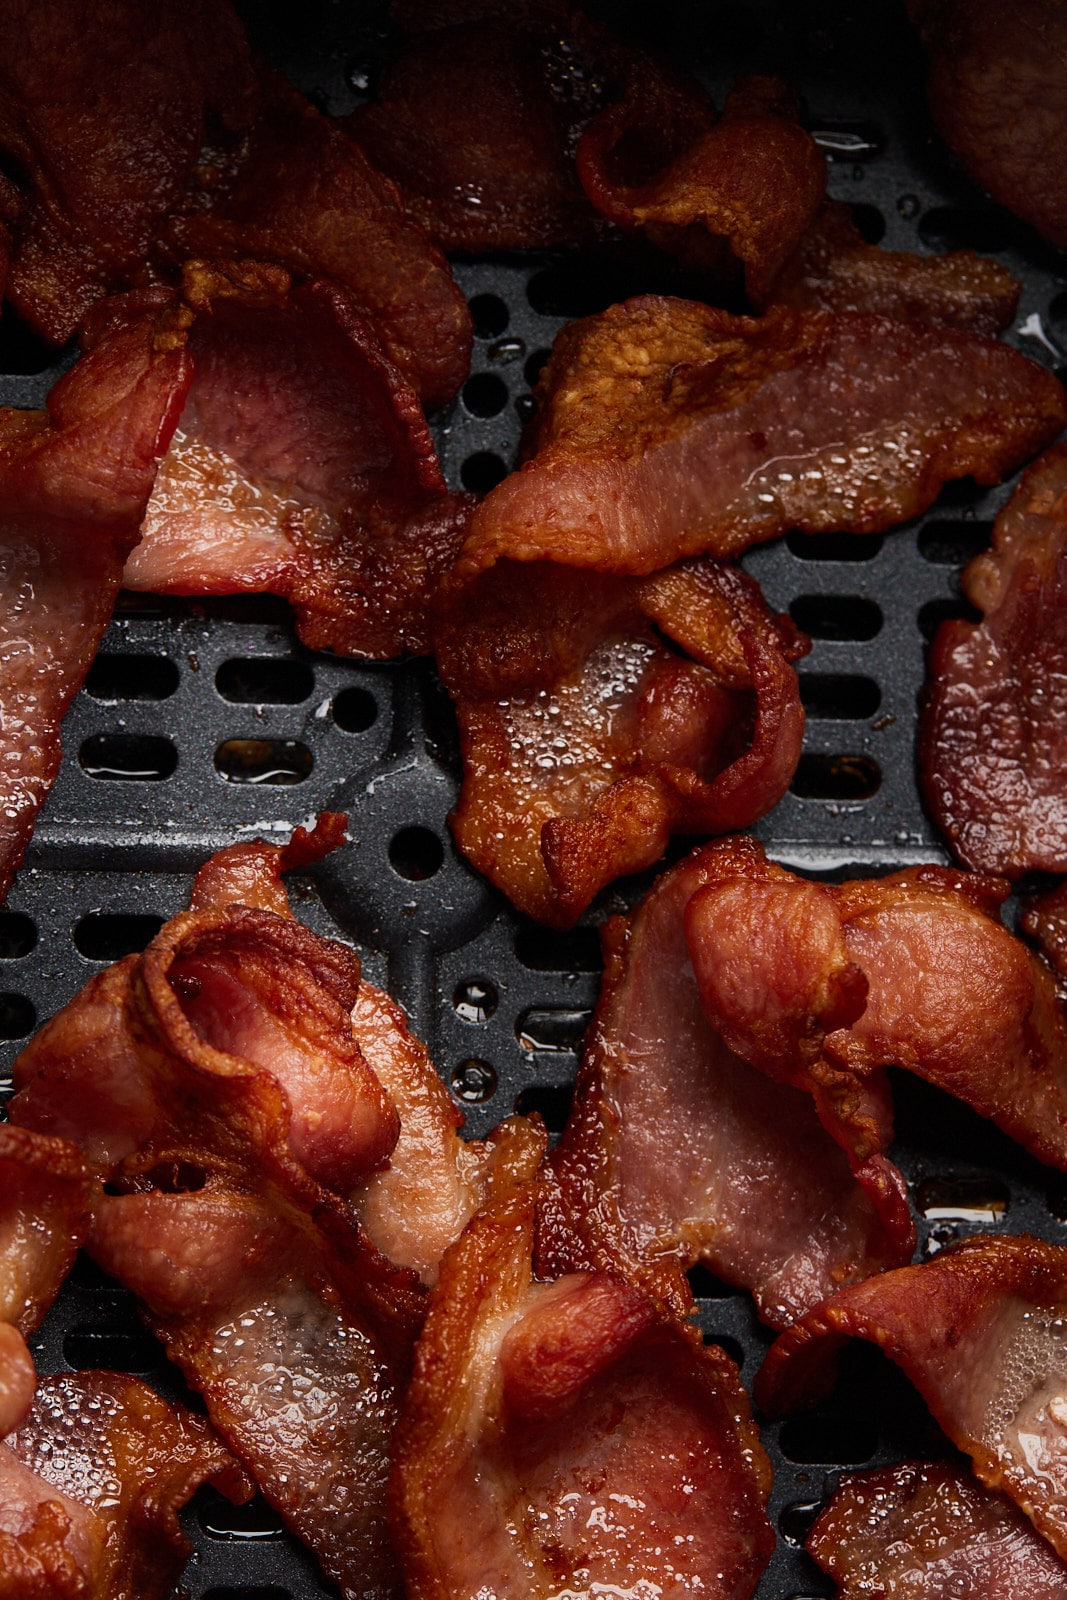
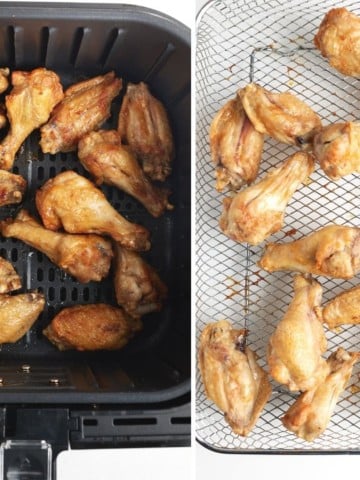
Air Fryer Chicken Wings
These Air Fryer Chicken Wings are one of my all-time favorite things to make in the air fryer. So easy, crispy, and delicious. I cooked these wings without added seasonings to show the comparison.
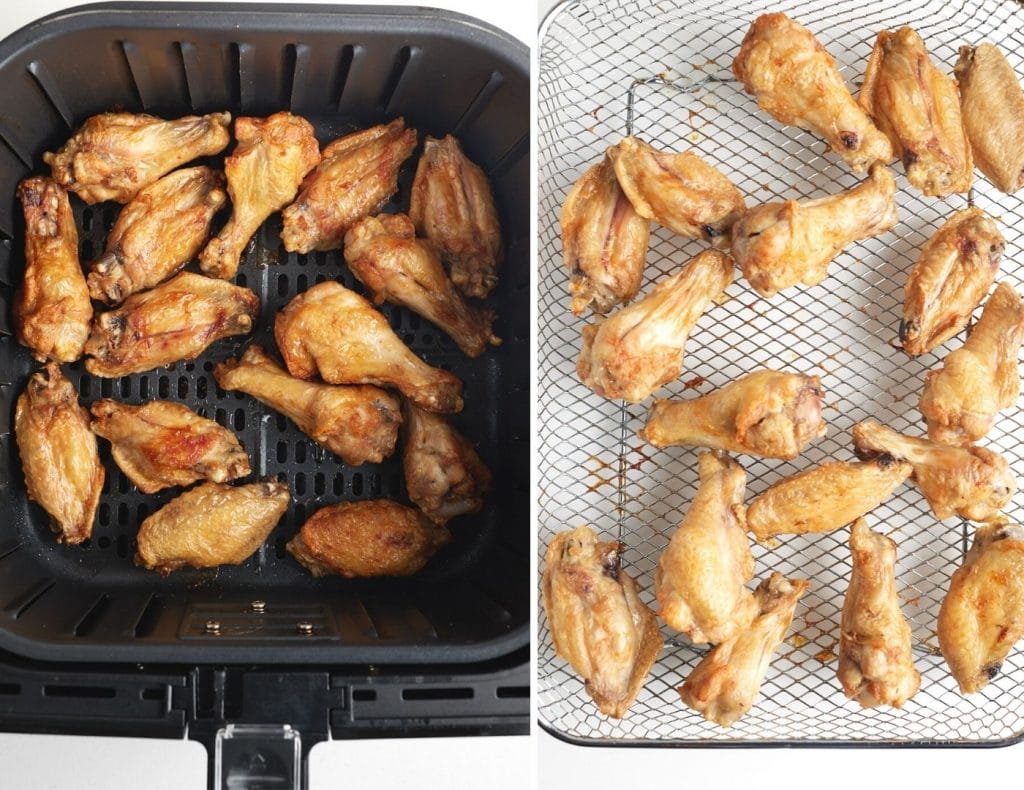
Amount: 1.83 lbs of chicken wings placed in each device.
Preheat: I preheated each machine to 400°F for 5 minutes before adding the wings.
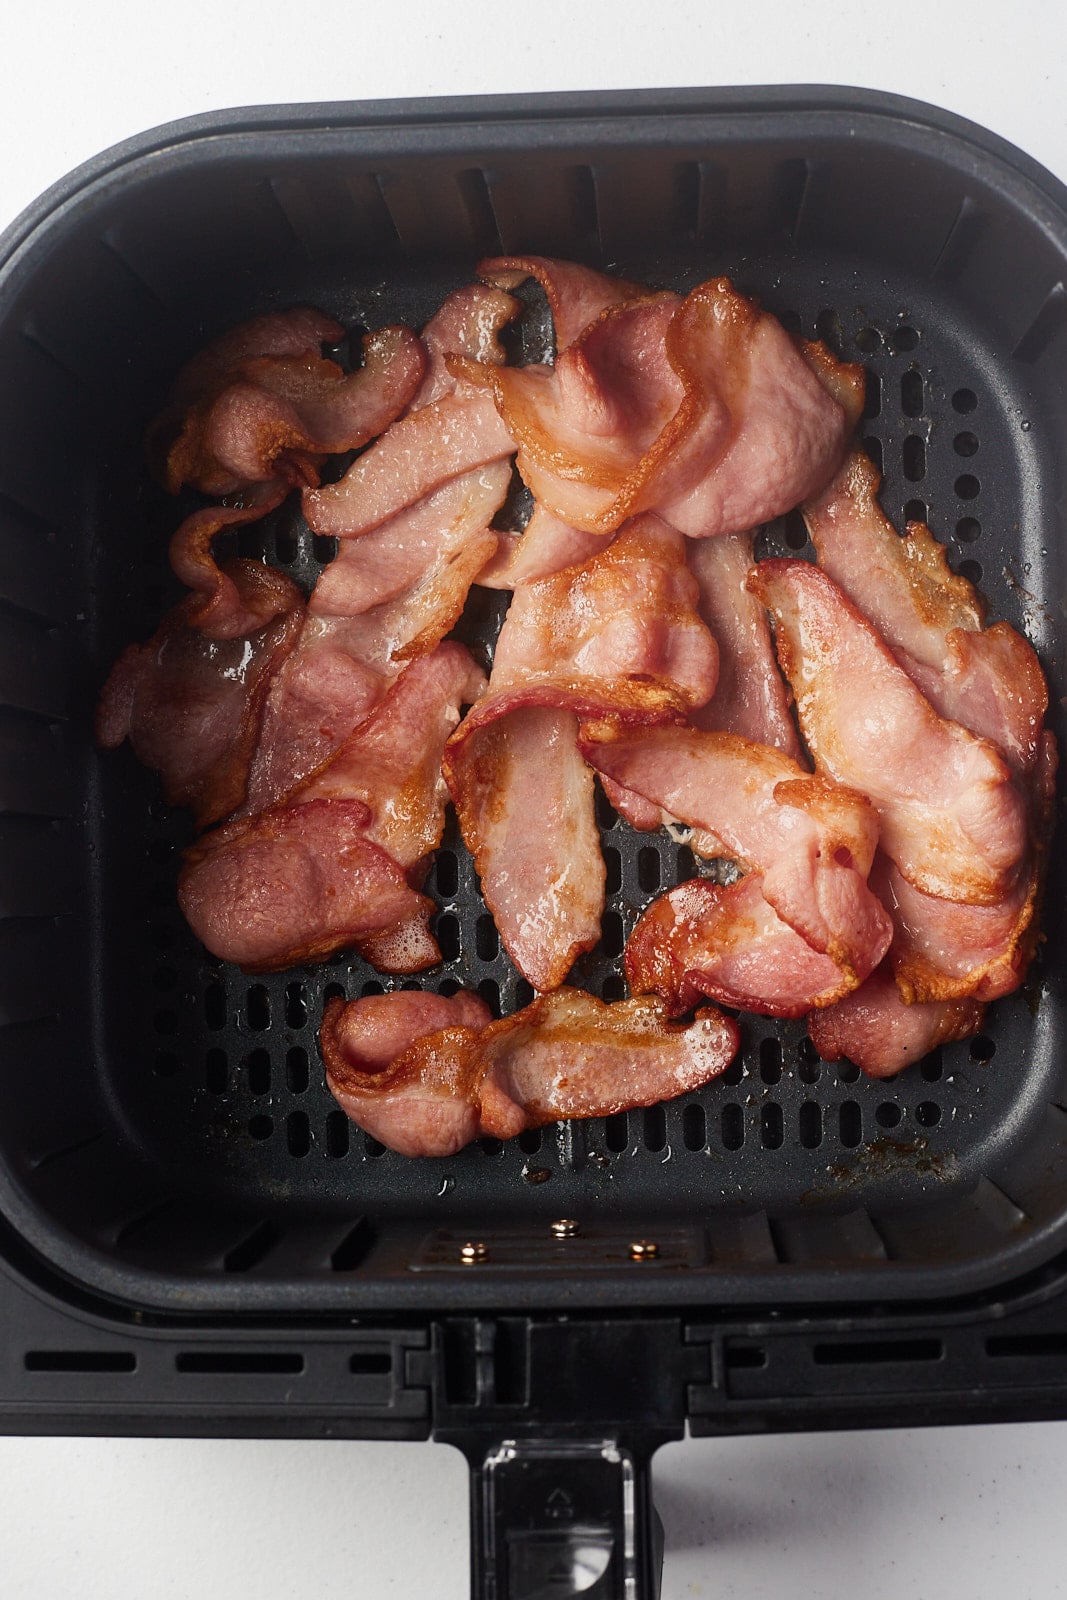
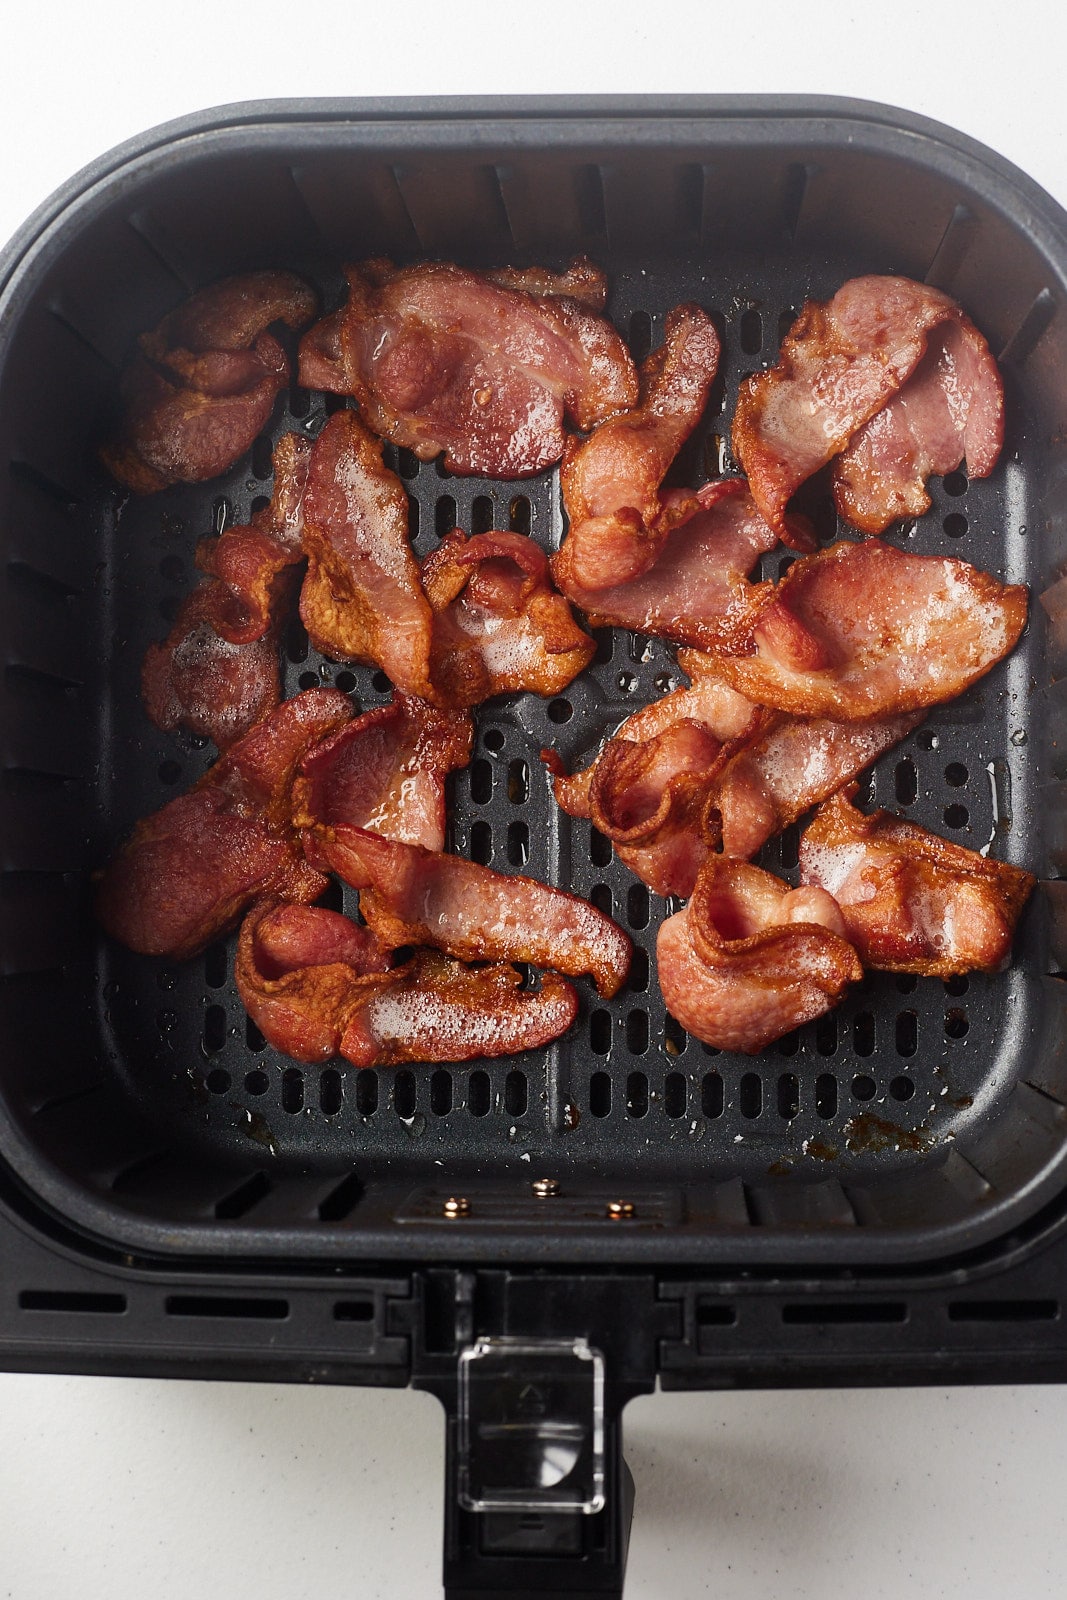
- Basket: Took 27 minutes to get the desired color and crispiness on these wings.
- Oven: It took 38 minutes to achieve the desired color and crispiness on these wings. Please note that the wings in the photo above, on the right, show the oven wings pulled at 27 minutes. They were much lighter than the wings in the basket, so I added them back in until they were a deeper brown.
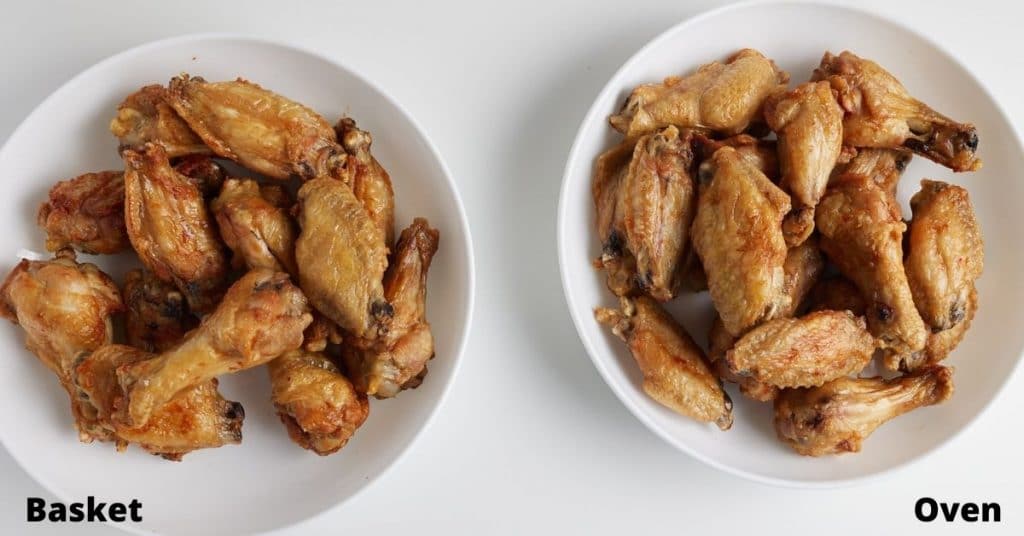
Winner: The basket. The wings were done much faster. However, once I increased the time on the oven wings, I could not tell a difference.
Conclusions:
- Whether it’s the air fryer basket or the air fryer oven, both will cook faster than a conventional oven. An air fryer basket and oven typically take 5 minutes to preheat.
- The air fryer basket tends to cook foods a little faster than the air fryer oven, and the cooking time will vary between machines and types of food being cooked.
- The air fryer oven can hold more food. Although not pictured here, we use our air fryer oven to make pizza in the air fryer. We’re only able to fit one small-sized pizza in the air fryer basket. With the oven, we can fit two pan-sized pizzas side by side.
- When converting recipes created for an air fryer basket to an air fryer oven, plan to cook the recipes for a slightly longer time. As each air fryer is different, keep a close eye on the food. You can watch the food in the oven as it cooks, so you don't overcook it.
I hope you found this side by side comparison helpful. If you’re looking for more helpful articles about air frying, check out these articles: