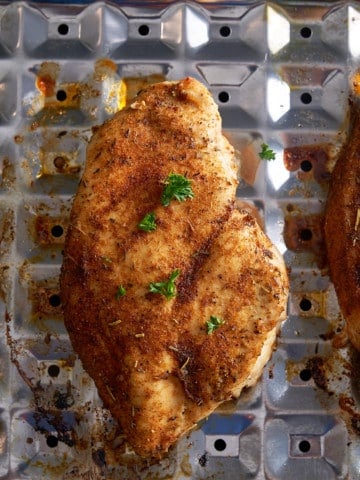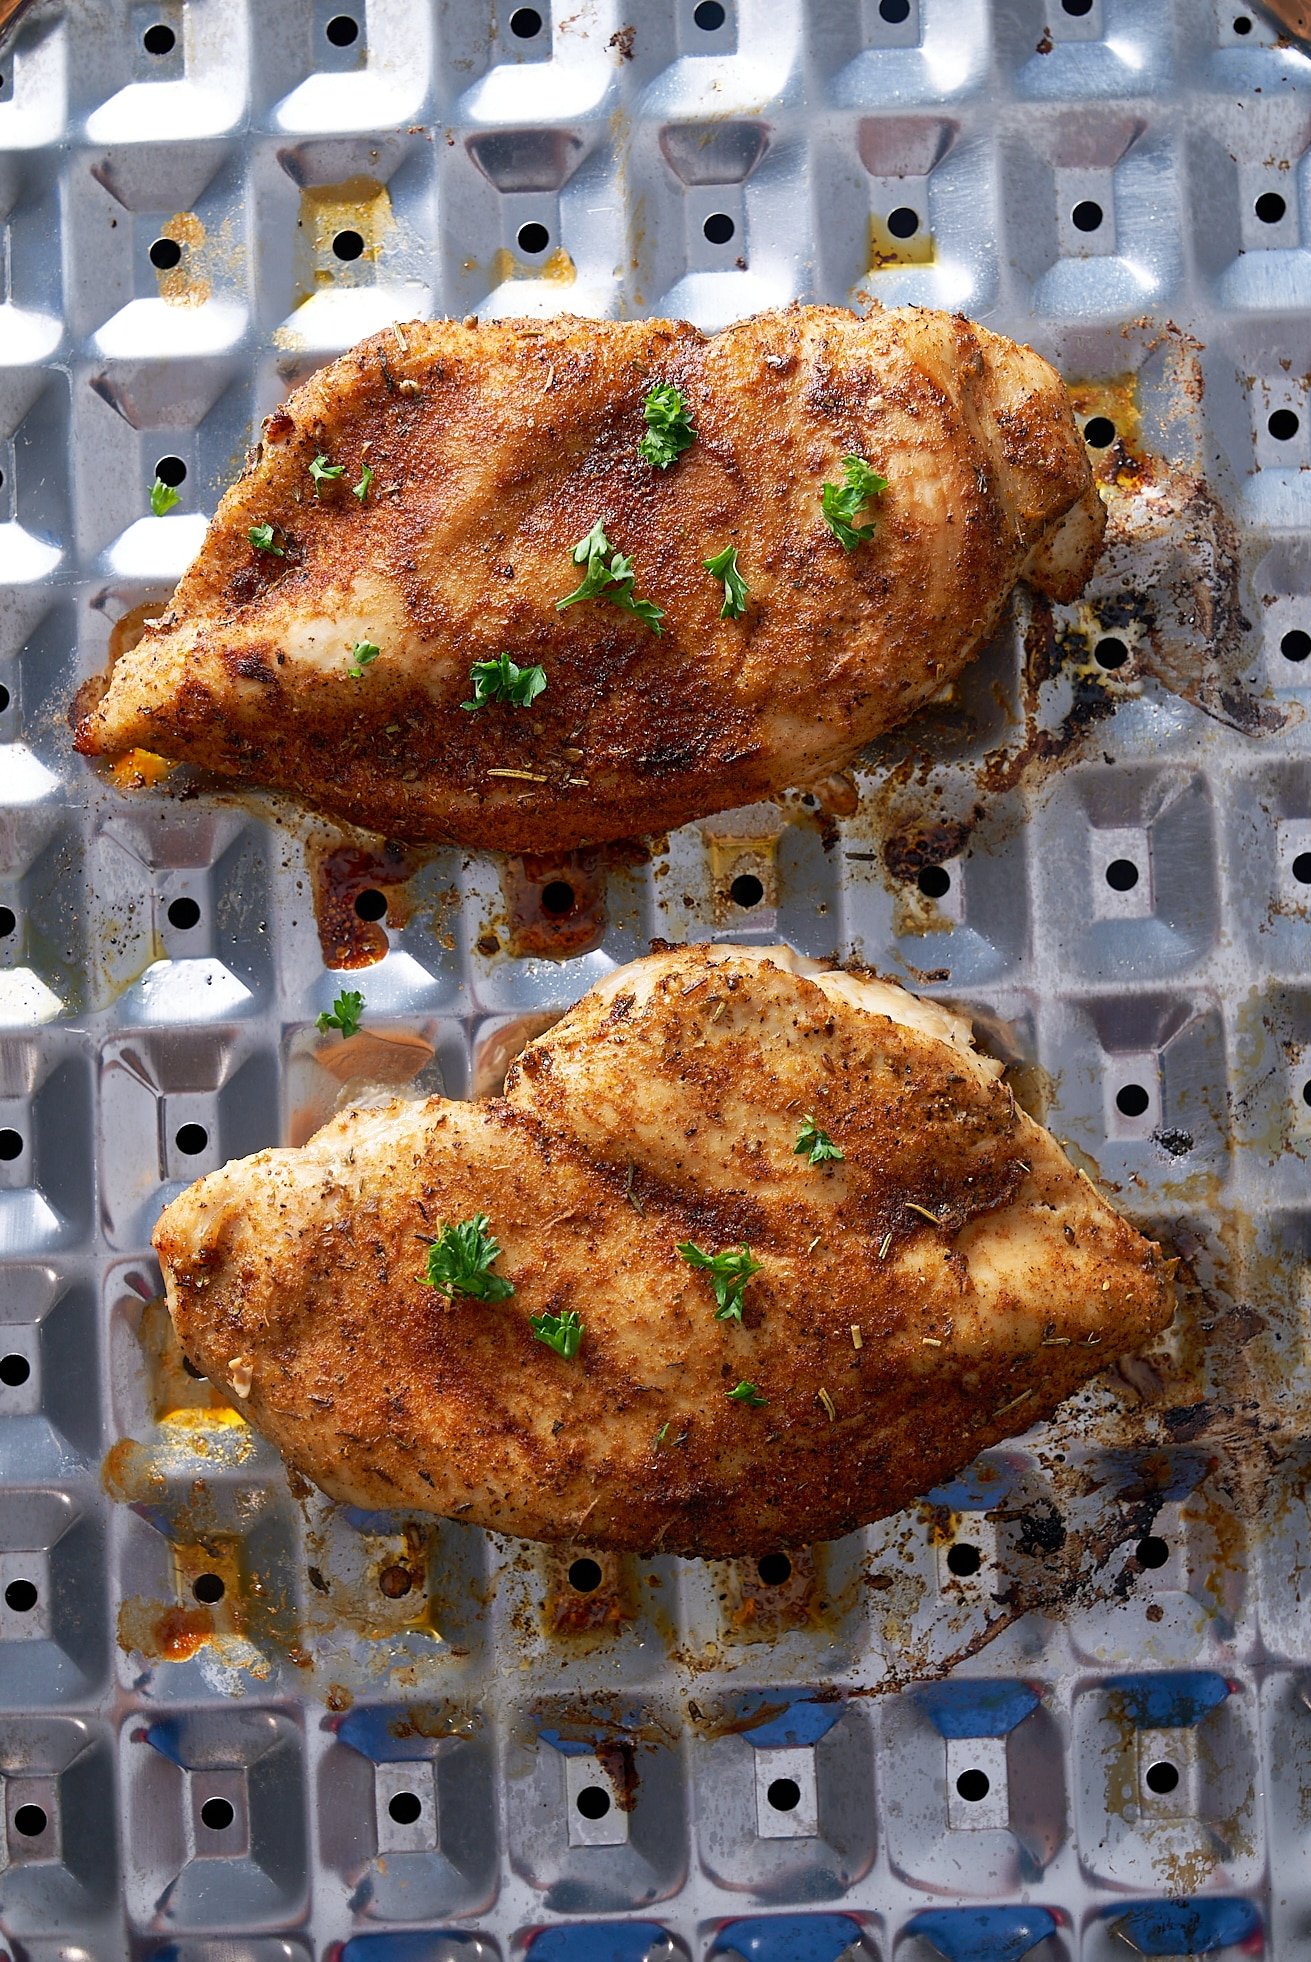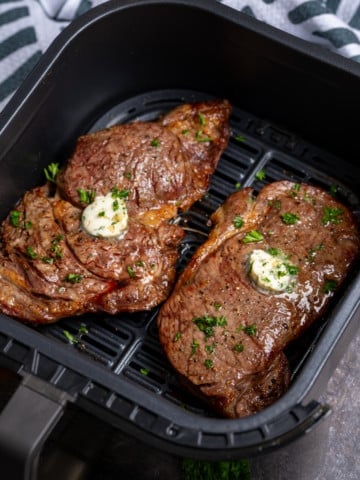
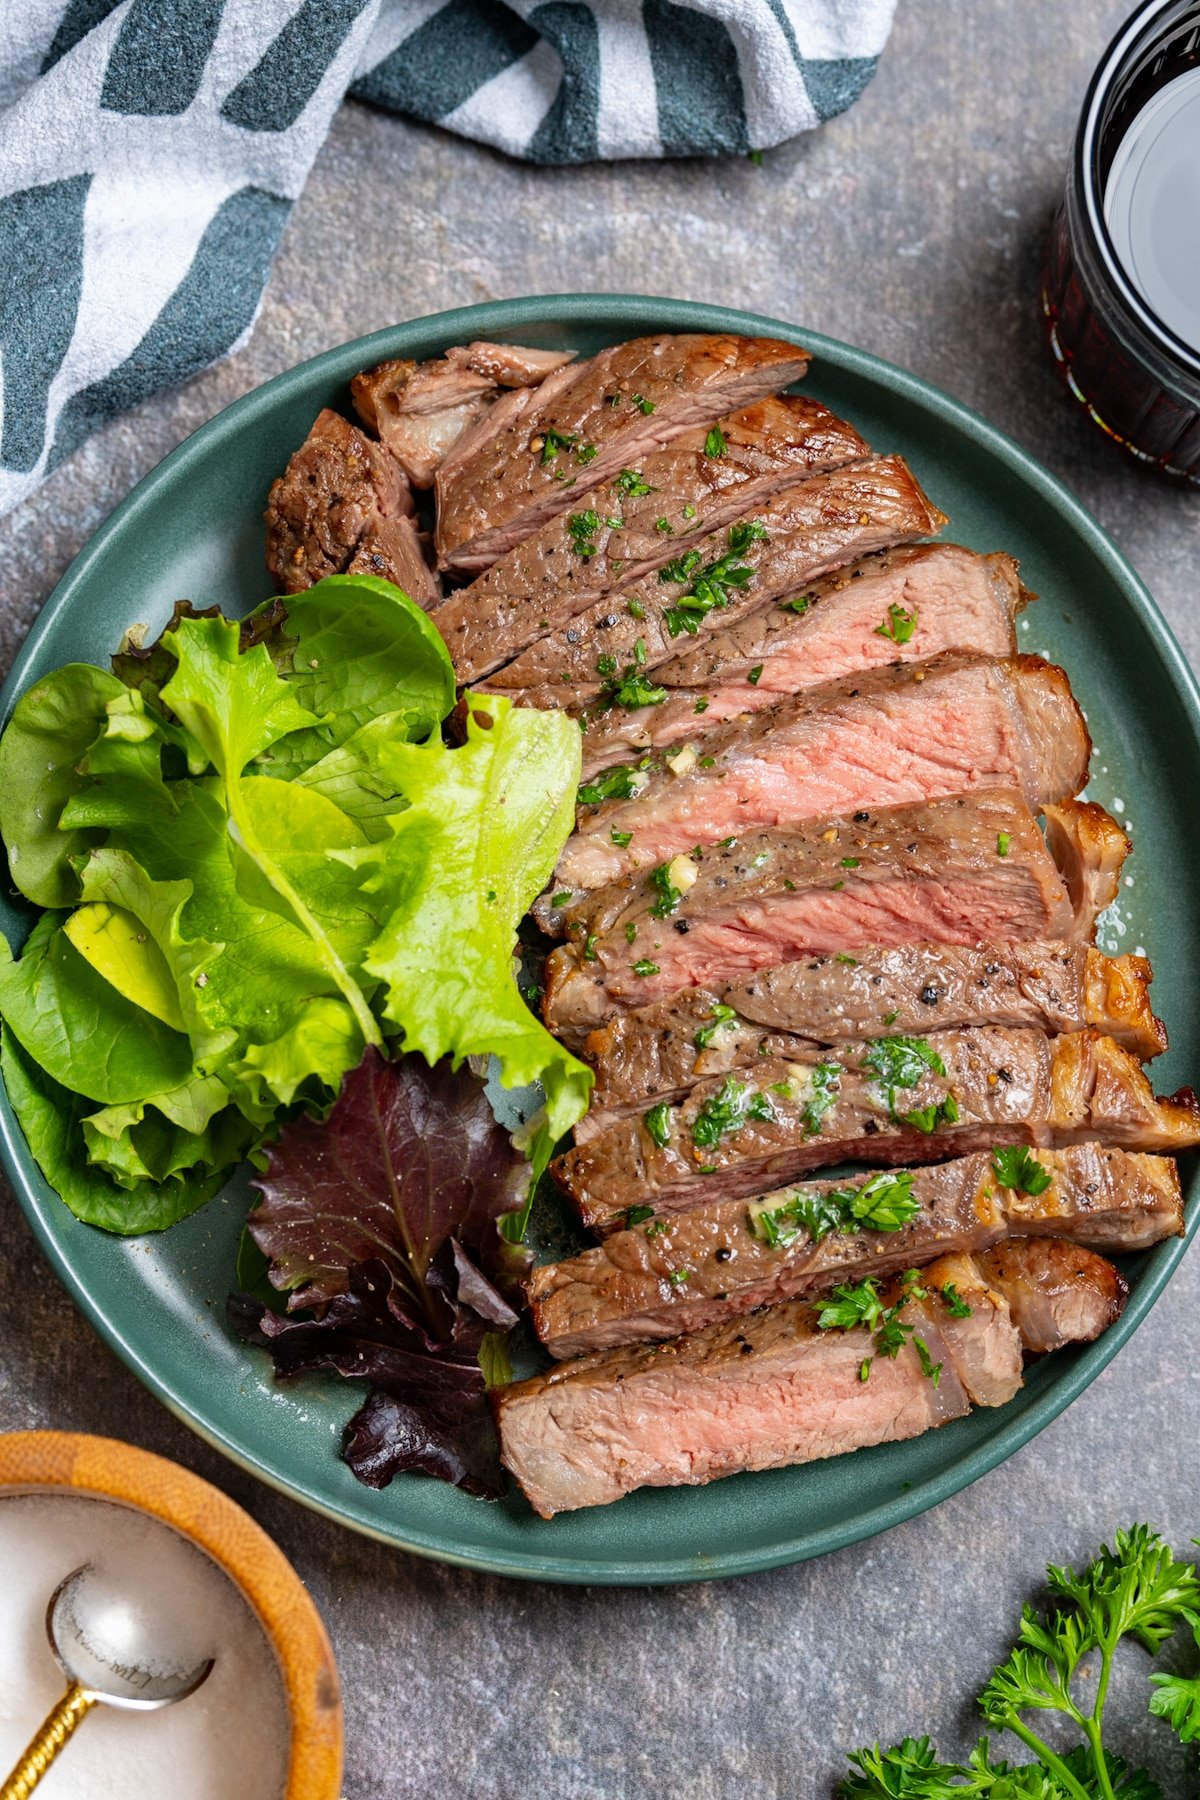
If you're wondering how to make the perfect air fryer steak, look no further. This method of cooking steak in the air fryer provides a perfect juicy steak every time.
You’ll find the full recipe with ingredient amounts and instructions in the recipe card at the bottom of this post. Be sure to check out the blog post itself for extra tips and tricks!
I had only intended to make fried foods when I purchased my Air Fryer. Little did I know how amazing this appliance was and that it could make much more than fried food. Now I have a ton of air fryer recipes as I use it all the time.
Initially, I used it to make chicken for my Healthier General Tso's Chicken in the Air Fryer, and I also used it frequently for roasting vegetables. Then I discovered that my air fryer could make juicy steak!
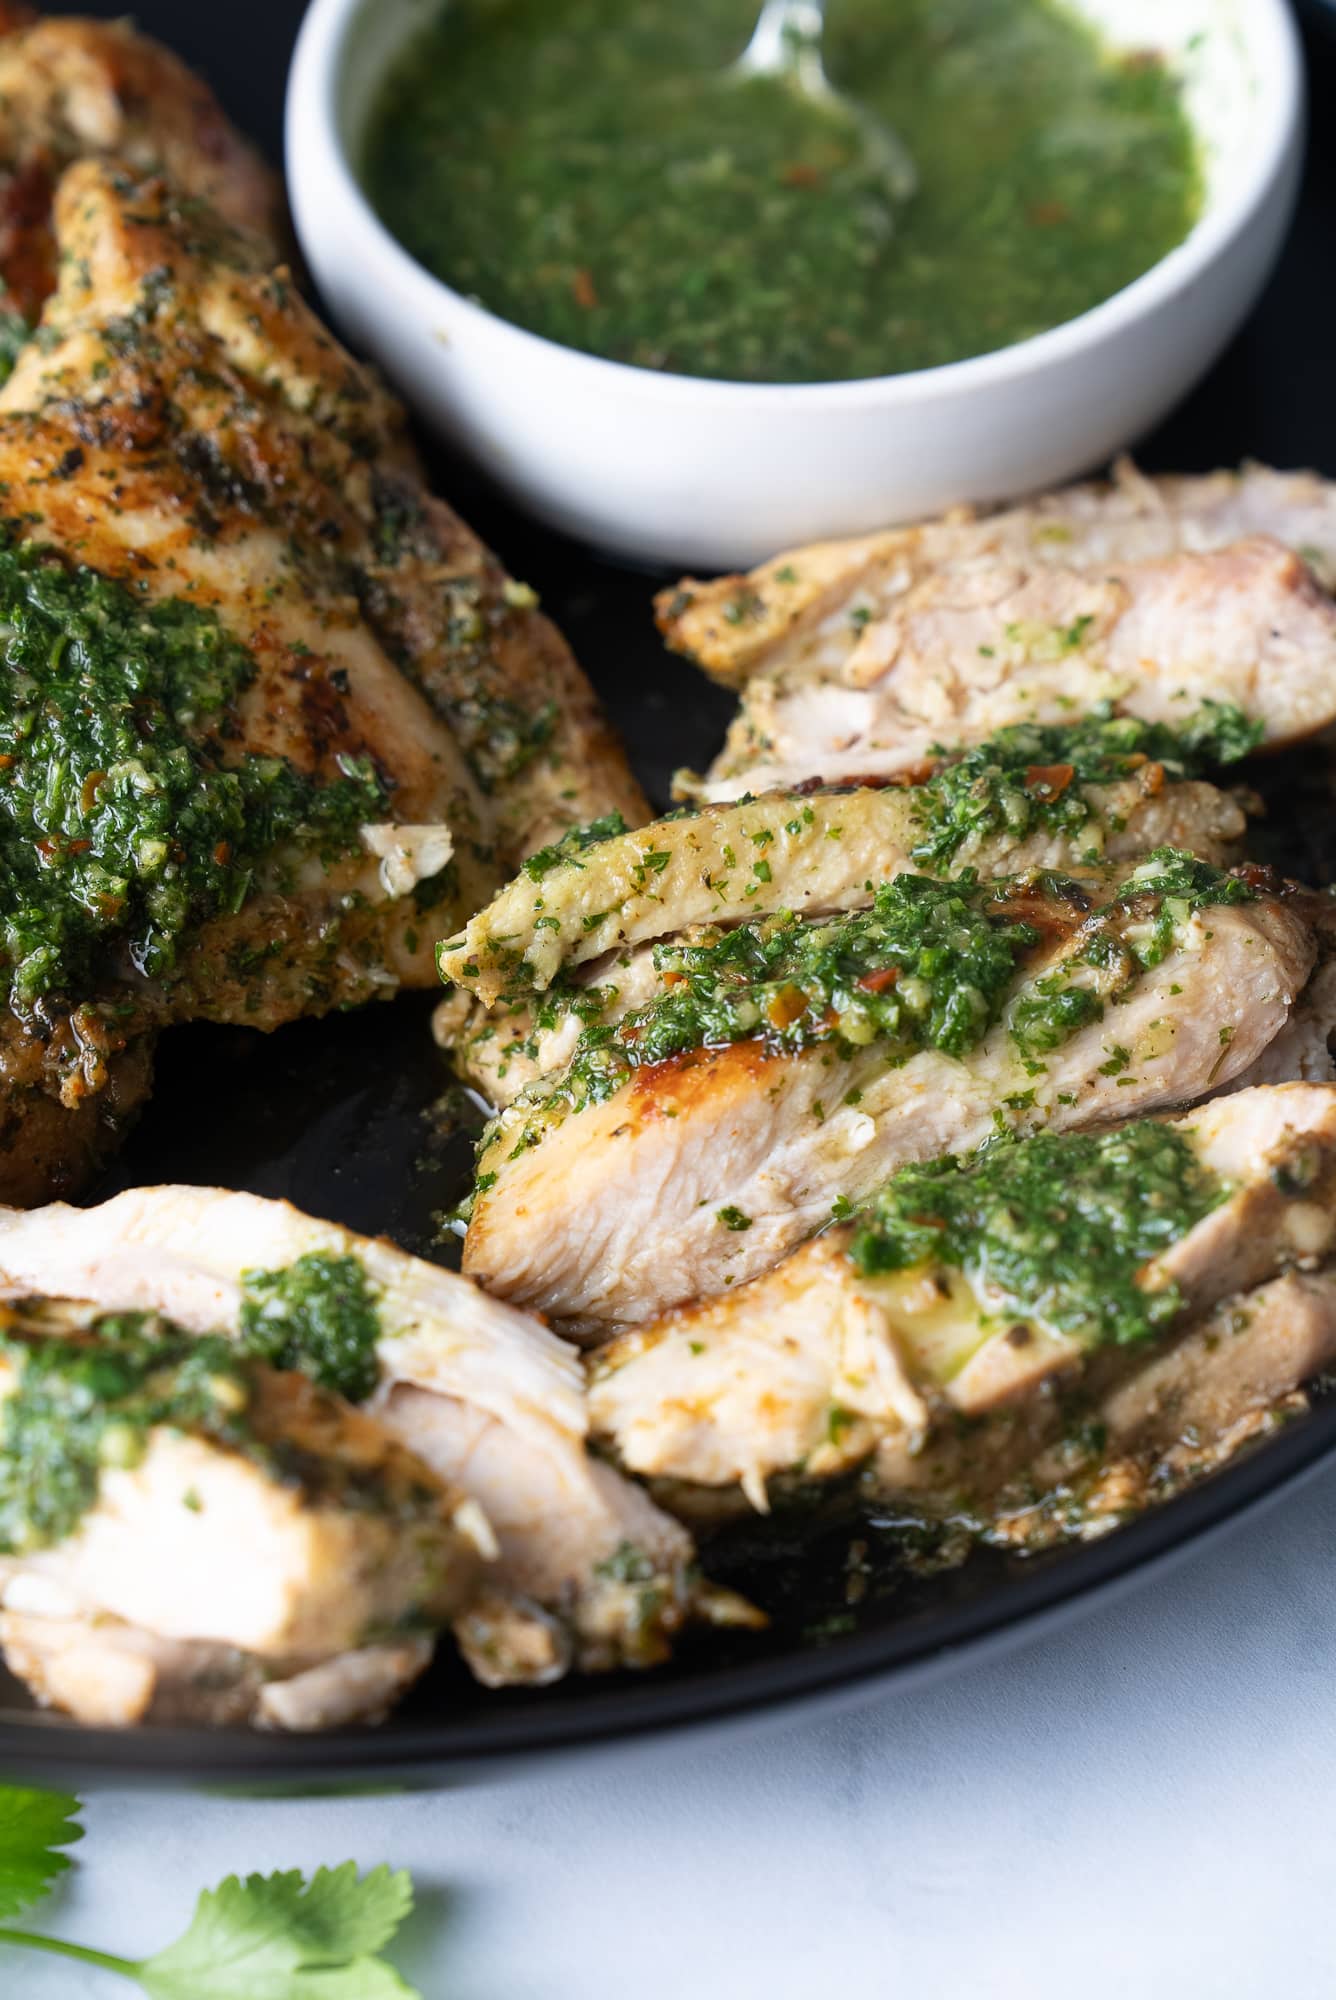
Top your steaks with my homemade garlic butter that can be whipped up easily and can go on many dishes, including fish, bread, and vegetables. I like to create more than we need for our steaks and save the rest for later in the fridge. I would eat the stuff by the spoonful if I could.
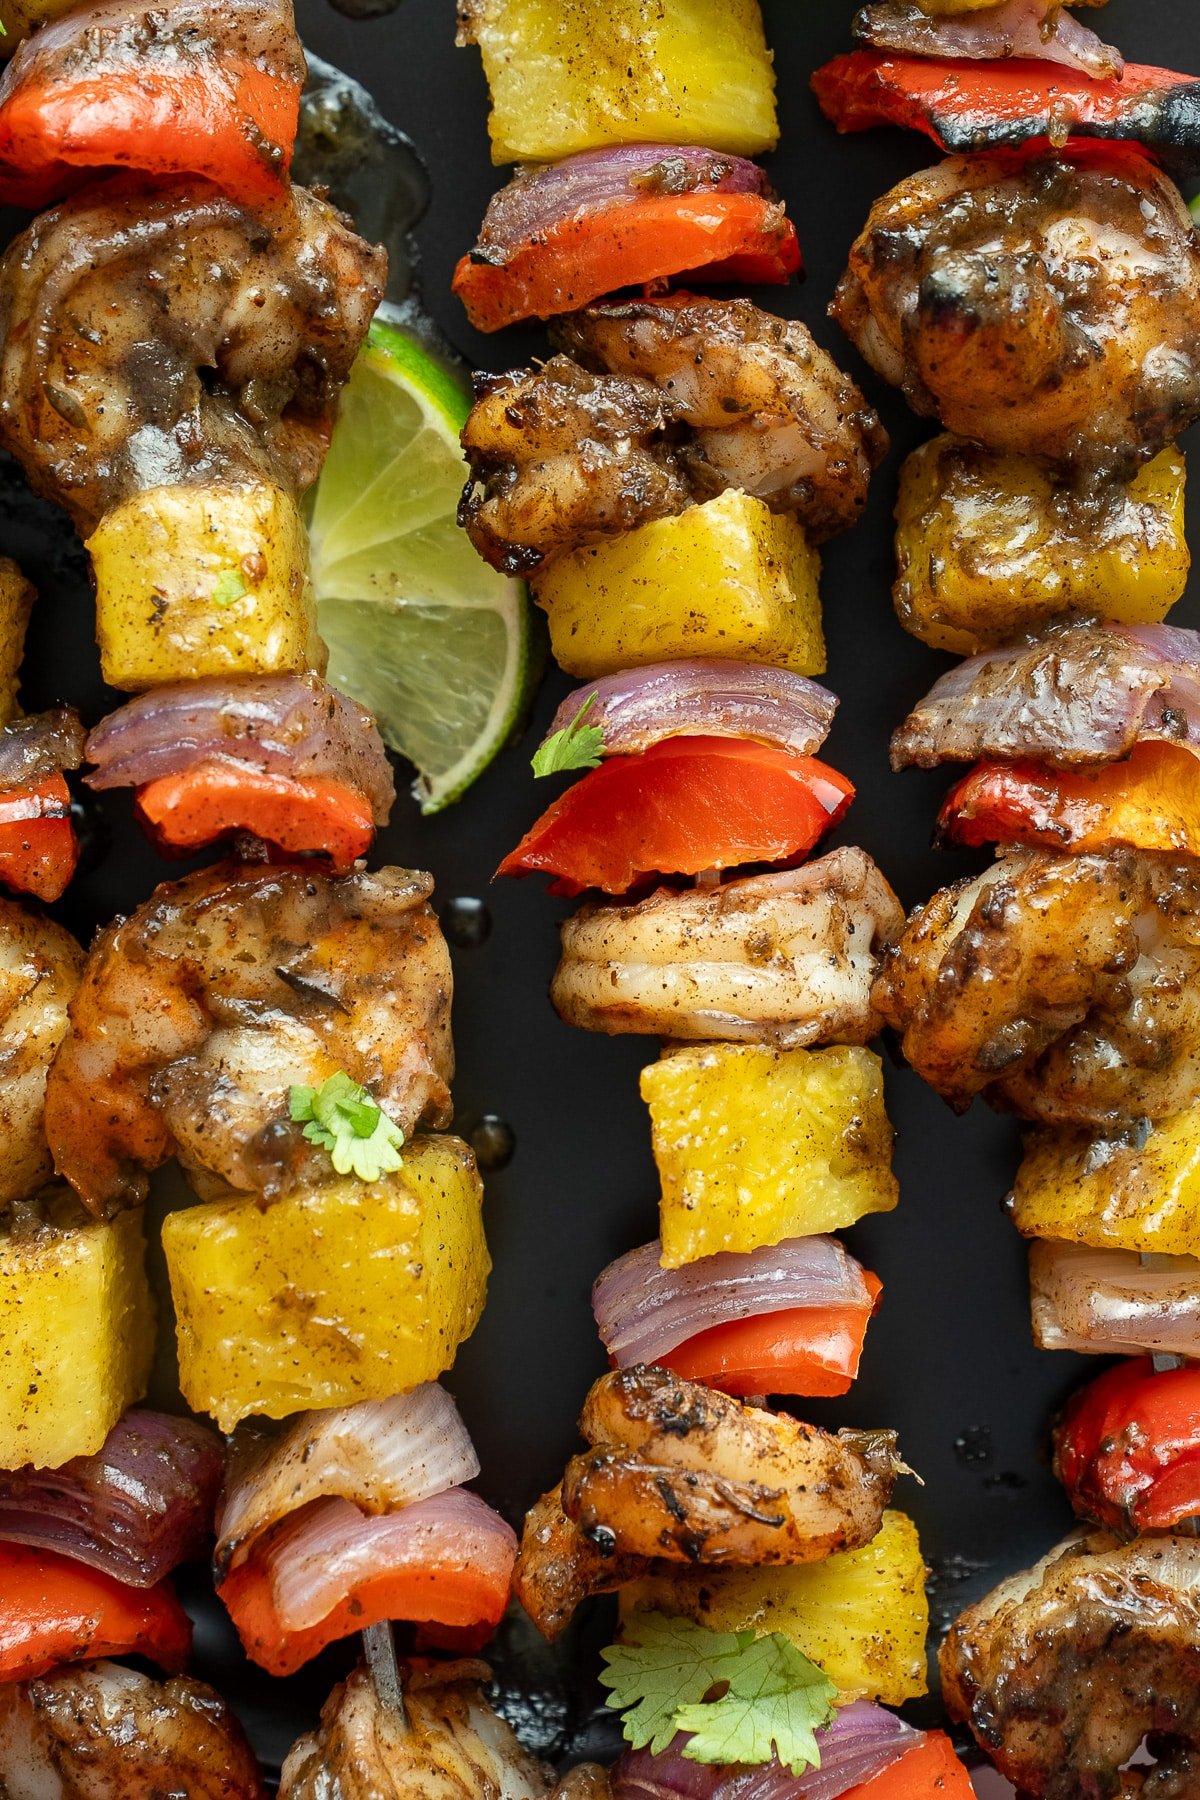
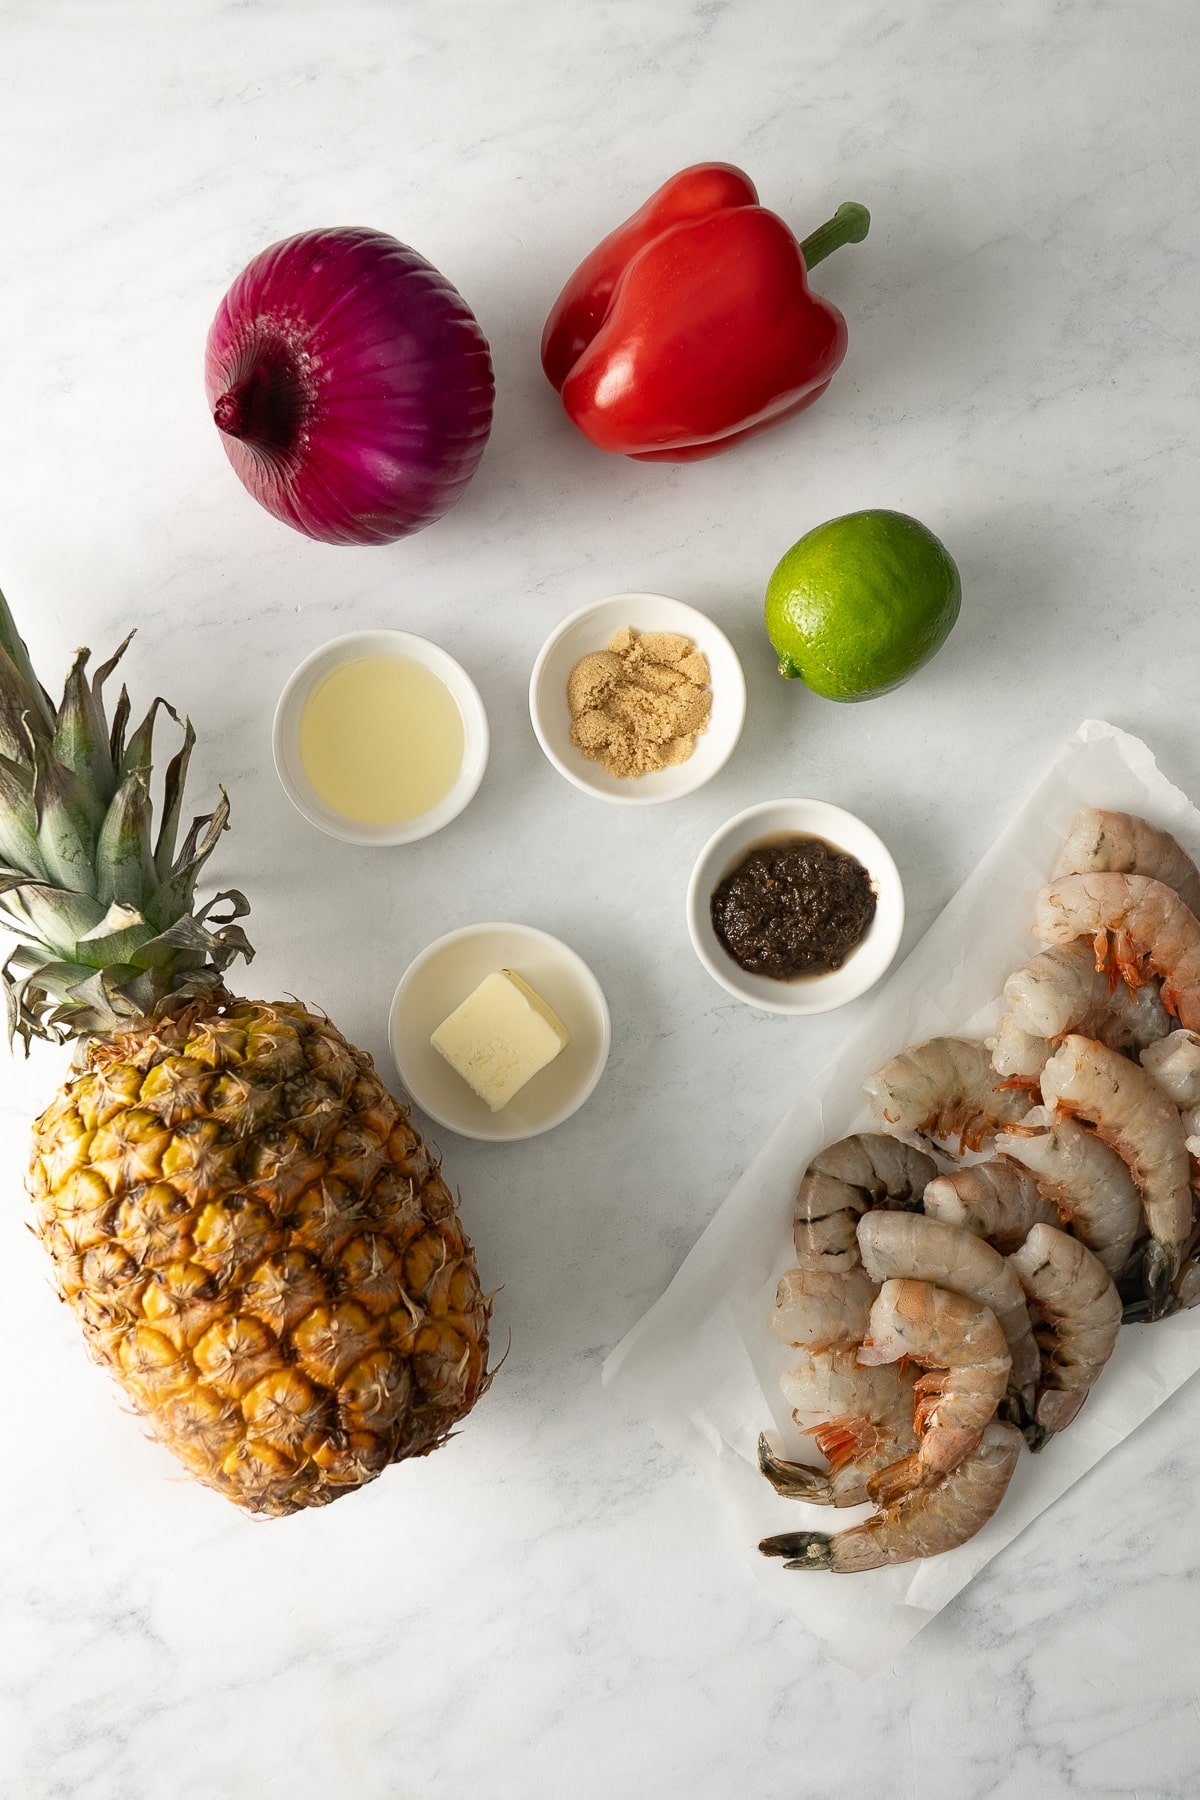
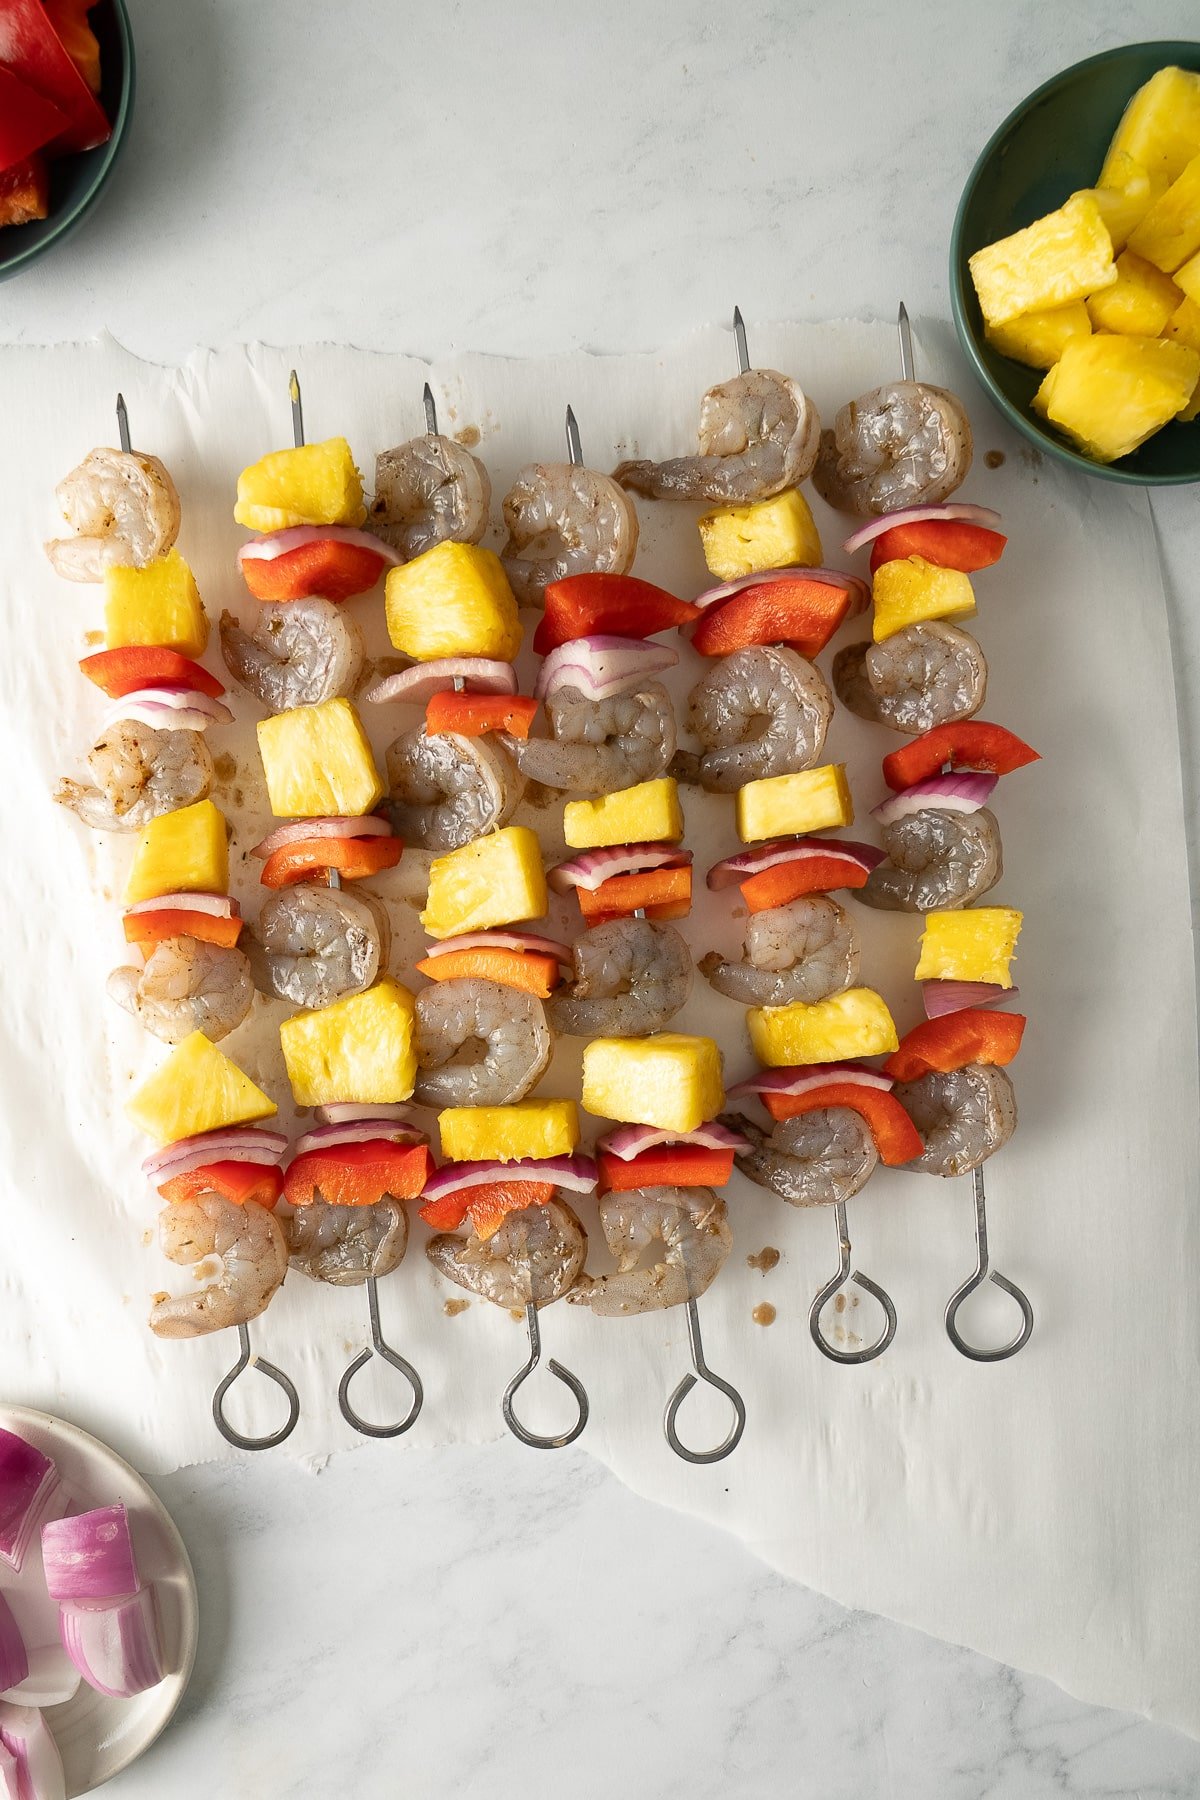
Be sure to try my Air Fryer Steak Fajitas and Air Fryer Steak Kebabs too!
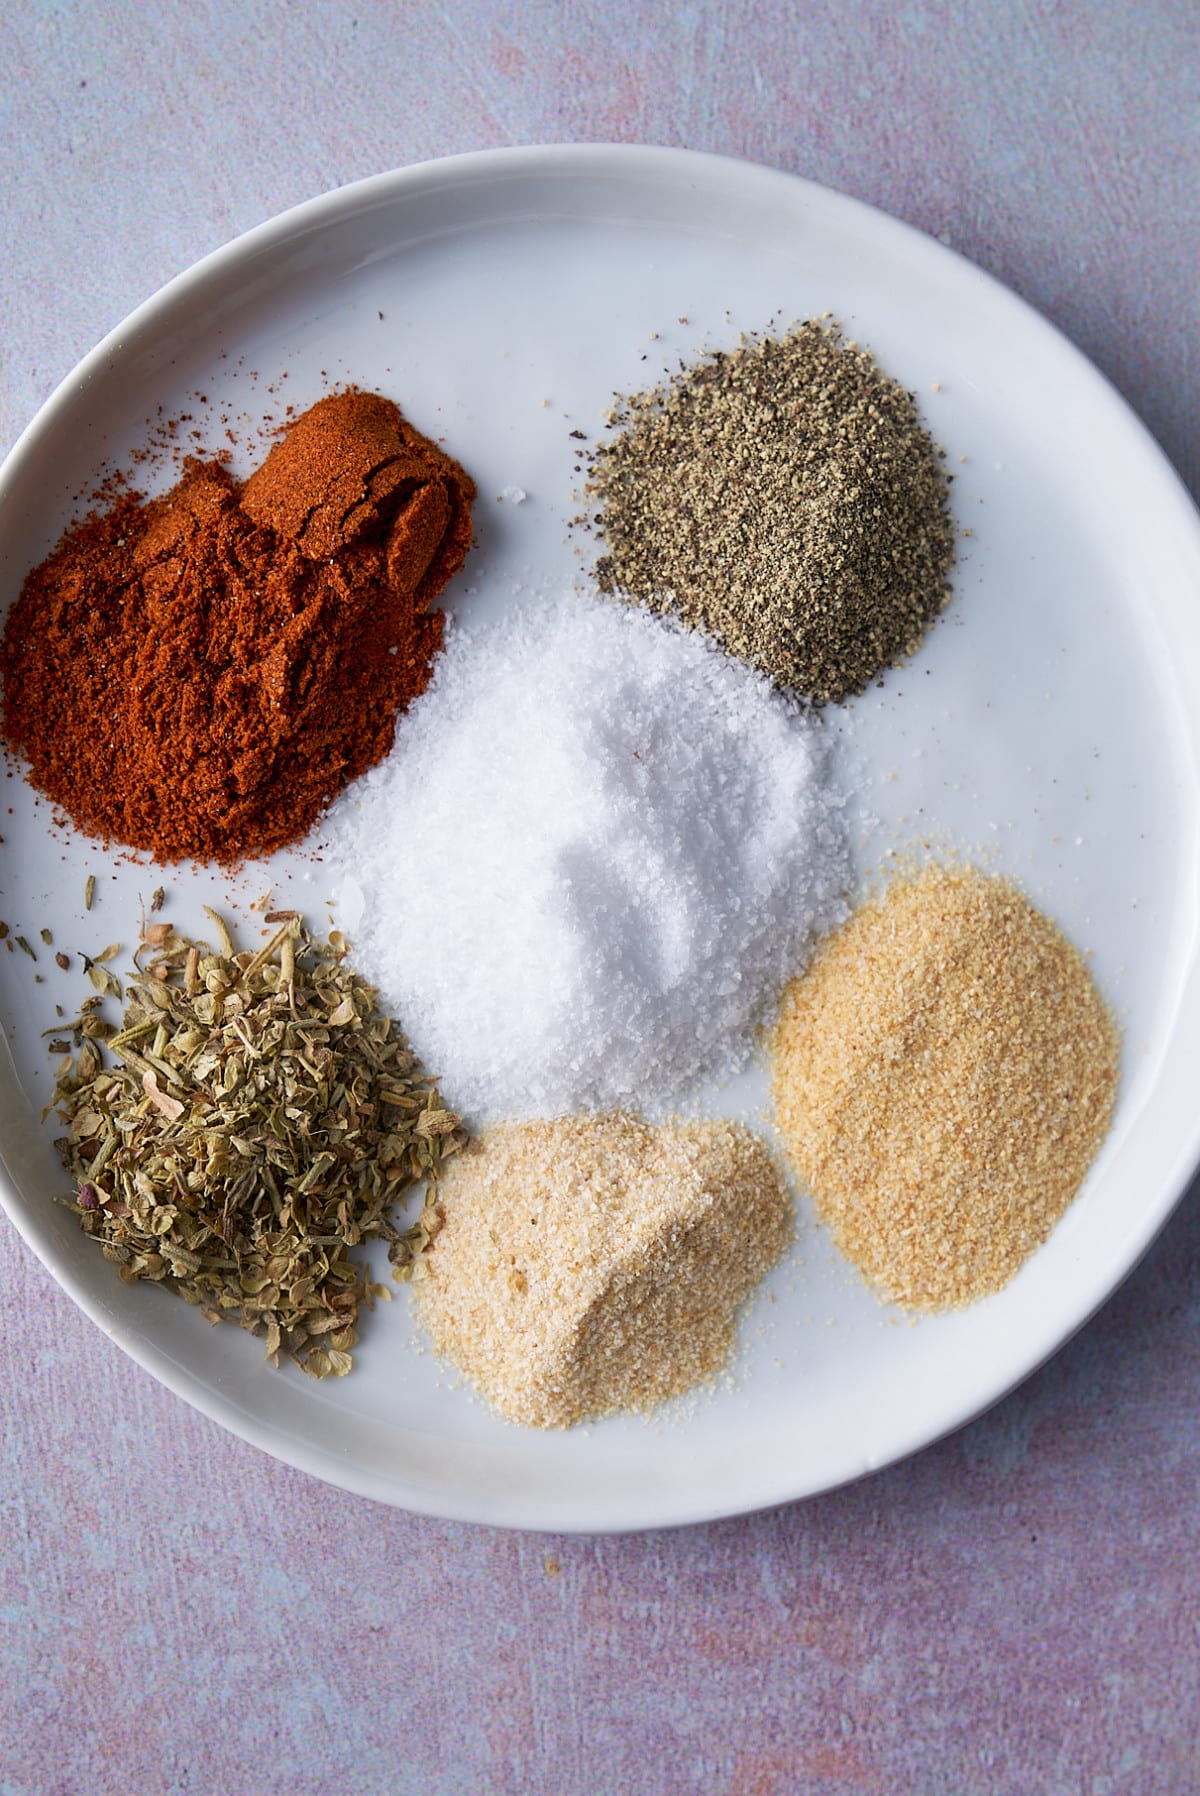
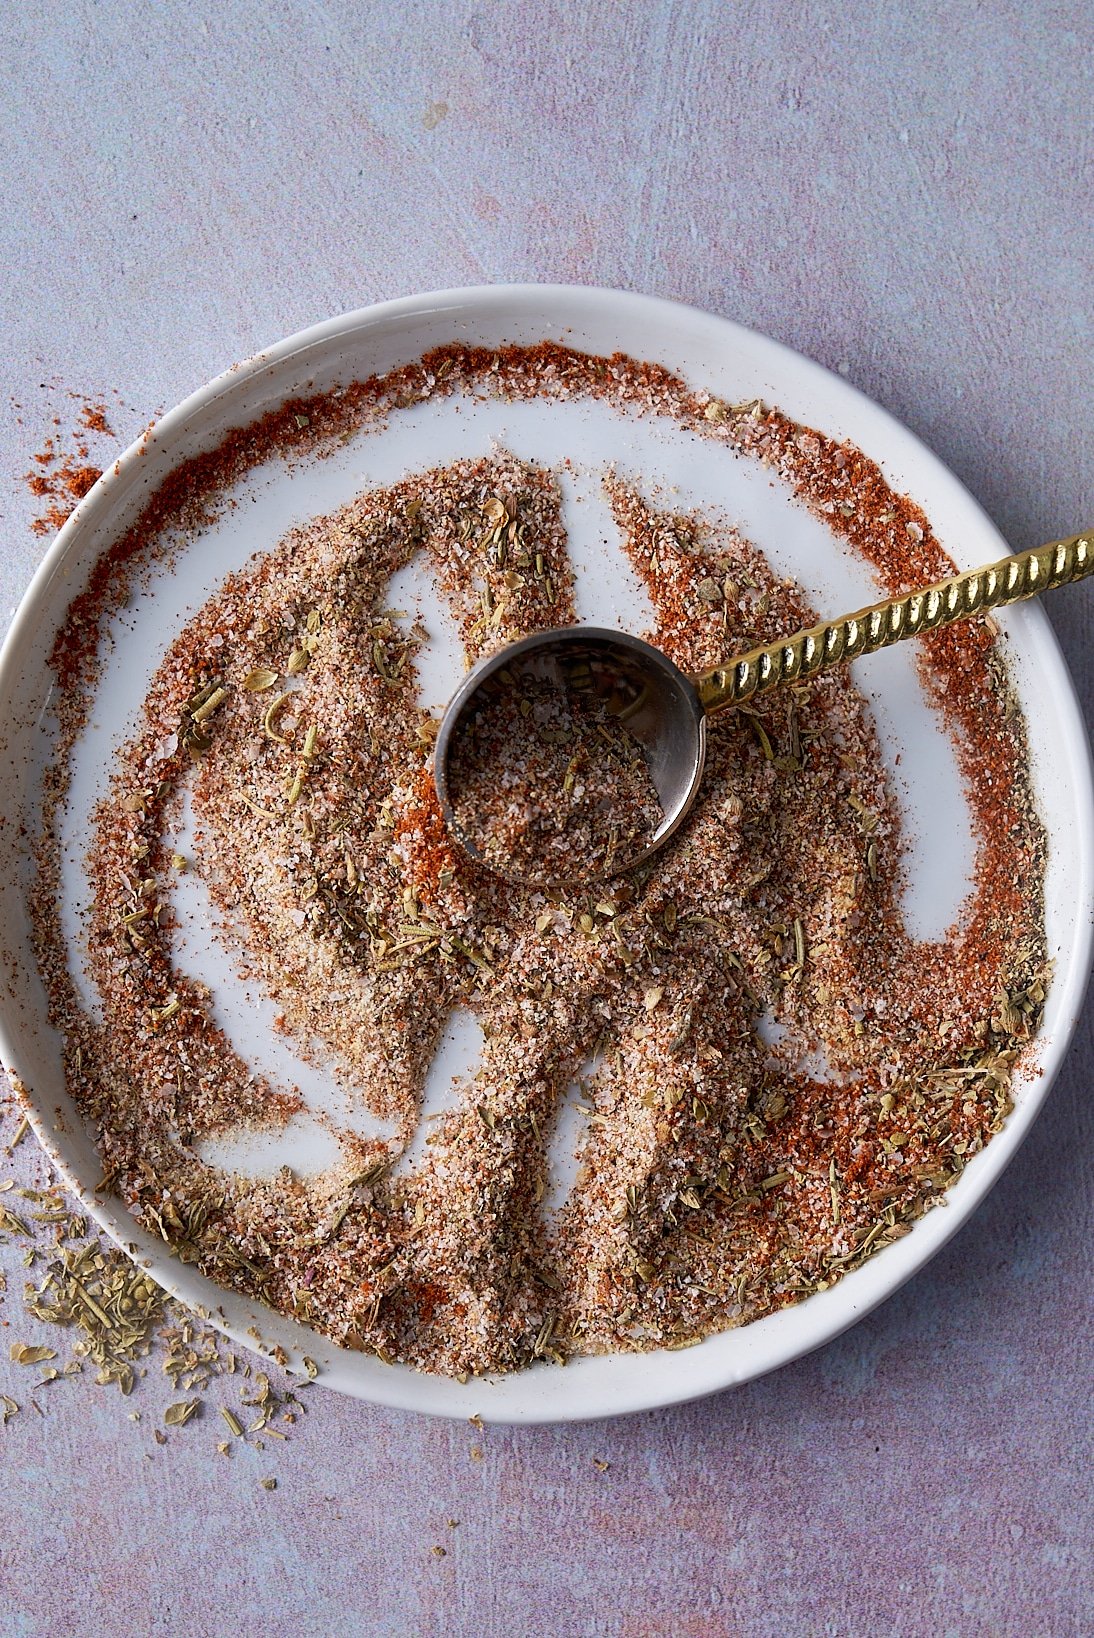
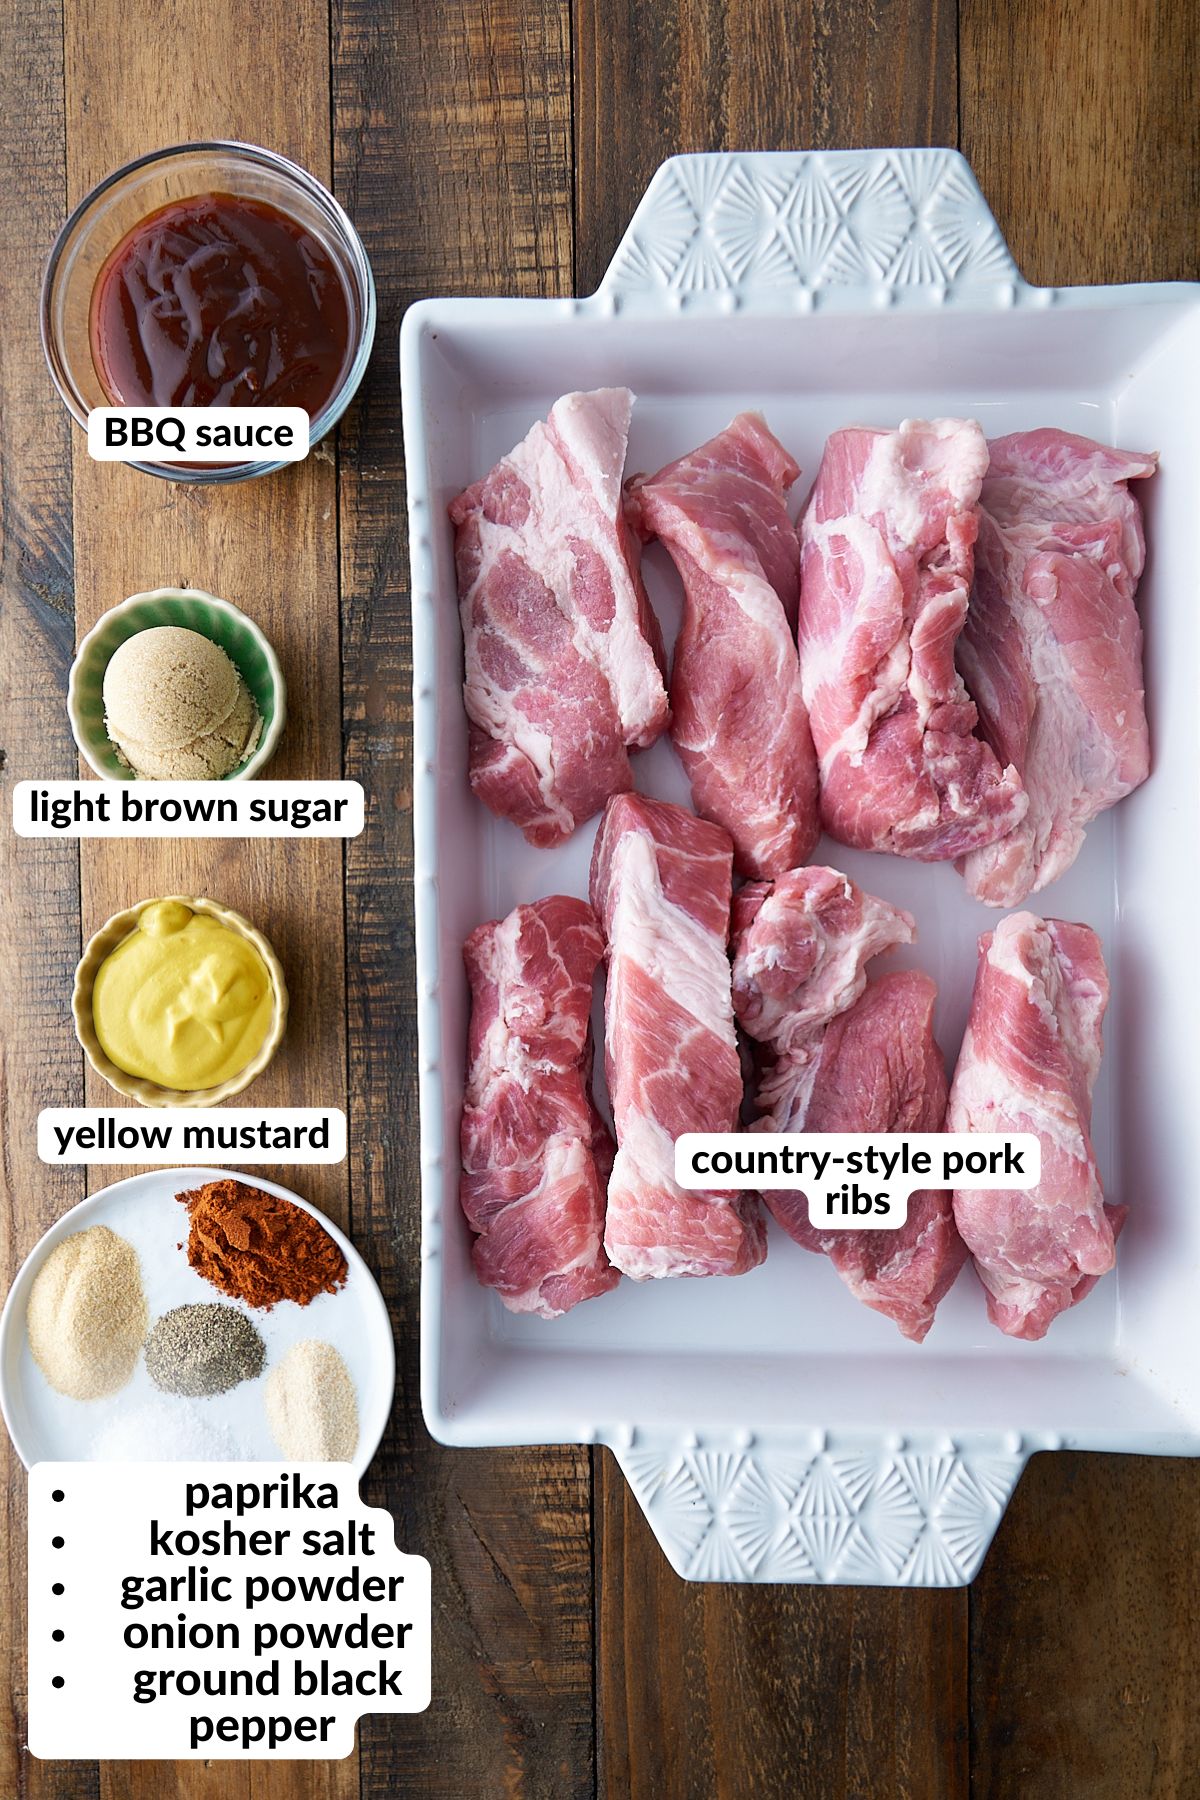
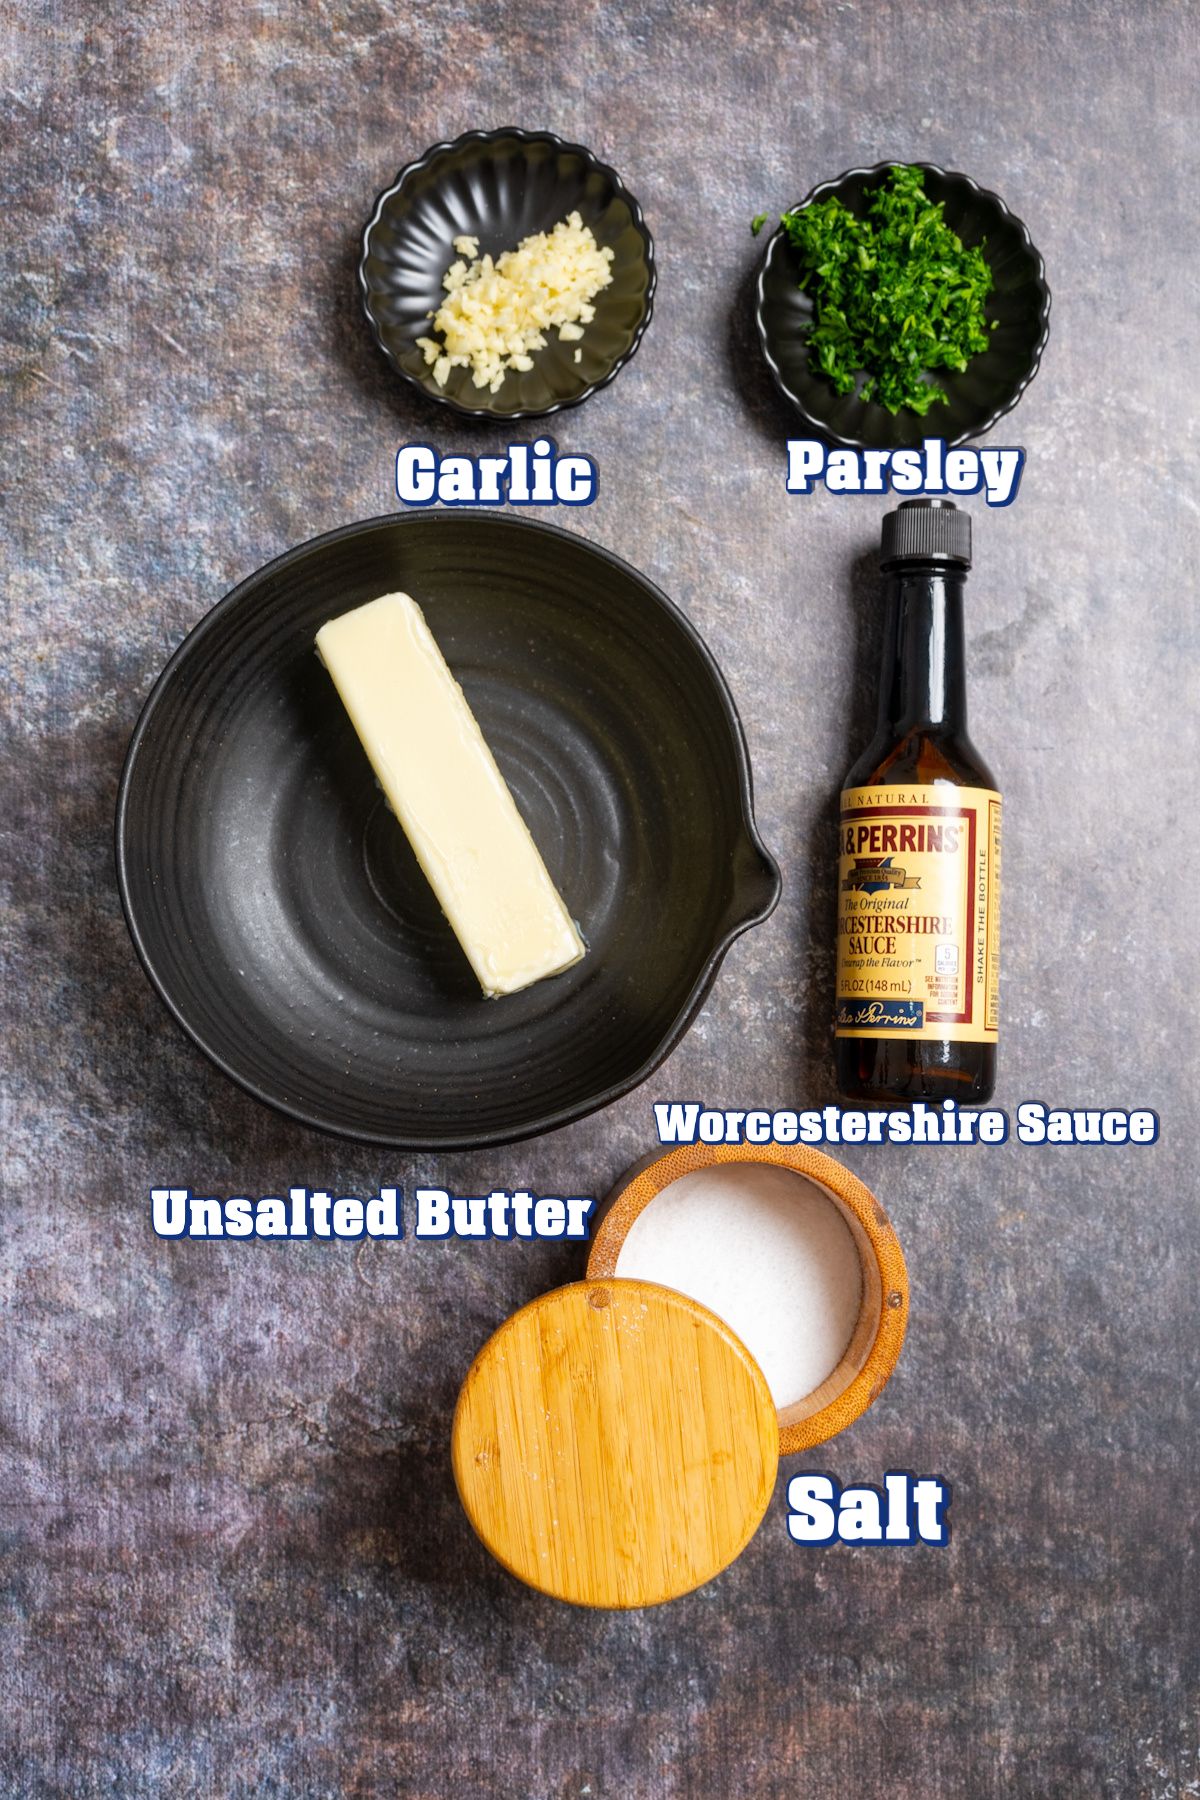
A Quick Look at The Ingredients
Ingredient amounts and full recipe instructions are on the printable recipe card at the bottom of the post.
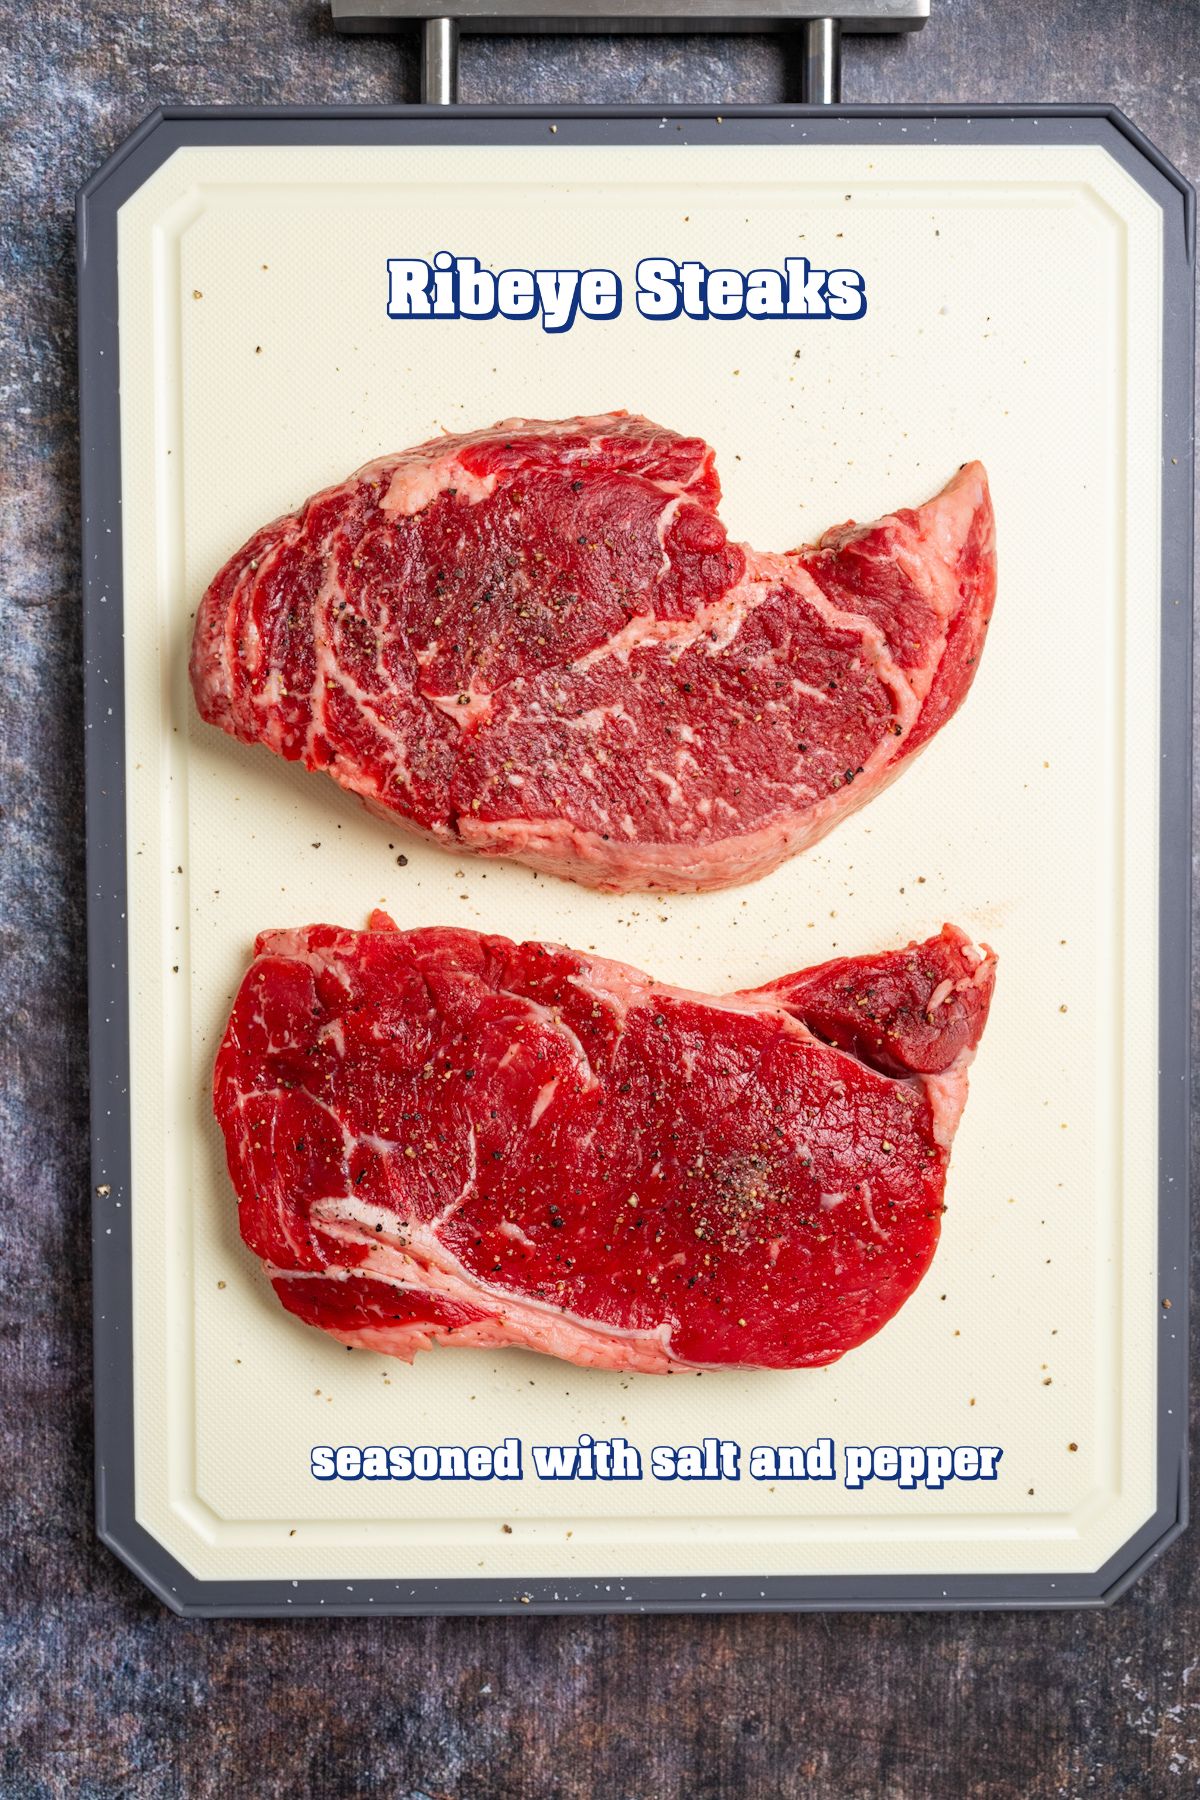
- Ribeye Steaks – I use two 8-oz ribeye steaks, approximately 1 inch thick, for their rich, juicy flavor and marbling.
- Salt & Freshly Cracked Black Pepper – A classic combo to season the steak simply and effectively.
- Garlic Butter – A flavorful finish that melts over the hot steak:
- Unsalted Butter – Softened to mix easily.
- Fresh Parsley – For a pop of freshness.
- Minced Garlic – Adds bold, savory depth.
- Worcestershire Sauce – Just a splash for umami.
- Salt – To balance and enhance all the flavors.
How to Cook Steak in the Air Fryer
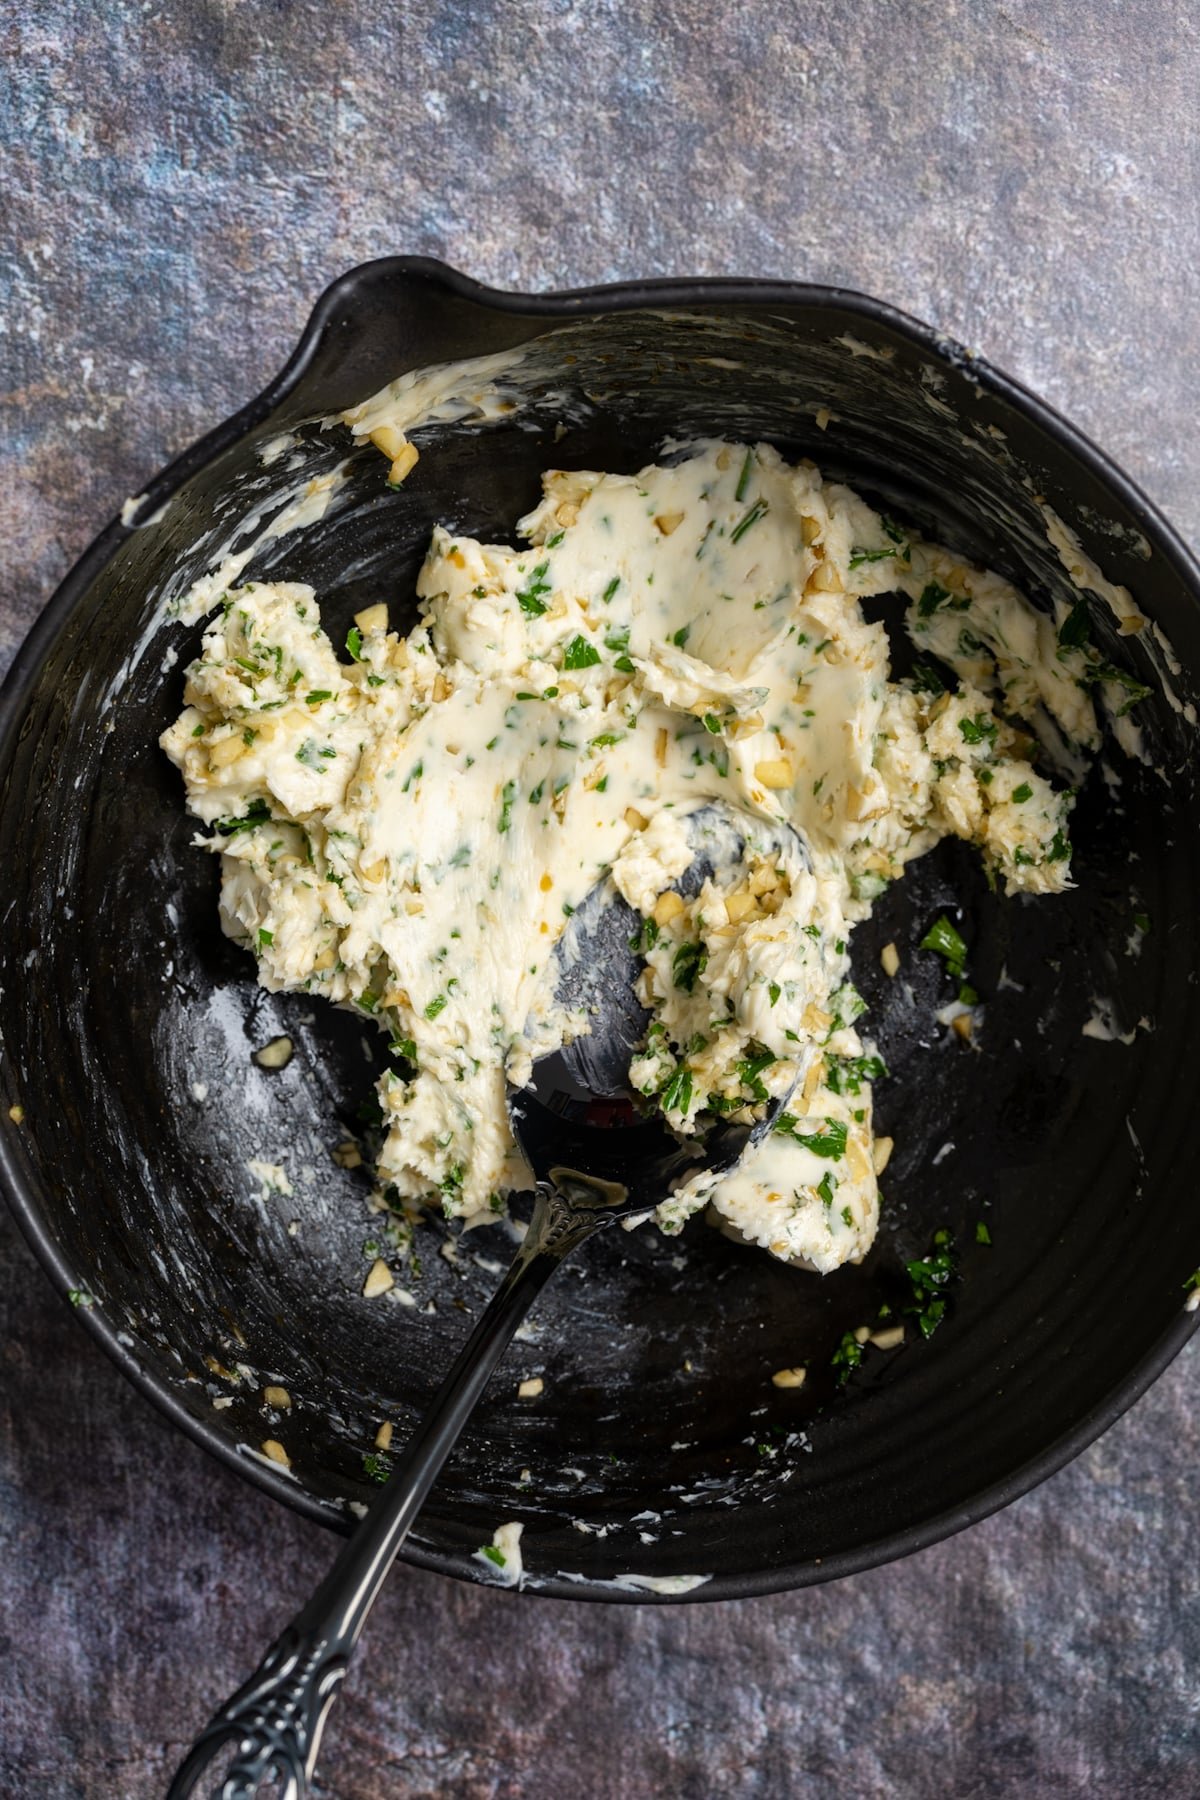
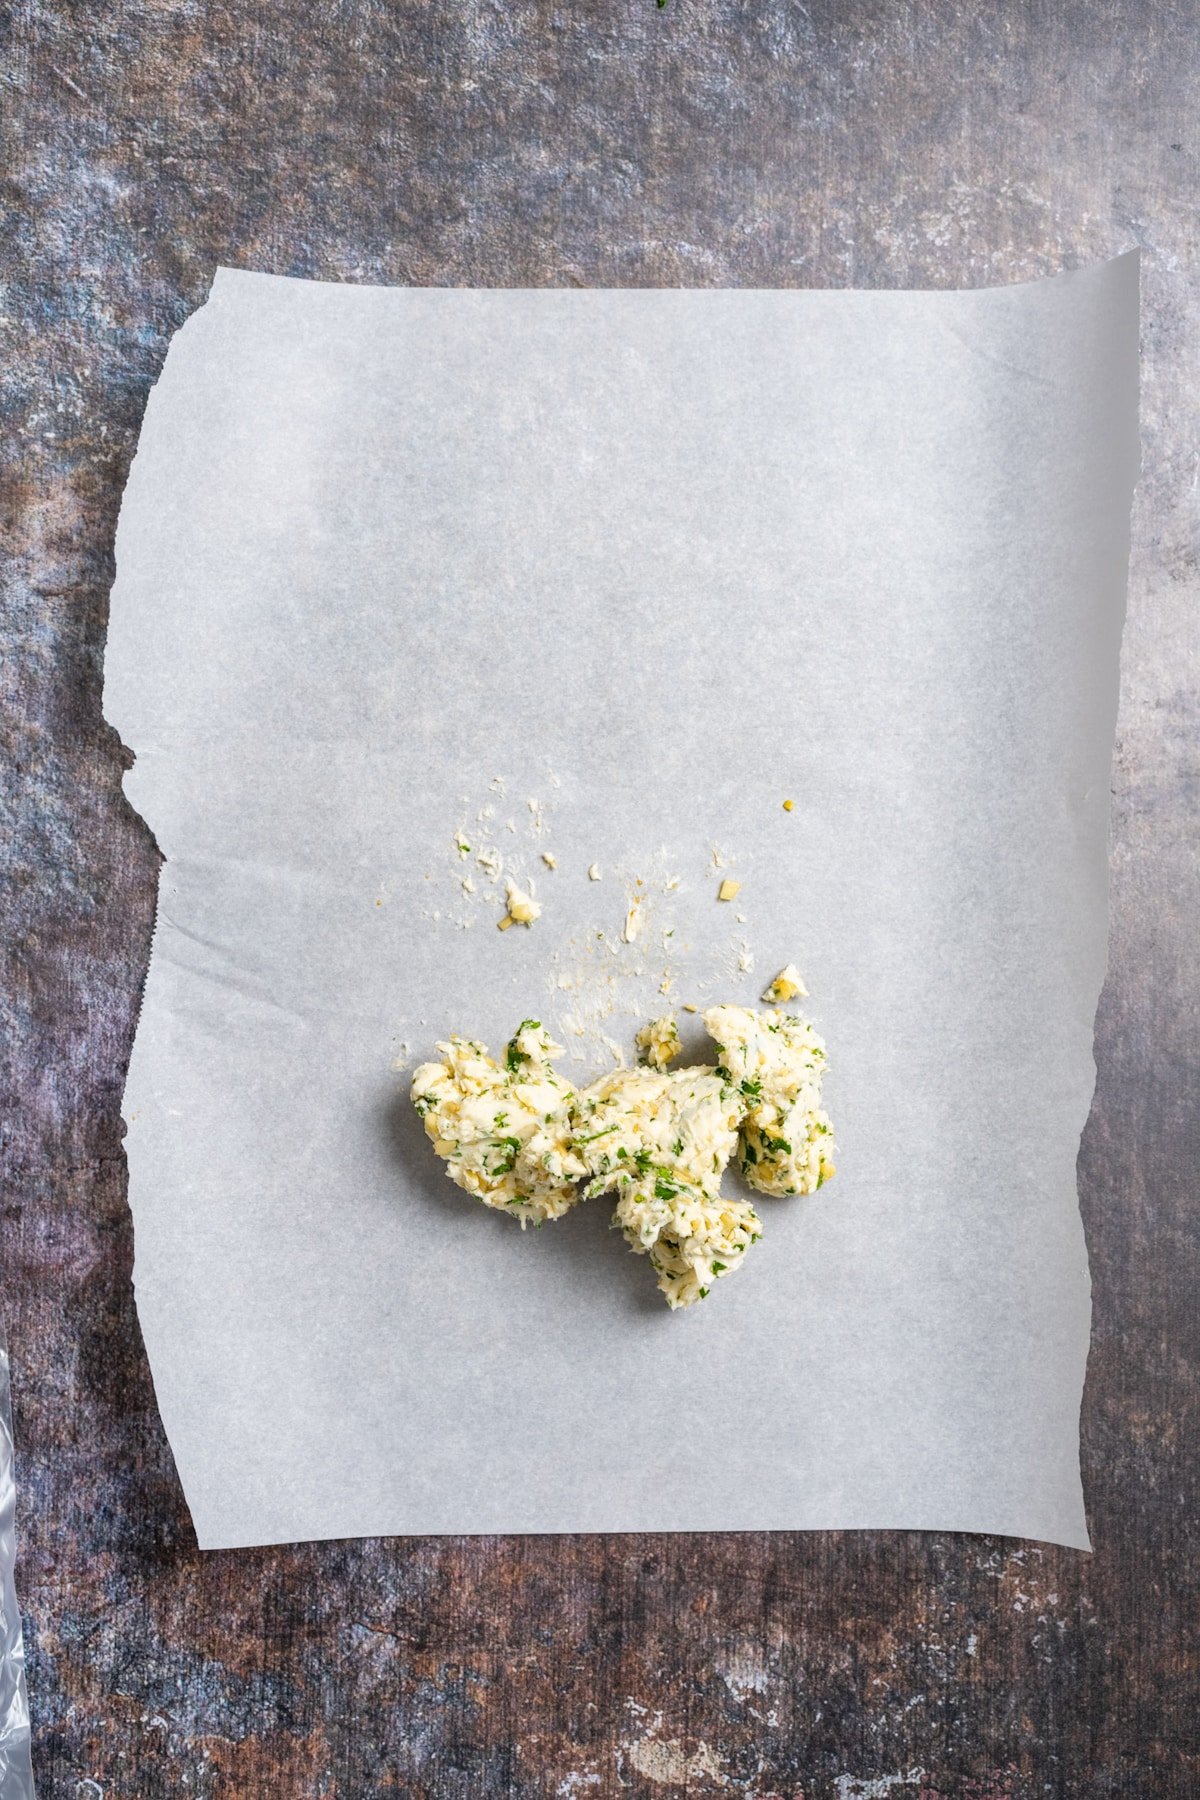
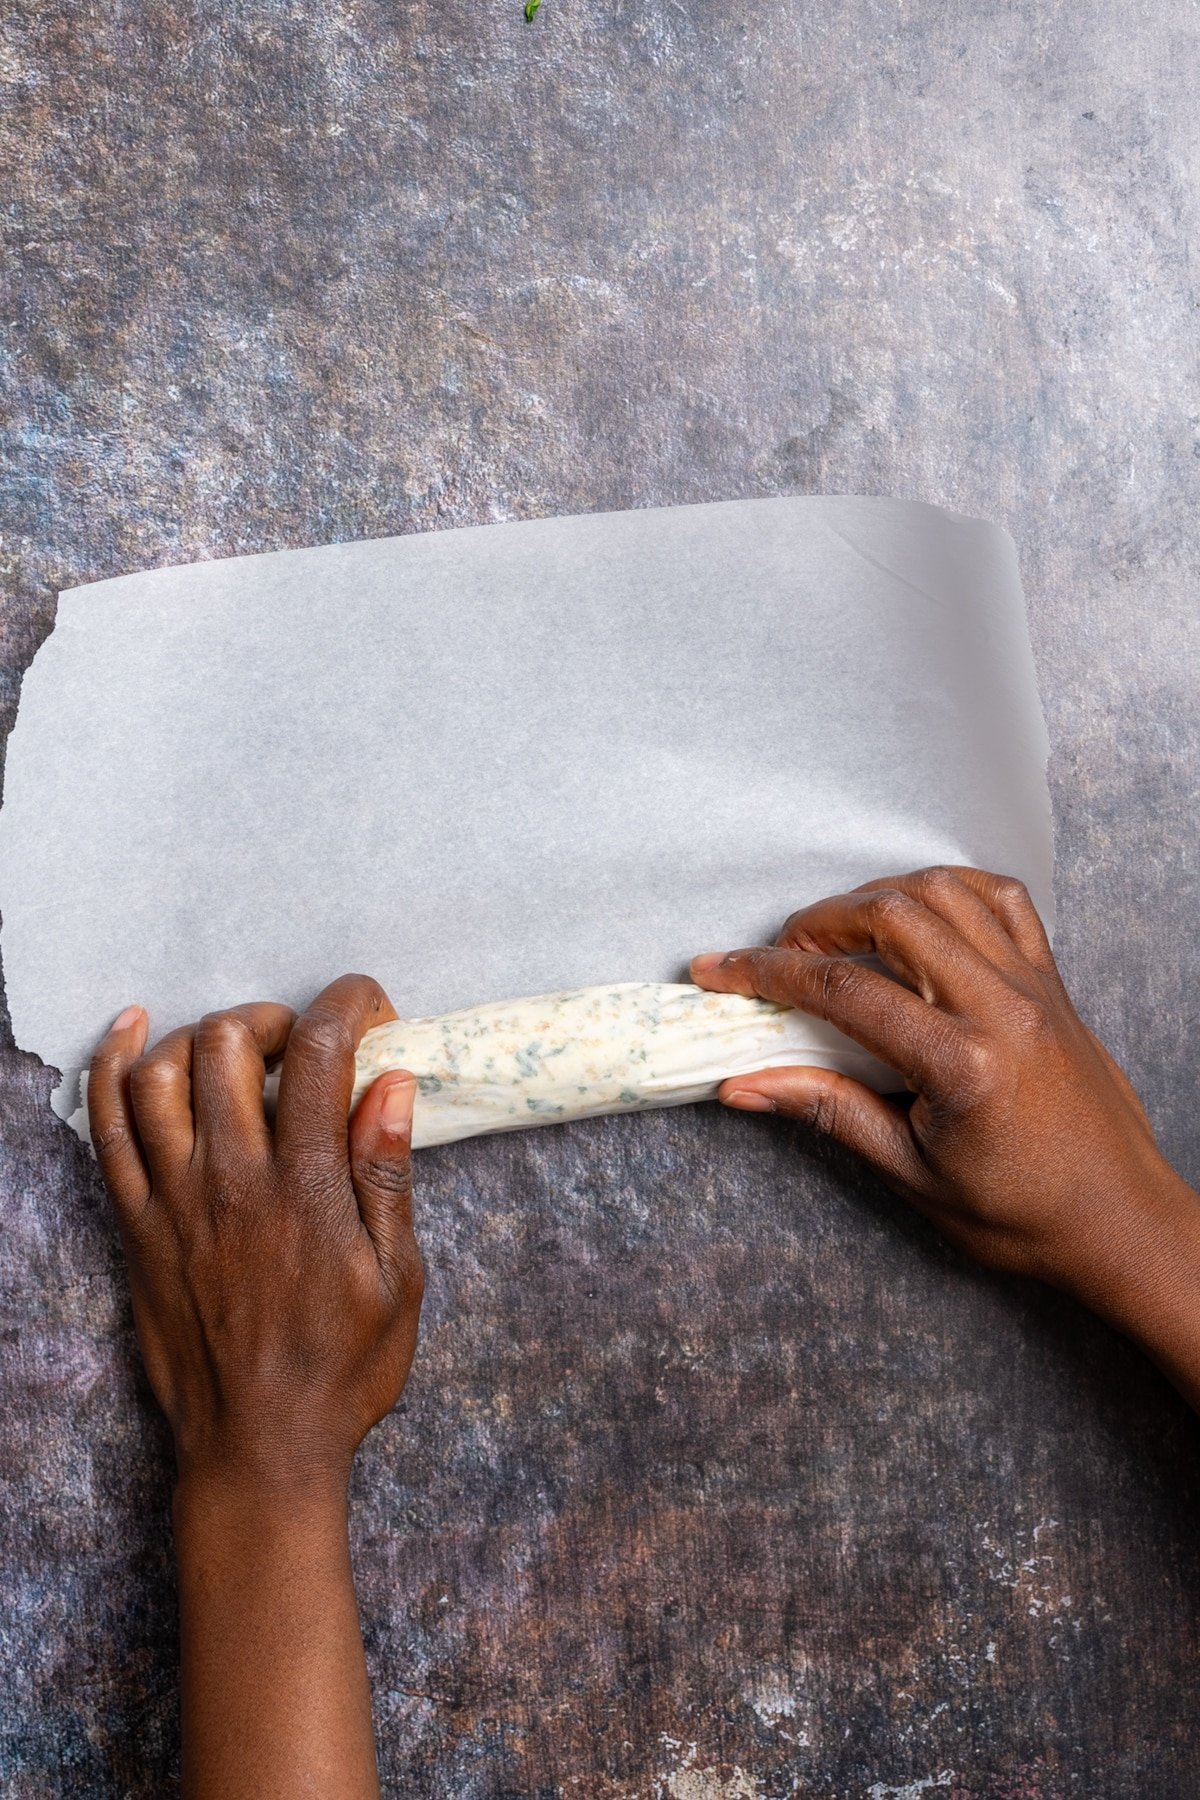
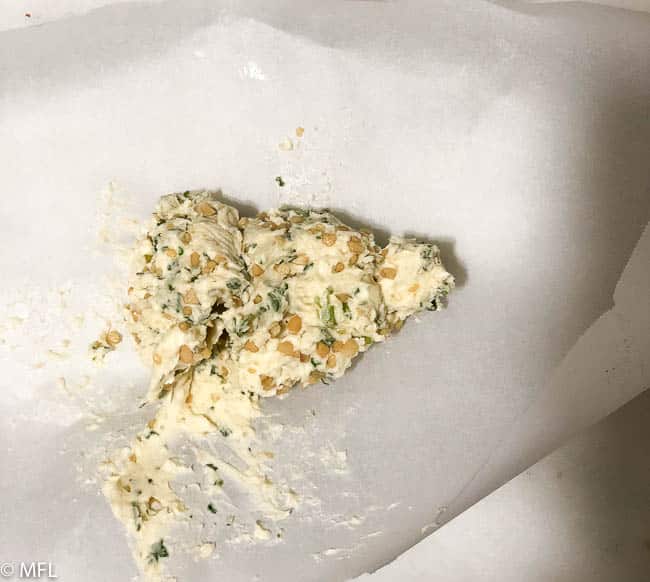
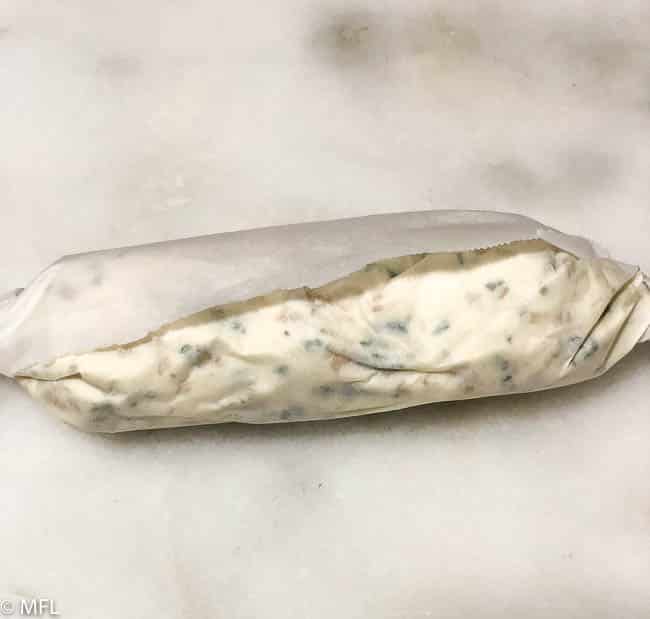
First Step: Prepare the garlic butter by mixing softened butter, parsley, garlic, Worcestershire sauce, and salt until the mixture is thoroughly combined. Place in parchment paper and roll into a log. Refrigerate until ready to use.
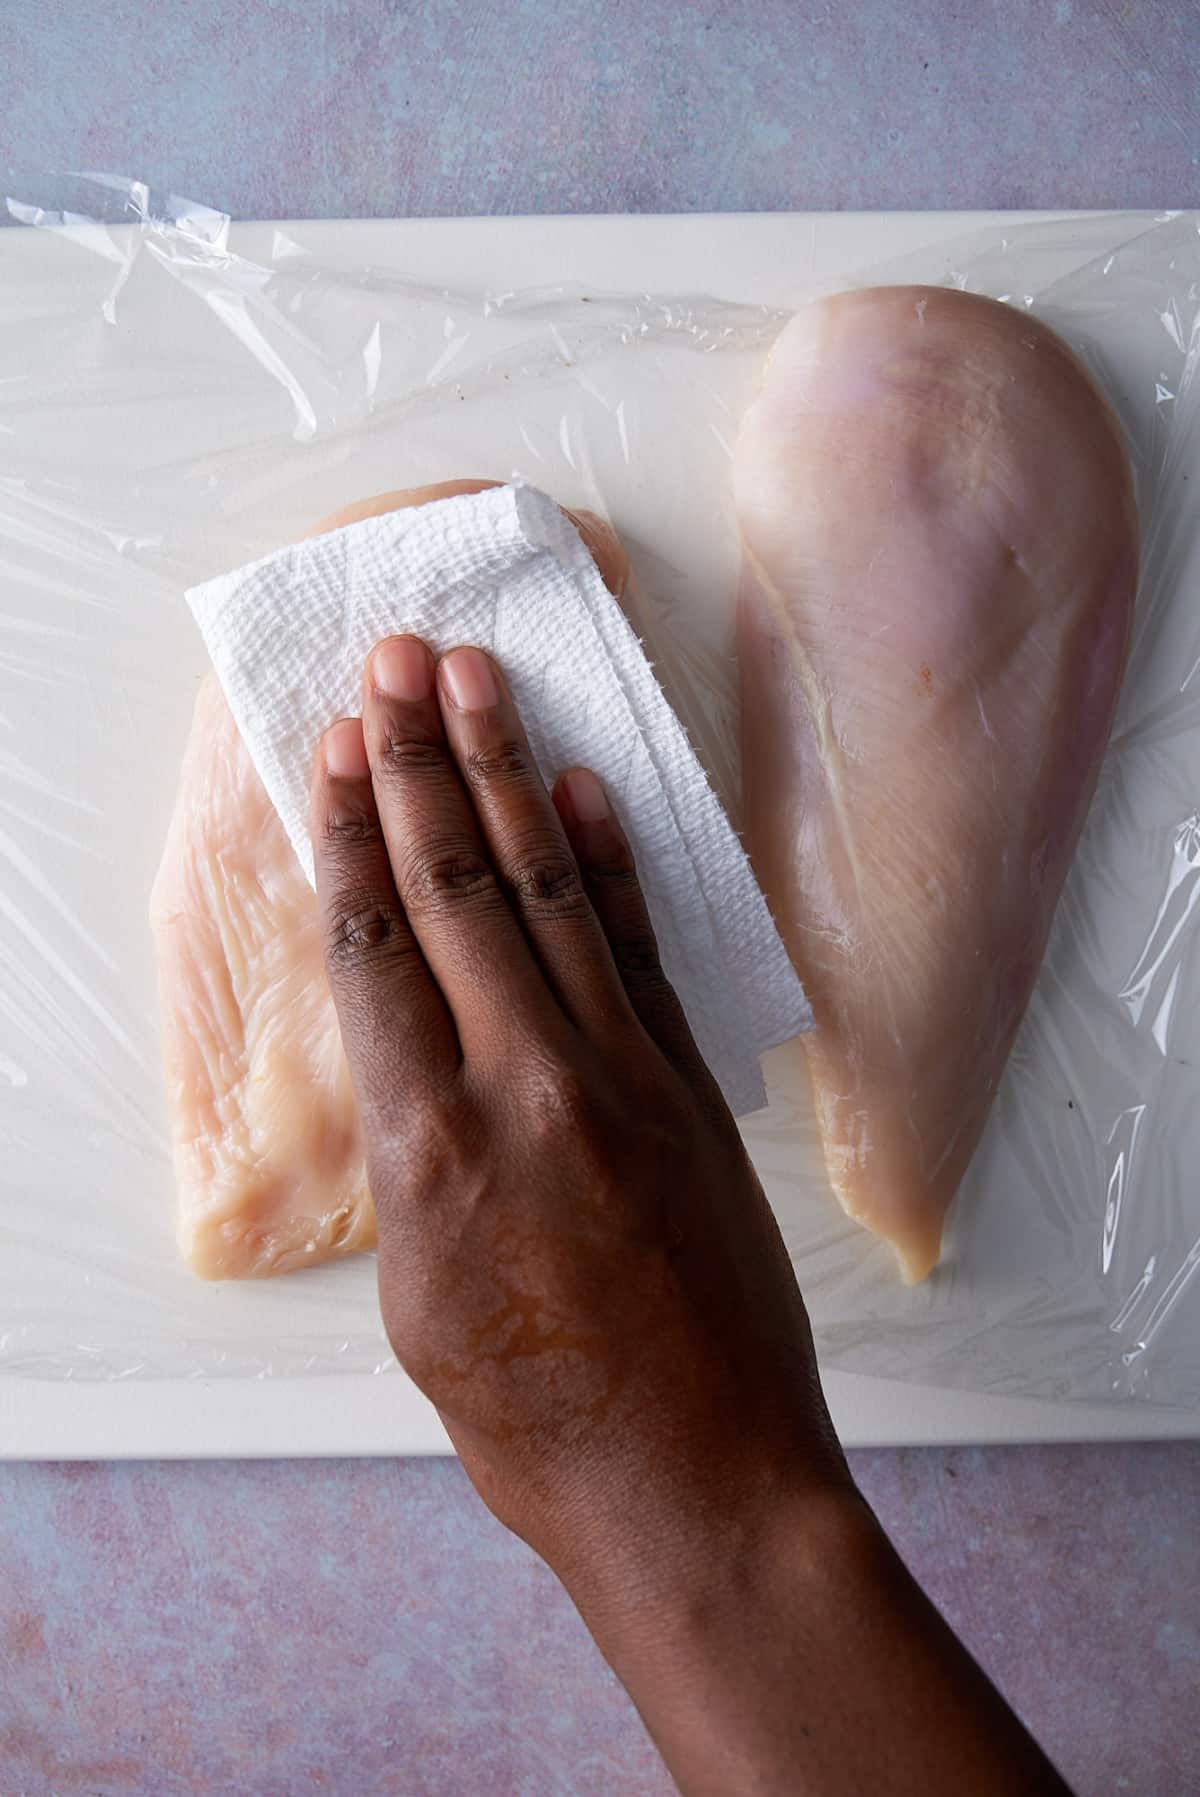
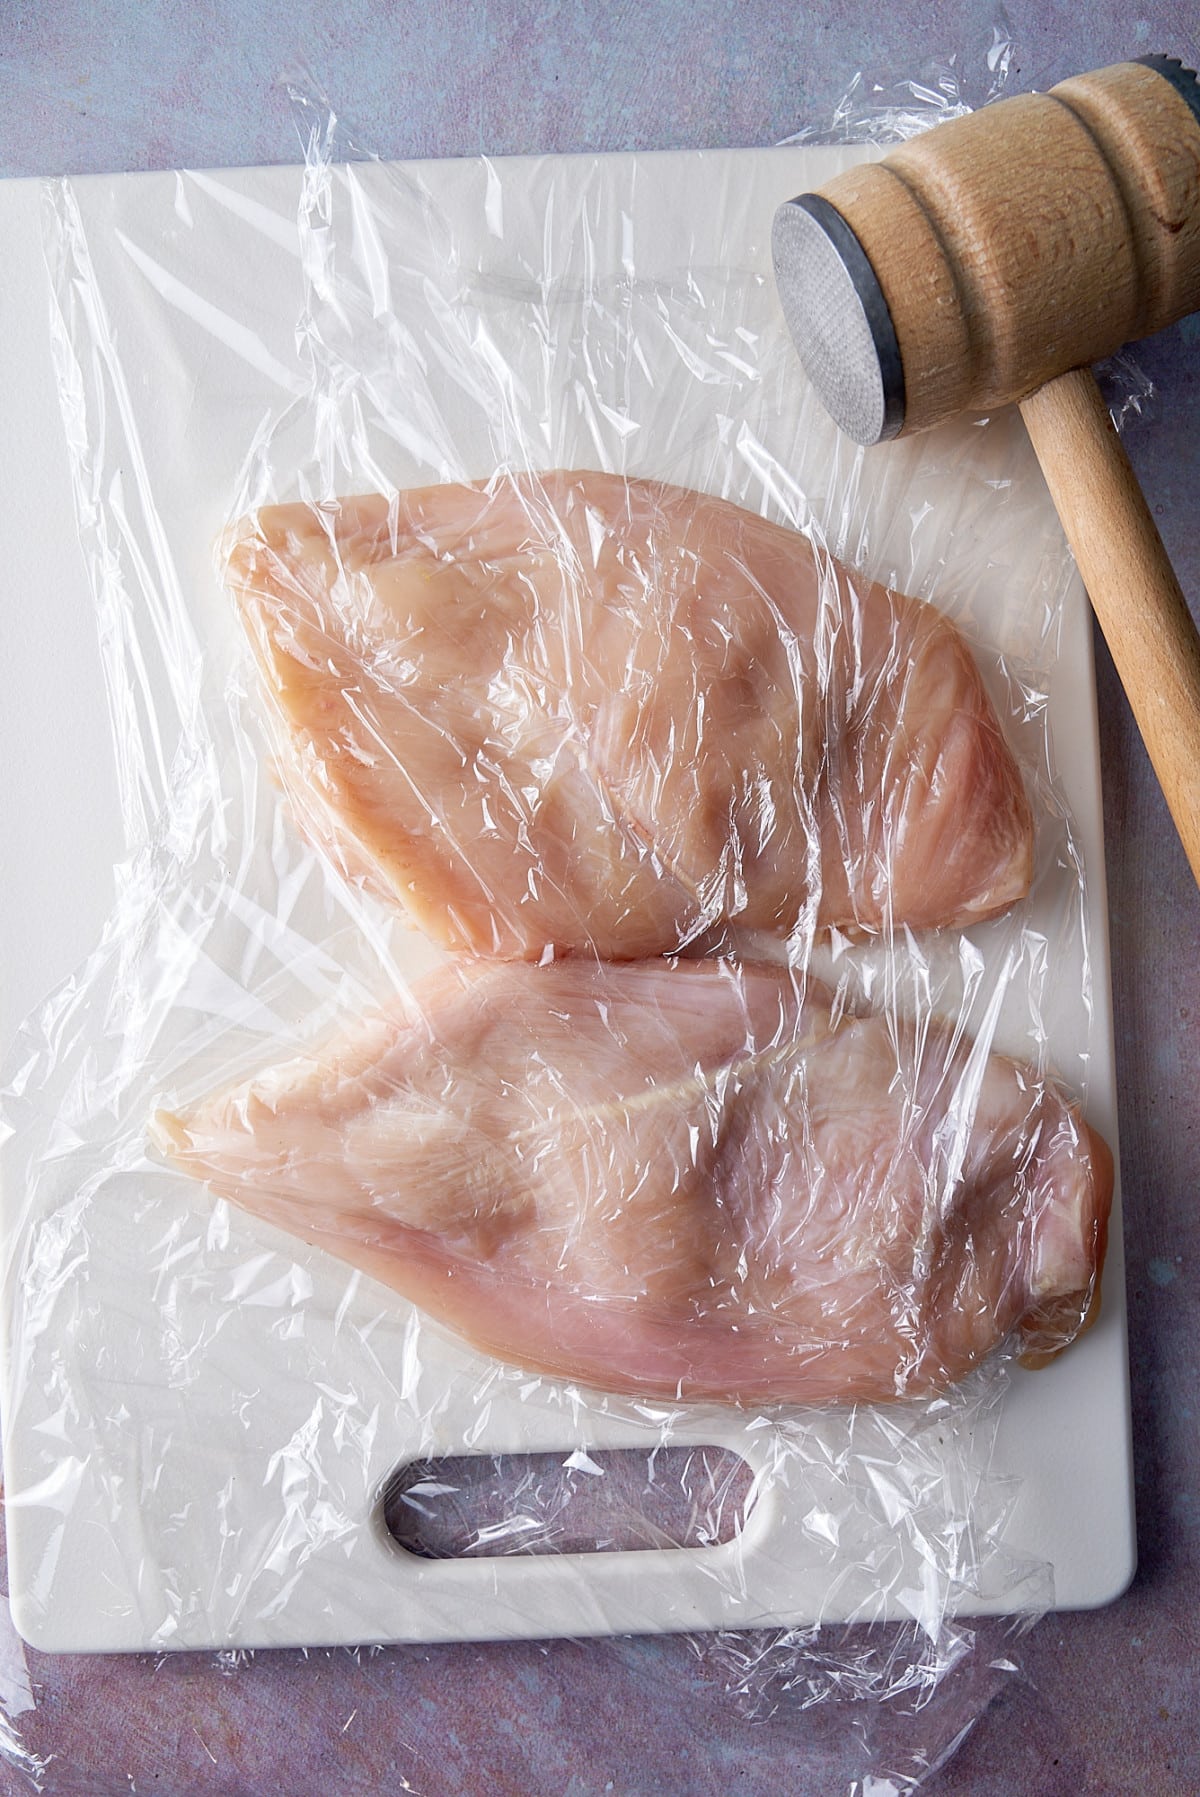
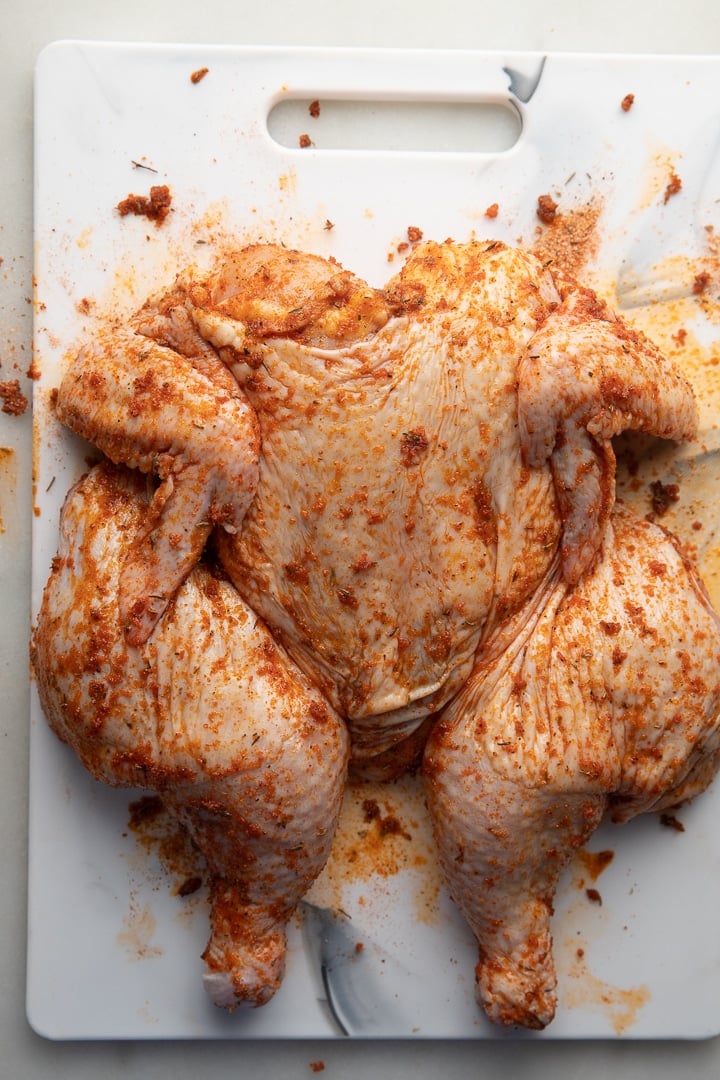
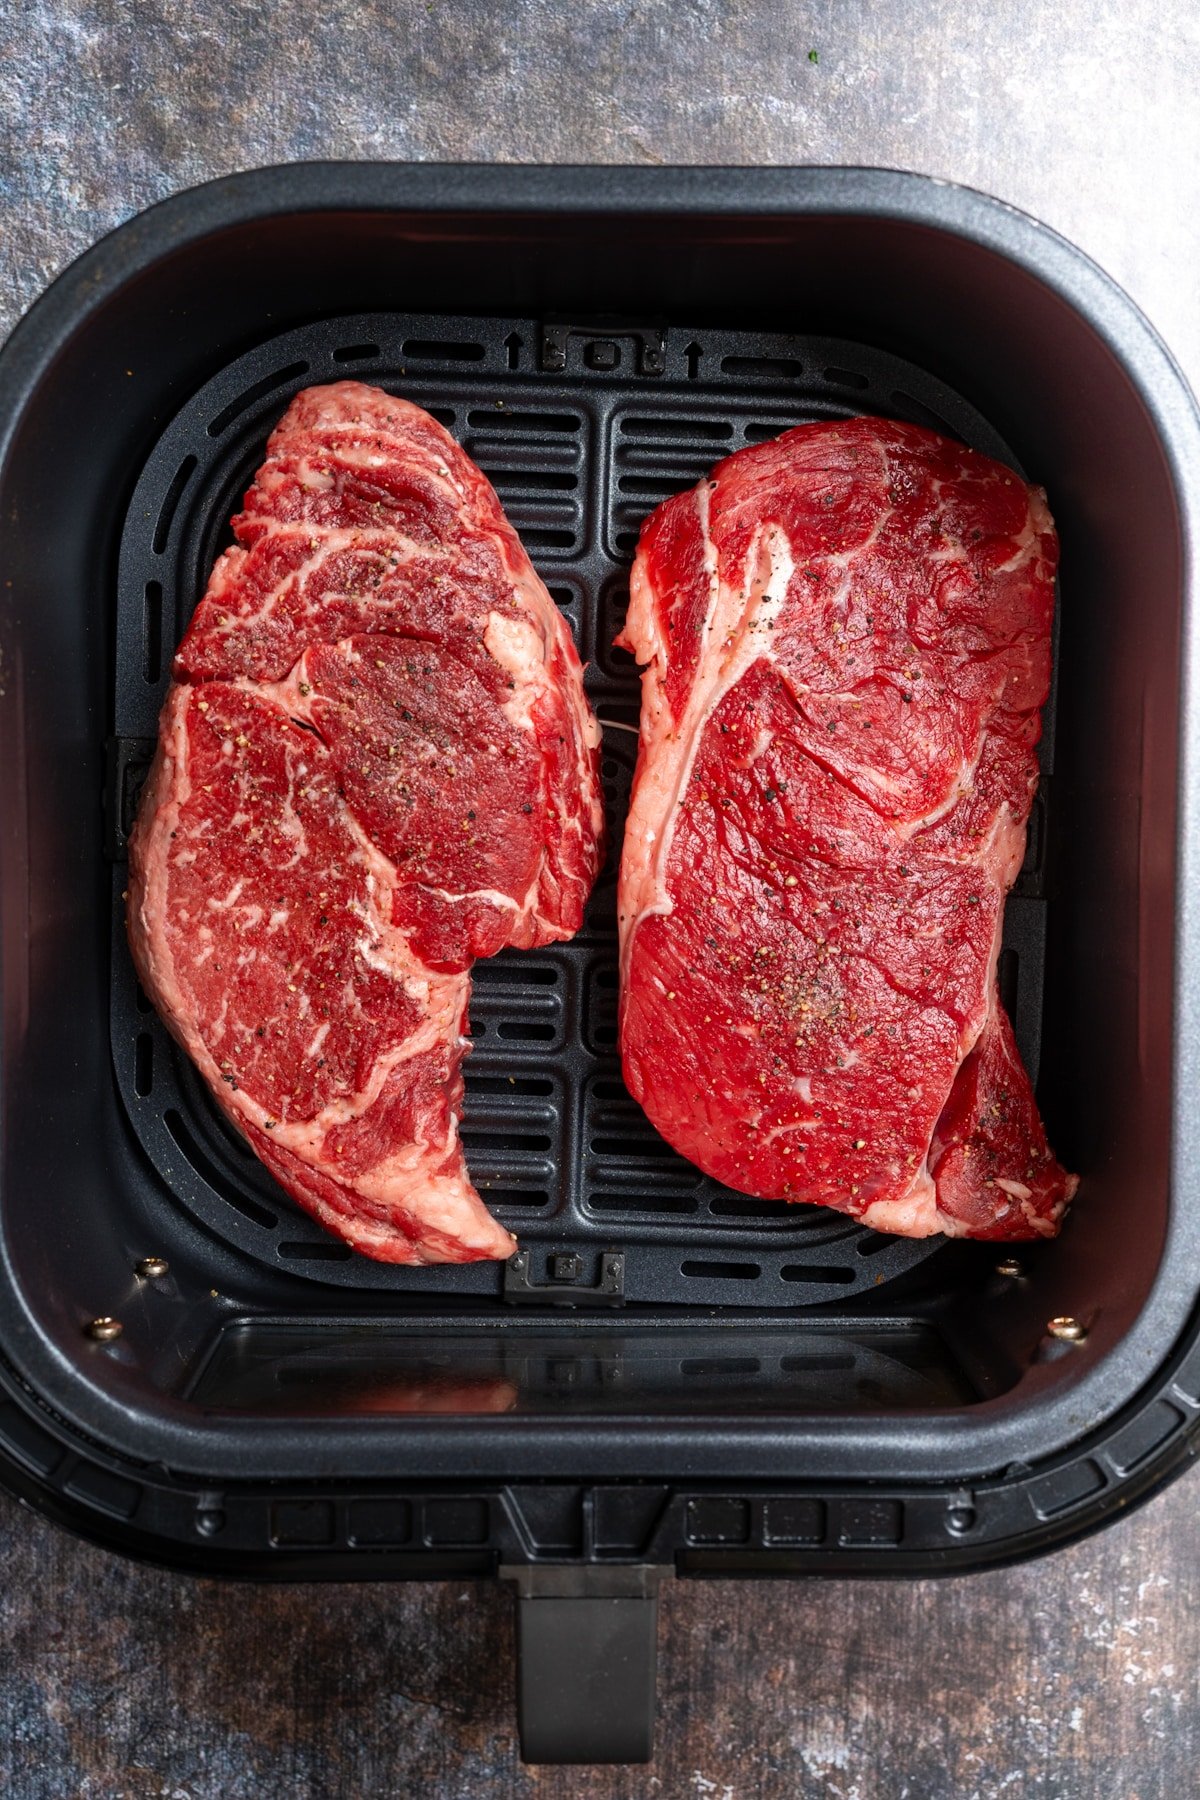
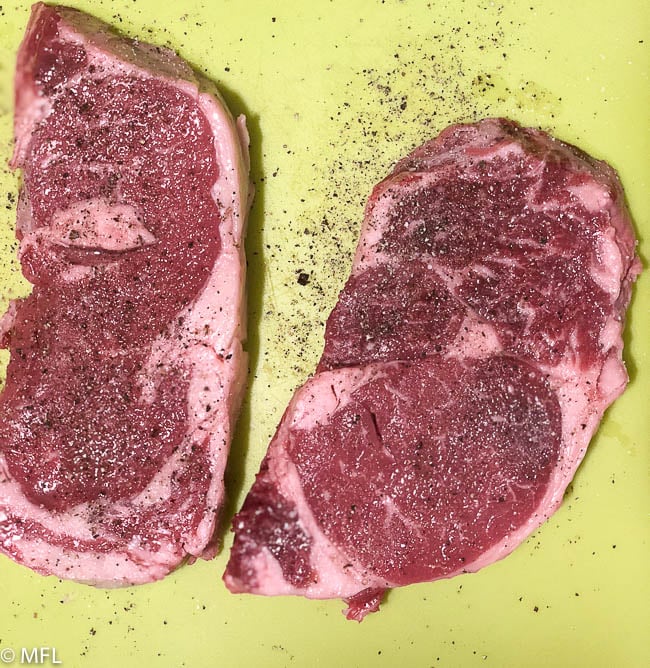
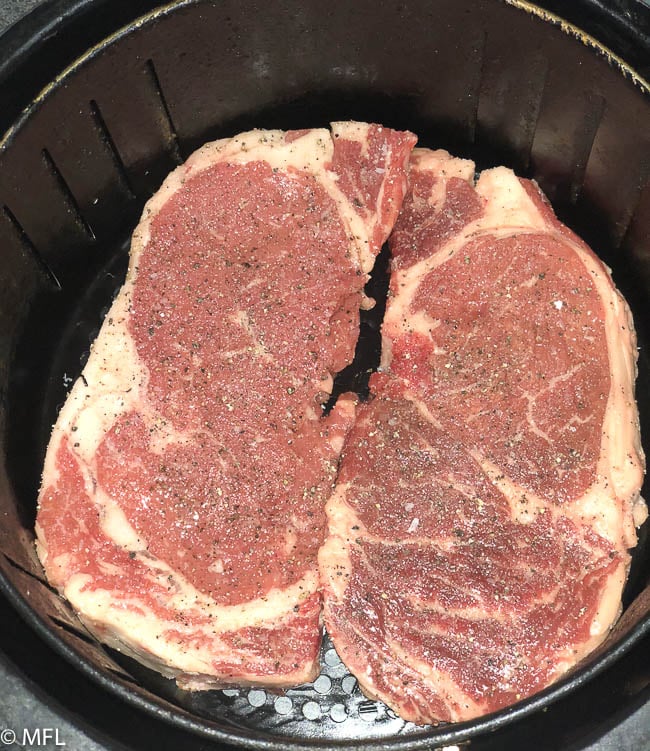
2nd Step: Remove the steak from the refrigerator, season it with salt and pepper, and let it sit at room temperature for 20 minutes. After 20 minutes, gently pat the steak dry with paper towels to remove any excess moisture.
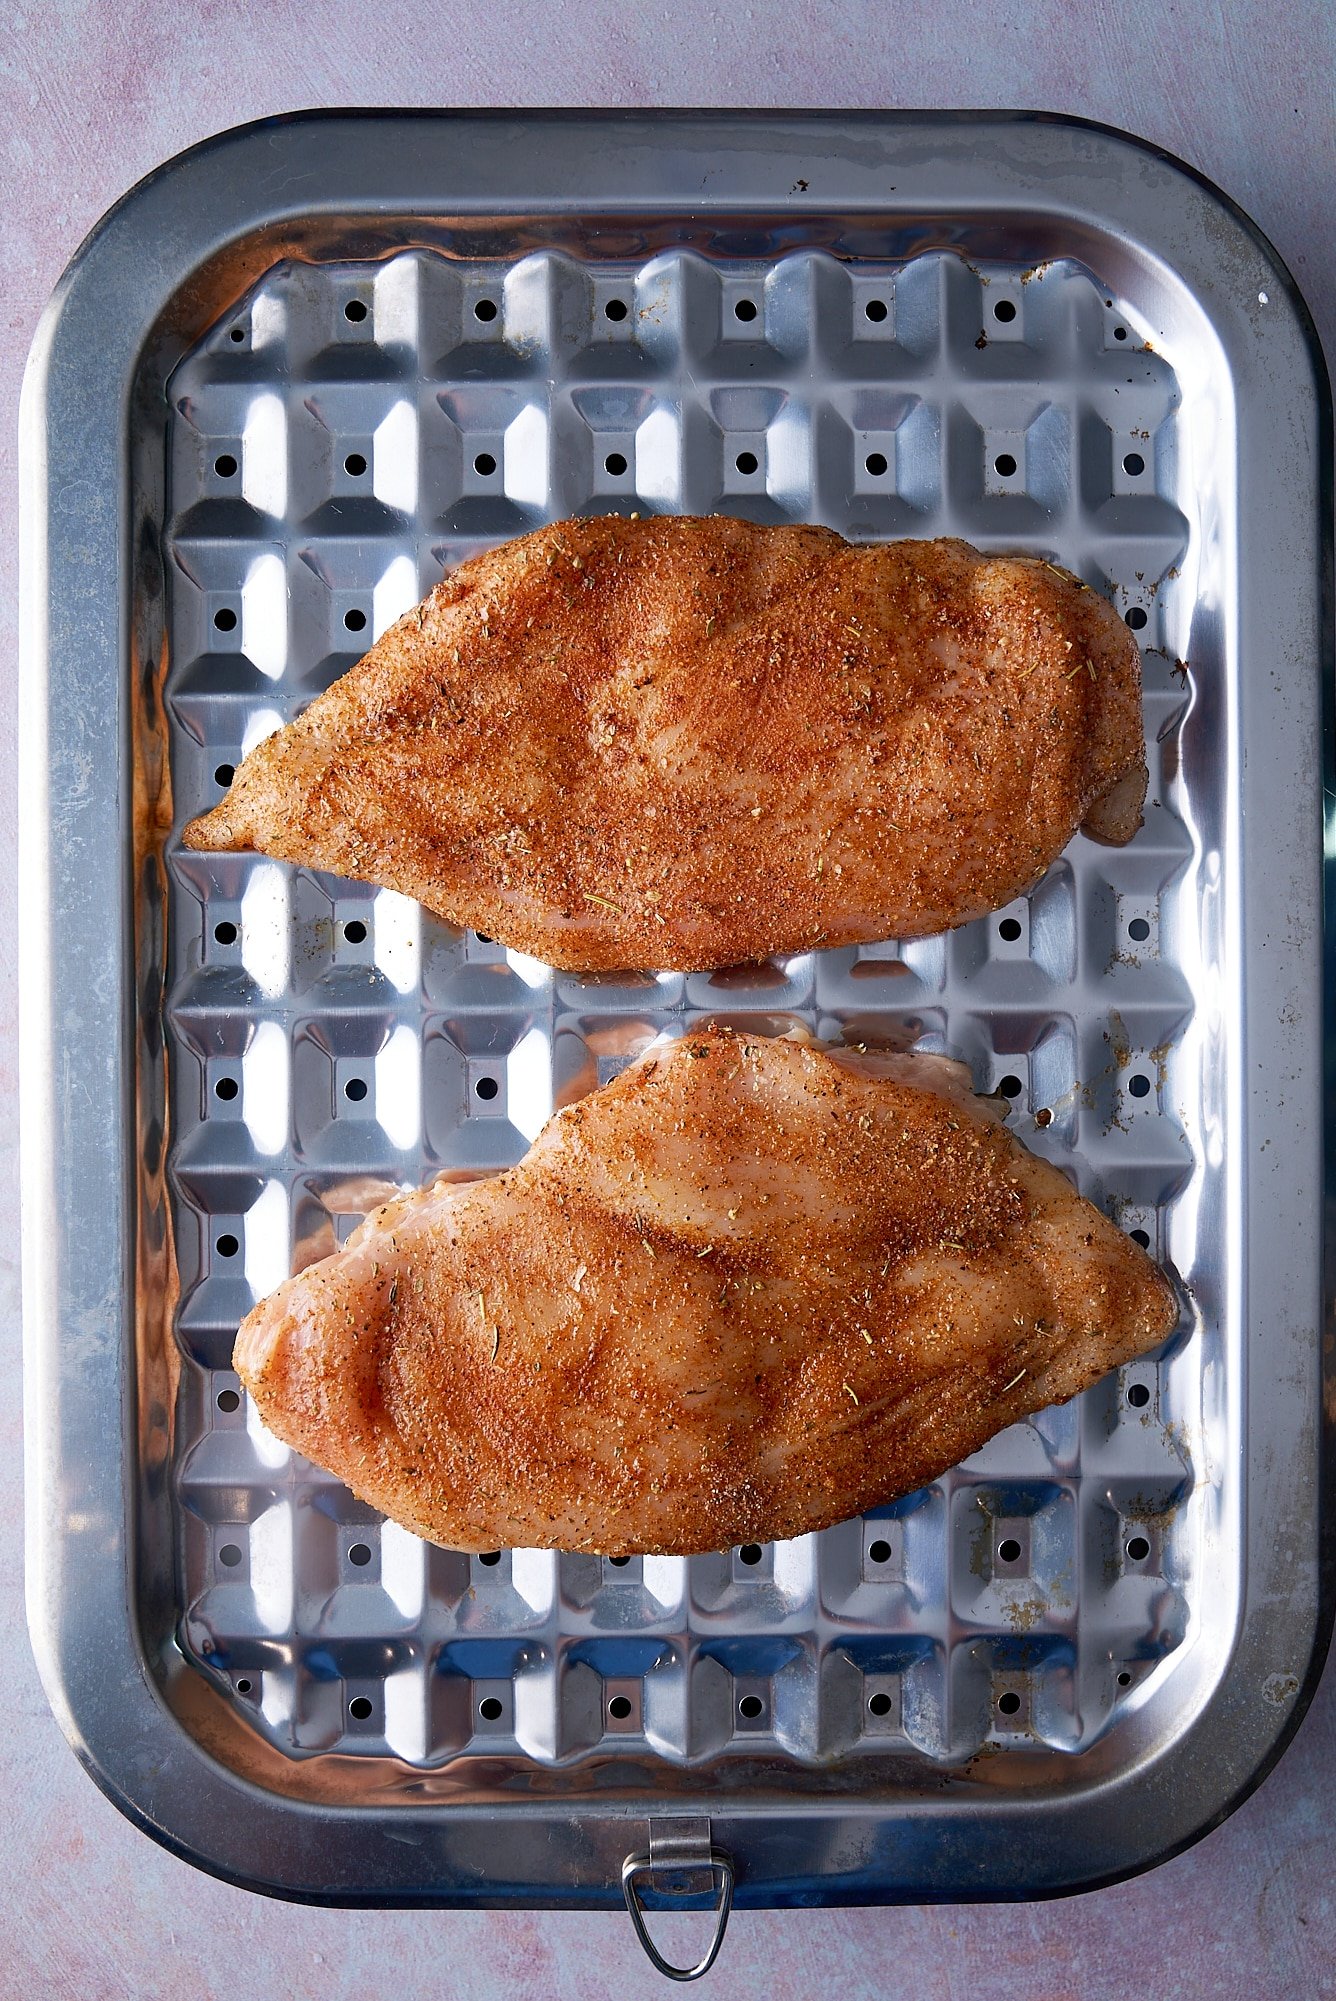
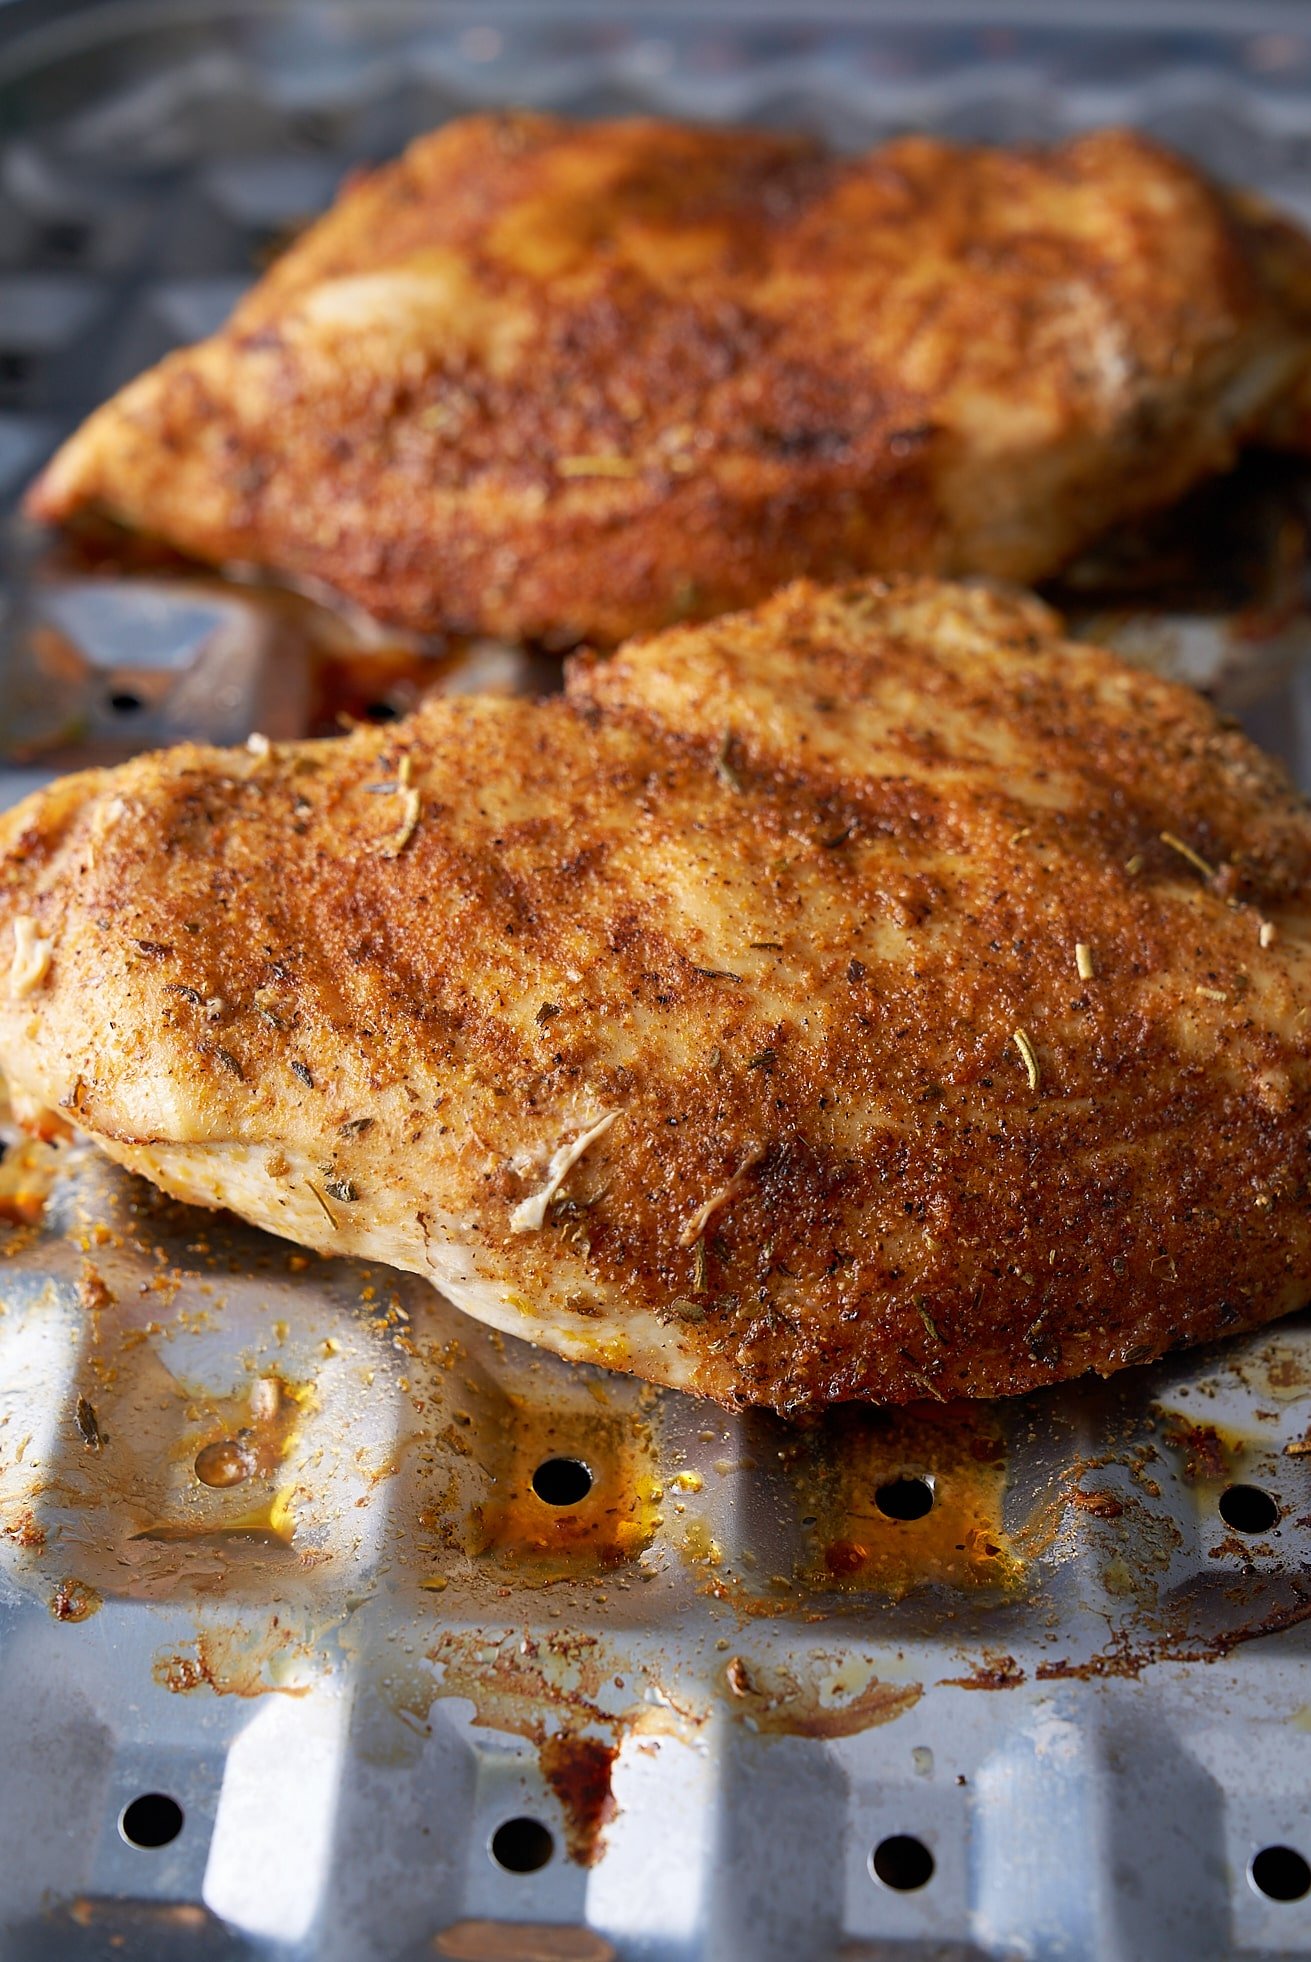
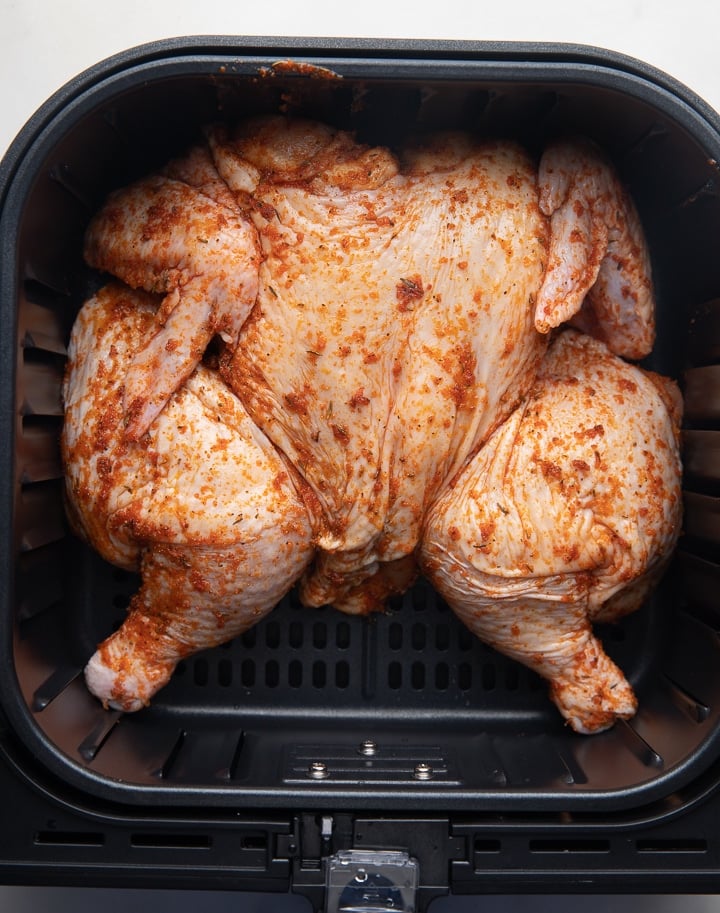
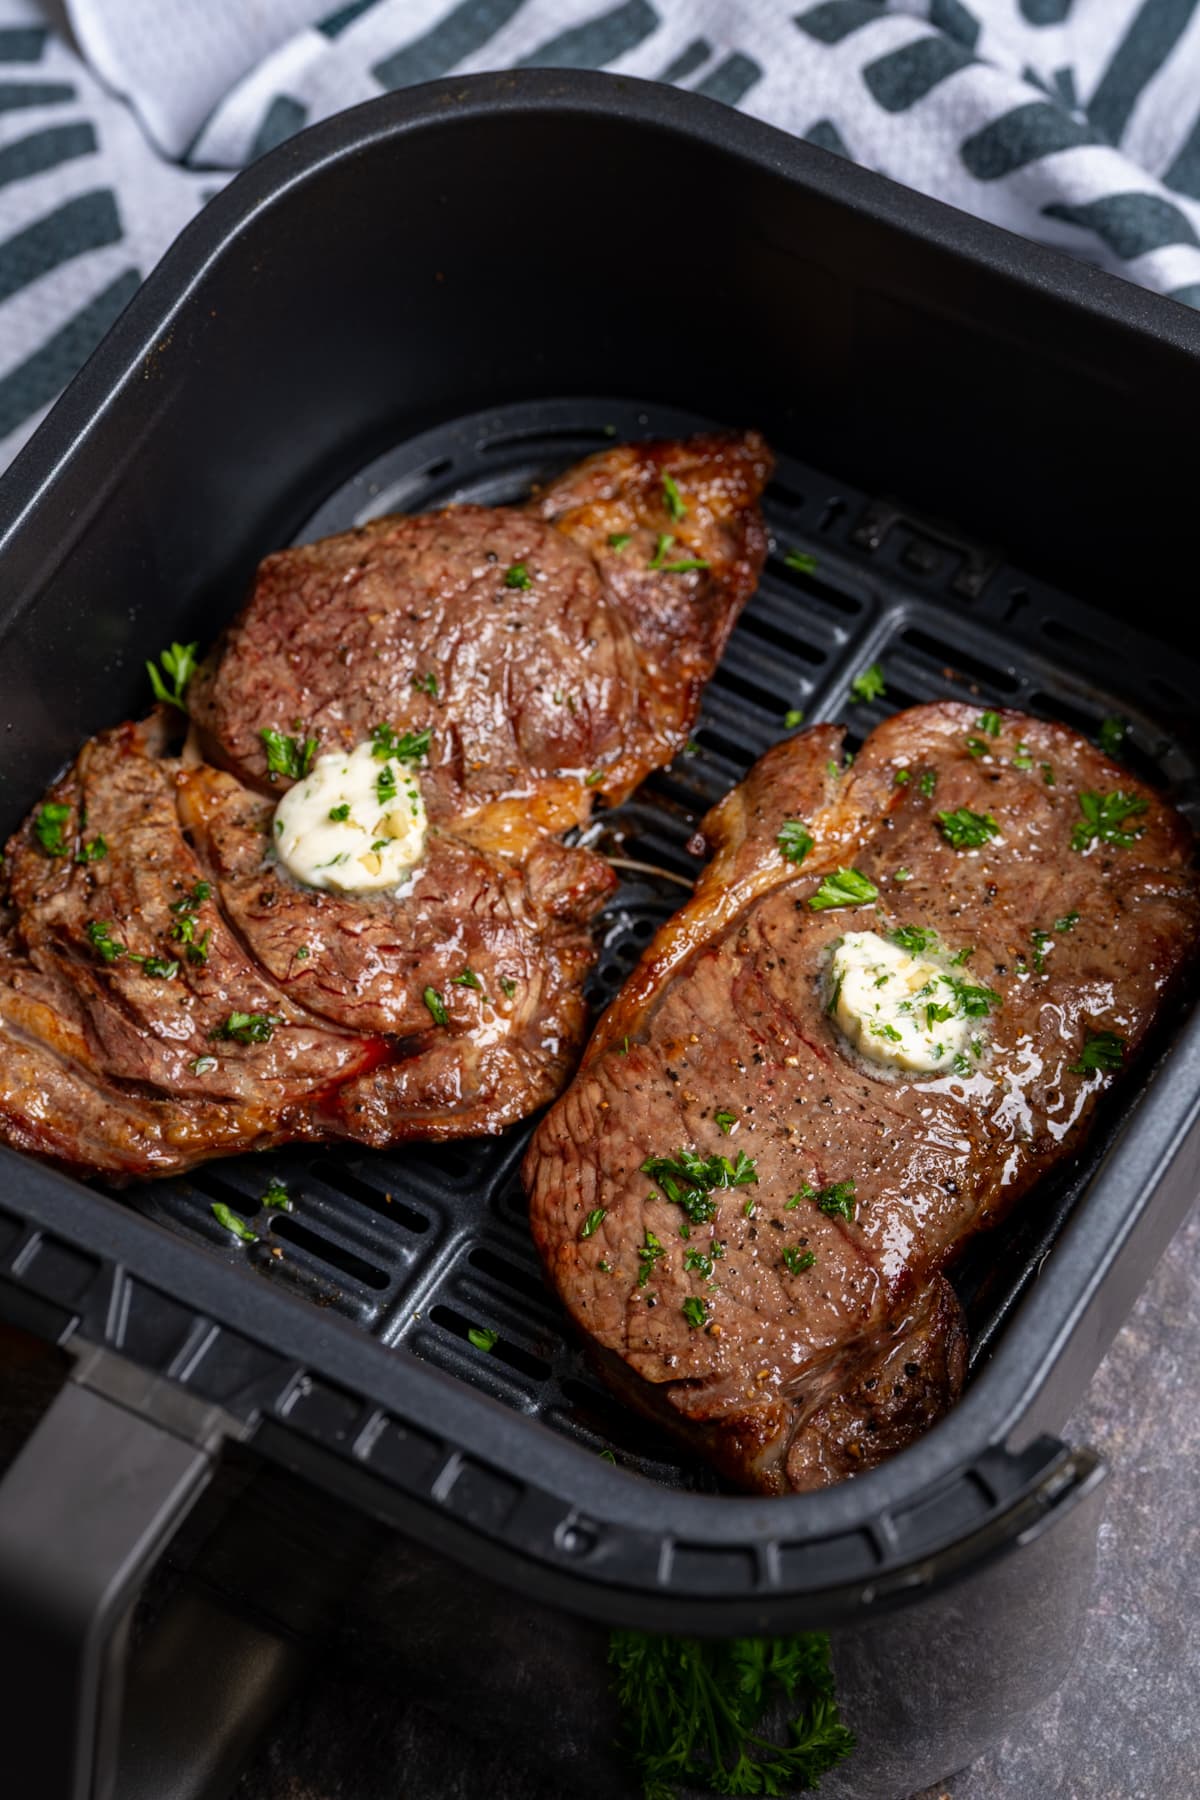
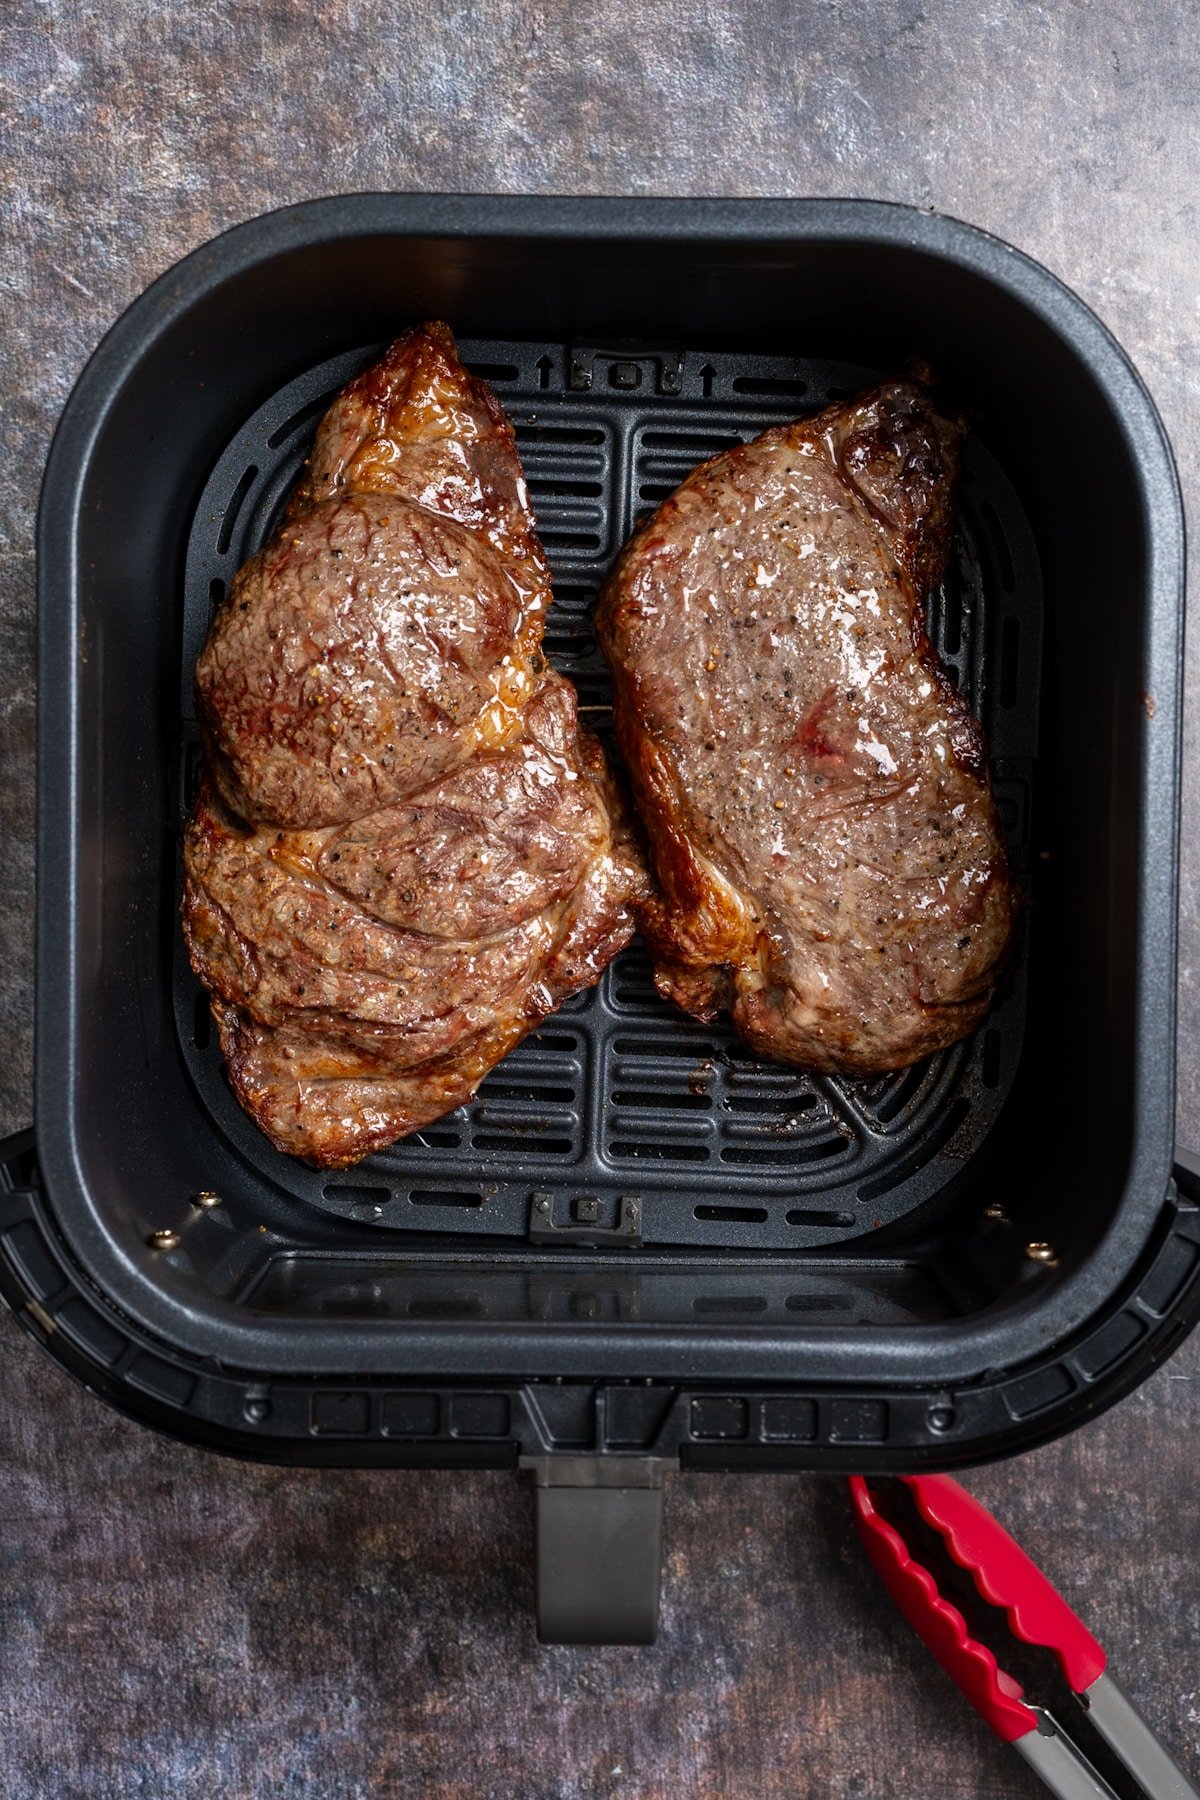
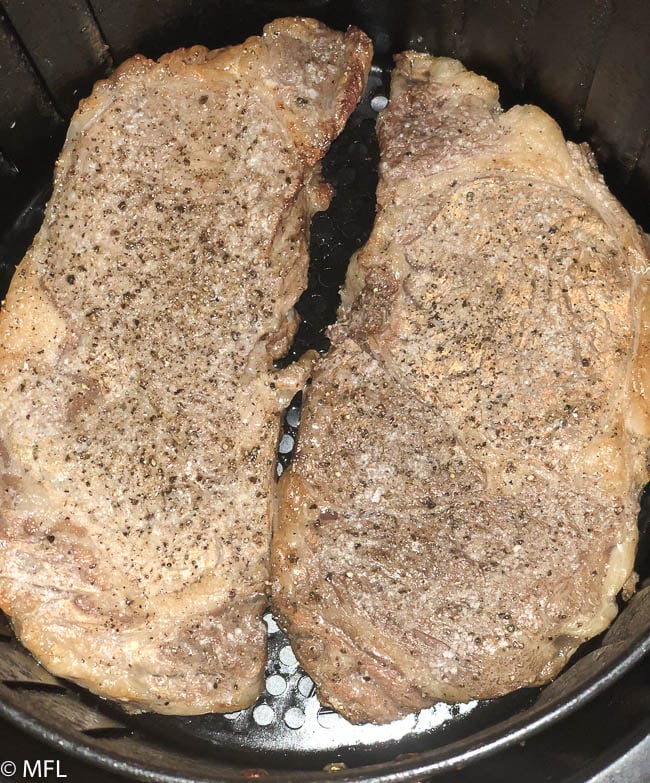
3rd Step: Preheat the Air Fryer to 400 degrees Fahrenheit. Once preheated, place steaks in the air fryer and cook for 10-12 minutes, flipping halfway through.
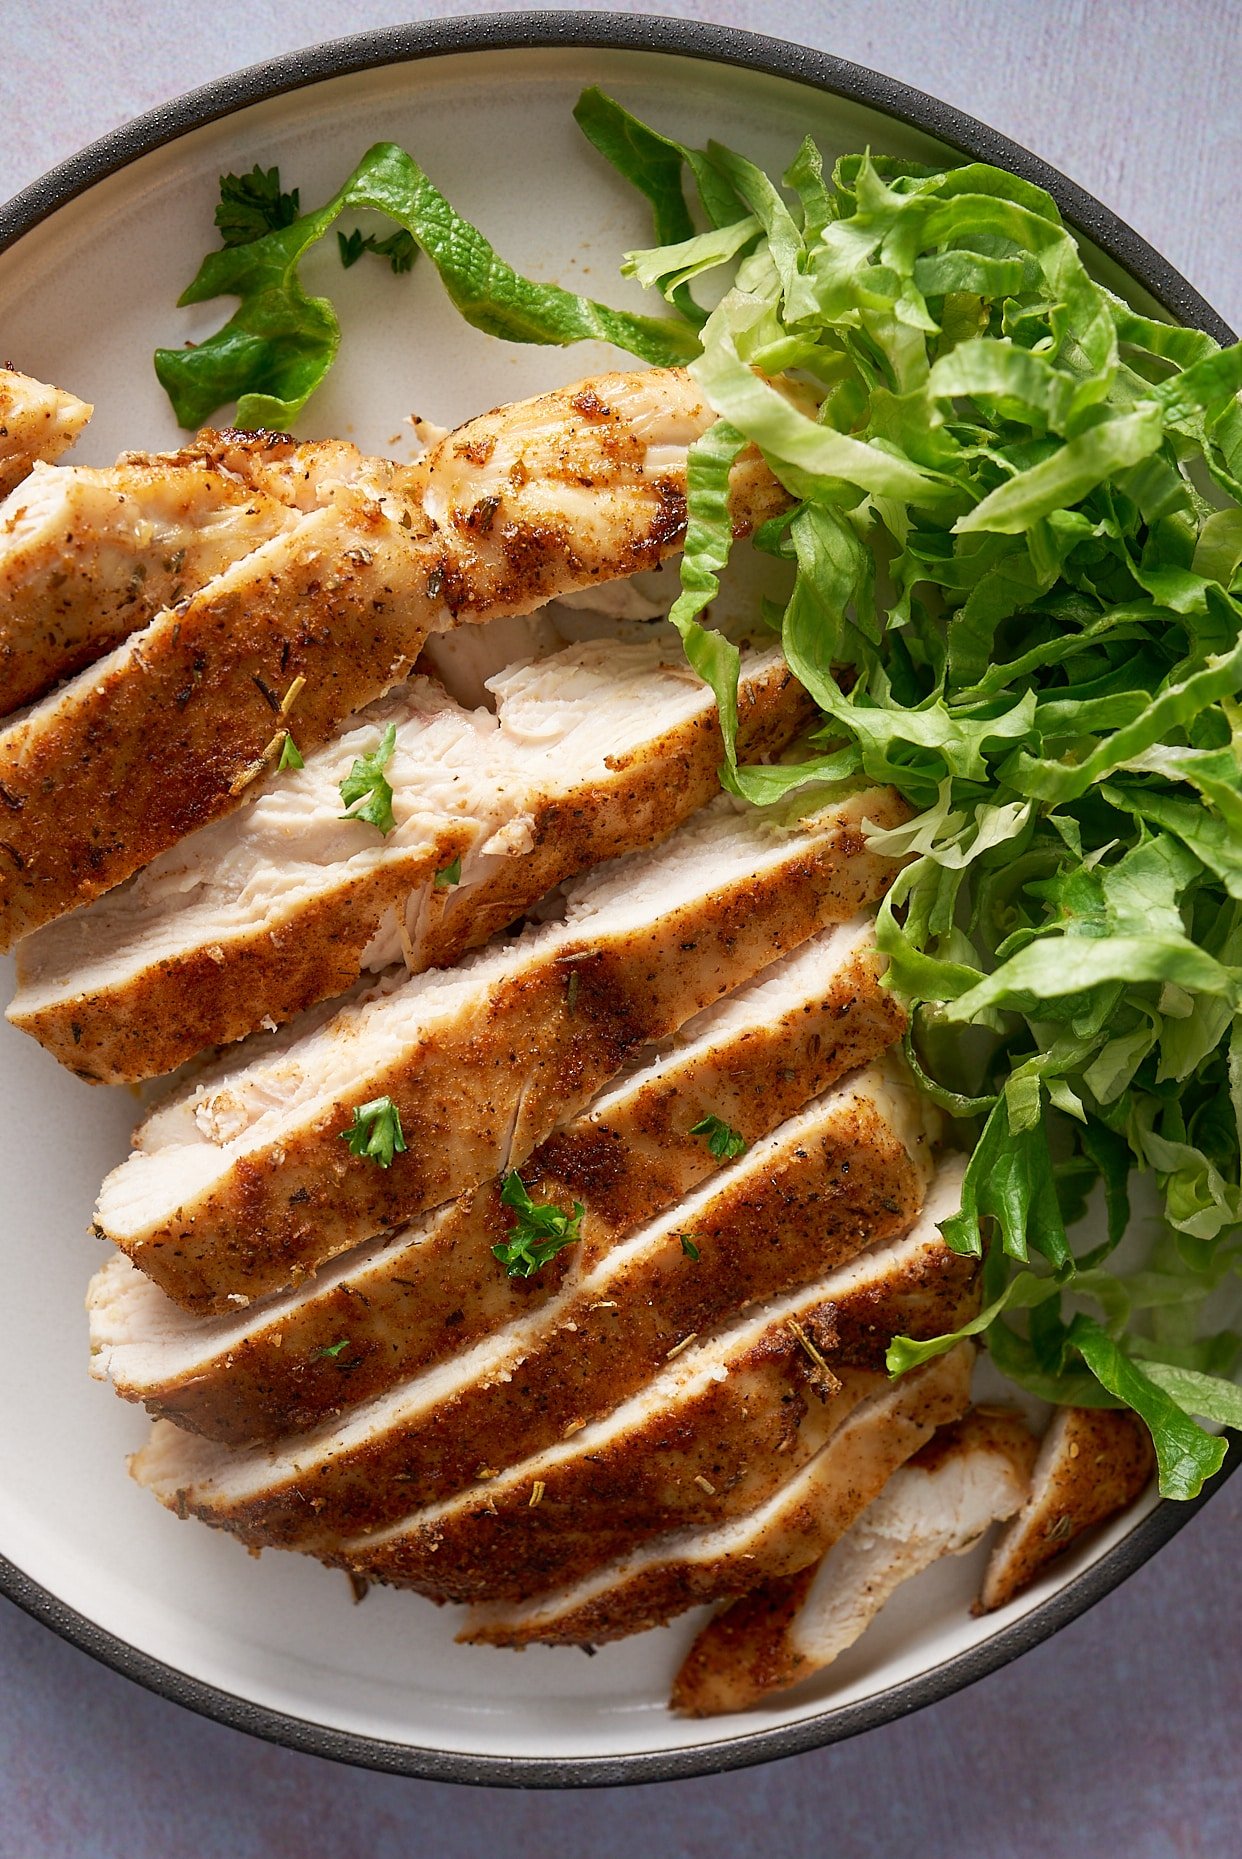
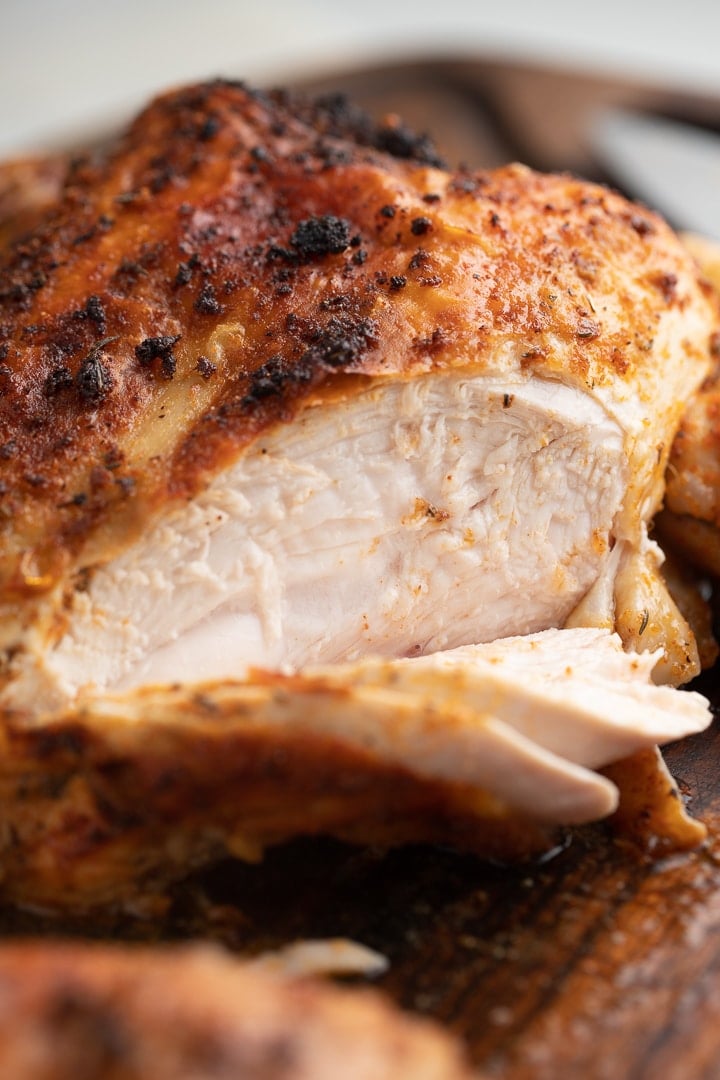
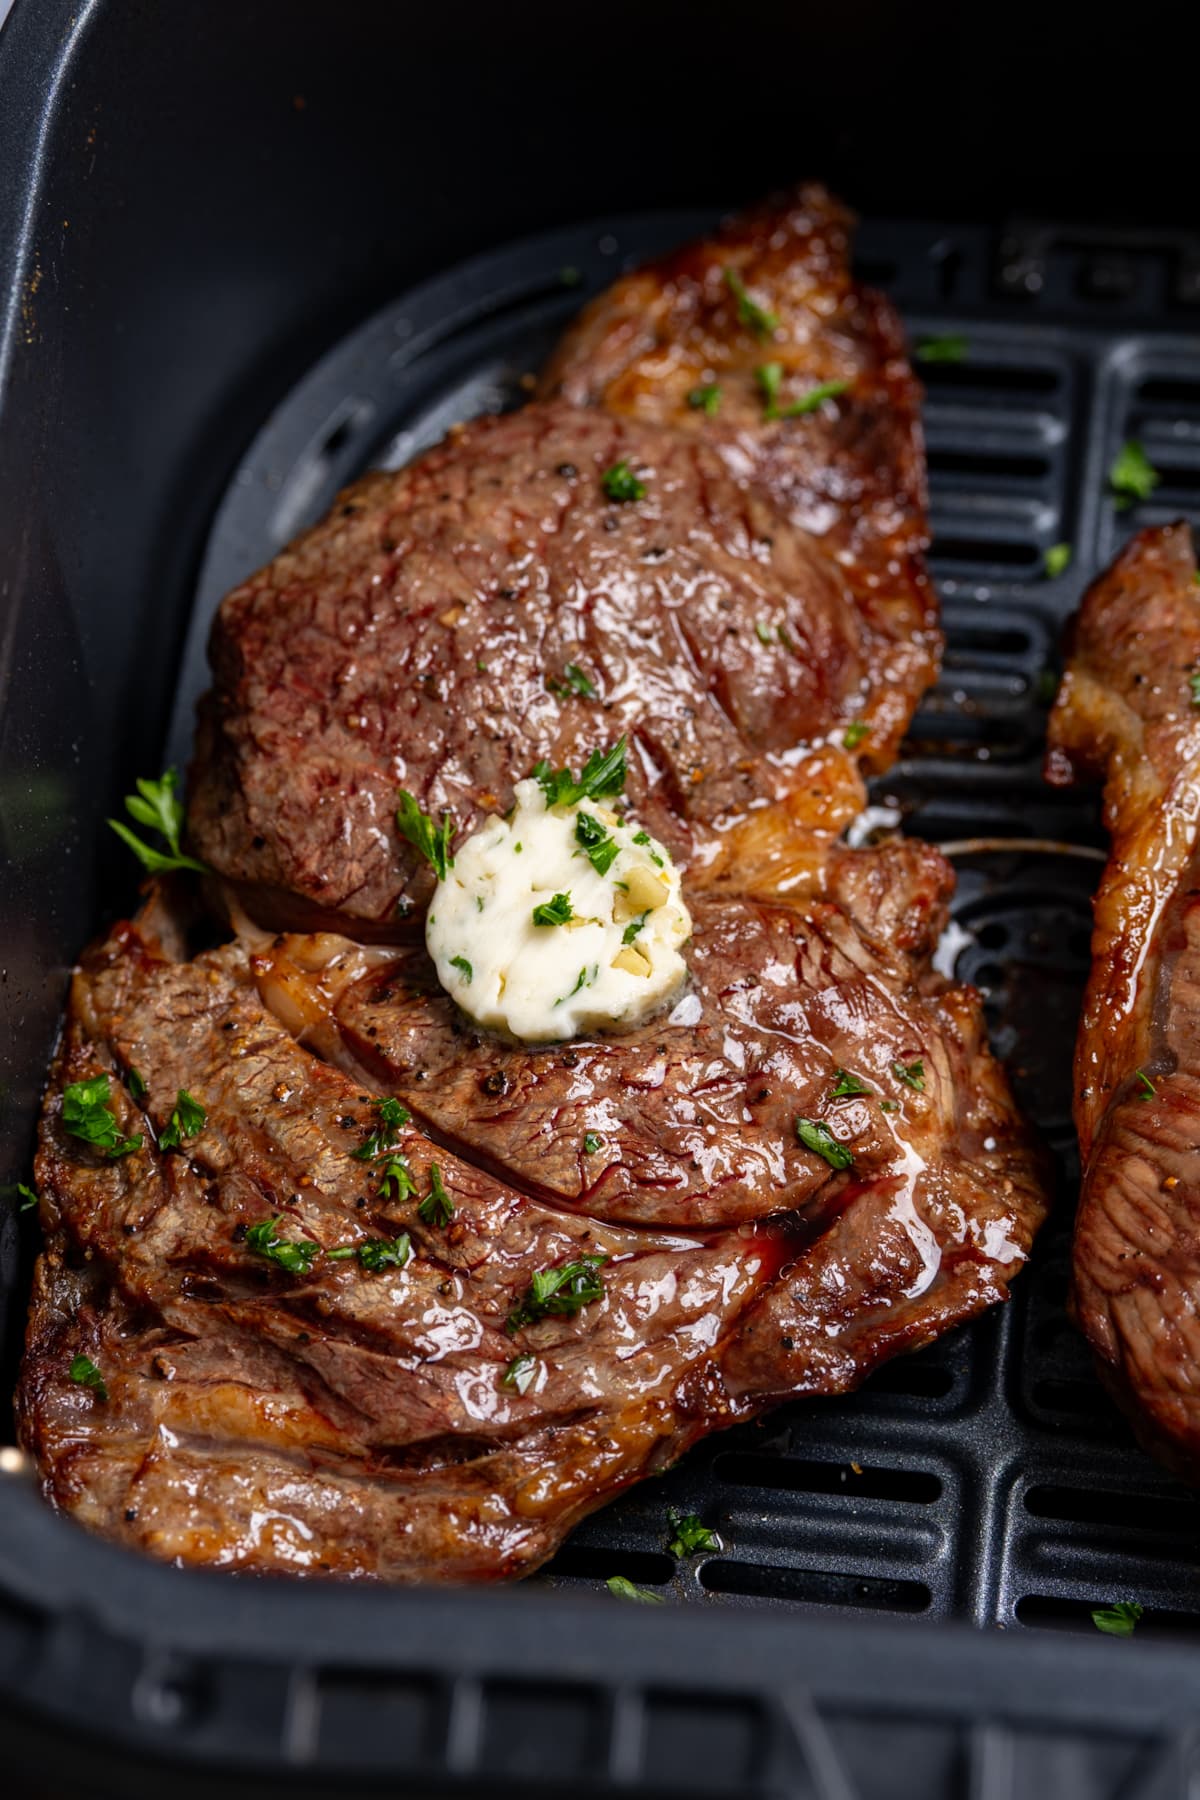
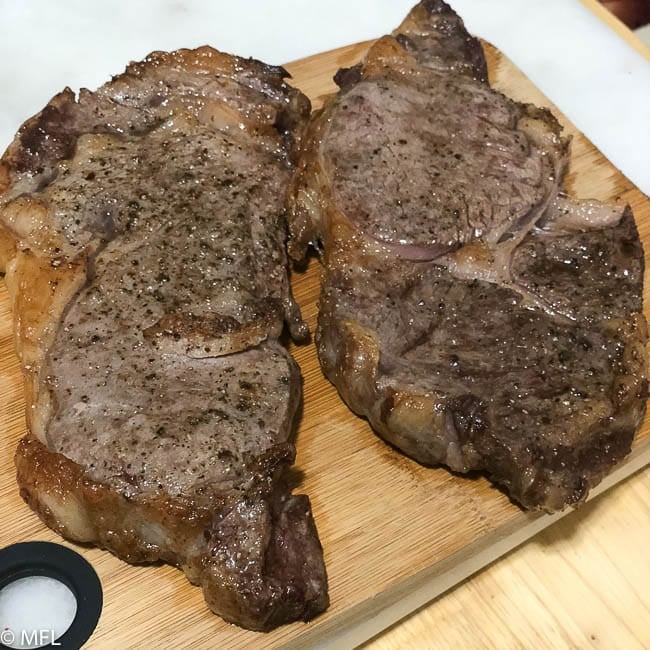
4th Step: Remove from the air fryer and allow to rest for 5 minutes. Top with garlic butter and enjoy.
What's the best cut of steak to cook in the air fryer?
The beauty of steak in your air fryer is that you can cook different cuts in the machine. I've made delicious filet mignon, skirt steak, and ribeye. Just remember to adjust cooking times according to the steak's thickness and desired doneness. Making beef tenderloin in the air fryer is also a must for my steak lovers!
I have found that 400°F is the perfect temperature to cook steak in the air fryer. For an 8-ounce ribeye, it will take 10-12 minutes, and remember to flip halfway through.
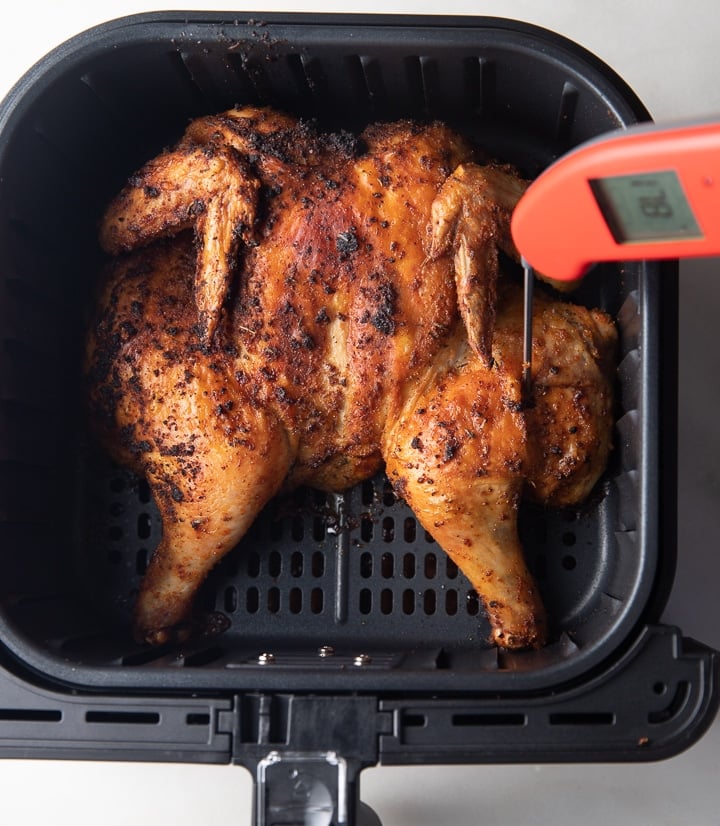
An instant-read thermometer is a must for cooking steaks at home, and I've included the recommended temperatures in the recipe below so you can cook them to exactly your liking.
Can you marinate the steak?
I love to have my steak seasoned with salt and pepper, but if you prefer, you can use seasoned salt or your favorite liquid marinade for extra flavor. Marinate the steak for at least an hour or up to 8 hours, then let it come up to room temperature before cooking in the air fryer.
Degrees of Doneness
For an idea of steak degrees of doneness, follow the times below. Make sure you use a quick read thermometer to check the correct temperatures.
| Temperature | Doneness | How it Looks |
| 125°F (52°C) | rare | Cool red center |
| 135°F (57°C) | medium-rare | red center, warm |
| 145°F (63°C) | medium | warm pink center, juicy |
| 150°F (66°C) | medium-well | slightly pink center, juicy |
| 160°F+ (71°C) | well-done | brown throughout, chewy |
What sides go with steak?
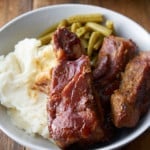
This recipe is perfect for date night; serve it alongside your favorite veggie and potato sides for a real feast! Try it with:
- Mashed Sweet Potatoes
- Garlic Herb Mushrooms
- Instant Pot Green Beans and Potatoes
- Carrot Soufflé
- Air Fried Sweet Potatoes
- Sautéed Mushrooms
For a similar recipe, try my Air Fryer Lamb Chops. For other ways to cook your steak, try my pan-seared steak.
Tanya's Tips for Making Steak in the Air Fryer
- Make sure that your steak is at room temperature before adding it to the air fryer. This will help it to stay tender and juicy.
- Preheat your air fryer thoroughly before adding the steak, ensuring it cooks evenly throughout. If your air fryer doesn't have a preheat setting, let it run at 400°F for 5 minutes before placing the food inside.
- Let the steak rest for 5 minutes before serving. Cover it loosely with foil to keep it warm. This will get the steaks perfectly juicy.
- The garlic herb butter will keep well for a couple of weeks in the fridge, and it freezes well for up to 3 months.
Watch this video tutorial and see how I make this air-fried steak from start to finish.
Please note that in the video, I add olive oil to the steak. I like to add it for added flavor, but I've also come to realize that the ingredient can be skipped. Feel free to add it if you love that in the original recipe.
I hope you love this method of making steak as much as we do. If you have tried this or any other recipe on my blog, please rate it and let me know how it turned out in the comments below! Your feedback is invaluable and helps us grow. I appreciate your support!


Perfect Air Fryer Steak Recipe
Equipment
Ingredients
Garlic Butter
- 1 stick unsalted butter softened
- 2 Tablespoon fresh parsley chopped
- 2 teaspoon garlic minced
- 1 teaspoon Worcestershire Sauce
- ½ teaspoon Kosher salt
Steak
- 2 8 oz Ribeye steak about 1-inch thick
- Kosher salt about ¾ teaspoon
- freshly cracked black pepper about ½ teaspoon
Instructions
Garlic Butter
- Prepare Garlic Butter by mixing butter, parsley garlic, worcestershire sauce, and kosher salt until thoroughly combined.
- Place in parchment paper and roll into a log. Refrigerate until ready to use.
Air Fryer Steak
- Remove steak from fridge and allow to sit at room temperature for 20 minutes. Season the steaks with salt and freshly cracked black pepper.
- Preheat Air Fryer to 400 degrees Fahrenheit. Once preheated, place steaks in air fryer and cook for 10-12 minutes, flipping halfway through.*
- Remove from air fryer and allow to rest for 5 minutes. Top with garlic butter.
Notes
- 125°F for rare
- 135°F for medium-rare
- 145°F for medium
- 150°F for medium-well
- 160°F for well-done
Nutrition
The OG Photos
Post originally published April 9, 2018. It has been updated with additional helpful tips, a few tweaks, and new photos.