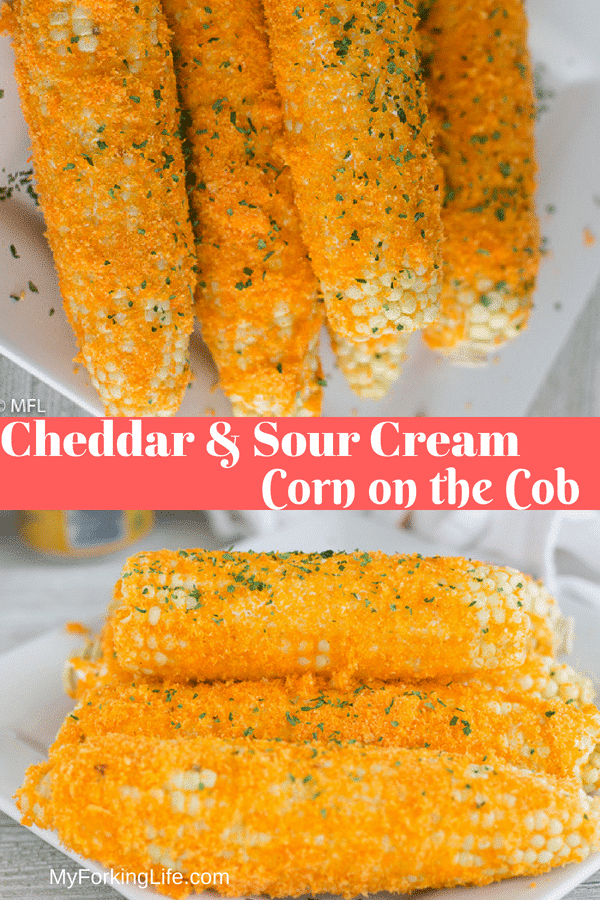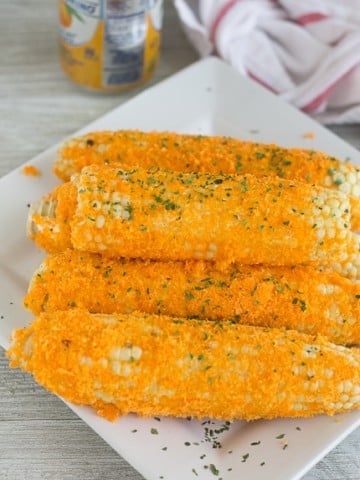
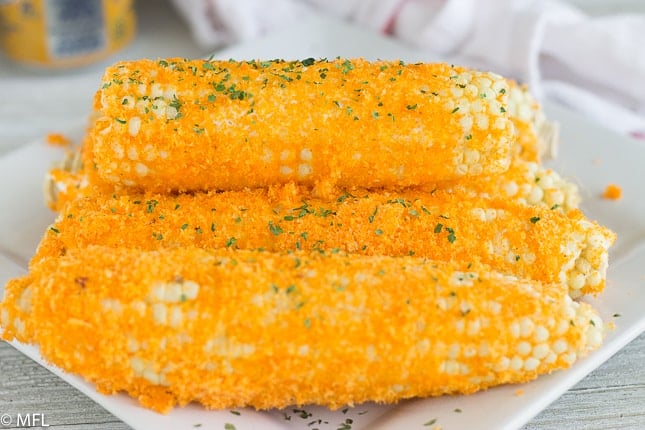
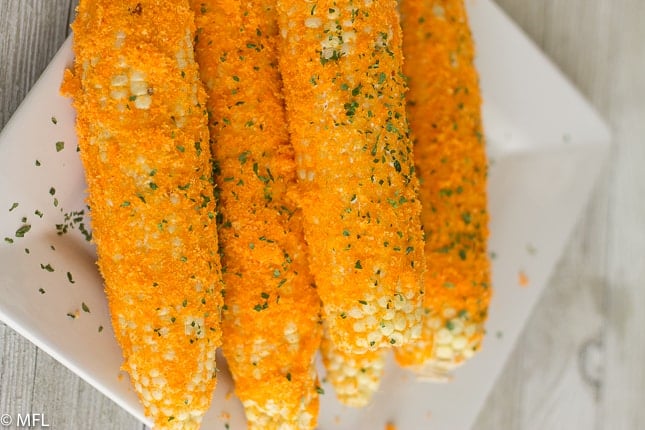
This Cheddar and Sour Cream Corn on the Cob seasoning is a delicious twist on traditional corn on the cob. Serve it along side your favorite cookout meal for a fun and tasty side dish.
This post contains affiliate links, please read my full disclaimer here.
You’ll find the full recipe with ingredient amounts and instructions in the recipe card at the bottom of this post. Be sure to check out the blog post itself for extra tips and tricks!
There is something magical about grabbing an ear of corn with both hands and chowing down. Heck, you could use one hand for all I care but corn eaten off the cob is just simply amazing. There’s a relaxation that comes along with it that I just can’t explain. In our house, we eat a ton of corn on the cob. It was one of my cravings during my pregnancy and if I ate it, we all ate it.
Traditionally, we would season our corn with loads of butter and some salt. Of course, as foodies, we had to start to think outside the box and then this corn on the cob seasoning became a favorite in our household. The credit for this beauty goes to hubby who loves cheddar and sour cream potato chips.The corn on the cob seasoning in this recipe is pretty simple and involves minmum ingredients, cheesy puffs, sour cream, and our top secret ingredient...Jerk Seasoning. I guess it’s not so top secret anymore. Actually, it’s not really top secret...my hubby puts jerk seasoning on just about everything and he was the brain child behind this recipe creation. If you don’t have jerk seasoning than salt is just as fine as a substiute. But seriously, use the jerk if you can.

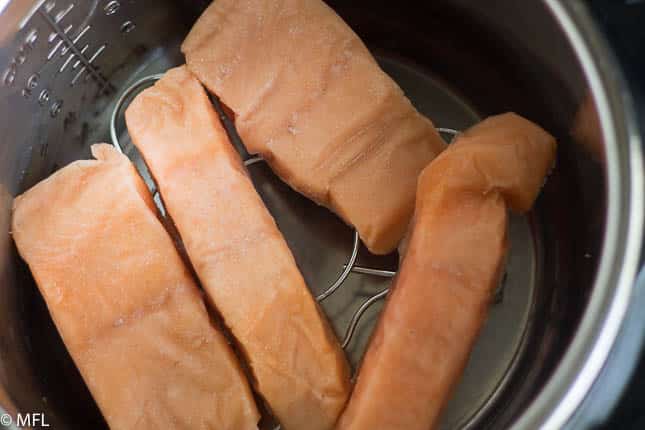
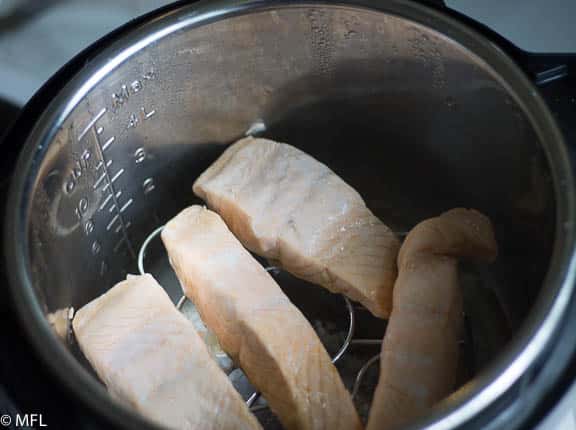
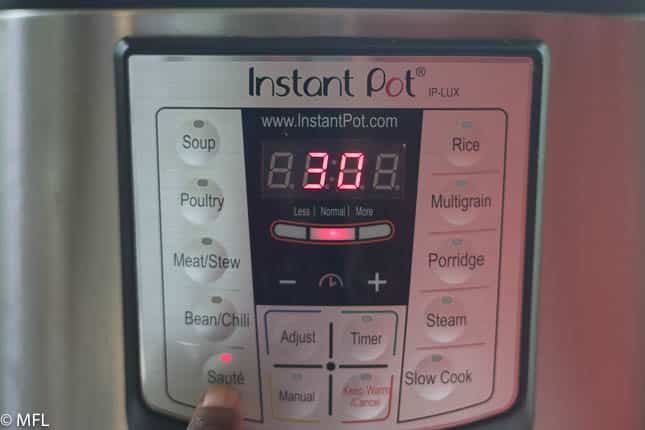
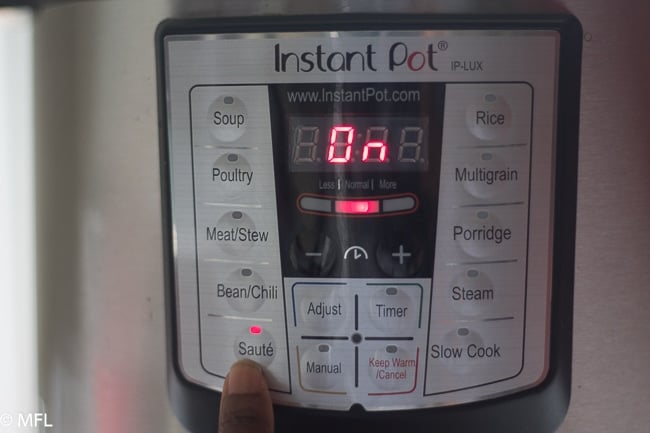
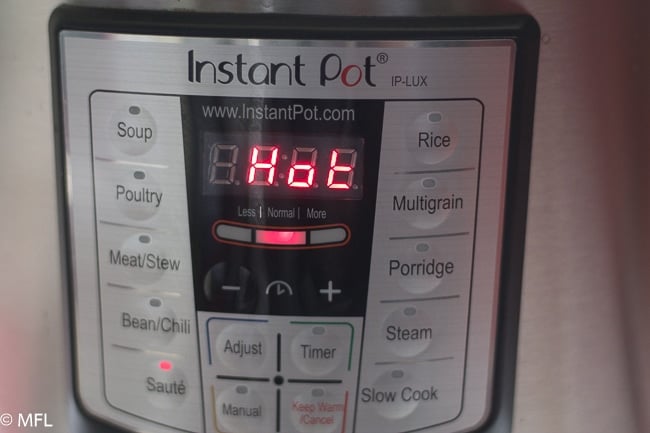
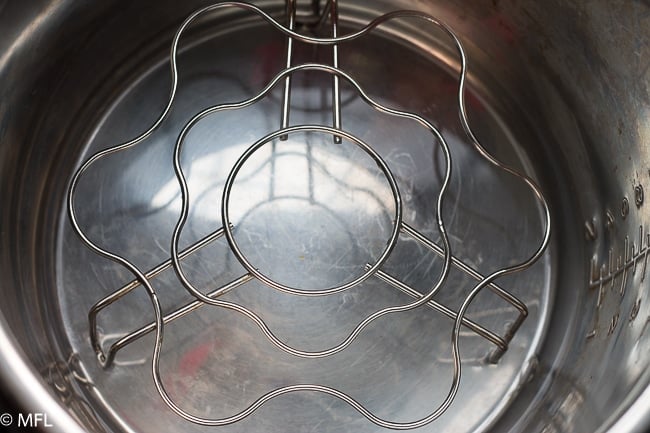
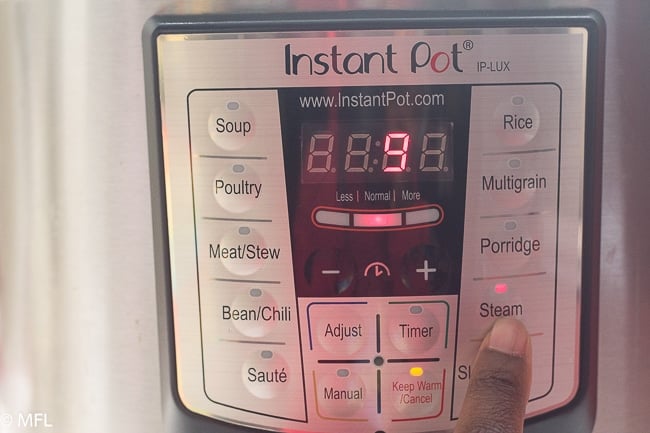
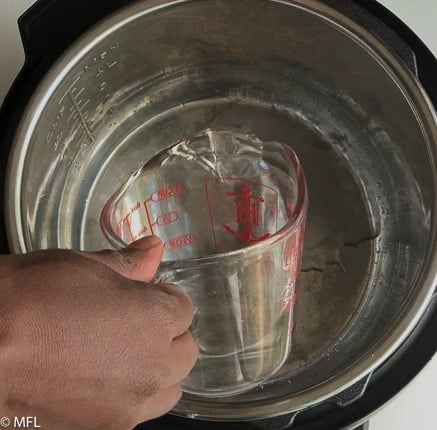
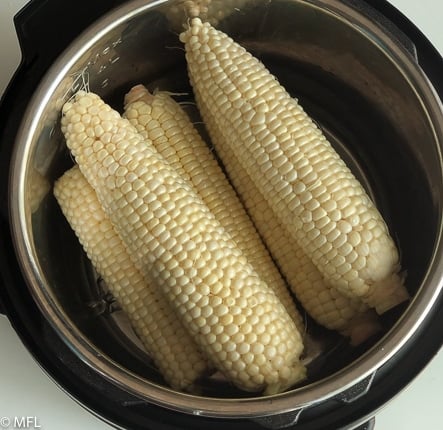
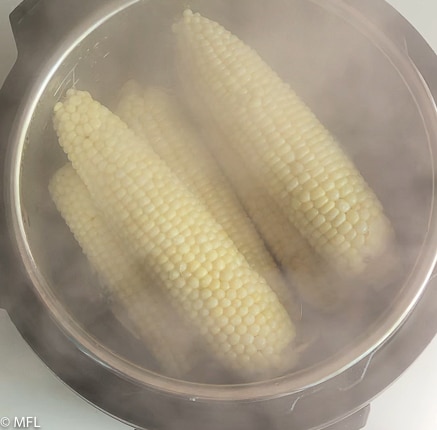
You can prepare the corn anyway you like when it comes to this recipe, as long as it’s cooked. I like to use my Instant Pot as it’s quick, easy, and gets my corn cooked just the way we like, cooked with a nice little crunch that leaves juices flying everywhere. With only a 2 minute pressure cooktime, this method just can’t be beat.
Now that I’ve let you all know about this corn on the cob seasoning, I’d love to hear from you about your favorite corn on the cob seasoning in the comments below. Until the next recipe, Enjoy 🙂

Cheddar and Sour Cream Corn on the Cob Seasoning
Ingredients
- 5-6 ears of corn silk and husk removed
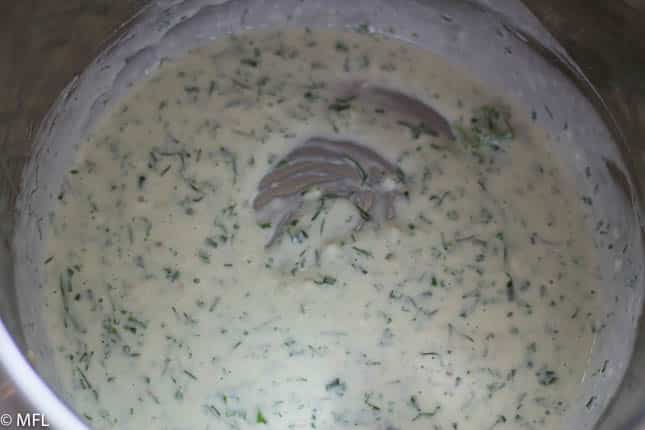
- ½ cup sour cream
- 4 cups Cheeto Puff Chips
- 1 teaspoon Jerk Seasoning*
Instructions
Instant Pot Instructions
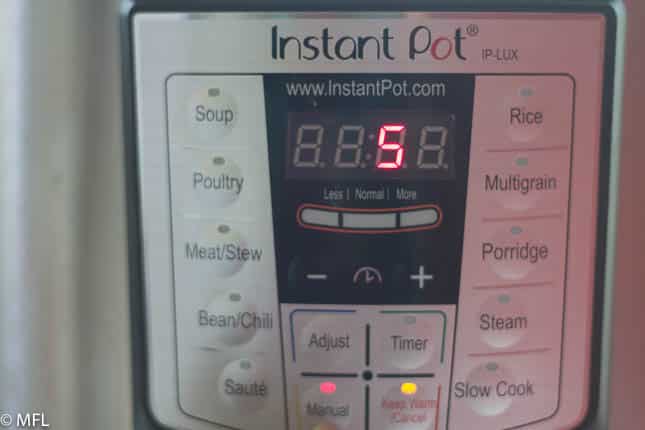
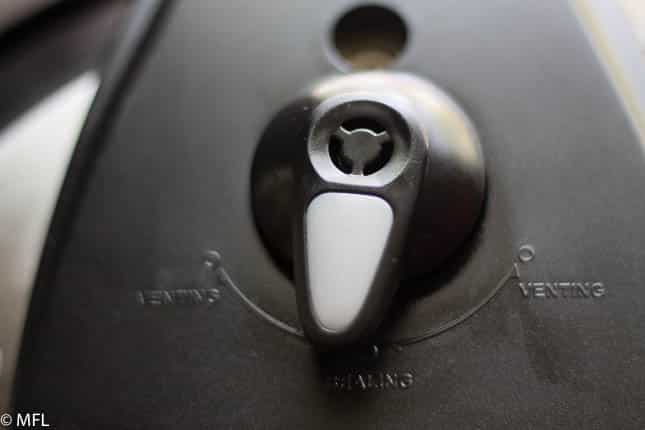
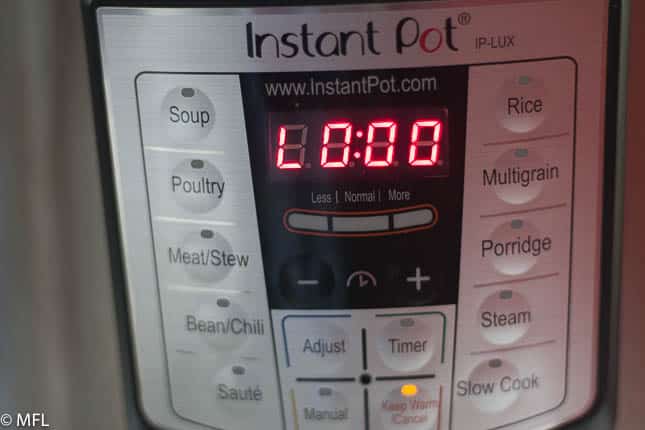
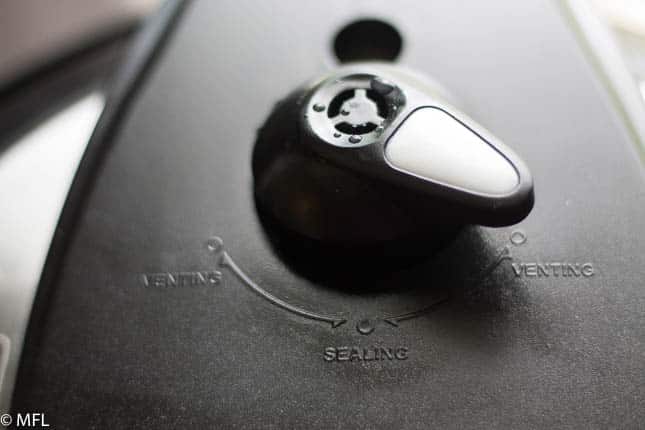
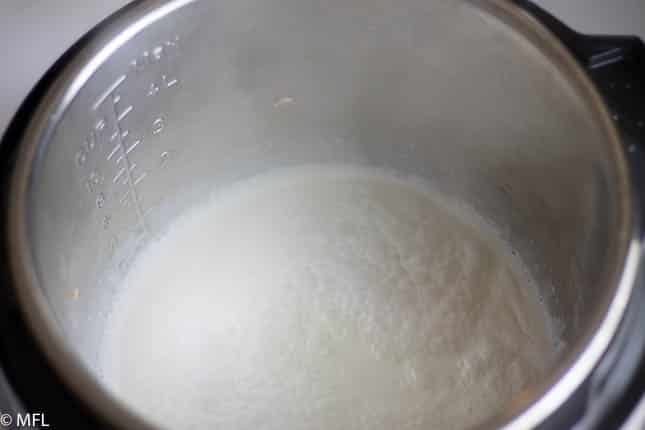
- Place 1 cup of water in instant Pot. Add trivet and place corn on top of trivet. Cover and pressure cook on Manual for 2 minutes. Once timer goes off, quick release.
Oven Instructions
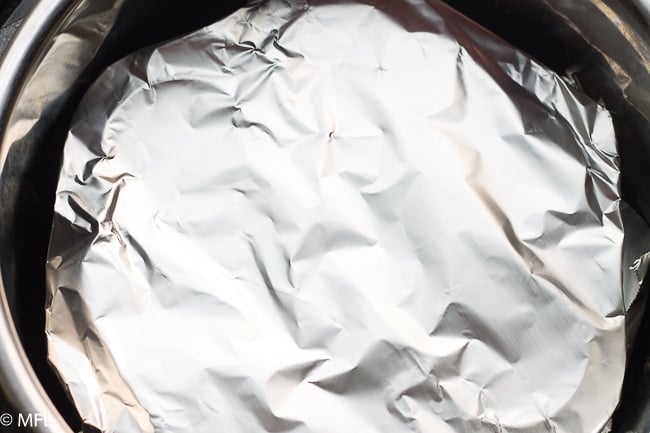
- Preheat oven to 450 degrees. Wrap corn in foil and place on cookie sheet. Roast in oven for 20-25 minutes until done.
Grill Instructions
- Wrap corn in heavy duty foil. Cook over coals/grill gate turning occasionally for about 15 minutes until corn is done.
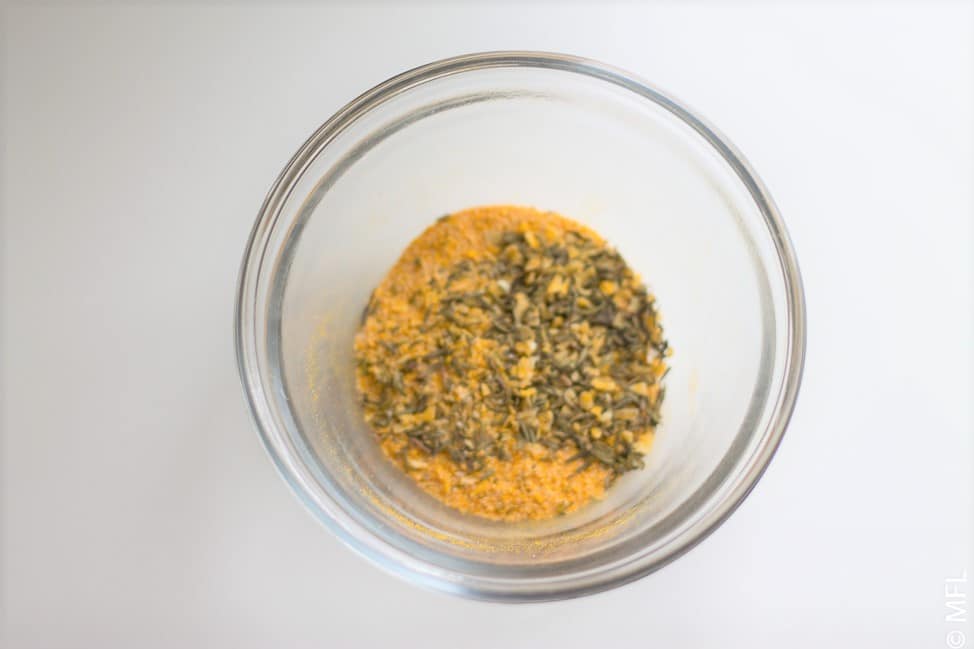
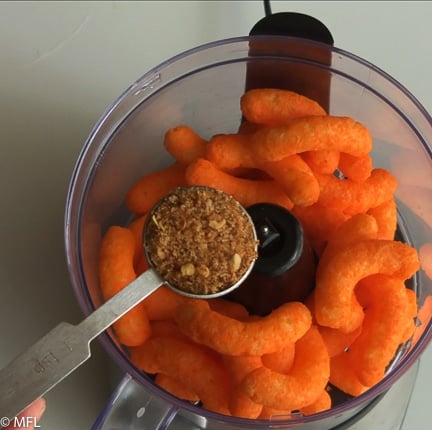
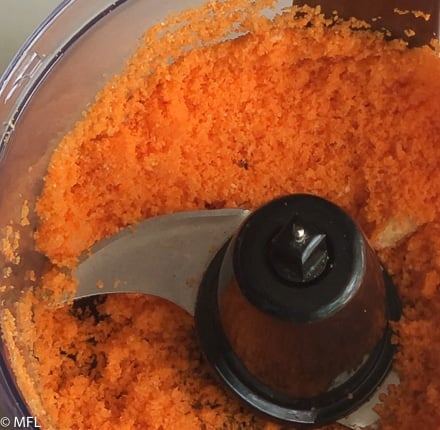
- While corn is cooking, add Cheeto Puffs to food processor along with jerk seasoning. Process until cheetos look like light breadcrumbs. (See photo below). Spread Processed cheetos on a flat surface.
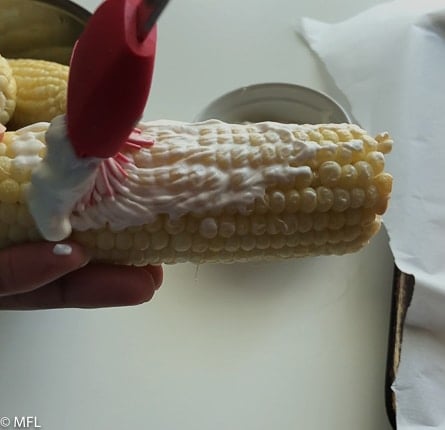
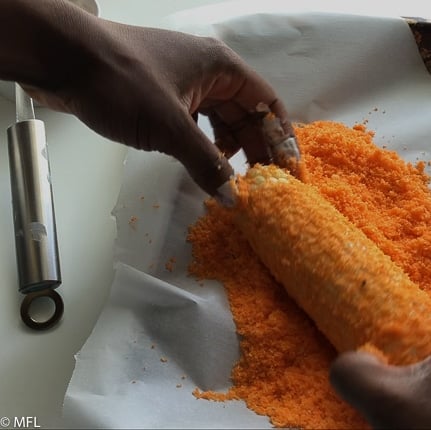
- Once corn is done and cool enough to handle, spread sour cream over corn with brush. Then roll corn into cheetos. Serve and Enjoy 🙂
Notes
Nutrition
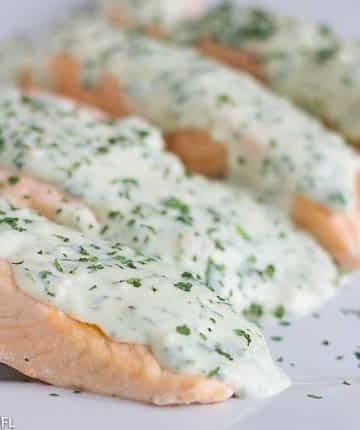
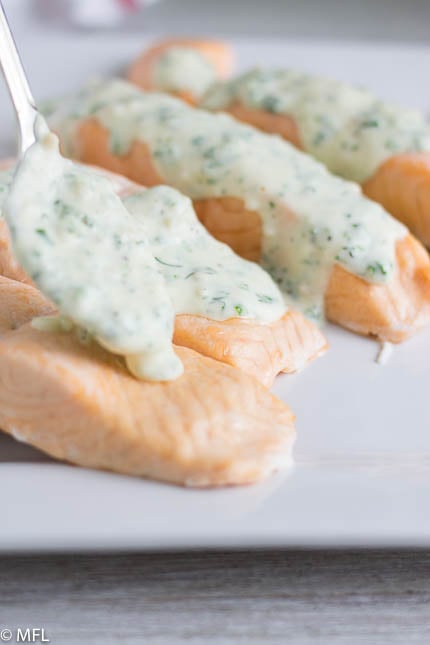
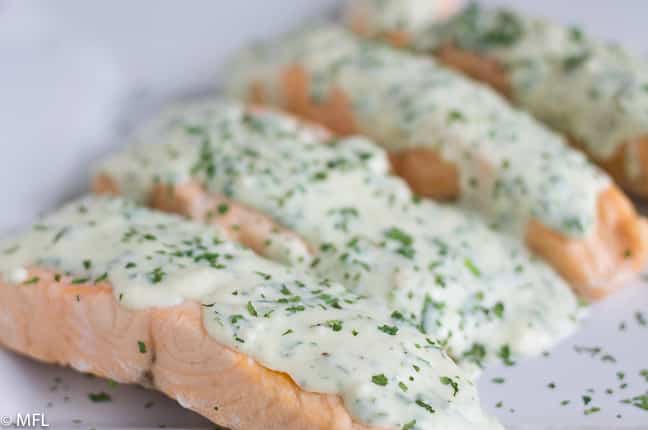
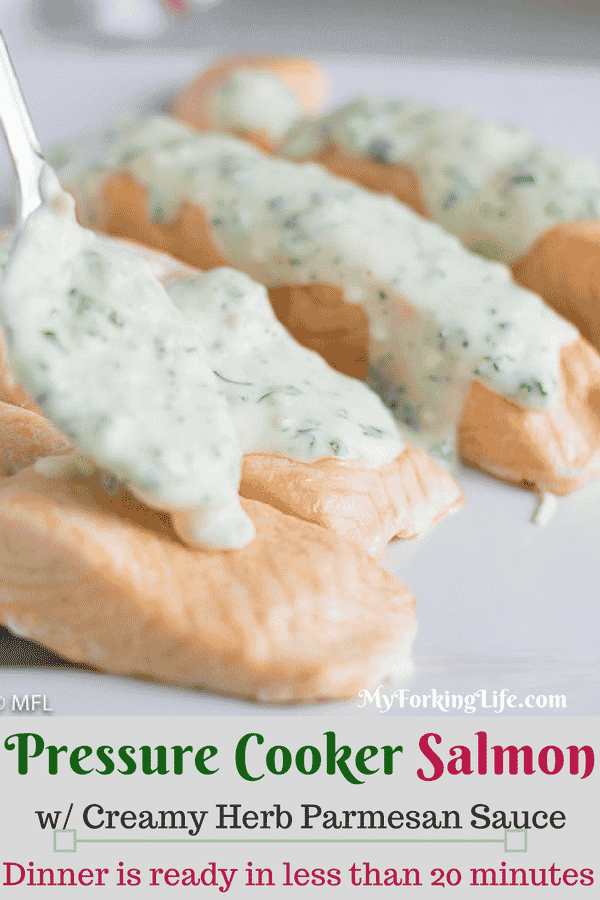
Looking for more Instant Pot Recipes? Try my Pressure Cooker Slamon with Creamy Herb Parmesan or my Pressure Cooker Shrimp Paella.
Step by Step Photos Cheddar and Sour Cream Corn on the Cob Seasoning
Pin Cheddar and Sour Cream Corn on the Cob Seasoning for Later