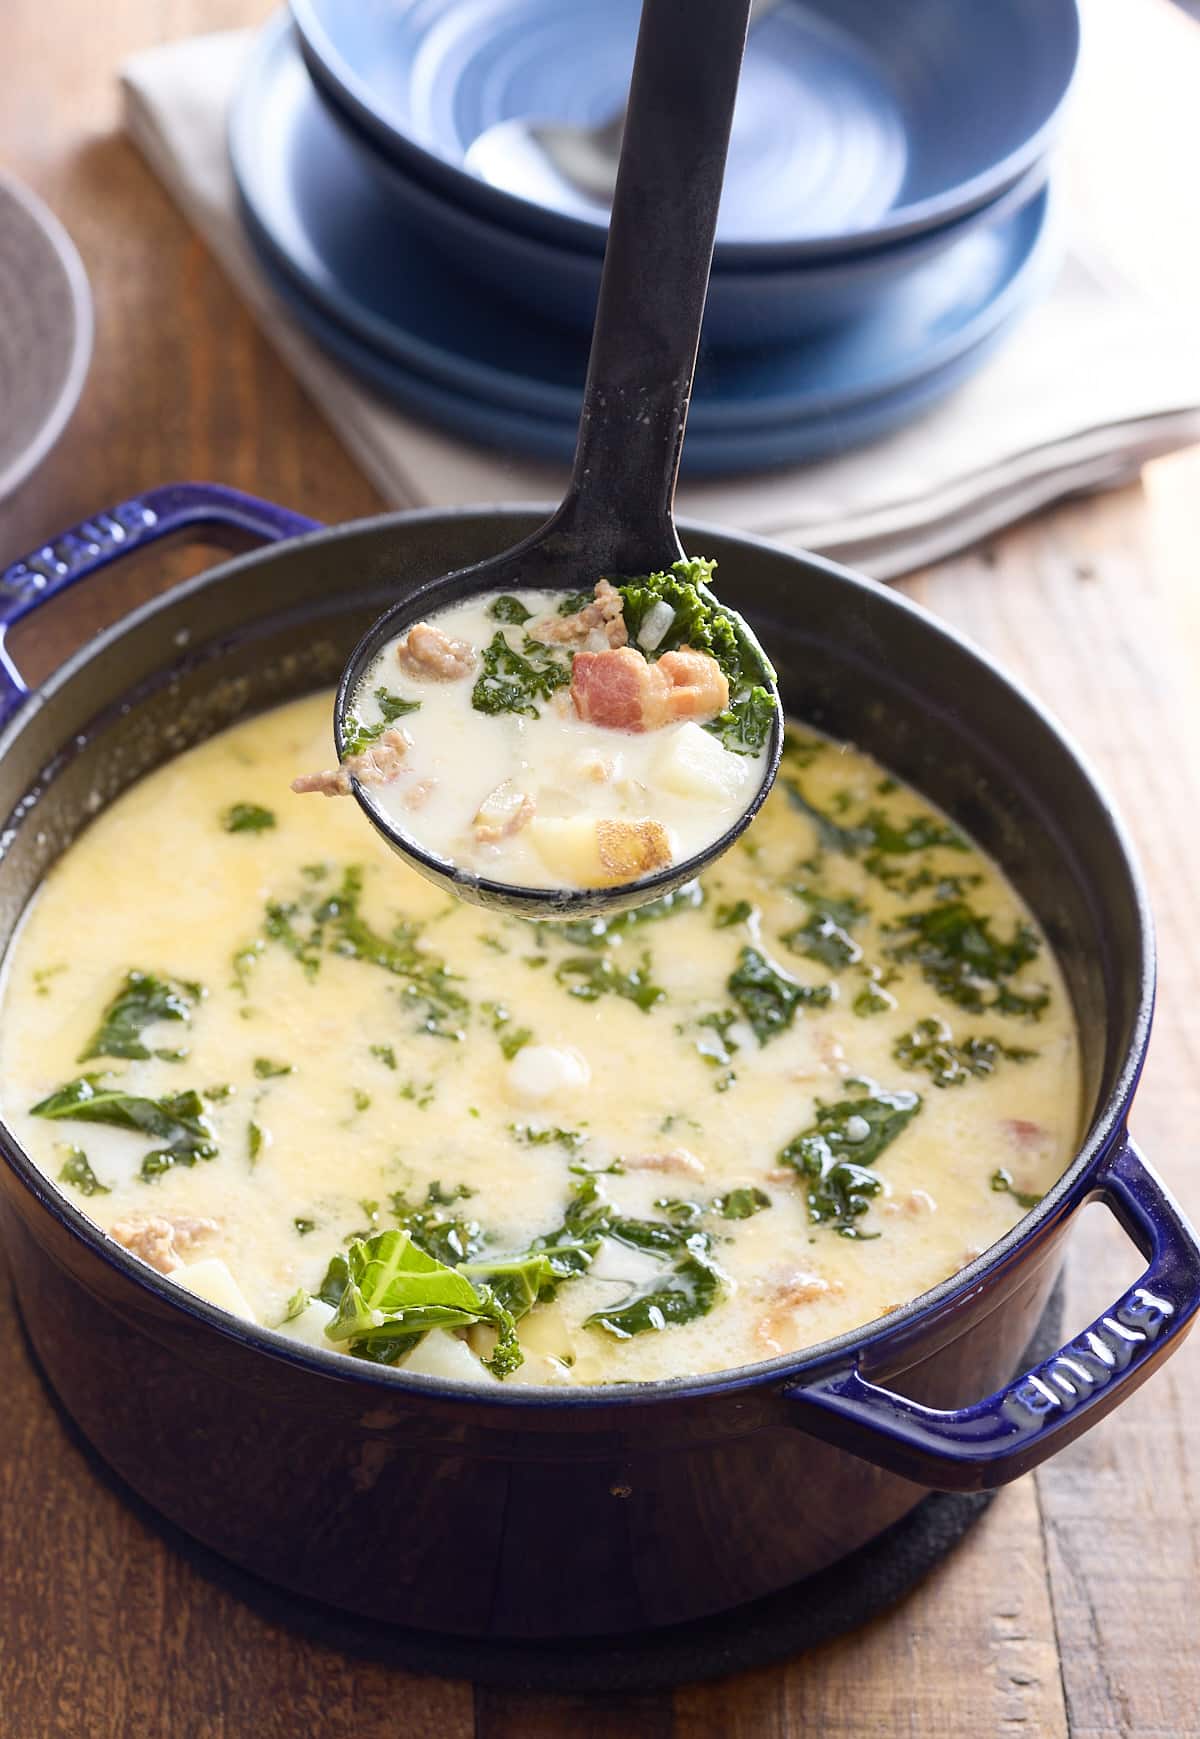
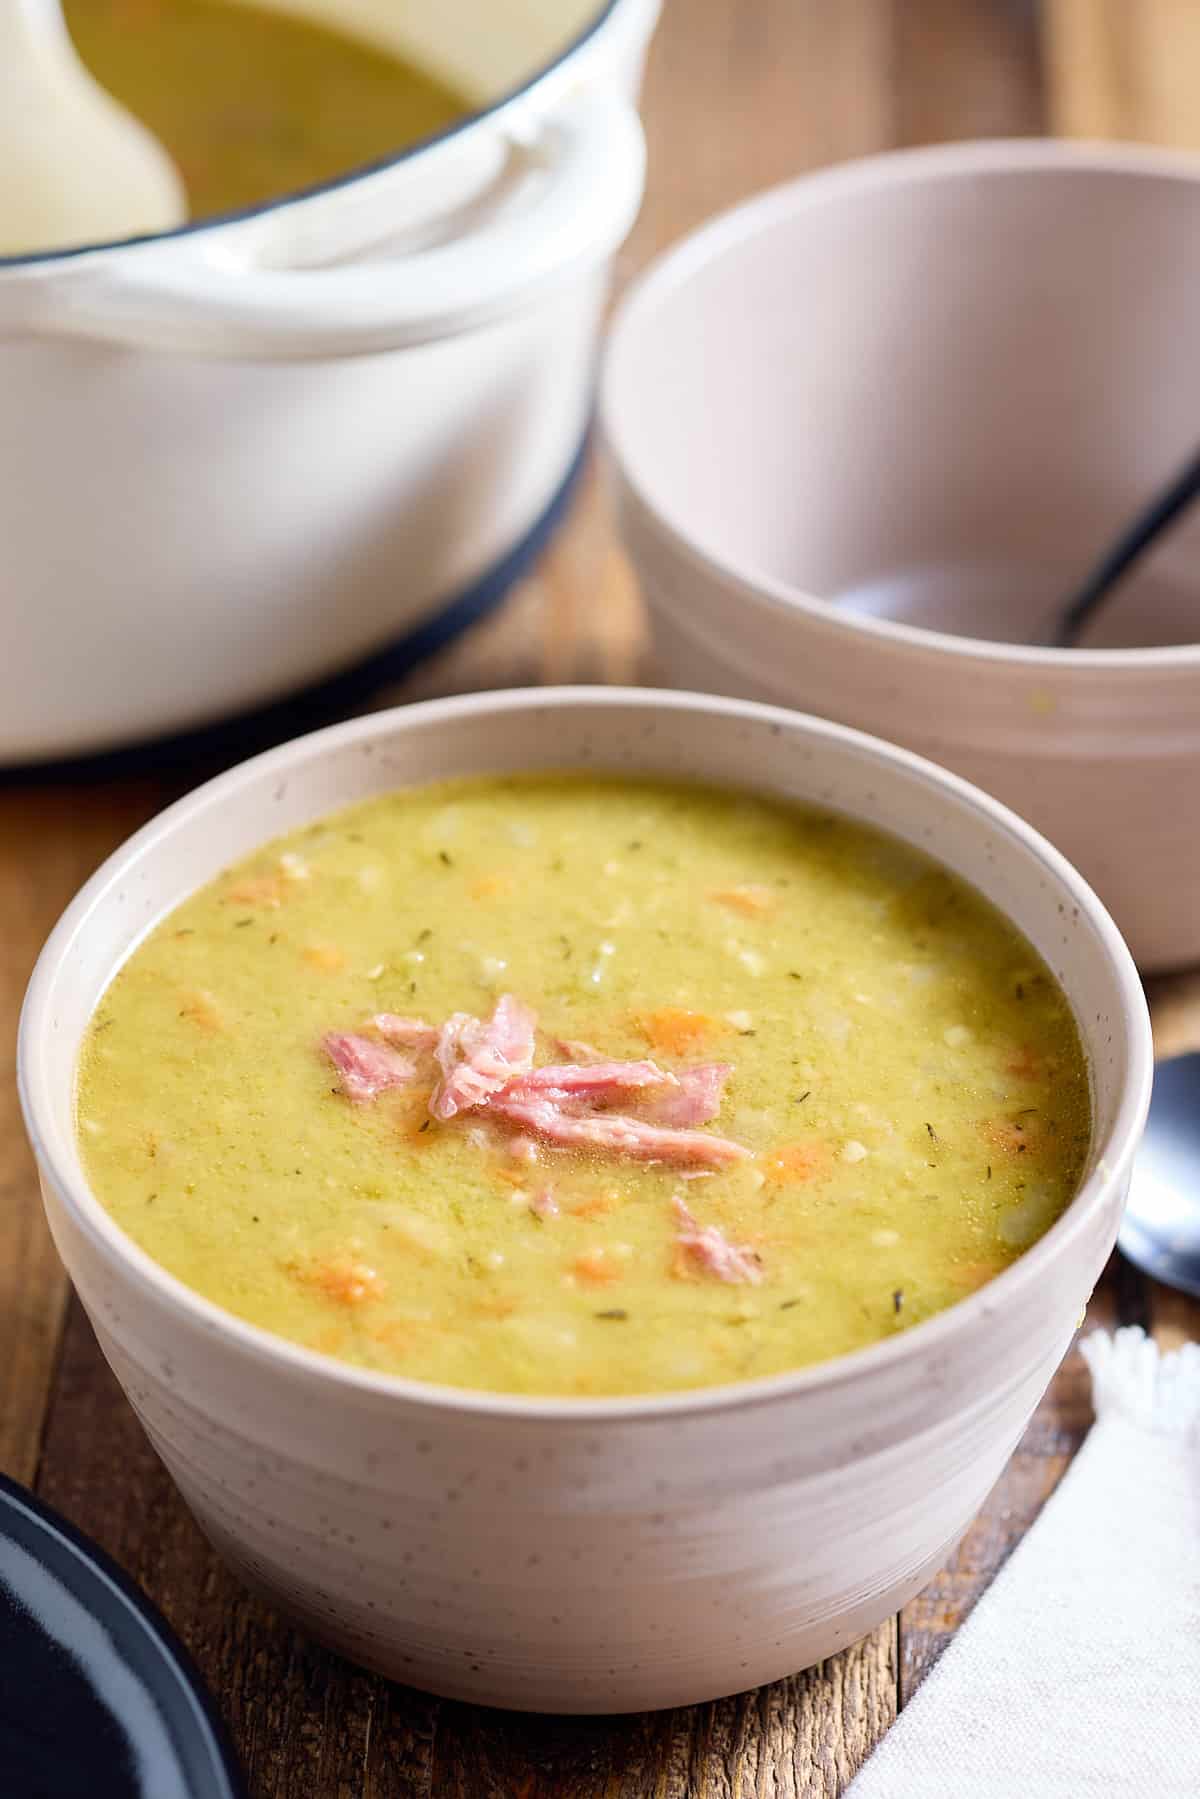
Split pea soup with ham is a hearty and comforting soup that is packed with flavor. The split peas provide a subtle earthiness and nuttiness while the ham adds a smoky, salty and savory flavor that complements the sweetness of the peas. A wonderful recipe for leftover ham thats packed with veggies.
This post contains affiliate links, please read my full disclaimer here.
You’ll find the full recipe with ingredient amounts and instructions in the recipe card at the bottom of this post. Be sure to check out the blog post itself for extra tips and tricks!
You'll often find yourself the day after a holiday with lots of leftover ham. Extend the life of that delicious smokey meat and make a pot of rich split pea soup with ham. A one pot meal to make your weeknight dinner stress free.
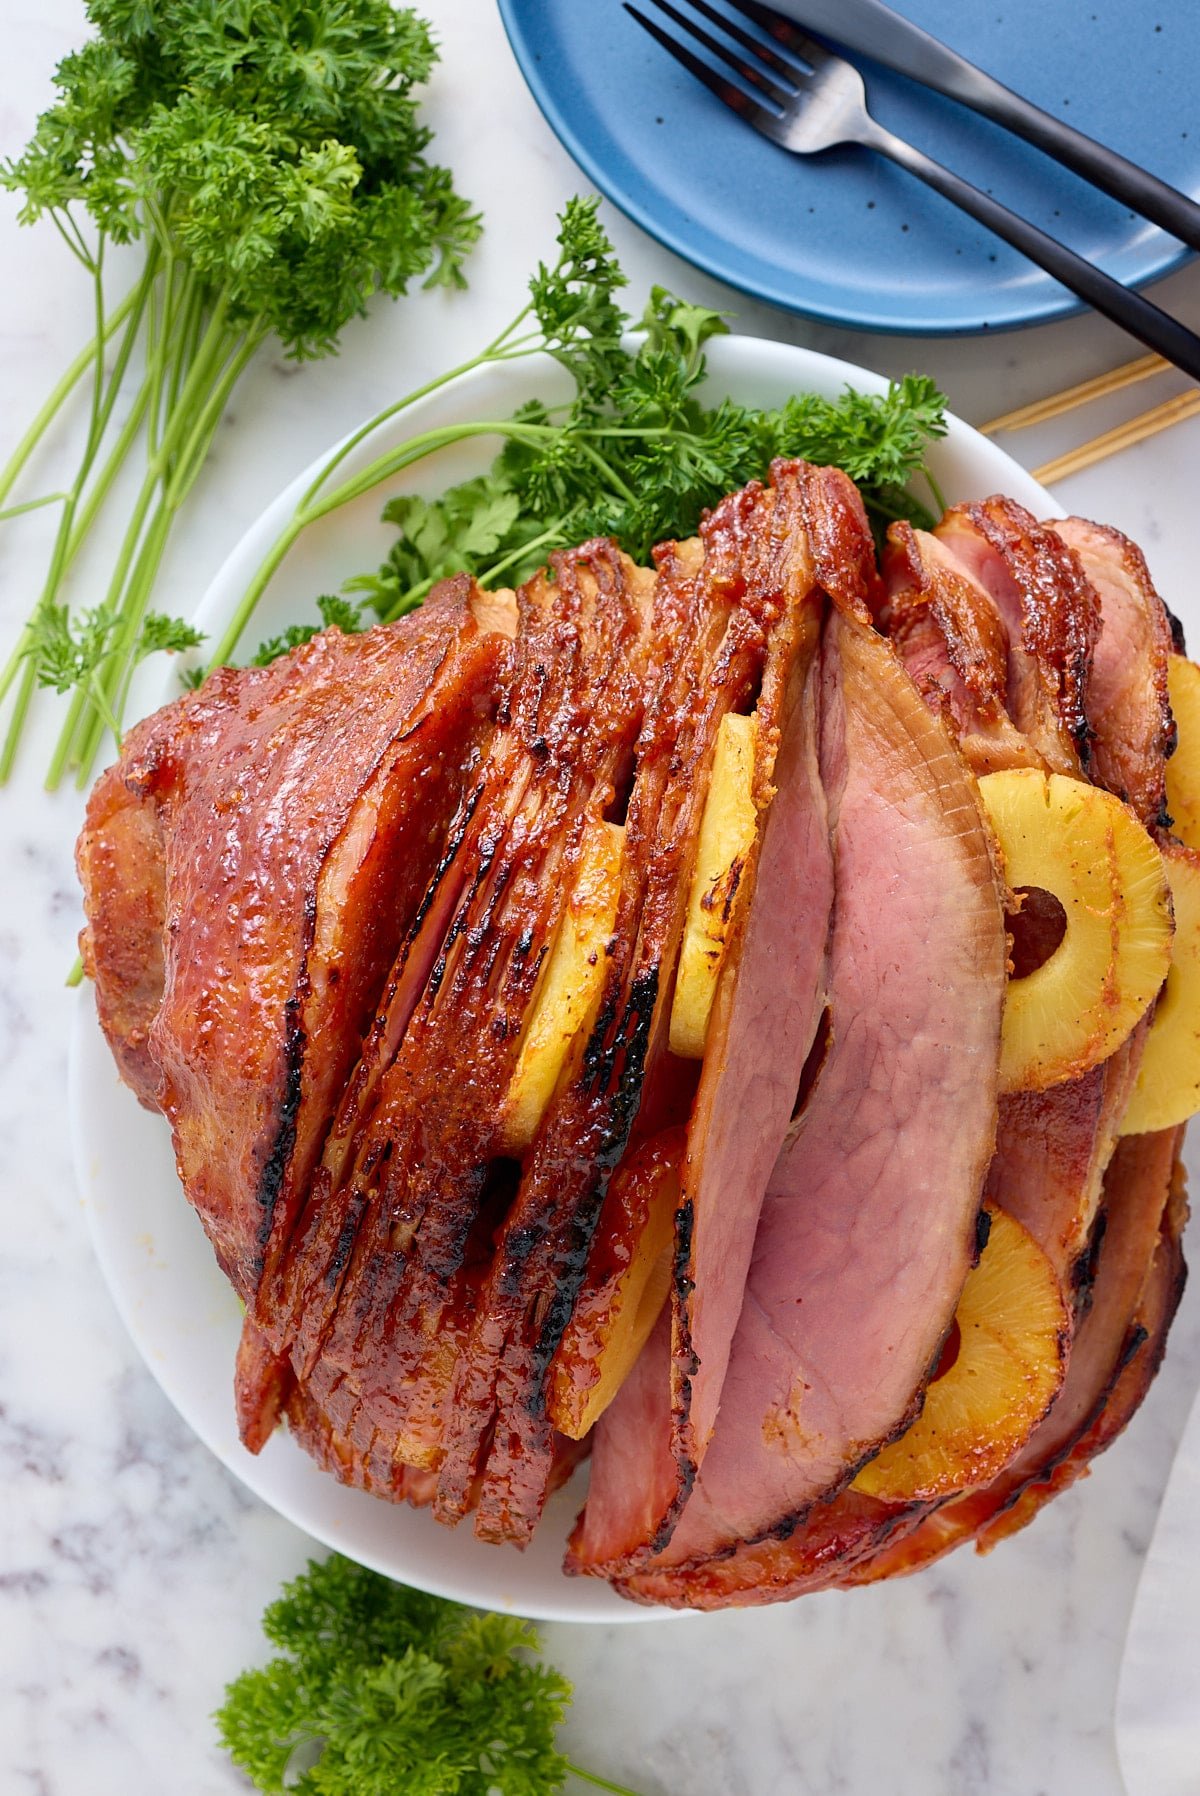
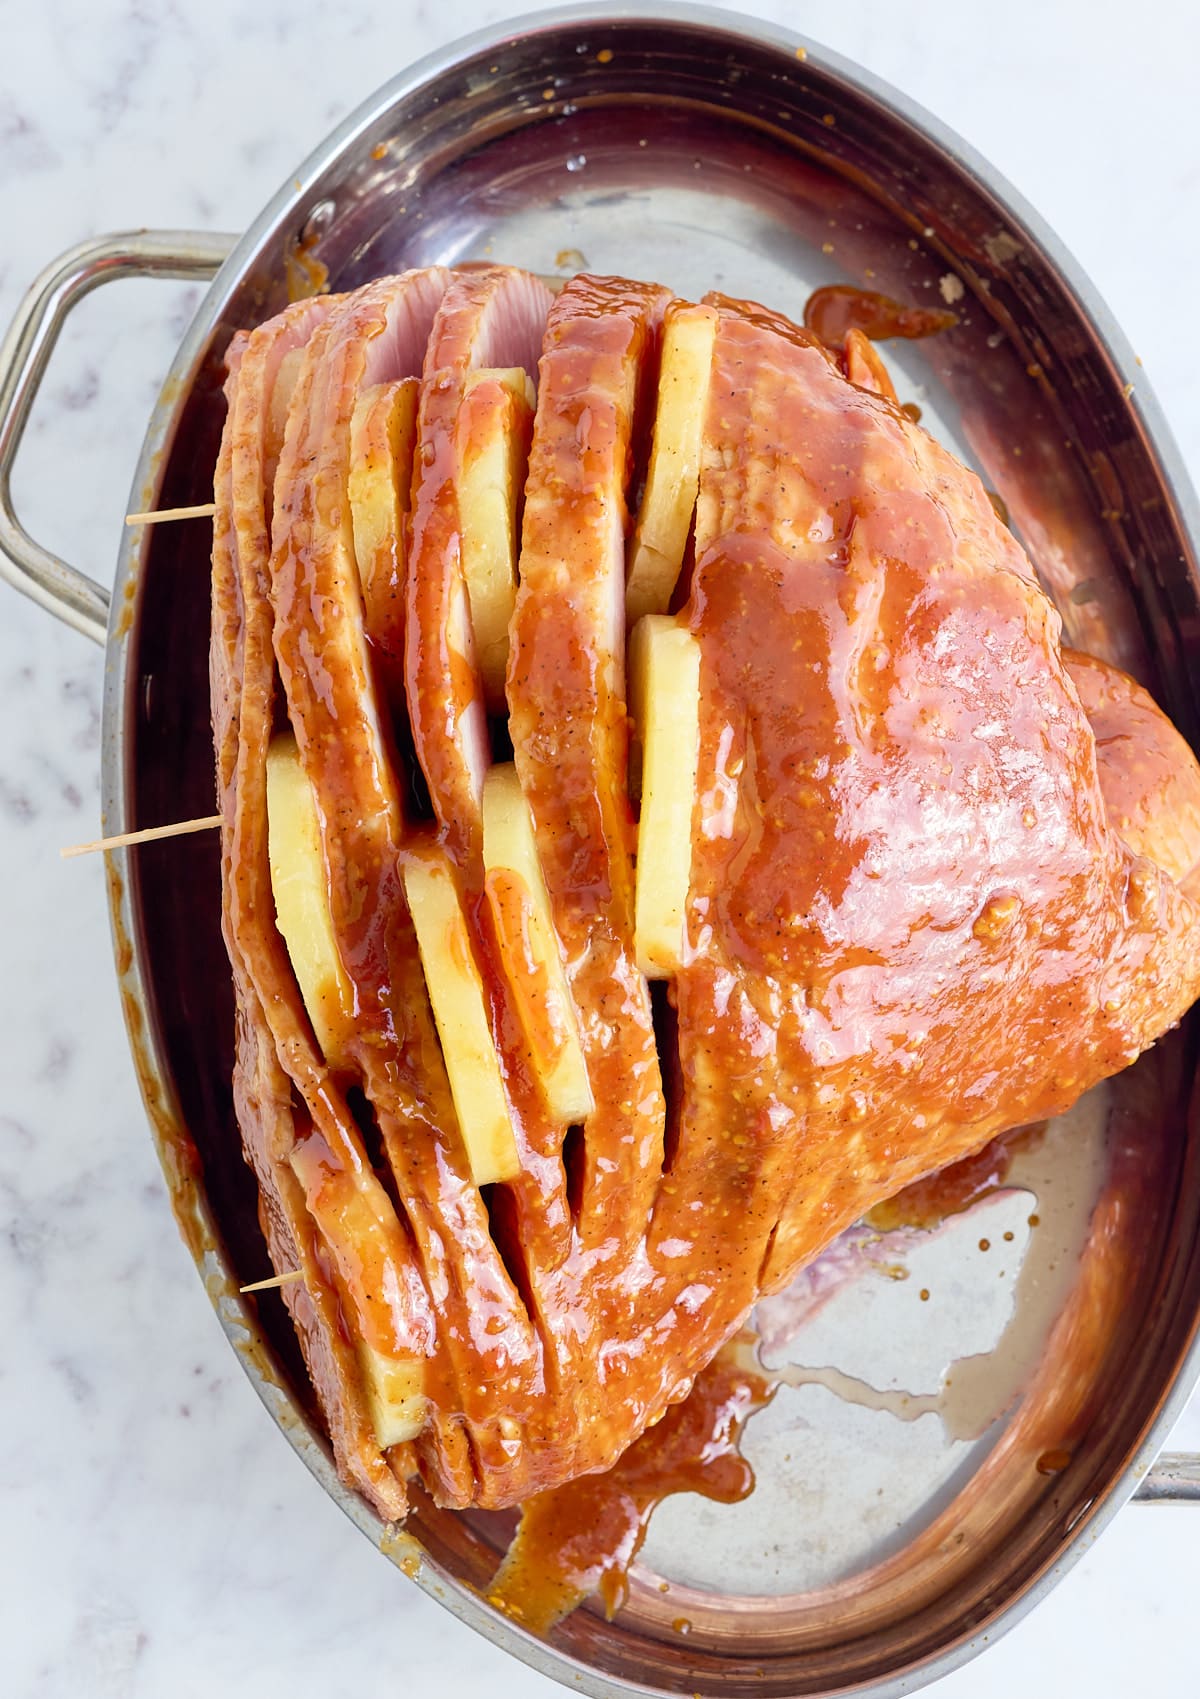
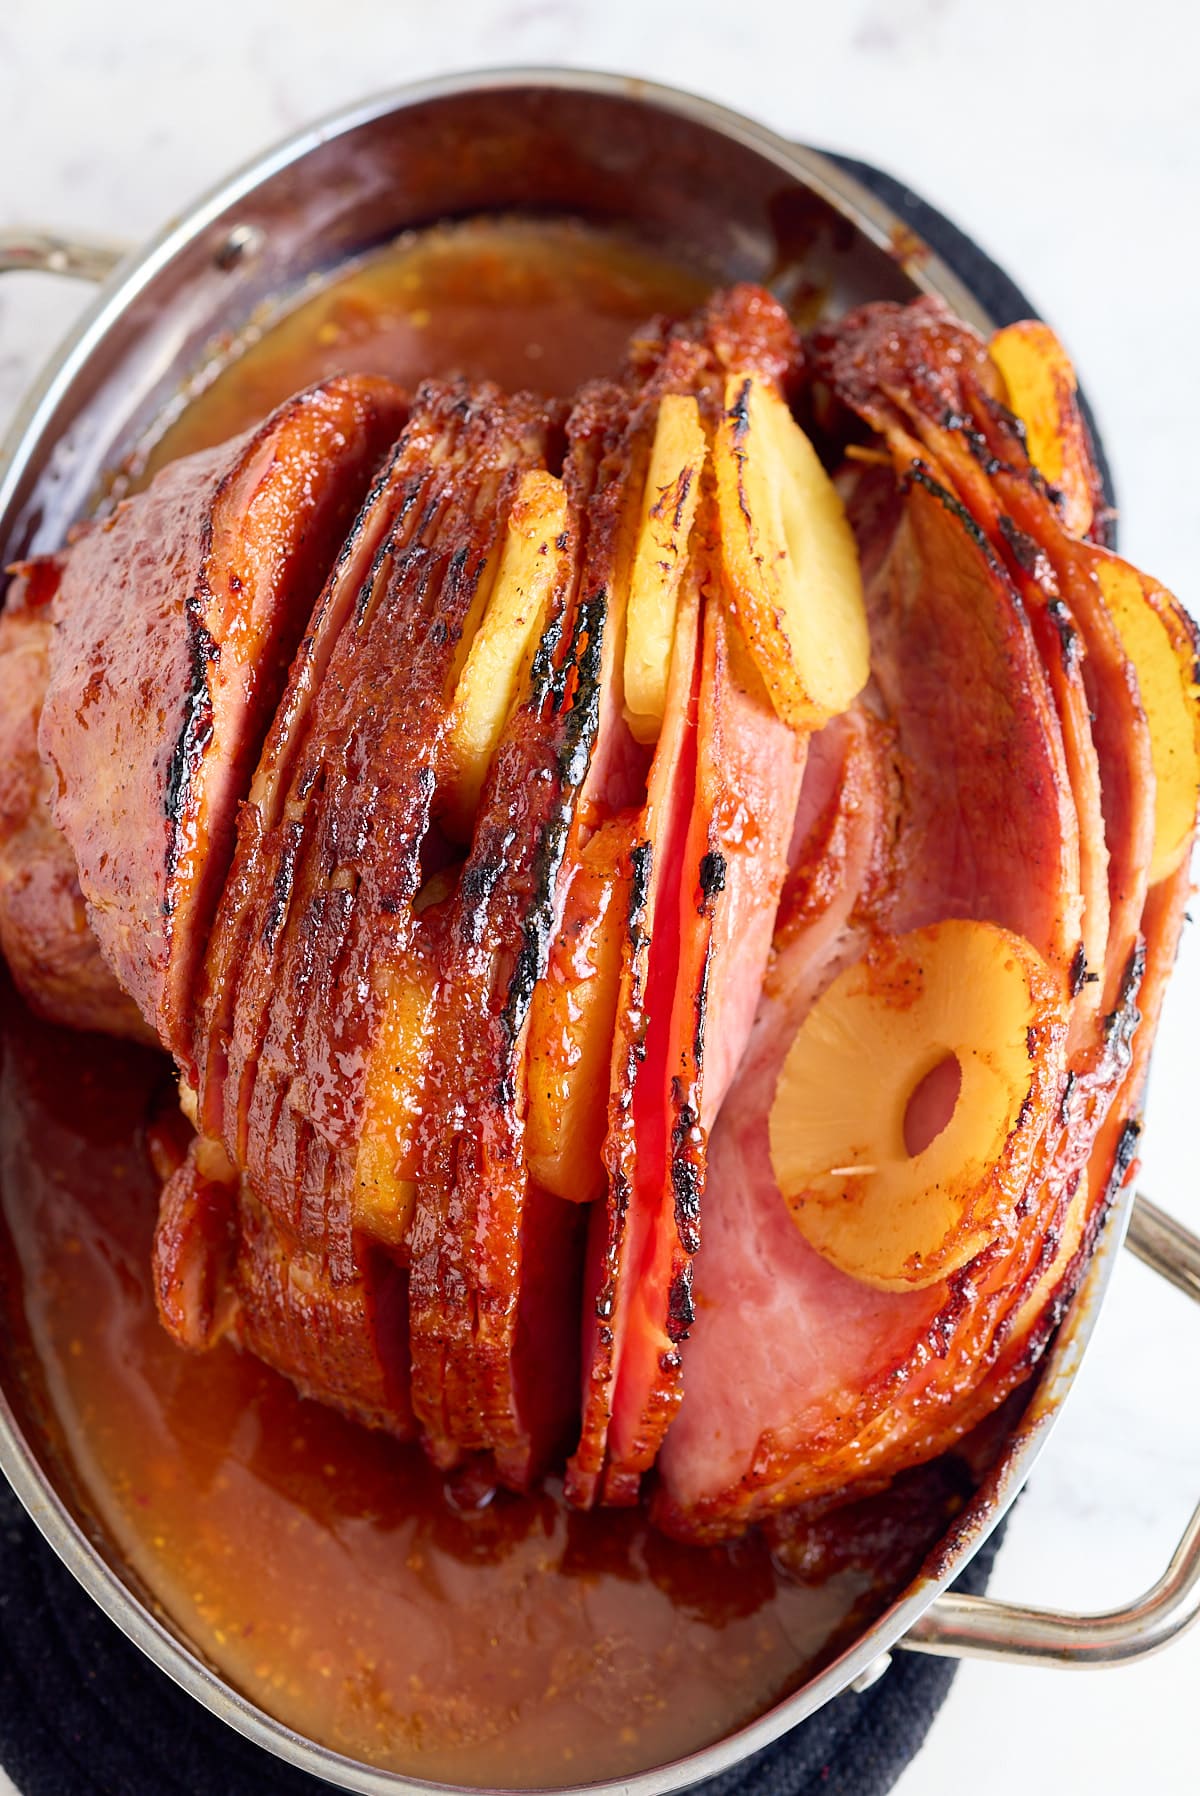
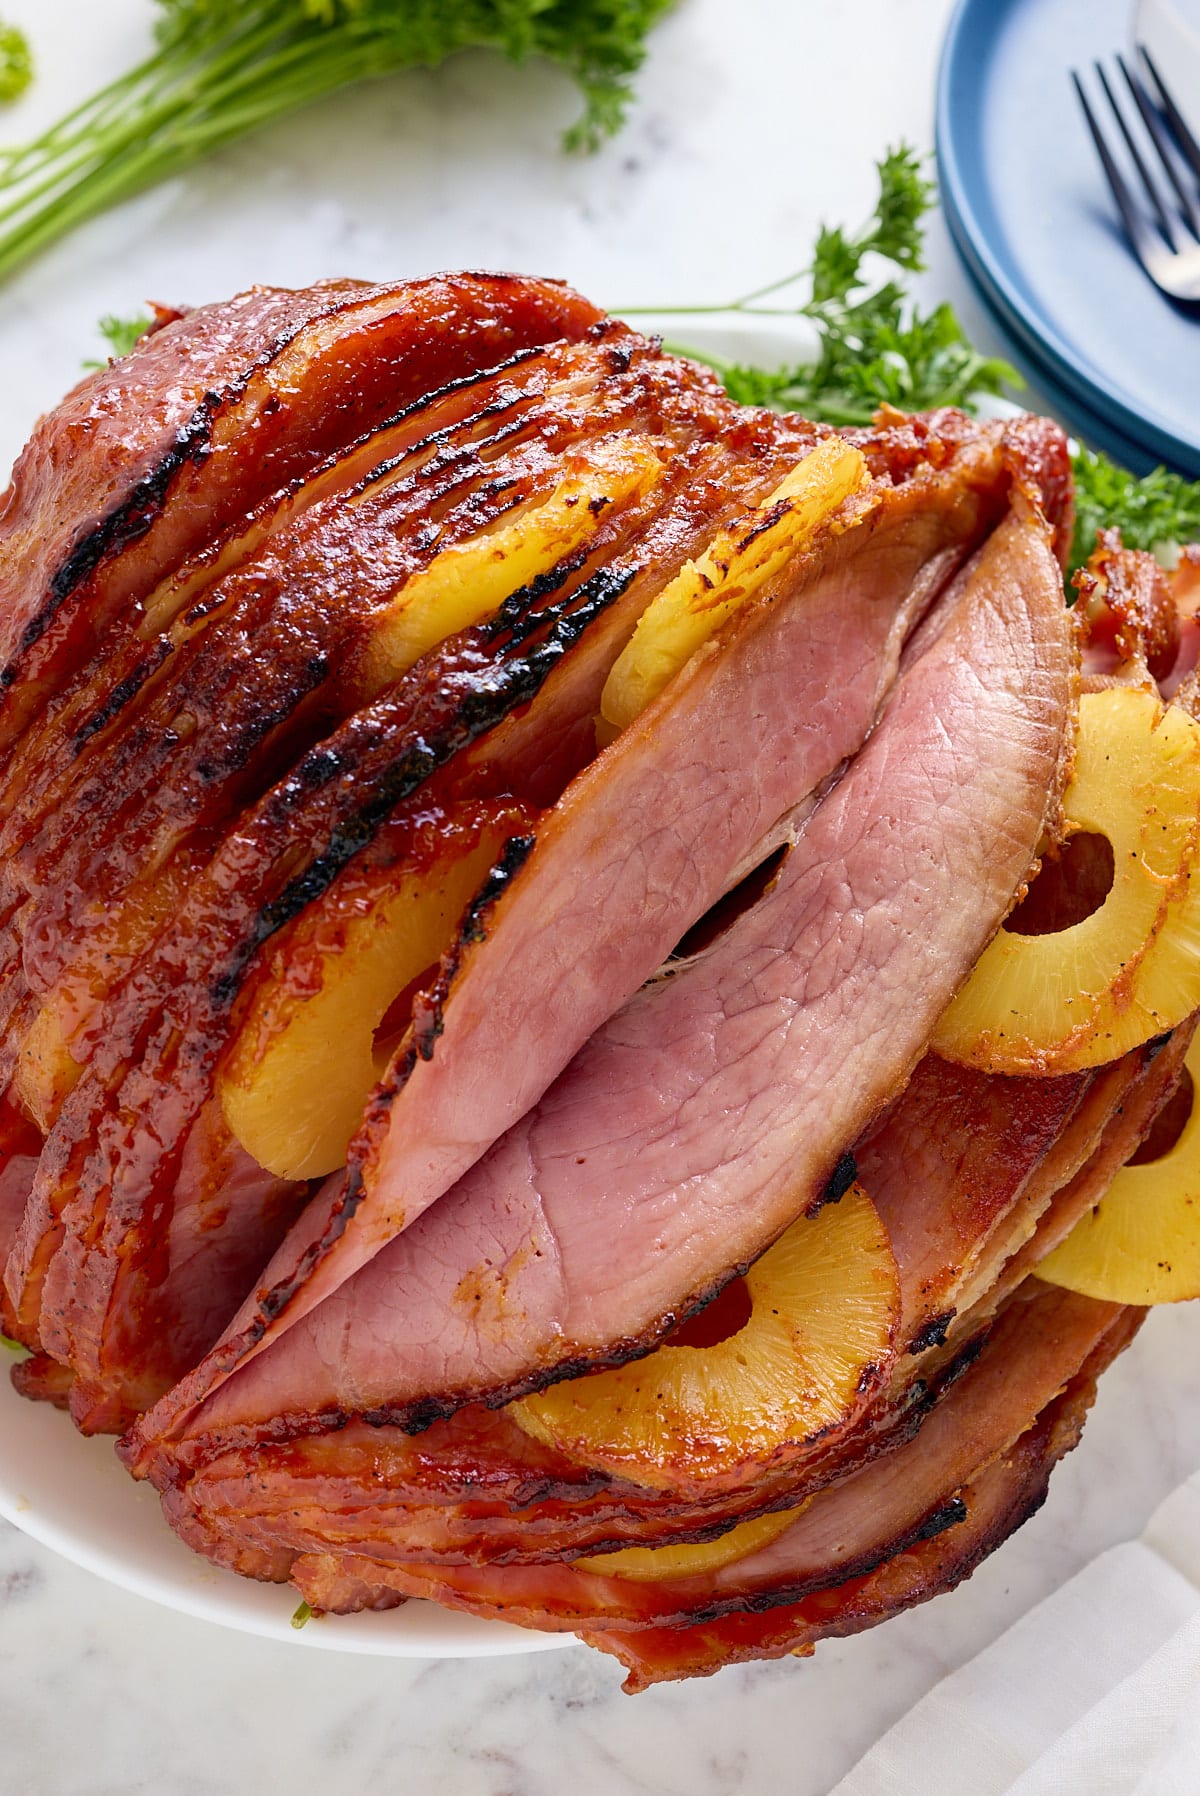
Do you need some inspiration for your next holiday ham? Try my Air Fryer Holiday Ham thats done in 30 minutes! If you have more time on your hands my Baked Spiral Ham with pineapple is worth the wait. Both should provide plenty of leftovers to make this soup and more!
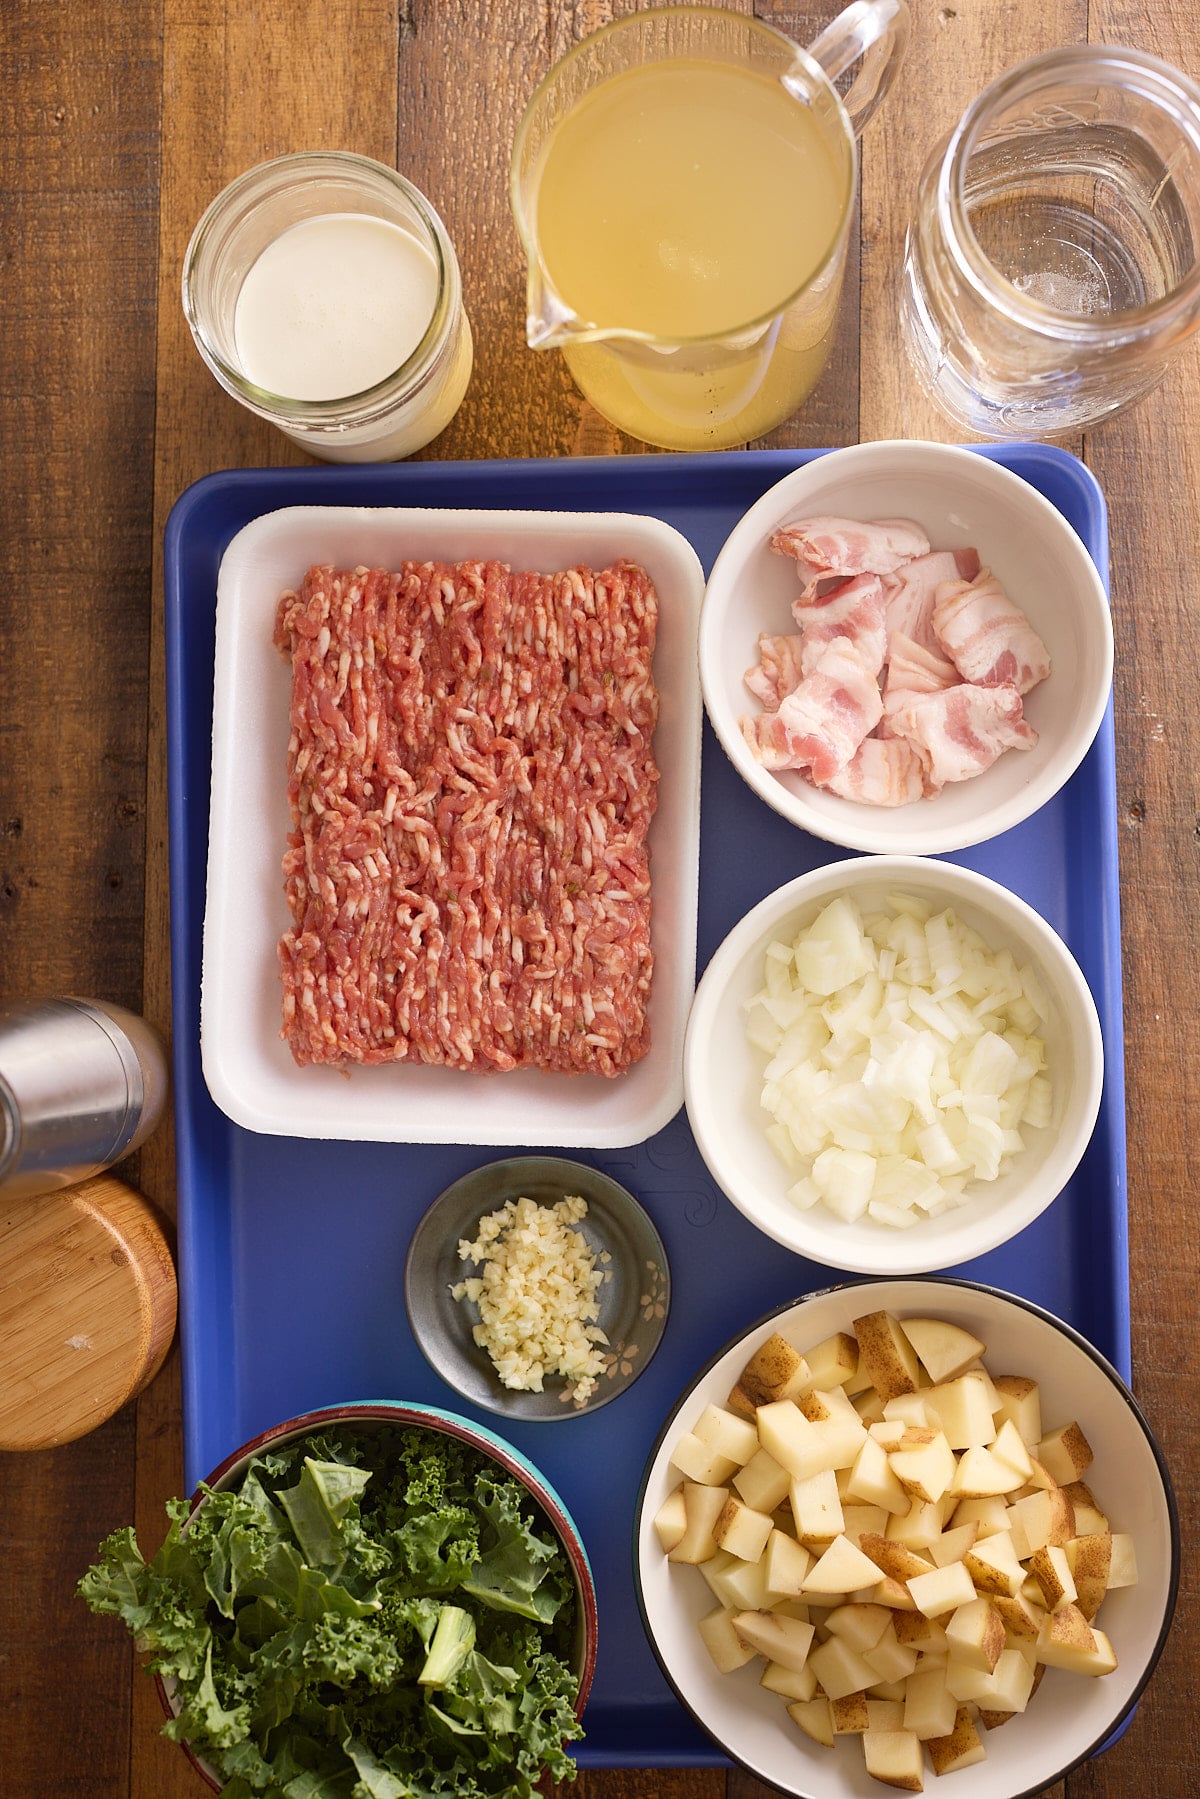
Ingredients
Here is what you'll need for this delicious soup:
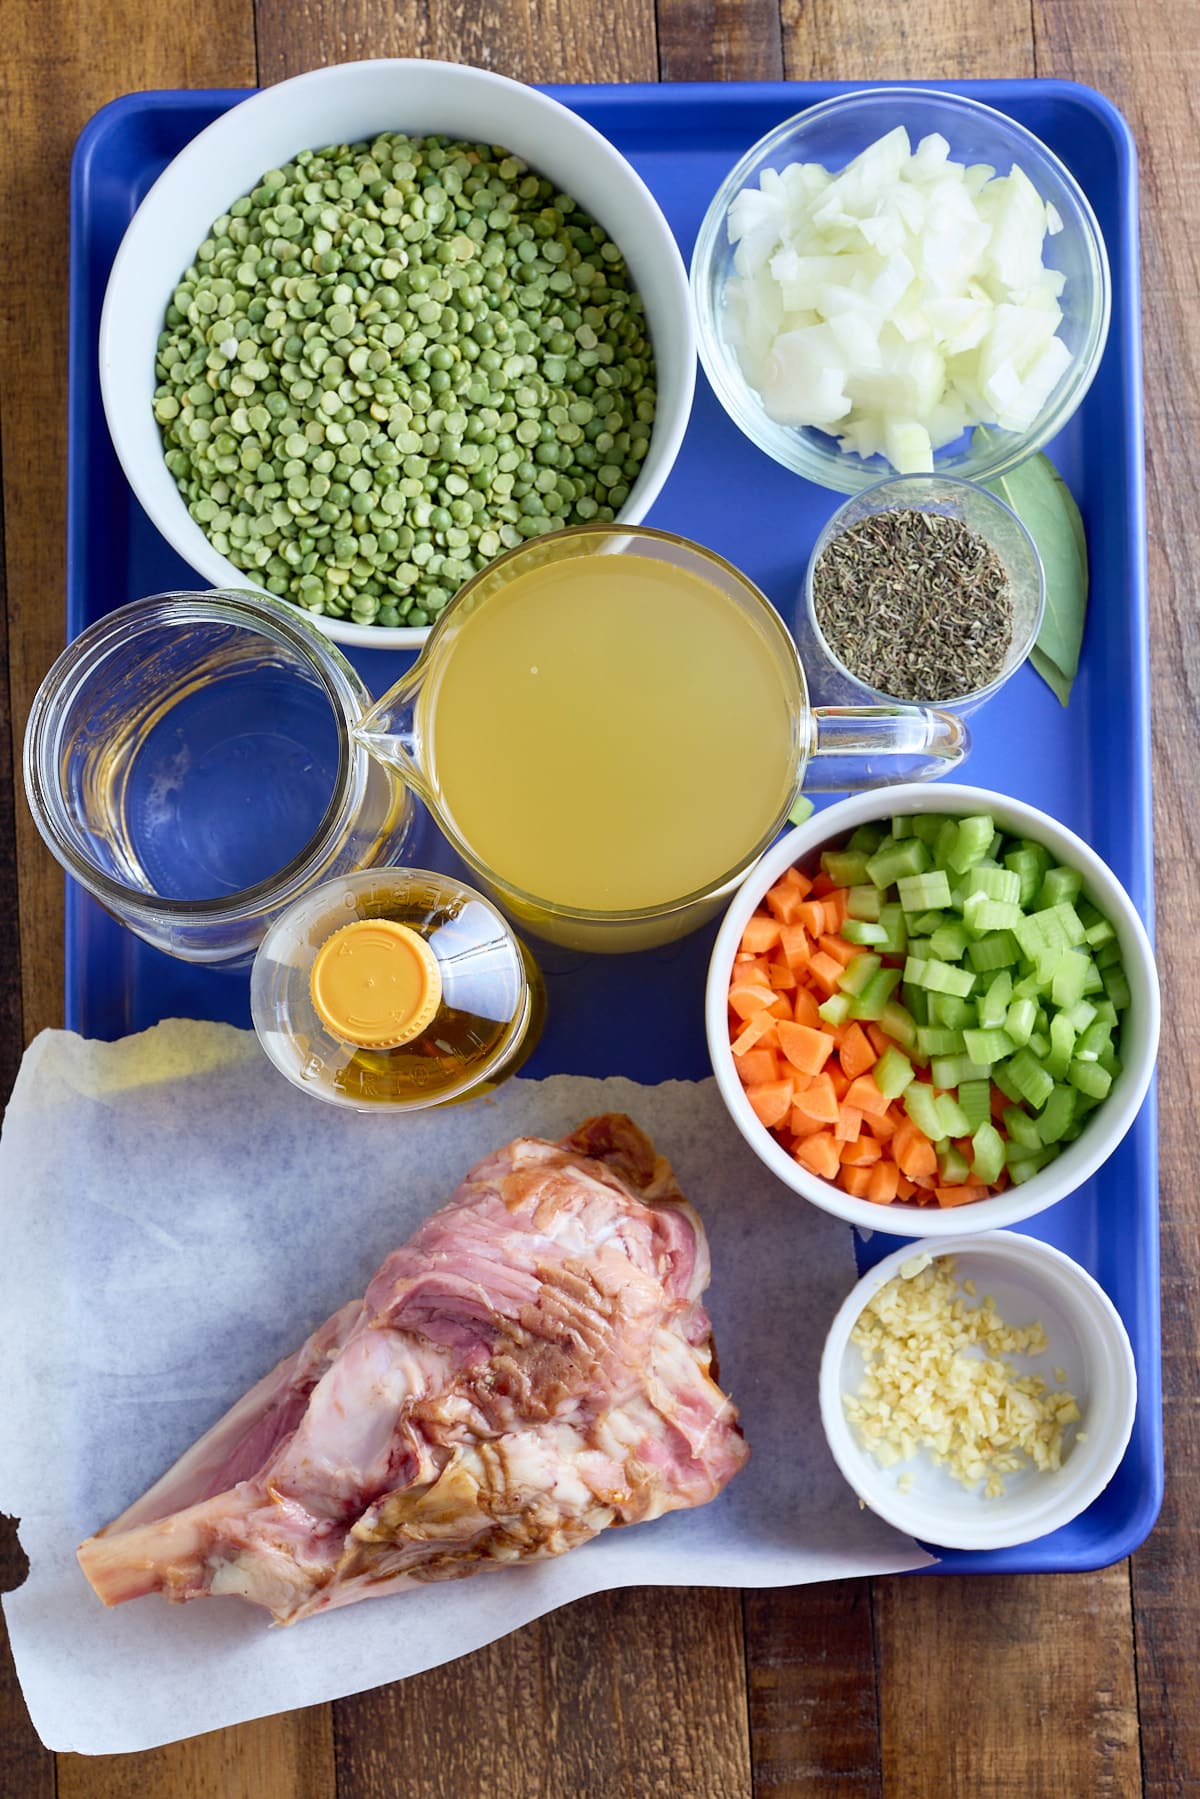
- Olive Oil
- Vegetables - A fragrant melody of onions, carrots, and celery all chopped before sauteing.
- Garlic - Freshly chopped or jarred minced garlic.
- Dried thyme leaves
- Chicken Broth or vegetable broth - Whichever you have on hand will be great!
- Water
- Dried Green Split Peas - You'll be able to find these in or around where you'd get dried beans or rice. Make sure they've been rinsed and sorted before adding them to your pot.
- Ham Bone with ham meat attached - Your local grocery store butcher should be able to acquire a ham bone for you if there isn't one readily available.
- Bay Leaves
- Salt and Pepper to taste
Tools needed for this recipe
- Heavy-bottomed pot like a dutch oven or similar.
How To Make Split Pea Soup with Ham
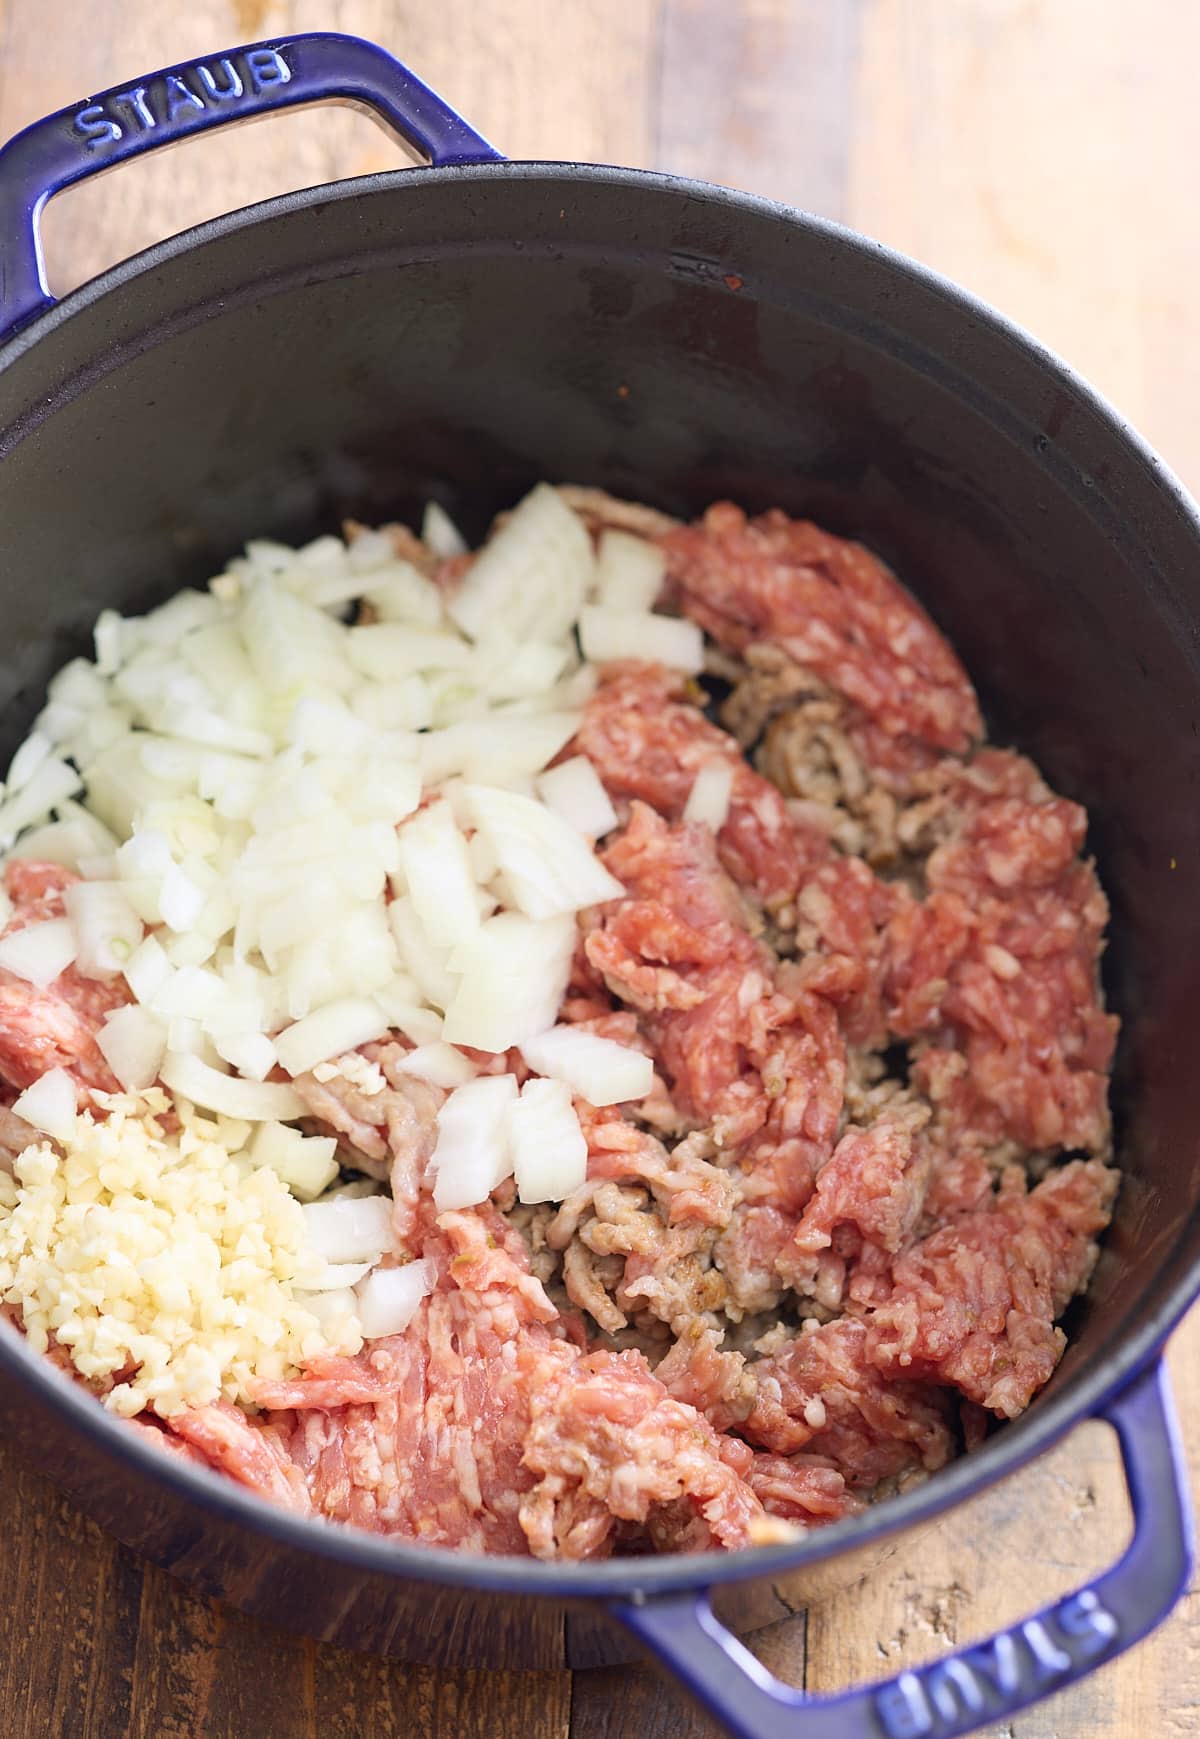
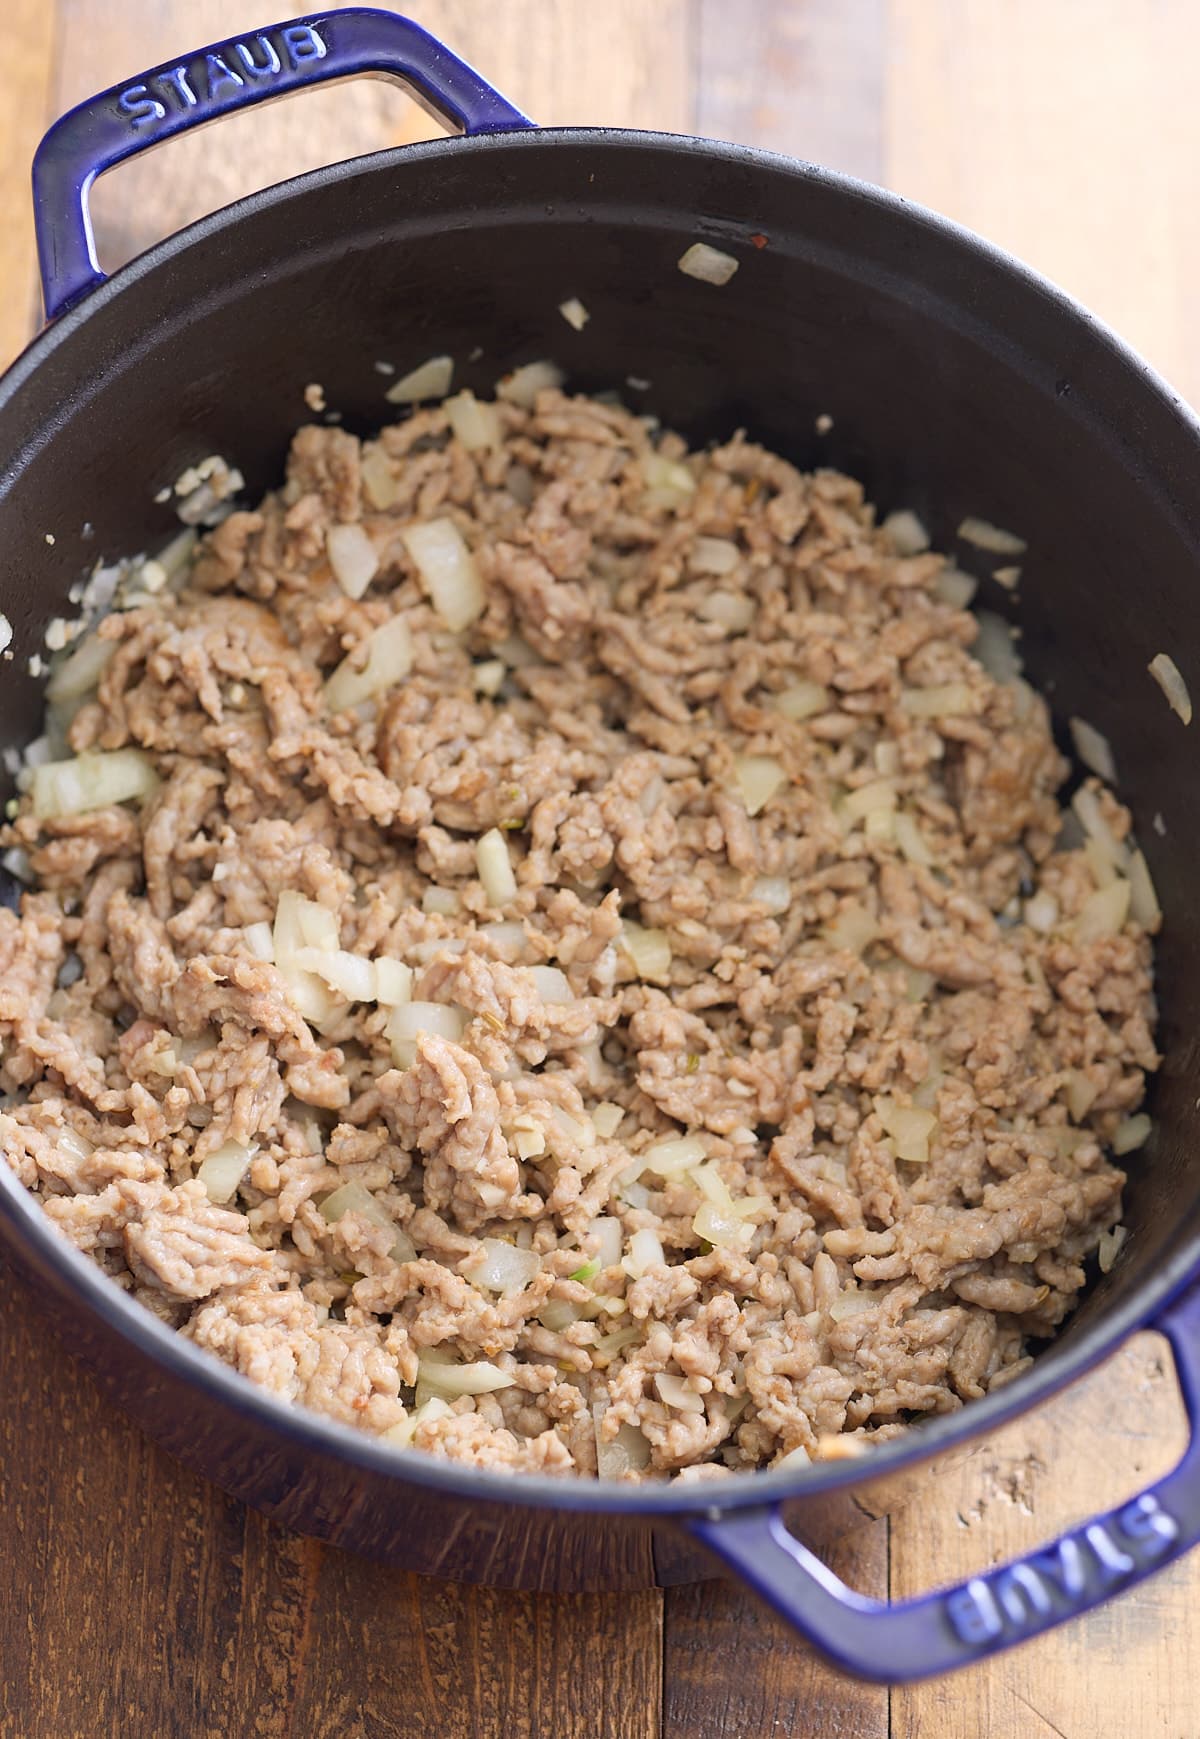
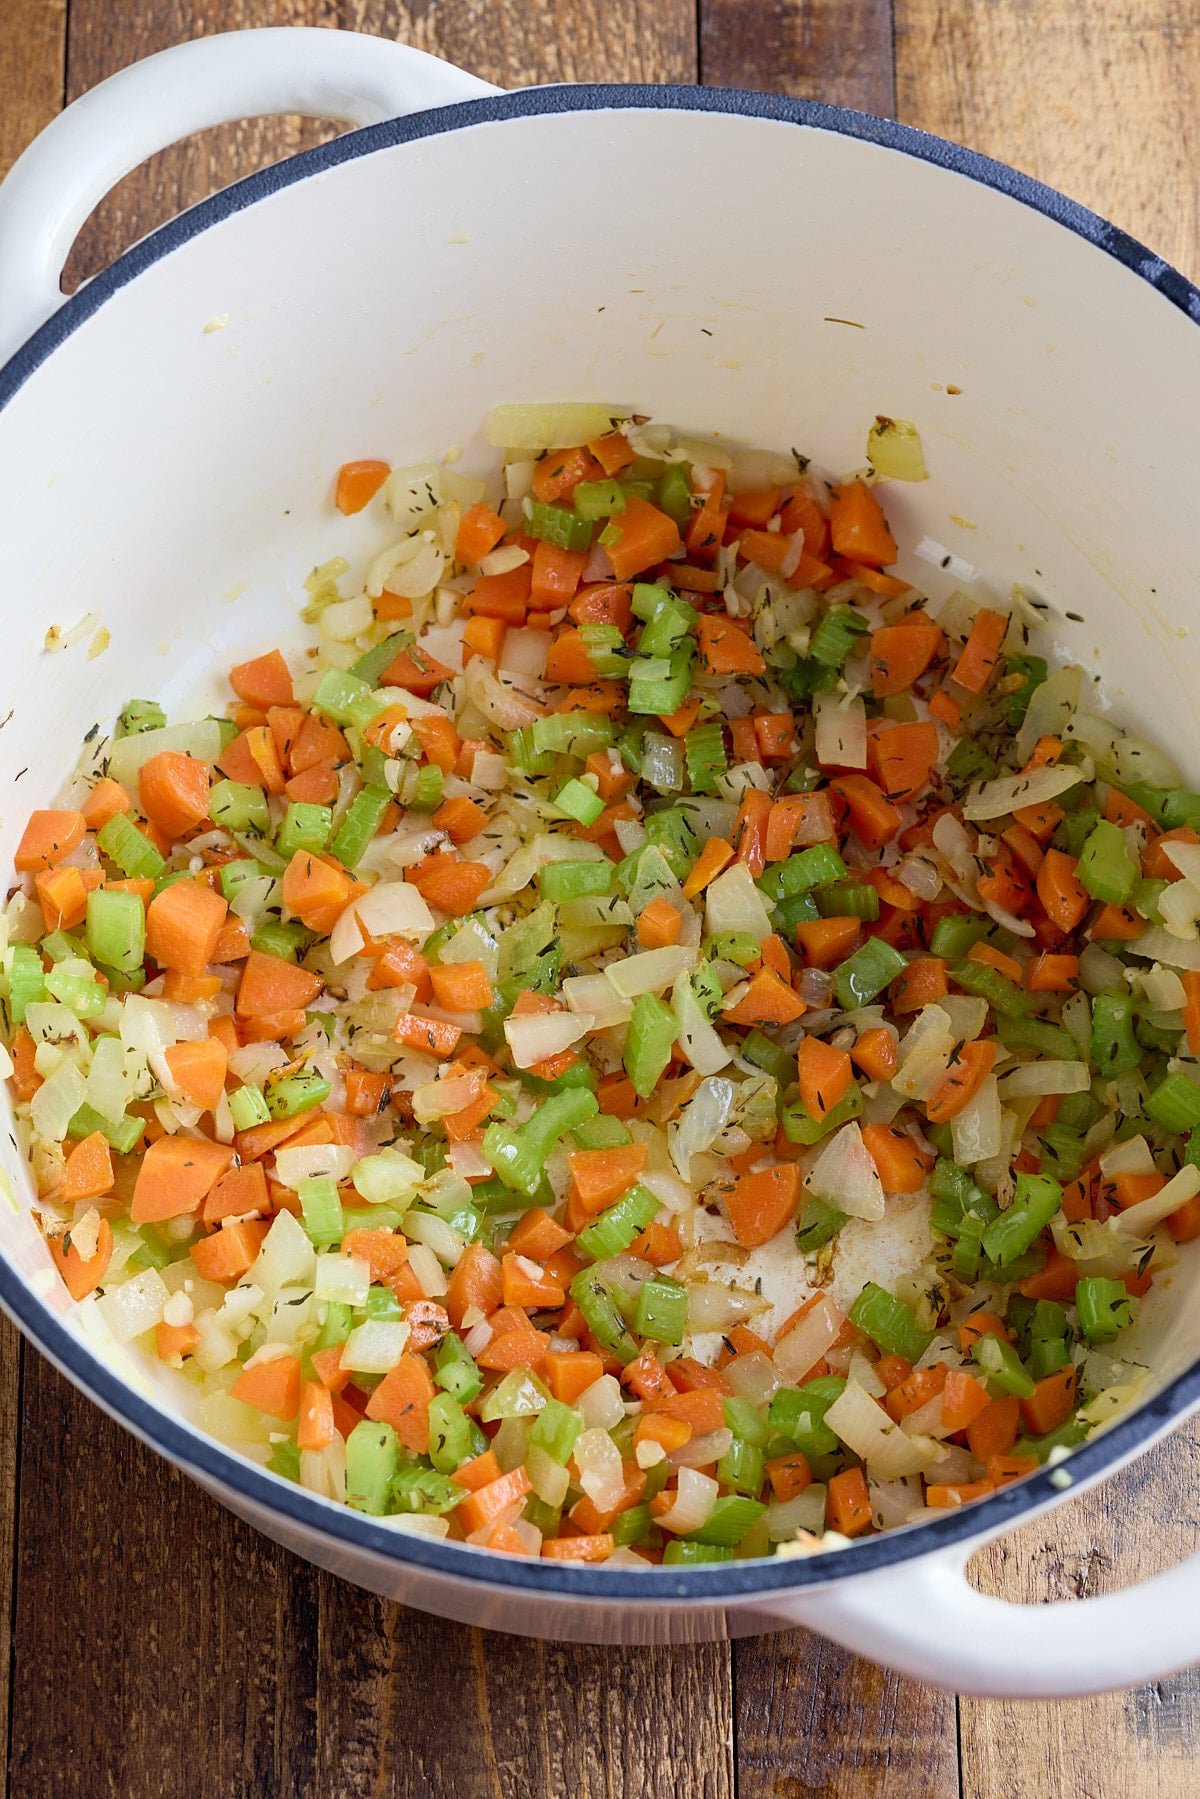
In a large heavy-bottomed pot, heat the oil over medium heat. Add the onion, garlic, carrots, and celery. Sauté until the vegetables have softened. About 8-10 minutes.
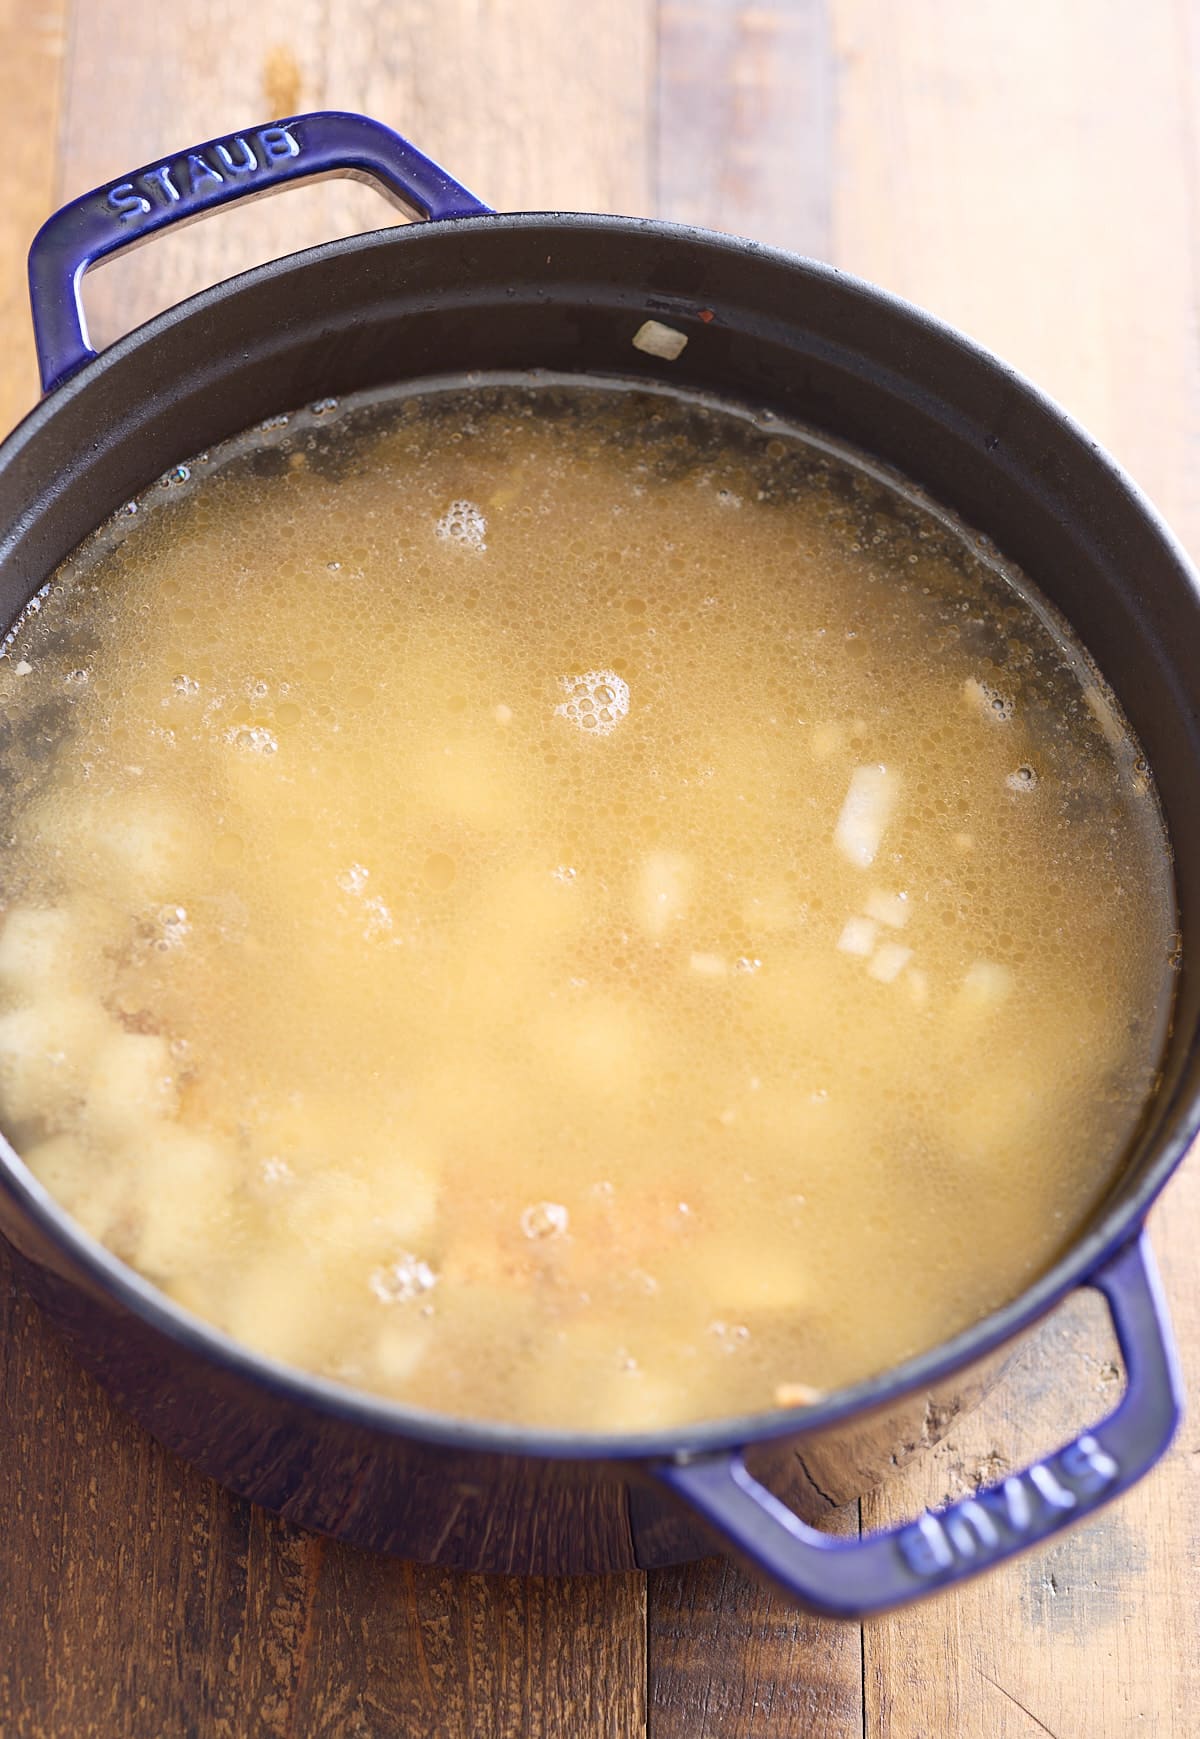
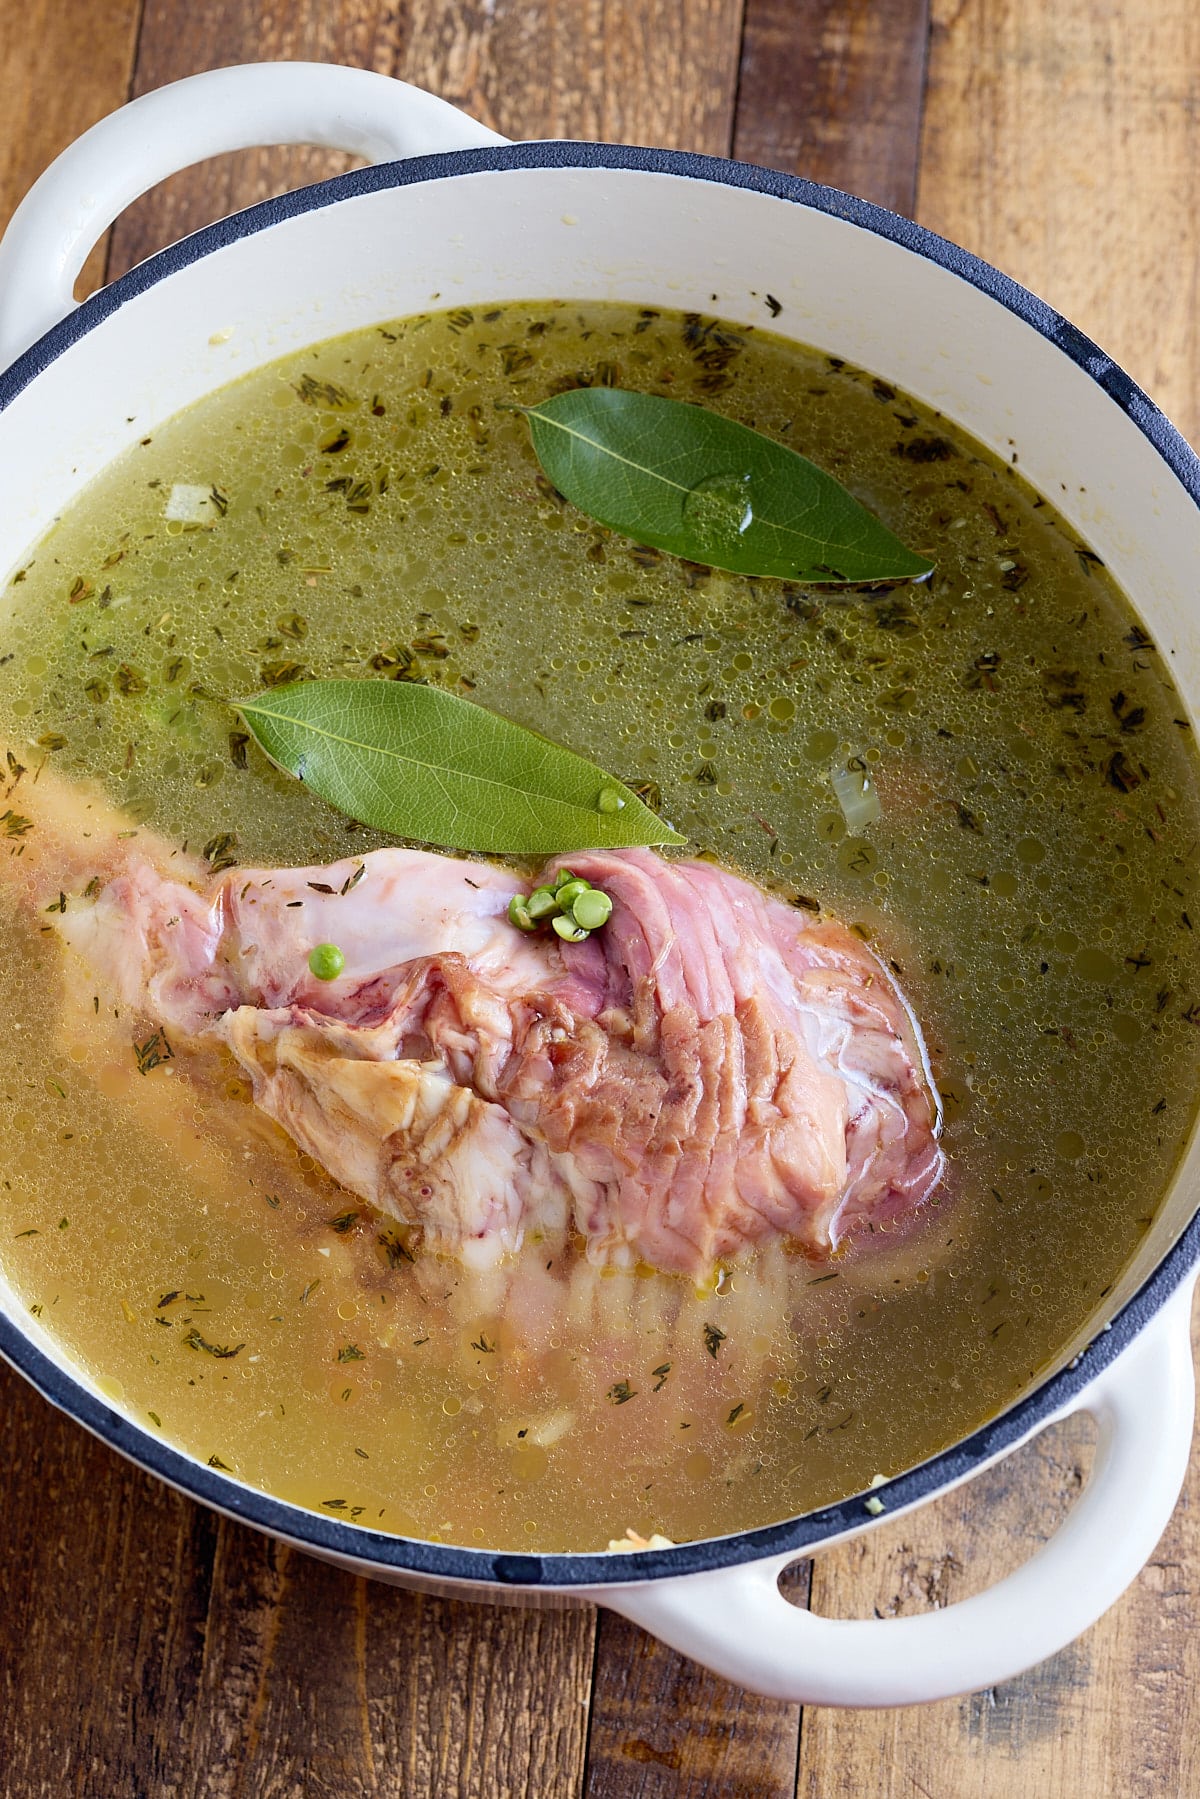
Add the dried thyme leaves and stir. Add chicken broth, water, green split peas, ham bone, and bay leaves. Cover and bring to a boil.
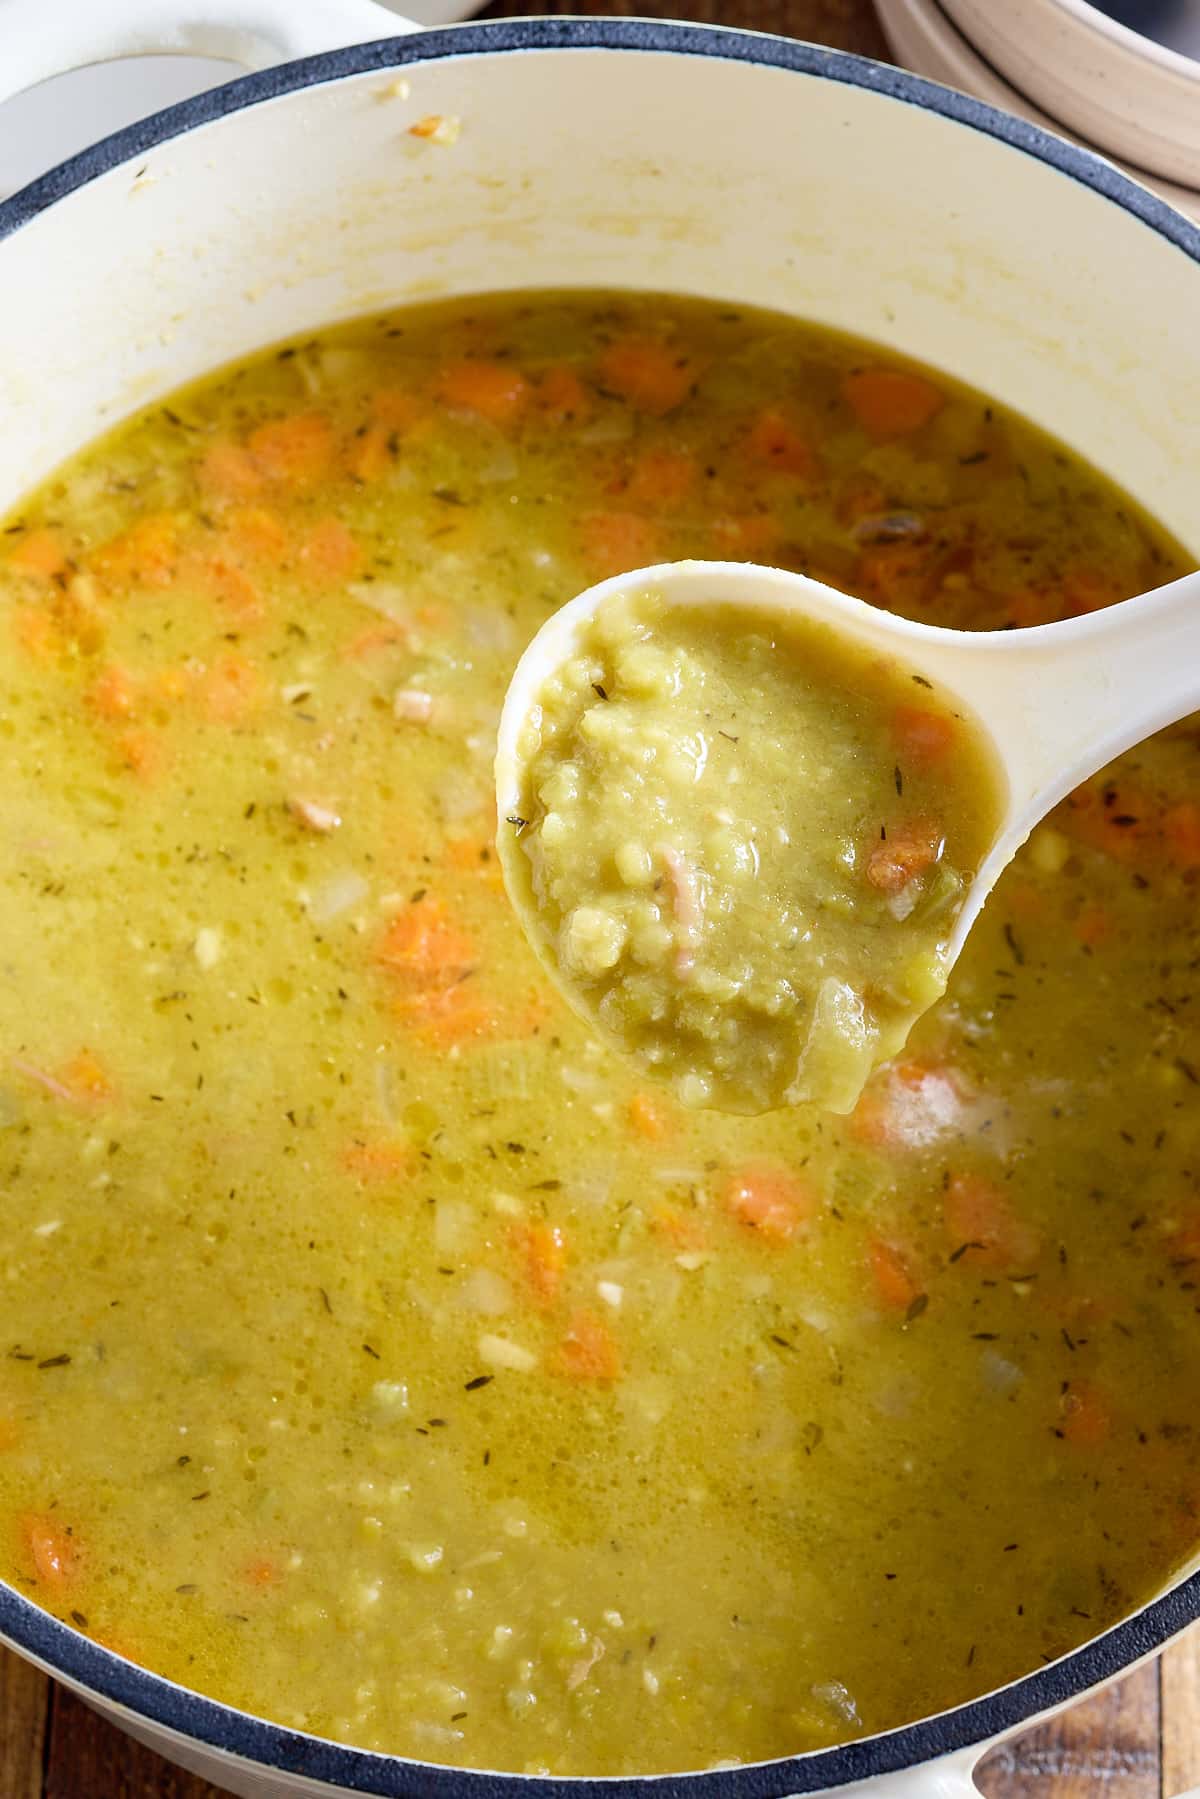
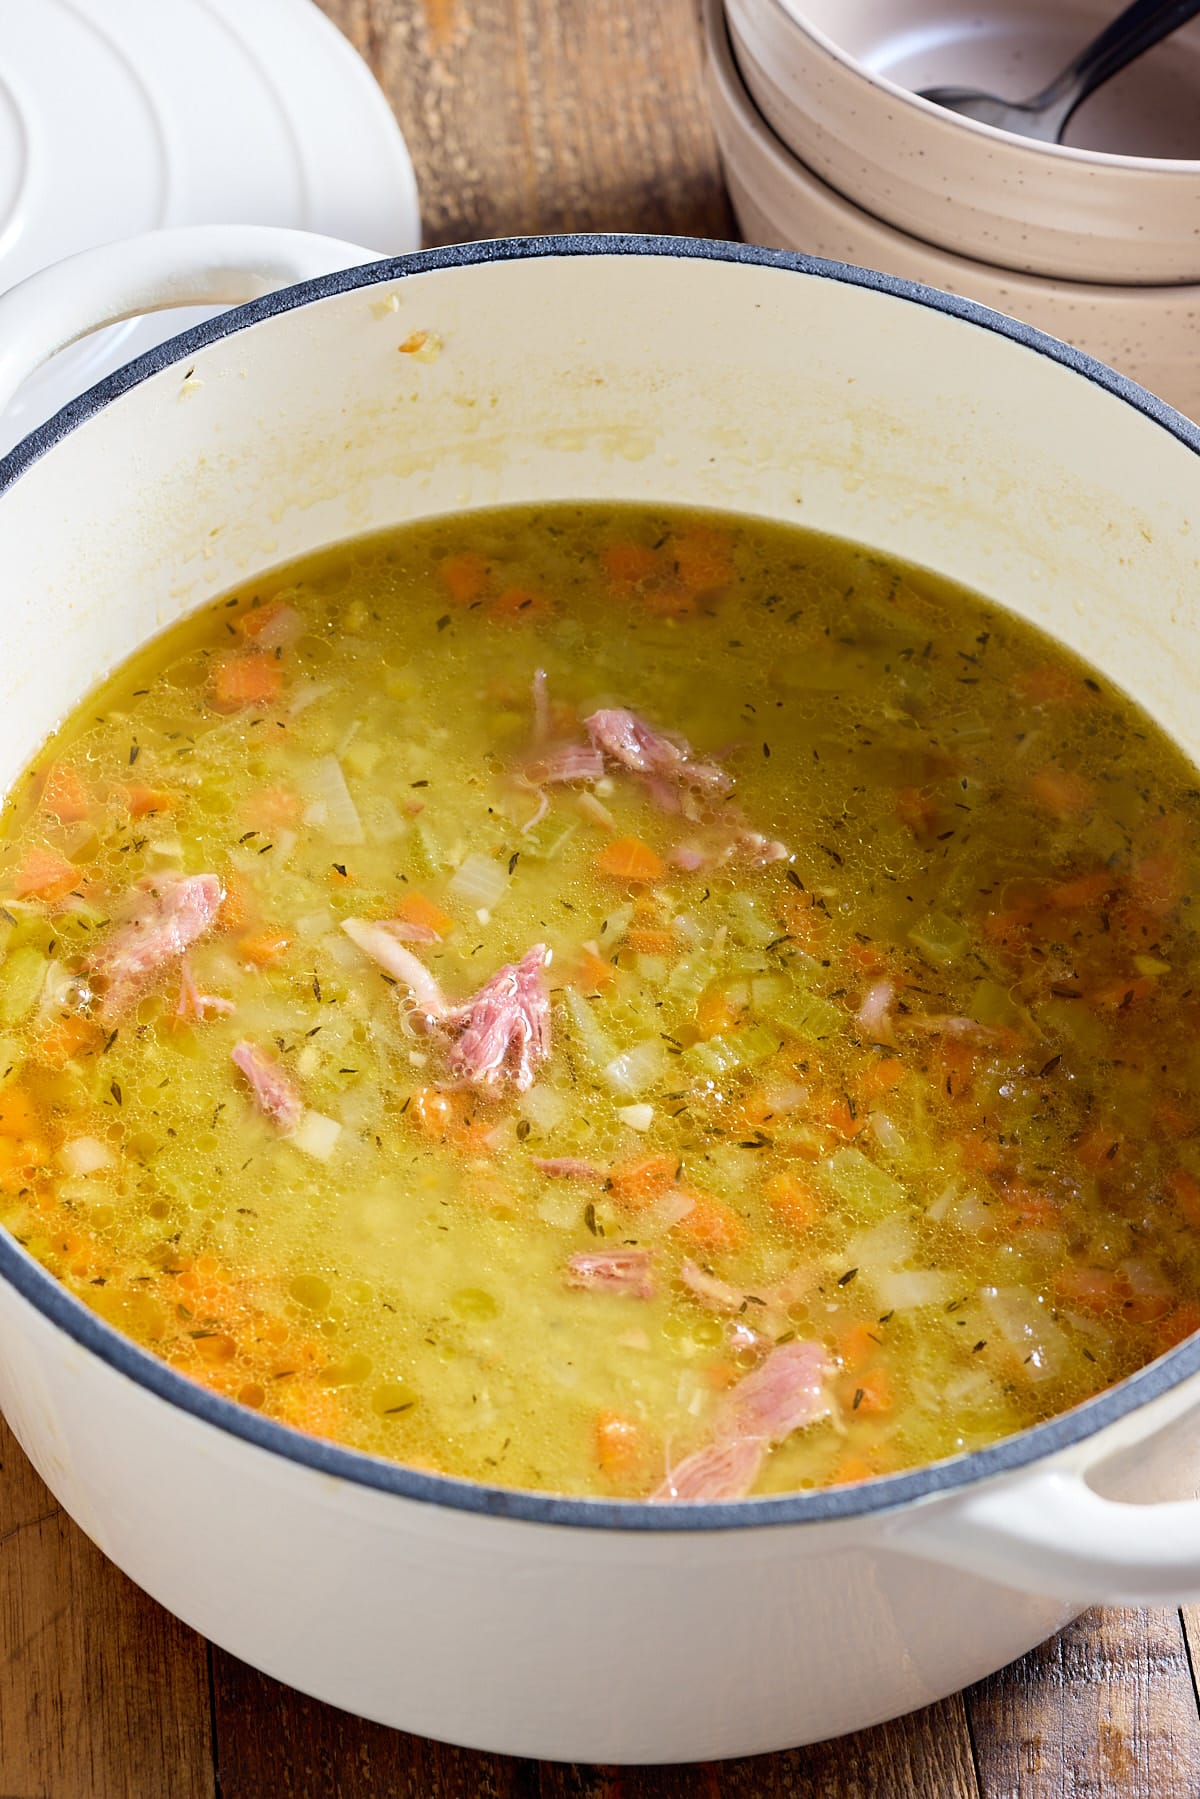
Reduce the heat to low and allow to simmer, covered, stirring occasionally. Cook for about 1 hour, until the soup is thick and the peas have disintegrated.
Remove the bay leaves and ham bone. Remove any ham from the ham bone and add the ham meat back to the pot. Season with salt and pepper to taste.
How to store leftover split pea and ham soup
Store your leftover split pea soup with ham in an airtight container and in the fridge for up to 1 week.
Freezing leftover soup is a great option if you'd like to keep it for longer. Portion the soup in Souper Cubes for up to 3 months. Souper Cubes are such an easy way to store liquid and even easier to remove and thaw the perfect amount.
Slow Cooker or Instant Pot Split Pea Soup
Crockpot or Slowcooker: Prep your ingredients and place them in a slow cooker. Place the lid on and cook on low for 6-8 hours, or high for 4-5 hours, until the peas are tender and falling apart. Remove the bay leaves and the ham bone. Add any meat still on the bone back to the soup.
Instant Pot: Use the saute function of your Instant Pot to sweat the vegetables. Once softened add the remaining ingredients to the instant pot. Lock on the lid and seal the valve. Cook on high pressure for 15 minutes, and naturally release for 10 minutes. Remove the bay leaves and ham bone.
For either recipe you can leave the soup chunky or before adding the ham back in use an immersion blender for a pureed split pea soup. Top with ham and salt and pepper to taste.

Split Pea and Ham Soup Serving Suggestions
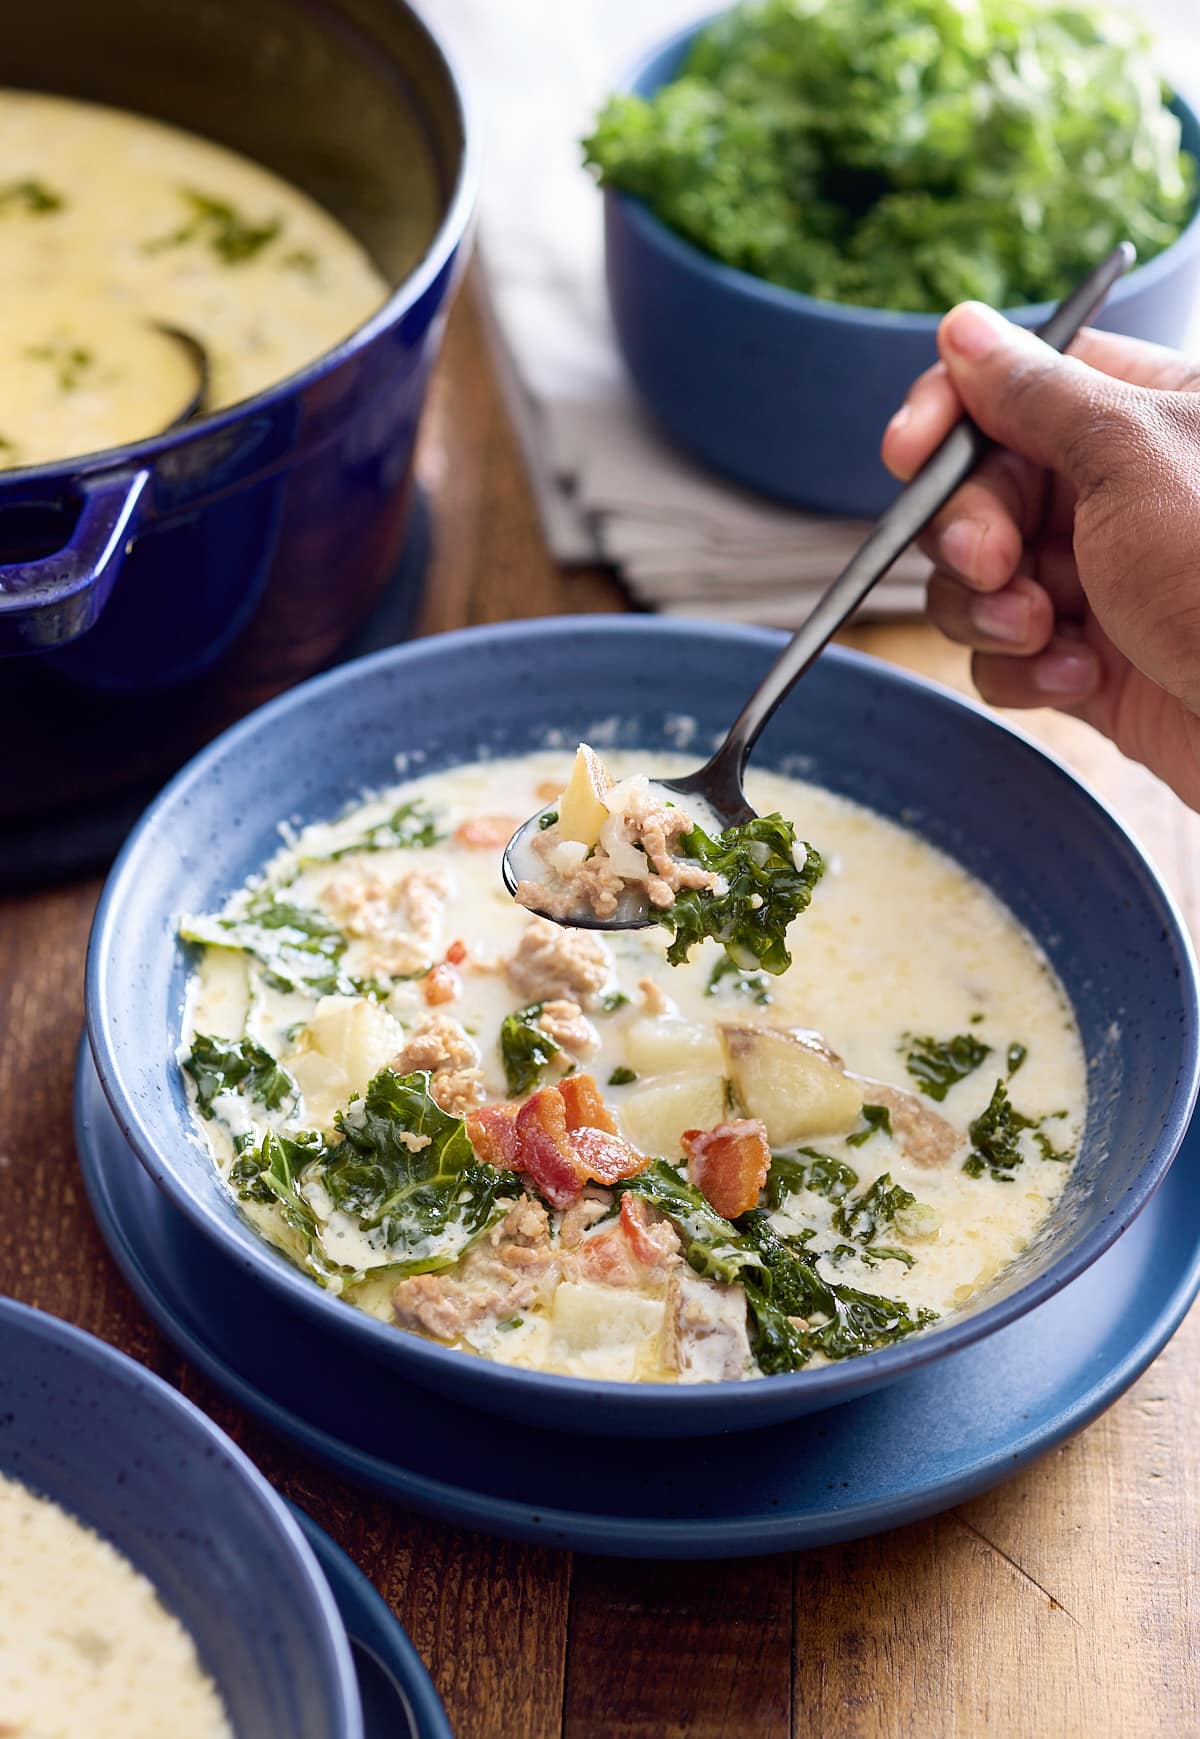
This soup is rich and hearty on its own, but can absolutely be dressed up or paired with tasty sides. I like to top mine with extra smoked ham and freshly shaved parmesan.
Bread: Soup is always delicious when served with a crusty bread or croutons. Try our Classic Southern Cornbread Recipe or these Easy Cornbread Muffins
Roasted Vegetables: Serve a medly of roasted carrots and onions on top of your soup. Try these Air Fryer Carrots, make them sweet or savory.
Salad: They don't call it soup and salad for nothing. A simple side salad or cobb salad would be refreshing next to a hearty savory soup.
FAQ's
Ham hocks: Ham hocks are a great substitute for ham bones as they also add flavor and richness to the soup. You can use them in the same way you would use a ham bone.
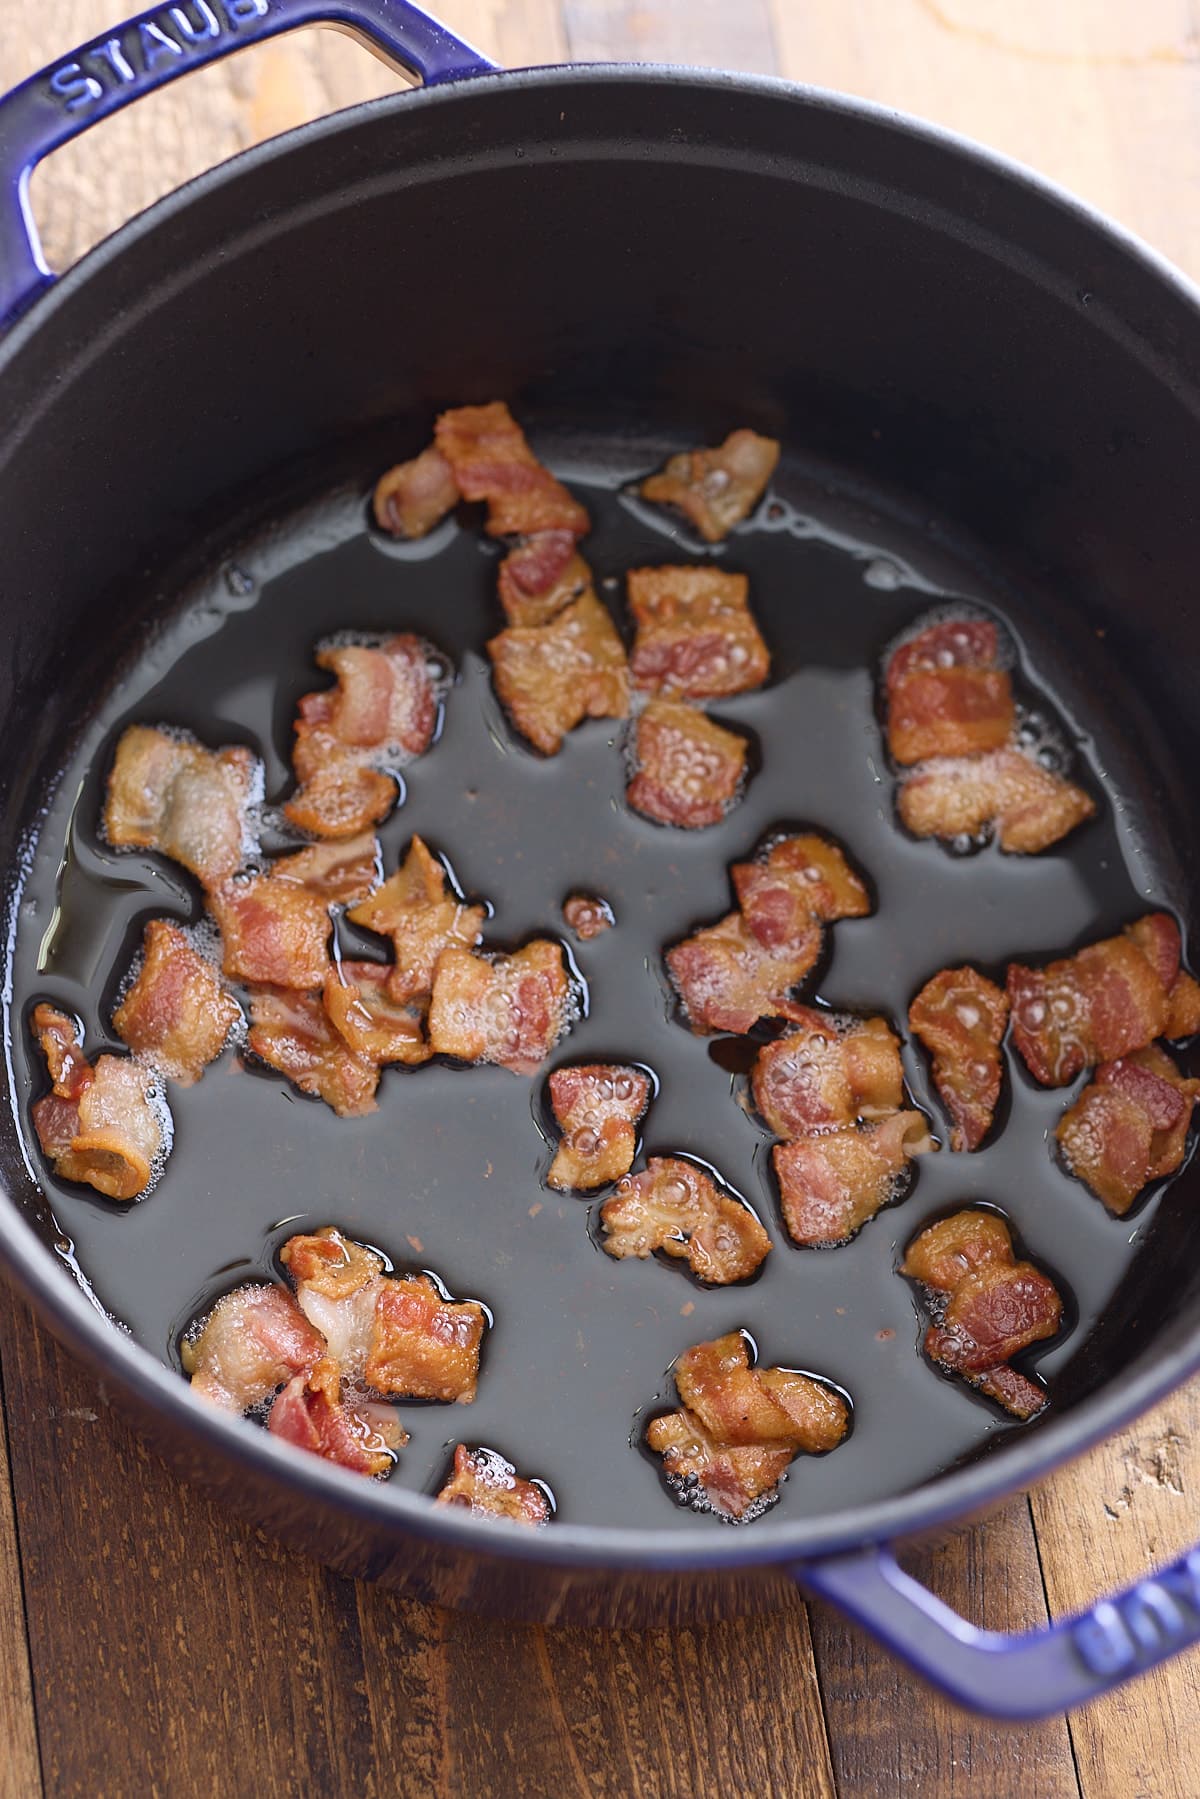
Bacon: If using bacon, cook the bacon beforehand and add it to the soup when the soup is finished cooking. If using chopped ham, add it to the soup when there are about 10 minutes left to cook.
Smoked sausage: Smoked sausage like kielbasa or andouille can also add flavor to the soup.
Yes! Instead of chicken broth, use your favorite vegetable broth. Omit the ham altogether but feel free to replace it with additional veggies.
Notes
- I use a ham bone from a fully cooked smoked ham that has about ½ cup to 1 cup of meat still attached to the bone.
- If you don't have a ham bone, feel free to substitute it with chopped ham or bacon. If using bacon, cook the bacon beforehand and add it to the soup when the soup is finished cooking. If using chopped ham, add it to the soup when there are about 10 minutes left to cook.
Looking for more soup recipes? Try these out:
If you have tried this recipe or any other recipe on my blog, please rate it and let me know how it turned out in the comments below!

Split Pea Soup with Ham
Equipment
Ingredients
- 2 tablespoons Olive Oil
- 1 medium Onion chopped
- 4 cloves Garlic chopped
- 2 Carrots chopped
- 2 stalks Celery chopped
- 1 teaspoon Dried thyme leaves
- 4 cups Chicken Broth or vegetable broth
- 2 cups Water
- 1 pound Dried Green Split Peas rinsed and sorted
- 1 Ham Bone with ham meat attached (see note)
- 2 Bay Leaves
- Salt and Pepper to taste
Instructions
- In a large heavy bottomed pot, heat the oil over medium heat. Add the onion, garlic, carrots, and celery. Sauté until the vegetables have softened. About 8-10 minutes.
- Add the dried thyme leaves and stir. Add chicken broth, water, green split peas, ham bone, and bay leaves. Cover and bring to a boil. Reduce the heat to low and allow to simmer, covered, stirring occasionally. Cook for about 1 hour, until the soup is thick and the peas have disintegrated.
- Remove the bay leaves and ham bone. Remove any ham from the ham bone and add the ham meat to the pot. Season with salt and pepper to taste.
Notes
- I use a ham bone from a fully cooked smoked ham that has about ½ cup to 1 cup of meat still attached to the bone.
- If you don't have a ham bone, feel free to substitute it with chopped ham or bacon. If using bacon, cook the bacon beforehand and add it to the soup when the soup is finished cooking. If using chopped ham, add it to the soup when there are about 10 minutes left to cook.