Quick to cook and delicious to eat, tilapia fish fillets come out perfectly when cooked in the air fryer. Simply seasoned, this mild-tasting white fish is wonderfully flaky and perfect for a healthy weeknight dinner the whole family will love.
This post contains affiliate links, please read my full disclaimer here.
You’ll find the full recipe with ingredient amounts and instructions in the recipe card at the bottom of this post. Be sure to check out the blog post itself for extra tips and tricks!
If you are looking for a tasty way to mix up your fish dinner, this air fryer tilapia recipe will hit the spot. Seasoned with my homemade fish seasoning, it's super quick to prep and cook and you can be serving it in less than 15 minutes.
Low in calories, carbs and fats and high in protein, this is a great healthy dinner that tastes amazing. You only need a couple of ingredients too, which you'll likely have to hand already.
Serve it up with your favorite veggie, potato, and salad sides for a filling meal that even your picky eaters will love.
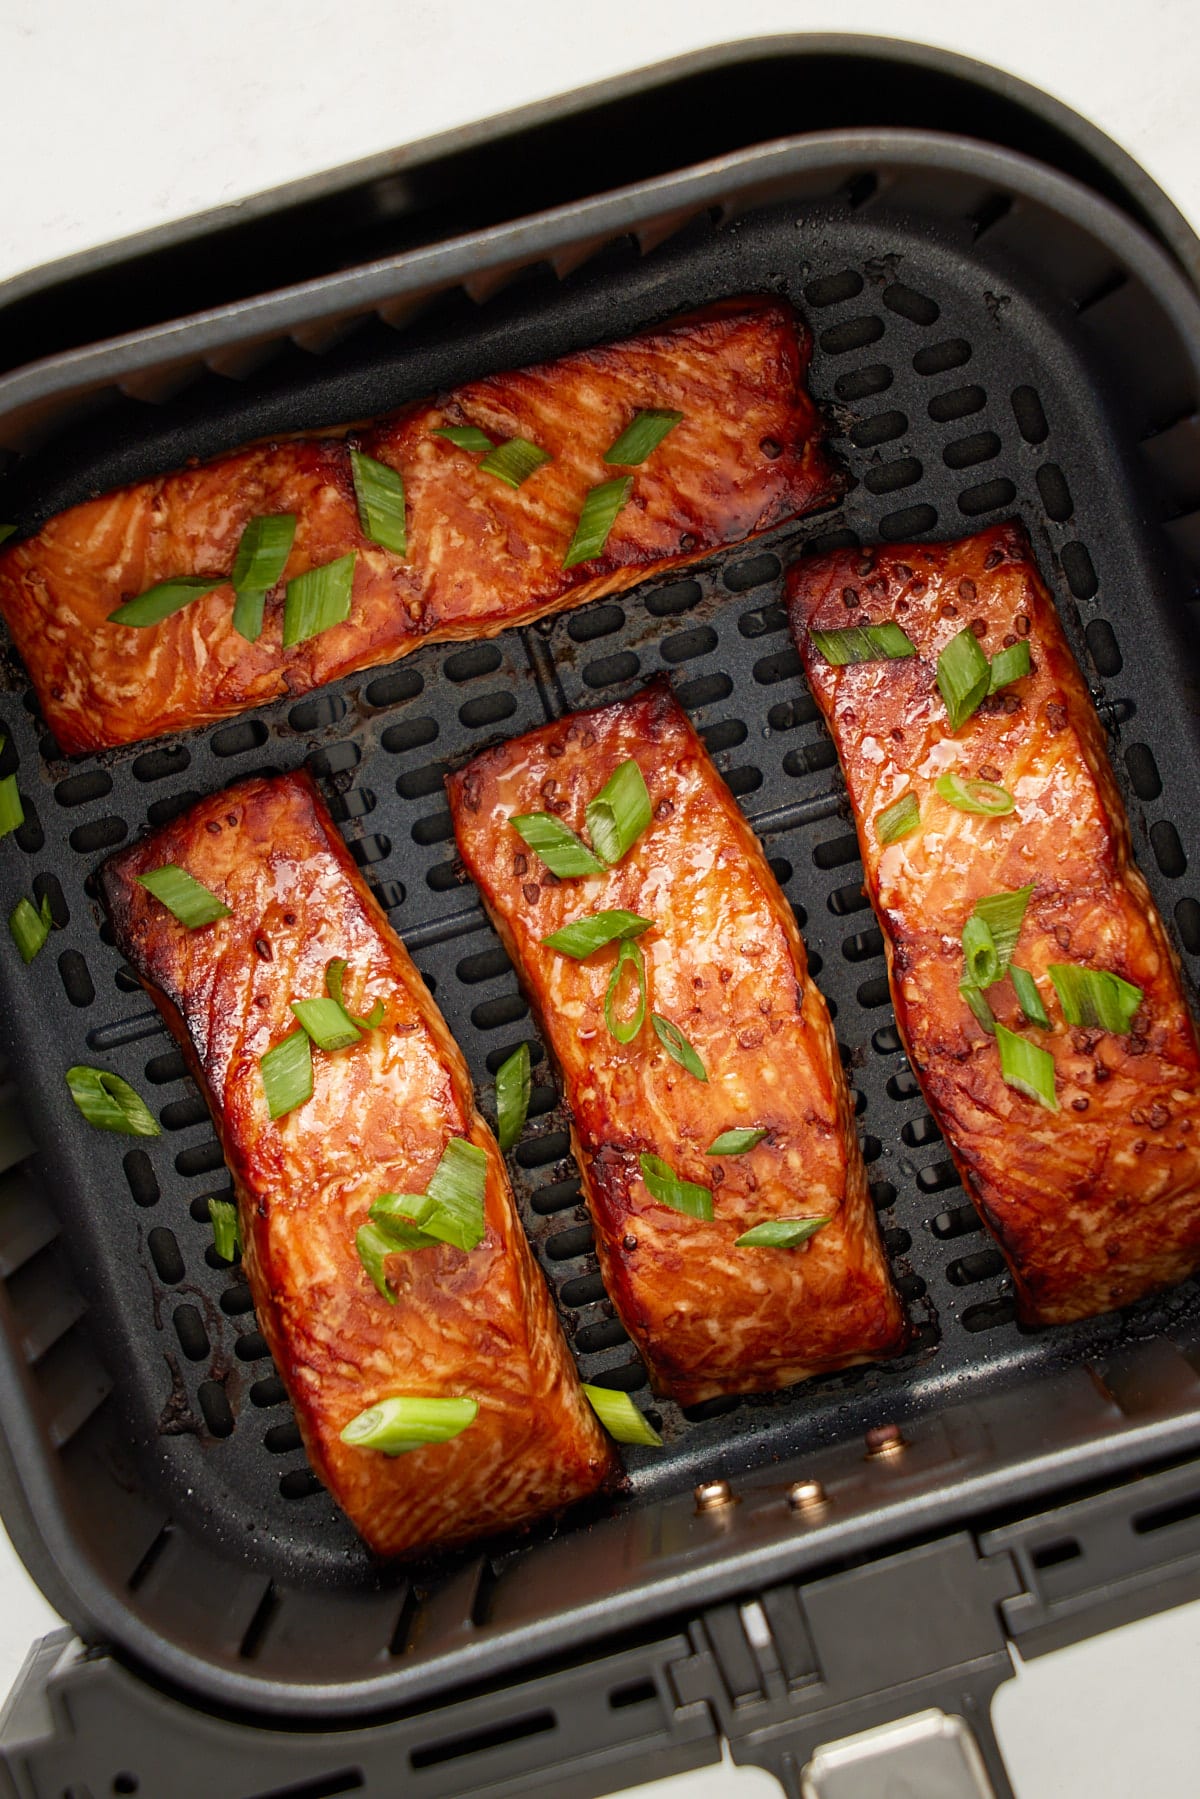
Be sure to try my Air Fryer Whole Fish and Marinated Air Fryer Salmon too!
How to make air fryer tilapia
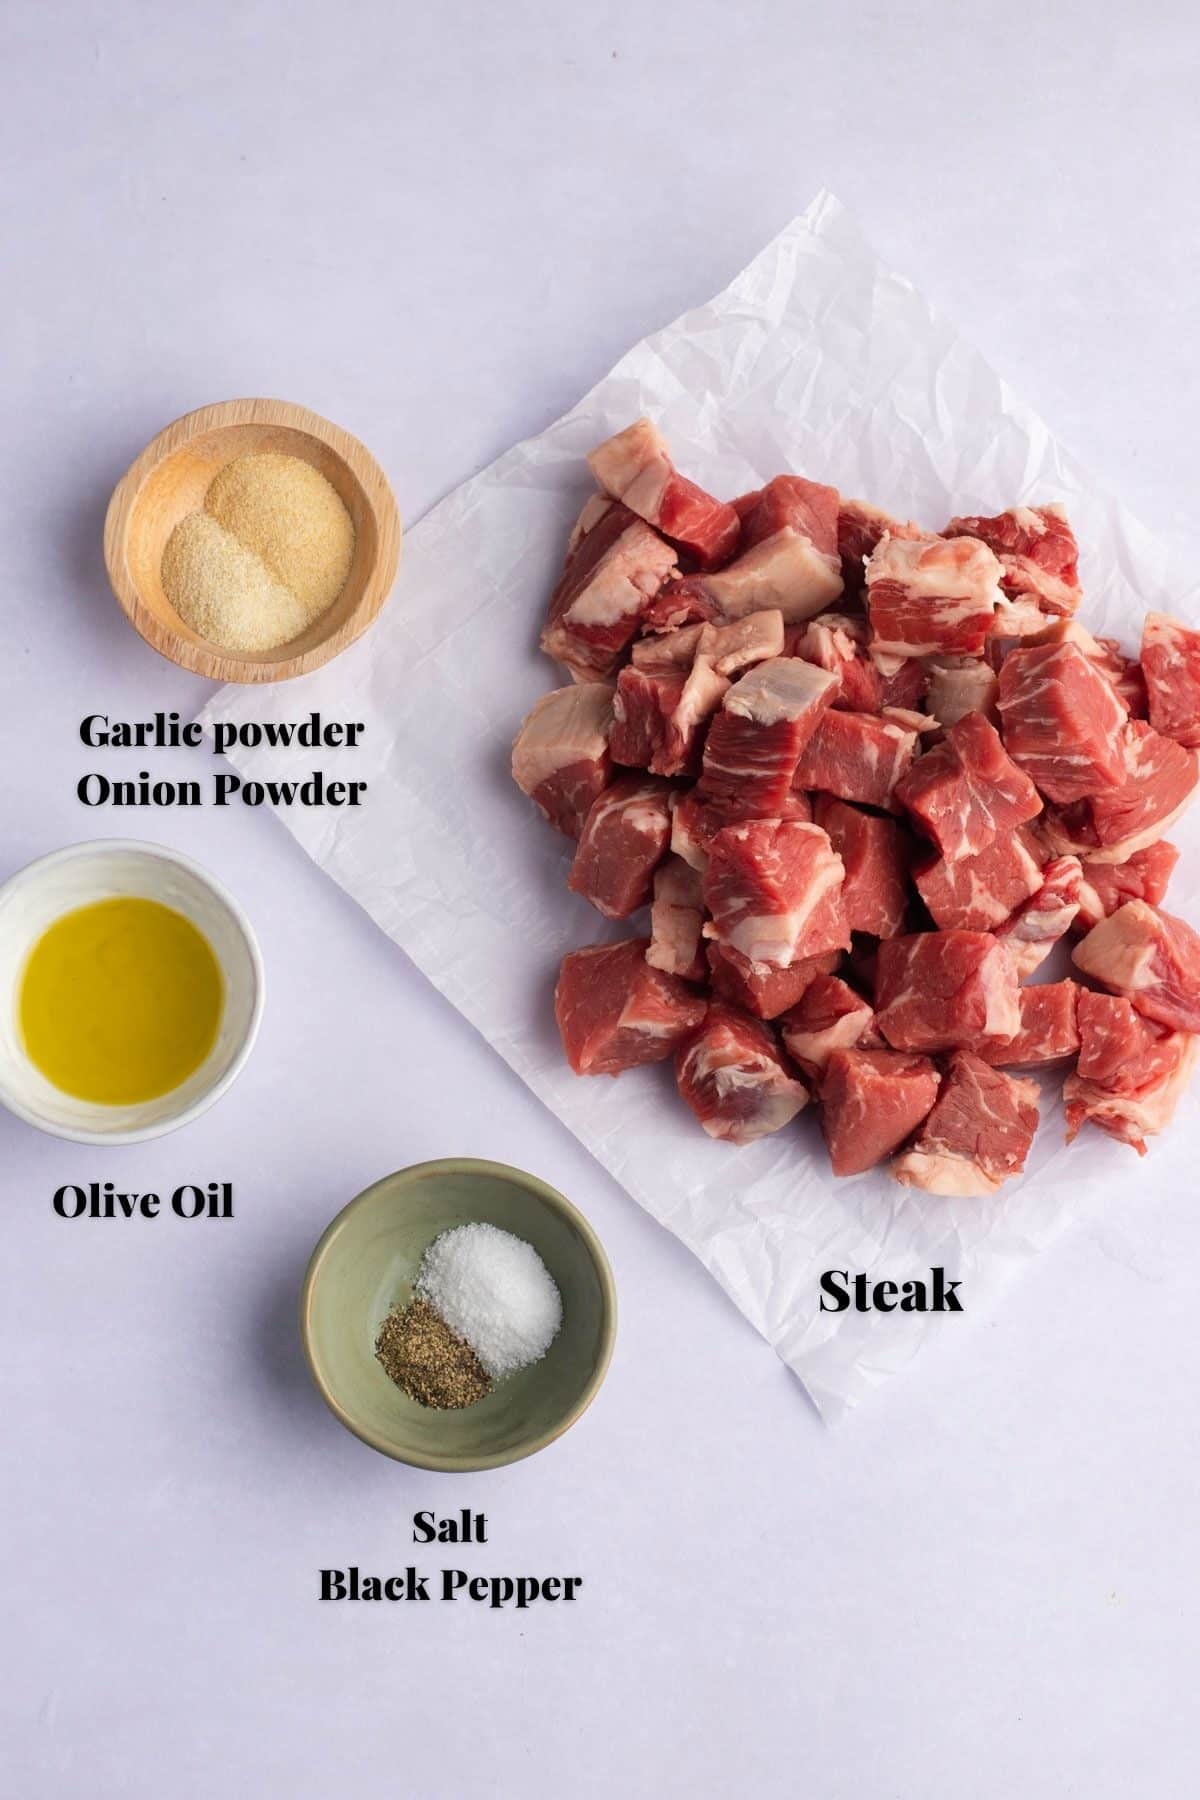
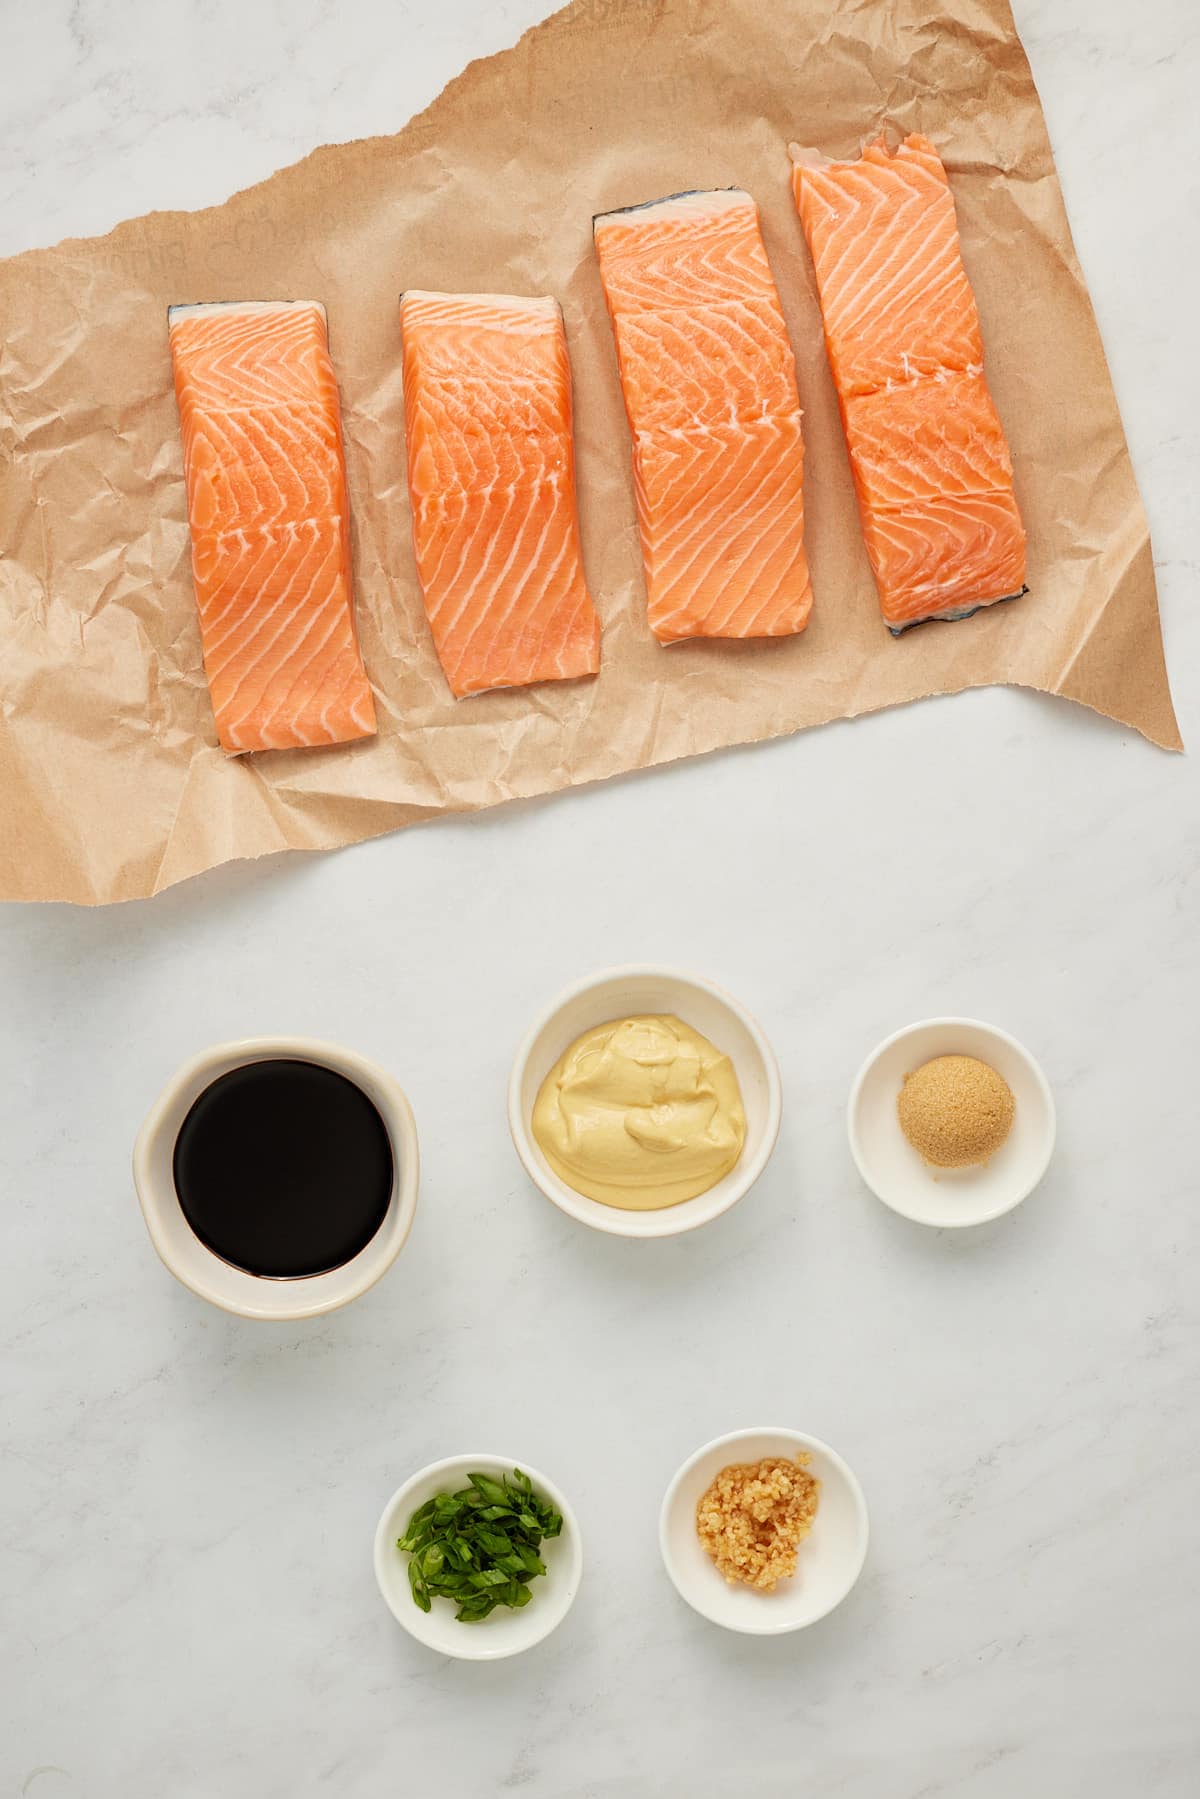
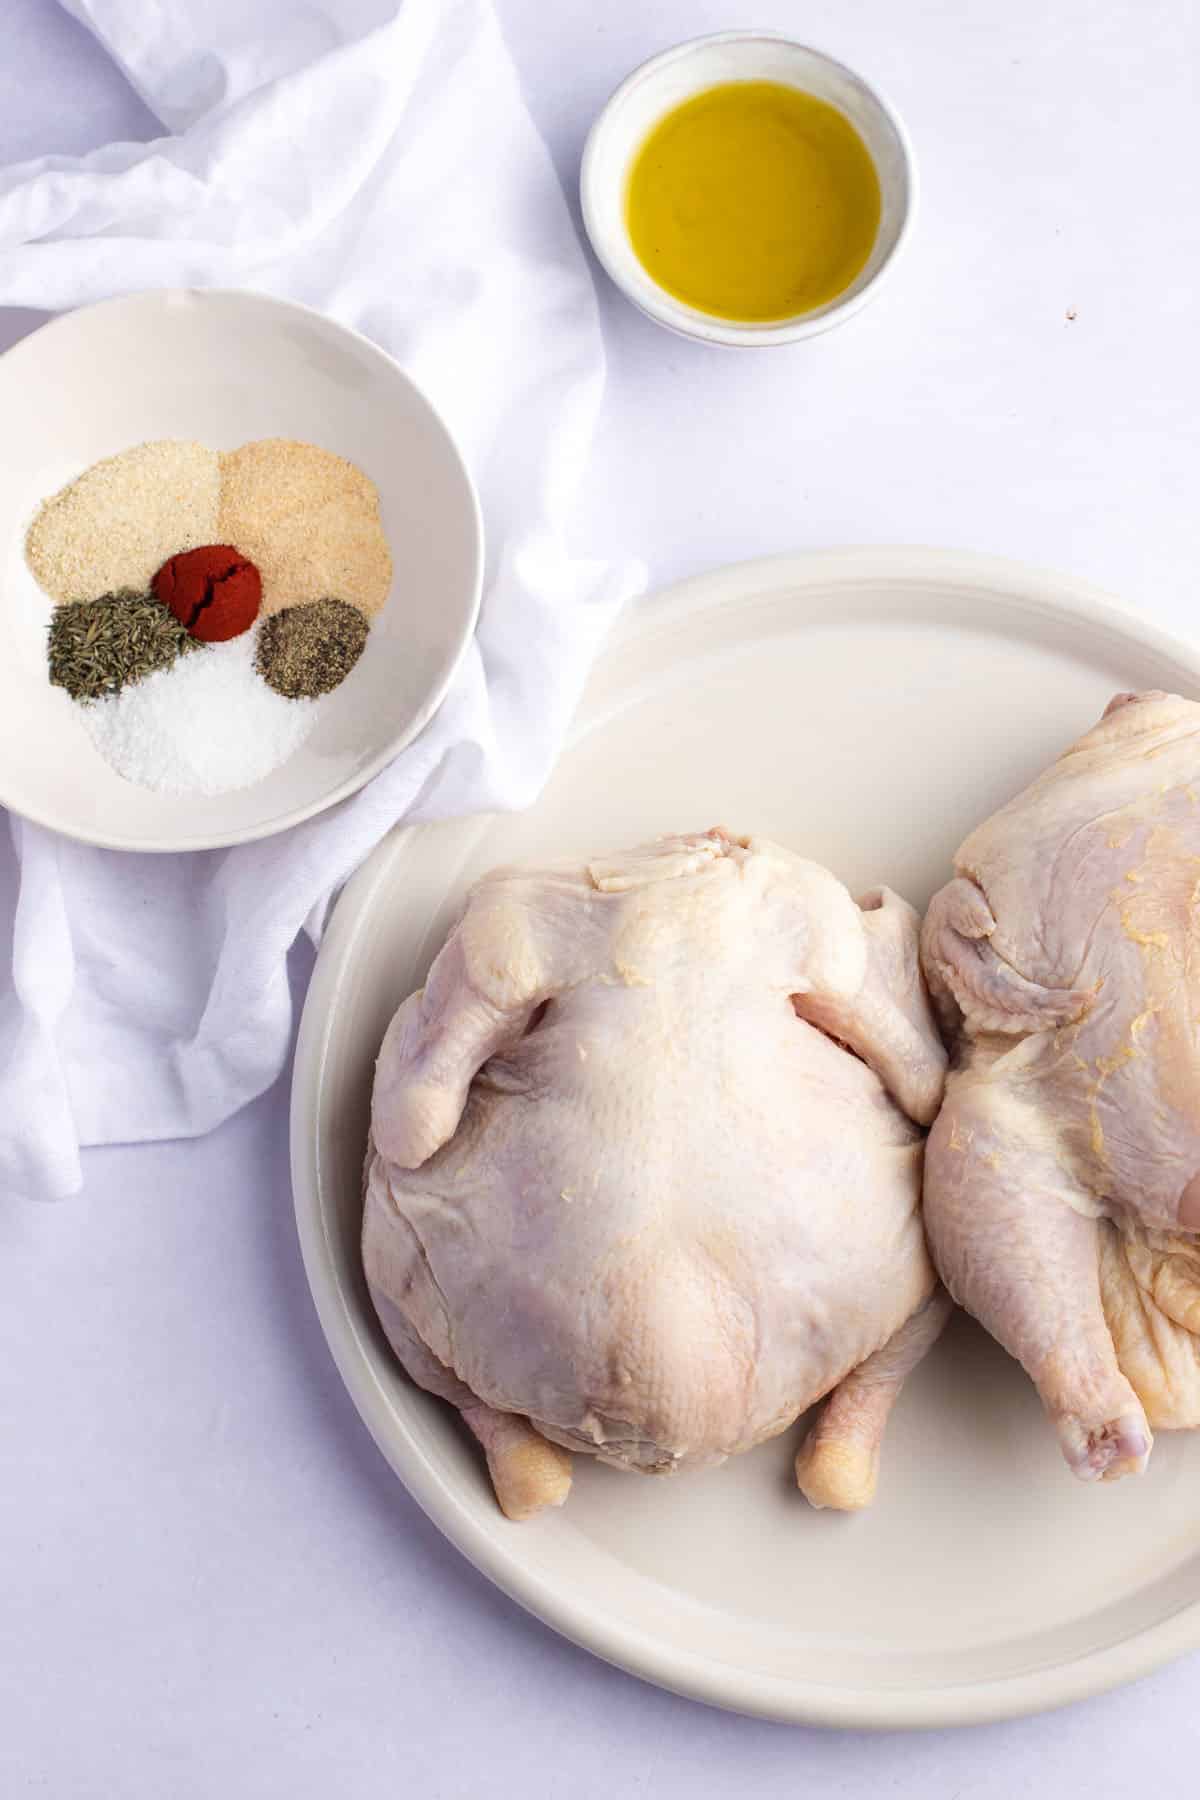
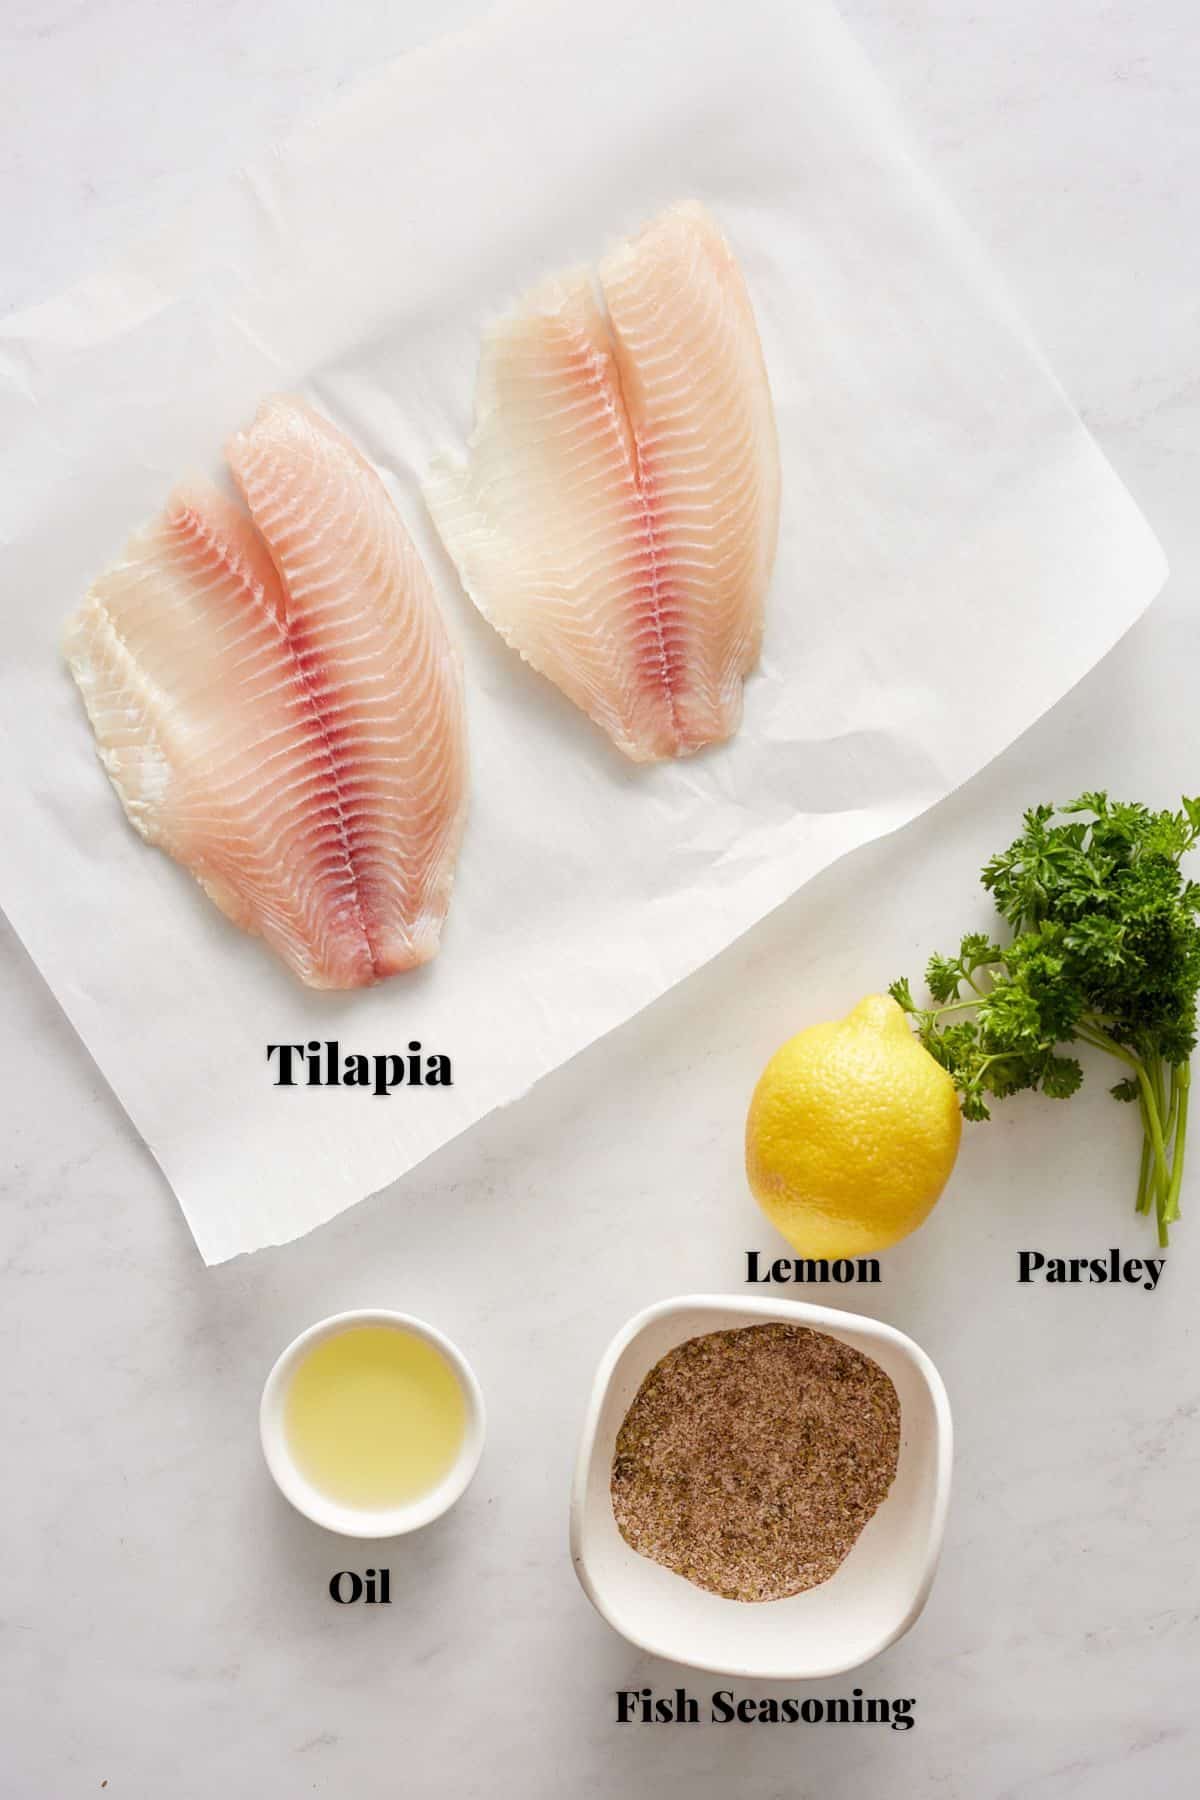
Gather your ingredients.
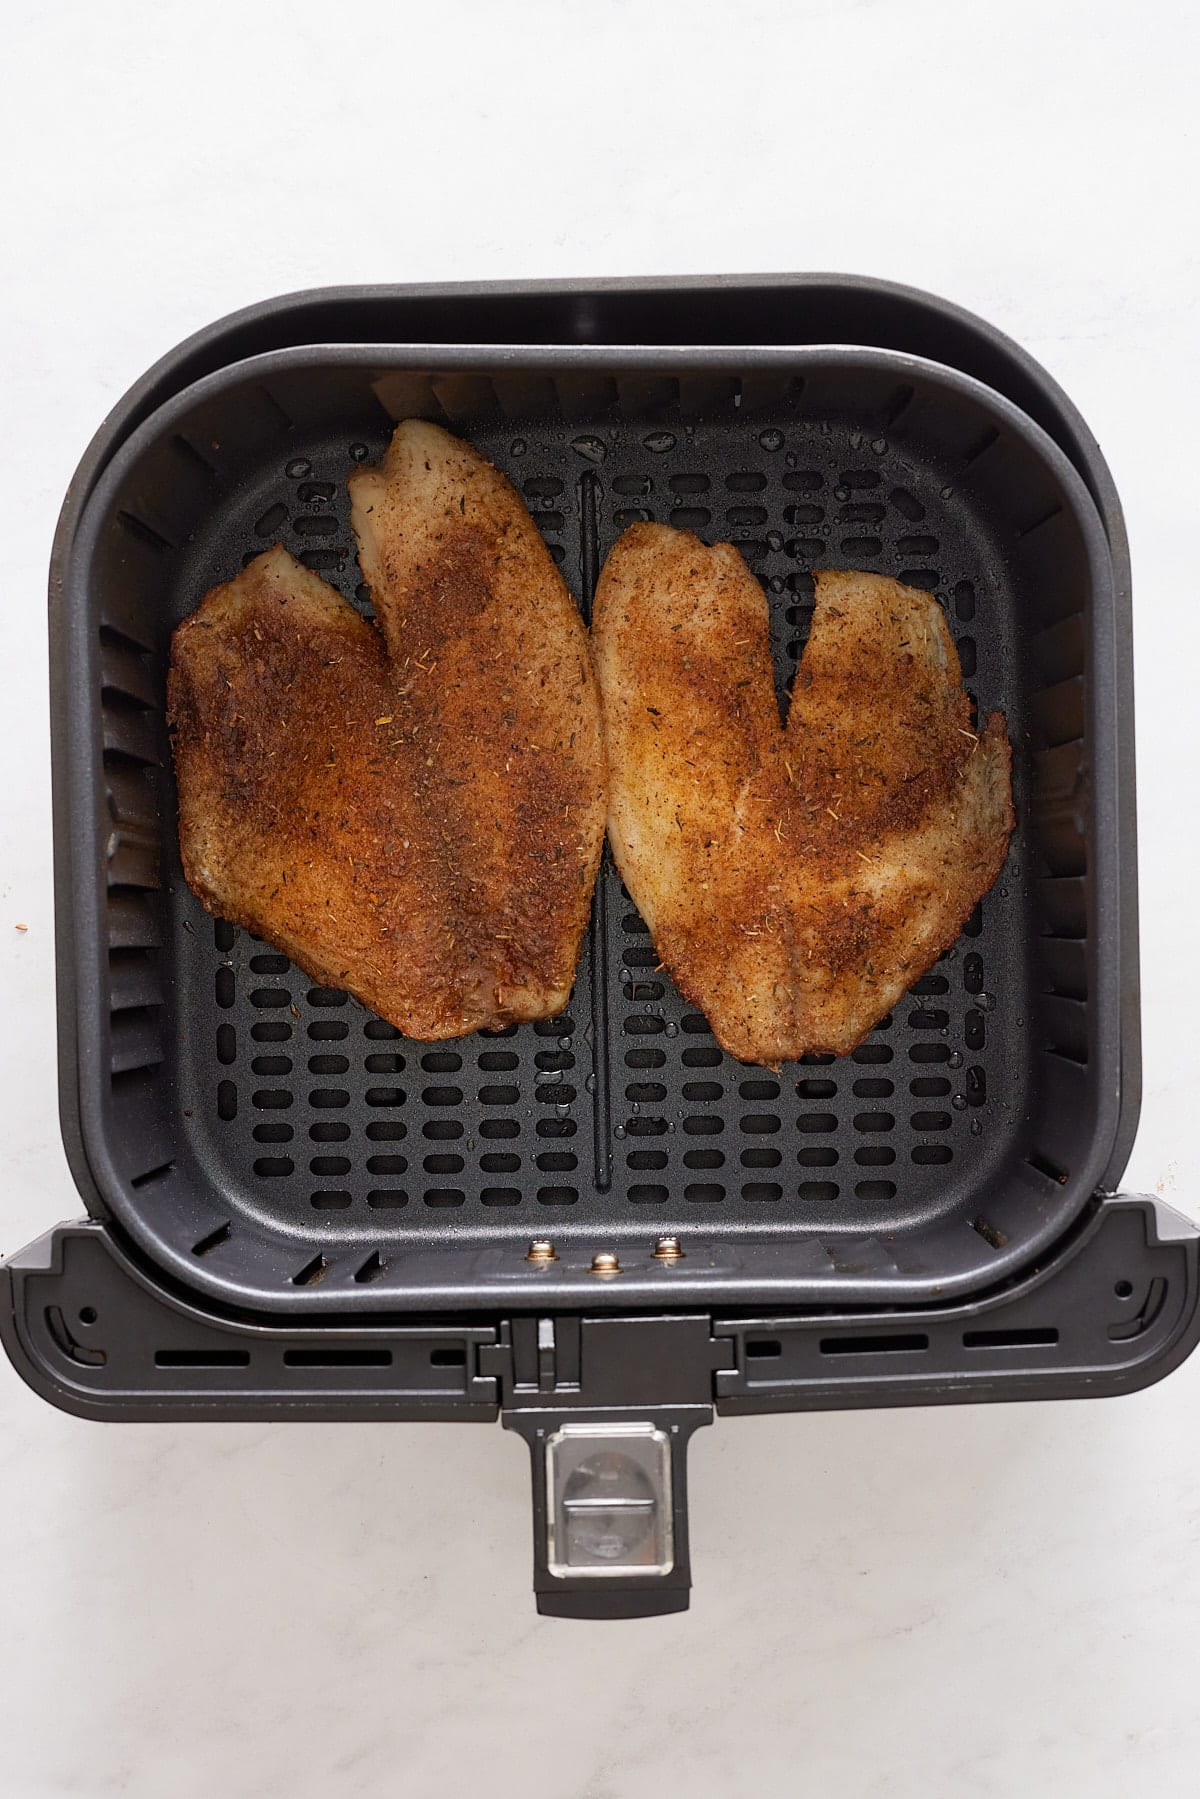
Preheat the air fryer to 400 degrees Fahrenheit.
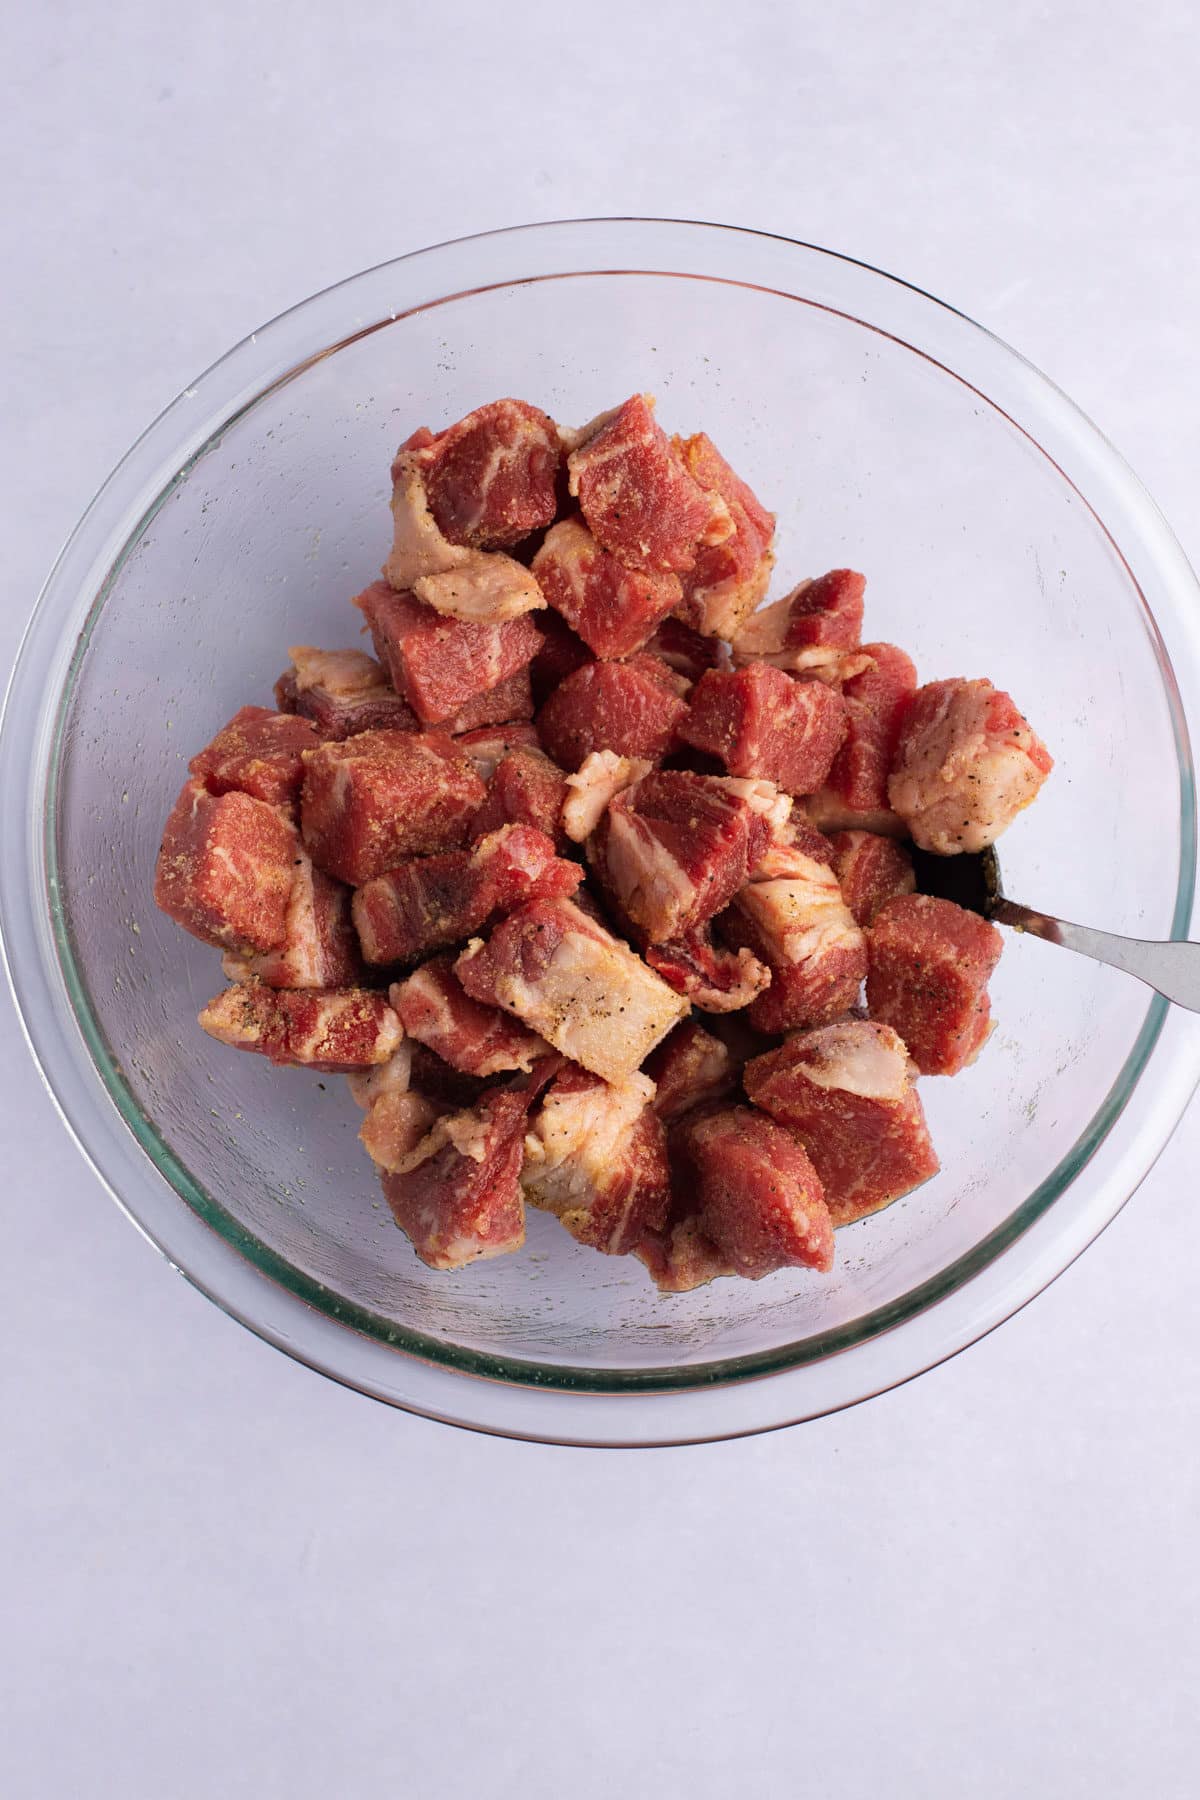
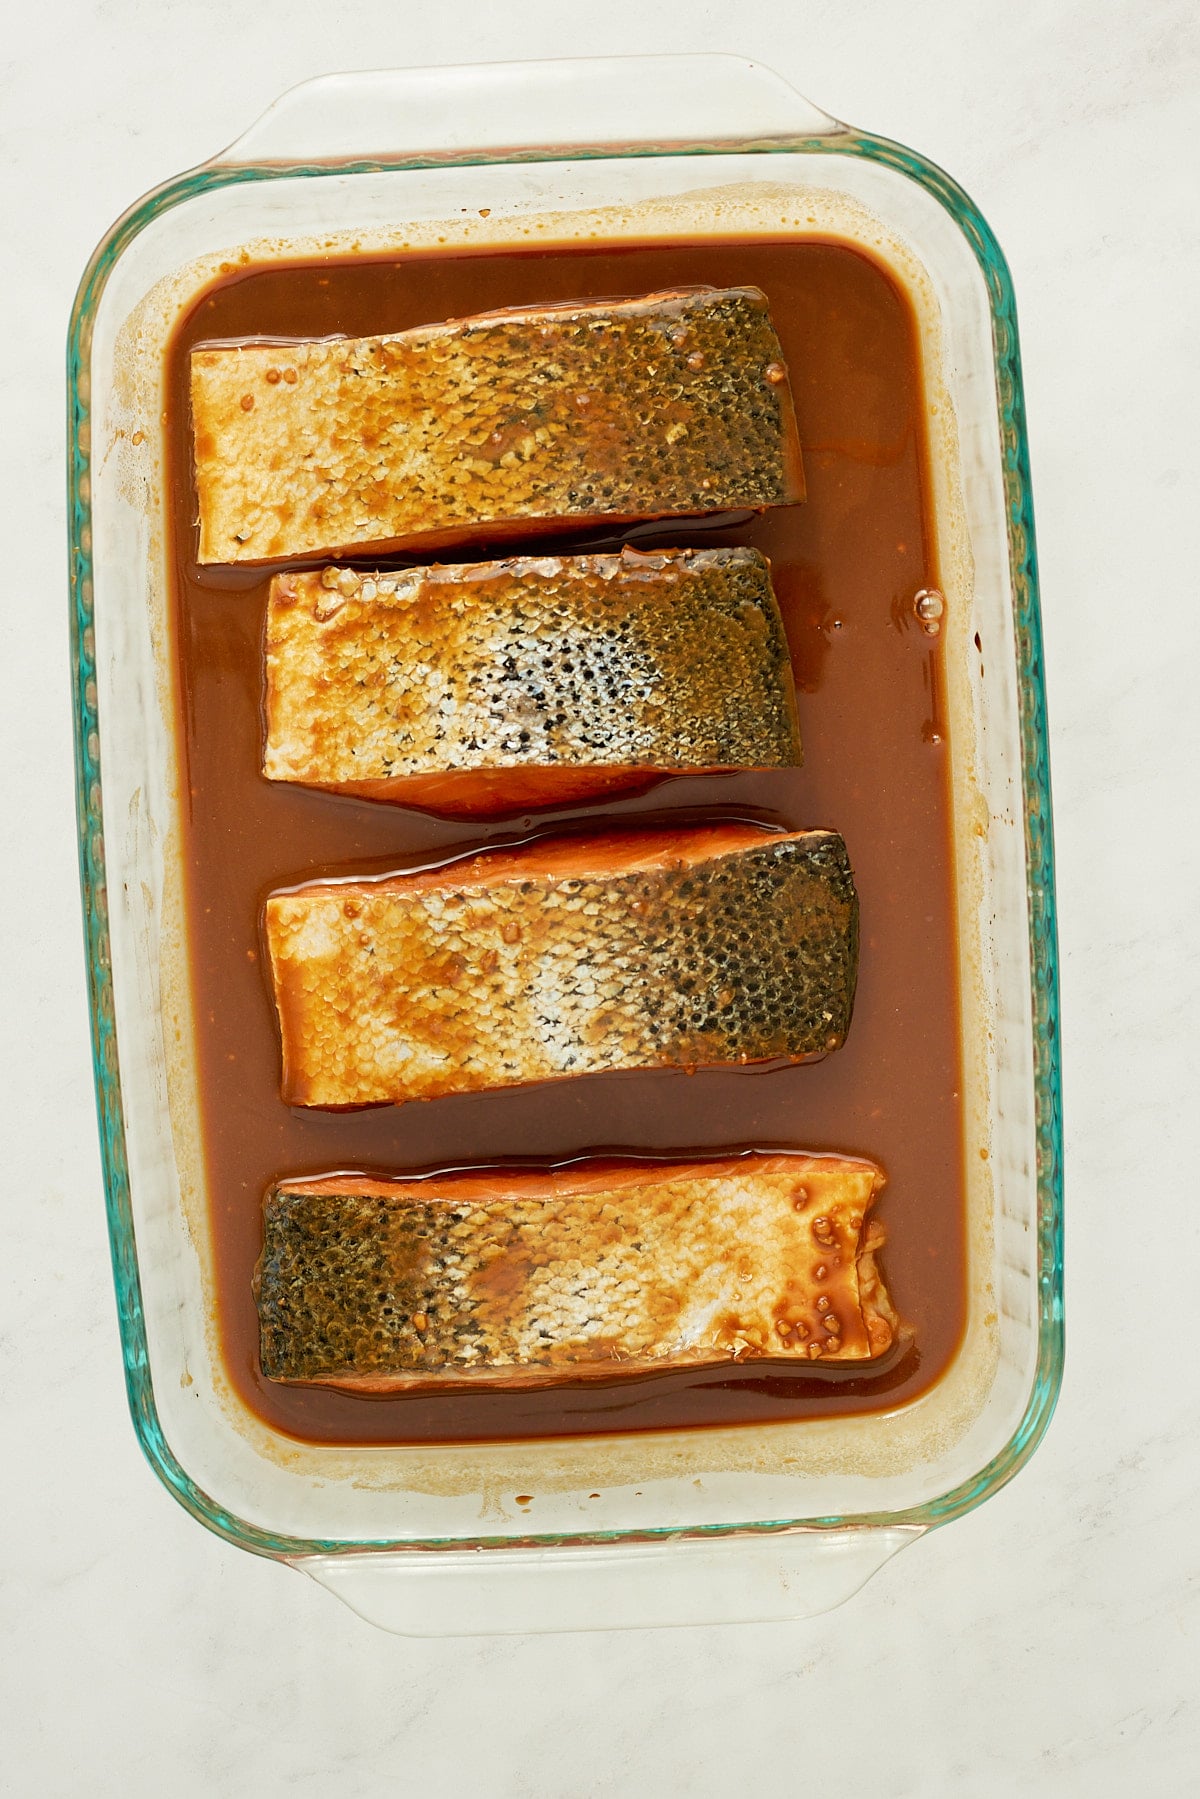
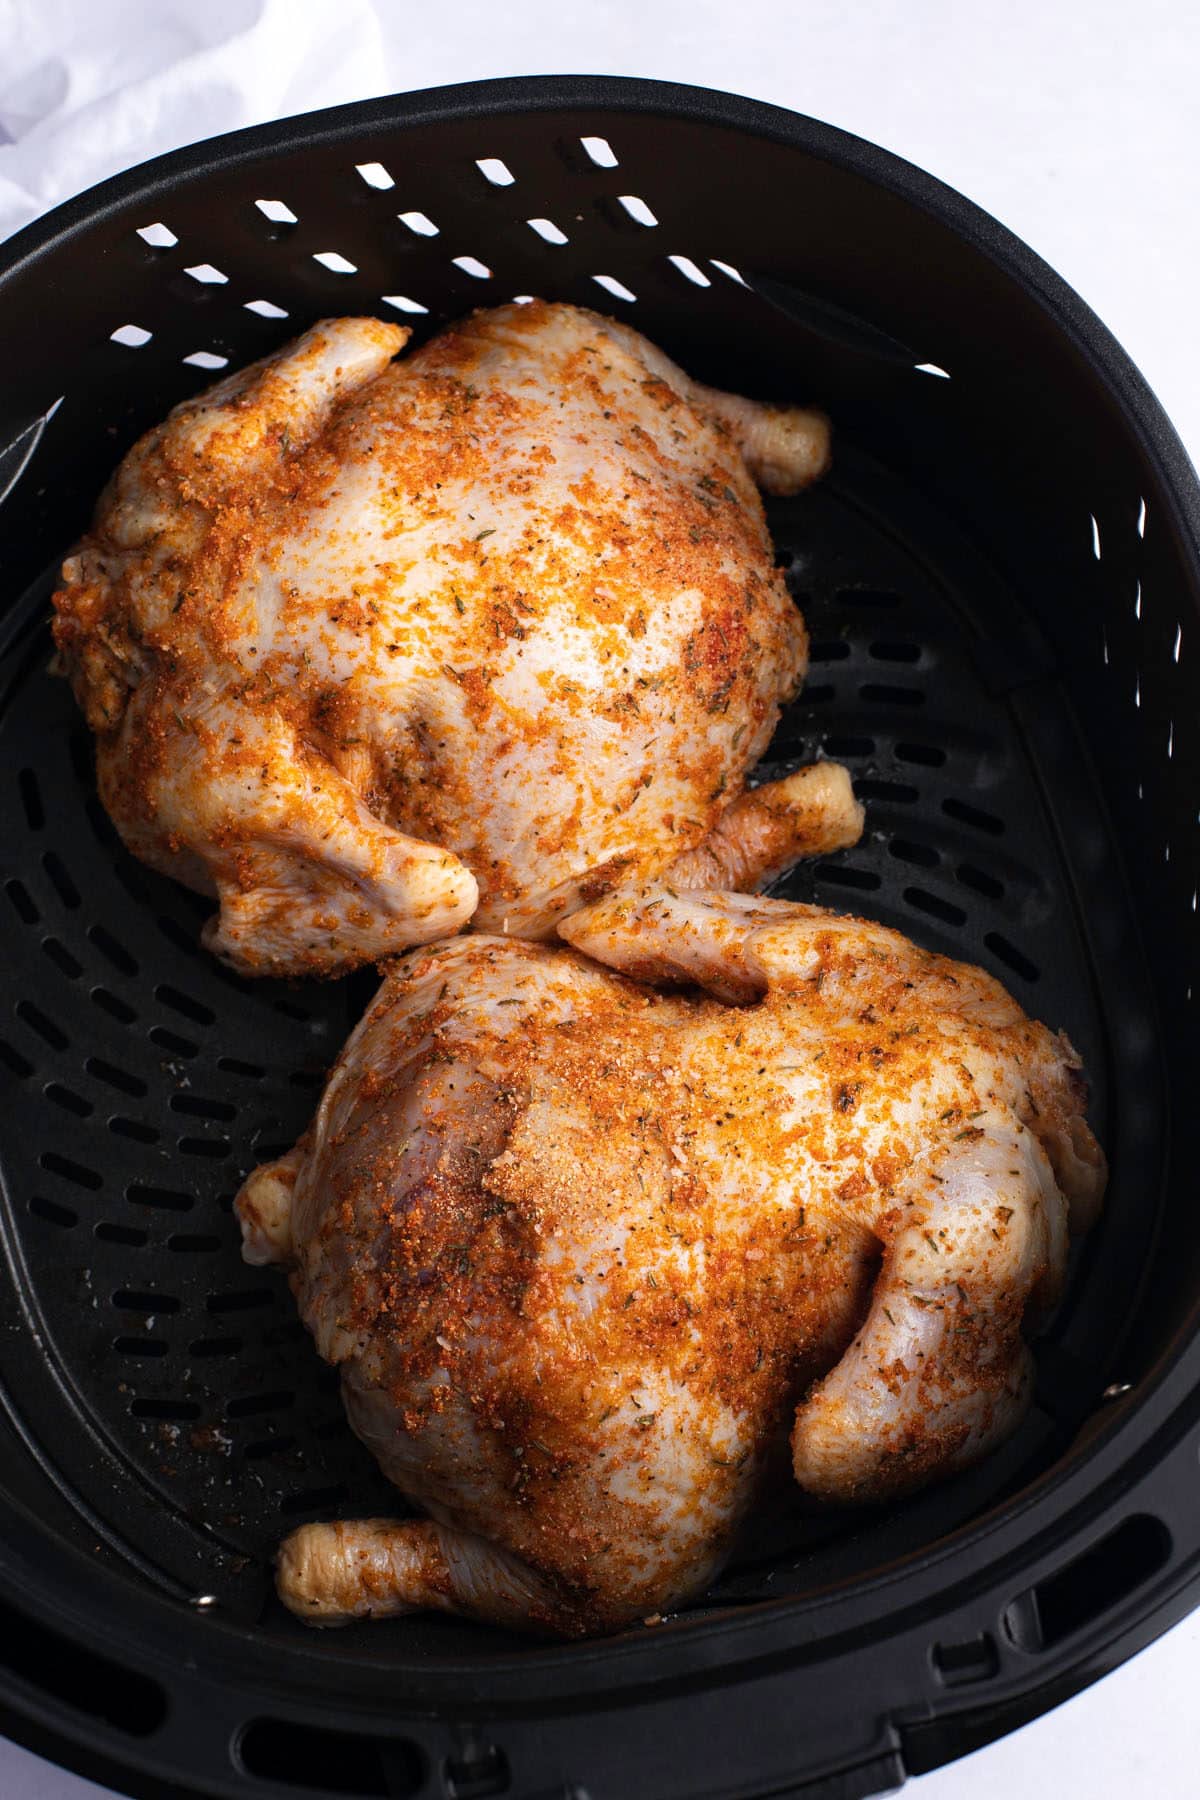
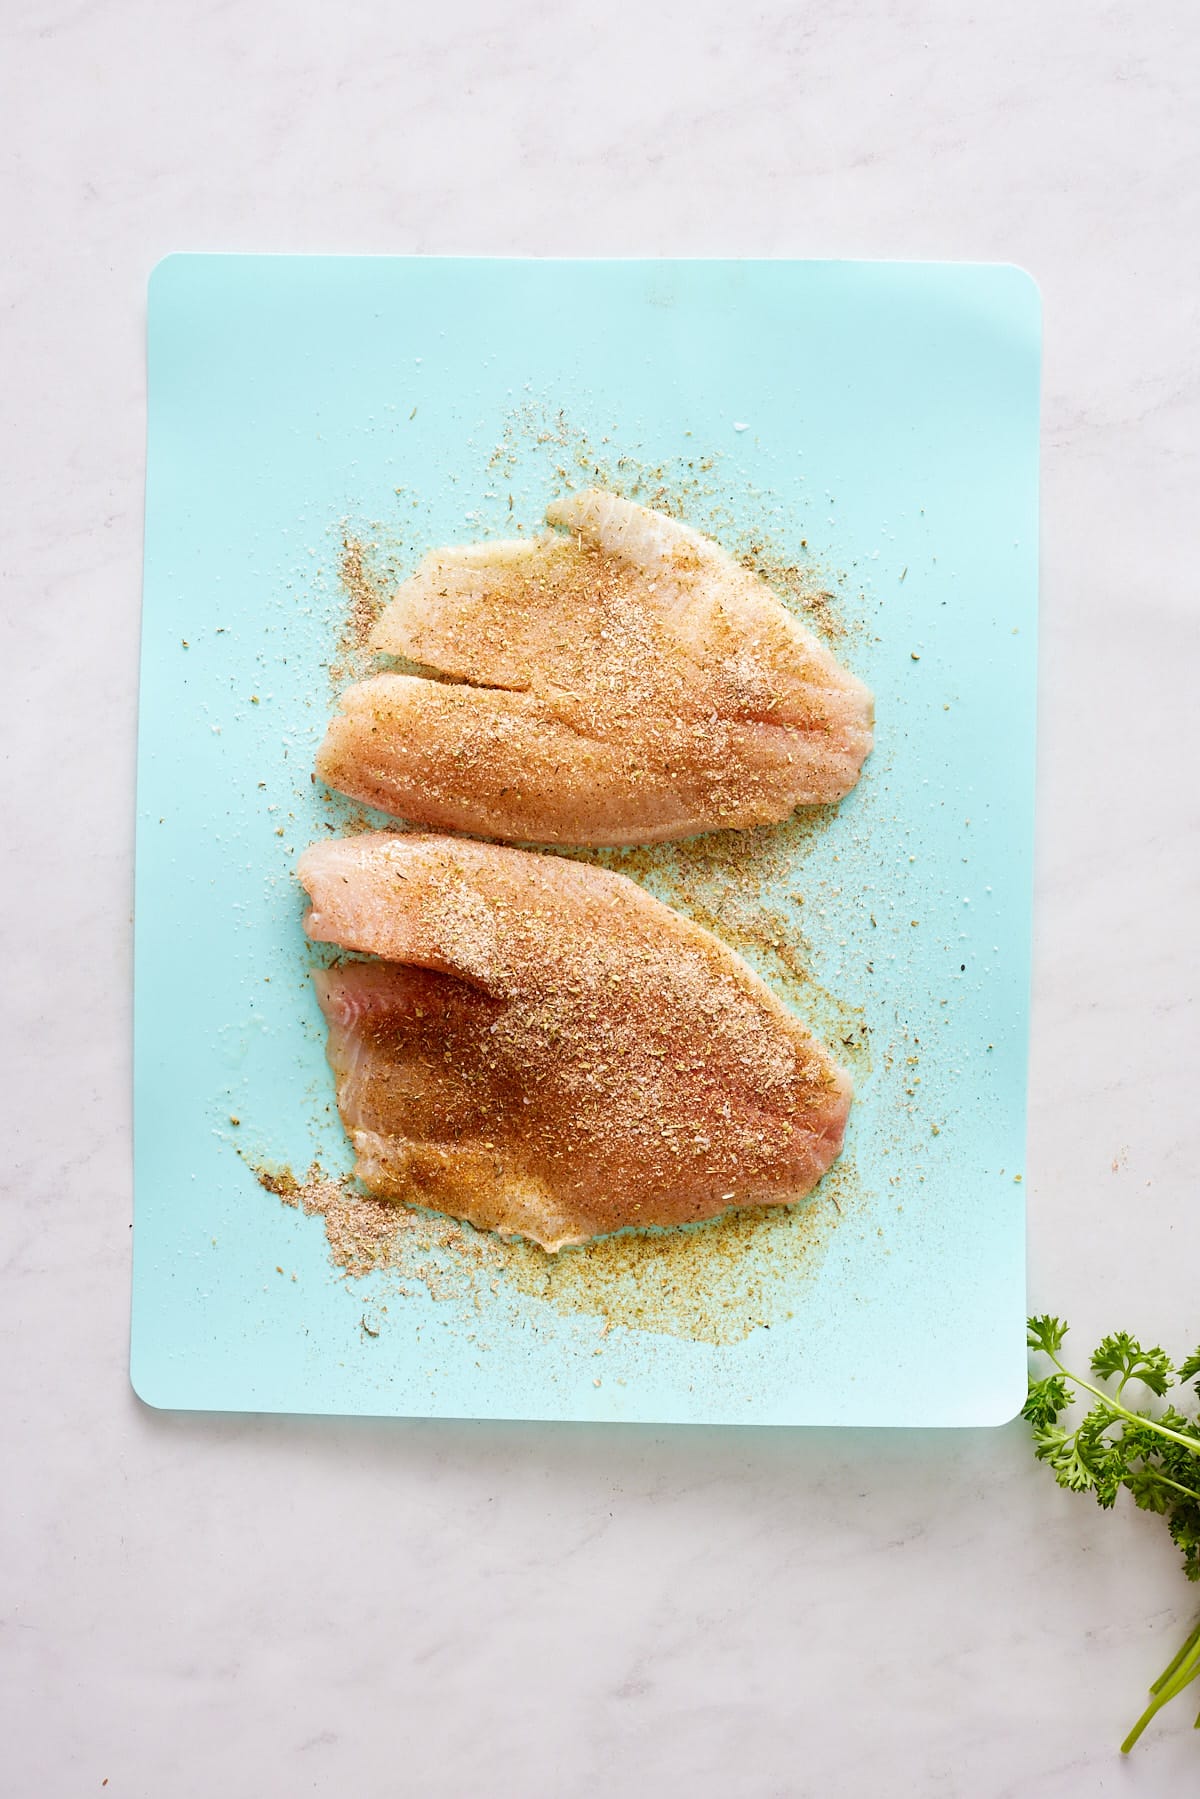
Season the filets with fish seasoning or any dry seasonings of your choice.
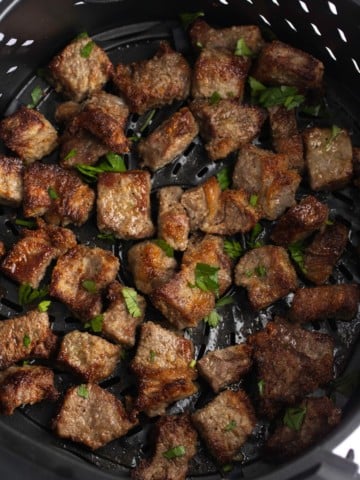
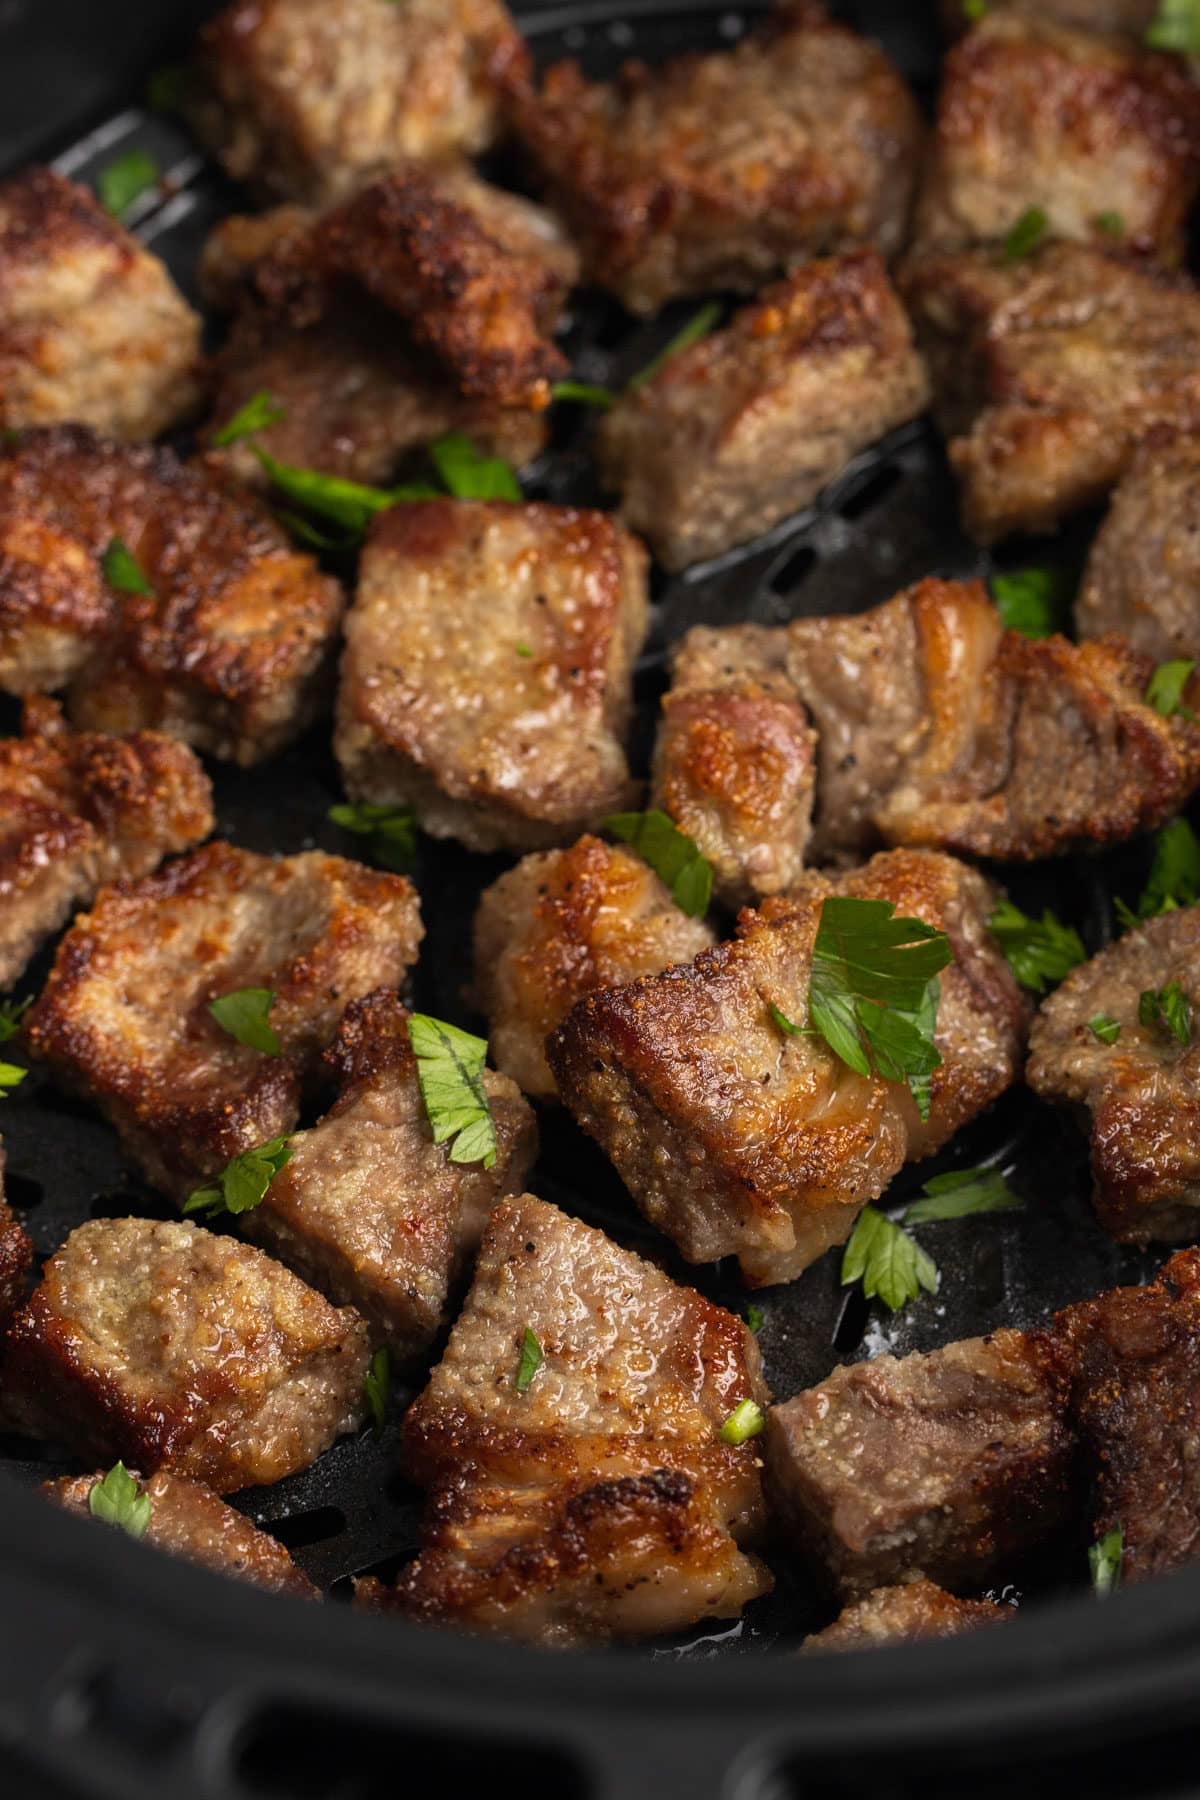
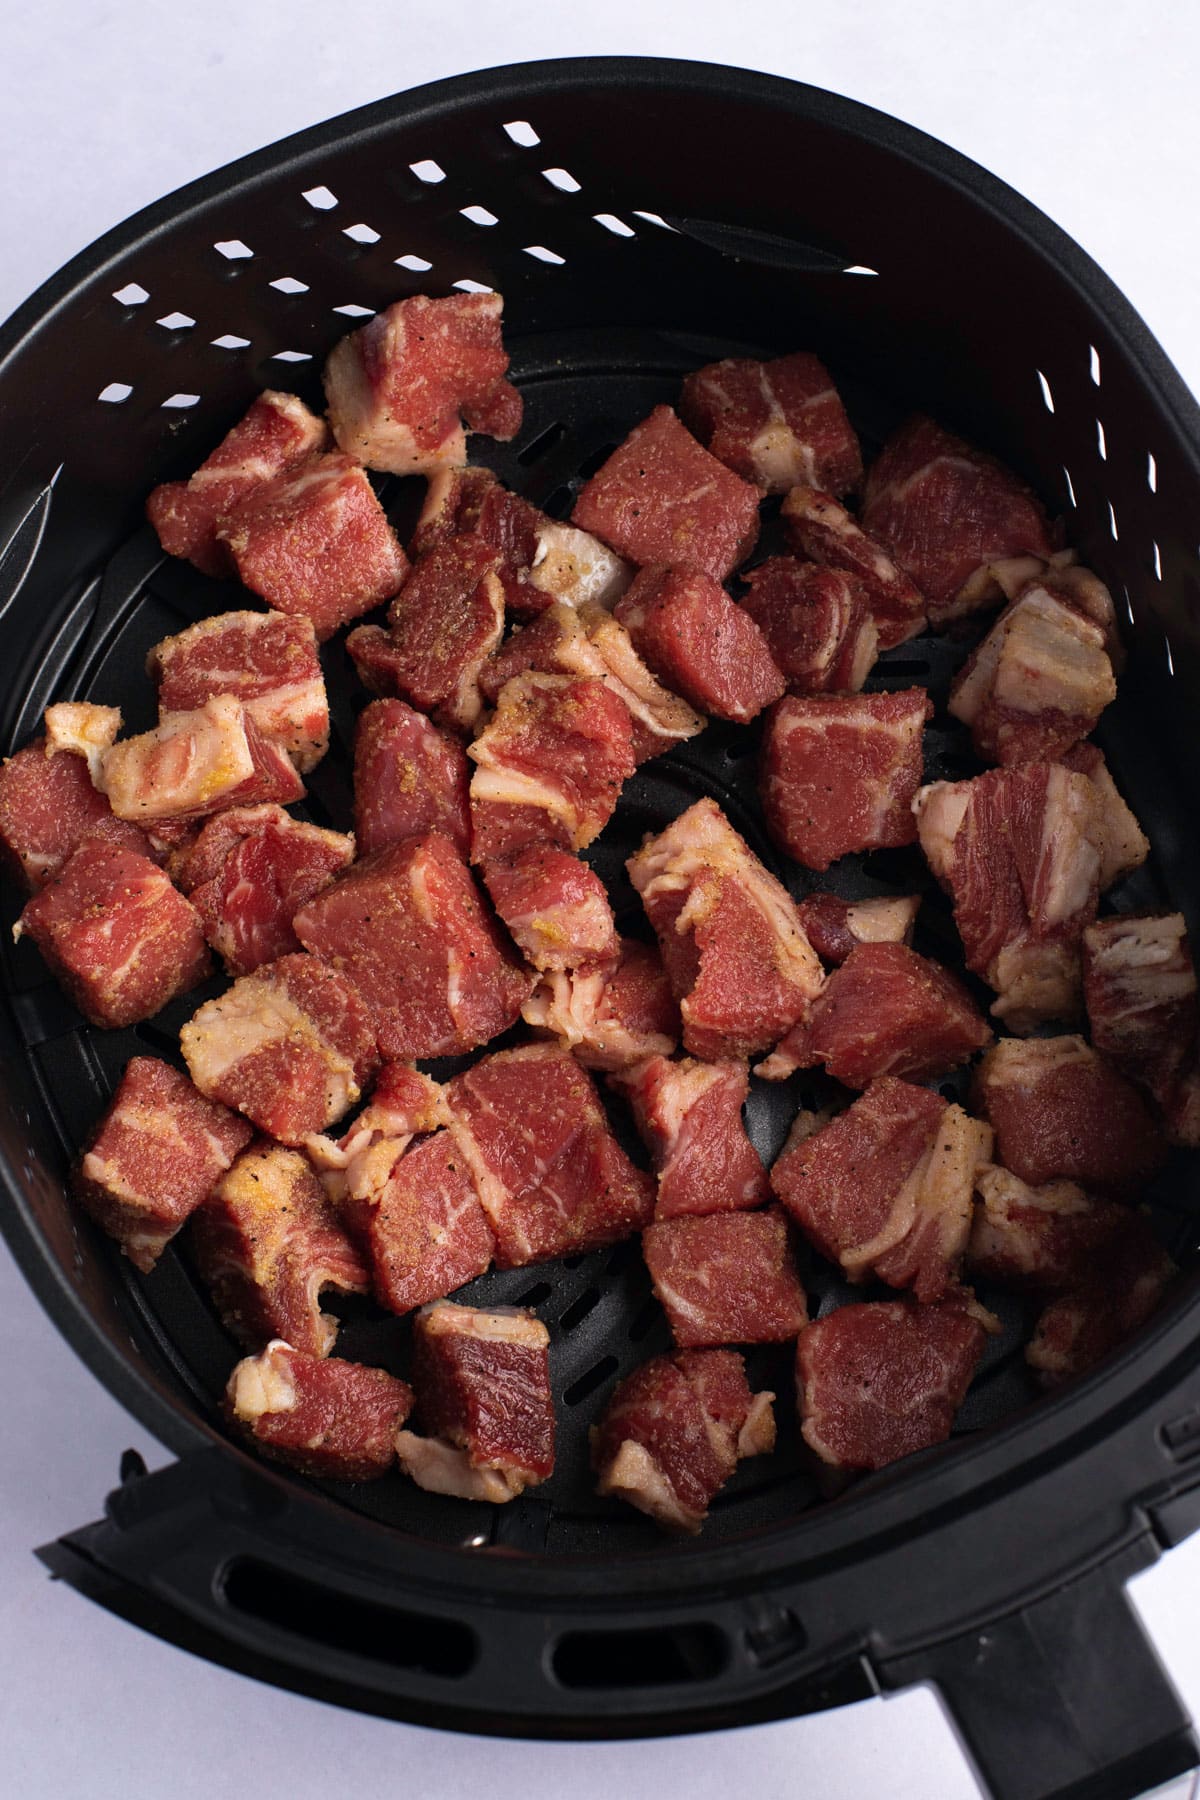
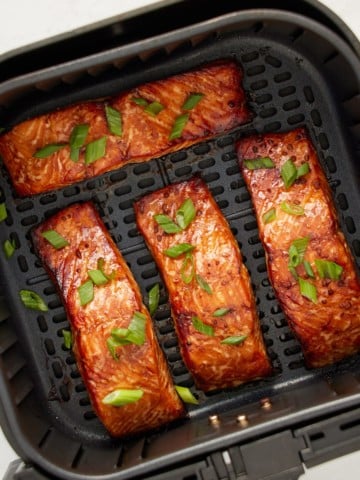
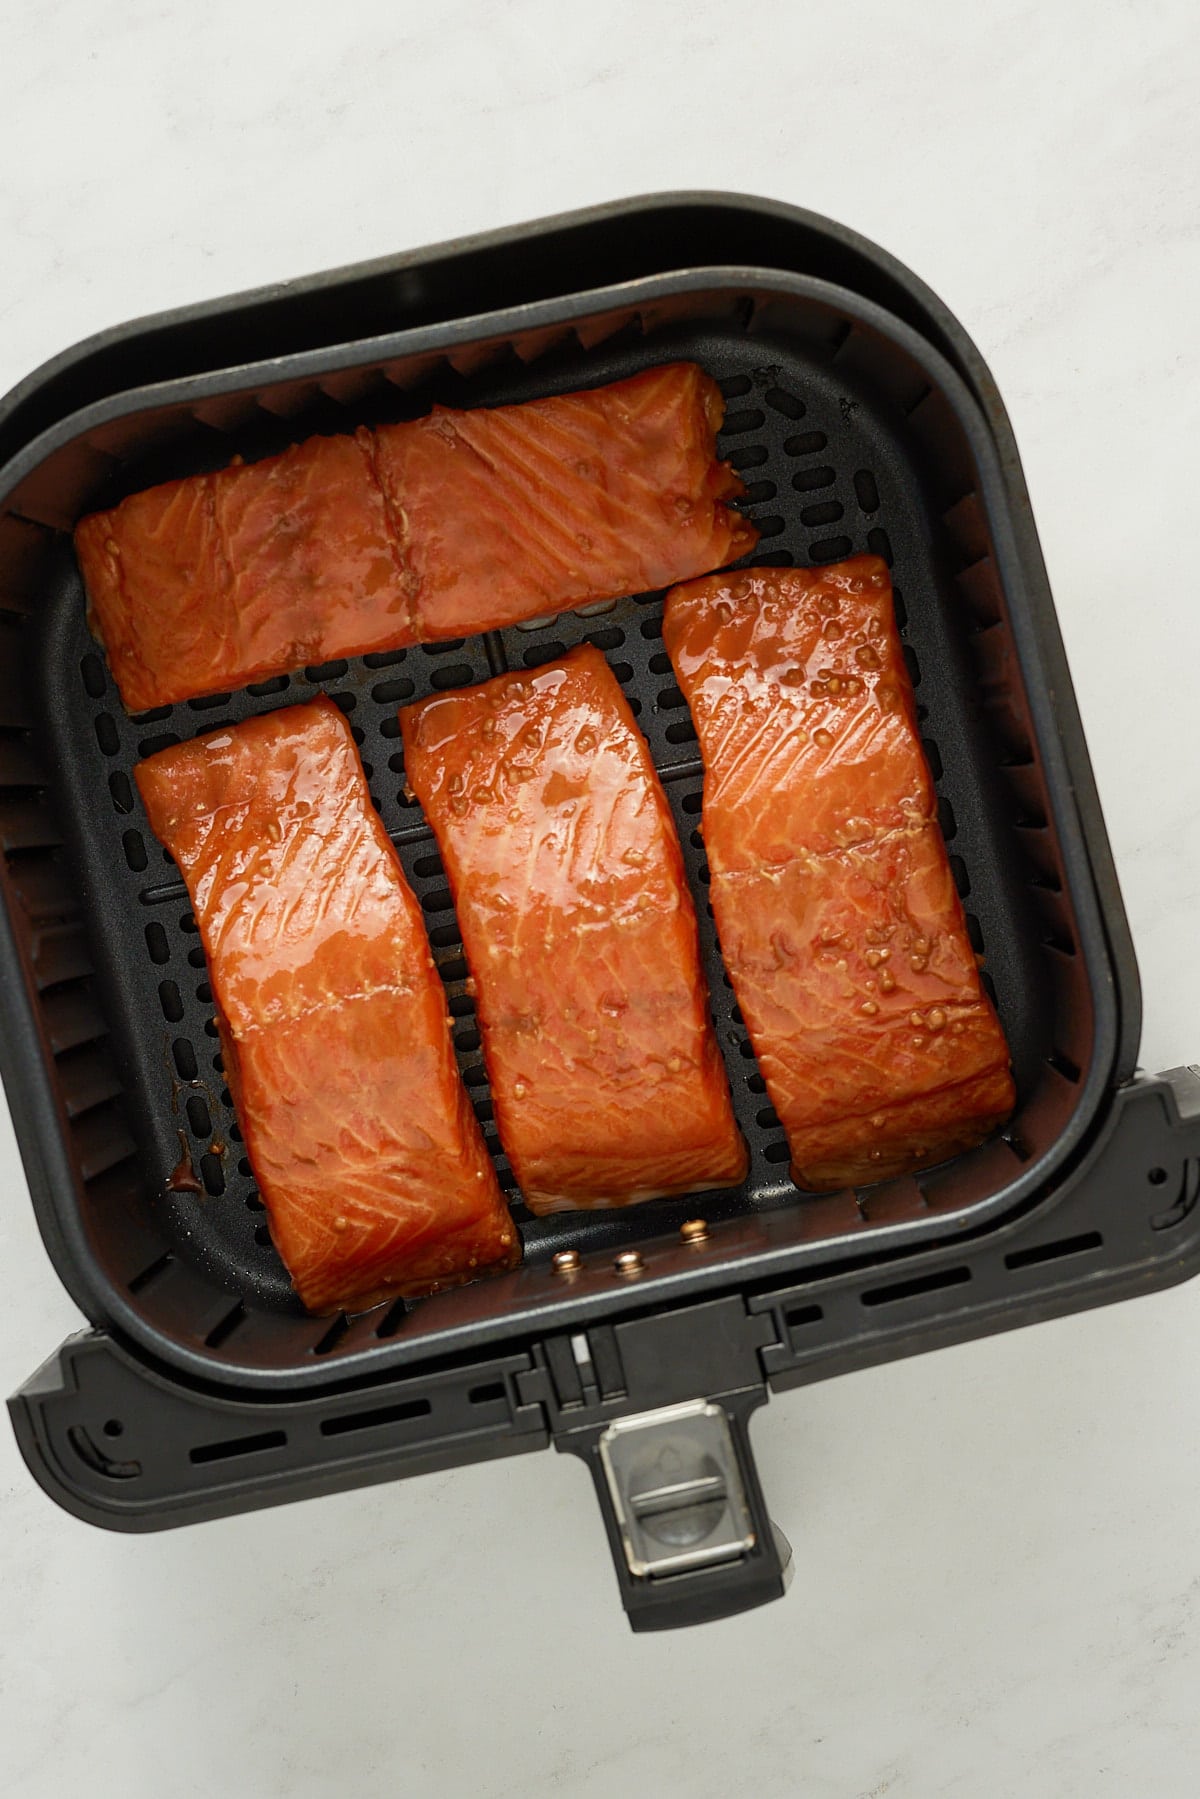
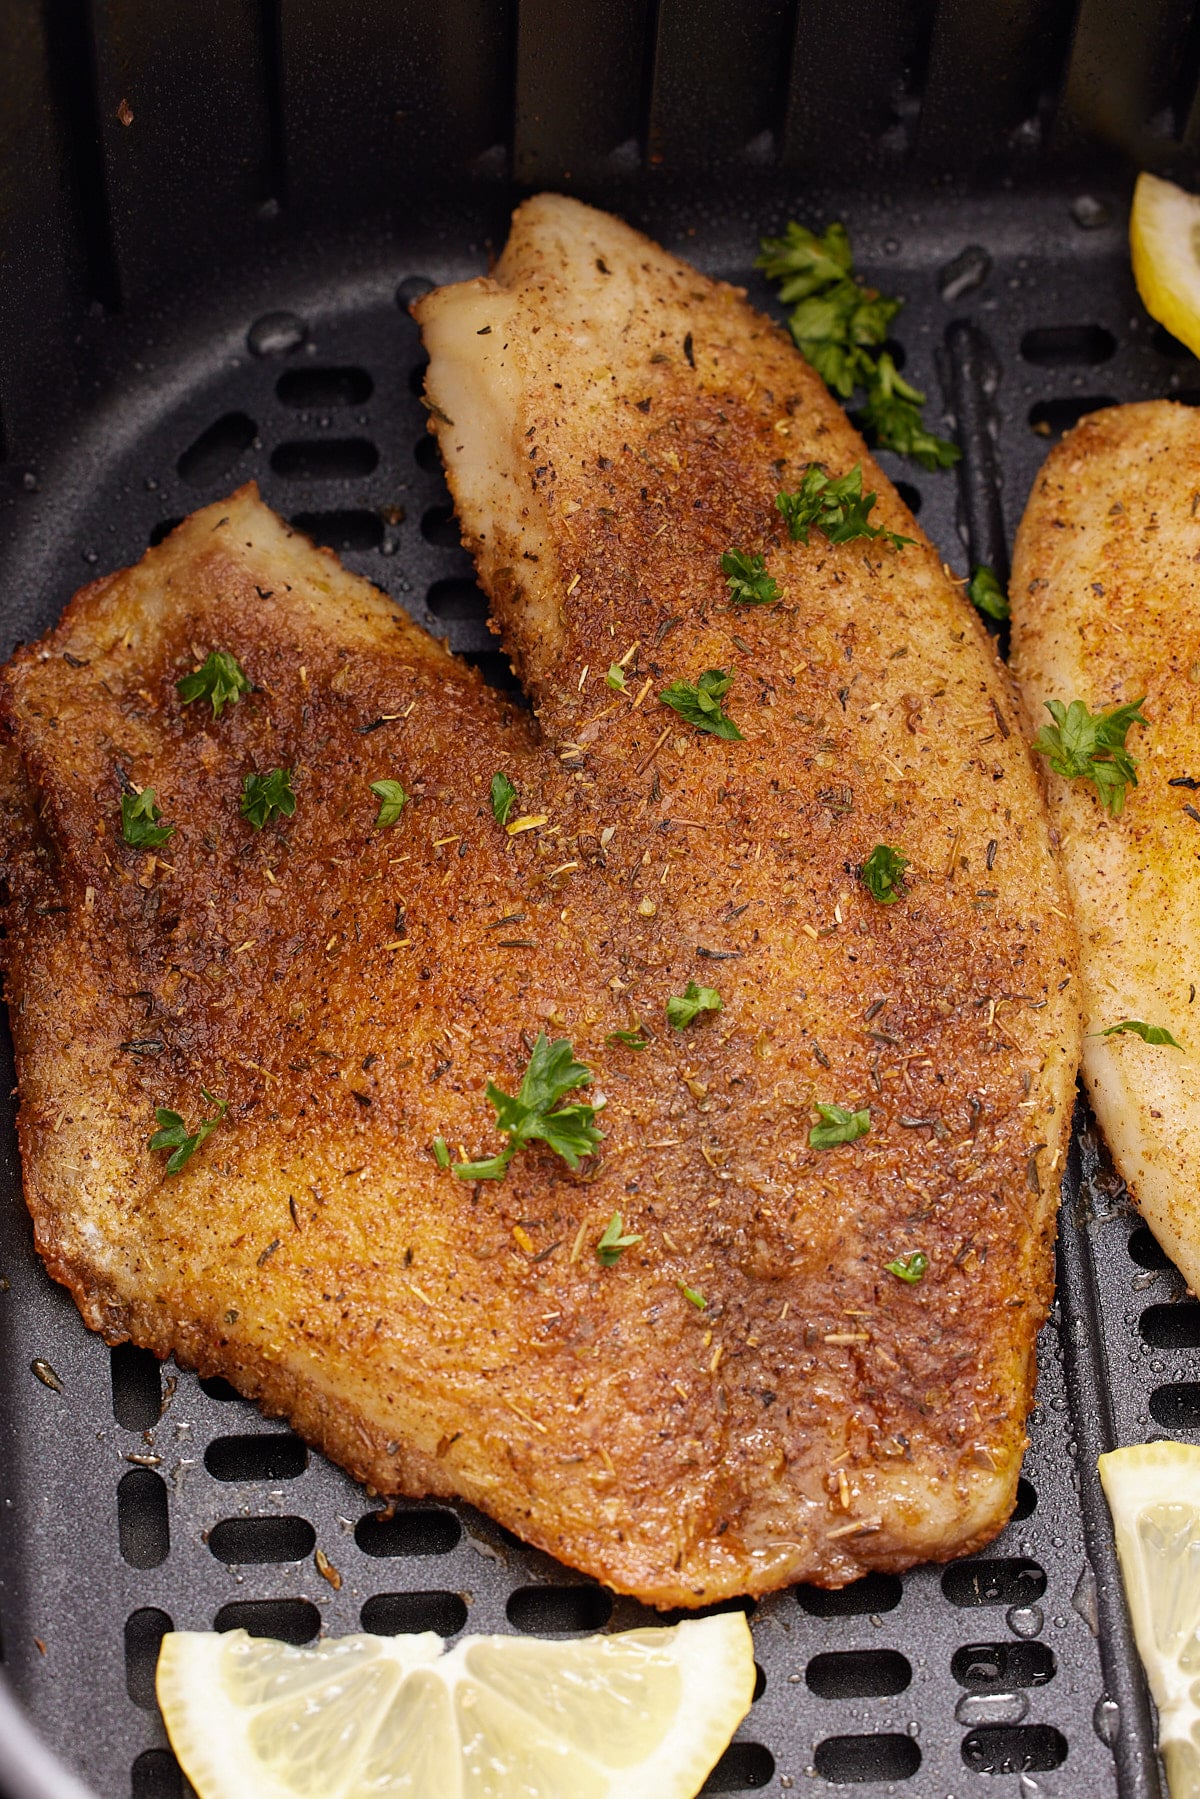
Place the filets in the preheated air fryer basket. Spray the top of the fish filets with a little oil.
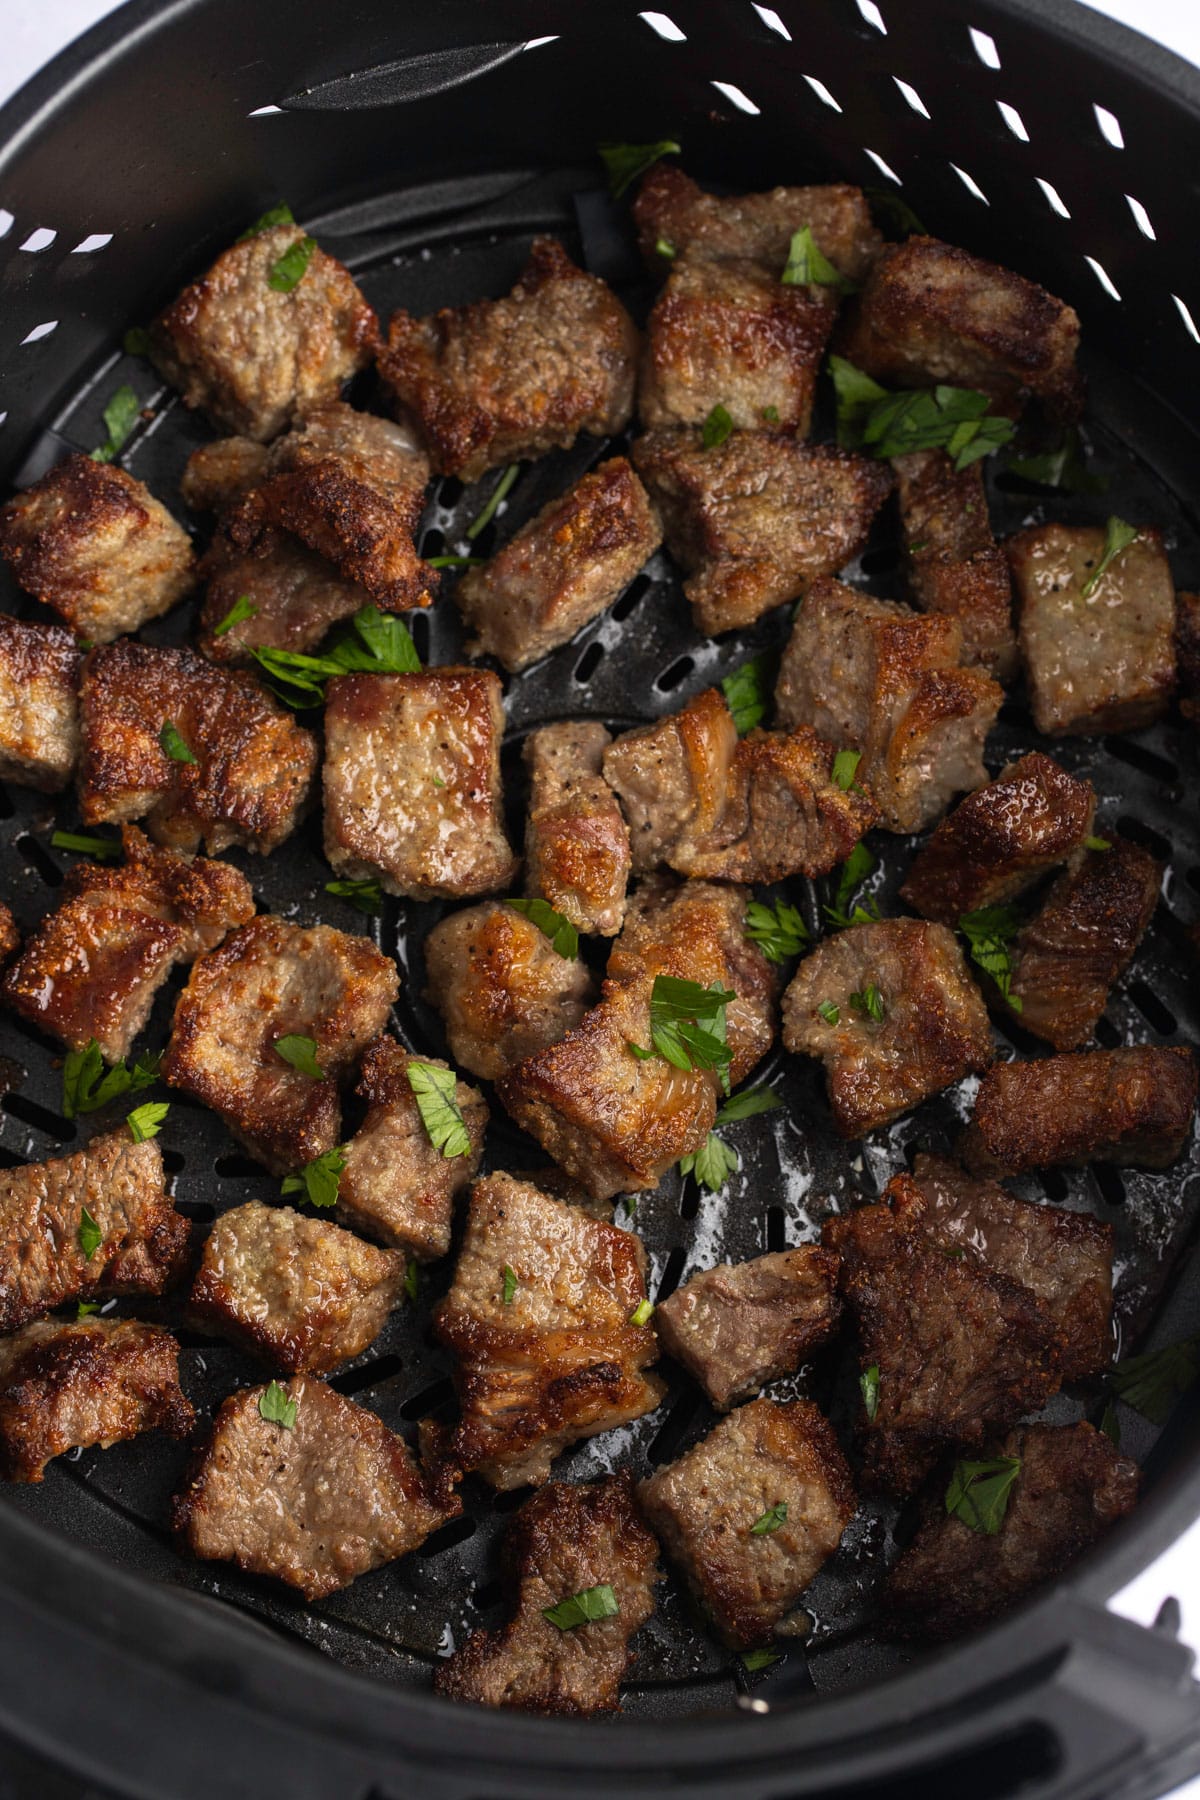
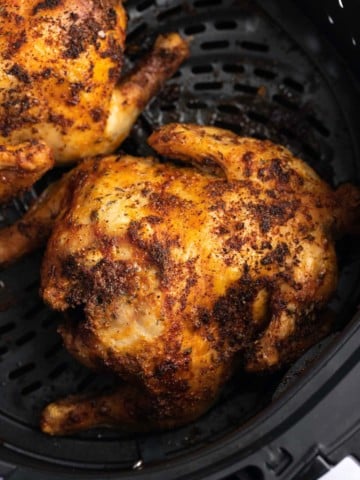
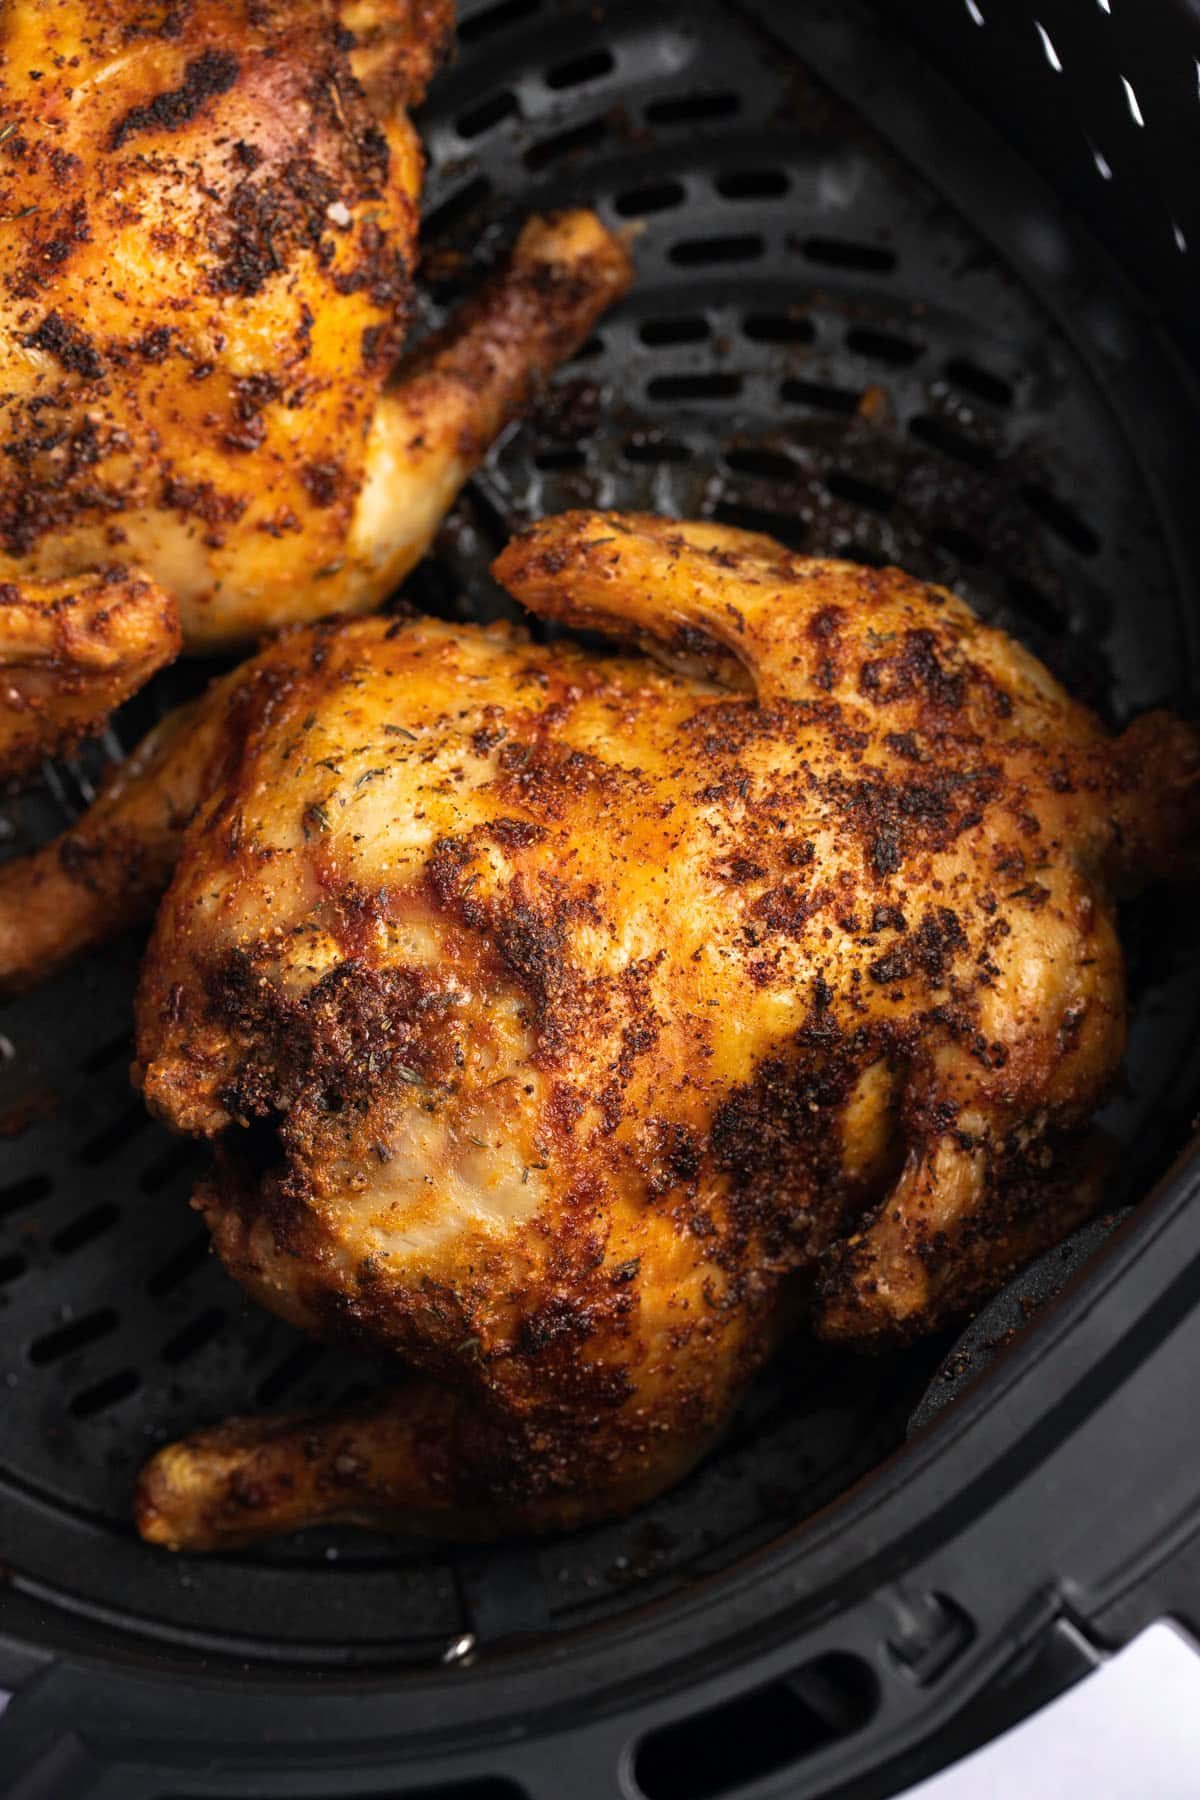
Air fry the filets for about 7-10 minutes until the fish is flaky.
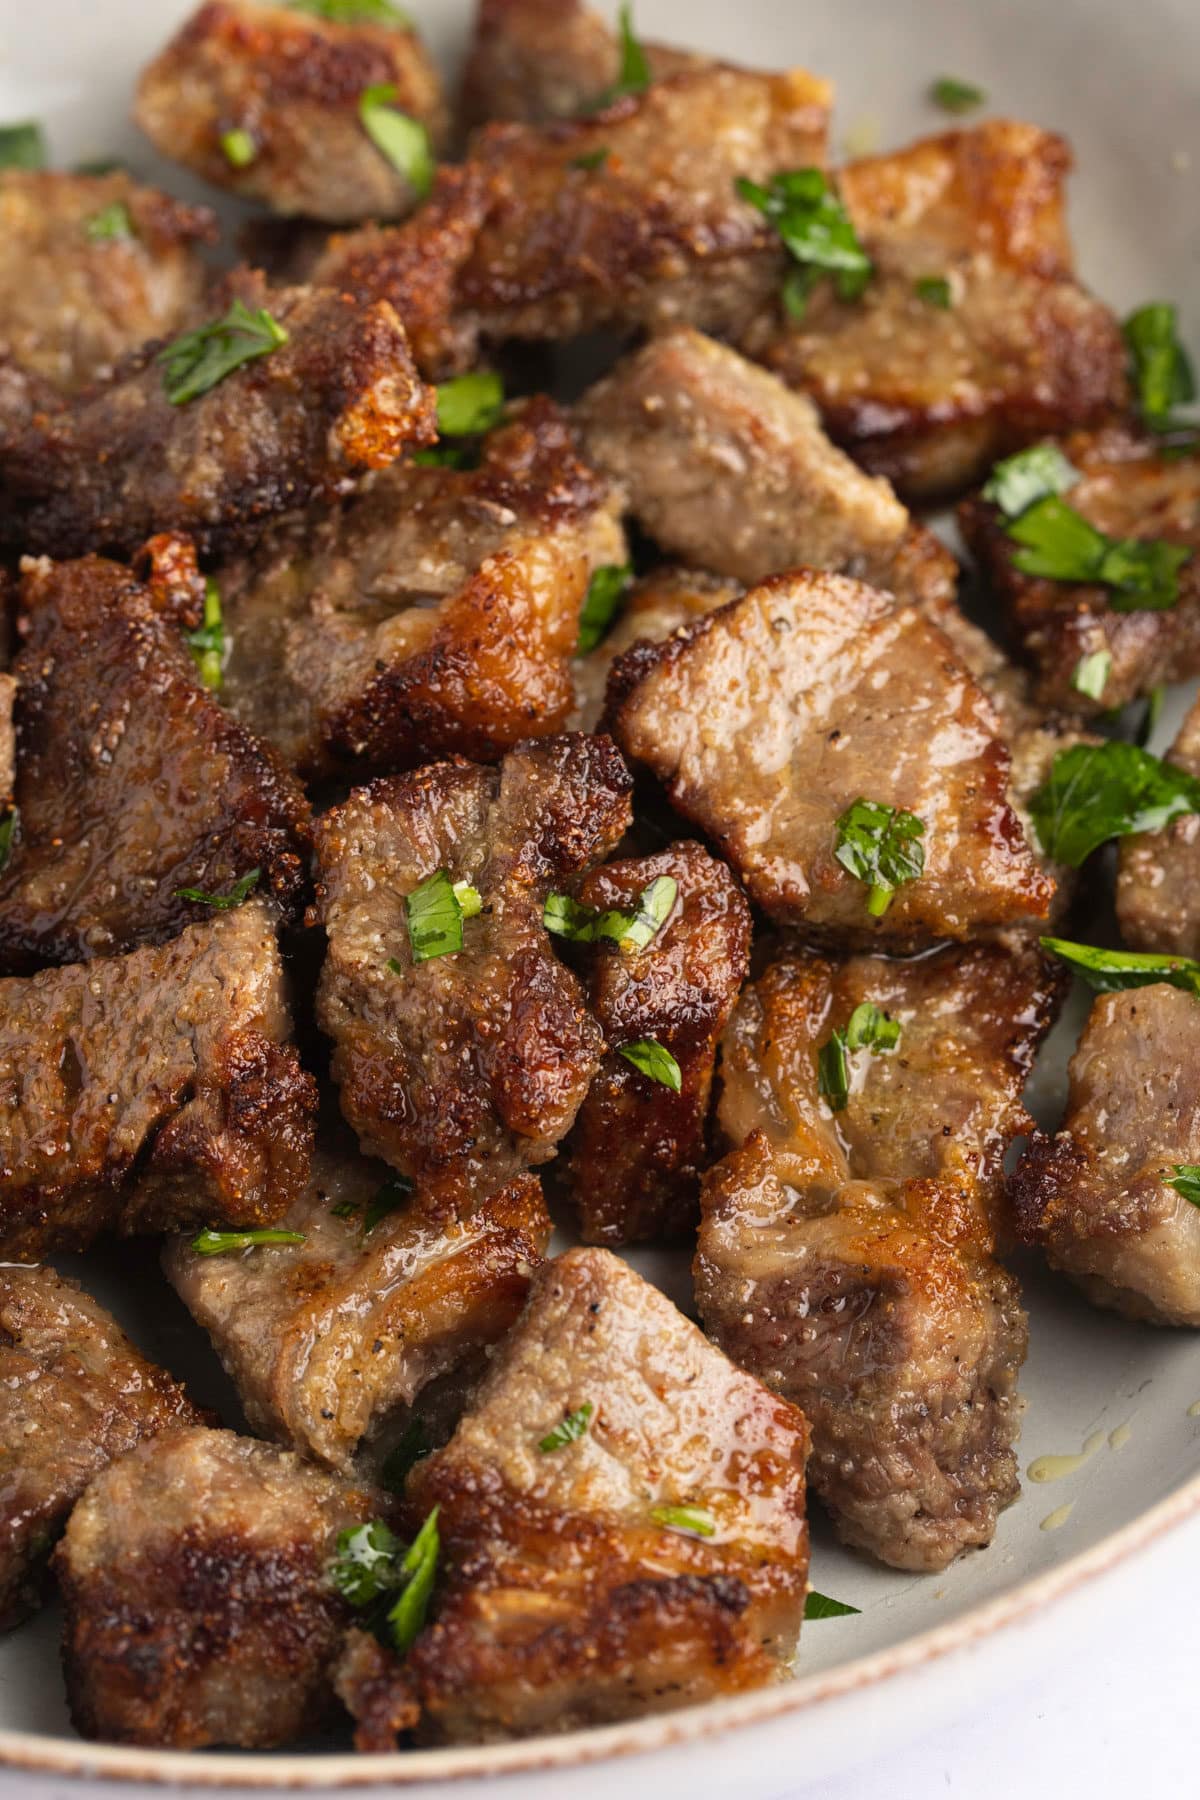
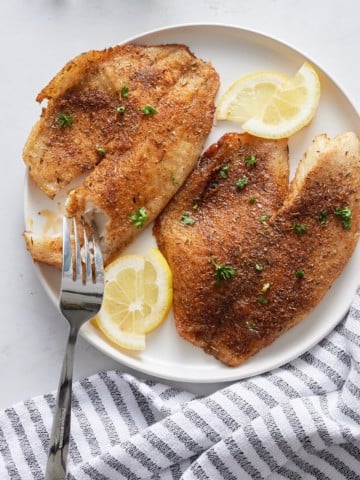
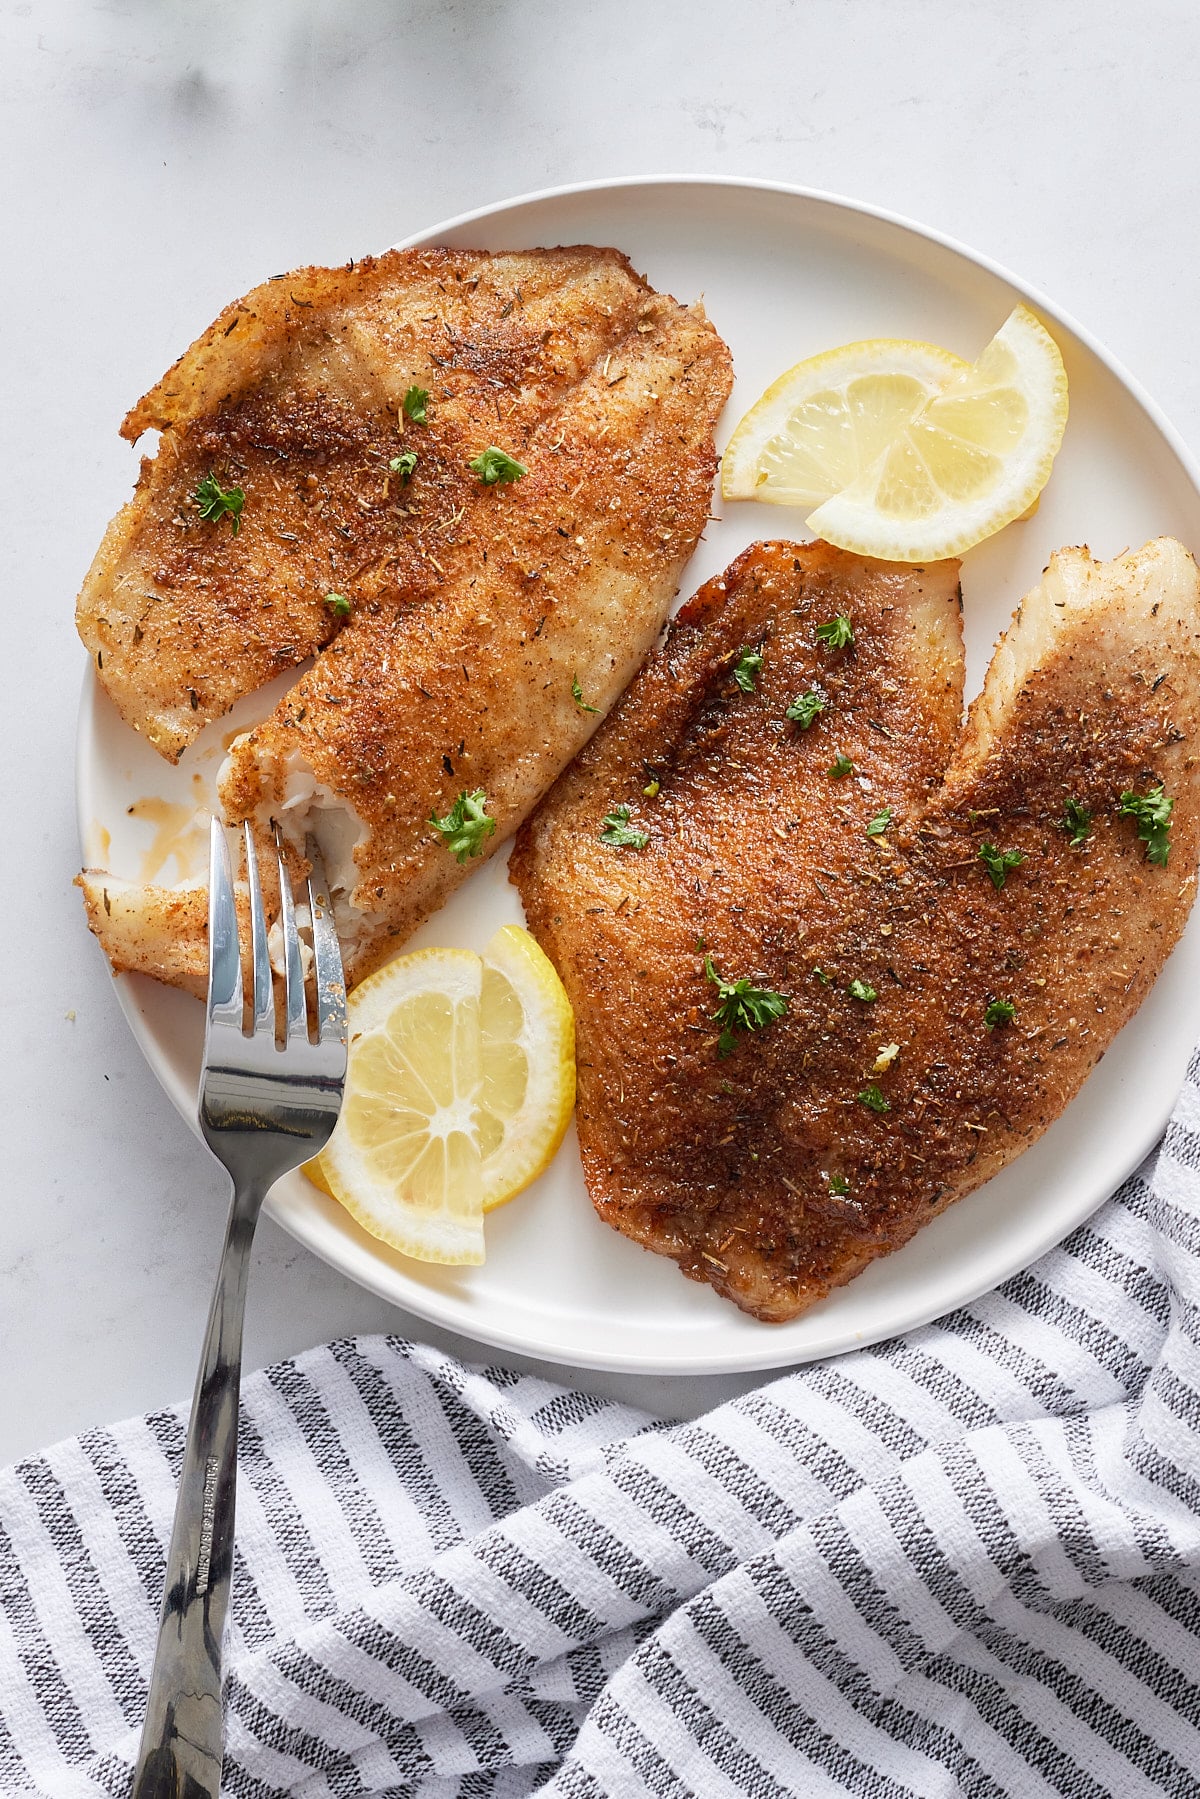
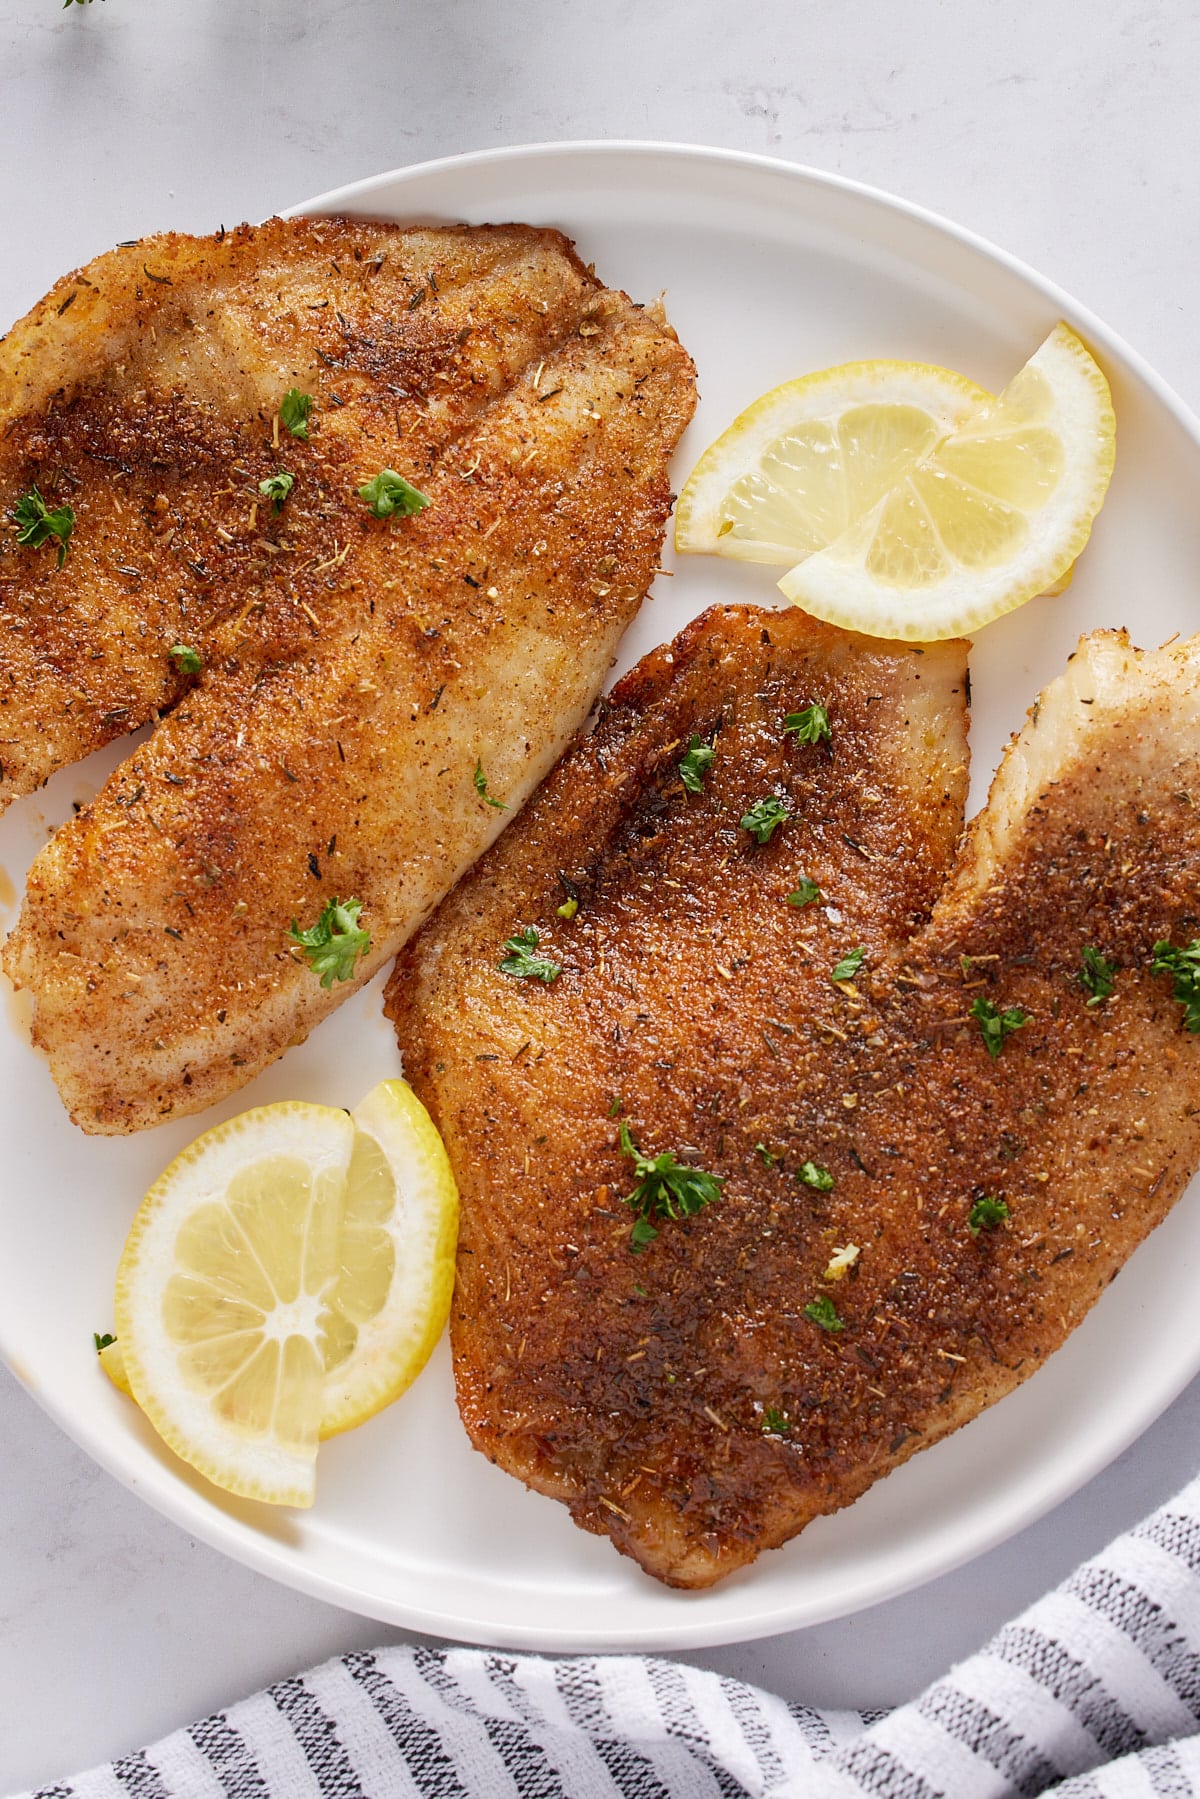
Serve with lemon slices and chopped parsley if desired.
What does tilapia taste like?
If you don't like an overly fishy taste, then tilapia fillets are perfect for you! They are very mild with a touch of sweetness, similar to red snapper. It has a firm but flaky texture and is a great option for those that don't usually like fish. When cooked, it will take on the flavor of the fish seasoning.
Can you use other seasonings?
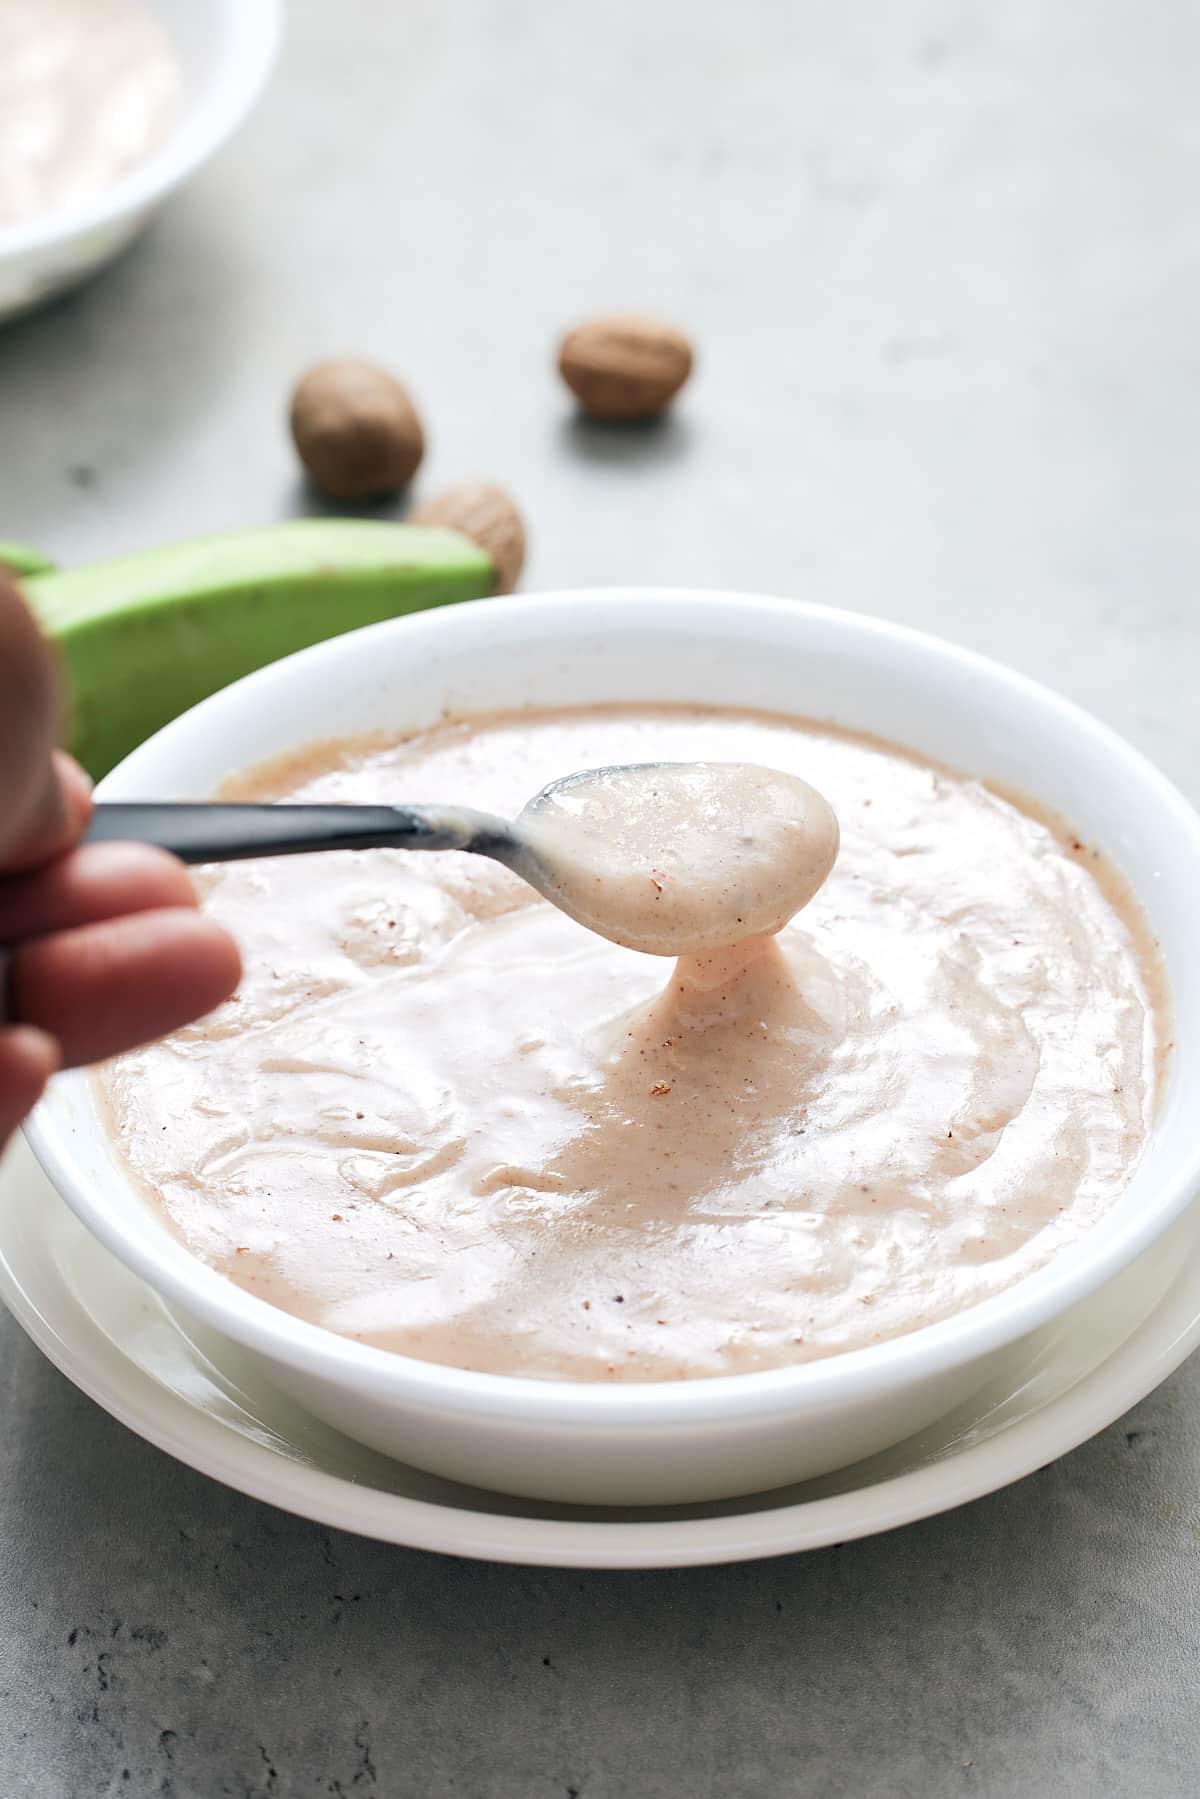
I always have some of my fish seasoning to hand in my pantry, it takes minutes to make and I always make a big batch so it's ready to use. You can use a store-bought fish seasoning, or mix things up with your own blends! Tilapia is very mild in flavor, so it will work well with pretty much any combination! Try it with some of these other seasoning recipes:
Can you make it ahead of time?
This tilapia recipe is best served as soon as you have air-fried it, and as it is so quick to prep and cook, that's not too much hassle at all! If you do have leftovers, they will keep well in the fridge for up to 3 days and can be reheated in the air fryer at 360 degrees Fahrenheit for around 3 minutes to heat through. You can also add it cold to salads.
Can you make this in the oven?
Yes! I love oven-baked fish. Just preheat your oven to 375 degrees Fahrenheit and bake on a lined sheet pan for about 15-20 minutes.
What do you serve it with?
This air fryer tilapia is great to serve with salads, vegetables, or potato sides for a healthy and well-balanced dinner. Try it with some of these favorites:
Recipe Notes and Tips
- I used thawed tilapia for this recipe. If cooking the tilapia from frozen, cook for about 10-12 minutes.
- If thawing the tilapia fillets, pat them dry well before seasoning to remove excess water.
- Any high heat oil will do well in this recipe, such as canola, olive oil, avocado oil, etc.
- These fillets will take between 7 and 10 minutes to cook through. The cooked fish should be firm but flaky and be an even white color throughout.
More Air Fryer Seafood Recipes
- Crispy Air Fryer Fish
- Air Fryer Fish Tacos
- Air Fryer Crab Legs
- Air Fryer Scallops with Garlic Herb Butter
- Crispy Air Fryer Fried Shrimp

Air Fryer Tilapia
Ingredients
- 2-4 tilapia filets rinsed and patted dry
- 2 teaspoons of fish seasoning
- Oil for spraying
- Lemon slices and chopped parsley for serving
Instructions
- Preheat the air fryer to 400 degrees Fahrenheit.
- Season the filets with fish seasoning. Place the filets in the preheated air fryer basket. Spray the top of the fish filets with a little oil.
- Air fry the filets for about 7-10 minutes until the fish is flaky.
- Serve with lemon slices and chopped parsley if desired.
Notes
- I used thawed tilapia for this recipe. If cooking the tilapia from frozen, cook for about 10-12 minutes.
- If thawing the tilapia fillets, pat them dry well before seasoning to remove excess water.
- Any high heat oil will do well in this recipe, such as canola, olive oil, avocado oil, etc.
- These fillets will take between 7 and 10 minutes to cook through. The cooked fish should be firm but flaky and be an even white color throughout.