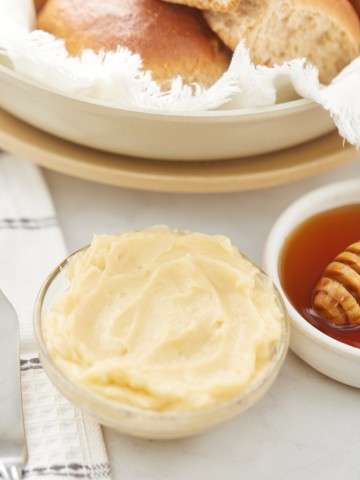
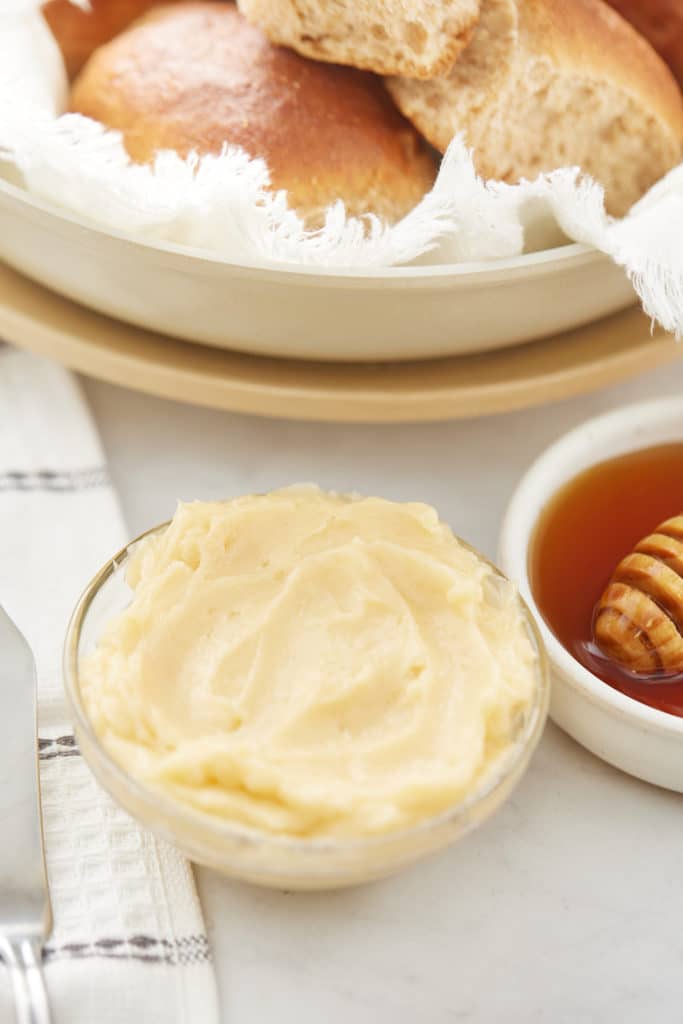
This easy and delicious honey butter recipe is the perfect spread. No special equipment is needed to make this homemade butter and it only needs 4 ingredients.
This post contains affiliate links, please read my full disclaimer here.
You’ll find the full recipe with ingredient amounts and instructions in the recipe card at the bottom of this post. Be sure to check out the blog post itself for extra tips and tricks!
I'm a fan of flavored butter and this honey butter has to be one of my faves. It's quite easy to "whip up" and doesn't involve any special equipment, just a wooden spoon. With only 4 ingredients, this recipe can't be beat!
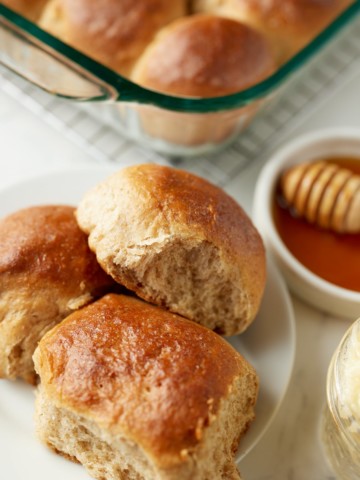
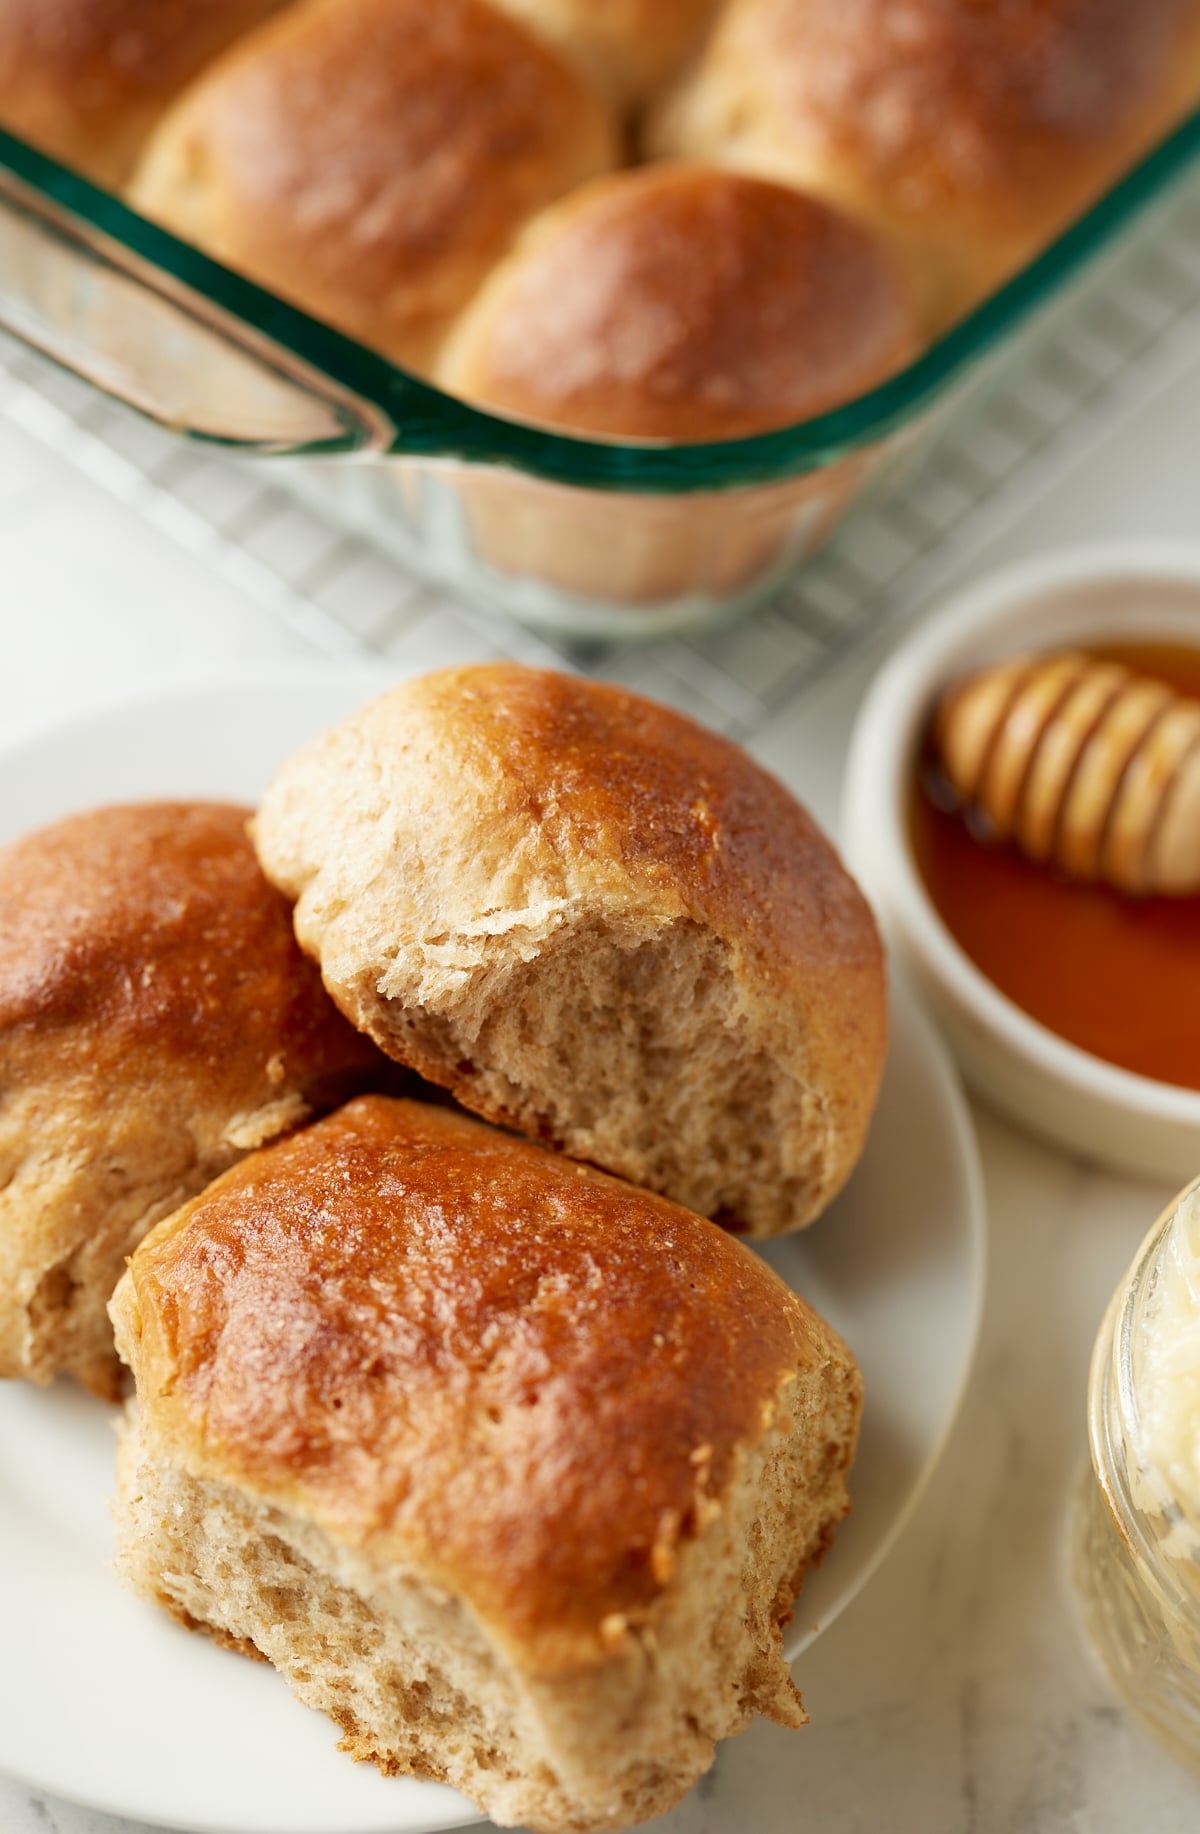
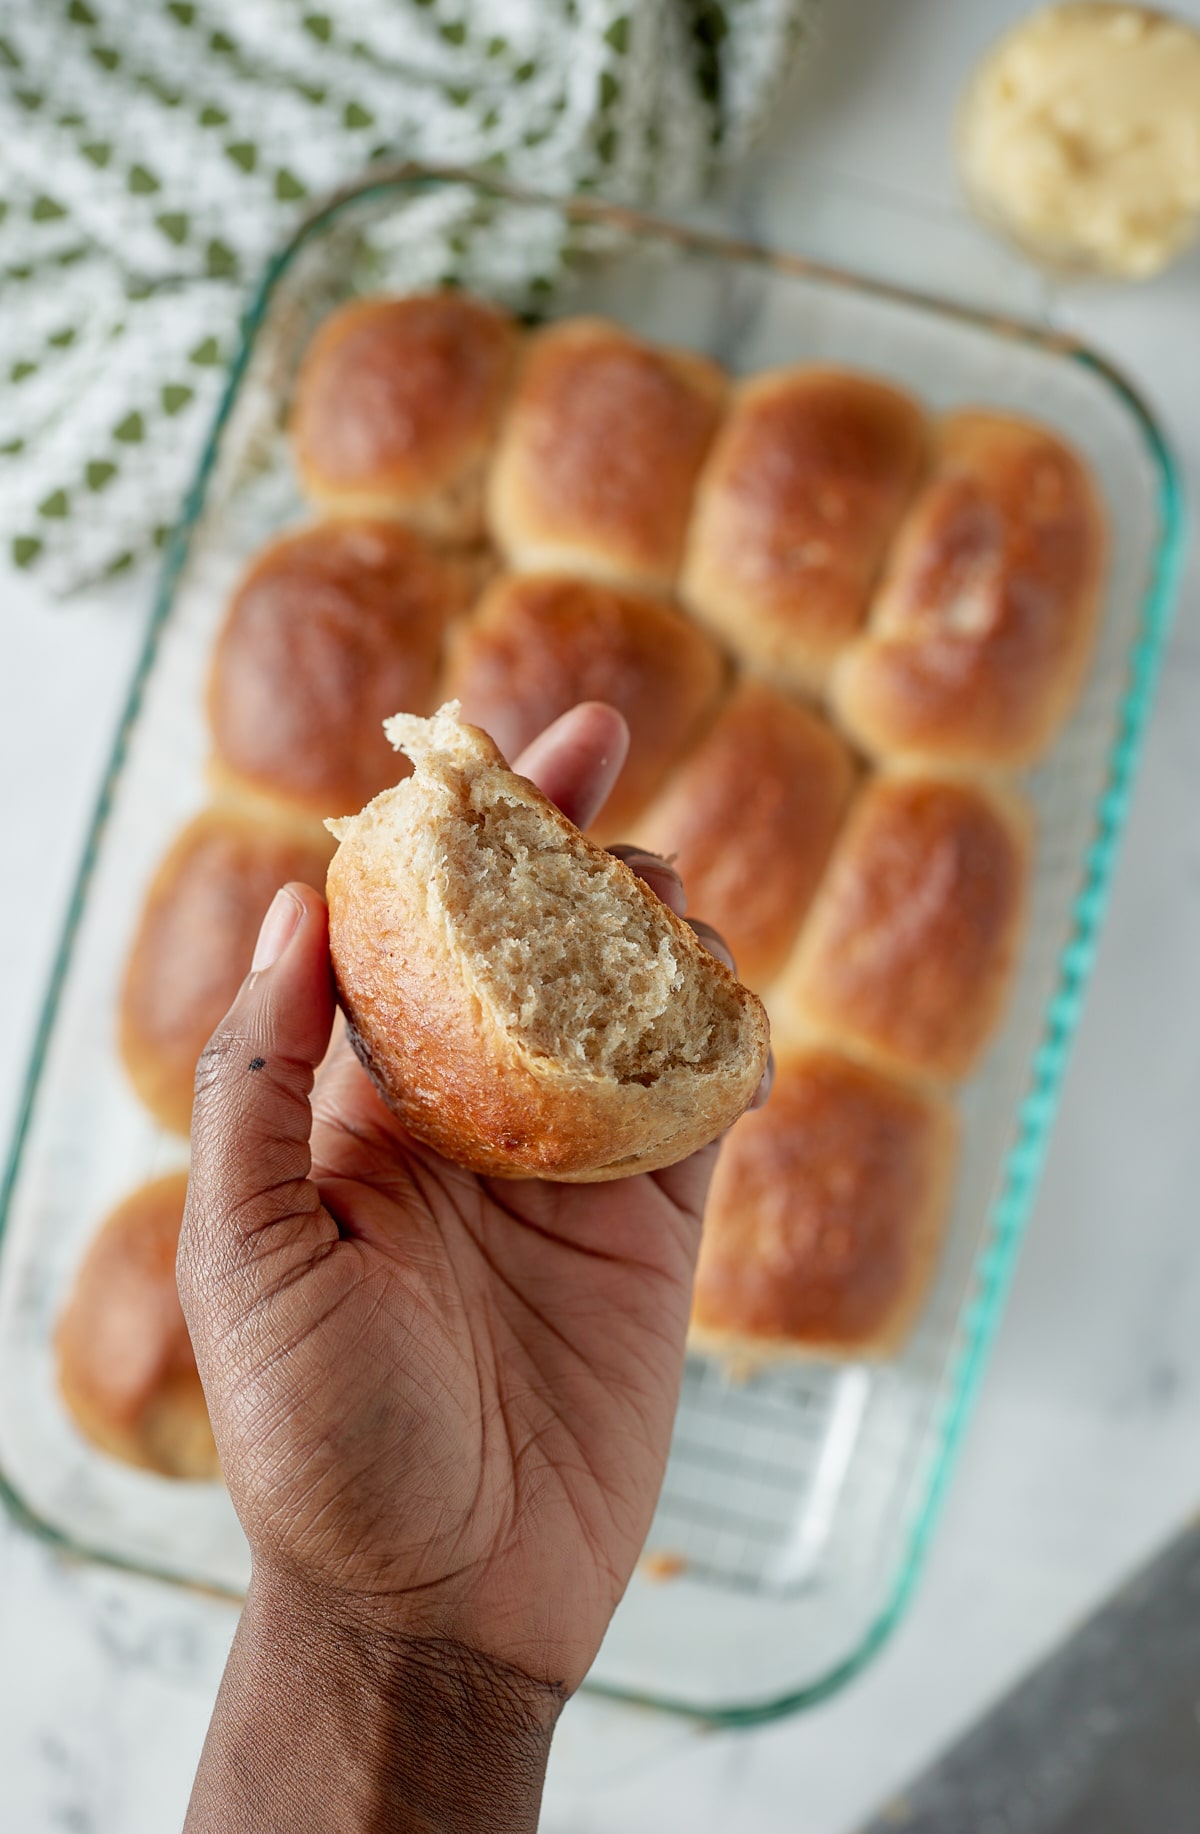
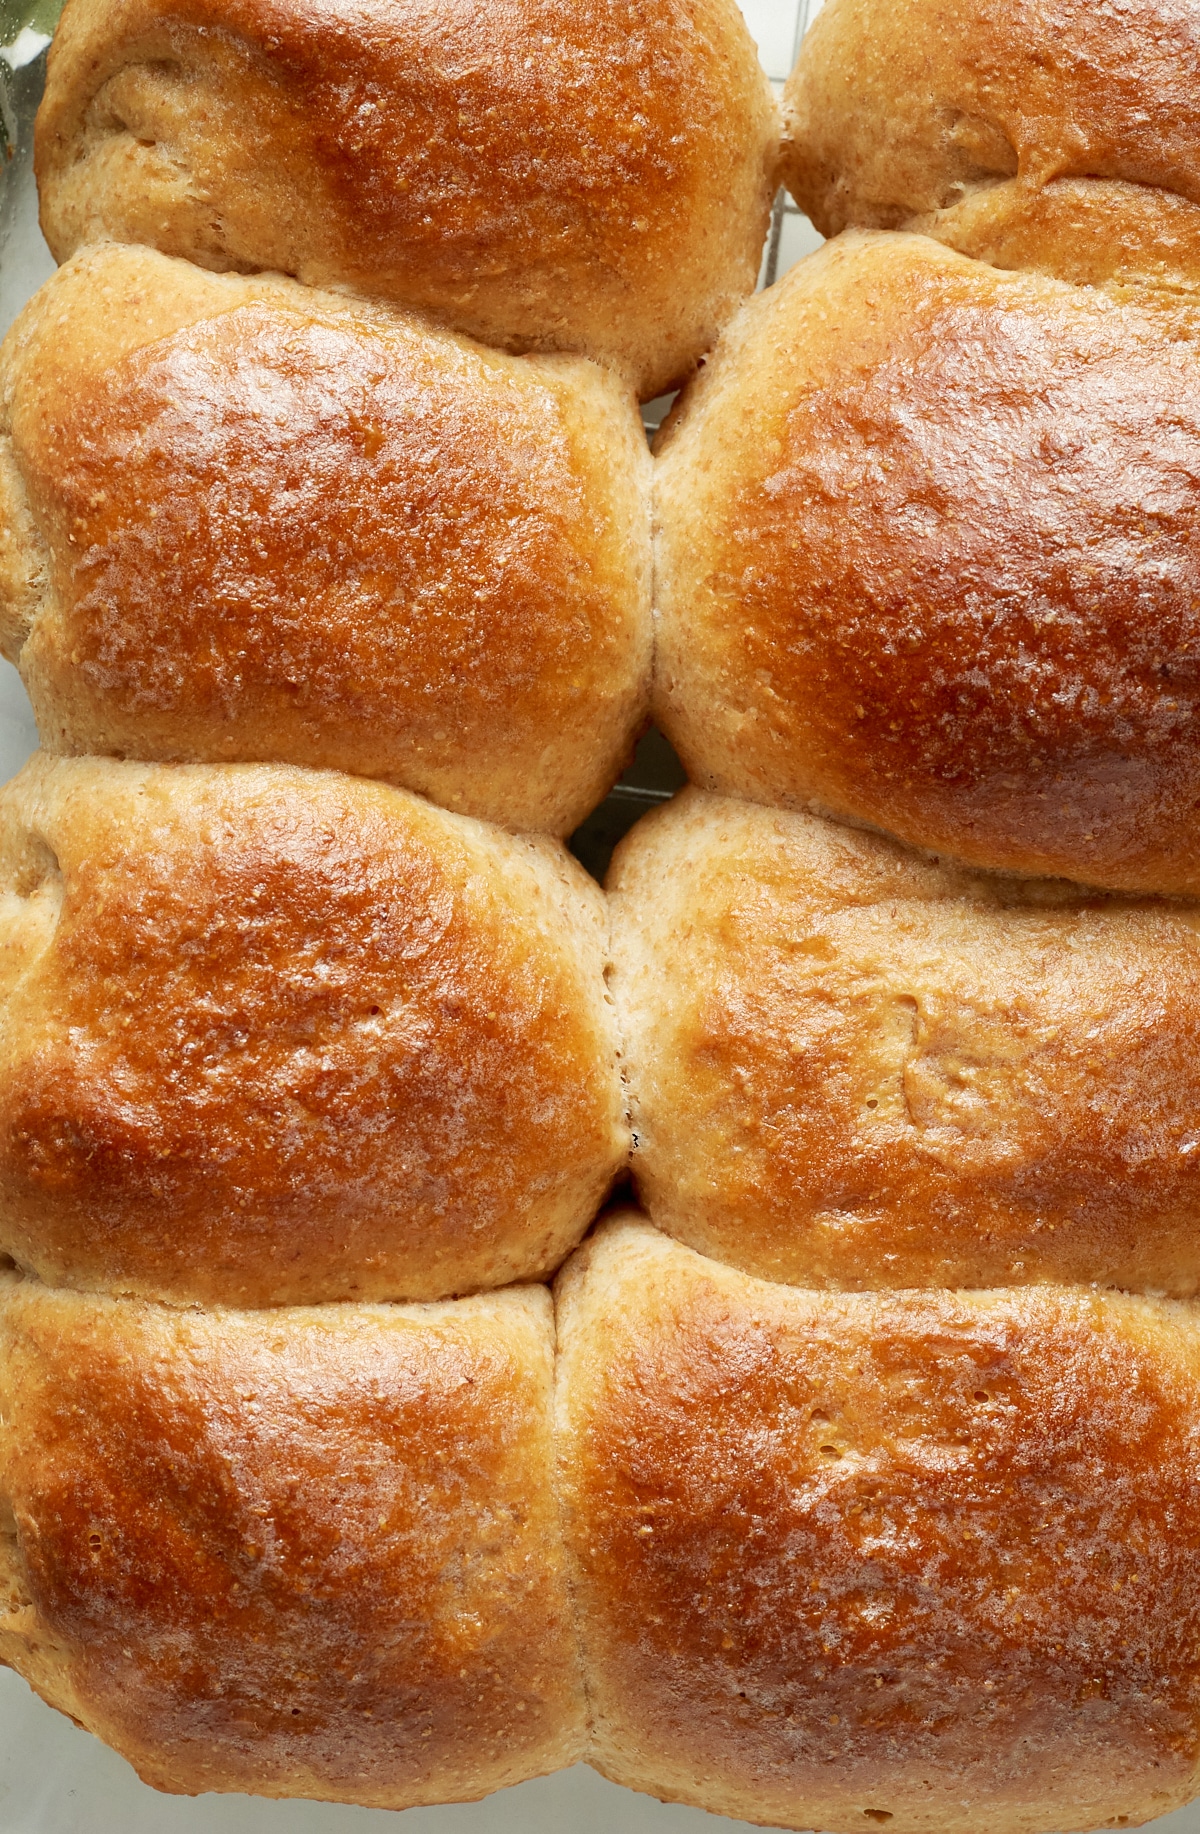
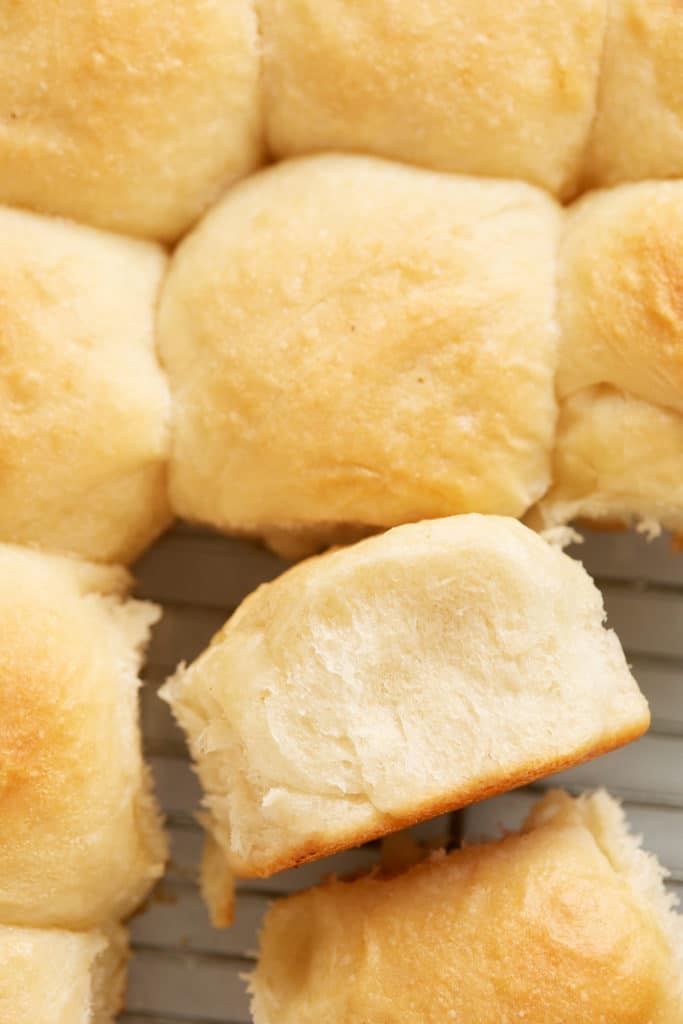
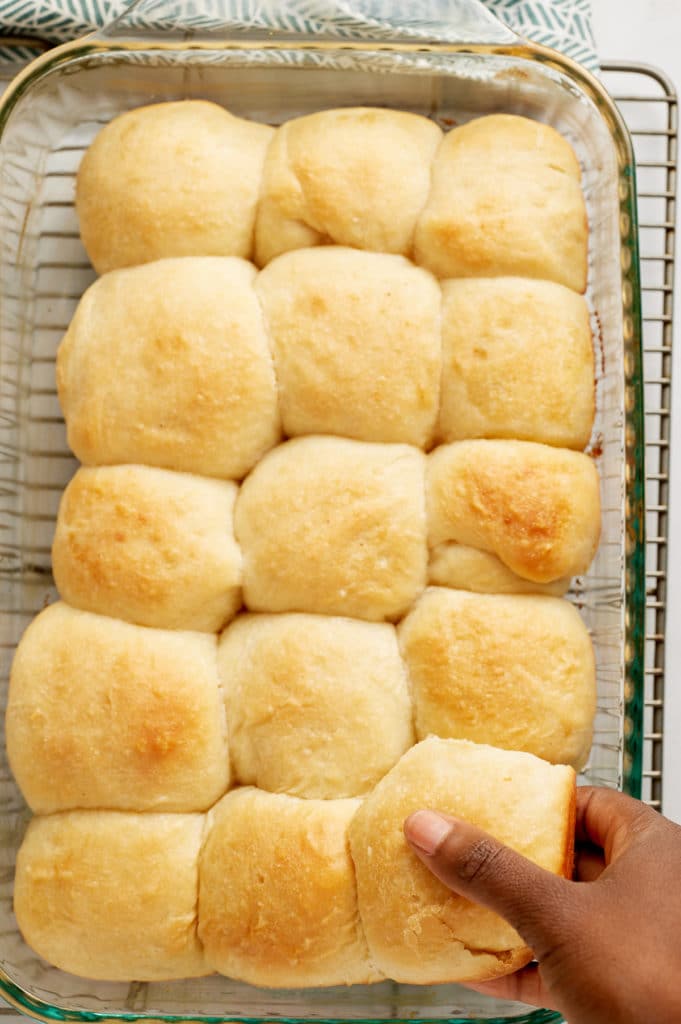
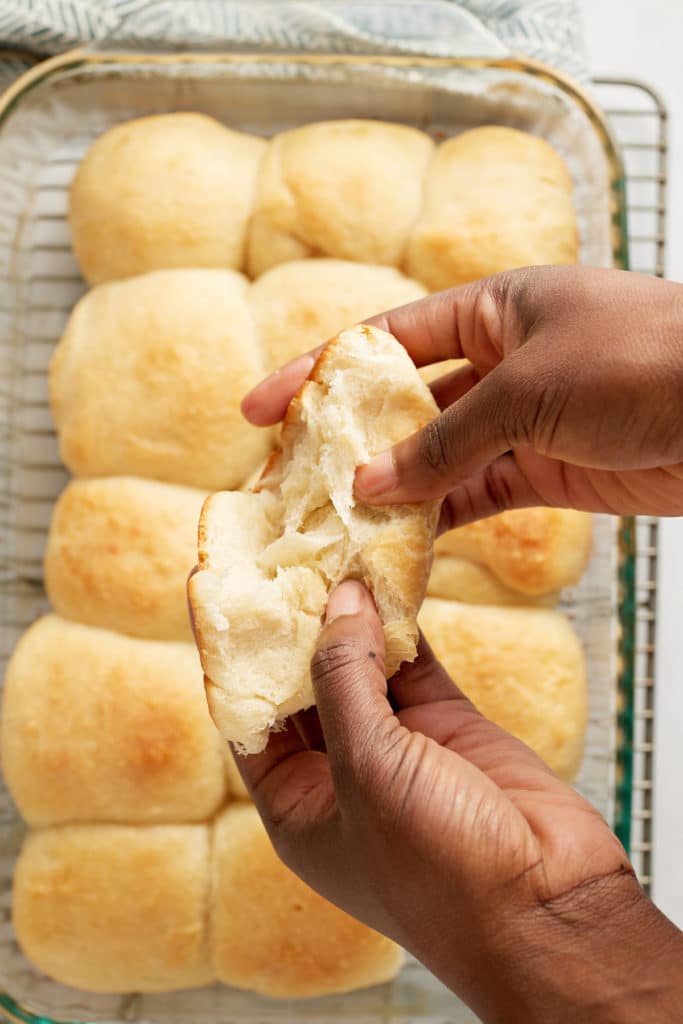
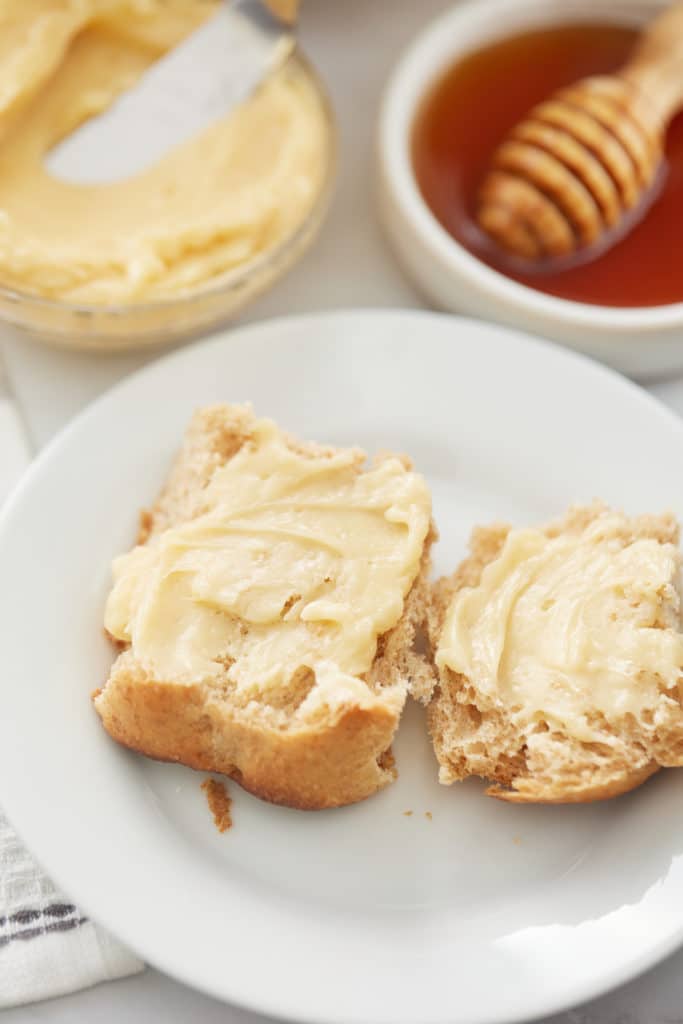
Honey butter is great served on dinner rolls, pancakes, waffles, and anything you feel needs a little sweetened butter. I sometimes just eat a wee little bit by itself. It's that good.
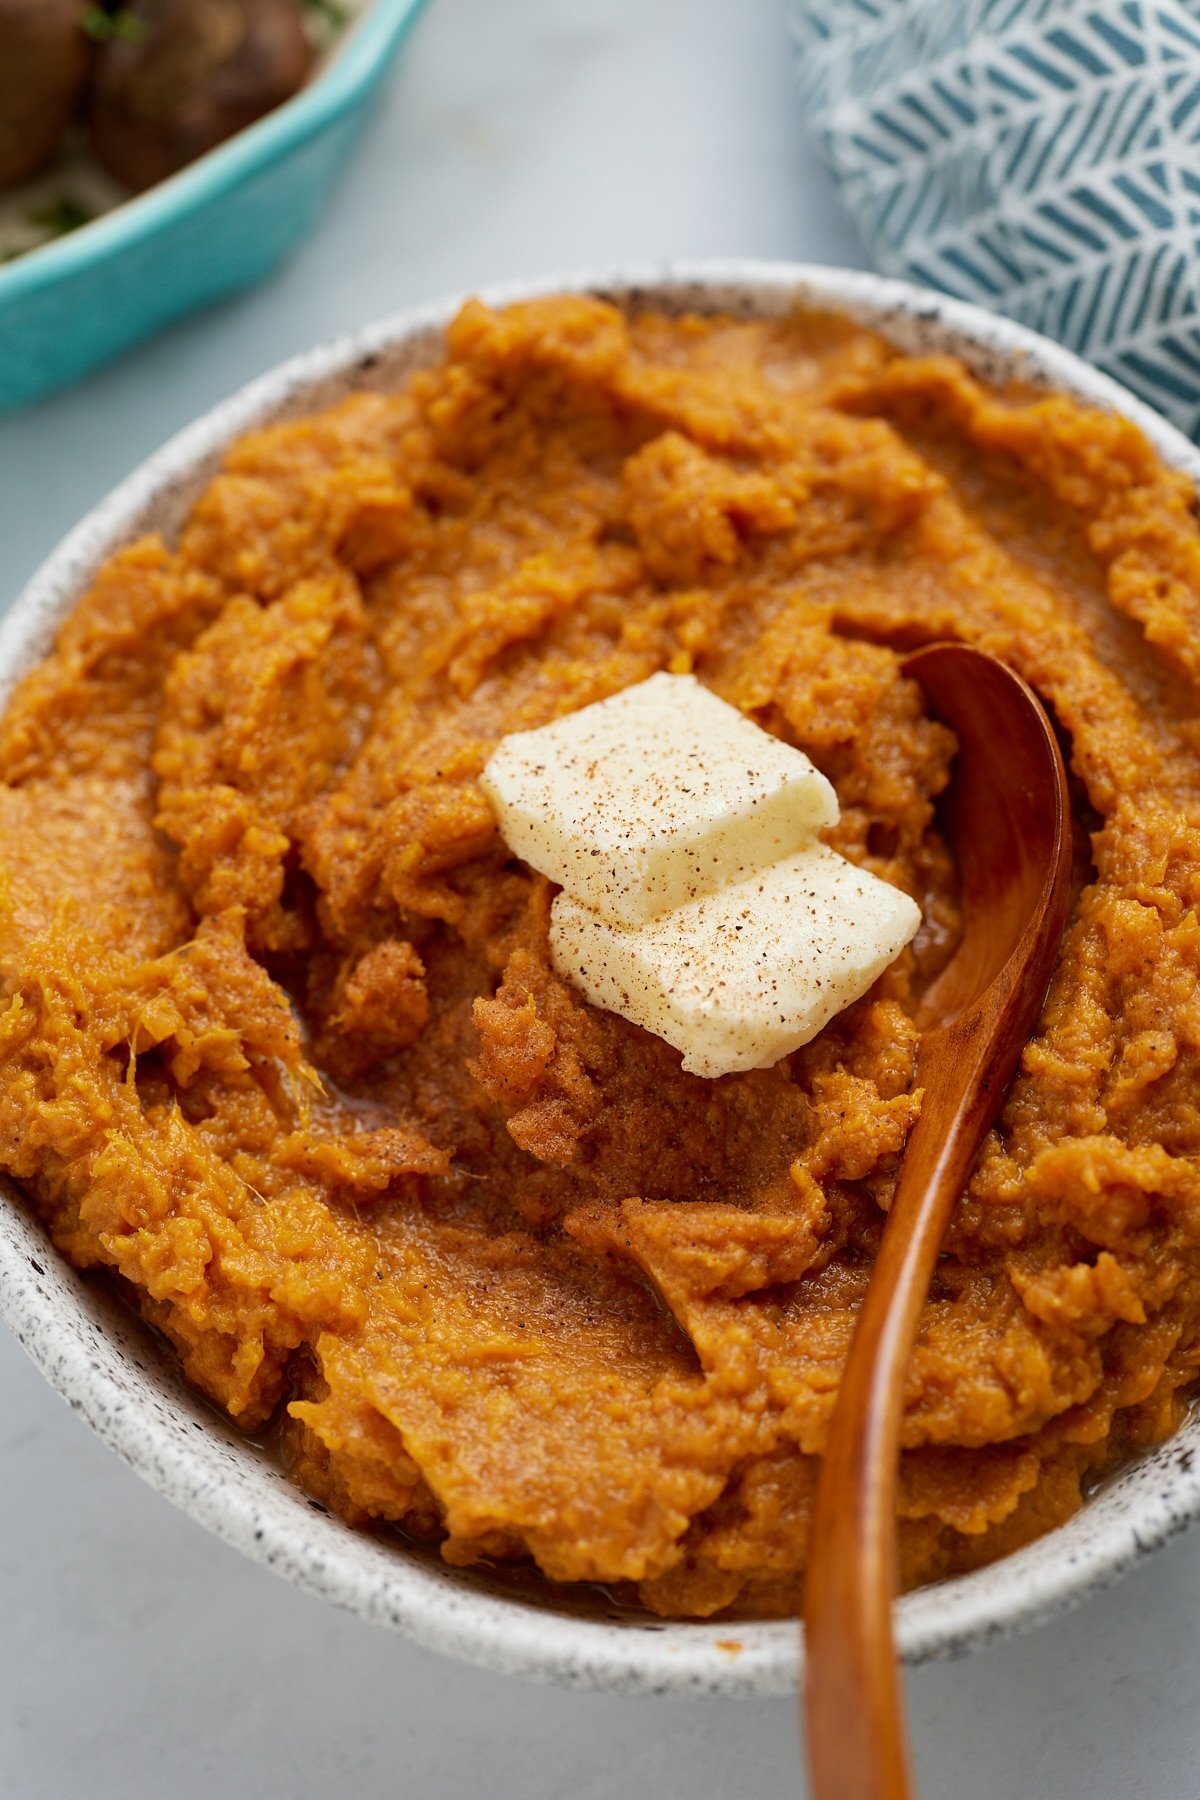
If you love flavored butter, be sure to try my garlic herb butter or my hot honey butter I serve on sweet potatoes.
How to make Honey Butter
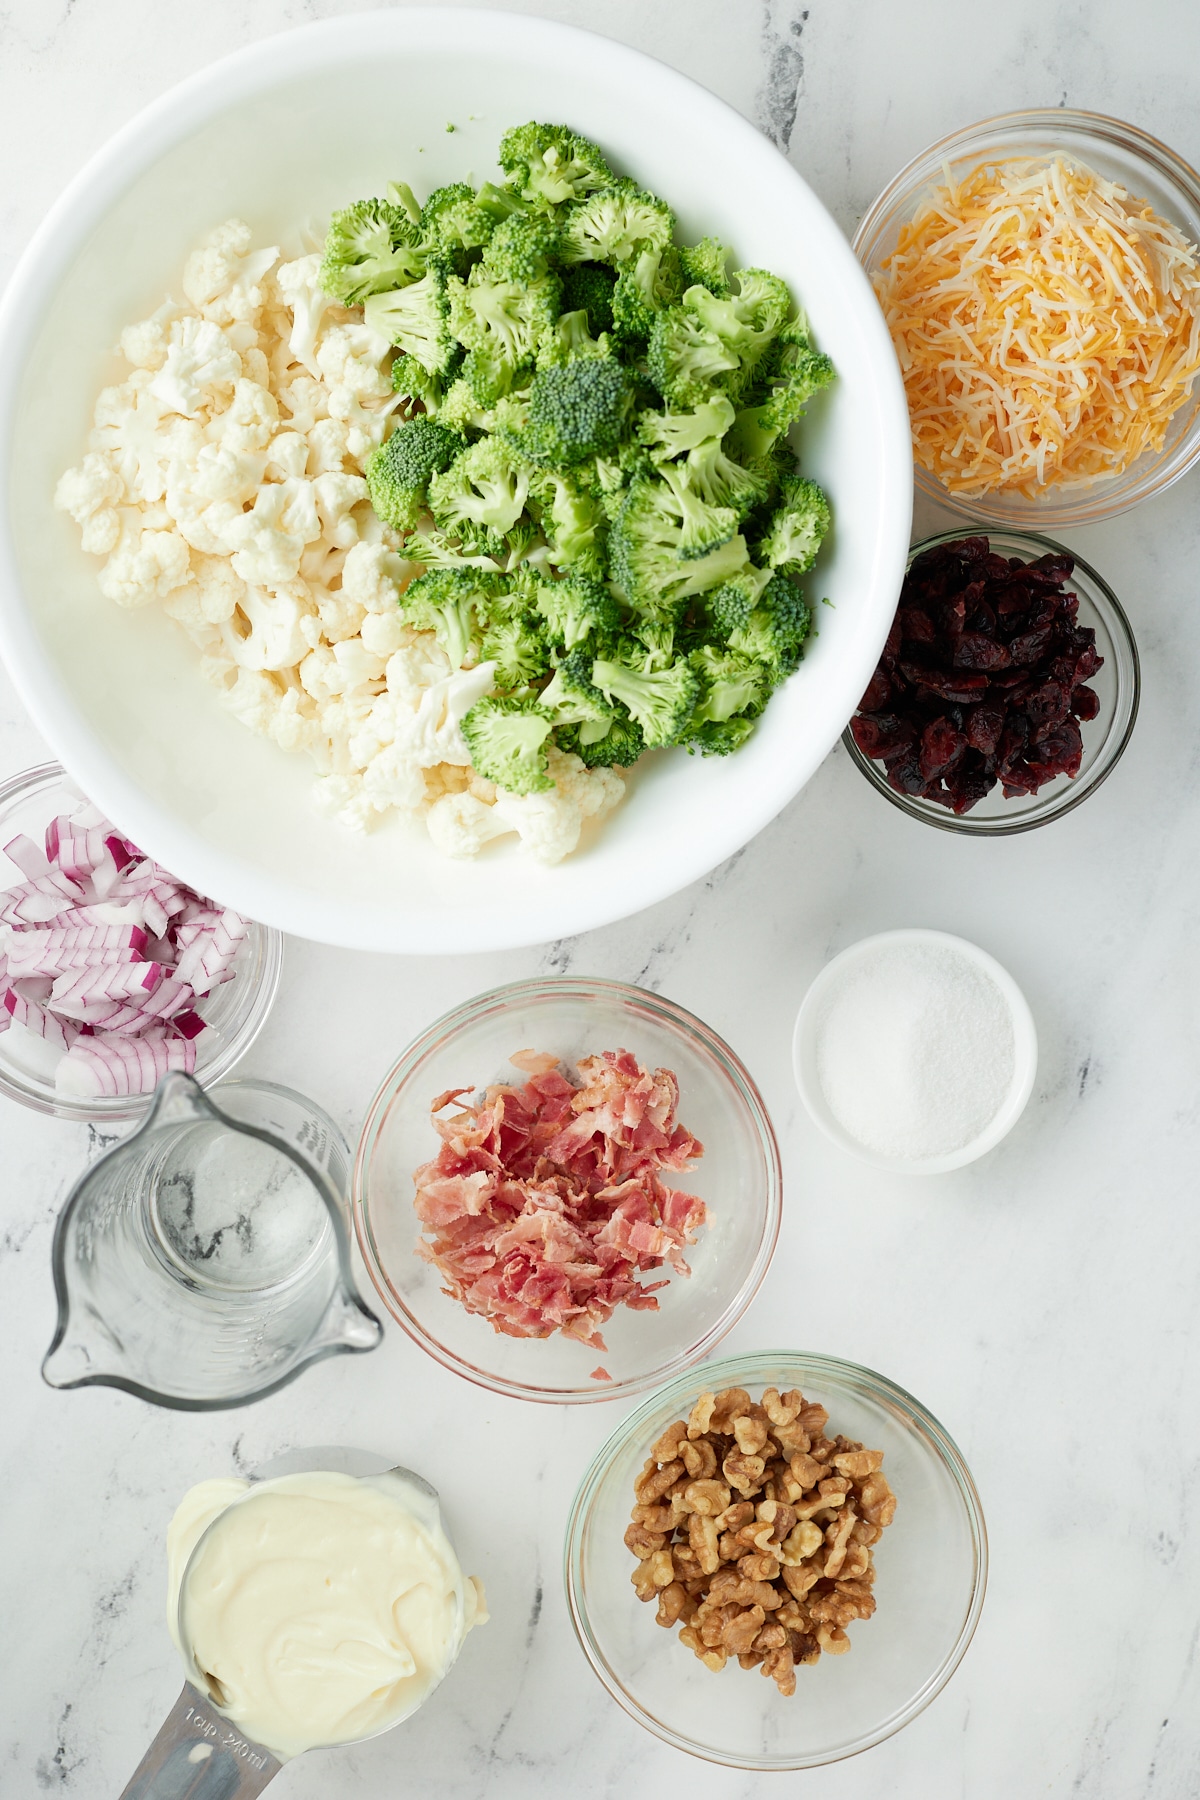
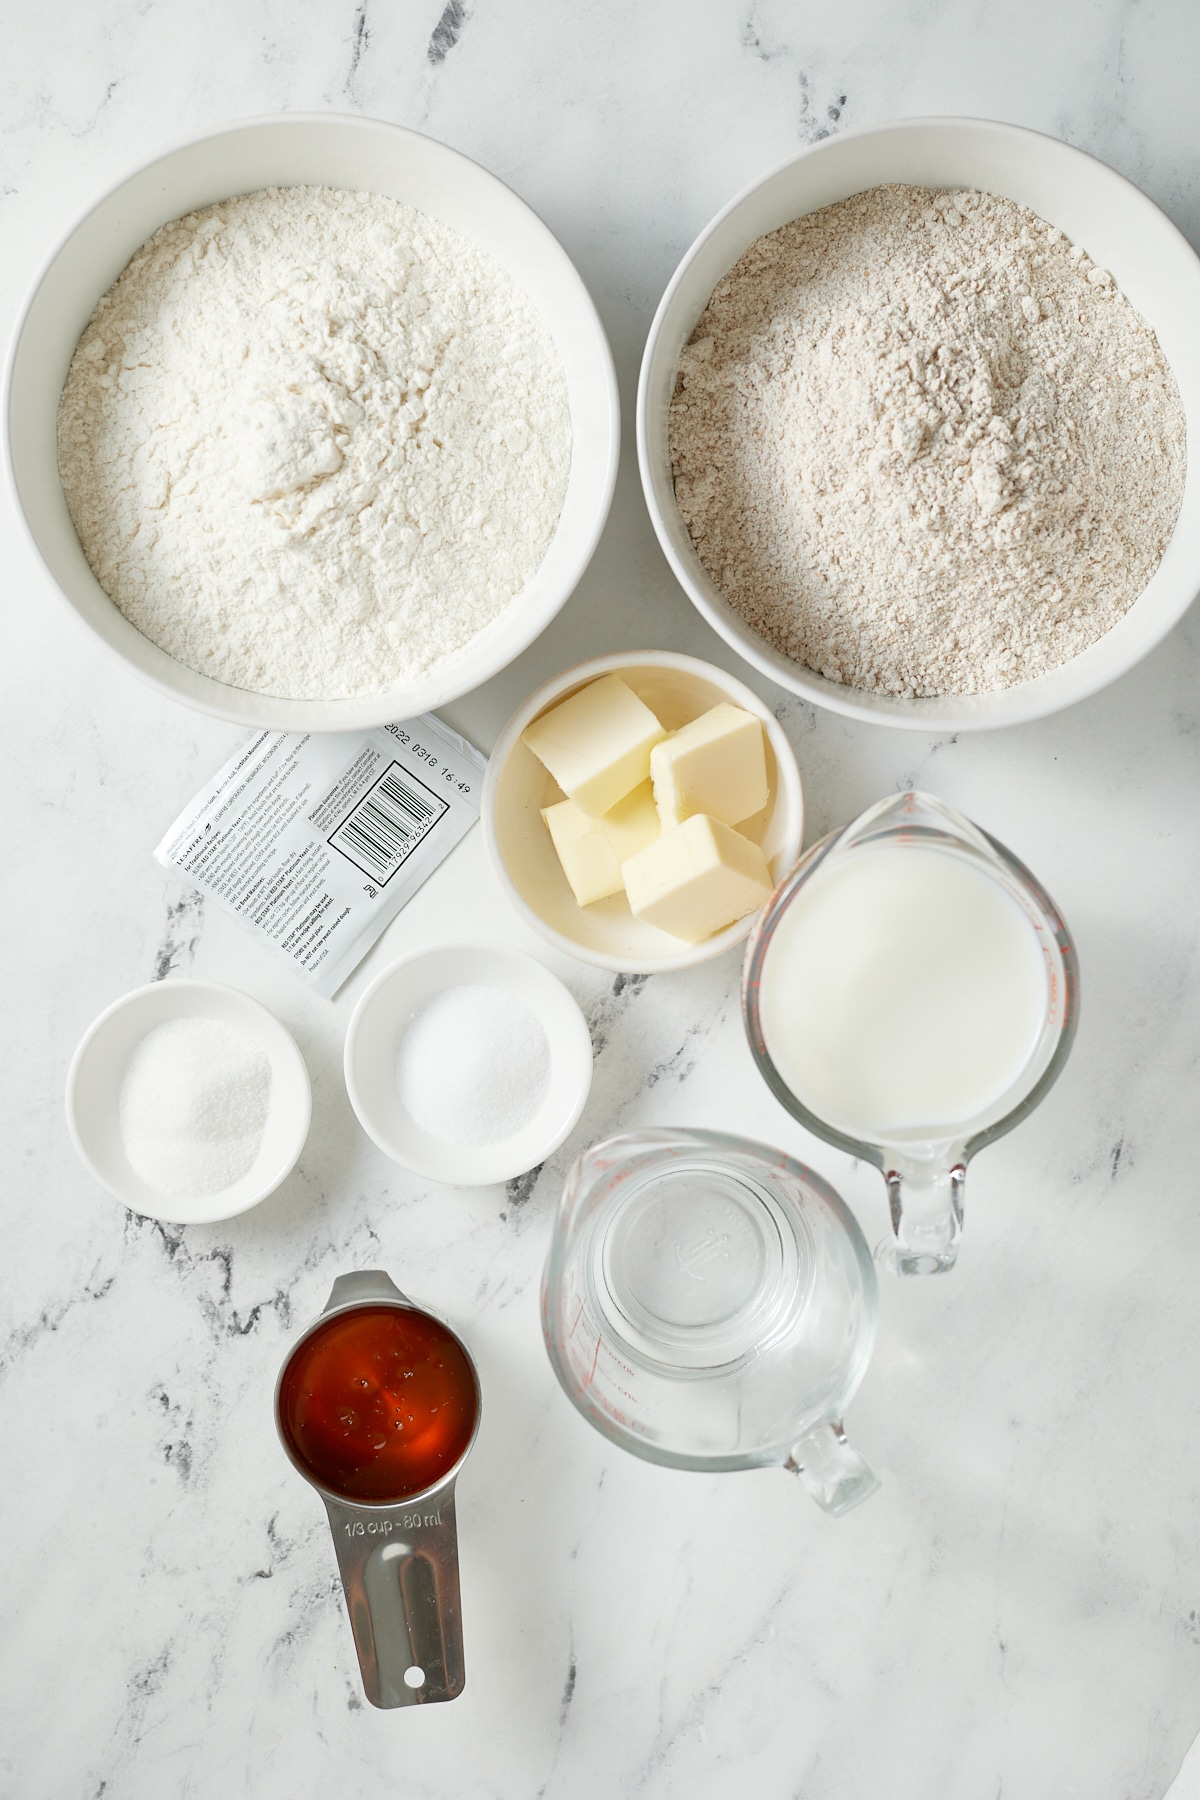
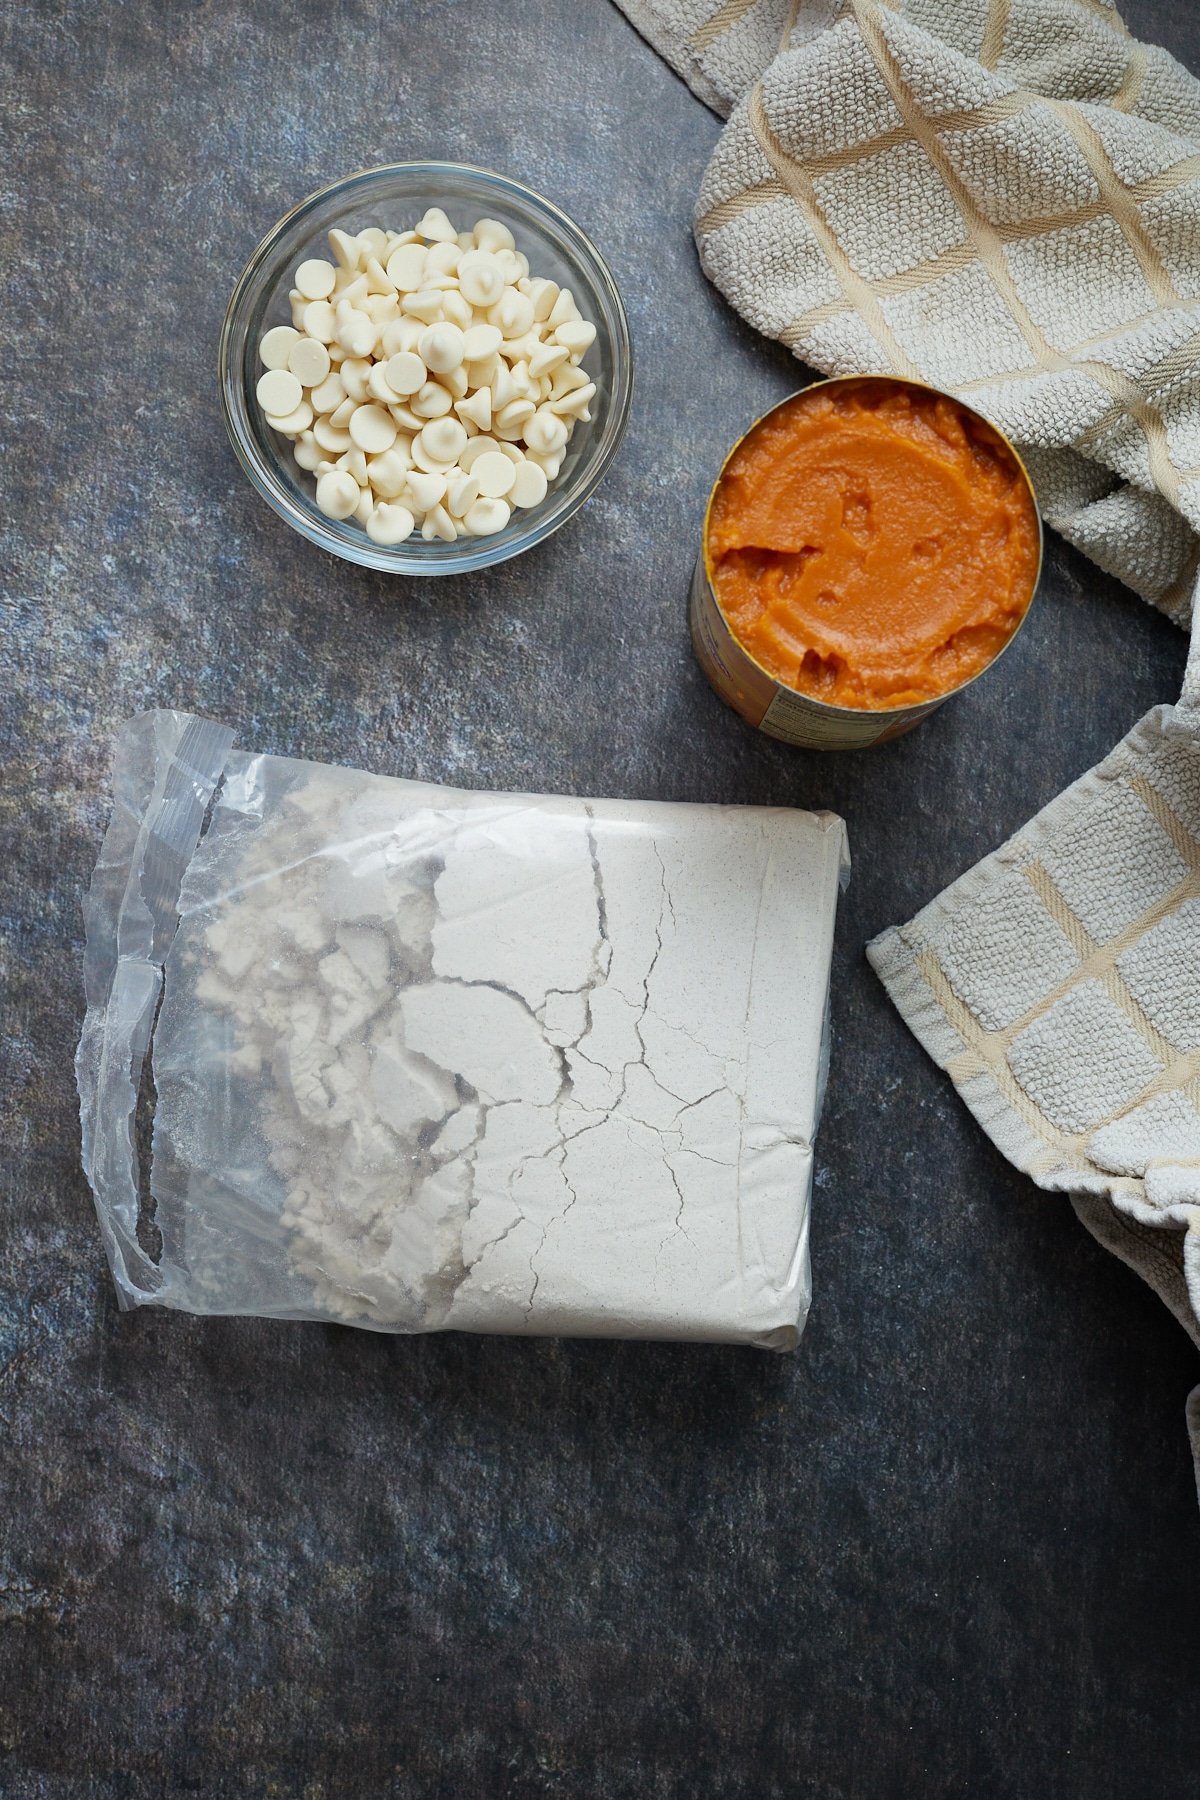
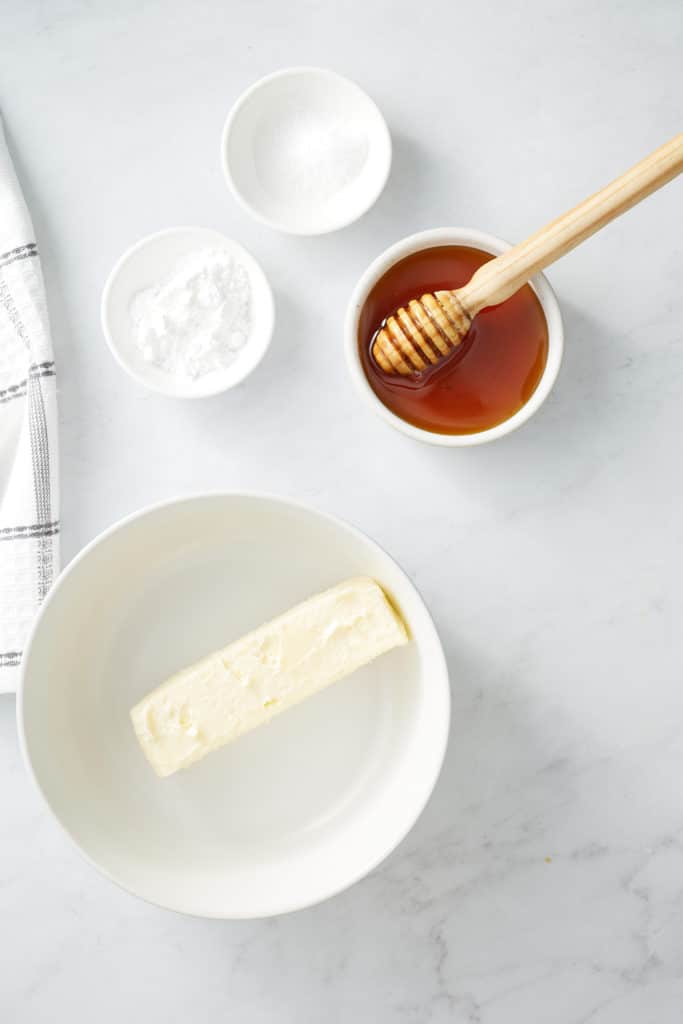
First, gather your ingredients. There's only four 🙂
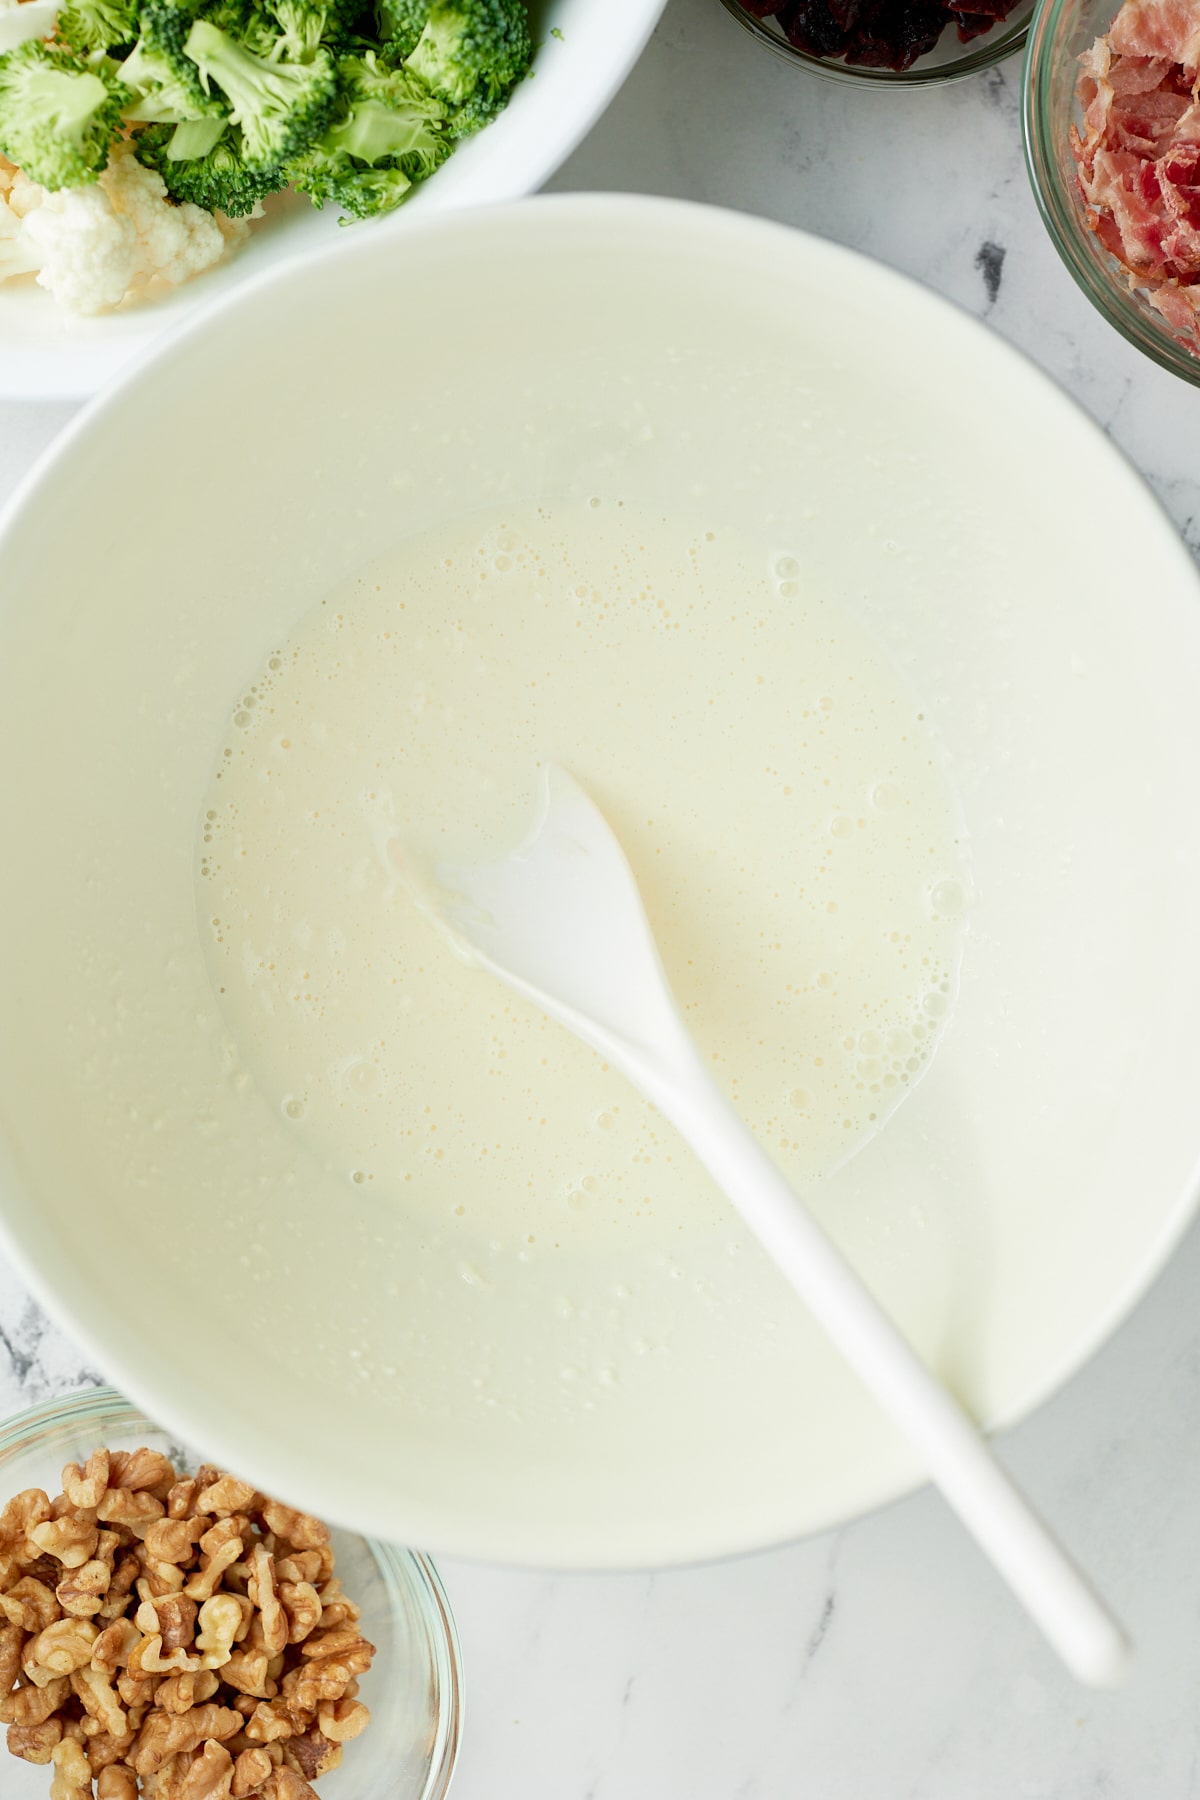
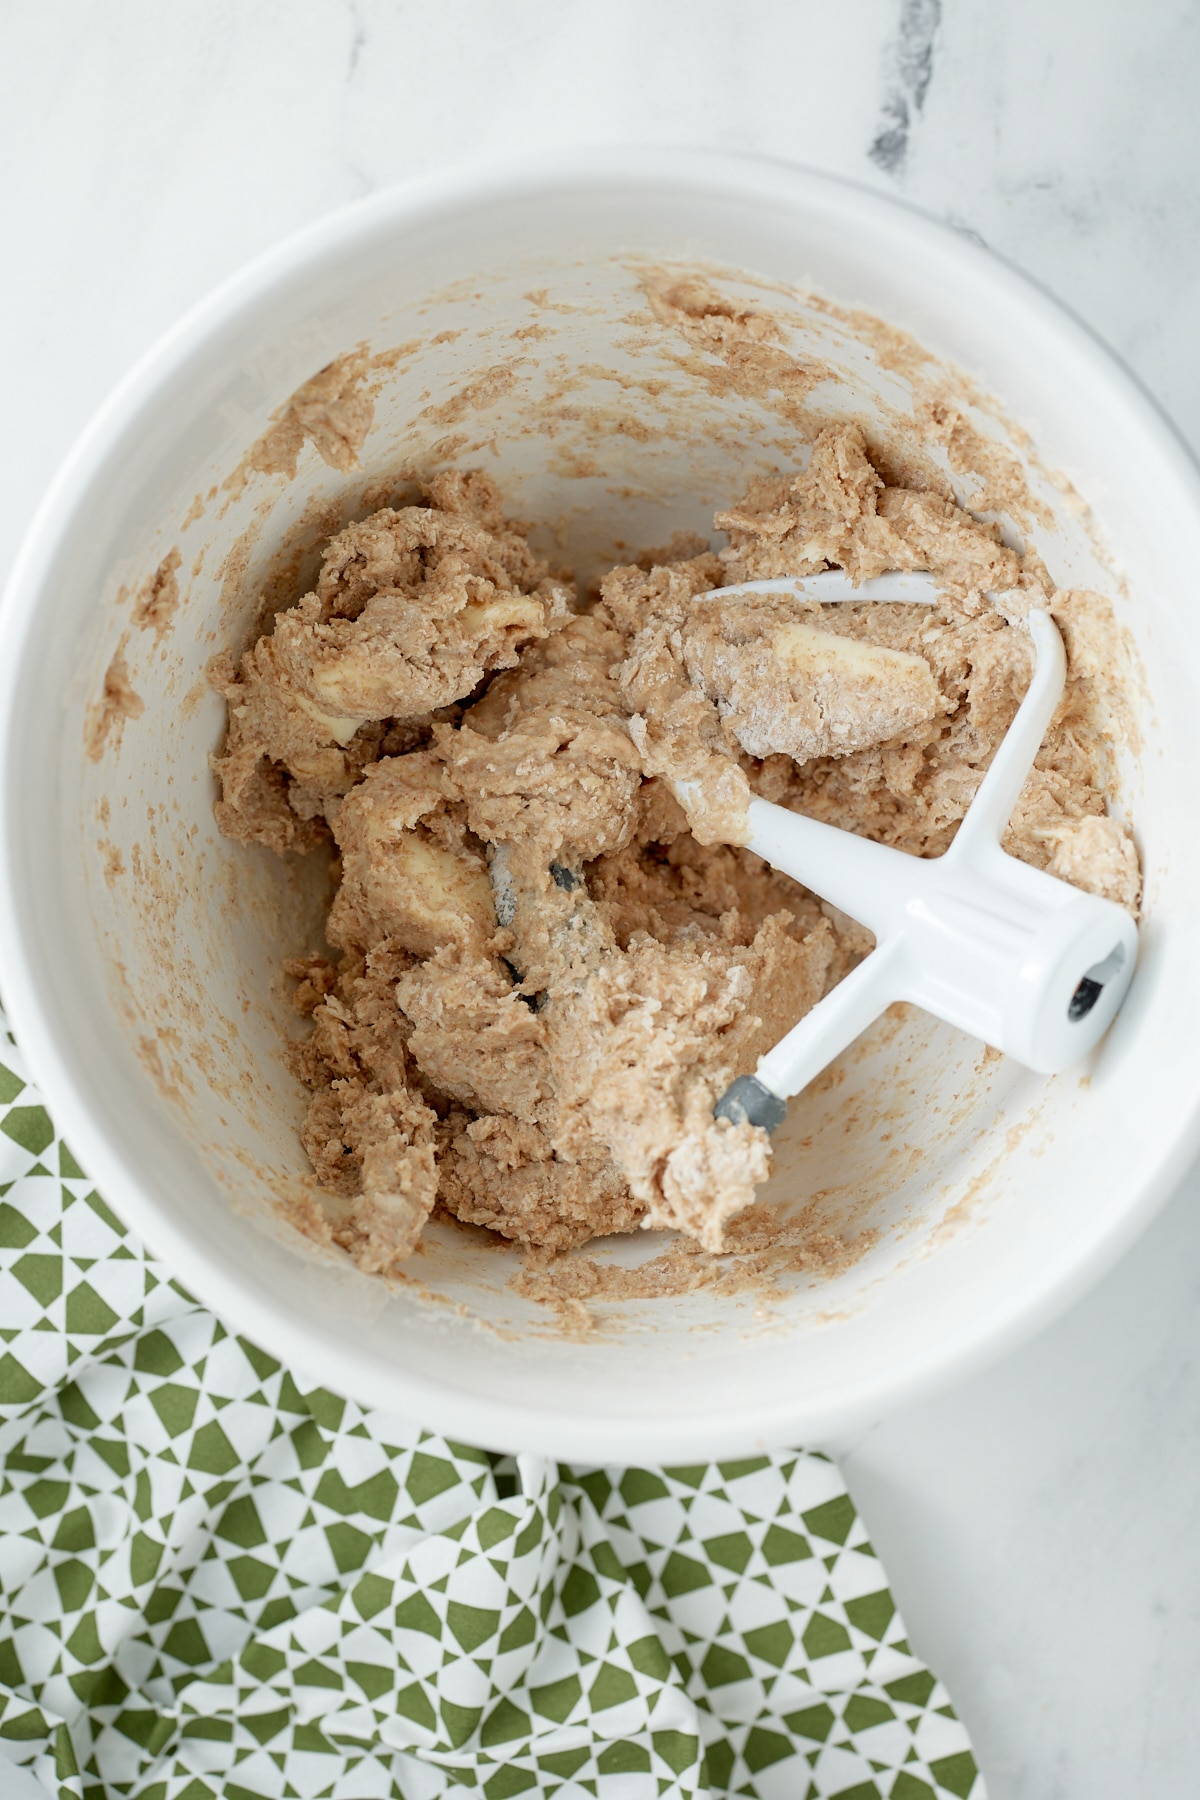
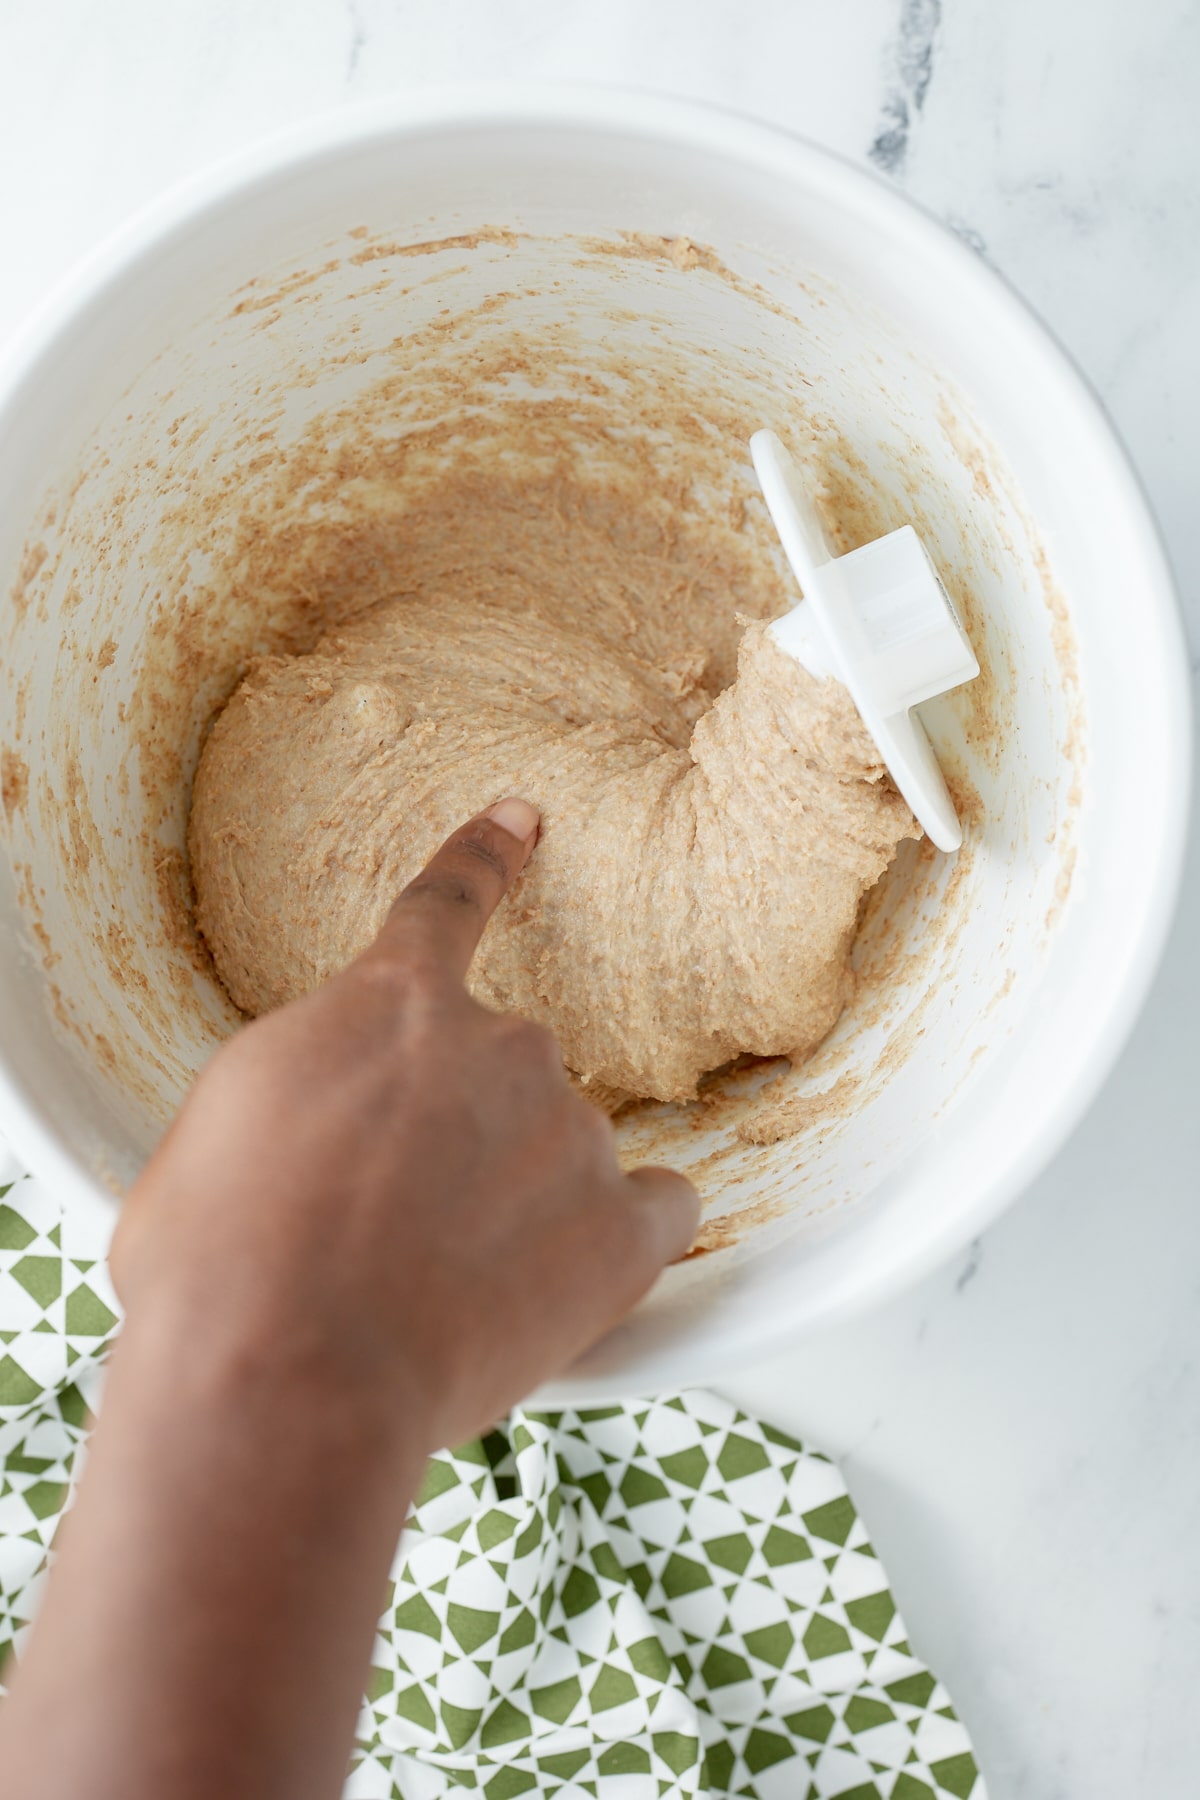
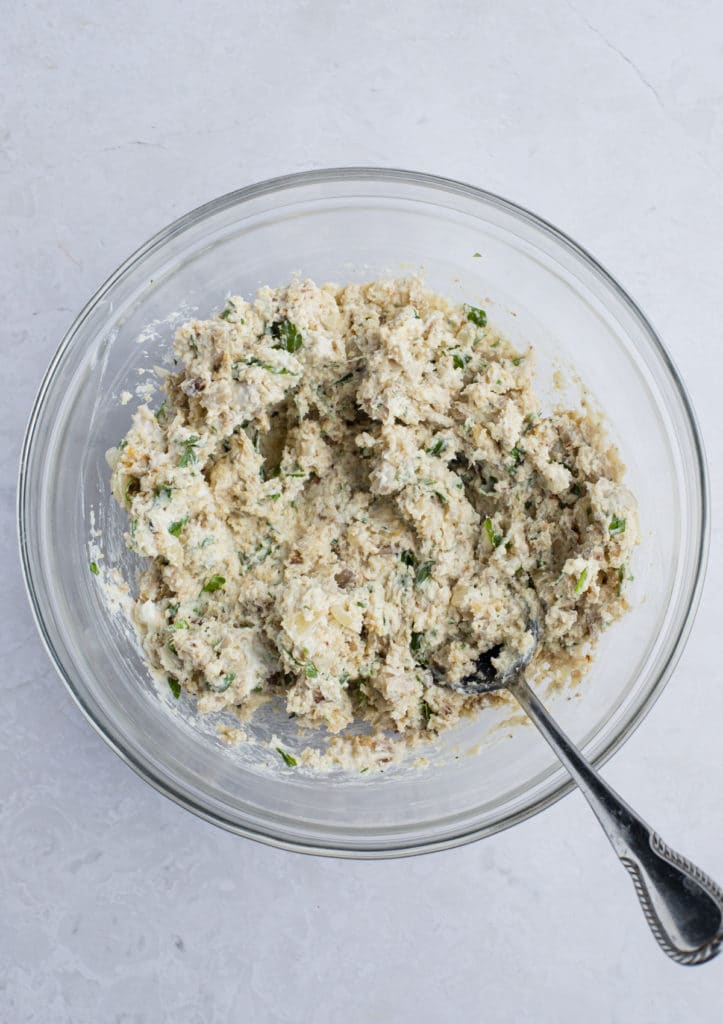
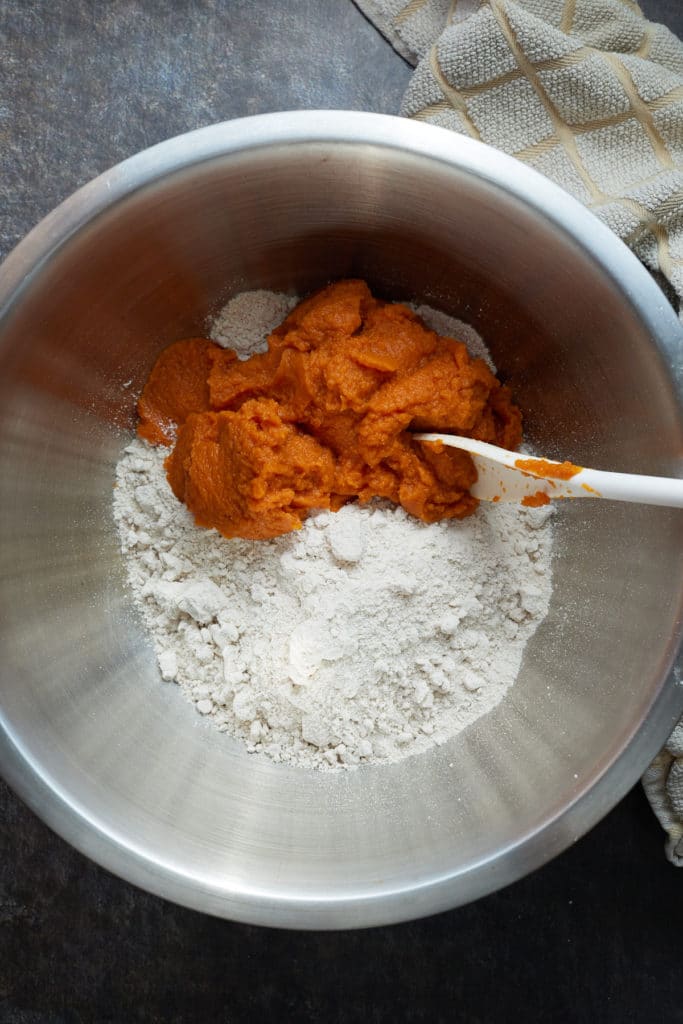
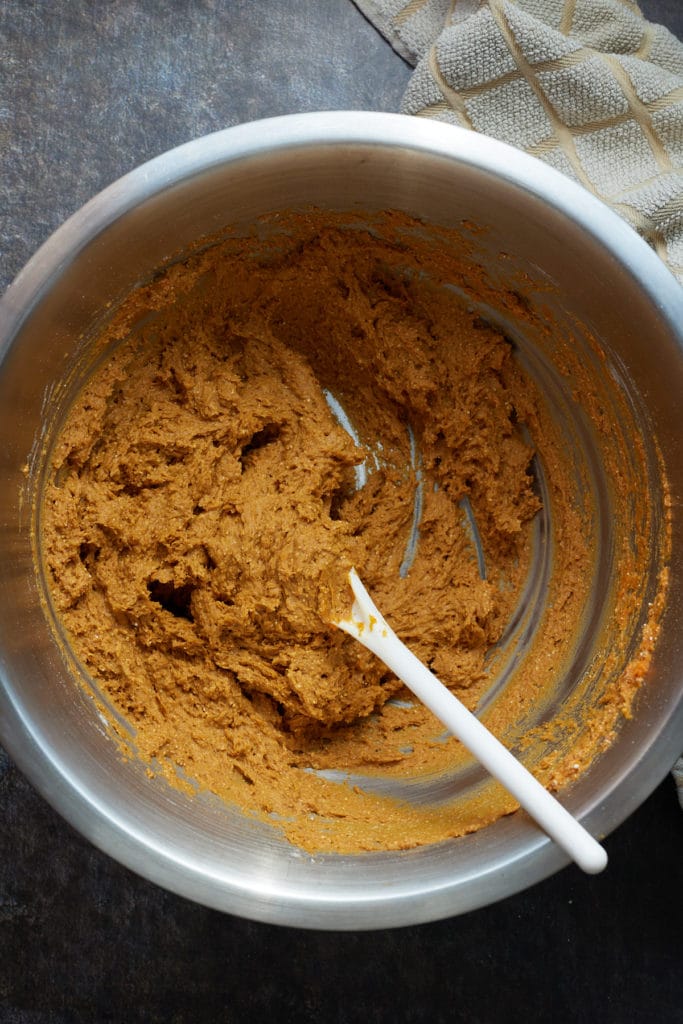
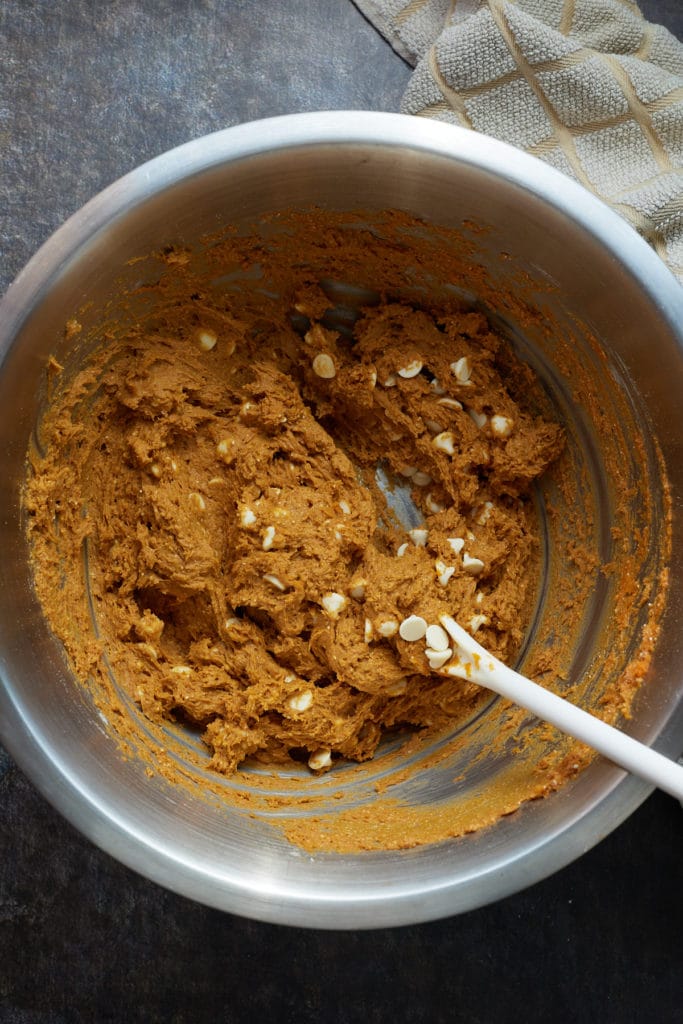
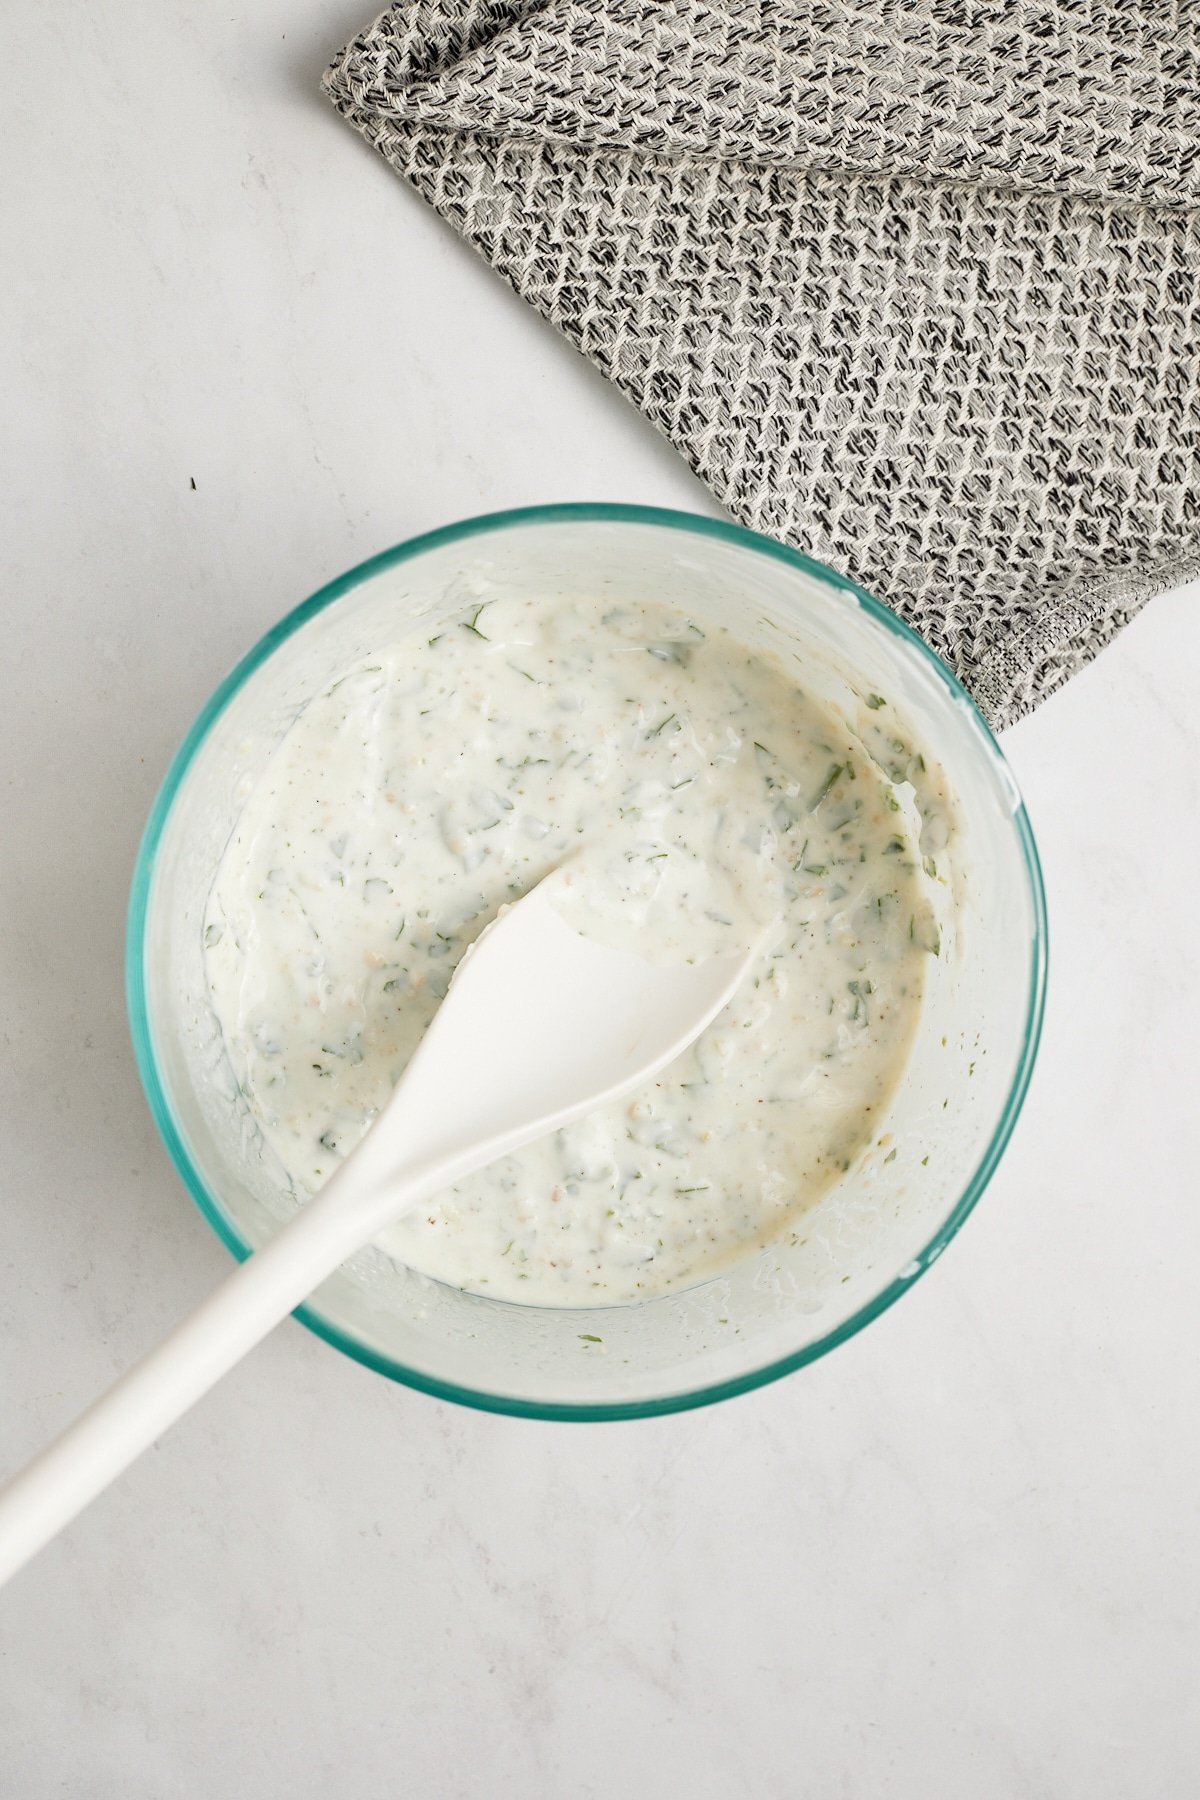
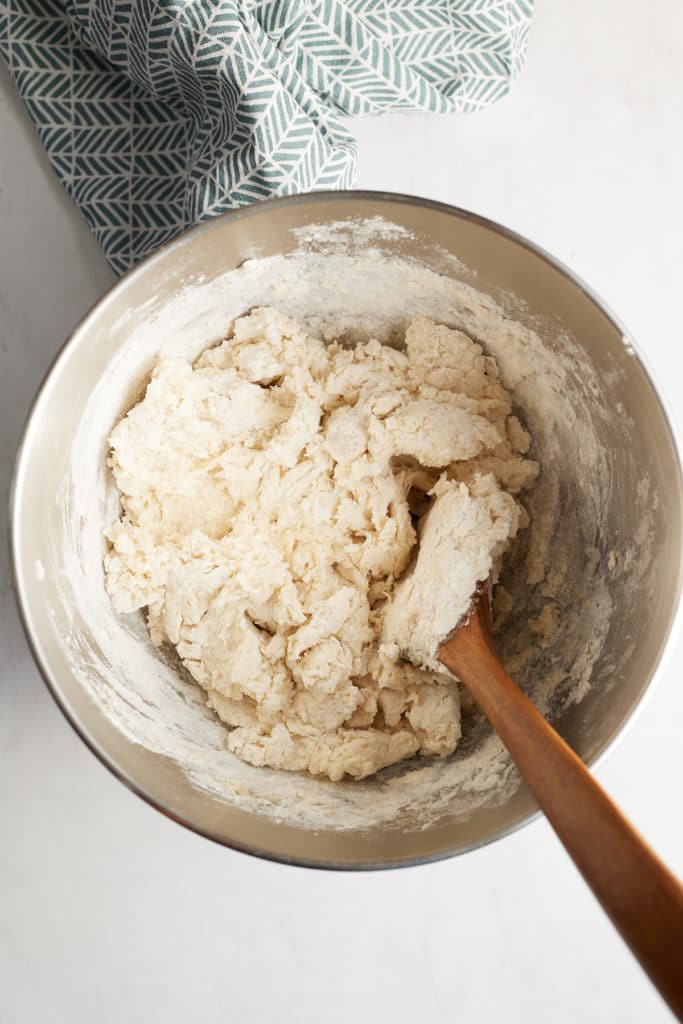
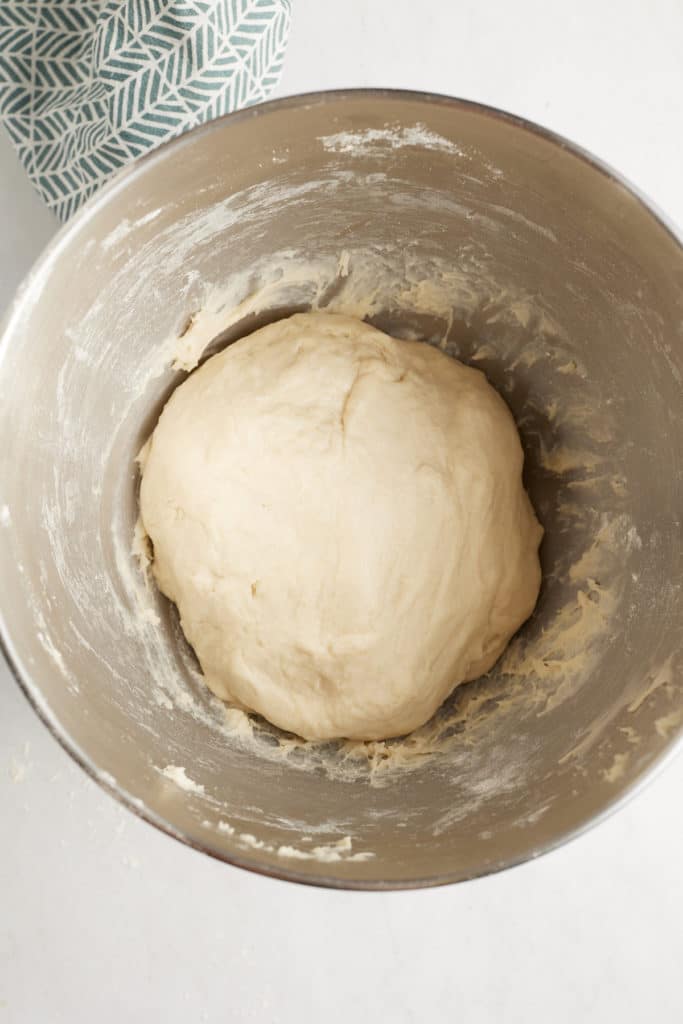
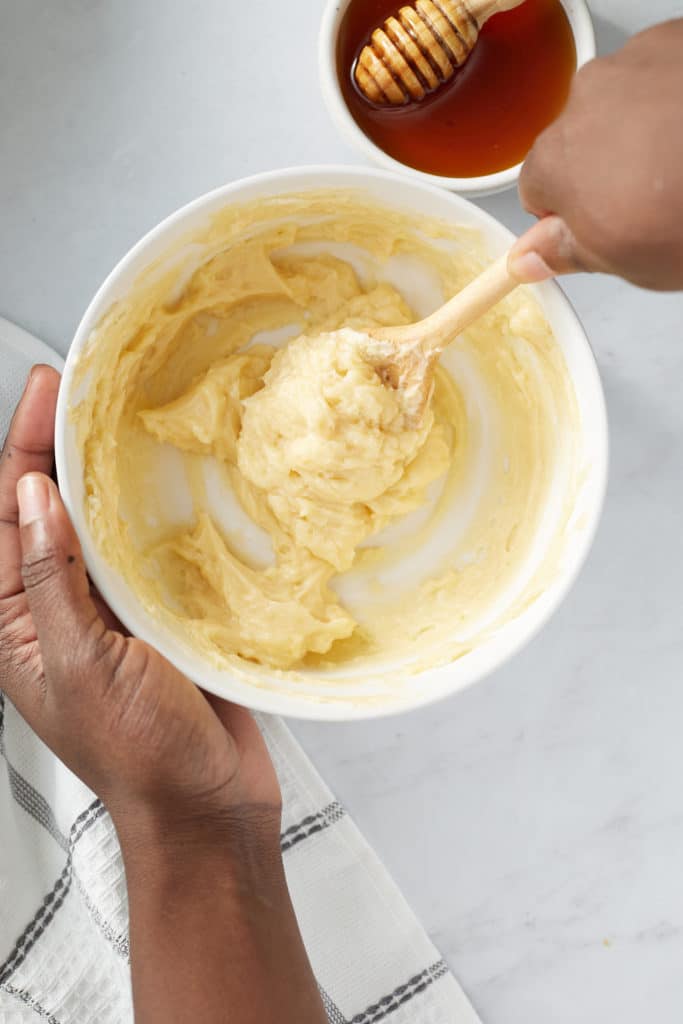
Add them to a bowl and use a wooden spoon to mix until combined.
Spread on your favorite dinner roll, bread, or pancakes 🙂
How to Store Honey Butter
Store the butter in an air-tight container or roll the butter into a parchment paper roll.
How long does it keep?
Honey butter can keep for a while so long as it's stored properly. If made with pasteurized butter, it can stay on the counter for about 1-2 days. Any longer and you run the risk of the butter becoming rancid.
The shelf life of butter becomes longer once you refrigerate it, up to three months. You can also freeze it, just defrost before using.
Additional Notes
- Use unsalted butter for this recipe. However, if you only have salted, then reduce the amount of added salt.
- Soften your butter before making this recipe. Take it out of the fridge atleast 30 minutes before using it, but I let mine sit out a little longer until it gets really soft, about 1-2 hours. If you are in a pinch, you can gently heat it in the microwave but take care not to melt it.
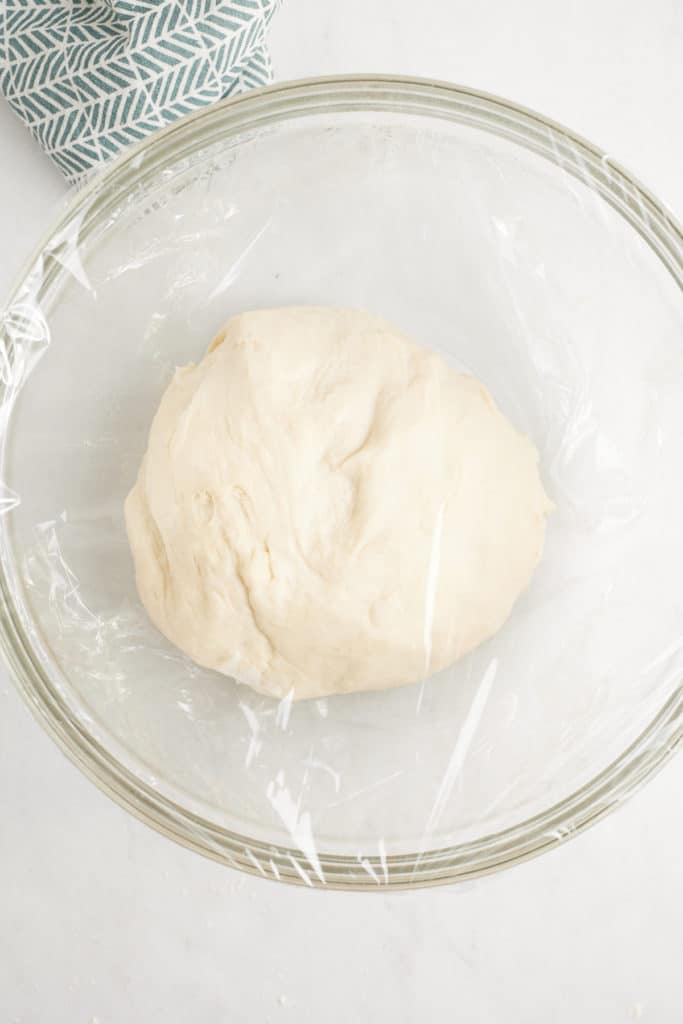
- If not using straight away, be sure to wrap it once it has chilled or store it in an air tight container.
- For an even lighter whipped butter, use a mixer to mix the ingredients. However, with really softened butter, I find a wooden spoon, or any spoon, gets great results.
Serve these with...

Homemade Honey Butter Recipe
Ingredients
- 8 Tablespoons unsalted butter softened
- 3 Tablespoons honey
- 1 Tablespoon powdered sugar
- ¼ teaspoon kosher salt
Instructions
- Place ingredients in a bowl and use a spoon to mix to combine.
Notes
- Use unsalted butter for this recipe. If you only have salted, then reduce the amount of added salt.
- Soften your butter before making this recipe. Ideally you should take it out of the fridge atleast 30 minutes before using it, but I let mine sit out a little longer until it gets really soft, about 1-2 hours. If you are in a pinch, you can gently heat it in the microwave but take care not to melt it.
- If not using straight away, be sure to wrap it once it has chilled or store it in an air-tight container. For an even lighter whipped butter, use a mixer to mix the ingredients. However, with really softened butter, I find a wooden spoon, or any spoon, gets great results.