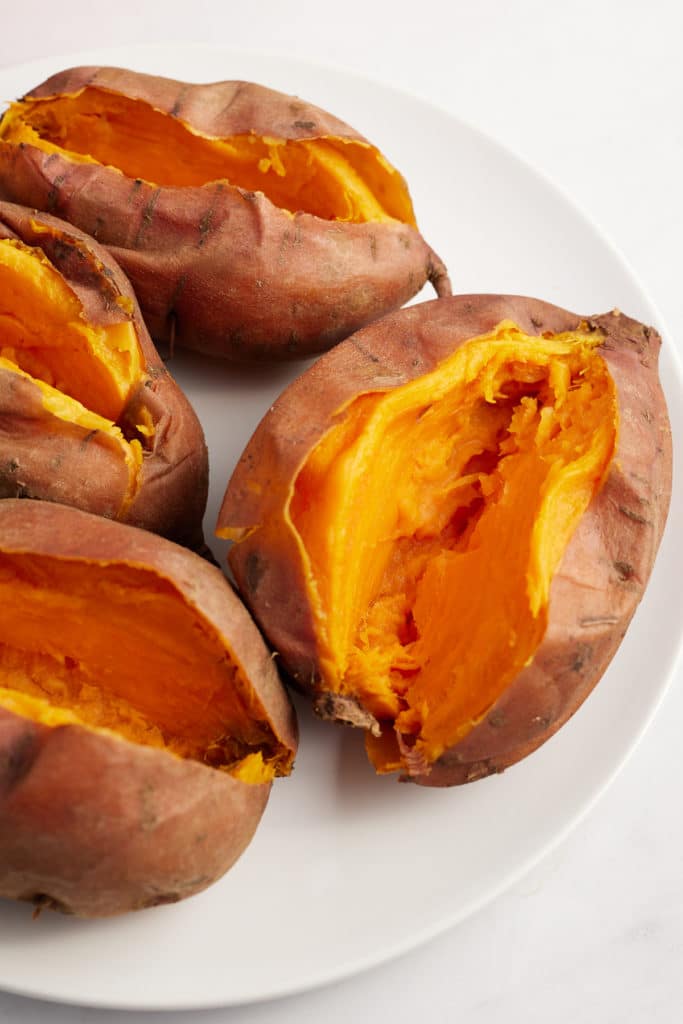
Cook whole sweet potatoes quickly and easily in your Instant Pot. Perfectly tender, cooking these in your pressure cooker is a great option when you need to get dinner on the table in a hurry, and it's a bonus that you don't have to turn your oven on!

This post contains affiliate links, please read my full disclaimer here.
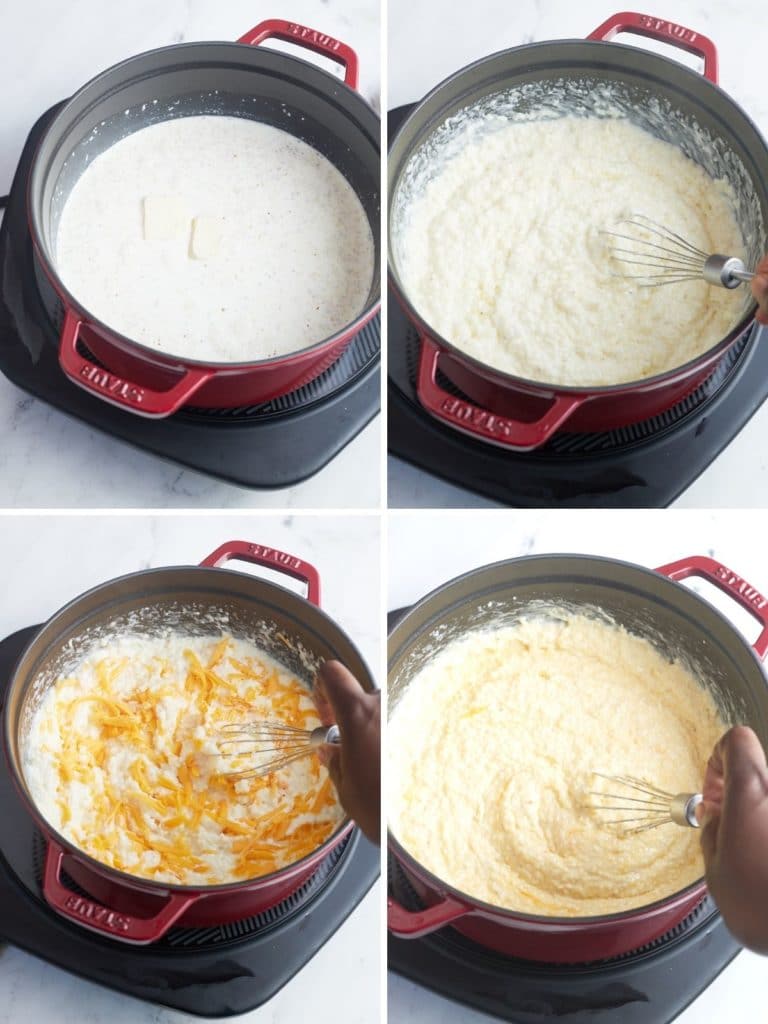
You’ll find the full recipe with ingredient amounts and instructions in the recipe card at the bottom of this post. Be sure to check out the blog post itself for extra tips and tricks!
Sweet potatoes make a regular appearance at mealtimes in our home, and cooking them in the Instant Pot is so hassle free!
They come out perfect every time, and make for a great side dish that will work with all of your favorite mains. Dinner times should be effortless, and this method makes sure it is!
Be sure to try my Instant Pot Mashed Potatoes and Instant Pot Green Beans and Potatoes too!
How to make Instant Pot Sweet Potatoes
- Place water and sweet potatoes in Instant Pot (Pressure Cooker) insert. I usually make about 4-6 medium sized sweet potatoes at a time.
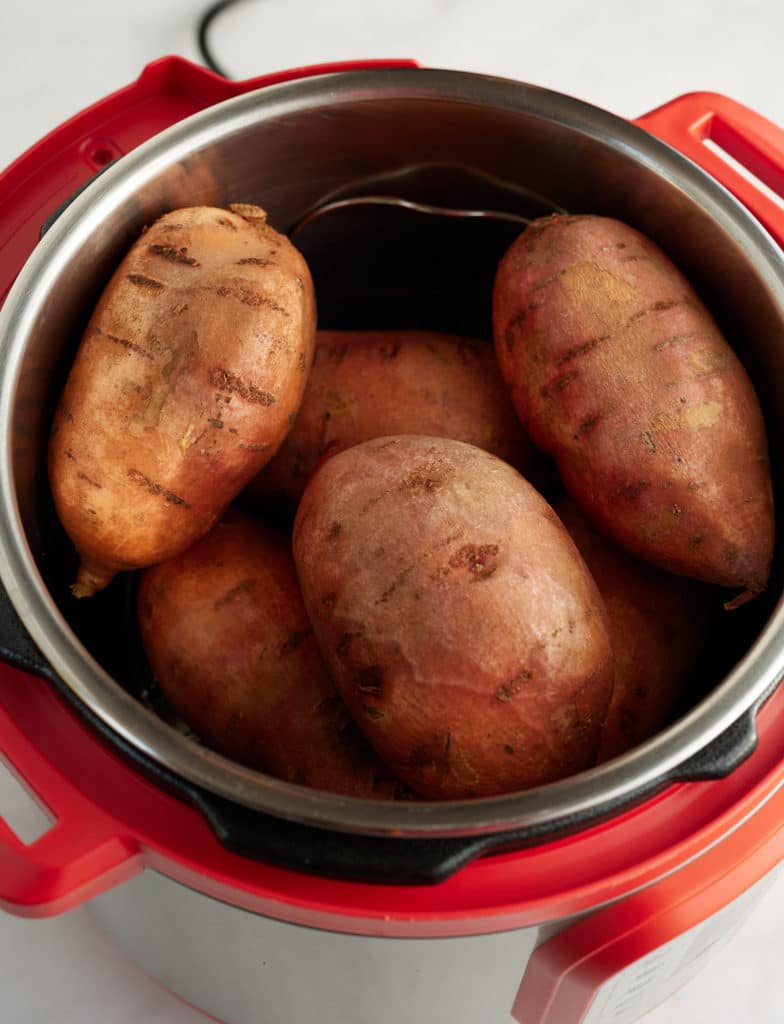
- Cook on high pressure from anywhere between 15-25 minutes according to the size as noted below. Allow to naturally release for 10 minutes, then quick release any remaining pressure.

Serve and enjoy 🙂
Other Cooking Methods
Cooking sweet potatoes in the Instant Pot guarantees perfect results every time, they are perfectly tender and you can just set it and forget it. If you don't have an electric pressure cooker, you can use these other methods:
- Oven: Place on a lined baking sheet and pierce the skin with a fork. Bake at 425F til tender, around 50 minutes.
- Slow Cooker: Place in your Crockpot and close the lid. They will take around 6 hours on low and 3 hours on high.
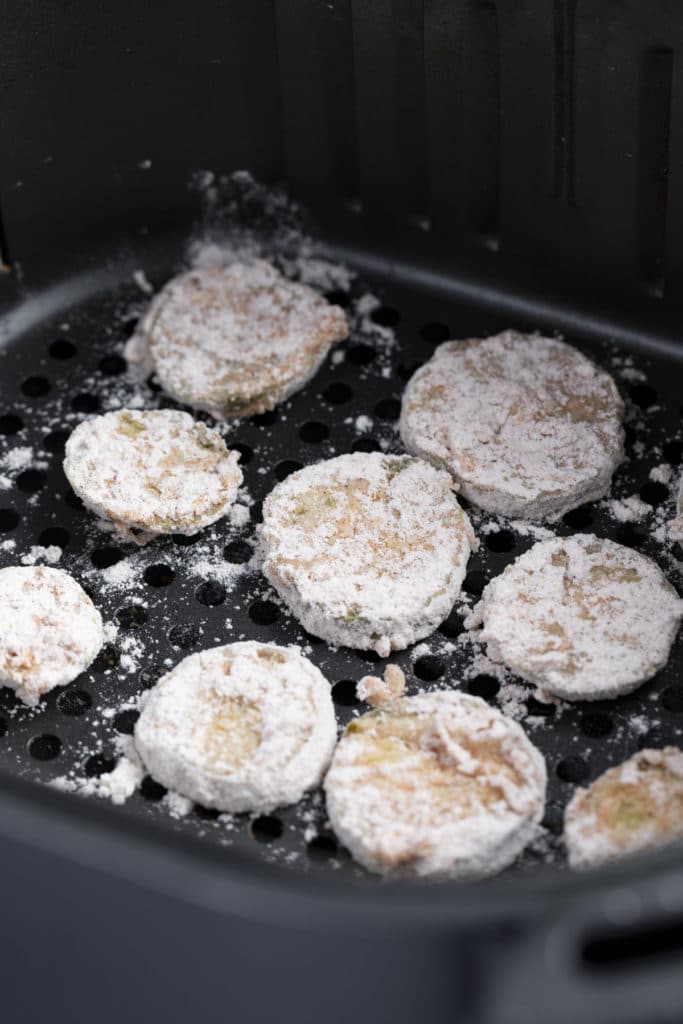
- Air Fryer: Check out my recipe for Air Fryer Sweet Potatoes, served with hot honey butter, they take around 35 minutes to cook.
- Microwave: If you are in a real hurry, you can cook a sweet potato in around 5 to 8 minutes on full power, Pierce with a fork and cook for 5 minutes, then in 30 second increments til tender. It's great if you are in a hurry, though I much prefer the texture with the Instant Pot.
Do you have to pierce the skins?
I don't pierce the skins of the sweet potatoes. I find that they will split slightly when they cook, but that's fine as I'm going to break them open anyway! You can use a fork to pierce the skin a few times if you prefer.
How do you serve them?
These make for a great side dish, topped with some Garlic Herb Butter with a pinch of salt and pepper, or add other favorite toppings like sour cream, shredded cheese or bacon bits. They are great to mash too, and they sit wonderfully alongside meat, seafood, chicken and veggie dishes. Try serving them with:
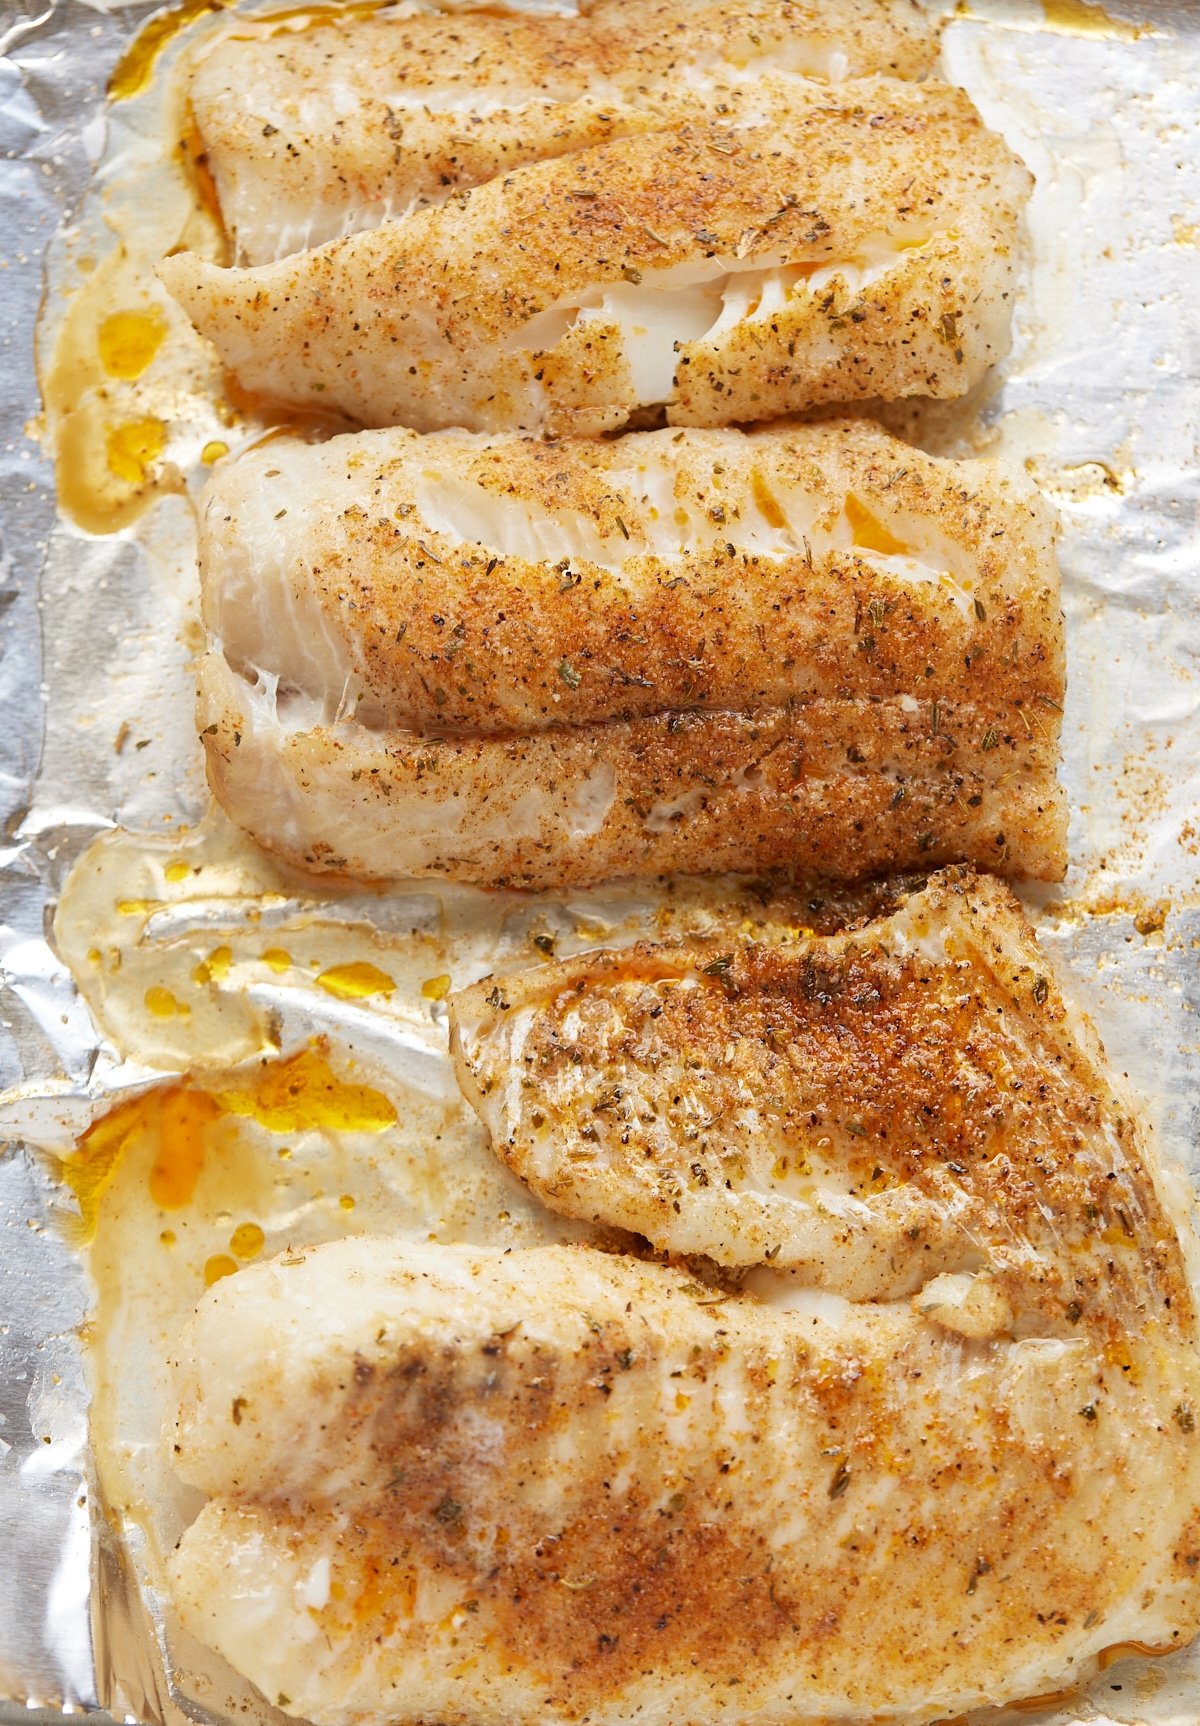
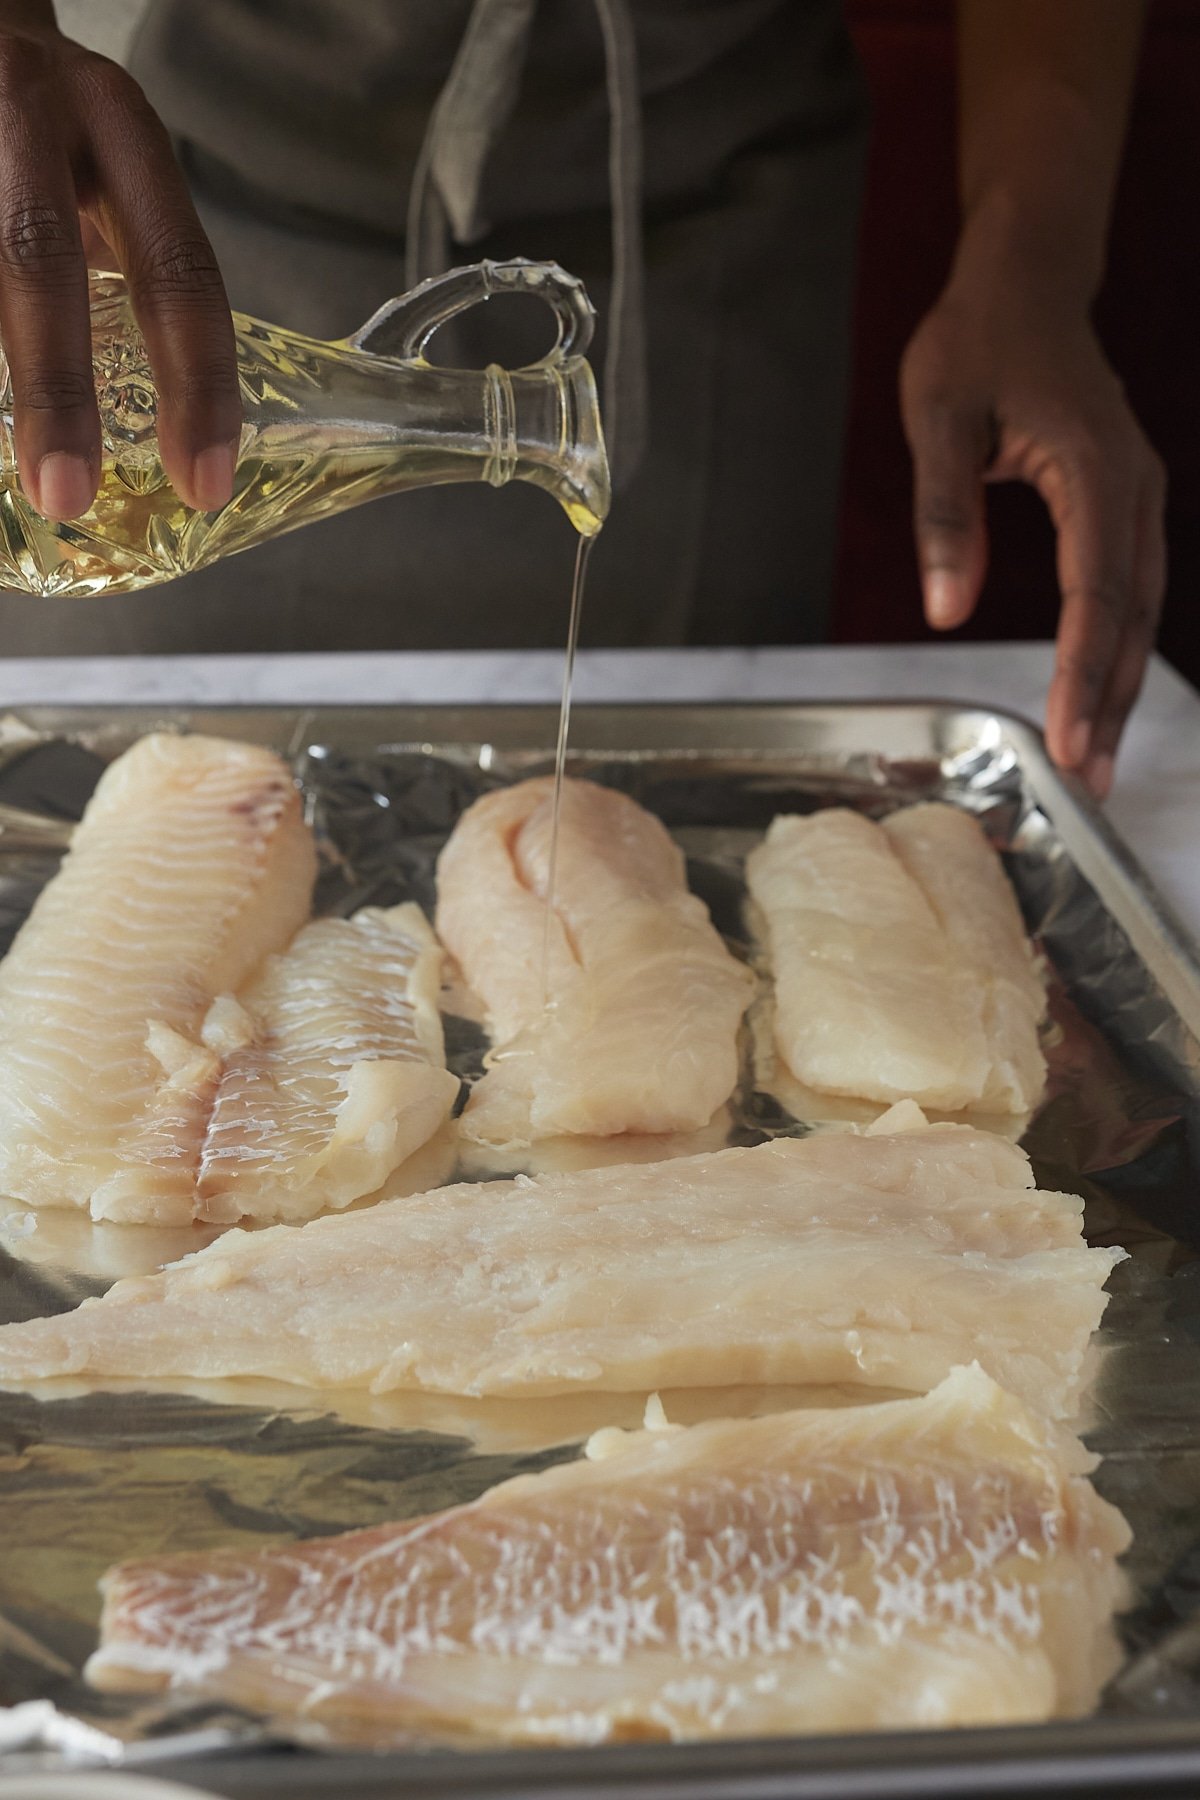
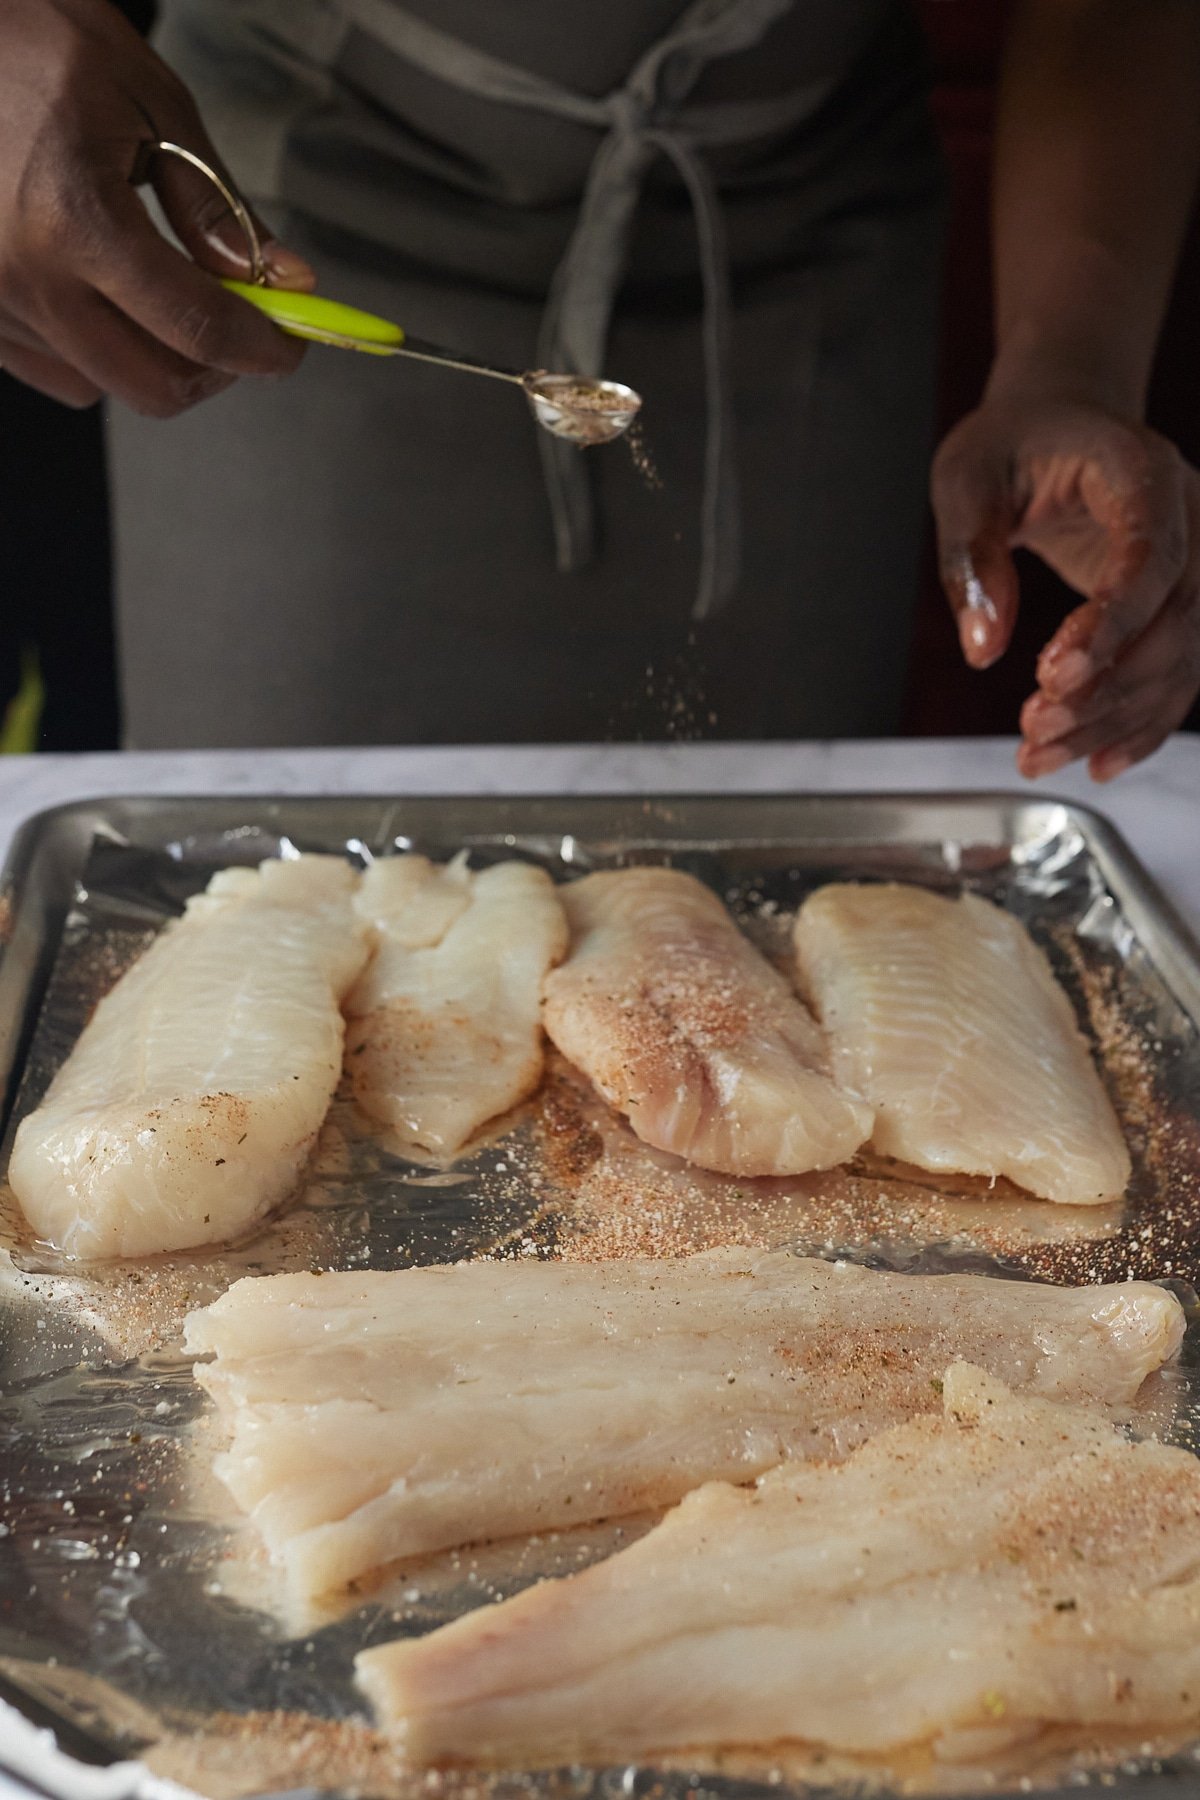
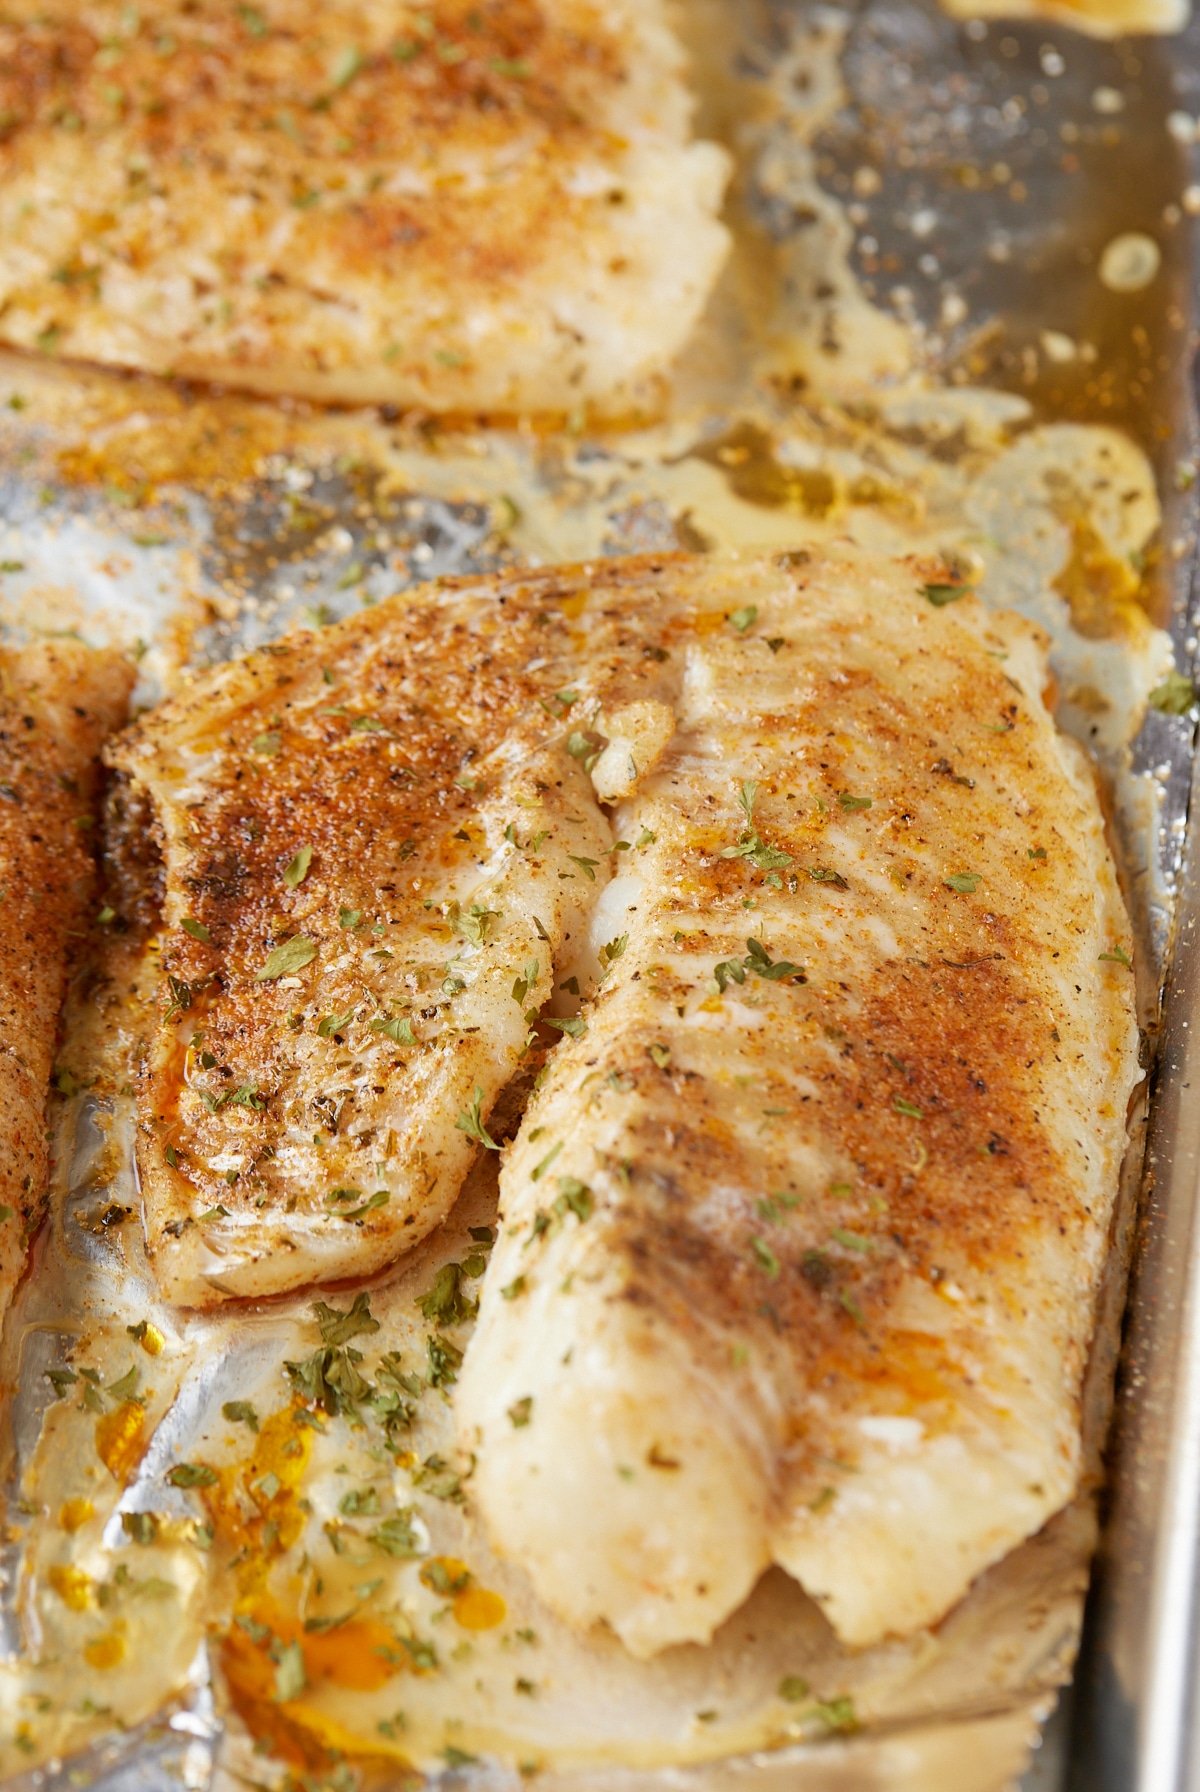
- Easy Oven-Baked Fish
- Air Fried Spatchcock Chicken
- Salisbury Steak with Mushroom Gravy
- Salmon Wellington
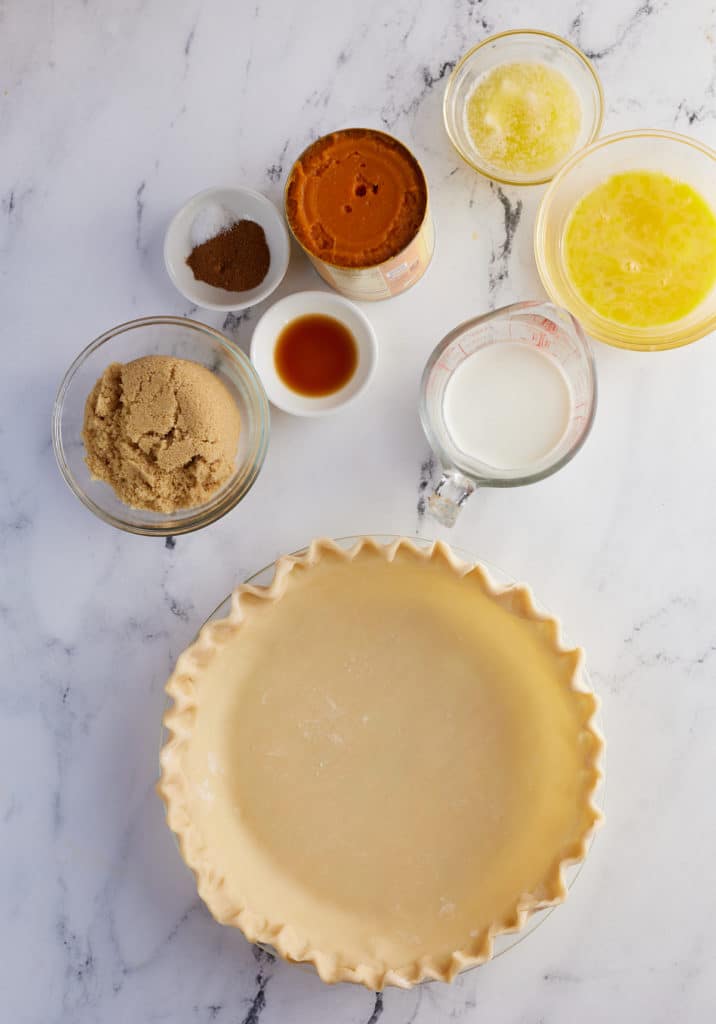
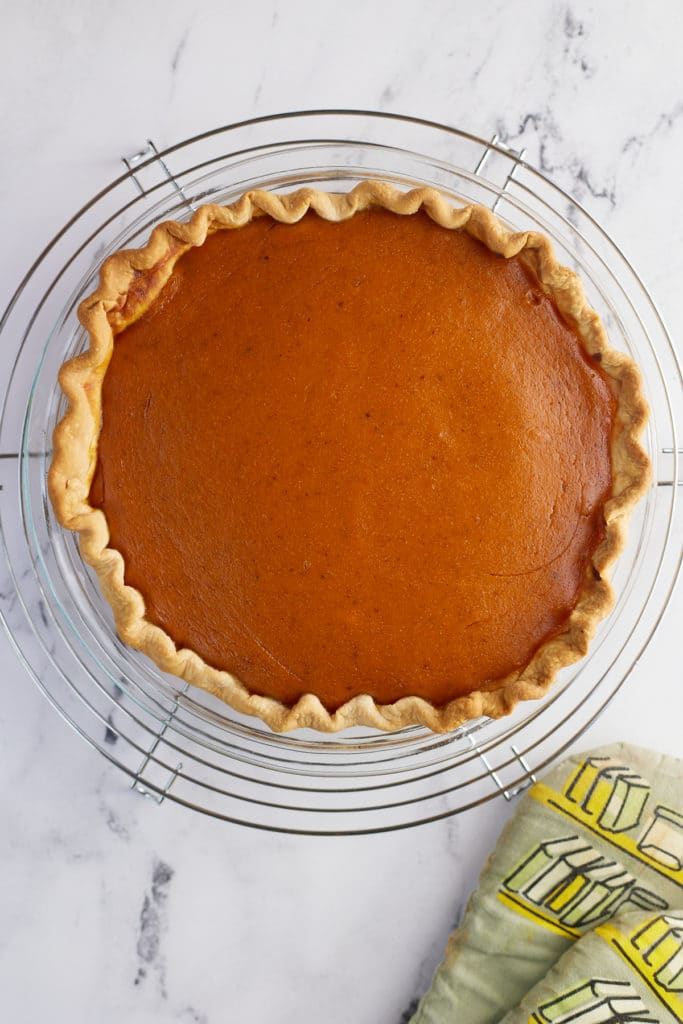
You could also use this method to prepare the sweet potatoes for my sweet potato pie recipe.
Recipe Notes and Tips
- Your pressure cooker will take about 15 minutes to reach pressure before the cook time begins.
- If your sweet potatoes are cooked to your liking following the time, just cover the pressure cooker again and add an additional 5-10 minutes. Your pressure cooker will come to pressure in about 2 minutes in this instance.
- Allow the Instant Pot to natural release the pressure for 10 minutes, this will ensure that they are tender all the way through.
More Sweet Potato Recipes
- Southern Sweet Potato Pie
- Southern Candied Sweet Potatoes
- Sweet Potato & Black Bean Nachos
- Roasted Cauliflower and Sweet Potato

Instant Pot Sweet Potatoes
Ingredients
- 1 cup water
- 4-6 sweet potatoes
Instructions
- Place water and sweet potatoes in Instant Pot (Pressure Cooker) insert. Cook on high pressure from anywhere between 15-25 minutes according to the size as noted below. Allow to naturally release for 10 minutes, then quick release any remaining pressure.
- Top with your favorite toppings or mash it for any given recipe.
Cooking Times for Sweet Potatoes
- Small sweet potatoes (6-9oz) - 15 minutes
- Medium sweet potatoes (9-12oz) - 20 minutes
- Large sweet potatoes - (12-16 oz) - 30 minutes
Notes
- Your pressure cooker will take about 15 minutes to reach pressure before the cook time begins.
- If your sweet potatoes are cooked to your liking following the time, just cover the pressure cooker again and add an additional 5-10 minutes. Your pressure cooker will come to pressure in about 2 minutes in this instance.