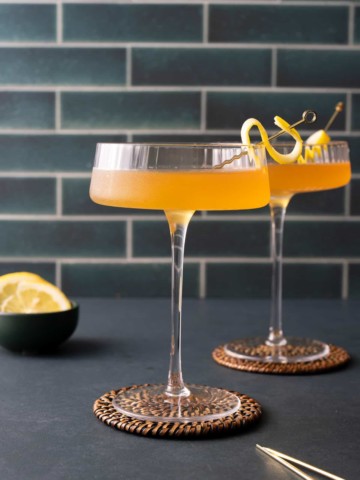
The Between the Sheets cocktail is a fancy mix of rum, brandy, and citrus to enhance your drinking experience. Perfect for any occasion, this classic cocktail transports you to an era of swanky bars and refined tastes. This post is for an audience of 21 and over.
This post contains affiliate links, please read my full disclaimer here.
You’ll find the full recipe with ingredient amounts and instructions in the recipe card at the bottom of this post. Be sure to check out the blog post itself for extra tips and tricks!
The name of this drink caught my attention. It reminded me of the Isley Brothers' song "Between the Sheets," which is one of my favorites. But this drink is not related to the song.
The Between the Sheets cocktail is a vintage drink from the 1920s or 1930s. It's said to have been created at Harry's New York Bar in Paris, a hotspot for expatriates and celebrities of the time. Either way, anytime I make this drink, I play the song.
This cocktail is a variation of the classic Sidecar. Adding light rum gives it an extra layer of complexity and smoothness. If you like sidecars but want some sweetness from the rum, you'll like this one.
Between the Sheets Cocktail Ingredients
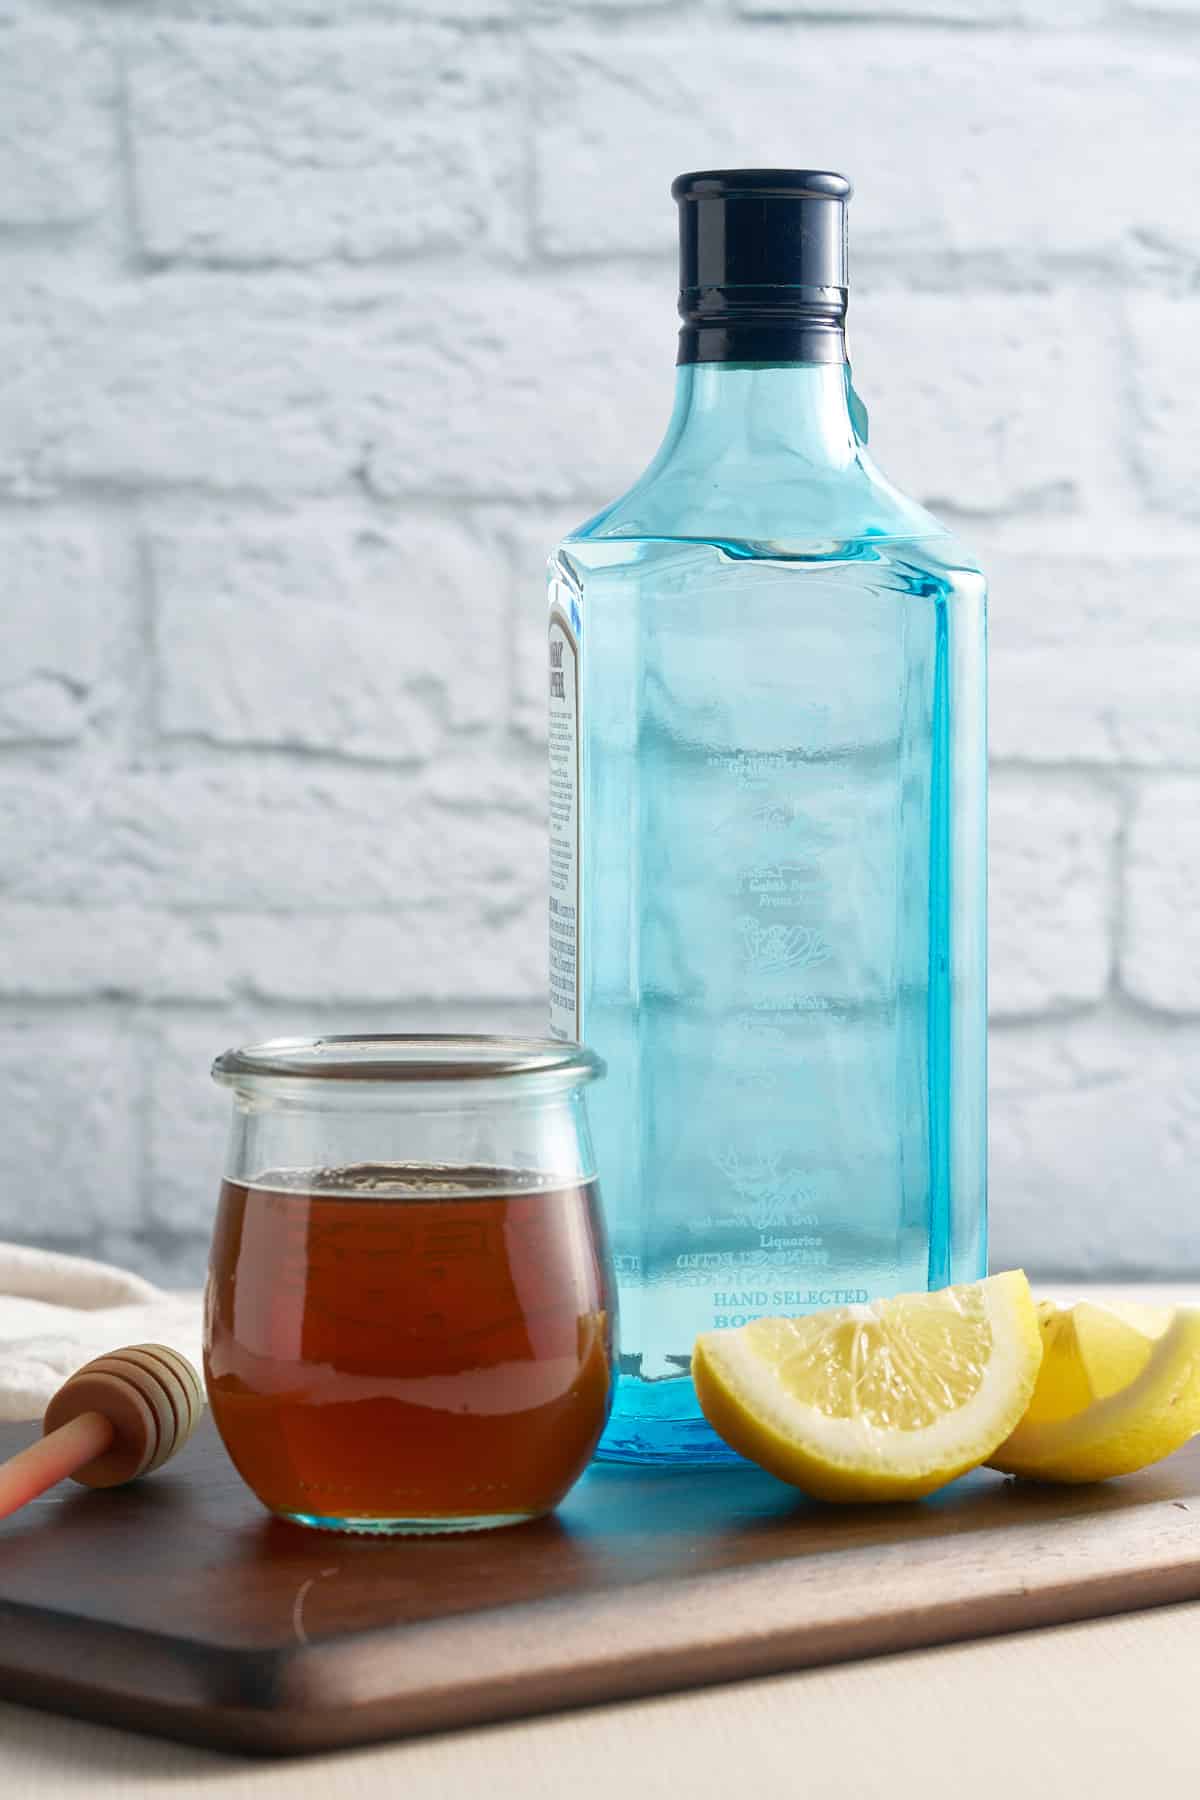
- Rum - traditionally made with white rum, but I use spiced rum to give it a bit more flavor.
- Brandy - I tend to use Hennessy Cognac for this recipe.
- Triple Sec - or any other orange liqueur, like Cointreau
- Lemon Juice - we use fresh lemon juice, but you can use lemon juice concentrate.
How to make it
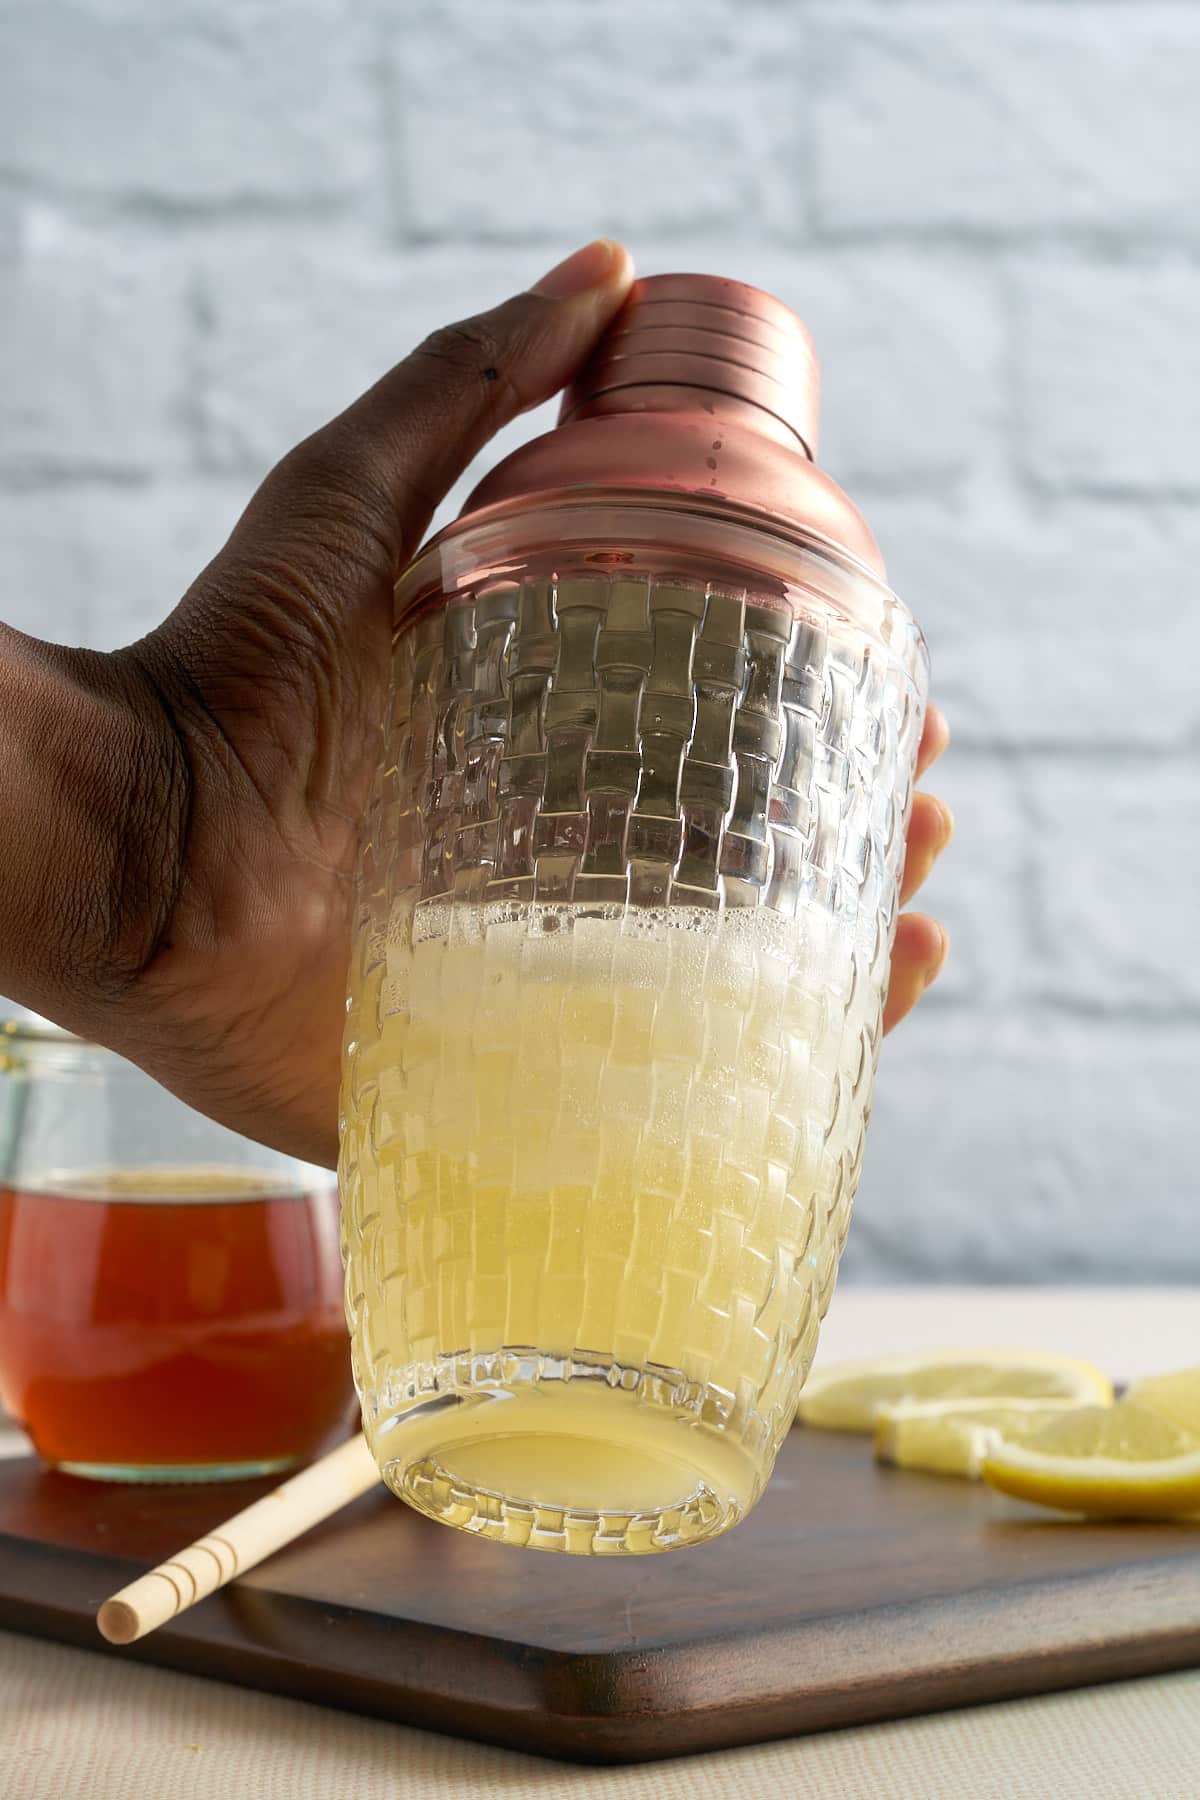
Combine the rum, cognac, triple sec, and fresh lemon juice in a cocktail shaker. Add ice.
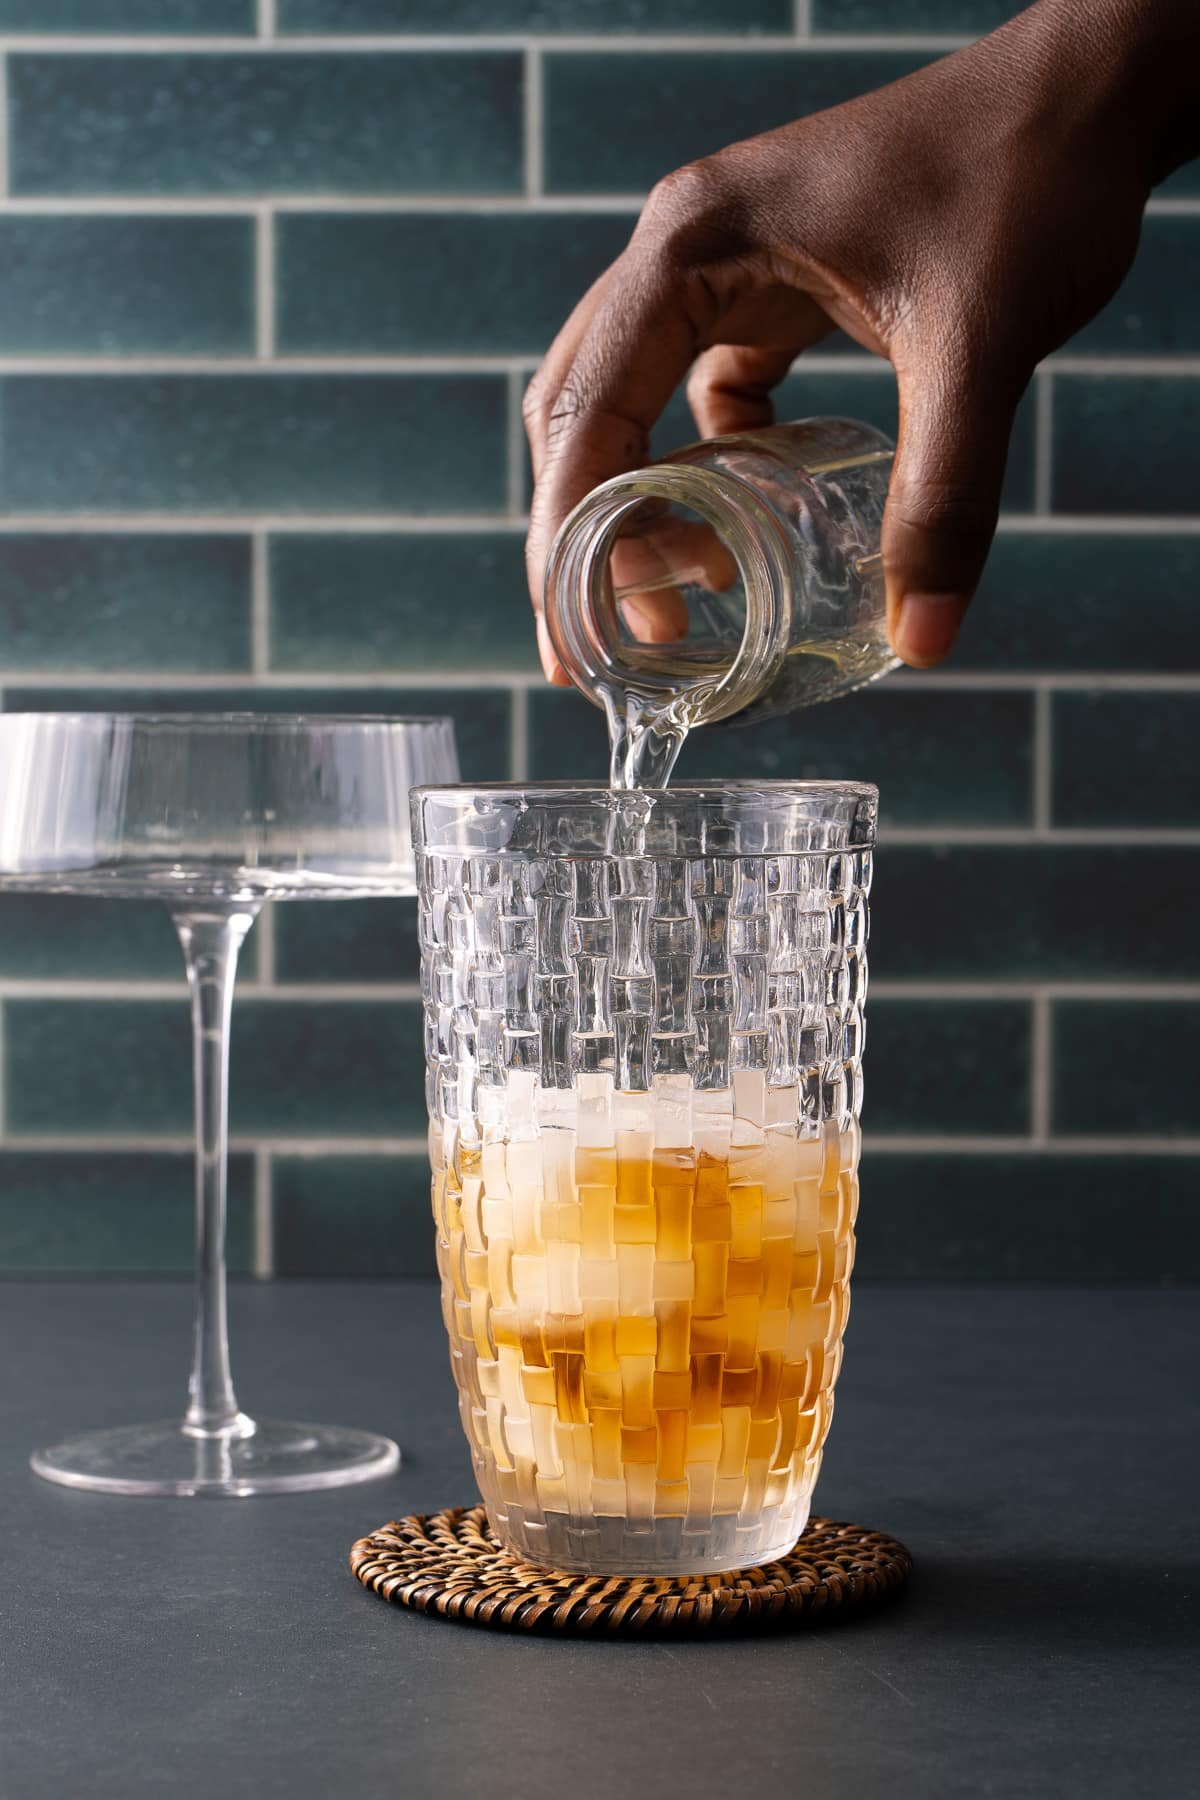
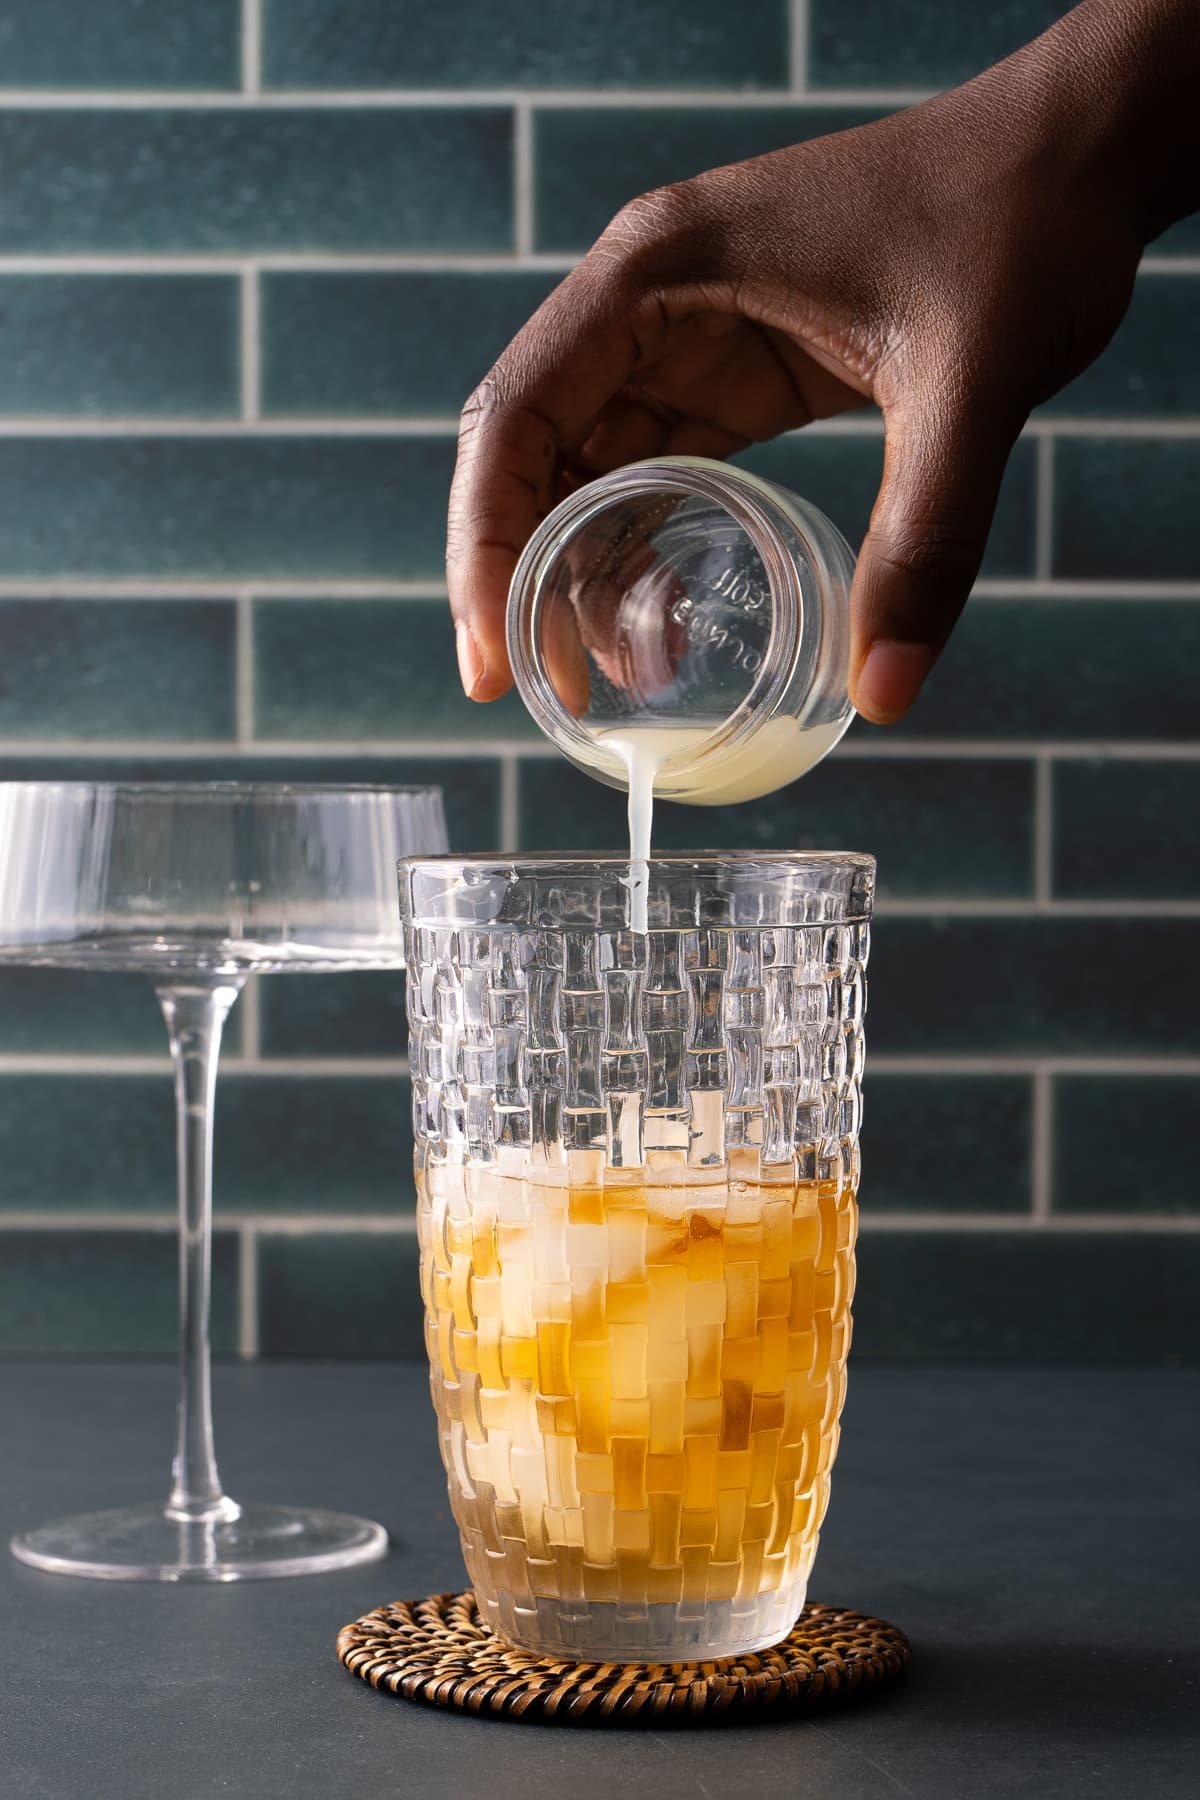
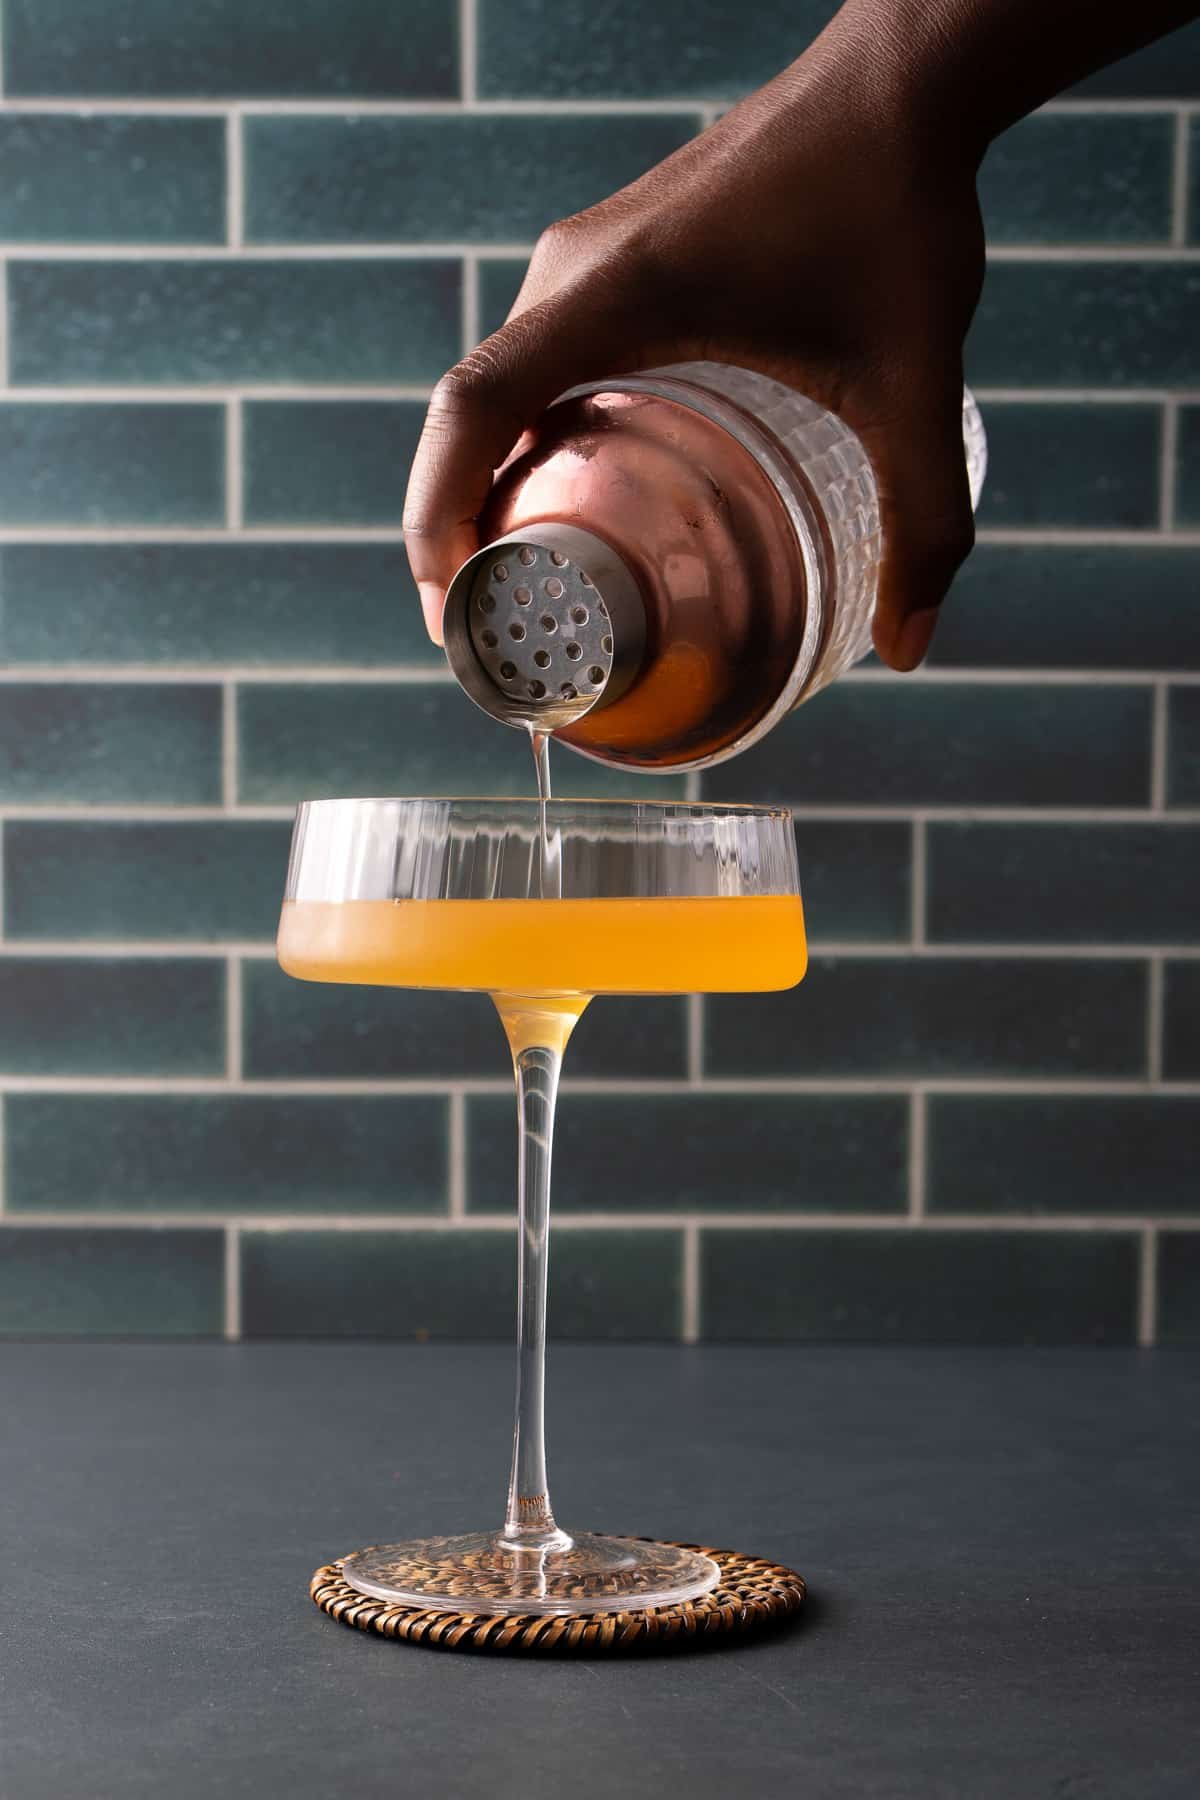
Secure the lid and shake vigorously for about 10 seconds. The goal is to chill the mixture thoroughly while slightly diluting it to smooth out the flavors.
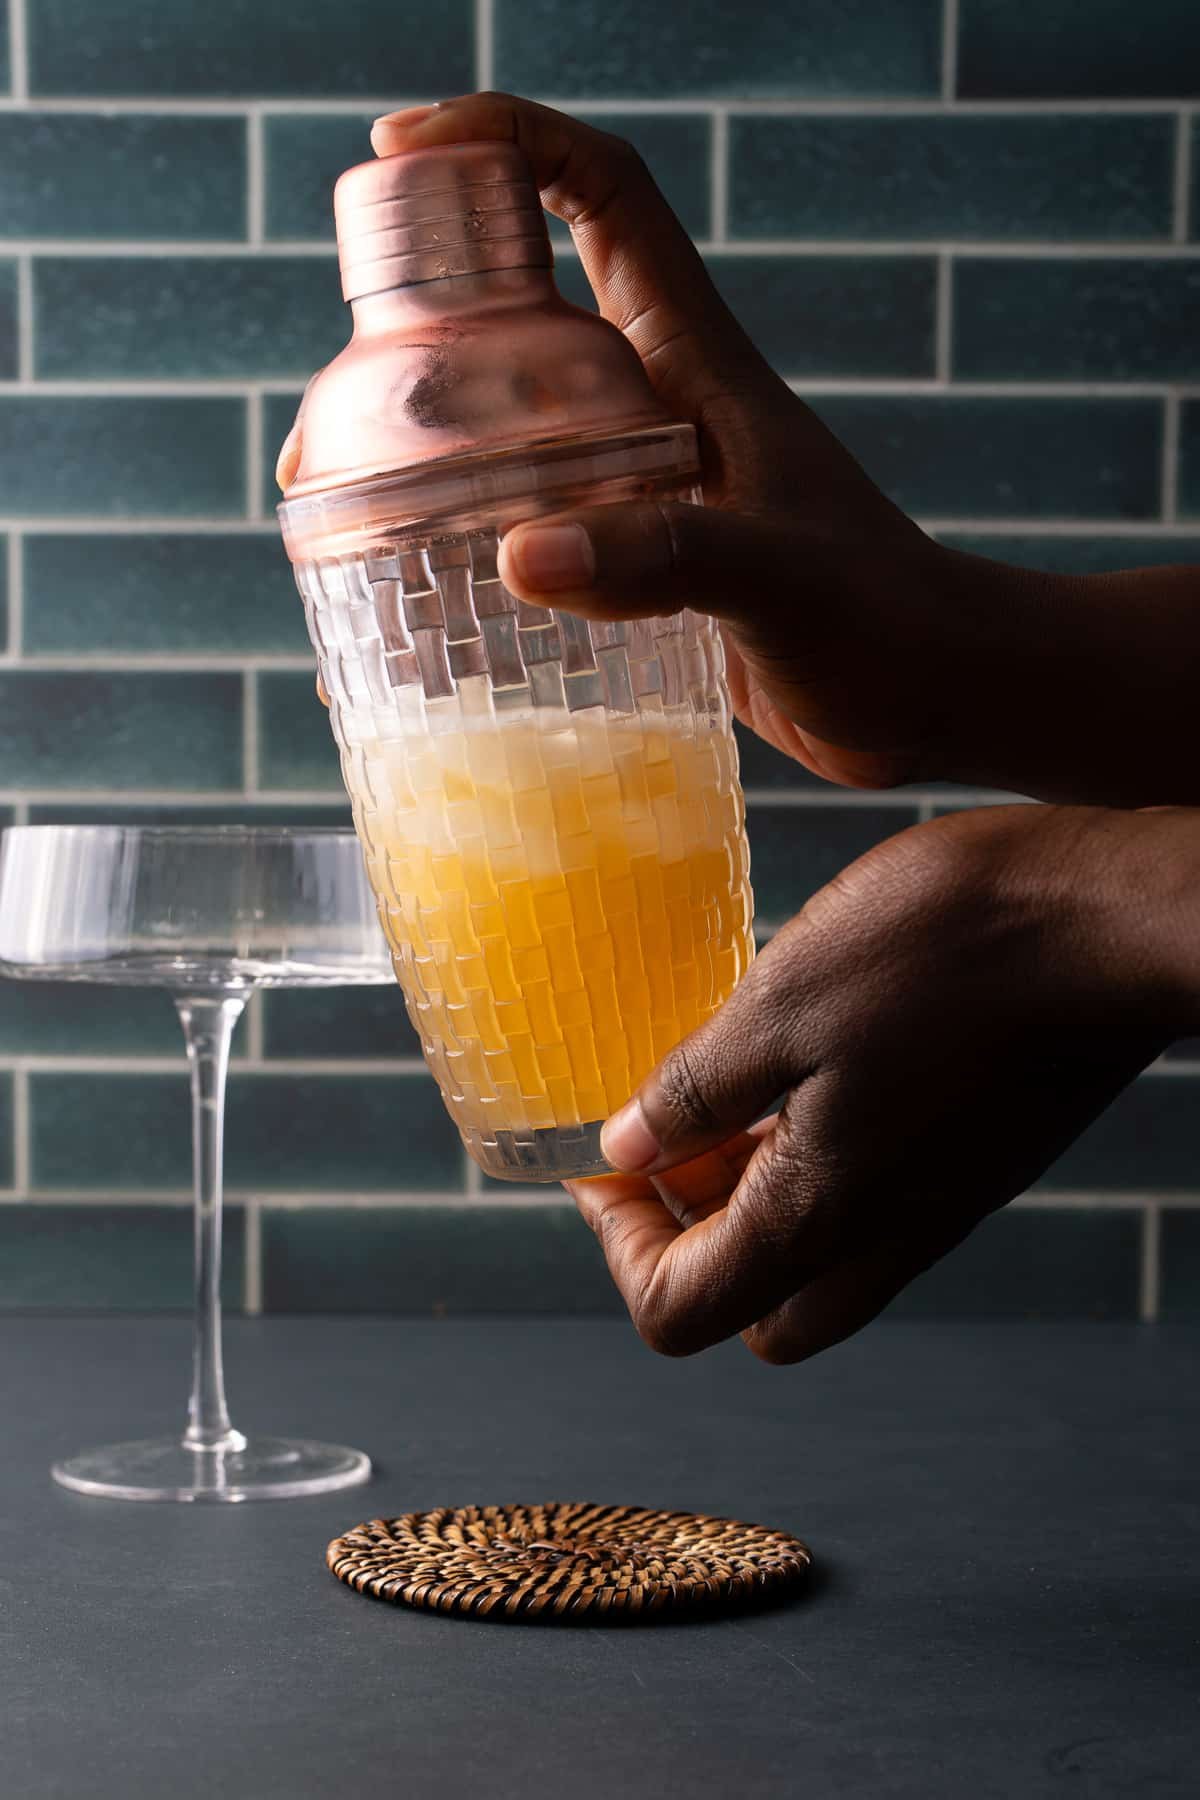
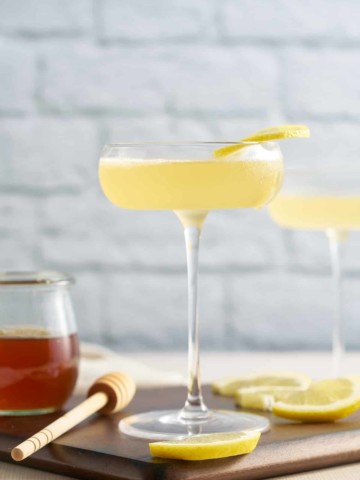
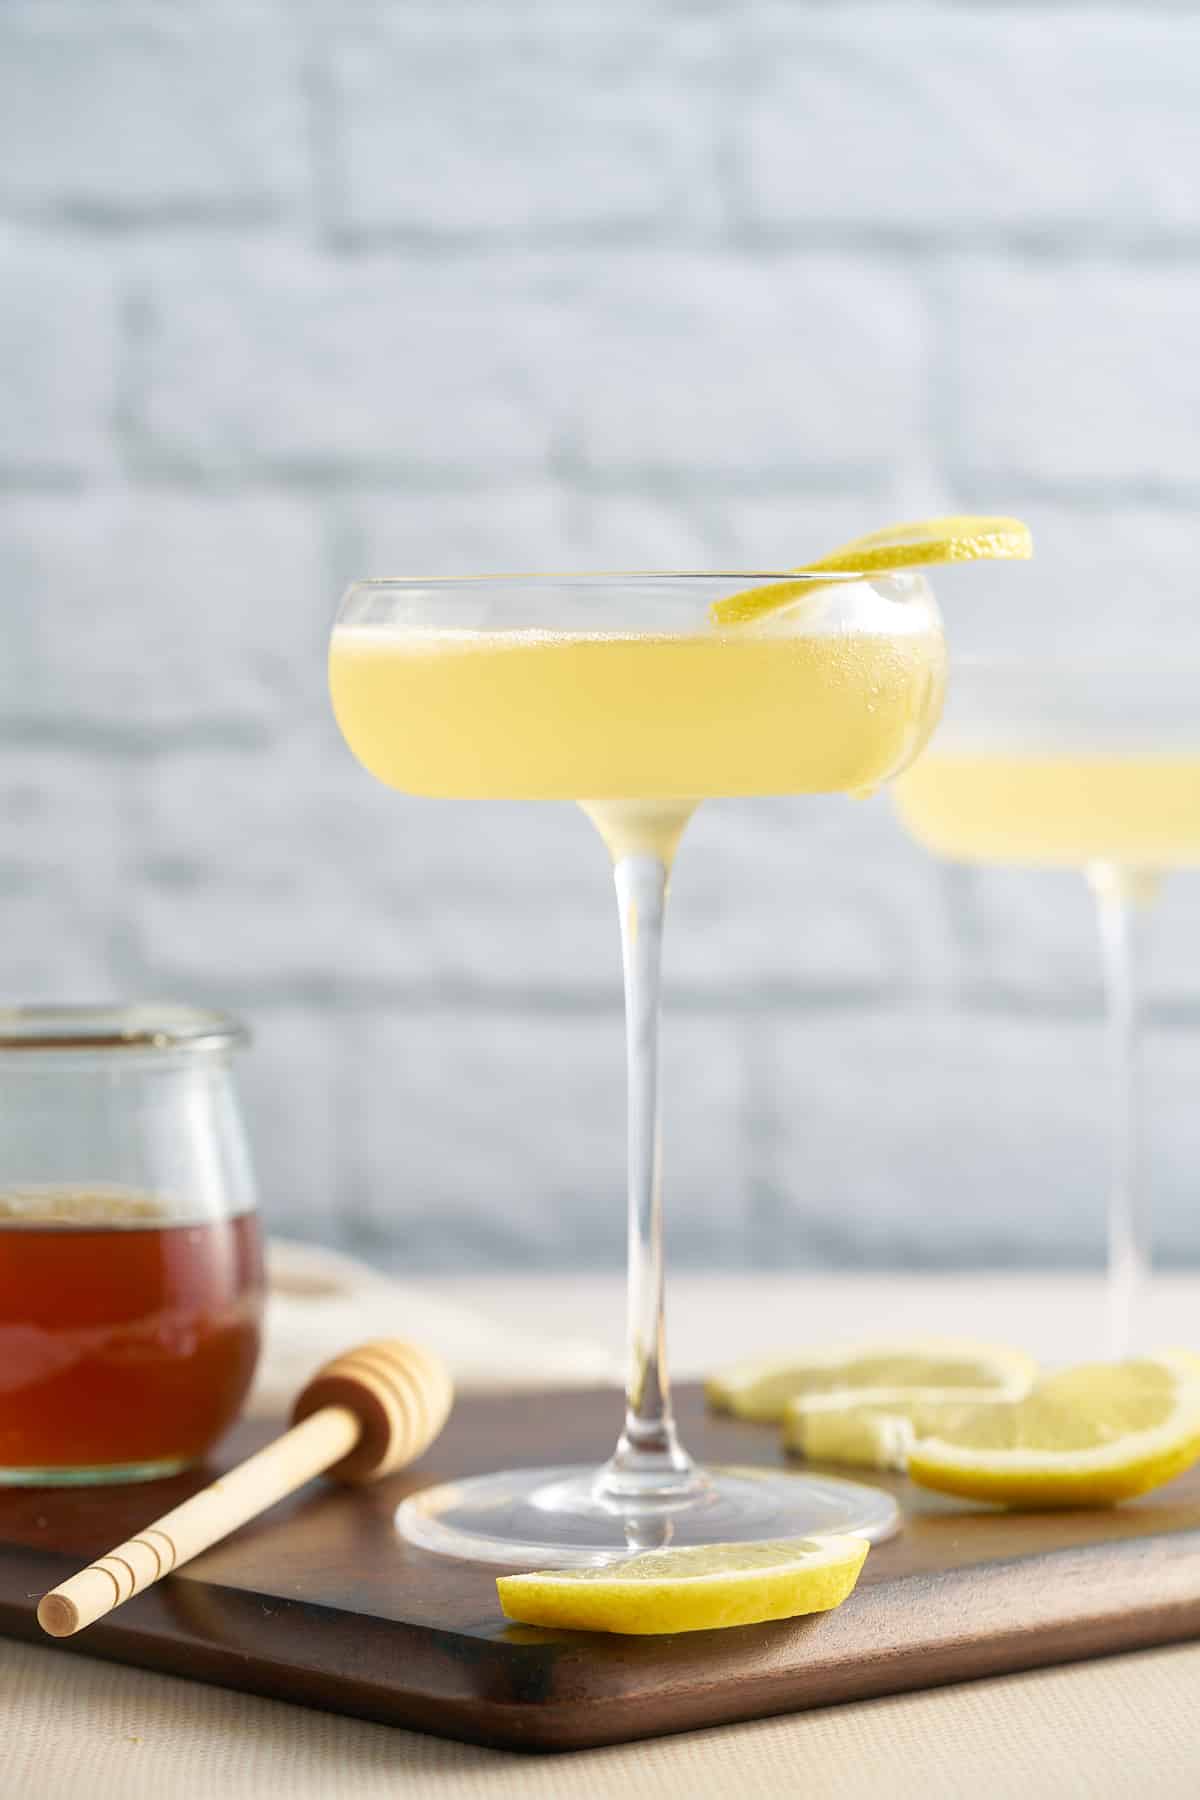
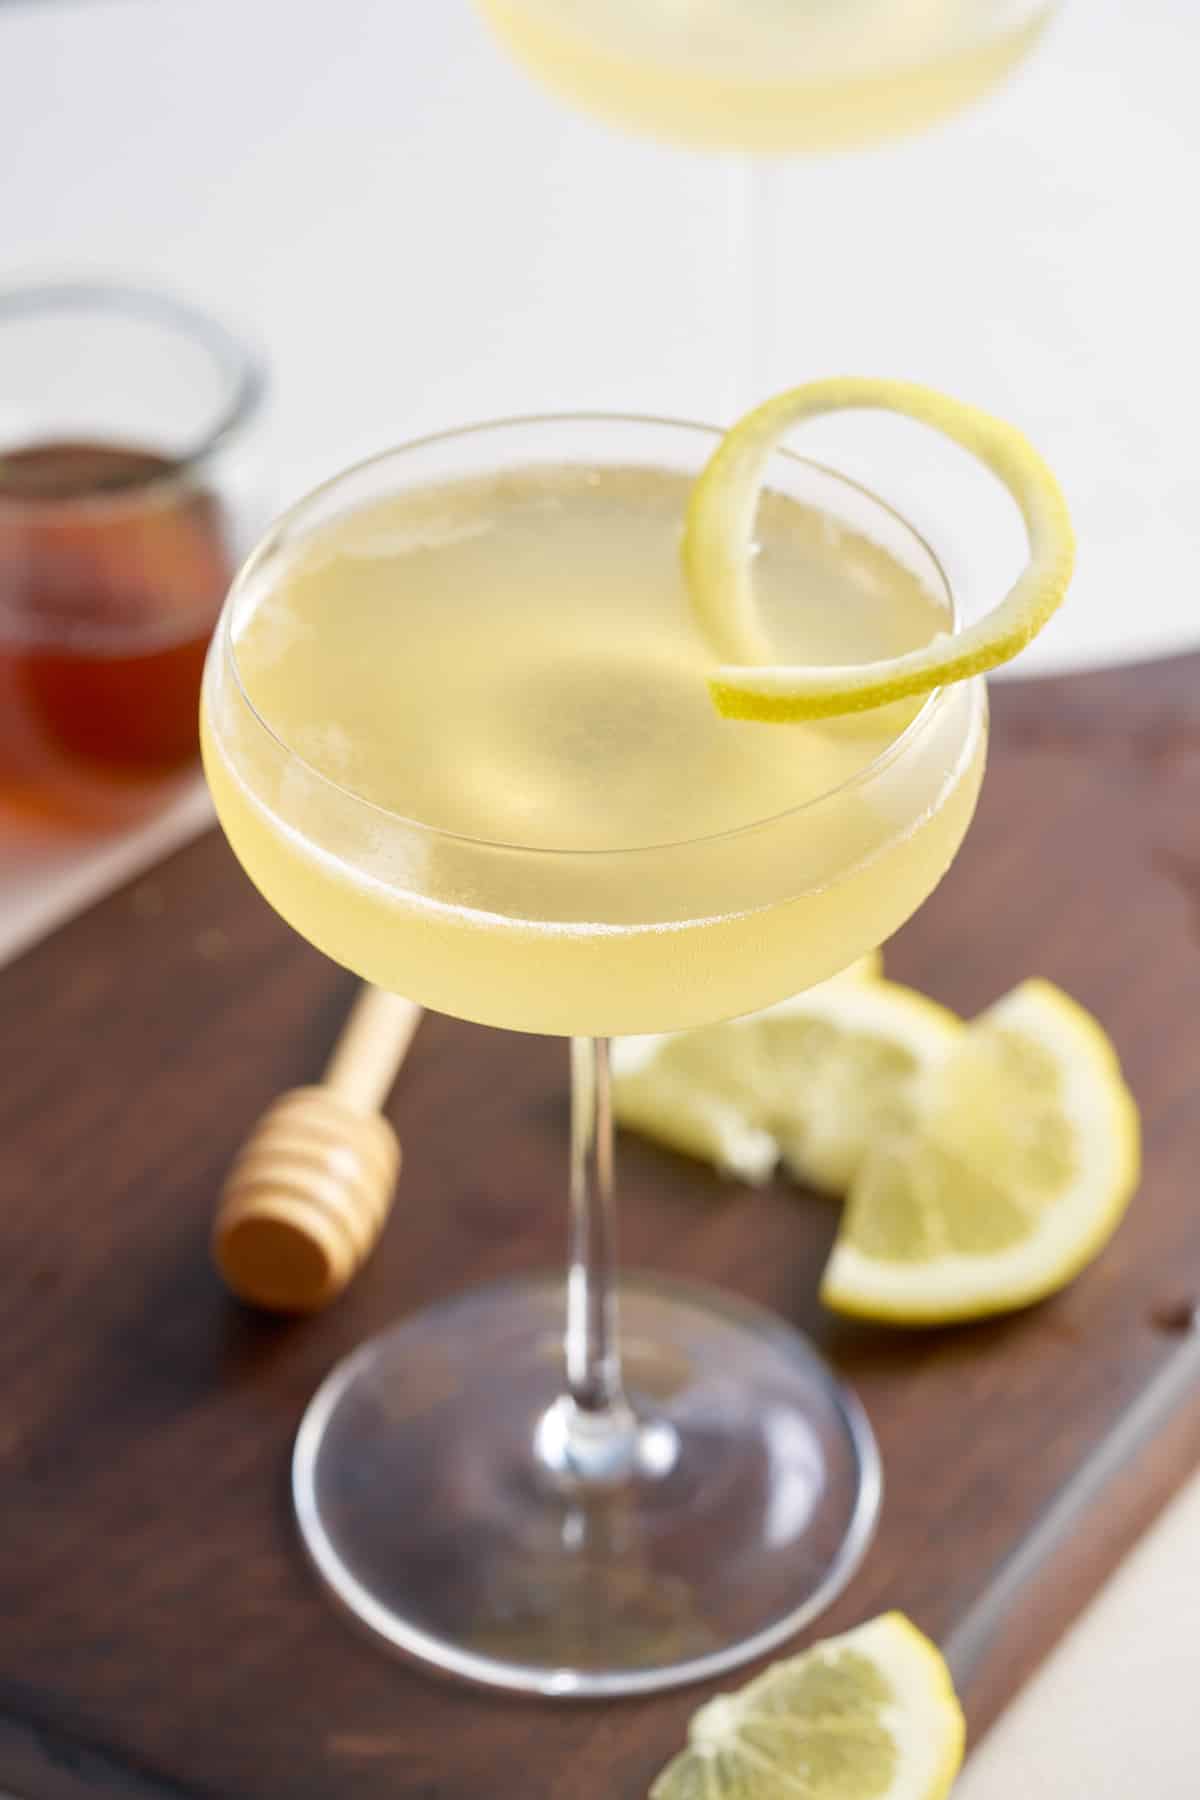
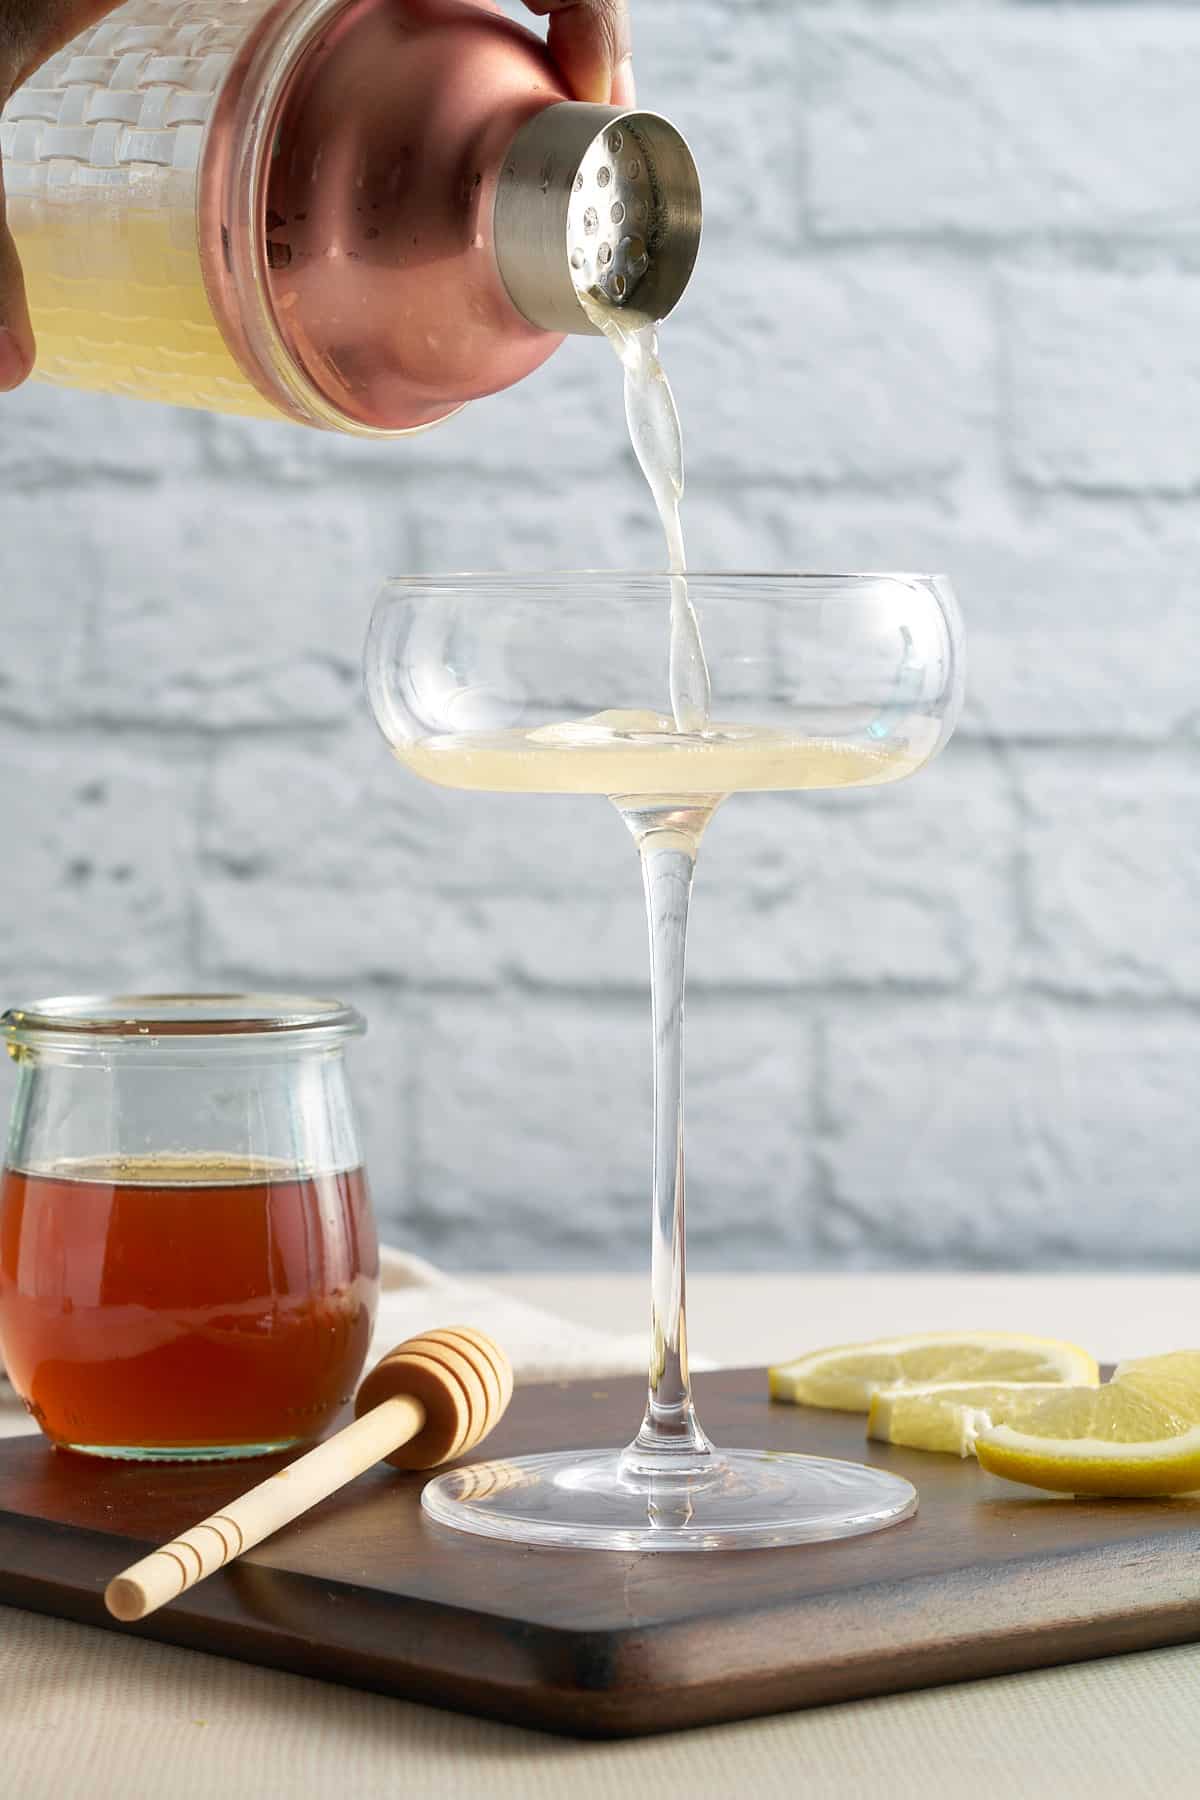
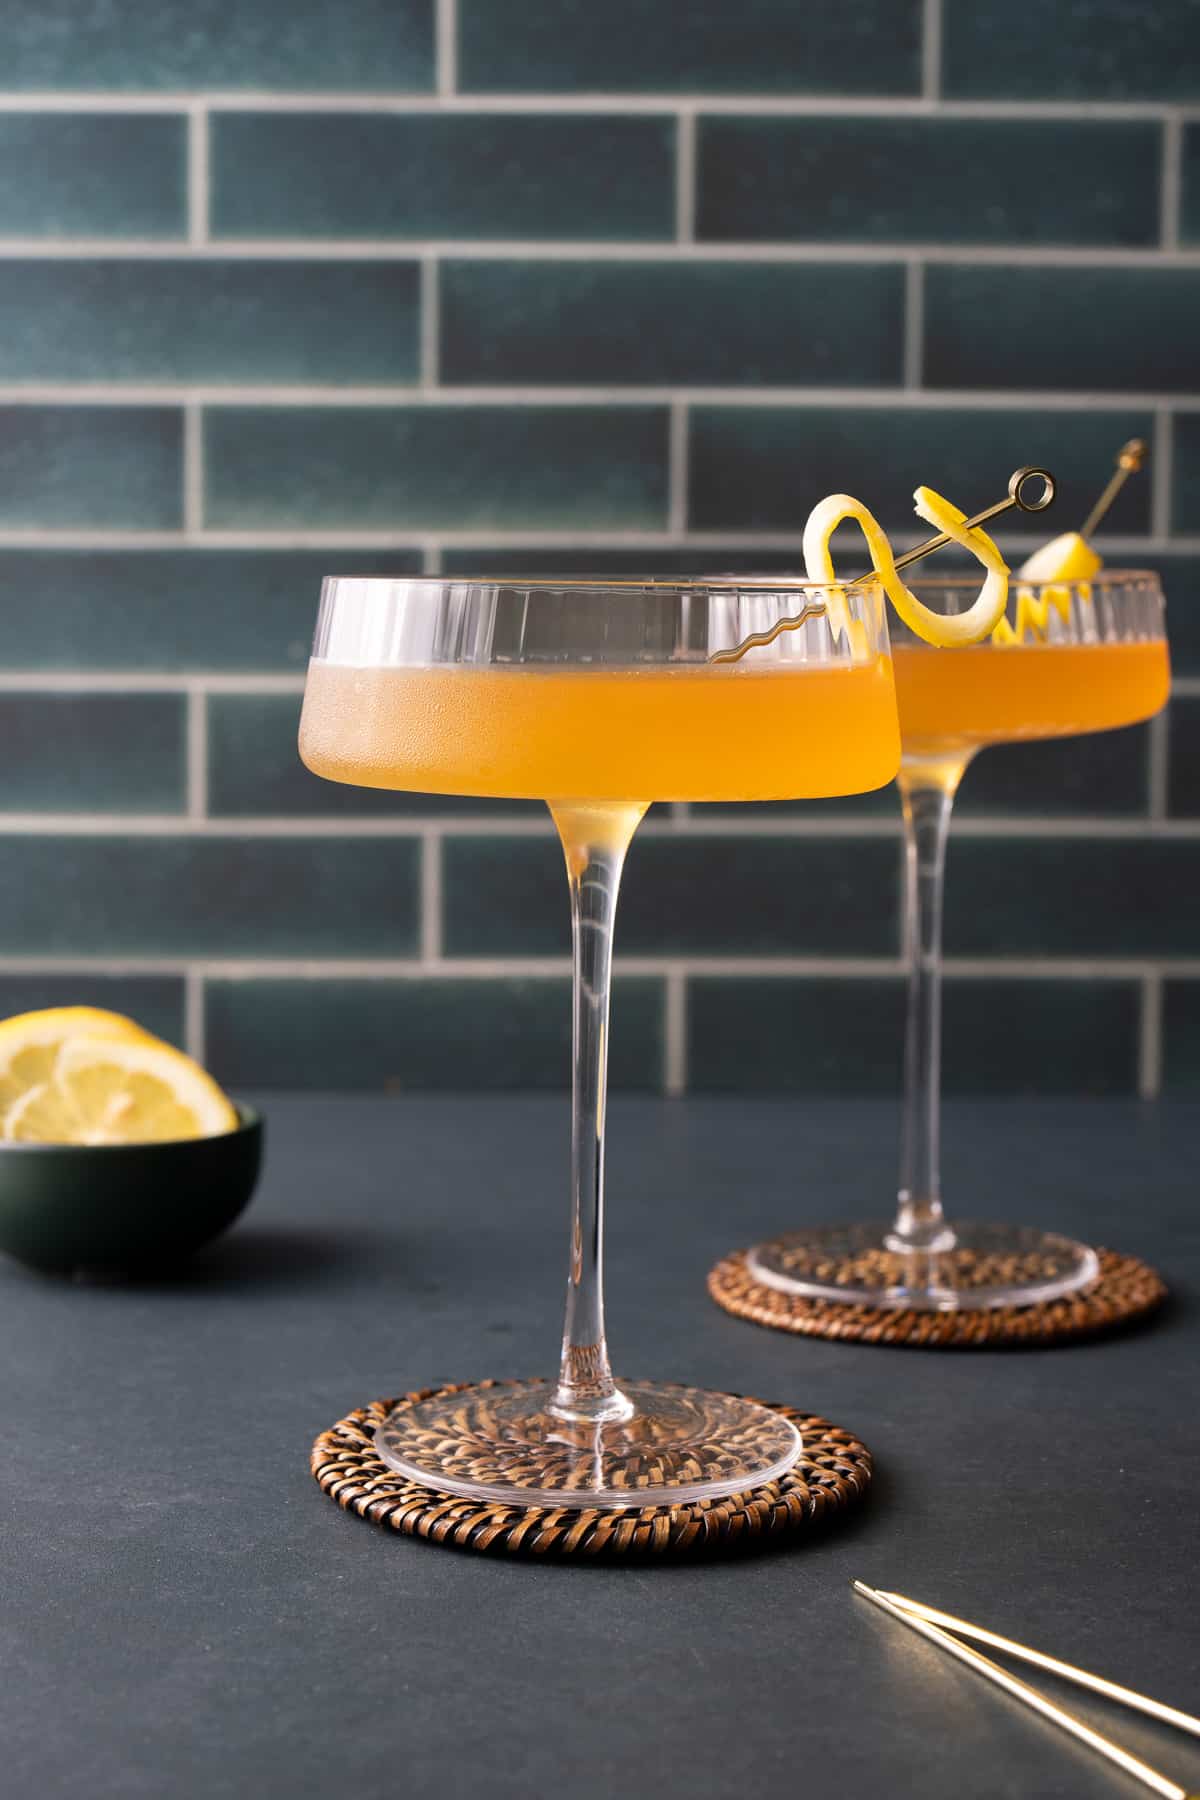
Strain the cocktail into a coup glass, ensuring no ice slips through.
Garnish with a twist of lemon peel on the rim of the glass or float it on top of the drink.
How to make it ahead and make a big batch
Making a Between the Sheets cocktail in advance is possible, but it's best enjoyed freshly shaken. To prepare, mix the rum, brandy, triple sec, and lemon juice in a sealed container and store it in the refrigerator.
When ready to serve, shake the mixture well with ice to chill and dilute it properly, then strain it into a chilled cocktail glass. This ensures the cocktail maintains its refreshing and balanced flavors.
To make a larger batch, increase the recipe and prepare it in a large jug rather than a cocktail shaker.
Tanya's Top Tip
Chill Your Glass: A chilled glass keeps your cocktail nice and cold for longer. Pop your glass in the freezer for a few minutes before serving.
Variations to Try
If you're feeling adventurous, here are a few variations you can try:
- Between the Sheets with a Twist: Add a dash of Angostura bitters for a slightly more complex flavor.
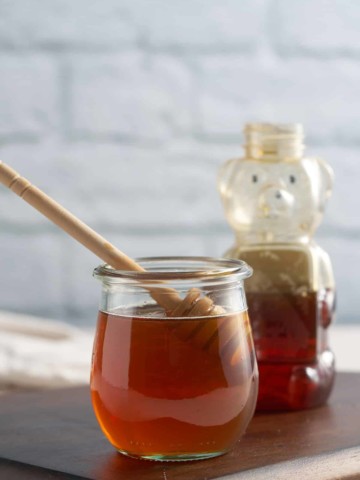
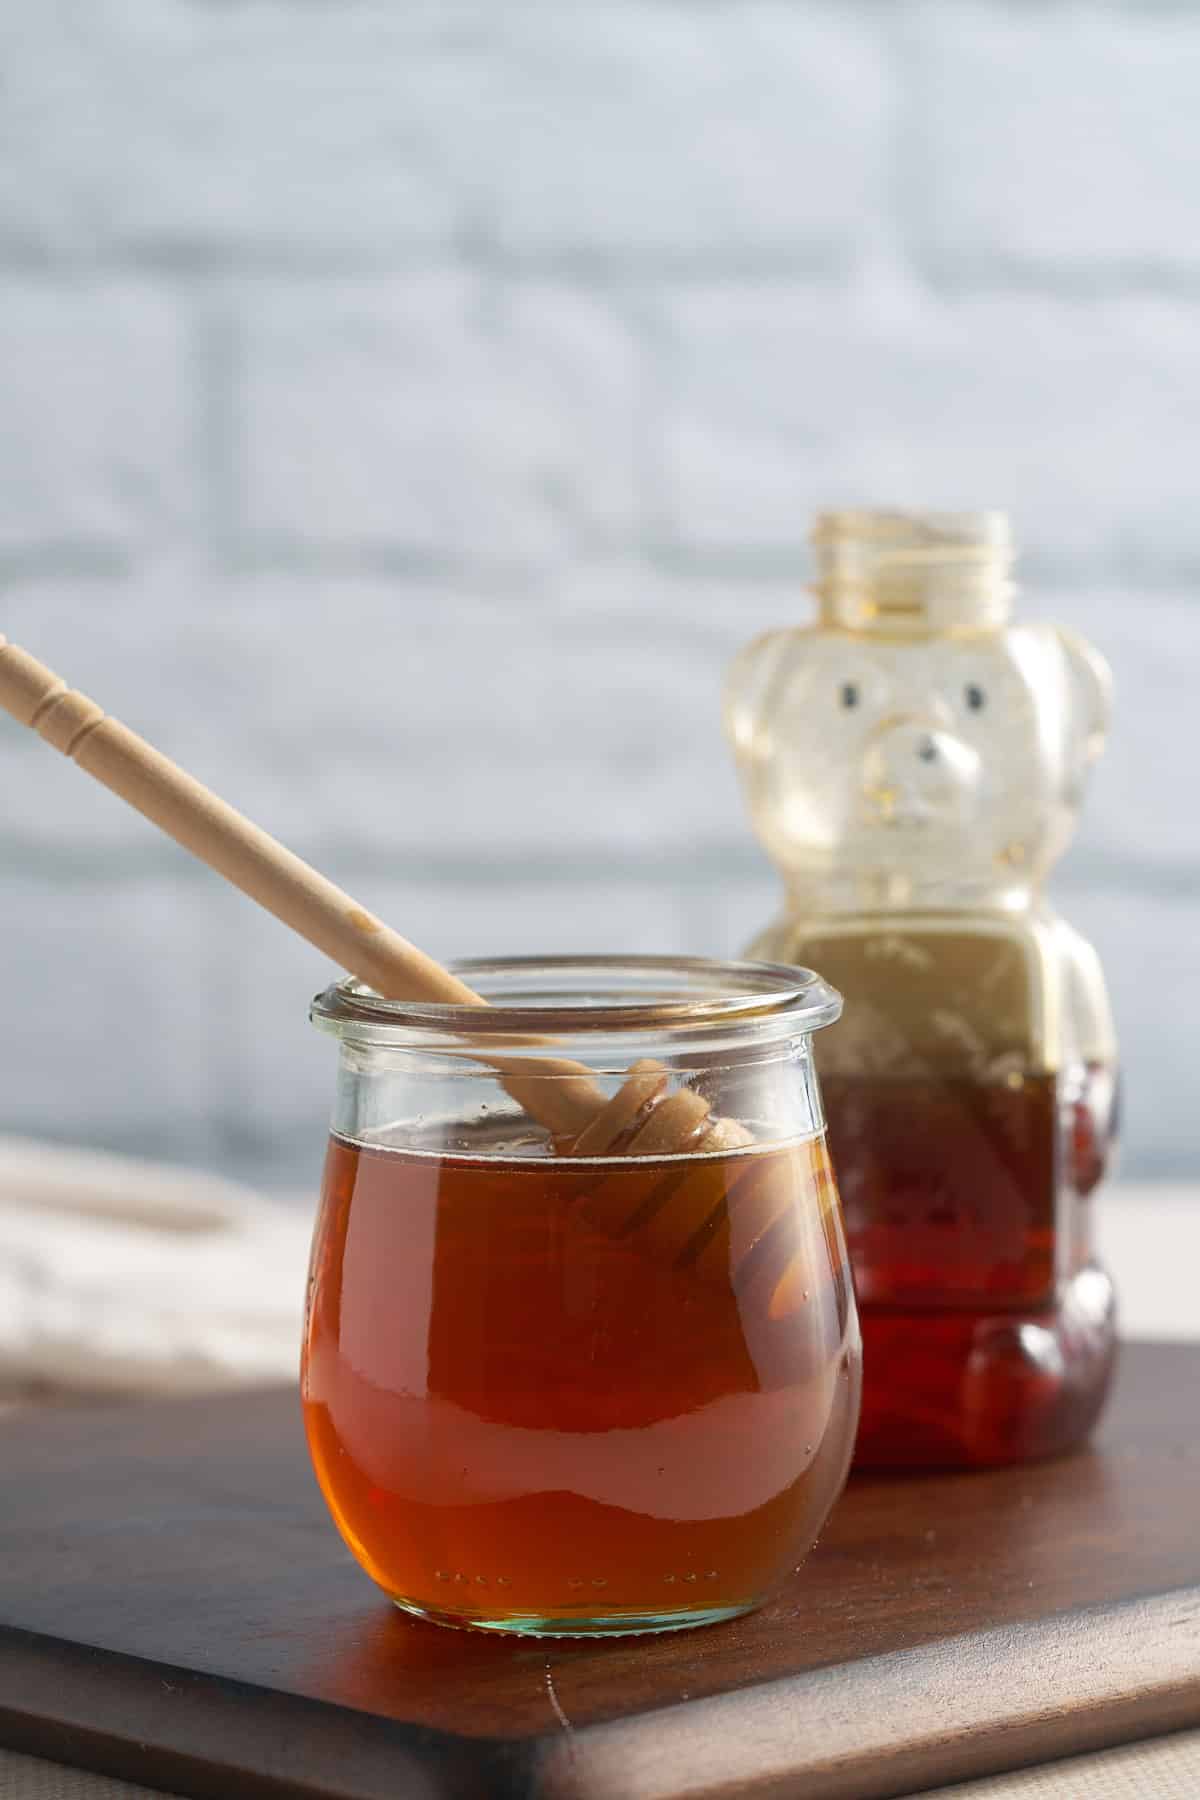
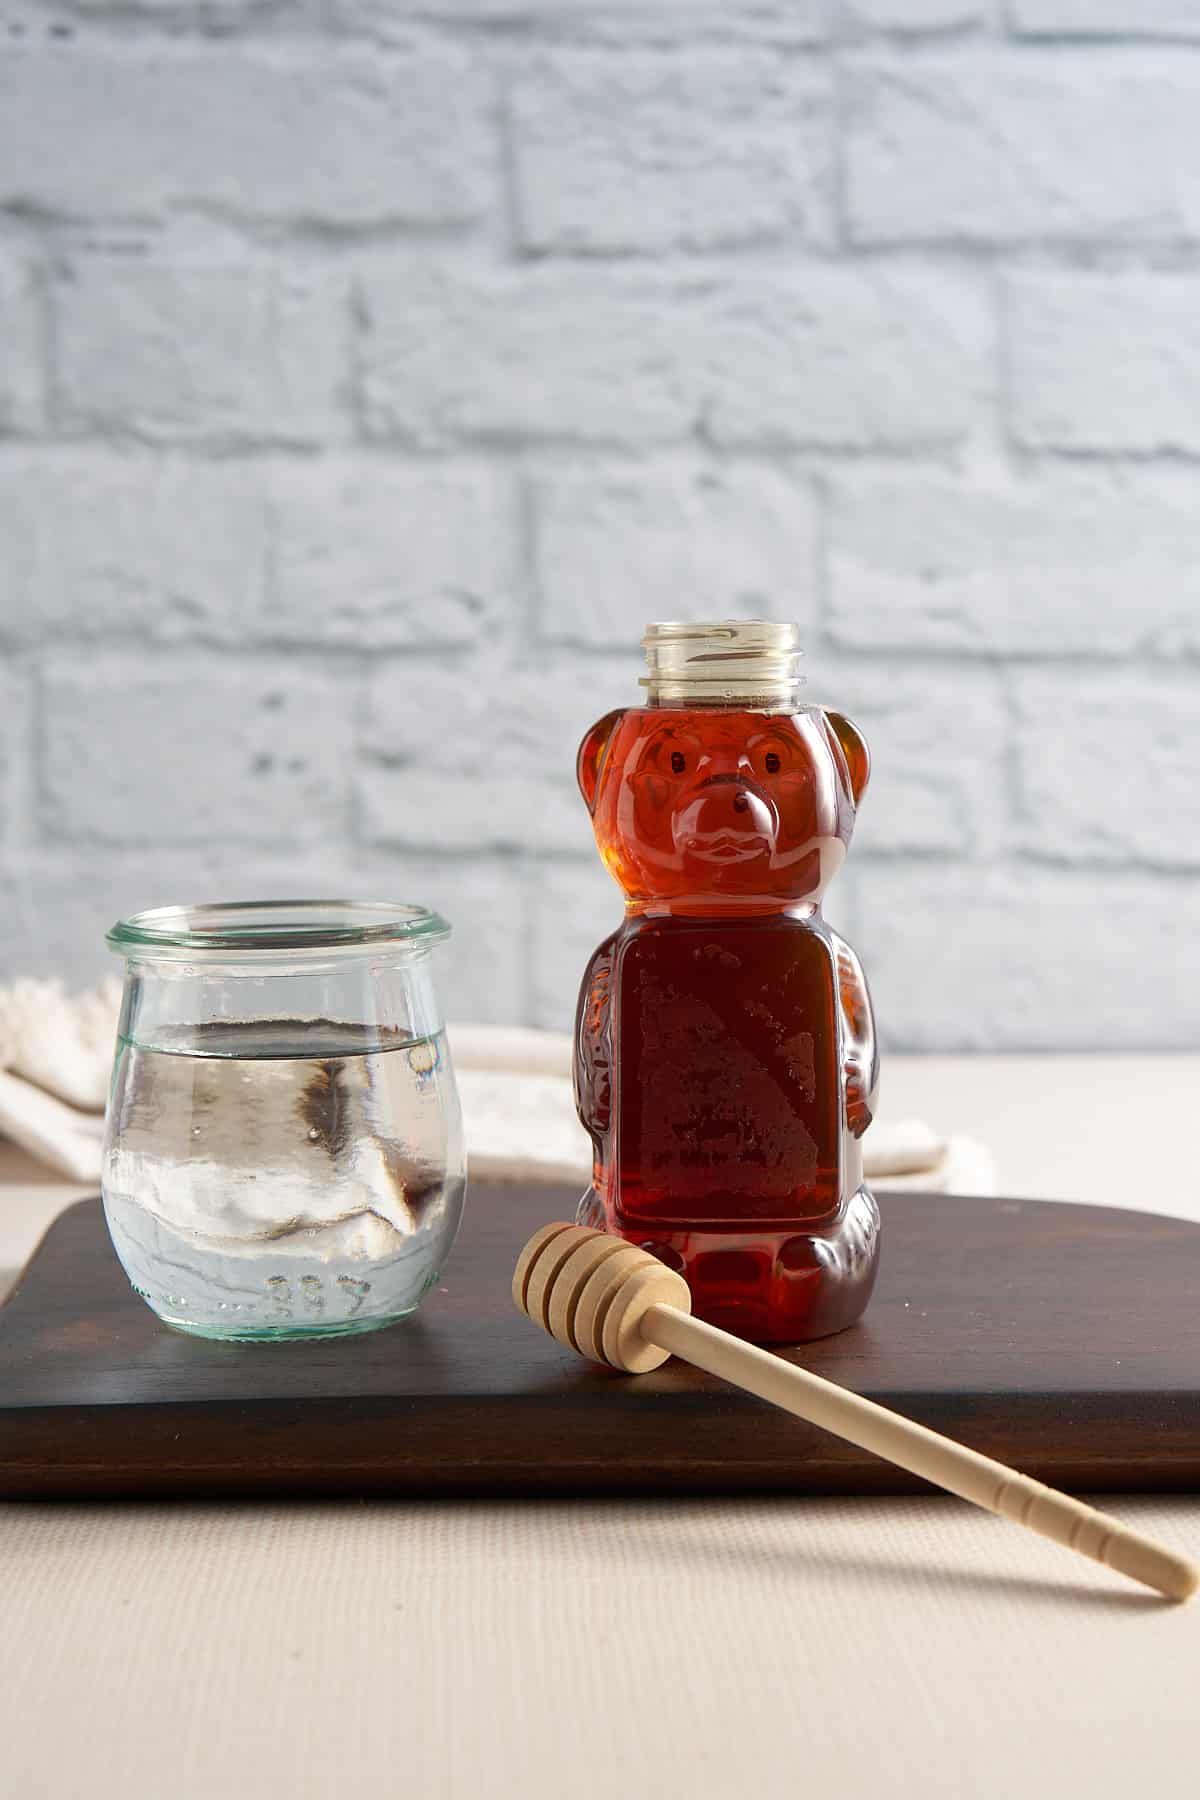
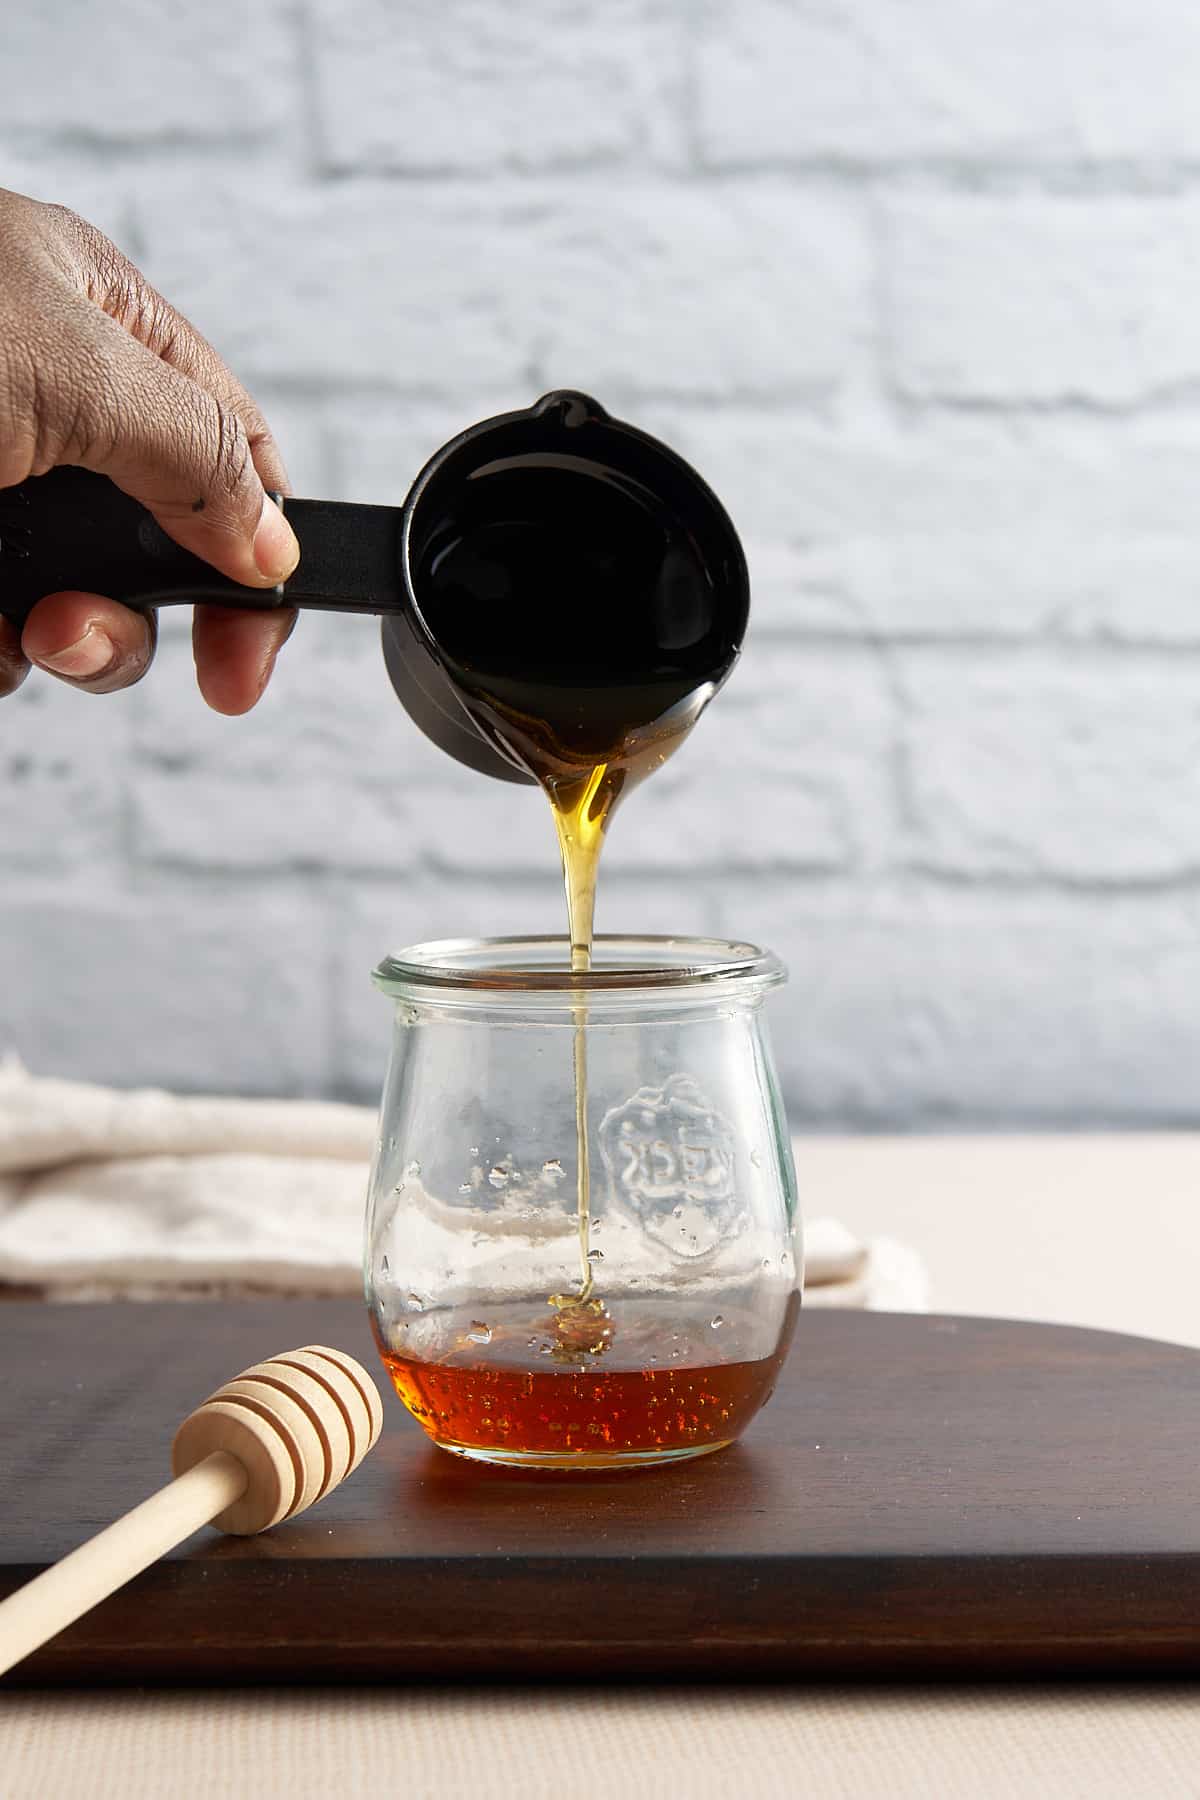
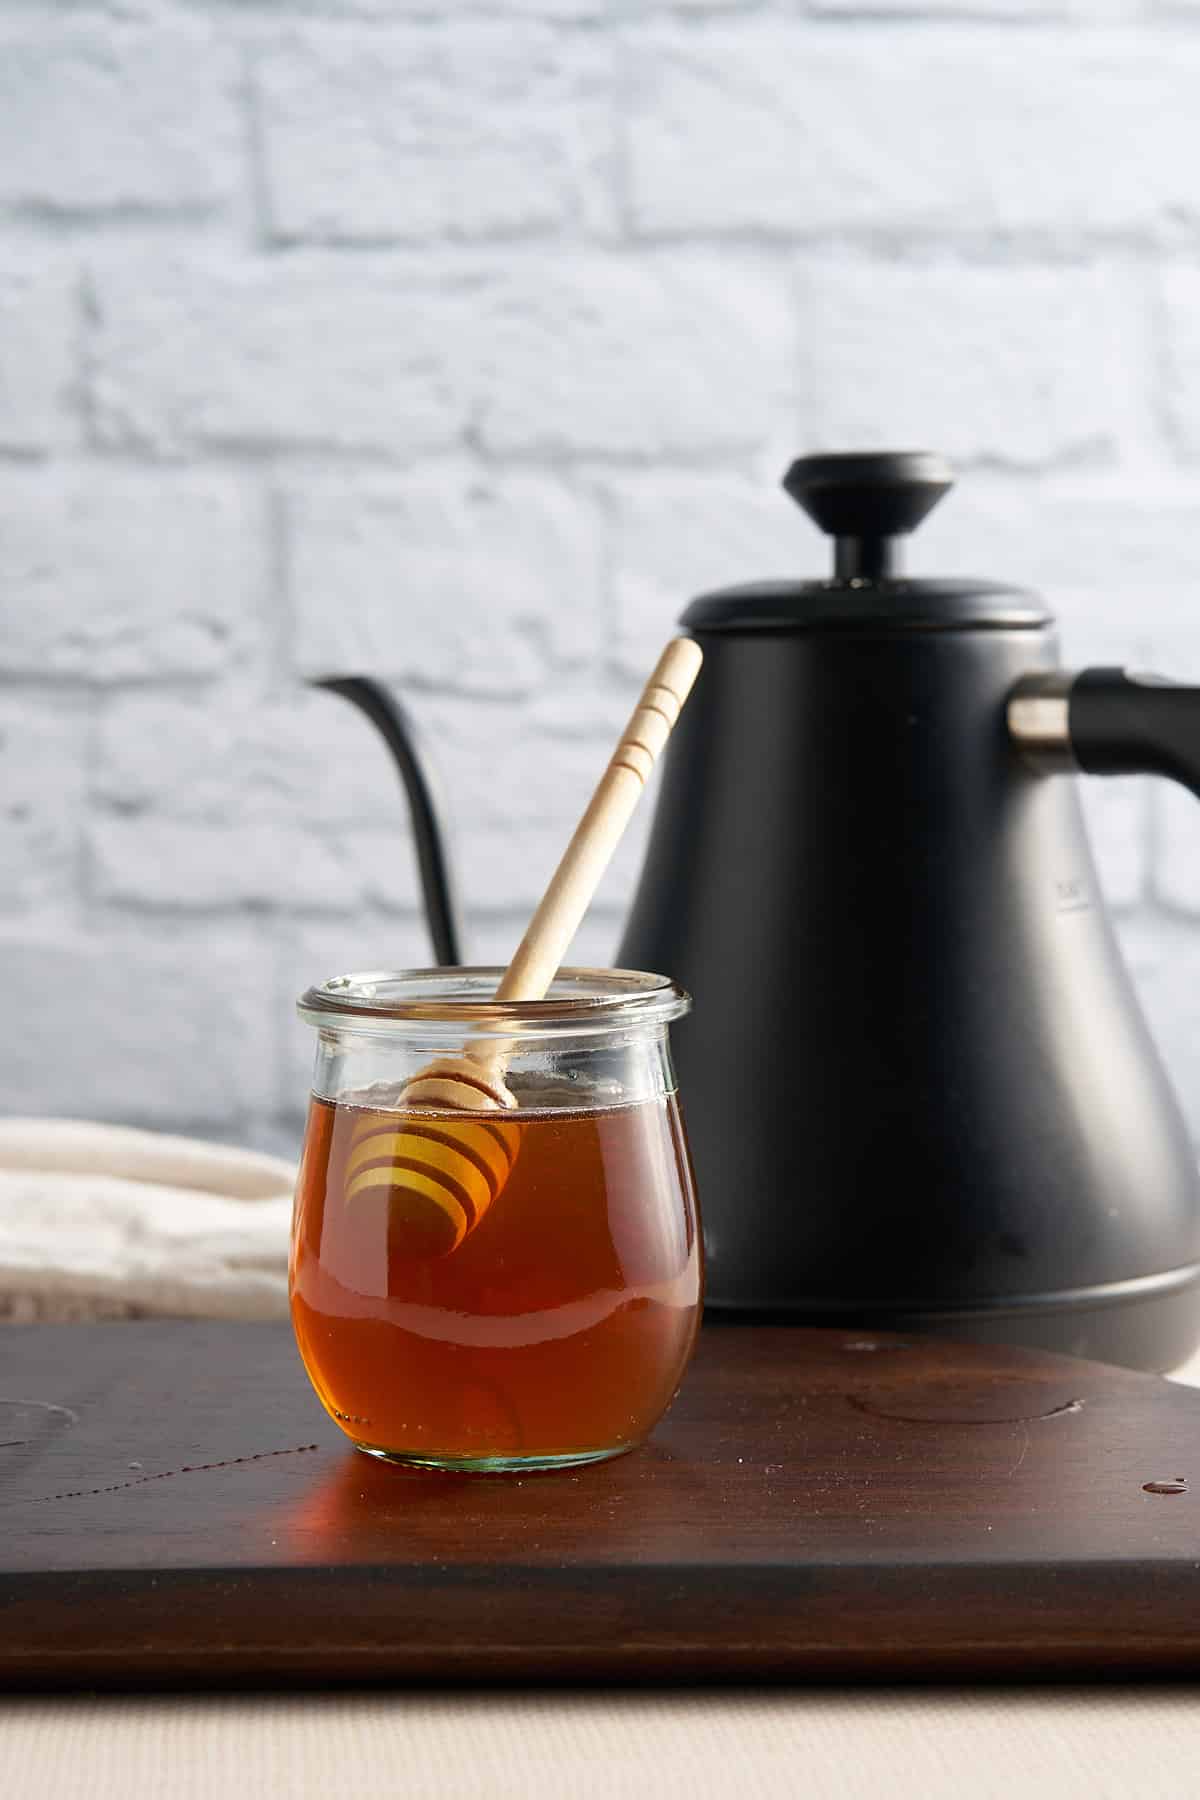
- Honey Between the Sheets: Replace the triple sec with honey syrup for a more decadent, sweeter cocktail.
If you have tried this cocktail or any other recipe on my blog, please rate it and let me know how it turned out in the comments below!

Between the Sheets Cocktail Recipe
Equipment
Ingredients
- 1 oz Cognac
- 1 oz Spiced rum or White Rum to keep it traditional
- 1 oz Triple Sec
- ½ oz Lemon Juice
- Lemon twist for garnish
Instructions
- Combine the cognac, rum, triple sec, and fresh lemon juice in a cocktail shaker.
- Add a handful of ice cubes to the shaker. Secure the lid and shake vigorously for about 10 seconds. Strain the cocktail into the glass, ensuring no ice slips through.
- Garnish with a twist of lemon peel on the rim of the glass or float it on top of the drink.